Oh my gosh, my garden is exploding right now. Our property looks its absolute best in spring and fall. We have gorgeous flowers this time of year, including iris, roses, clematis, peonies, columbine and coral bells. Once the heat arrives everything begins to look stressed and overheated (including me.) When fall comes along, all of the dogwood and maple trees give us a wonderful show of color. The property was the main draw when we bought this place, the house was definitely secondary.
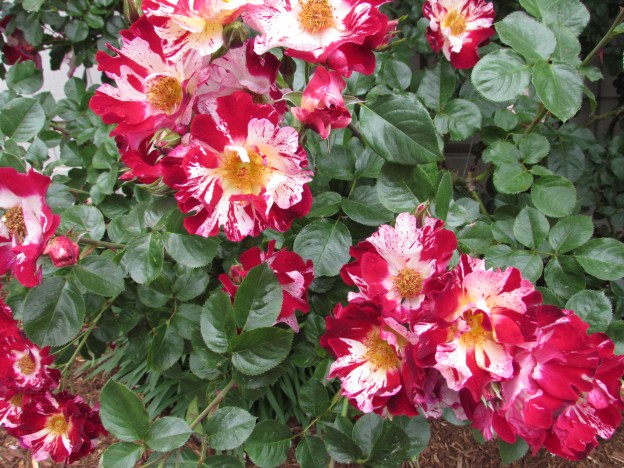
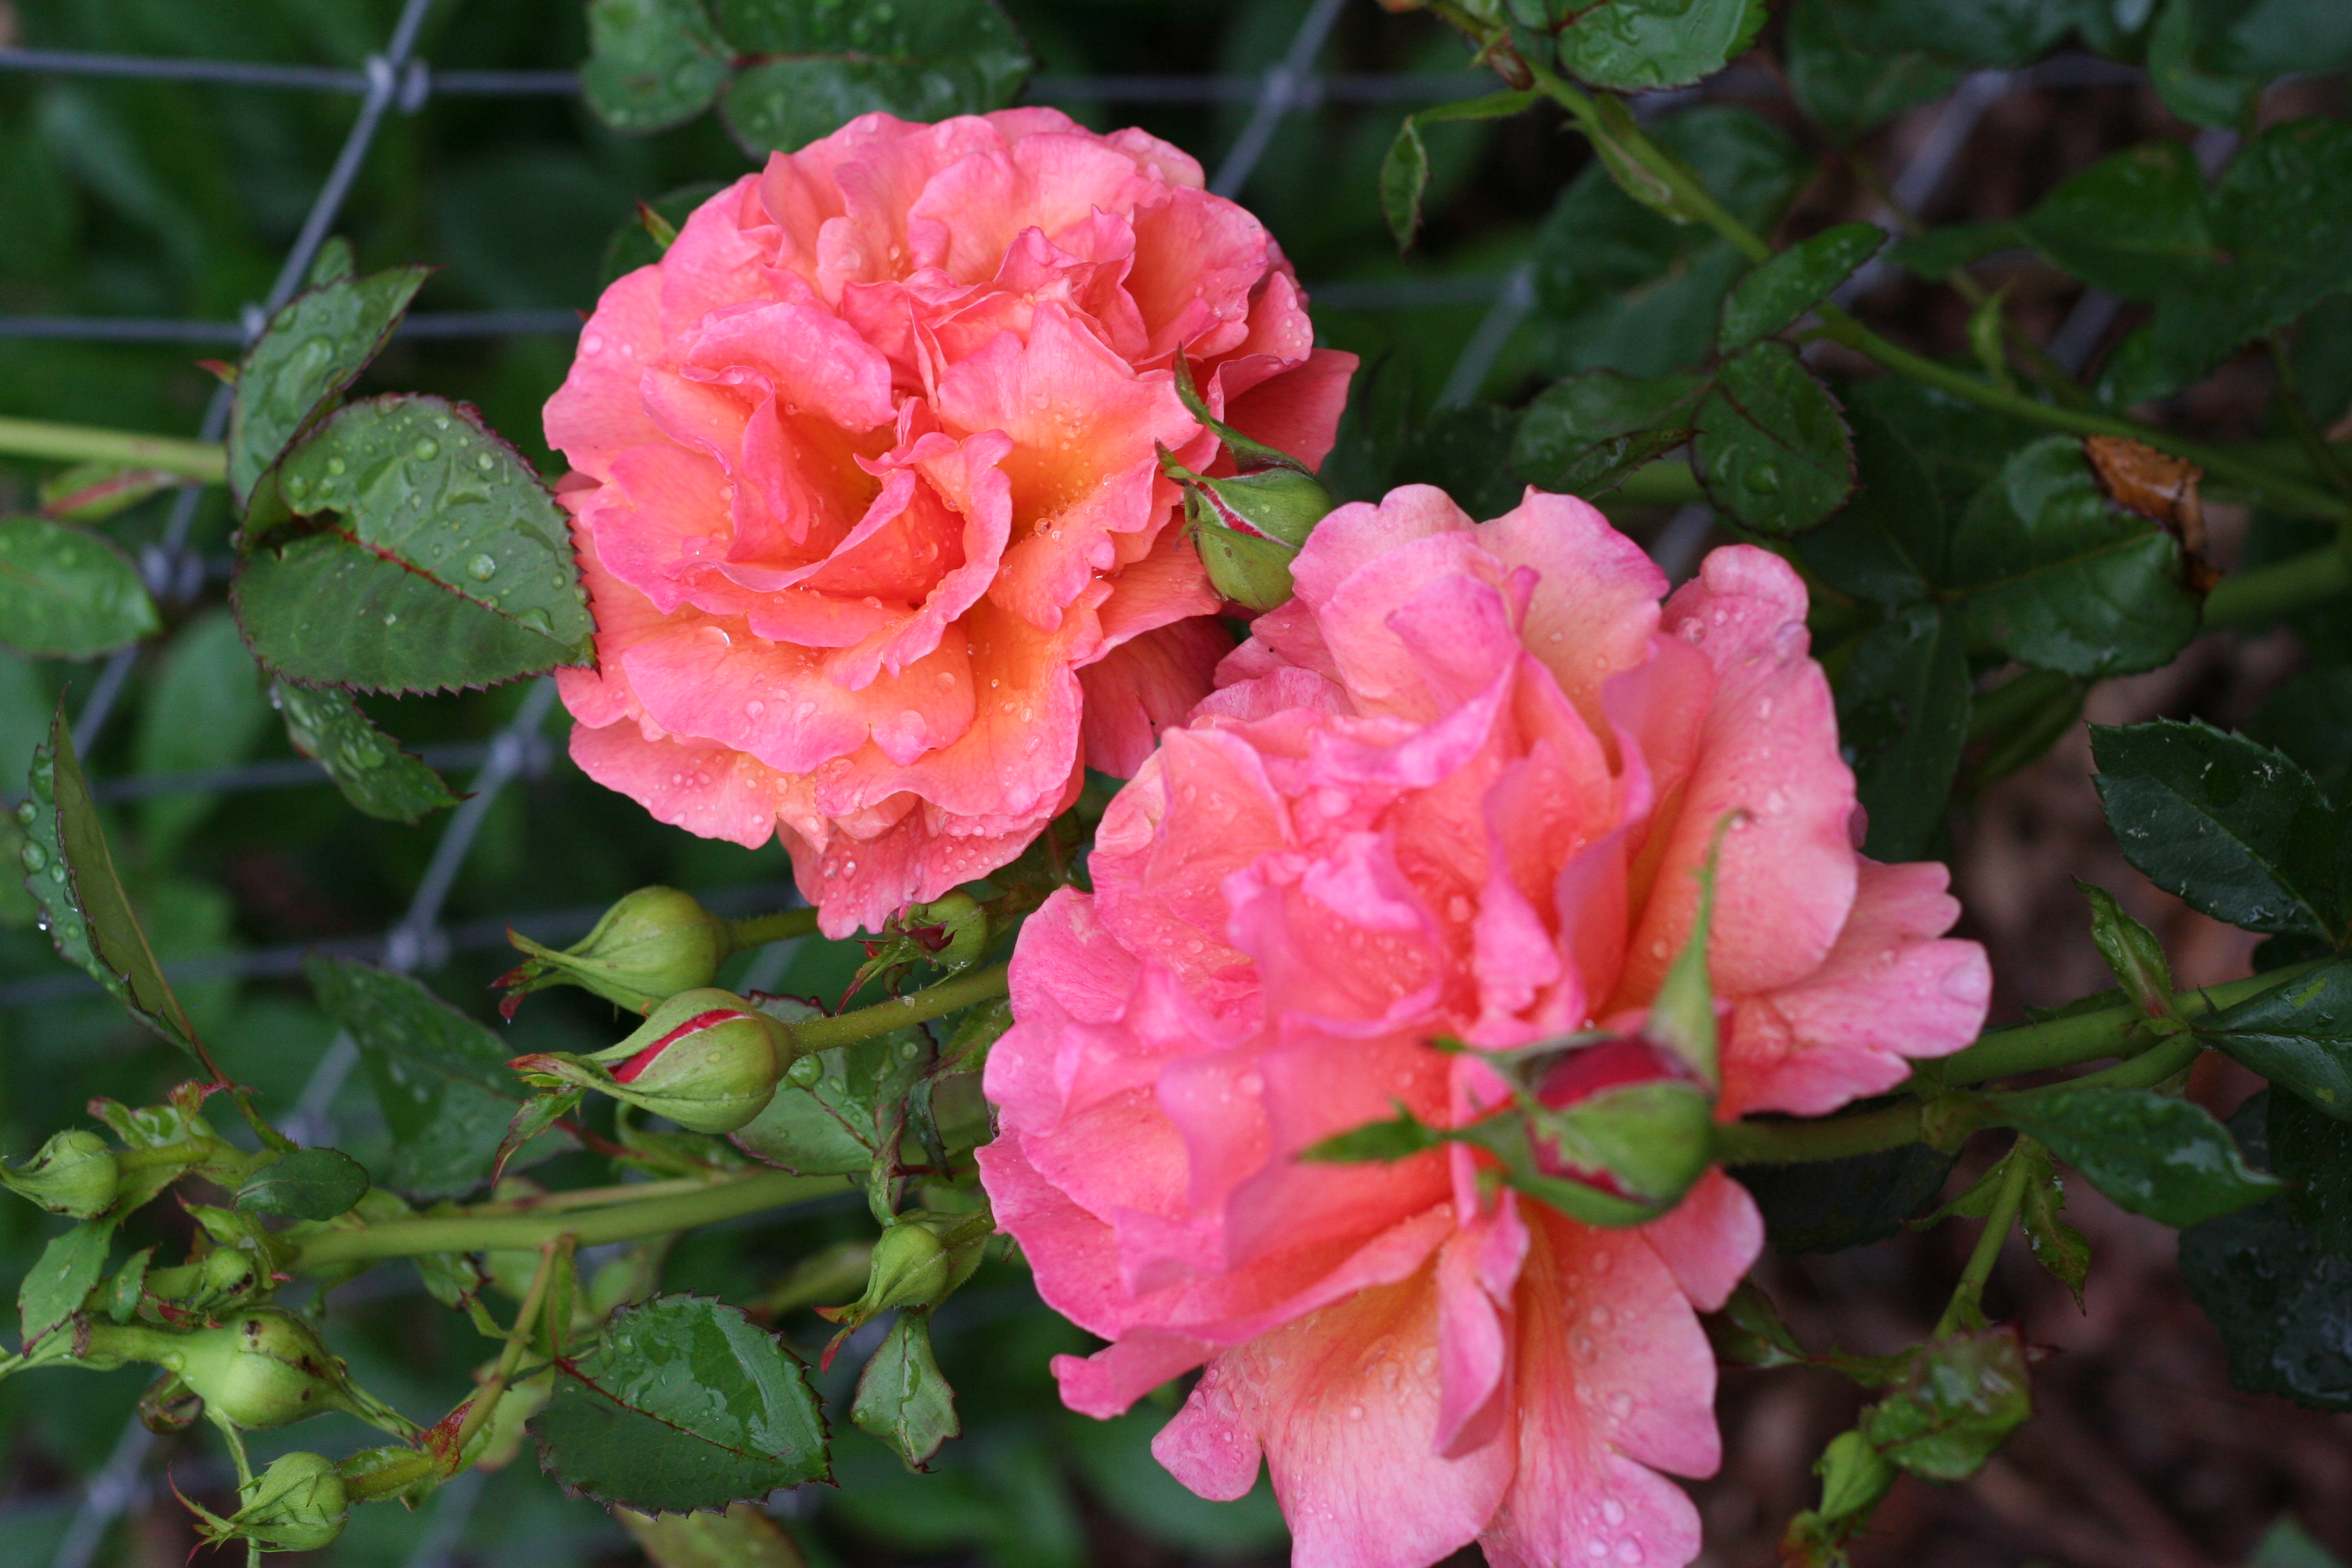
After a recent rain, our roses just shimmered.

So many gorgeous colors.
Completely surrounded by six foot tall deer fence, we don’t have issues with the bajillion deer and rabbits that wander through our property each day.
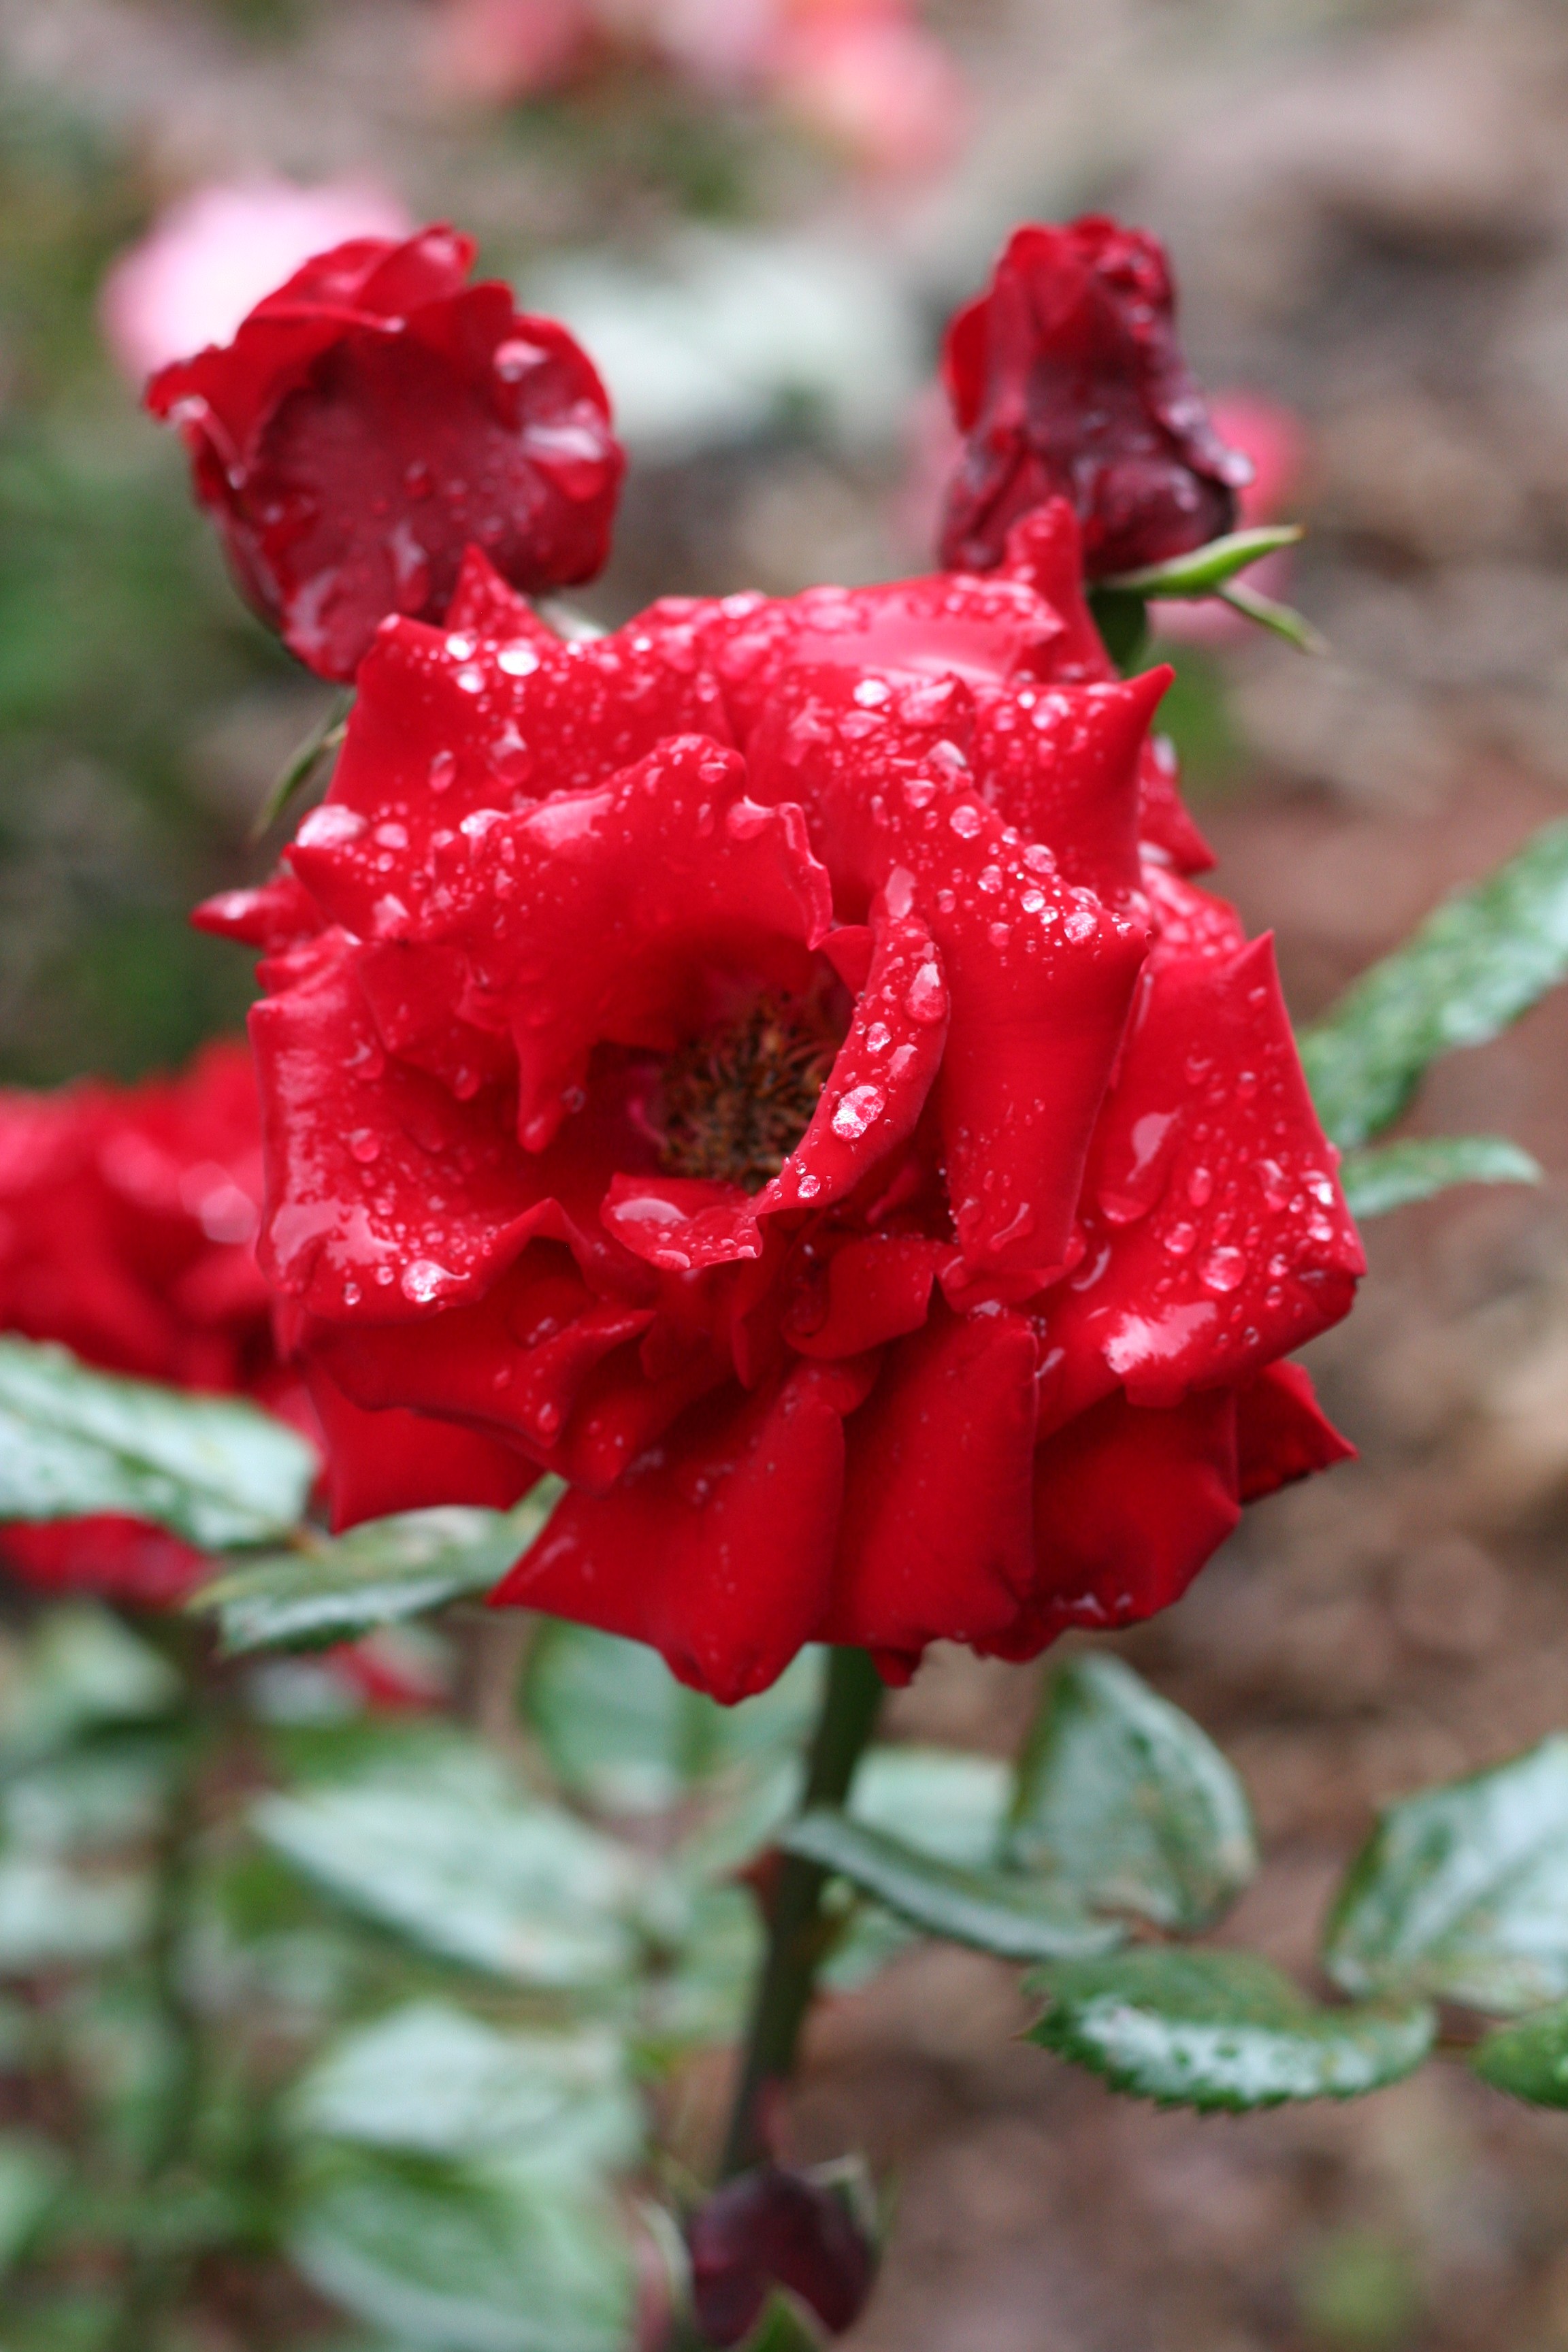
Up against the south wall of Ray’s shop we have a few climbing roses and this year, they are just monstrous. This picture was in the middle of the day and doesn’t do them justice. They are gorgeous. Ray had to actually reinforce the trellis they are on; it seemed like the weight could cause them to break away from it.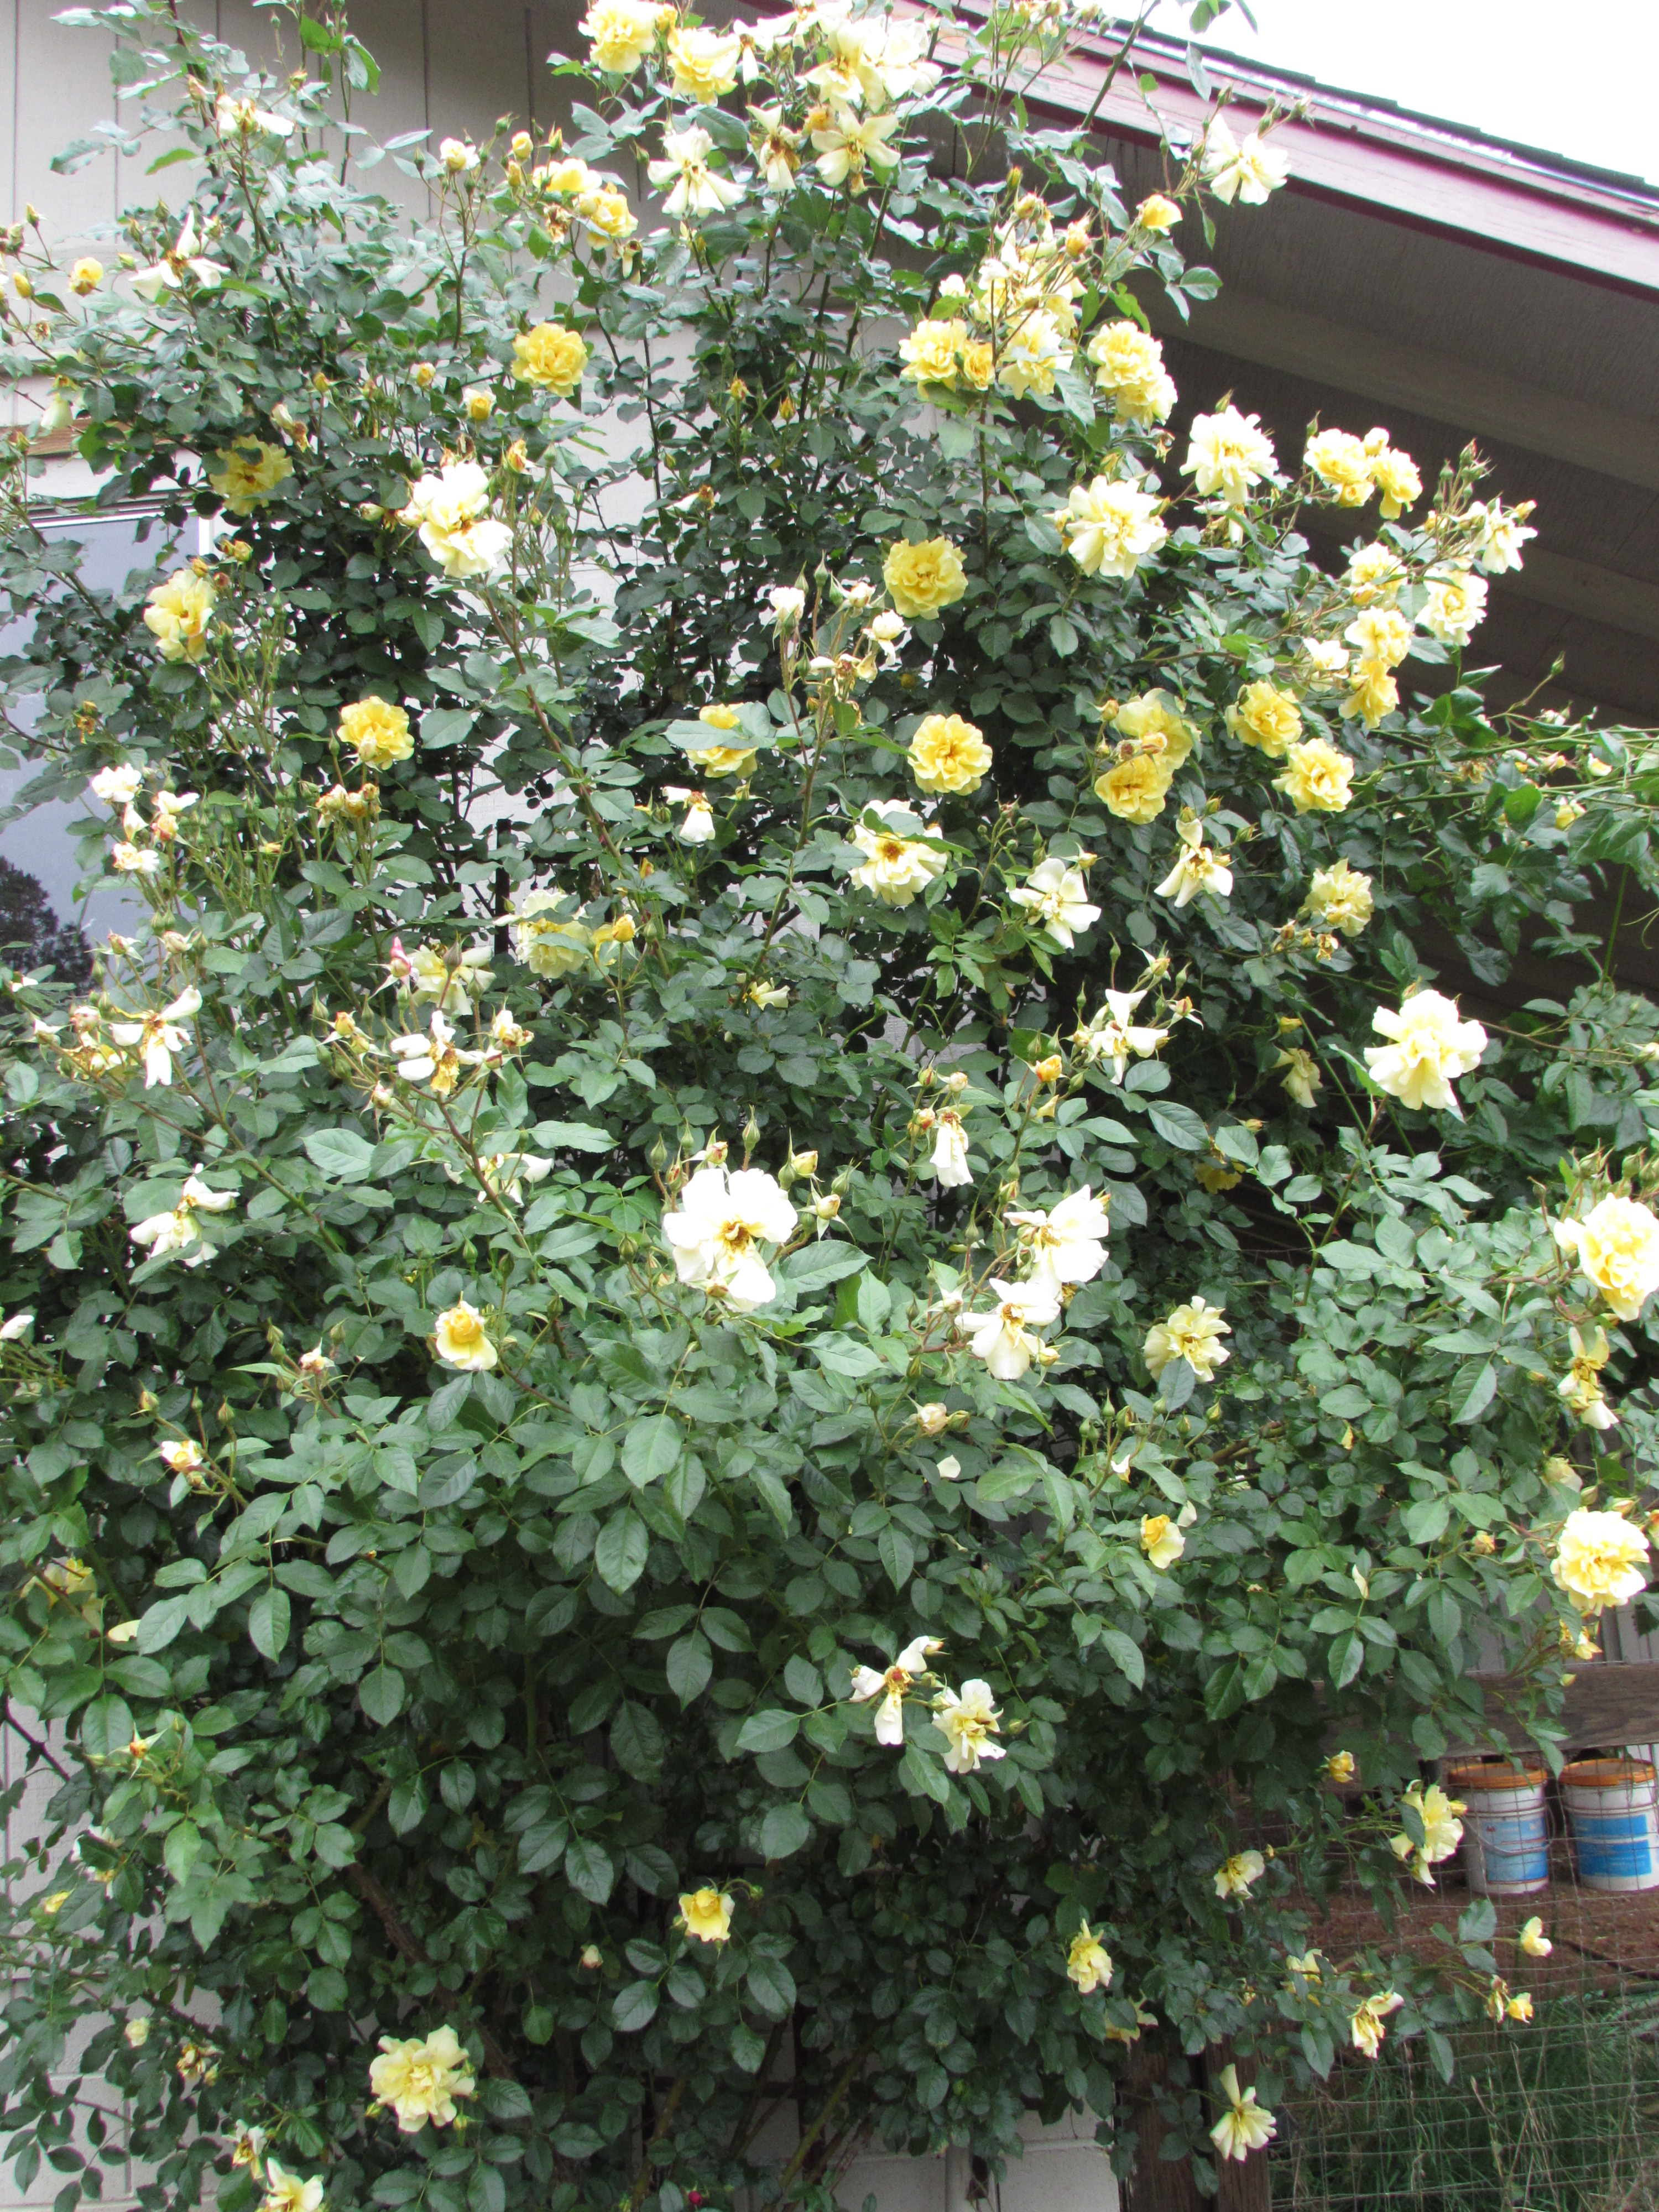
Back to the subject at hand, sewing! Last week I shared a bit of a project that I was working on. It was a gift for my mom for Mother’s Day. She and I both like vintage pieces and I managed to swipe a crocheted doily from her house when I was there a couple of weeks ago. I thought it might look pretty quilted to a simple rectangle to be used under a vase of flowers.
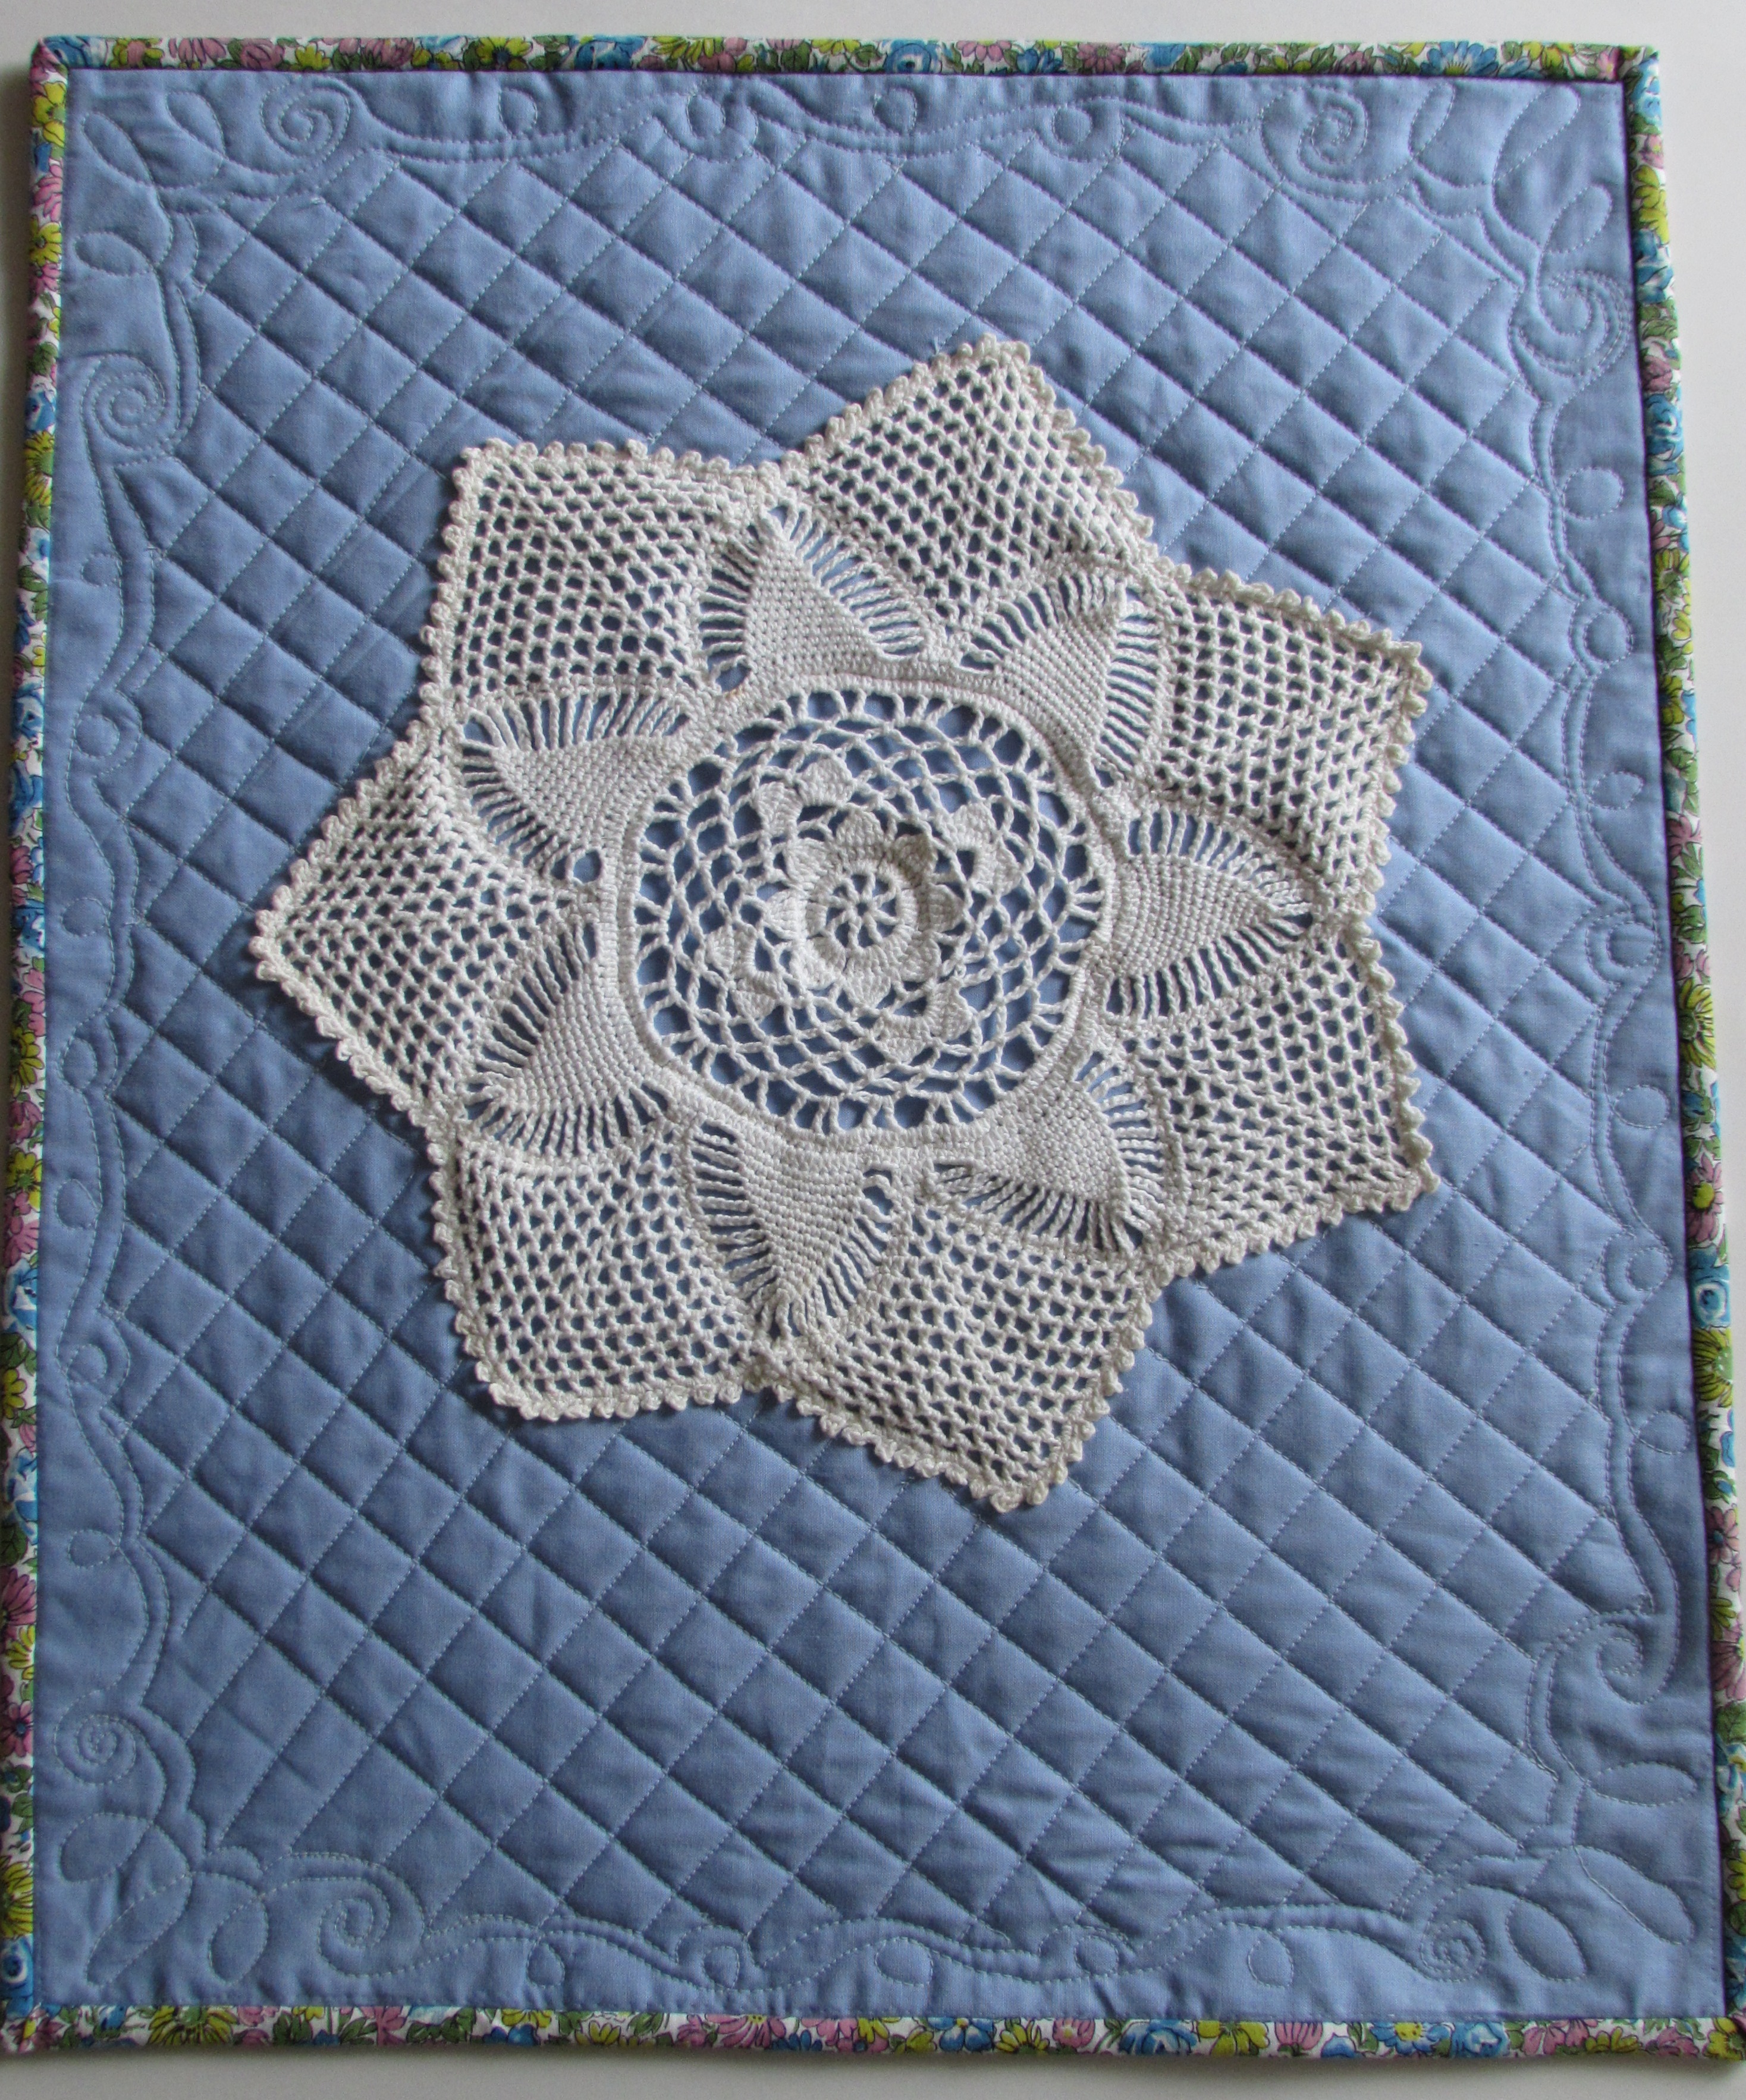
Overall, I am very pleased with how this turned out. Because I was sort of creating without much of a plan, there are things I would do different the next time around. To make this, I made the quilt sandwich and pinned the doily to it. Using a zig zag stitch and my walking foot, I stitched around it in three places. First I stitched the innermost circle, moved outward to the next circle, and then I stitched around the first set of petals. Finally, I stitched around the outer edge. My mistake was adhering the outermost edge before I did the cross hatch quilting. I was constantly butting up to the edge of the doily. If I had left that edge loose, I could have stitched right under it, backtacked, and snipped my threads. It would have been so much easier.Lesson learned.
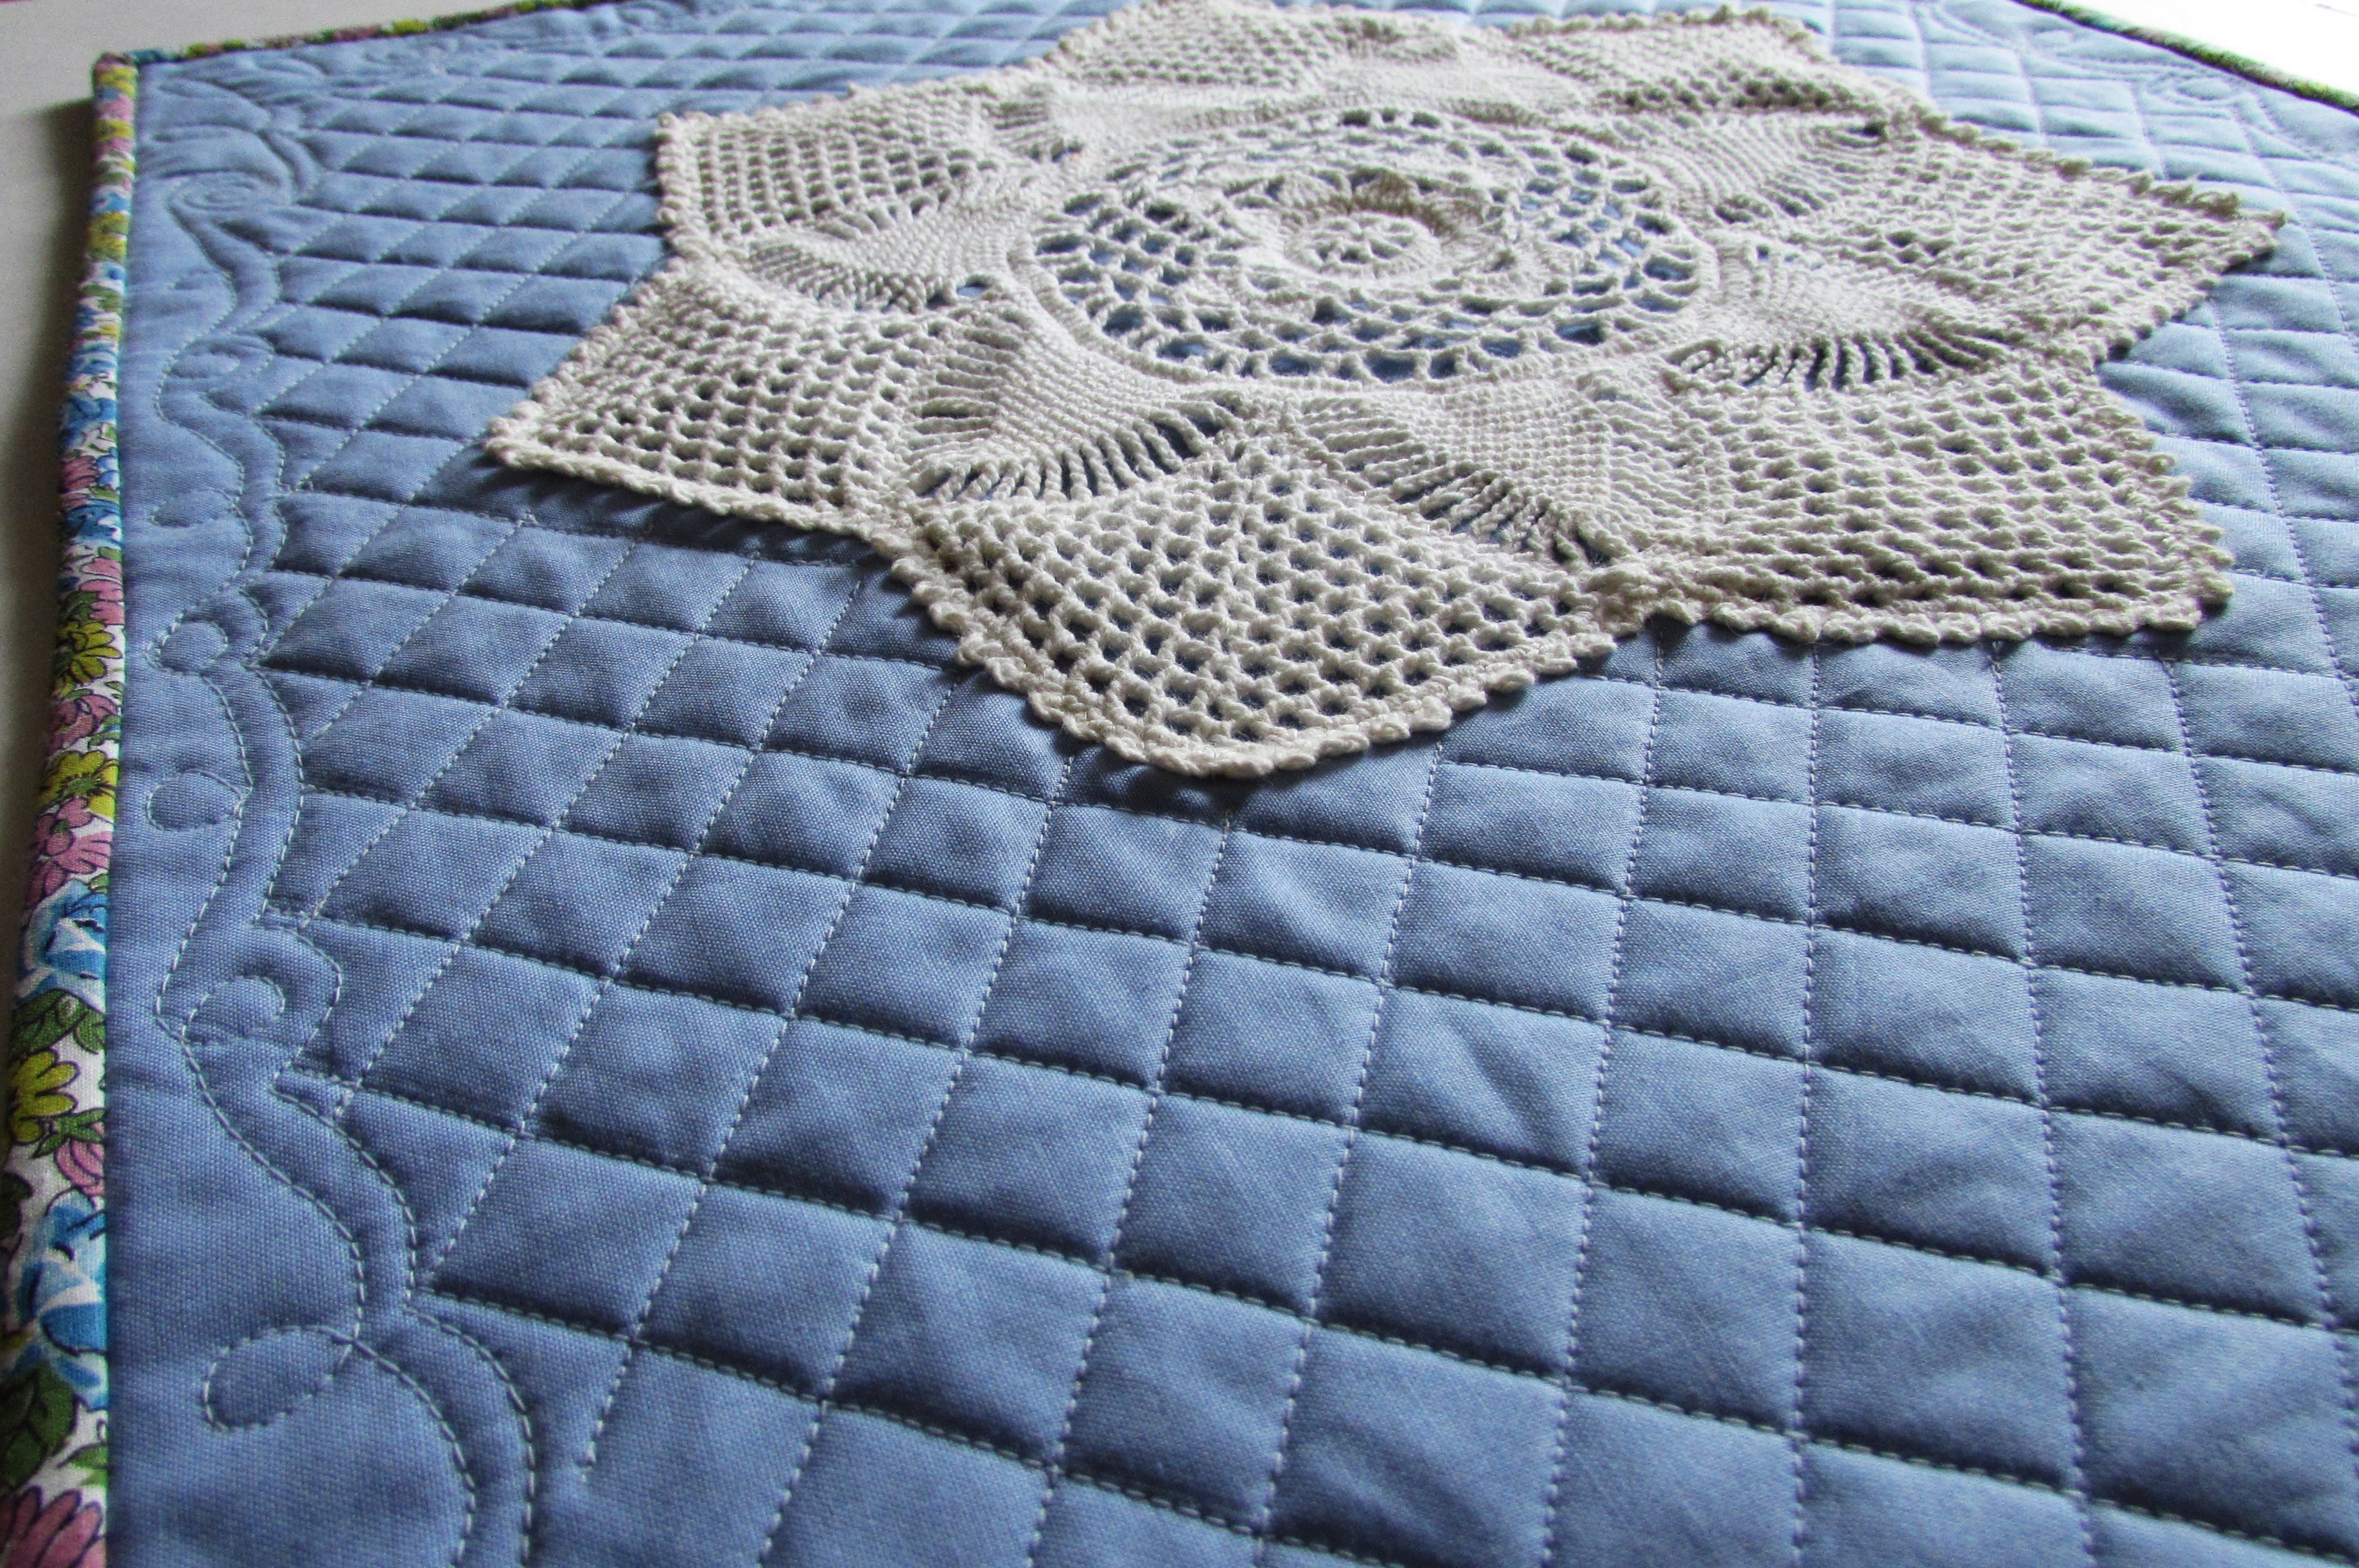
After I stitched the doily, I began working on the framework of the FMQ. I did the little scrolls and loops all the way around the edge (leaving about 1/2″ to use for squaring up and binding). After the first pass, it looked too sparse so I echo quilted the little scrolls and loops. Were I to have the chance, I would add more detail to this section. It is a little narrow for the scale of the mini. Finally, I worked on the cross hatch lines. For this, I used my trusty Hera marker. Wow, I love that thing. I could mark one whole quadrant at a time and the lines stayed visible. No ink or chalk to deal with made this so easy! I made 3/4″ blocks in the cross hatch which worked out well.
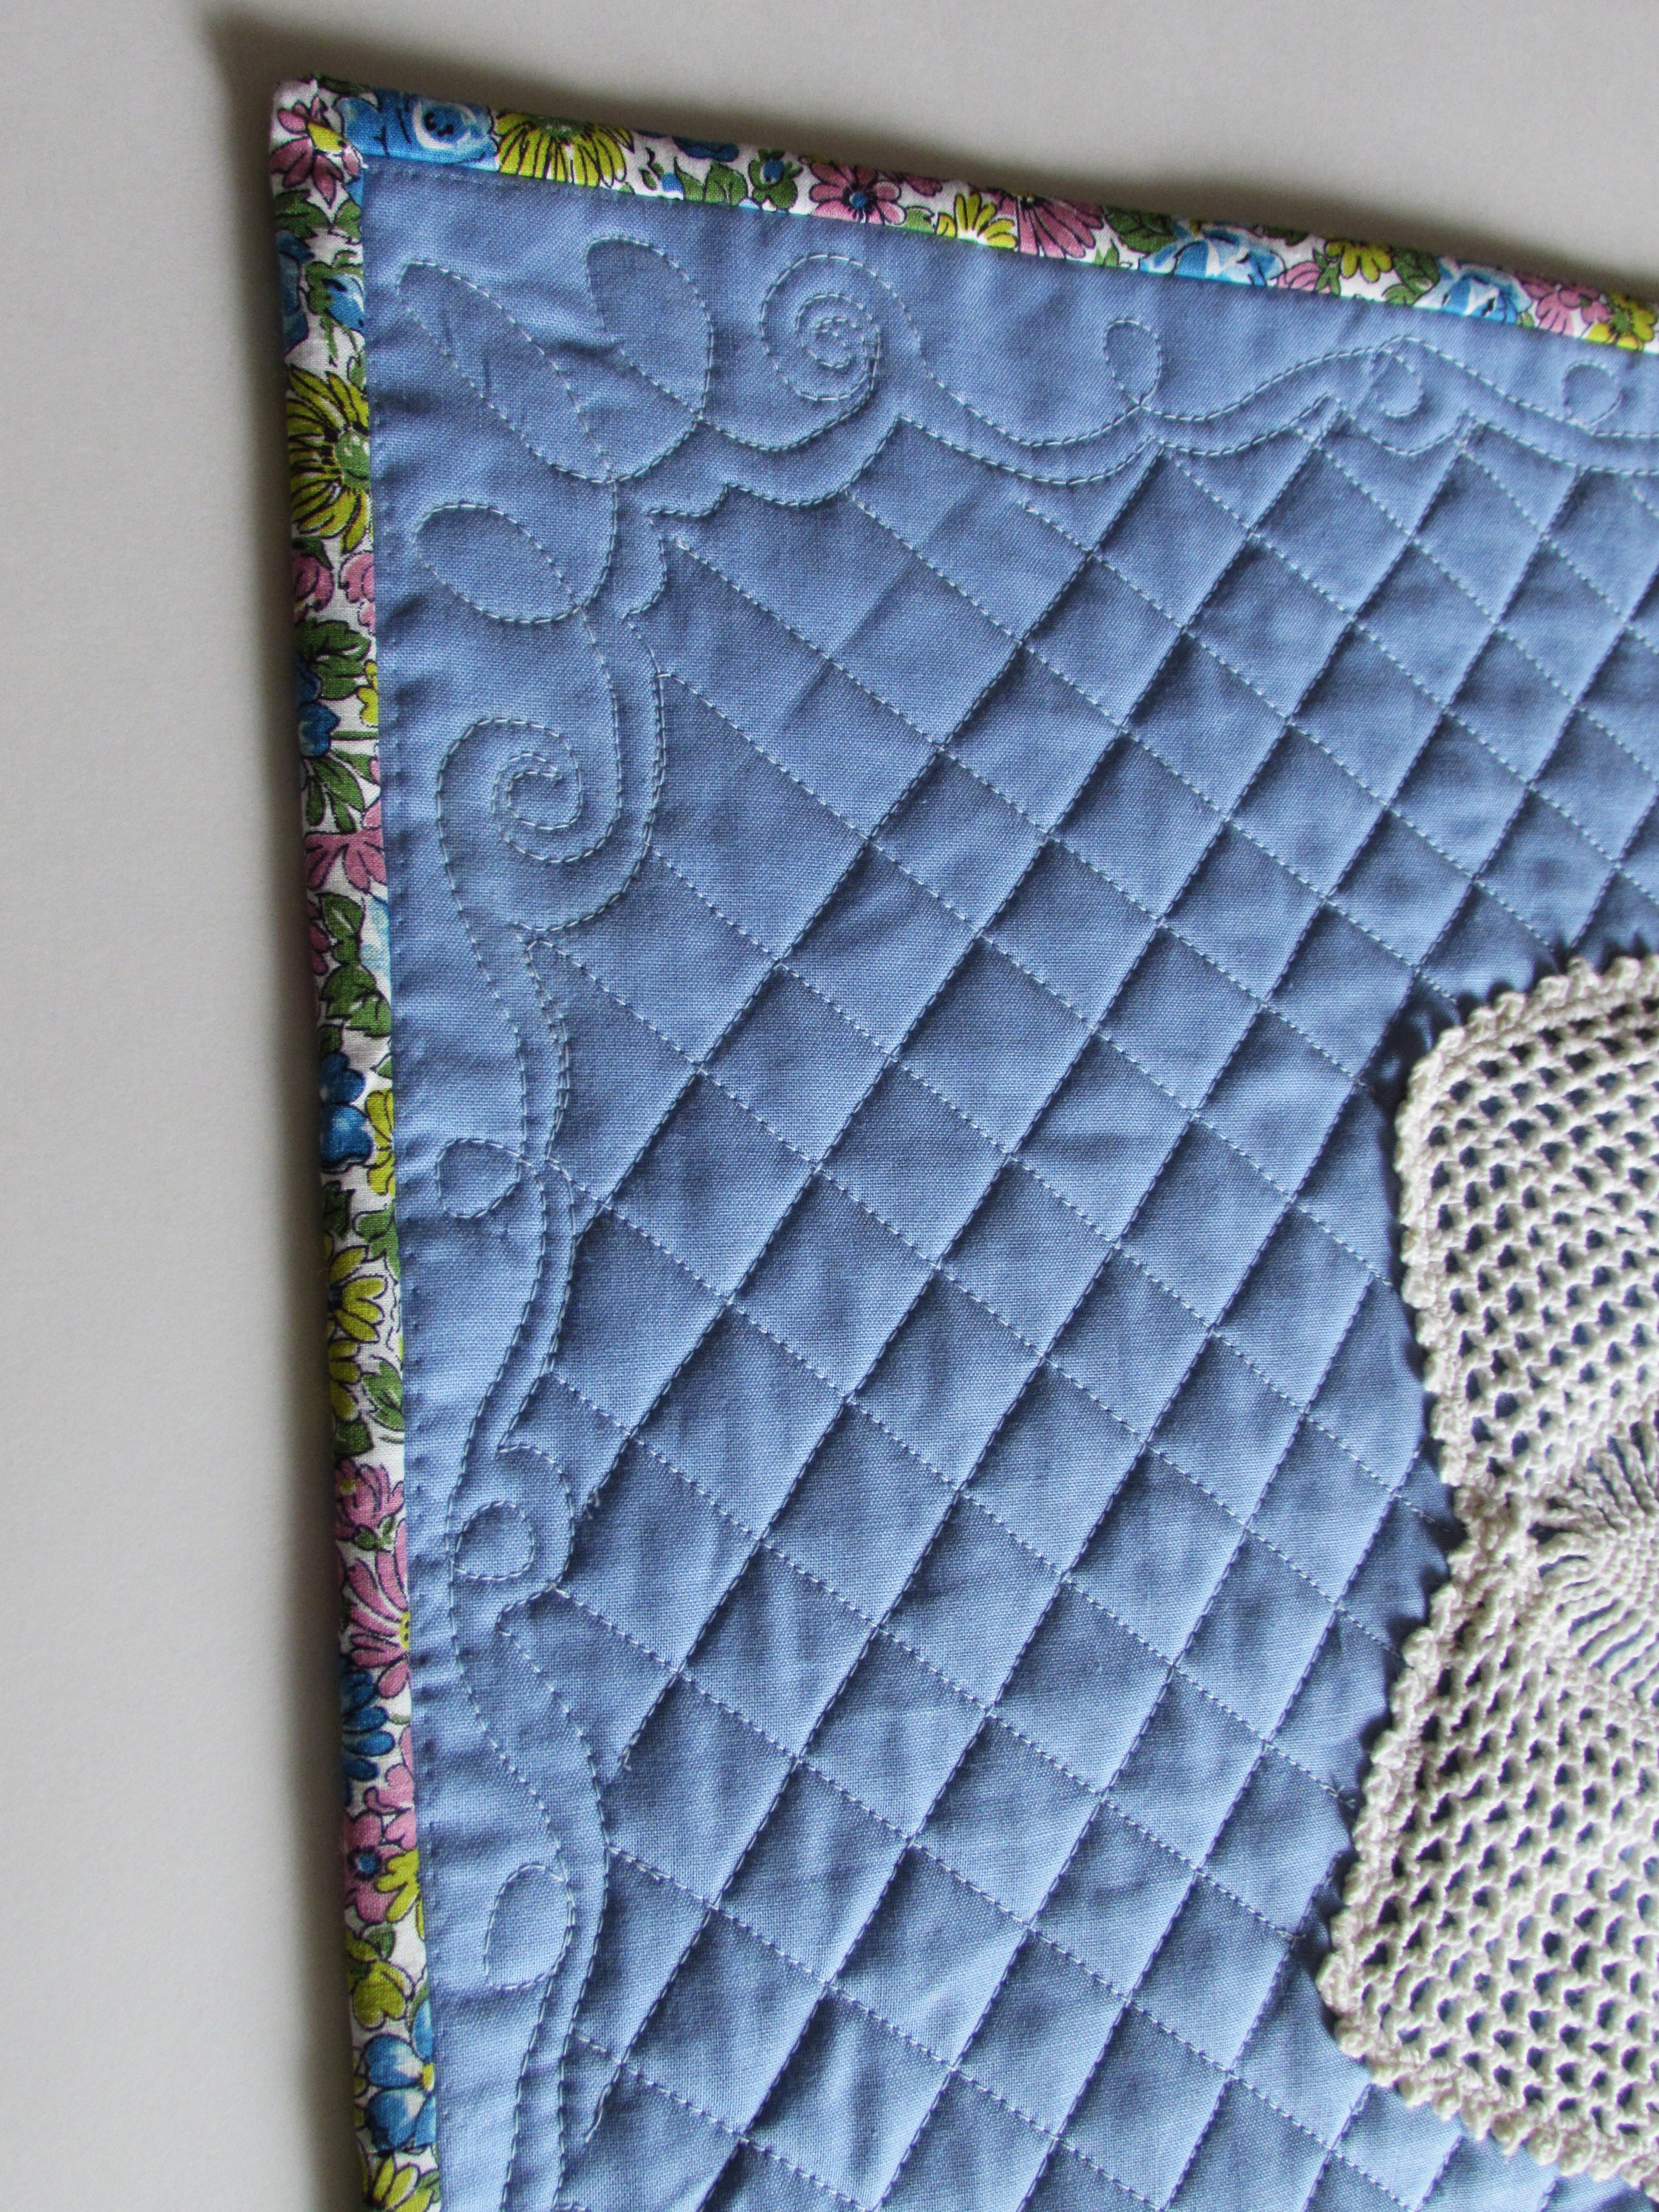
The binding came from my stash of vintage fabrics. Remember the story I shared about the wonderful woman in Downieville who gave me her mother’s fabric stash from 1940-1950? This piece was from that amazing gift. It is a sweet print that adds a pop of color to this mini. The fabric was only 32″ wide, selvedge to selvedge which confirms it’s age. (I have actually been dying to start another project with these fabrics. So many project, so little time, right??)
This mini was a sweet project and I think Mom really liked it. It fits her house just perfectly.
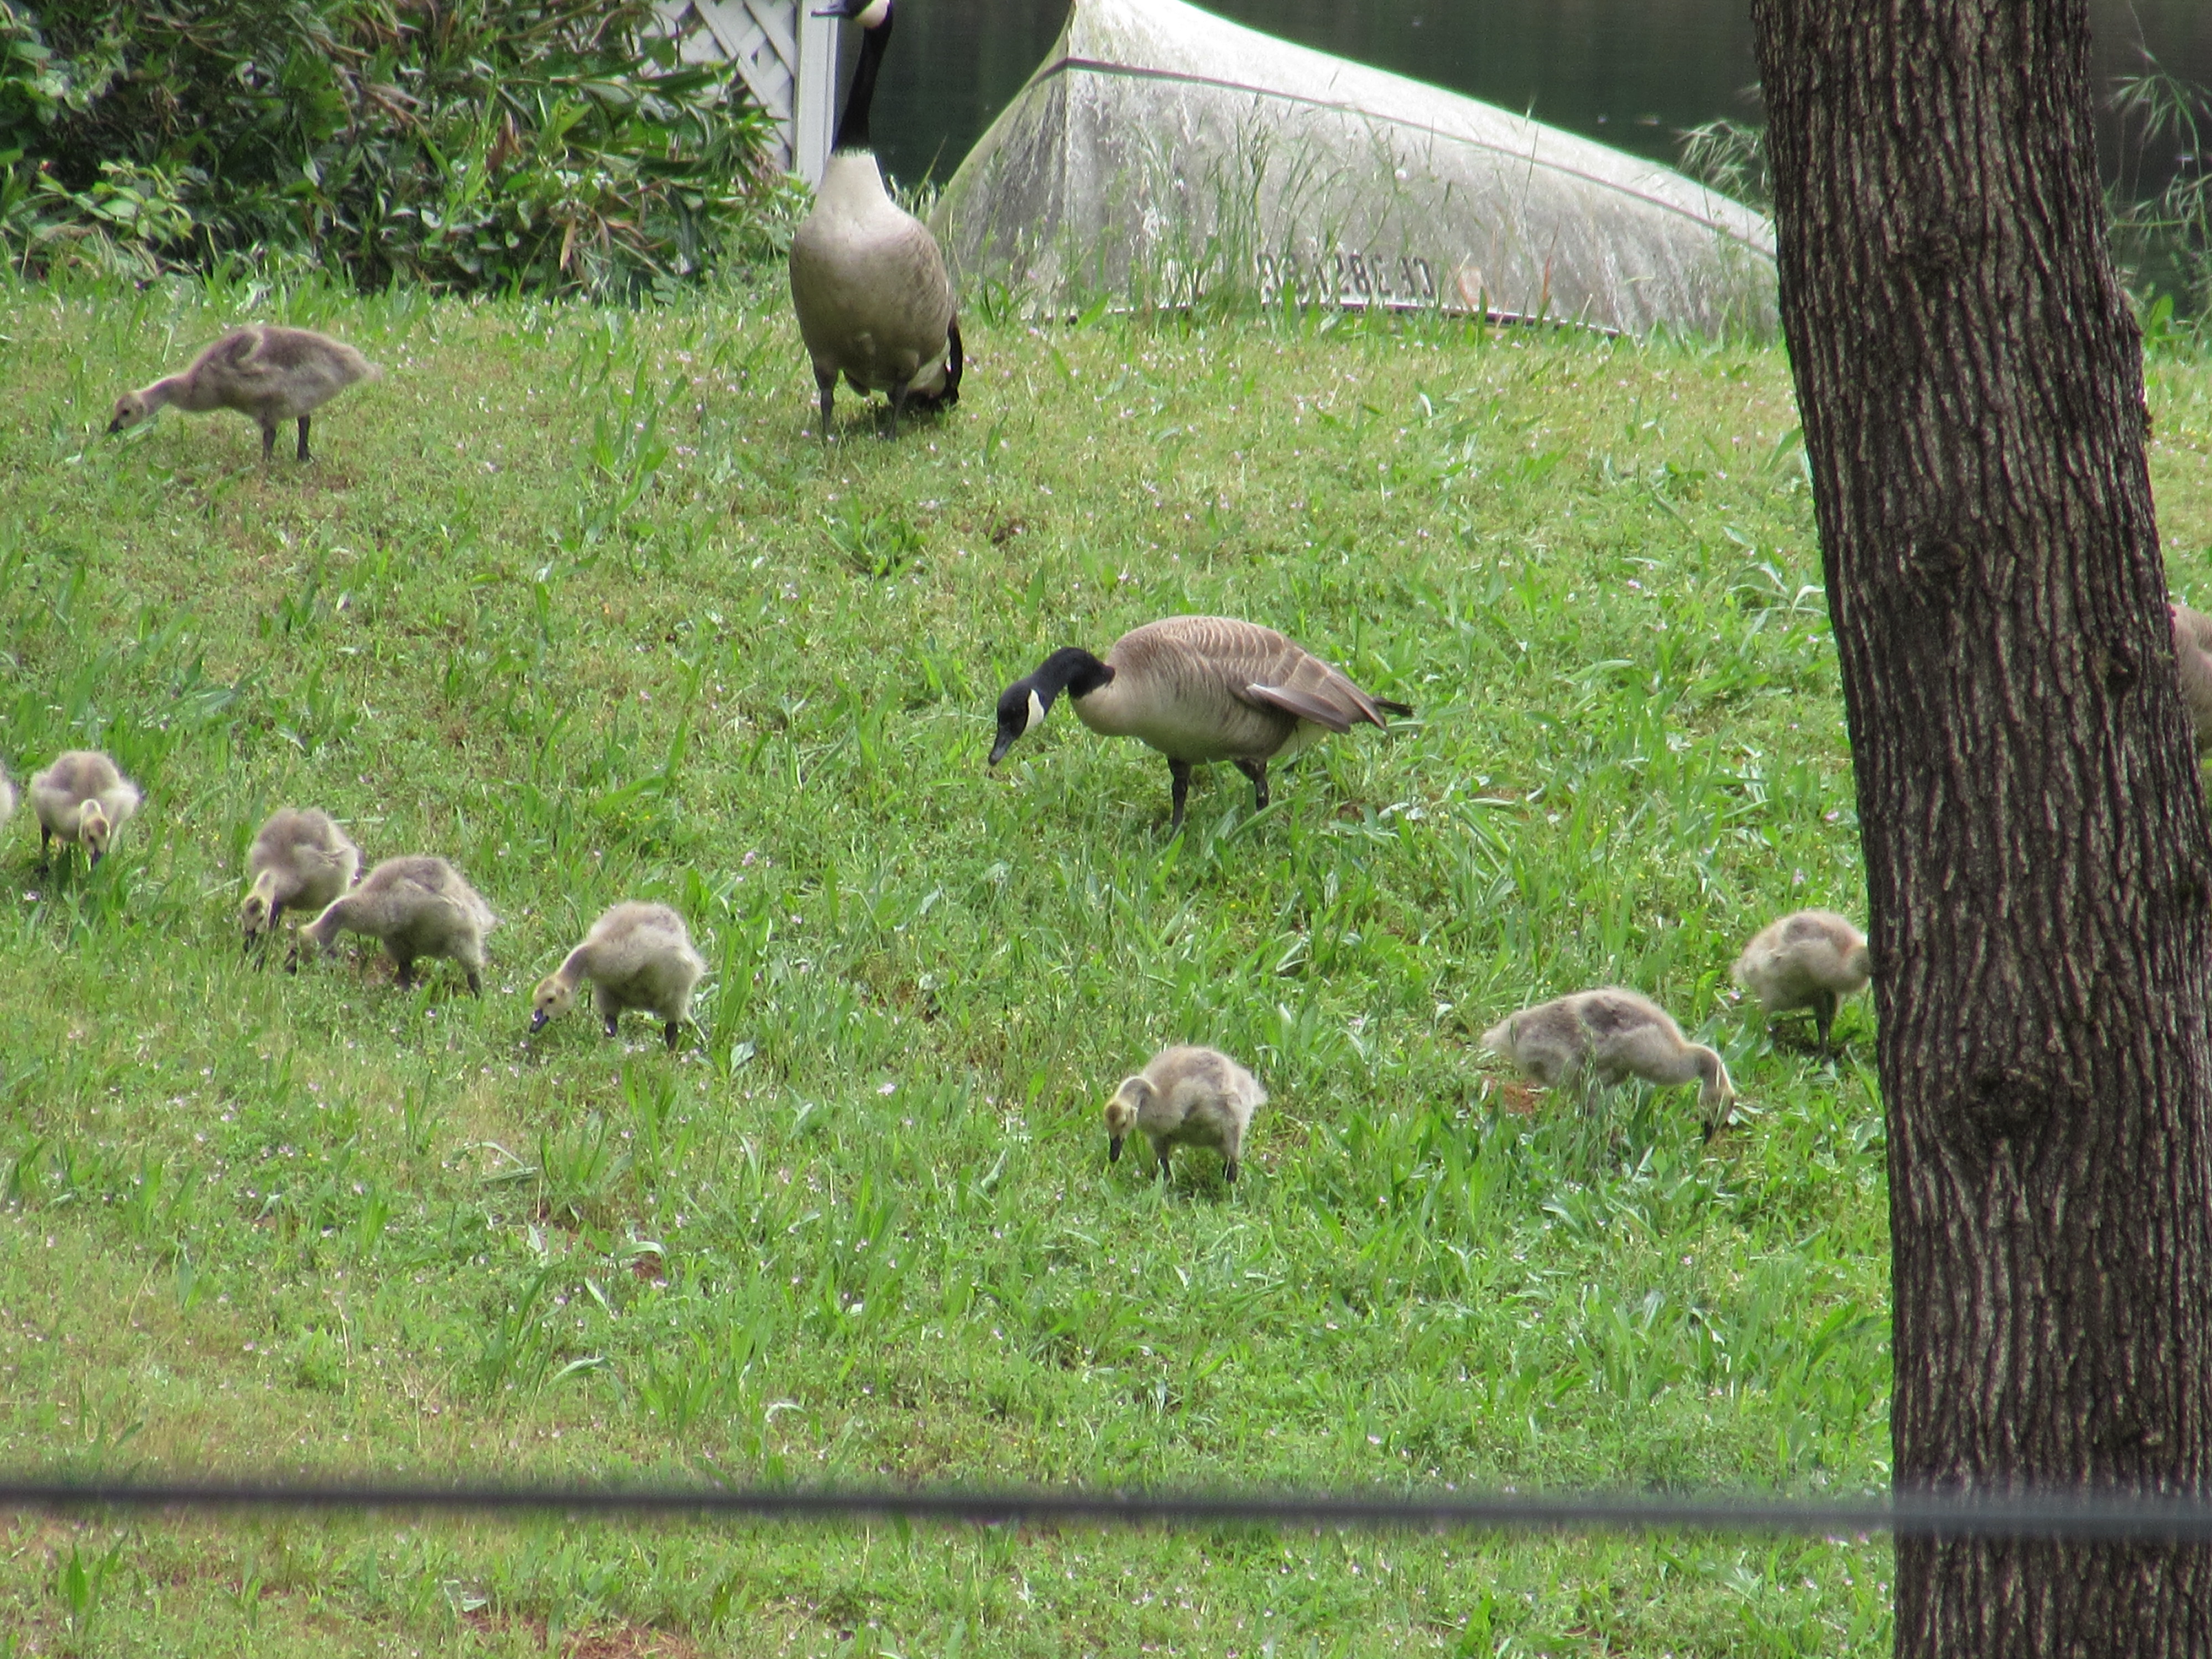
I will finish this off by showing you the baby geese that we have been watching. They live up on our pond and are just adorable. Ray took this shot from our deck with a telephoto lens. The geese are very protective and no matter how quiet we try to be, we cannot get very close to the family.
Linking to my favorites. Find the links at the top of the page under Link Ups.
Remember: In celebration of their 5th anniversary, Craftsy will hold a great sale of kits and supplies beginning today and running through the 15th. Kits are a great way to buy coordinating fabrics at a wonderful price – even if you decide to use it for something other than the pattern it is sold with. Check it out here!