Category Archives: Modern Quilting

Modern Wall Quilt

Isn’t that a boring title for a post? I don’t know what to call this quilt. Maybe after you look at the photos and read the post you’ll come up with a clever name for it.
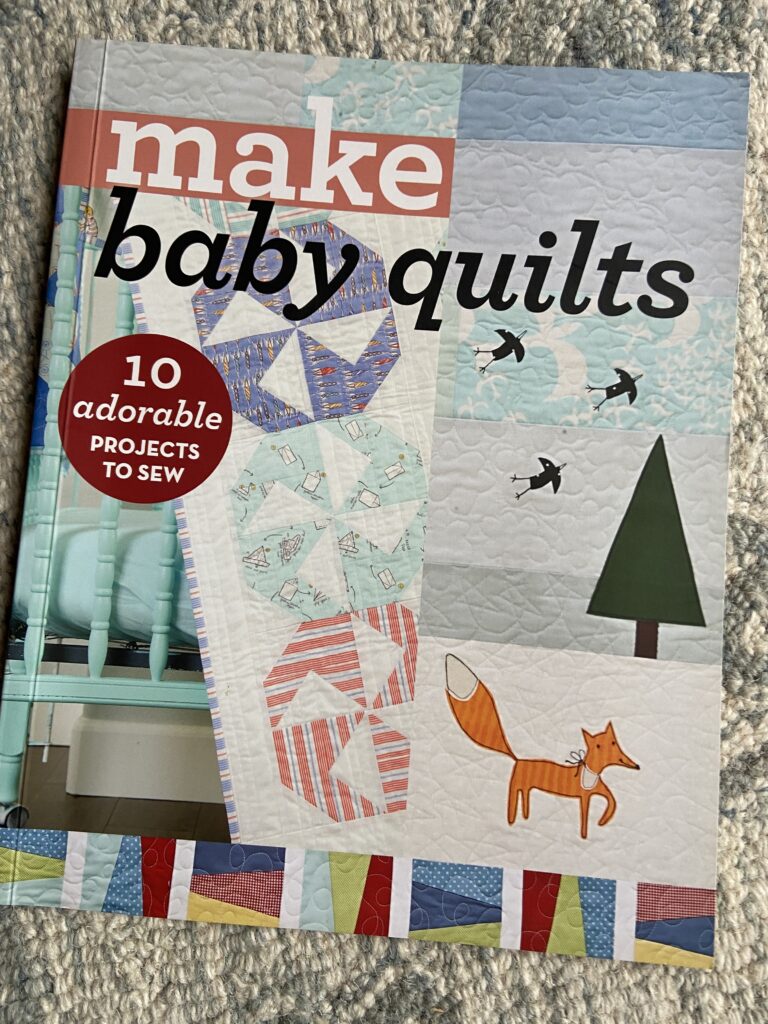
Love this quilt book!

I bought a book for making baby quilts a couple of years ago. There are a few quilts in it that I thought would be very fun to make. There are ten projects, each one by a different designer. C&T Pubs just happens to have the book on sale right now. Make Baby Quilts includes designs by Camille Roskelley, Allison Harris, and Latifah Saafir – among others.
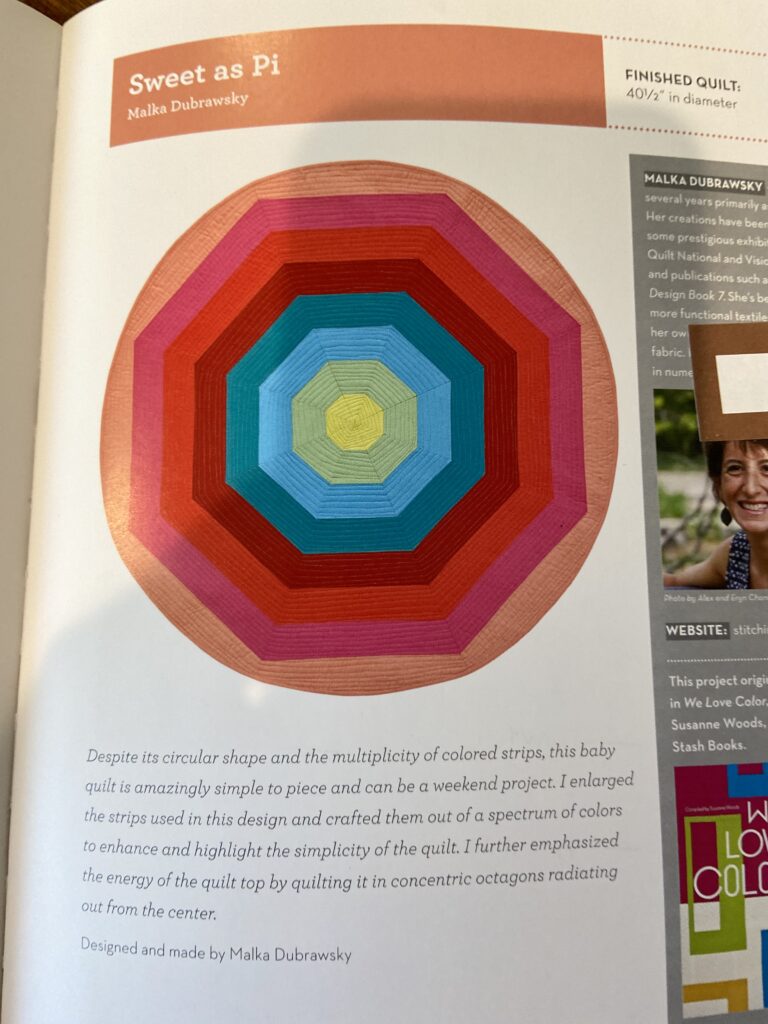
The Sweet as Pi pattern really drew me in though. Sure, it would be wonderful as a floor mat for a baby. Designed by Malka Dubrawsky, it is a strong graphic pattern and the colors could be changed as needed. But I decided to make it as a wall quilt.
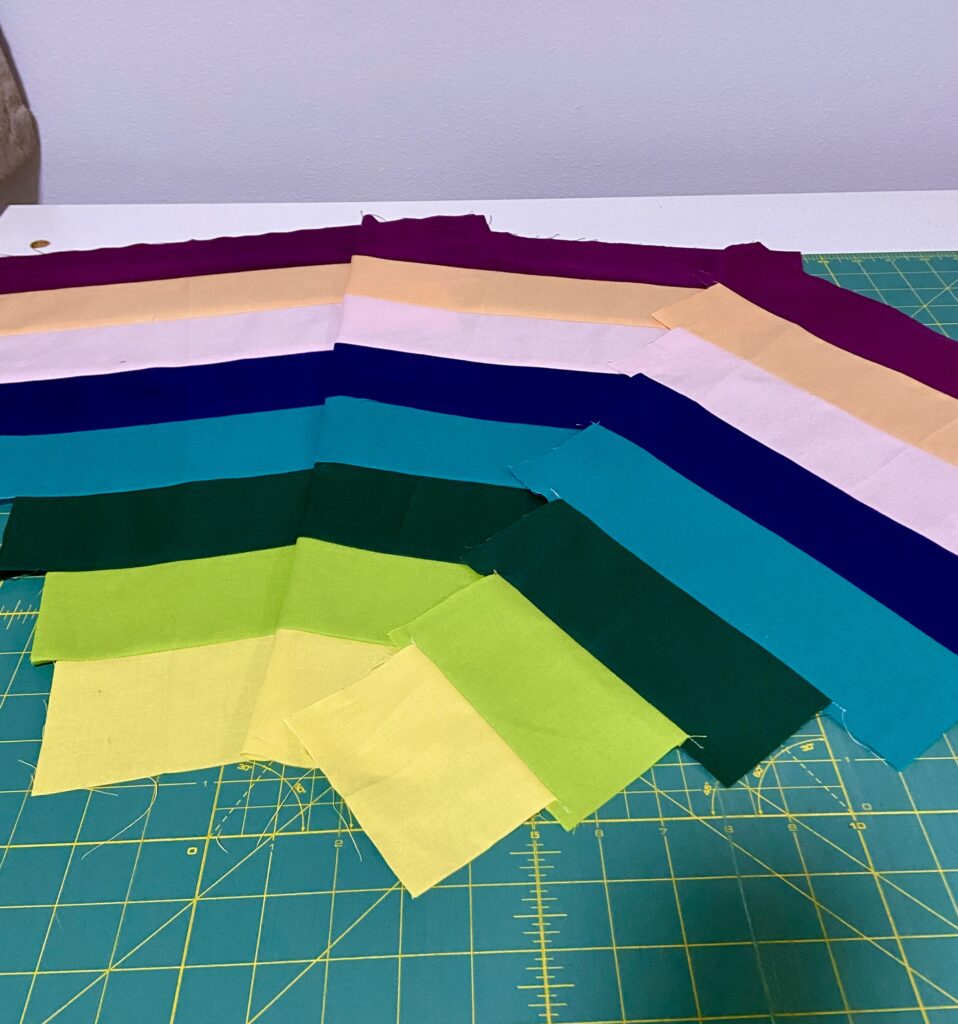
Cutting the strips was easy. Choosing the colors – not so easy! I knew I wanted the colors to be bold and to have a strong presence in the quilt I had just made for our bed. After some back and forth with a stack of solids, these are the fabrics I selected. Assembling the wedges was a breeze. This all happened in early fall. With the holidays and all those silly viruses we all had, it was shelved until recently.
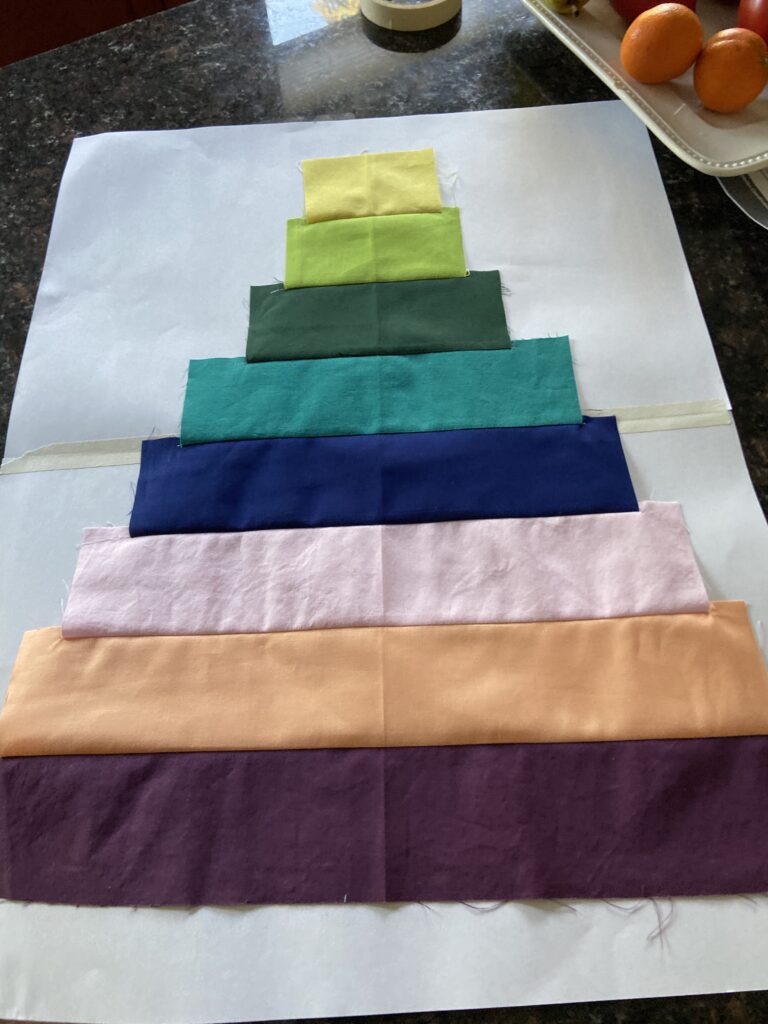
One wedge of the circle

Ignore the wrinkled appearance of this wedge! I was taking pictures to communicate my project to my son in Brooklyn NY. There are instructions for creating the template to cut the strip pieced wedges but I wasn’t getting it. Thank you FaceTime! Kyle was able to take a look and tell me what I needed to know!
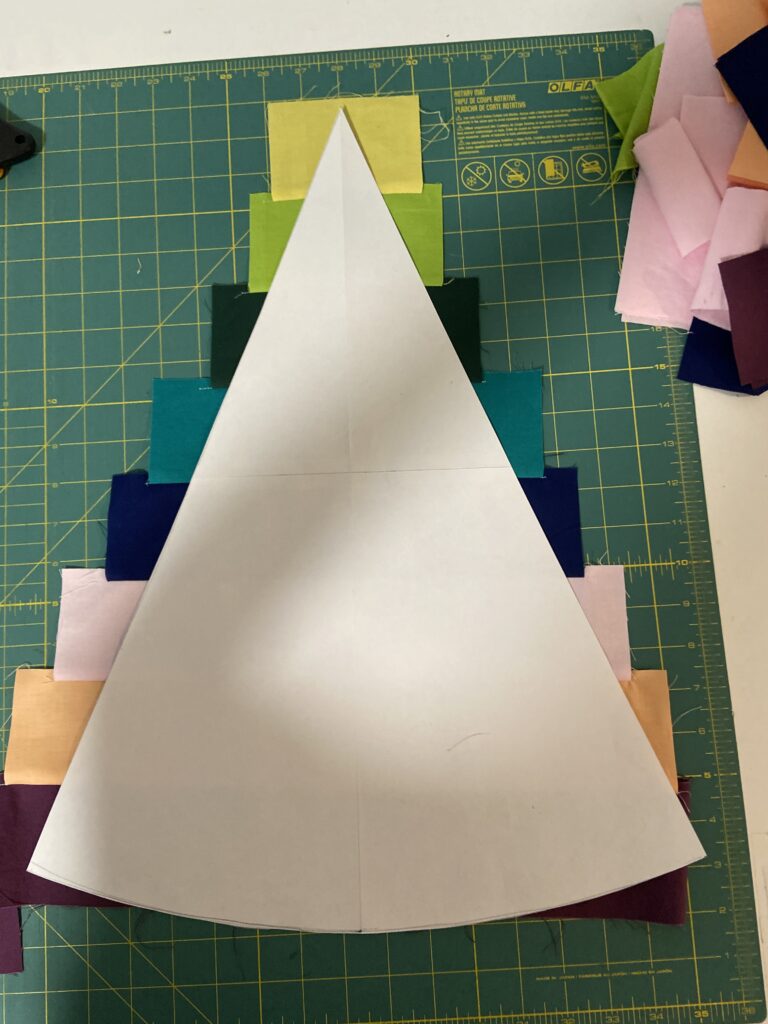
Too long!

Somehow I made the template slightly longer than it should be. My sweet husband was able to trim it just a smidge and it was perfect.
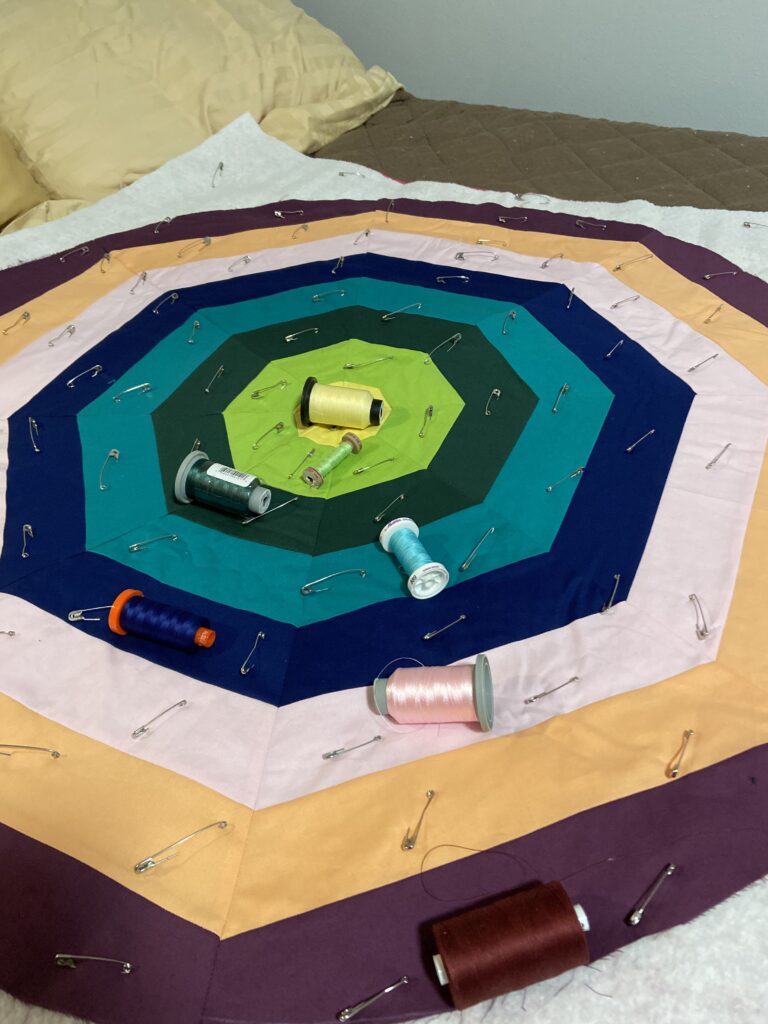
Thread decisions

Once it was put together and basted, it was time to select threads. I normally quilt with a neutral thread and if this was to be a floor mat for a baby, that is what I would have done. However using gray or off white just didn’t cut it for these colors. Each stripe was quilted with a matching thread. I quilted a spiral in the yellow section (center). Then I switched to straight line quilting for the other stripes. No marking was done. It seemed if this was going to be on the wall, above the bed, no one would be face to face with it. (Unless the viewer chose to stand on the bed to get a closer look – haha). Viewing from a fair distance, the placement of the quilting lines wasn’t a huge deal. I basically set the width by using the outermost part of the walking foot as my guide.
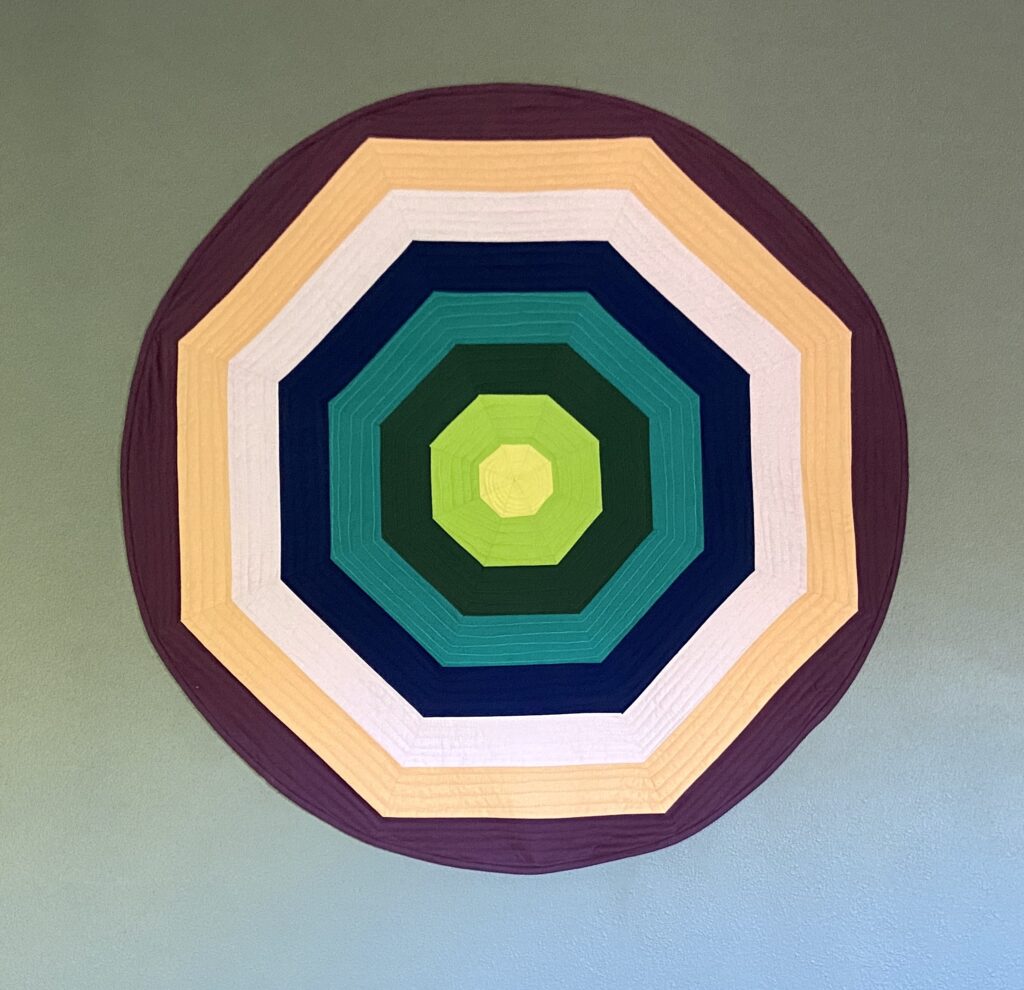
It is done!!

Total honesty here – all the while I was working on this quilt, I never once considered the how heck it would be hung on the wall. It is quite large (approx 40″ across) and with a hanging sleeve on the back, it wouldn’t have laid flat on the wall. I was at a loss for a while. Then I thought about making some sort of circular frame with wire. I had florist wire but it was fairly light weight. So I measured out four (very long) lengths and twisted them into one piece to give it more strength. Then I pinned it around the circumference of the quilt. I wish I had taken pictures of this but I totally forgot. I sewed the wire to the back – butting it up as close as possible to the binding, being careful not to go all the way through to the front of the quilt. This kept the quilt flat and held it’s shape perfectly.

Hanging it was a bit of a chore. Ray was standing on the bed with level, screws and screw gun. He had to put screws all the way around because I really wanted it flat on the wall. Success!
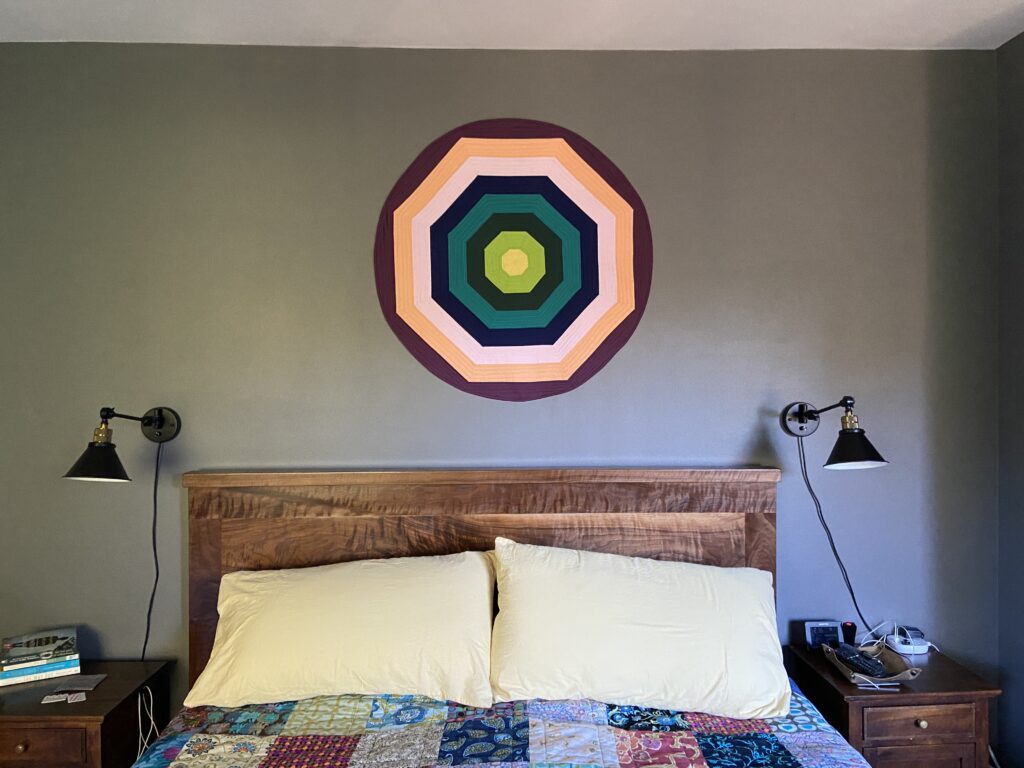
I love it! The wall hanging contains many of the colors of the rather bohemian quilt I made for the bed so it just works.
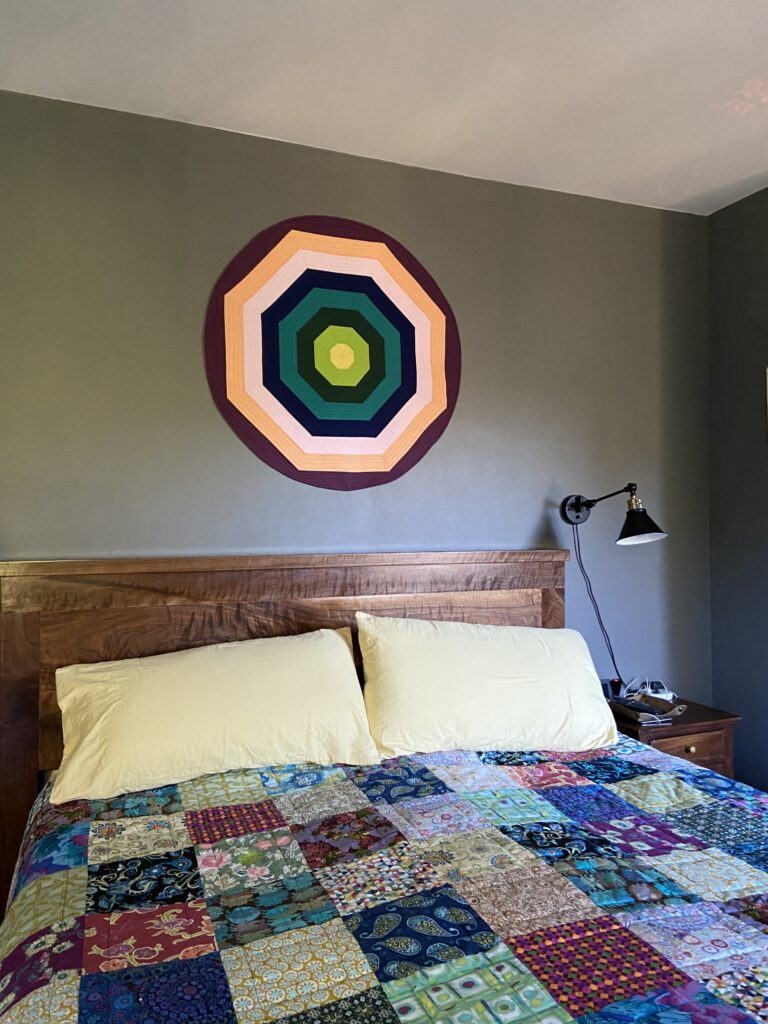
I love looking at the quilt and the wall hanging together. Makes me happy!

It was my goal to finish this wall quilt in January and it is down! I checked it off the list of unfinished projects which is always a good feeling before moving on to the next thing! Now that you have seen it, what do I call it? Many of you are so clever at thinking of names for your finished quilts. This is not my strength. Help a girl out?

Linking to my favorites – check them out at the top of the page, under link ups!

(Note – this post contains affiliate links. Should you purchase something via the link, I will receive a small compensation at no cost to you.)

Pike’s Peak, My Version

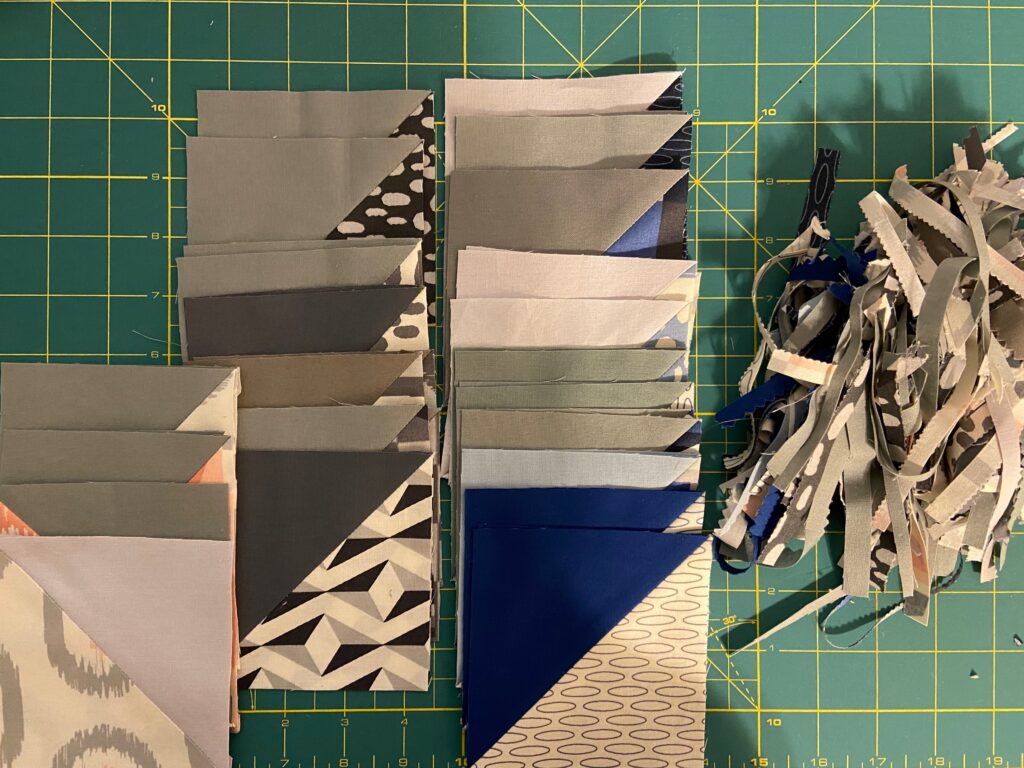
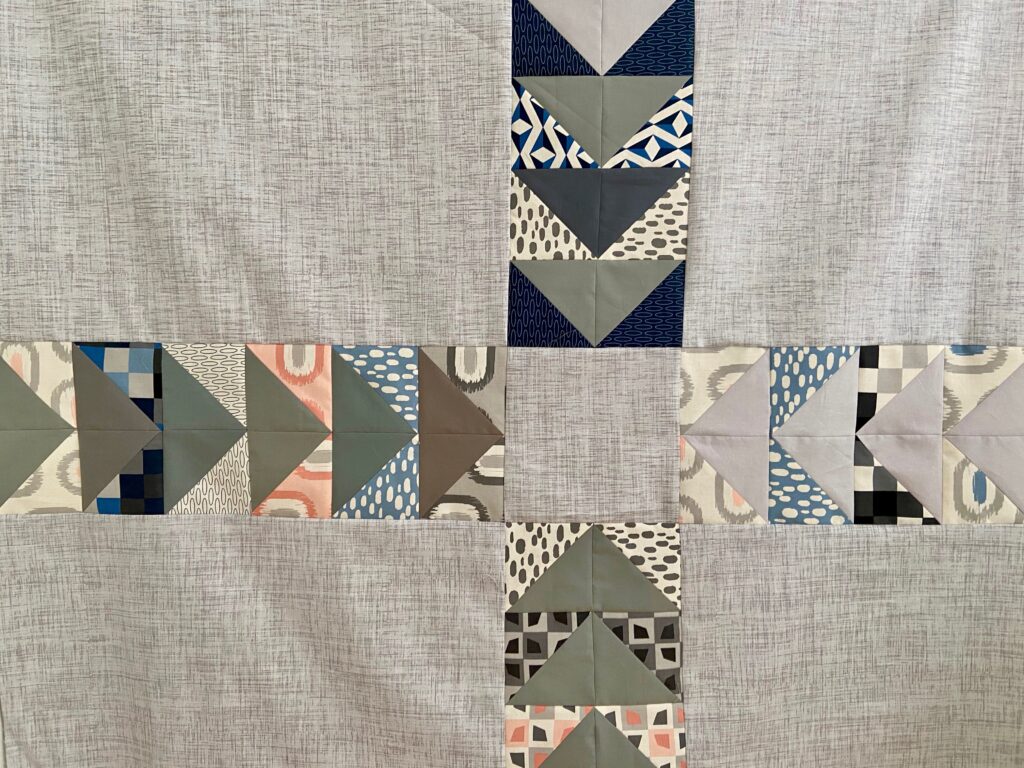
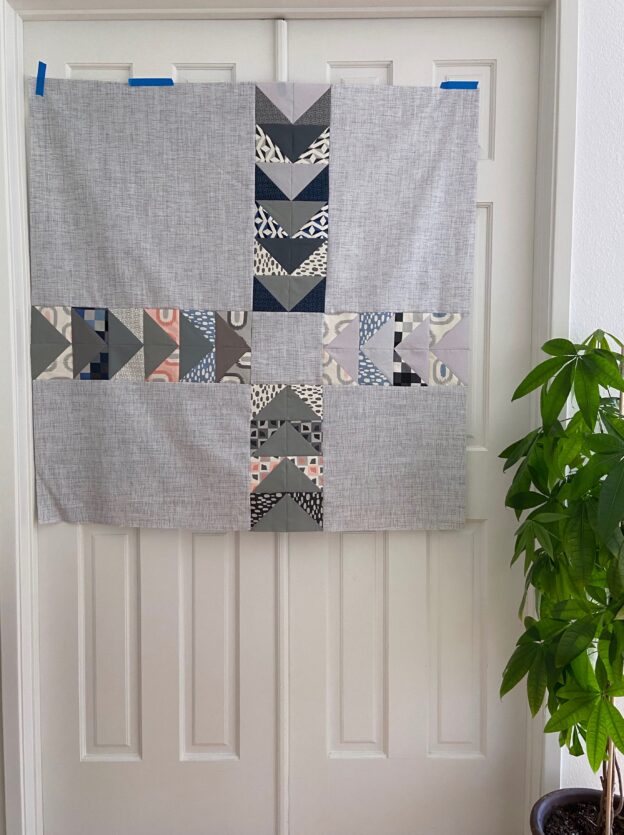
A few weeks ago I started sewing HST’s with a stack of charm squares that have been on the shelf for several years and lots of solid scraps. When I started this, I had absolutely no plan for the. It was just something to do in the sewing room. I limited the solids to shades of gray and blue.

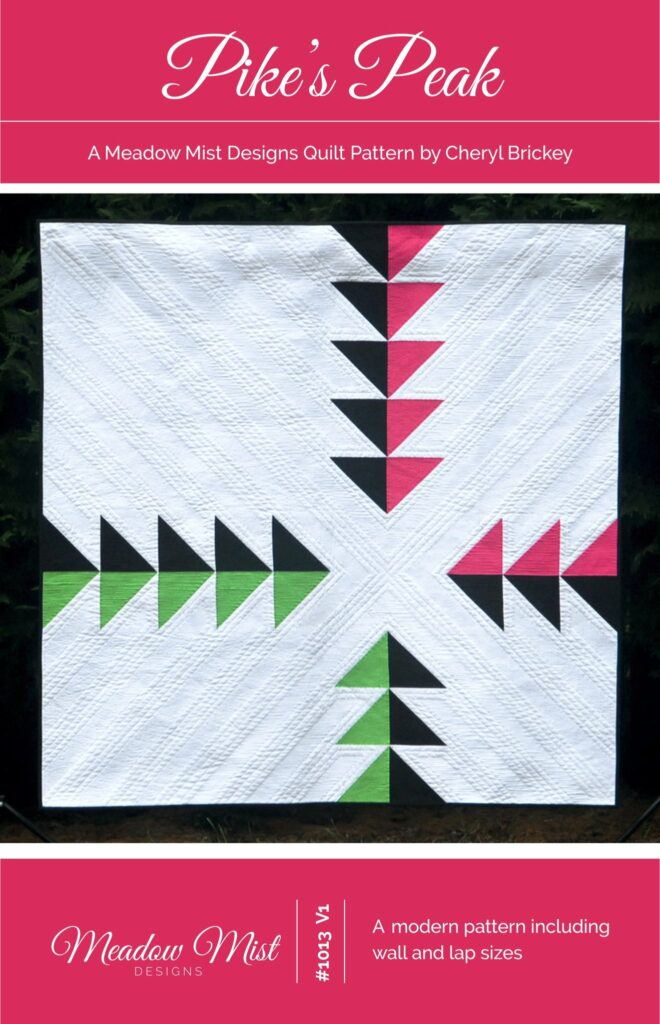
Time passed (as it does) and I decided it was time to put them together. I looked through my computer files at patterns I have bought and never used. A copy of Pike’s Peak by Meadow Mist Designs caught my eye.

I bought this pattern long ago – you know back in the day when we were free to come and go as we pleased. We could gather in groups, hold quilt guild meetings and quilt shows. No one was wearing goofy looking masks and dousing their hands with gallons of hand sanitizer every time they were in public. Ah, those were the days. But back to the pattern…. I bought this and never made it. The pattern has a baby quilt size as well as a throw size.

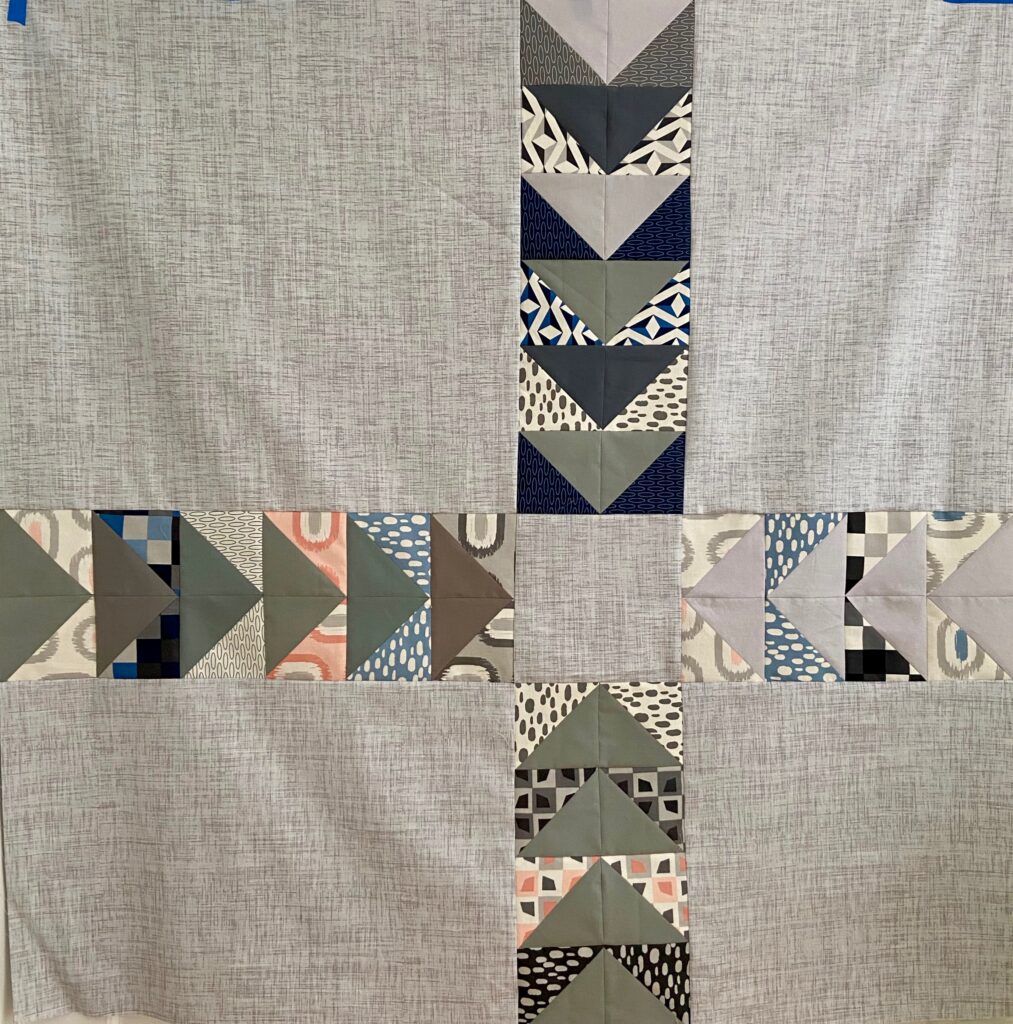
However, the HST’s I had already made were smaller than those required by the pattern. To keep things in proportion, I sized the background pieces down. For the background, I chose a textured solid I had in the shop. (Sadly, it is now gone and I can’t get this line any longer.) I like the texture it adds though.
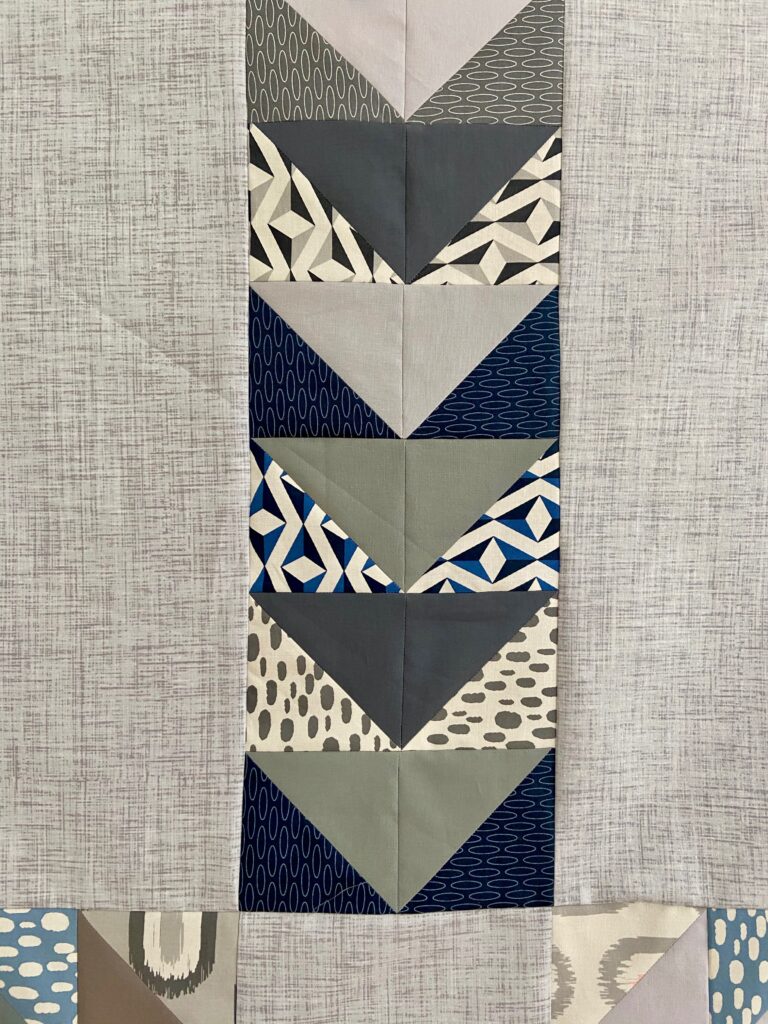
I love the various shades of gray and blue. From a cornflower blue to dark navy and from the palest silvery gray to dark charcoal – there is a nice range here.

I am unsure exactly how I will use this. It finishes at 42″ square which is small for a lap quilt. It doesn’t feel like a baby quilt to me so I don’t think I want to donate it. I might quilt it and hang it in my sewing room. The walls in that room are pale gray and this would look pretty hanging in there. Decisions, decisions.

Next is basting and quilting this up. Not sure when that will happen though. I am working on a quilt for a blog hop that happens next week so I want to finish that up.

I have been remiss in posting and reading blogs over the past couple of weeks. During the quarantine there are lots of people sewing (and especially making masks) which has created a spike in orders for my shop. Thus lots of time has been spent packing and shipping orders, which is great. I am happy to help people choose the fabric they need for their projects. Lately I have met (online of course) some really kind new customers and I have really enjoyed this.
I hope everyone is coping as well as possible with the ramifications of this quarantine. It affects everyone in different ways, some much more than others. Hang in there, stay safe and try to support the people who need it.

Island Batik Goes Modern + A Giveaway!


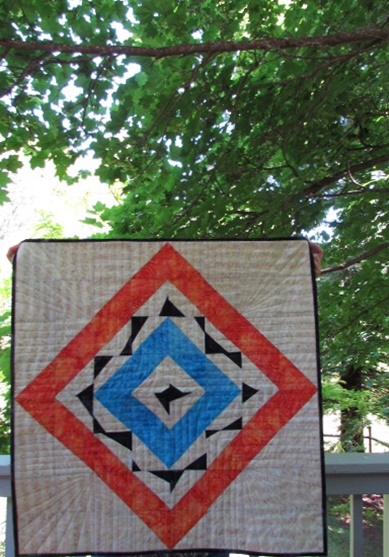
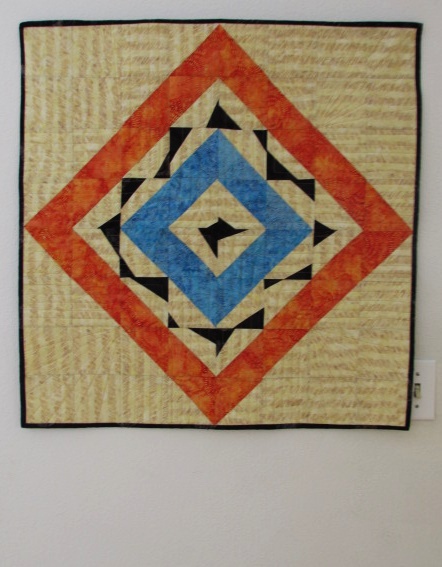
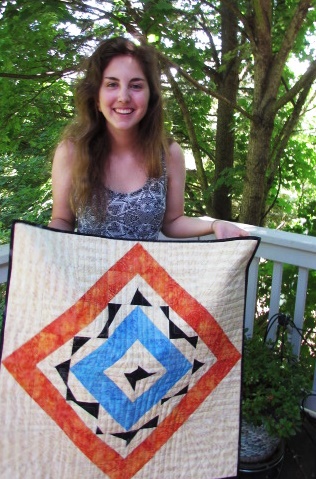
The challenge presented to the Island Batik Ambassadors this month was to create a modern quilt. That’s it, there were no other guidelines. Talk about a blank slate! I decided to turn to my copy of Quilting Modern by Jacquie Gering and Katie Pederson. There are so many fun projects in this book. For this batik challenge, I selected the Swirling Medallion quilt.

This project is quite simple. It is constructed of HST’s created with 4 1/2″ blocks. A subset of the HST’s have a triangle of black applied to a corner, improv style. (Basically a stitch and flip method.) Those black corners are placed so as to create some movement within the quilt (the swirl). Were I to make this again, I would have made my black triangles larger. There are places where they don’t touch each other and I feel this lessens the effect substantially.

The pattern would have you add another row of the background blocks to frame off the orange diamond shape. I didn’t add these because I wanted to hang it in a certain spot in my entry way and it would have been just a tad too large. I was careful to leave enough of a seam allowance so I wouldn’t cut off the orange points. Hurray!

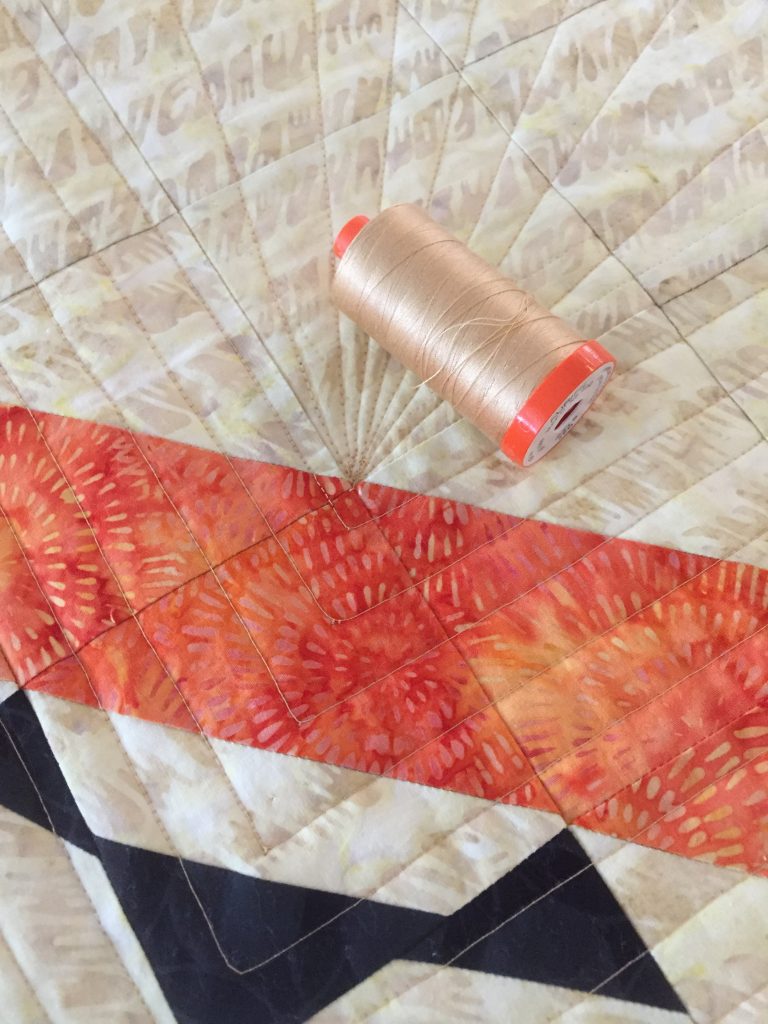
Using a buttery shade of Aurifil thread, I quilted with straight lines in each quadrant. Once I got to the  corner beyond the orange stripe, I changed direction and quilted on the diagonal, radiating out.

I am happy with the overall look and think the blue and orange are bright and cheery for summertime. My quilt model was in a mood.  Can you tell she is two weeks away from summer break?

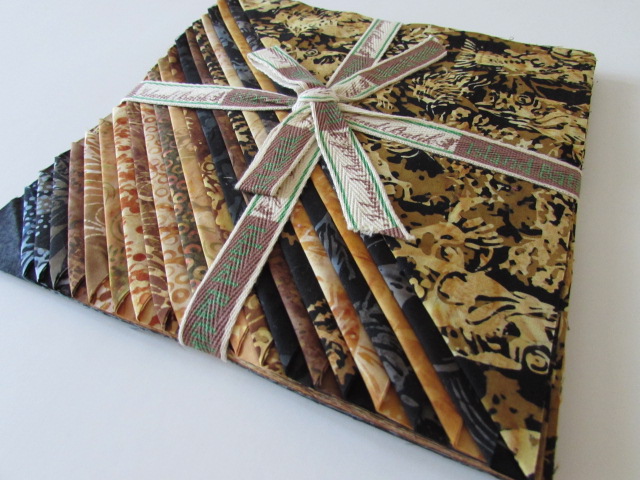
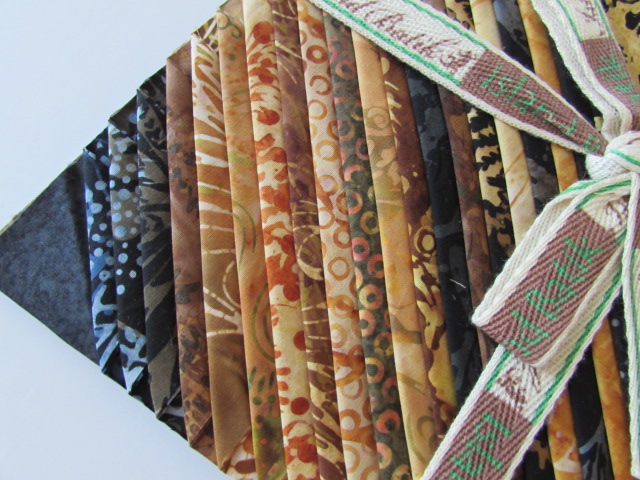
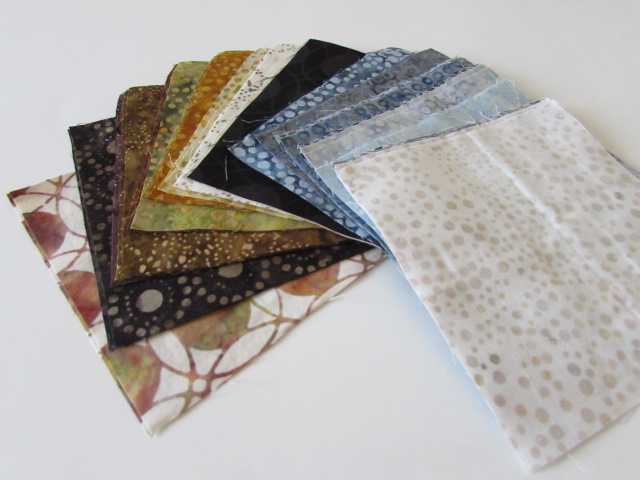
Island Batik has been incredibly generous with the ambassador program. It is time to share the wealth!  Let’s have a giveaway. Just because. A batik celebration of sorts! First up for the win is this package of ten inch squares, called River’s Edge.  It is a selection of earthy browns and blacks and there are two of each print for a total of 42 squares.


The second prize up for grabs is a charm square pack.  This is a gorgeous set of charms with a theme of dots and circles.  Blues, grays, whites, browns and some black make up the pack of 42 charms (2 of each print.)


NOTE:i  Giveaway is now closed!

I would love to share these with two winners. Due to the cost of postage, this is open to US residents only. (I’m sorry!)  To enter to win, leave a comment that will make us smile. Did you do anything fun over the weekend? Share with us. If you are a follower, leave a second comment and tell me how you follow.  I will draw a winner on Thursday evening announce on Friday morning!  Also, I want to remind you I have a newsletter sign up form on the right side of the page. I will be using my newsletter to communicate information about my shop. When I have new fabric, a sale or a fun event, I will send it out in the newsletter. I hope you will sign up and join in the fun.  Happy Monday!!

Positively Floating – a Finish

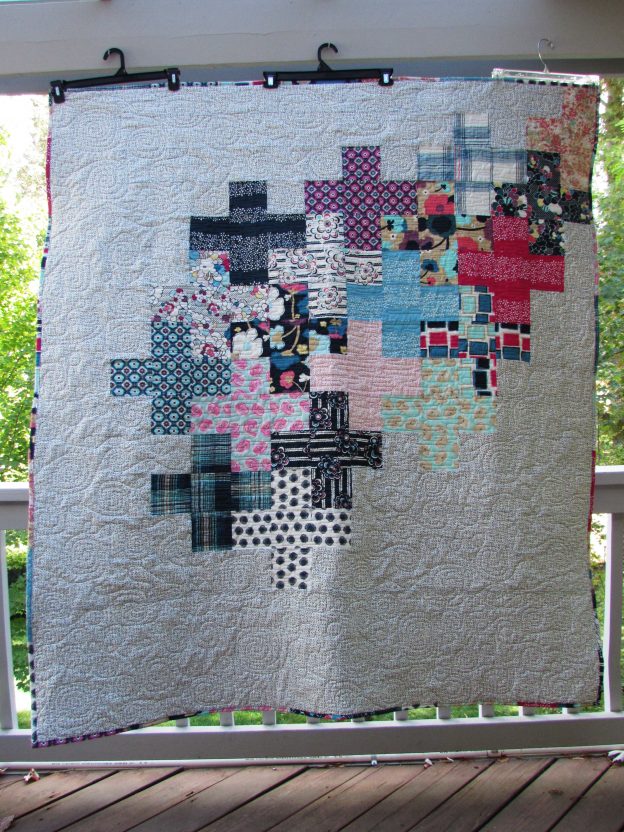
Earlier this summer I made a plus quilt using the Art Gallery Dare fabric line, designed by Pat Bravo. I set it aside for a while, as most of us tend to do. After taking the long arm class, I decided to quilt this one for my second round of practice. Thursday last week found me at the Sew-So Shop ready to load the project on the machine.

When I arrived, I was told that the owners would be running a bit late due to a family emergency. There was another woman, a very experienced long arm quilter (Diane), who was there to pick something up and she offered to help me get everything set up. I felt so fortunate to have run into her because she taught me a great deal in the 15 minutes that we worked together. It was so helpful!  We got the backing, batting and quilt top loaded and straight.

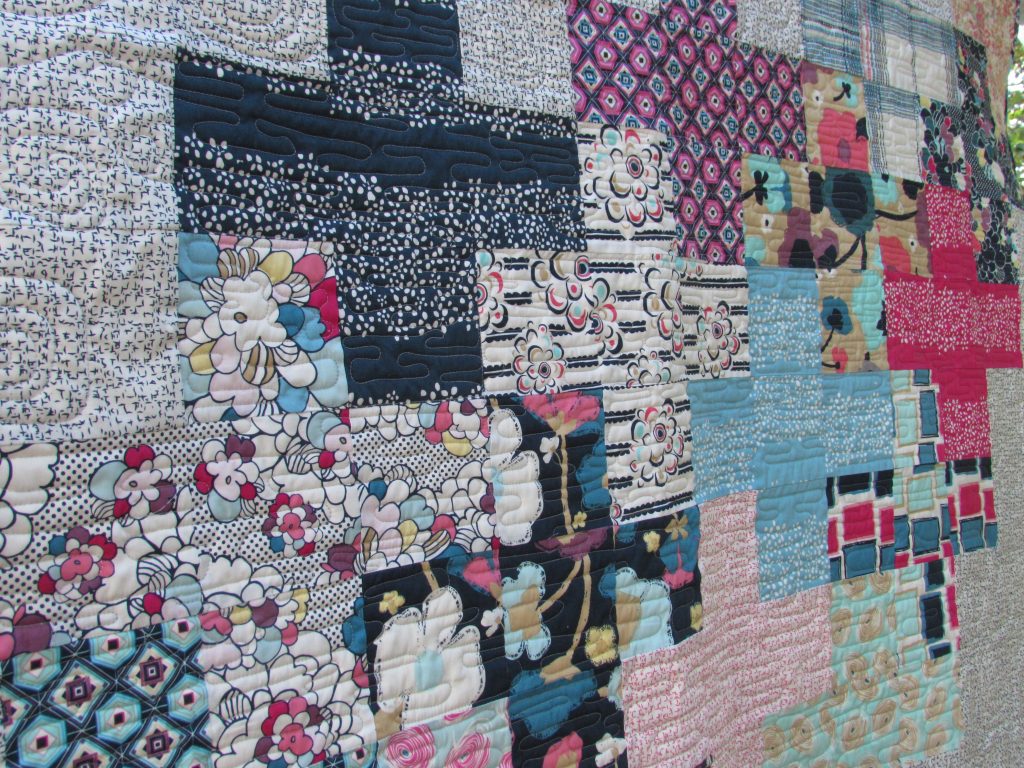
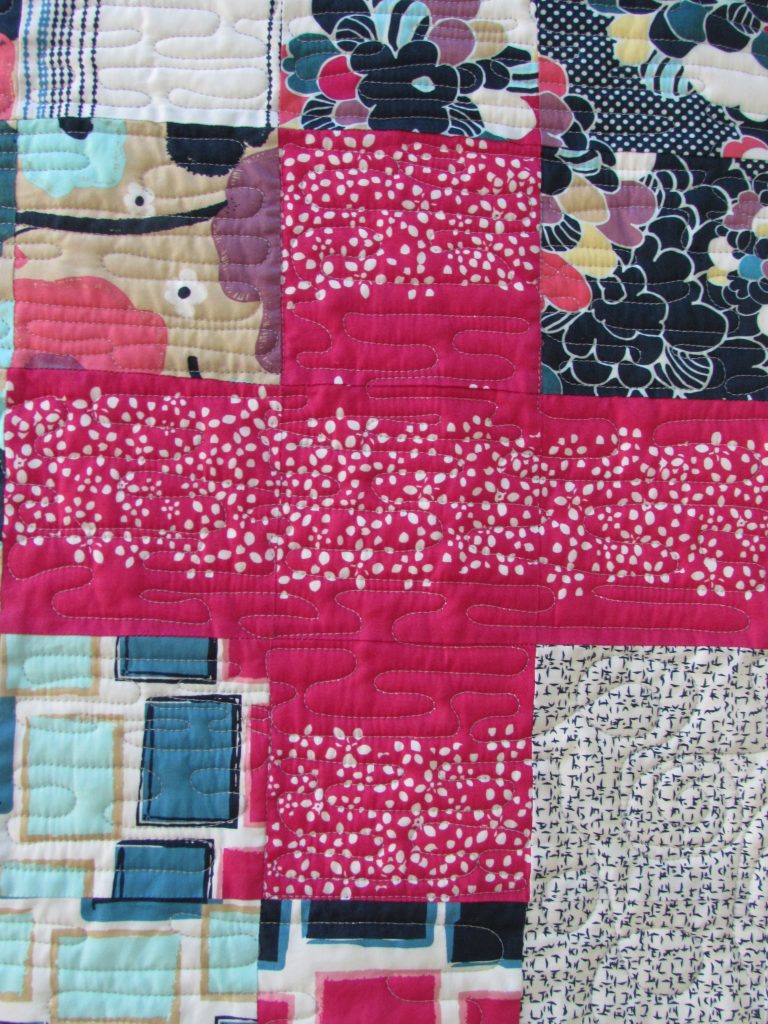
I talked with Diane about my plan to quilt this. I wanted to do simple spirals in the negative space and something linear within the pluses so they would be differentiated from the background. She and I scribbled on paper for a bit and decided on a flow of linear lines that look like water flowing. This would allow me to leave the machine free (as opposed to setting the channel locks for straight lines) and would give me a relaxed pattern to stitch. It worked perfectly (well, nothing is perfect but overall, it was very successful!)

img_7524

I love the flow of these soft linear curves. At first I tried to treat each plus as a separate entity but it didn’t seem to make a difference so I relaxed on that and let the lines flow over the edge of one fabric and on to the next.

img_7523

I love this motif – I don’t think I have used it prior to this but I will definitely use it again. It was really relaxing to stitch.

img_7521

For the negative space, or the background, I did large, loose spirals and loops. My goal was to work on my speed control and precision so I picked a simple motif. Looking back, I wish I would have selected a darker gray thread because the quilting hardly shows up.  I was not feeling very confident about my abilities so I picked a light thread, in case the stitching wasn’t the best.

img_7528

The stitching shows up better on the back.  For the first time, I bought a wide back cotton for the backing. This was so convenient! I had begun to piece a backing using the leftover Dare fabrics but when I decided to do this on the long arm, I nixed a pieced backing. I have enough going on loading the long arm without having to worry about a potentially wavy or ‘un-square’ backing (is that a word?).  Using a wide back fabric eliminated all of those possible issues.

img_7530

Since I had already pieced strips of the scraps, I decided to use that as the binding. I sliced the strips into 2 1/4″ strips for the binding. You know how much I love a scrappy binding.

As with each long arm experience before, I do have a question. The finished quilt has a bit of a wave to the center of it. (Look at the photo at the top and you’ll see it.) I feel it was flat and square when I started to quilt it. My question is, do you think this is because I quilted the Plus section more tightly than the negative space? It definitely has a stiffness to the Plus area. When I did the surrounding area, I kept it loose so the whole quilt wouldn’t be stiff but maybe I should have been consistent all the way through? Looking for some advice here. Yvonne….. Help please! 🙂

Oh how I have enjoyed learning about and using the long arm. I have one more finished quilt top to do so I will set up some time for that project soon! It has really helped me to get some projects finished up that were languishing a bit.

Couple of reminders –

  1. The voting begins for the Quilt Bloggers Festival on Sunday! Go take a look and choose your favorites — so many gorgeous projects have been entered.
  2. Handmade Halloween is coming soon! I hope you are checking your blog history for fun posts to link up that will inspire readers to make something for Halloween! If you don’t want to link an older post, you are welcome to write a new one. Lots of fun prizes have been provided by Craftsy, C&T Publishing, as well as Lorna from Sew Fresh Quilts. Come back and join the party October 4th!! Be sure to let me know if you have any questions!
  3. Craftsy has a sale going on this weekend. All classes are less than $20 (except for those in the Great Courses line.) Take advantage and learn something new!! There is always something new to learn.  (Note, I am a Craftsy affiliate.)

unnamed

Linking up to my favorites. See the tab at the top of the page, Link Ups, for more info.

Positively Floating

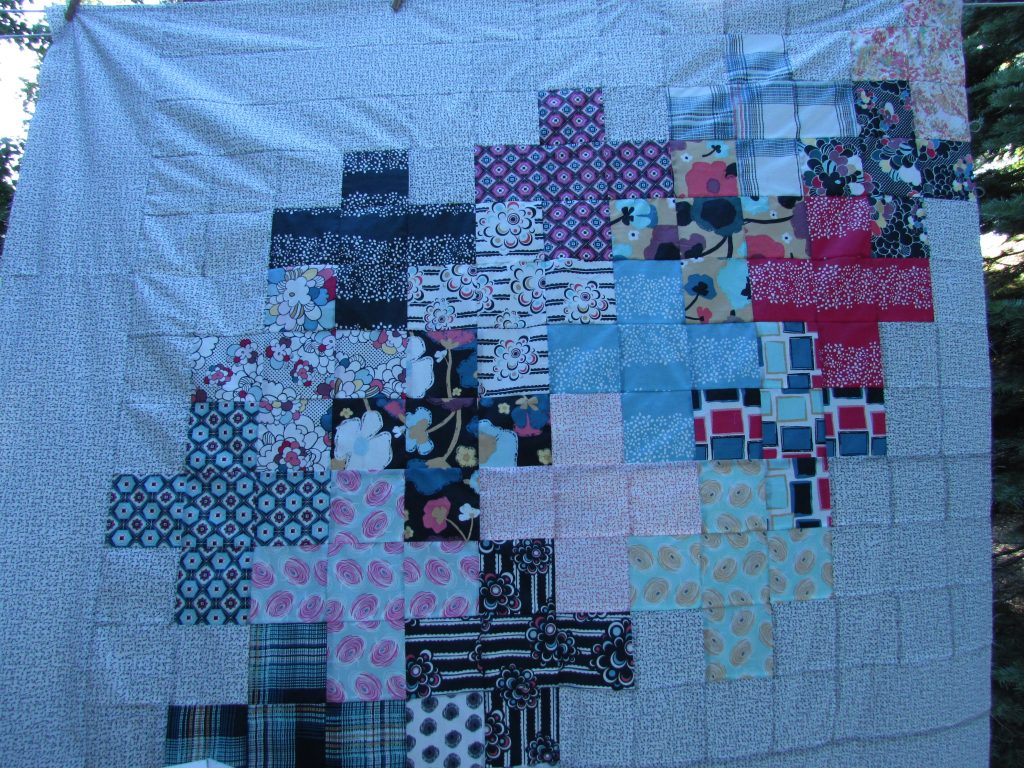
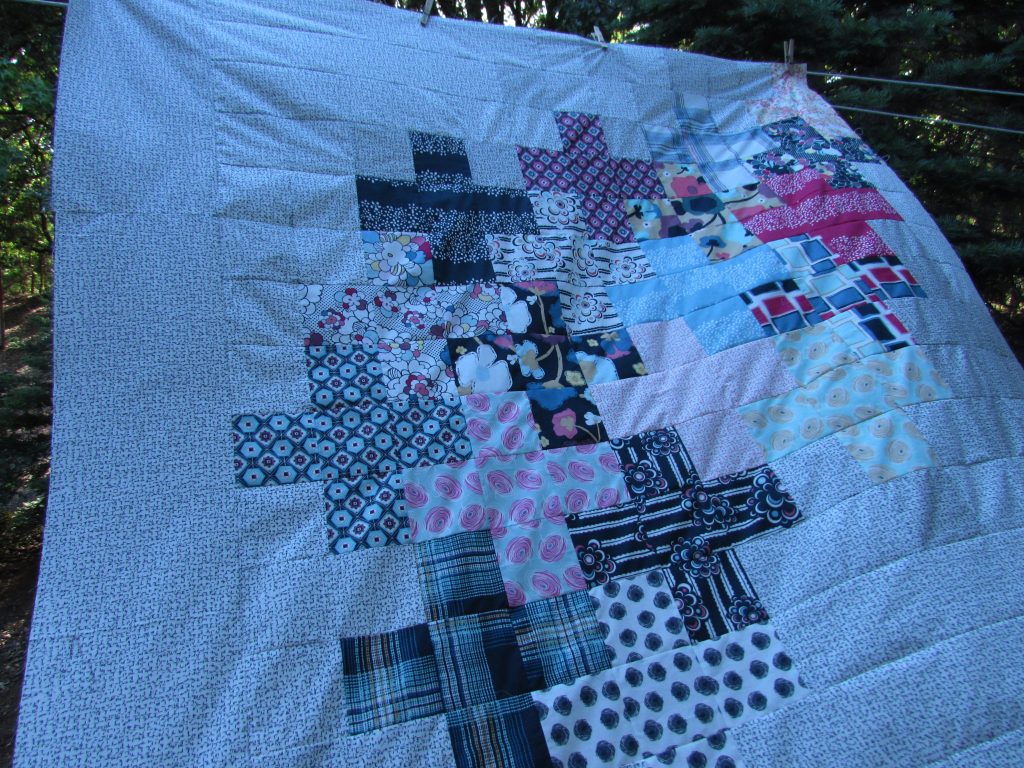
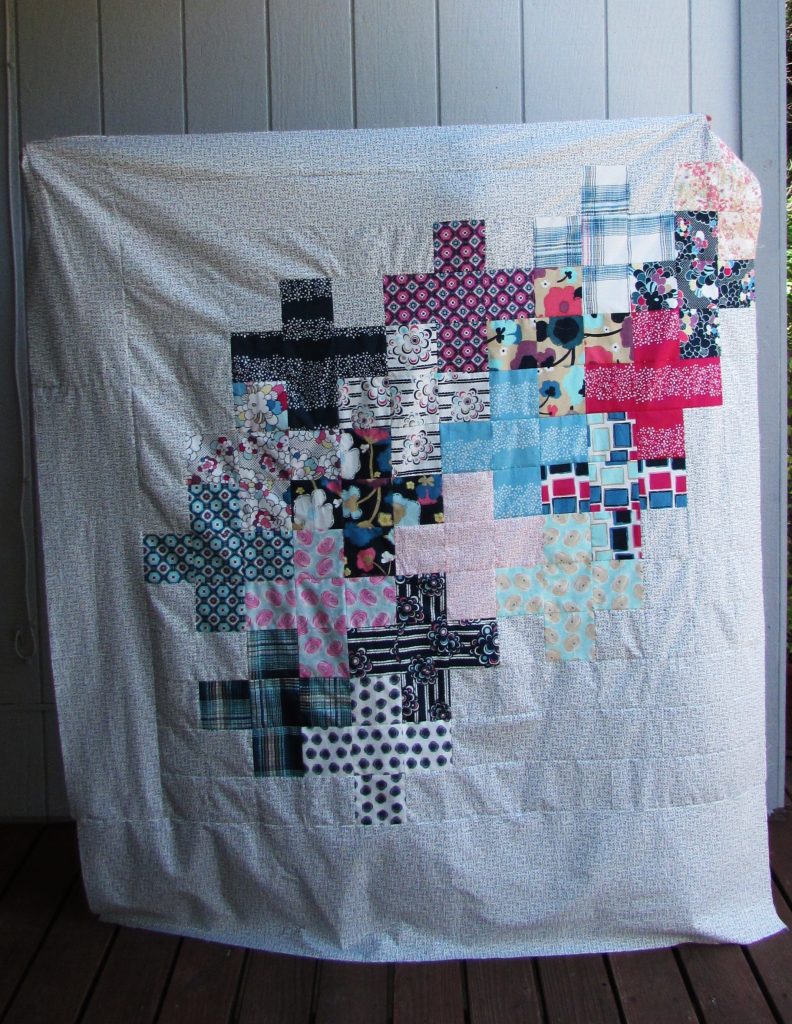
Ever since I fell victim to my Pinterest addiction, I have wanted to make a plus quilt. Something about the simplicity of the design and the ability to use large scale fabrics effectively makes plus quilts very attractive to me. Honestly, I don’t think I have seen one that I didn’t like.

Last fall, when I received my first Art Gallery Club shipment from Pink Castle, I designated that bundle to be used for a plus quilt. (I posted about this here.) The line, Dare by Pat Bravo, has some wonderfully vivid large floral prints. I immediately ordered a couple of yards of Thread On to be used as the background fabric. When that arrived, the whole bundle sat in the sewing room until March.

IMG_20151121_4178

One rainy Saturday, I managed to cut all of the squares for the pluses. Then it sat some more. Finally I started to assemble the quilt top. Really, it doesn’t get much simpler than this. Once I going, it went together quickly.

img_20160601_5324

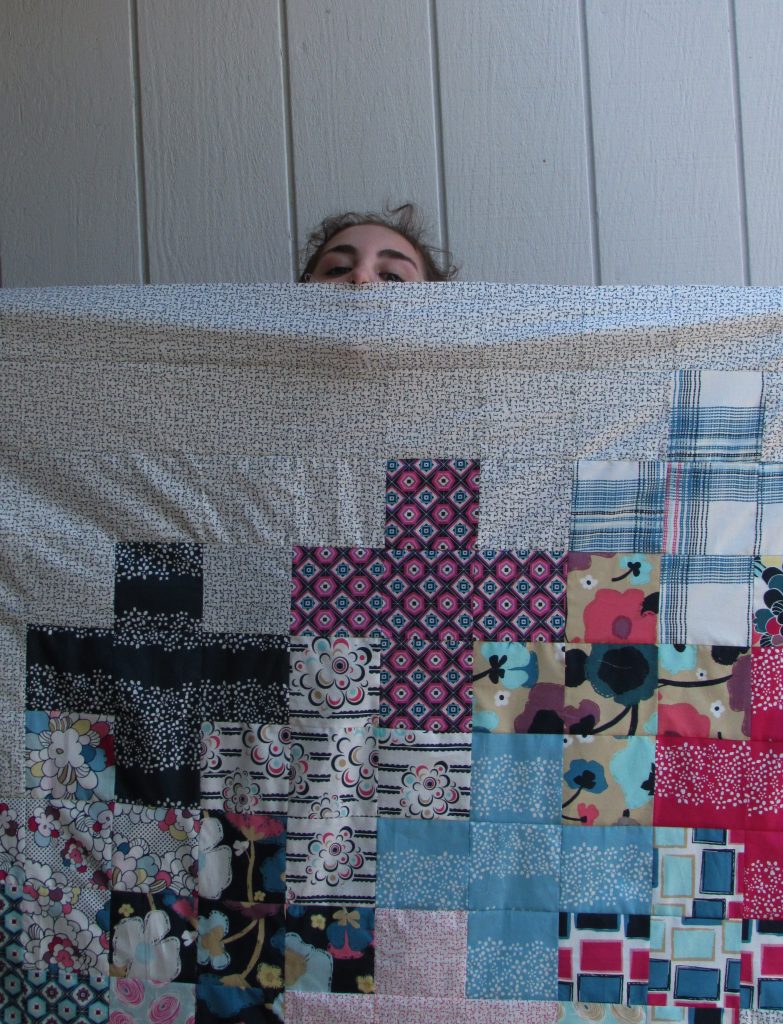
This quilt top was not an easy one to photograph. It was really breezy this afternoon and I couldn’t get the winds to cooperate with me.

img_20160601_5329

I had to resort to my ever faithful quilt model.img_20160529_5276

She is such a helpful girl.

img_20160529_5278

I am looking forward to quilting this. Lots and lots of negative space to work with. That is both fun and intimidating at the same time. For the backing, I have been piecing the scraps that were left from the front. I need a bit more fabric to complete it though. I had hoped I had enough leftover fabric but I am short. Darn it. I ordered a bit more of the background fabric and it won’t take any time to finish the backing once it arrives. For now though, the top is done and I am calling this one Positively Floating.

Linking this pretty flimsy finish with my usuals. Find them at the top of the page, under Link Ups.

Progress – Tula Pink 100 Modern Blocks

I don’t have very many unfinished projects. Right now the count stands at four.  There are two quilt tops that need basting, quilting and binding. Plus two WIP’s – my Tula Pink project using her 100 Modern Quilt Blocks book and a quilt that I am piecing with (mostly) American Jane fabrics. While this is quite reasonable compared to what I have read about quilters with lots of quilty UFO’s, I want to work toward finishing them all up. There are always projects swirling around in my head but I don’t want to start too many at once.

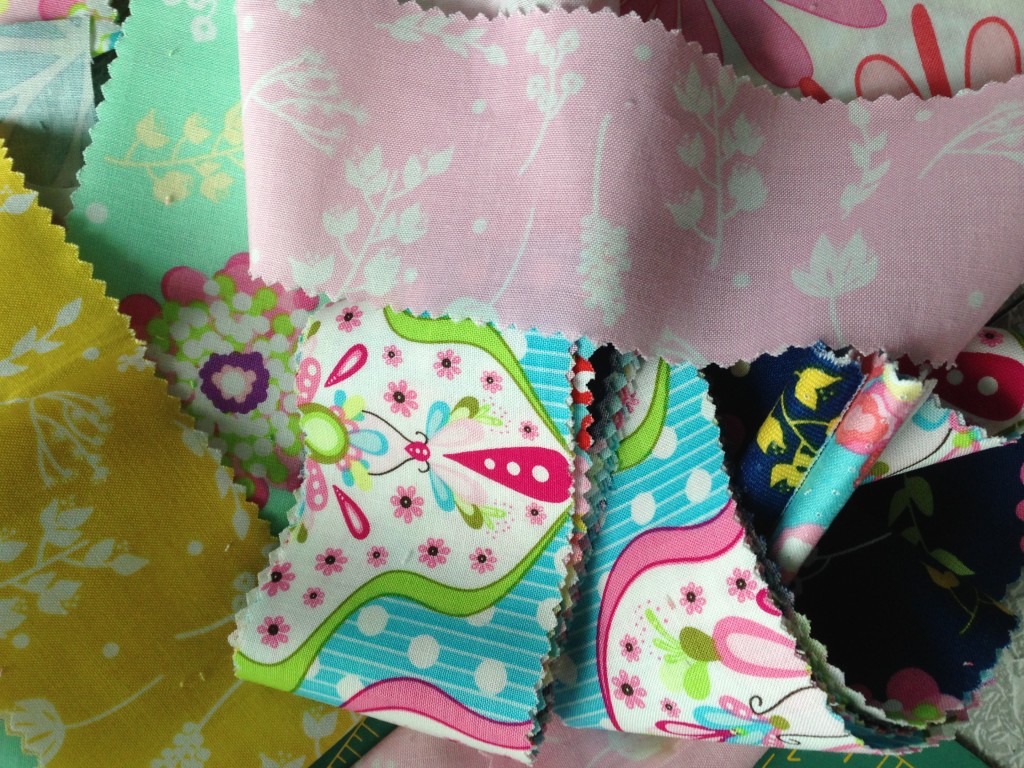
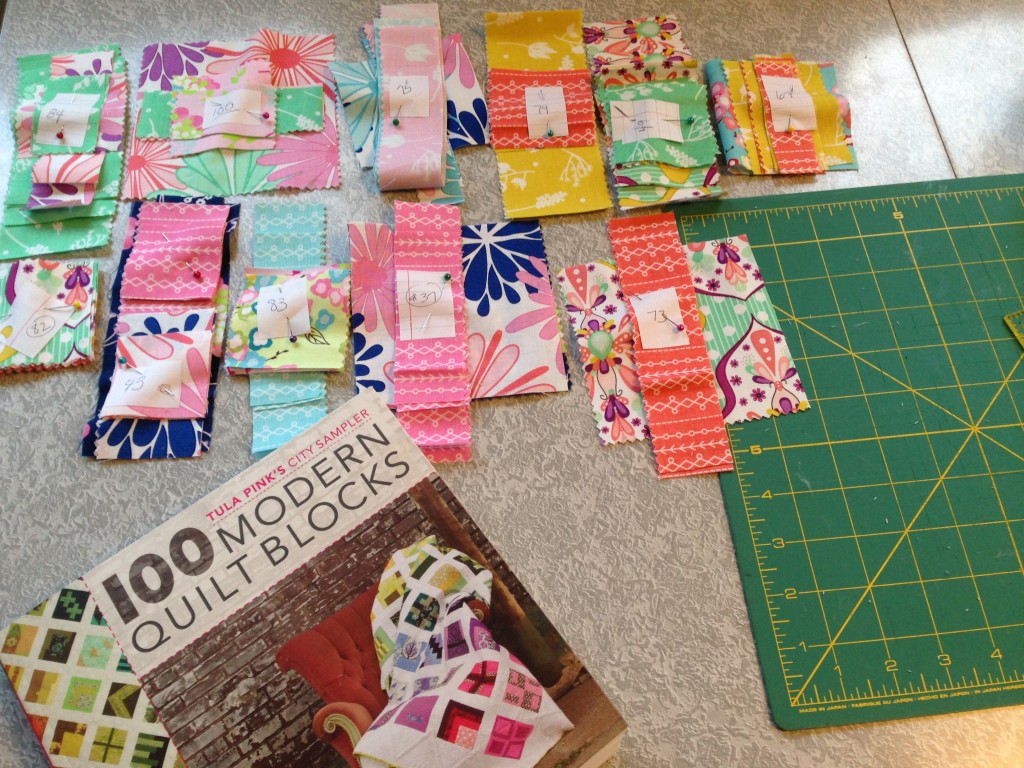
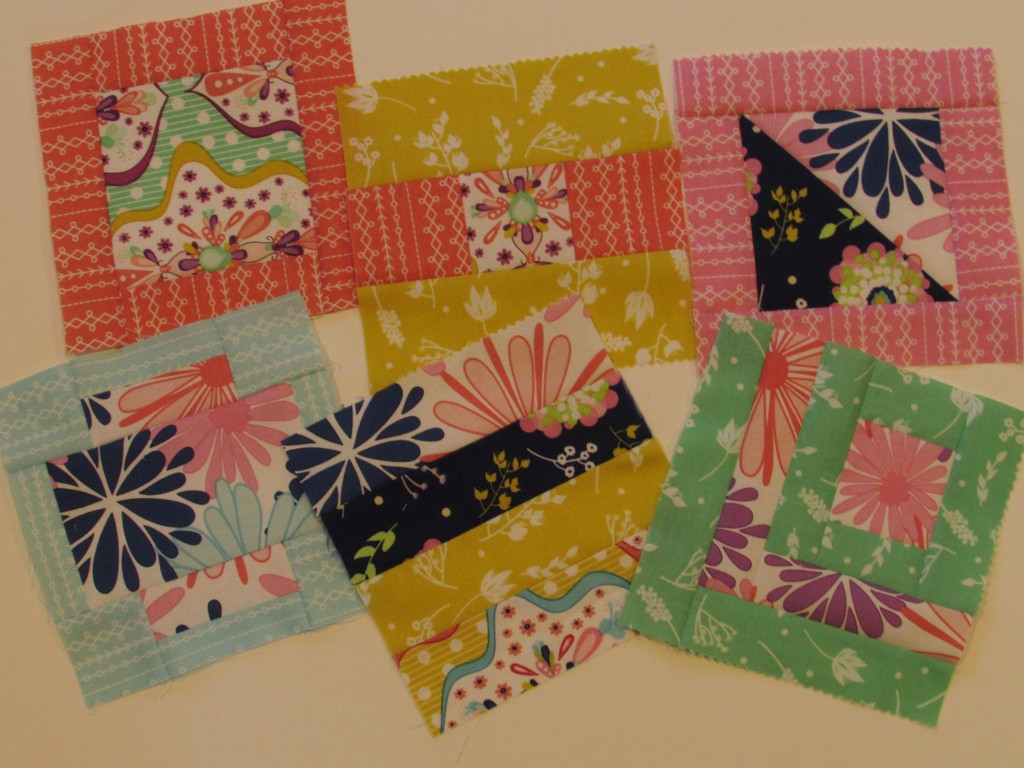
This week was derailed with a series of migraines but I was able to spend a little time sewing and I got several  blocks done for the Tula Pink City Sampler quilt.  I am using Floriography fabric for this project. Last year I won a gift certificate to Doe Street Fabrics and spent it on some 1/2 yard cuts of Floriography. I started to cut it up for the City Sampler project. The blocks finish out at 6″ so you can imagine that many of the pieces are small (1″ to 6″). Because each block is different from the next, it isn’t a project where I can cut a stack of anything ahead of time. I am cutting each block independent of the next. I soon found that I didn’t have enough variety in the 1/2 yard cuts that I bought.

As luck would have it, last November I found a jelly roll and charm pack of Floriography on sale at The Clever Quilt Shoppe. I bought them right away as it would give me small pieces of the full line and would be so much easier to cut from.

IMG_2933 (2)

While spending last weekend up in Downieville, I was able to cut the pieces for eleven blocks. I’m not sure it even matters but I have been doing blocks from each section in no particular order. The book is organized with the blocks divided into sections such as triangles, squares, rectangles, etc.

tula pink floriography

I have stitched ten of the eleven prepared blocks so far. I love having a stack of blocks cut and ready to piece.  Each block is actually quite simple to piece. More time is spent on planning which colors to use in the block and cutting the pieces. I made several errors with fabric choice when cutting the blocks and it wasn’t until they were up on the design wall that I could really see it. Not enough difference in value which causes the design to be lost. This fabric is busy and many of the prints are the same value. Even though I plan to sash the blocks when I make the quilt top, I need to start adding in a couple of solid fabrics to tone things down a bit and increase the change in value. After I take Julia to school today, I will make a quick stop at the store for some solids. When I cut the next set of blocks, I will incorporate the new fabrics in the mix. There are a few blocks that I will take apart and replace pieces with solids.

IMG_20160115_4458

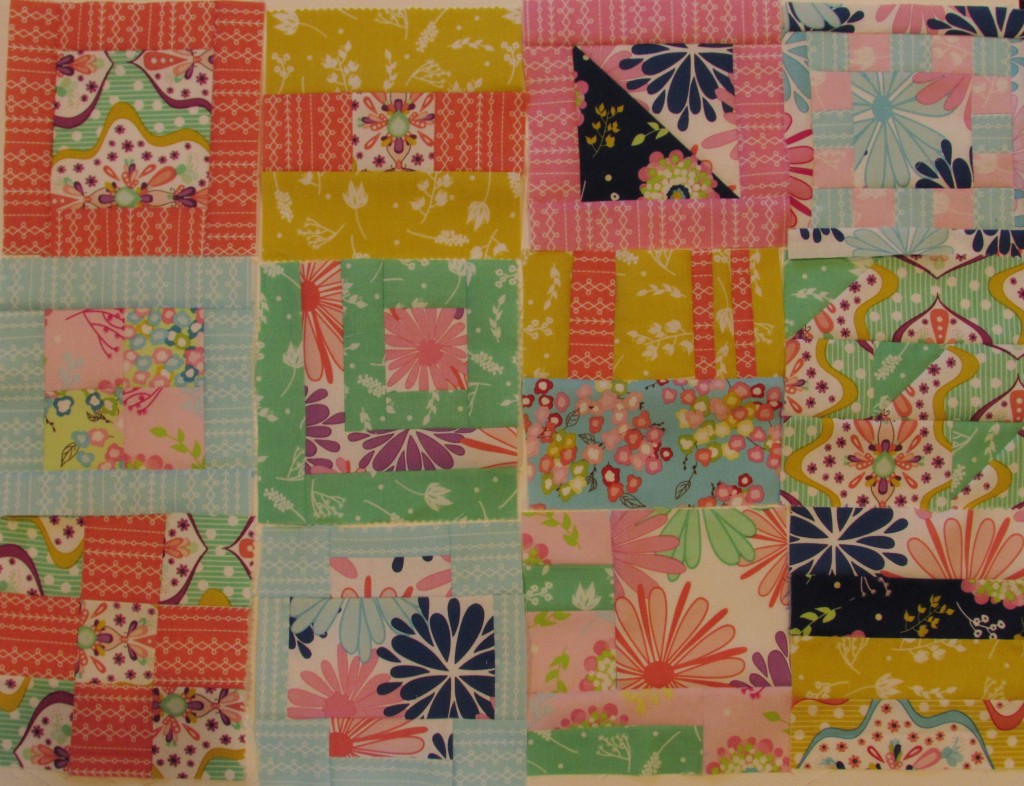
Overall, I am very happy with the blocks this far into the project. I am not sure I will do the full 100 blocks. I need to decide how big this quilt will be and how I plan to sash it. The blocks will be arranged in color groupings or it won’t “make sense” to me. The colors are what will define the layout. Look at the difference.

IMG_20160115_4459

And with sashing and organization by color:

IMG_20160115_4460

For an example of a horrible fabric choice with values in the same range, look at the green block, middle line on the far right. The flying geese are lost in a fog on that block. For that one, I probably won’t rip it apart – it will be quicker to just make a second one and ditch the first. Quilting is always a learning experience, and this quilt is all about color.

The weekend promises to be a fun one. My sister and her two girls are coming along with their husbands and boyfriends. We are going to dinner at a fundraiser for my parents’ church. Yay for family time.  🙂  I hope all of you have a nice weekend with family or friends and at least a little time to sew.

Linking to Sarah at Confessions of a Fabric Addict.


Tokyo Subway Map – Glitzed Up

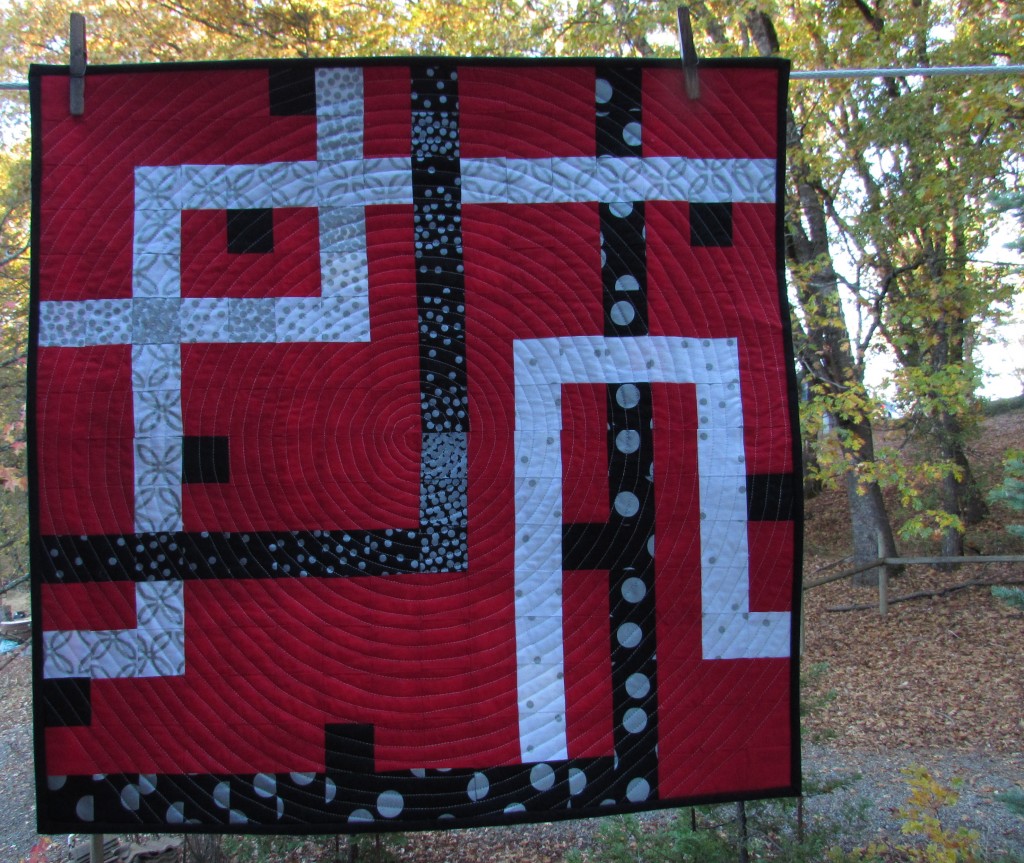
I can now say I have my first fabric challenge under my belt. This was a fun, though somewhat intimidating project and it feels good to have finished it. Overall, I am very pleased with the result. Remember I used a portion of a pattern I purchased from Oh Fransson (ElizaTbeth Hartman) called Tokyo Subway Map. You can read more about this project here. What do you think? I love the red with the Michael Miller Glitz fabric. It makes for a bold and festive quilt.

IMG_20151120_4166

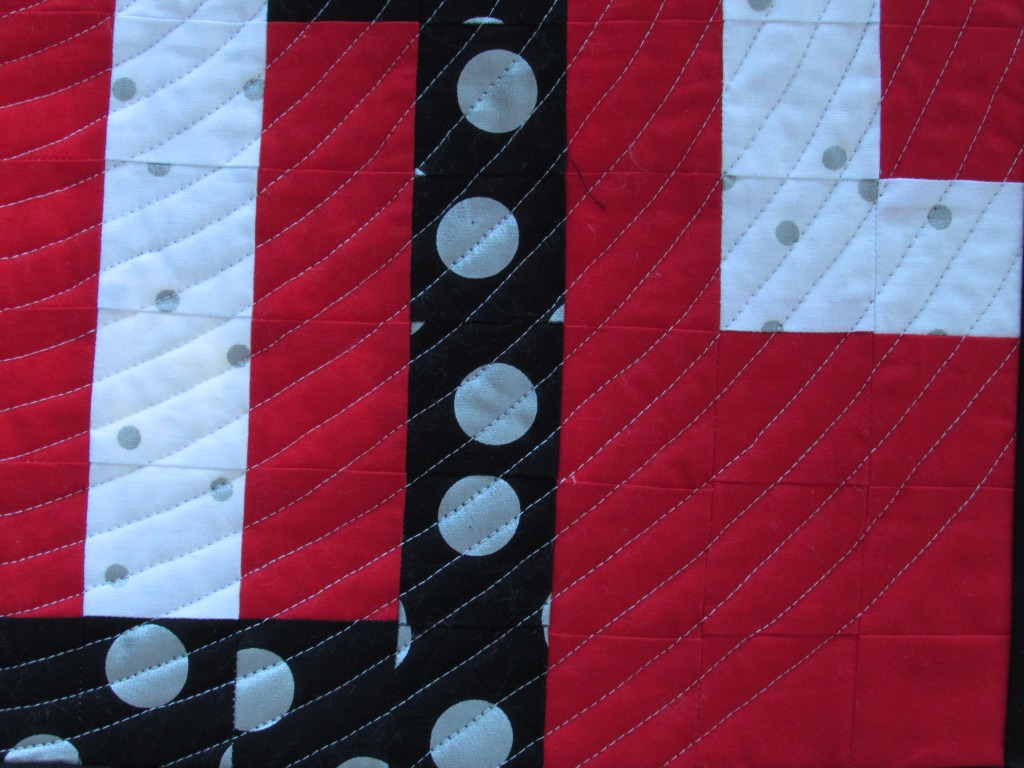
The spiral quilting was a breeze.  I practiced once on some scraps and then I went for it. Using a walking foot and Aurifil thread, only the first spirals in the center were challenging. After that, I just followed along the previous spiral with the edge of the walking foot. It was quilted in no time at all. I went in concentric circles as far out as I could.  When I hit the edge, I echoed out through the corners.

IMG_20151120_4168

Basic black made a great binding. I thought about using my leftover Glitz fabric and creating a scrappy binding but this quilt is busy enough as it is. Black toned things down a bit. Joining the ends of the binding strips tends to make me a tiny bit crazed so I looked at a tutorial from Rita over at Red Pepper Quilts. Ta Da! It worked and my binding lay flat and fit perfectly.  Thank you Rita!

I used just about every last scrap creating the backing. I really like the back side and consider this mini to be reversible. All finished, the quilt measures at 24″ x 24″.

IMG_20151120_4169

I will submit this to QuiltCon as part ofparticipating in the Michael Miller Fabric Challenge is the stipulation that each of us enter our project for consideration for QuiltCon. I took some time and listened to some webinars hosted by the Modern Quilt Guild for tips on entering quilts. I don’t have huge expectations about this being accepted. I have seen some pretty amazing projects on Instagram and there are more that are not yet being shared. But it feels good to get this project under my belt as a way of testing the waters.

There are a few spots that are less than perfect and I don’t think that the quilts that are accepted have corners that don’t match up. Like the one below.  Sigh. I am ok with it. Overall, it looks good and I really like it.

IMG_20151120_4167

This has been a great learning experience. I will certainly do it again, if the opportunity presented itself! Now, what to work on next…..  Probably the blocks for the last row of my RSC15 project. November is quickly coming to a close!!

Linking to Crazy Mom Quilts. Links are at the top of the page, under Link Ups.

Fabric Challenge Progress

I have mentioned before that I am participating in the Michael Miller Fabric Challenge, sponsored by the Modern Quilt Guild. There are many quilters out there that signed up for this last spring. The deal is that you receive a collection of fat eighths from the new Michael Miller line, Glitz. The goal is to make a quilt of some sort using a minimum of one piece of Glitz and any other Michael Miller fabrics. (All fabrics used must be Michael Miller.)

My fabric arrived in July last summer.  At first glance, I wasn’t too wild about the prints. There is a whole lot of shimmer in this fabric. I quickly ordered some solids (gray, red and black) to tone down the collection. The gray turned out to be a bad match. It was very flat when paired with the fabrics. The red and black work fine though.  After receiving all of the fabric, it sat on my sewing table for weeks. I kept looking at it and trying to figure out what I wanted to make. I was feeling less than inspired.

Time was moving along and I knew I had to get this figured out. Luckily for me, my sister Patti was in town two weeks ago and she was a great help. She has a great talent for design and decorating. I pulled out the fabrics and we started going through my Pinterest boards. Talking through this with her, I decided to make a mini that was angular, with a sharp pattern. It didn’t take too long to decide to use the Tokyo Subway Map pattern, designed by Elizabeth Hartman. I purchased and downloaded it right then. Can’t beat the instant gratification of internet shopping!

Image of TOKYO SUBWAY MAP QUILTS pdf quilt pattern

This is a great pattern that I have admired for quite a while now. For this immediate project, I decided to make four of the blocks from the pattern, using 2 1/2″ squares (which is smaller than what the pattern calls for.) Reducing the size of the squares made it possible to make my quilt finish out at 24″ x 24″.

IMG_20151112_4113

I love the bright red background with the black, silver and white prints.

IMG_20151112_4118The red sections could be a great avenue for some fun quilting. I (nothing new here) keep going back and forth on a quilting plan. I have sketched, looked through my books and perused Pinterest but still am not set on what I will do. I am concerned that the busy pattern and fabric calls out for tight straight-line quilting. But then I look at that negative space created by the red sections. If I quilt just that portion, leaving the printed sections unquilted, that could be pretty interesting. It would make an nice pattern on the back as well. (Speaking of which, I better get busy with the back. I will have to piece it with a very limited amount of fabric.)

I know I can rely on you guys for input. Feel free to give me an opinion. The other issue is time. I need to have this completed and photographed by November 30. All participants are required to submit photos of their project by the last day of November.

Hope you are all enjoying Autumn. We Californians are totally loving the rain that we have been gifted with over the last couple of weeks. They are forecasting for more over the weekend. Yahoo!

Linking to Amanda Jean over at Crazy Mom Quilts as well as Sarah from Confessions of a Fabric Addict. Link ups to these amazing quilters are available at the top of the page, under Link Ups.


Quilt Top Finish

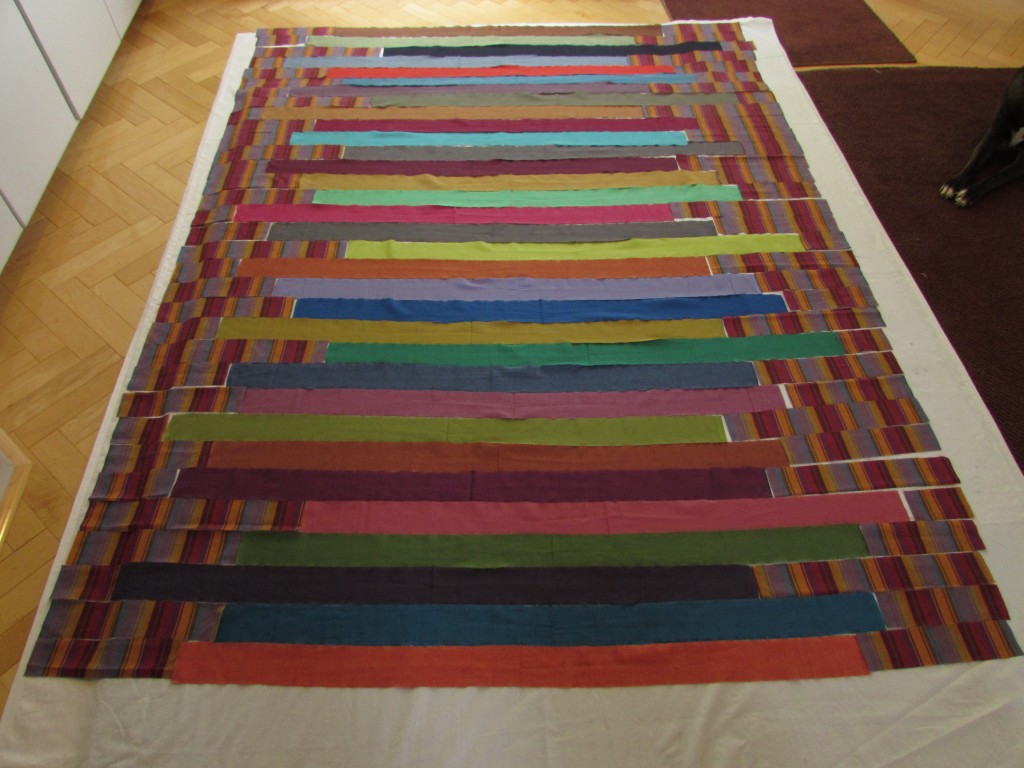
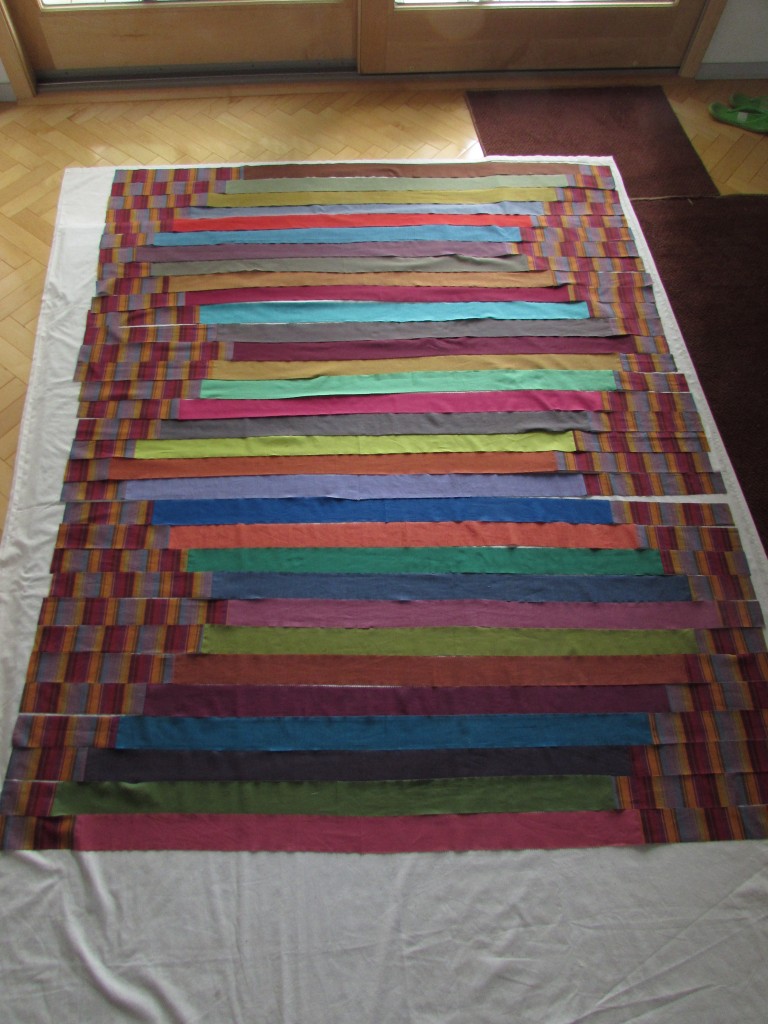
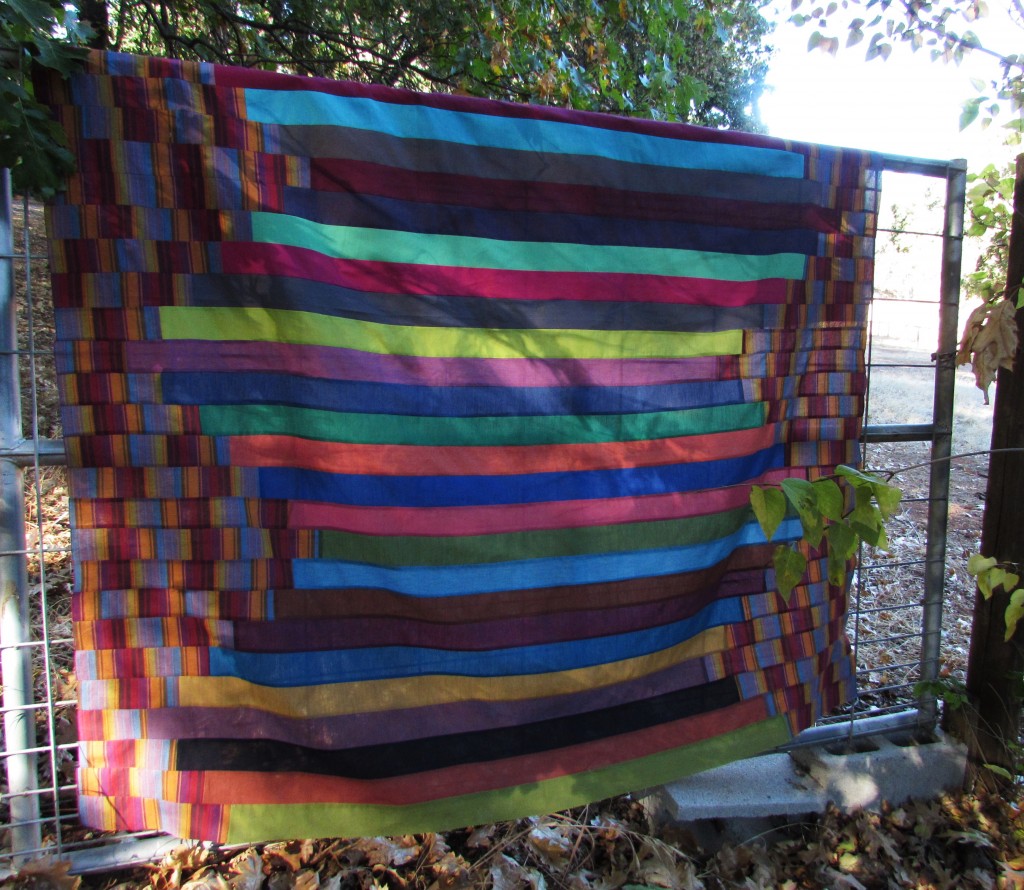
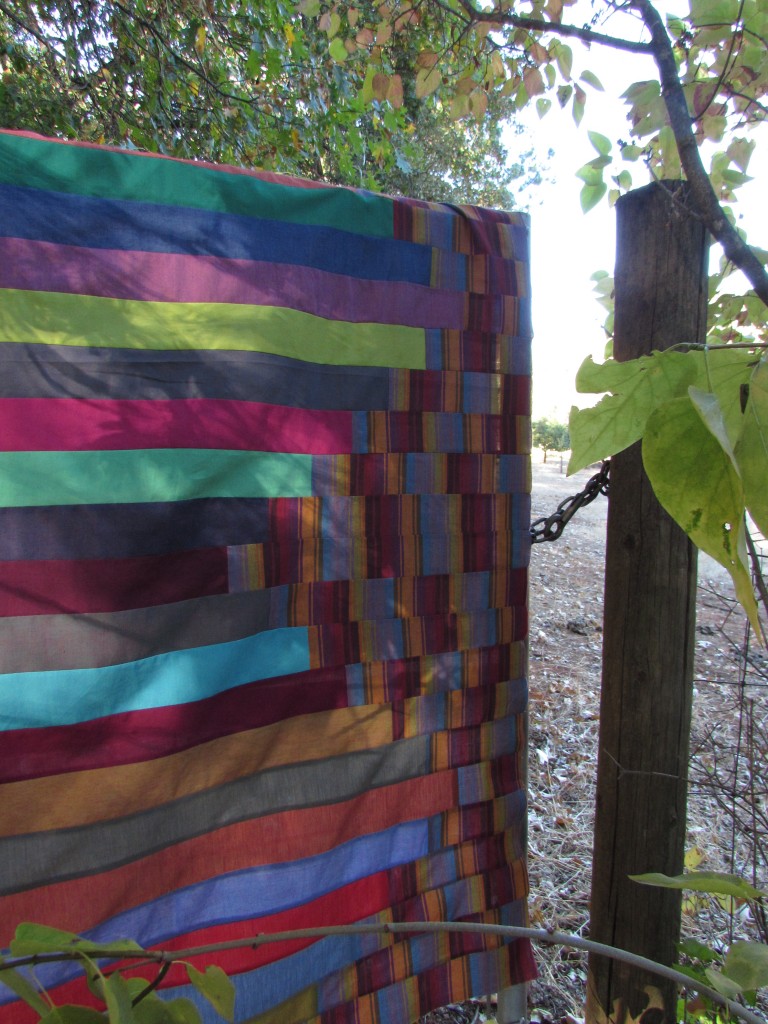
This week I have a finish to share – I made a quilt top using a jelly roll of Kaffe Fassett solids and a coordinating striped piece of yardage. Several months ago, I saw the jelly roll on Cratsy.com and was crazy about the colors. Really rich, earthy tones that were just calling out to me. I didn’t have a specific plan for it so it sat on the shelf for a while.

Meanwhile, I have been practicing my FMQ and am always in search of something to stitch. I decided to make a very simple quilt top with the jelly roll as that would allow me a really clean slate for quilting. I went to my LQS and found the coordinating yardage (she has a great selection of Kaffe Fassett in her shop.)  Then I started to play with ideas. I cut strips from the yaradage and laid them out in a few patterns with the jelly roll (actually I drew everything first on graph paper but then still had to play around with it for a while, crawling all over the living room floor.)

First try:

IMG_20150915_3864
In this version, I was putting the striped pieces in a random pattern. (You can see that Lady was supervising me all the while – those are her paws in the upper right corner.)

Next I tried something with a bit more order to it, increasing and decreasing the length of the striped pieces by size.

IMG_20150919_3881I decided I liked this pattern best. The stitching not a big deal. Well, it shouldn’t have been. I had all of the striped pieces sewn to the solid strips and then I spend a day or two dealing with a migraine. I thought that I was through the worst of it and started to sew the stripes together. As luck would have it, I was not thinking clearly enough and in several places, I sewed them together incorrectly, creating havoc with my simple pattern. It took a bit of time with my seam ripper to get it all fixed up.

Now that it is done, I am really happy with the curved look of the solid color stripes. Kind of like an over-sized chevron.

IMG_20150923_3899

I haven’t figured out what I will use as backing. I know I don’t have anything in my stash that will work so I will do some shopping for that.  Most likely I will use a solid that is used on the front. I don’t plan to put any borders on it. I do plan to finish this up soon so I am going to use it as my October goal for ALYOF. I will have it quilted and bound by end of October!

IMG_20150923_3902

Later today my five sisters are coming to my house for the weekend. I am beyond excited. My mom and dad live about 15 miles from me so the whole family will be together for the weekend. My husband and daughter went up to the Downieville house which means it will be just the original eight of us for the weekend!

Have a great weekend all!

Linking to Amanda Jean at Crazy Mom Quilts.

Mint Green

This has been a nice week. Hope the same goes for you. I joined the 2015 New Quilt Bloggers group that is being hosted by Quilting Jetgirl, Childlike Fascination, Late Night Quilter, and Meadow Mist Designs. So far, we are all getting to know each other. There are about 70 bloggers in the group which is a load of blogs to familiarize myself with. I really like the writing style of many of these bloggers and can tell already that this is going to be a fun project. The goal is to work together to improve our blogs. There is always something to be learned from a group such as this. I so appreciate the work of the four bloggers that put this together.

Even with the huge amount of time I spent reading these new blogs, I have a minty green finish this week. I came across a pattern on Pinterest from Canoeridge Creations. I love Megan’s patterns. This is the second one I have used. Her “Fireworks” mini quilt pattern was used for my Allison Glass mini swap. This free pdf pattern is called “Firefly” and it is a fun, quick project. It took no time at all to cut the fabric and piece the top (maybe a little over an hour?)

image

I had some solid minty green fabric and a large piece of white Kona that looked great together. The pattern is basically a series of stripes. Each color has a set of stripes that decrease one-half inch with each strip. They begin at 5.5 inches and decrease to 2.5 inches. The size of the stripes alternate such that one color begins with the widest and the other color begins with the most narrow. I like the effect.

image

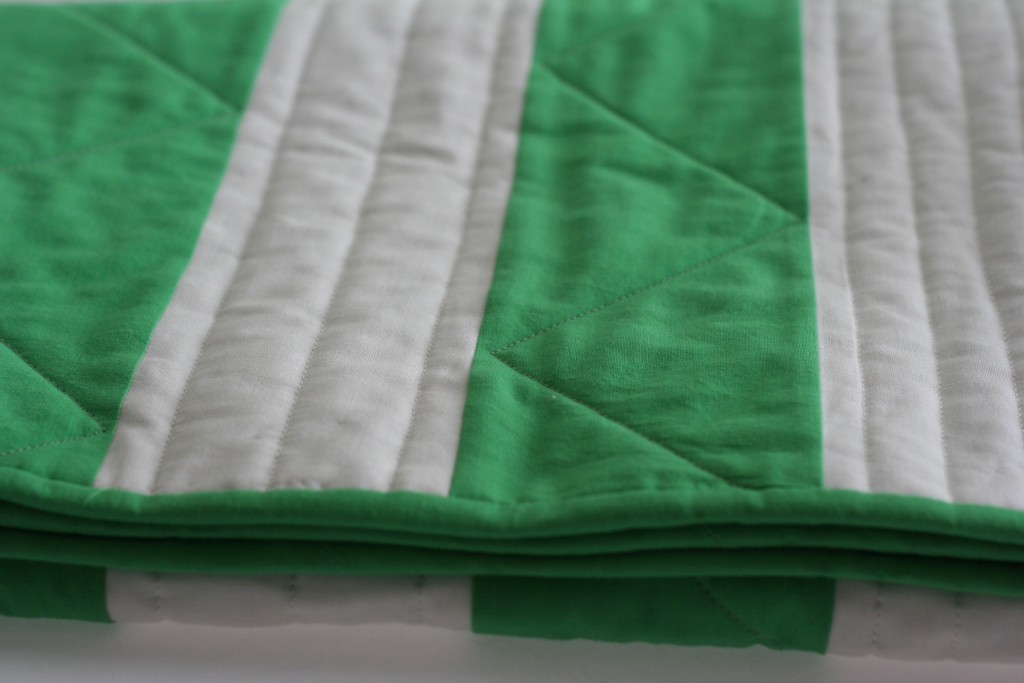
I felt this quilt did not warrant an all over FMQ pattern. Initially I quilted straight lines on the white stripes. I wanted to keep it soft, thus didn’t want to densely quilt it. Without measuring or marking, I used the walking foot and/or the edges of the strips as my guide. My pin basting wasn’t tight enough and I ended up with huge fold in the backing fabric. Ugh. Ripping out that part of the quilting was really the longest part of making the quilt.

My thought was to quilt the white and leave the green blank. Feeling unsure about that decision, I put it out there to my Facebook quilting community and asked what to do with the green. I really didn’t want the quilt to be dense, I wanted a puffy soft feel to it.  Someone suggested doing a very wide, edge to edge zig zag on the green. That was genious. Perfect.

image

I tried to FMQ the first stripe. I marked it and used the free motion foot. Yuk. I hate quilting straight lines without the (stabilizing) help of the feed dogs. For the rest of the rows I marked them with a Frixion pen and a 90 degree trianglular template that I already had. Using the walking foot, I quickly quilted the zig zags.

The back is a very simple Timeless Treasures print that has the perfect shade of green in it.  I bound the quilt with the solid green to retain the simplicity of the quilt top. I listed this quilt in my Etsy shop.

image

In keeping with my goals for June, I did get the batik quilt (my ALYOF goal) pin basted and plan to  start quilting it this weekend. I am using an all-over pattern of a leafy vine from Christina Cameli’s book. Crossing fingers for this one!

Hope everyone has a wonderful weekend!

Linking to Amanda Jean over at Crazy Mom Quilts as well as Sarah at Confessions of a Fabric Addict.