The week is starting out with a bang! Yesterday I was scheduled to have some dental surgery today and I really, really, really wasn’t looking forward to it. Imagine my joy when the dental office called to reschedule my appointment (hopefully in another decade, another century, as far out as I can schedule it!) Anyway, Ray had taken the day off because he expected to be driving the patient home and rolling his loopy wife out of the car and into bed. Since we didn’t have to do this, we opted for a drive up to Downieville and a hike.
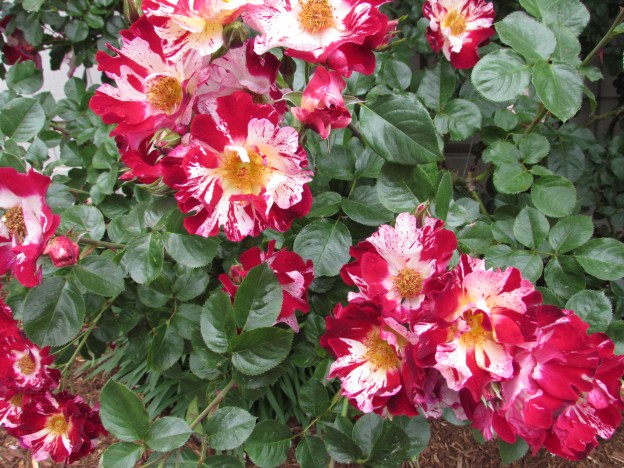
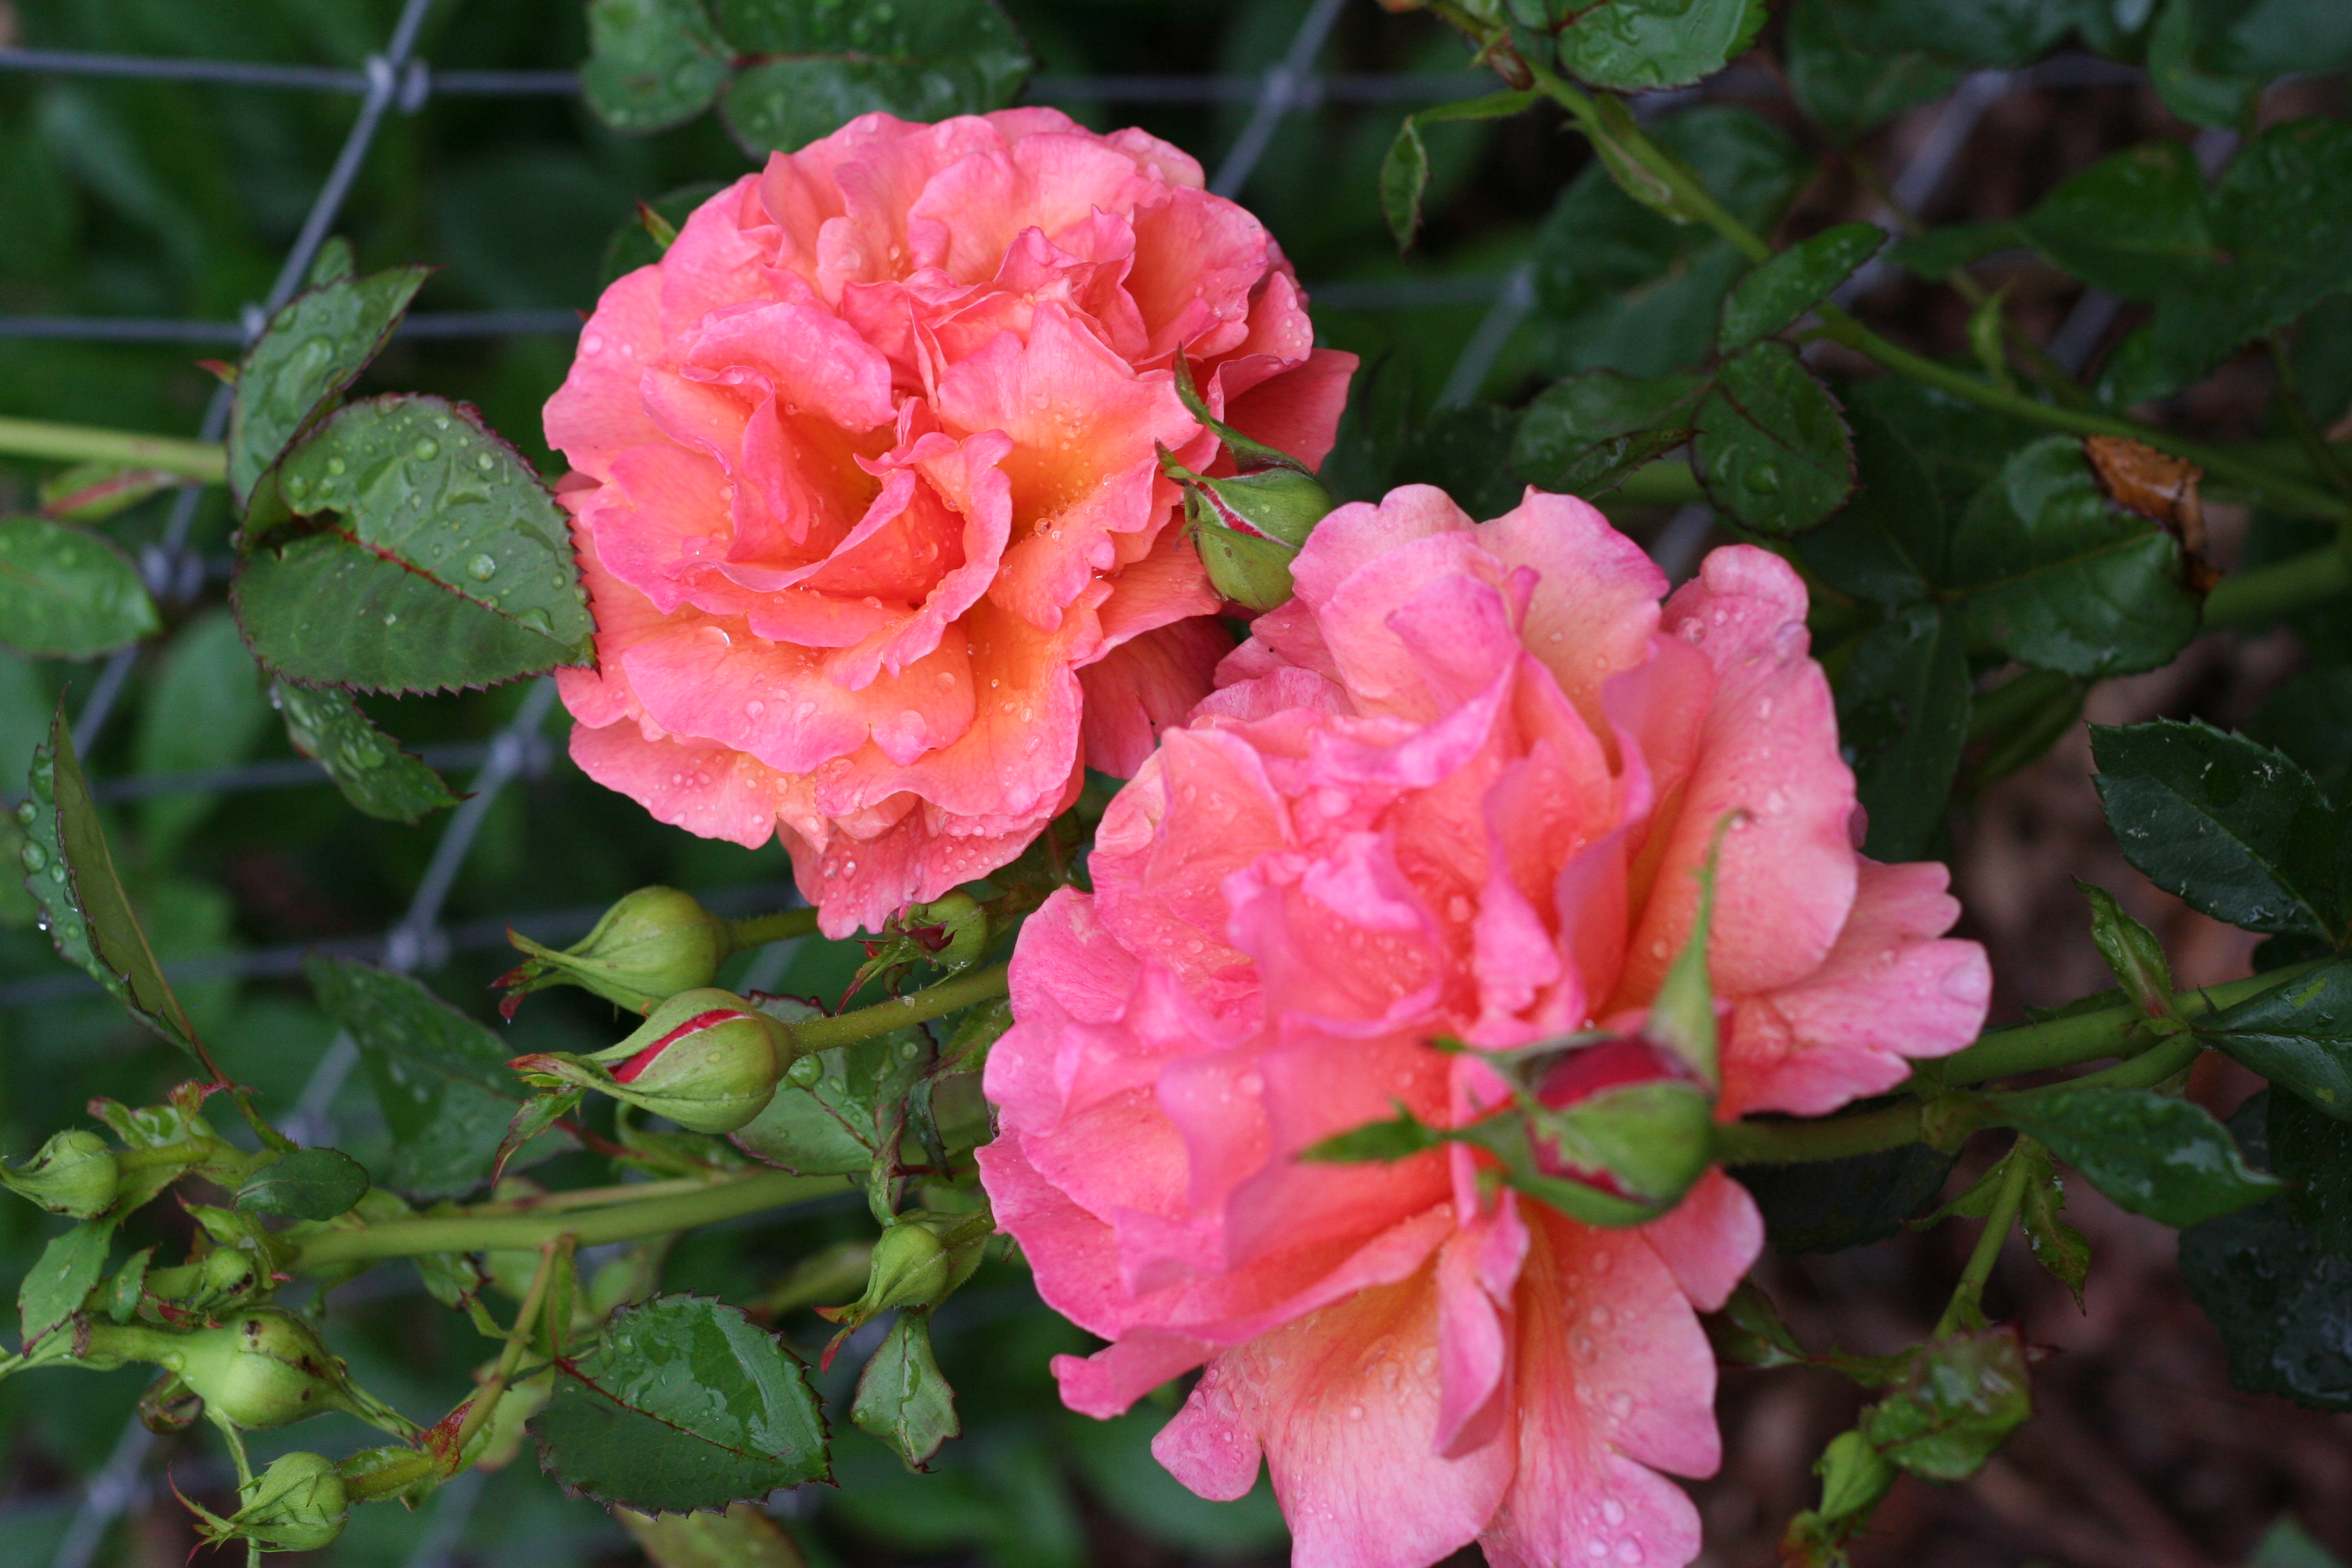
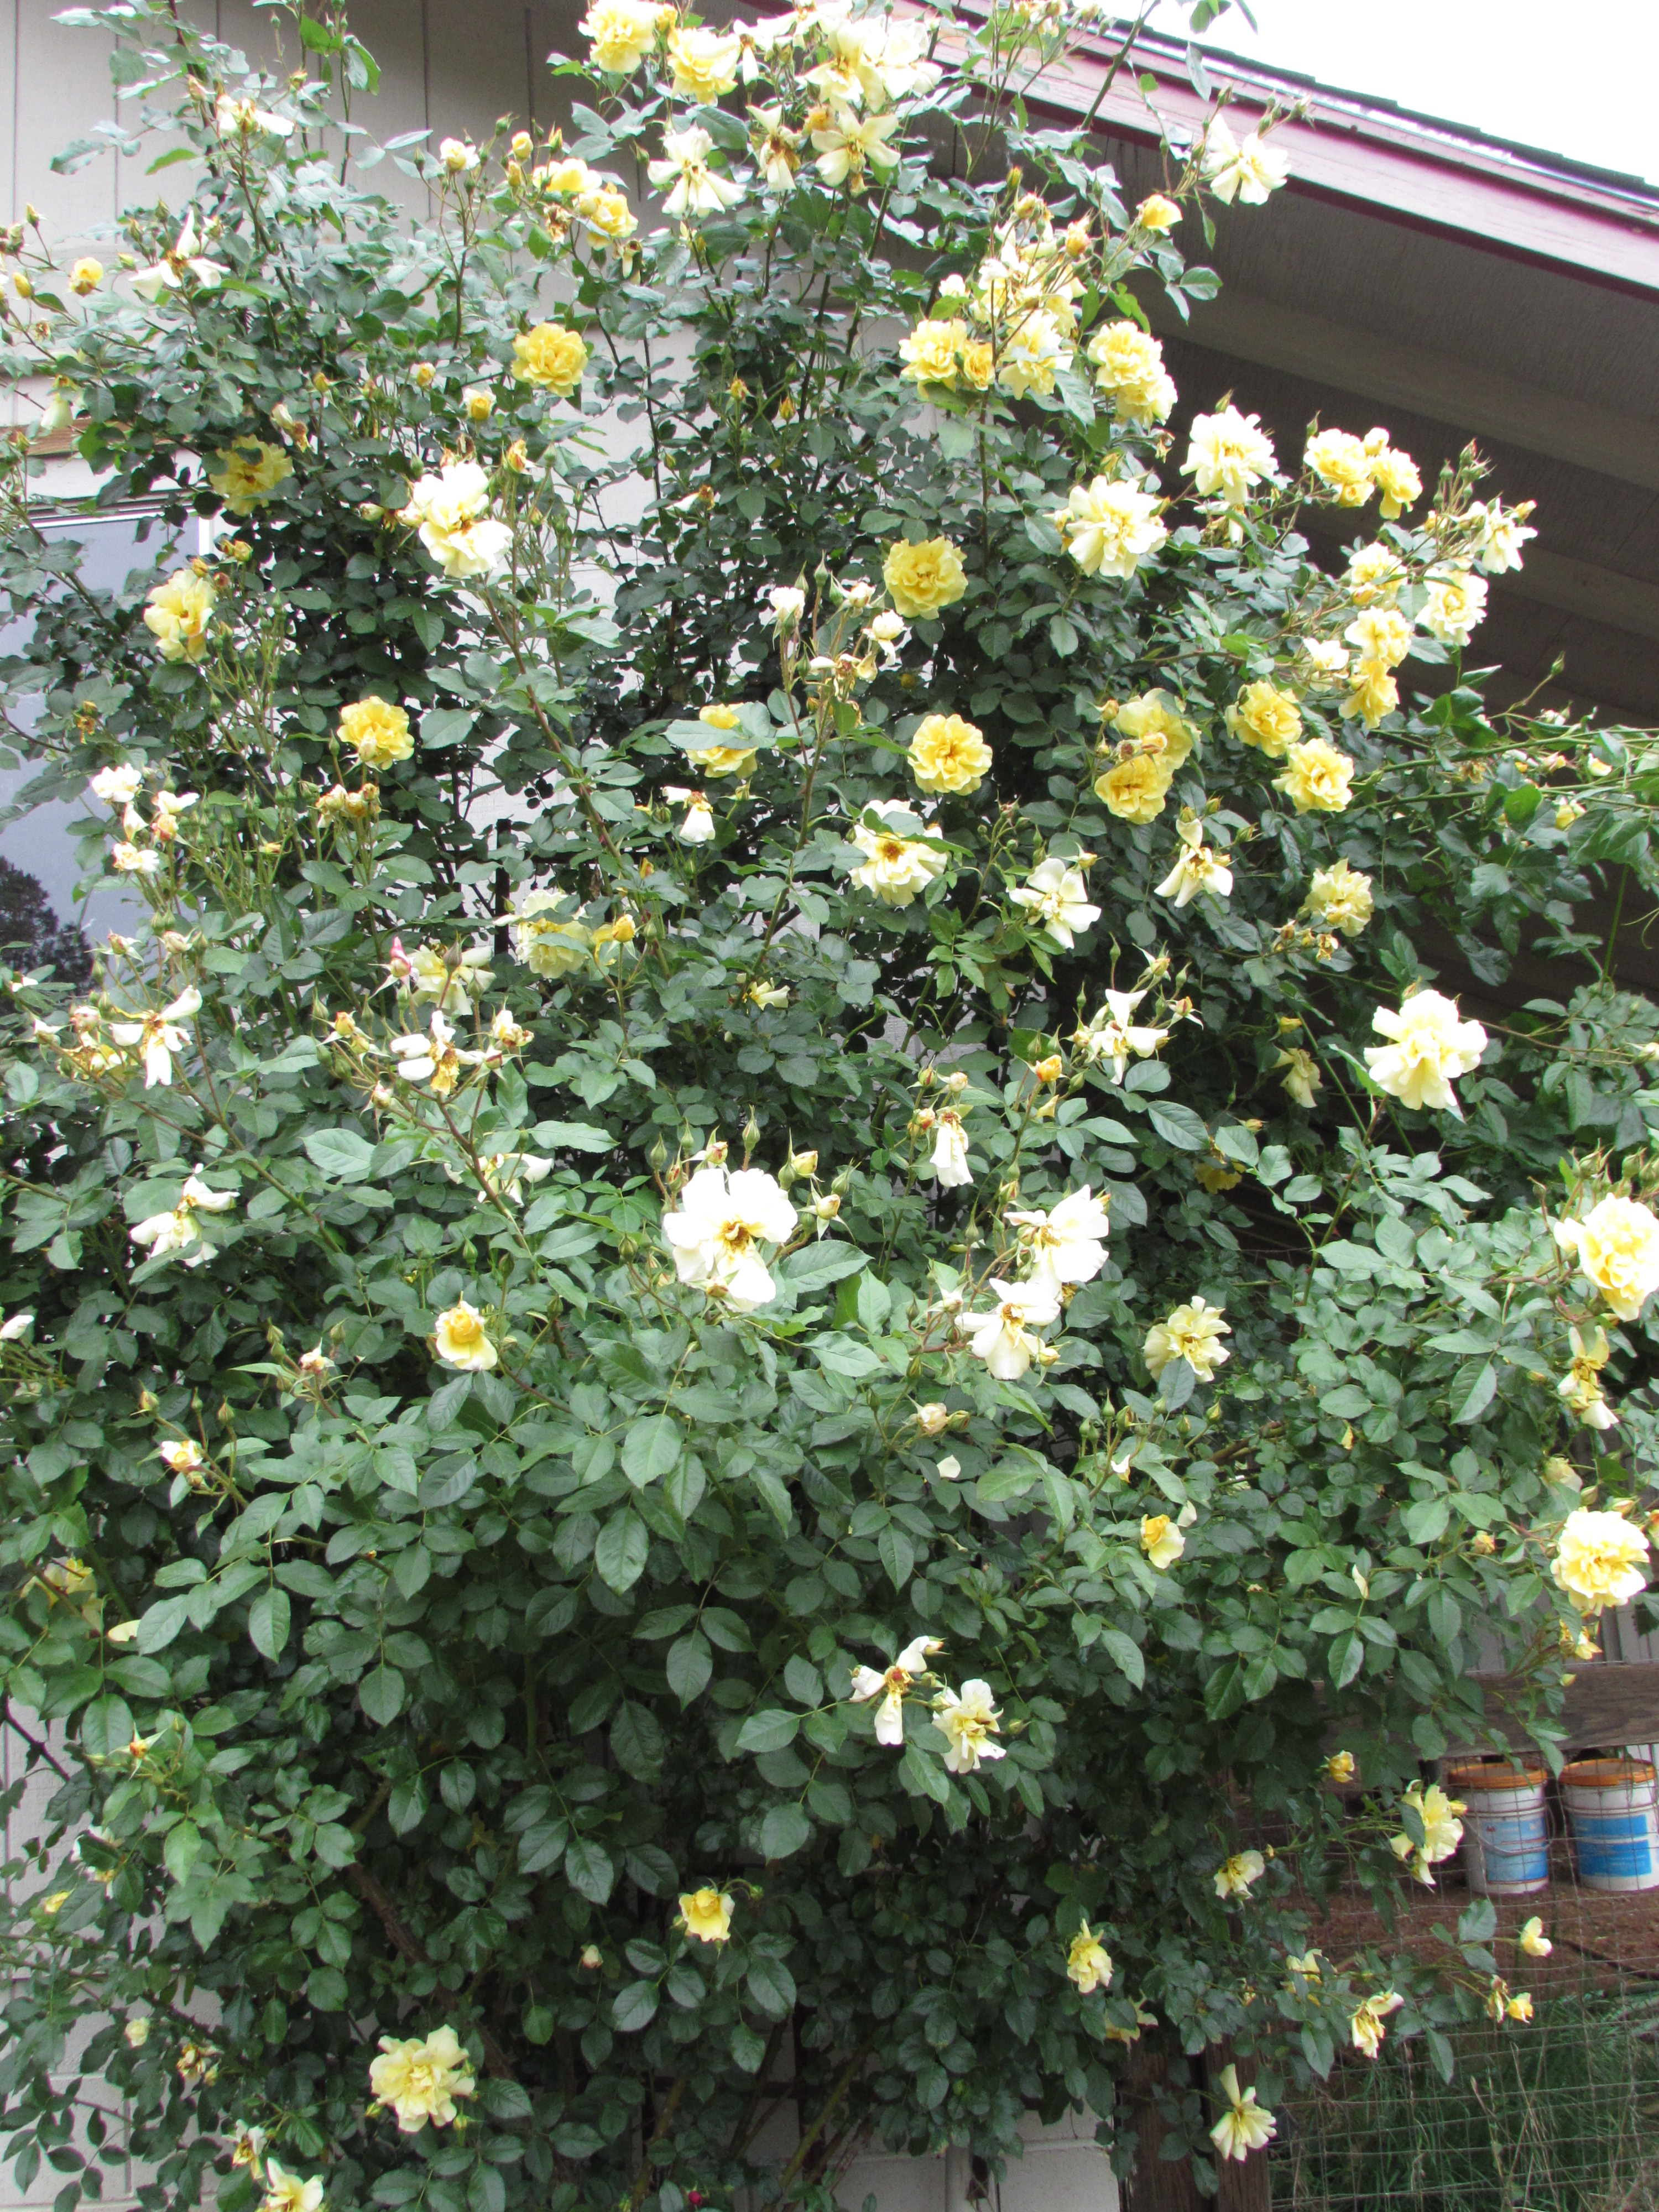
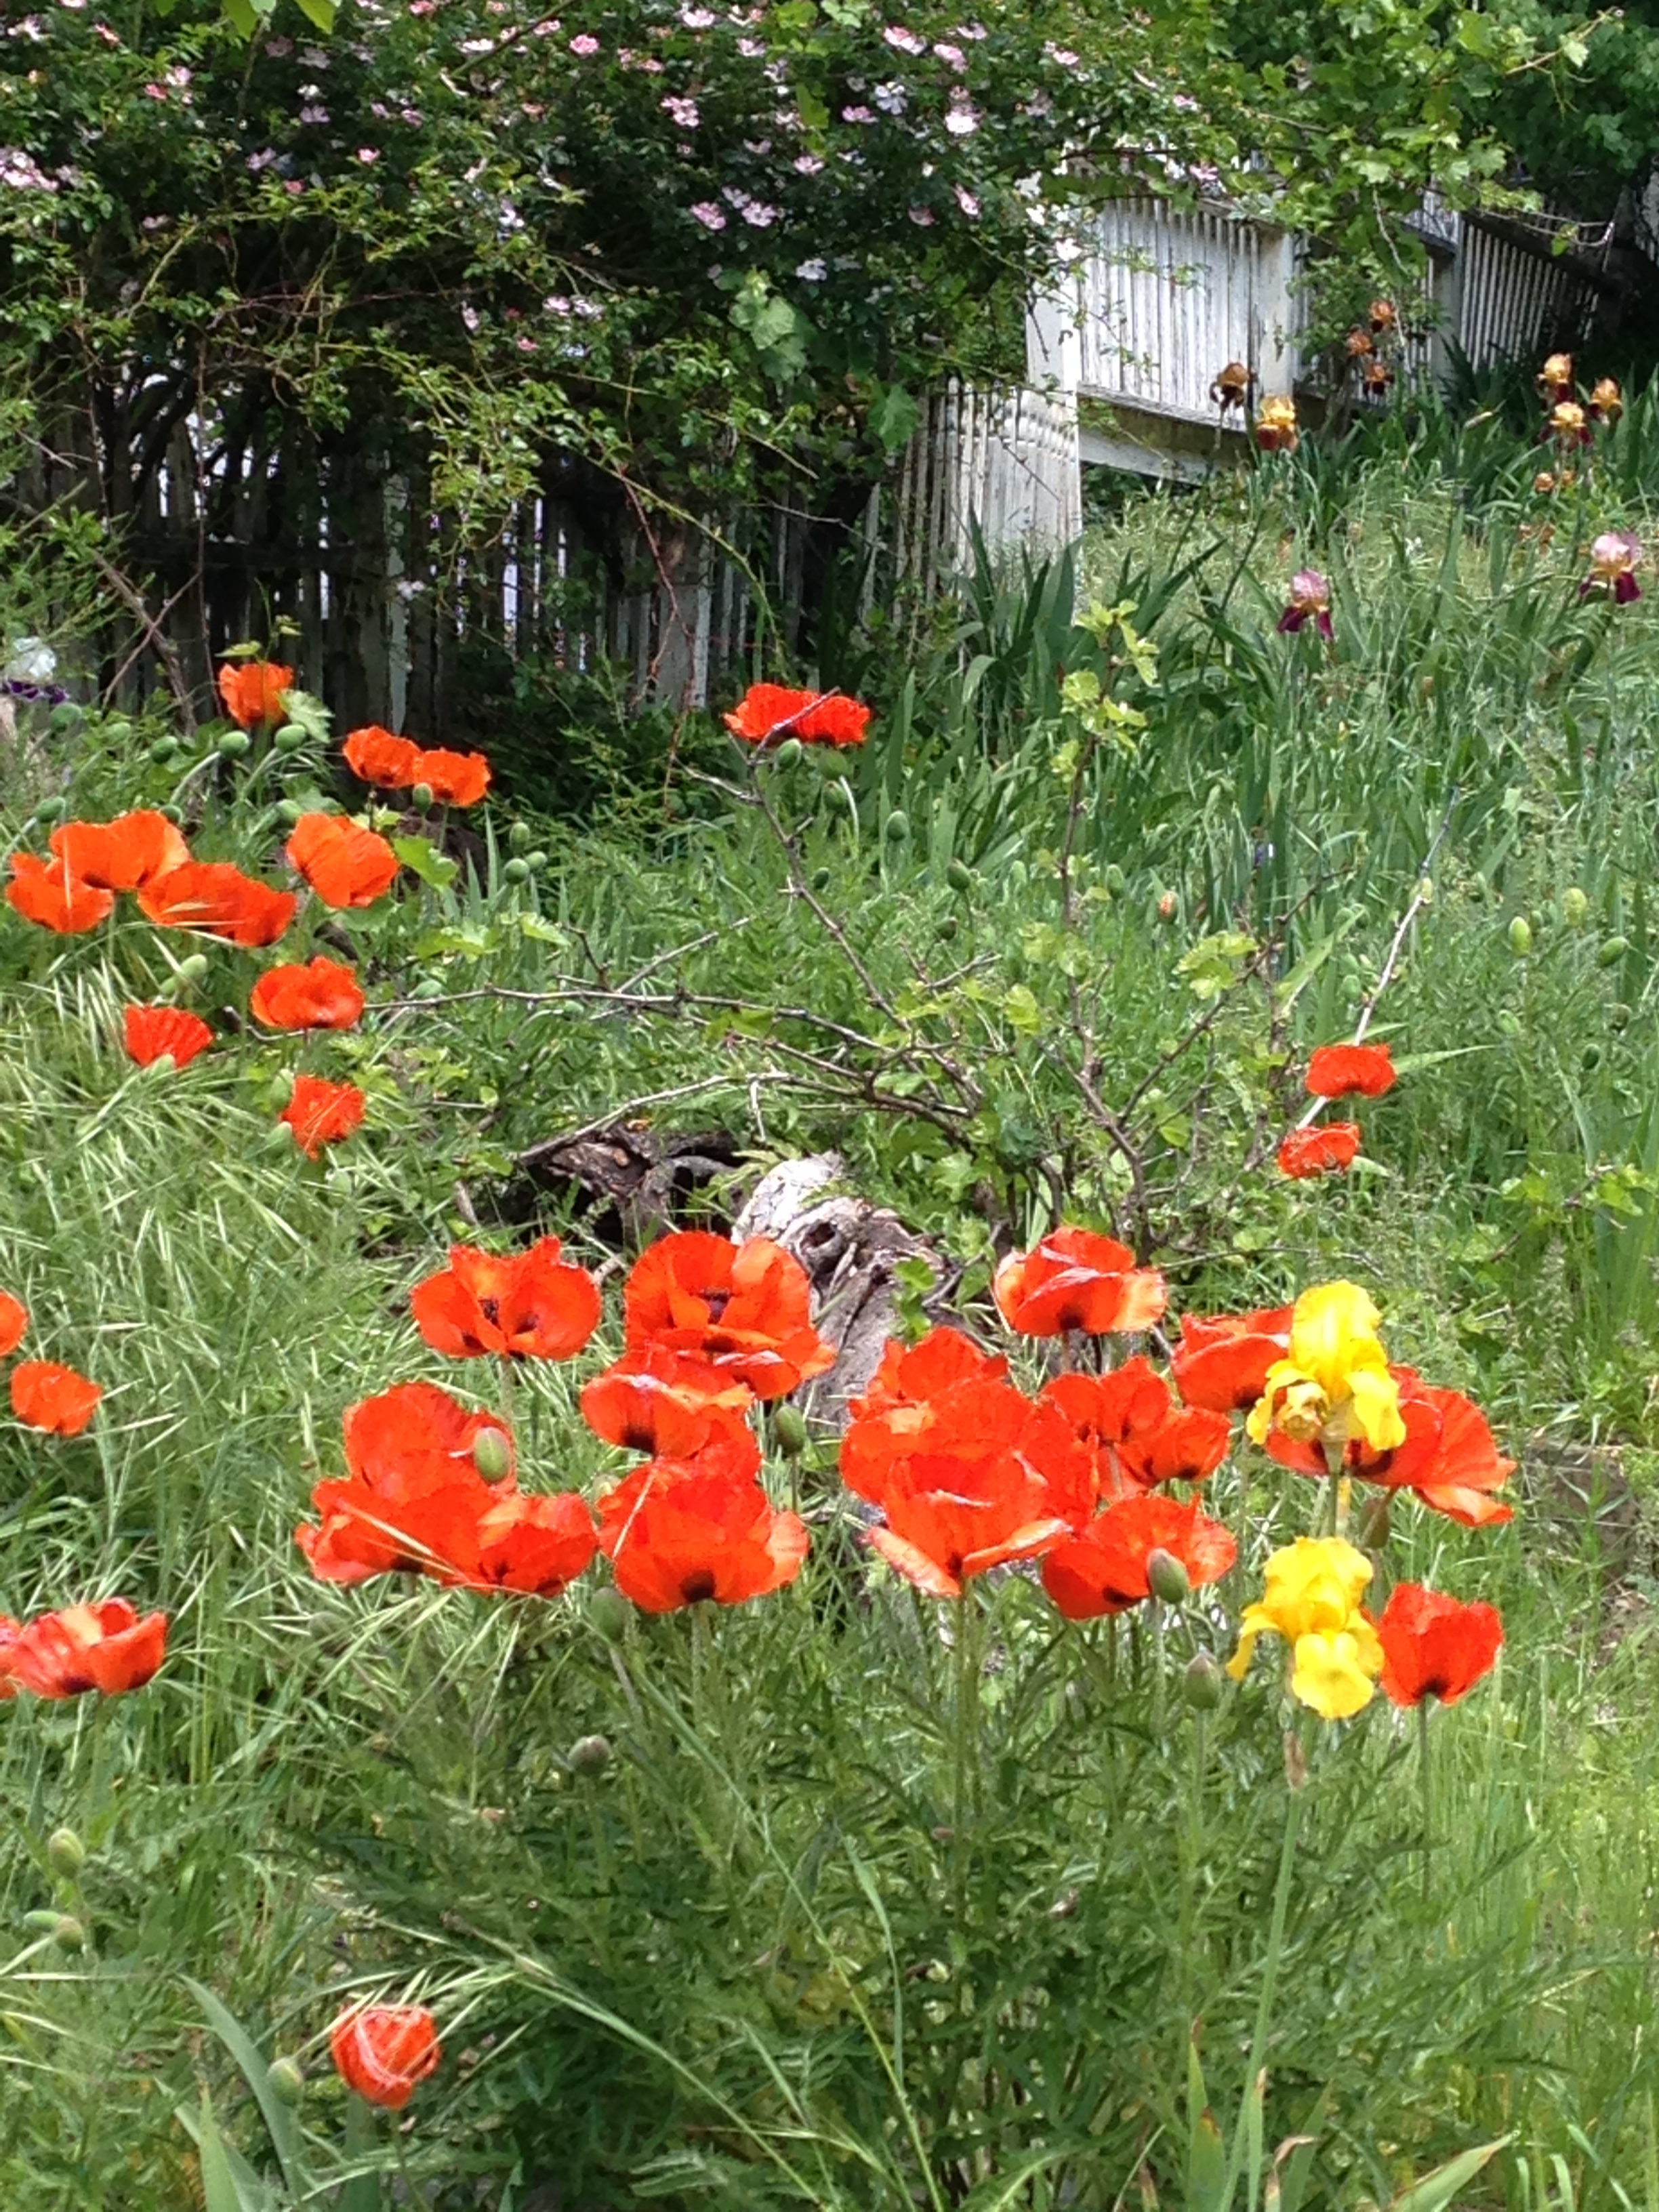 These poppies are just everywhere. Last year when they all went to seed, I collected tons of seed pods and tried to start them in our garden. Not one plant came up. I am not sure why but I am going to give it another try this fall. I know they are grow happily up here as they are just covering everyone’s yards and hillsides. I love the drama of these vivid red poppies.
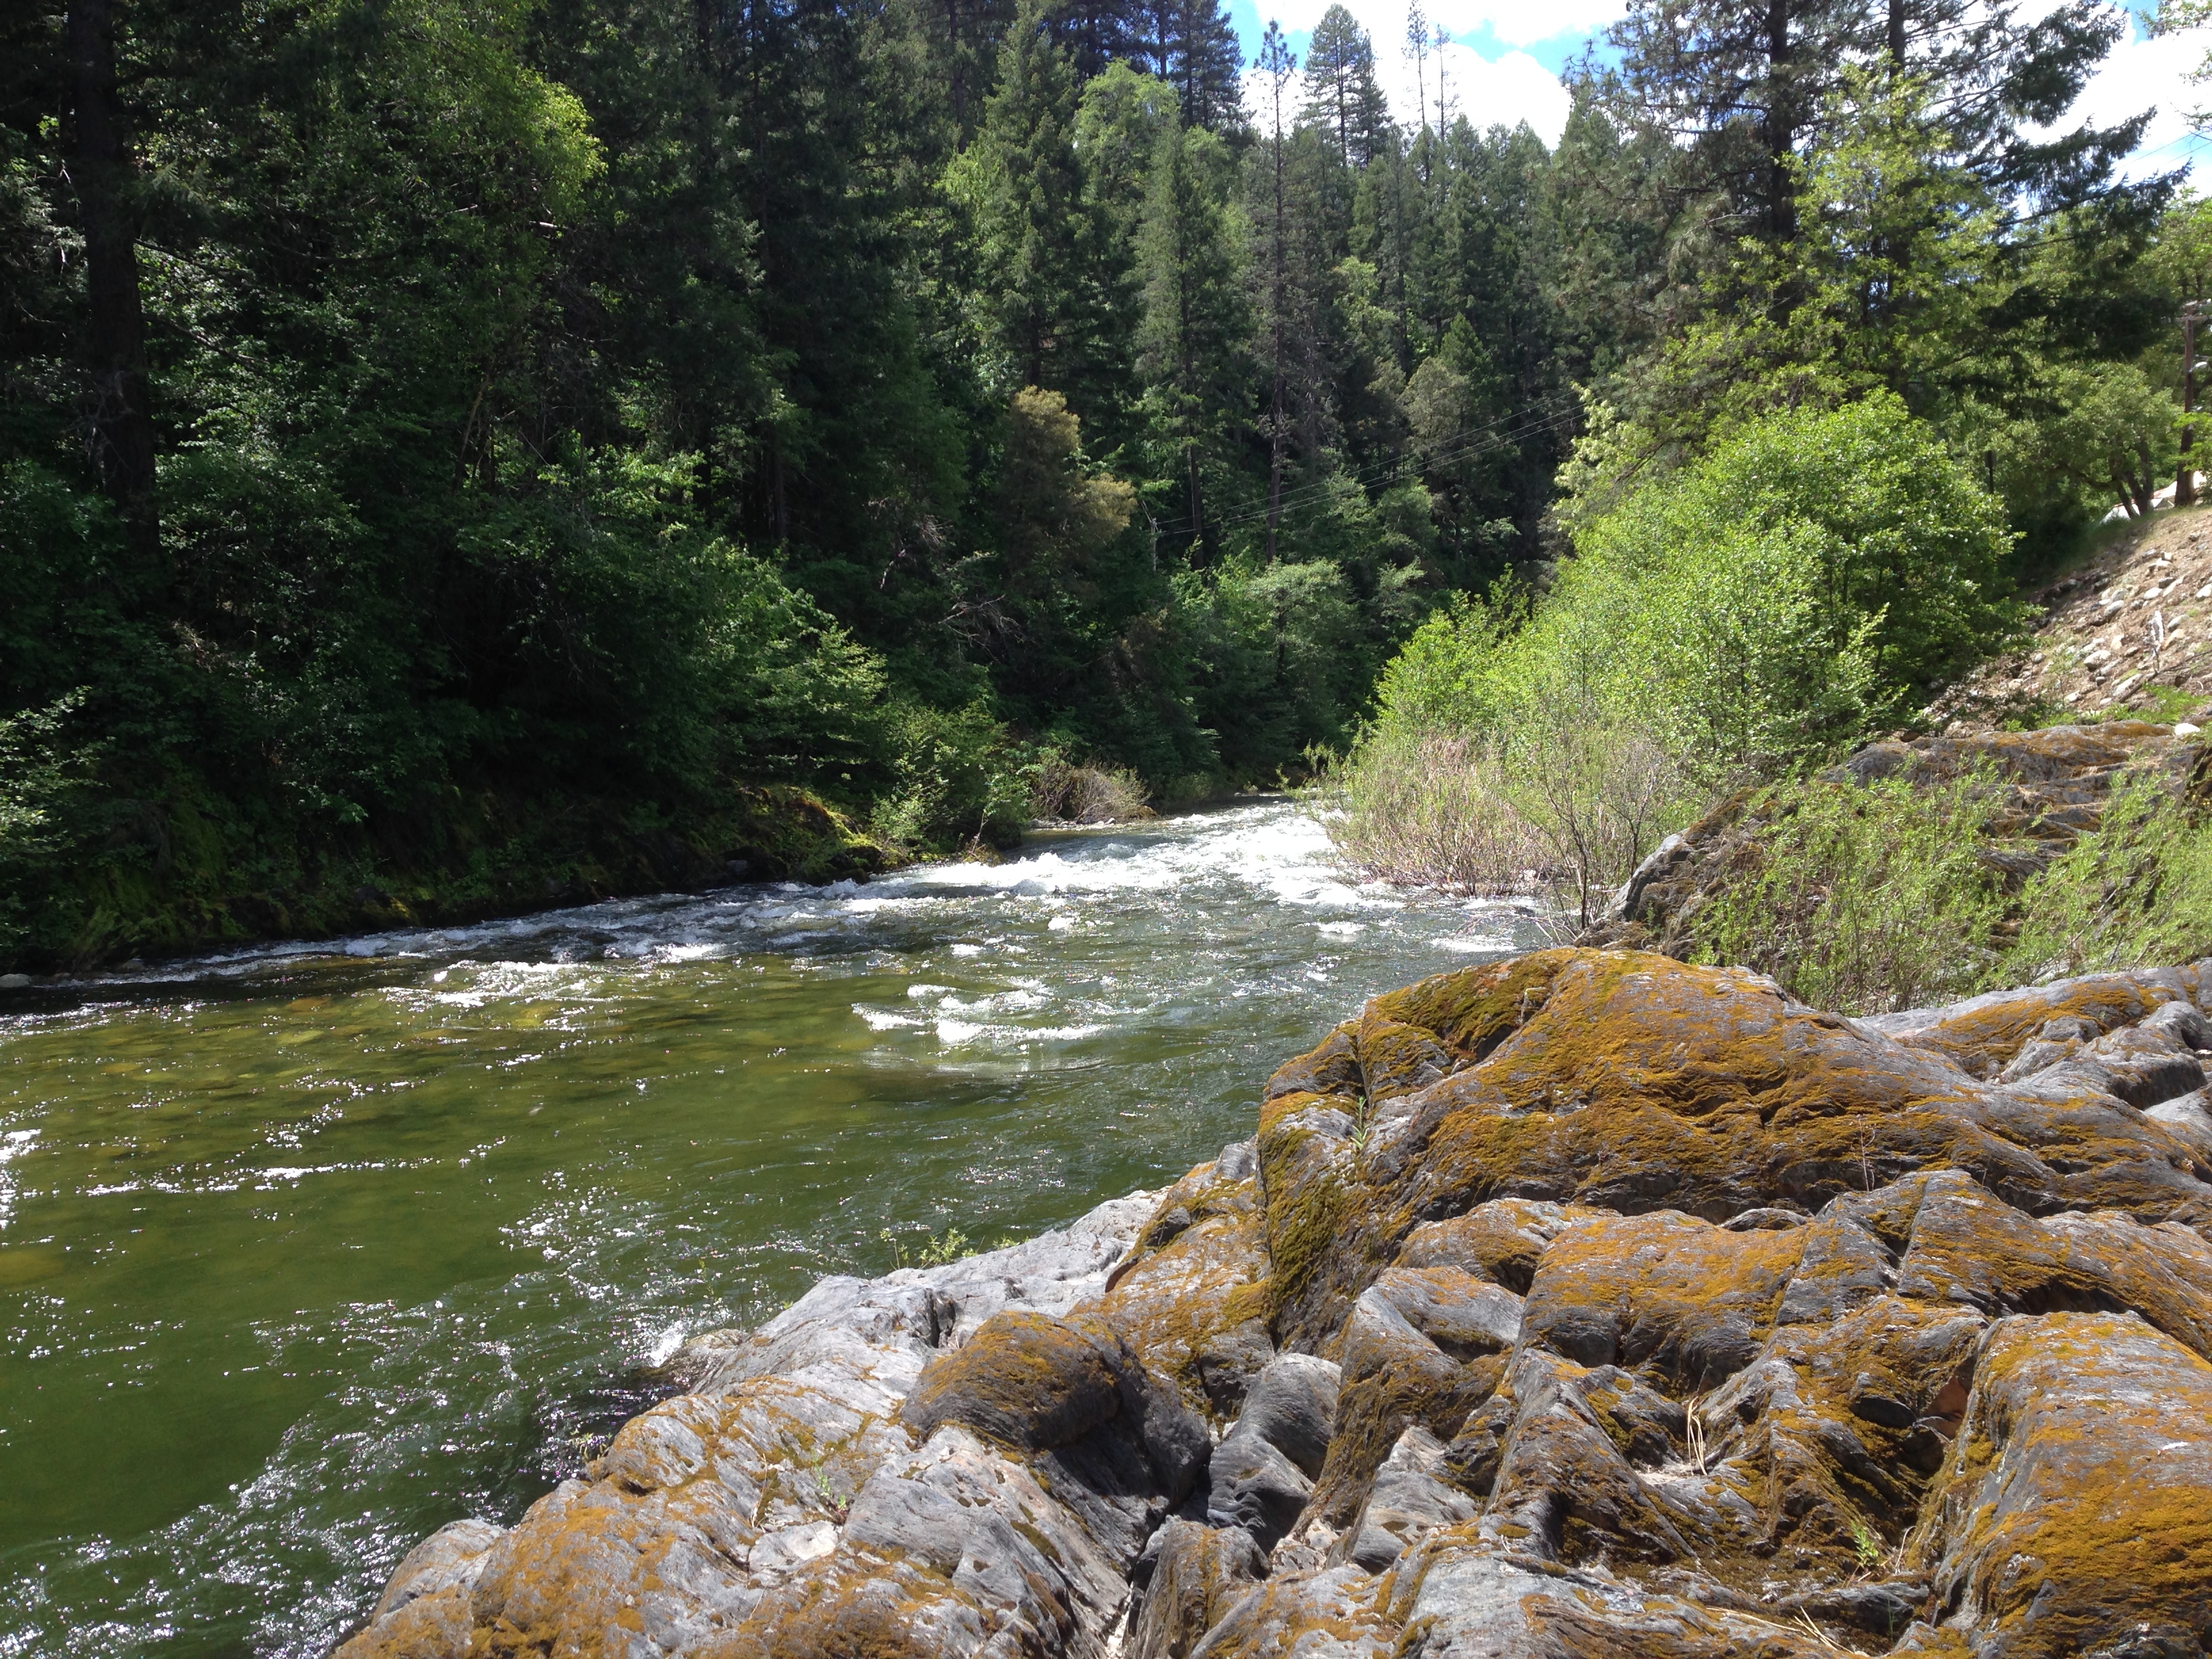
Really deep and crystal clear, the river is running so fast. Ray and I are curious to see how high it remains this summer. Last year, with the drought, it ran quite low. I suspect this summer will be a different story. Monday was a totally different day than the one I expected. Hurray for small blessings like dental appointment cancellations!!!
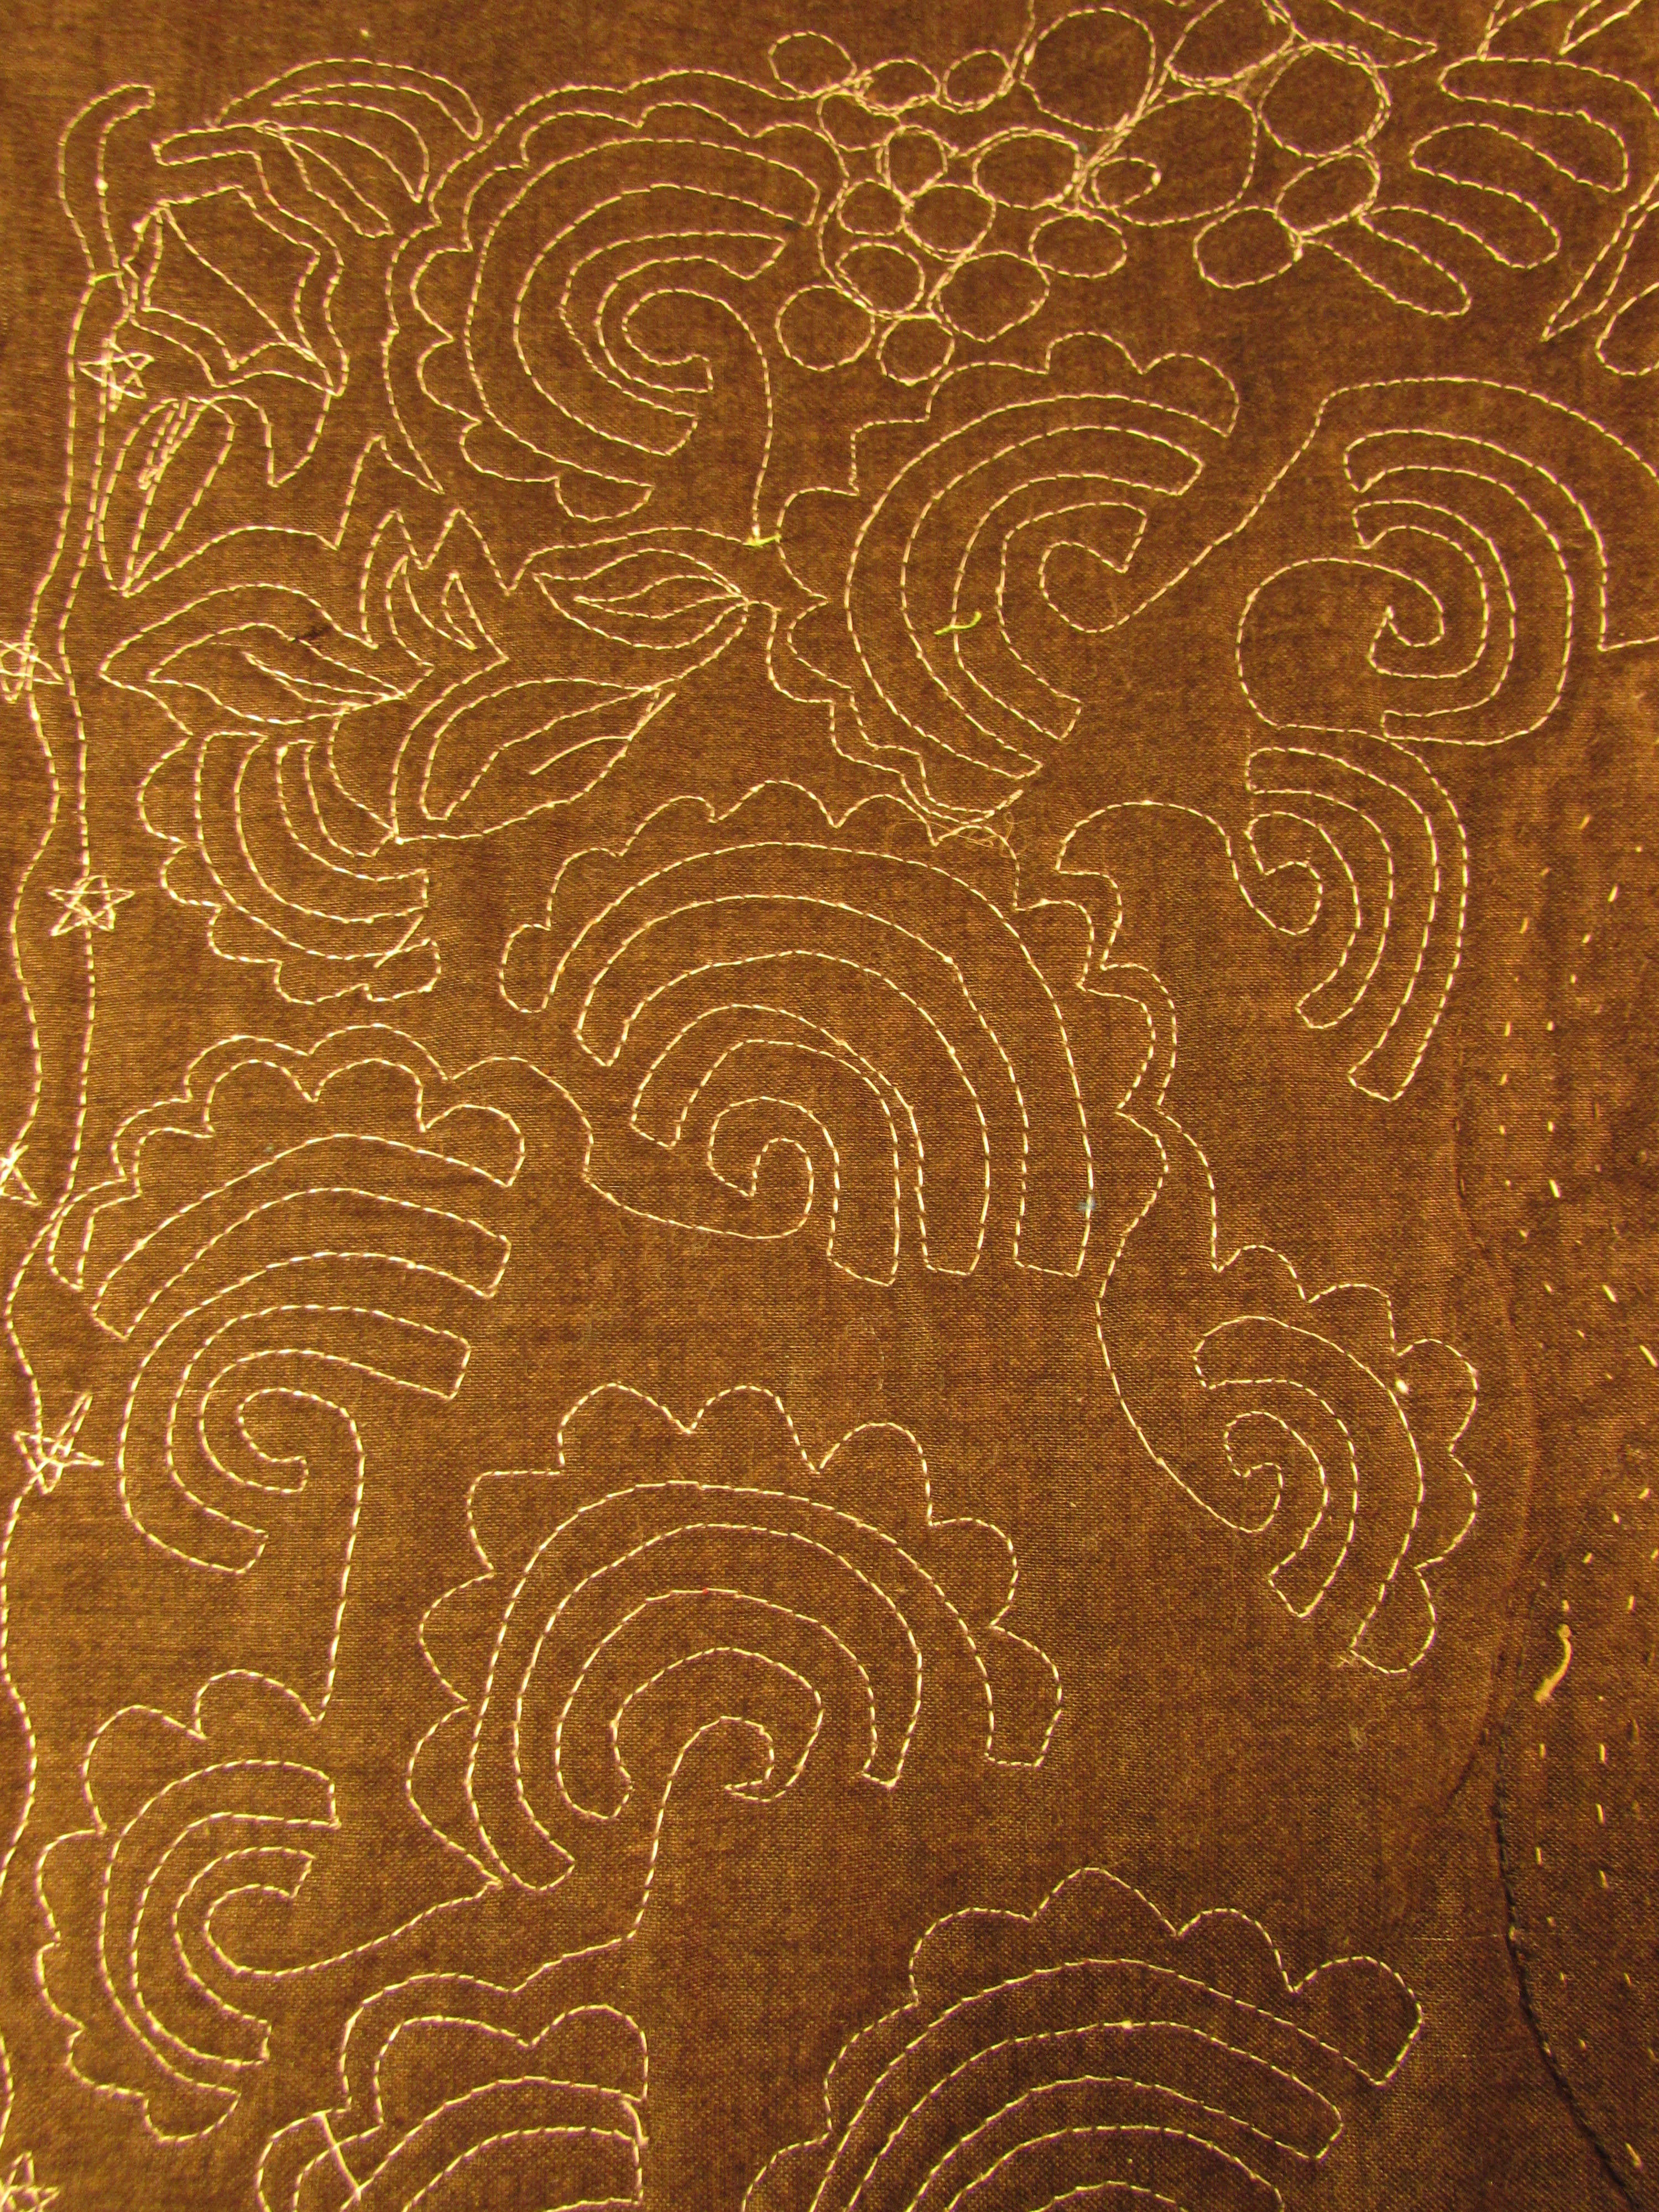
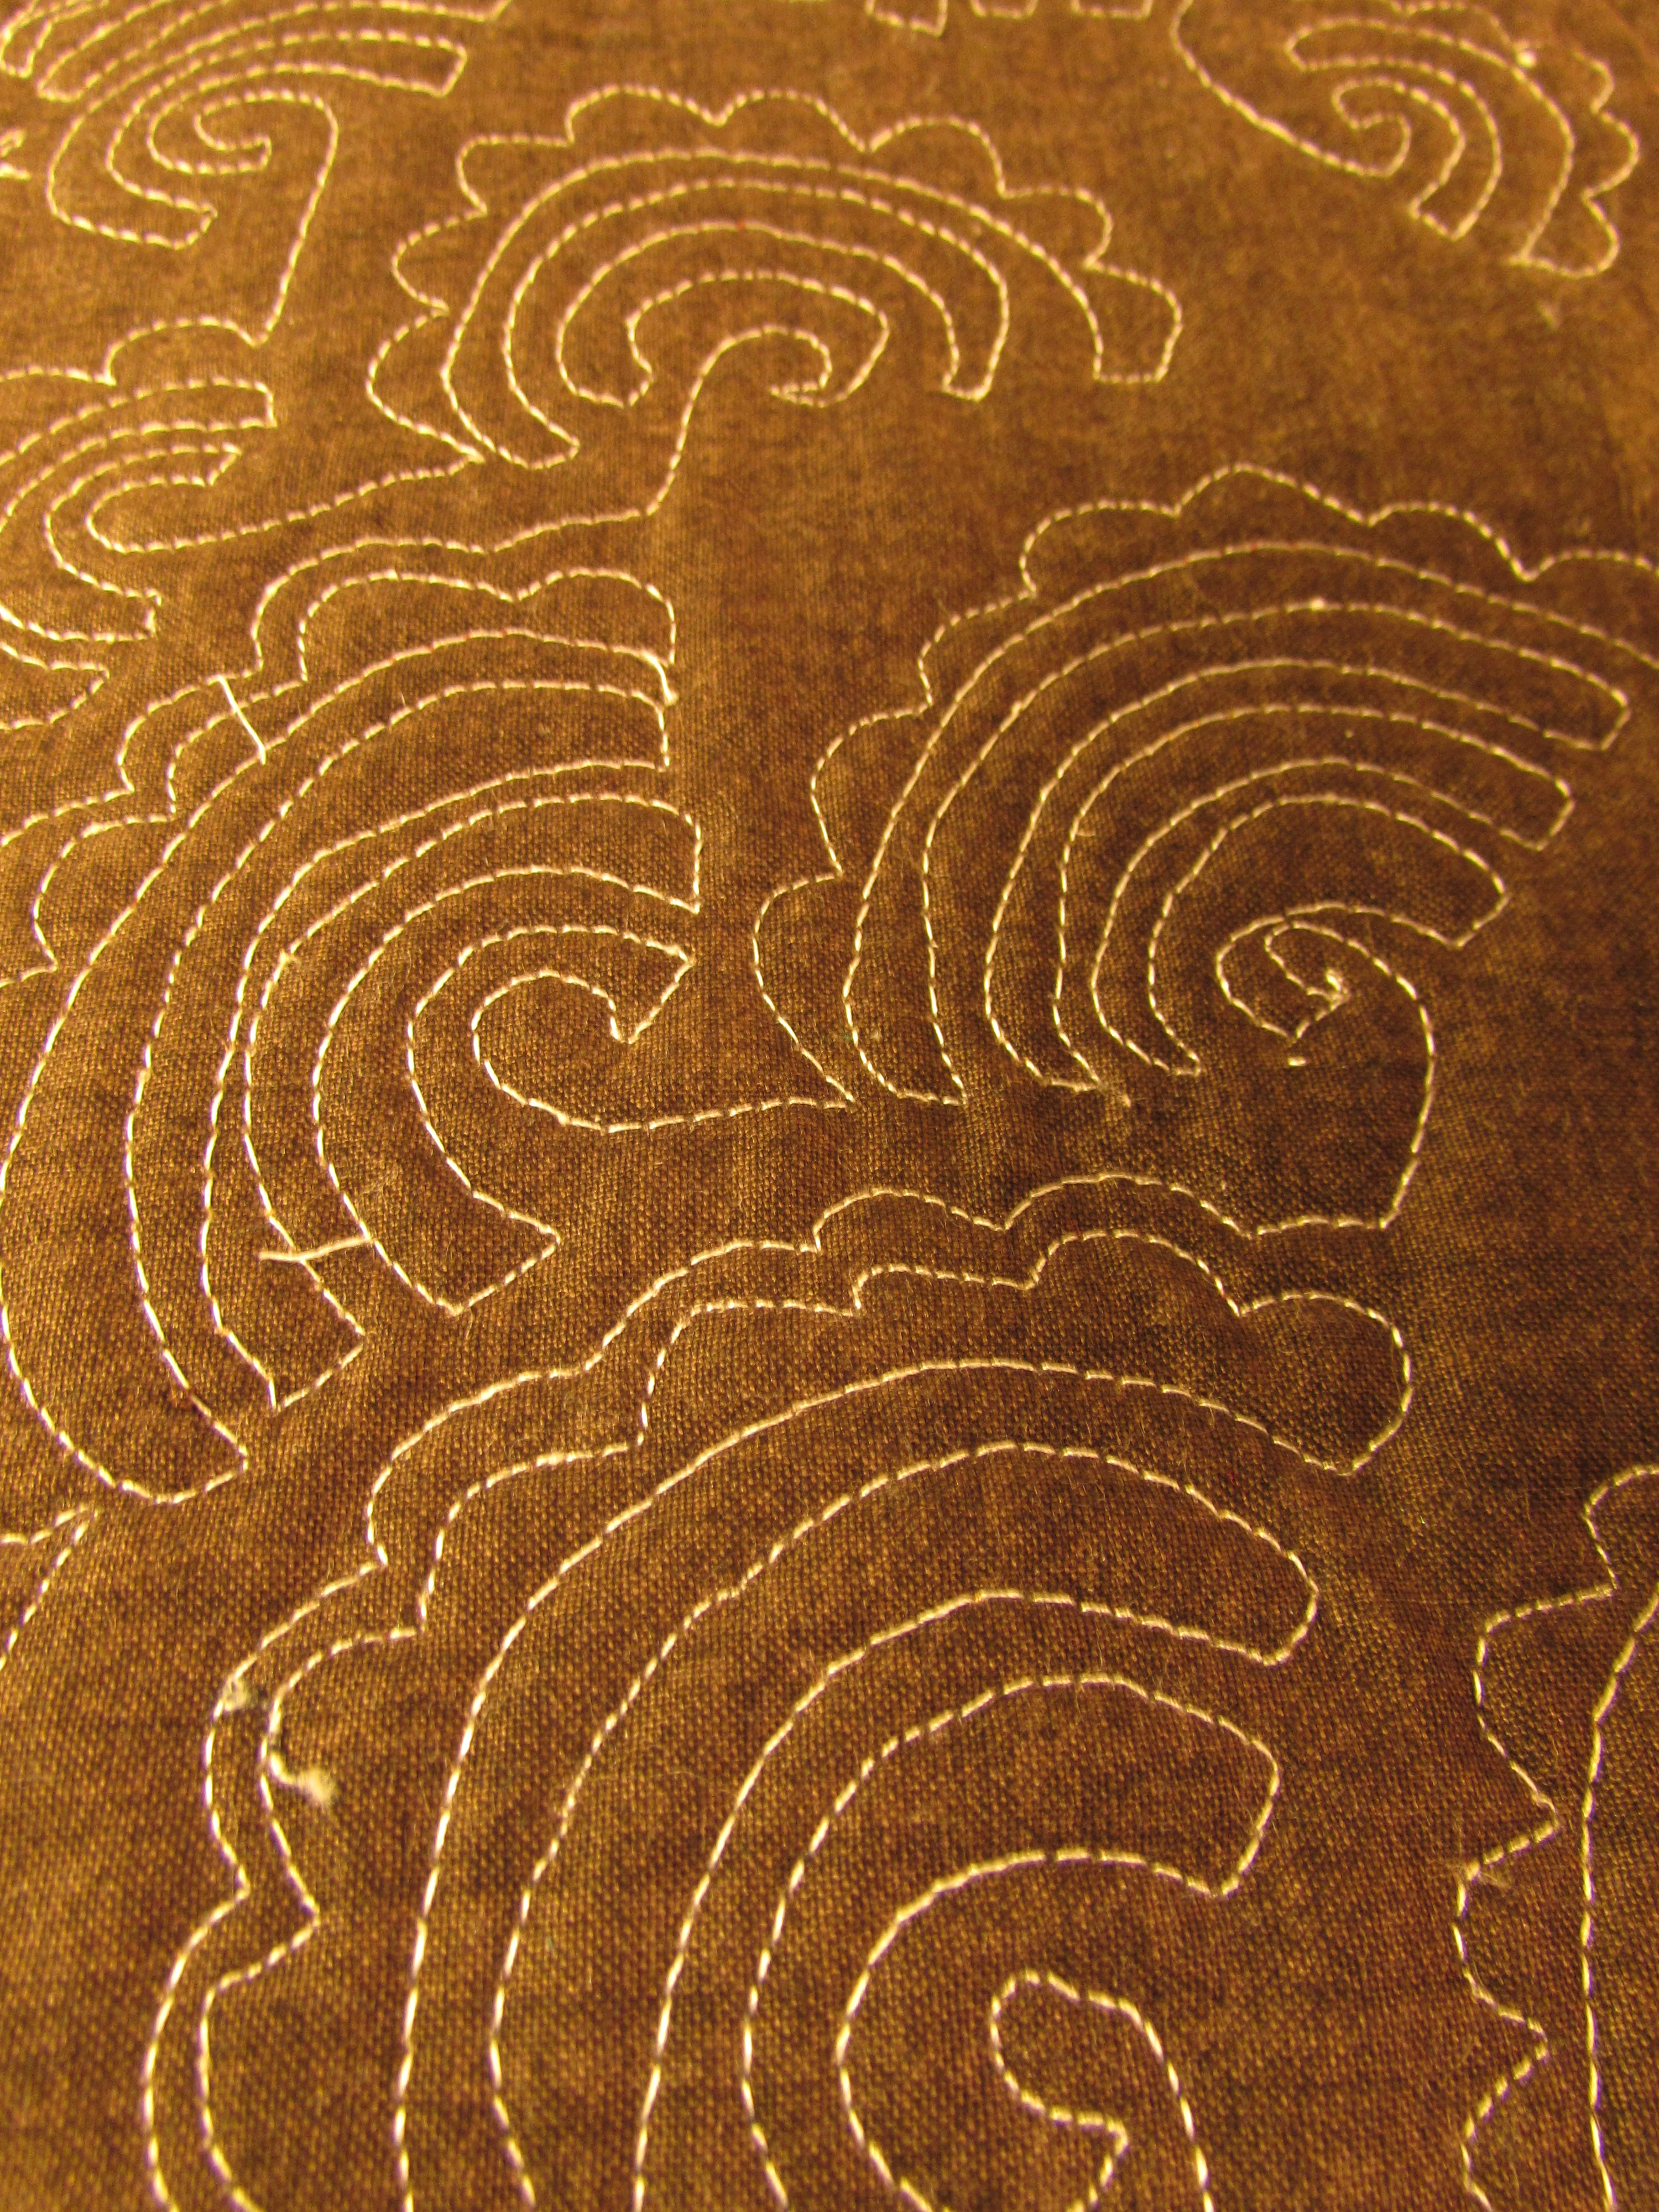
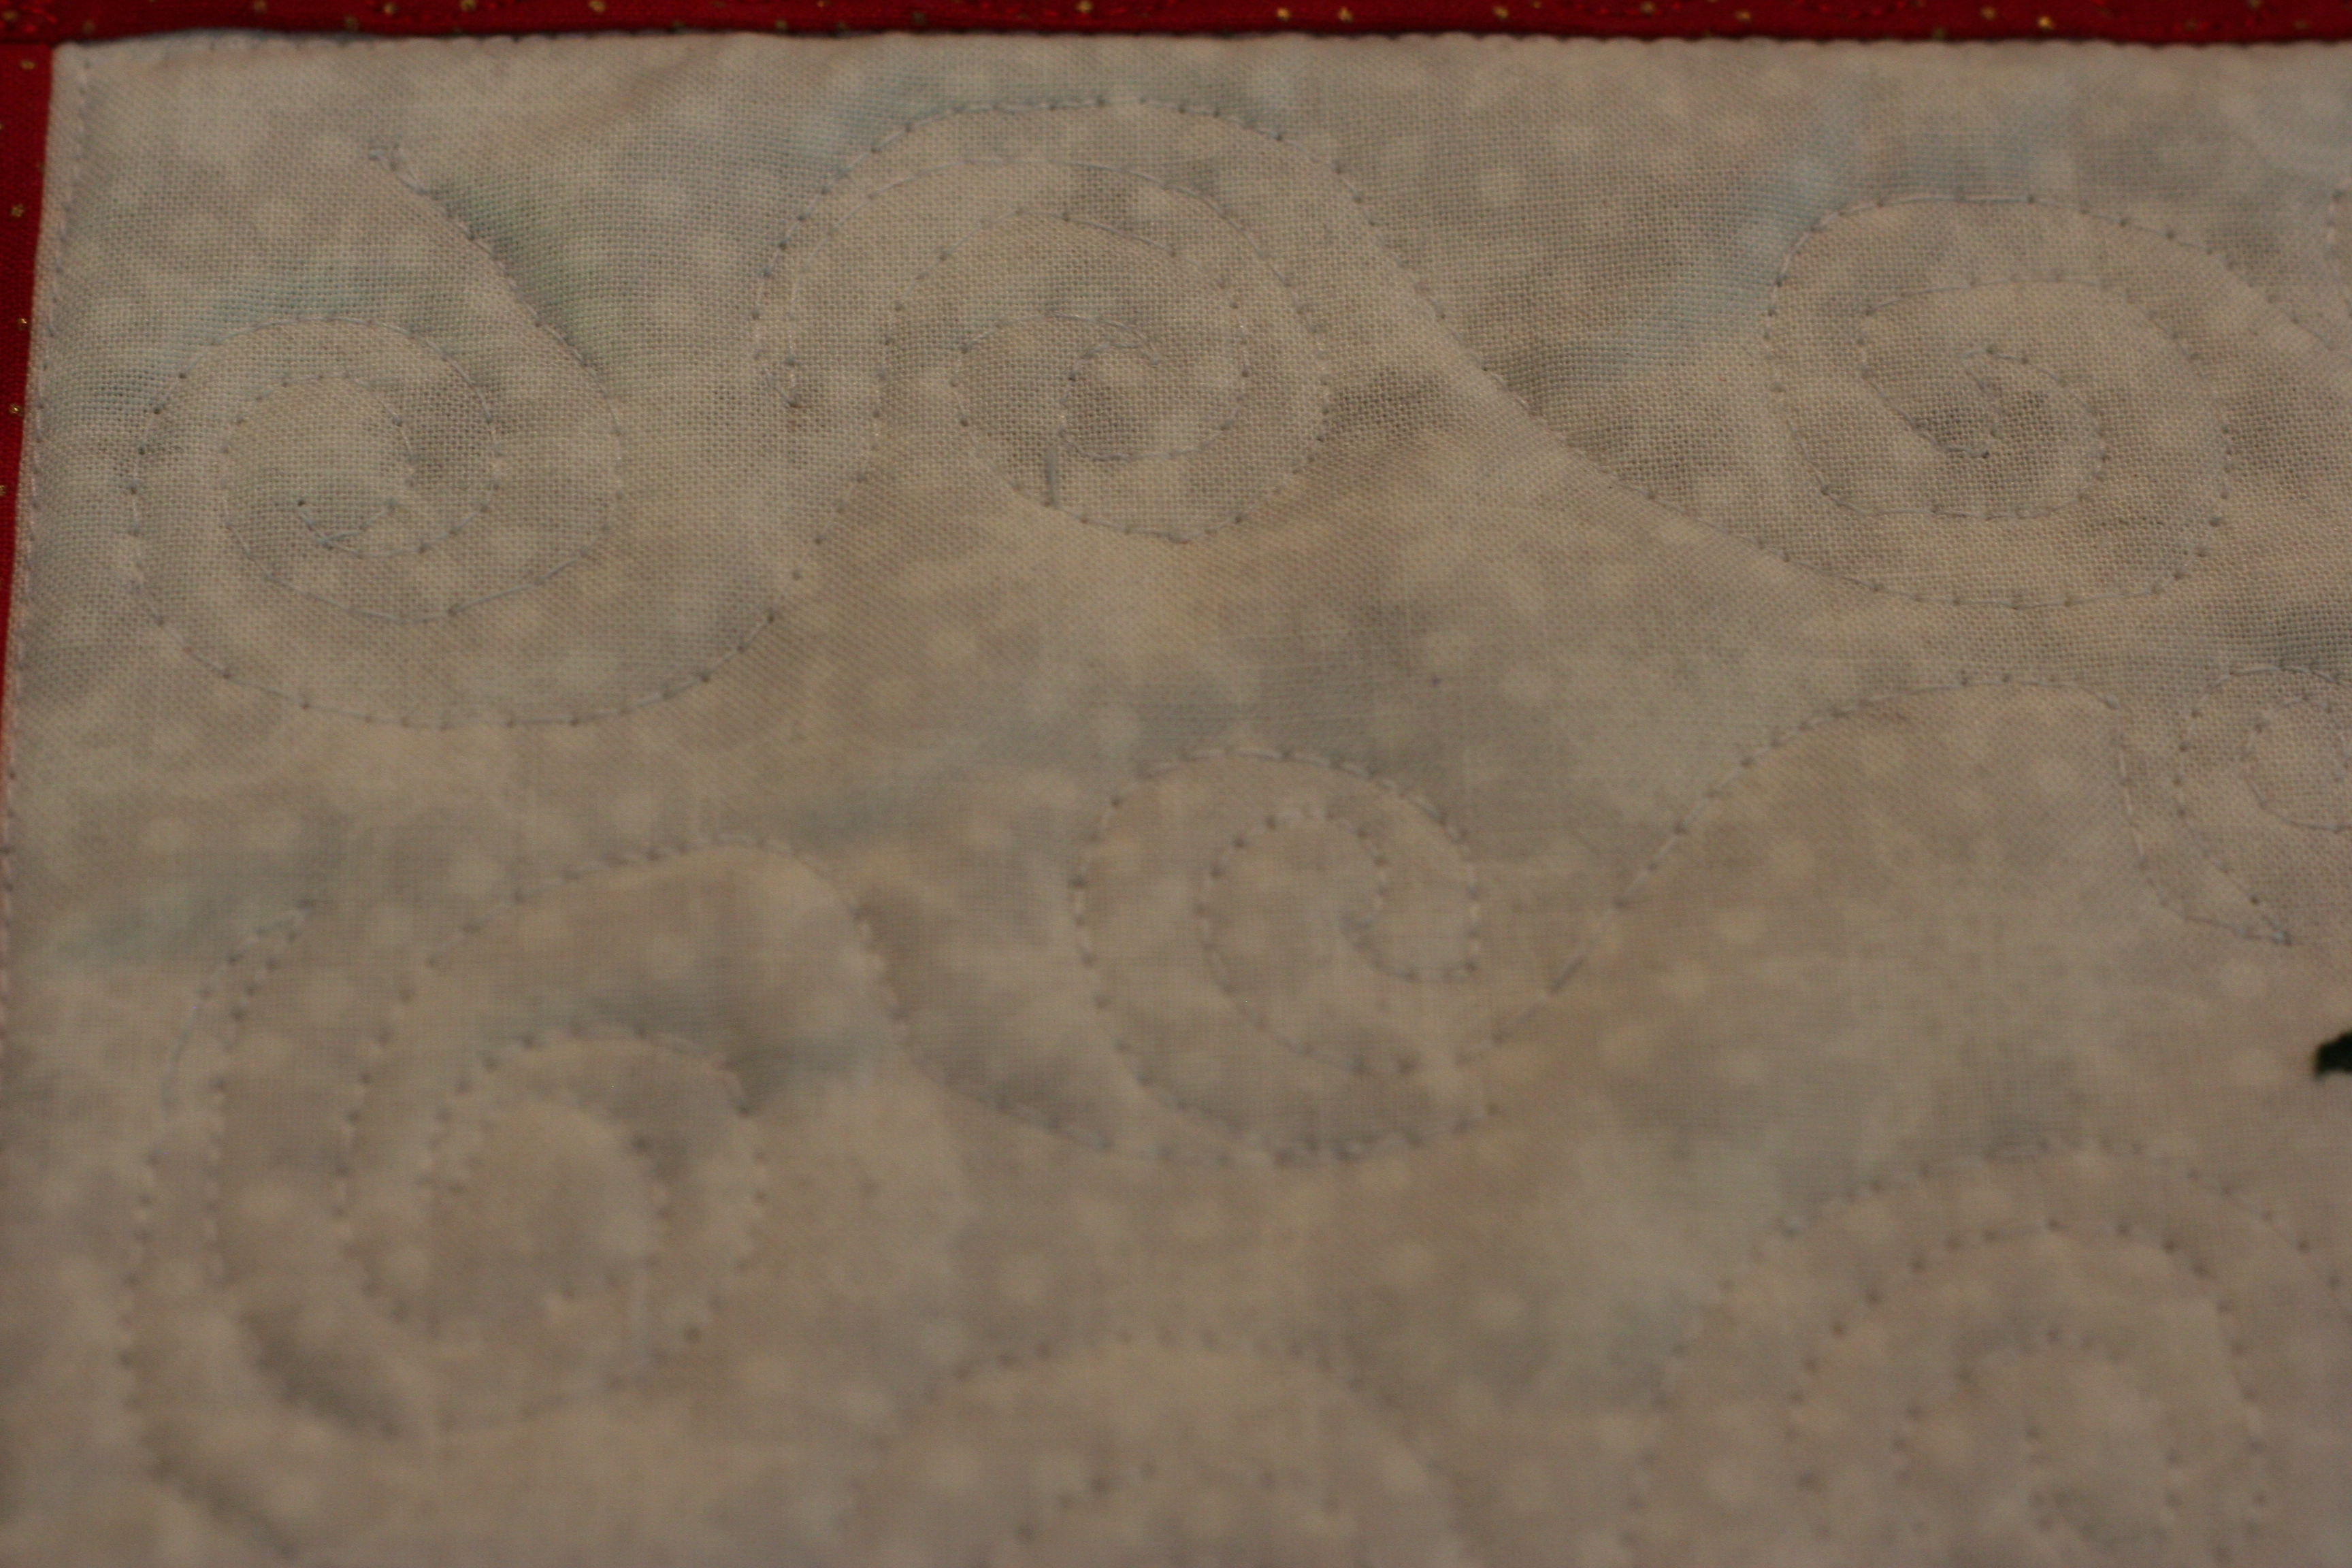
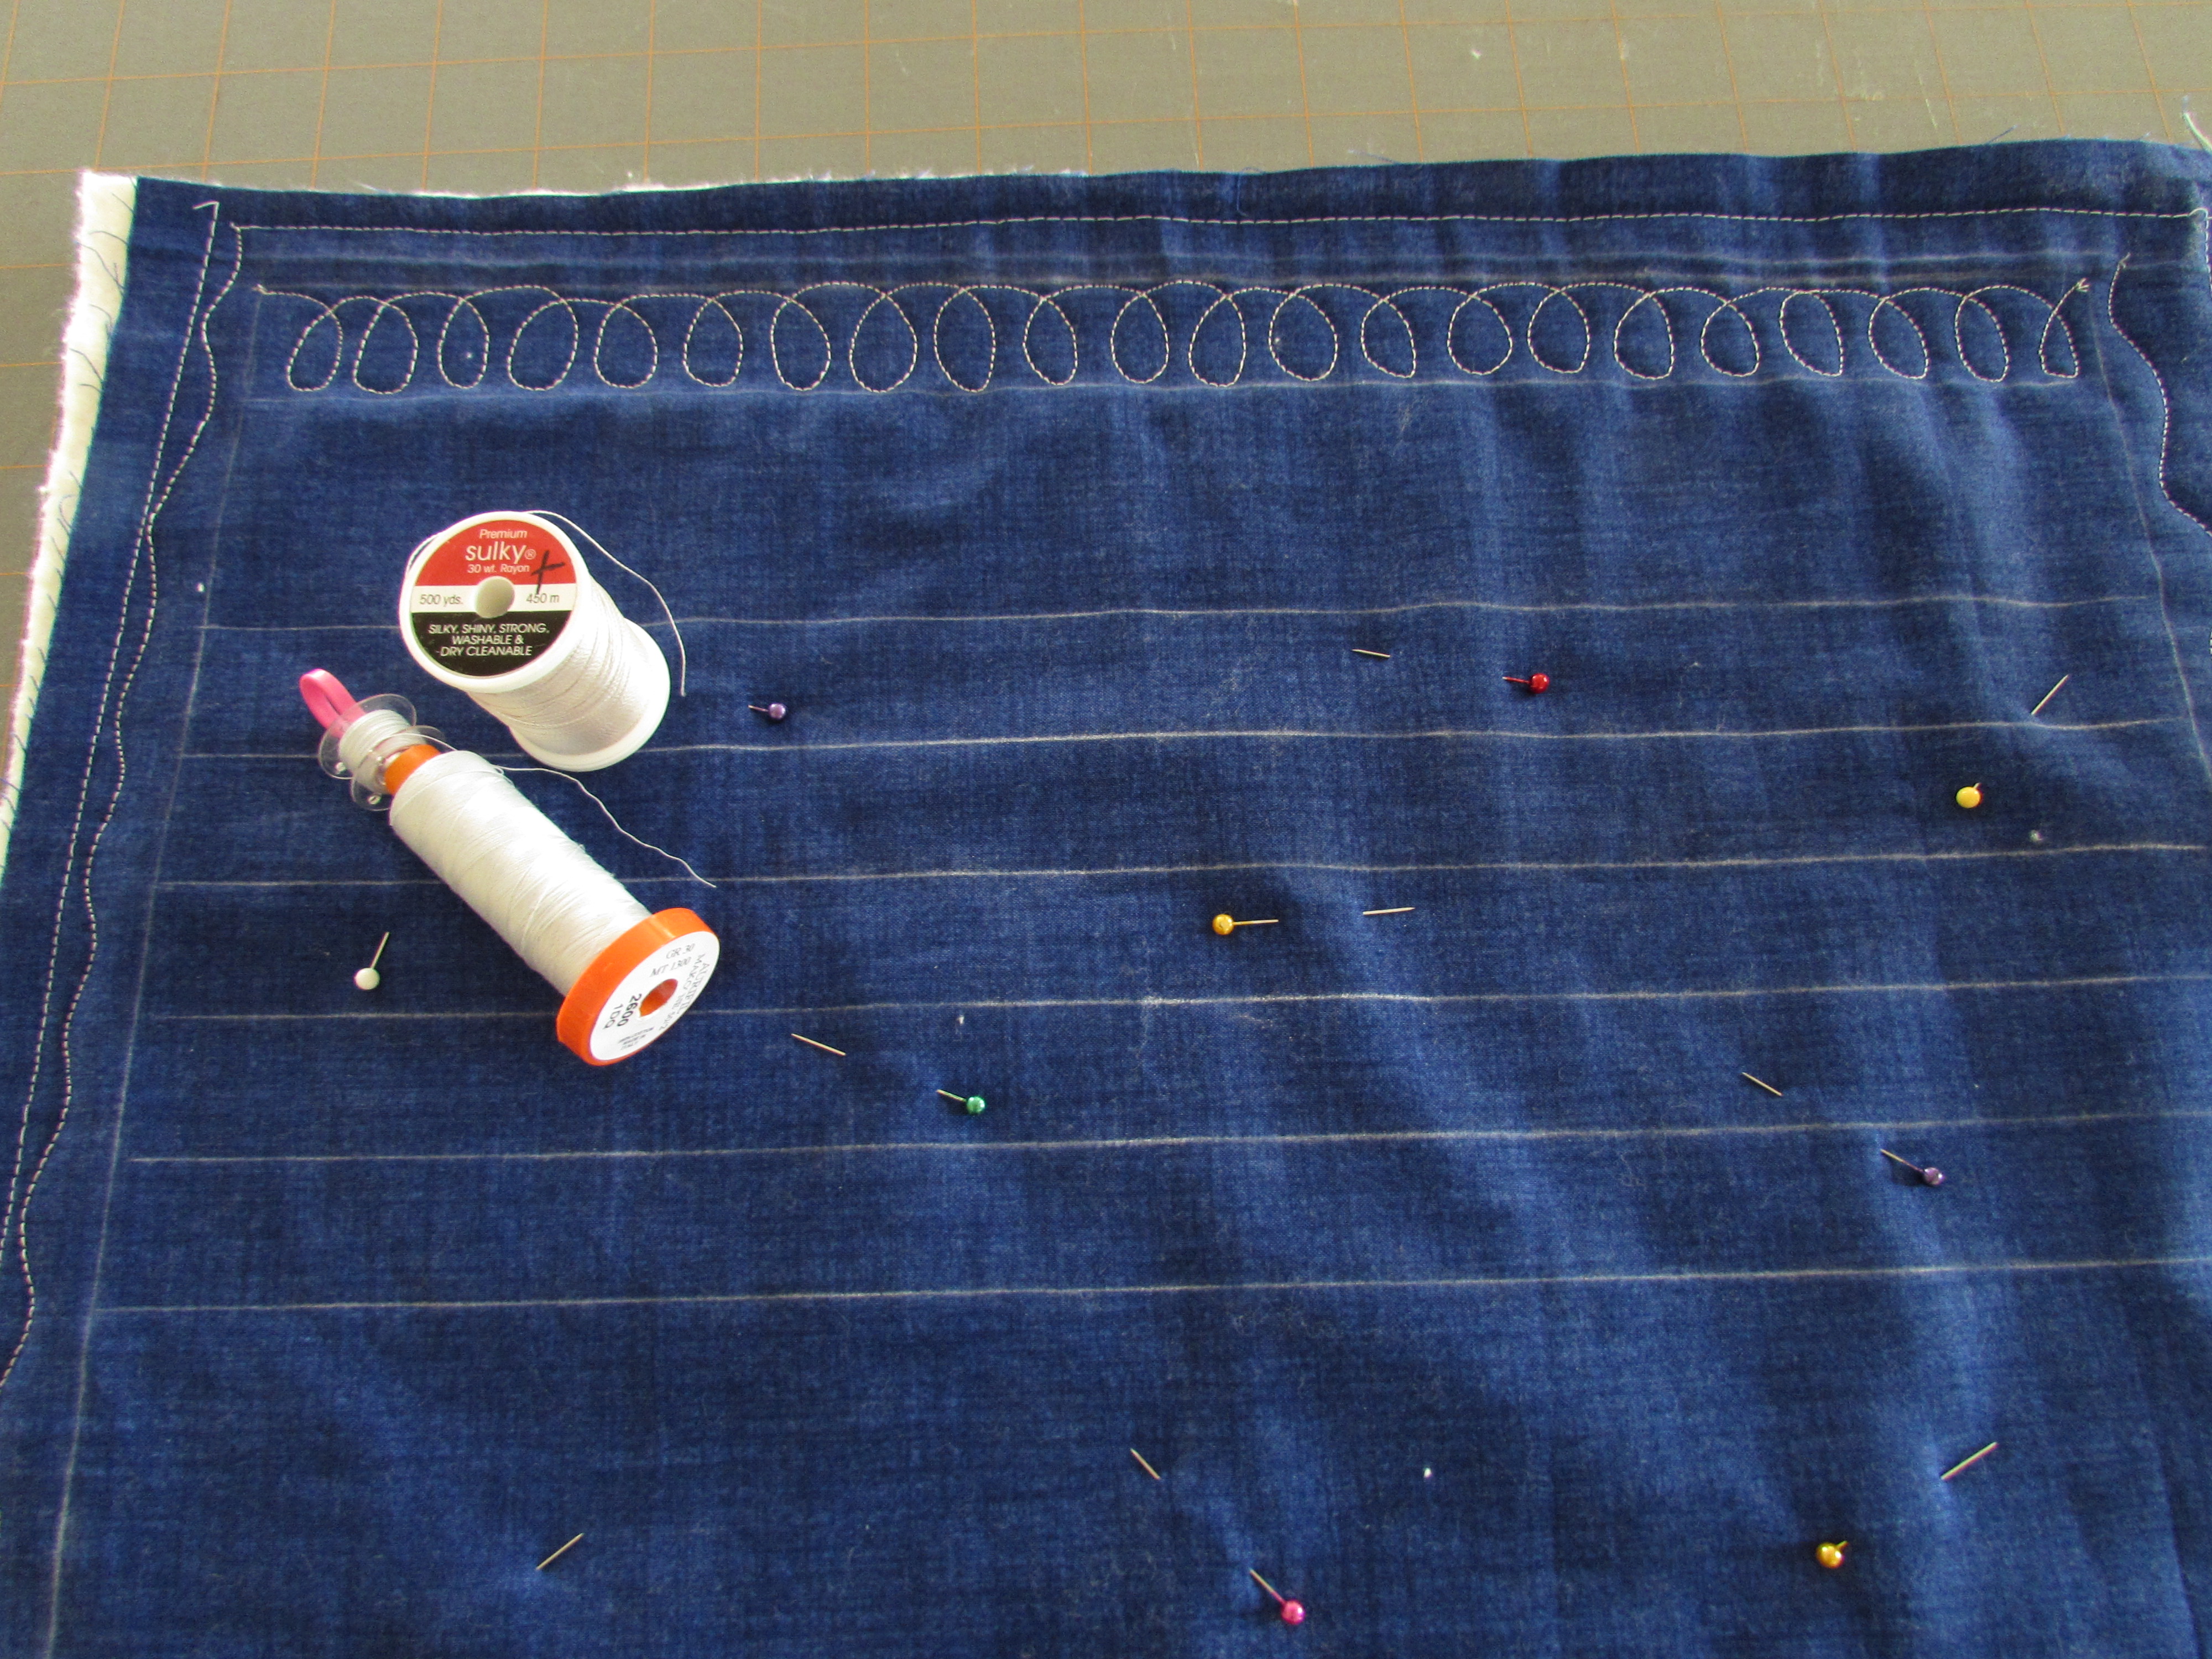
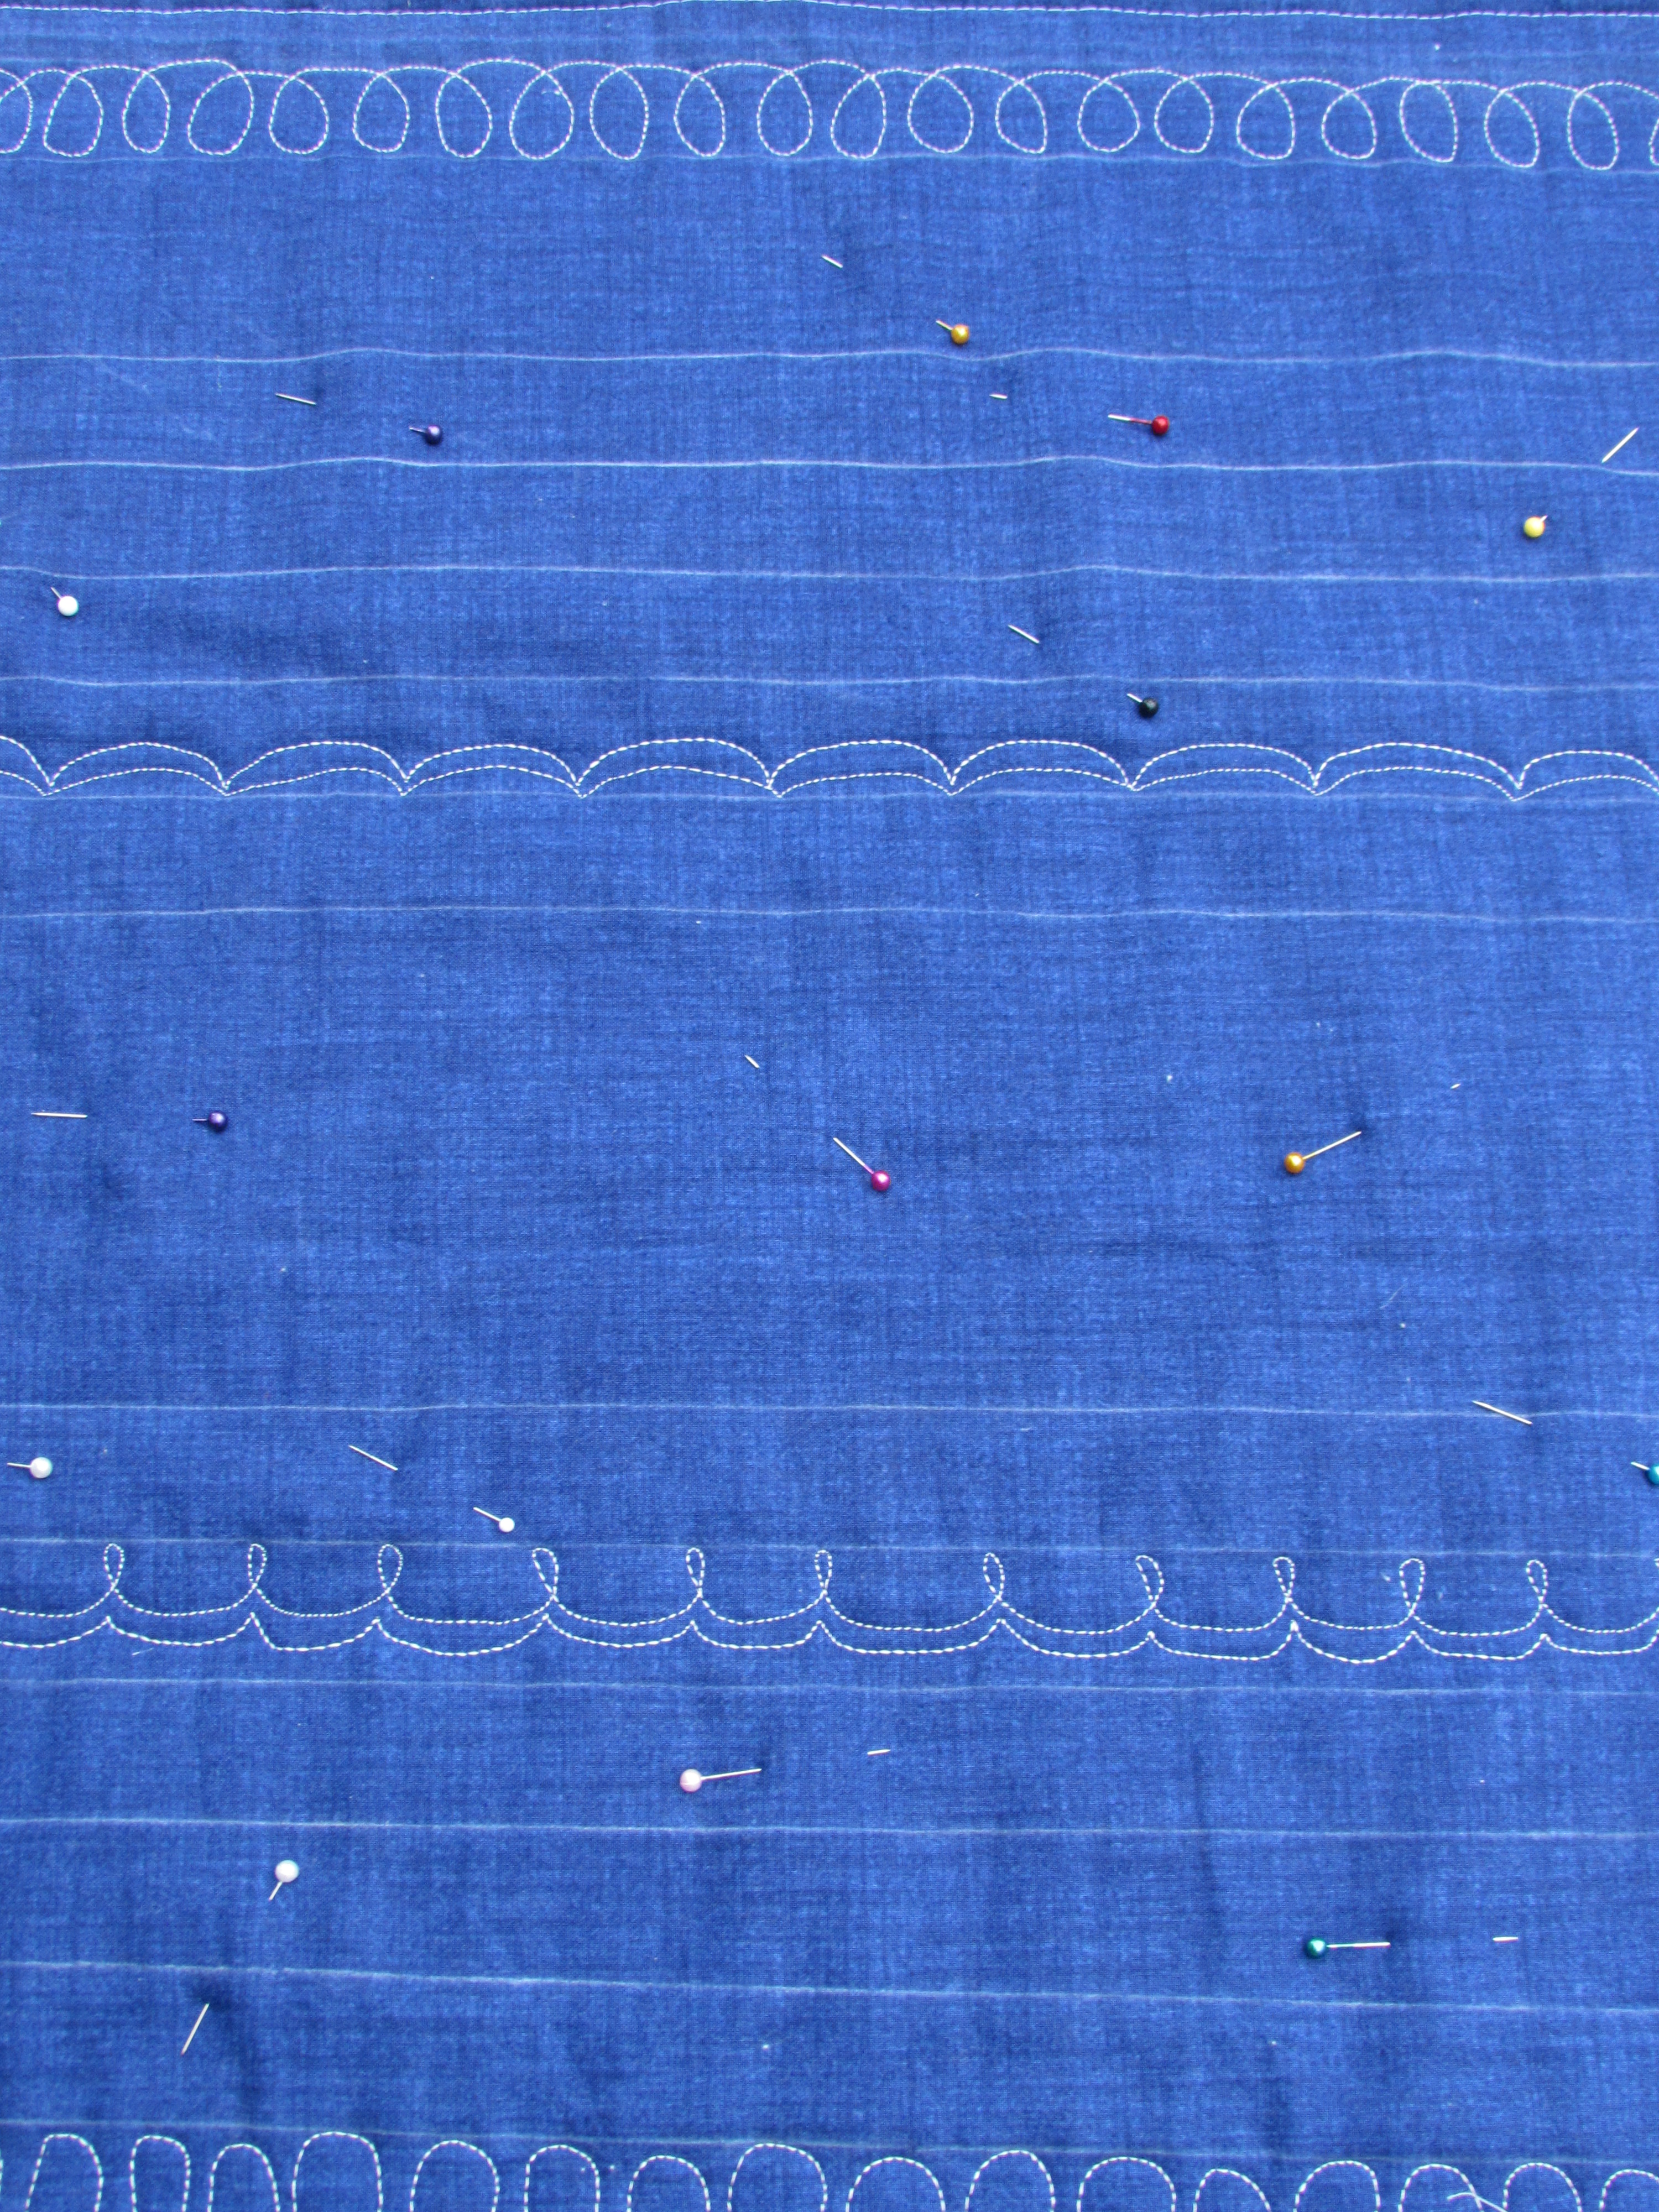
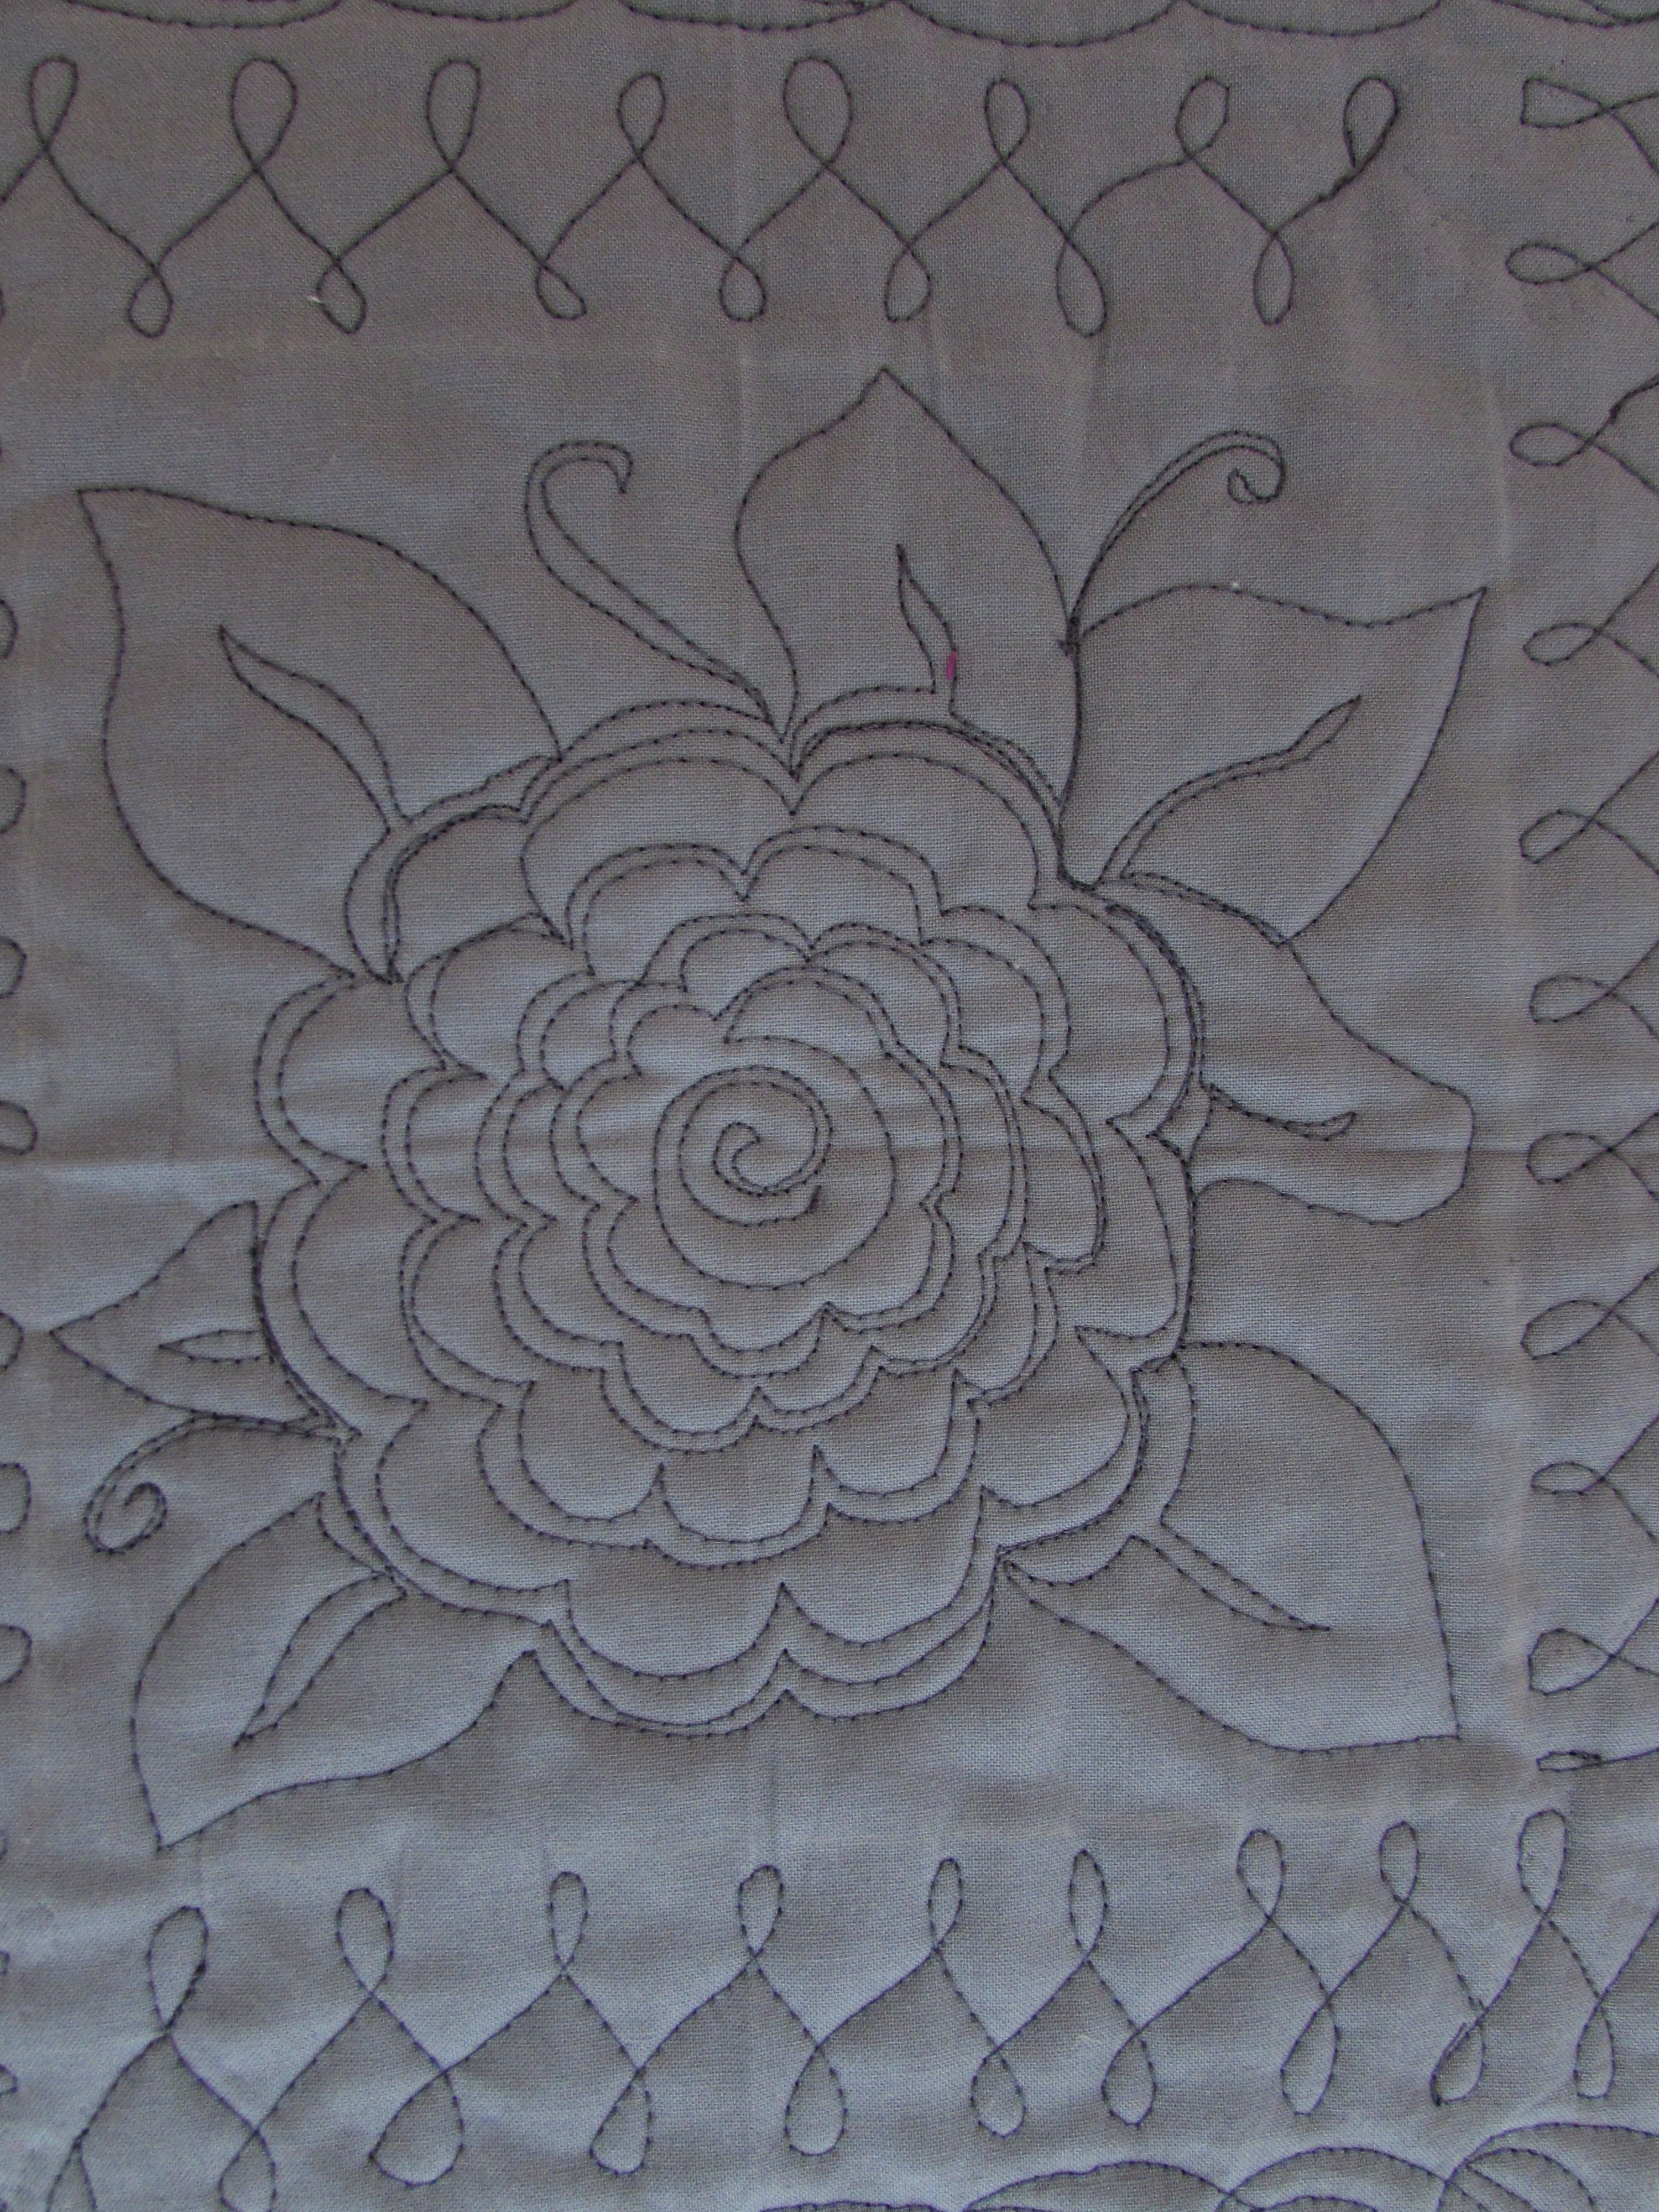
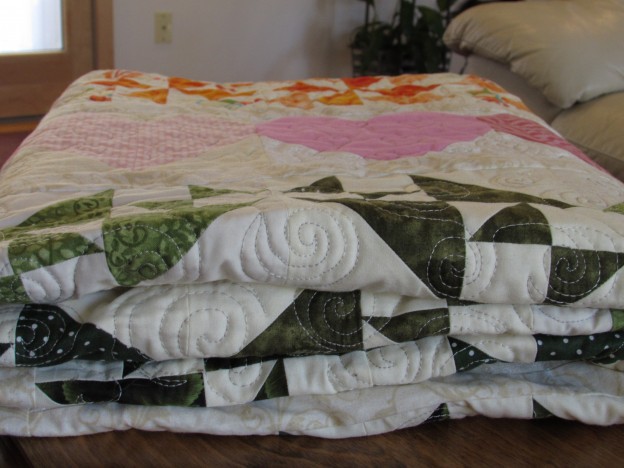
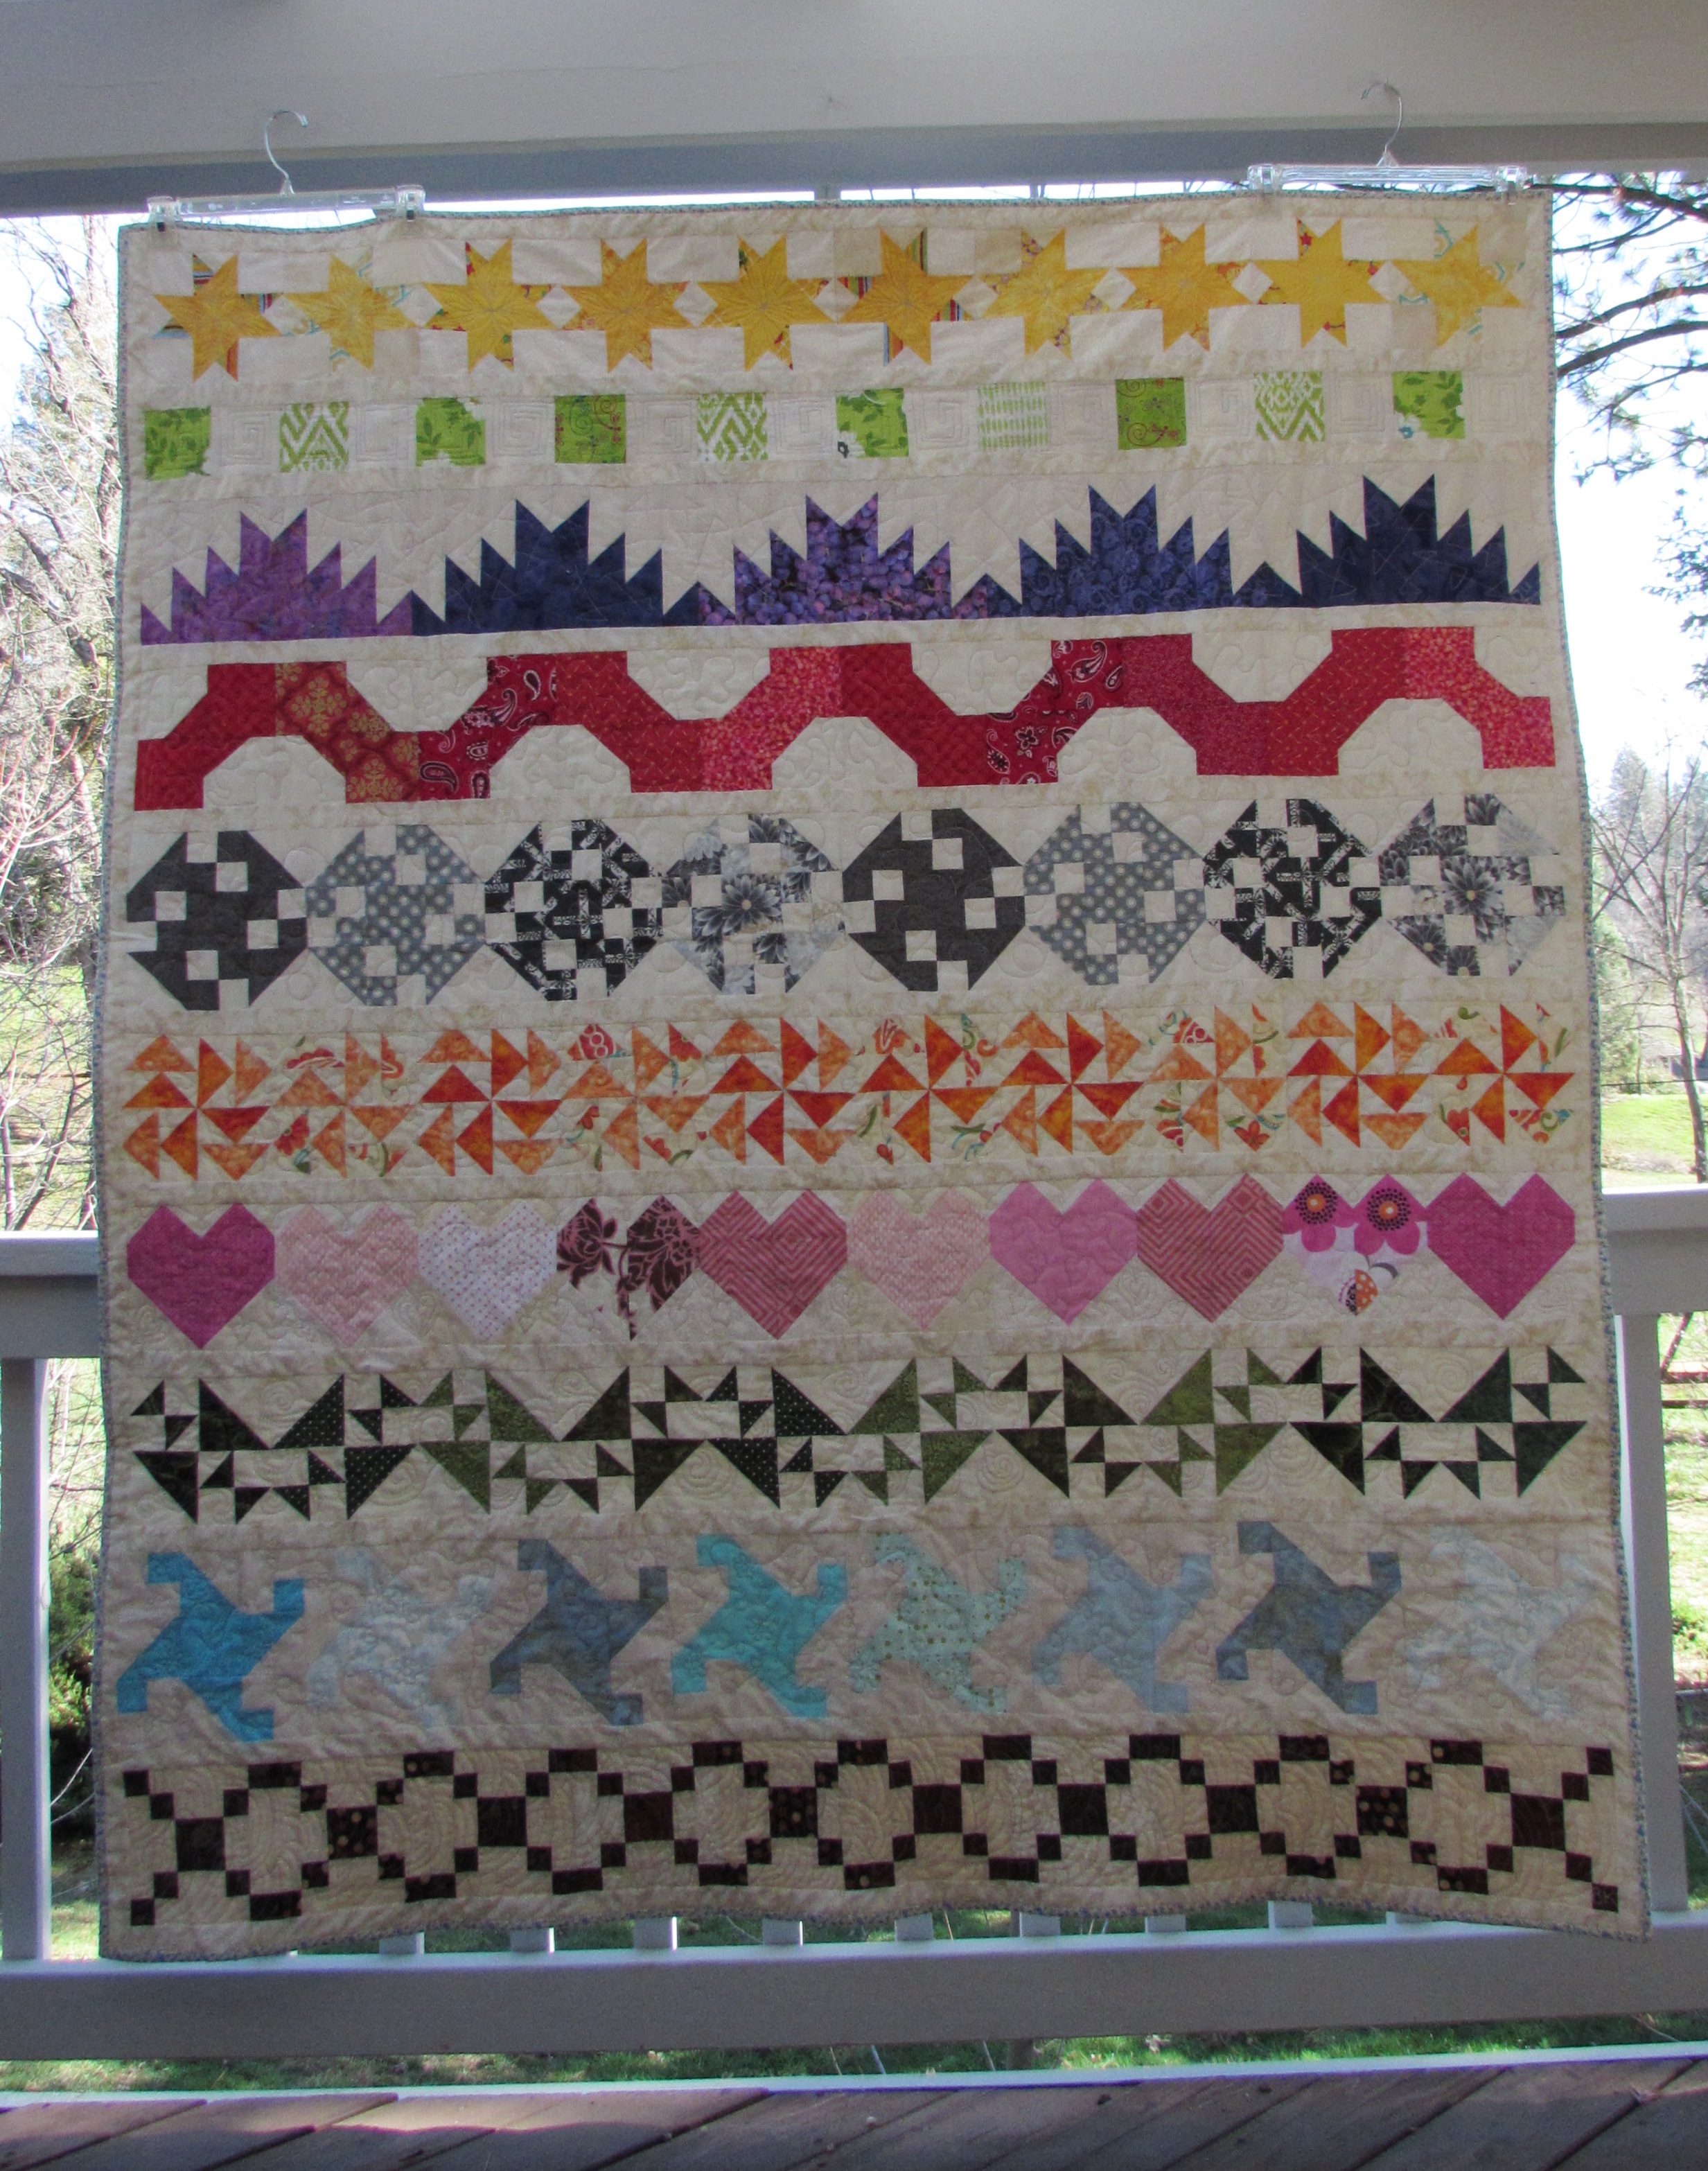
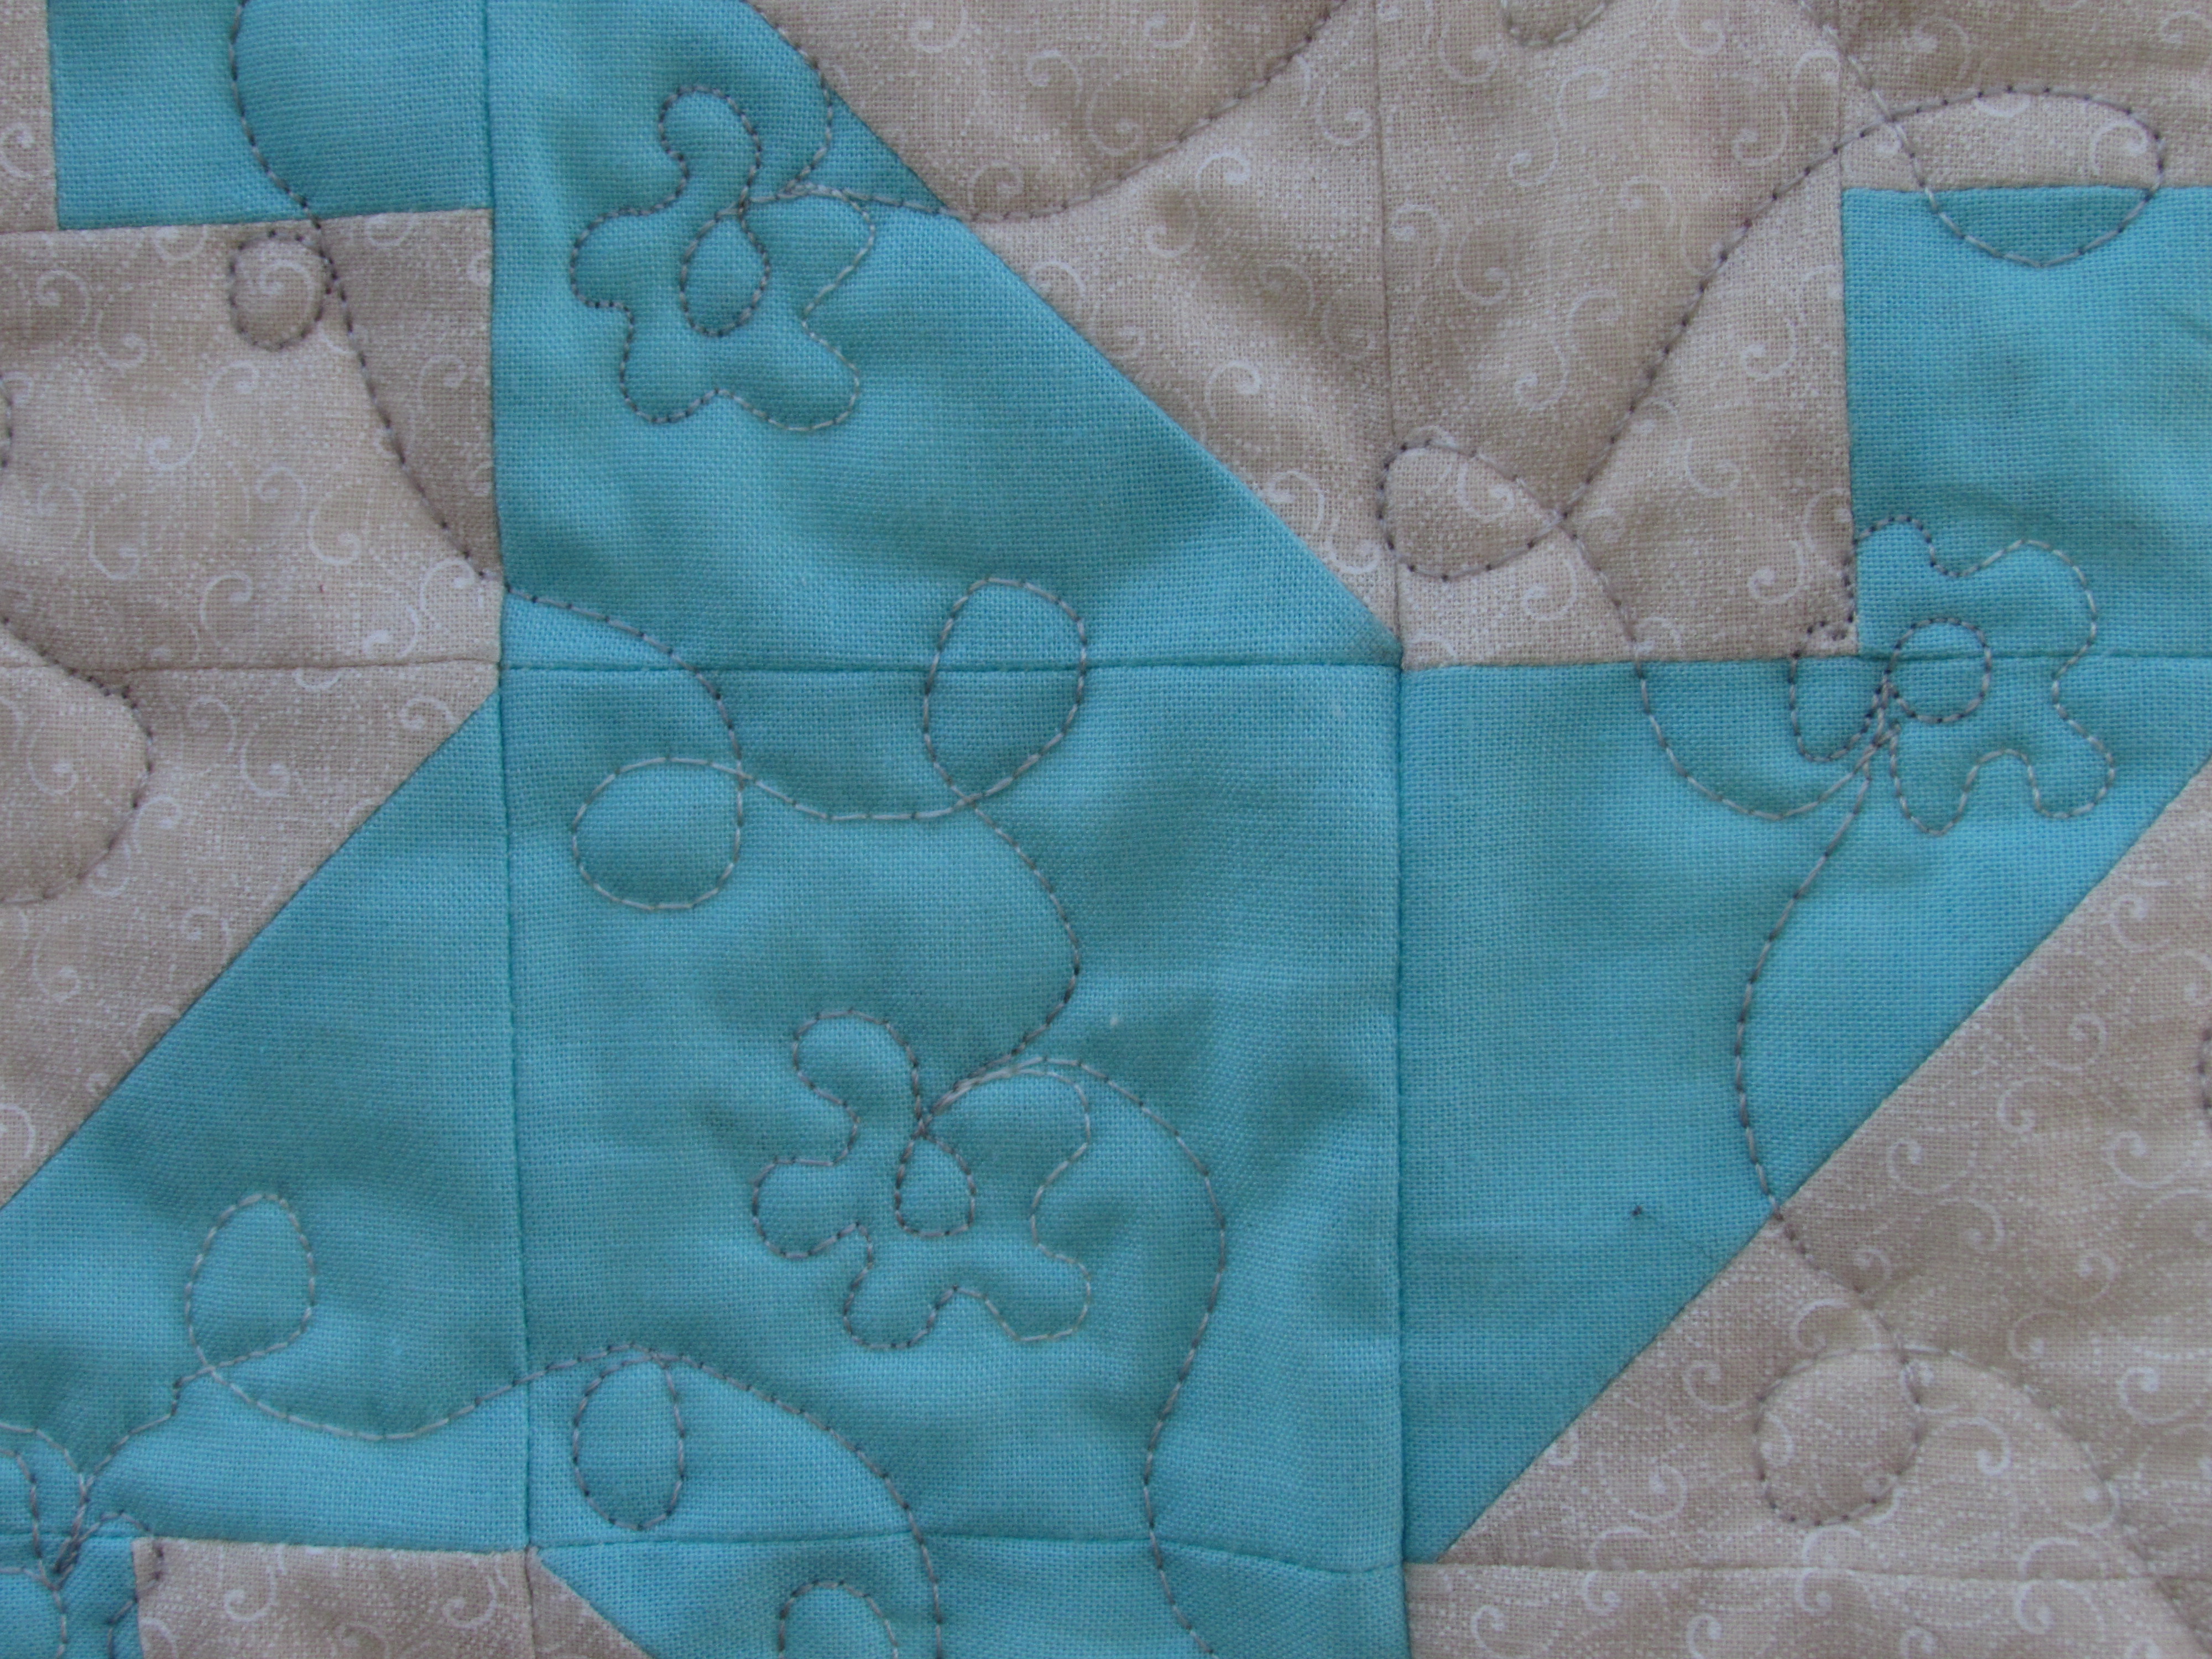
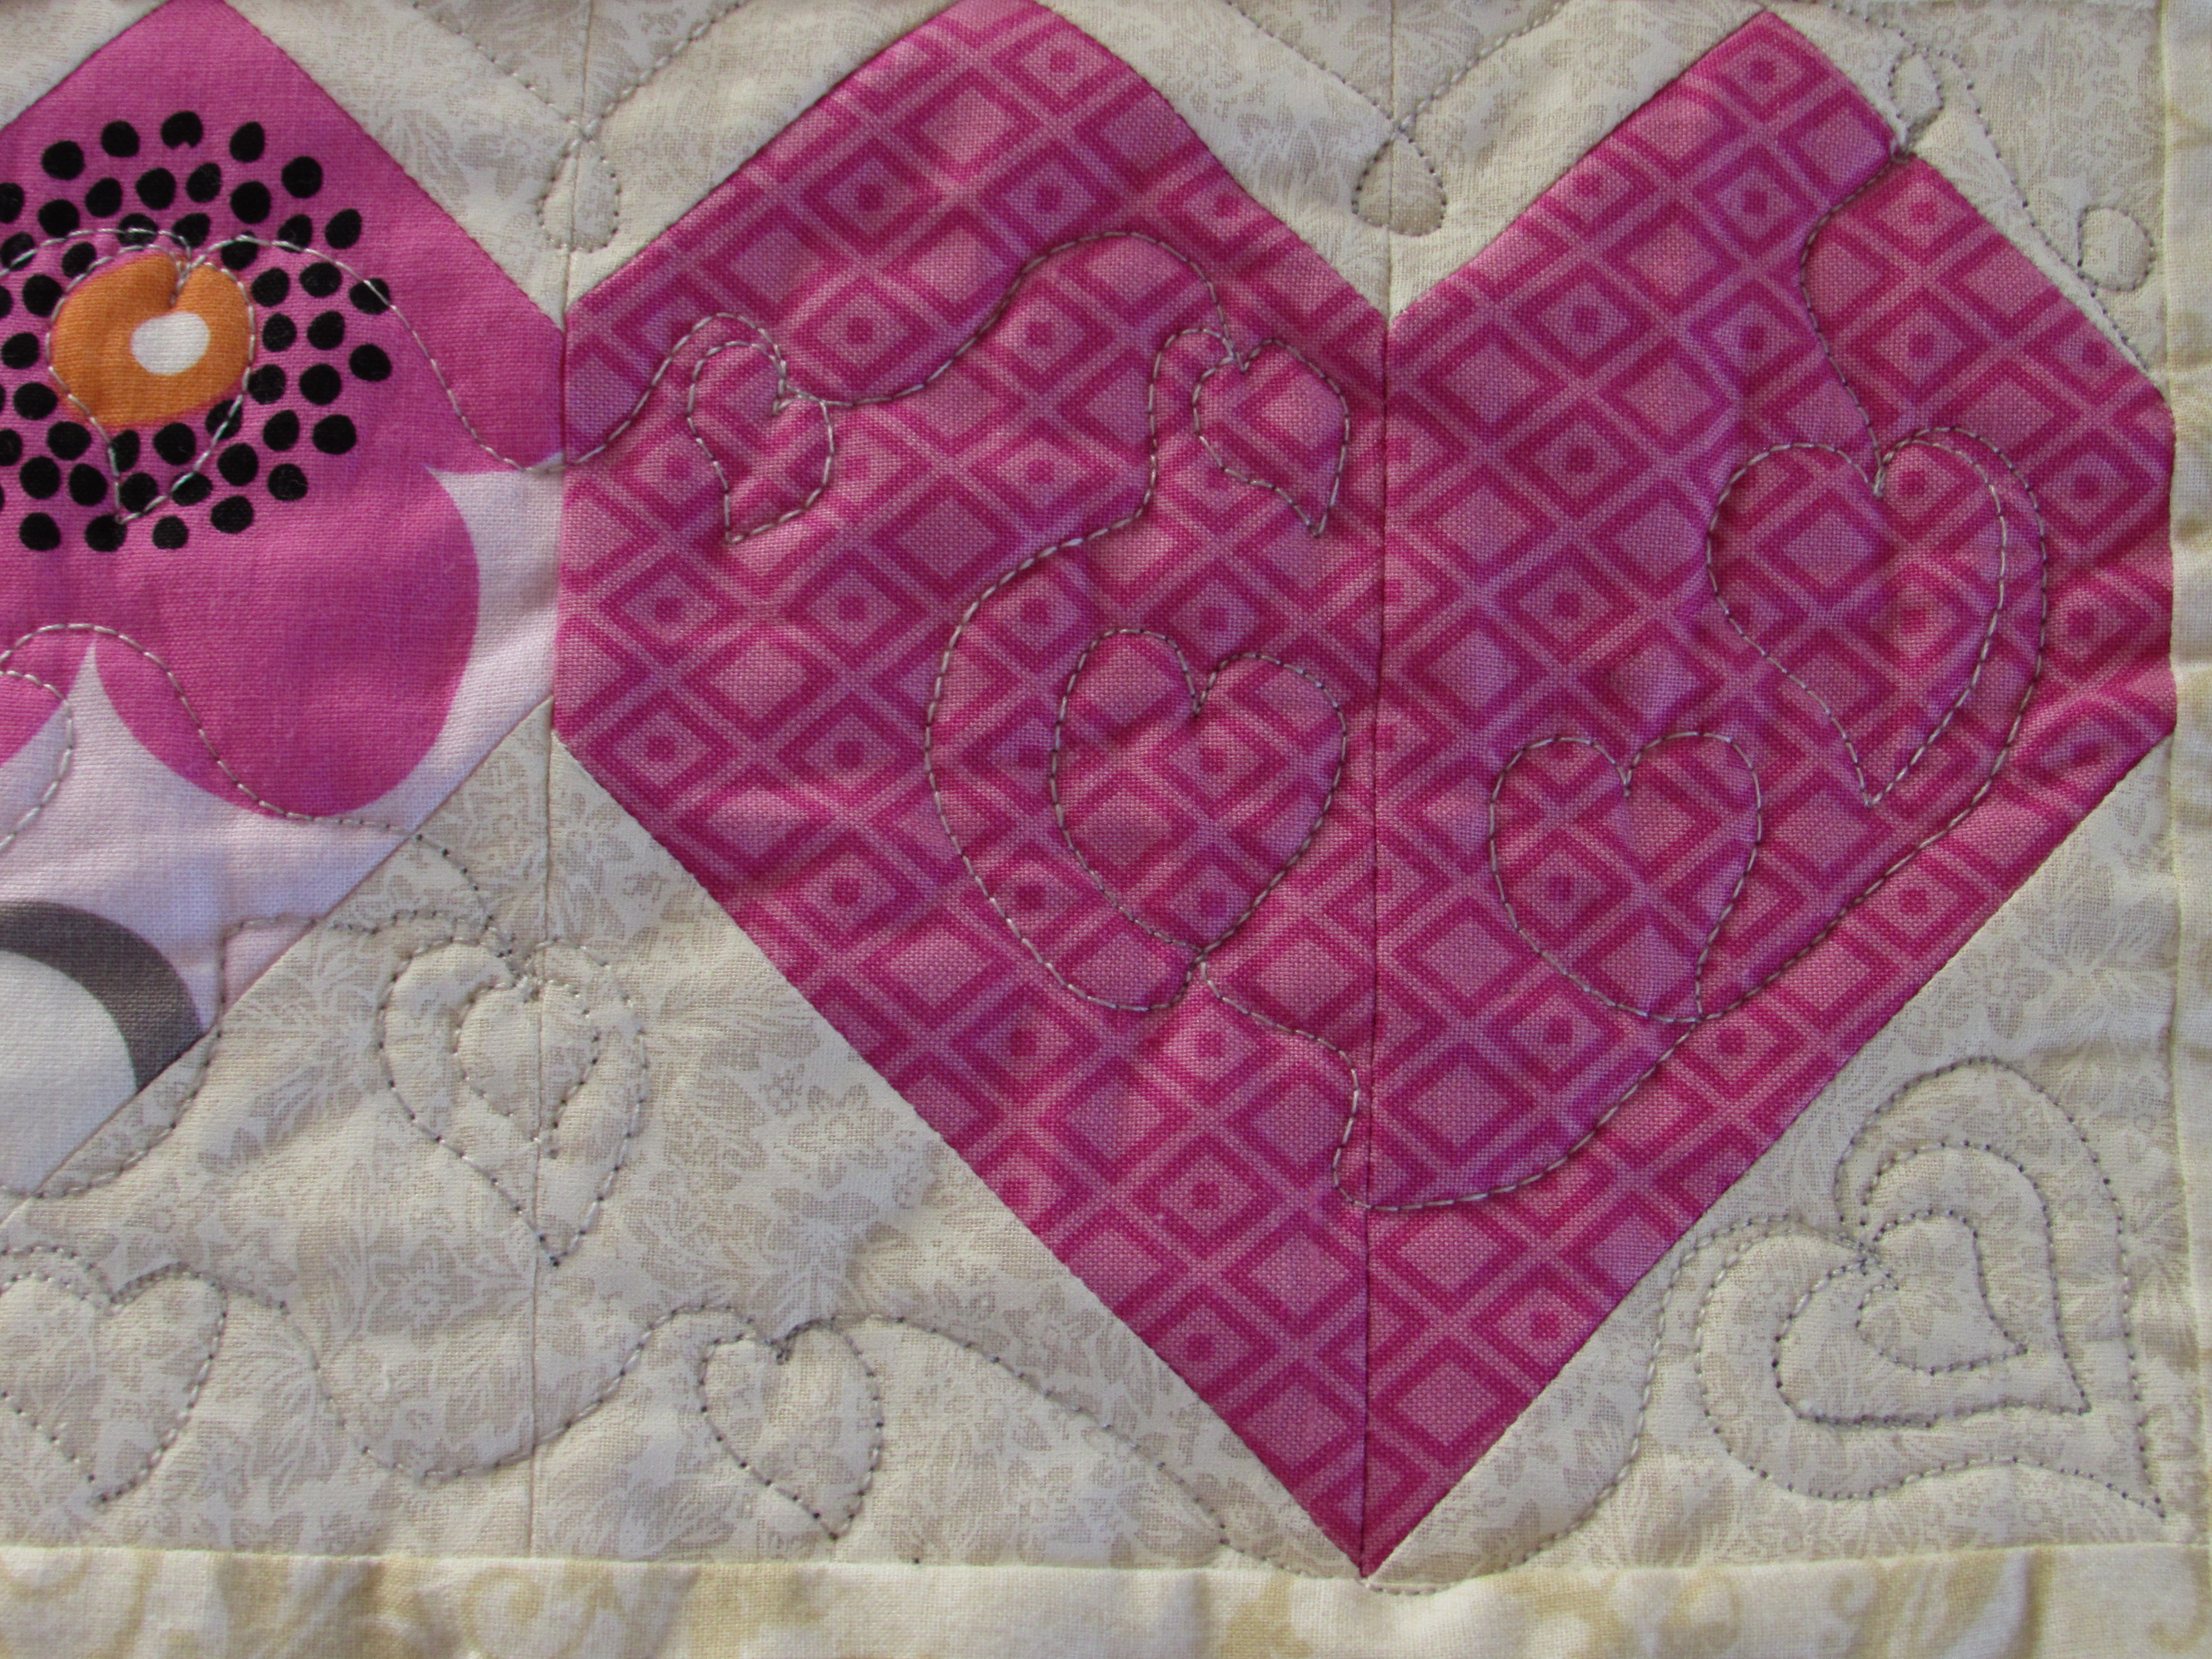
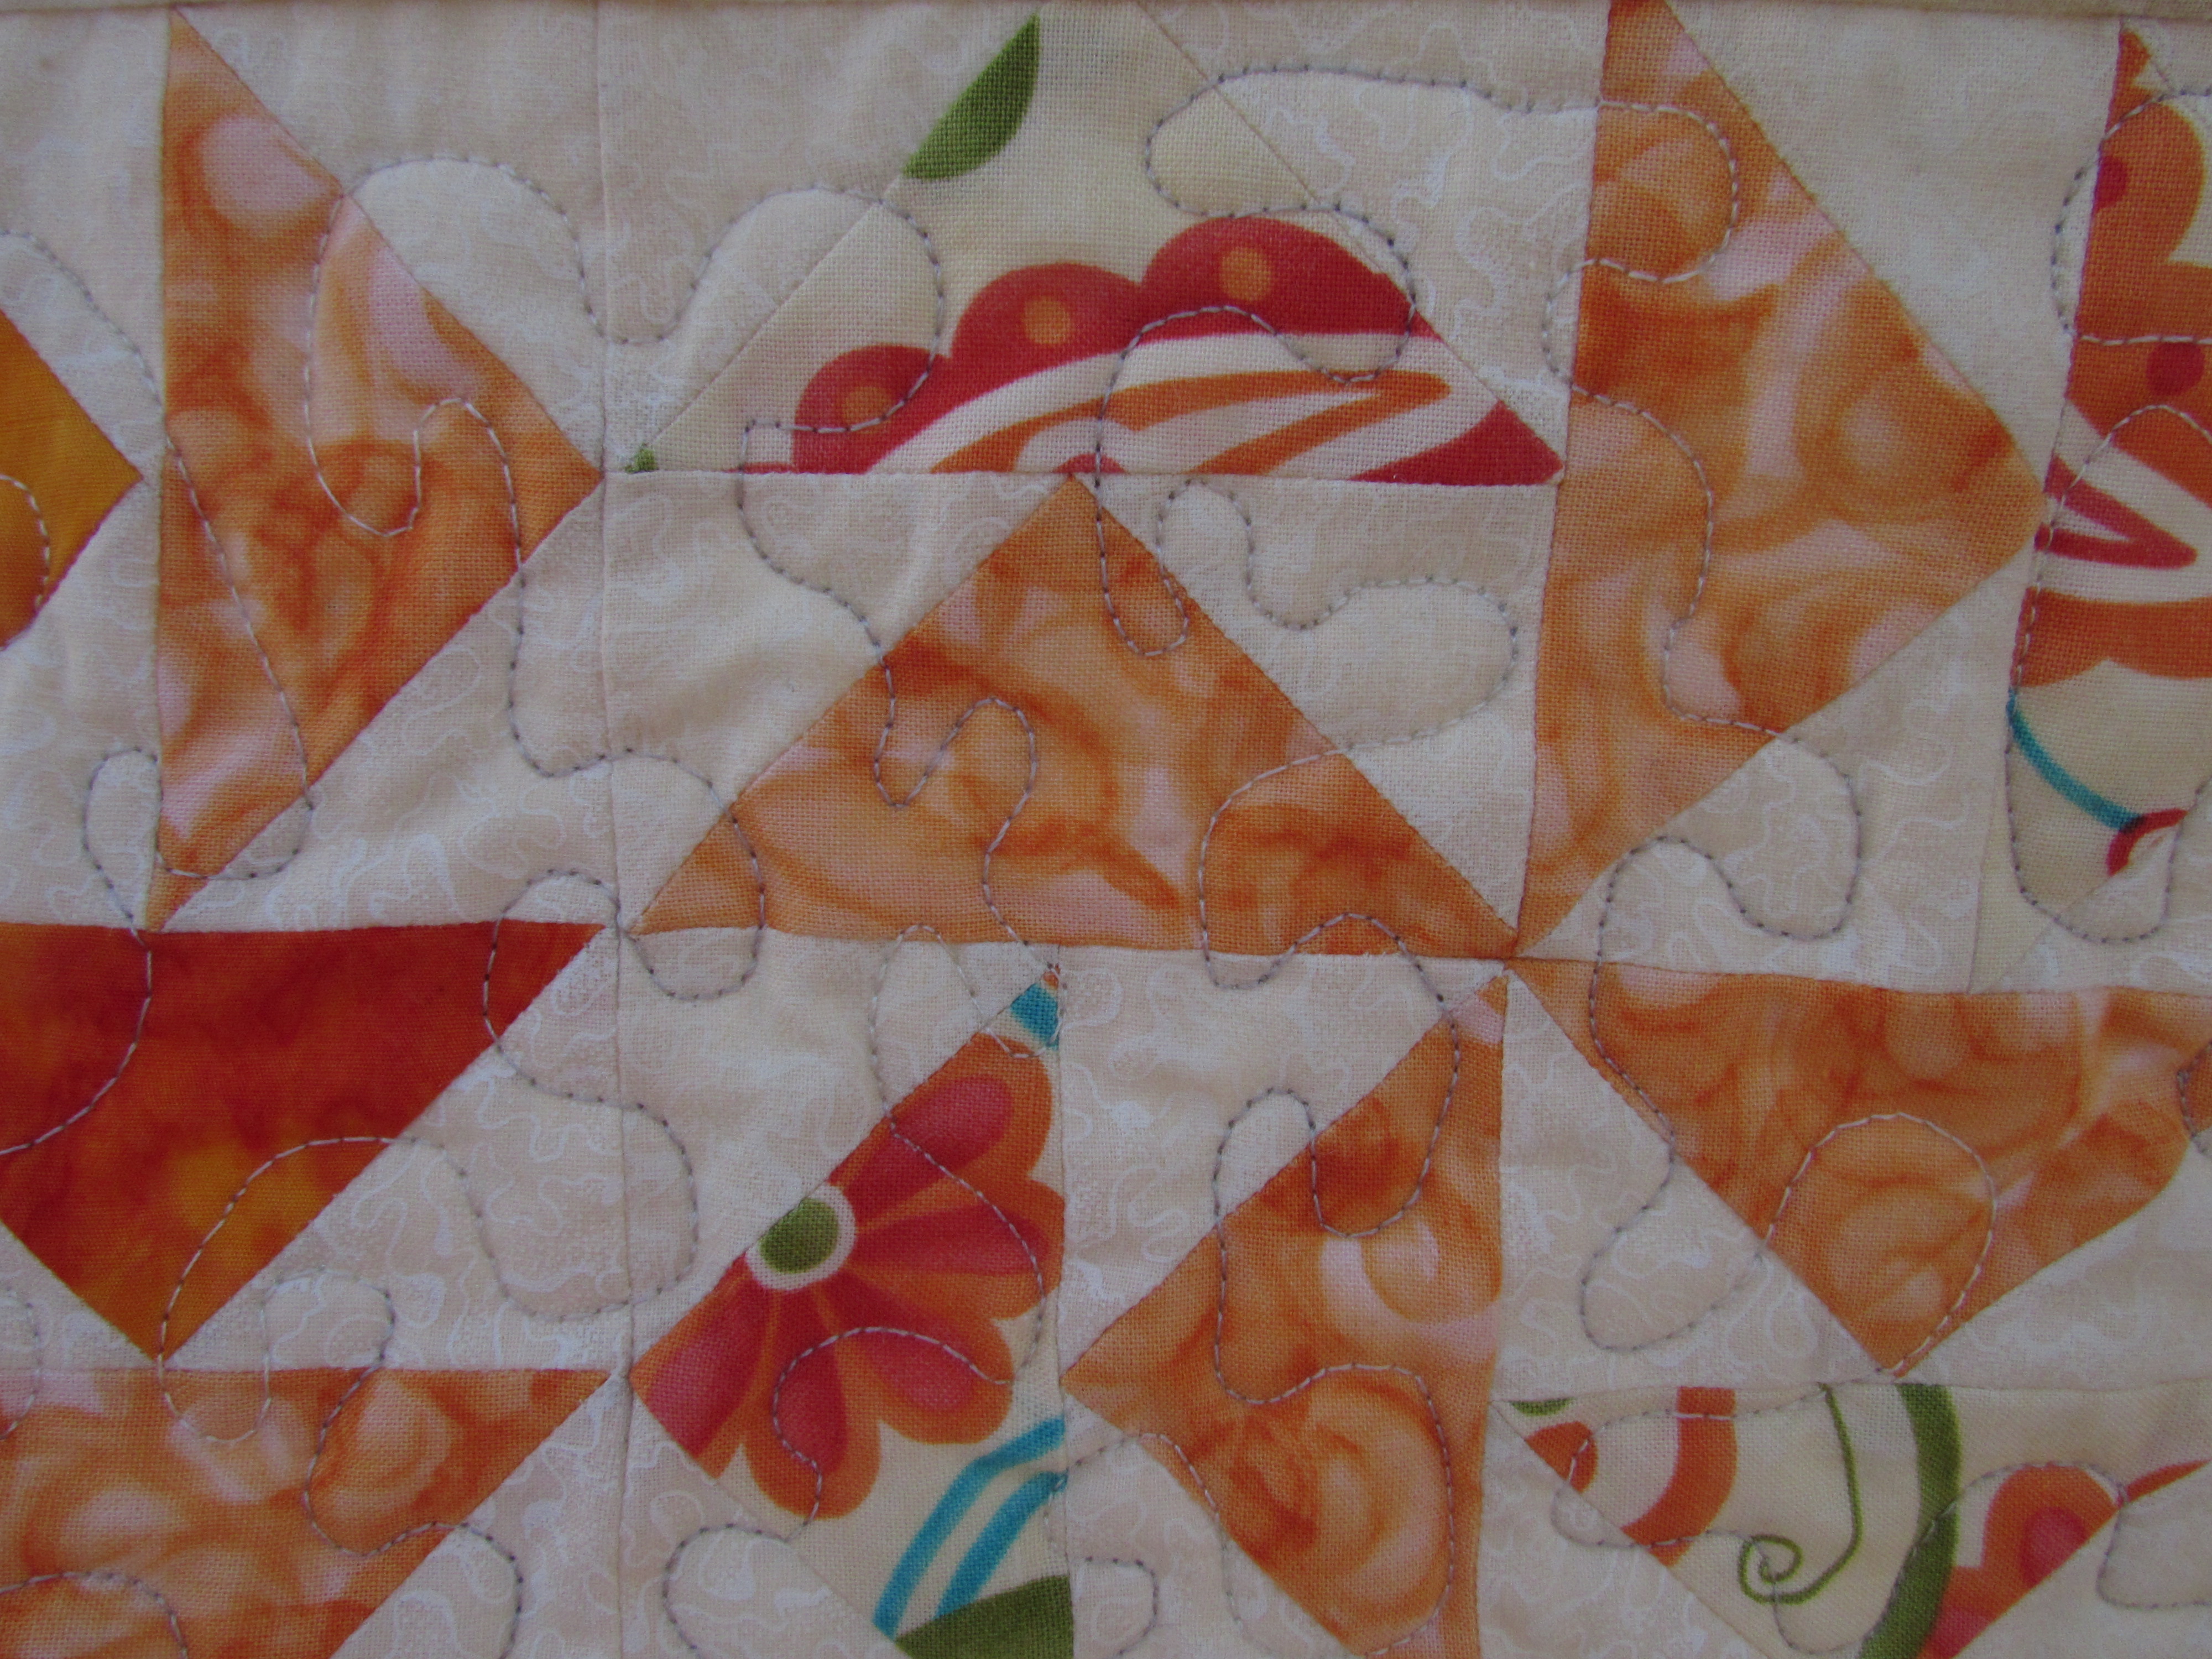
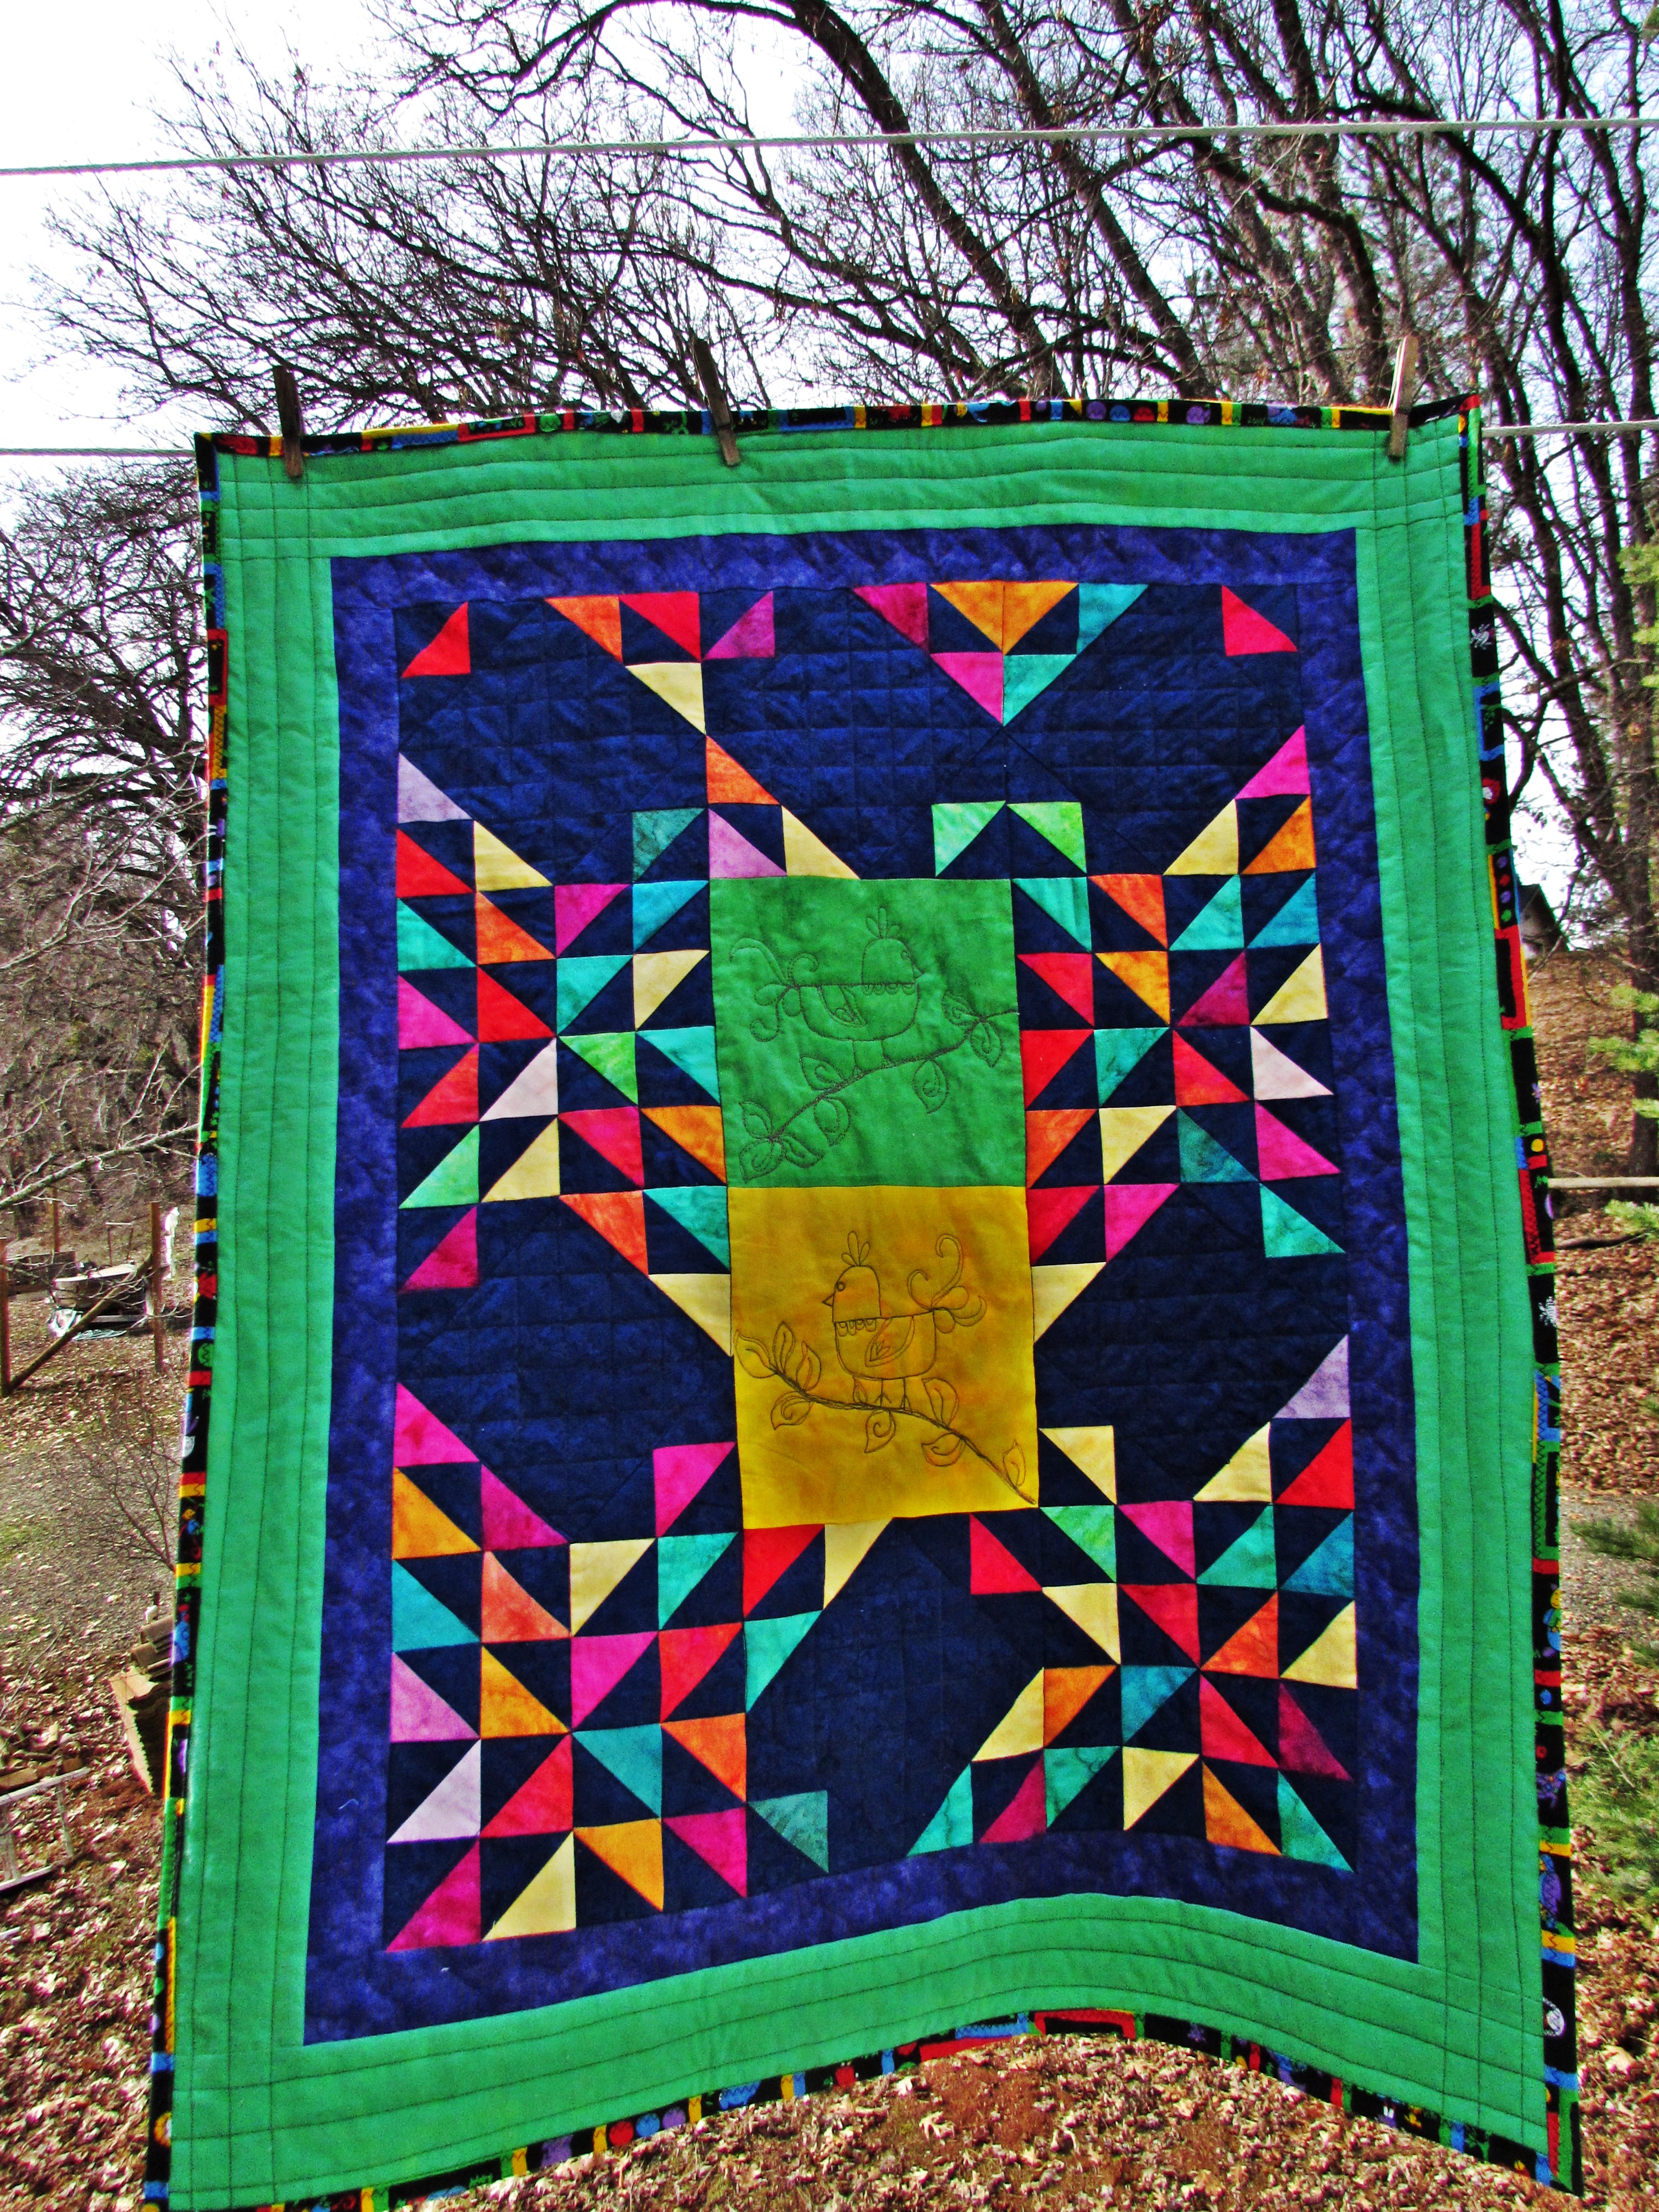
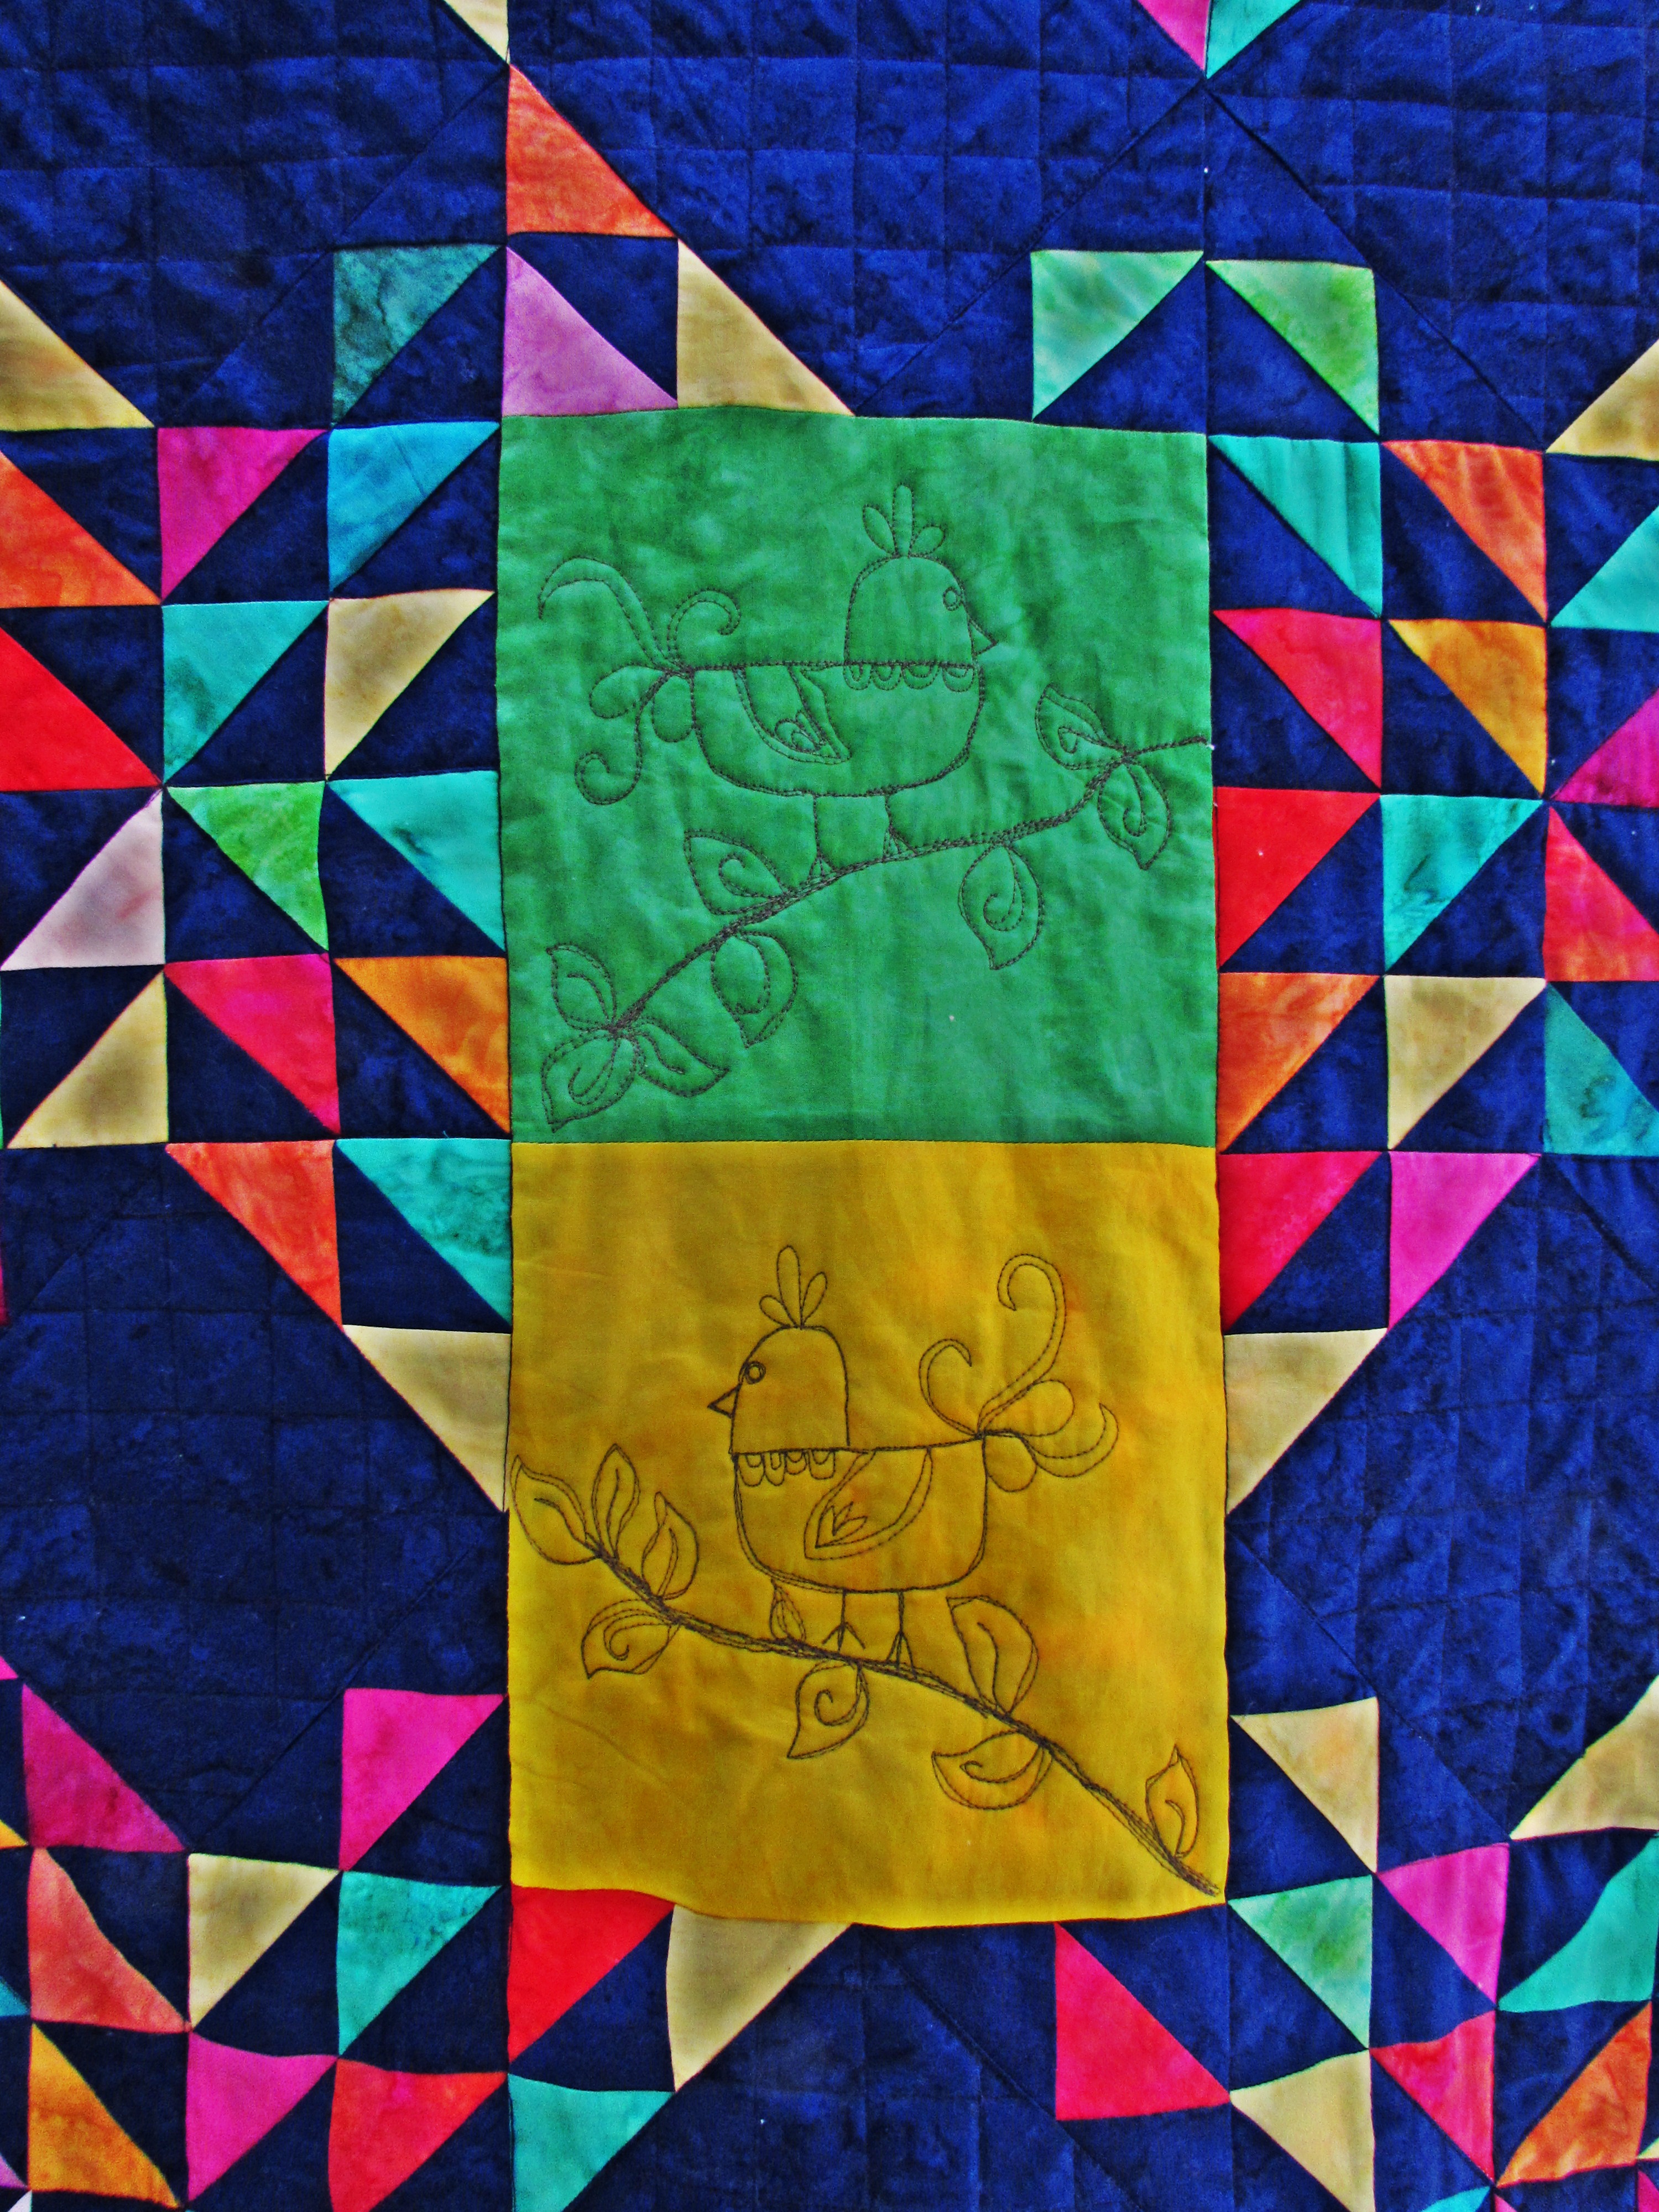
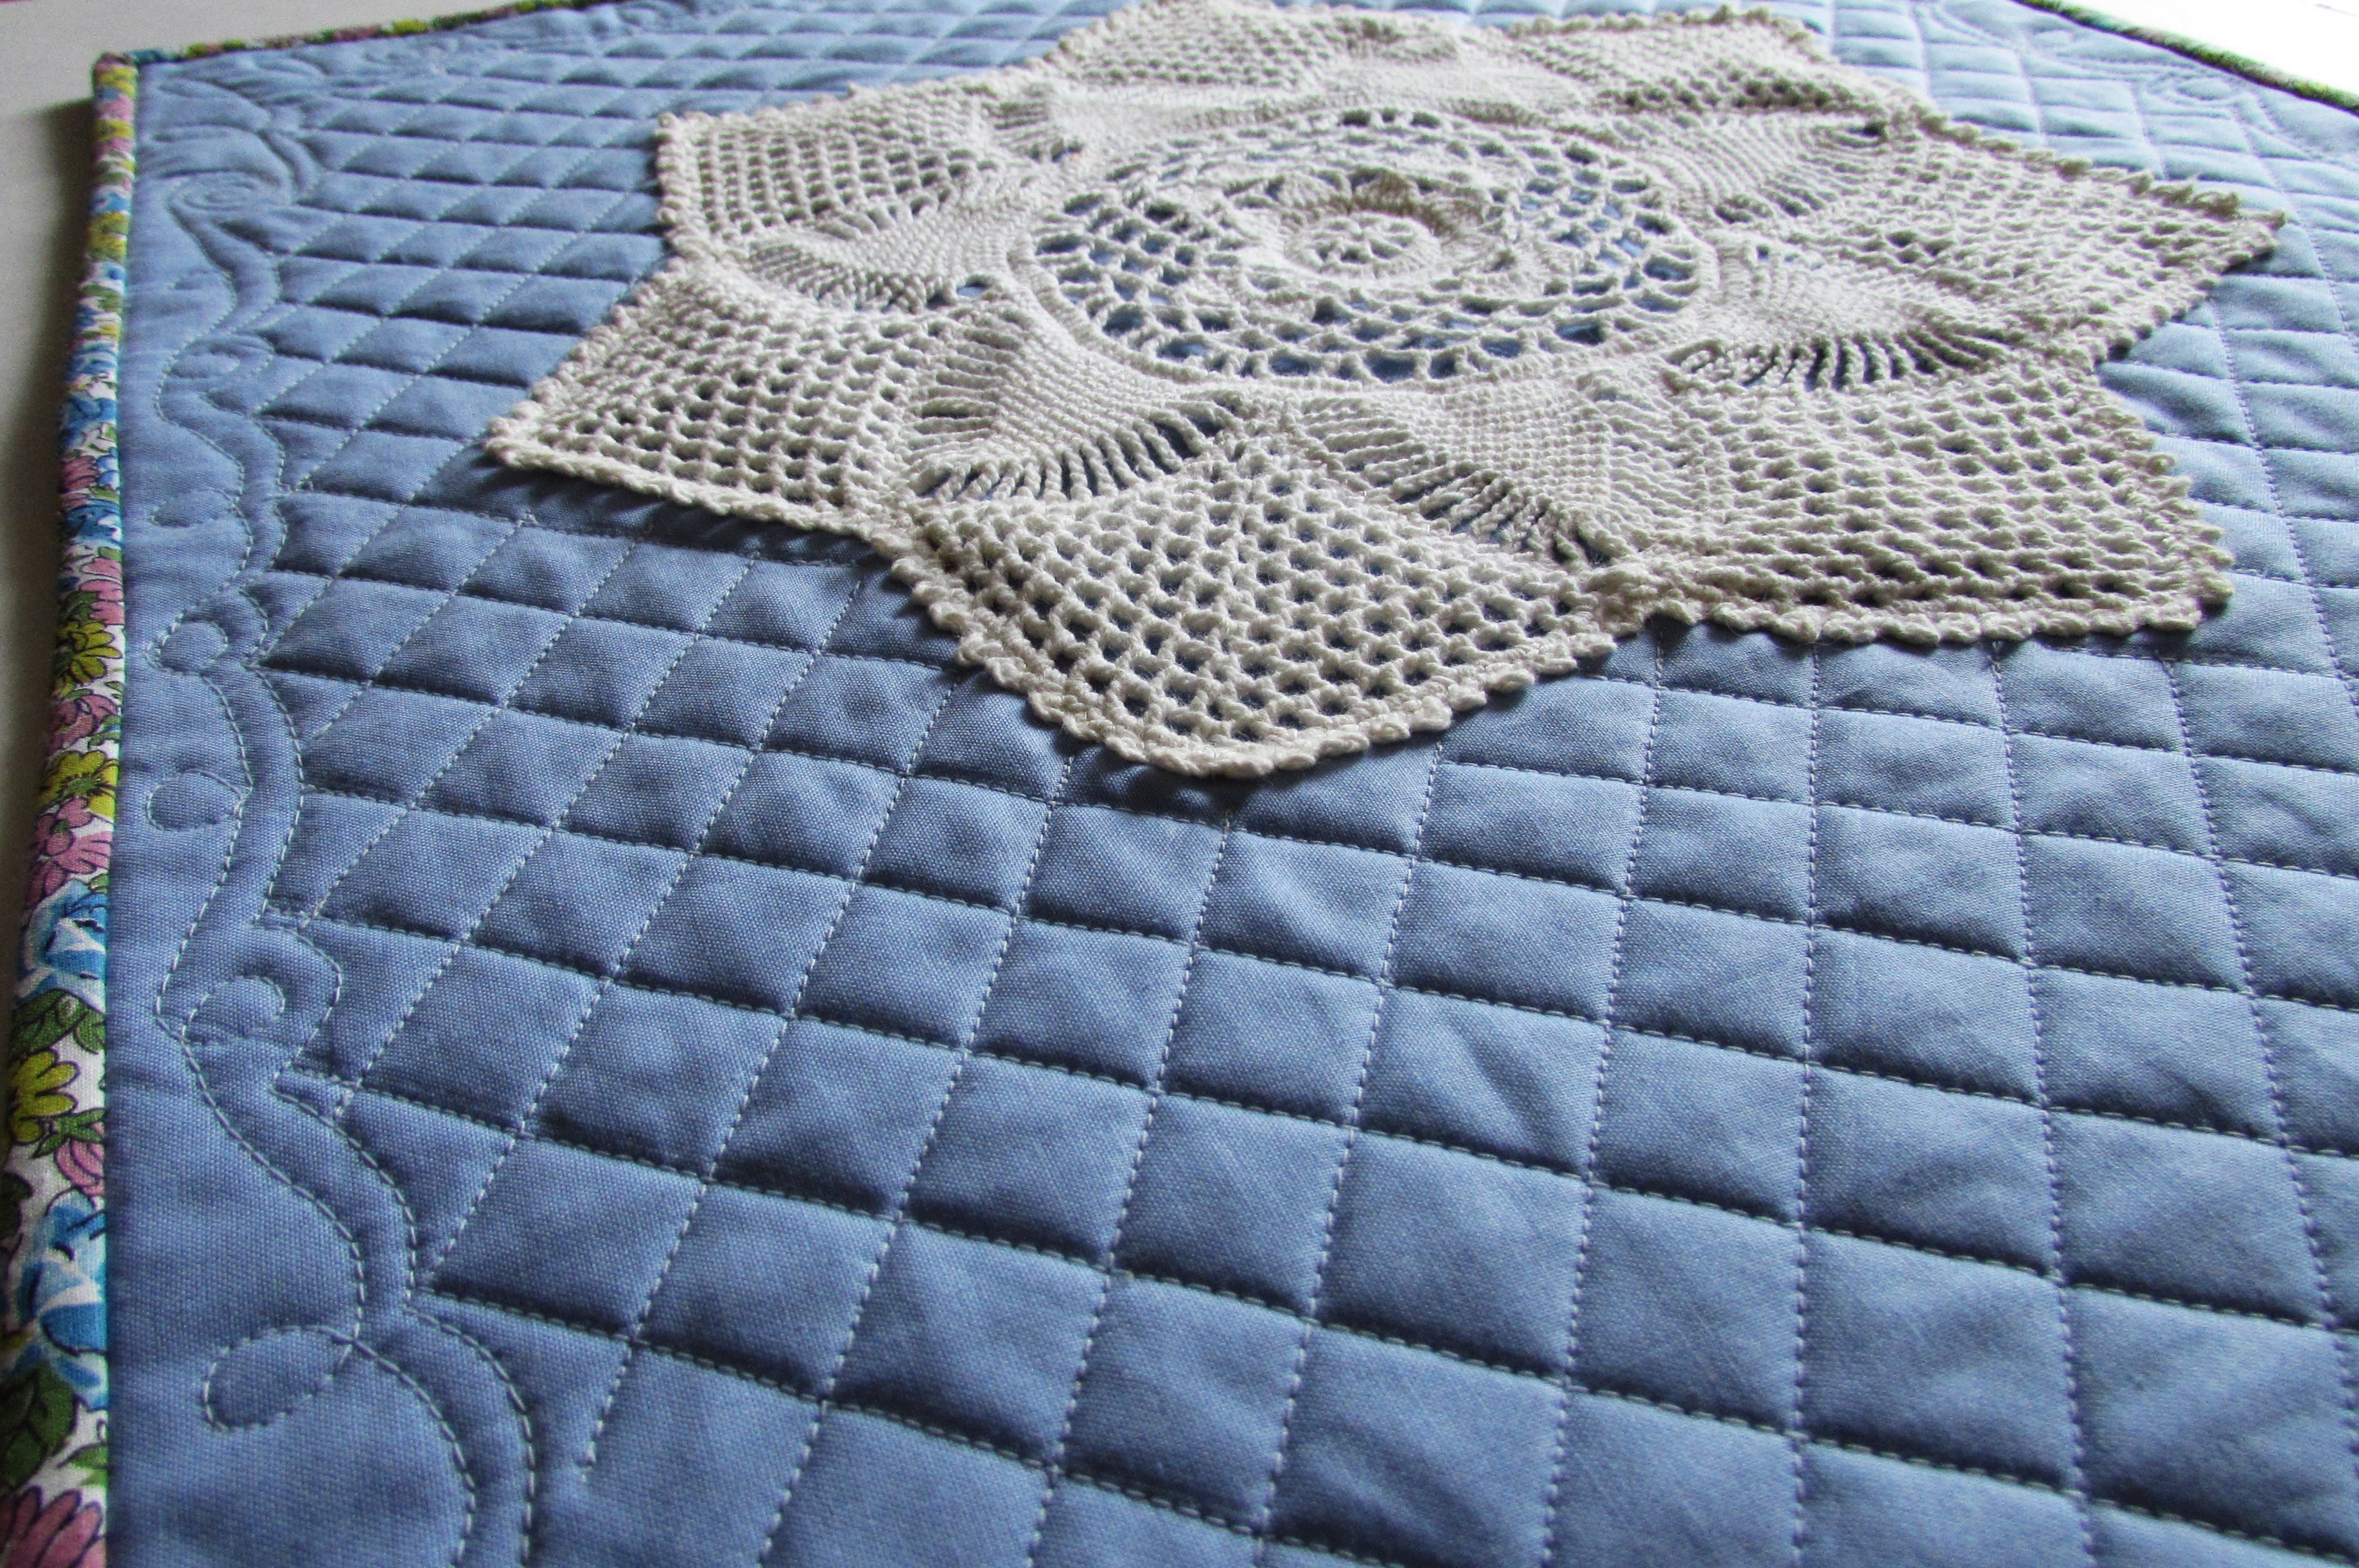
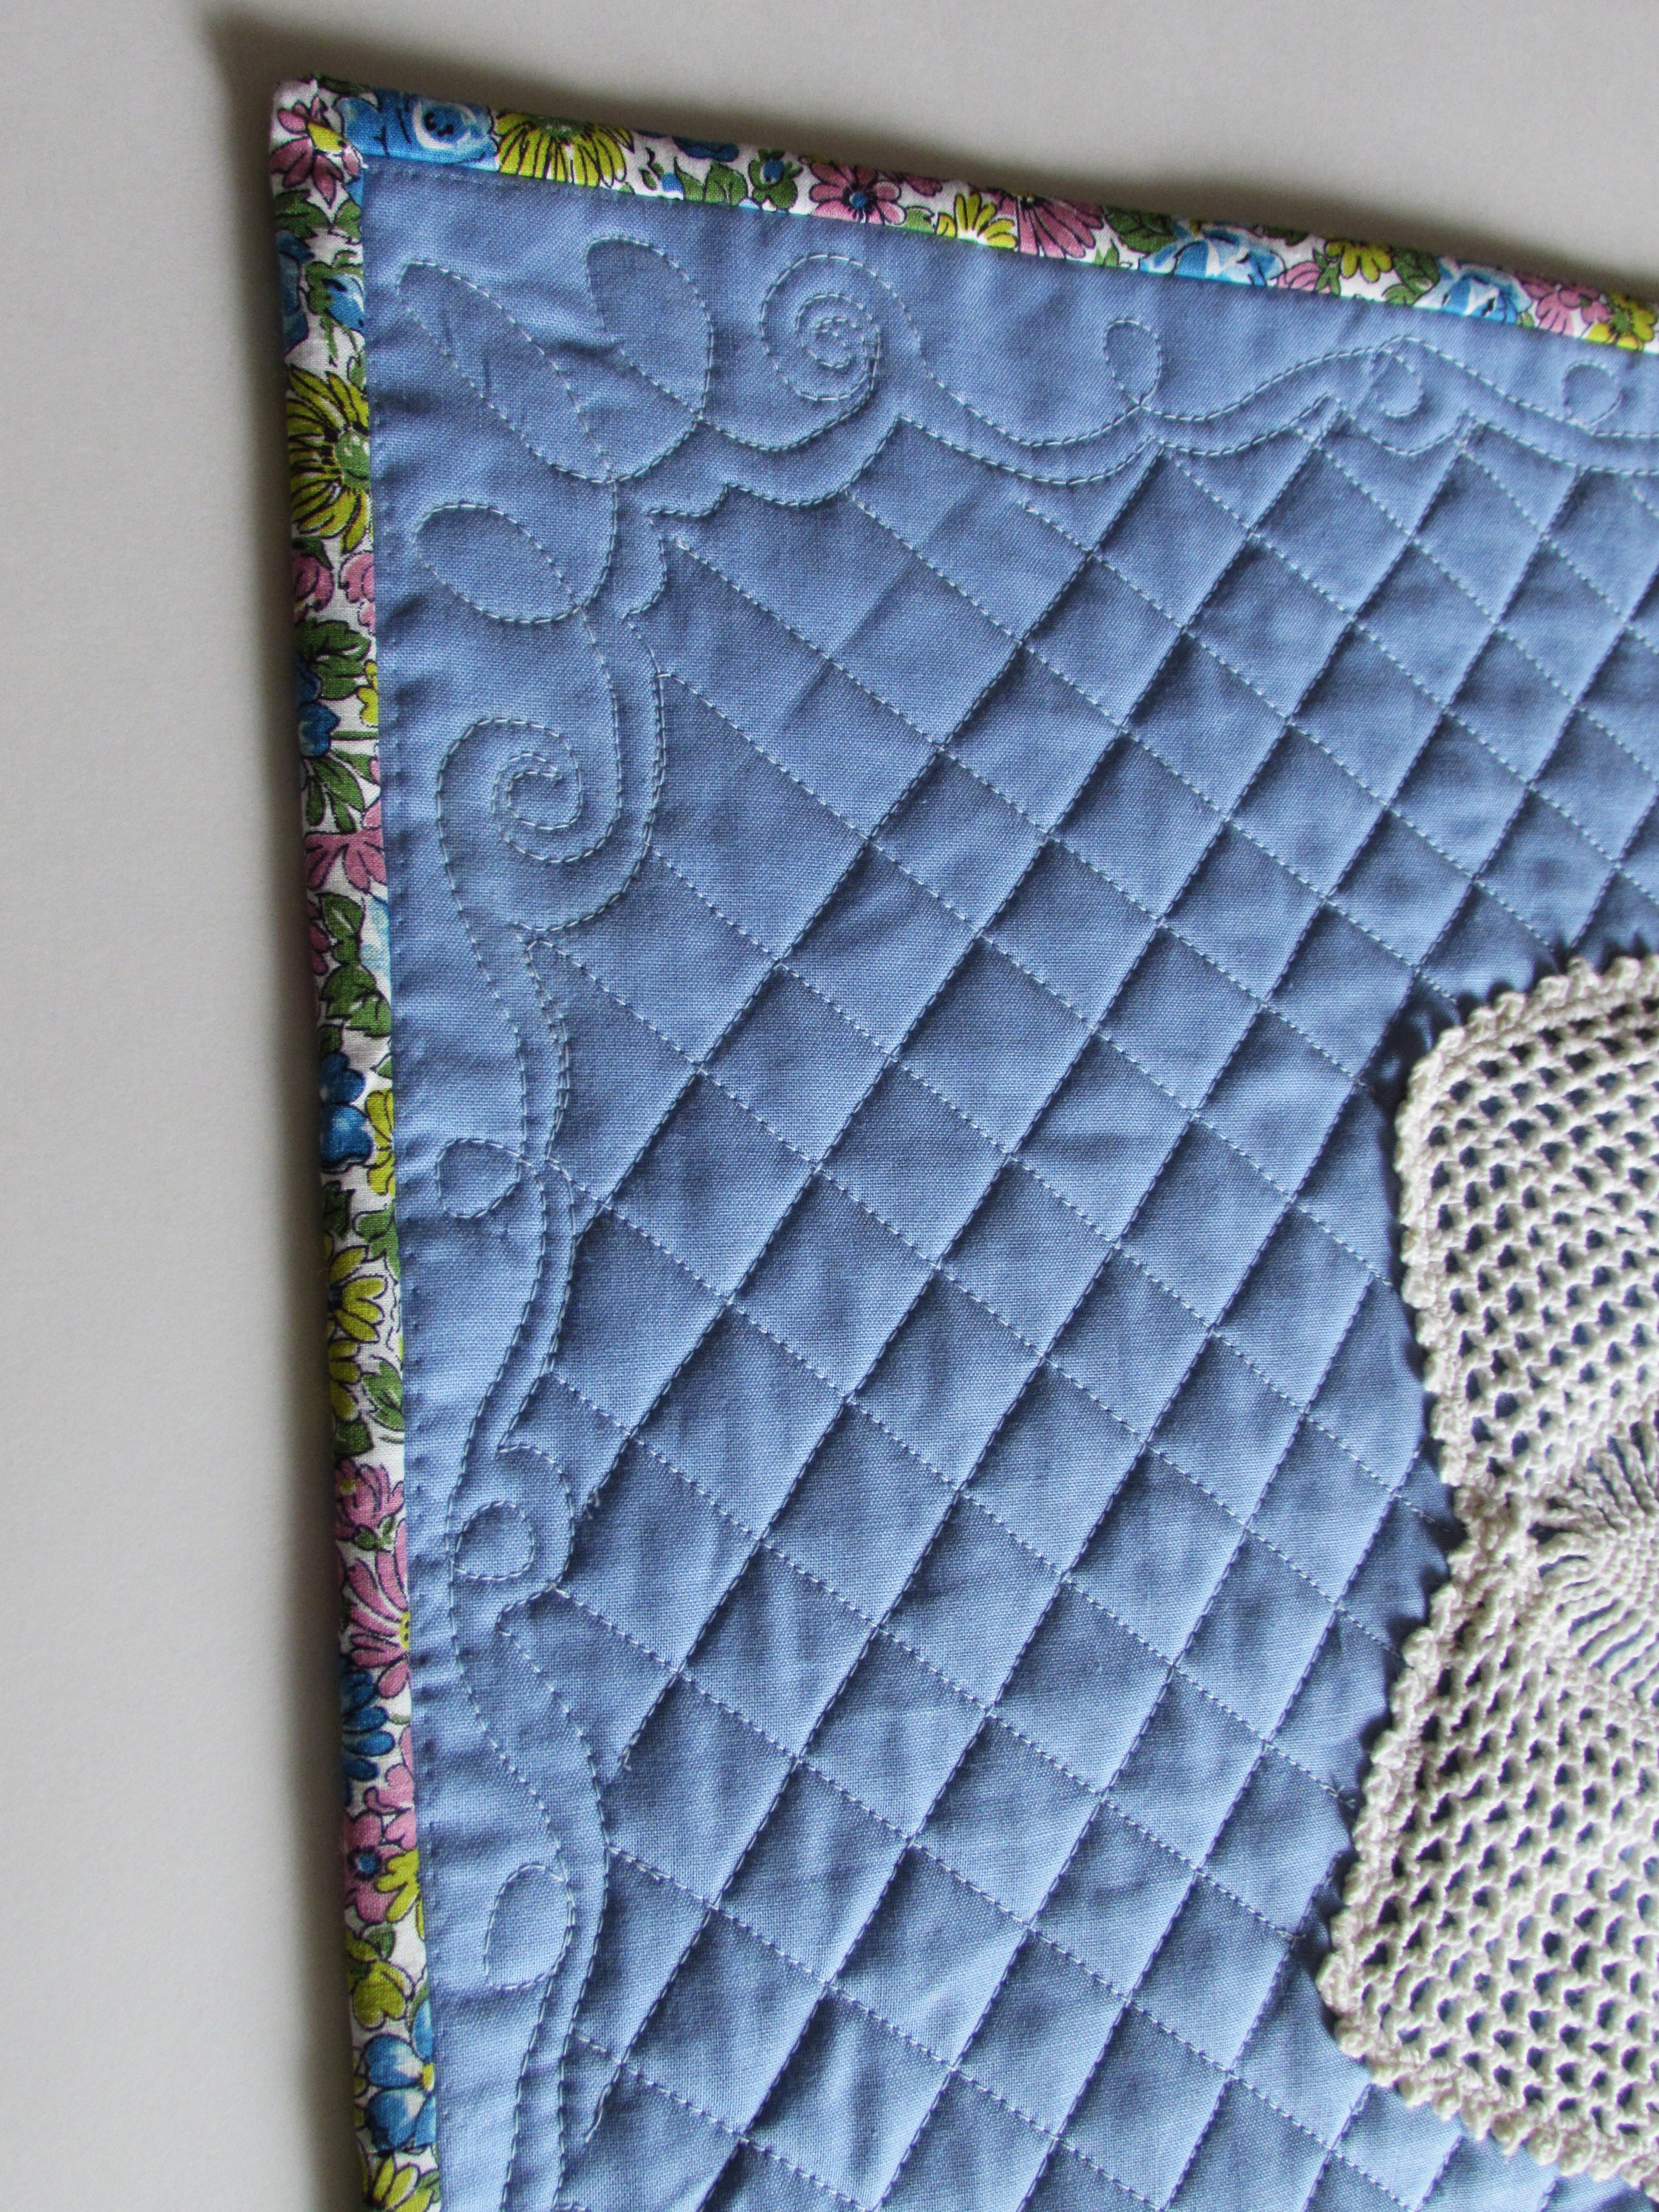
This weekend I was able to catch up on the FMQ quiltalong that I have been doing with Lori at The Inbox Jaunt. This project just gets cuter and cuter.
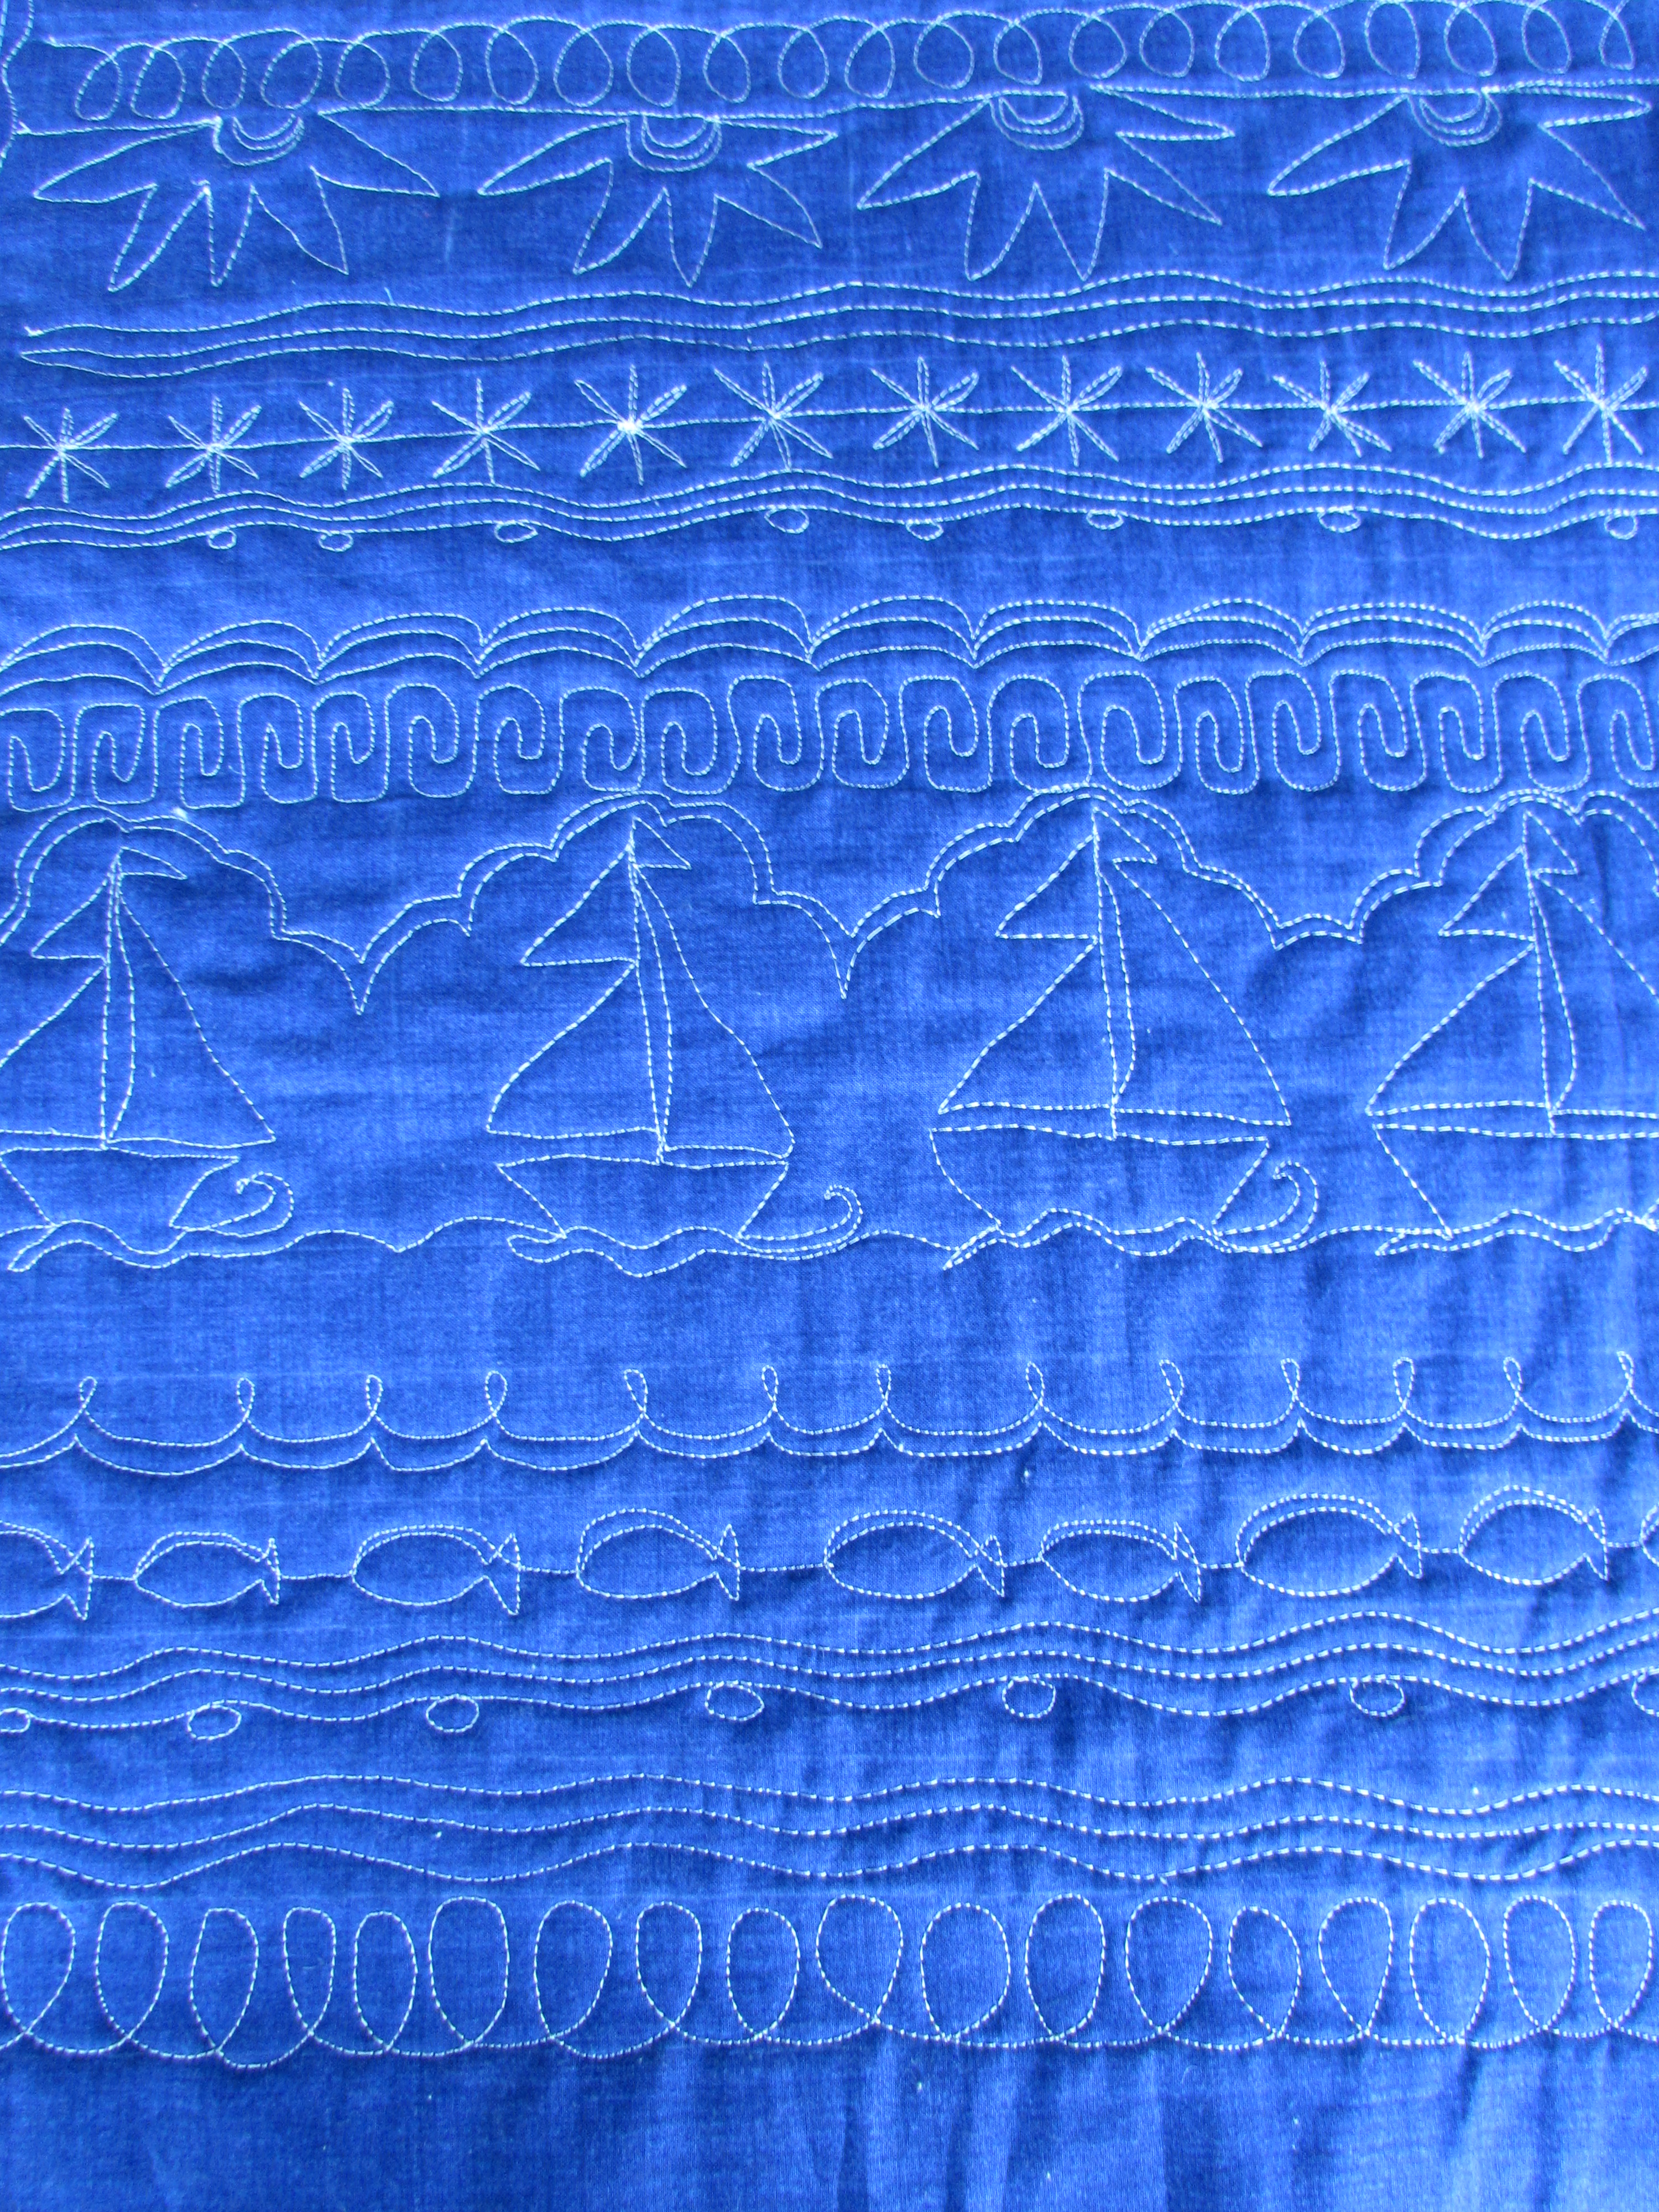
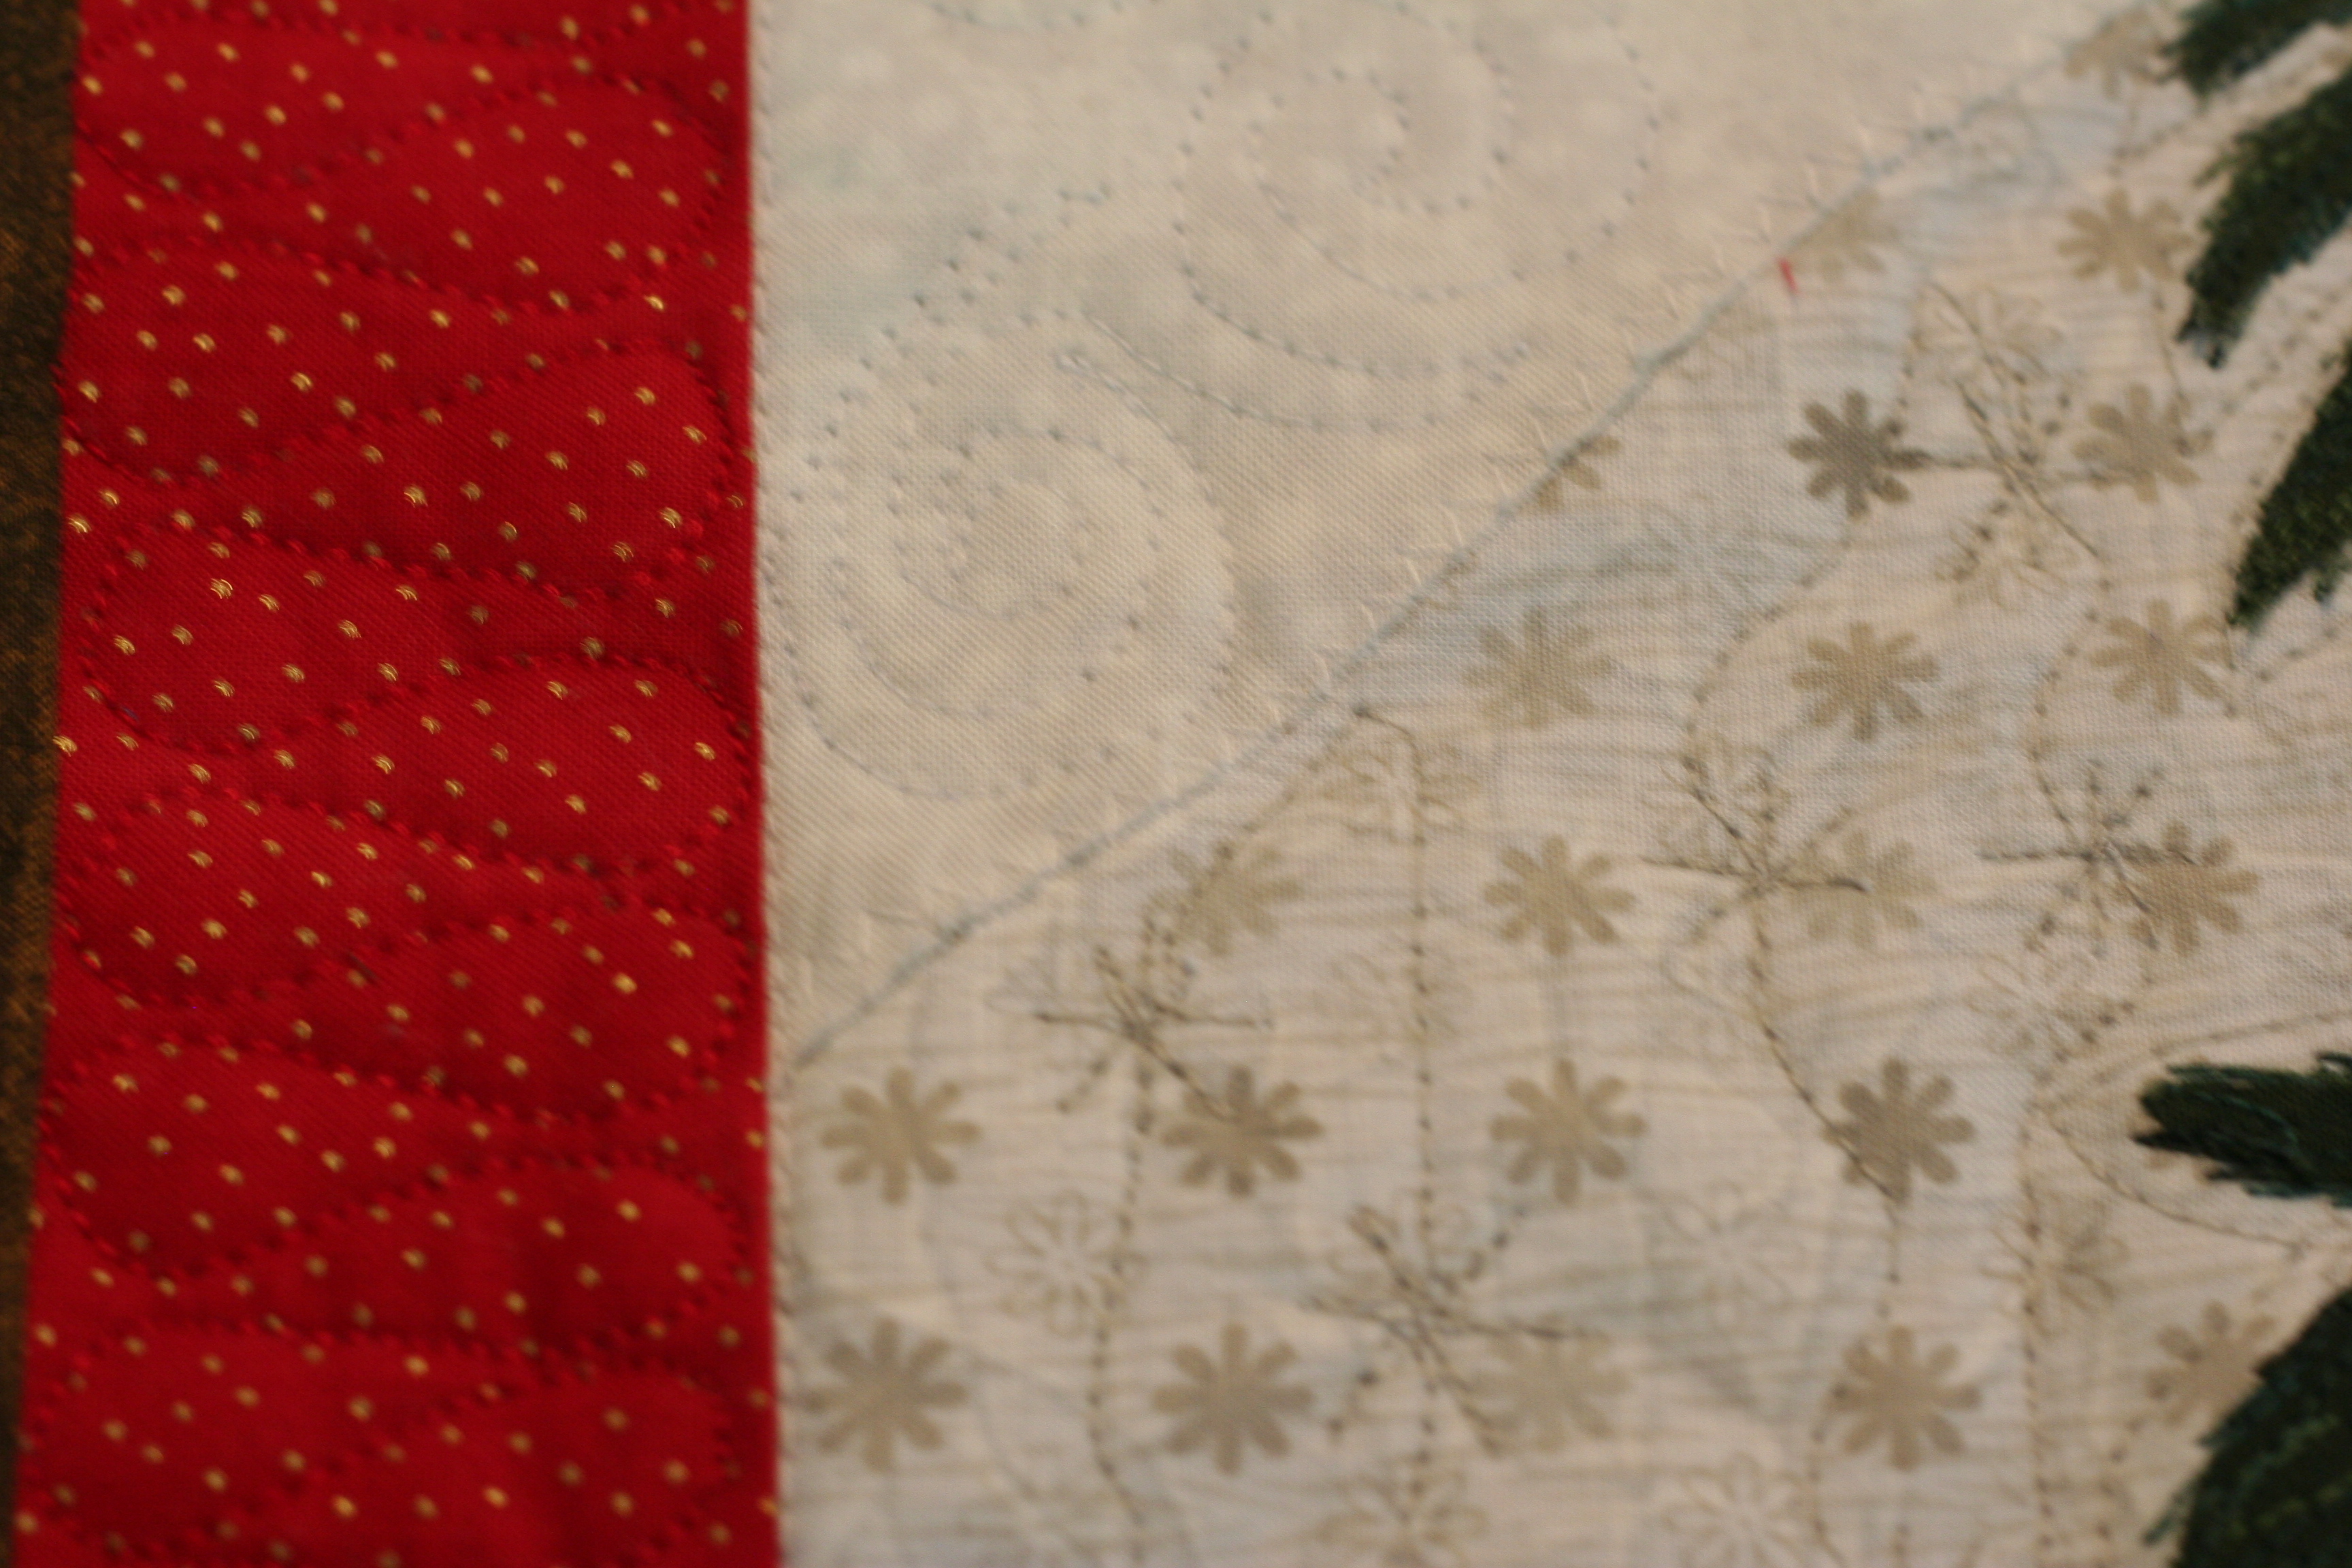
Those sailboats make this whole project shine! I love them and kind of want to make something for a child that features the boats. I think they are just adorable. It is with mixed feelings that I watch for today’s post from Lori. This week we will be quilting the last row and adding some finishing touches. Overall, this was a fun way to practice my FMQ.
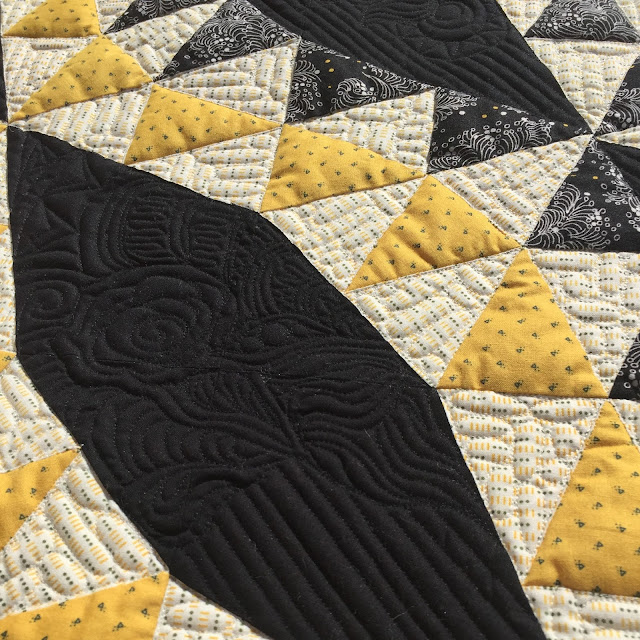
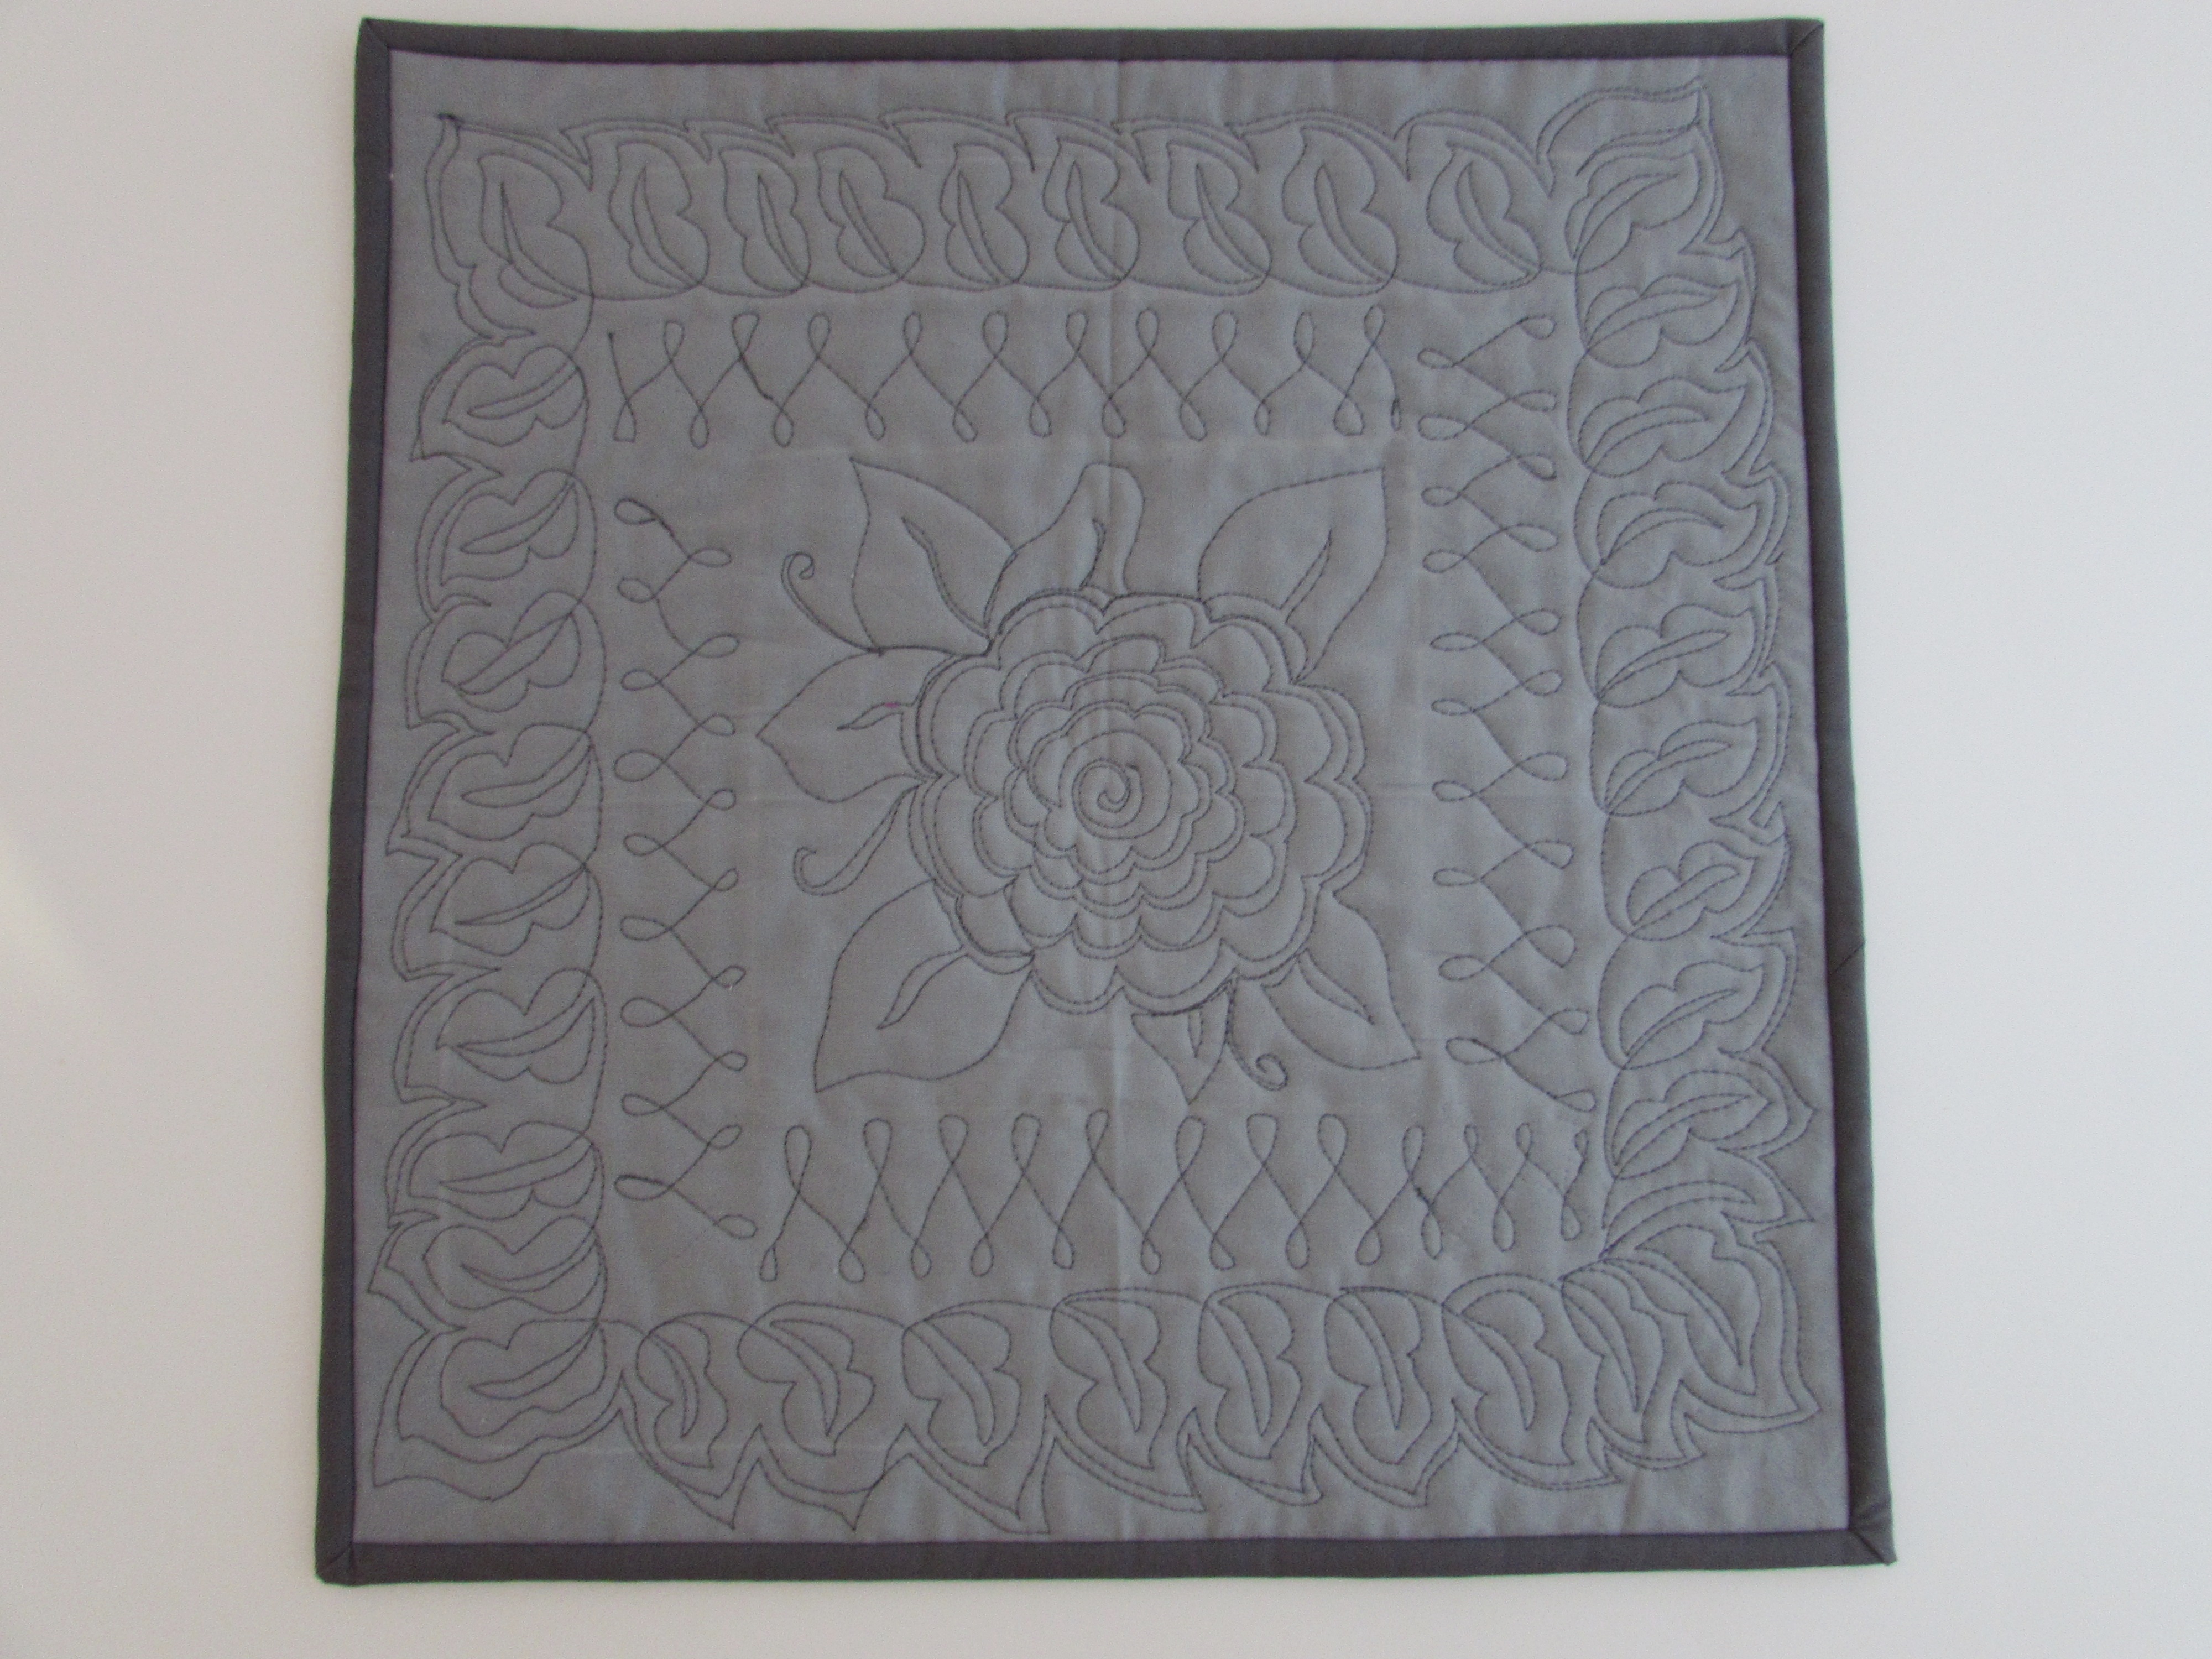
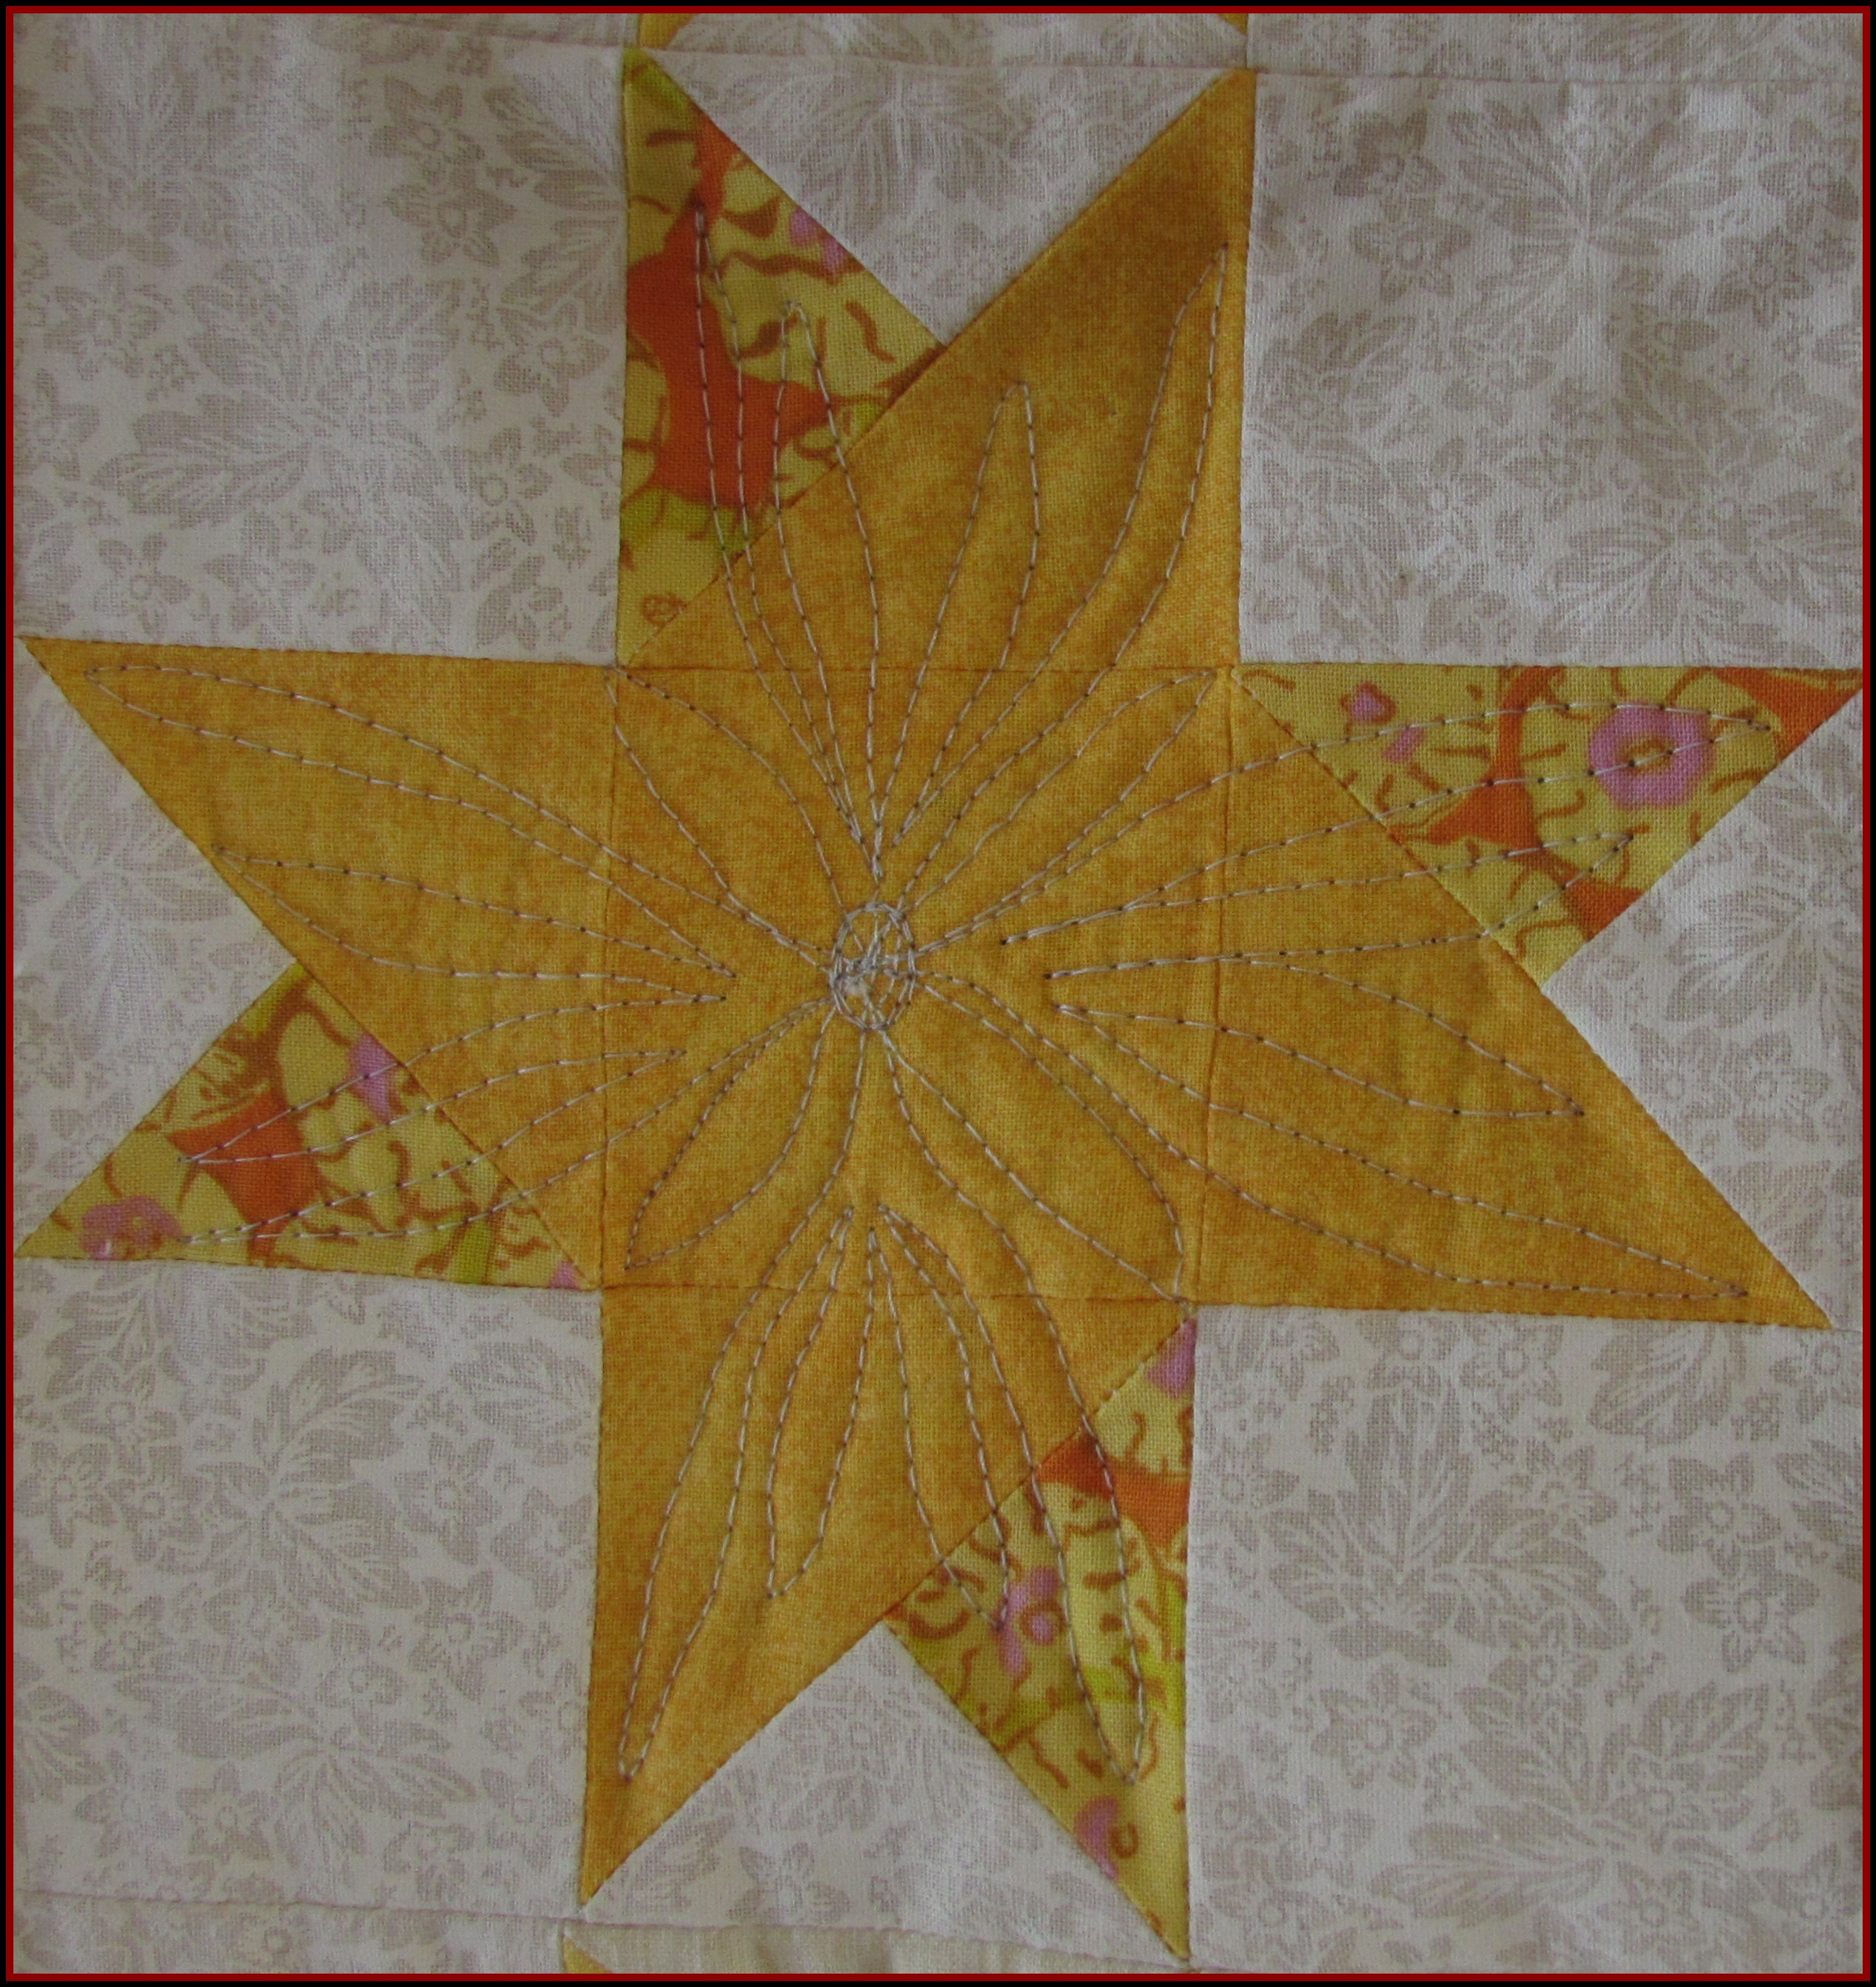
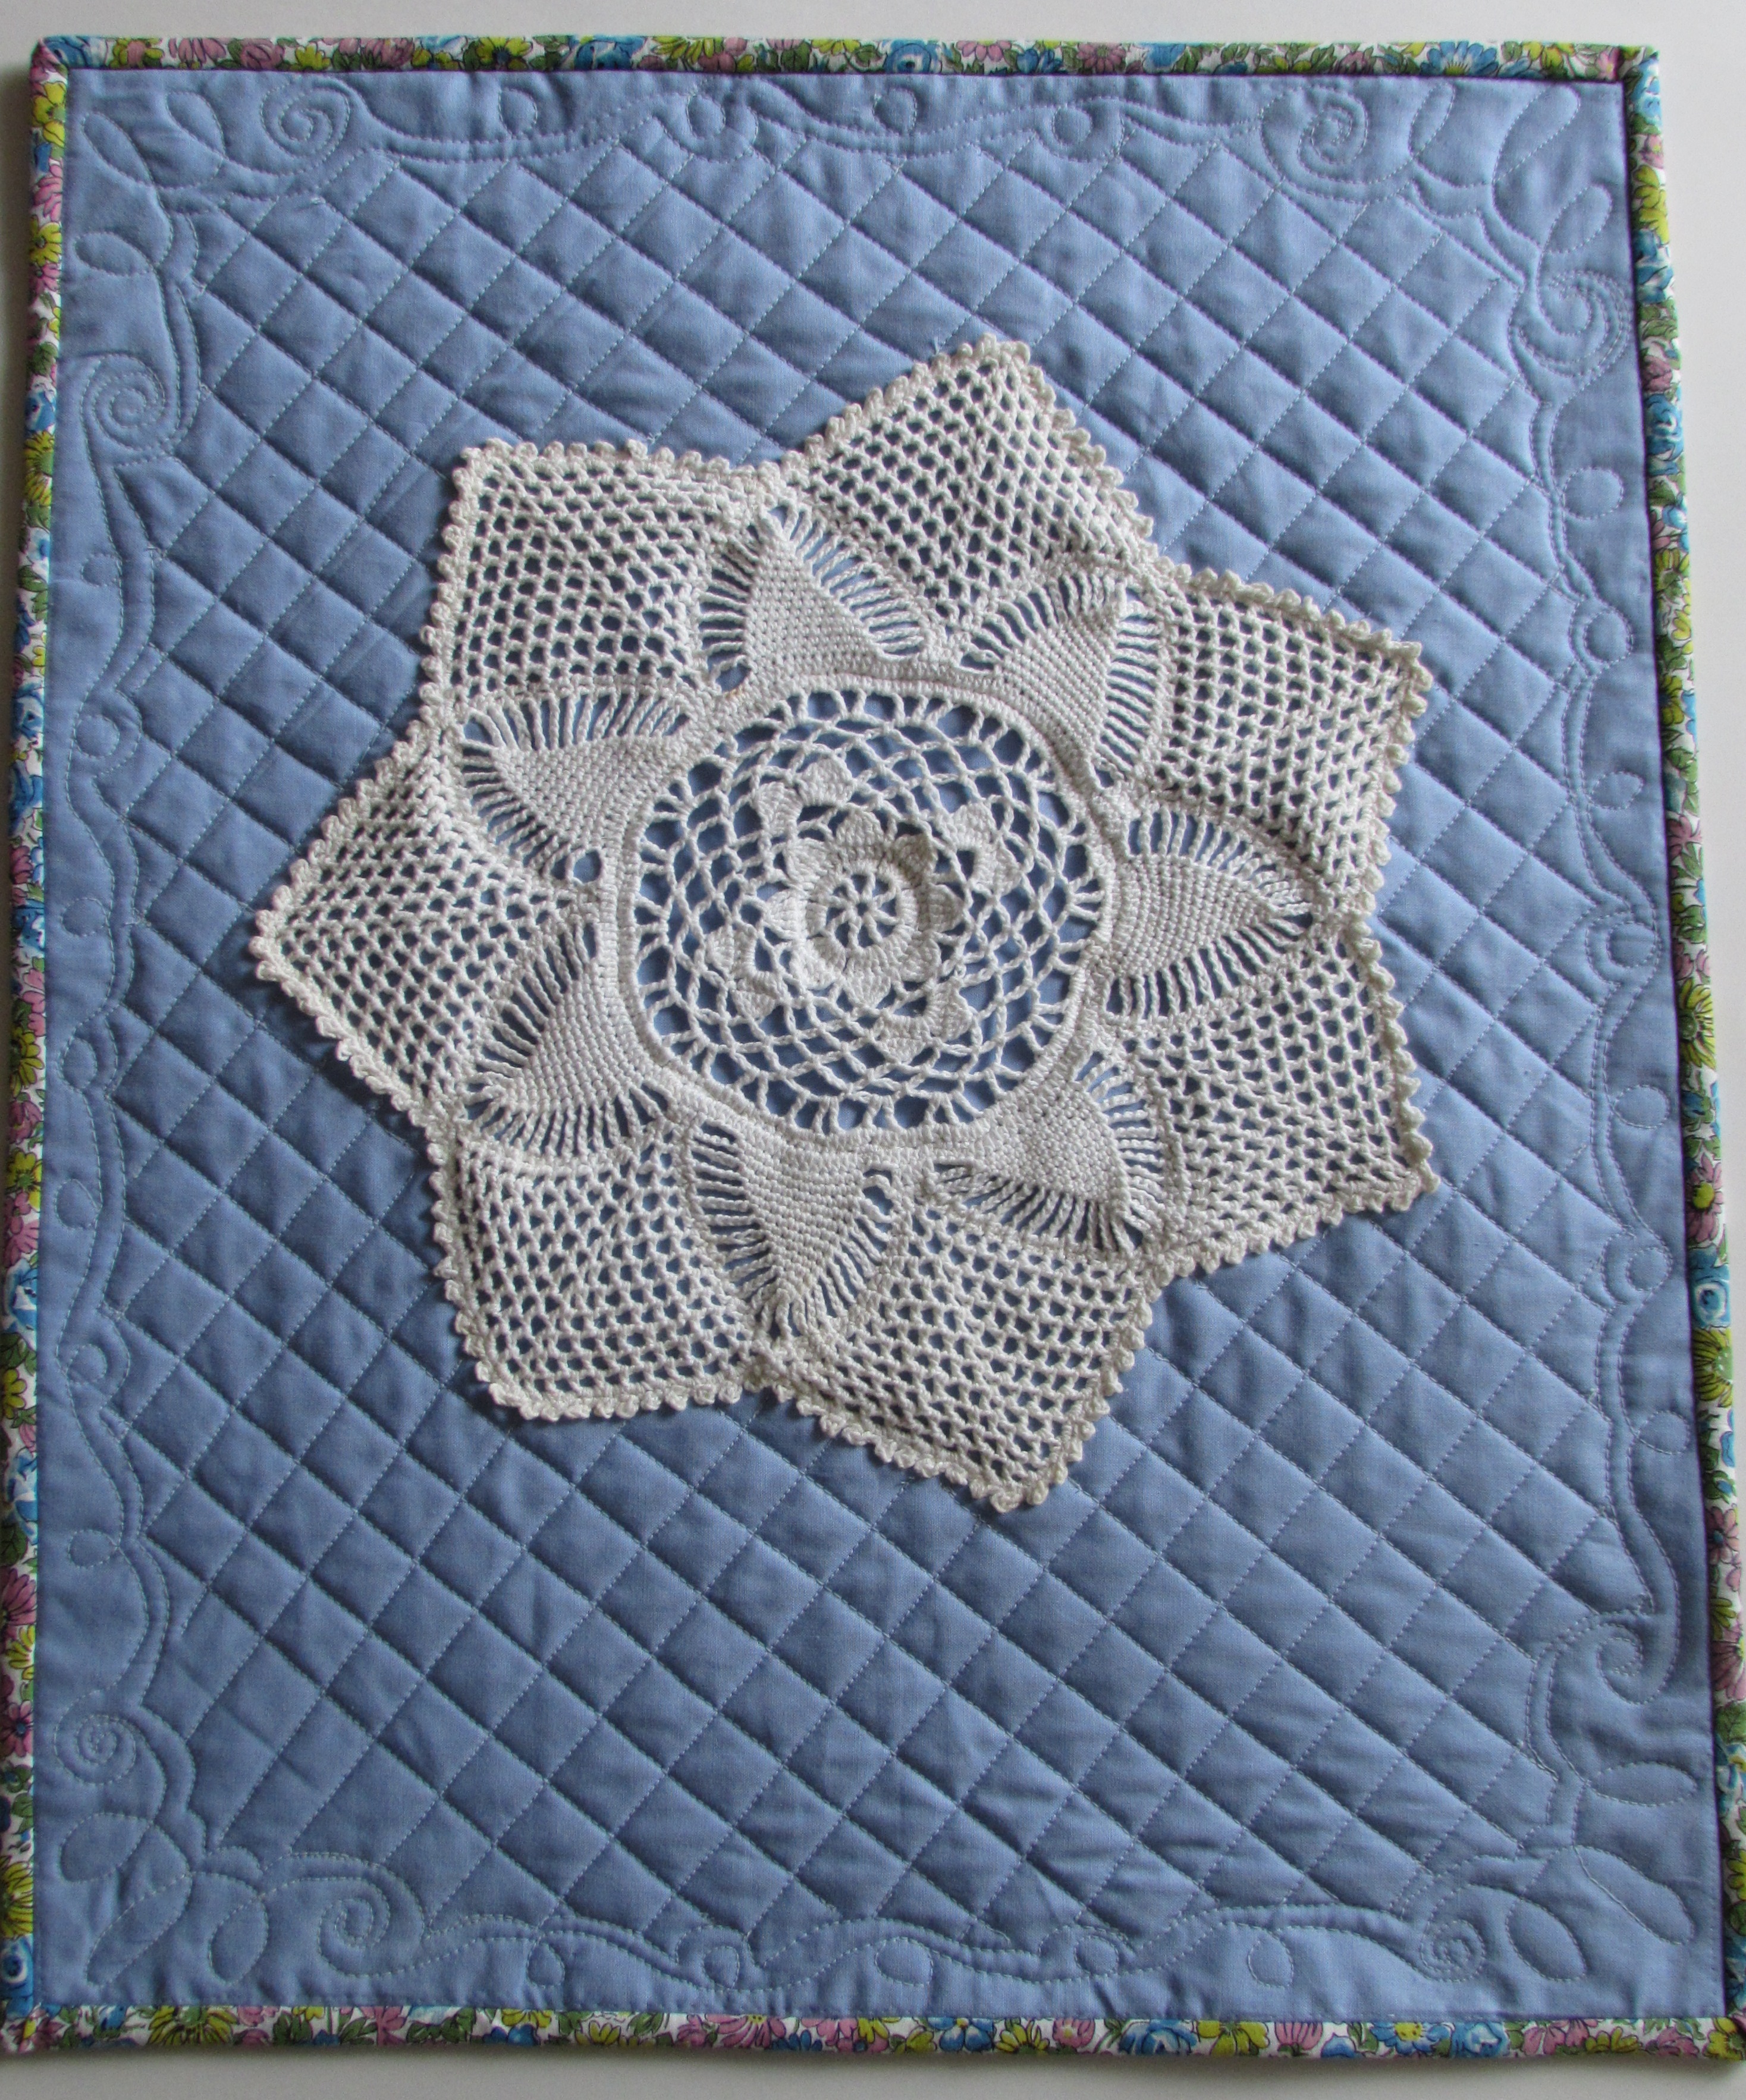
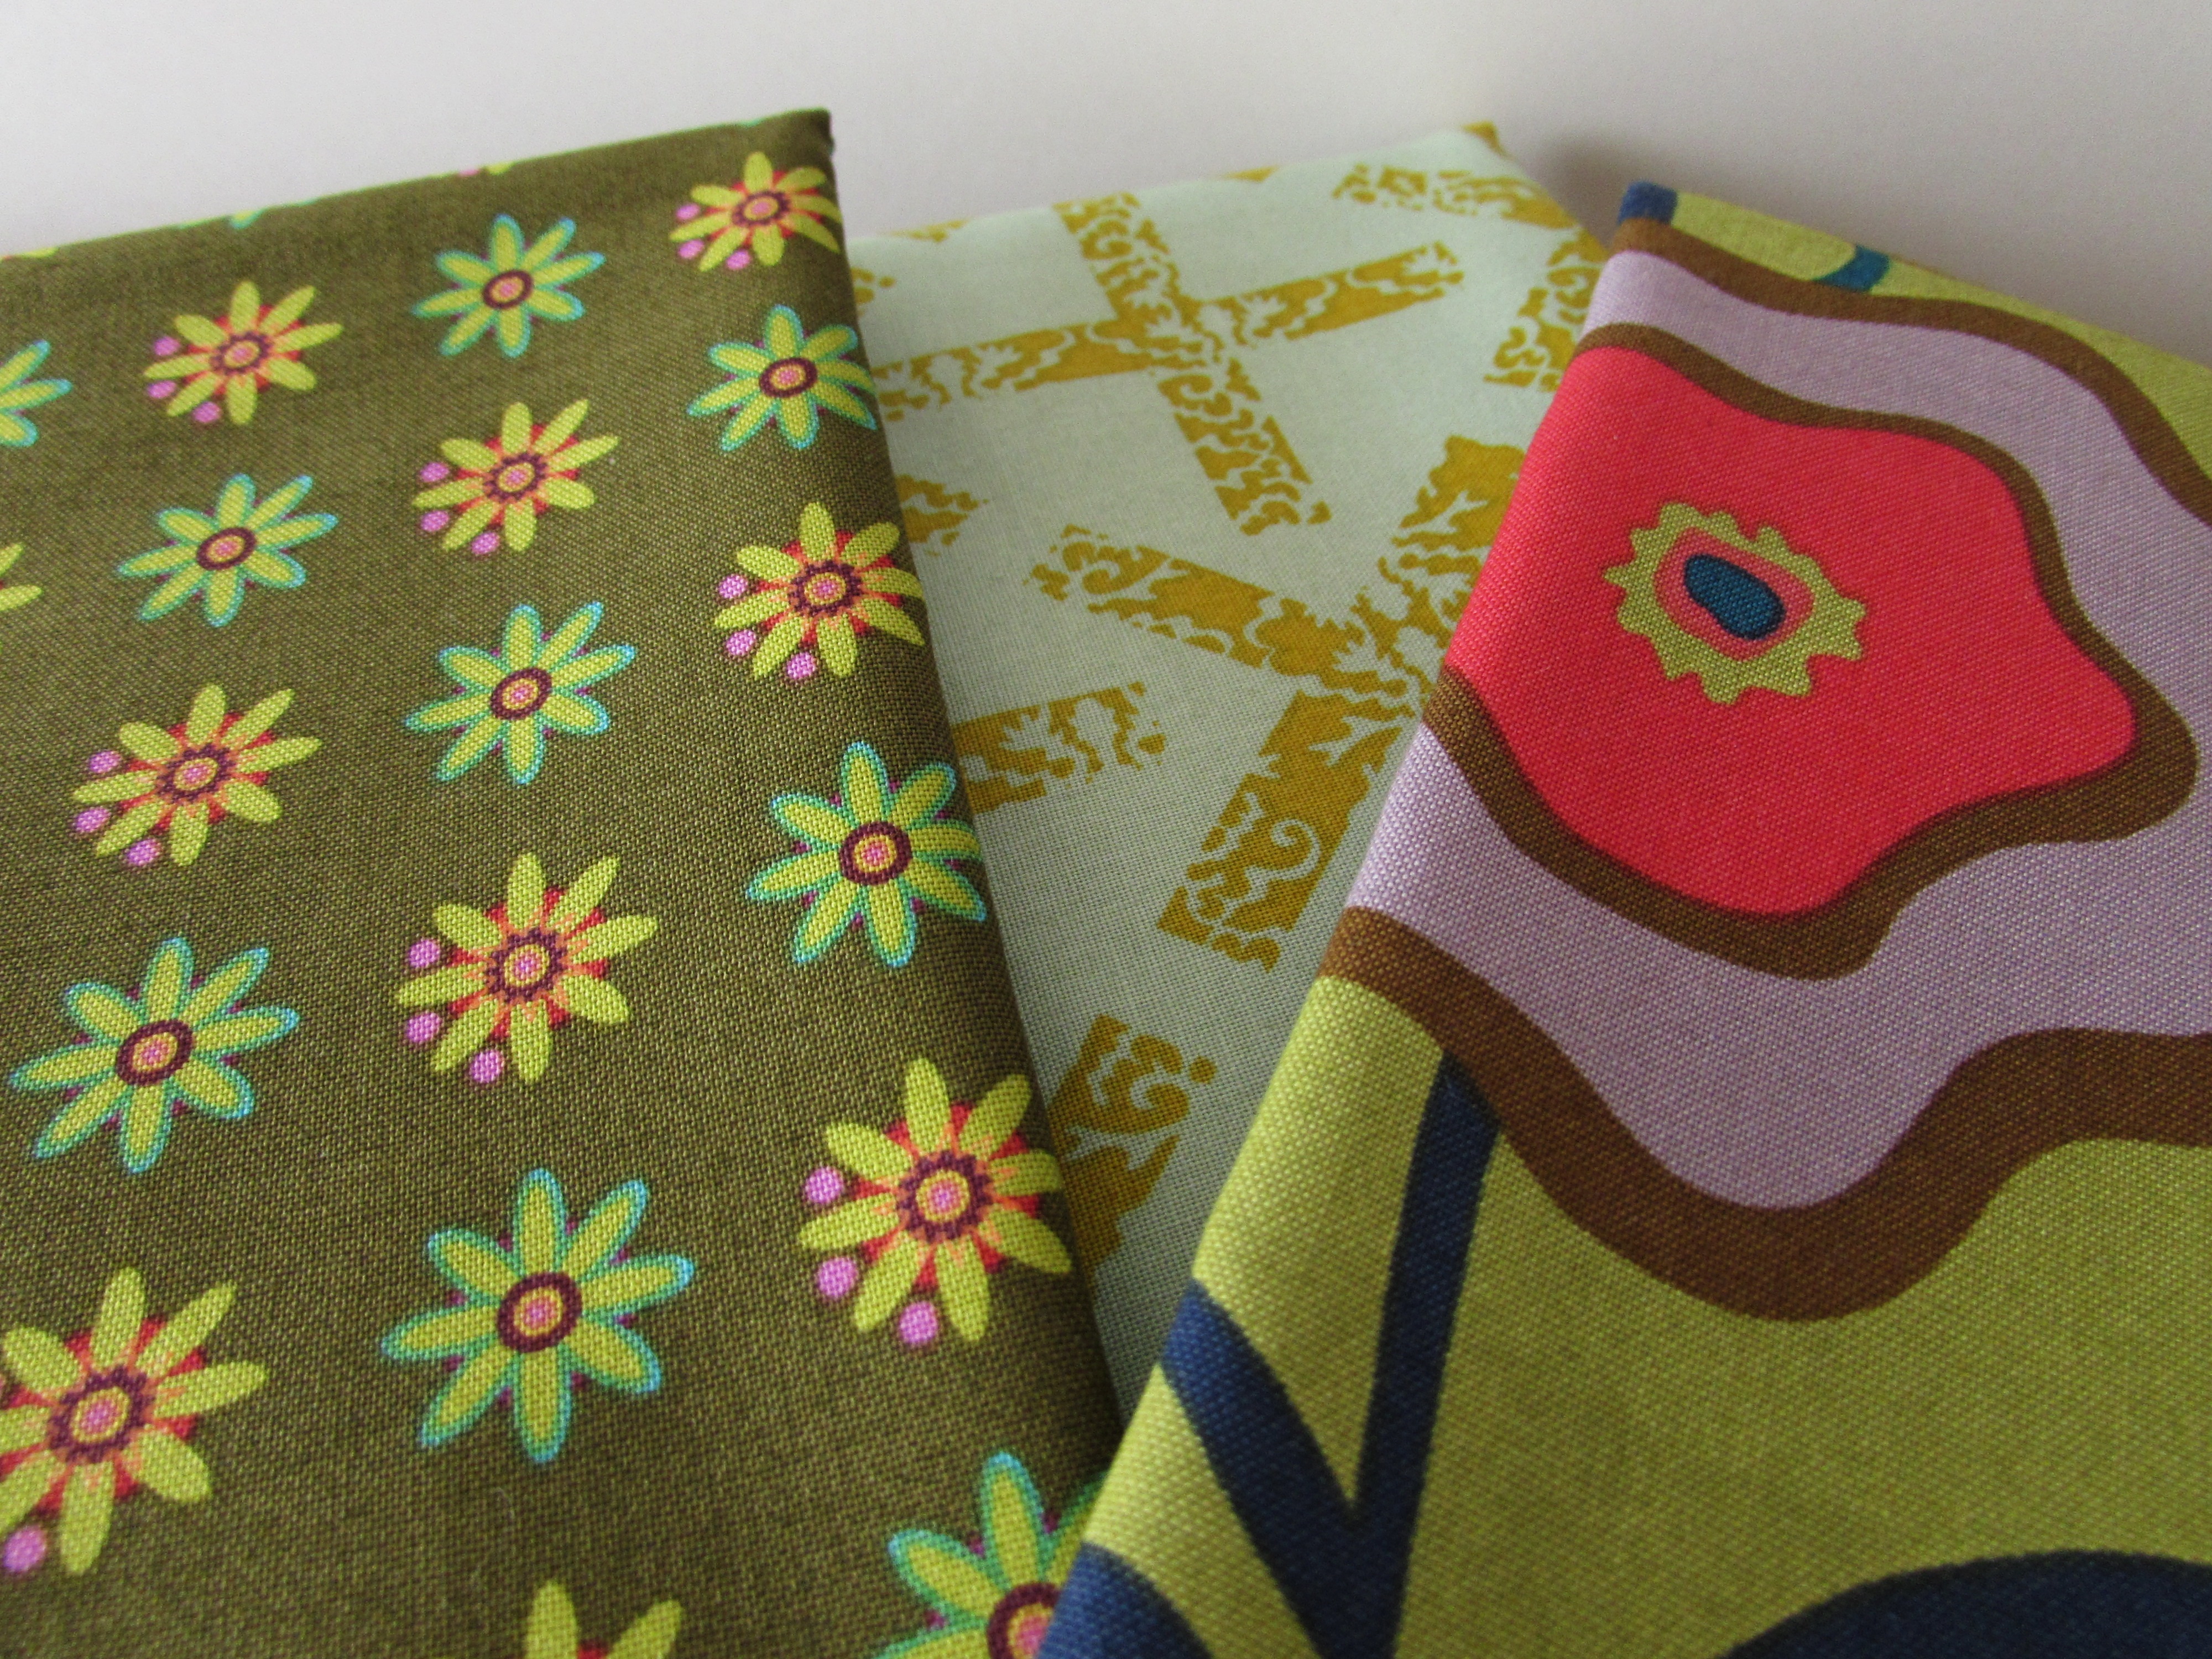
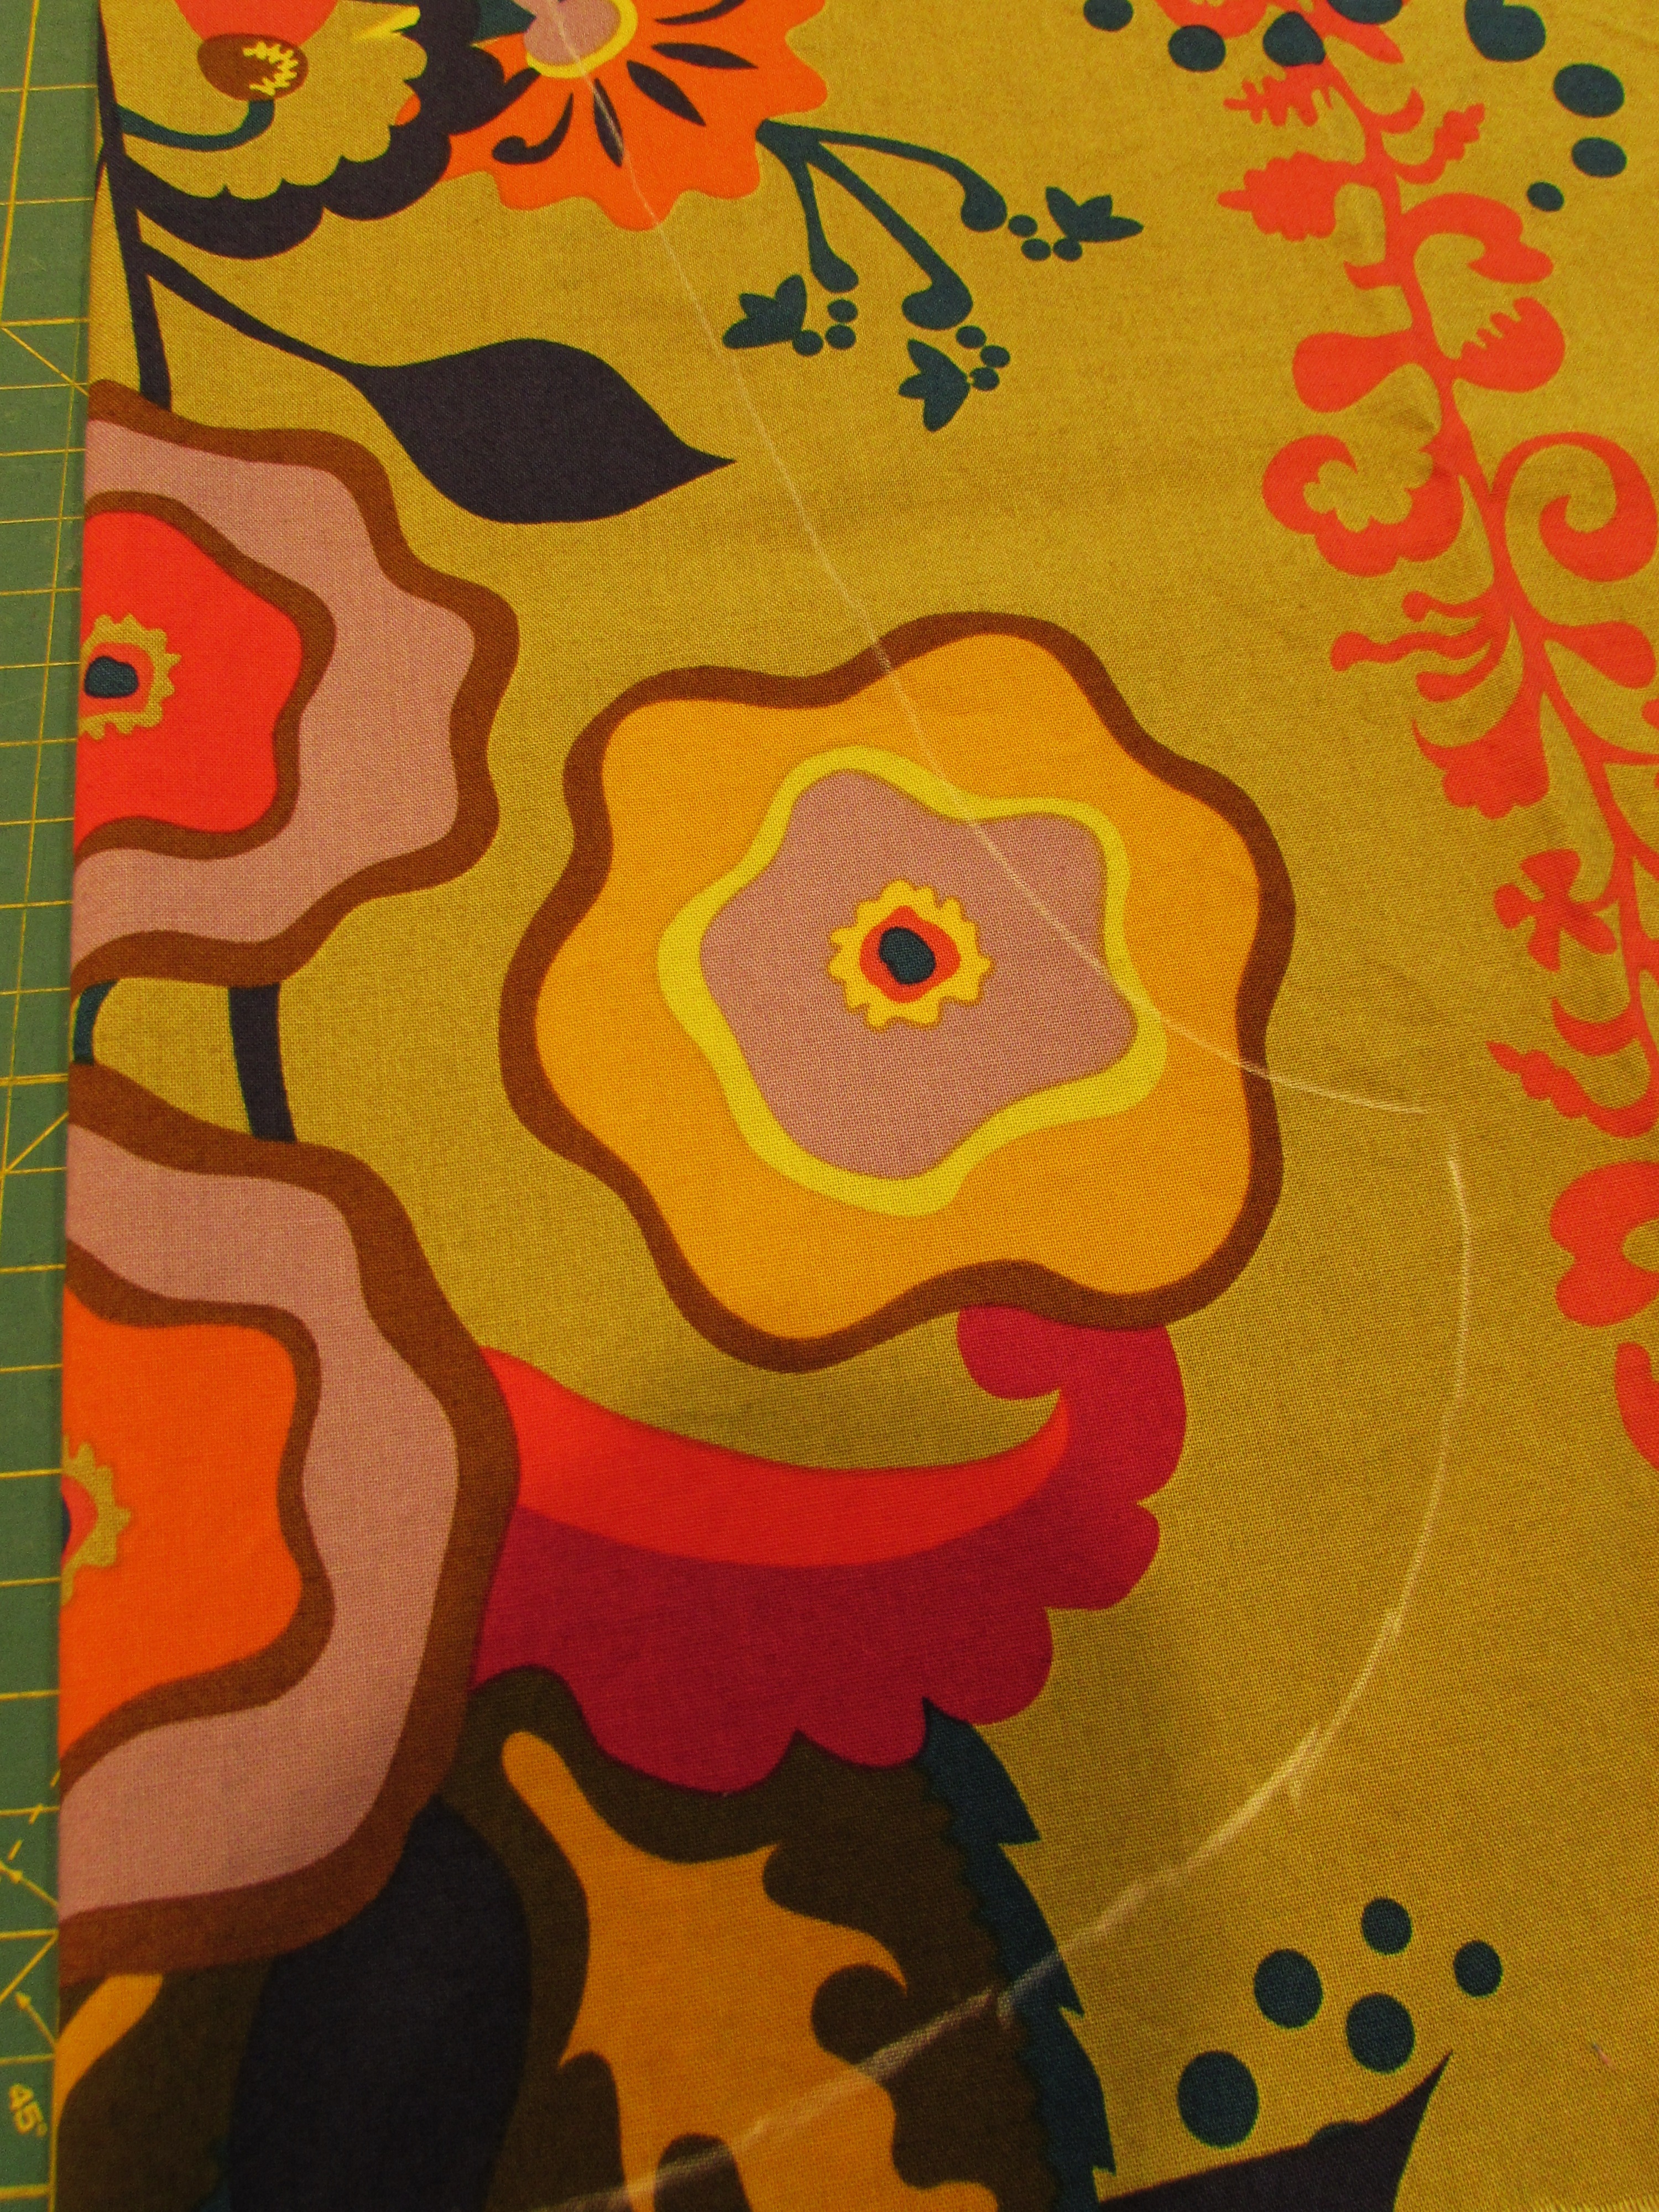
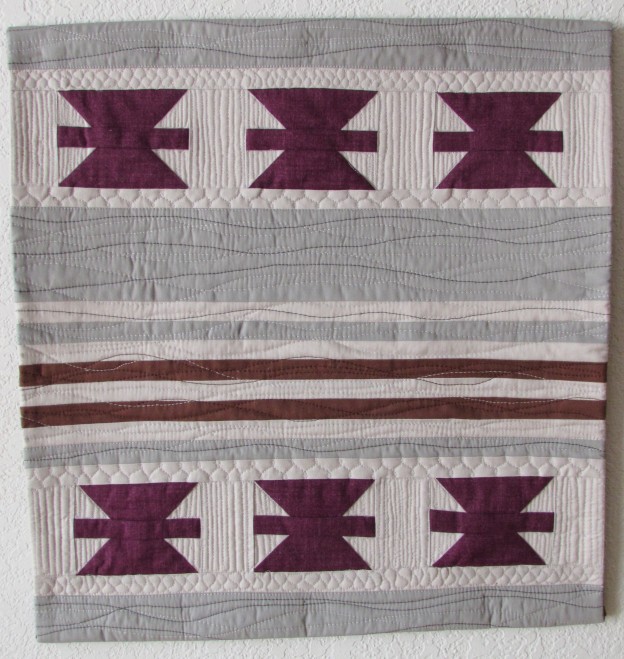
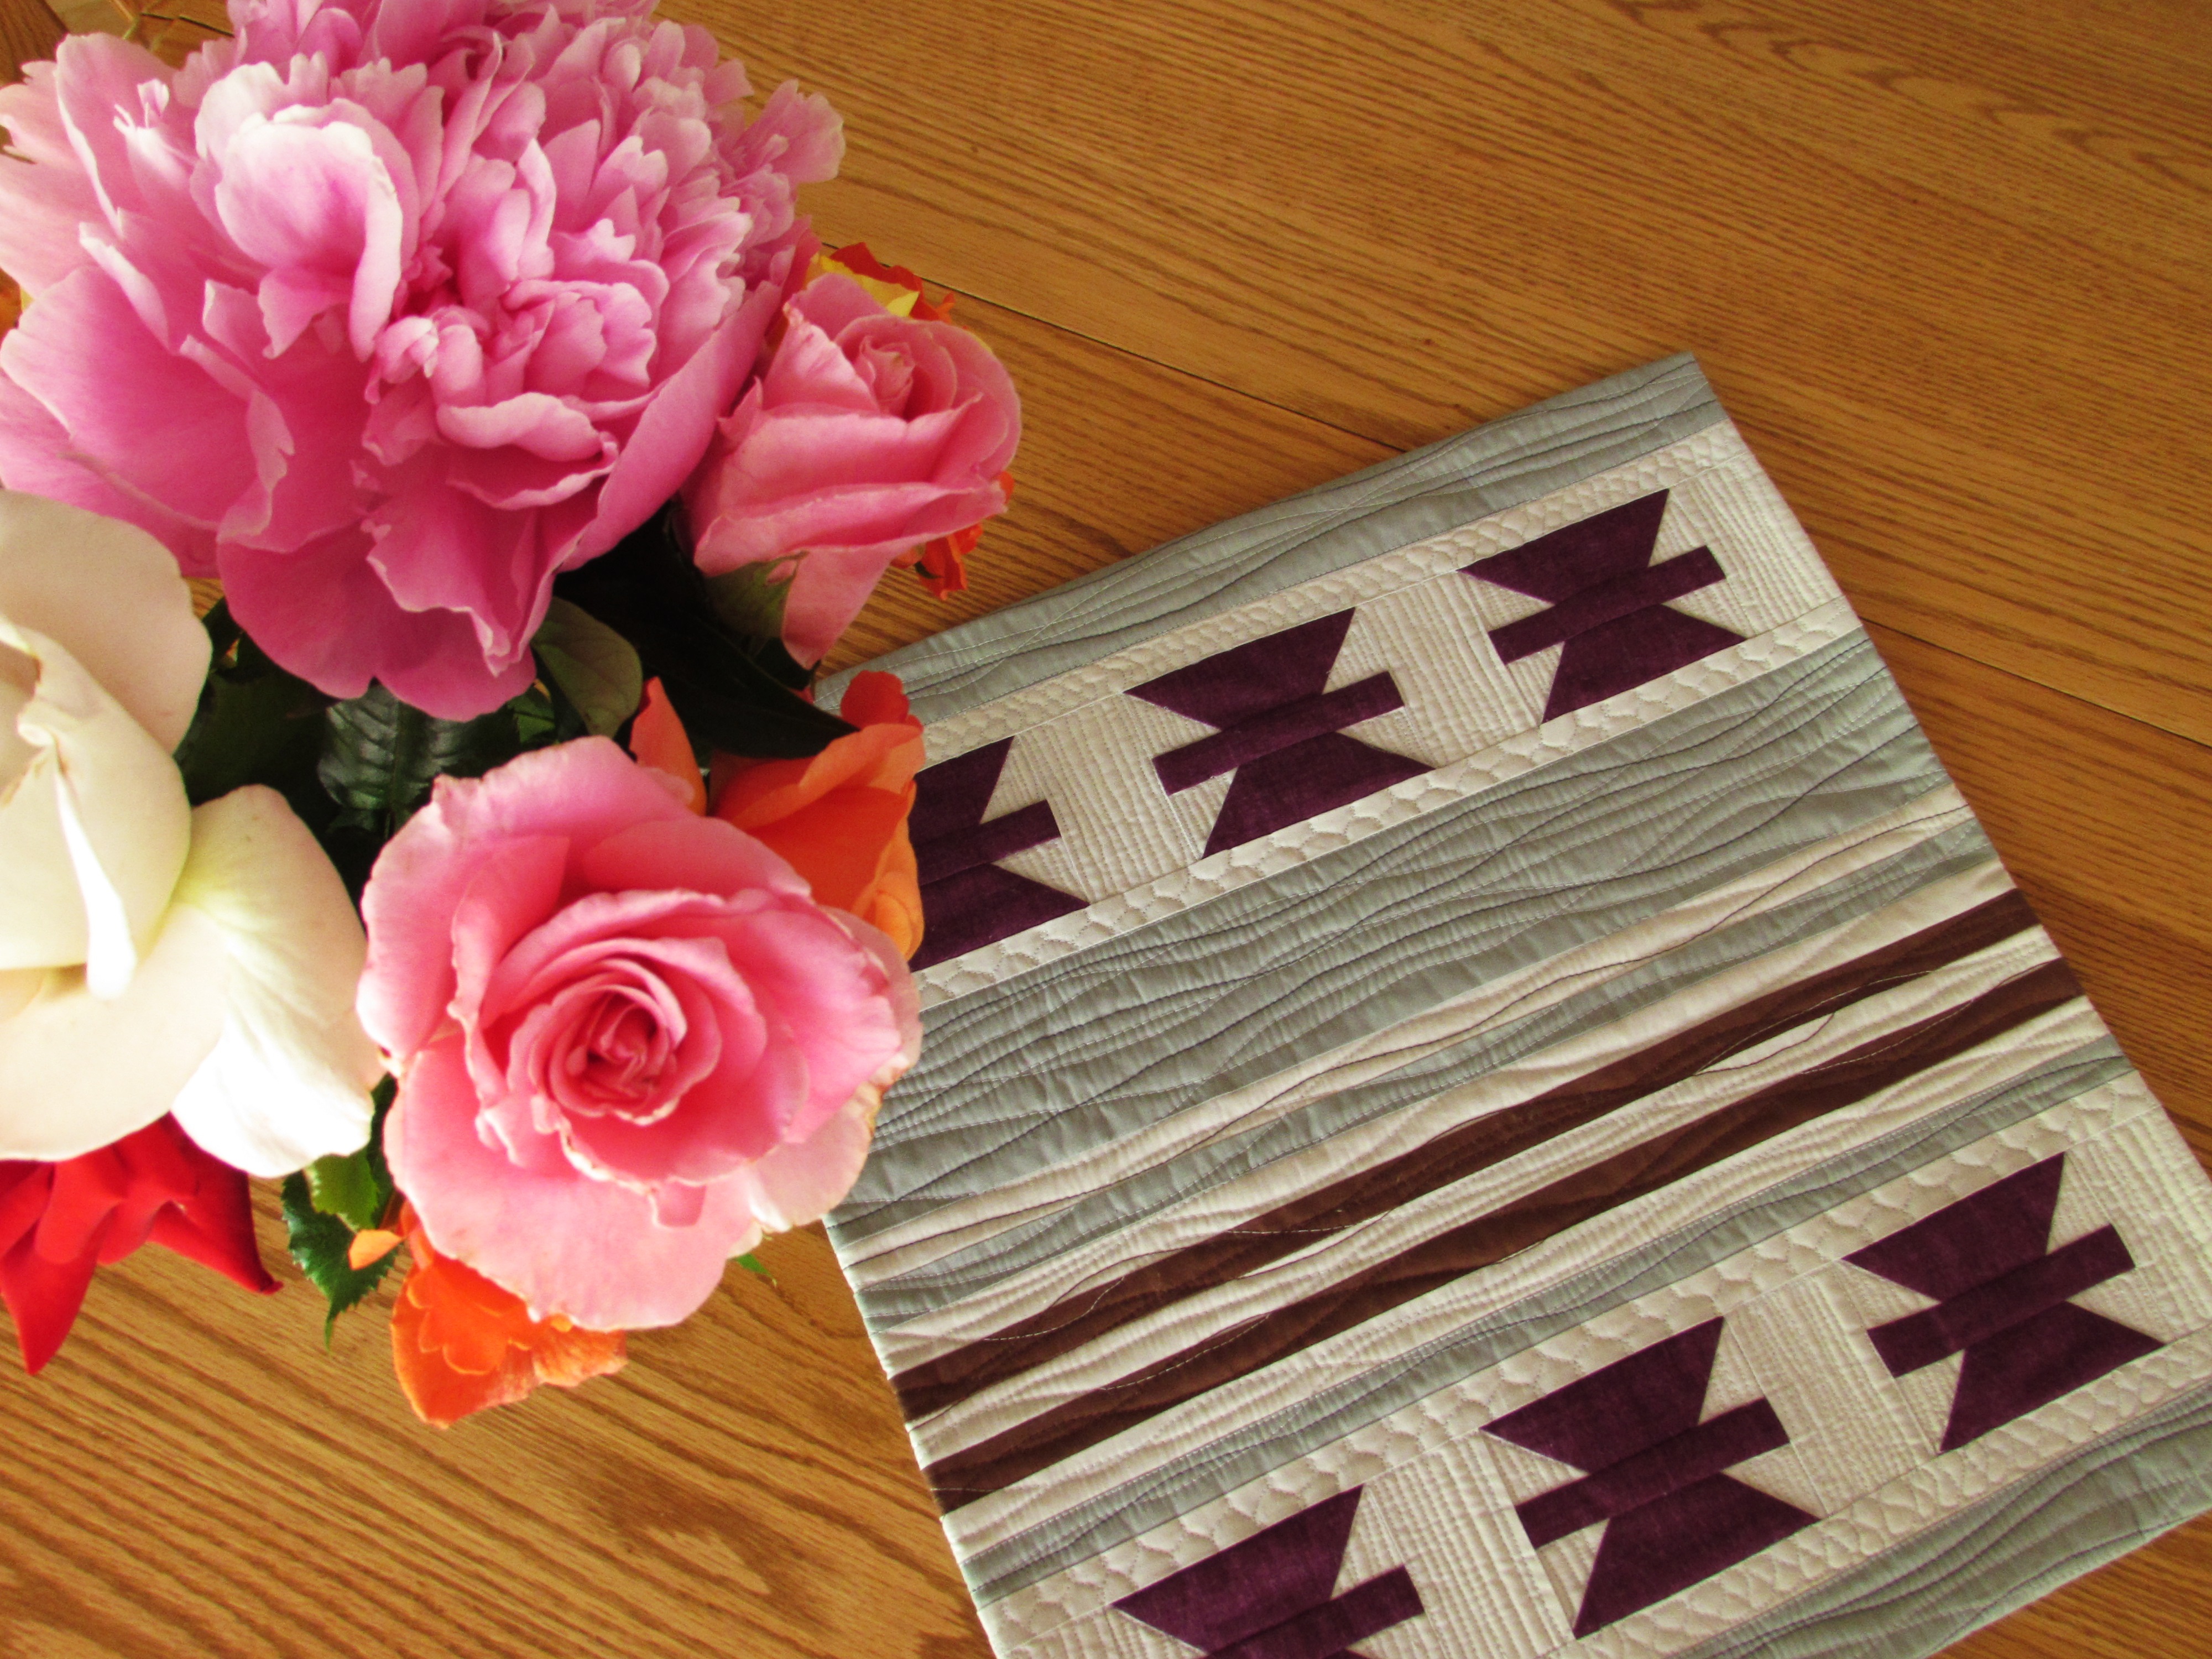
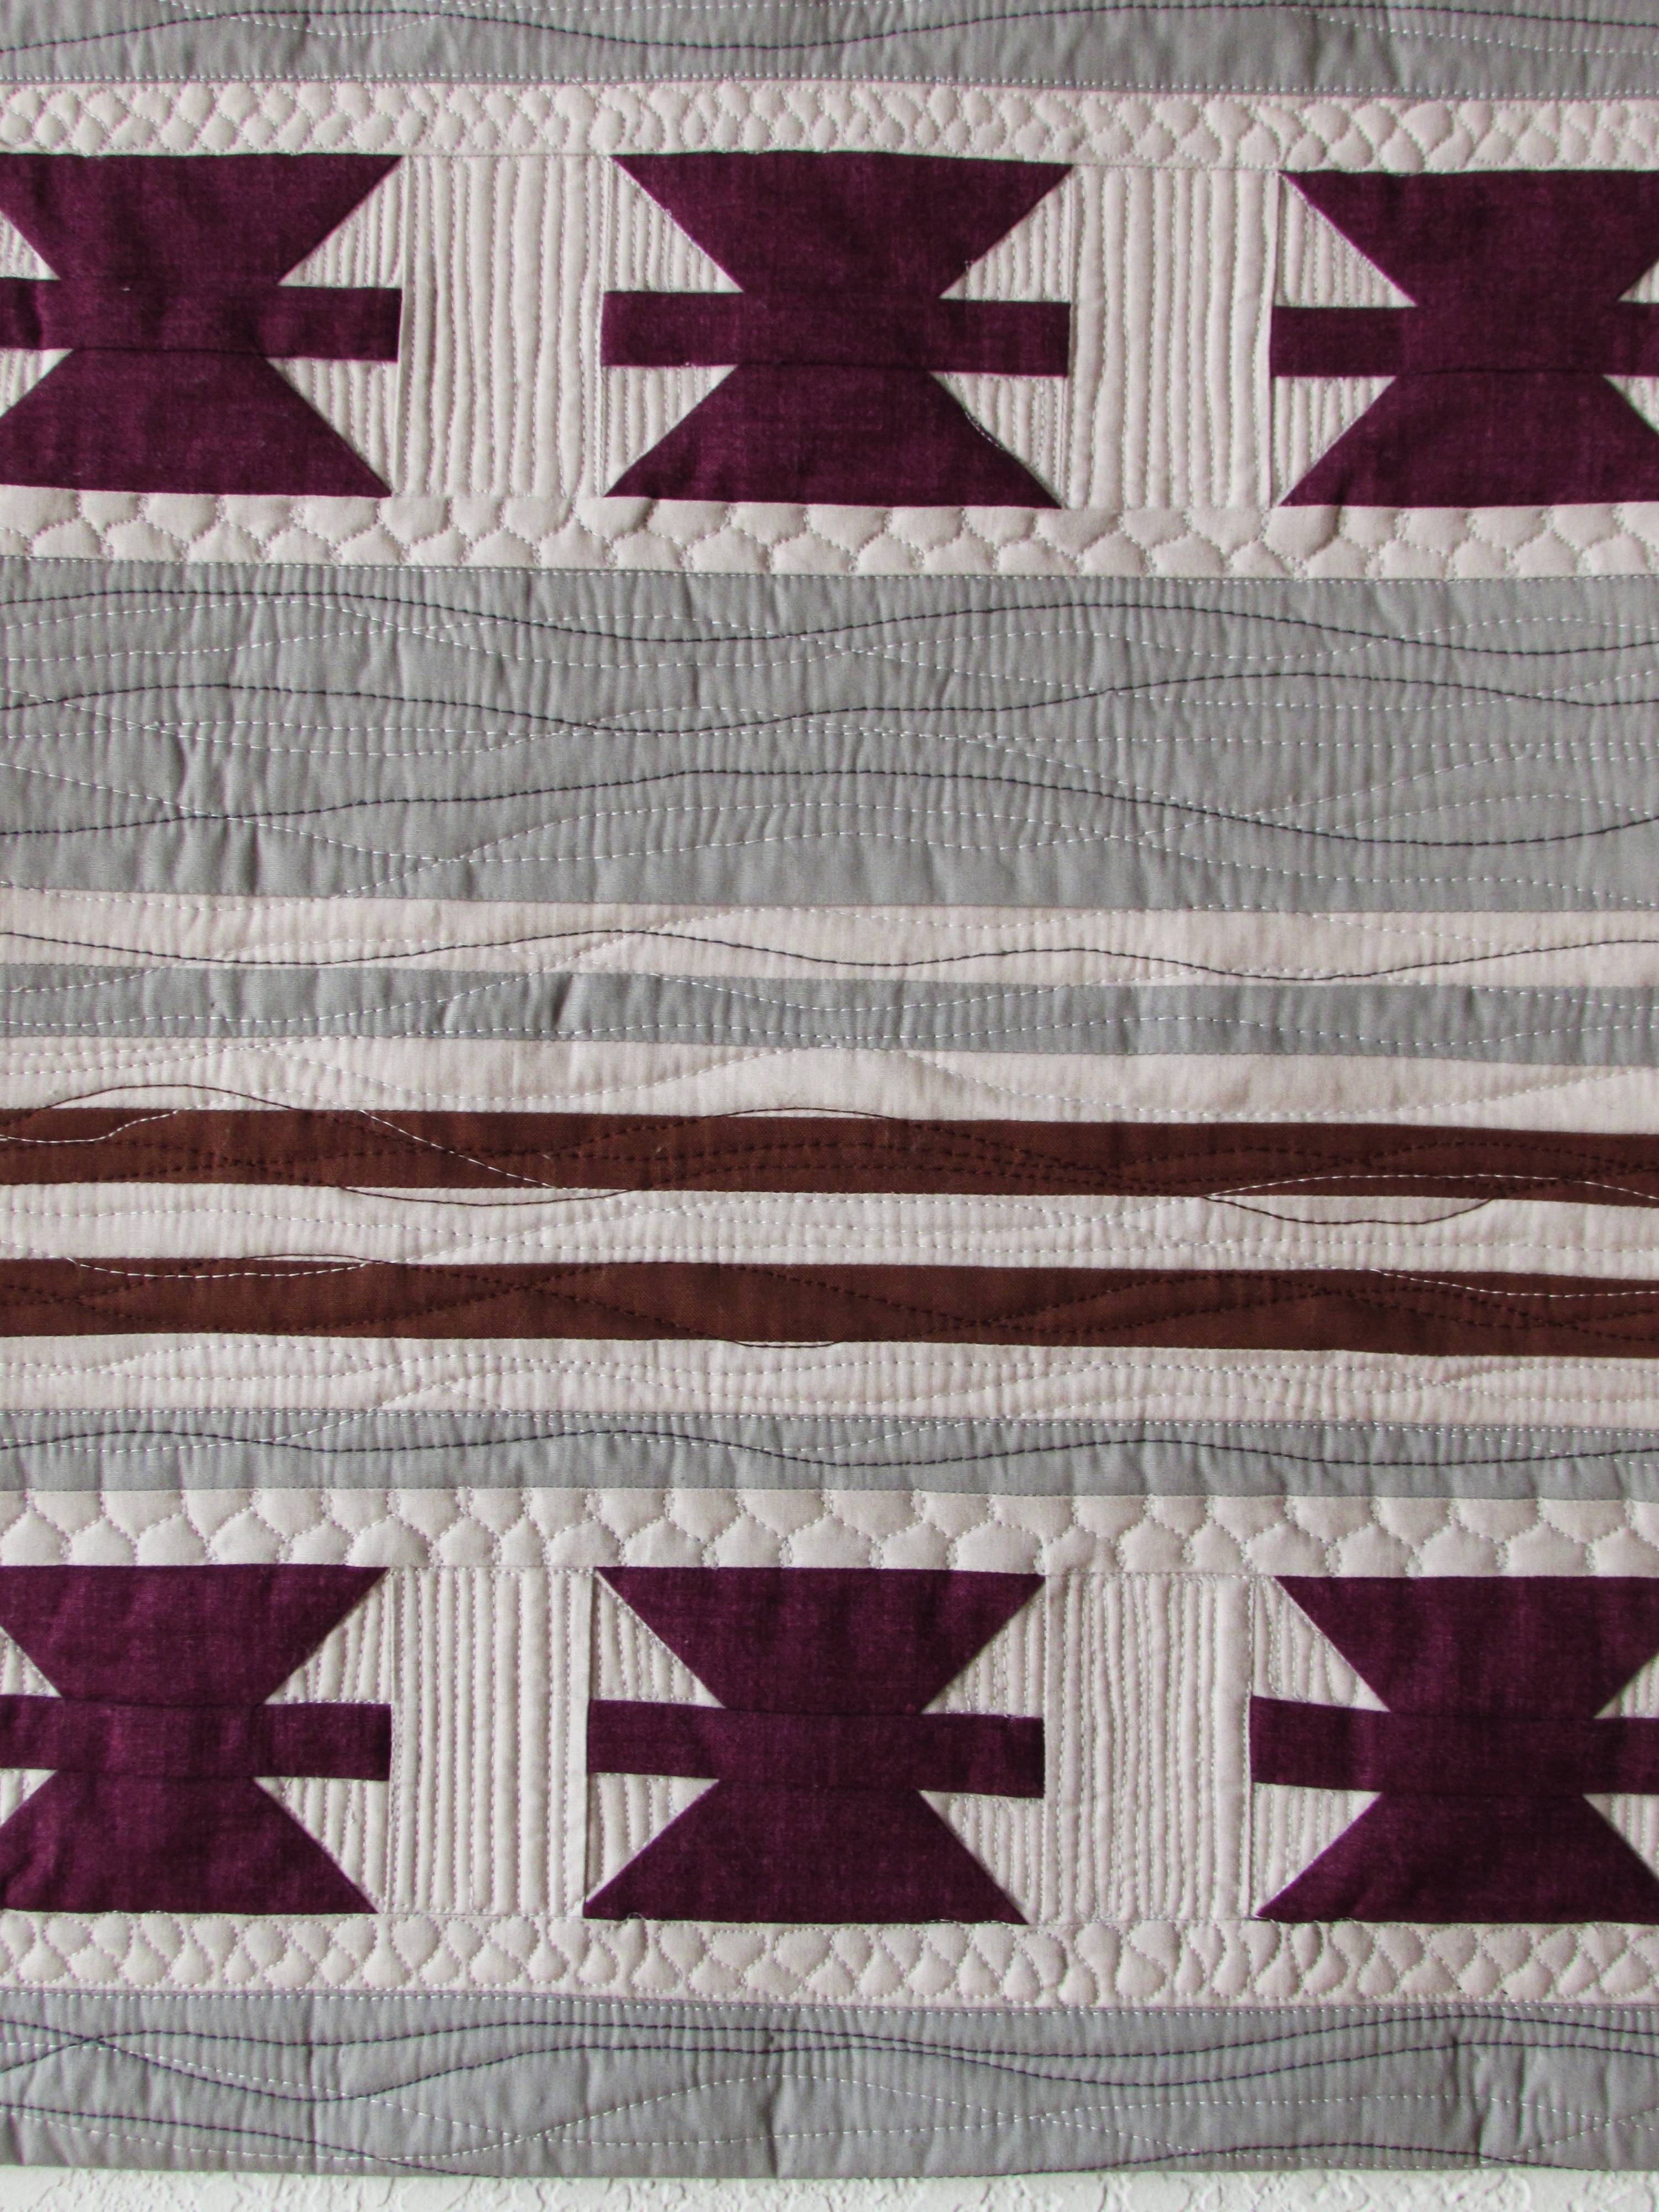
In support of the May is for Makers theme this month, I purchased my second indie pattern of the month. Yikes, it was hard to choose. It sort of reminds me of when my youngest son was little. (Ok, even now at 25 years old, he is still like this.) He had such a hard time making choices – picking out an ice cream flavor took such a long time. The donut shop was even worse. When he grew to be a teenager, I dreaded the hours we would spend shopping when it was time to get new shoes. It looks like the apple doesn’t fall far from the tree. Here I was, shopping for a pattern-just for fun, no parameters. I was buying a pattern only because I wanted to support someone in their creative efforts. And I just COULDN’T DECIDE! Finally, I made my choice and bought a newly released pattern from Kirsty over at Bonjour Quilts. It is called Fleur.
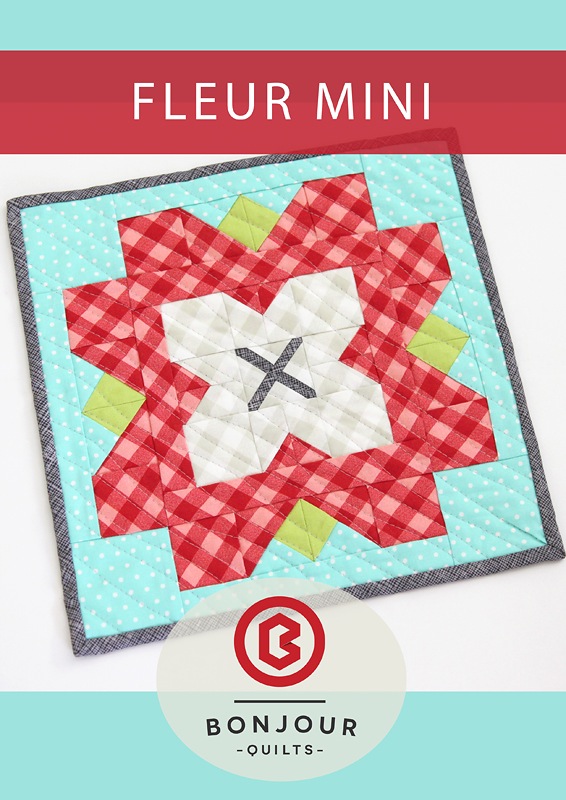
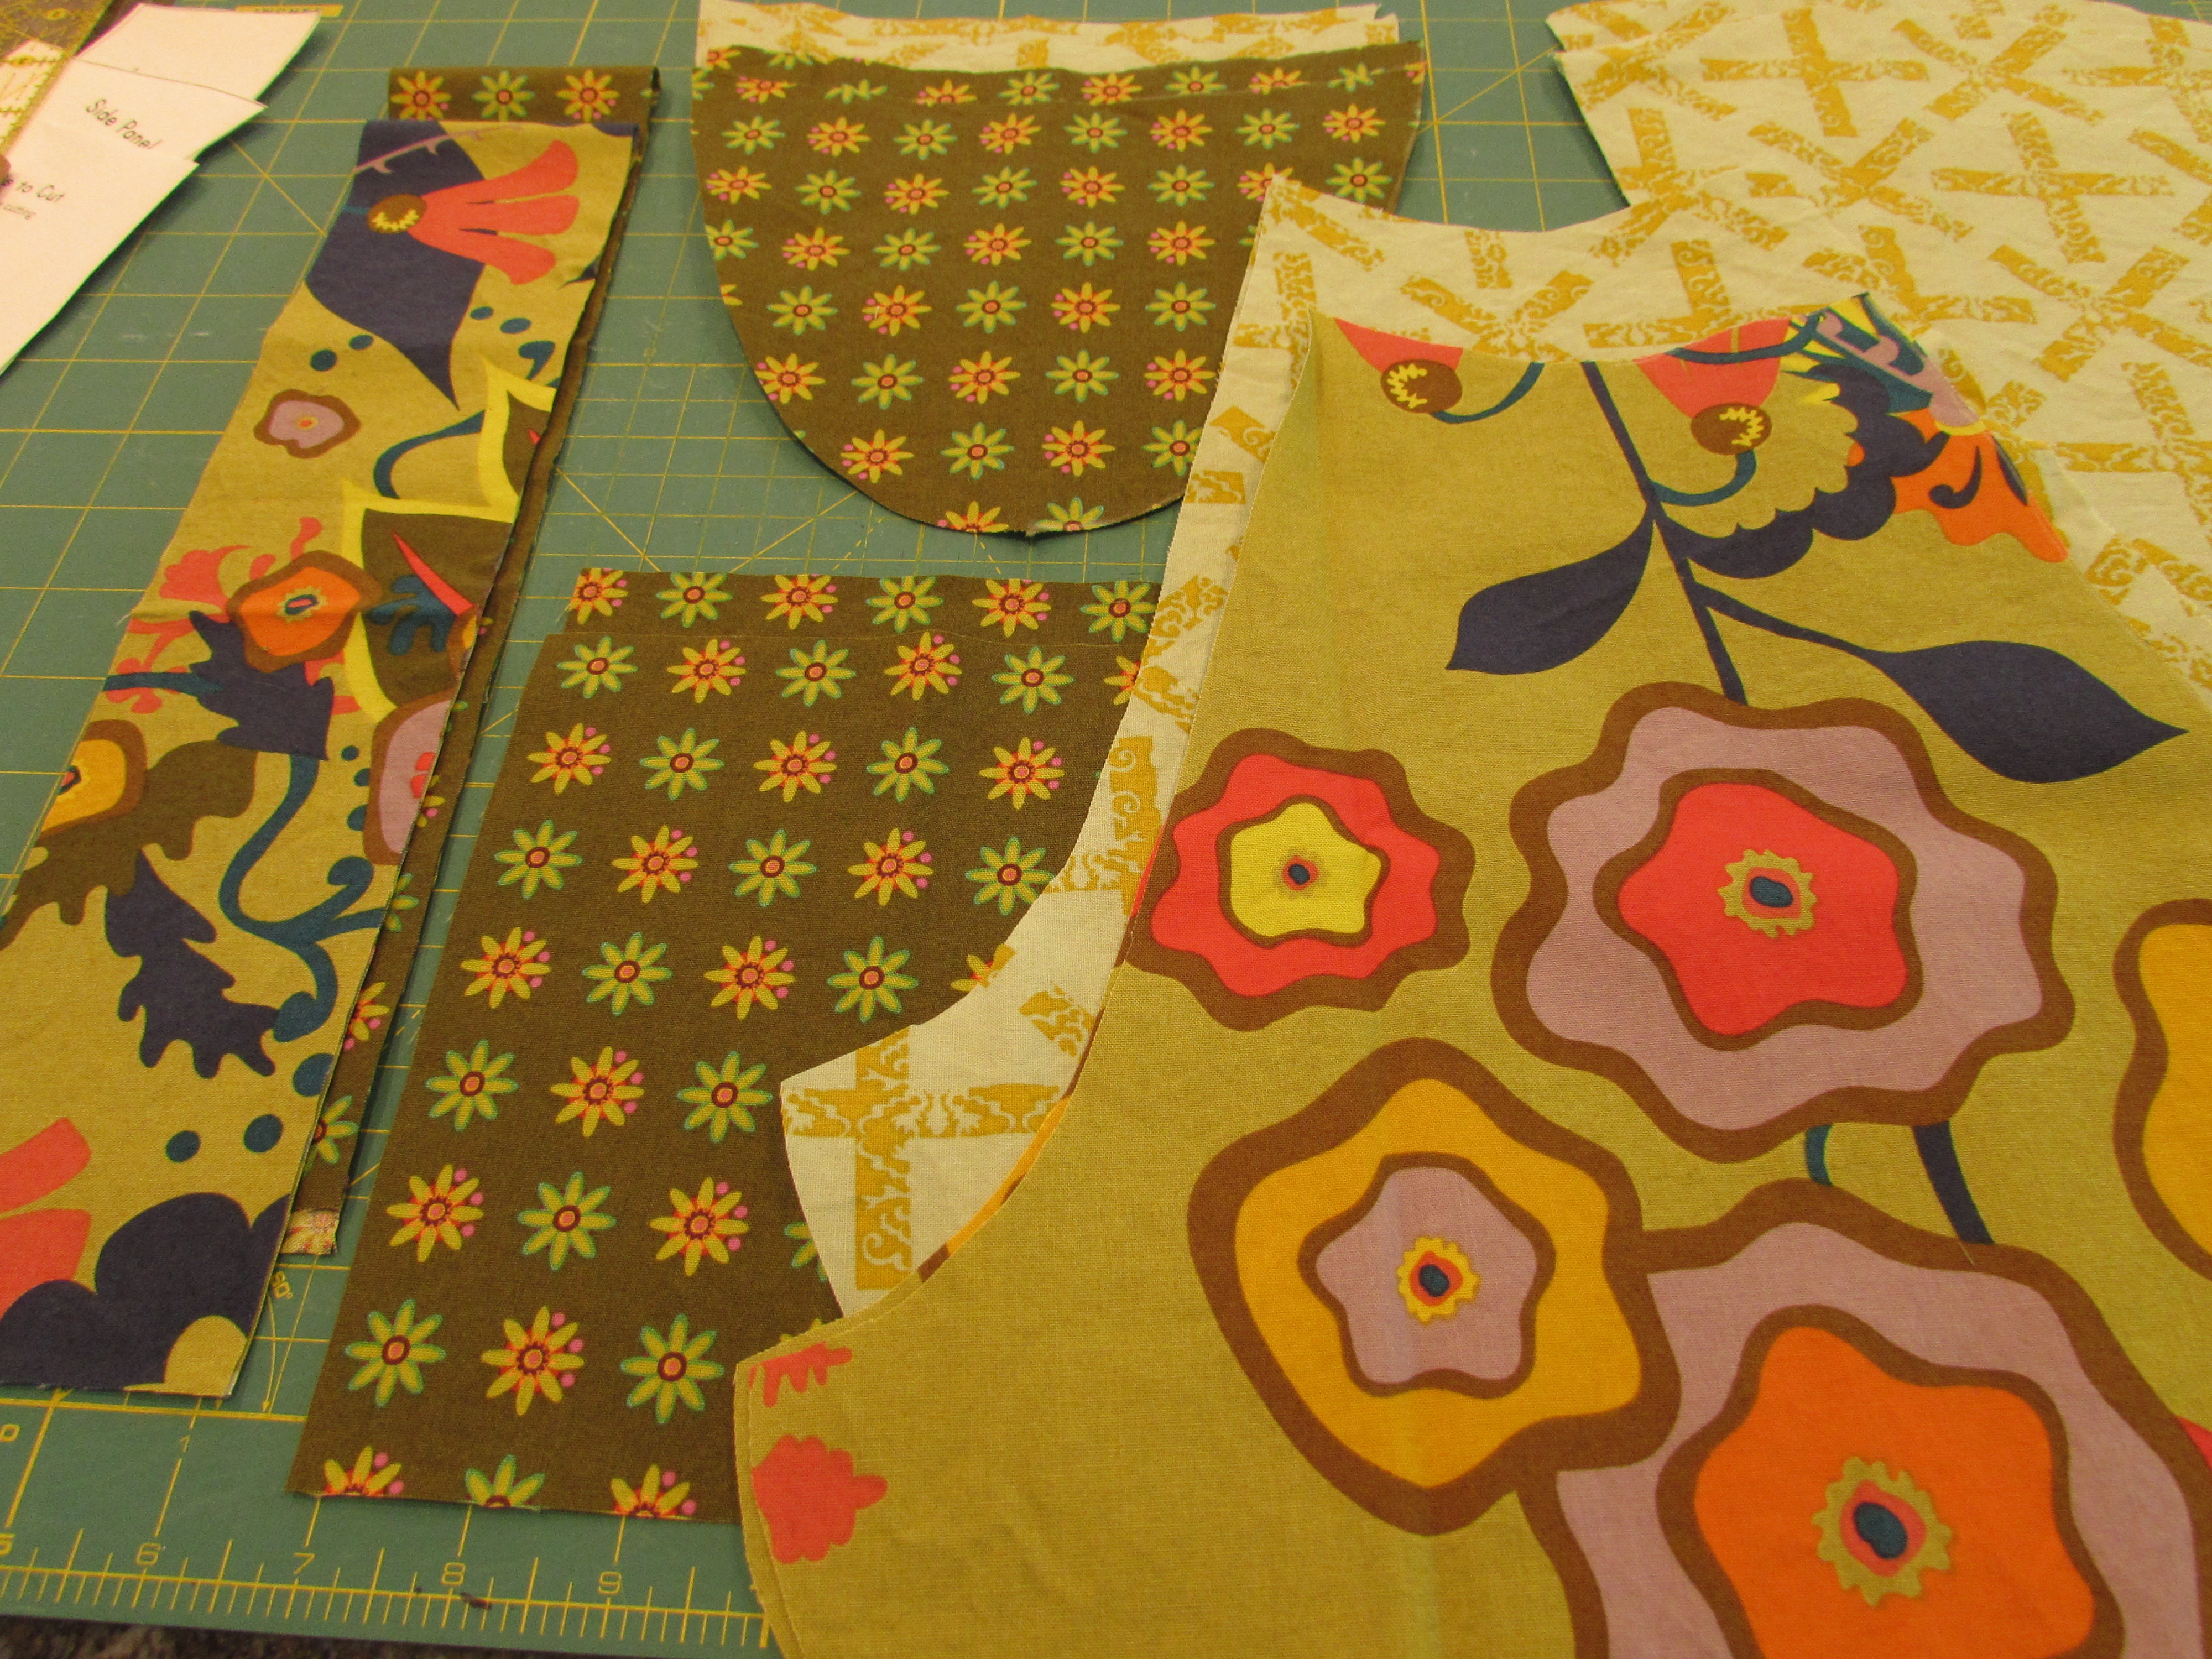
This mini finishes at 11″ square though she also sells a pattern for a jumbo size Fleur which works into a queen size quilt. I am thinking this mini would look great with four blocks so that it finished at 22″ x 22″. It is a sweet, summery look and will be fun to put together.
Finally, guess what! I am working on my first tutorial for Sew Mama Sew! I am excited about it and a little nervous because I really want to get all the details written up clearly and concisely. The tutorial is for something I have made so many times that I can do it without thought. Now I am making a few of them and trying to take good notes of the steps necessary. It posts in three weeks so hopefully I will have it all worked out by early next week.
I hope your week has started out as happy as mine!!
Linking to my usual favorites. Check them out at the top of the page, under Link Ups.
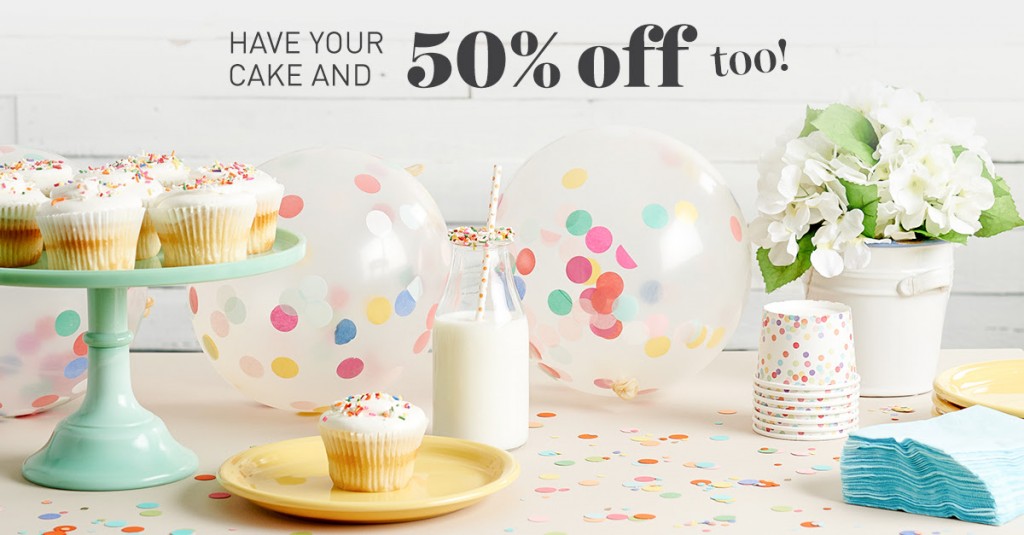
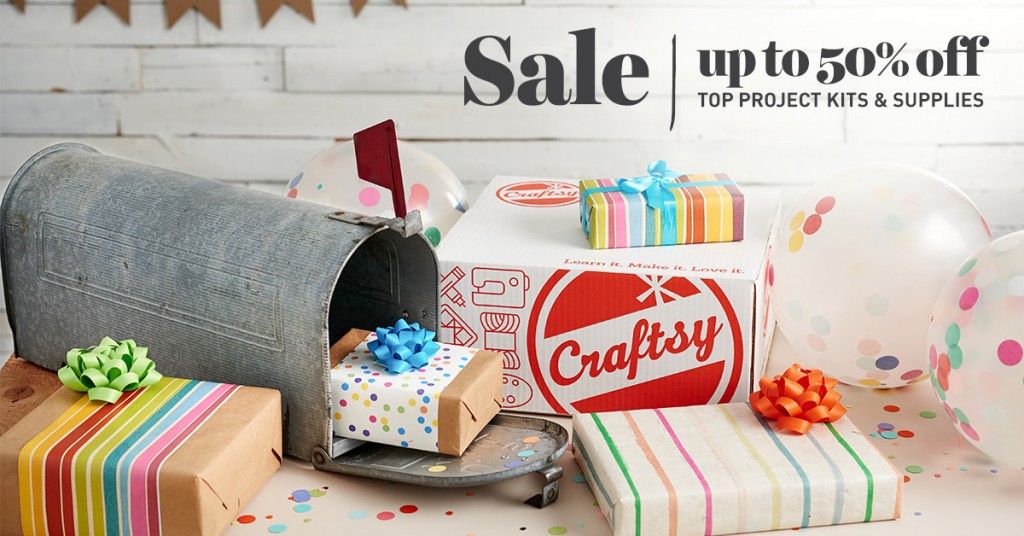
Craftsy Update: In a continued celebration of their birthday, Craftsy is offering some of their most popular classes for 50% off. Sale begins Wednesday, May 18th! Check them out. I have taken some quilting classes purchased at Craftsy and feel that that the caliber of the classes is first rate! (I am a Craftsy affiliate, meaning if you click through my link and make a purchase, I will receive a small payment.)


 It was awesome!