I remember when I was a kid, I didn’t really like the New Year’s Holiday. I think it was because to me it signified Christmas was over (oh how sad I was to see my mom take down the Christmas tree) and school was starting up. I didn’t like school a whole lot as a child – I would much rather be at home! Anyway, New Year’s wasn’t my thing, that’s for sure.
Now it is signifies a clean slate, opportunity, and a new beginning. While I do love putting the tree up and decorating for Christmas, by New Year’s Day, I am ready to take it down and clean the house. Time to embrace the new year and the awesome opportunity that lies within!

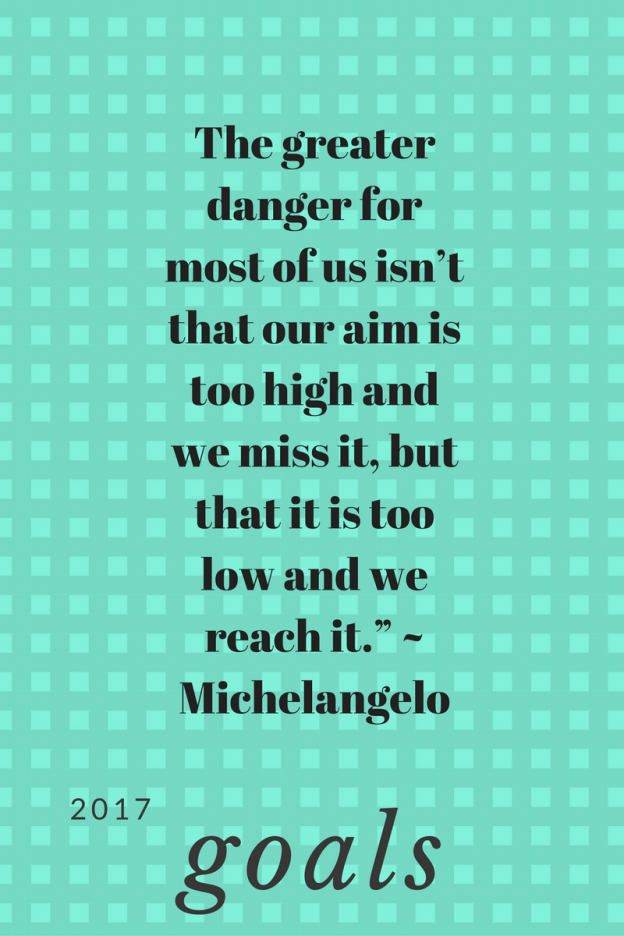
For 2017 I have a few major goals:
- The first of which is to greatly expand my Etsy shop. I have a plan blocked out for this but I believe I will save the details for another post. I am excited to share this with you but need to finish a few things up before I do. Now you’re all curious, right??
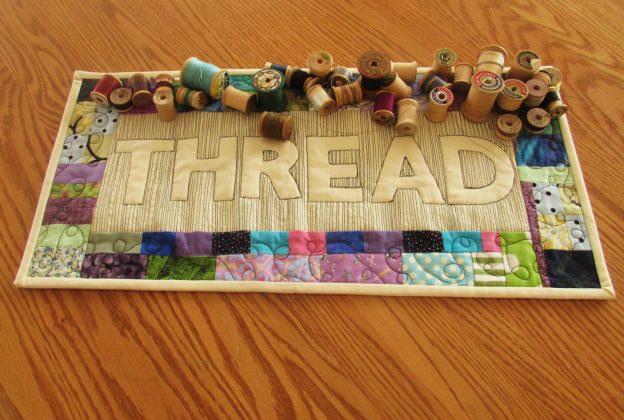
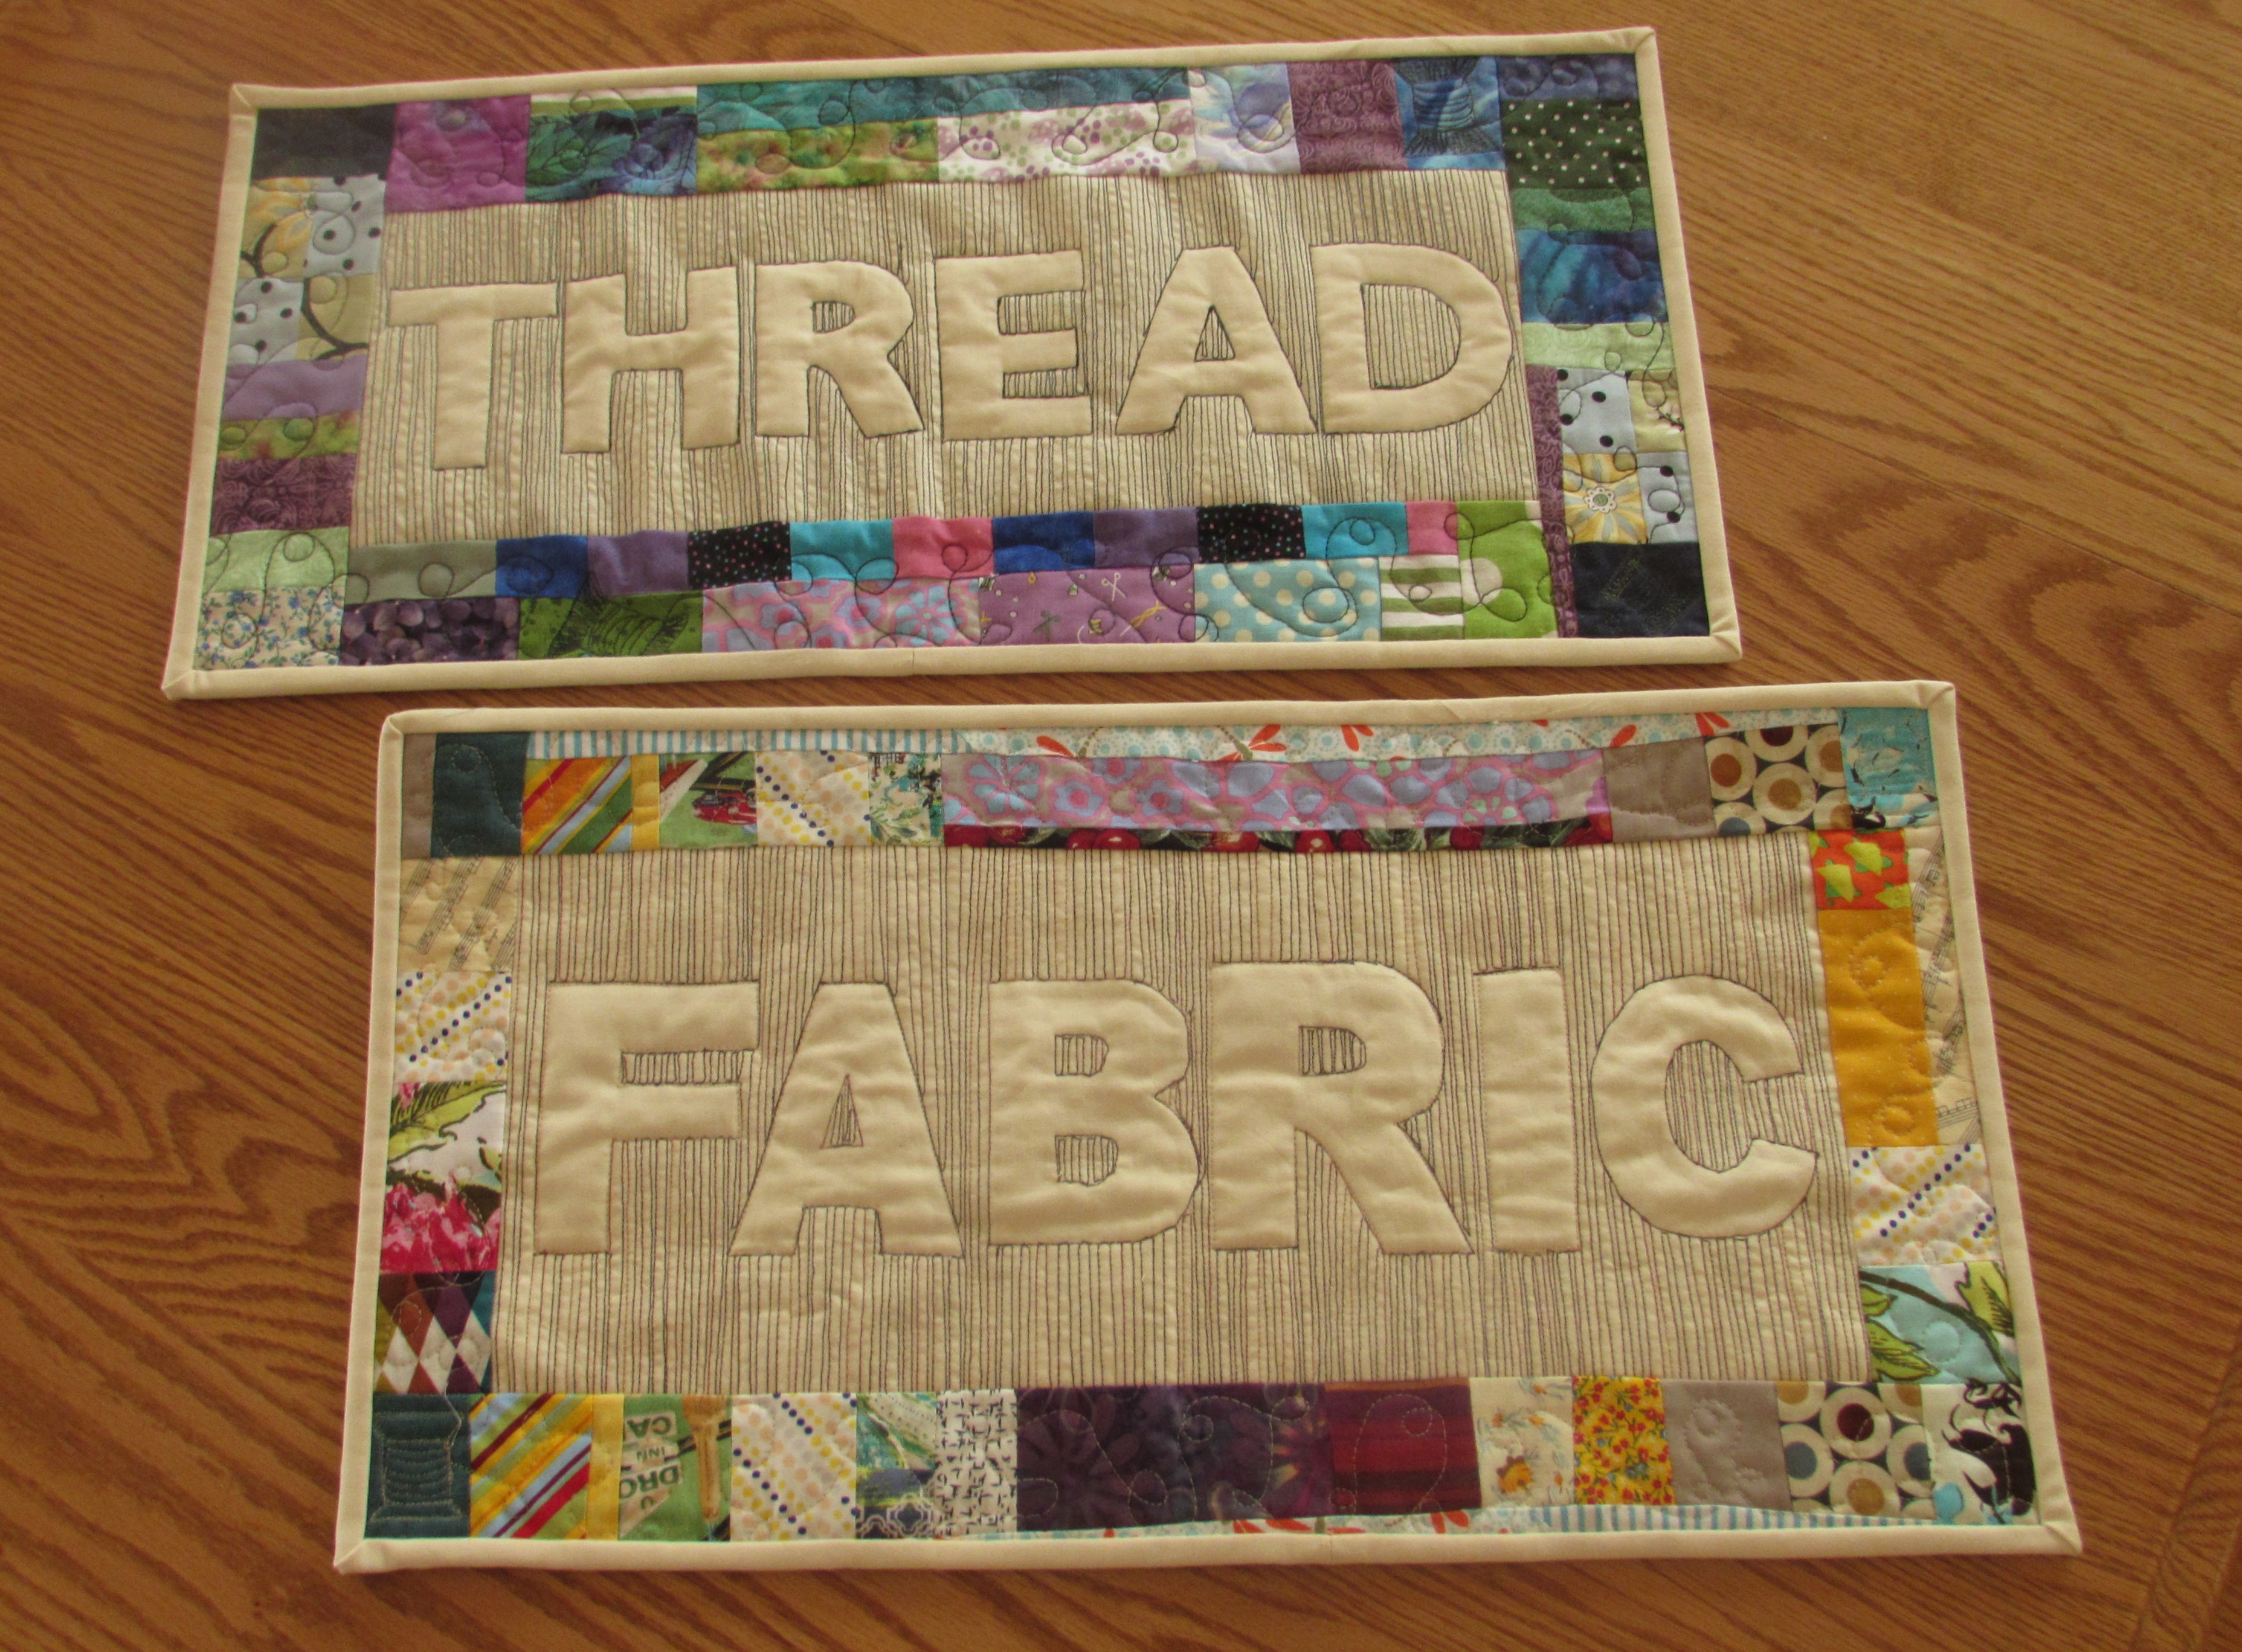
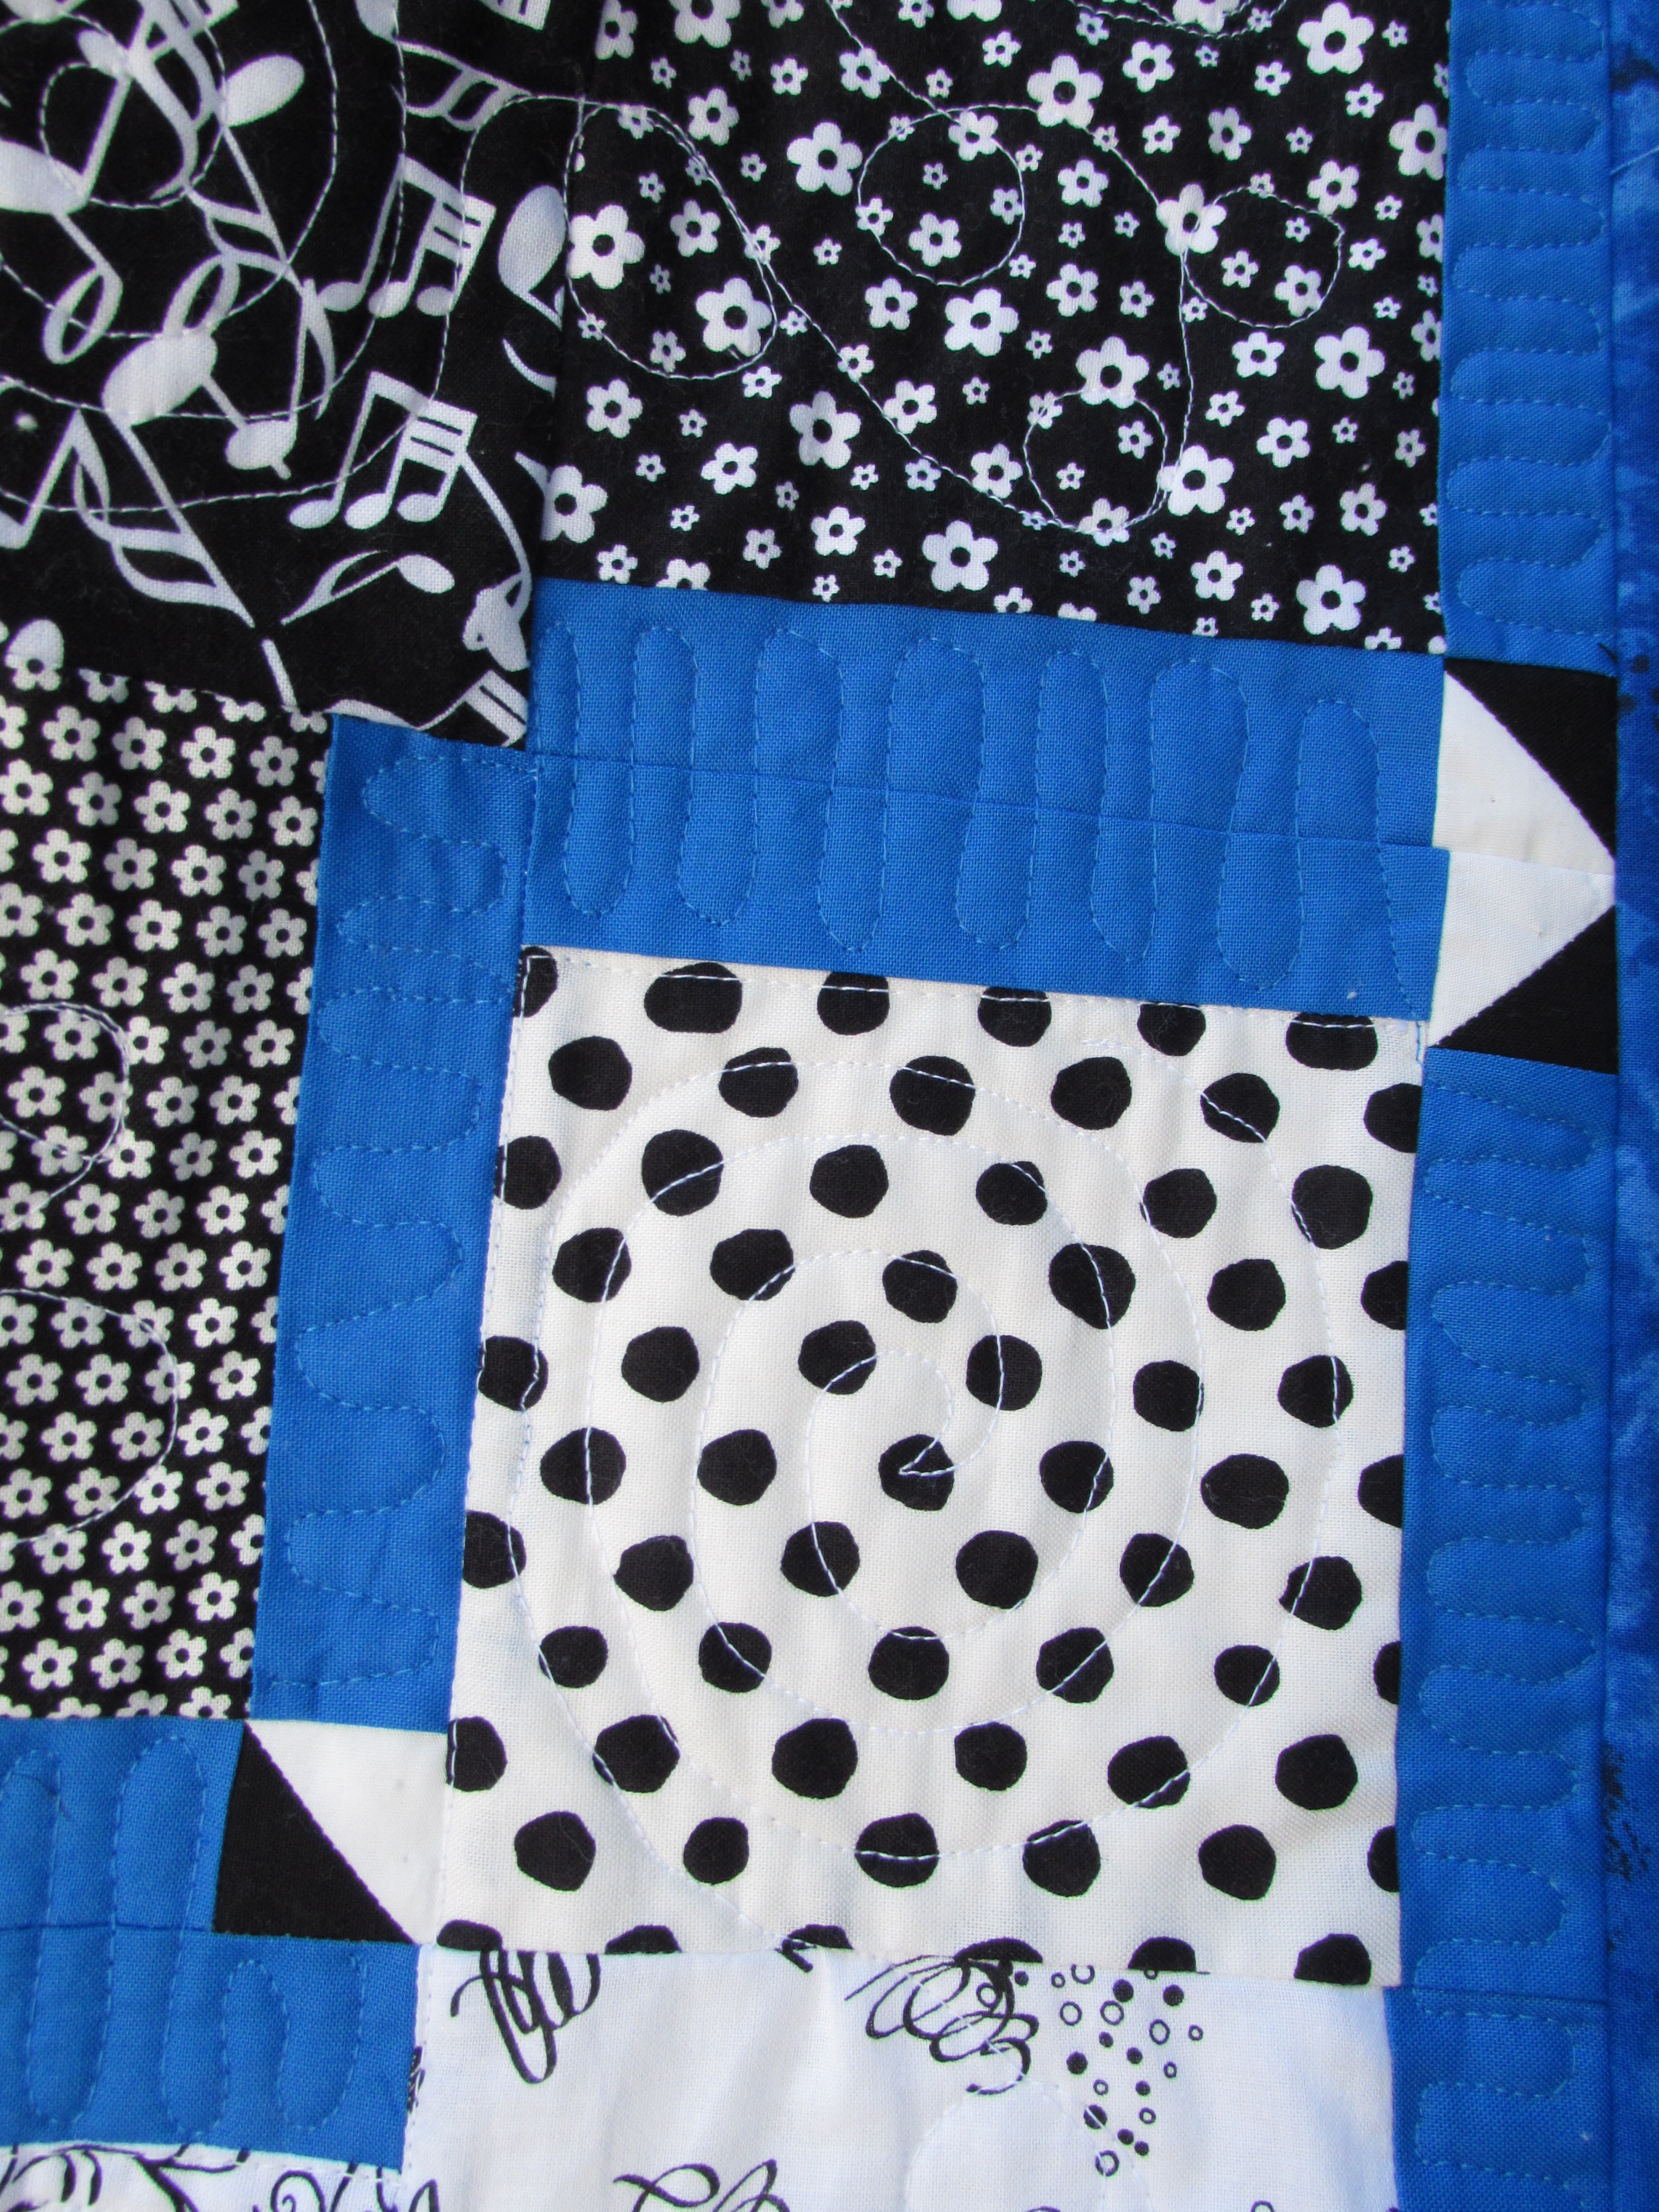
- The second goal is to continue to improve my free motion and long arm quilting skills. I feel like I made great strides in 2016 and want to keep the momentum going. To this end, I am plan to:
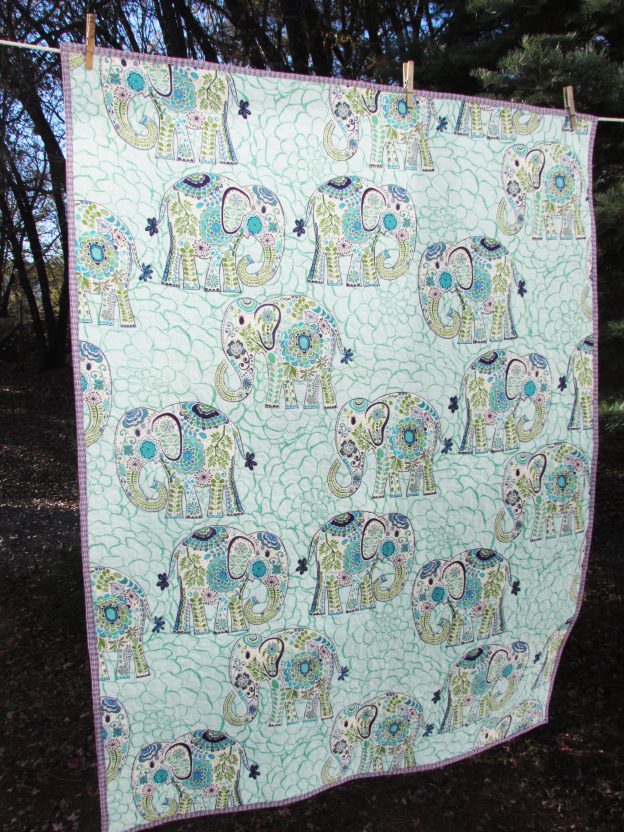
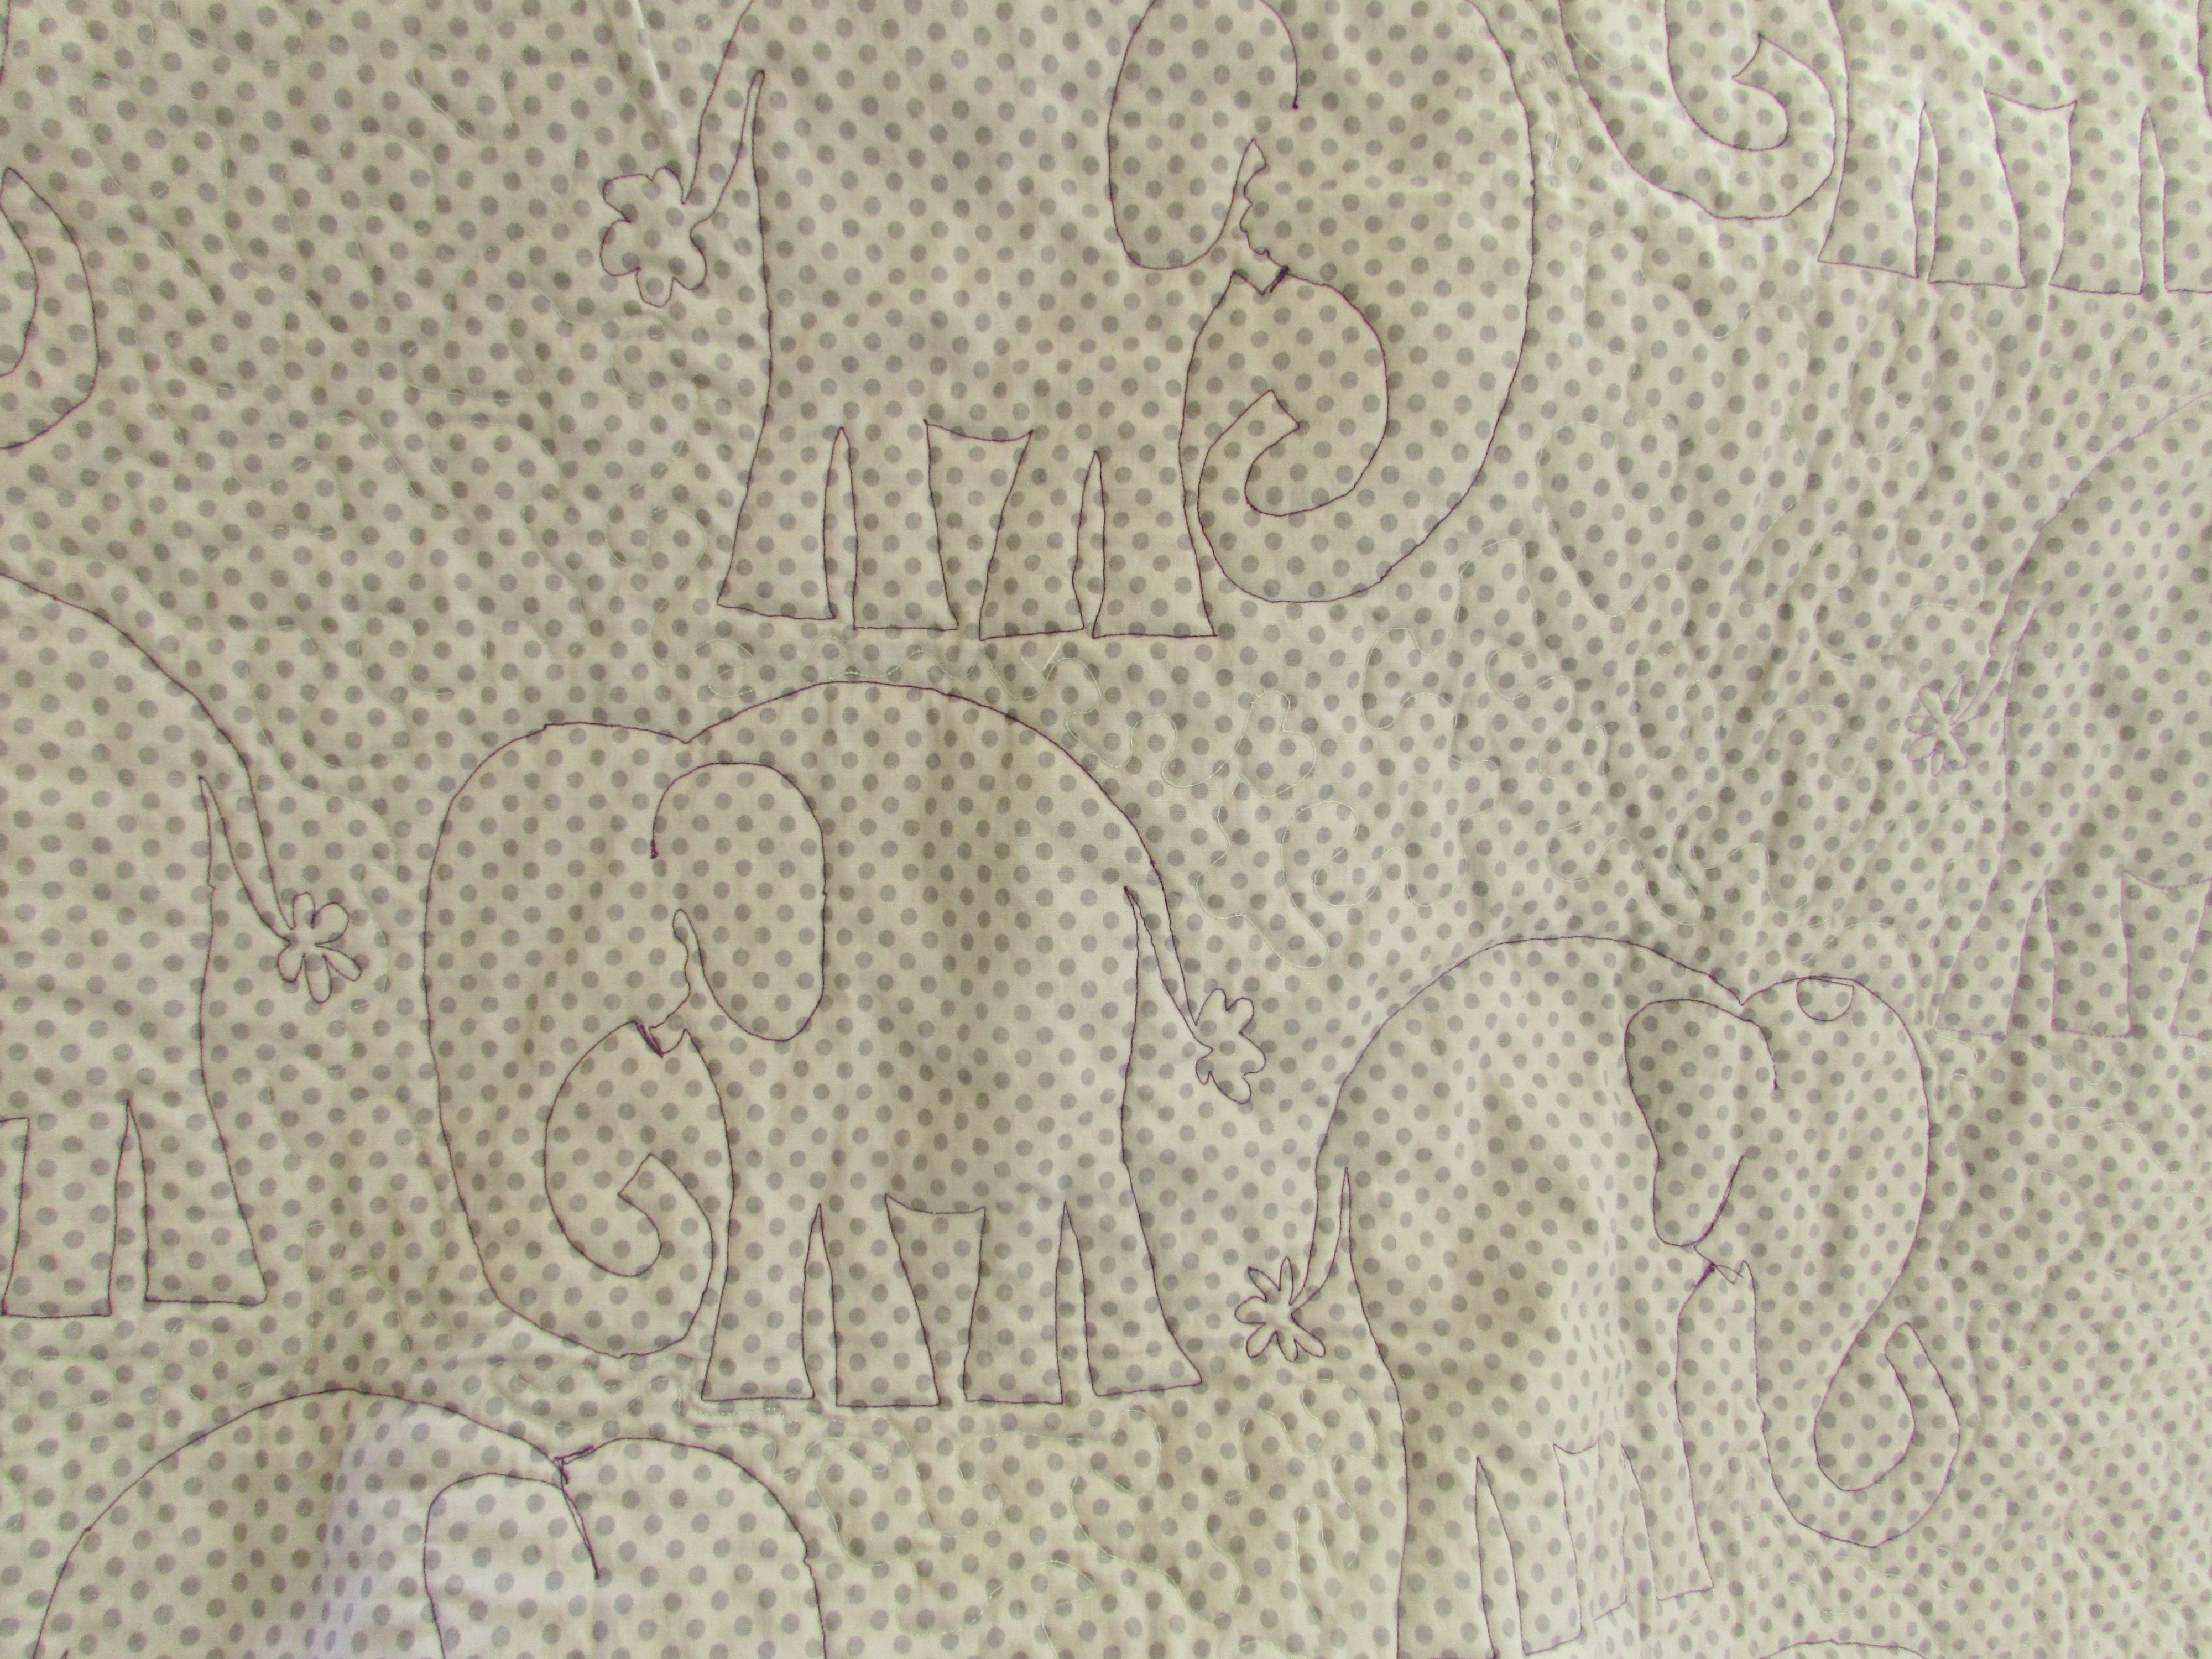
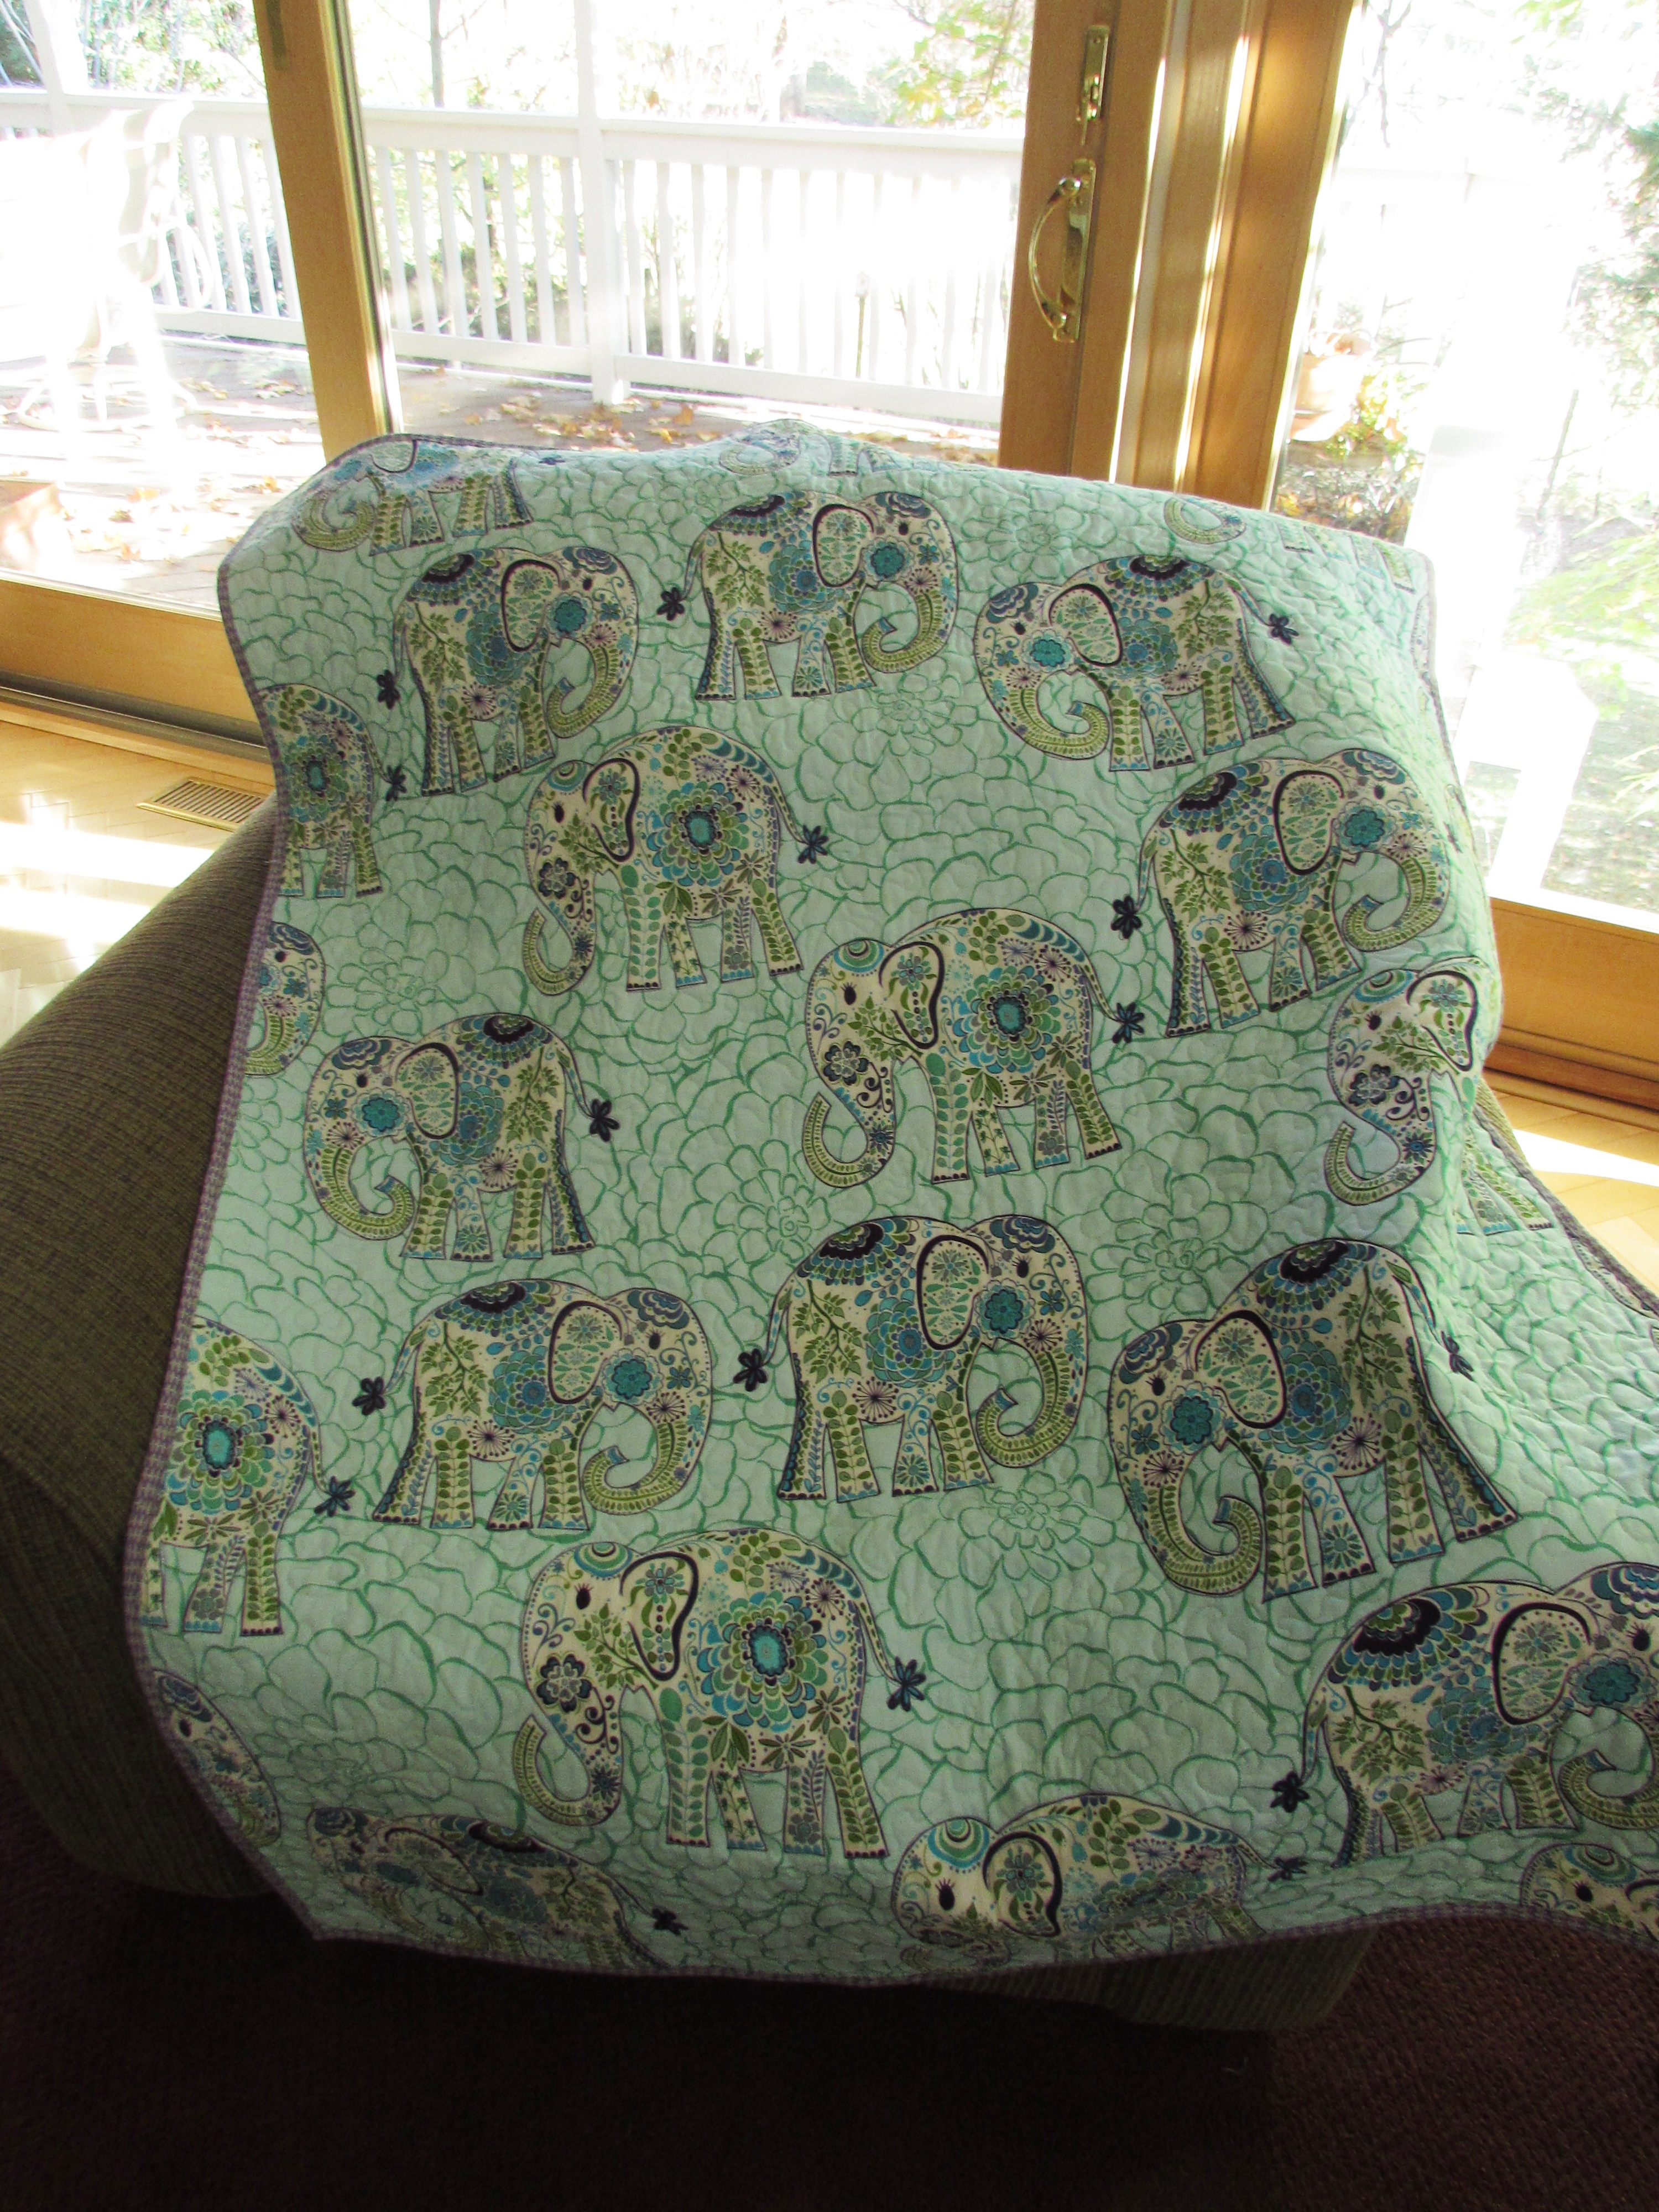
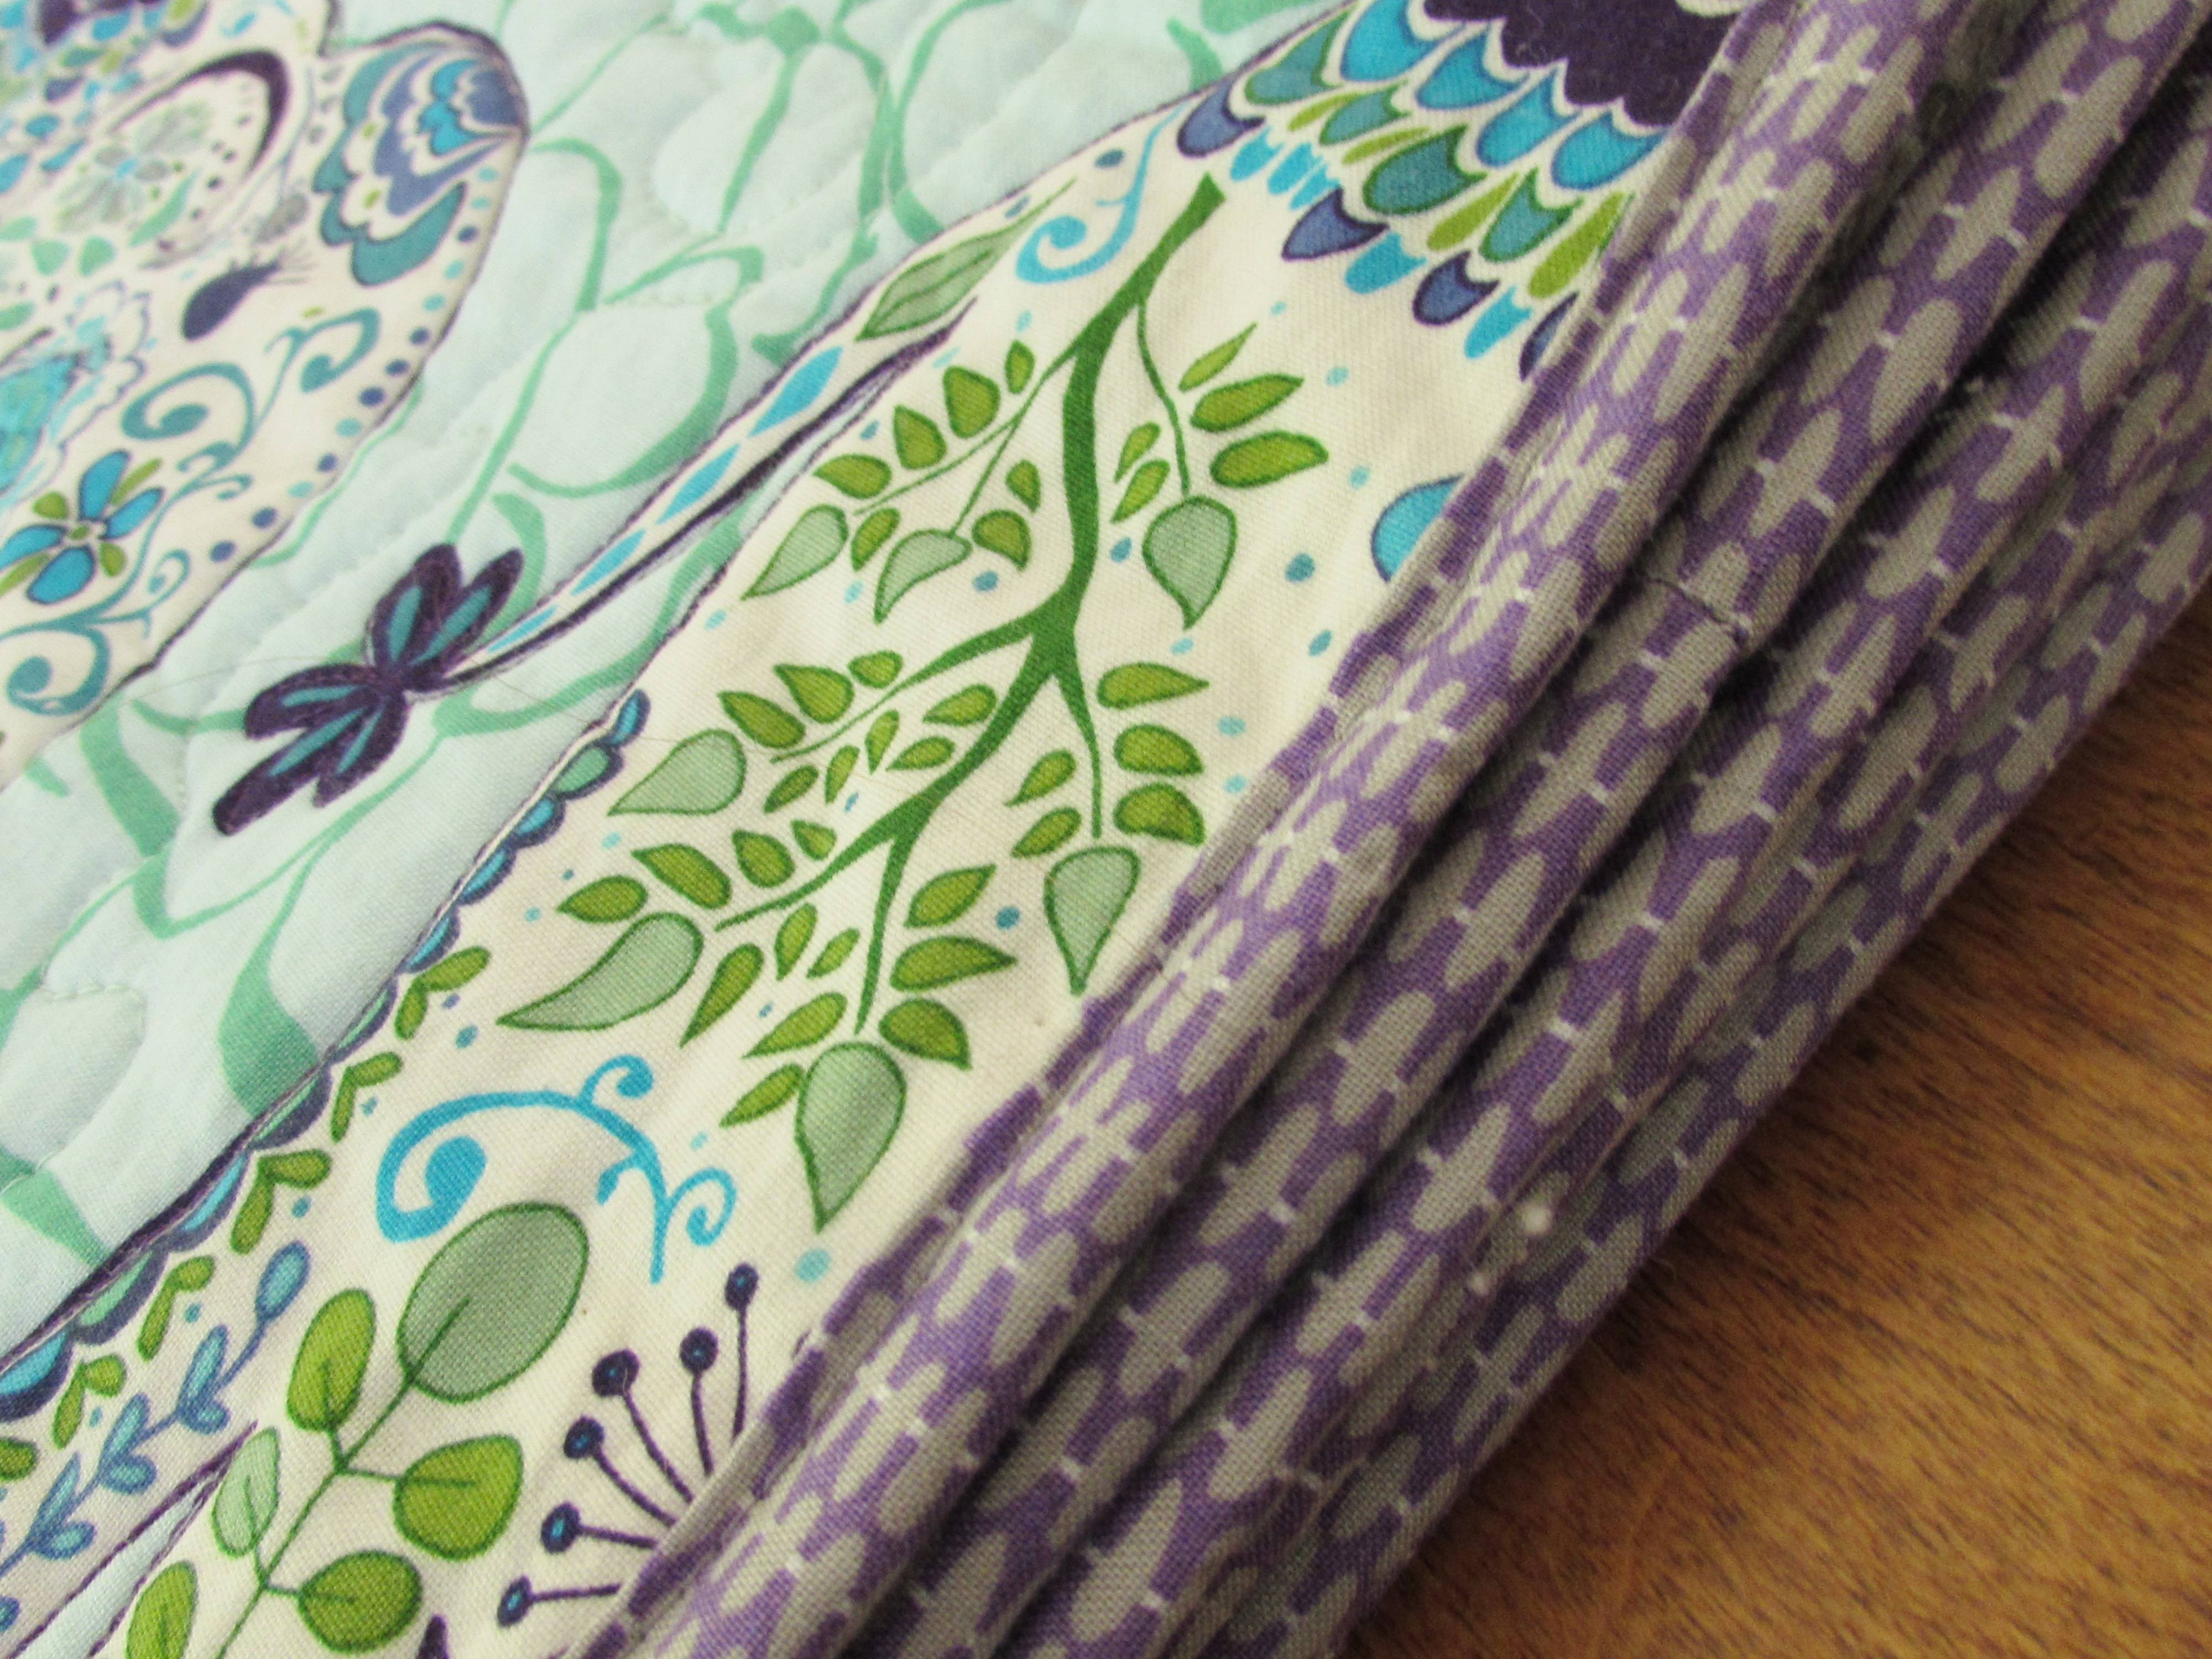
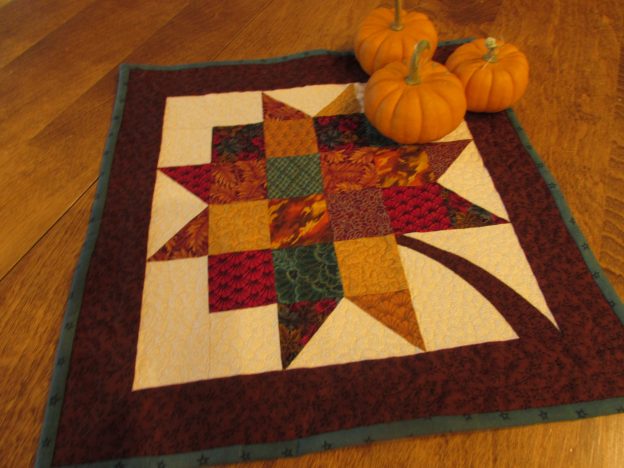
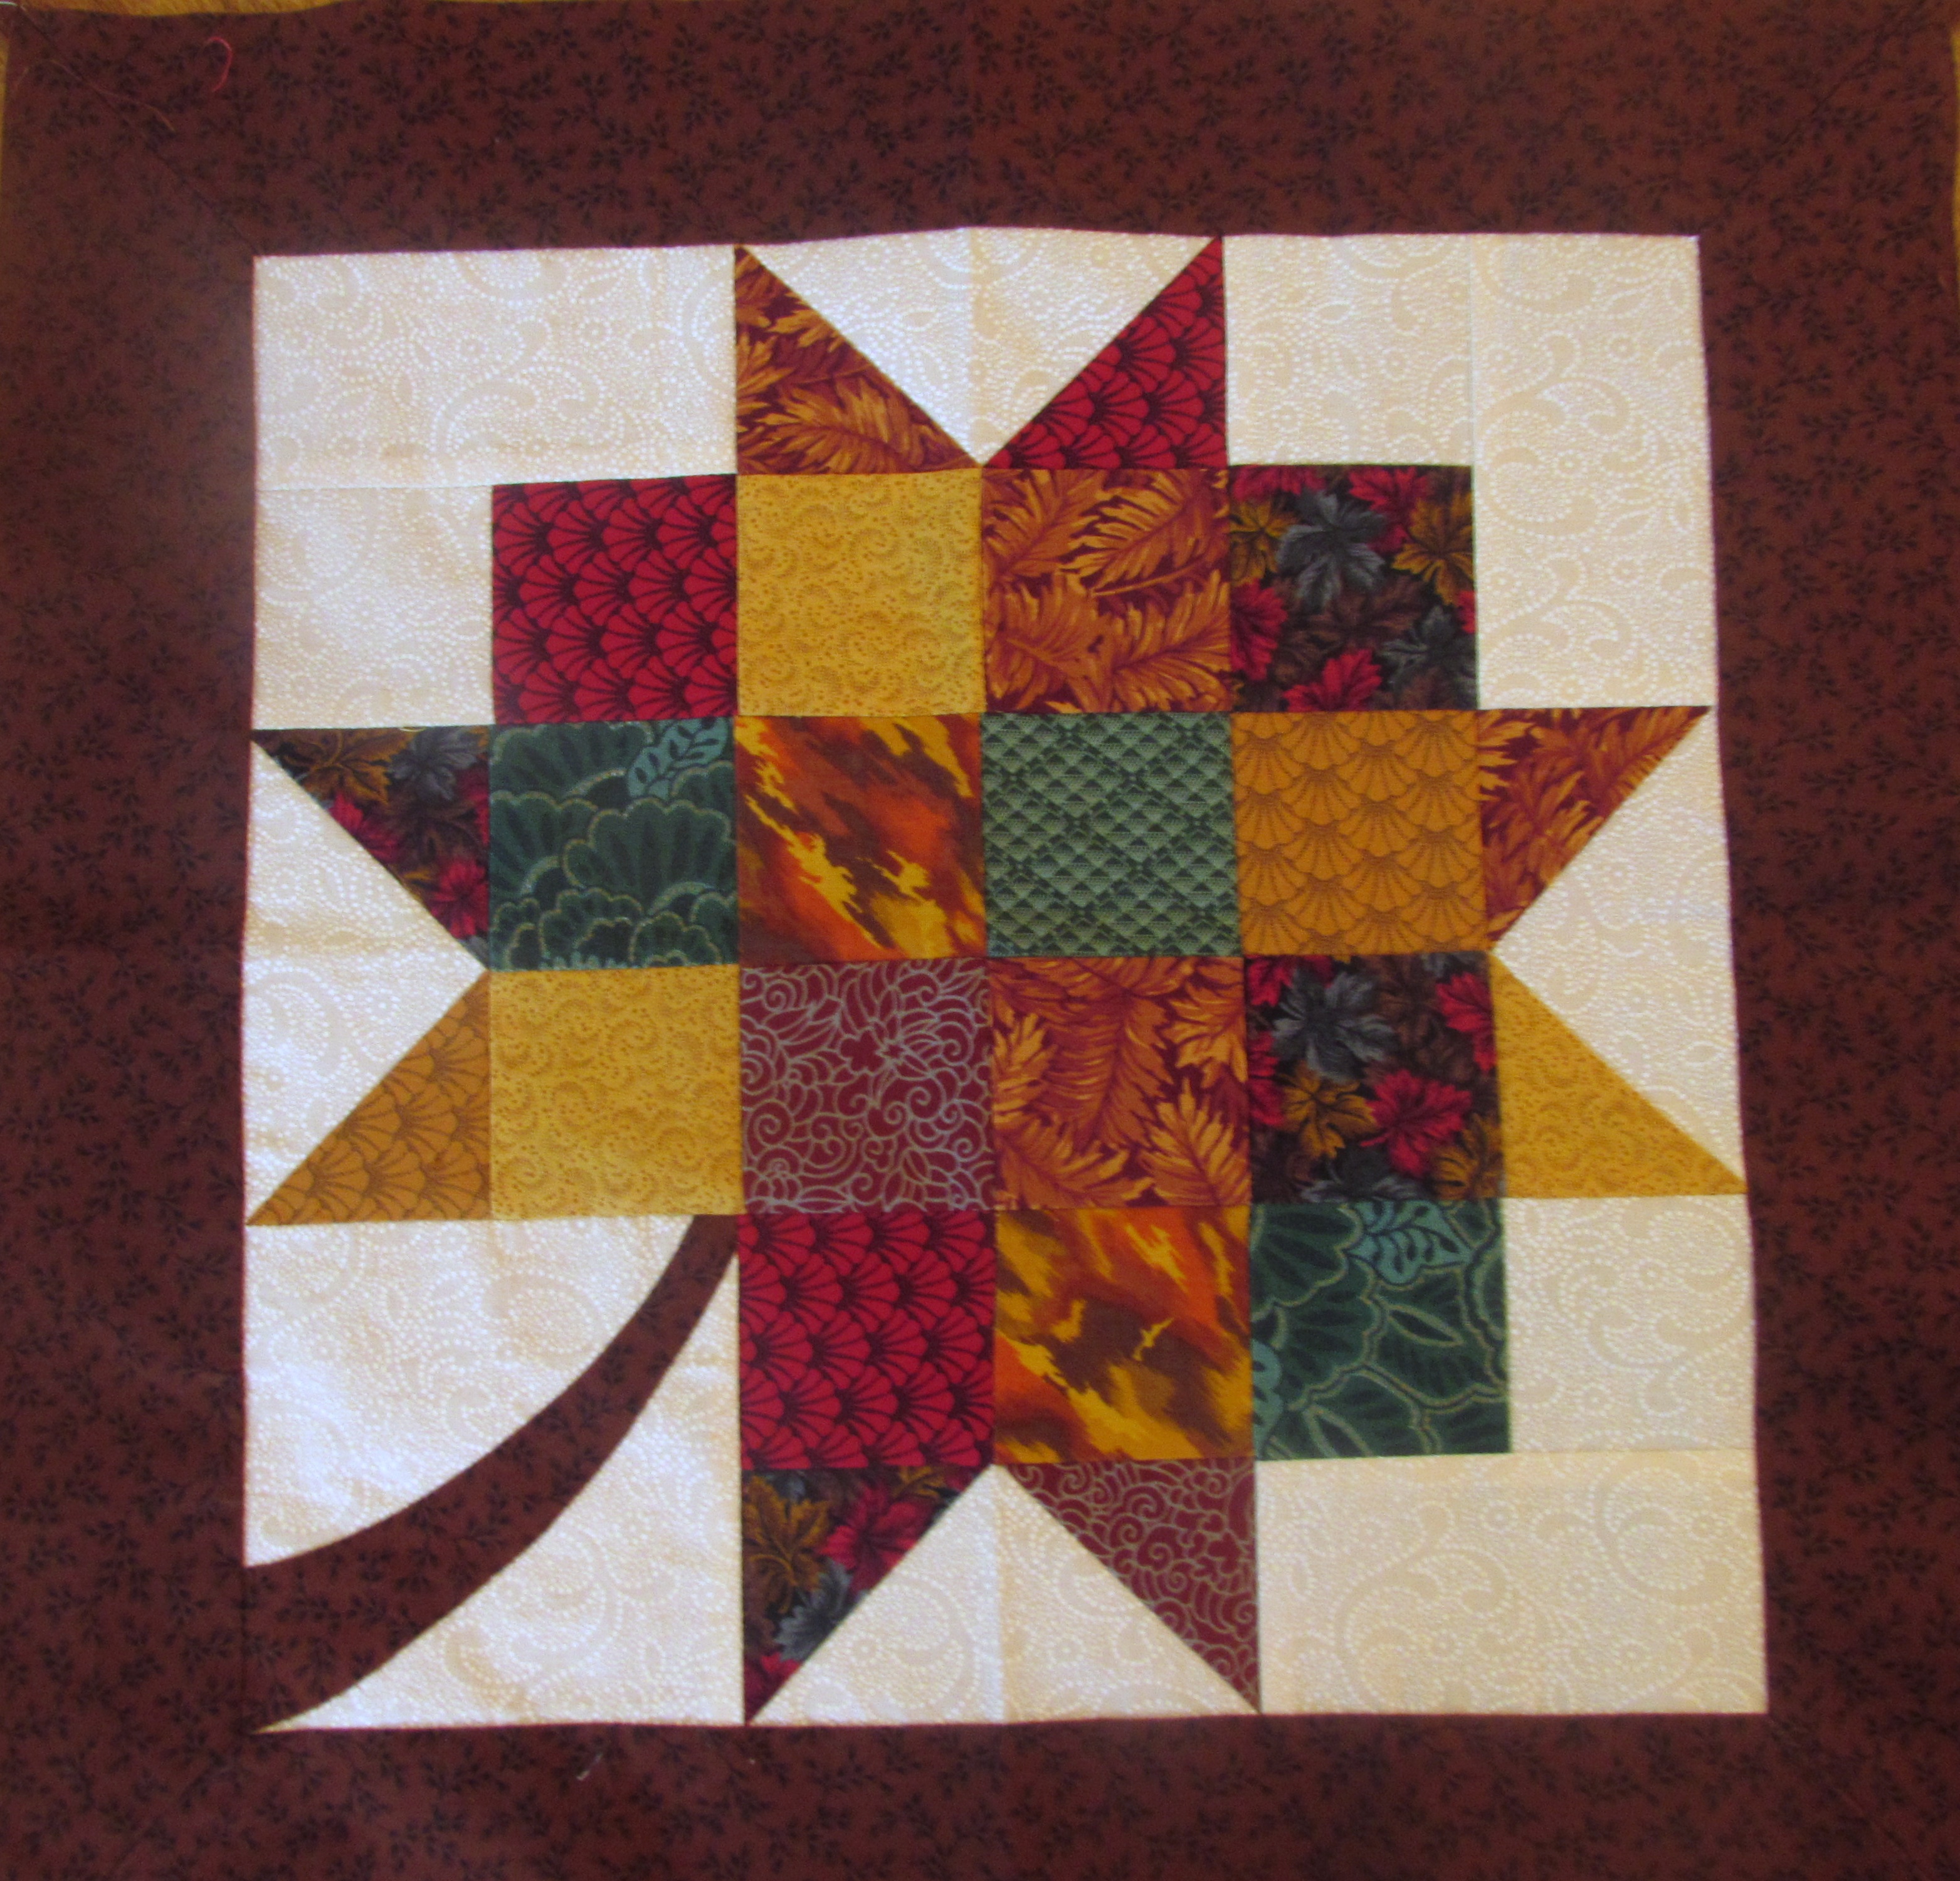
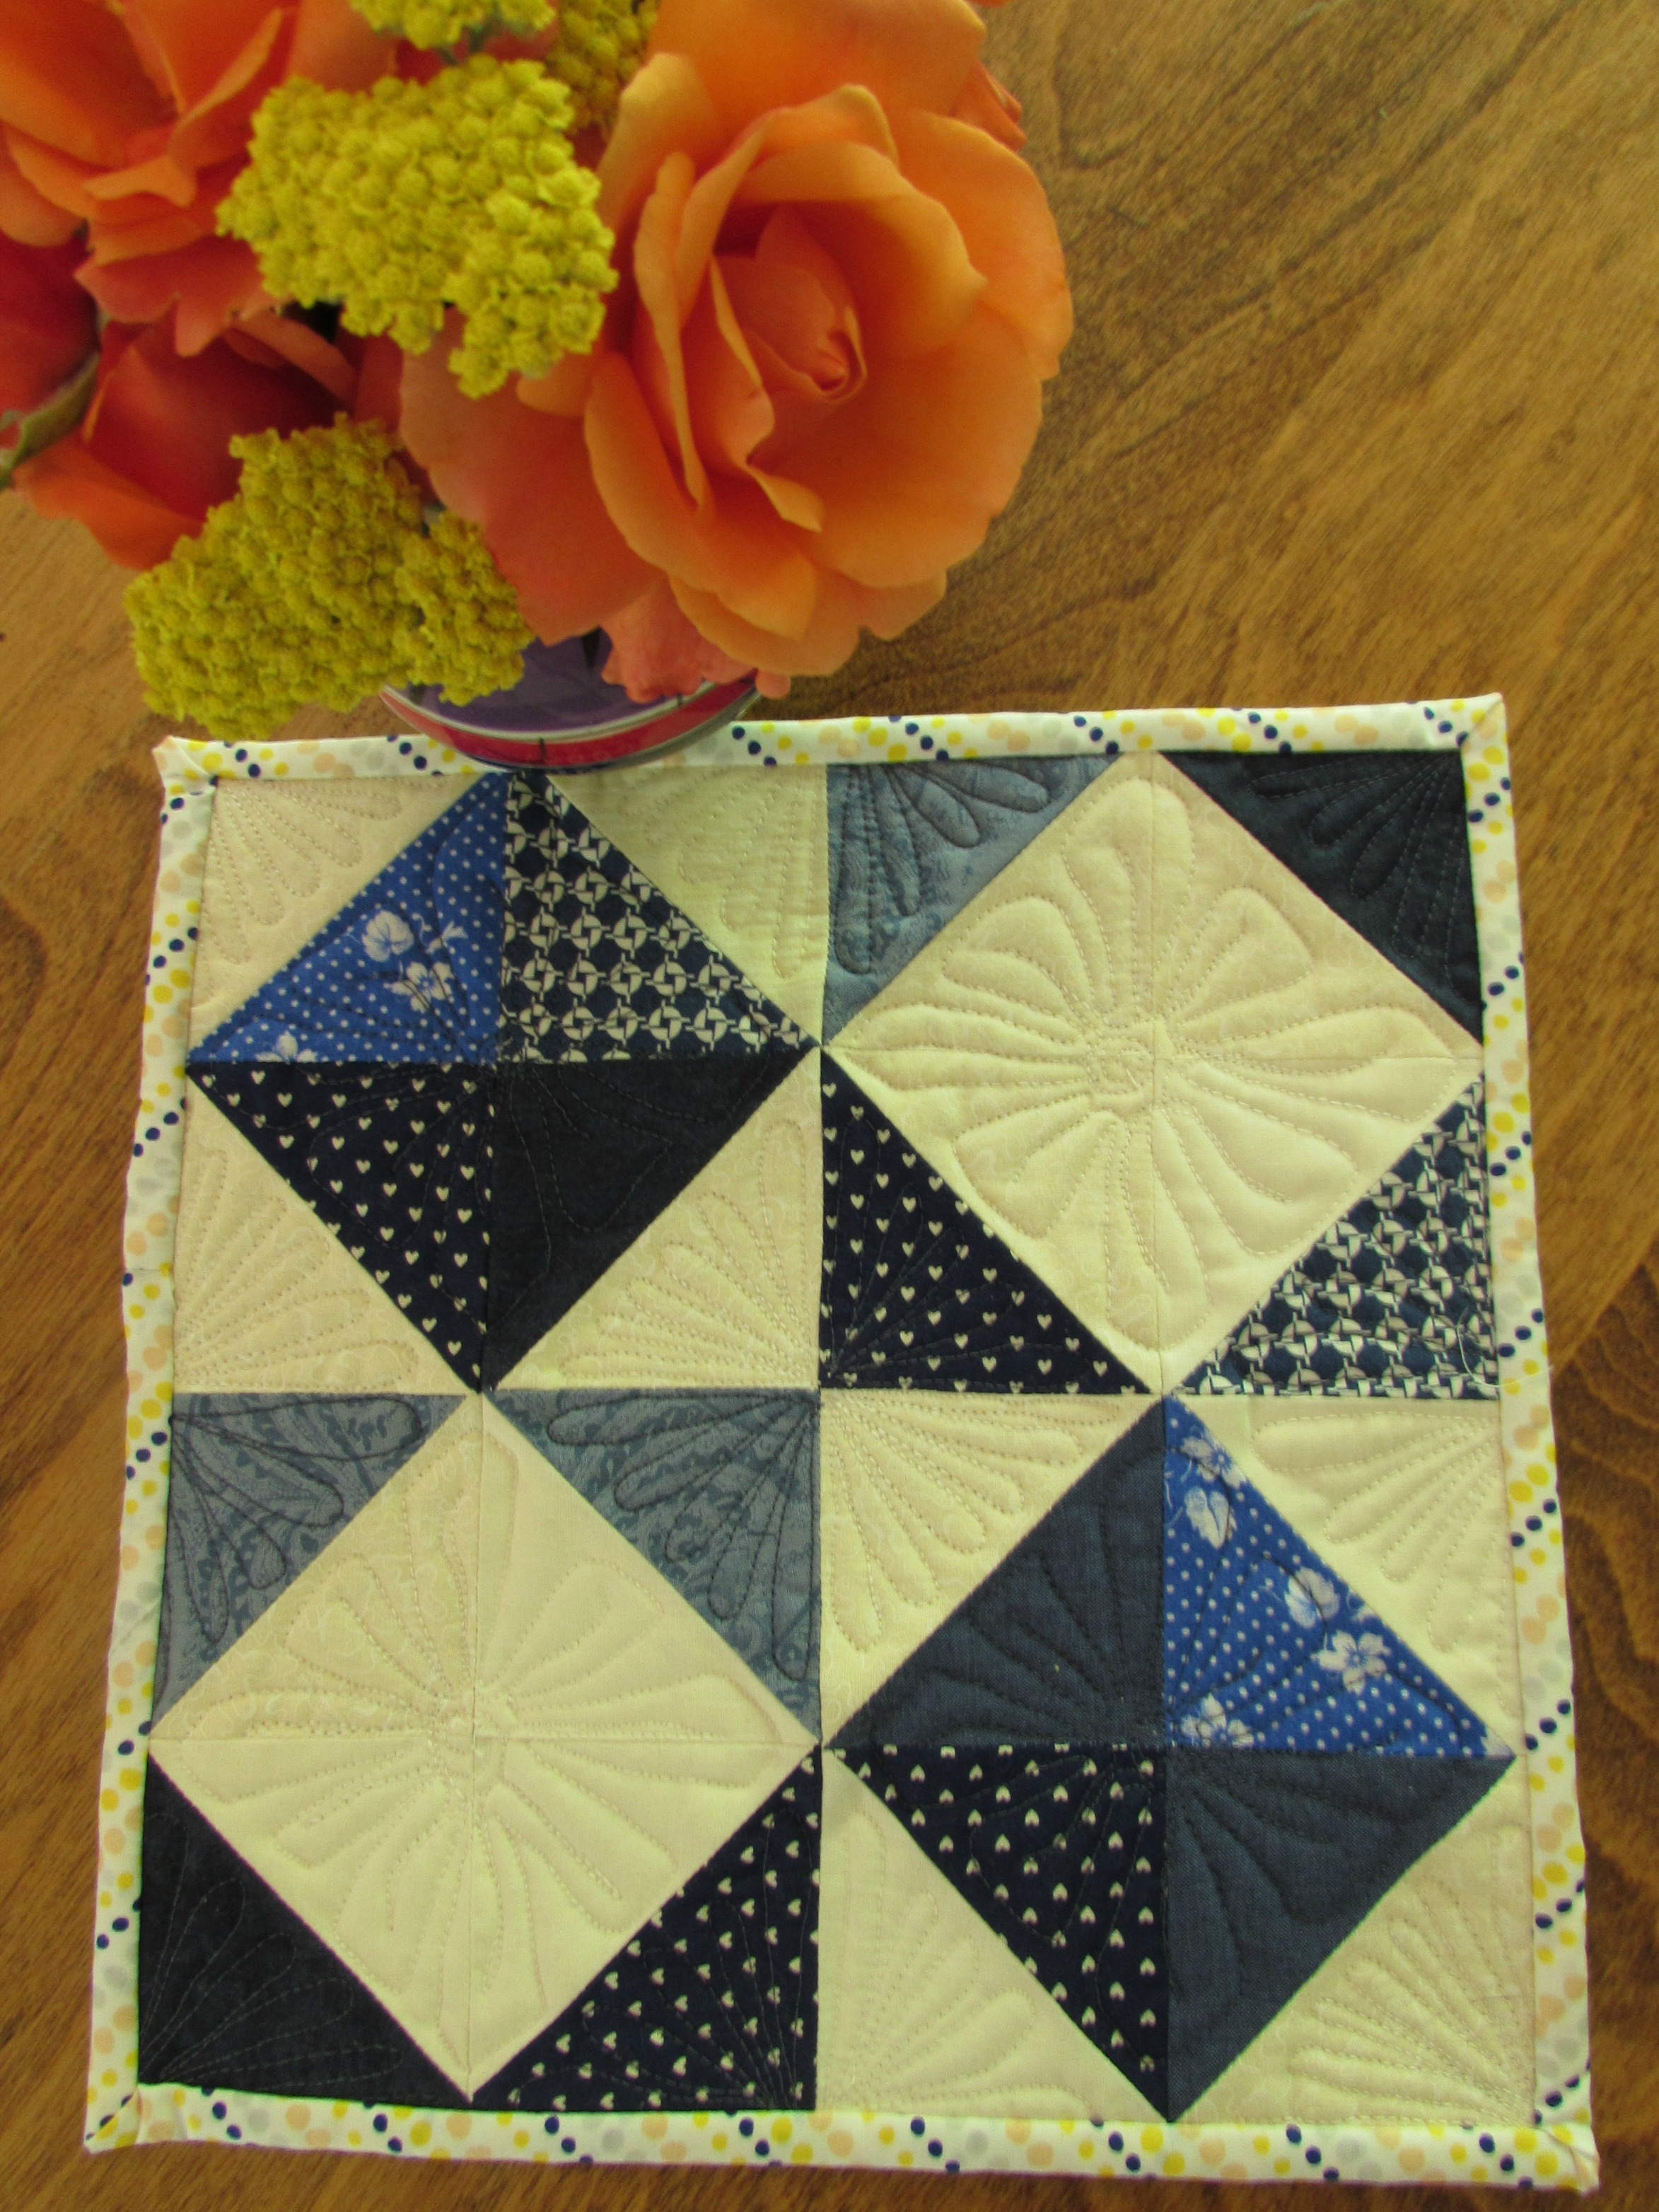
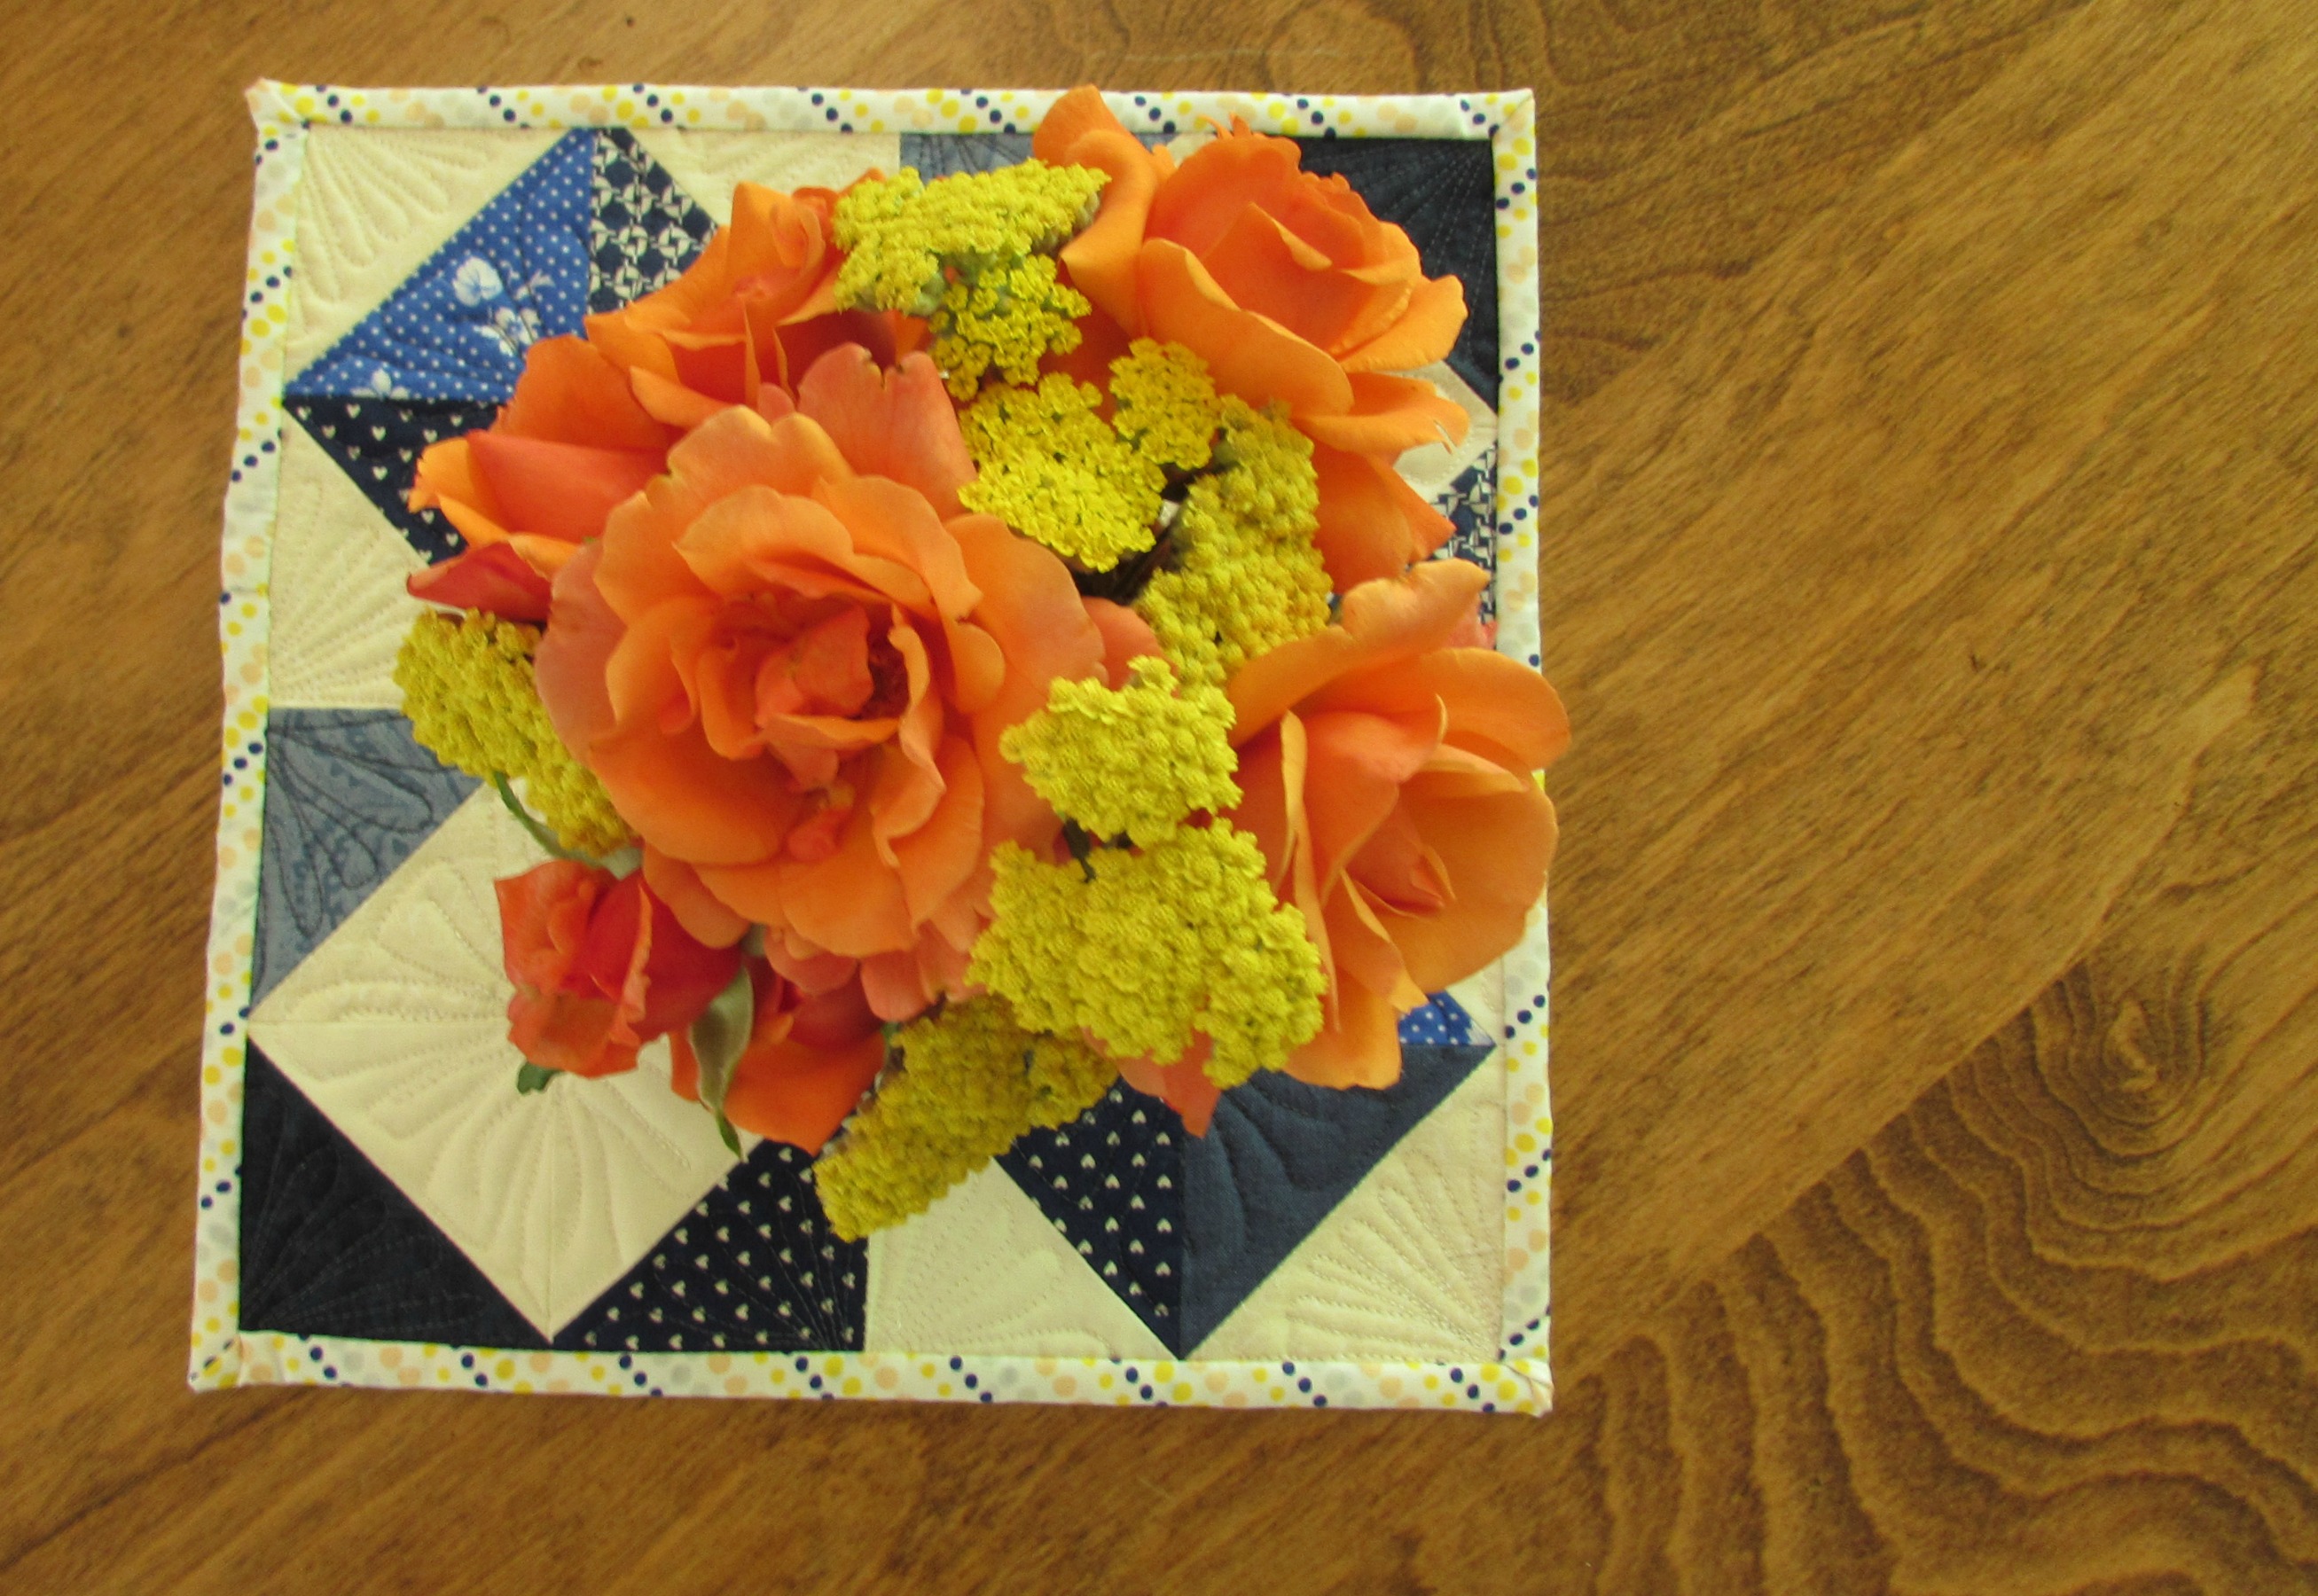
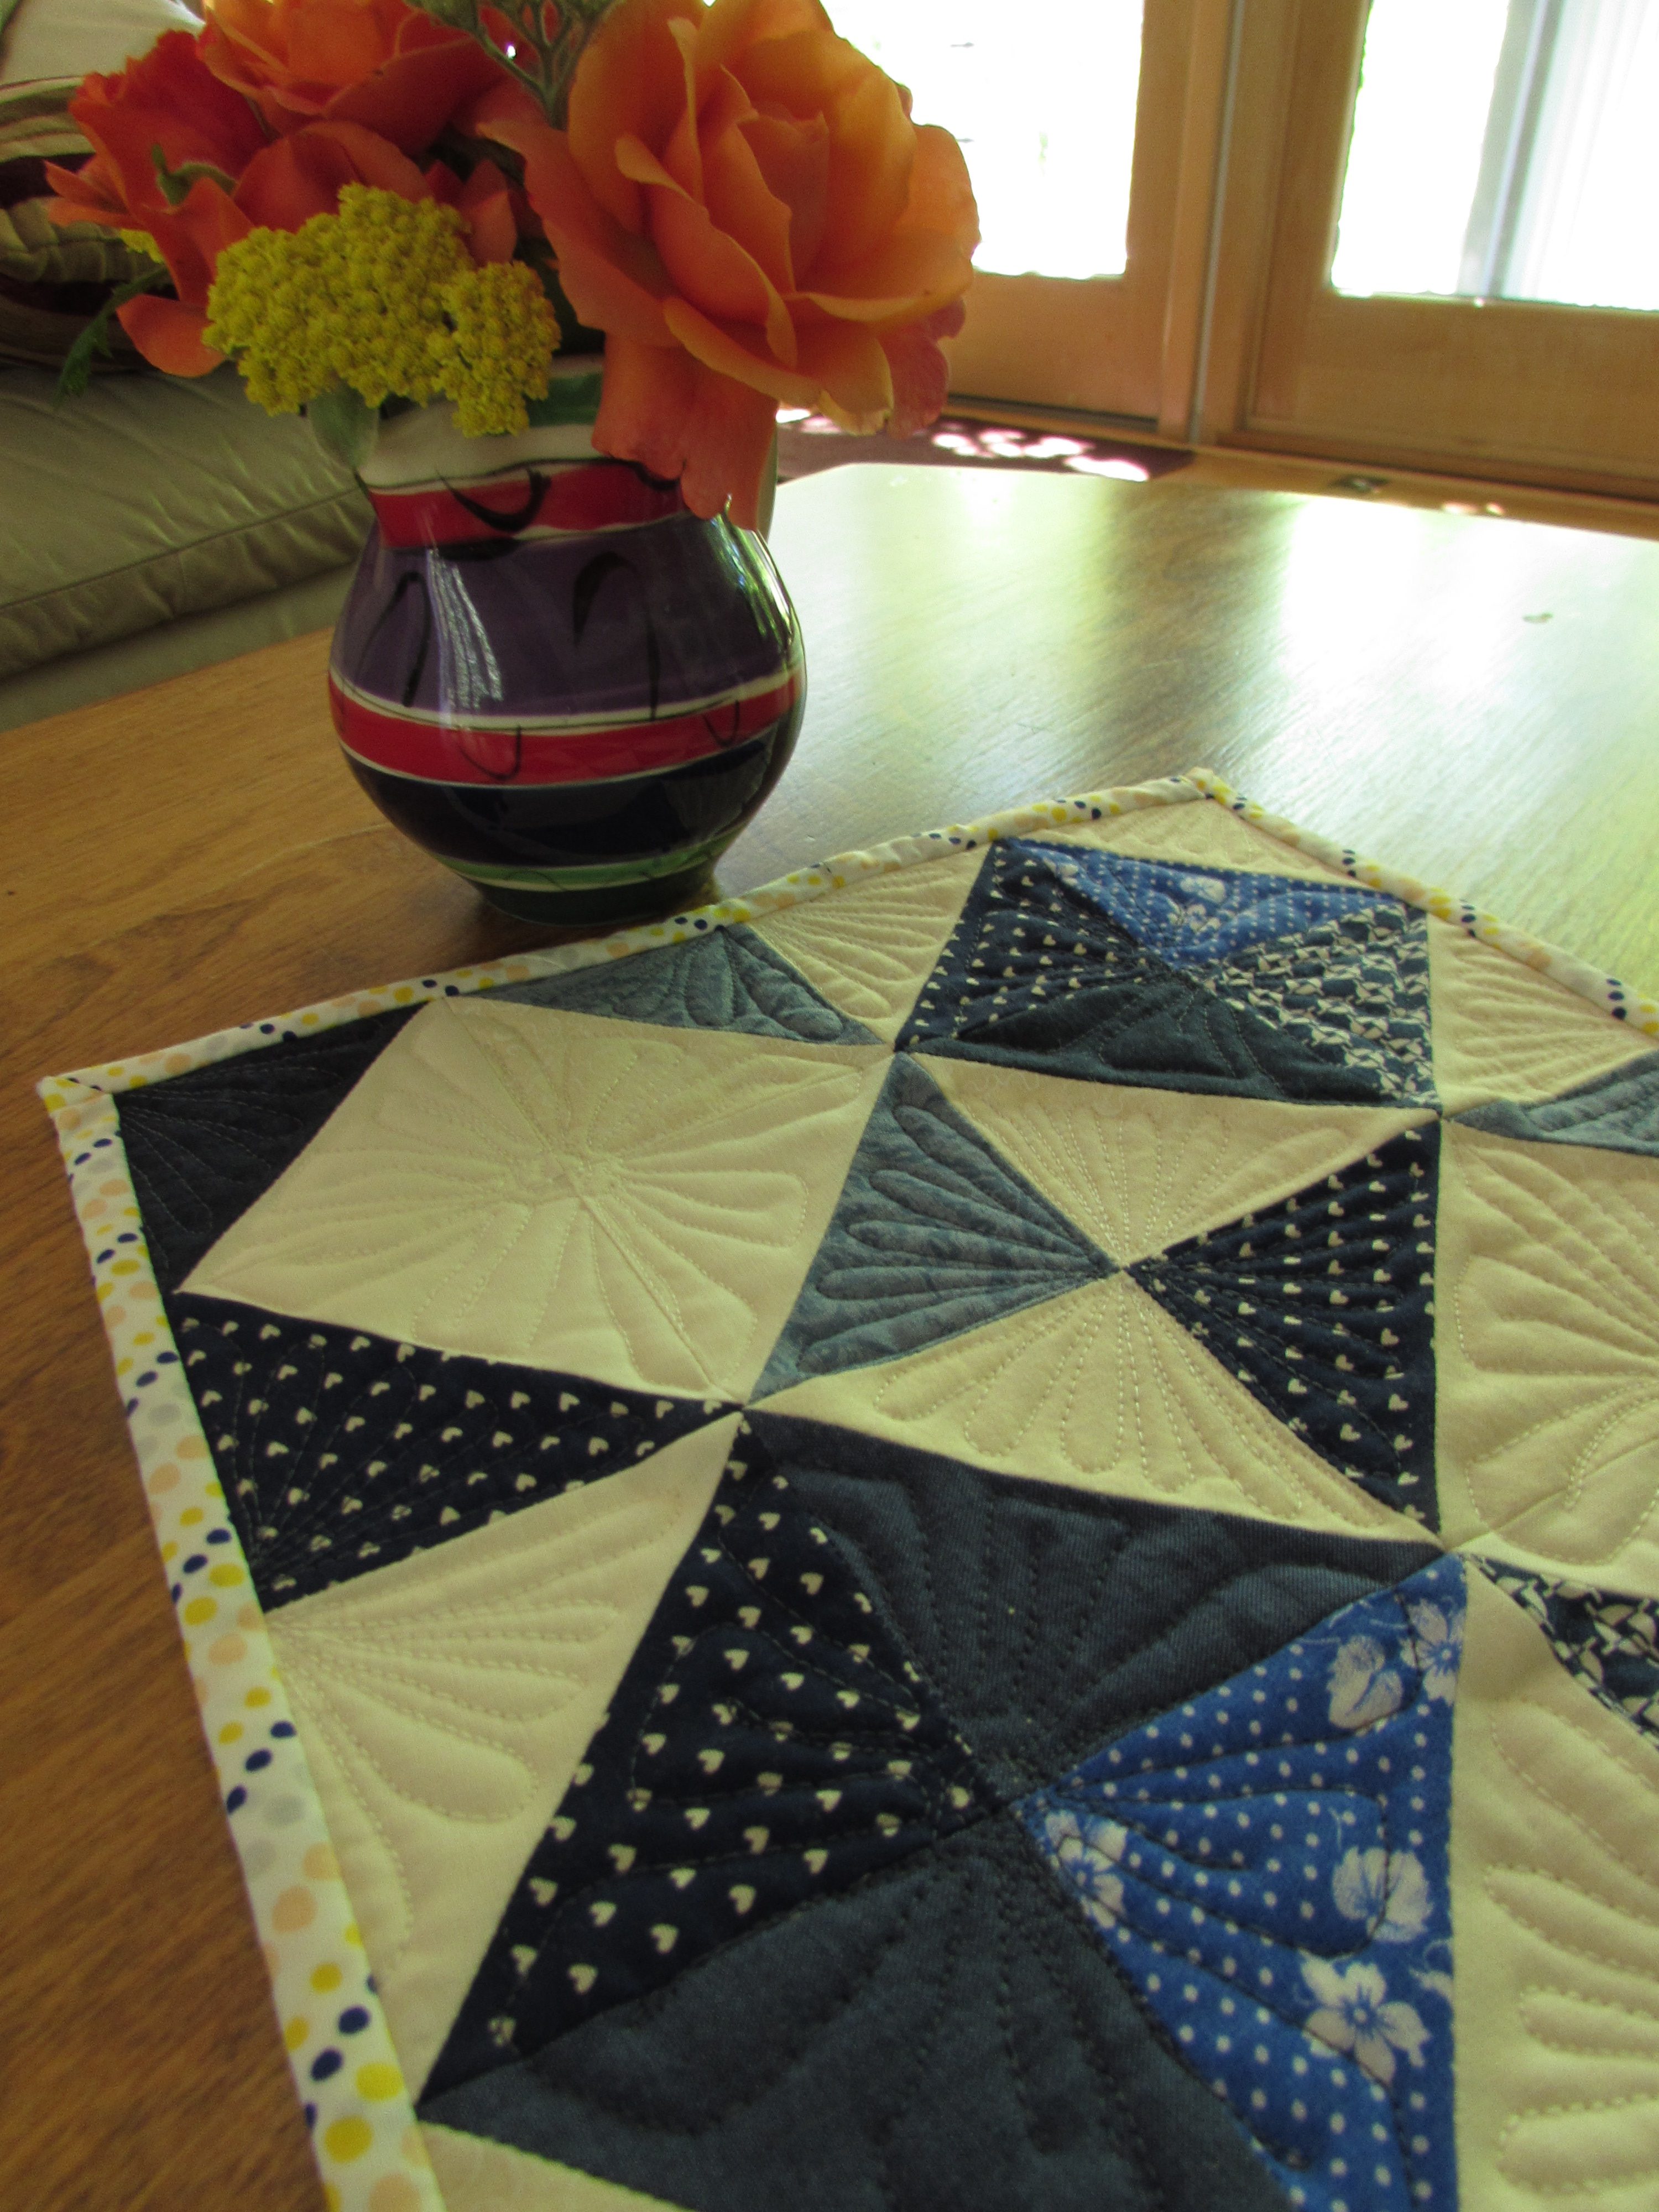
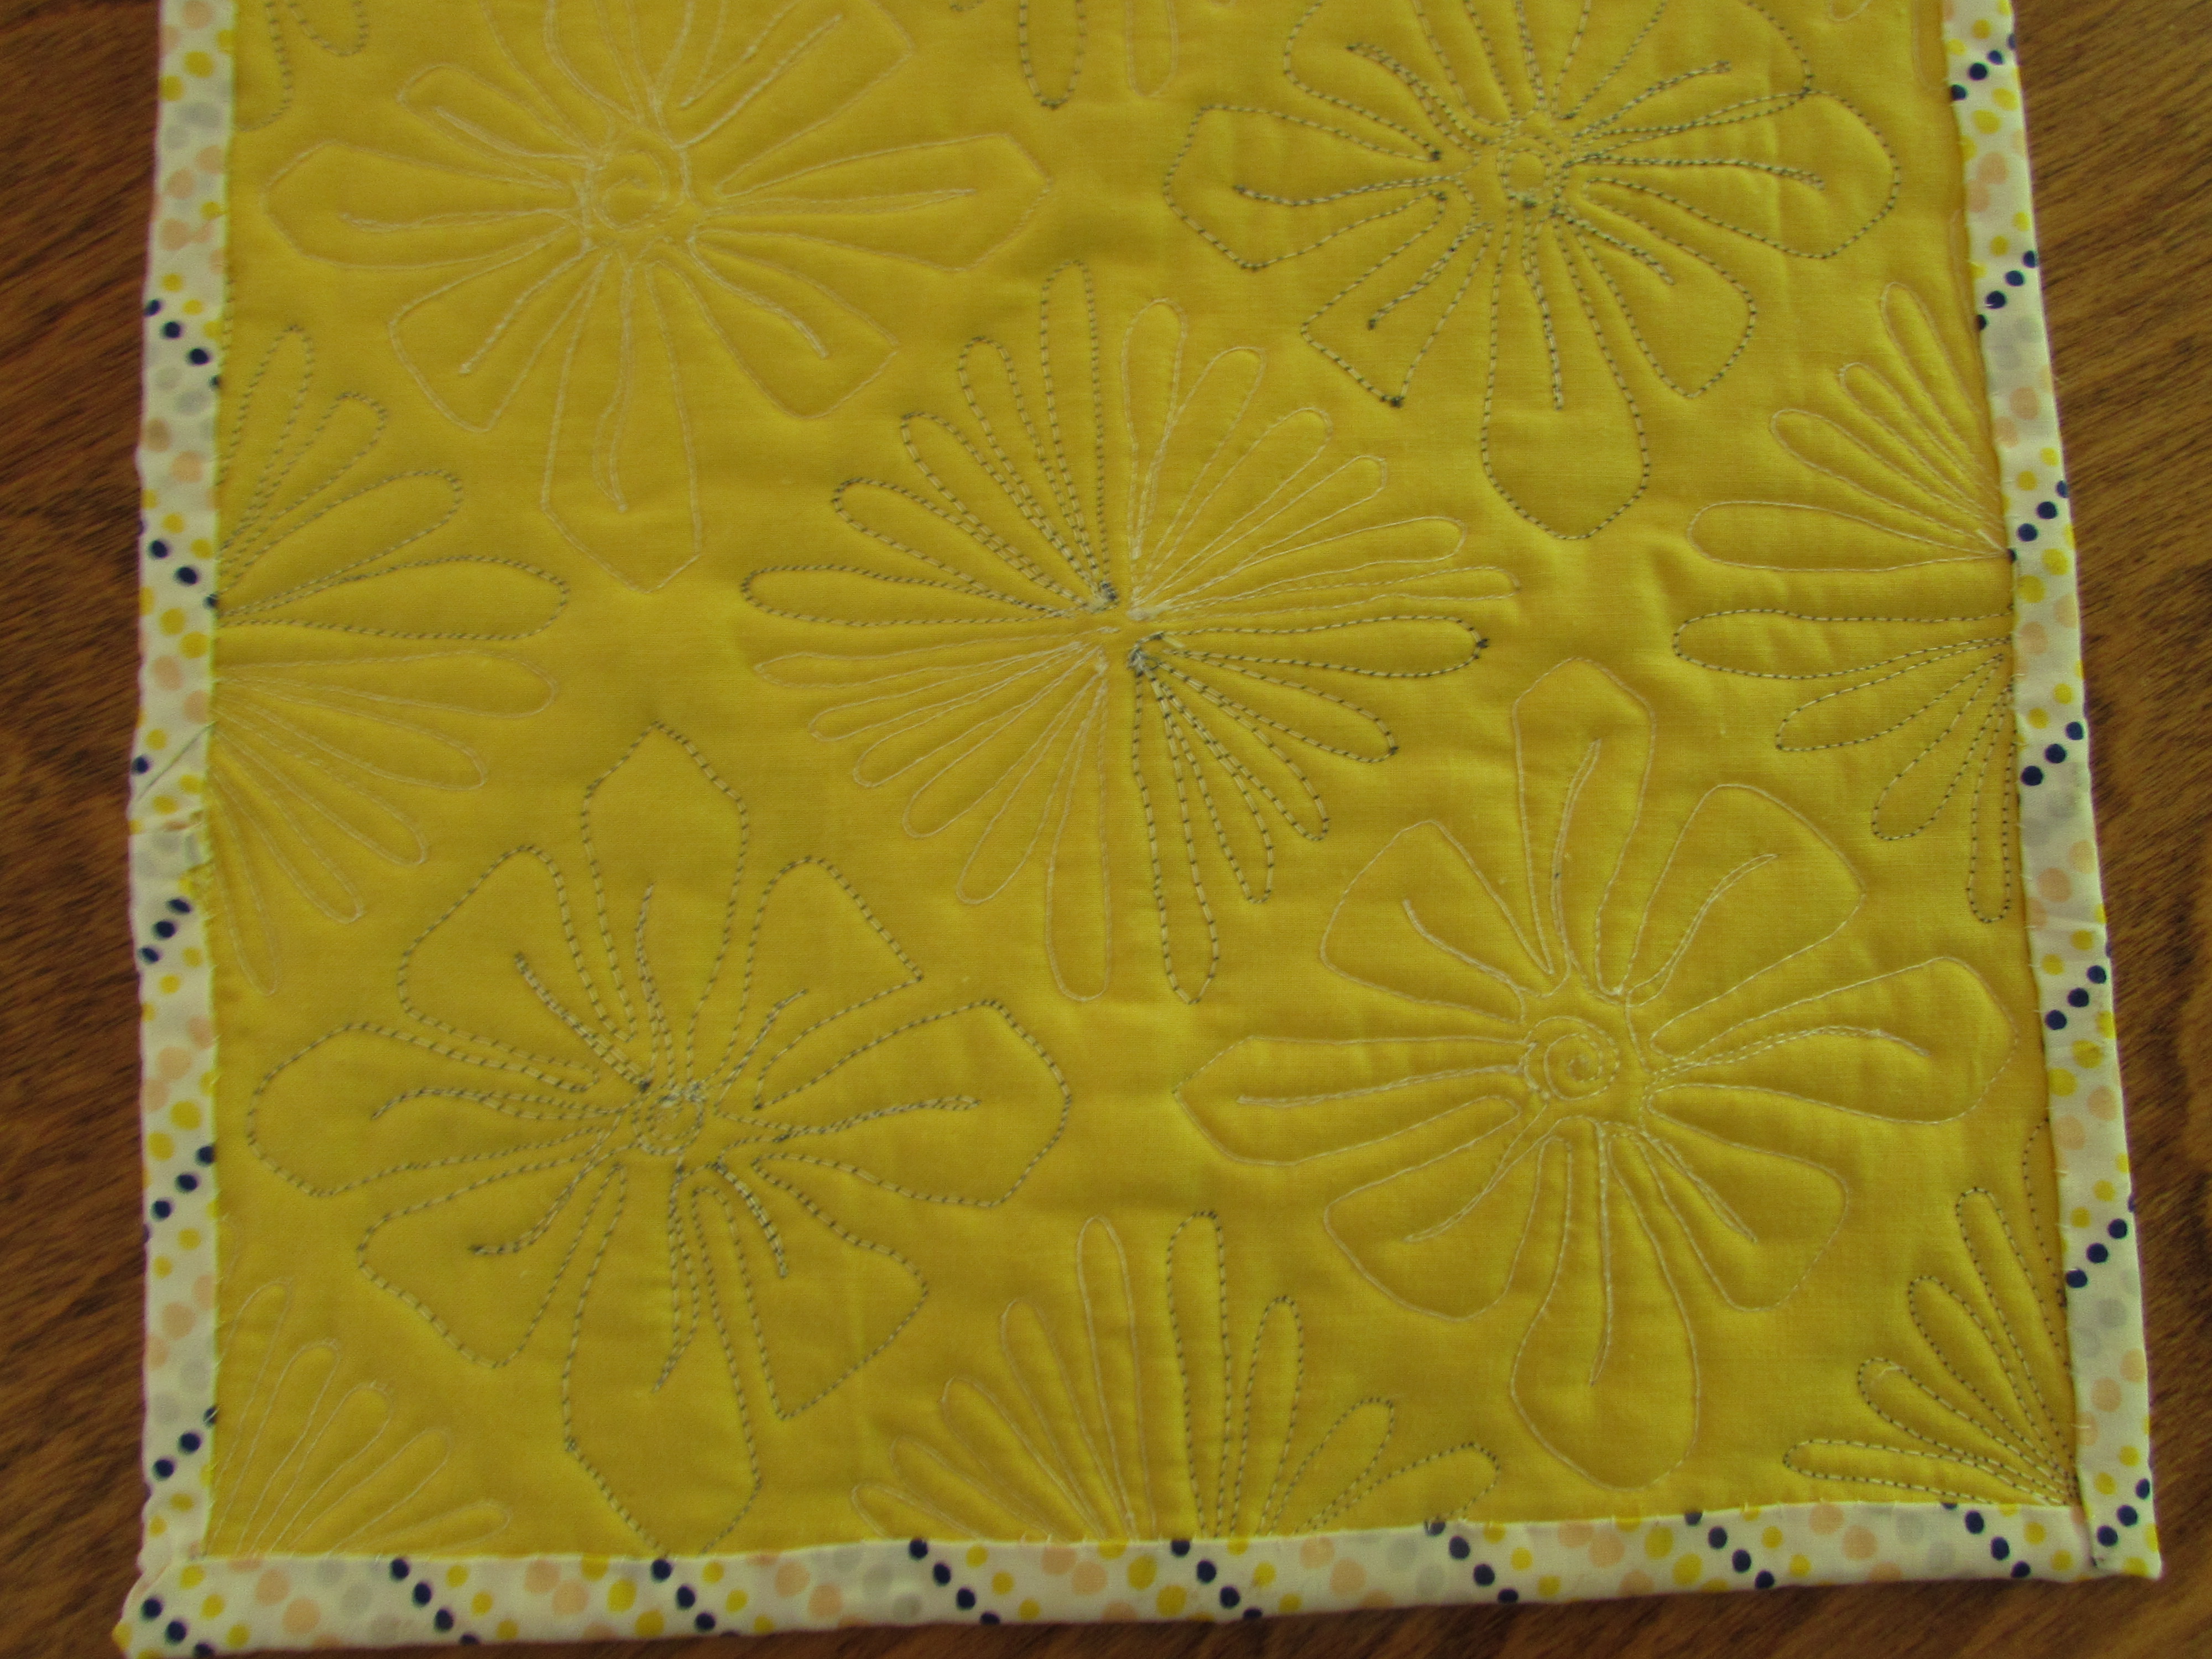
- Make some smaller projects (baby quilts and several minis) because I can quilt those with ease on my home machine which provides lots of practice.
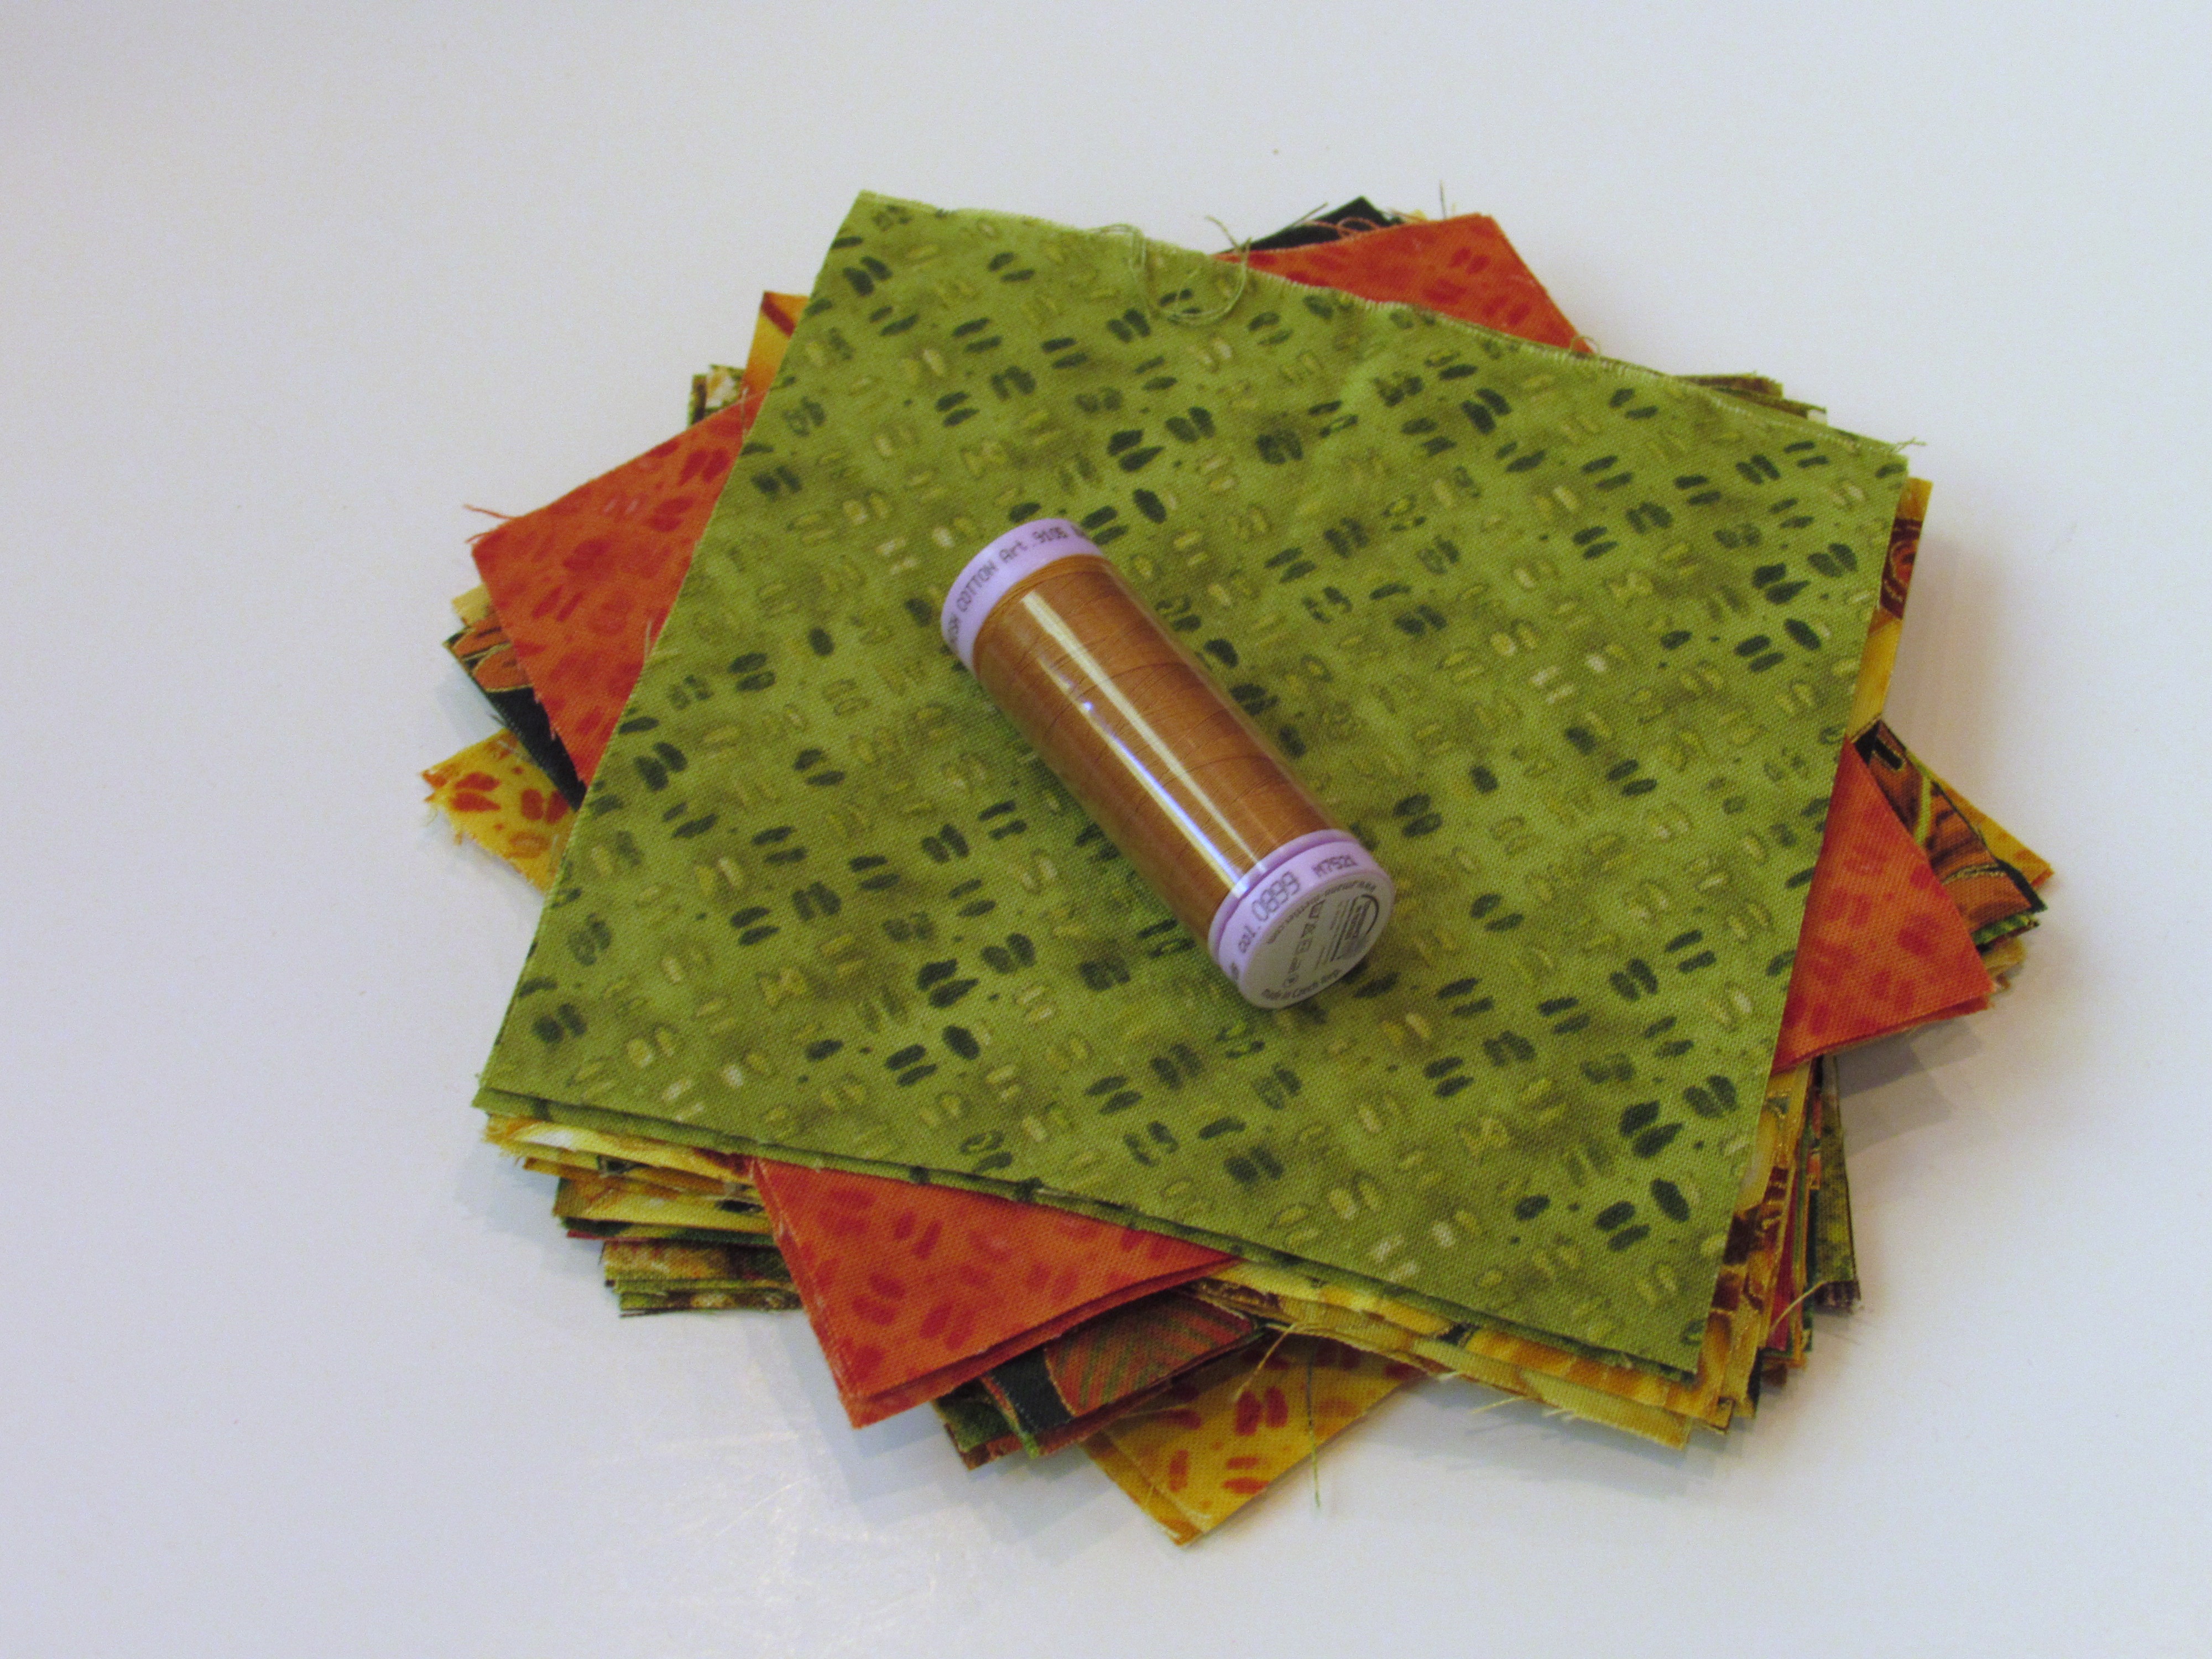
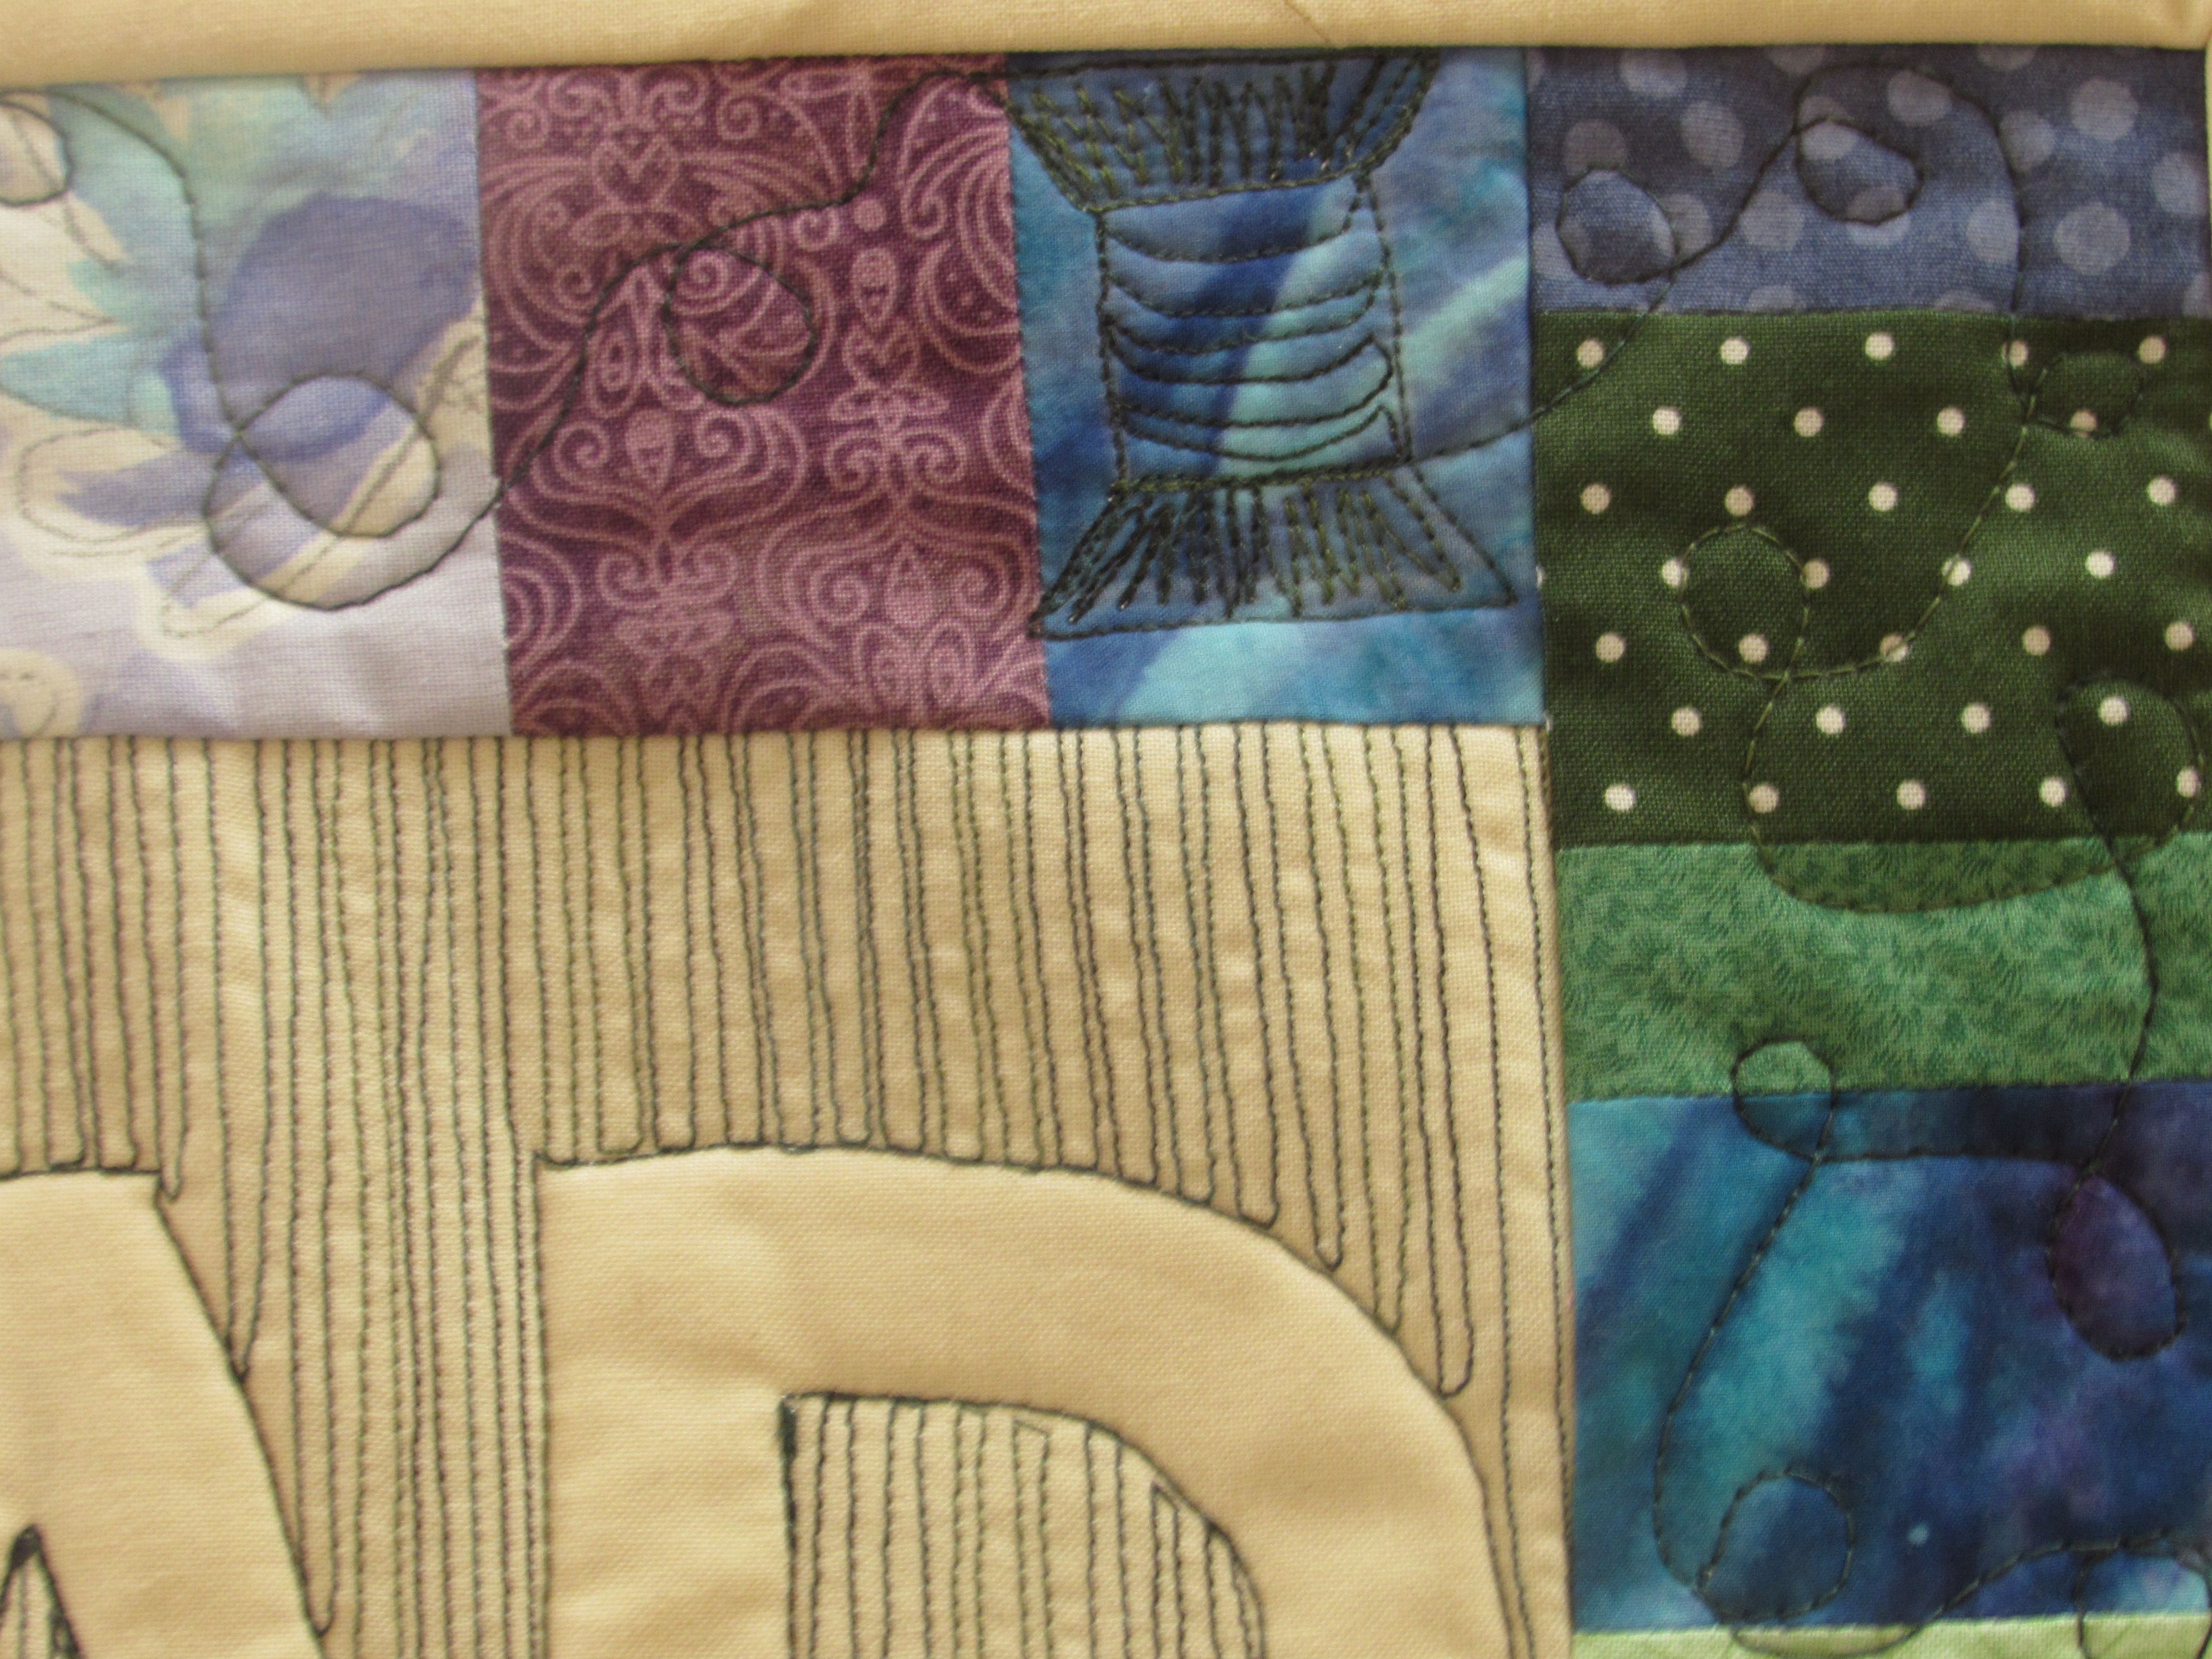
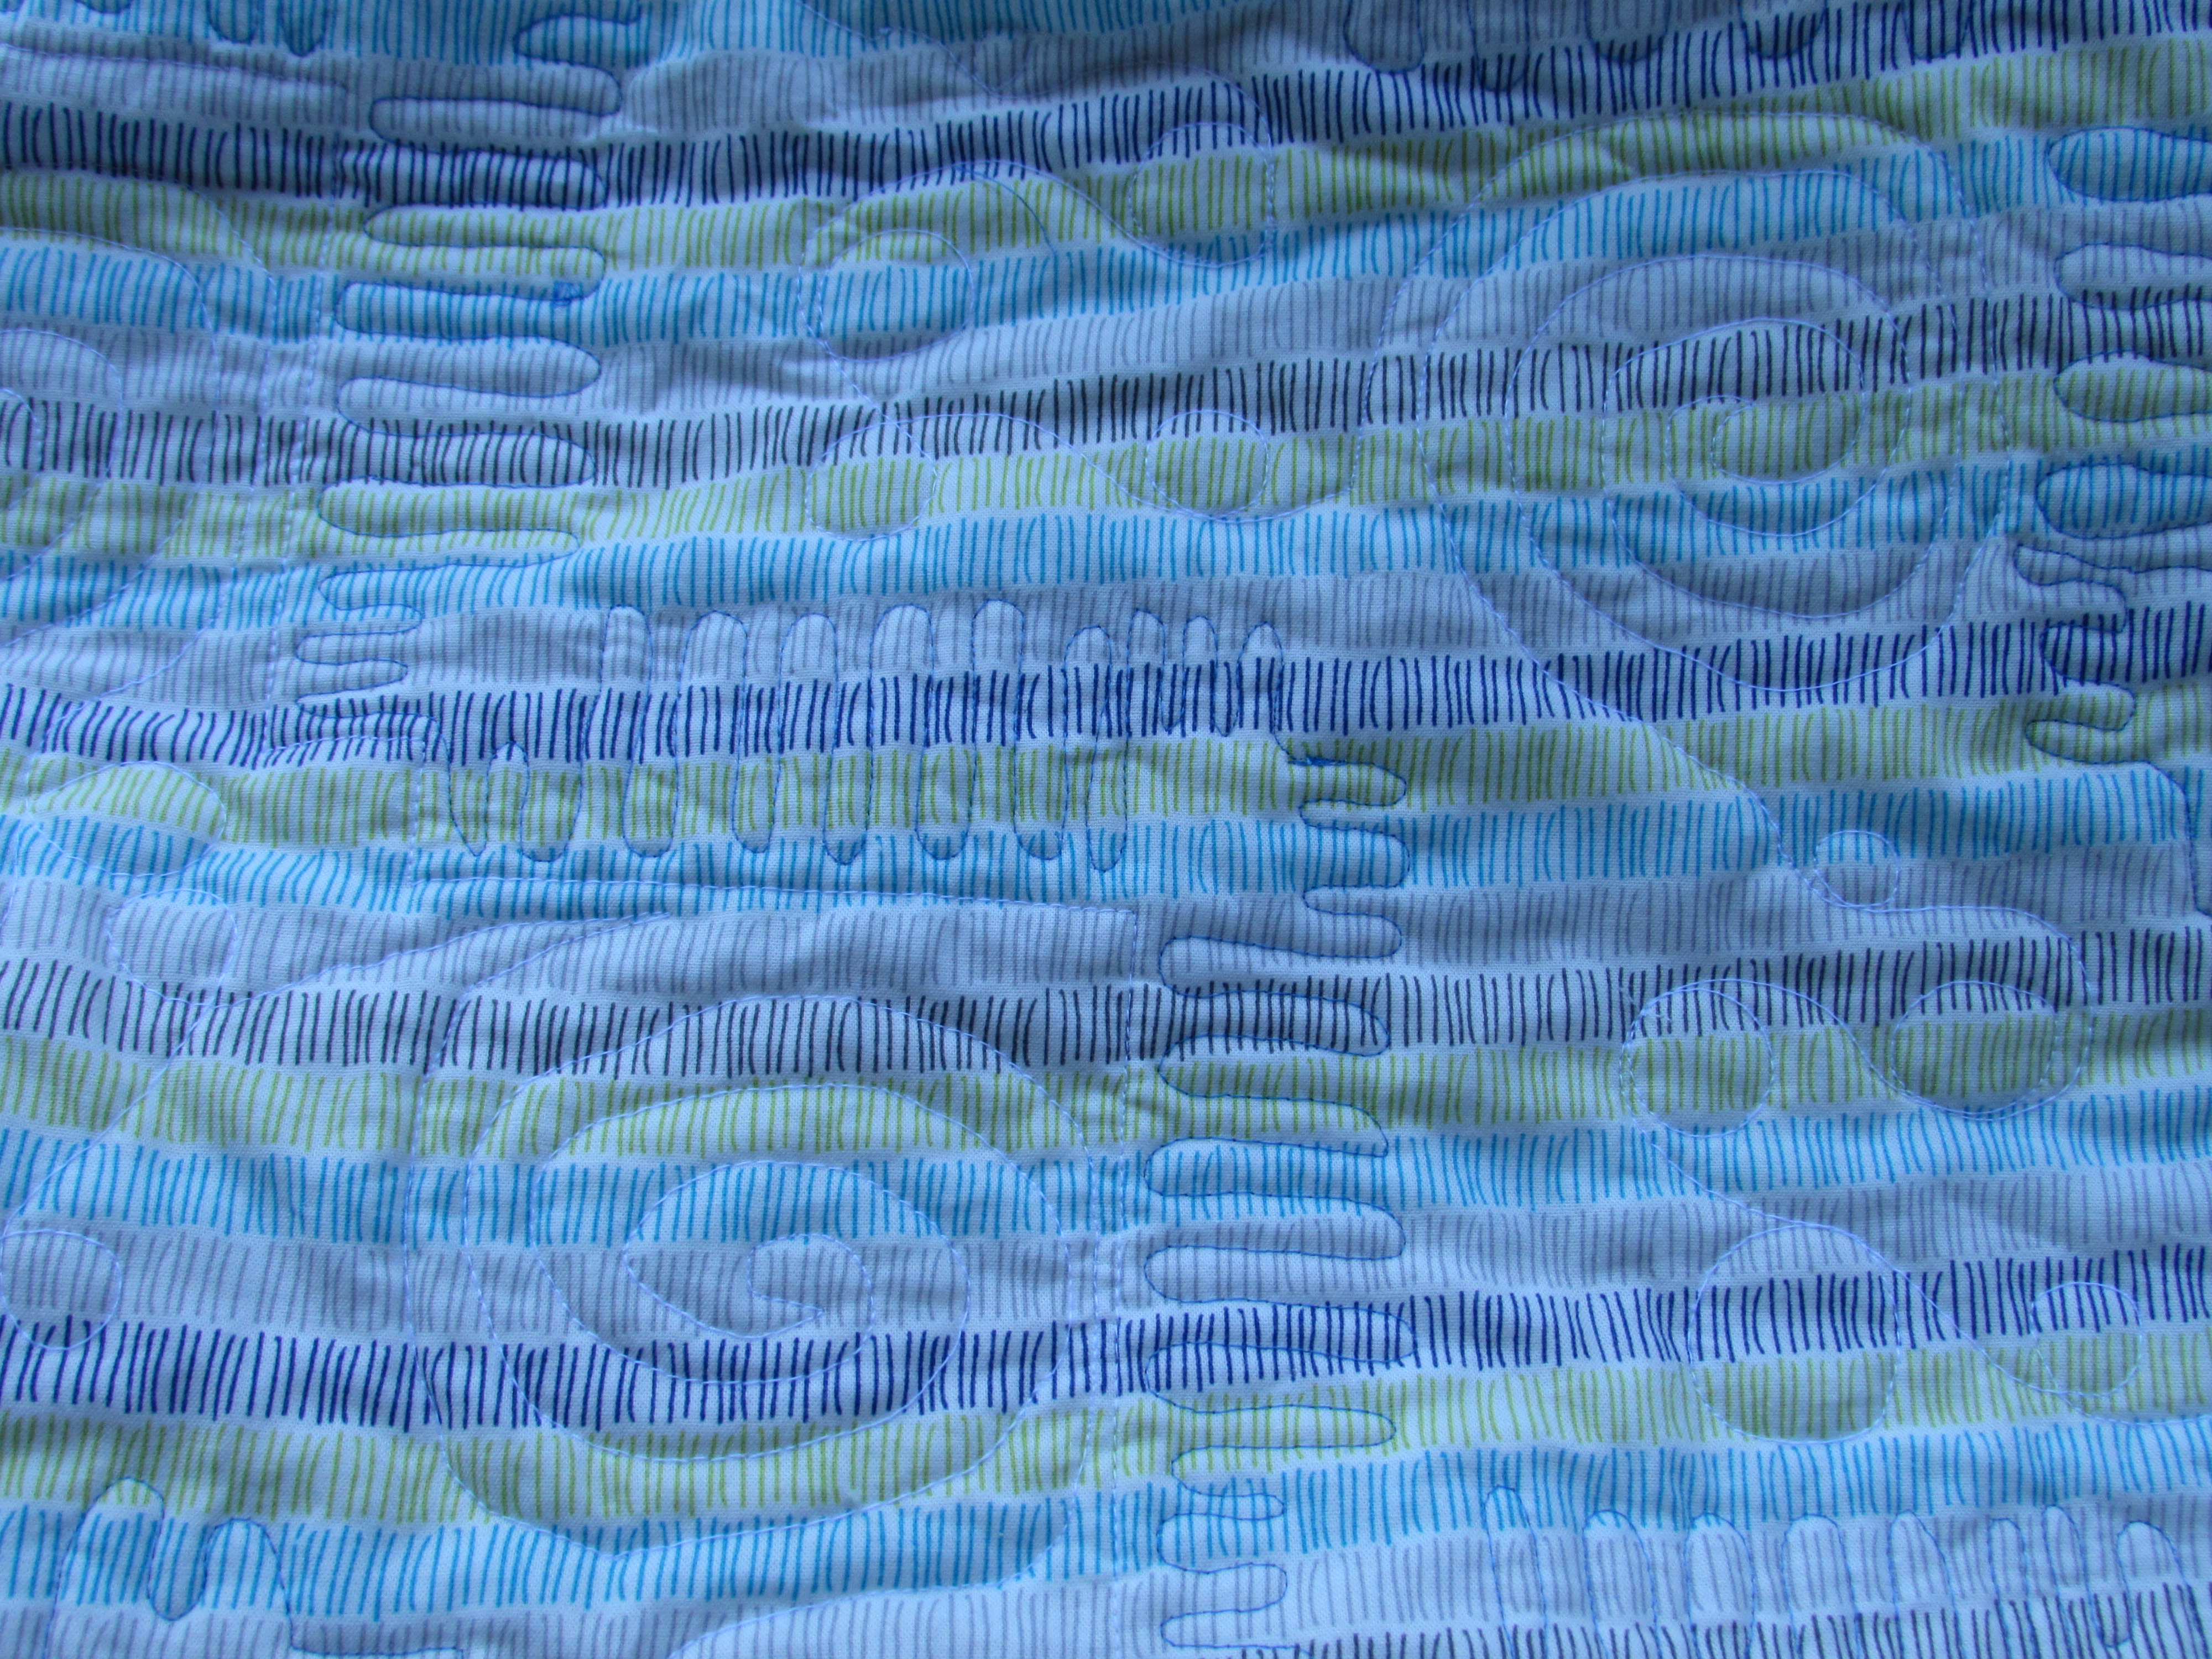
- Additionally, last night I made a stack of small-ish quilt sandwiches to practice on. Using batting scraps that I stitched together and old fabric, I pinned four sets to be used strictly for practice. For whatever reason, I usually think I need to actually “make” something before quilting. Really, I just need to practice. Using up scraps and weird fabrics will be an economical, quick way to get some practice in.
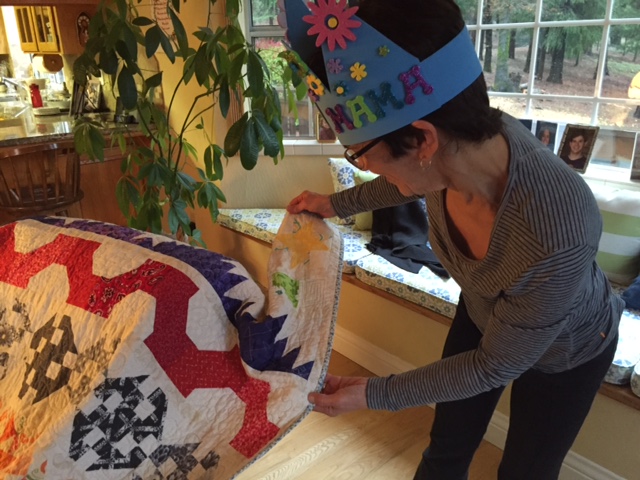
- I have two larger quilts planned for this year which will be provide practice on the long arm that I am able to rent. Also, I still have one quilt in my UFO pile and will quilt it on the long arm as well. (It is the Harmony quilt that was made for a wedding gift for my nephew. He was married in September and I still haven’t finished this. Not for lack of trying though! I have made two different appointments to rent time on the long arm but both times woke up with a migraine and had to cancel. Lucky for me, they are very kind about these things. Hoping to schedule time later this month to finish this up and then I can mail it off to the newlyweds.
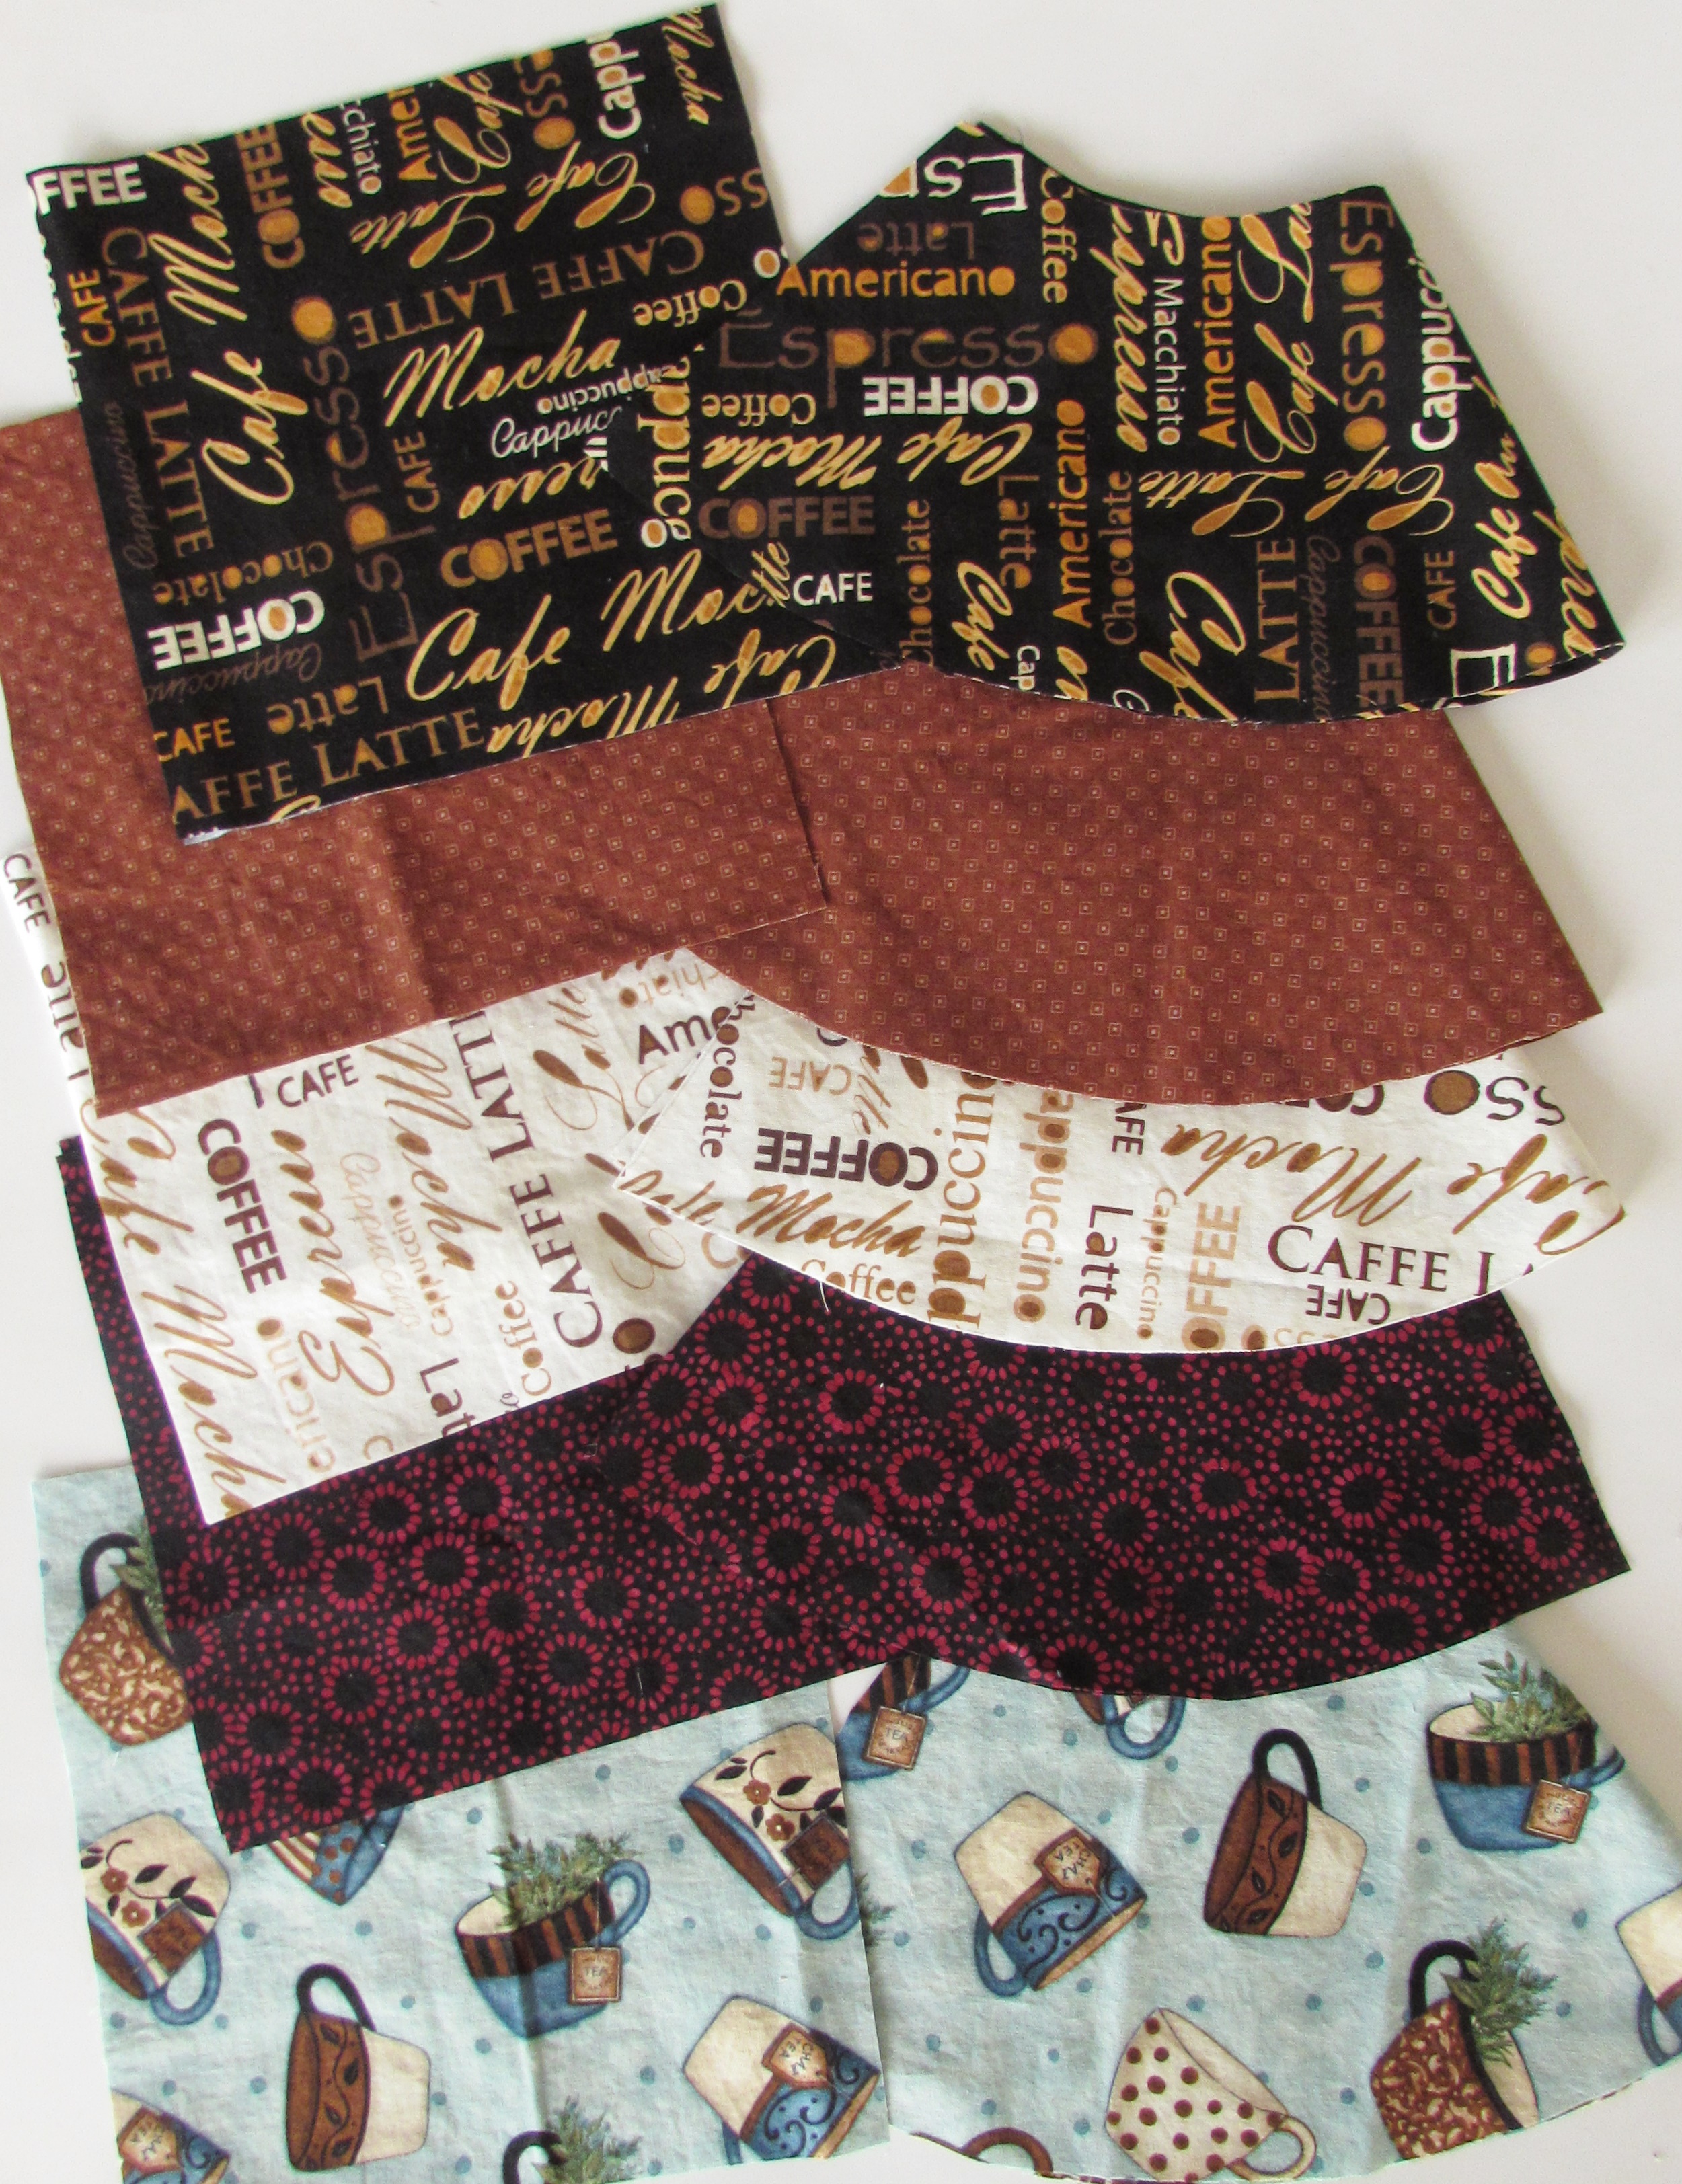
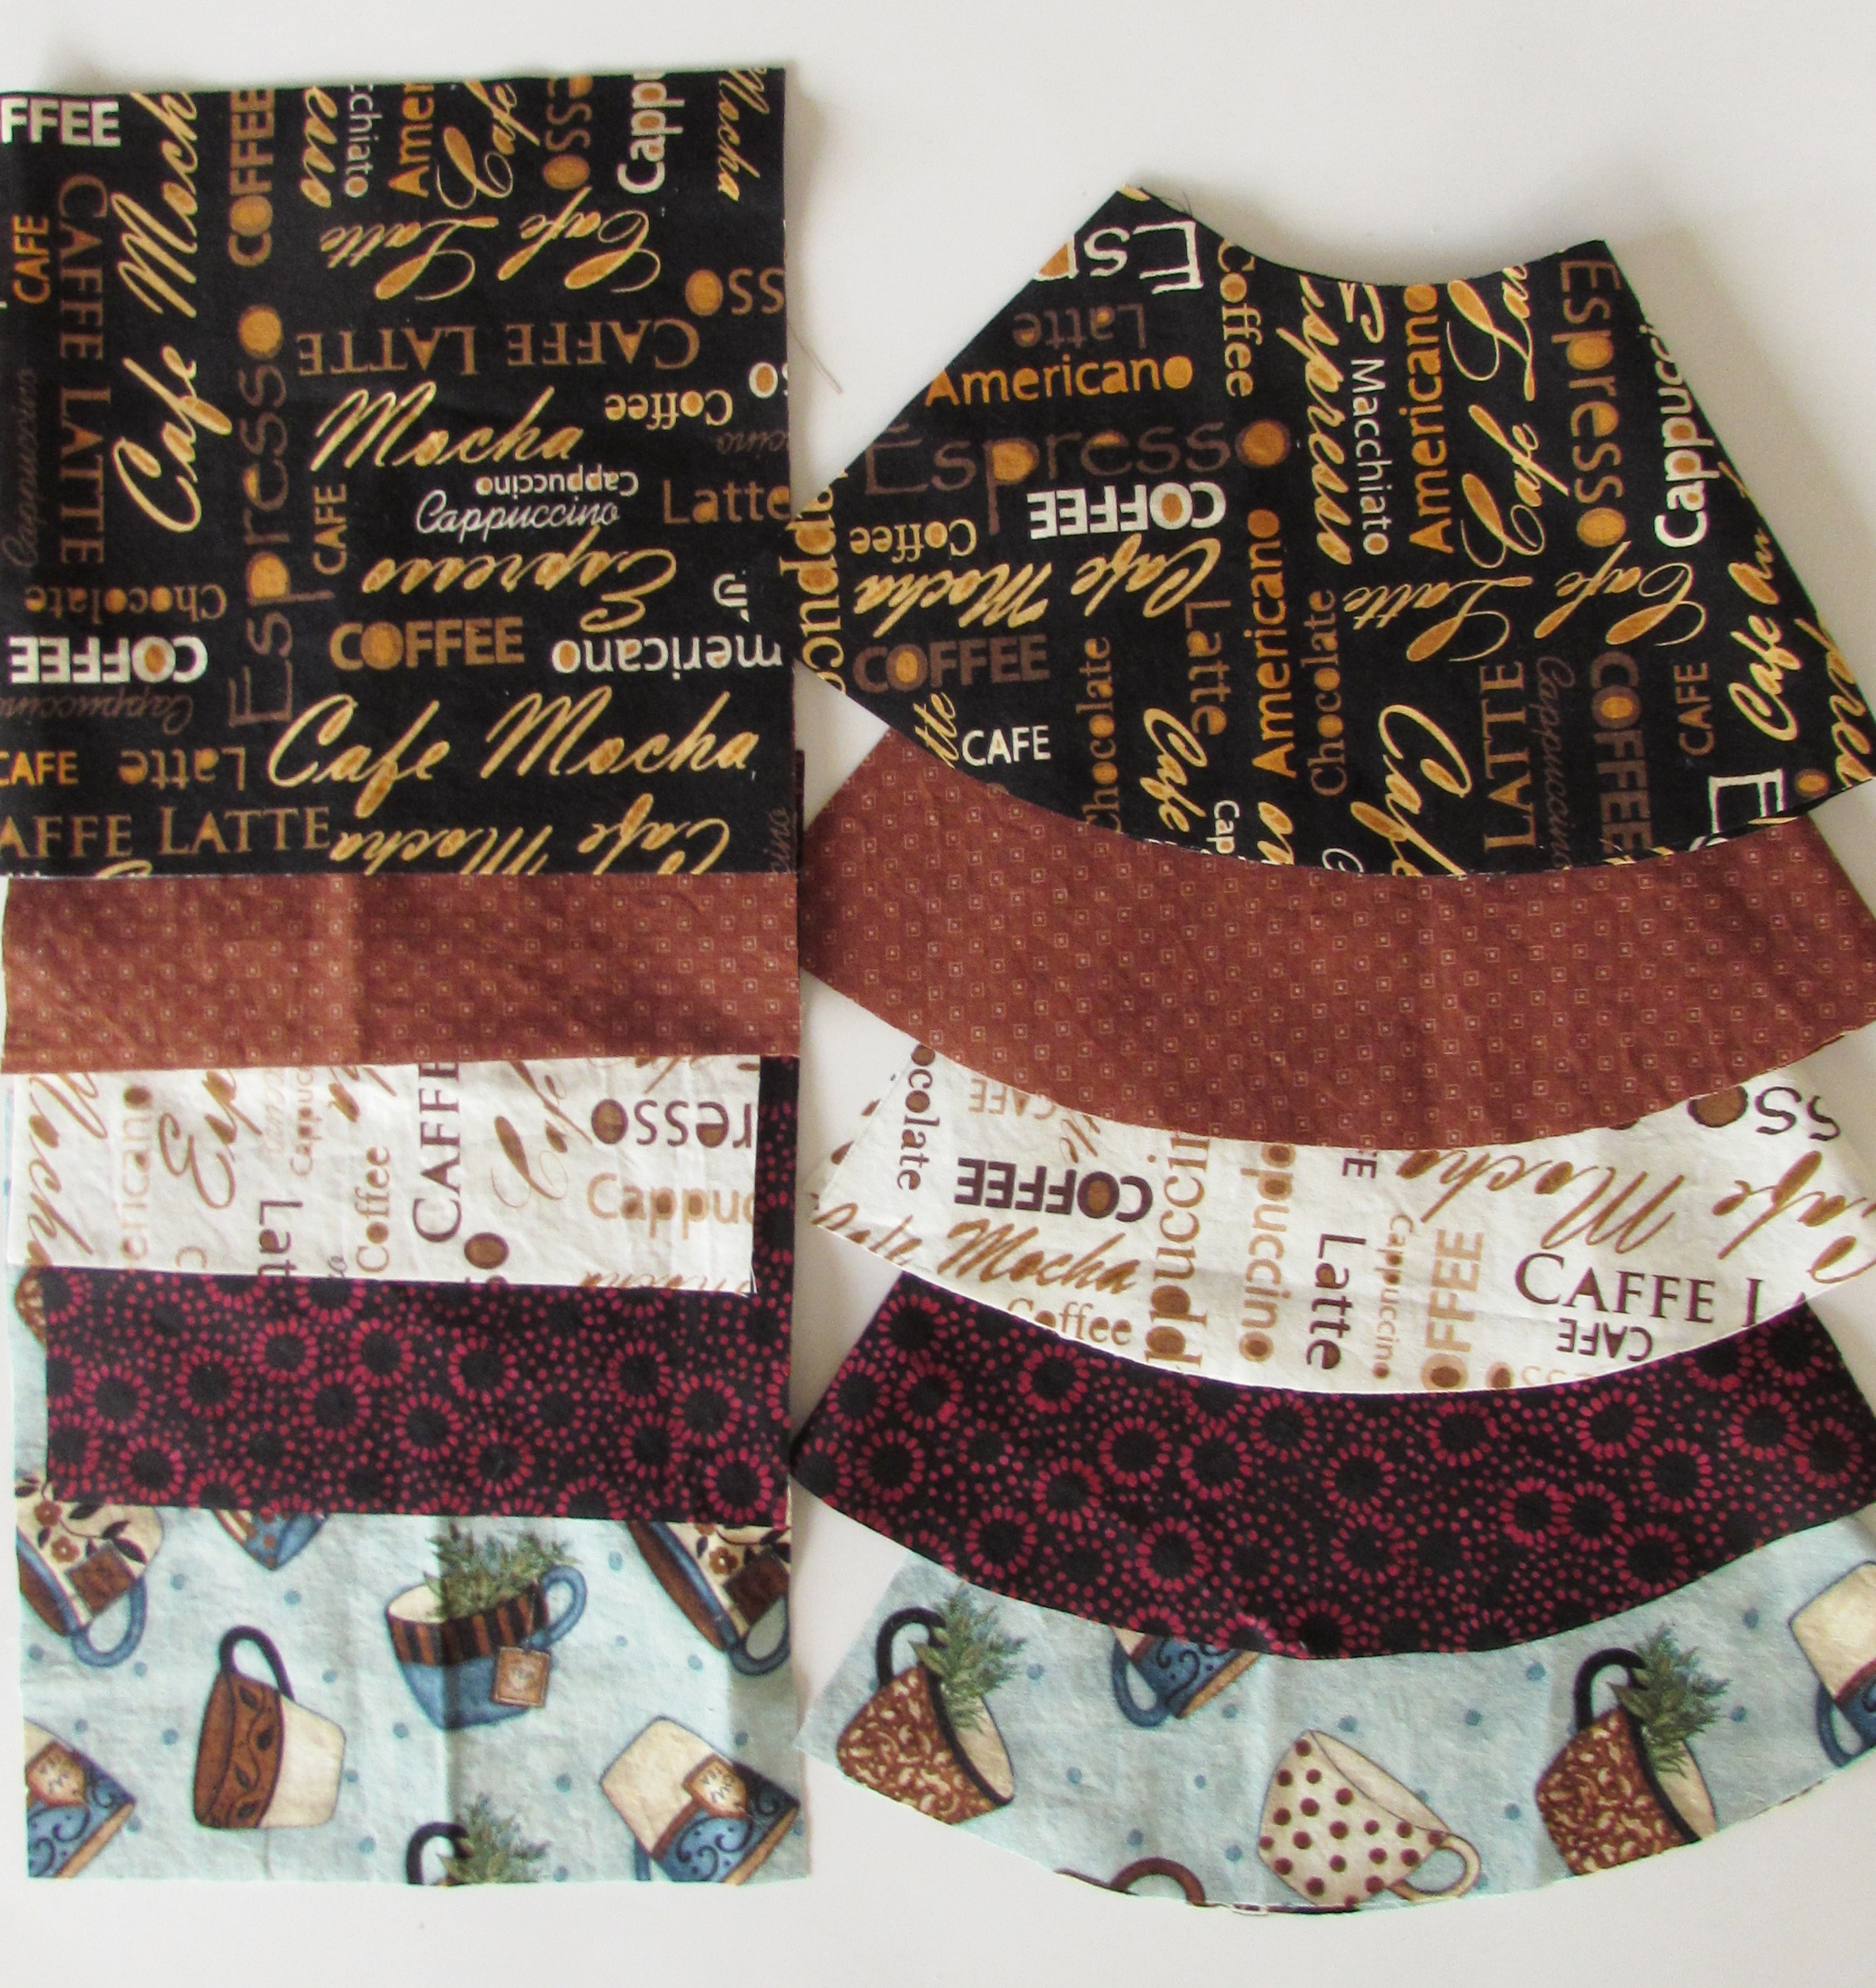
- Next on the list is to fit in a few garment projects. I have several really nice patterns that I would like to make. These are patterns I have picked up while collecting product for my Etsy shop. Refining my skills in actually fitting a garment would be wonderful. Seems like the main thing that holds me back from making clothing is the difficulty around fitting the pattern. There are a billion tutorials for this, many of which are found at www.collete.com. I subscribe to their newsletter and follow their blog. This year I am going to actually implement some of what I read on their site! First off, there is a vintage fabric I found a long while back. It is a border print and I think it would be cute for a simple skirt. Wish me luck!
- Last on the list is time management. There is SO much I want to accomplish. The best way to ensure I can do this is by managing my time wisely. Between sewing, blogging, my Etsy shop and taking care of the house, I seem to run out of hours in the day. To achieve this I plan to:
- It is my hope to use the Quilter’s Planner even more this year. (I was fairly good about using it last year too.) If I can set goals for each week and plan blog posts out for a few weeks at a time, that would be great. Last year I tried to sketch my week out each Sunday. This year I would like to sketch out farther than one week at a time.
- Stop multi-tasking. Seriously. This is my downfall every time. If I start one thing, invariably I stop to “just do one quick thing” and then I don’t finish the first thing. I need to stay put. Finish the quilt block, complete the Etsy listing, write the entire blog post, etc. Finishing what I have started would be hugely advantageous. Texting is a big distraction. Turning off the sound on my phone is very helpful
- Meal plans also help. I do love to cook but if I don’t have a plan for the week’s meals, it feels like a chore. Trying to come up with something at the end of the day often results in dinners like omelets (thanks to our ever diligent hens). Let’s just say Julia is sick and tired of eating eggs! I love knowing what I plan to make for dinner. It allows me to put more energy into the rest of the day, especially if I prep meals ahead. Meal planning is something that I do sporadically. It would be so helpful if I planned at least four meals weekly – so that is the goal here. It makes grocery shopping much more efficient as well. I make more quick runs to the grocery store when I don’t have a meal plan. (This is actually a fallacy; from my house to the grocery store is a 14 mile round trip which means there is no “quick run” to the grocery store!)
With these goals listed, I have a plan. Each objective is easily broken down into steps which makes achieving them much more likely. Go 2017!!! I am off to begin reaching for these goals. Later this week I will share the book that I selected for the Winter Book Share. Stay tuned! Happy New Year everyone!