Yearly Archives: 2015

TBT Except It’s Saturday

I have been reading posts that are linked up to a party hosted by Jen at Quarter Inch From the Edge this week and really enjoying them. (I also enjoy the name of Jen’s blog, isn’t it perfect?). She has been hosting a monthly link up where bloggers are sharing projects from earlier days and I love seeing how far everyone has come with their skill and creativity. Really interesting to read the posts and check out the pictures. Most of my earlier projects have been posted about already but I did think it would be fun to share the Tablerunner Craze of 2012.

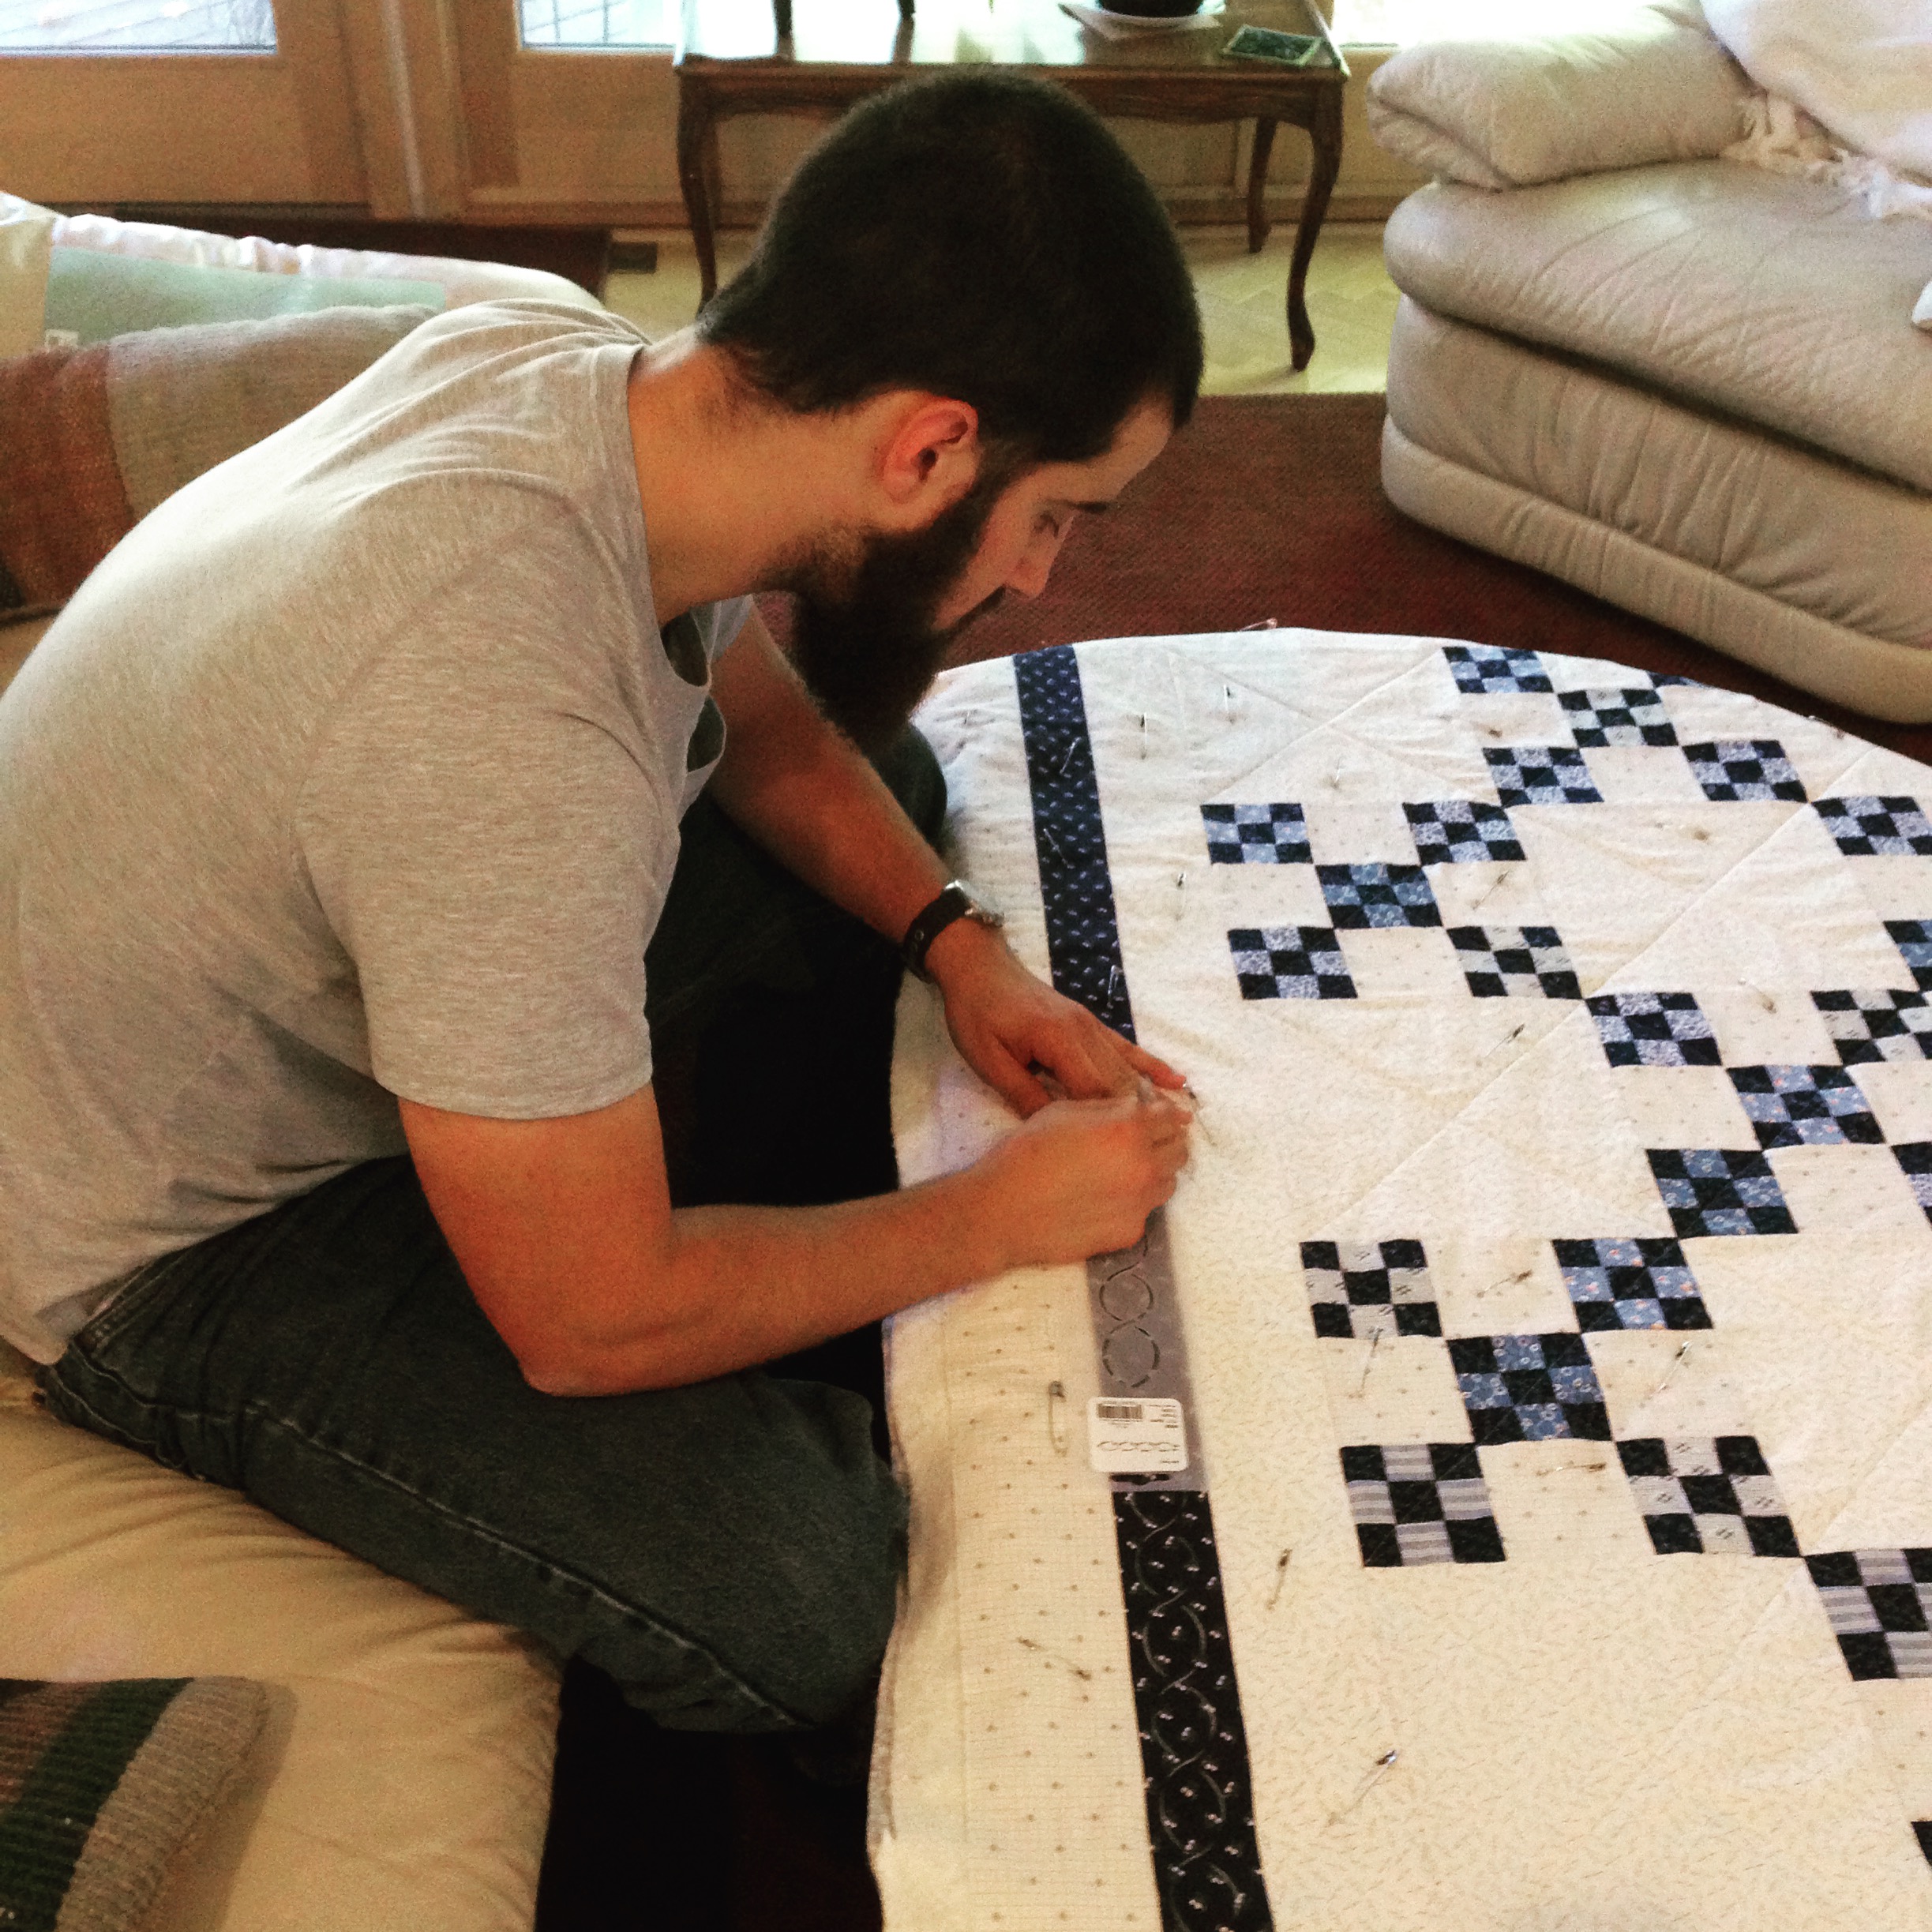
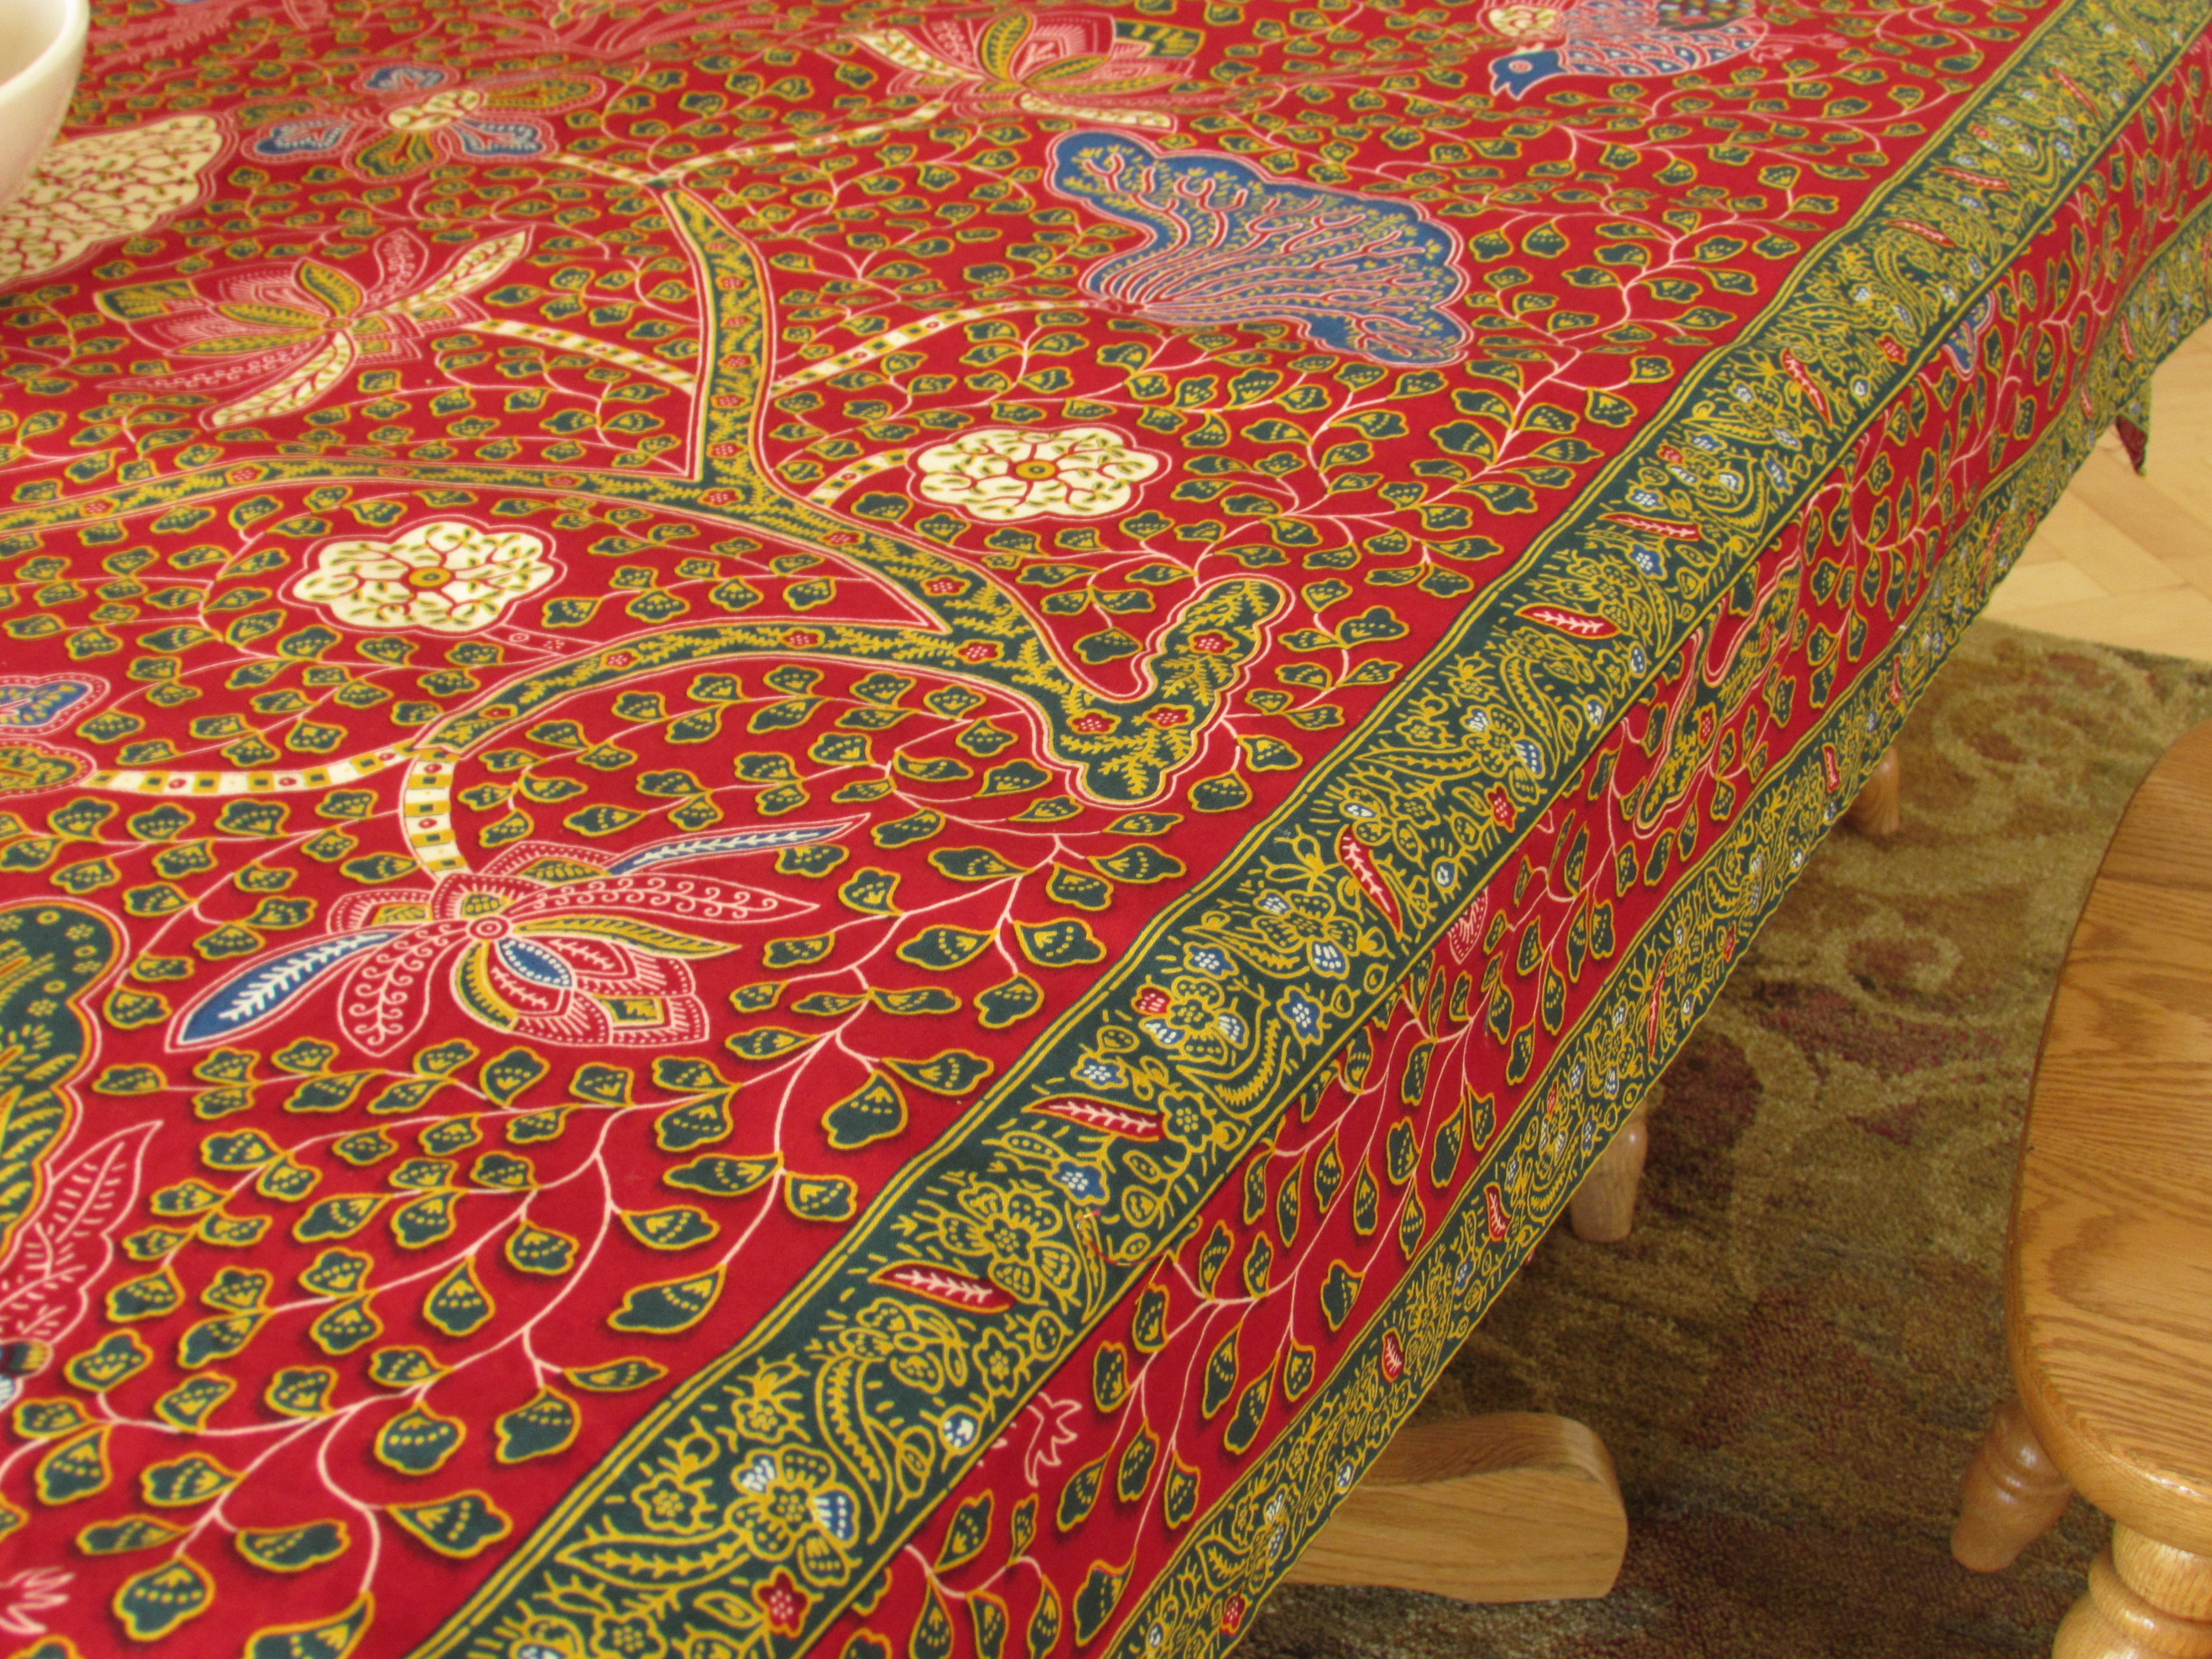
The fall of 2012 was when the quilting bug really bit. I had recently finished a queen size simple patchwork quilt for my mother-in-law. I posted that story here. When I was finishing up that quilt, I had no clue how to FMQ so I stitched in the ditch along every block. Once that was finished, I really wanted to try some free motion quilting so I took a class at my LQS to learn the basics.  Table runners seemed like the perfect opportunity to practice this newfound love. Glad for the excuse to shop, I shopped for holiday fabric so I could make table runners for my family as Christmas gifts. If you have been a reader for any length of time, you probably know I have a huge family. I made eight table runners in about a month’s time. One for each of my five sisters, one for my mom and my mother-in-law, and one for myself.

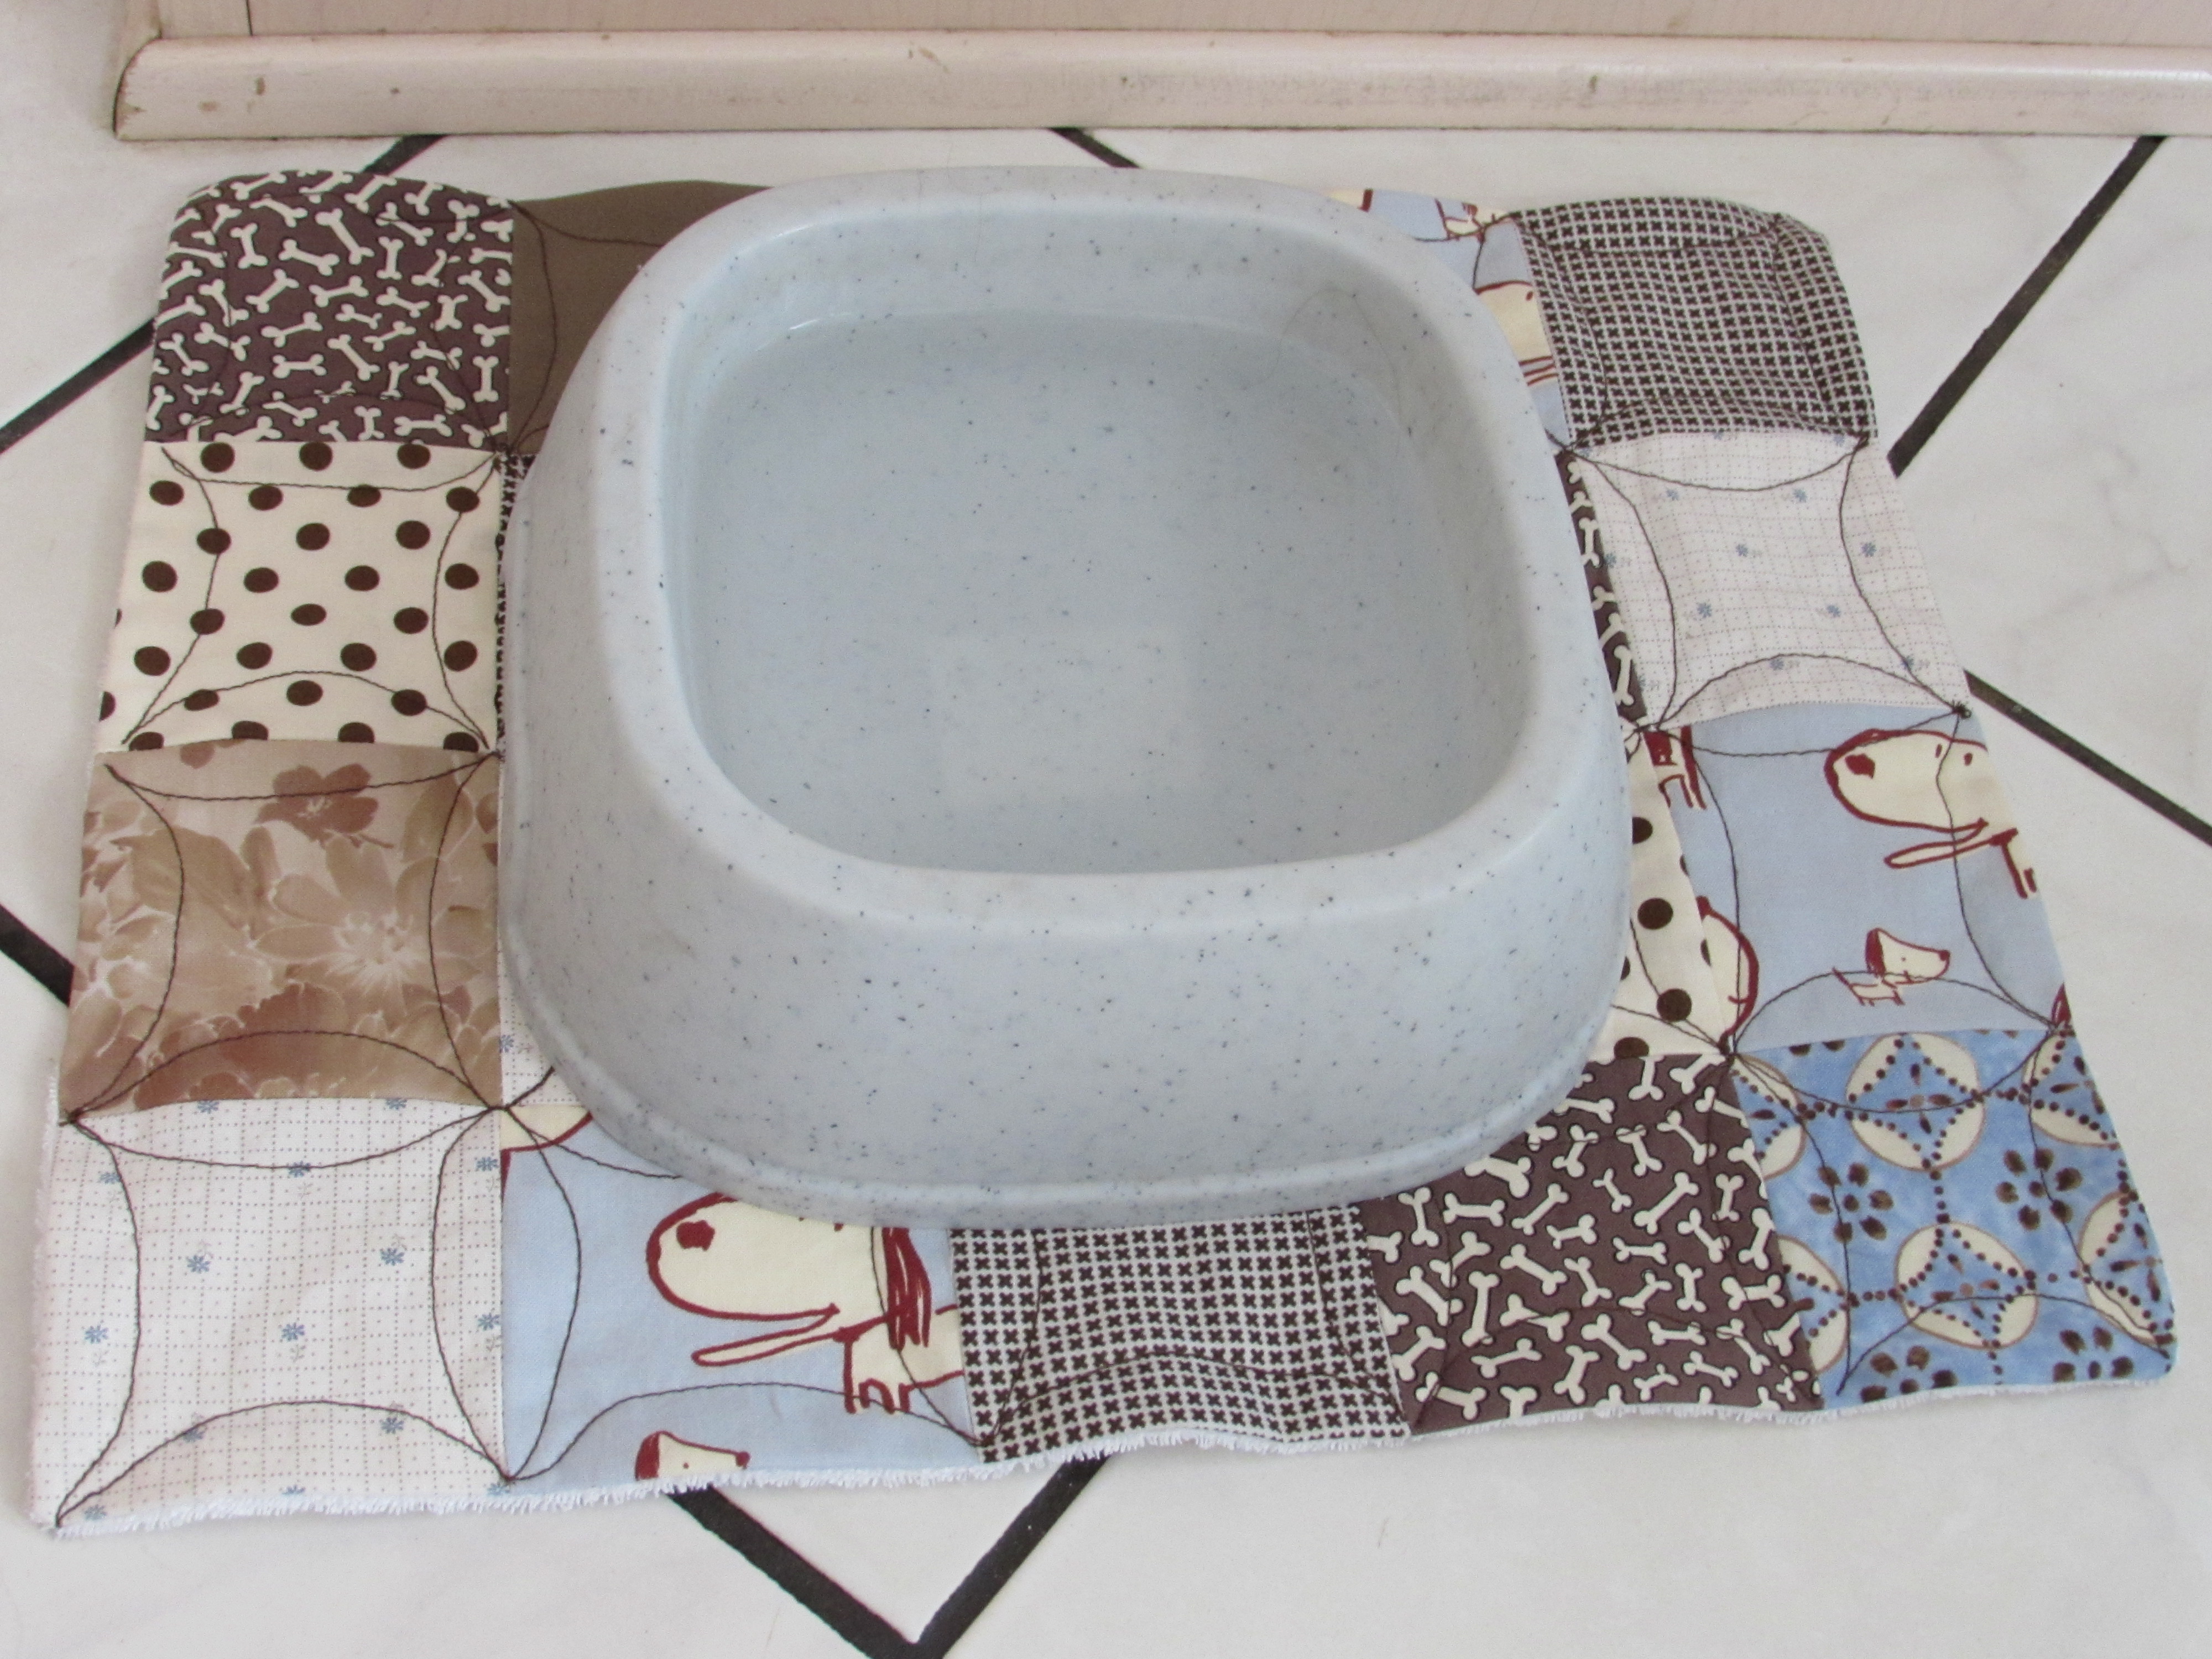
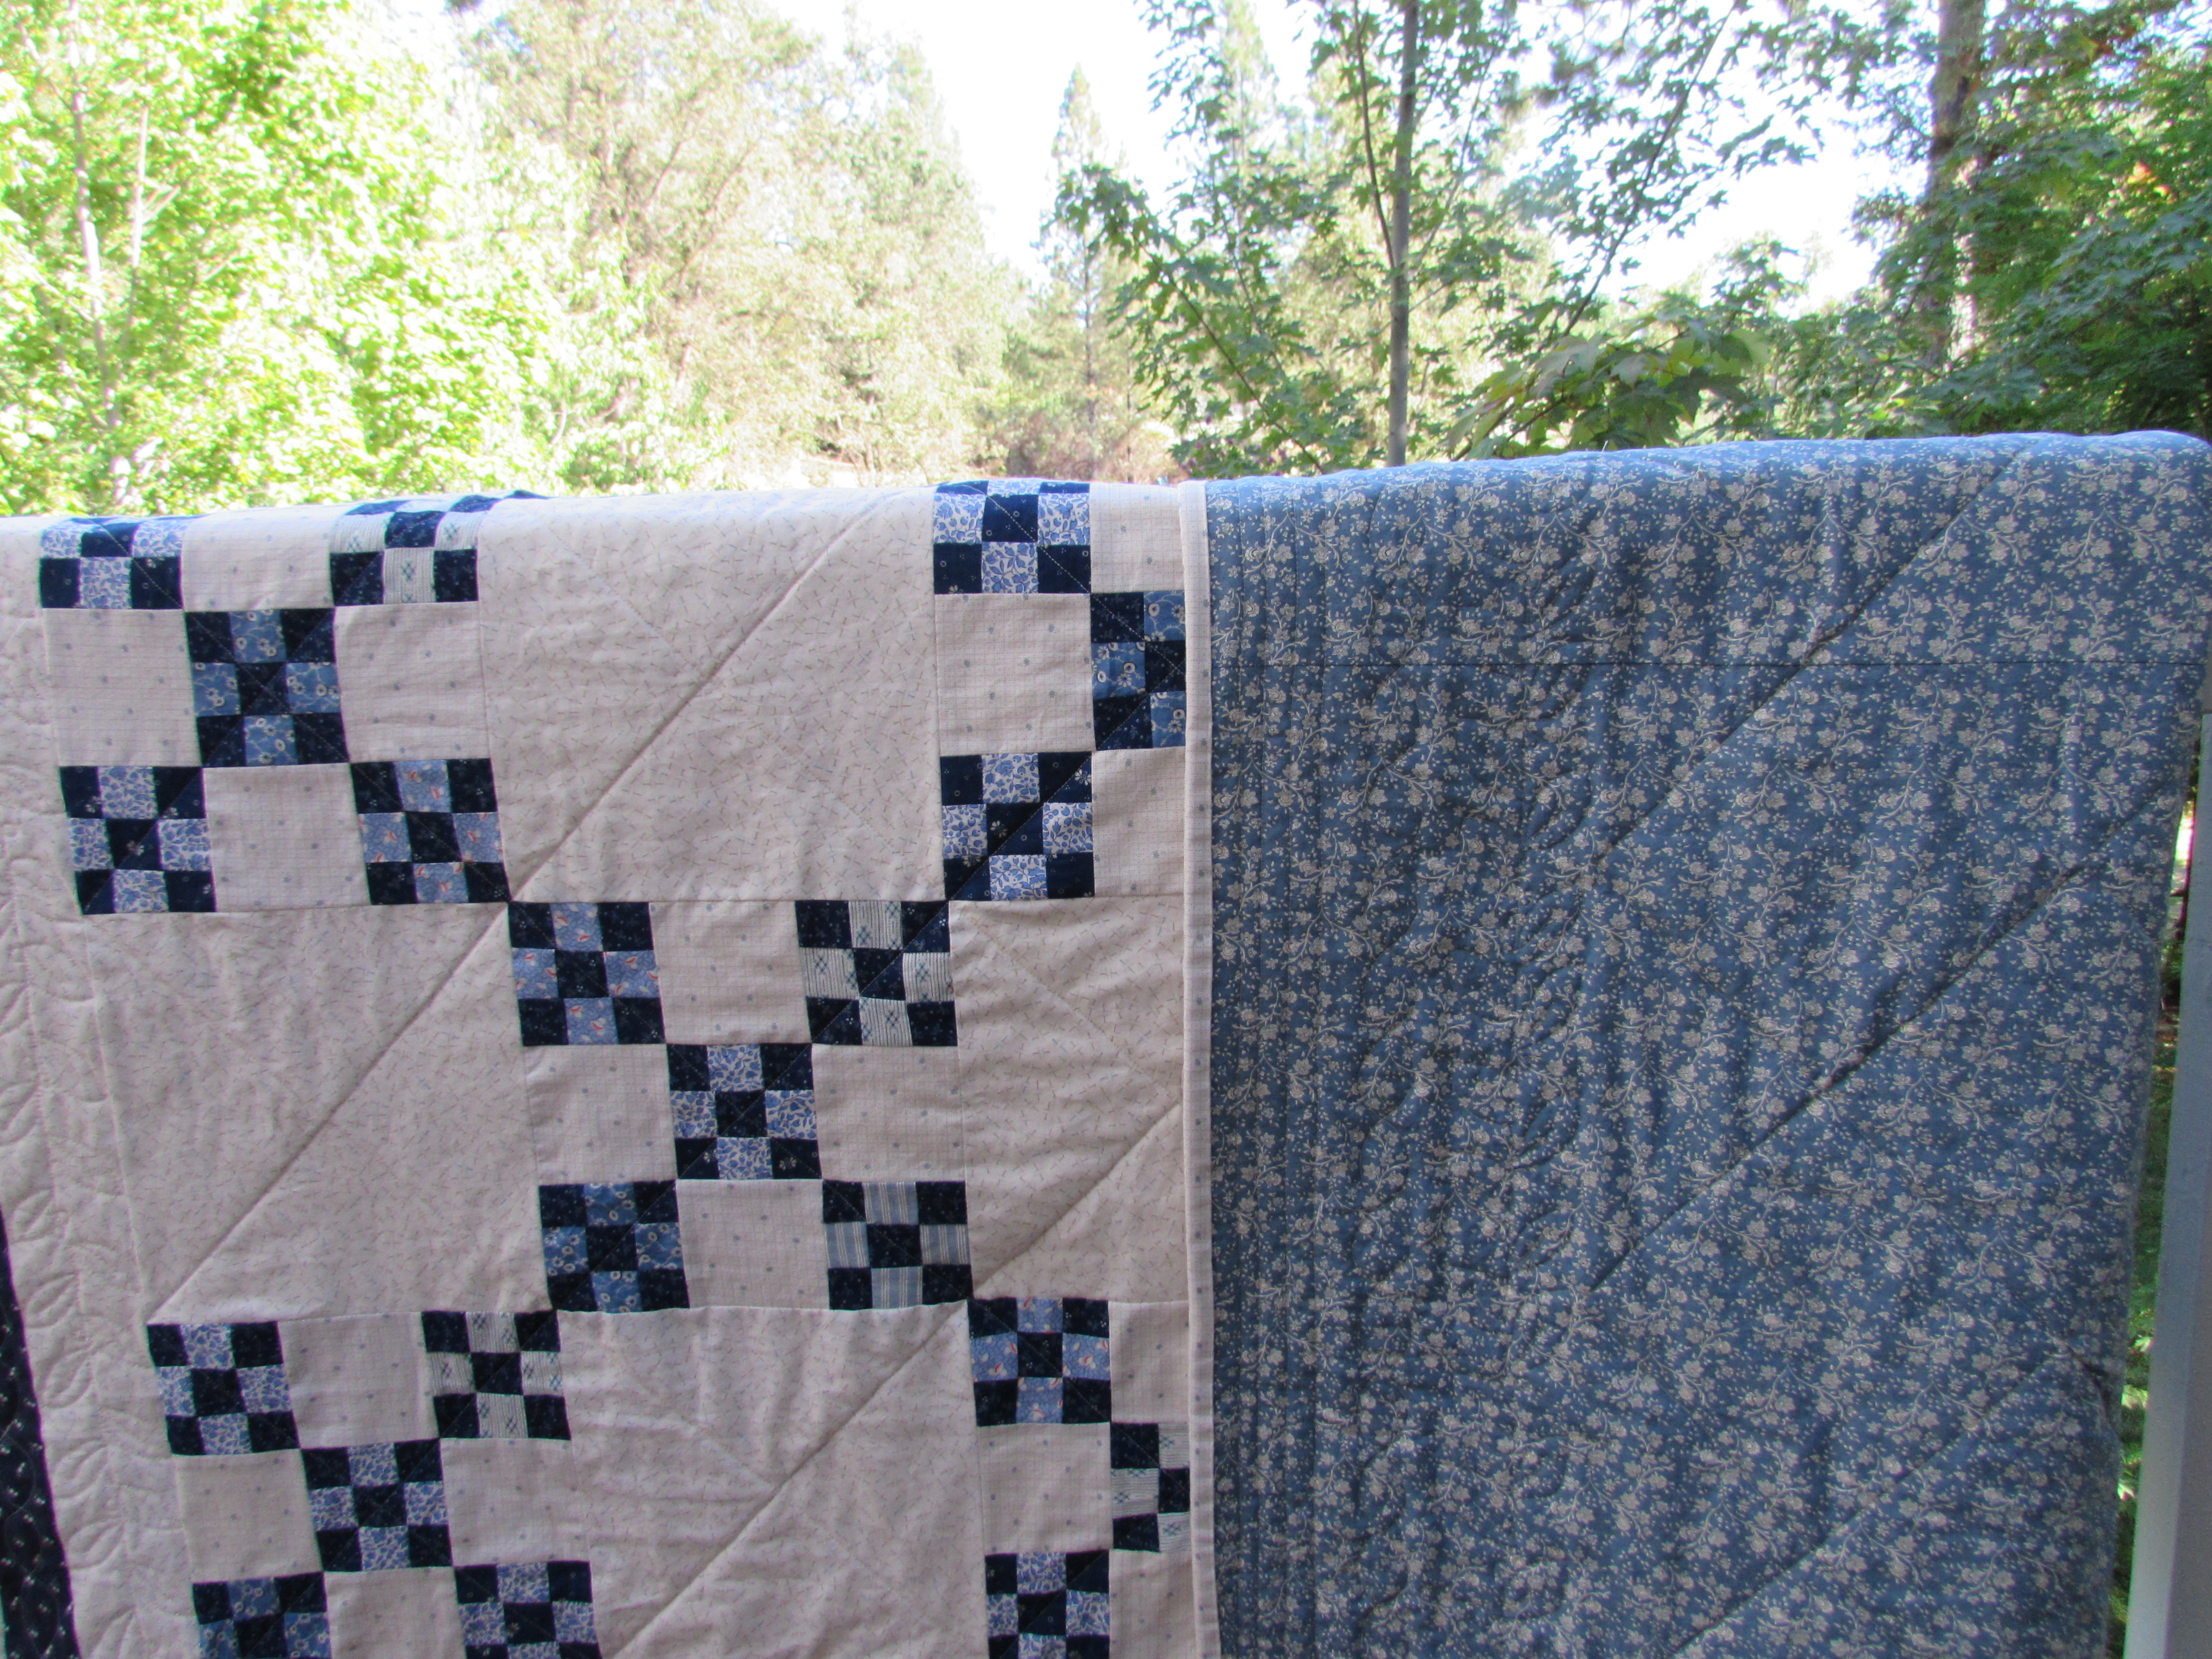
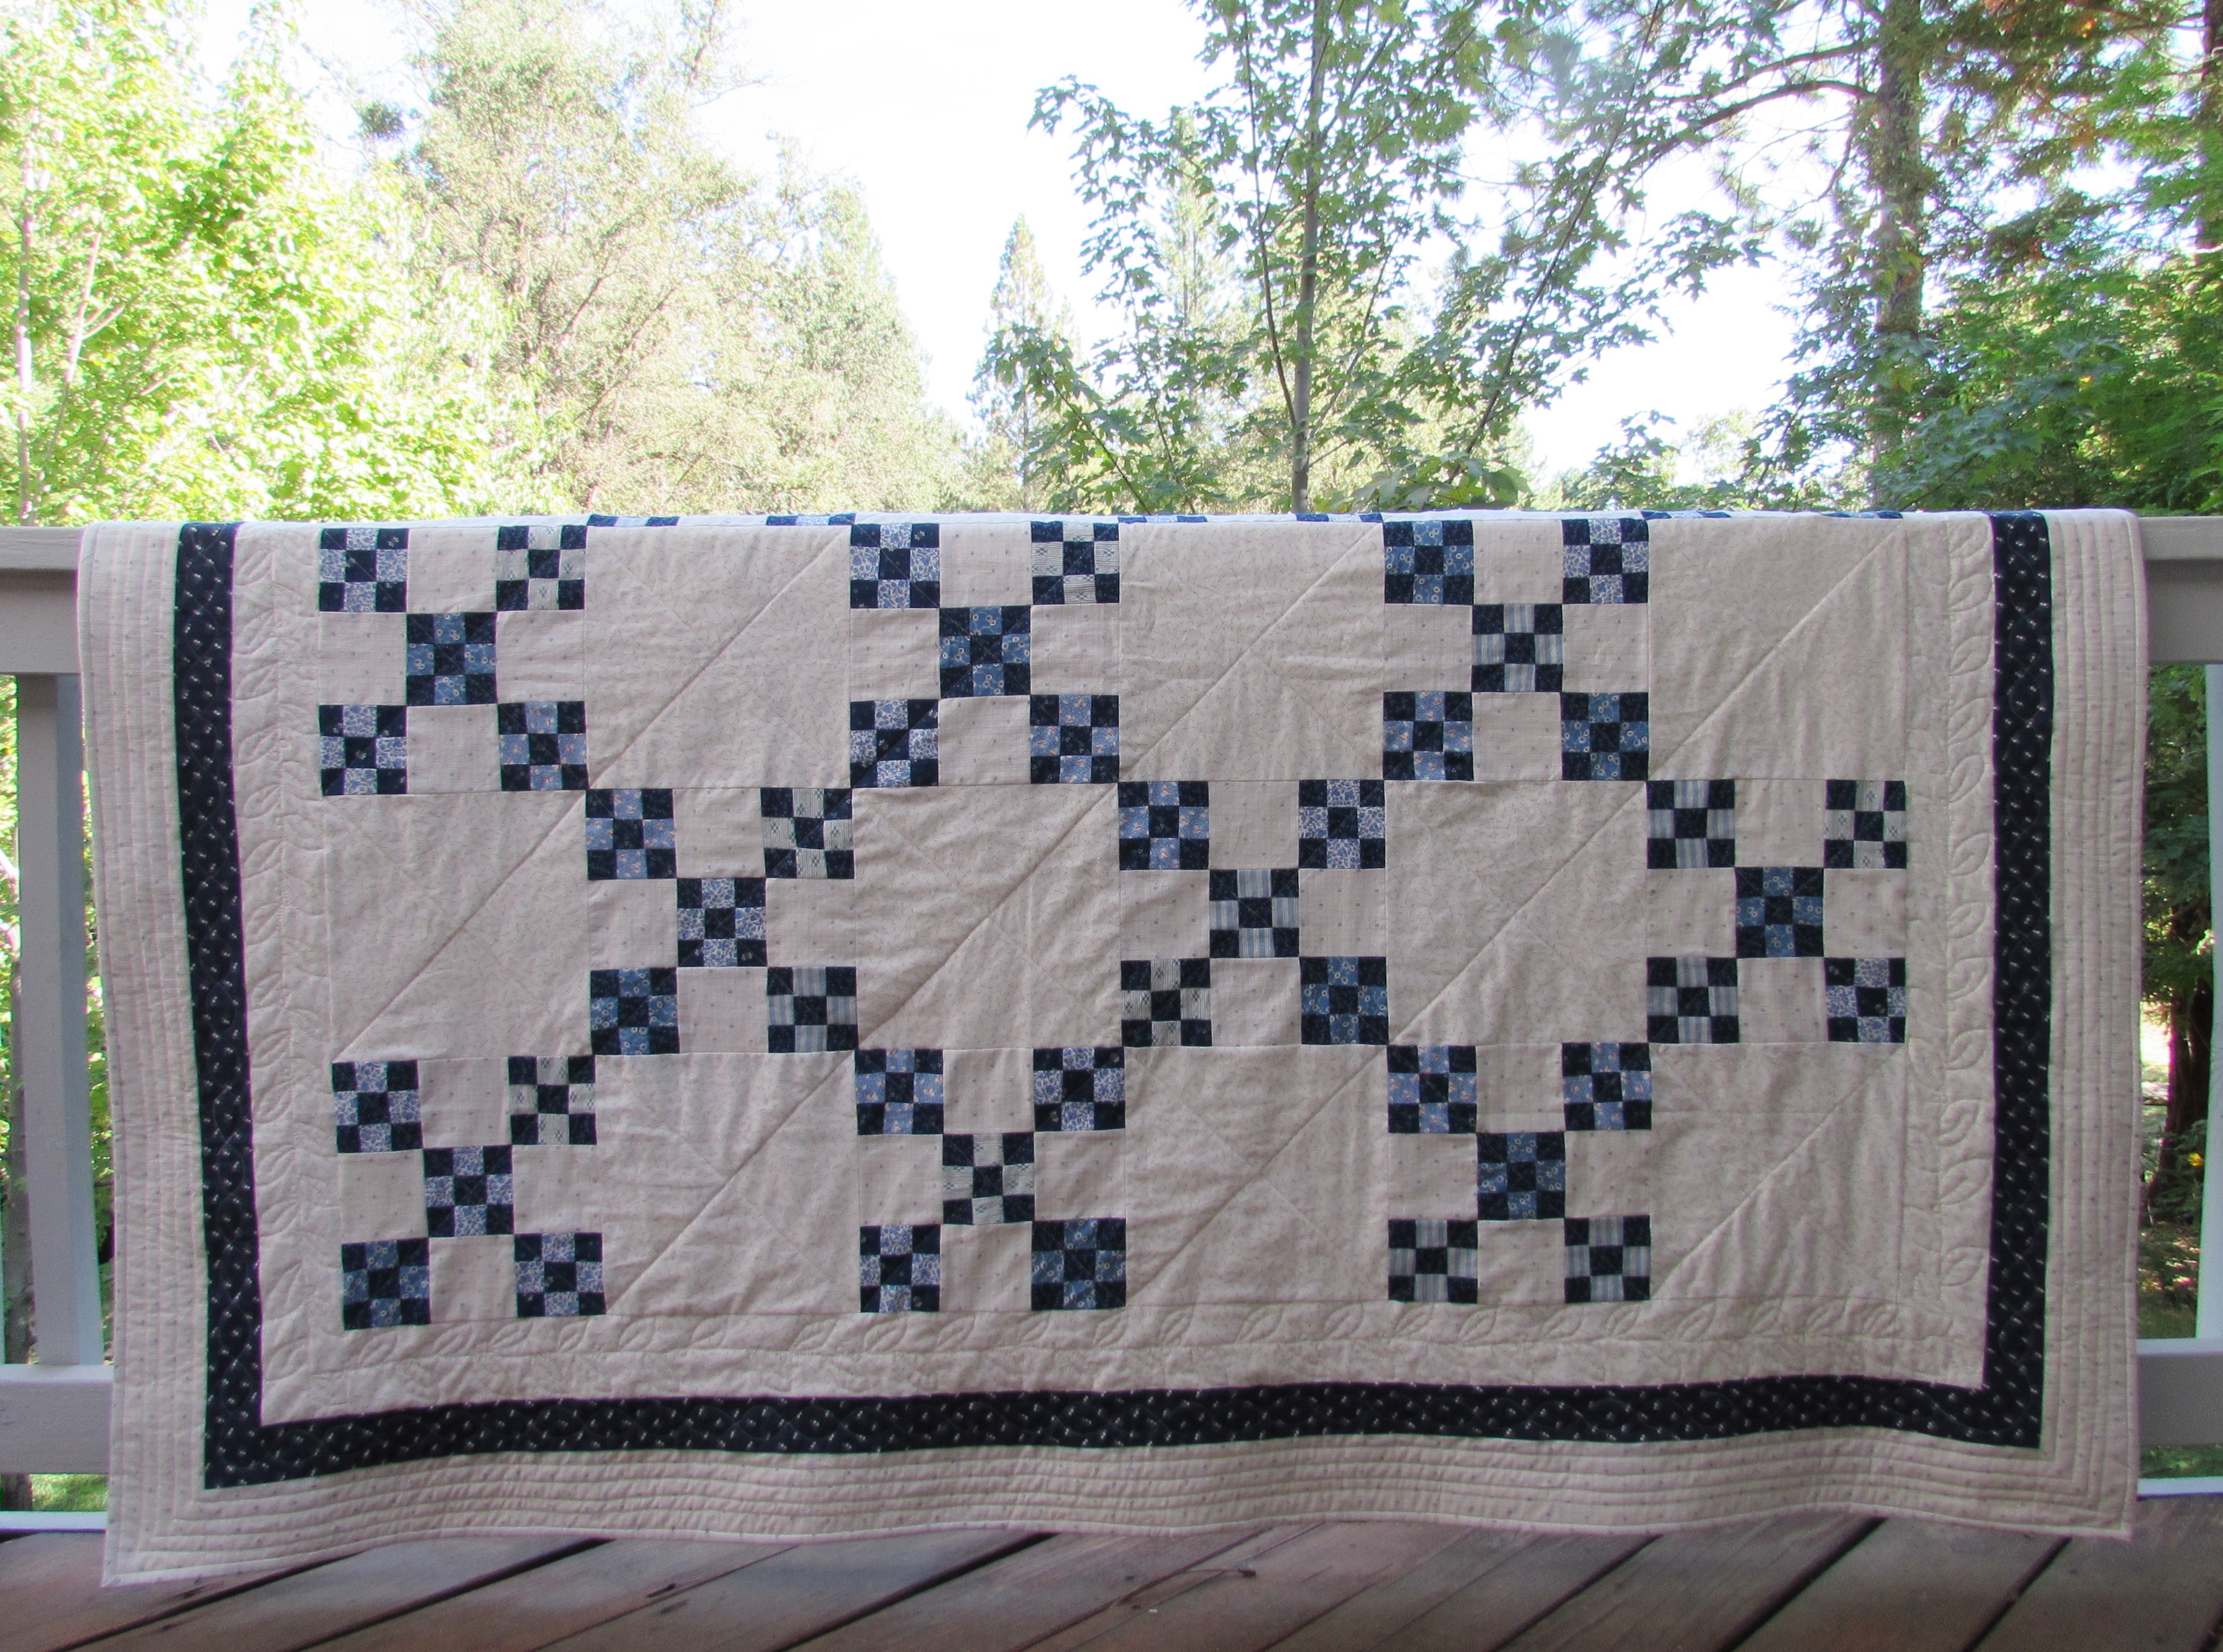
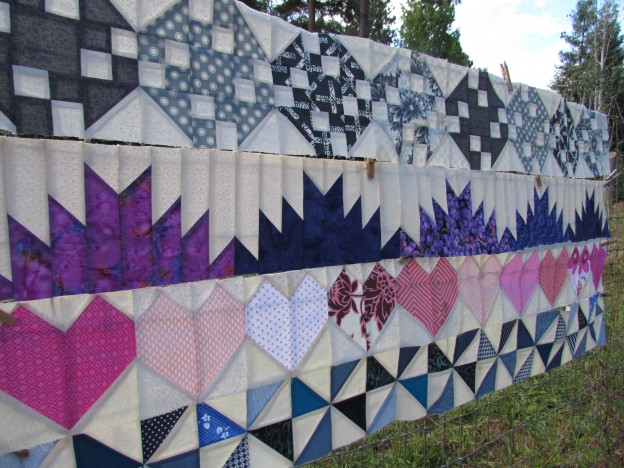
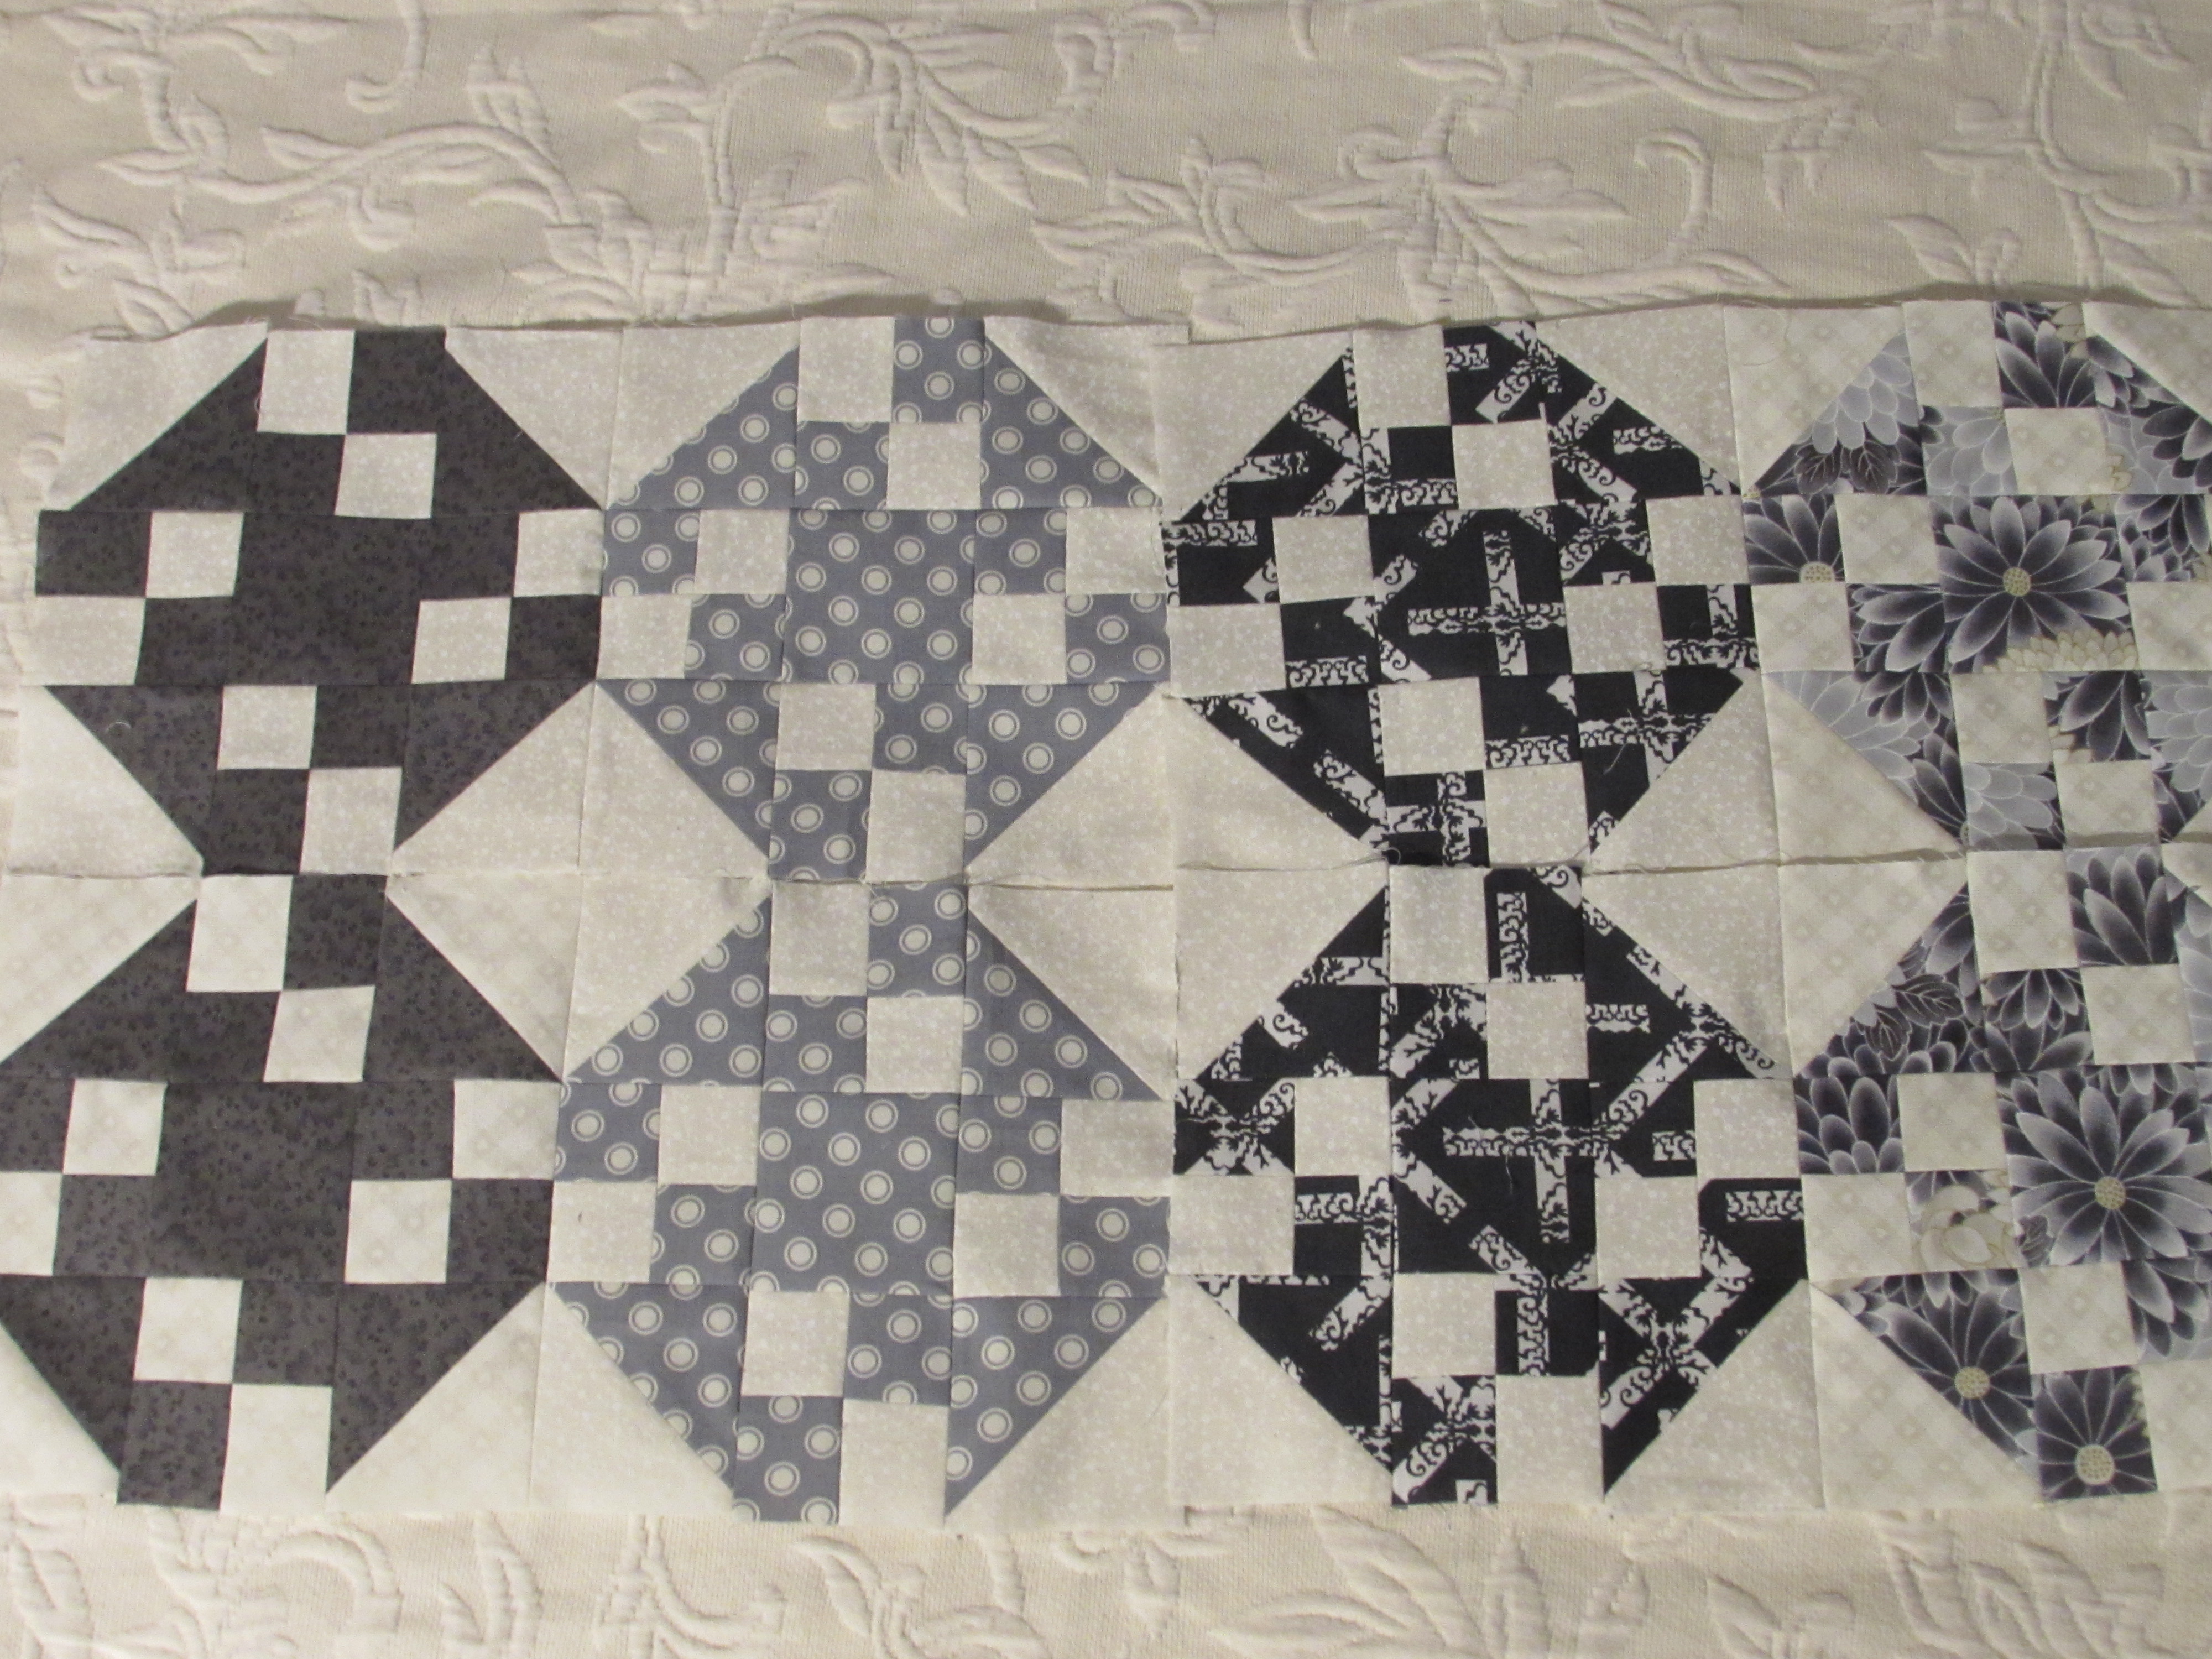
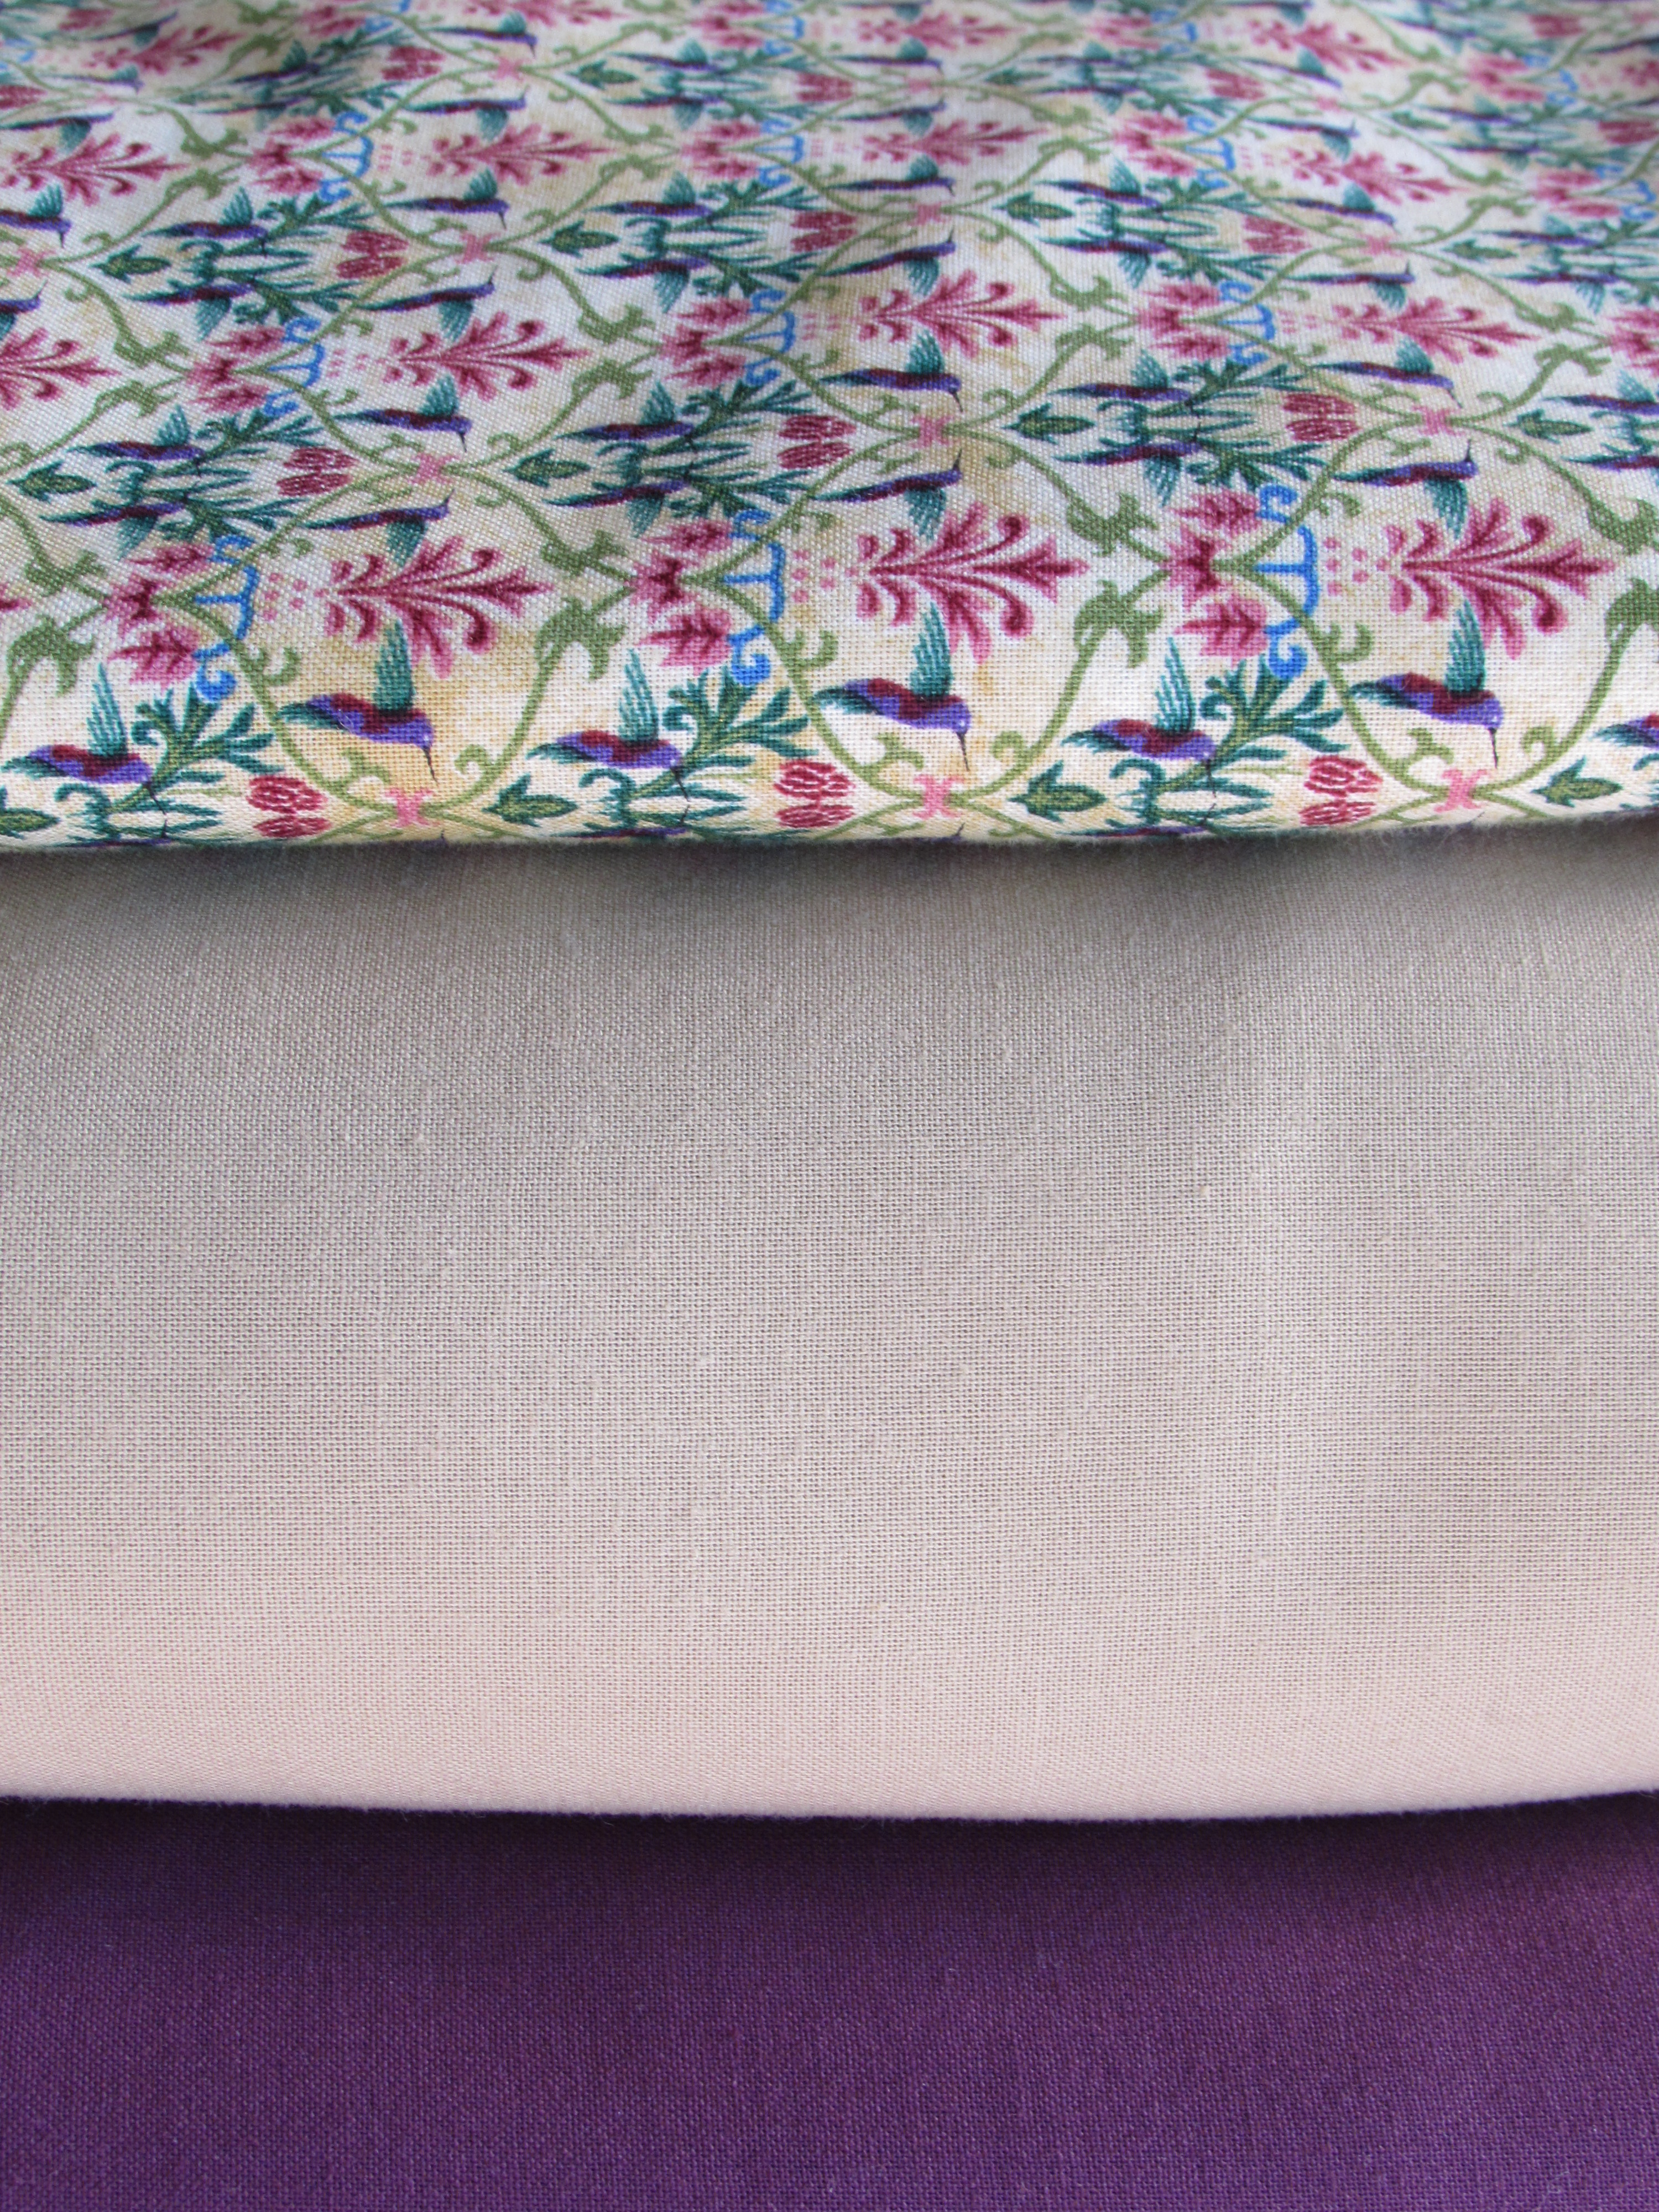
This was long before I started blogging and I am happy I thought to take a quick picture of some of them before giving them away.  Definitely last minute pictures. I remember I was about to wrap them and get them in the mail and I tossed them over the back of the couch and took a picture with my phone. (Hence the superb quality of the pictures!) Here are three of the runners.

image

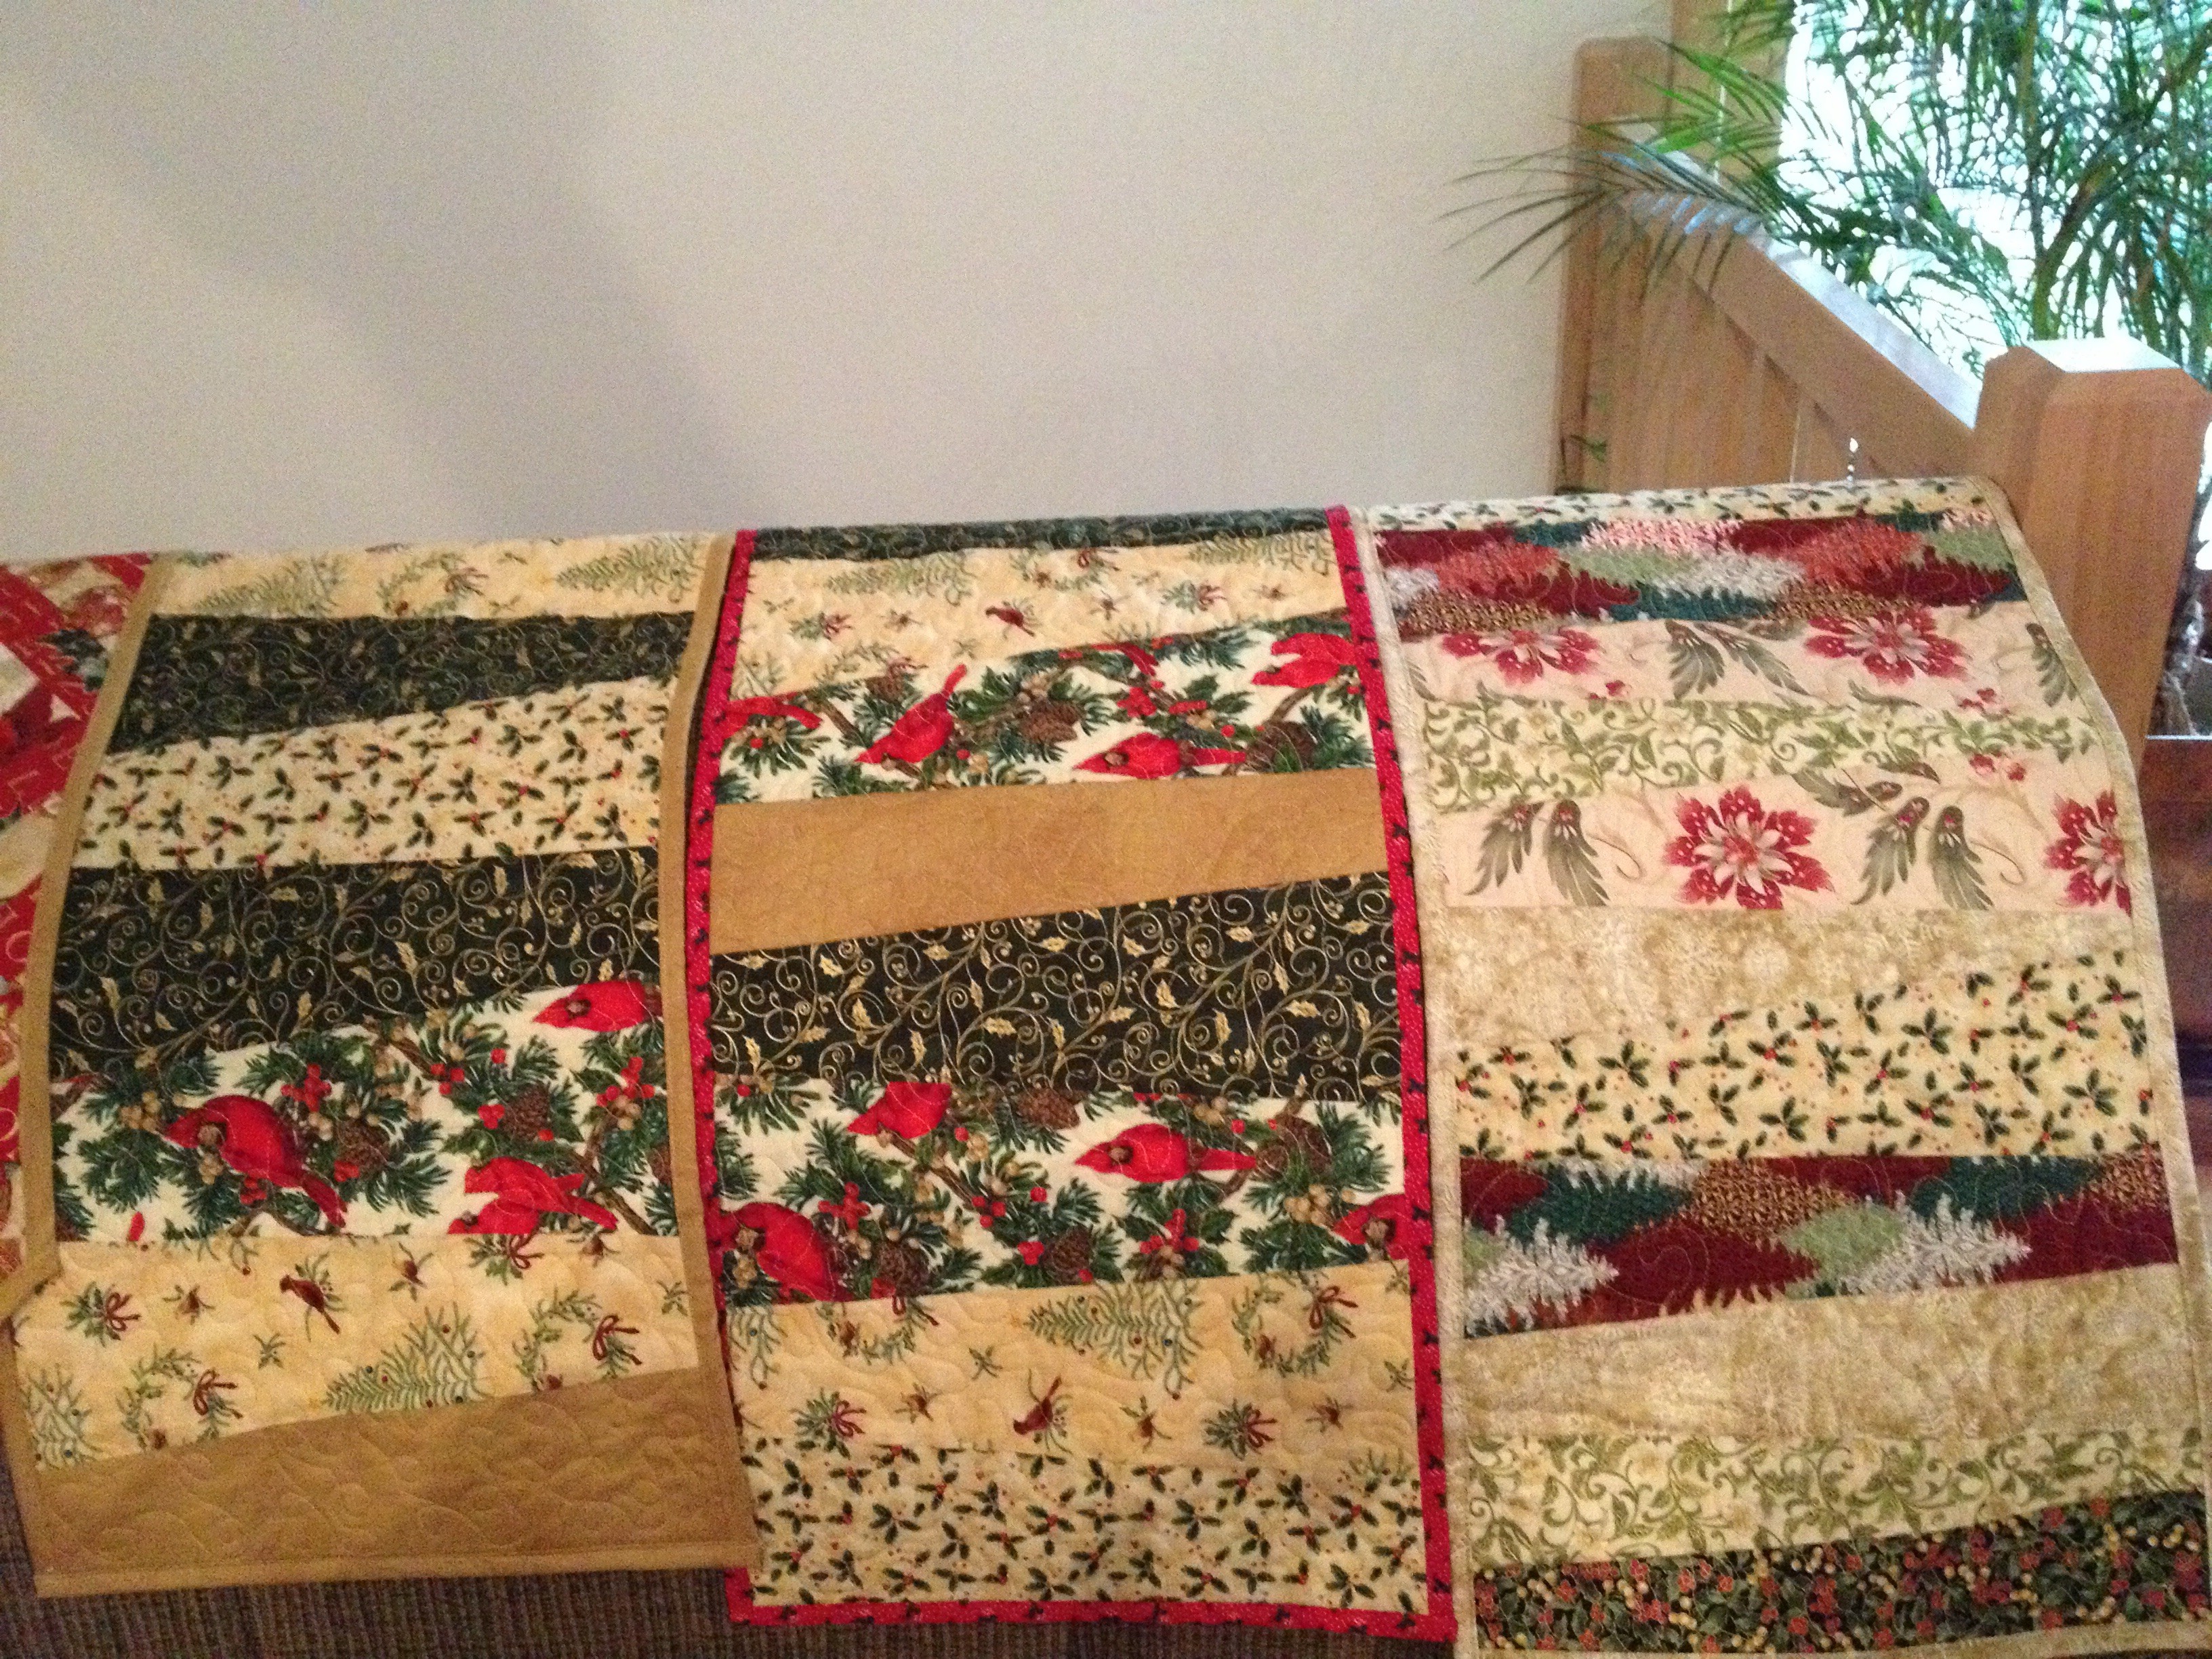
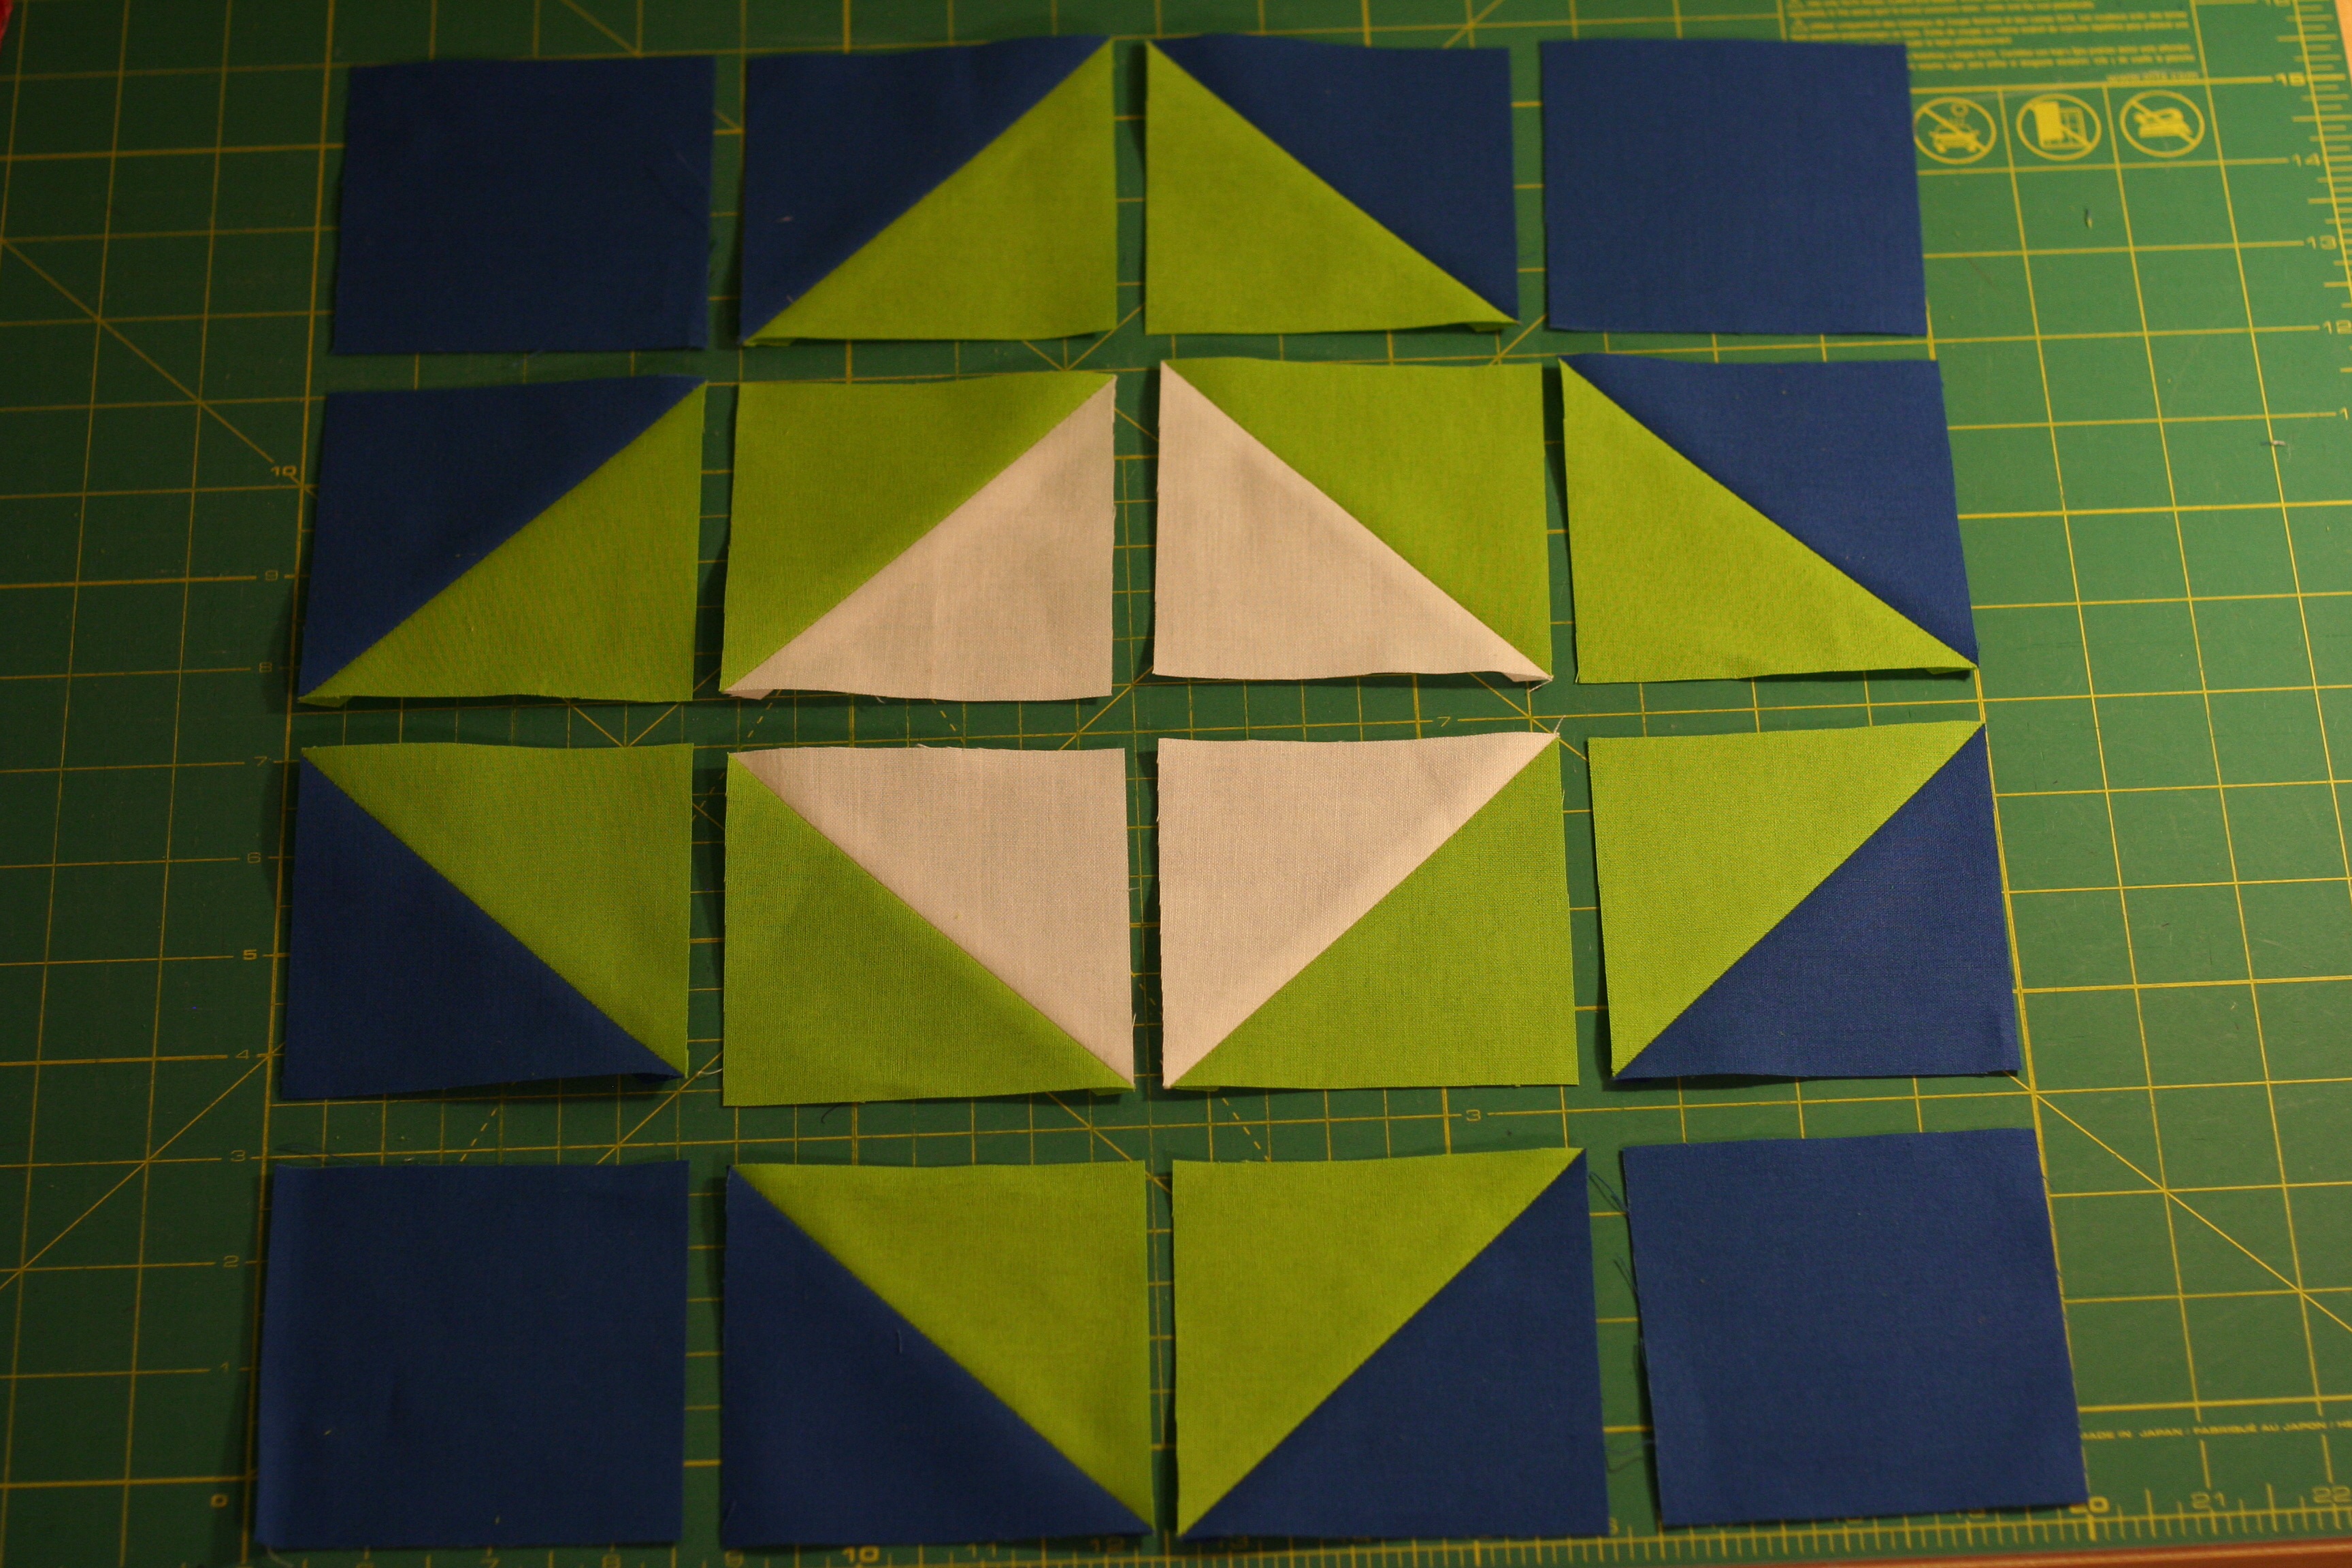
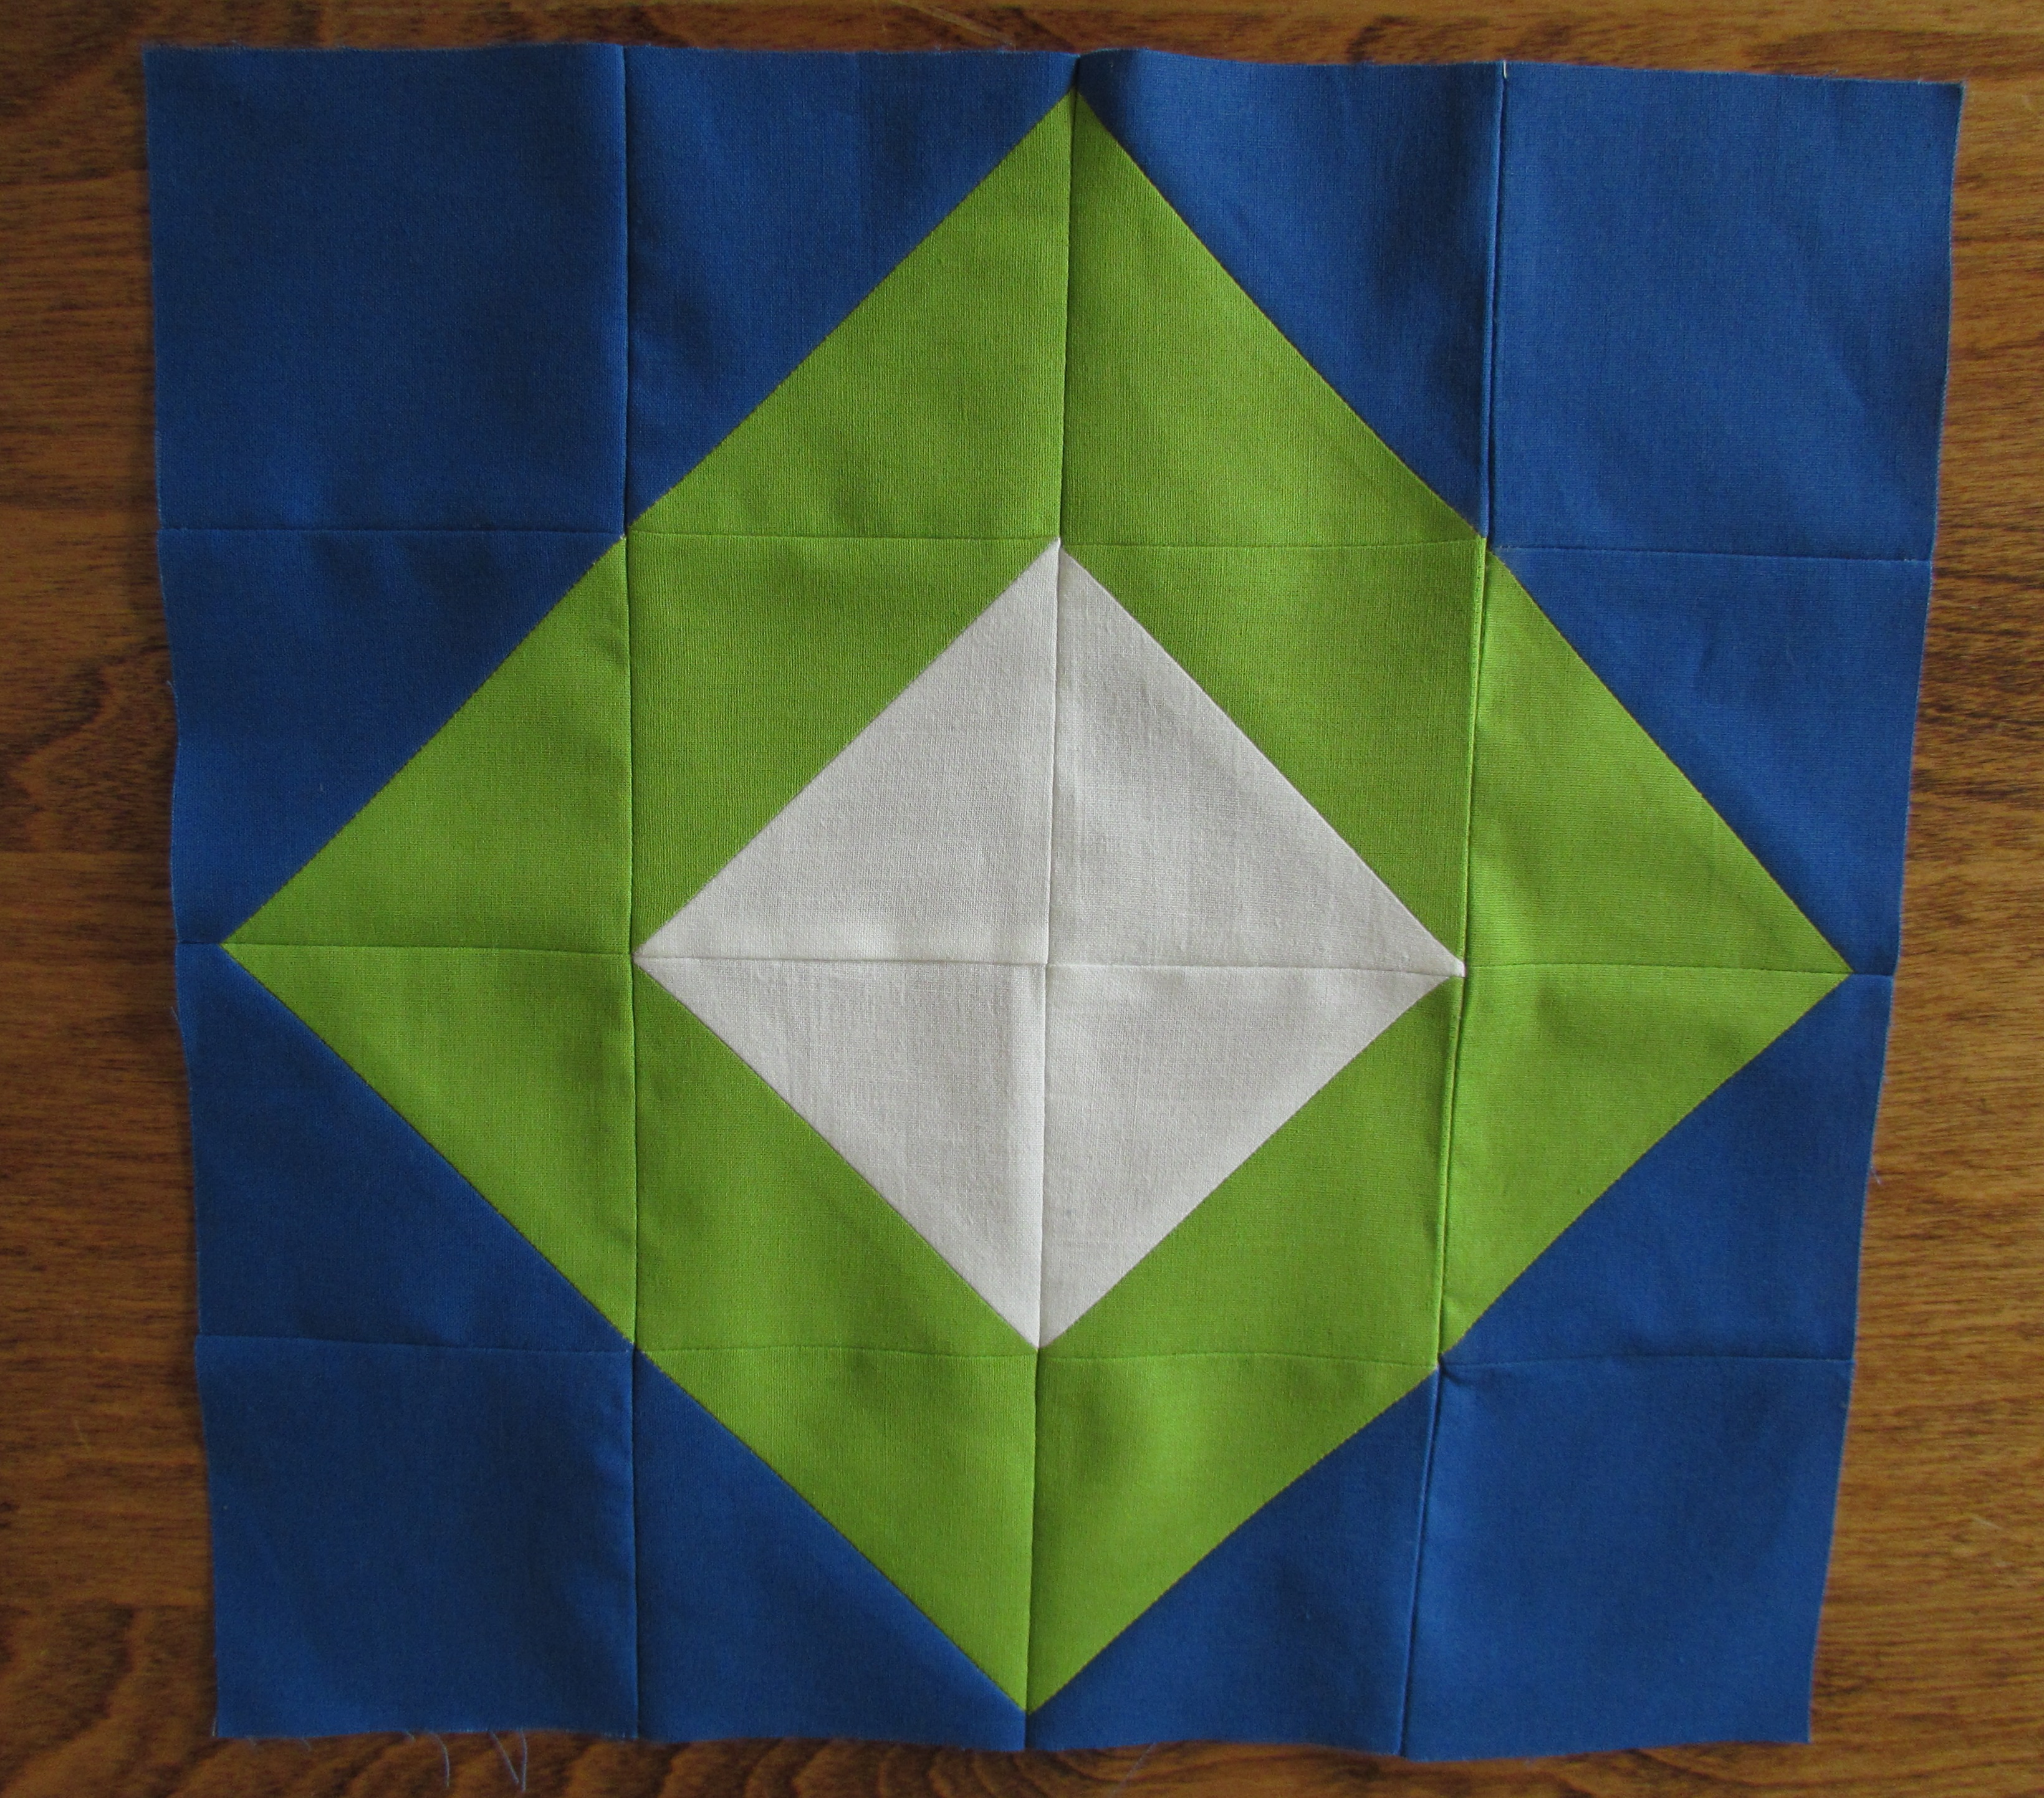
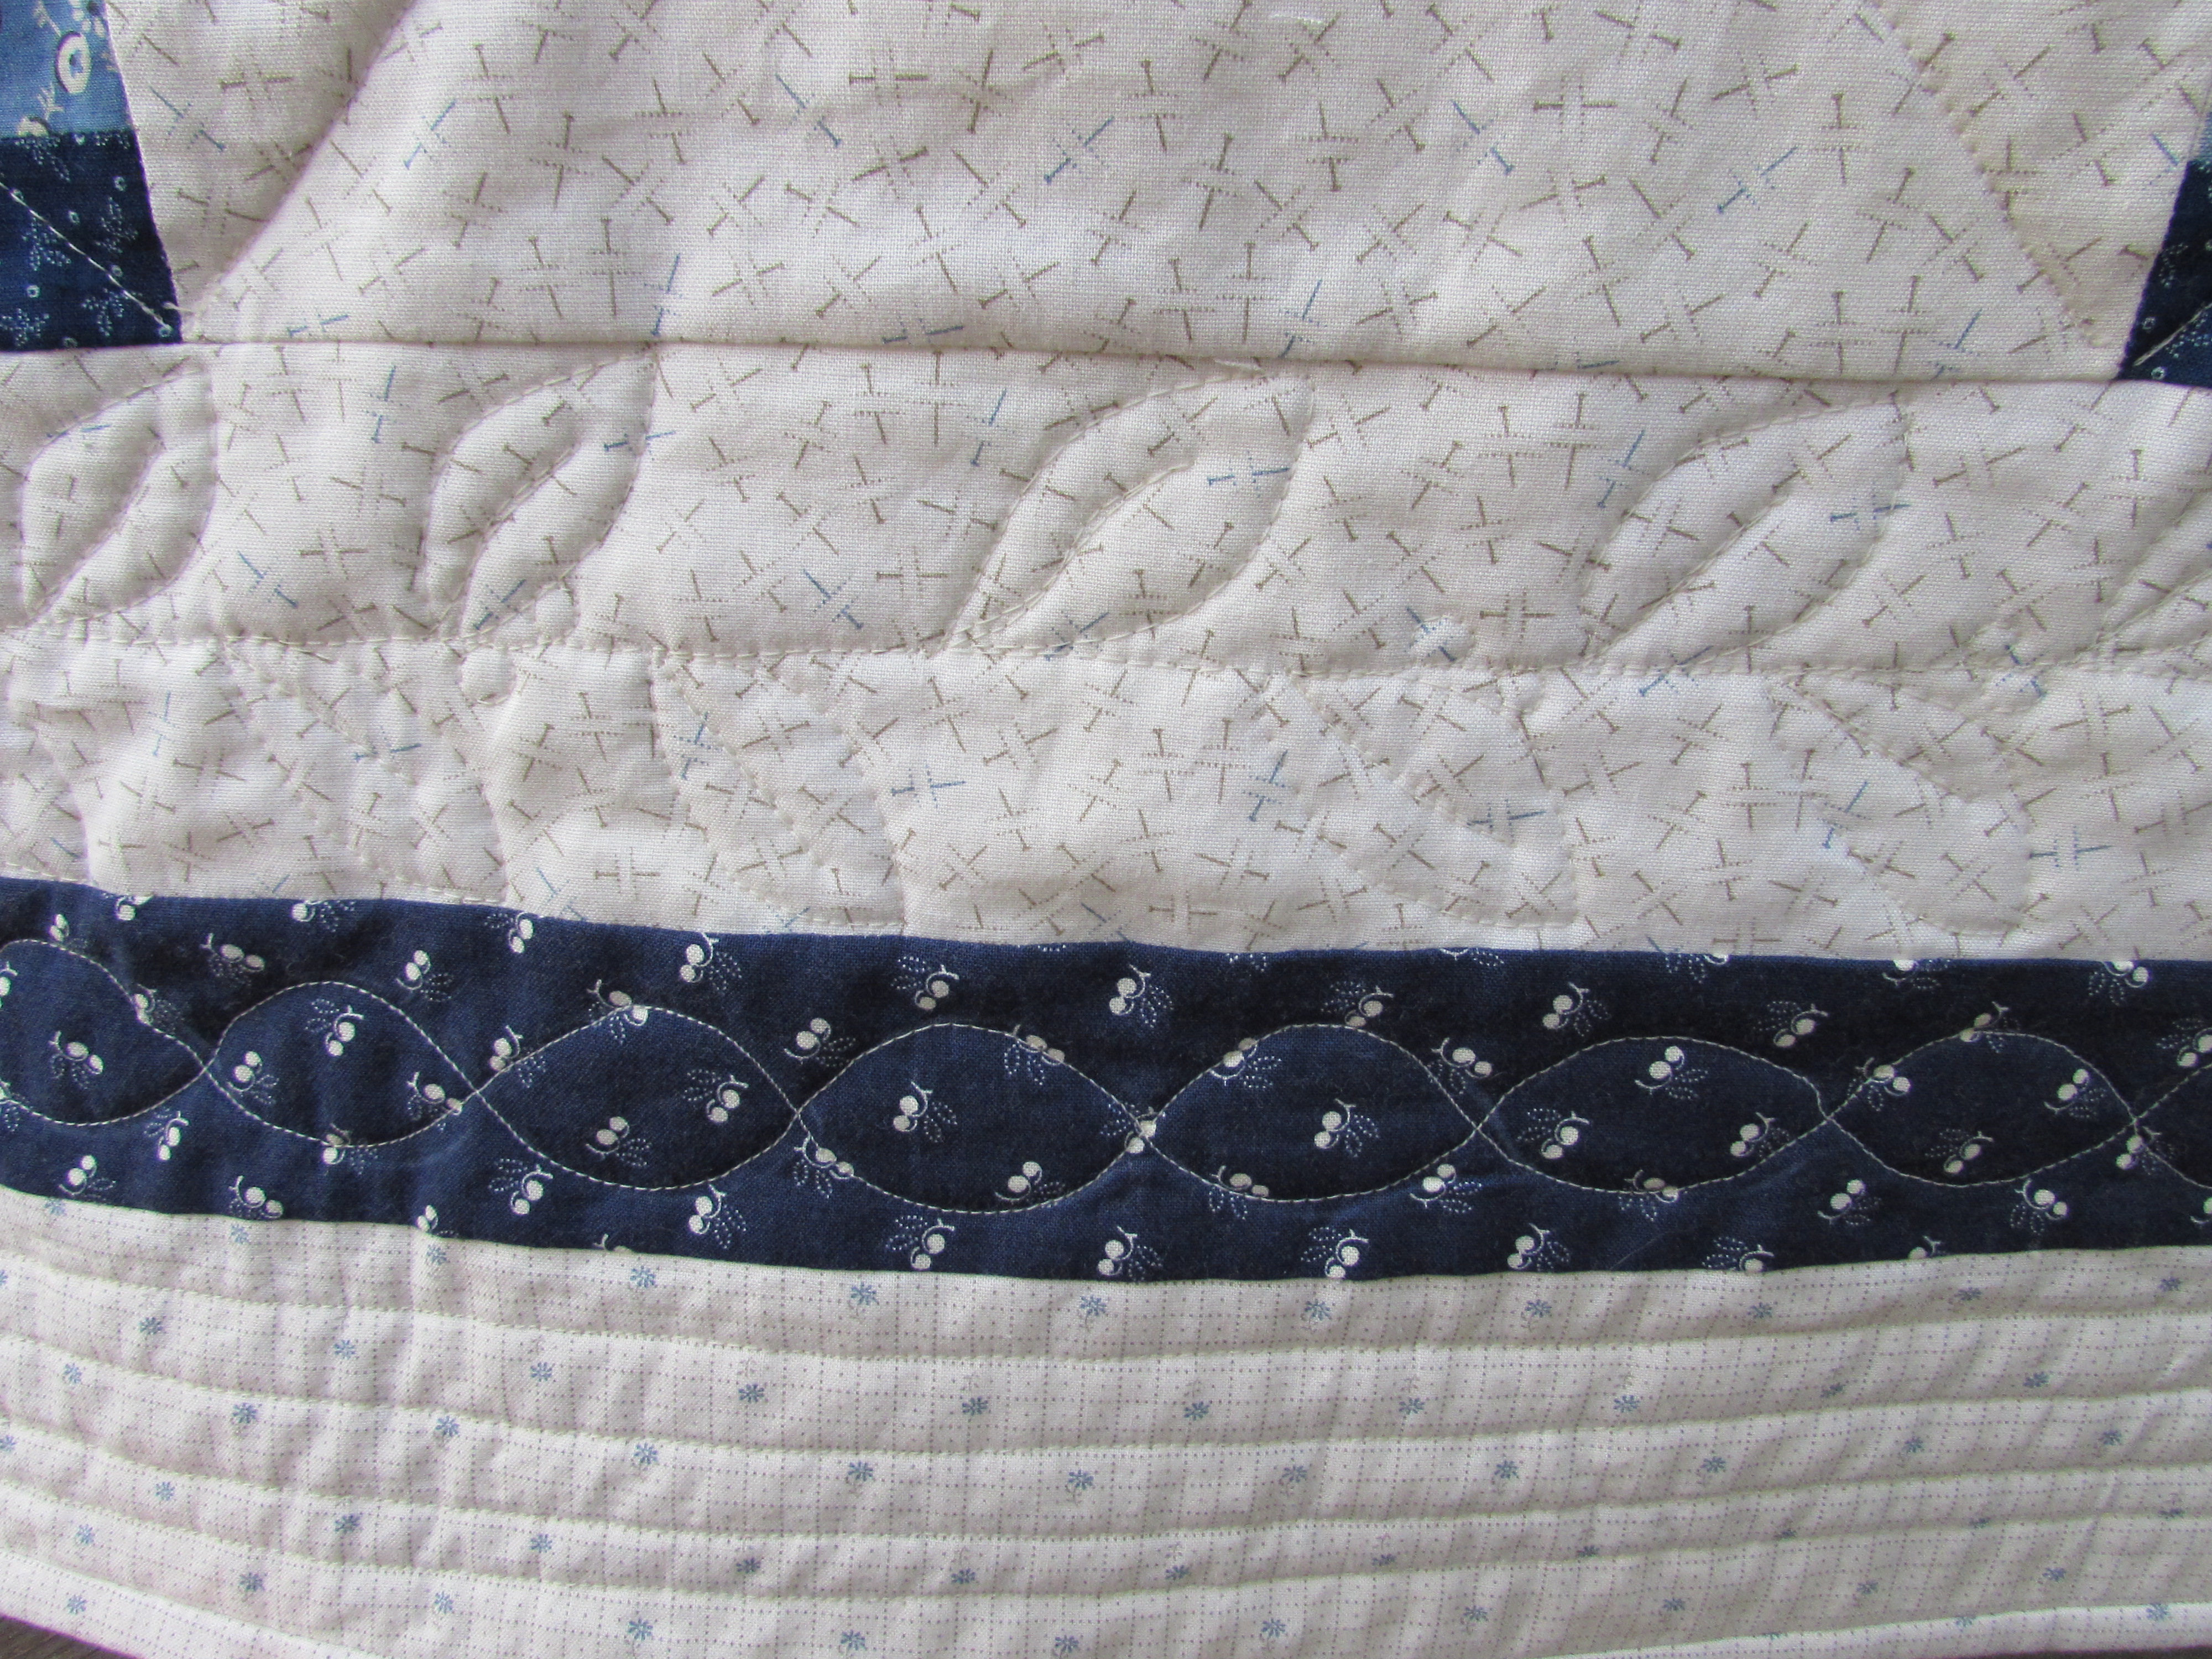
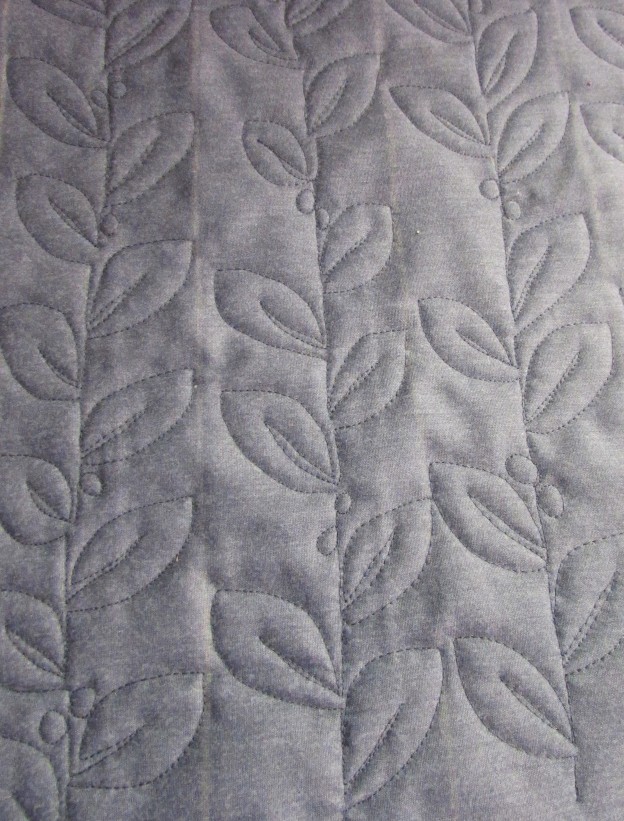
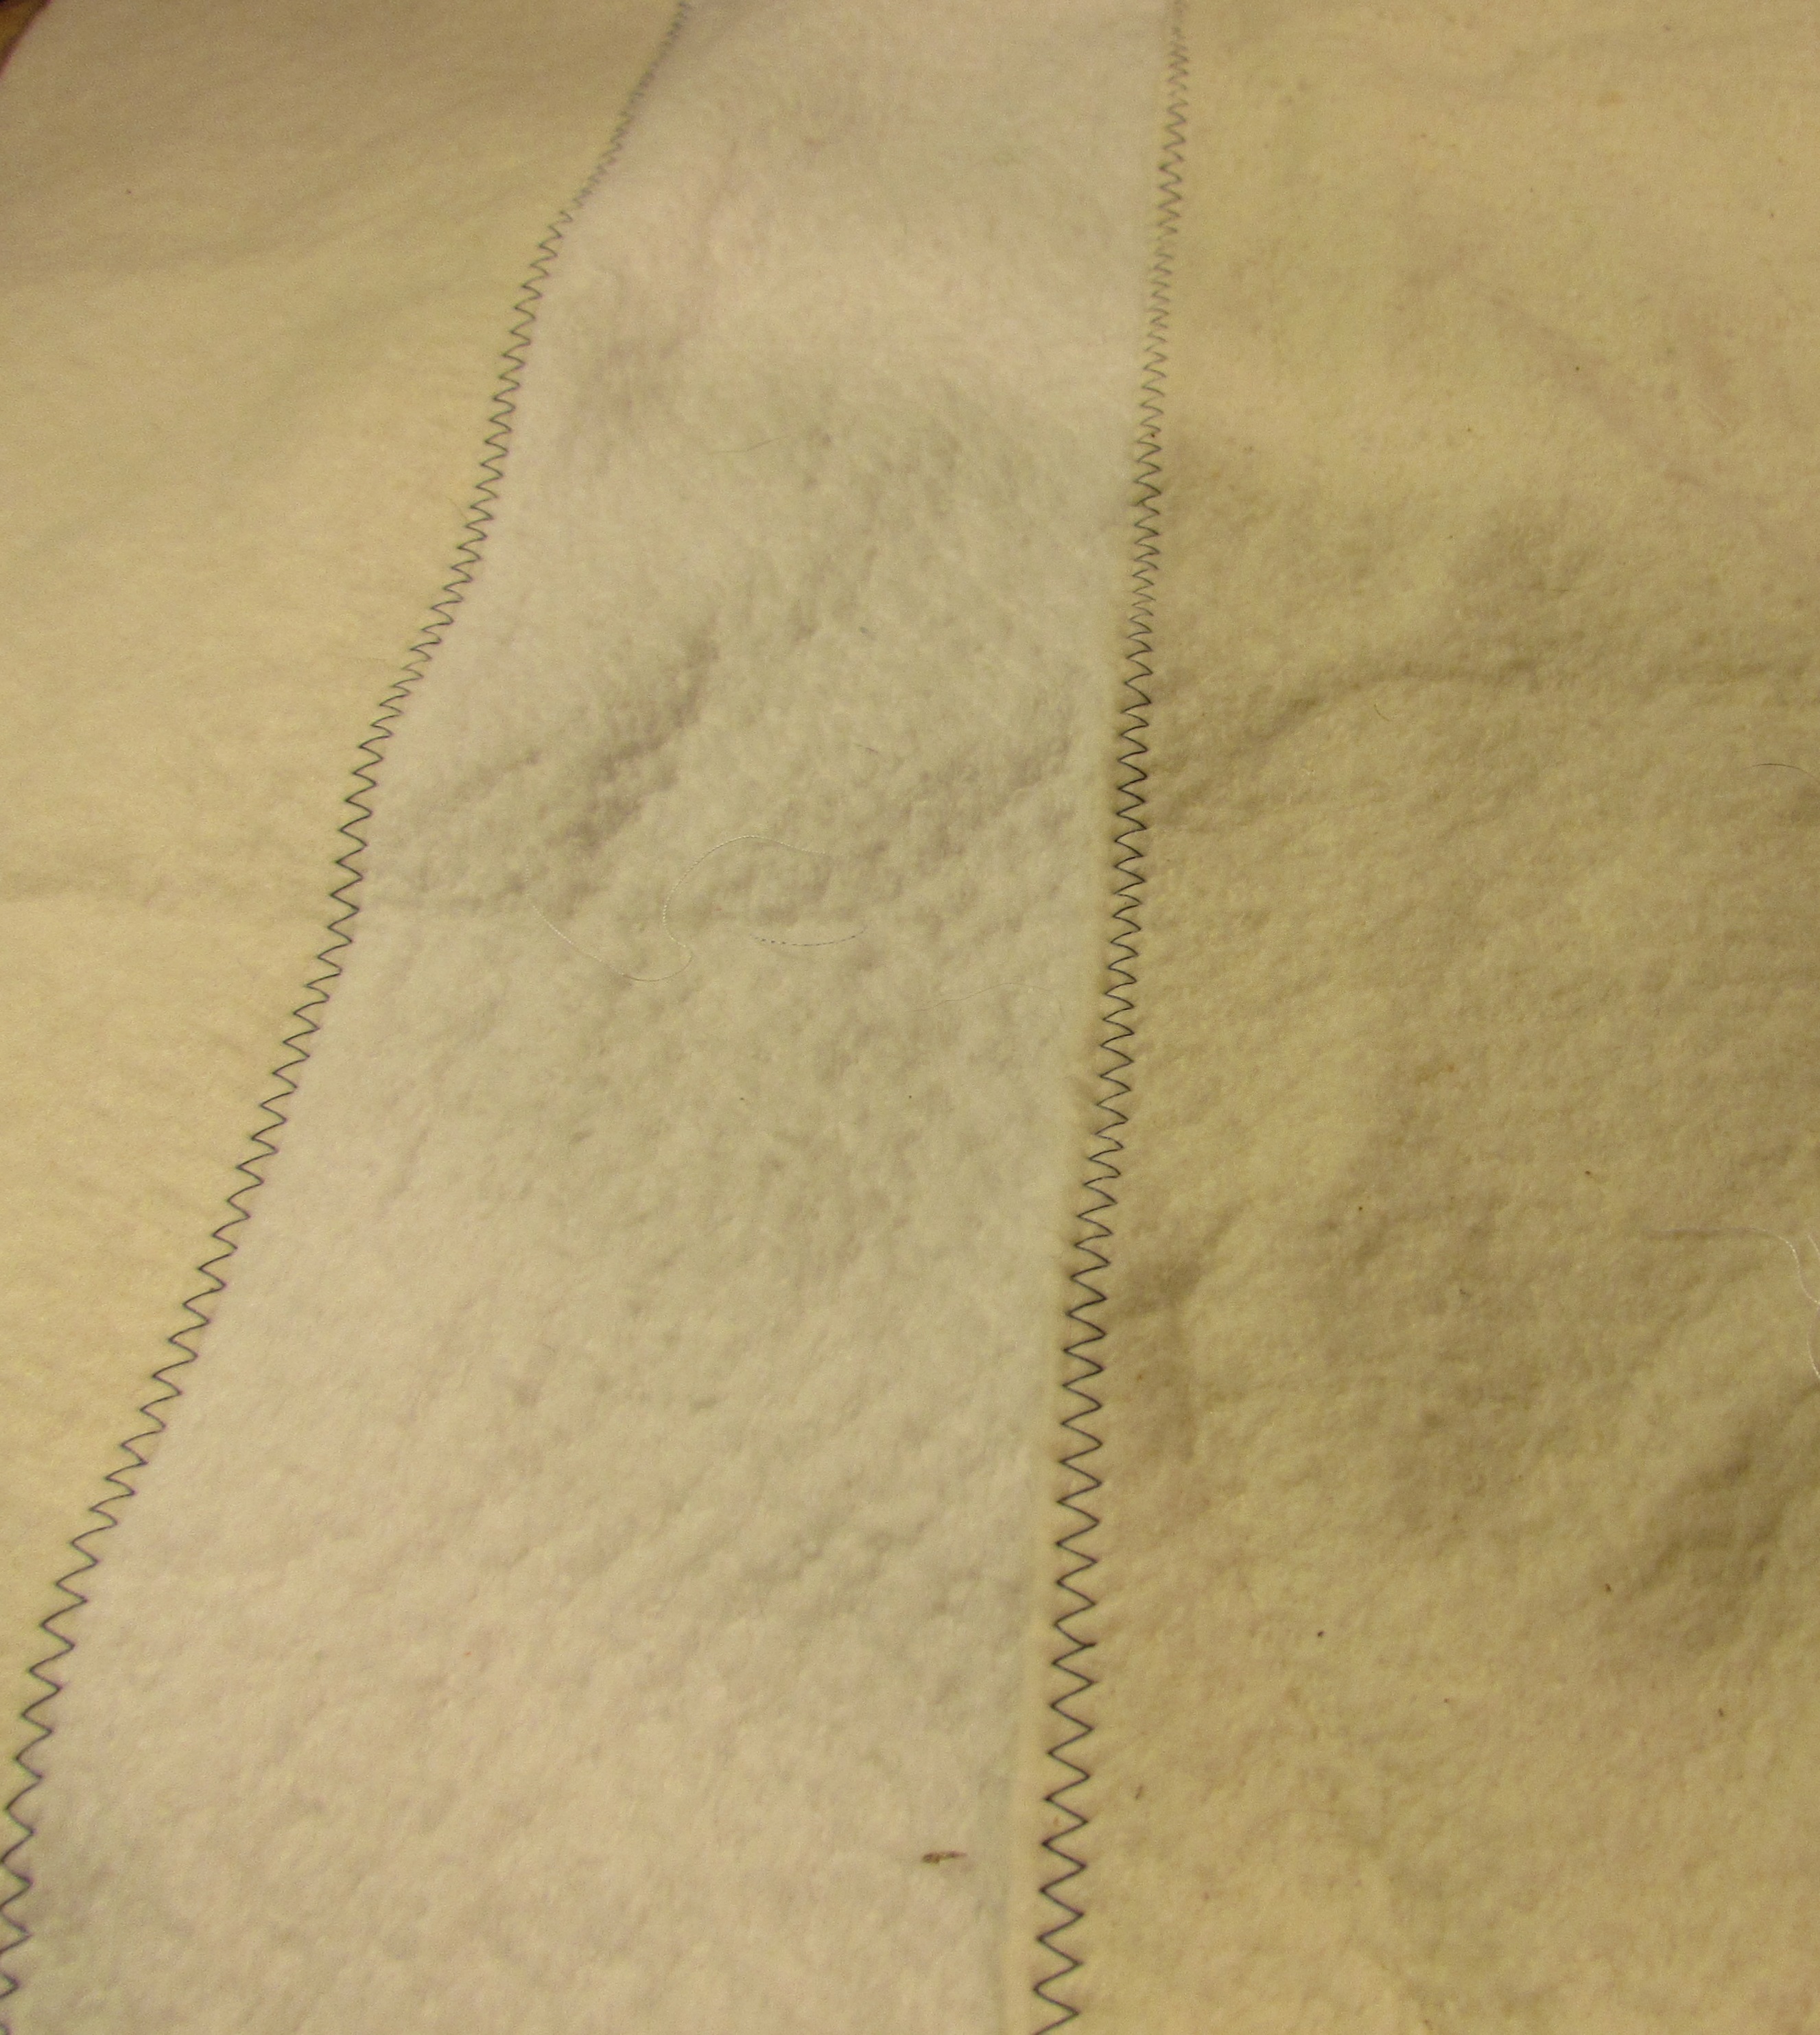
I did a basic, squiggly meander over the entire runner. Mitred bindings were not yet in my wheelhouse so the corners were just folded over and stitched (machine stitched to the front and hand stitched to the back? Maybe, maybe not….)

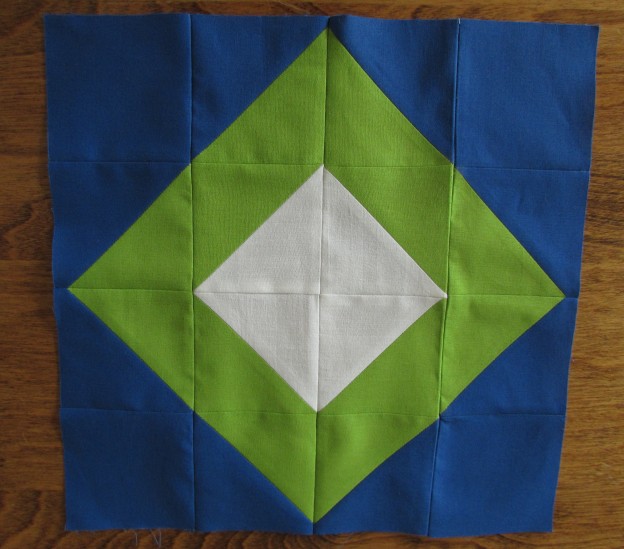
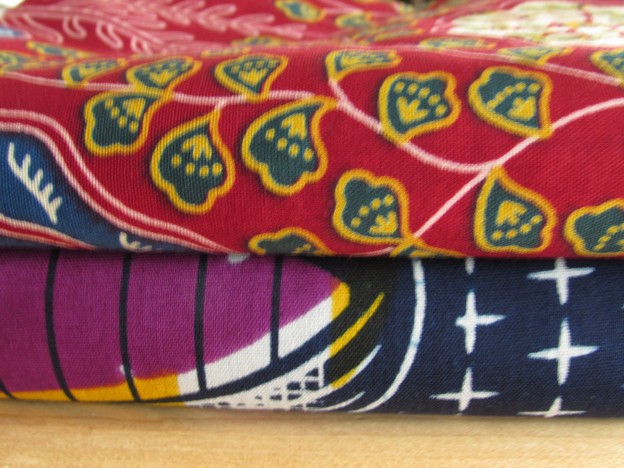
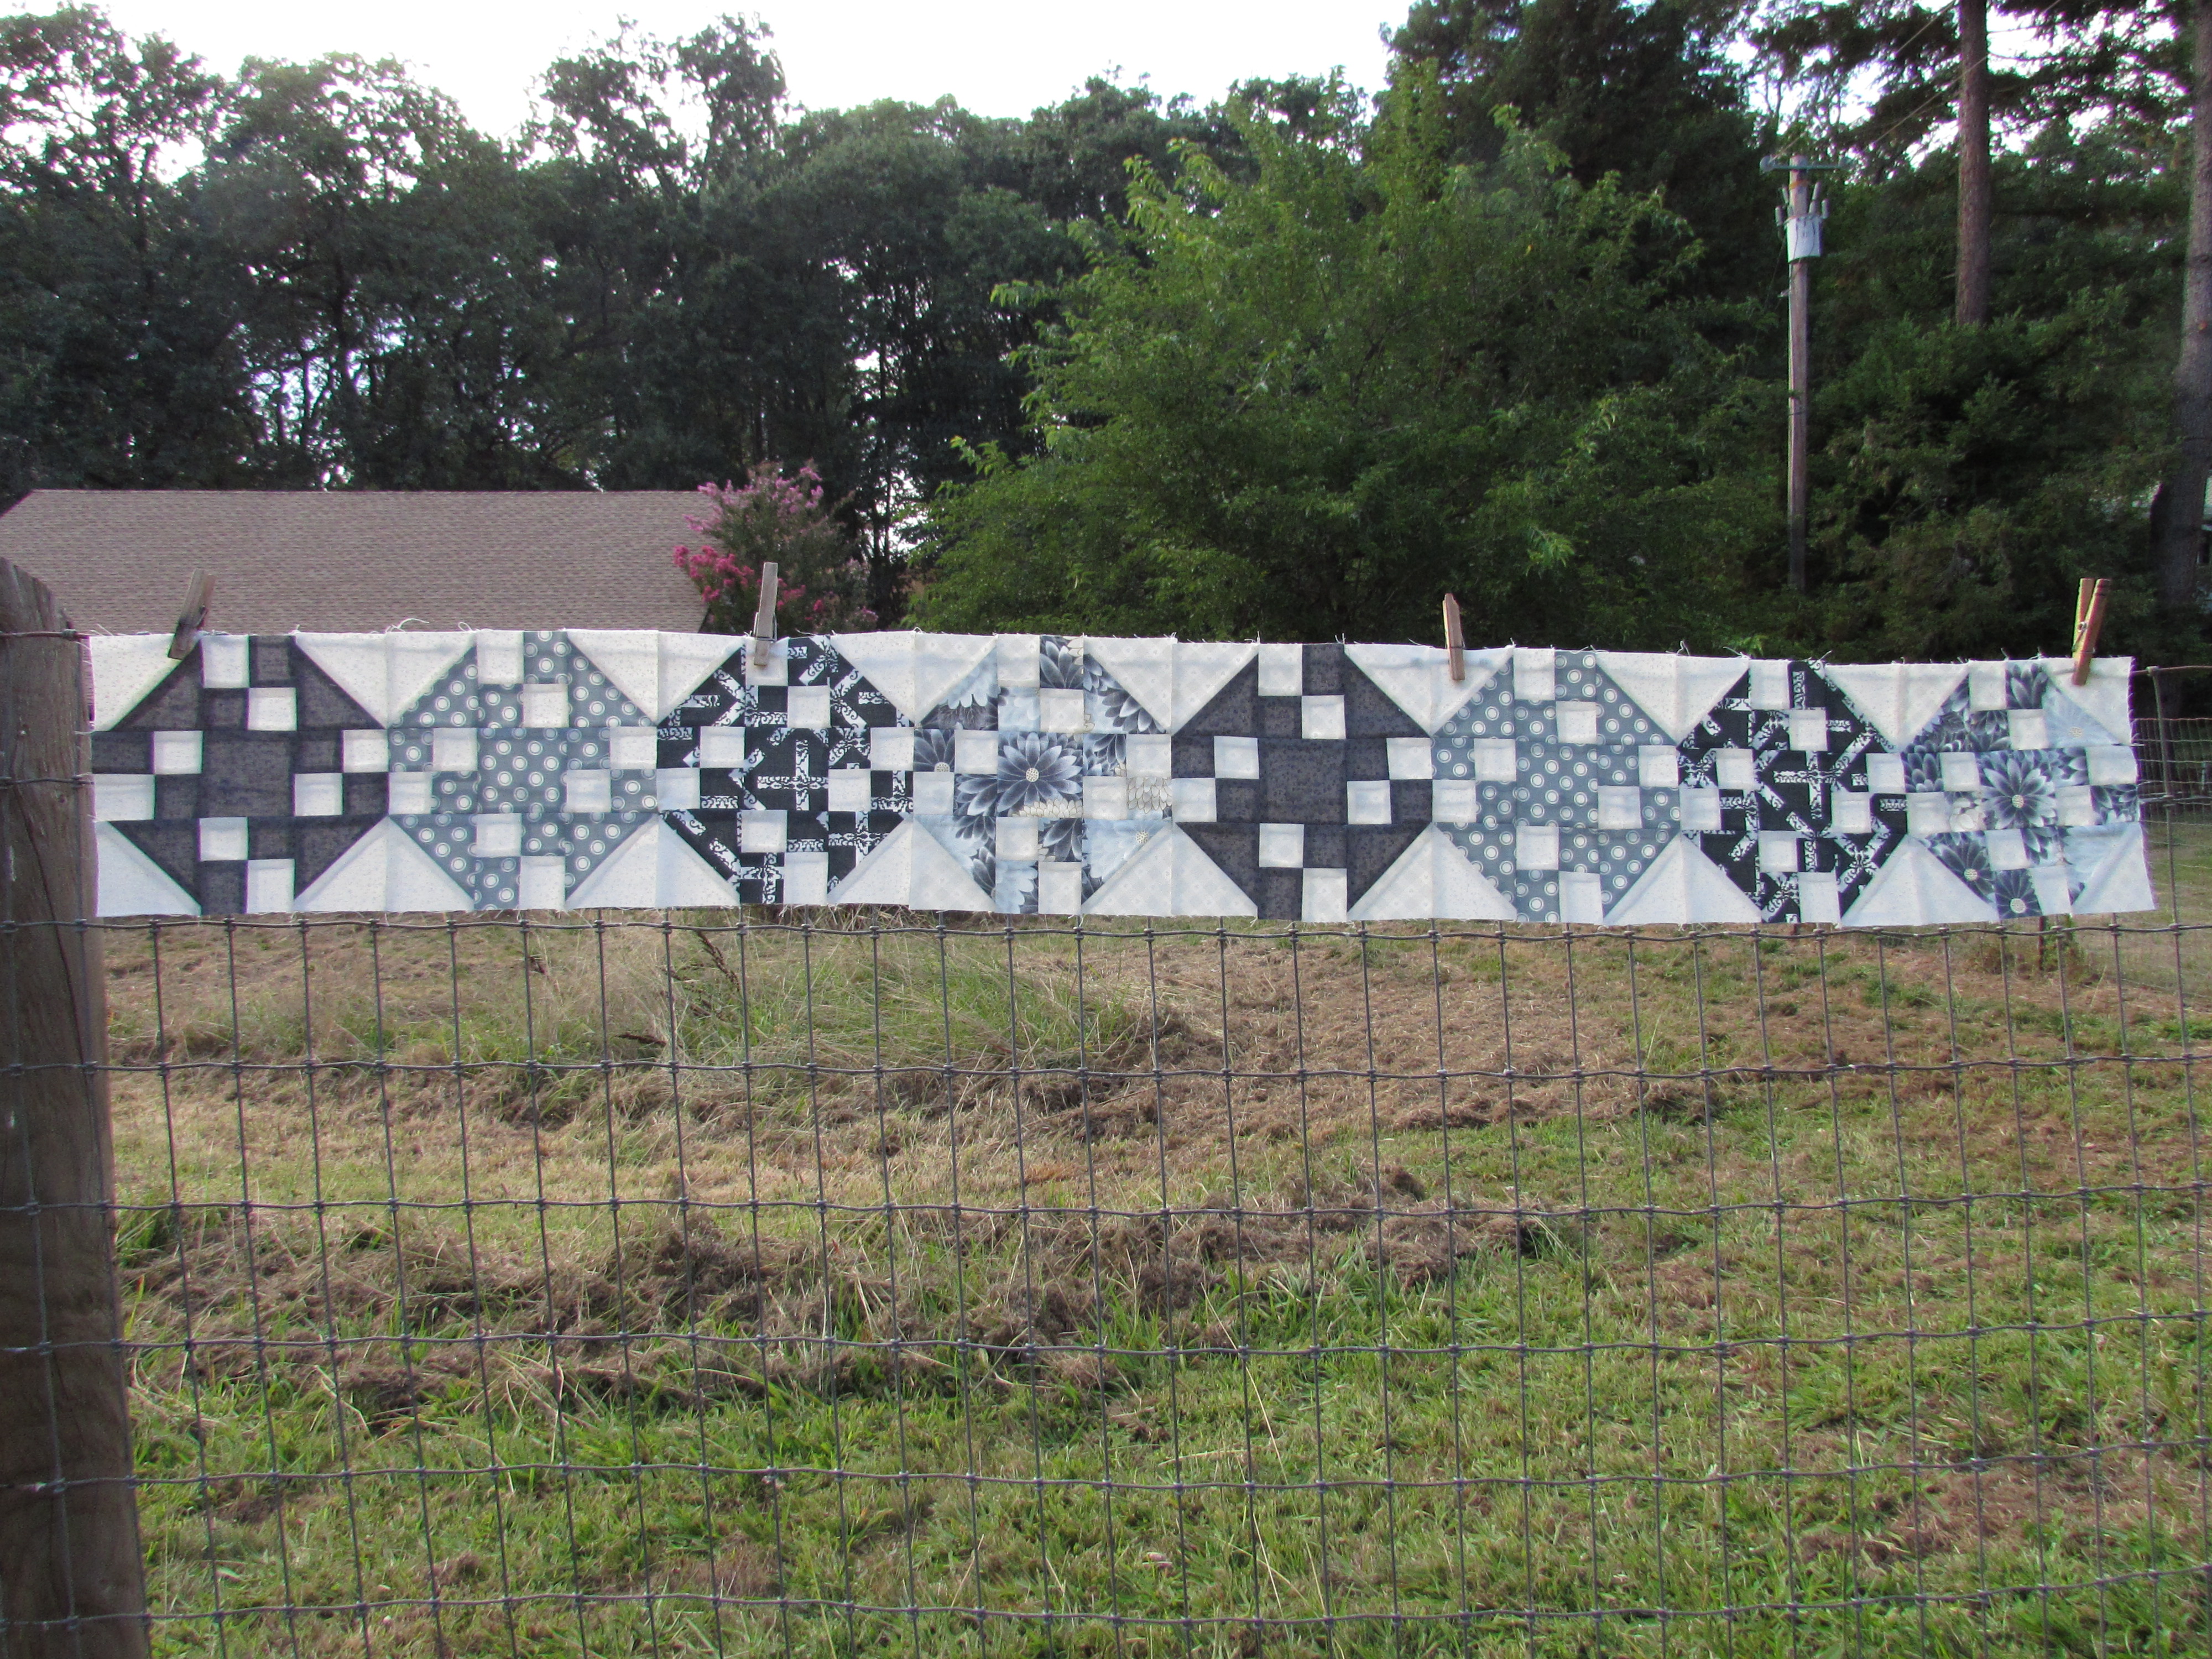
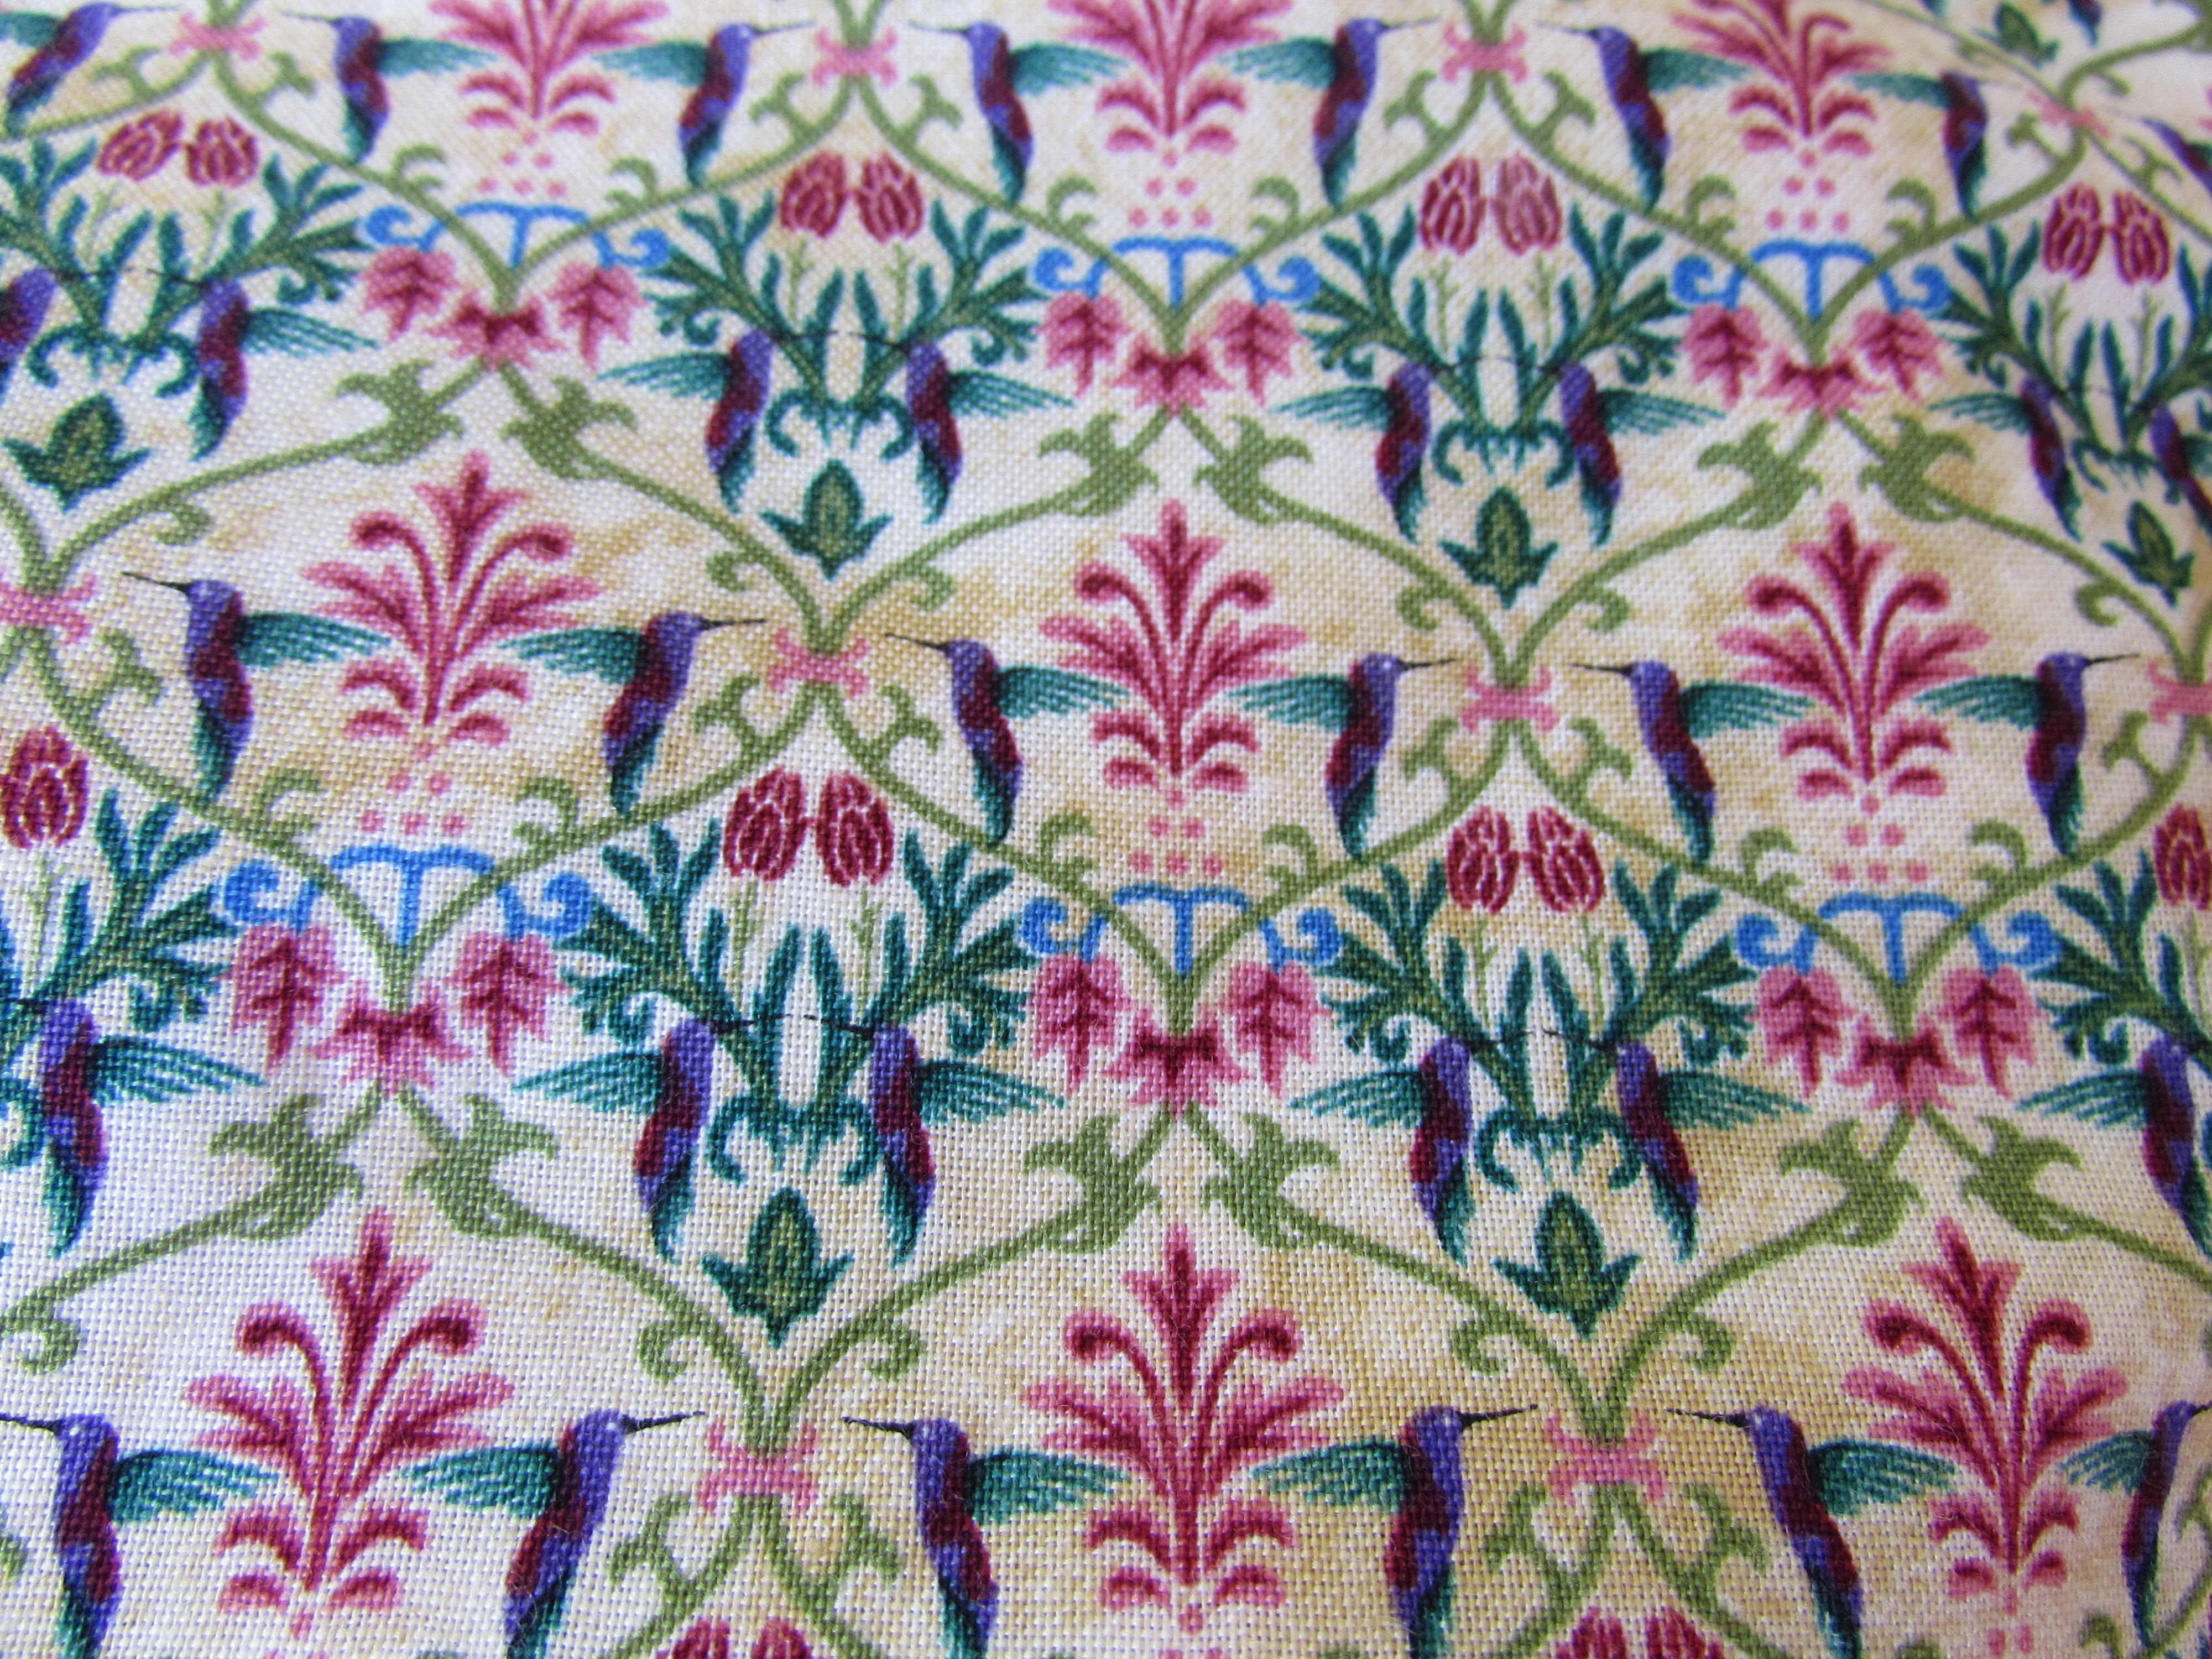
Here are three more.

image

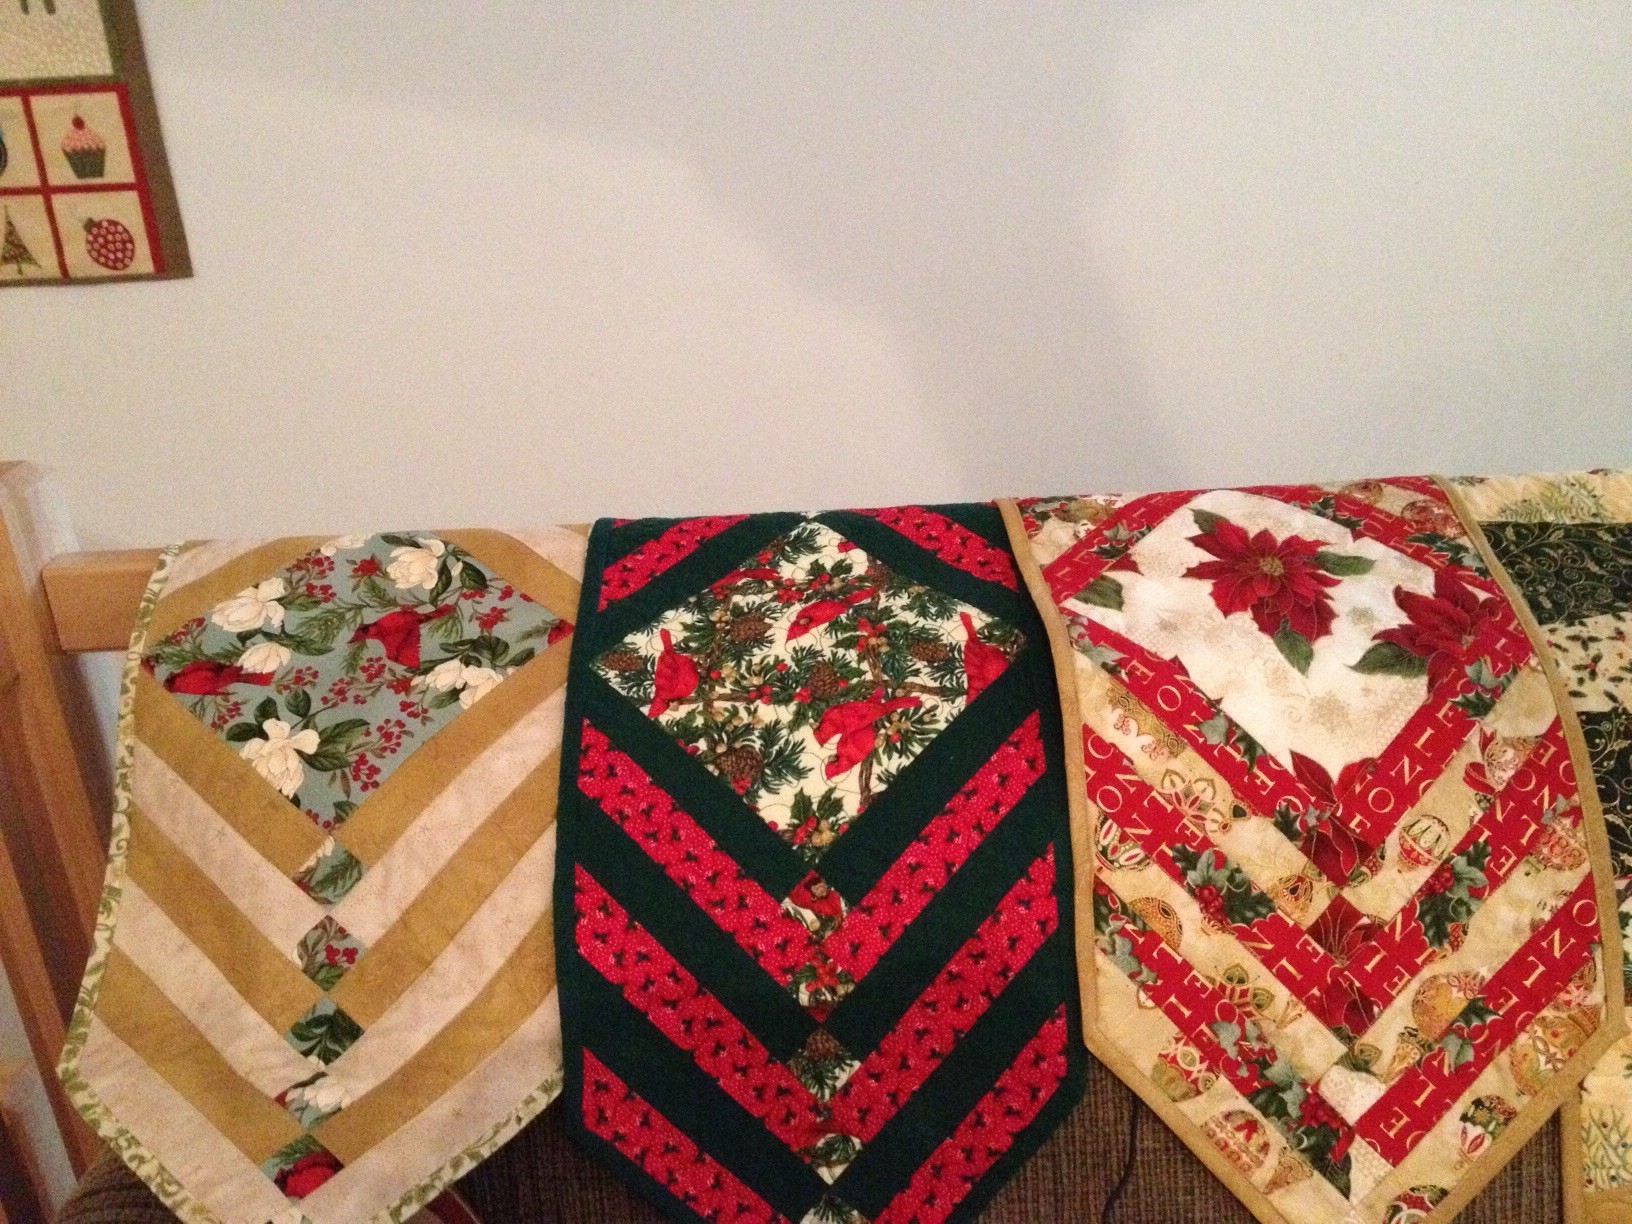
These runners are on the small side. They are probably 13″ wide and maybe 30″ long? They were pretty though and I enjoy looking back at them. They were definitely my first foray into free motion quilting.  Actually, it kind of amazes me that this was almost exactly four years ago. The time continues to buzz by.

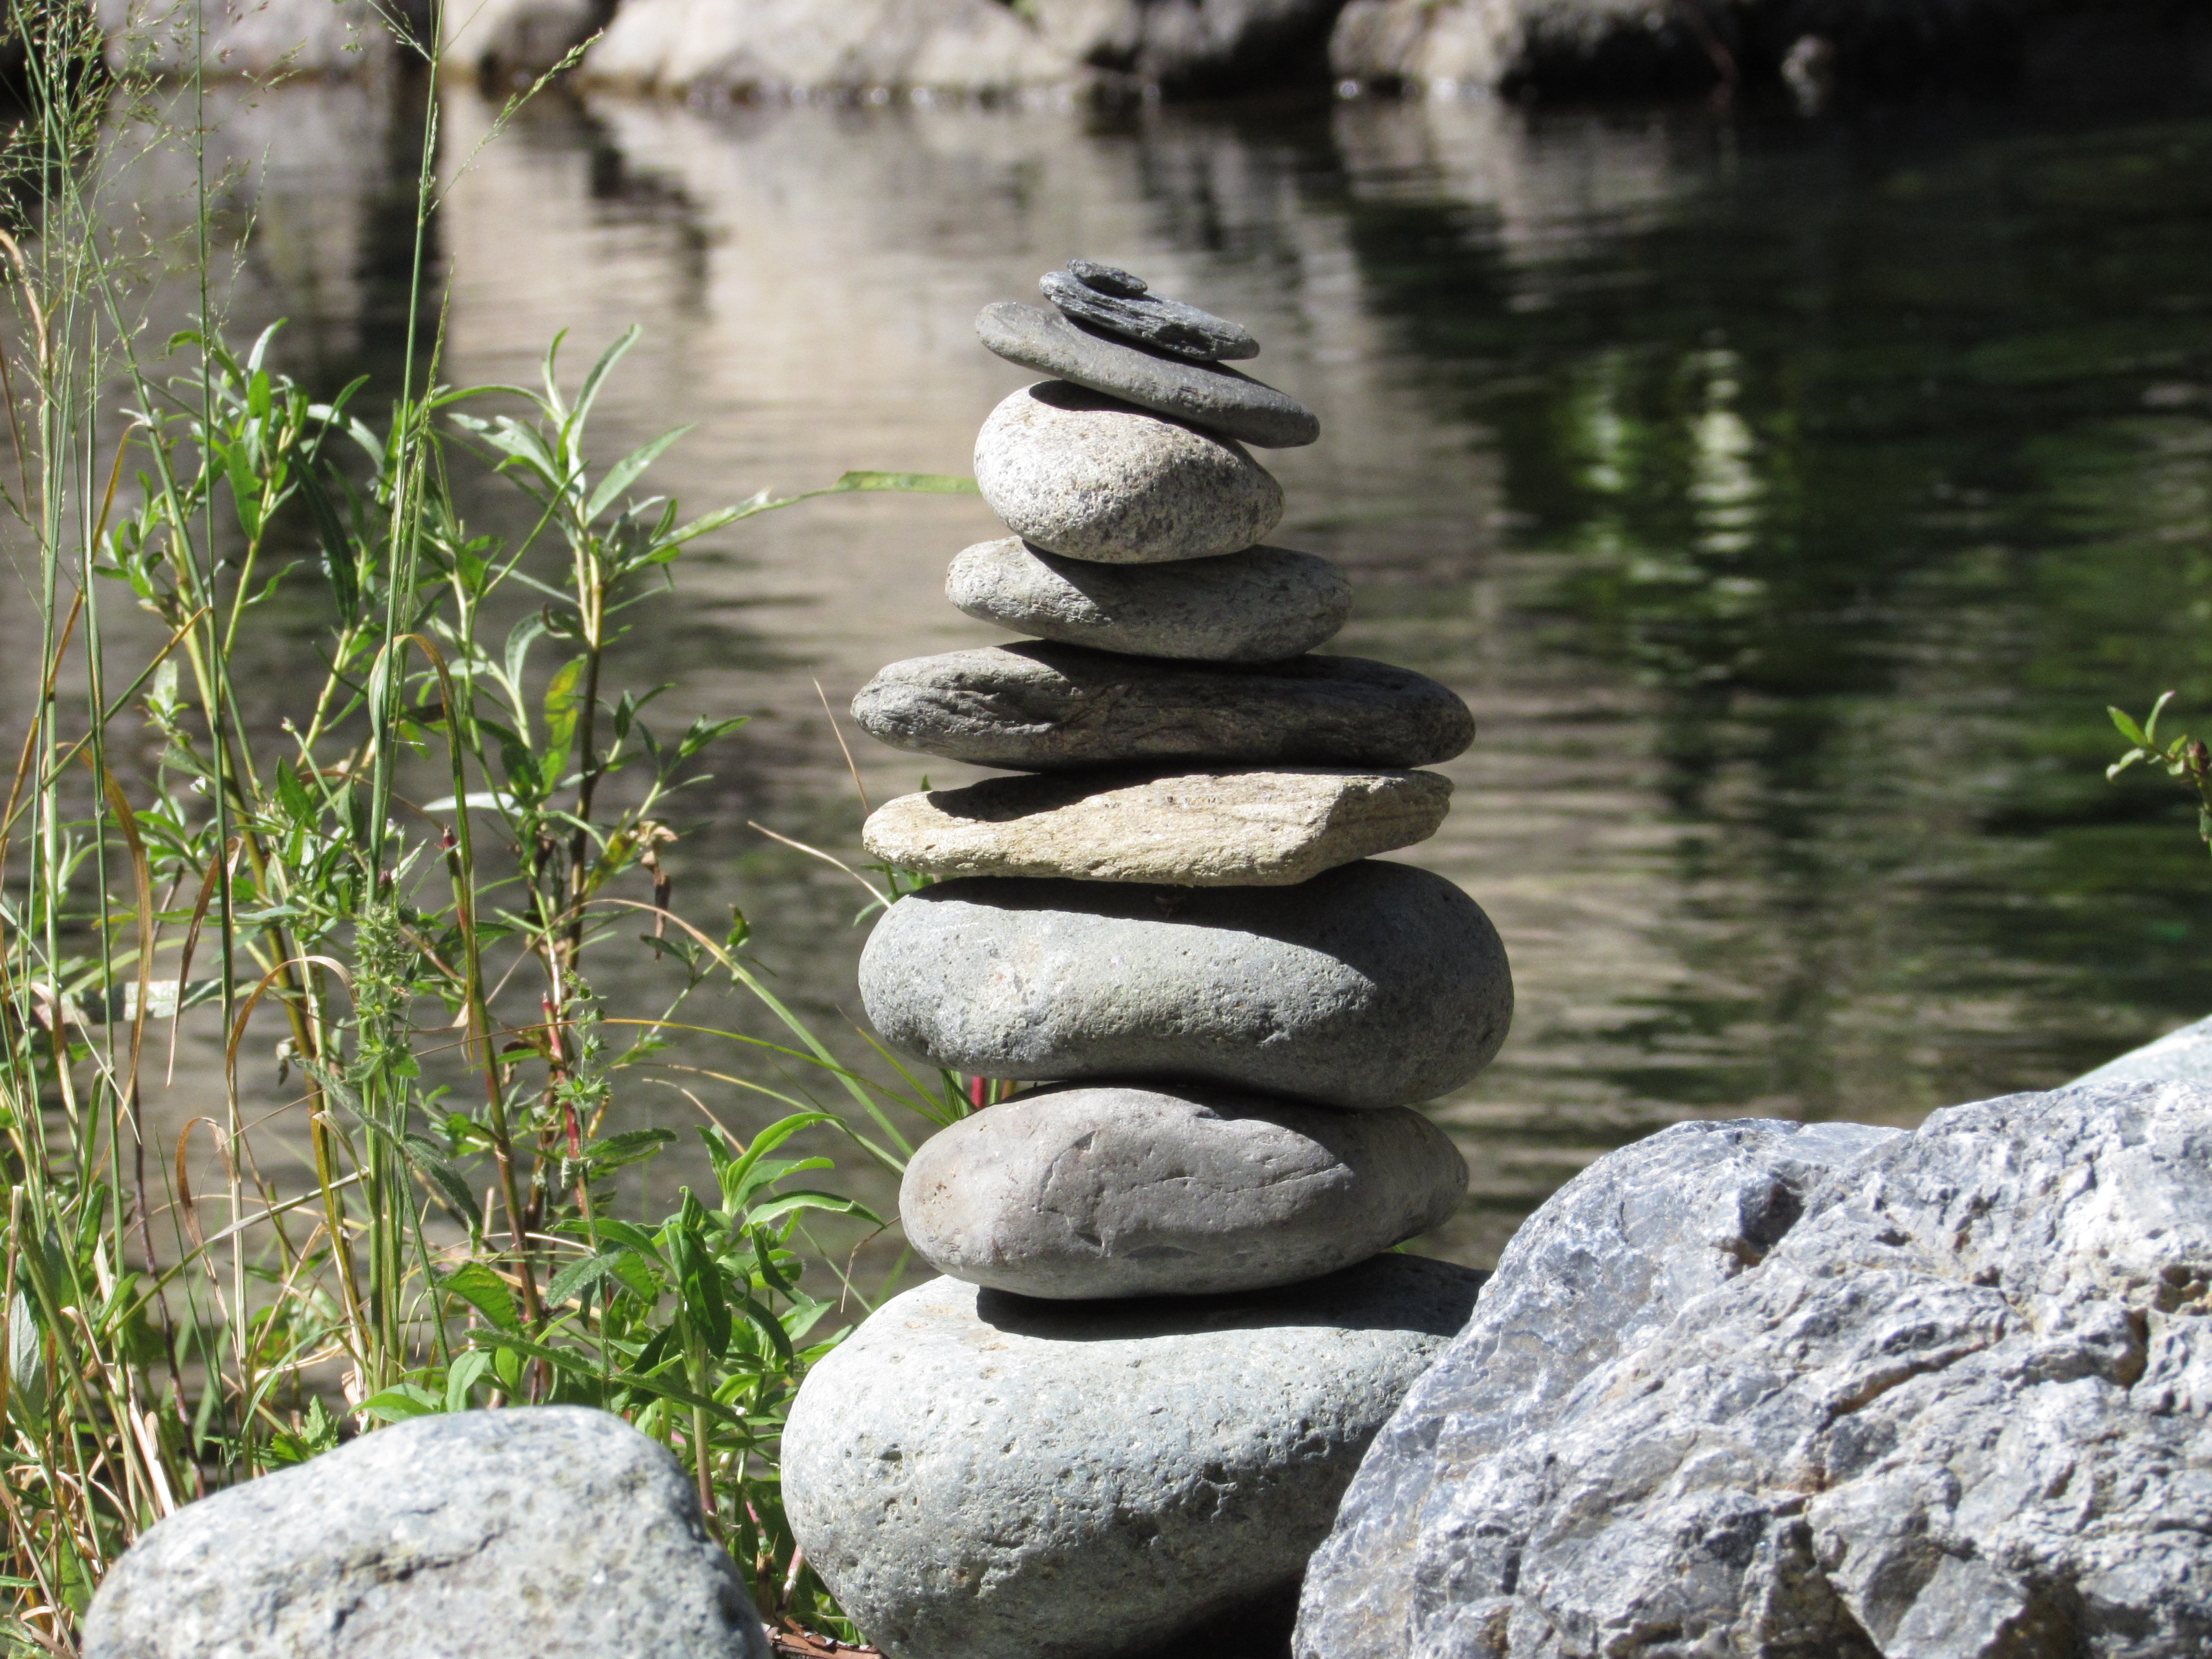
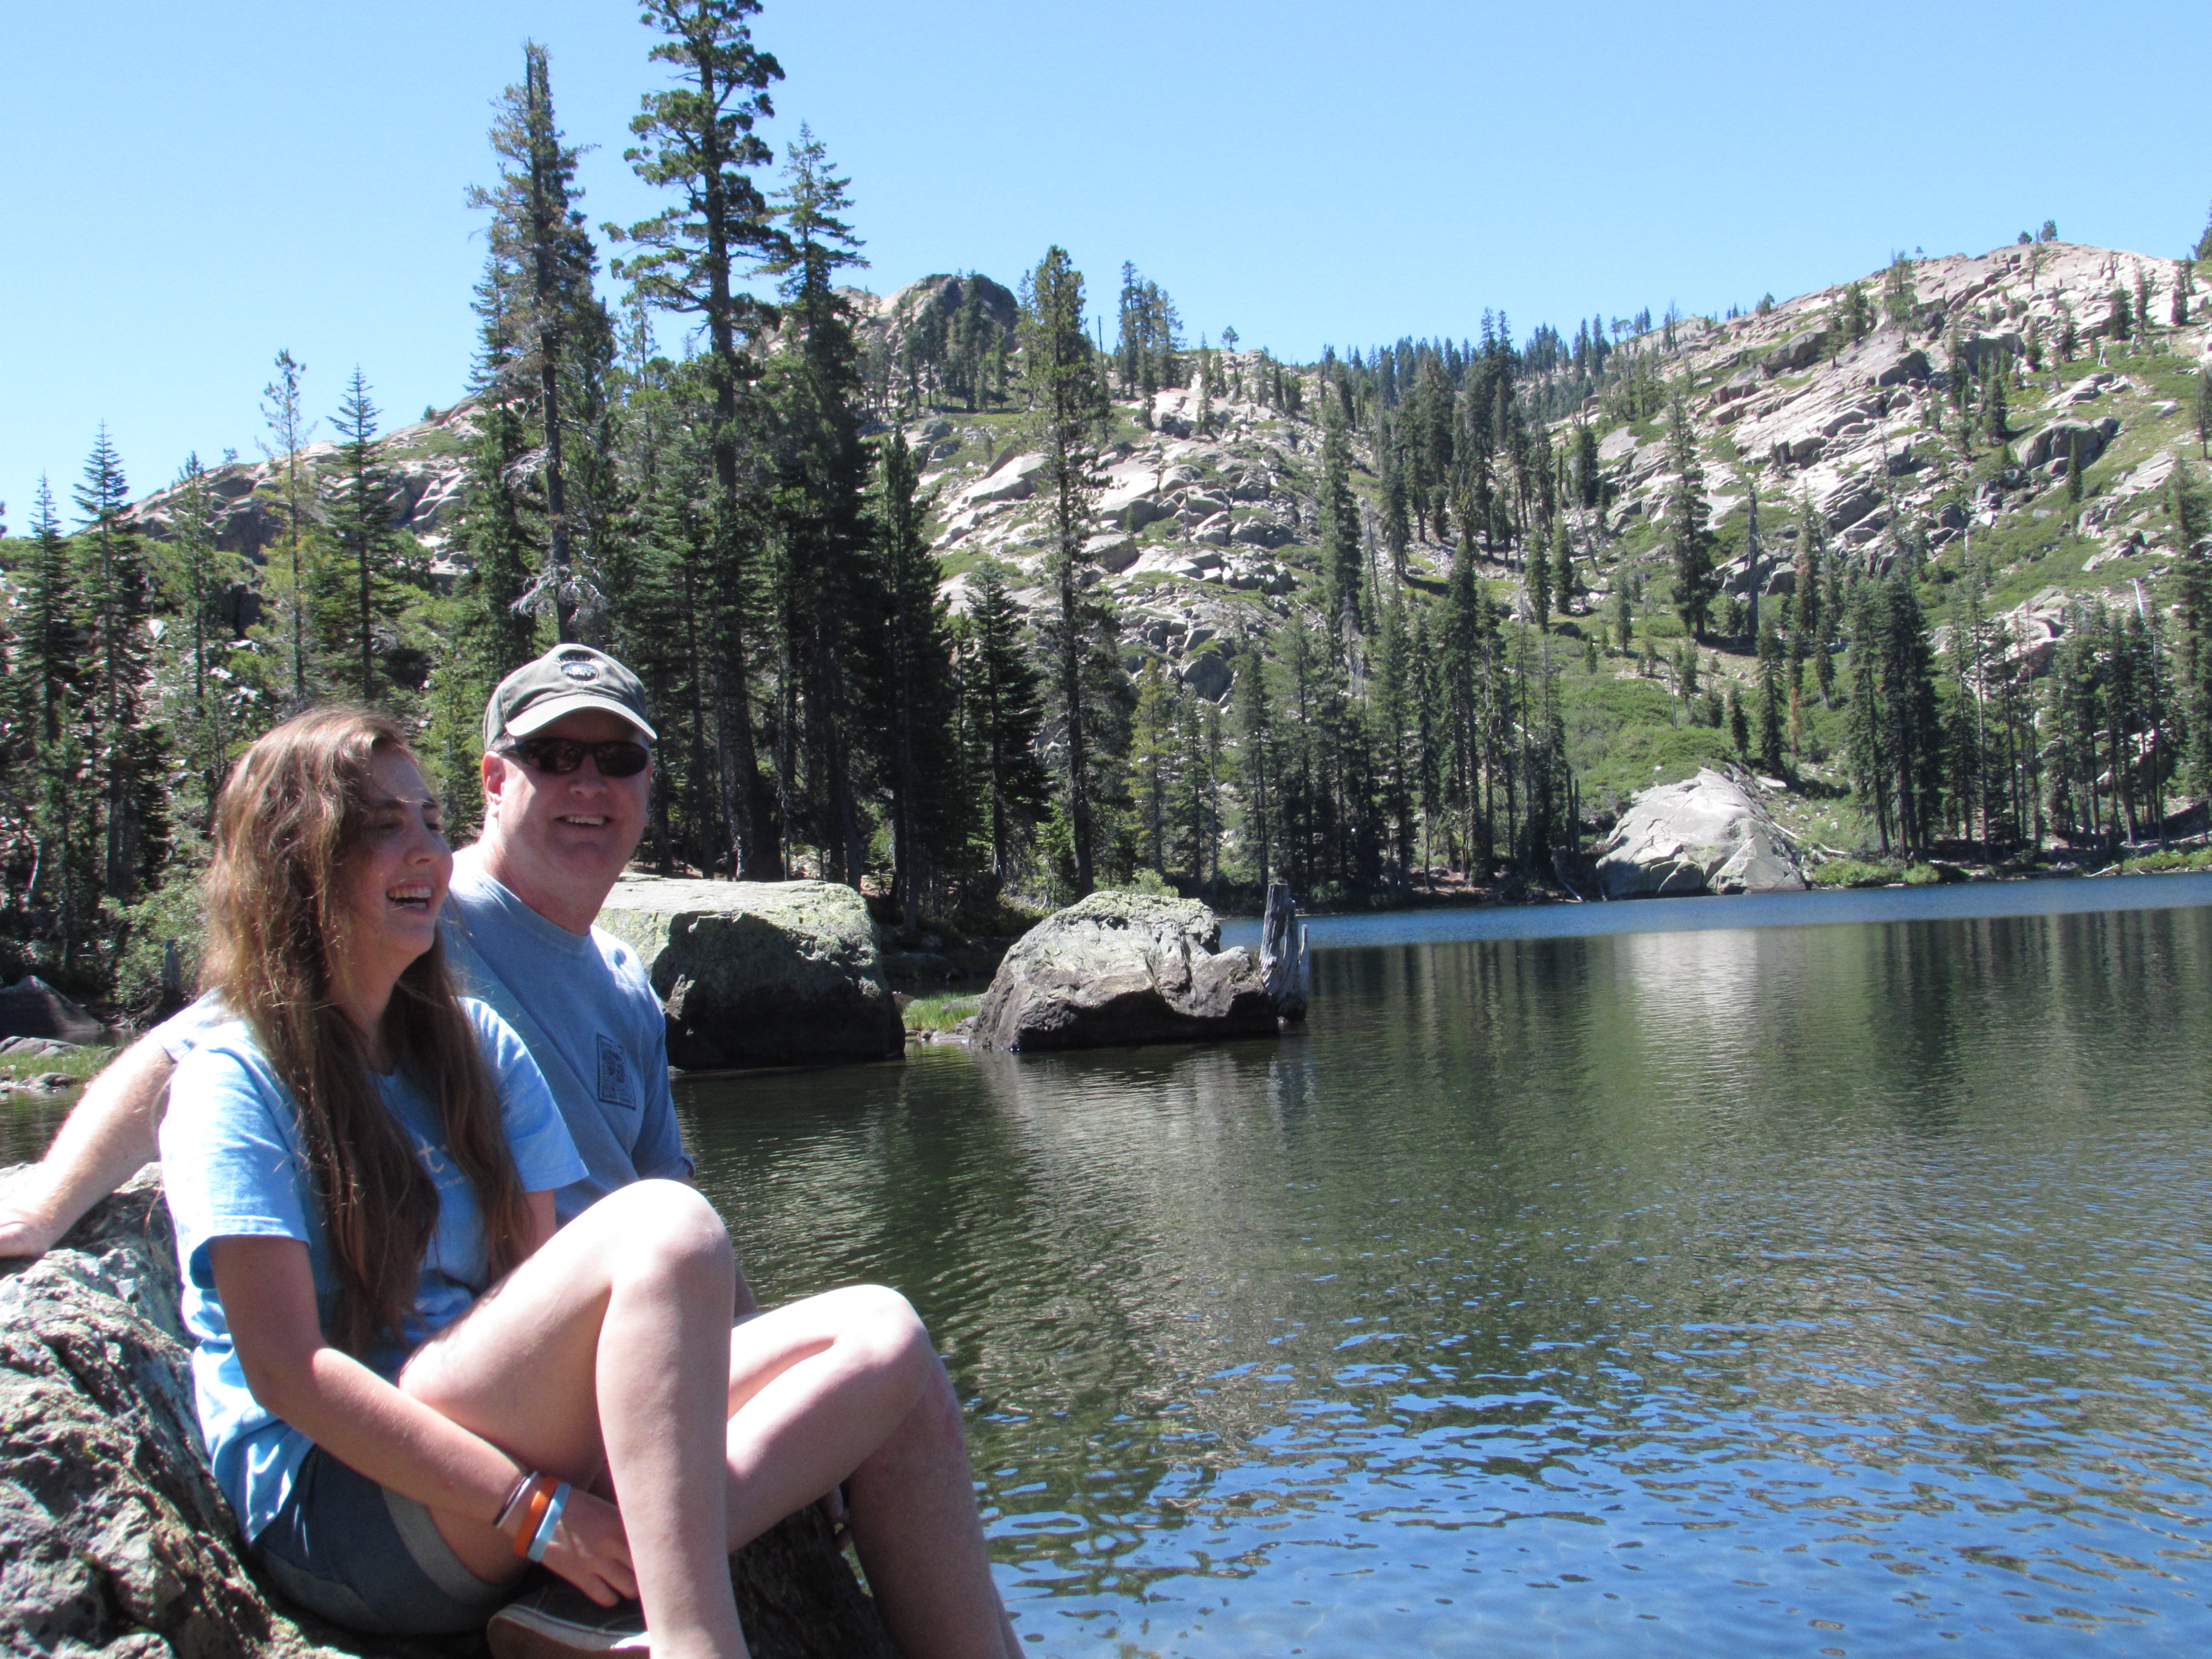
We are spending the long weekend up at our Downieville house. It is gorgeous up here with crisp, cool air. If you live in California, you are probably hearing about this tremendous El Nino that is supposed to happen this year. Ray is cleaning all of the drainage paths and gutters this weekend. If it comes to be, then we could get some substantial storms this year. I am grateful that he is so good about preparing for this sort of thing. Our Downieville house is is a flood zone being so close to the river so we do need to be careful. At any rate, maybe this year will put an end to four years of drought. Here’s hoping!

Linking to Quarter Inch From the Edge (for the very first time!)


Basic and Practical

Here is a post about one of the least exciting things I have made thus far.  Today I made a little mat to place under my dog’s water dish. I hate the puddles that happen when she drinks (and more often than that, when I kick the dish as I walk by it – like every. single. day.)  It wasn’t that I didn’t try to control the issue. Look at this gorgeous set up I had going on.

IMG_20150831_3754Classy, right? (Please avert your eyes from the dirty floor. Thank you.)

My true goal was to learn to quilt a basic “orange peel” motif. It is one that I had not yet tried and seemed like a good one to add to my limited repetoire. I didn’t look for a tutorial and didn’t sketch any first.  It just seemed so easy. Silly, silly me.  Drawing first has huge benefits as will become clear in a sec.

First I found a pile of 3 and 1/2″ squares that were left over from various projects. I added a few extra squares cut from puppy themed novelty fabric that was in my stash. I made a patchwork of five squares across and four down.  I found a scrap of french terry to back it with so it would have the absorbency to handle my constant kicking and splashing of the water. (One would think moving the bowl to another location would be much simpler!) I sewed the two pieces, right sides together, leaving a small opening to turn it right side out. After stitching the opening shut, I pressed it and pinned it.  Then I just dove in with the quilting process.

The problem was I didn’t really think about how to travel along with the orange peels. Mostly I was listening to music and not focusing on the exciting task at hand. I began by moving around the inside of each square. This doesn’t work and I was almost immediately stuck in the corner. Ahh… of course. The pattern is supposed to be stitched along the length of each row of squares and then again along the opposite edges of the squares (e.g. along the vertical rows and then the horizontal rows – or vice versa.) Very basic and had I sketched for just a few minutes first, this would have been apparent right away.  No big loss though. This was easily remedied and I finished up by stitching along the edges. Once I figured it out my curves looked (somewhat) better.

IMG_20150831_3751The quilting on this is mediocre at best.  Fortunately I have a rather undiscerning dog when it comes to quality of the FMQ on her water mat. It does look better from the back (because there isn’t the point of reference of the squares to look at next to my stitching.) Quilting along the perimeter was really tough because there was no edge to hold on to (since I had just made this “envelope style”.)

IMG_20150831_3752I really love how the orange peel motif looks (when done well!) and plan to practice it further. It would be very easy to quilt a larger project with this pattern. I would want to have a better handle on it first though. This little mat certainly improves the look of the water station in the kitchen though! Very classy. I am sure the dog is grateful.

IMG_20150831_3758

Have you been enjoying the Fabri-Quilt New Bloggers Block Hop so far this week? I have seen some amazing creativity out there. The hop continues through Thursday. The Tuesday group can be found over at Meadow Mist Designs with Cheryl leading the crew.

Linking to Freemotion Mavericks and Freemotion by the River.


Fabri-Quilt New Block Bloghop

As part of the New Bloggers Bloghop that I have been participating in this summer, we are each to design a quilt block using selected fabrics given to us by Fabri-Quilt. We each received fat-eighths of these luscious pieces.

IMG_20150803_3649Our task was to come up with a fun block that finished out at 12 & 1/2″. We were also to develop a tutorial in case anyone would like to make the block. Today is the first day of the hop and there is a great list of quilters that will blog about their block today. The hop continues for another three days (through Thursday) which means loads of block ideas. This week is a huge opportunity to pin upwards of 60 tutorials for fresh, new quilt blocks. Think of the sampler that could be made from this hop! I am so looking forward to seeing what my hive mates came up with. After making our blocks, we sent them to Stephanie at LateNightQuilter. One of the leaders of the New Blogger Bloghop, Stephanie is organizing the construction of several charity quilts from our blocks. These quilts will be gorgeous and will go to a few lucky recipients.

On to my block! I posted earlier that I had been playing with several ideas for a block. I made a modified plus block but didn’t like it in the 12 1/2″ size. It was too “chunky” looking to me.  Then I played with a herringbone block. It was ok but not great. Finally, when I was working on my blocks for my row quilt, I took a stack of HST’s and kept laying them out in different patterns. This is the one I liked most. There are unlimited ways that HST’s can be assembled which is what makes them so much fun to work with.

Creating this block is so simple. Here you go!

Cutting List:

  • (4) 3 & 1/2″ squares of background fabric
  • (4) 4 & 3/8″ squares of background fabric
  • (6) 4 & 3/8″ squares of middle fabric
  • (2) 4 & 3/8″ squares of the center fabric

image

Process:

Start by creating the HST’s. Just in case you are new to quilting, HST is the acronym for a half-square triangle. There are many ways to create a half-square triangle. My favorite way is this:

Place one piece each of the background fabric and the feature fabric right sides together. Place  your 1/4″ seam marker, on the diagonal, corner to corner,  and trace a line along each edge.

image

This quarter inch seam marker is 1/2″ wide and give you two lines to trace, which you will then use to stitch a seam. (If you don’t have one of these handy little tools, they are very inexpensive. Here is a link.)

image

Once you have both seams stitched, slice it in half, right down the center of those seams.

image

This gives you two HST’s. Press them open. (Pressing open or to the side is a matter of personal preference. I usually press open.)

image

The block will need to be squared up (trimmed to size).  Using a square ruler, trim the block to a finish of 3 & 1/2″.

image

Repeat this process with each of the half square triangles, giving you 12 HST’s that measure 3 & 1/2″ each. Look at the colors in that stack of trimmings, so pretty!

image

At this point you can lay your squares out in rows of four.

image

Assemble the rows and stitch each of the squares together.

image

Then stitch the rows together.

IMG_20150828_3727

Ta Da!! Isn’t this the cutest? Double Diamonds!

Think of all of the inspiration to be had with all of these new ideas over the next few days. Be sure to pop in and take a peek. Pin as many as you like for future reference. I plan to! I have a board on Pinterest for quilt block inspiration. Feel free to follow it if you like. Today my blog hop partners are the following:

Host – Yvonne @Quilting Jetgirl
Kelly @Quilting it Out
Martha @Once a Wingnut
Irene @Patchwork and Pastry
Cassandra @The (not so) Dramatic Life
Andrea @The Sewing Fools
Silvia @A Stranger View
Wanda @Wanda’s Life Sampler
Sandra @Musings of a Menopausal Melon
Vicki @Orchid Owl Quilts
Jess @Quilty Habit
Diana @Red Delicious Life
Chelsea @Patch the Giraffe
Margo @Shadow Lane Quilts
Renee @Quilts of a Feather

In addition to all of these tutorial posts, there will be several giveways this week for a set of 1/2 yard cuts of the fabrics we used. To enter the giveaway, go visit Quilting Jetgirl. While the colors in this set are lovely, they are very bold and saturated. Were you to win this set, I strongly advise that you prewash with like colors (e.g not red and white together!) and dry them. That way any possible color bleeding or fabric shrinkage will happen before you cut and sew!


A Vintage Finish

Looks like I made it, and with a few days to spare! My ALYOF goal for August was to quilt and bind my vintage double nine patch quilt. Yahoo for setting goals.

IMG_20150827_3699

I had asked readers to suggest ideas for quilting the vintage quilt and was happy to receive tons of suggestions. Thanks so much for the ideas. I decided to quilt a basic cross-hatch over the main nine-patch blocks. Then I wanted to do something different with each of the three borders. My original thought was to do different cable patterns so I bought a couple of cable stencils.

Alas, it wasn’t entirely successful. I started by doing a basic, single cable on the middle (narrowest) border. I had great help with tracing the stencil. Ian was home for the weekend and kindly traced for me.

IMG_2409

Try as I might, I couldn’t relax and just stitch. I wanted to use my walking foot, maybe that was the mistake? The stitching isn’t fluid and I am less than pleased with it. Hoping that a run through the wash (in my NEW washing machine) will make the jitters a bit less obvious.

IMG_20150827_3703

Because of the issues with the single cable, I lost interest in doing a more complex cable pattern so I put the stencils away in the deepest recesses of my desk drawer. I don’t plan on looking at them for quite some time. Instead, I played with some motifs that Lori Kennedy has posted over at The Inbox Jaunt. I chose her Modern Leaf pattern (which I posted about earlier this week.) Because I am susceptible to this sort of nonsense, I wondered if I should use a motif with the word “Modern” in it when I was really trying to go for a vintage look. Jeez… I need to get over myself already. It worked out fine and was very fun to quilt. Because I did the quilting with cream colored Mettler thread, it is hard to see in the pictures. But I am much happier with it than the single cable. (I love the fabric with those little pins. Really cute.)

IMG_20150827_3702

For the final, outside border I did basic straight-line quilting which I just eyeballed using the side of the walking foot. Simple and clean. I backed it with a blue print and as you can see, I used one of the cream background fabrics as the binding.

IMG_20150827_3704

One small concern that came to mind is that I have a six inch gap between stitching lines on the cross-hatch. The batting said I could space the quilting with as much as an eight inch gap. However this is likely the widest I have gone and it seems sketchy to me.  Any input on that? I could still add lines to the body of the quilt if need be. If I split the difference between the existing lines, I would have a three inch gap. Thanks for any ideas you might have.

IMG_20150827_3701

Overall, I am happy with the finish. This is a more traditional quilt than I normally make but I enjoyed it. My next project is more modern and uses Kaffe Fassett yardage and jelly roll. I am chomping at the bit to get started on it so stay tuned.

Linking to my favorites:  Let’s Bee Social, Finish it up Friday, and Sew Bittersweet Designs.  Take a peek at these sites – there is a lot of great work out there!

Anticipation

I am sitting here waiting for the delivery of my new washing machine.If you could have heard the noise made during the final spin cycle, you would have no trouble imagining my anticipation for this wonderful event. It sounded like jets were leaving the runway. The floor shook as the machine rumbled. The sound grew louder with each load of wash. I called to see about having this fixed, assuming that they could just replace the bad bearing or whatever was failing. But the service technician asked how old the washing machine was (ten years old) and told me that it wasn’t worth fixing it. The average lifespan of a washer is about ten years these days. Planned obsolescence – don’t even get me started. Remembering back, I am fairly certain my mom had one washer for the duration of my childhood.

While shopping for a new machine, I asked the salesperson if there was a washer that would hold up for longer than the estimated ten years. He said, sure – this one over here will last 15 or so. Of course it was expensive enough that I could just buy another one in ten years and still spend the same amount. Irritating. So, I am just waiting for the delivery guys to show up and heave that beast up the two flights of stairs on my deck and install it. I have a pile of laundry waiting right here with me. Exciting times, right?

Over the weekend (since I wasn’t doing laundry) I practiced my FMQ. I wanted a larger fabric sandwich to practice on as I was doing a leafy border motif and wanted to figure out how to turn the corner. For me, it is really a challenge to plan the motif and be at the right point in the design to make that turn. I cannot visualize things like that in my head, yet I prefer to quilt without tracing a design. When I stitch over a tracing of a design, my stitches wobble. Don’t ask me why. If I had to make a supposition, it would be that my mind becomes focused on that dang traced line. Without the line, my stitches flow much better. This corner isn’t great. I don’t like that harsh right angle on the vine. But the leaves worked out ok.

IMG_20150822_3694I do like the motif. I found this Modern Leaf tutorial via Lori Kennedy’s incredible website, The Inbox Jaunt. I have mentioned her before, but really, if you are working on your FMQ skills, I cannot recommend her enough. Her site offers tons of tutorials and many, many different motifs. It is definitely worth taking a peek at all she has to offer.

Lori is a huge proponent of doodling and drawing the motif before actually stitching it. I did several pages of practice drawings. (Drawing is not my forte, not in the slightest.) However, the practice of making those hand motions using pencil and paper definitely transfers to an increased muscle memory of that pattern. It helps!

IMG_2477

When I was putting the fabric sandwich together, I didn’t want to waste a large scrap of batting. I have a whole drawer full of many straggly lengths (often from trimming the edges off of a project after quilting it).  I have taken to stitching these pieces together (frankenbatting style). Have you tried this? I have never had any issue with it. Mainly I do it for smaller projects, but I have read posts from many quilters who have done it to gain larger sizes as well.

IMG_20150822_3693I use a fairly wide zig zag stitch with only a hint of overlap of the two lengths of batting. To avoid a lump along that line of stitching, it is best to just hold the two lengths as close together as possible without much of an overlap.  This is a great way to use up those piles of batting scraps.

Today I plan to finish up the quilting on the vintage double nine patch. I have one border left and I will use this leaf motif. My binding strips are ready to go. Looks like I will have a finish this week!!

How about you? Working on anything fun this week??  Ever pieced your batting scraps? Do tell. 🙂

Linking to Freemotion by the River, Sew Cute Tuesday, Freemotion Mavericks, and Confessions of a Fabric Addict (who by the way is having a giveaway to celebrate her 1,000,000 VIEW!!  That is worthy of celebrating!! The giveaway is open until Thursday of this week.)


Playing with Fabric this Week

We are almost to the weekend! Lots of sewing this week but not a lot of pictures to share.  I had three custom orders on Etsy which are always fun. I like when a customer just wants a certain color or size. It is easy to make what they want and they get just the right thing.

I did squeeze in a bit of selfish sewing time though. The red fabric that I posted about earlier this week was calling to me in the worst way. After a bit of thinking, I decided to make a tablecloth with it. The colors are perfect for my dining room. See what you think.

IMG_20150817_3684

The print on this piece is so bold and has great detail so I really hesitated cutting it up. Using it as a tablecloth is the perfect way to show off this fabric. However, the fabric was only 46″ wide which wasn’t nearly wide enough. Because there is a gorgeous green and gold border on the fabric, and because I had six yards of fabric, I decided to double up on the border to gain the width.

IMG_20150817_3682

First I cut the length of fabric in half. Following that, I cut the border off of both sides of one of the lengths. I included about five inches of the red when I cut the border. It took no time to sew each of those borders to the length of the fabric, giving me the length you see above. Then I only had to hem under all of the edges.

The only issue I had was that in my excitement to make the tablecloth, I didn’t prewash the fabric. I know, I know… silly mistake. Once it was all done, I threw it in the wash. Luckily, I didn’t put it in the dryer. Even on a cold water cycle, it shrunk a fair amount. If I had washed it first, I would have left a larger border on each side. It fits the table reasonably but it would be perfect were there two more inches hanging on either side. Ah, what can you do? It still looks lovely.

IMG_20150817_3680


Best part of this is that I still have three yards of the center of the fabric, right? This huge piece that I sliced the borders from is sitting in the sewing room, begging me to make something with it! Life is good.  🙂

Linking to Crazy Mom Quilts, Let’s Bee Social, and TGIFF.  Links to all of these are located at the top of the page, under Link Ups.

The Kindness of Others

This week I had one of those moments that reminds you that there are so many nice people in the world. Here you go.

You might remember that last December I did a custom order for a woman from New York. (Story posted here.) This was my first custom order and it was really fun to work with this particular customer. She was so friendly within the confines of our email conversations about her order.  For the first time, I used a wax print, Ankara fabric to make her Chemex cozy. We chatted a bit and I told her how much I liked this gorgeous fabric. She told me she buys wax prints at an open market in New York.

Time passed. (Lots of time, seven months!) Last month, she emailed me and said she would be going to the marketplace soon and would I like her to pick up some fabric for me. It is really a good price there. I had looked on-line to buy some and wasn’t thrilled with the pricing. I have to be fairly careful with what I spend on fabric for my Etsy shop or my already meager profits become even less.  All about the profit margin, right.  😉  I jumped at her offer.

When she got to the shop, she texted me pictures of about seven or eight pieces she thought I might like. Jamie explained I would have to buy them in three yard pieces as they are pre-cut to this length. It was a tough choice but I settled on two. It was amazingly easy to be texting with this virtual friend and picking fabrics out based on a few quick iPhone photos.

As I wrote her a check and popped it in the mail it came to me that some might consider this a bit of a risk. I didn’t have any hesitation about sending the money. I knew the fabric would show up. It appeared that she didn’t have any hesitation purchasing the fabric for me and she even mailed it prior to receiving any sort of payment from me.

I received the fabric a few days ago. It is so gorgeous. Made by Vlisco, these wax prints are manufactured both in Holland and in Ghana. The company was founded in 1846 and has served a vast African market over the years. Their process reportedly consists of twenty-seven steps to achieve these prints and is a highly guarded secret. Because many textile companies attempt to create counterfeit Vlisco fabric, they are quite bold with printing their name along the selvedge and putting these (nearly impossible to remove) adhesive labels on the fabric.

IMG_20150816_3672

If you look closely at the label, you might notice that this piece was actually six yards, not three.  Both pieces are huge, six yards each. Jamie was mistaken when she told me she was sending three yards of each. At $20 per piece, this was a steal.

IMG_20150816_3674

This blue and purple piece has more of an African look to the pattern. It is really bold. I chose it because I want to utilize the curve of those spirals when I cut the curve of the Chemex covers. But now that I have six yards of it, I need to think of another project to use some of it!  The fabric is 48″ wide. Lots of fabric here.

IMG_20150816_3675

This red piece is my favorite. I love the birds. Do they look like a peacock? I think so but I’m not sure. It has a green border running the length of the piece. It is just gorgeous. I have several ideas for projects to use this piece for so I need to make some decisions.

IMG_20150816_3676

What most impressed me was that this was just an act of kindness. She had no compelling reason to do this, other than to be a nice person.  Yep, there are so many really kind people out there and she is certainly one of them.

Linking to this week’s Sunday Stash.


Gorgeous Grays

Yikes. I think it has been a week since I wrote a post. My routine got all turned around and all of a sudden a week passed by. (Were you sitting and waiting anxiously for another amazing read on Needle and Foot? My apologies for the wait!)

As things often do, one project led right into another. I have been making blocks for the eighth row of the Classic Stitches BOM (led by Mari over at Academic Quilter). The color for this month is either indigo blue or gray. I went with gray. We have already done two rows in shades of blue and I didn’t want to add a third. I am loving this gray row. For August, Mari wrote a tutorial for a quick block called “True Blue”. She explained that it was a block which dated back to the Civil War years (on the Union side, hence the name True Blue.) It is a really simple block utlizing four patch squares and HST’s. I chose to make the blocks in the 7 1/2″ size. This is the second row of 7 1/2″ blocks for the quilt, the rest are 6″ blocks.

I don’t know how everyone else does it but I am sort of ADD when I am making blocks. I cut for a while, piece a whole block, cut some more, piece a few more. It is really inefficient and makes me crazy. I end up cutting more than I need of one fabric and not enough of another. (I know, It is so silly. I highly doubt that my methodology is taught in any of the billions of quilting books out there, due to the inefficiency of it.) I vowed to make a change with this project! For these eight blocks, I cut the pieces for all of the blocks, stacking them in nice orderly piles. Then I made the four patch blocks. (I used strip piecing, sewing long strips and sub-cutting them into pairs, which were then joined into four patch blocks.) Next came the HST’s. Doing it in this amazingly organized manner, I had my HST’s all prepared. It was so much better – the best part of piecing is putting the actual block together, right? Once all of the tedium was done, those blocks went together in  a snap. It was much better than my usual “a little of this, a little of that” method.

Plus, when I had that stack of HST’s, I started playing with them. I spent some time laying them out in different patterns, which is pretty fun with HST’s. (It’s kind of like playing with Tangrams.) I found a design that I really liked and decided that is what I would use for my New Blogger Block Hop project. (Remember, I posted last week about having to make a block with a tutorial for the project sponsored by Fabri-Quilt?) This made me so happy. I have been playing with fabric and mocking up blocks (a version of a Herringbone block and a version of a Plus block, neither of which I liked.) Seeing this simple little pattern (which, as far as I know, isn’t some really common pattern?) was the perfect inspiration.

Back to the row of True Blue blocks. Take a look. Here they are before sewing them into the row. I enjoy playing with them and getting an idea of how the blocks would look as a quilt of their own. These blocks are fairly busy. I don’t think I would do a whole quilt with only these. It makes my eyes go a little crazy. 😉

IMG_20150810_3664


And now a row of True Blue blocks (that are gray instead of blue!)  The pasture behind the blocks is looking a might dry, right?

IMG_20150810_3666

I hung a few of the other rows with this newest member of the family. They all look great together.

IMG_20150810_3667


It is amazing that eight rows of this project are complete. Summer is ending, fall is on its way.  This is very apparent in our garden these days. The squirrels are making a huge mess each day, eating the pinecones and dropping the pieces all over the deck. The apples on our tree are growing and it looks like, for the first time, we will have apples. The tree is about three or four years old and hasn’t really produced any apples yet. These look great though.

IMG_20150808_3660

I have mentioned before that we didn’t put in a vegetable garden this year due to the drought in California. We had a volunteer plant come up though and Ray couldn’t resist watering it just a little. We were very negligent and only gave it a drink every now and then. The foilage looked like squash and it was in a bin where we had spaghetti squash last year. We figured that was what it would be. What a surprise to see these growing on it.

IMG_20150808_3658

In the next bin over, we had planted decorative gourds last year. They were so much fun and we had tons of them. Apparently there was some cross-pollination going on and we now have a plant bearing some weird combination of spaghetti squash and decorative gourd. They are hard, bumpy and dry, like a gourd, They have that cool coloring of a gourd, but the shape and larger size of the spaghetti squash.  We had so much fun trying to figure out what they would be. (Doesn’t take much to amuse us.) I am fairly sure they are not edible but they look pretty.

IMG_20150810_3670Finally, I leave you with this gorgeous picture of our front lawn in all of its droughty glory. (I know… I made that word up.) It is criminal to waste water on growing green grass so we are only giving it enough that it doesn’t totally die on us. This is the year though, right? Rain all winter long. (Please?)


Linking to a new linky party over at What a Hoot as well as Freemotion by the River, Let’s Bee Social, and Crazy Mom Quilts. Links to the last three sites are available at the top of the page, under Link Ups.


August, really?

August is here. That’s crazy. Summer is buzzing by and we are trying to cram as much as possible into these last few weeks.

With the new month, I am looking at what I want to create and complete for August. The list is long, maybe too long?

The main goal is to finish the vintage nine patch quilt. I have the quilt top and backing ready to go. I ordered batting on-line because I don’t feel like the 75 miles (round trip) to Jo-Anns. I won’t buy batting at the local store, it’s too expensive. Anyway, it should be here this week and then I can get the quilt pin basted and start quilting it. That is the goal I am submitting for August for ALYOF.

I also have a project that came my way via the New Quilt Bloggers Bloghop. Fabri-Quilt has sponsored an activity for the group. We are each to work with a set of solids and create a block that is of our own design.

IMG_20150803_3649These are the fat eighths that I received this week. I have been cutting and sewing mock ups and so far don’t have exactly what I want. It needs to be original. What exactly does that mean? I can’t really think of a block that hasn’t been used in some way by someone else. Truly, there are only so many ways I can visualize HST’s, squares, triangles and rectangles. So, I am trying to take a regular block and put my own spin on it. That is about as original as my brain gets.  At any rate, this is certainly forcing me to work beyond my comfort zone. In addition to making the block, we will all be writing tutorials for the blocks. That part will be fun and I am really curious to see everyone’s block tutorials. Could be a fun project to make a selection of the blocks and come up with a sampler quilt or wall hanging. Stay tuned for more on this.

IMG_20150803_3646Next on the list, as always, is my RSC15 row quilt.  Last month I veered from the Classic Stitches block but this month I plan to go back to Mari’s monthly block. She wrote up an easy block for this month and the color is indigo, black or gray. I need to look at the quilt so far and choose either indigo or gray, either of which I have plenty of scraps to choose from.

Lastly, if I get around to it, I am going to start making two twin quilts for the beds up at Downieville.  Ray saw me looking at comforters on-line and raised those eyebrows of his – like, really? You are always looking for a reason to sew and you want to buy two comforters?  I shook my head and came back to reality. I painted the room a pale sage green. There are cute curtains (that I thrifted) with a floral pattern of green and violet on a tan background. (Sorry, I don’t have a picture for some reason.) I was at the store last week and they had  a deal where if you bought the end of the bolt, it was 40% off. The tan bolt (I think it was a Bella Solid) was perfect so I bought the remaining six yards. Then I bought a piece of violet and a print.

IMG_20150804_3653It is a good starting point. I don’t know exactly the design yet, but I do know I want it to be big, oversized blocks. I started a board on Pinterest for inspiration. I think with big chunky blocks, both quilts will come together reasonably fast. My hope for this month is to settle on a design and get the pieces cut.

The bedroom will look much better with normal bedding. Right now there is a hodge-podge of linens that I had stashed away. Not exactly pretty. I really love this little hummingbird print. It is called “Windsor Woods”.

IMG_20150804_3654Somewhere in all of this, I need to start working on Etsy items. The holiday season will be here soon. I hope to have plenty of items posted by fall. Last year I was new to the game (actually, I still am!)  I didn’t have enough items listed and sold out quickly. Hope to boost the quantity this year.

Lots of the list. I better get to work!

Linking to Sew Cute Tuesday, Freemotion by the River and Let’s Bee Social. Links to all of these sites are available at the top of the page, under Link Ups.


Downieville Progress

We just got back from a long weekend in Downieville. It is finally starting to come together! Remember we bought this little bungalow on the river last November? (Read more here.) Built some time prior to 1930, it needed a lot of TLC. My husband quickly started to work on the bedroom and bathroom as they were in the worst shape. This weekend was spent painting many pieces of crown moulding and trim pieces for the bedroom door, closet and window. (That was my job.) Ray was installing it as quickly as I could paint it and get them dry. Drying actually took very little time as it is really hot this week. What a huge difference Ray has made in the house so far. He has transformed it.

Ray had a helper when he installed the crown mouldings.  You can see there are two more windows to replace (on either side of the alcove.) Ray hasn’t decided exactly what he wants to do there so that project is on the back burner for now.

image

Here is another corner of the room (the closet.) This picture was taken last February when Julia was pulling nails from the studs for Ray.

IMG_20150102_3052

Here it is now! Nice work Ray.

IMG_20150728_3630Gorgeous, isn’t it? New drywall with actual insulation in the walls (prior to now the house only had minimal insulation in the attic.) Does it get better than that? Oh yeah. New window, paint, trim and carpet. After countless weekends, it is a bedroom!

Did you see that cute chair in the picture above?  Ray and I found that chair at a thrift store that supports Habitat for Humanity. My dad and I spent a fun morning together taking it apart, sanding the wood and staining it.

IMG_20150123_2786

Can you see that the seat is covered with plastic? Lovely!
IMG_20150123_2787

There were approximately 567 billion staples holding that fabric to the seat. Yikes!  We got it 80% done and then the chair sat in the garage for several months. I am sure you know how that goes. Ray and I finally found some time, weeks down the road, to put some polyurethane on it and reupholster it. Much as I loved that pale pink floral fabric covered with plastic, I like this better!

IMG_20150728_3637

It looks so cute in the house as it fits the style perfectly. It is comfortable for reading but I do want to put a foot stool with it. I saved some of the fabric so that I can make a matching one someday.

Now that the home is coming along, we don’t have the pressure to work long hours on it when we are up in Downieville. The pace is more reasonable which allows for some time to play. Over the weekend we had a great time on the northfork of the Yuba river.

IMG_20150727_3607

Julia’s version of Stonehenge.  🙂

IMG_20150727_3611We also took some time to hike around a bit at Sardine Lake which is about 15 miles up the road from the house. It is gorgeous. Next time we will spend the day there and play on the lake.

IMG_20150728_3625While we were up in Downieville, a large forest fire started right on the edge of Nevada City (maybe 15 miles from my house and probably less than 5 miles from my parents’ house.) It is a bad one – not to be unexpected with the dry, hot, drought conditions we are dealing with. The fire is about 60% contained and is burning some 2,300 acres.  Currently there are 1,952 firefighter personnel working the fire. It is amazingly complex to control and battle fires of this size. The smoke is in the air but it is lessening each day. I am so grateful for the teams that are working diligently to contain this fire. Because this fire is consuming rural properties, many animals had to be evacuated and there are teams of volunteers taking care of them at the county fairgrounds. This is a great community. Yesterday a popular, local burger place fed firefighters for free during the day. That is a big undertaking as there are lots of hungry firefighters in town right now.

In case you are worried about my lack of stitching this week, fear not. I did bring up assorted fabrics and Insul Bright to cut and prep a stack of Chemex Cozies. I will be ready for a sewing marathon next week creating more Etsy product. I do love when I have projects all cut and pinned.

Enjoy these last weeks of summer everyone! We are headed to the coast for a long weekend with family to celebrate my in-laws 50th wedding anniversary. It will be a great escape from the triple digit heat and the smokey air!

Linking to Finish it up Friday (I consider the bedroom trim and the chair our finish for the week!)