Category Archives: Sewing Projects

Tutorial – French Press Cozy

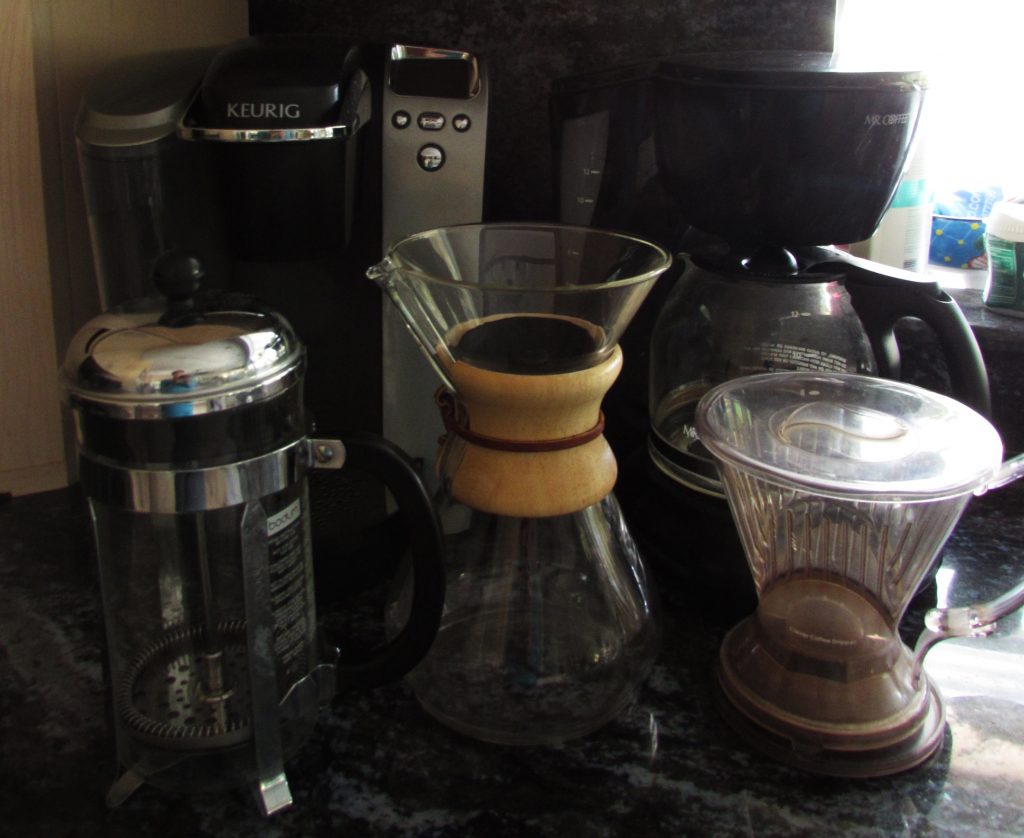
Today I want to share a quick and easy project with you. I have a bit of an obsession with coffee. Currently I have five different methods of coffee brewing in my kitchen. I am always trying out some coffee gadget or method to look for the best cup. I have a Chemex pot, a Keurig, a regular drip coffee maker, a Pour-over, and a French Press. I like all of them and they each have a place in my very deep and sustaining relationship with coffee.

Is there such a thing as too much coffee??

Is there such a thing as too much coffee??

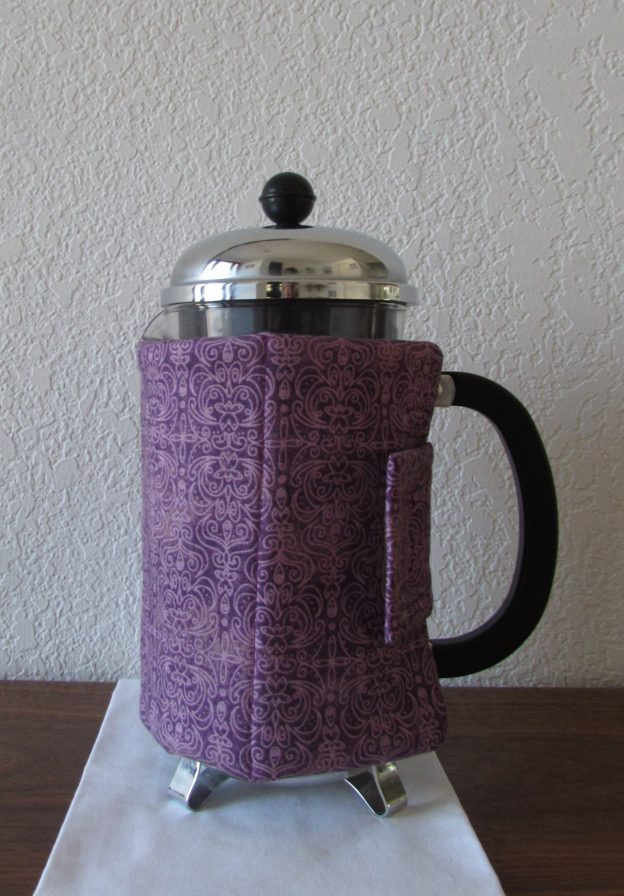
If you asked most coffee lovers, the problem with the French Press and the Chemex is the coffee tends to cool off quickly. I like my coffee near the boiling point, really hot, so I use a cozy wrapped around the pot to insulate it. I have been making cozies for both French Press pots and Chemex pots for a while now and selling them in my Etsy shop. I thought it would be fun to share a tutorial for making a cozy for a French Press with you today.  If you are a user of a French Press this will keep your coffee much warmer. Or, you could make one as a gift for the French Press lover in your family.

Let’s get started.

Materials List:

  • 1 Fat Quarter
  • 1 Batting scrap, at least 7″ x 13″
  • 1 Insul Bright scrap, at least 7″ x 13″
  • 1 scrap batting or Insul Bright, 3.5″ x 3″
  • Velcro, coordinating color, 1.5″ x 1″

Notes:

  • Use a 3/8″ seam allowance unless said otherwise.
  • Right sides together means to put the print part of the fabrics (the good side, the outside) against each other – so the you can see the wrong side of the fabric on the outside.

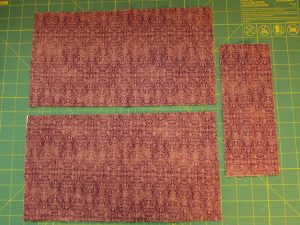
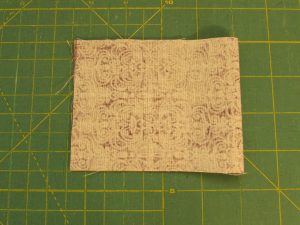
Cut three pieces from the fat quarters. Two at 7″ by 13″ and one piece that is 3″ x 7″.

img_7551

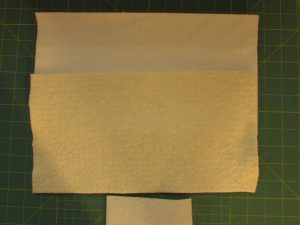
From your batting and Insul Bright scraps, cut one piece of each at 7″ x 13″ and one (you may use either batting or Insul Bright for this one) at 3″ x 3.5″.

If you aren’t familiar with Insul Bright, it is a batting made with polyester fibers that insulates items to stay warm. It is used for things like hot pads, trivets, cozies and can actually be used to line clothing. It is washable but is not microwave safe. There are strands of a metallic, mylar substance in it for the insulative properties.

img_7549

Let’s begin by making the tab.

img_7554

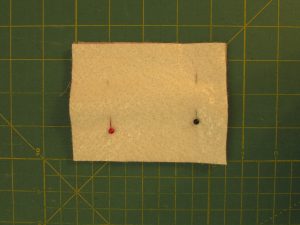
Take the smaller rectangle and fold it in half, right sides together. Then place your small rectangle of batting on top of this and pin.

img_7553

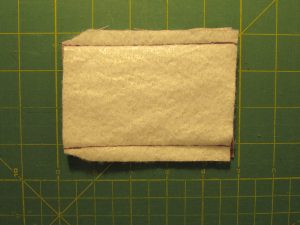
Stitch along both long sides, leaving the short end open. Trim the corners at the end where the fabric is folded – not the open end. This will make your corners less bulky when you turn it right side out.

img_7555

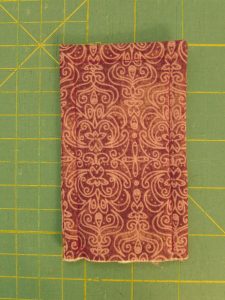
After turning it right side out, use a wooden chopstick or the round end of a pencil to poke the corners out – be gentle here so you don’t make a hole.  Top stitch around the edge at 1/4″ allowance.

img_7556

Use a fabric marker to make a tiny dot at the center of the short, open end of the tab. Set this aside for a moment.

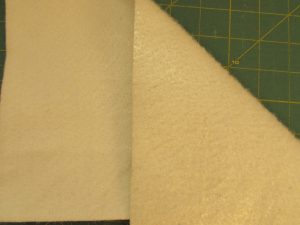
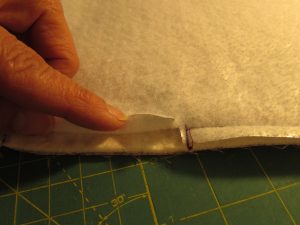
Take a look at your piece of Insul Bright. You will see that there is one side that is a bit shinier than the other, where the metallic bits show – in the photo below, the shinier side is on the right. When using Insul Bright, that side should be placed so that it is touching the inside of the fabric. We will be layering fabric, batting and Insul Bright. For better insulation, the shiny side should be in contact with the fabric, not the cotton batting. This isn’t hugely important though. The manufacturer states that it will only provide slightly better insulation.

img_7552

Let’s assemble the layers for the cozy. Place the Insul Bright on the bottom side with the metallic, shiny side facing down on the mat. Next place your cotton batting on the Insul Bright. Finally place your two fabric rectangles, right sides together, on top of the cotton batting.

img_7561

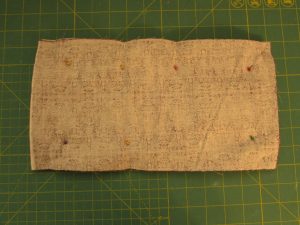
Pin the edges tightly so the layers don’t shift. Next mark a small dot at one of the short ends center point. You will match that dot to the center dot on the tab.

img_7557

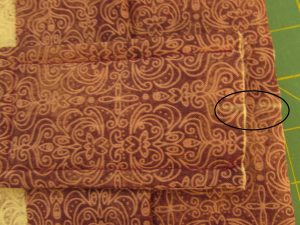
Fold back the top layer of fabric a few inches and insert the tab between the two fabric layers matching the center points on the large rectangle and the tab.Once you slip the tab between the layers of fabric, make sure you have that raw edge of the tab aligned with the short side of the cozy, NOT the finished end. You will stitch the tab to the bottom layers (which would be both battings and one fabric layer). Stitch it with 1/4″ seam allowance so this seam won’t show later on.

img_7559

Unfold that top layer so it is now covering the tab. Pin securely.

img_7561

Starting on one of the long edges, stitch all layers together, around all four edges with a 3/8″ seam allowance. Leave one 3″ opening on one of the long sides. Remember when you are beginning and ending this seam to stop at the opening with your needle down, pivot the fabric and sew off the edge. Reverse stitch about three stitches so that your seam holds while you turn your project right side out.

img_7562

Very carefully, take your scissors and make a small cut in the Insul Bright. It should be only as deep at those stitches you just made. Clip each side and then trim that piece off. This will remove some of the bulk from that seam when you close it up. You will also need to trim each of the four corners, just like we did with the tab, taking care not to snip too closely to the stitching.

img_7563

Now turn everything right side out by gently pulling the piece through that opening. It takes some patience but just work it through the opening.  Then use your fingers to slide the batting layers into place and flatten them. Sometimes they get a wave or lumpy feel from turning it right side out but you can just massage everything flat.  To have nice crisp corners, use your chopstick, or the round end of a pencil, and push the corners out.  I roll the finished edges between my fingers a bit to get a nice flat edge. Then press everything with steam. Carefully fold in the opening seam and hand stitch it closed. Use a hidden stitch, such as the ladder stitch. (If you need a tutorial on the ladder stitch, click here.)

Using your walking foot, quilt a few lines through all layers to hold everything in place. The quilting can be as you like; this piece was quilted with three seams across the rectangle.

img_7565

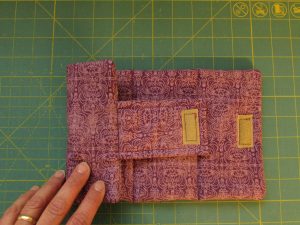
Finally – last thing to be done is to add that small piece of velcro to the tab and the body of the cozy. You will see the velcro is on one side of the tab and the opposite side of the body. The velcro cannot be on the same sides or the closure won’t work! Usually, I sew the piece to the tab first and then line up the body to mark where the second piece goes.

img_7569

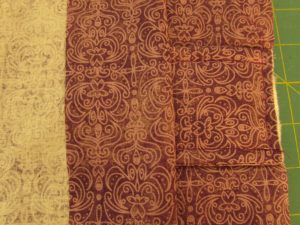
See how the two pieces line up correctly?

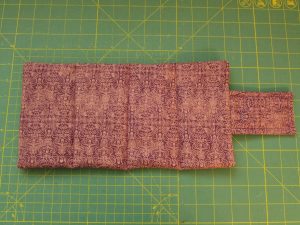
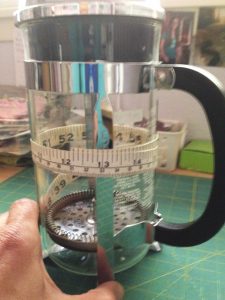
That’s it – easy, peasy. I hope I covered each step without going into too much detail. The finished cozy should measure about 6″ x 12″ (without the tab) depending on your seam allowance. I sized this to fit the 8 cup Bodum French Press. If you have a different model, you will need to measure the height of your carafe to get the height of the cozy. Then measure the circumference of the carafe to get the finished length of the rectangle. (This is easily done by using a cloth measuring tape and measuring around the body of the carafe.) If you carafe is narrower, or skinnier, than the Bodum, adjust accordingly.

img_4003

Should you have any questions, leave them in the comments and I will help you figure it out. If you get a chance to make one, I would love to see it. Post it on IG with #needleandfootcozies. Enjoy your coffee hot, as it is meant to be enjoyed!

Linking to my usuals – see the list of linky parties at the top of the page, under Link Ups!


Mini Charm Pack Finish

I have a quick finish to share with you today. It also means I can check one thing off of my aforementioned Q4 FAL list! Yahoo for checking things off the list. (I derive great satisfaction from such things.)

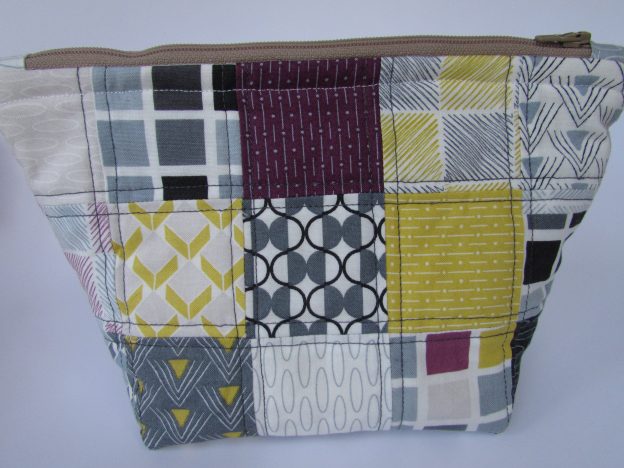
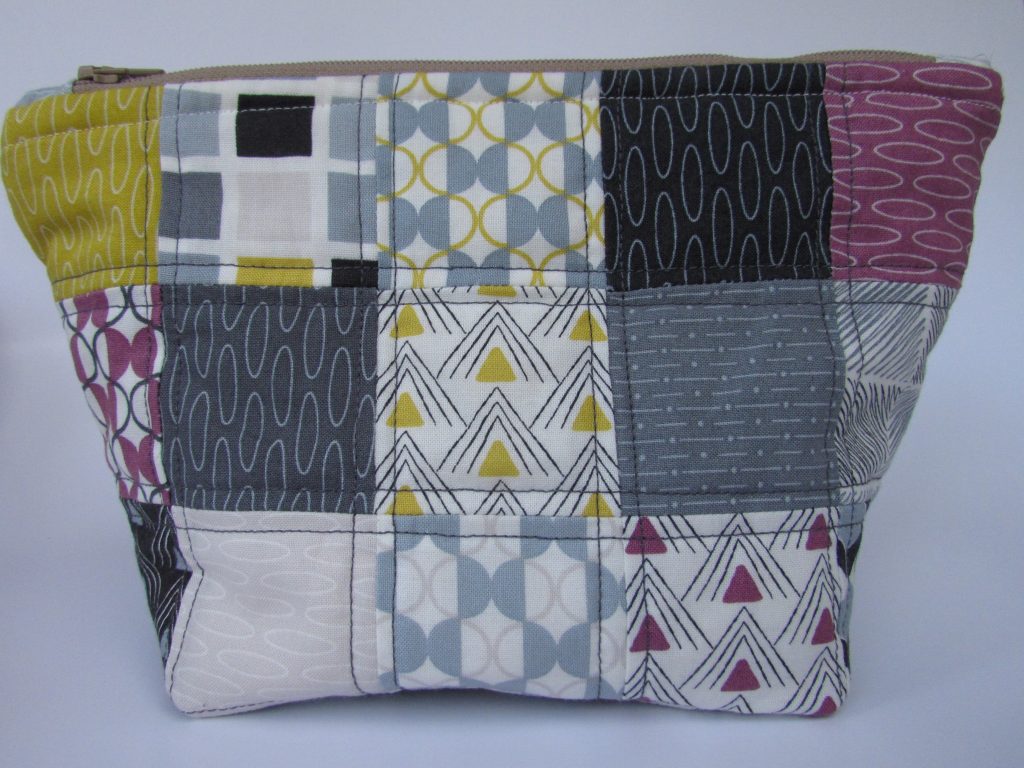
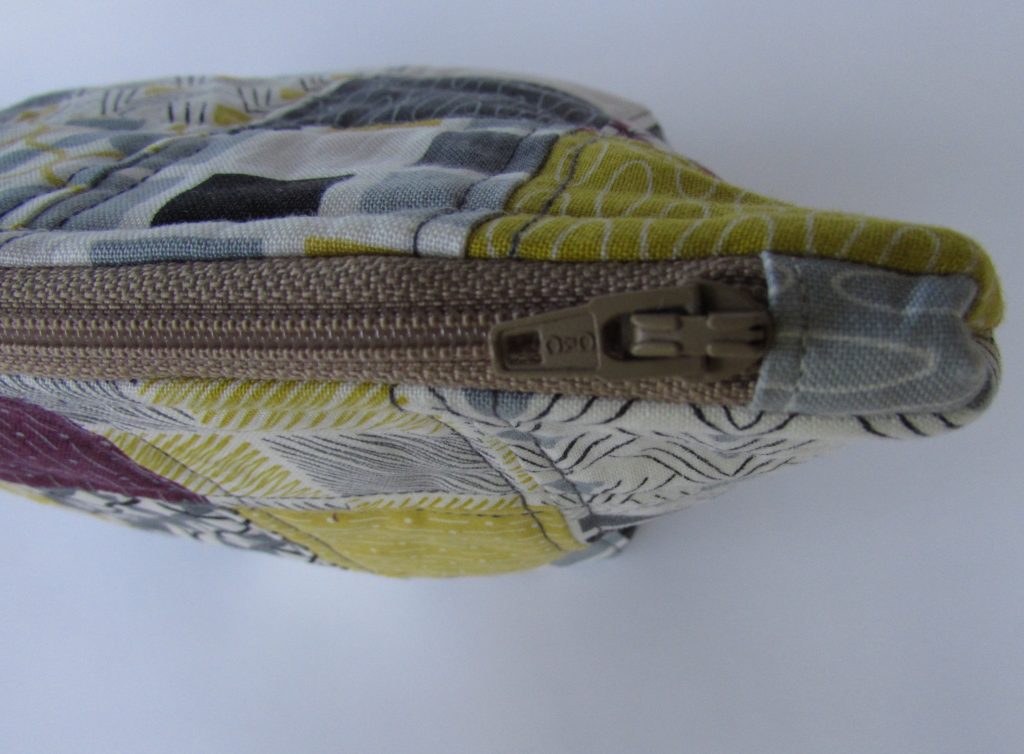
I made a zip pouch with a packet of mini charms. These were the Chic Neutral charms by Amy Ellis. I showed a peek at this project in an earlier post. My sister and I have birthdays that are just three days apart. Actually, three years and three days but who’s keeping track? Um, I am, she’s older. 😉  She sent me the Nani Iro scarf for my birthday and I sent her the zip pouch. It was really simple to make. I used this tutorial by Julie Hirt, published on Moda Bake Shop.
img_7876

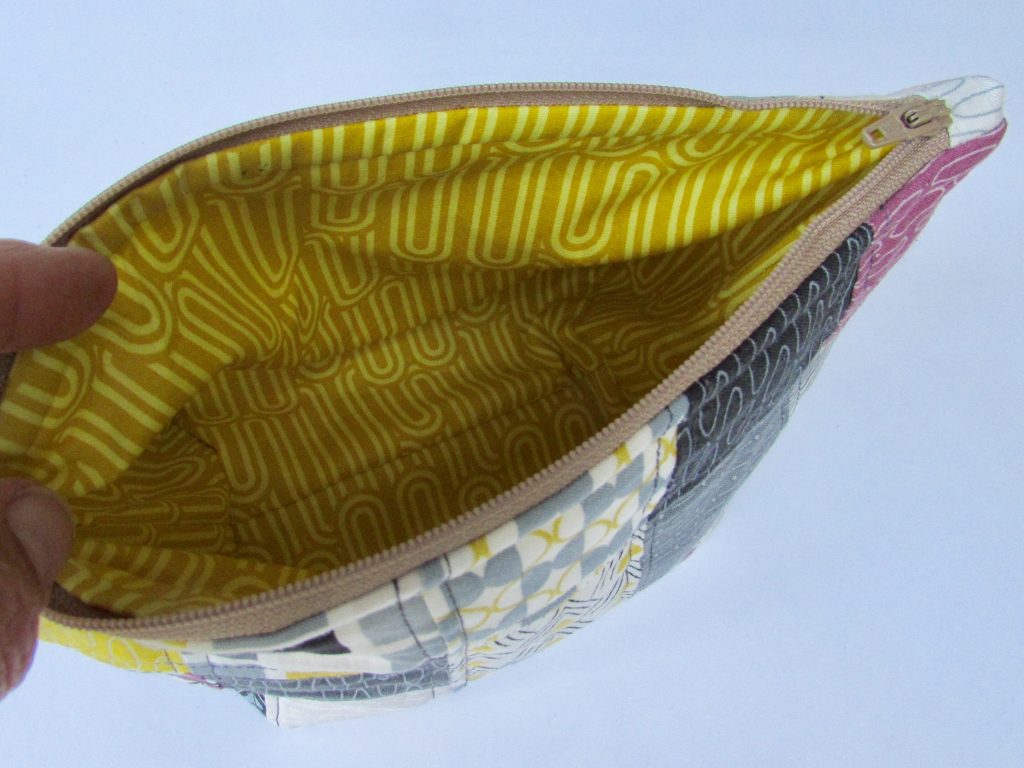
The pattern is clear and quite easy. I lined it with a deep yellow print that was in the yellow stack in my closet. I used a neutral, tan zipper because I had one available.

img_7873This is the first time I finished off the ends of the zipper with a fabric covering. It adds a nice touch but the resulting thickness made it a challenge to turn it tight side out.

img_7880

It is such a cute finish. Hopefully Cathy will finds all sorts of really important things to keep in it!

img_7895

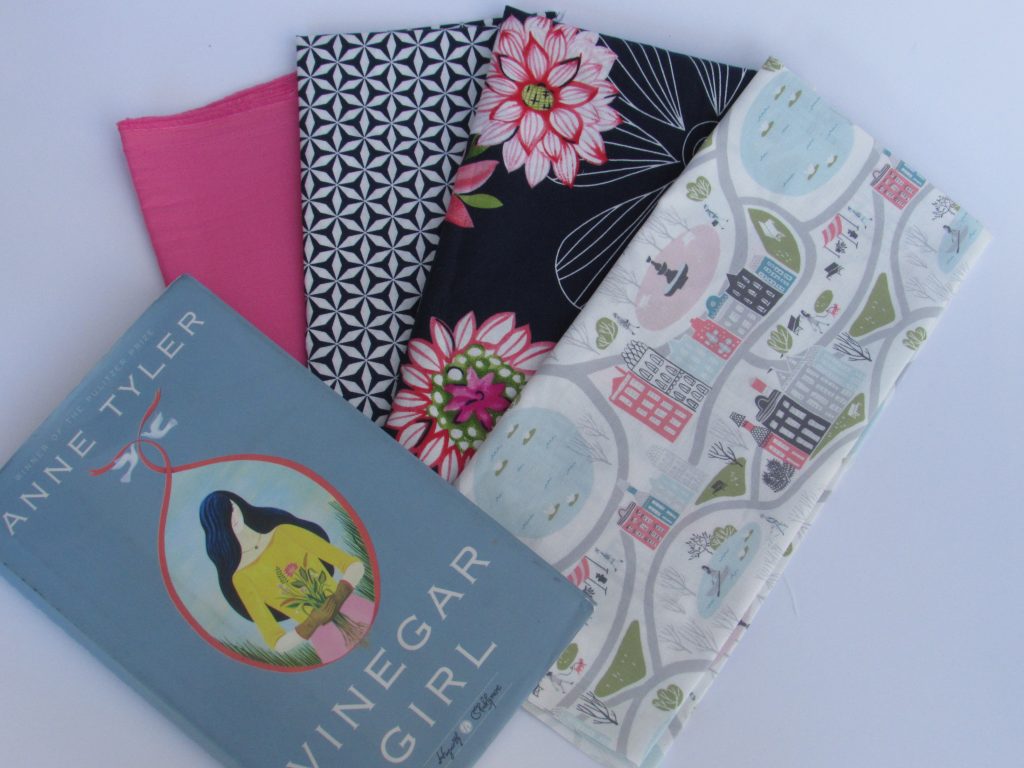
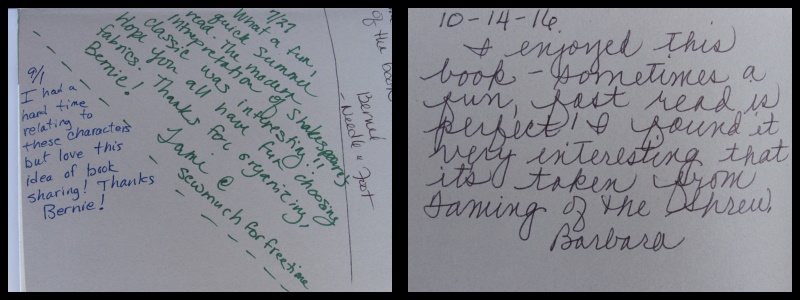
Also, I wanted to tell you that today I received Vinegar Girl, the Summer Book Share, back. This was the first, of many I hope, book that I shared with Needle and Foot readers. I sent it off to Tami in Wisconsin in July. From there, this little book traveled from to Idaho to West Virginia to Durham in the UK, to South Carolina and back to California! That makes me smile. Each person to read the book added a few fat quarters for the next person when the book was sent on. We tried to related the FQ’s to the story. Barbara chose the floral print because the main characters receive a Peony plant for a wedding gift. The print with the city on it represents Baltimore, where the story takes place. What a lovely selection of fat quarters. I will really enjoy using these pieces of fabric! Thanks Barbara! I enjoyed these notes that we left each other on the inside cover of the book.

book-notes

The Fall Book Share has already made it’s way from California to Minnesota to North Carolina to Wisconsin. From there it goes to Missouri and New York before coming back to me. Looking at the upcoming season of holidays, I think the next book share will begin in January.  It would be all too easy for the book to be set aside as busy at this time of year gets. So, look for a new book in January.

autumn-abundance-resized

Linking to my usuals. Find the links at the top of the page, under Link Ups.  Outside of the usually, I am linking up with Elm Street’s Bag It event! Have you checked this out yet? Also checking this project off of my Q4-FAL list for the event over at She Can Quilt!

See you all on Monday for the start of the Autumn Abundance Blog Hop!!

Halloween Linky Party

Welcome to Handmade Halloween!  This is the first time I have hosted a link up and I am really excited about it. When I approached sponsors for prizes for this event, I was thrilled with the generosity of the gifts they provided! You are invited to link up your blog posts, be they brand new or from prior Halloweens, to this post. Each time you link a post, you will be entered into the drawing for prizes. You can link up one post or multiple posts, it is up to you! I invite you to read posts that are linked up. Surely there will be fun projects, costumes, and decorations to inspire you as we move into Autumn.
With fall weather approaching thoughts of all things autumn have begun in earnest. We have picked apples at my in-laws, harvested our mini pumpkins and three billion decorative gourds from the garden, and (finally) have weather chilly enough to wear a sweater. My parents came for dinner on Sunday and by the time they got home, there was a light snow falling. Certainly not enough to accumulate but I think this is the first time I have heard of snow here on October 2nd!

This is the time of year when children begin to plan their Halloween costumes. Julia has always been very independent. She is a person who very much knows her own mind. When it comes to Halloween, she usually comes up with an idea and there is no changing her mind. I thought it would be fun to share a few of the costumes she has picked over the years. While she comes up with the idea, it is up to me to figure out how to make it. She has only once wanted to be something with an easily purchased costume. That was the year she wanted to be a witch, “a pretty and kind witch, not a mean and scary one.” That was the year I got off easy and we picked out a costume at Target. I think she was in first grade?

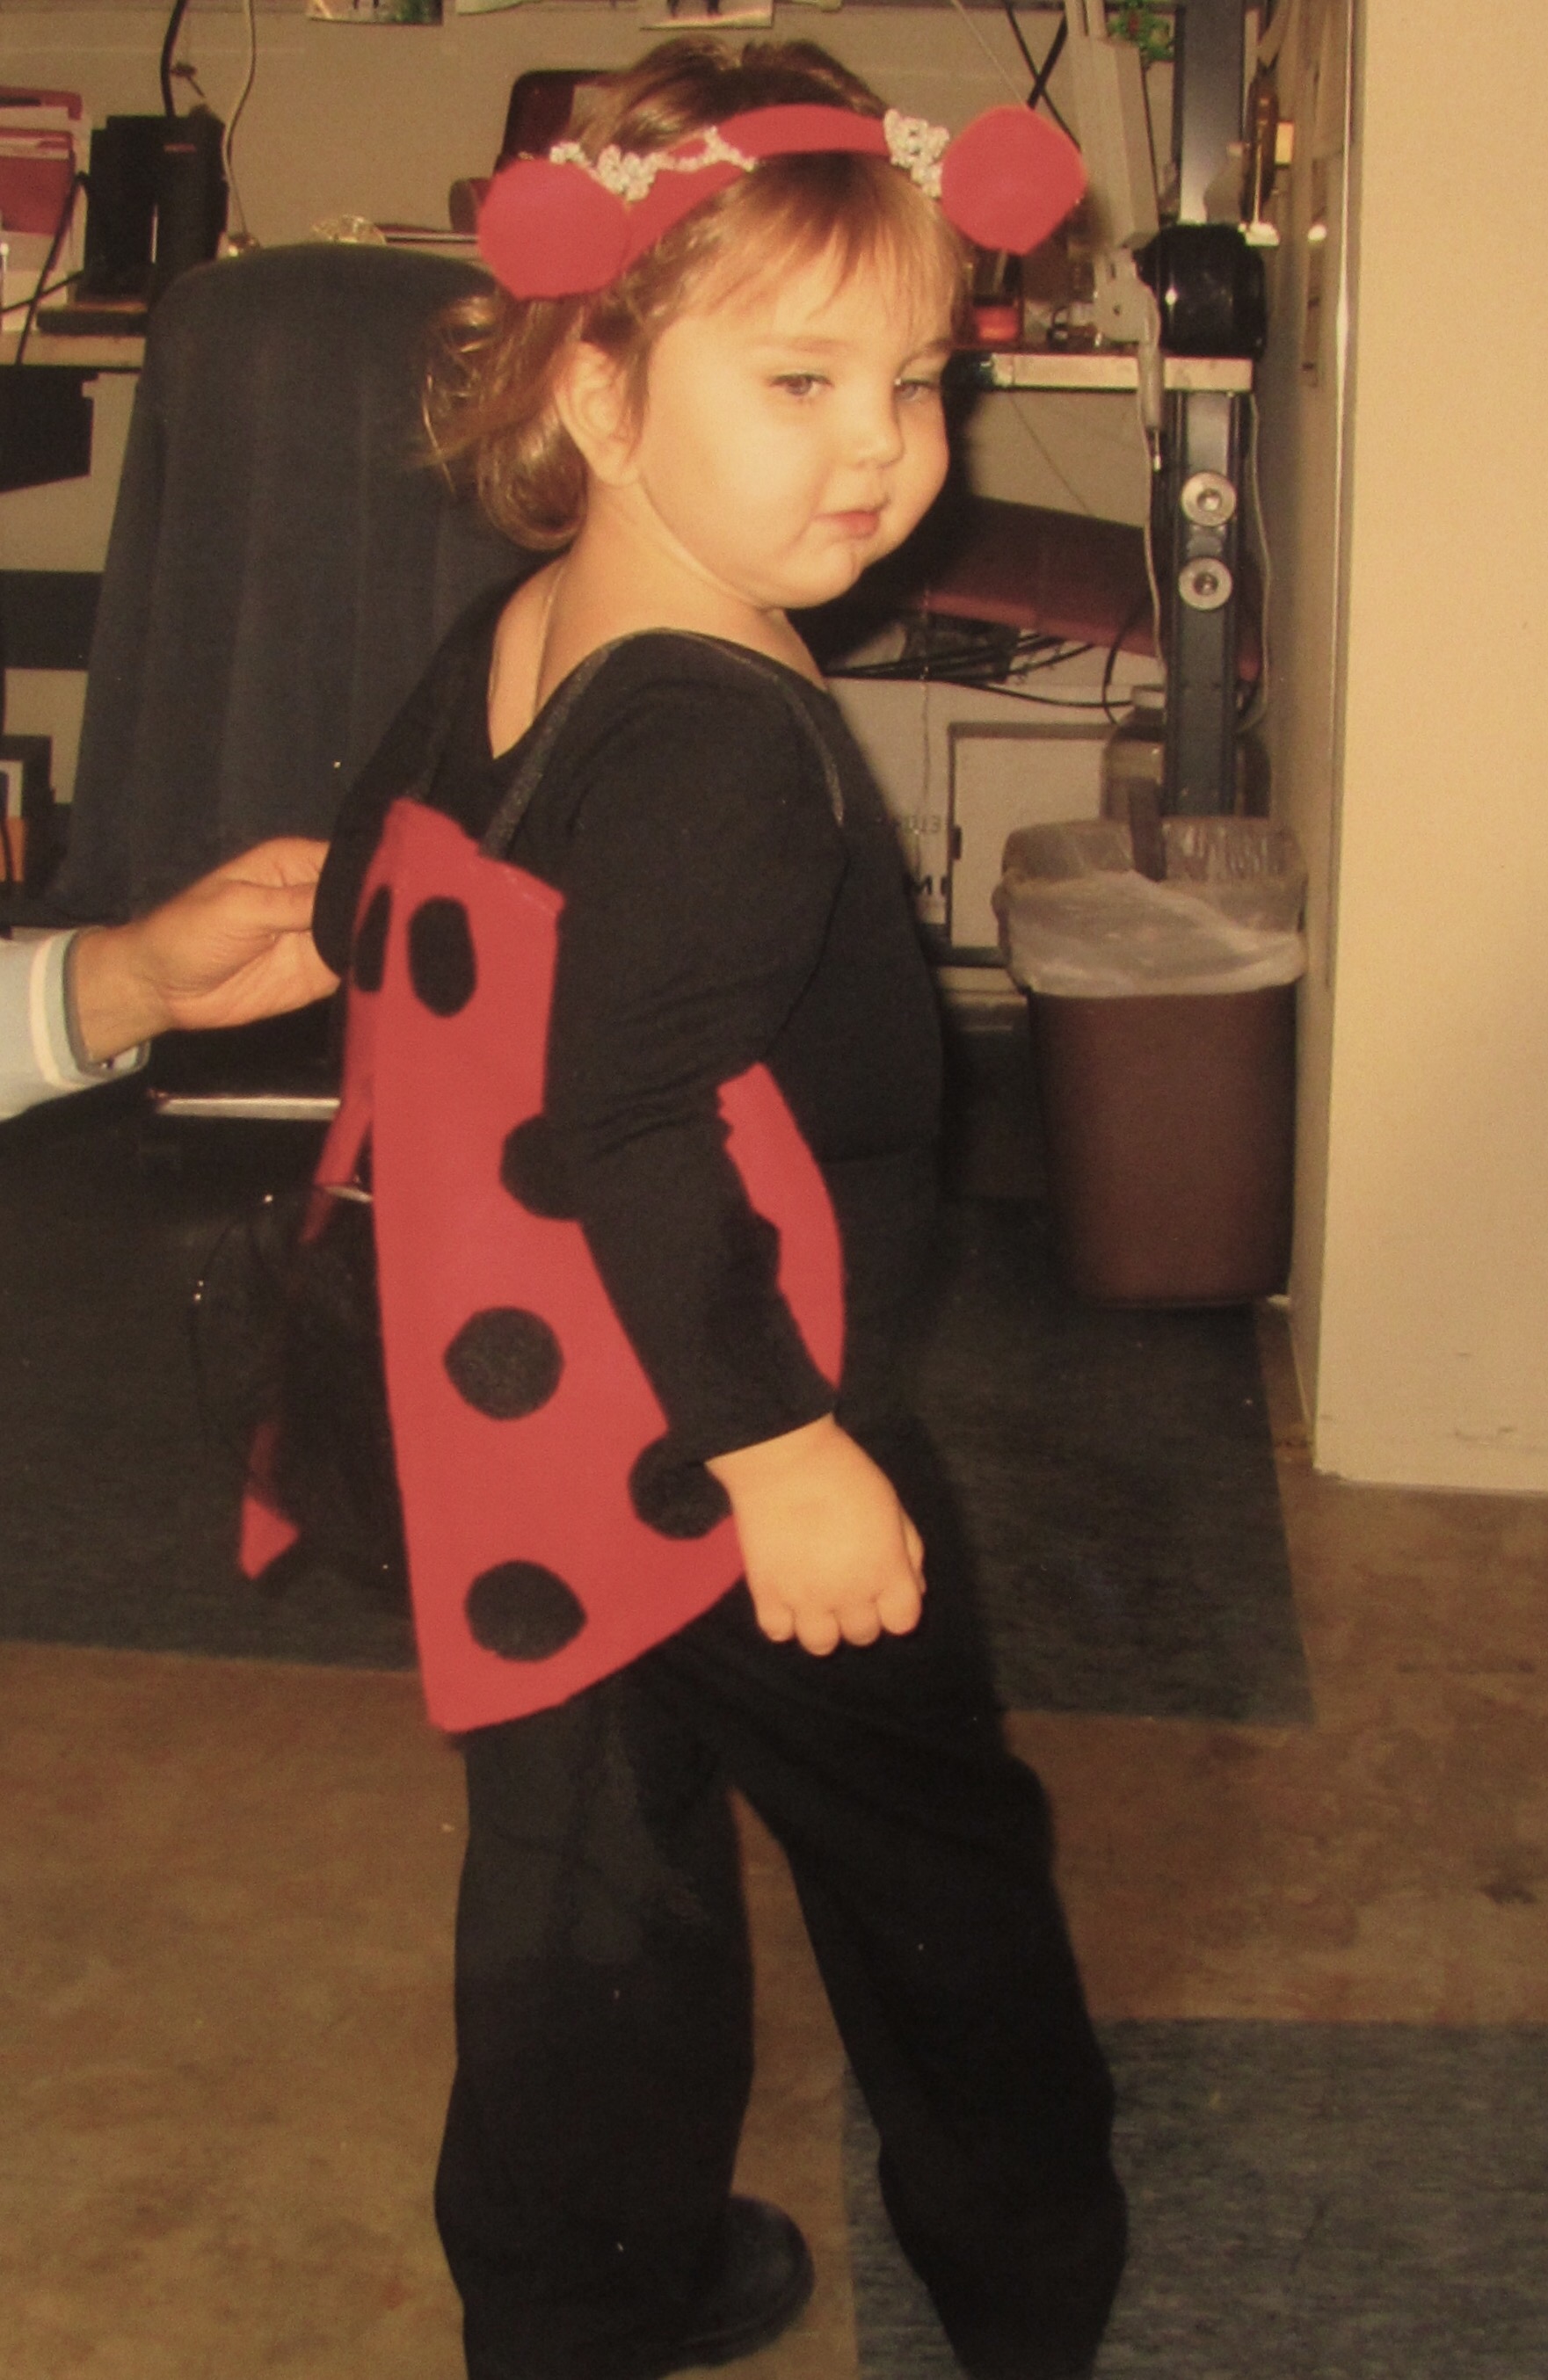
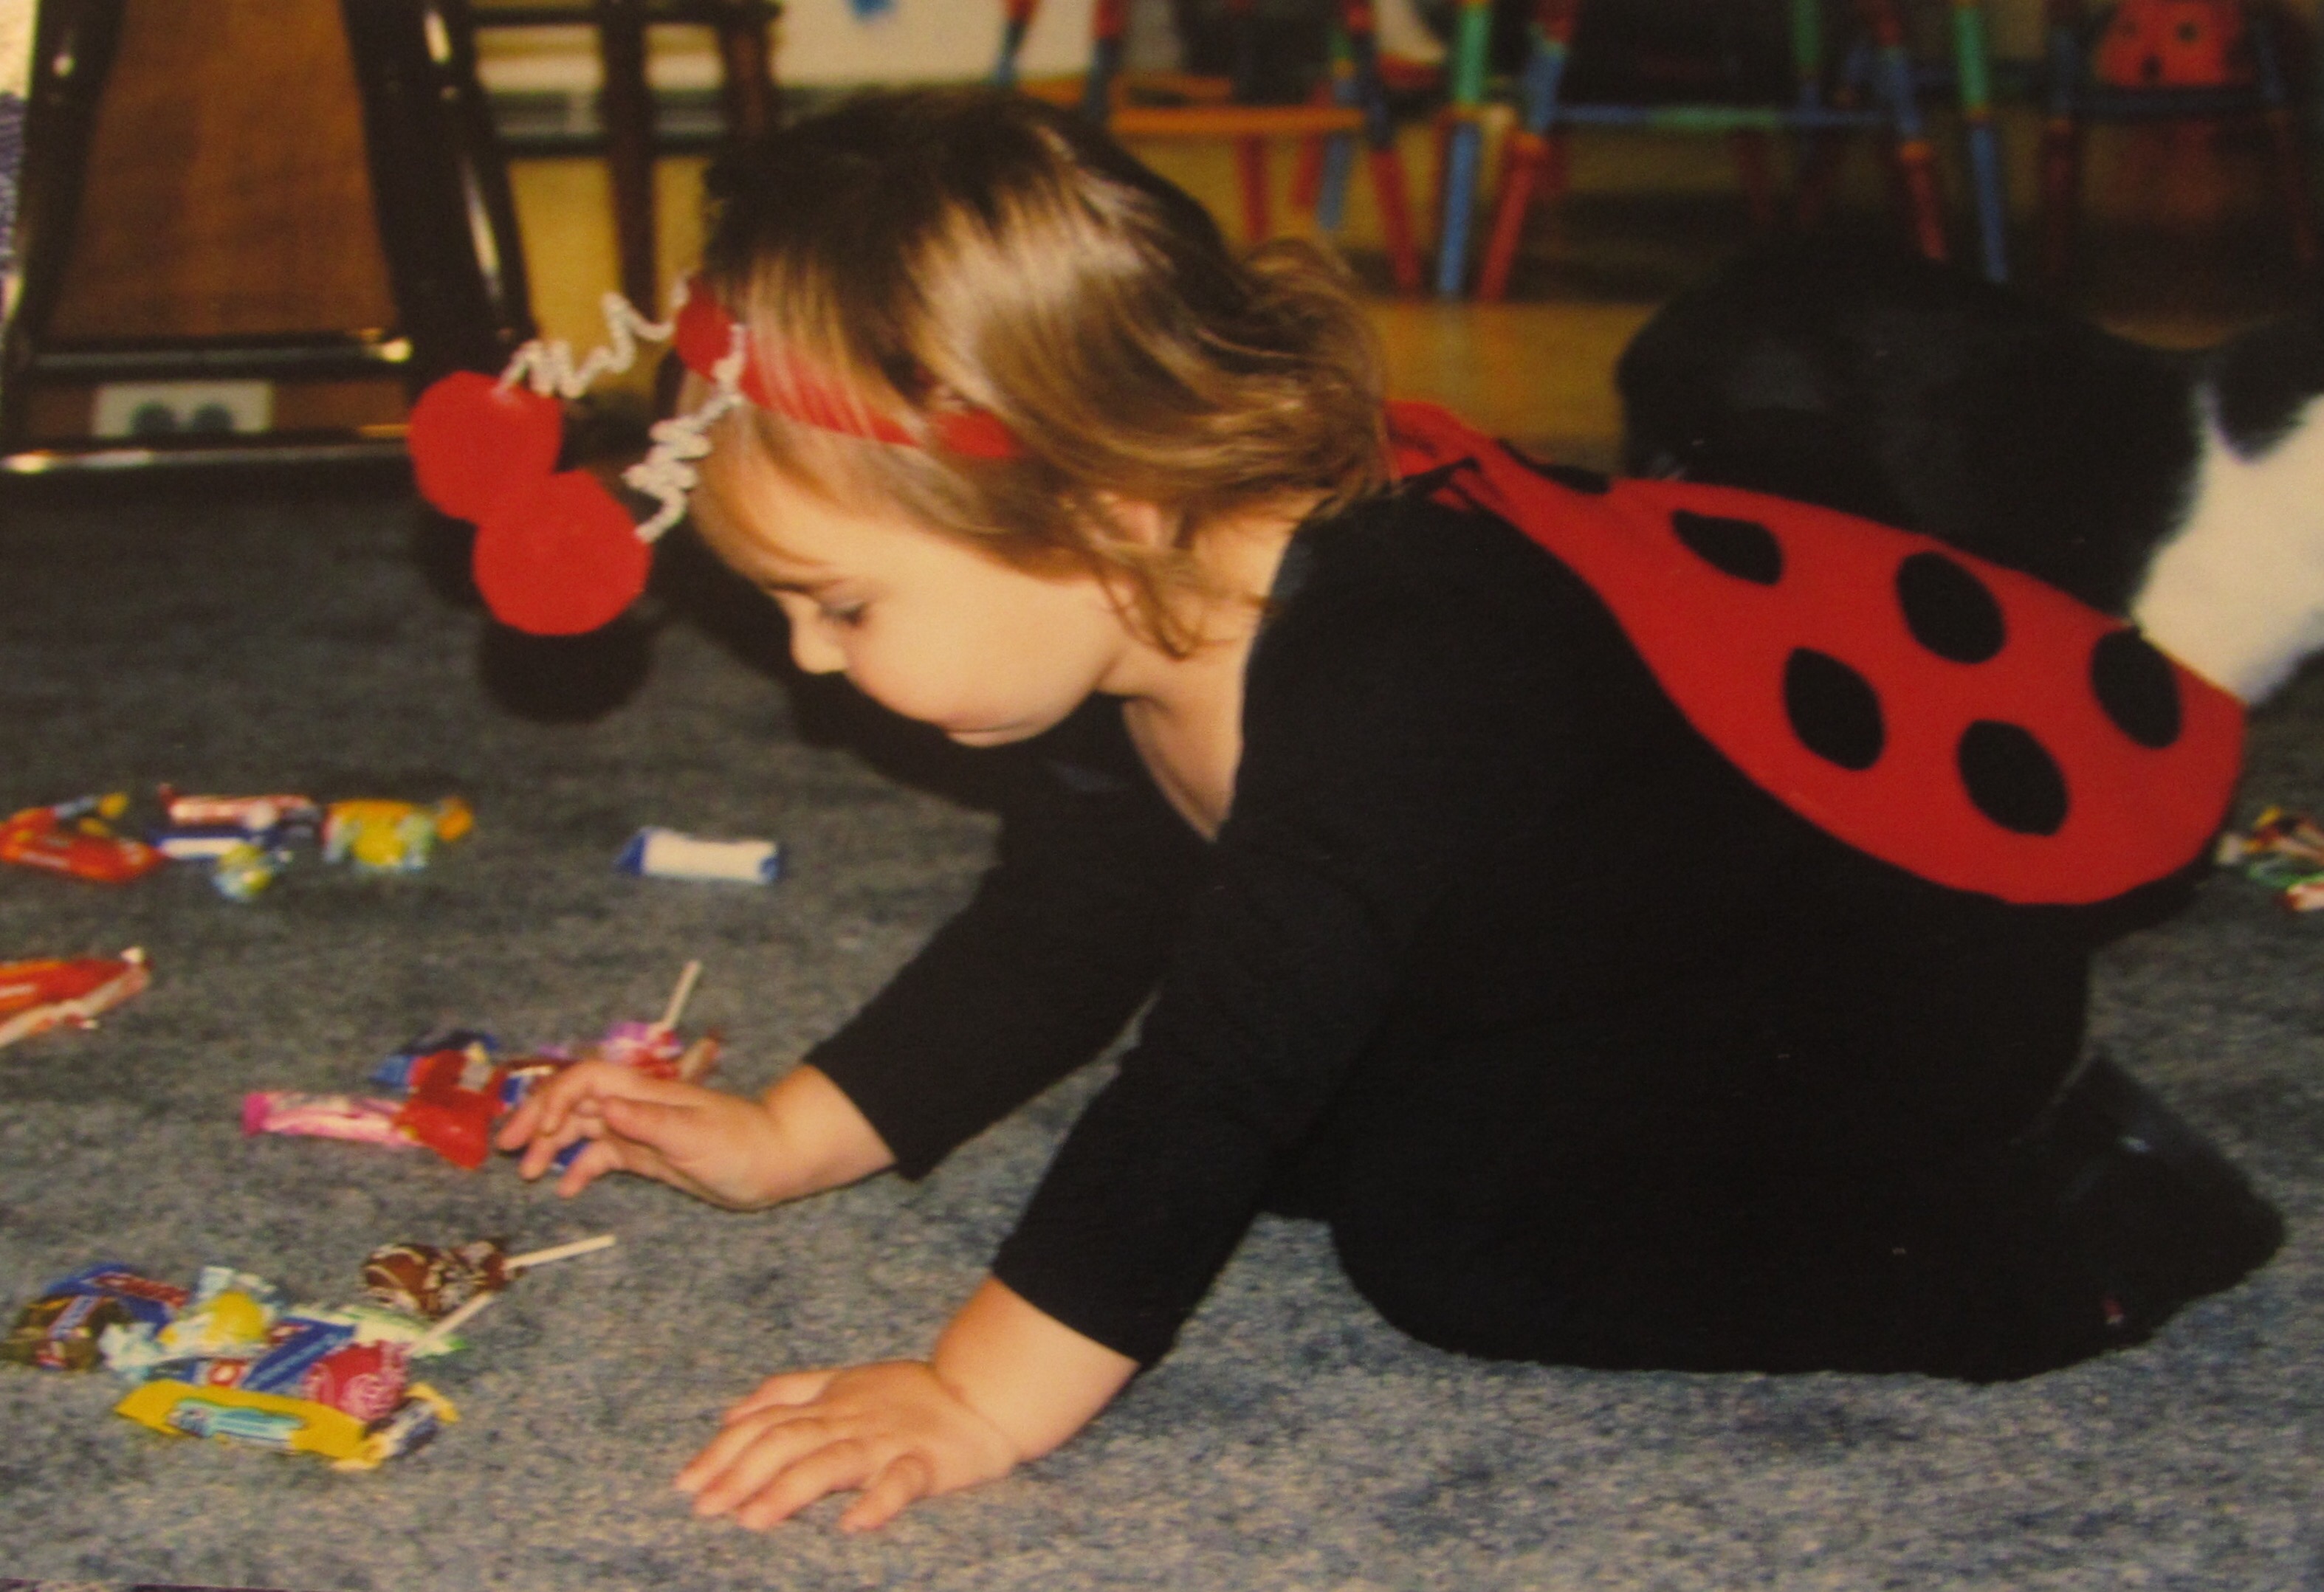
Her first time trick or treating was at the age of two. I made her a set of ladybug wings. She wore black pants and shirt with the wings. Using pipe cleaners and two styrofoam balls, I made little antennae that I attached to a plastic headband. She was adorable. She didn’t actually trick or treat but I did take her to my husband’s office.


She also had a Halloween party at her daycare.


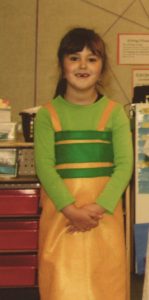
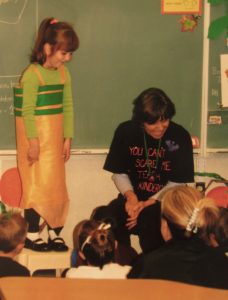
One of my favorites was in Kindergarten when she wanted to be…. Wait for it…. A pencil. What five year old decides to be a pencil? It was so funny. Off I went to buy felt in yellow and green.

This was made mostly with glue sticks and simple stitching. I believe the back of it was fastened with Velcro. I stitched rectangles of green felt over the yellow to make the green stripes at the top of the Ticonderoga and made two little yellow should straps. I even made a little pink felt cap so it would look like she had an eraser on the top. At the last minute, she nixed the eraser hat.  When she got to school dressed as a brand new Ticonderoga, the kids would look at her quizzically and ask her what she was.

img_7341
I am certain she thought they were all ridiculous not to see that she was a pencil. Ah, she was quite proud of that costume. She had such a fantastic teacher in Kindergarten. She had each child stand up and talk about their costume, making each one feel very special.

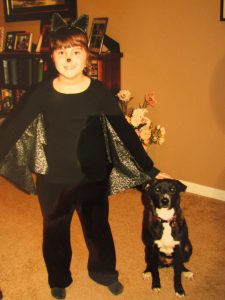
In 2nd grade she wanted to be a bat. I decided this would be a simple one. I made wings with black and silver sparkly fabric and hand stitched the wings to the inside seam of her sleeve and down the side seam of a black long-sleeved shirt.


This was so cute. When she lifted her arms, the wings appeared. She also had little bat ears that I hot glued to a plastic headband.

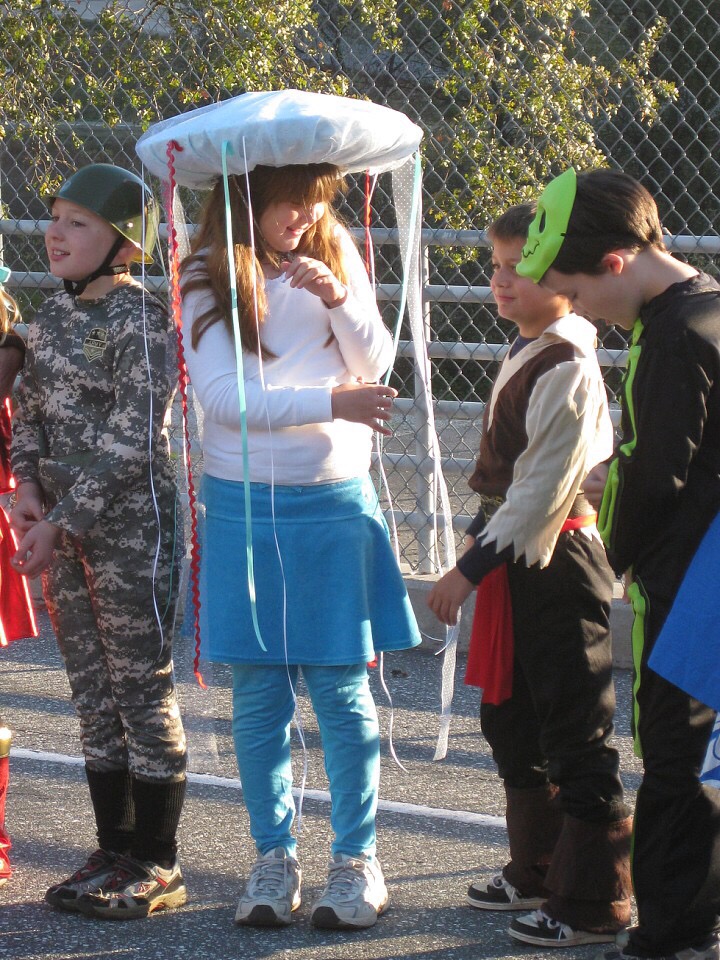
Julia chose to be a jellyfish when she was in 3rd grade. For this she wore blue sparkly leggings and skirt. We took an old sombrero and covered it with fabric and tulle over the top (lots of hot glue went into this costume!) Then we cut many lengths of ribbon and Rick-rack and glued them all around the brim of her jellyfish/sombrero hat.


She looked adorable, though again,many kids didn’t really get what she was dressed as.

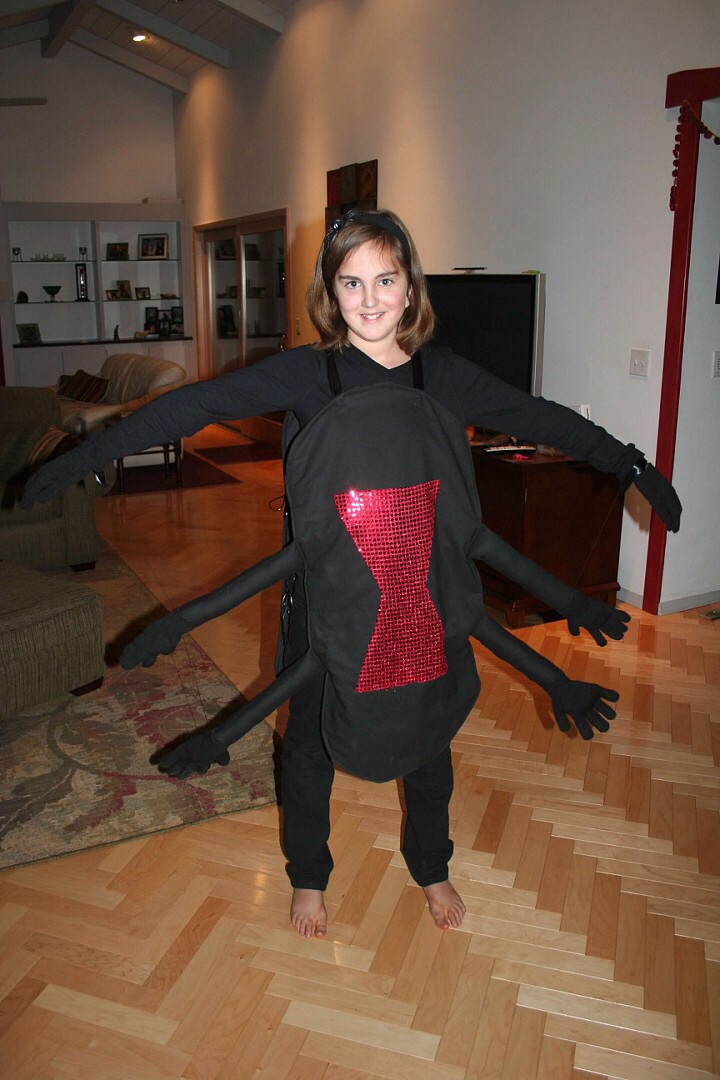
In fifth grade Julia asked to be a black widow spider. I love this costume; it is definitely one of my favorites.


We used a black shirt and pants as the base. I made a large oval for the front and back and attached shoulder straps to each piece. Then I made ‘legs’ with black fabric, stuffed with poly stuffing. At the end of each ‘leg’ was one of those little black knit gloves that you can find in a bargain basket at Target. I stitched one hand to the next so that when she lifted her (real) arm, all of the legs came up with her.  We bought some flashy red, sequined fabric to make the tell-tale spot on her belly, signifying that she was a black widow.  This year the kids knew what she was.

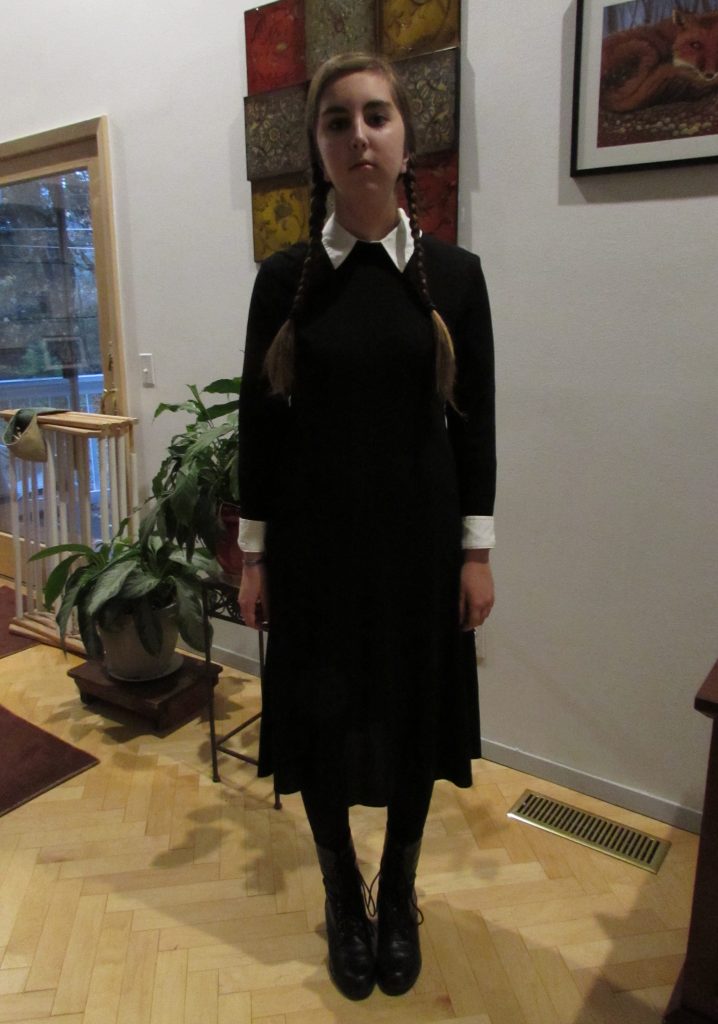
In seventh grade Julia went to a Halloween party. She dressed up as Wednesday Addams, from the old tv show, The Addams Family.

20141031_2032

We found the black dress at a thrift store. It was a heavy knit dress and was far too long. I cut the bottom off and didn’t even finish off the hem. She put a white collared shirt under it, added black tights and boots that she already had. In my opinion, the long braids are what really turned her into Wednesday Addams.

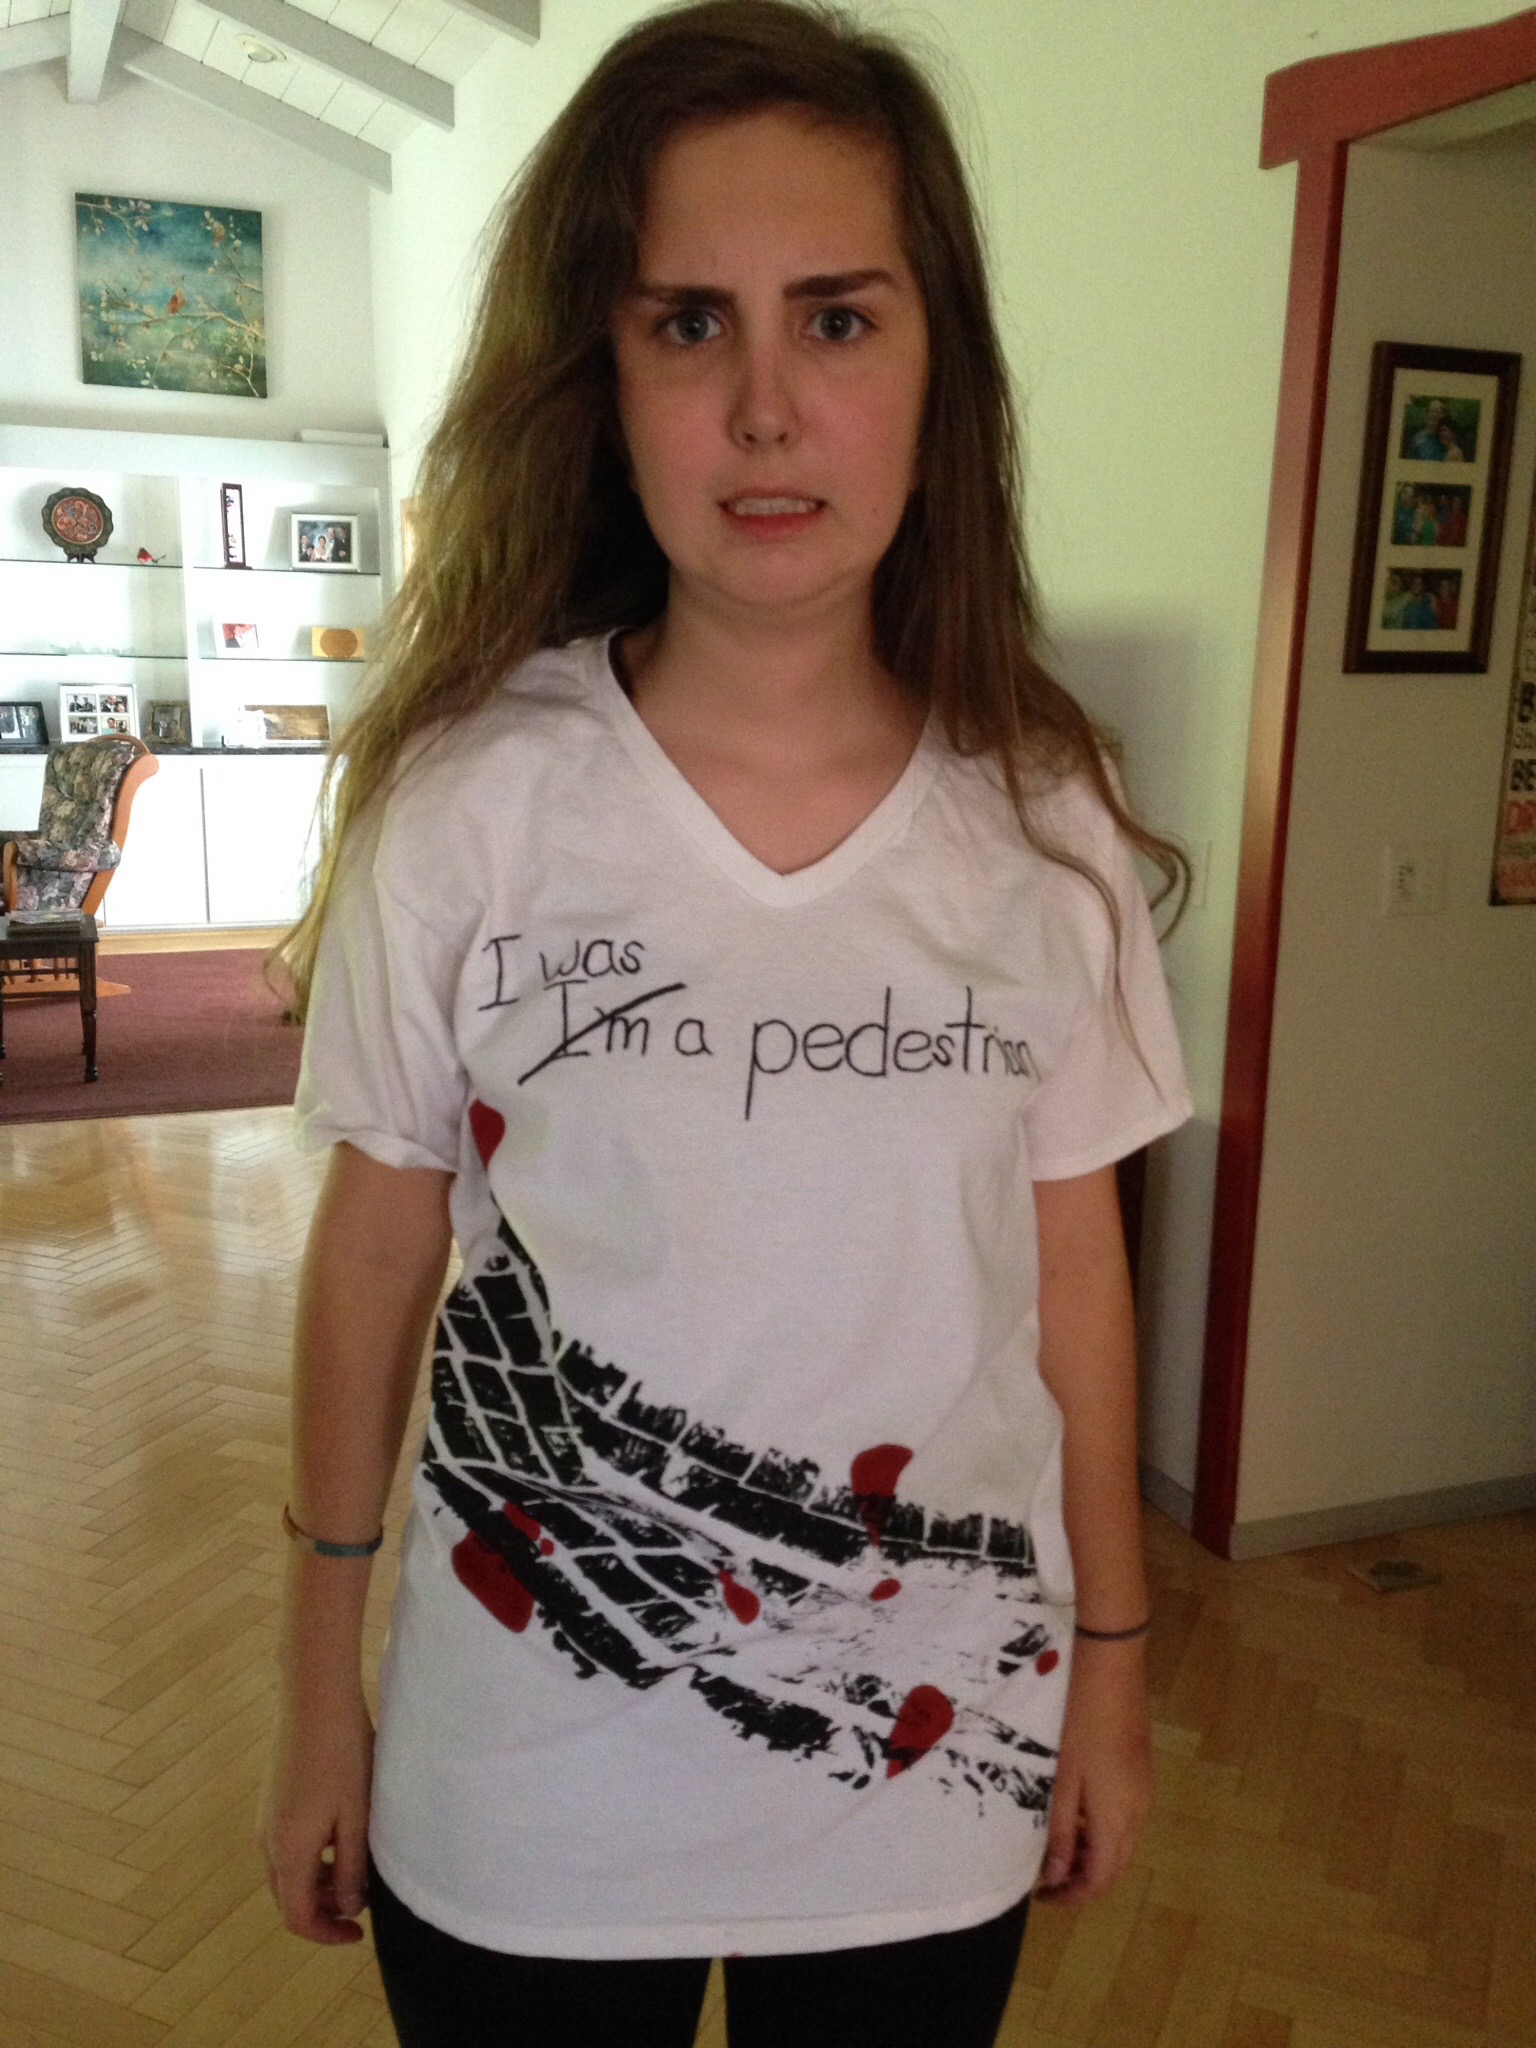
Last year she went to a Halloween Dance held by her high school. She had planned to use her Wednesday Addams outfit since she still had all of the pieces and this was a new group of friends who hadn’t seen it when she first wore it. However, the afternoon of the dance she changed her mind. She decided to go with a more macabre idea and became a pedestrian who had been run over.


The process for making this tshirt was hysterical. Remember, this is the afternoon of the dance so we were working fast. She needed to make the shirt and have time for it to dry. We thought about it and quickly decided to literally run over the tshirt with my car to get the tire track marks. We took black acrylic paint and painted my tire and then strategically place the tshirt on the ground and slowly drove over it. We took a few test runs over pieces of cardboard first so we could see how much paint we needed to put on the tire. She, very wisely, put a fresh piece of cardboard inside the shirt so the paint wouldn’t bleed through to the back side of the shirt. Once she was happy with the tire tracks, she ran into the house with it and dried it with a hair dryer. She added the fake blood and off she went. I thought it was hysterical and it was the fastest costume ever.

Here we are, in the first week of October and she hasn’t decided what she will be this year. Hopefully she will come up with something before the day of the dance!

Halloween doesn’t have to be too fussy or expensive. These costumes were easy to make and didn’t break the bank. If you have any questions on the process for any of them, leave them in the comments.

Now for the real fun – let’s talk about the giveaway prizes! There are some really fun gifts for you!

Lorna McMahon, of Sew Fresh Quilts, has provided a gift of $15.00 to her shop. If, by some very small chance, you aren’t familiar with Lorna’s patterns, click here and take a look. Lorna has some of the cutest quilt patterns, many of which feature little critters- raccoons, farm animals, fish, chickens, and squirrels for example. Lorna has so many fun and creative ideas.

Craftsy has donated five free classes! You know how I feel about the classes over at Craftsy. There are so many to choose from!

C&T Publishing has donated five $20.00 gift certificates. C&T publish many of the amazing craft, sewing, knitting and quilting books that are widely sold in bookstores and online.

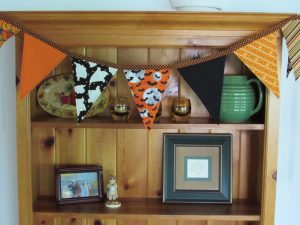
img_20150828_3743

Finally, I made two Halloween buntings to give as prizes. They are similar to the one pictured above.

Each post you link up counts as one entry into the giveaway.

You are welcome to link up from your Instagram or Flickr accounts if you aren’t a blogger or prefer that media.

Please take a moment and enjoy some of the other link ups. Leave a little comment love as you go.

Have fun and thanks for coming to the party!! Link ups will remain open through Saturday night so if you haven’t finished your post, you can still link up over the next couple of days. Drawings for prizes will happen Saturday evening and winners will be posted first thing Sunday morning. (I will also email the winners.)


Reusable Lunch Bags – A Tutorial

I am all about reusing and recycling.  We try to minimize our garbage by recycling everything, composting all that we can and feeding many of our kitchen scraps to our chickens. As for single use plastic (e.g. zip lok bags), I really try to avoid them and when I do use them, I wash them and re-use them again and again because plastic just doesn’t break down or biodegrade. To that end, we have been using reusable bags for packing school and work lunches for the past several years. At this point they are looking pretty grungy.  As usual, I hopped on Amazon to order some. Looking at the price ($25.90 for only three bags) and the simplicity of the bags, I decided to make them.

I wrote a tutorial for these bags a few months ago but had purchased the wrong fabric and found out it wasn’t food safe. I asked readers if anyone knew of a food safe fabric and lucky for me, Gayle of Pedal Sew Lightly, responded right away with a link to Wazoodle.

I quickly purchased a piece of PUL from  that measured 18 x 60 inches (one half yard) and a strip of velcro for less than $15.00. Thus far, I have made three reusable bags (sandwich size) and I have plenty of fabric to make a few more. Yay for knowing how to sew, right?

These are extremely quick and easy to stitch up. Here are the instructions.

Materials required for one bag:

  • PUL fabric:  8 inches x 17.5 inches
  • Thread
  • Velcro: 8 inch strip that is one inch wide

Note: PUL is very slippery fabric. I used a walking foot when sewing because having the extra traction of the walking foot made it so much easier to stitch. Maintain a light hold on the back side of the fabric, as though you are guiding it through the machine. Hold it but don’t pull on it.


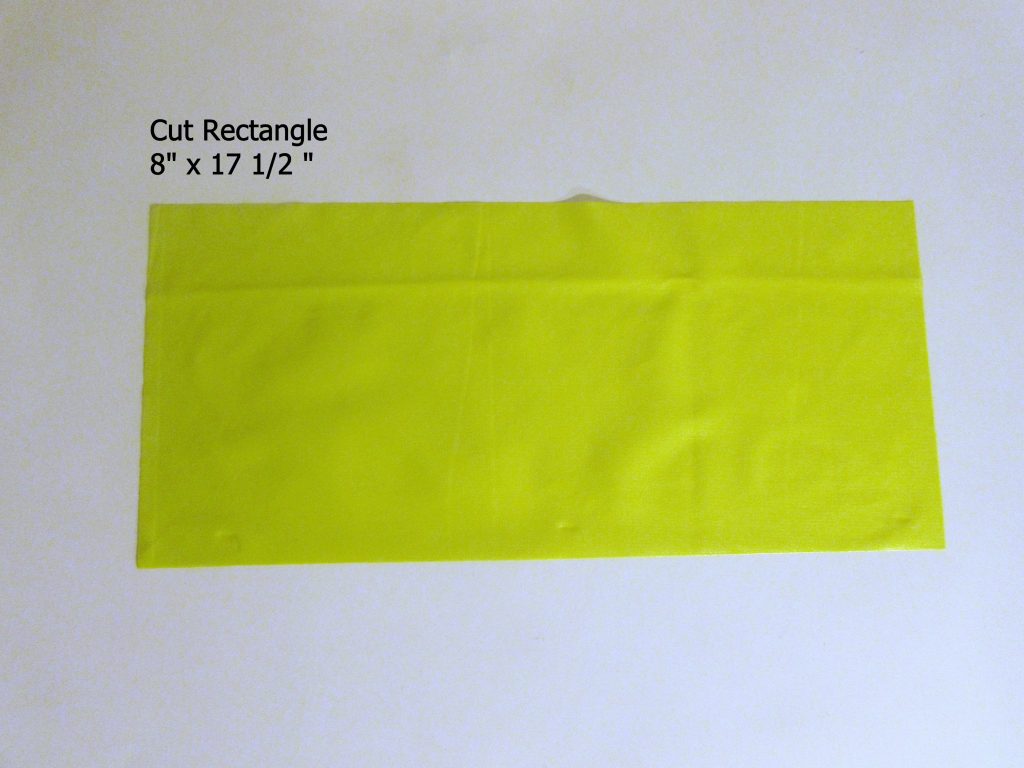
  1. Cut your rectangle of fabric.

IMG_7244


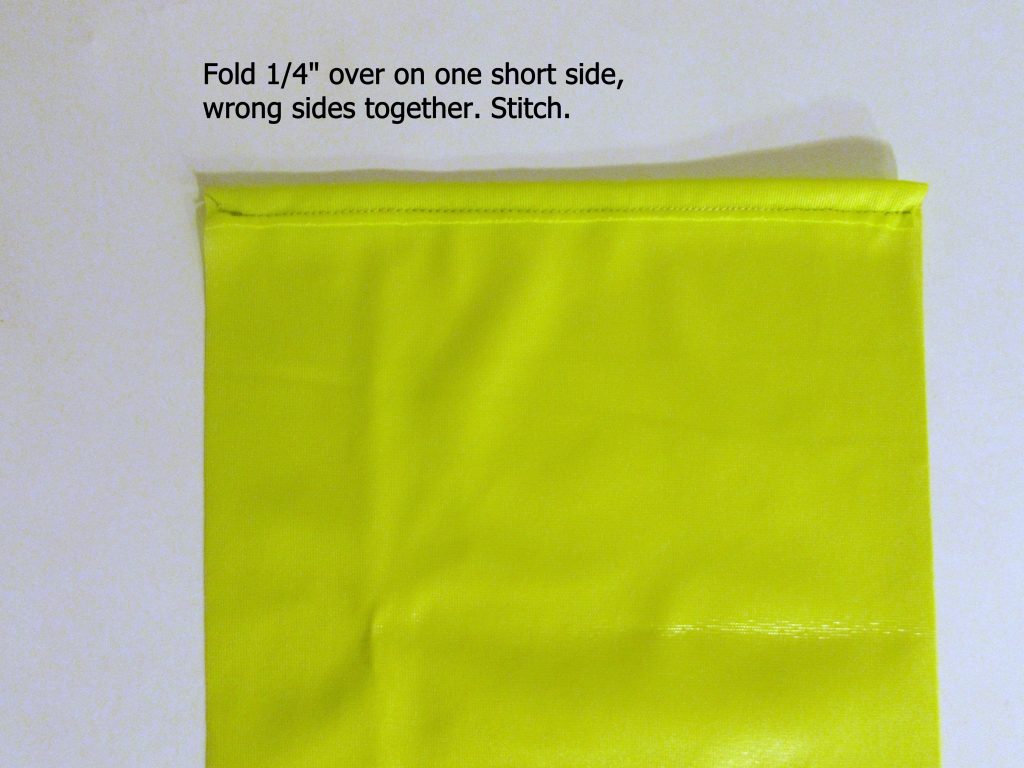
2. Finish one short edge.IMG_7245

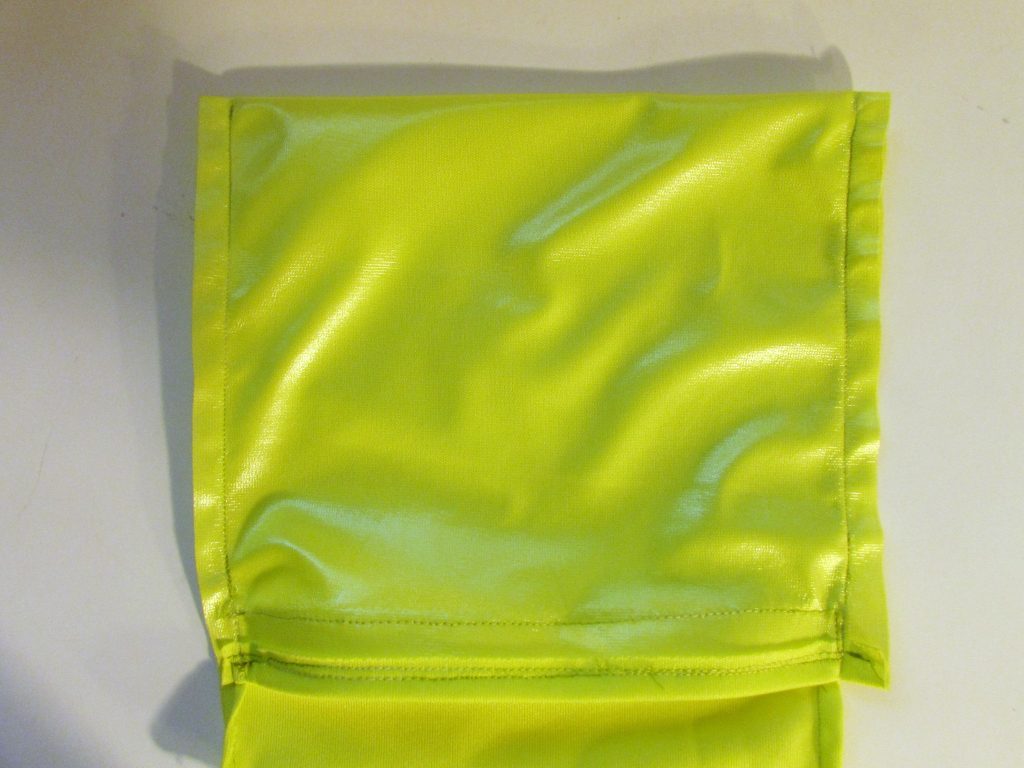
3. Fold right sides together, leaving about 3 inches extending above the opposite side. Stitch sides together with a 3/8″ seam, catching each edge of the velcro in the side seam. Then turn the bag right side out.

IMG_7264


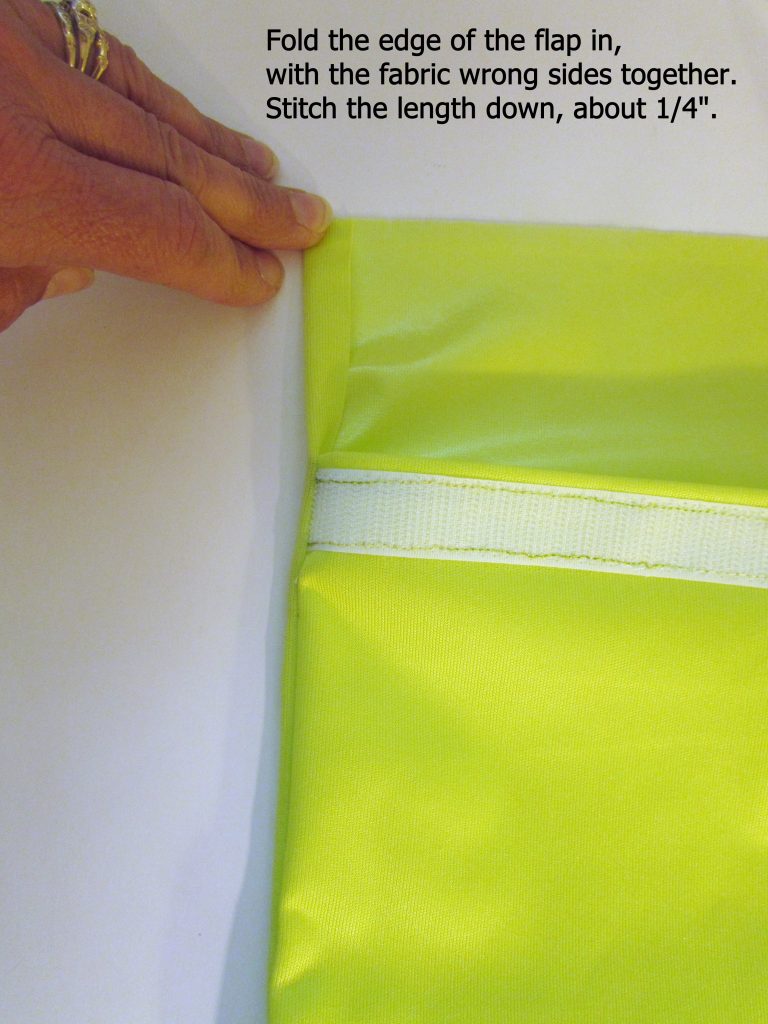
4.Finish the each side of the flap by folding over 1/4″ to the inside and stitching.

IMG_7257

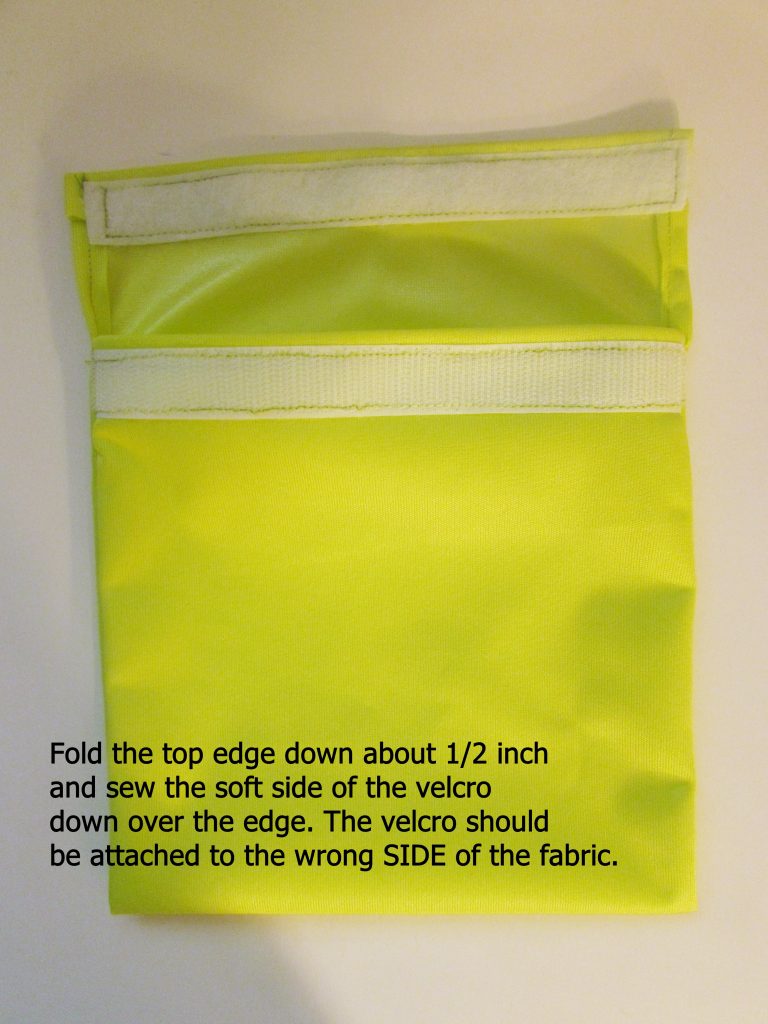
5. Fold over the top of the flap, bringing it to the inside. Sew the velcro to the inside of the flap, on top of the part you folded in. You may choose to pin this but I just stitched slowly and held it on top of the folded piece. It is a bit tricky because  the PUL is slick so take your time and stitch slowly.

IMG_7259


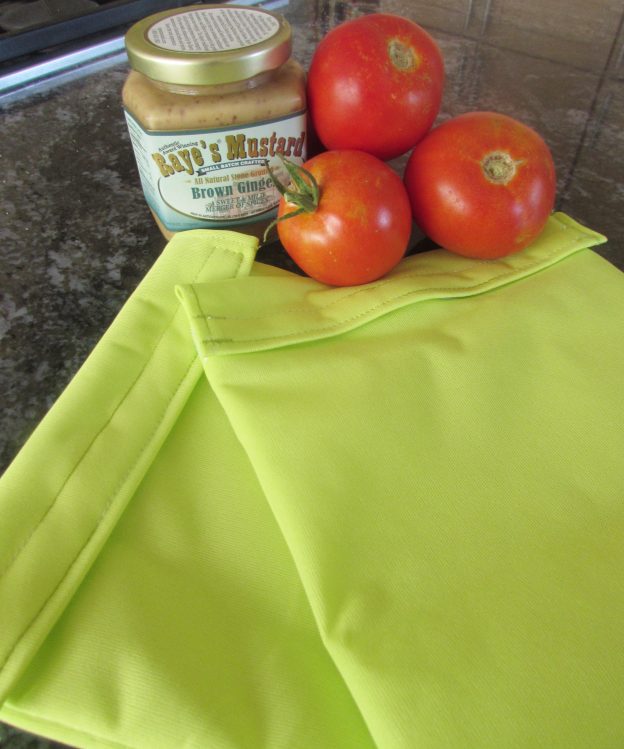
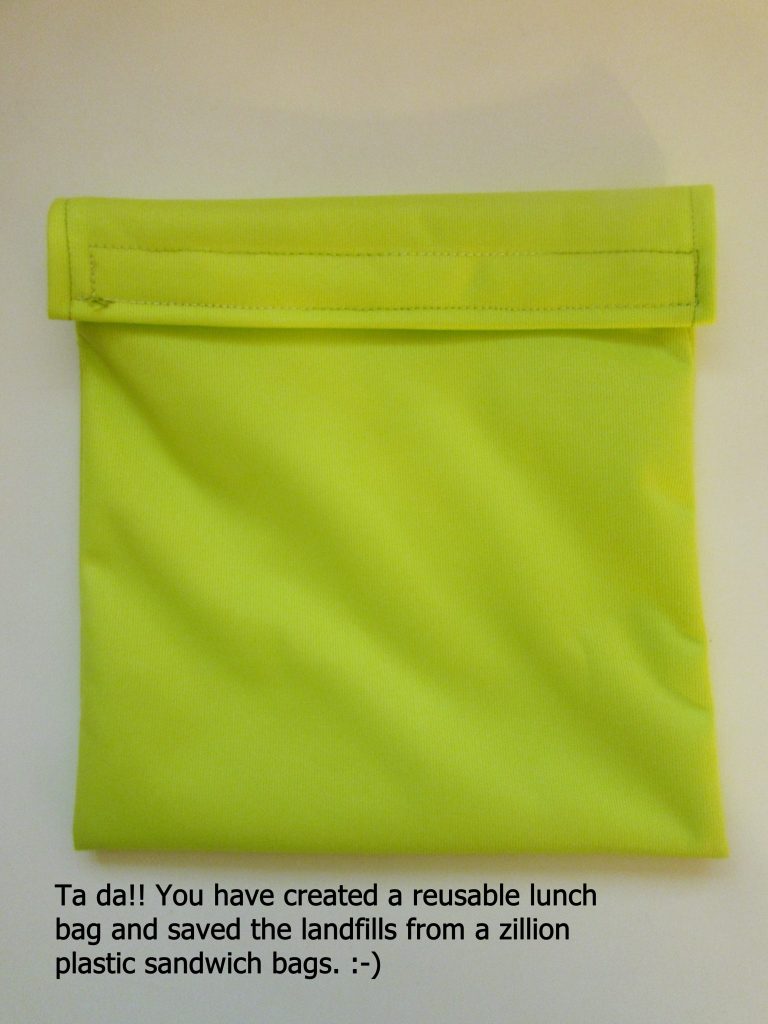
Finished! Not so hard, right? The first one took a few minutes as I got used to working with the PUL.  The following two took less than 20 minutes each to make – these bags are that simple.

IMG_7260

Let me know in the comments if you have any questions. Hope you will make a few of these and reduce the need for zip lok bags, thus reducing the amount of plastic in our landfills.

Linking up to my favorites. For more info, click on Link Ups at the top of the page.

241 Tote, Version 3

Recently a friend of mine had a birthday. We used to work together for the same company. Since I retired (maybe five years ago?) we try to get together every so often for lunch or coffee. Sometimes we are good about it and set a time each month or so. Other times, we get busy and months pass. But we always find time when either of us celebrates a birthday.

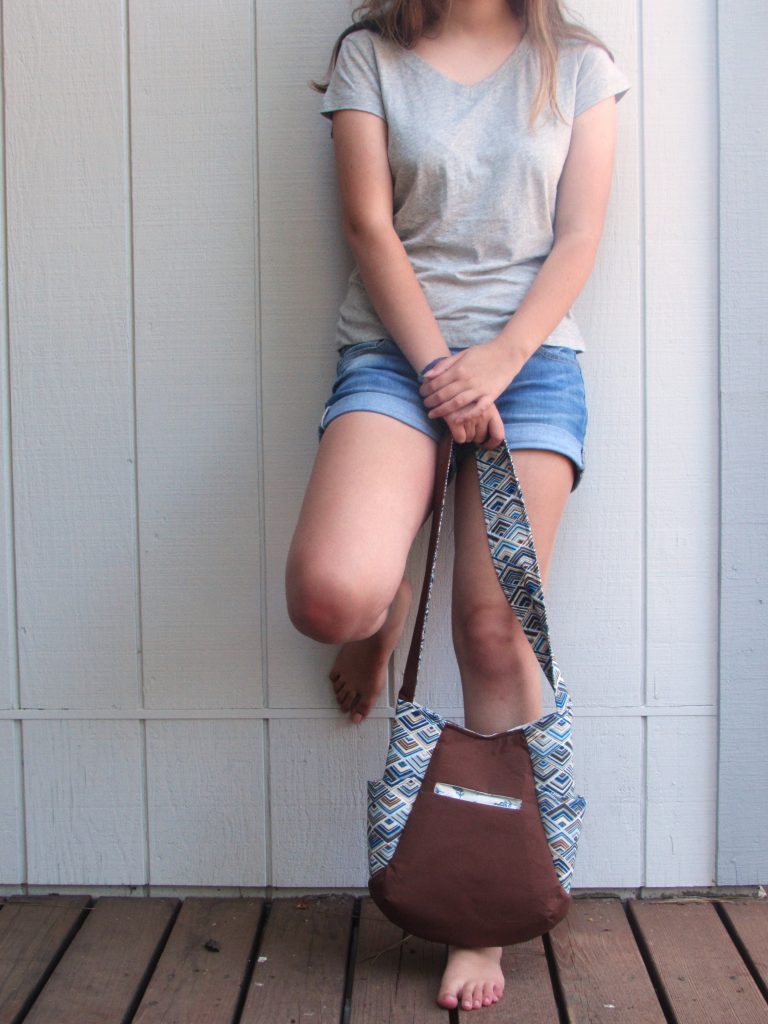
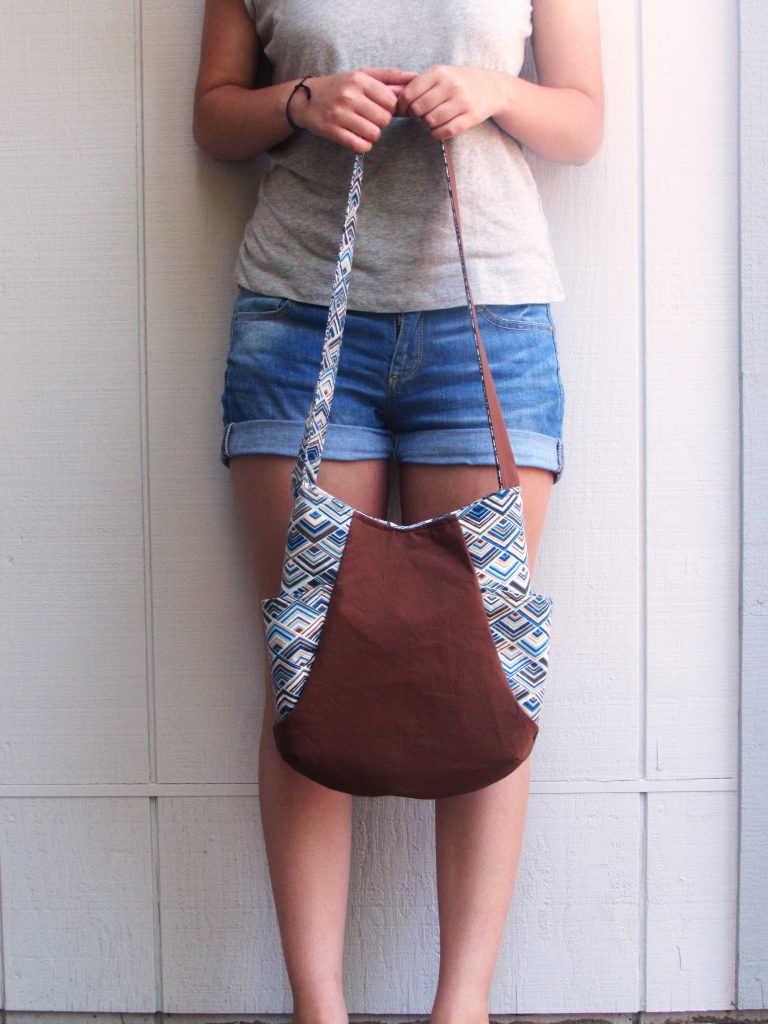
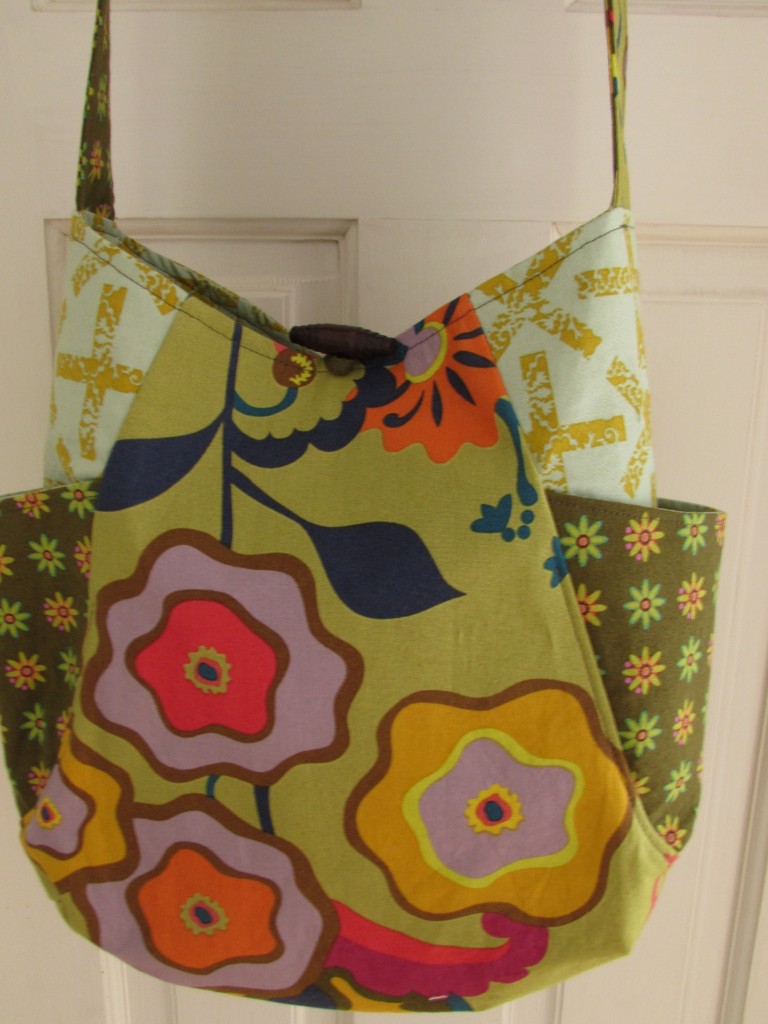
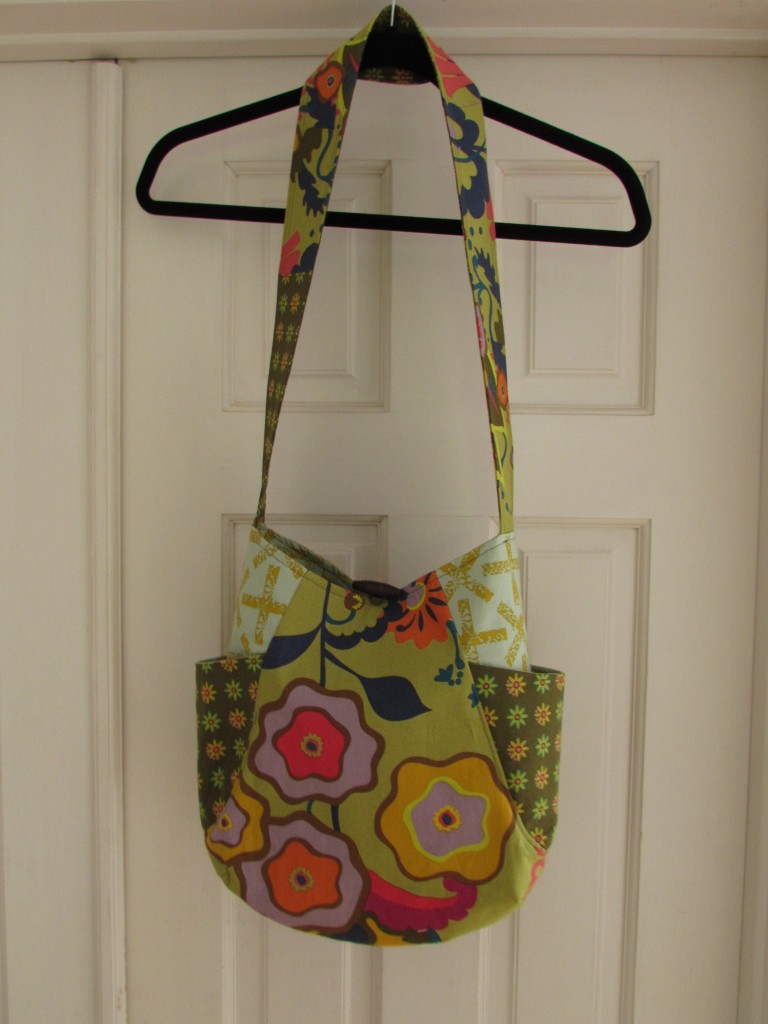
I wanted to make something for her this year. Having recently made two versions of Noodlehead’s 241 Tote, I decided to go a third round with the pattern. You might want to read about the first two bags I made – to do so, click here or here. Making this tote a third time was quite easy. I decided to use a basic palette of mocha and denim blue.

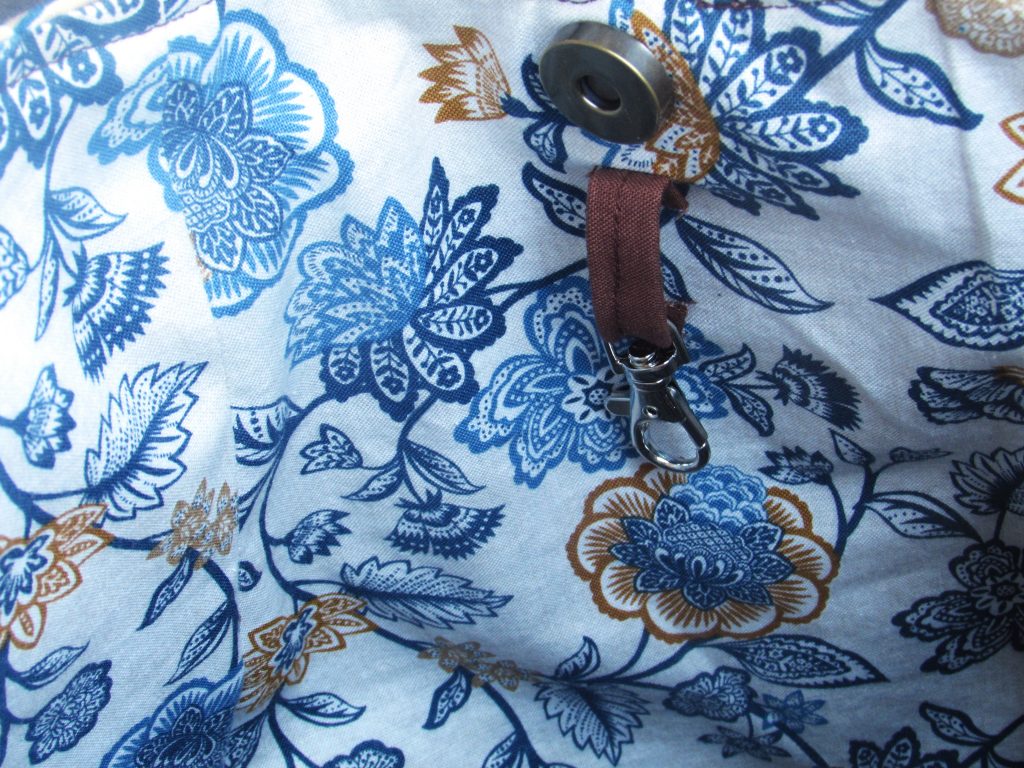
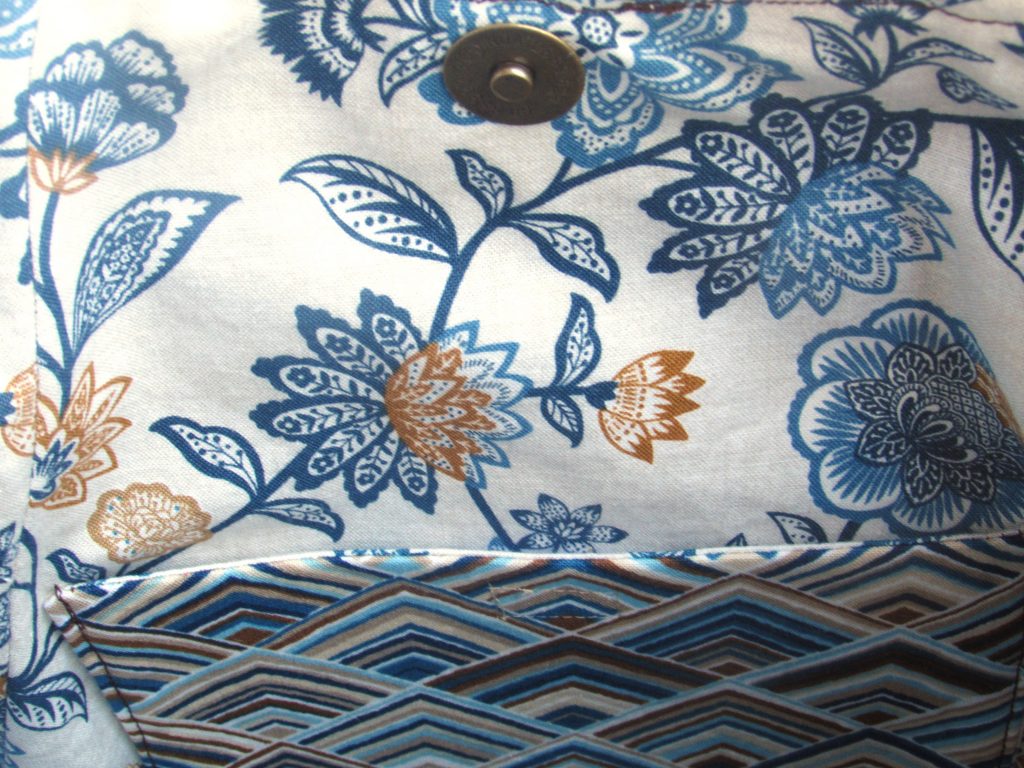
To change things up a tiny bit, I bought a magnetic closure for the bag. Prior to this one, I used a toggle button and a loop of fabric. The magnetic snaps are a breeze to install. (If you have not done this before, here is a great tutorial from Craftsy.)  While the snap installed without issue, I did have a bit of a hiccup. I didn’t think two steps ahead when I placed the snaps. They were a tad too high and this made it really difficult to topstitch around the opening of the bag. When I realized what I had done, I tried using a zipper foot to enable me to stitch close to the snap. It helped but the stitching was a little bit herky jerky. It wasn’t nearly as smooth as I would have liked. Thankfully, my friend is tolerant of my less than perfect topstitching!

IMG_7163

As I did before, I added a loop for a keychain clasp so she won’t have to dig at the bottom of her purse for her keys. I love this little feature.

IMG_7164

On the opposite side is a patch pocket with a velcro closure.

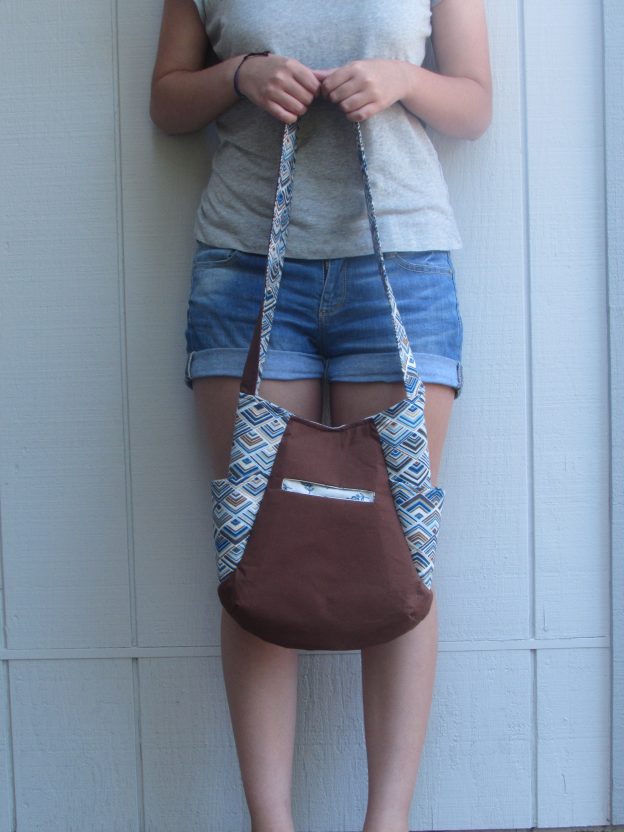
On the exterior I placed a pocket as well.  It was supposed to be a zip pocket but somehow when I cut the opening for it I made it way too wide and I couldn’t install the zipper. This was so irritating. Try as I might, I couldn’t find a solution. Rather than a zipper, there is just a pouch type of pocket. Dang it. You’ll see in the picture below how wide that opening is. On the upside, it shows a peek of the fabric used for the pocket and I think that is sort of sweet.

IMG_7158

And for a shot of the back side of the purse.

IMG_7161

It is really pretty and the brown fabric should be great for hiding dirt that seems to appear after setting the purse on the ground or the floor of the car. Hopefully my sweet friend will enjoy the tote for a long time to come!

I will link this post to all sorts of fun places. For more info, click on the Link Ups tab at the top of the page.

Clothespin Bag Tutorial & Giveaway


I am so excited to tell you that I have a tutorial posted over at Sew Mama Sew today! I hope you will go over and check it out. This tutorial is so timely – at least for the West Coast. We are sweltering this week with temps ranging in the high 90’s. This is the season where I wash clothes in the early morning and hang them on the line. Running the drier only heats up the house and it is hot enough as it is.

IMG_3454 (1)

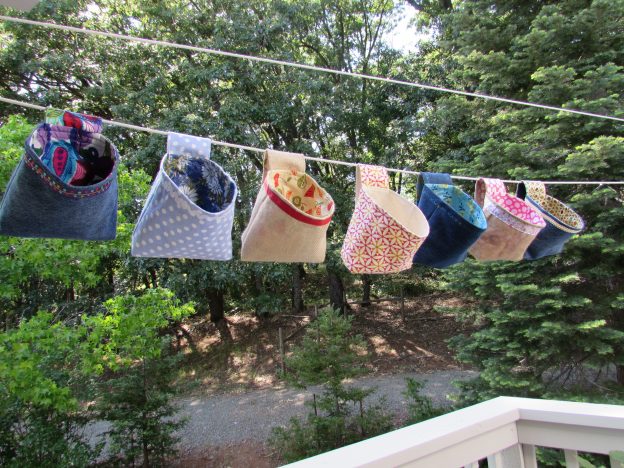
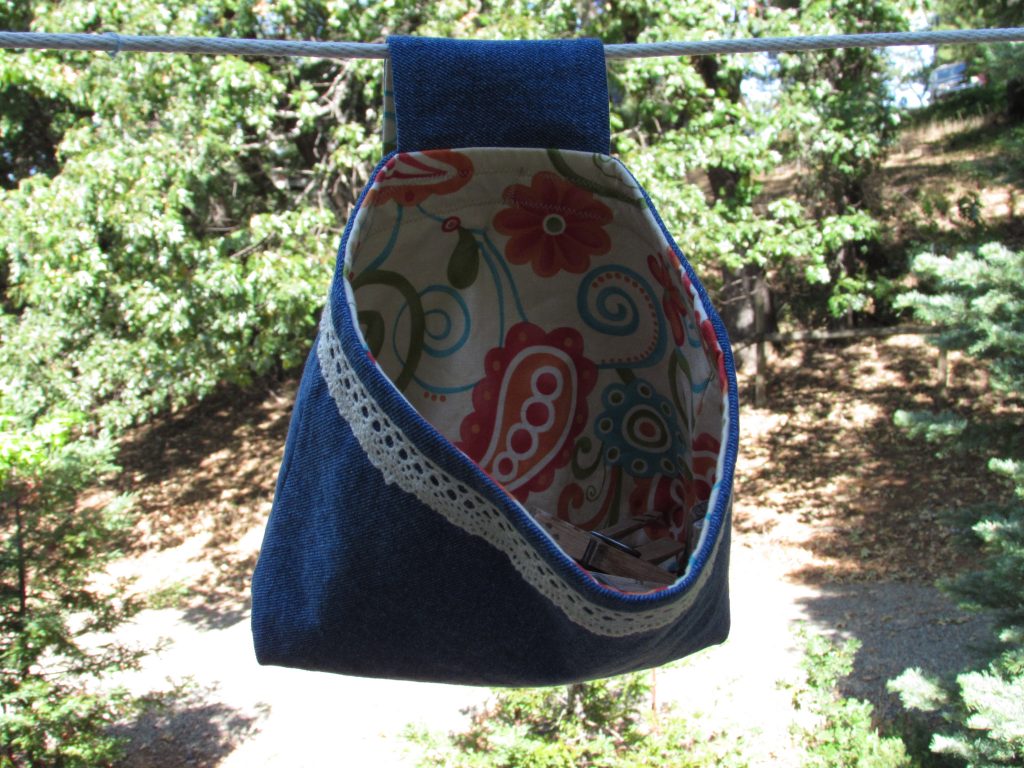
I have made a number of these bags and they come together quickly. I love using upcycled denim with a bright summery fabric for the lining.

IMG_20150722_3568

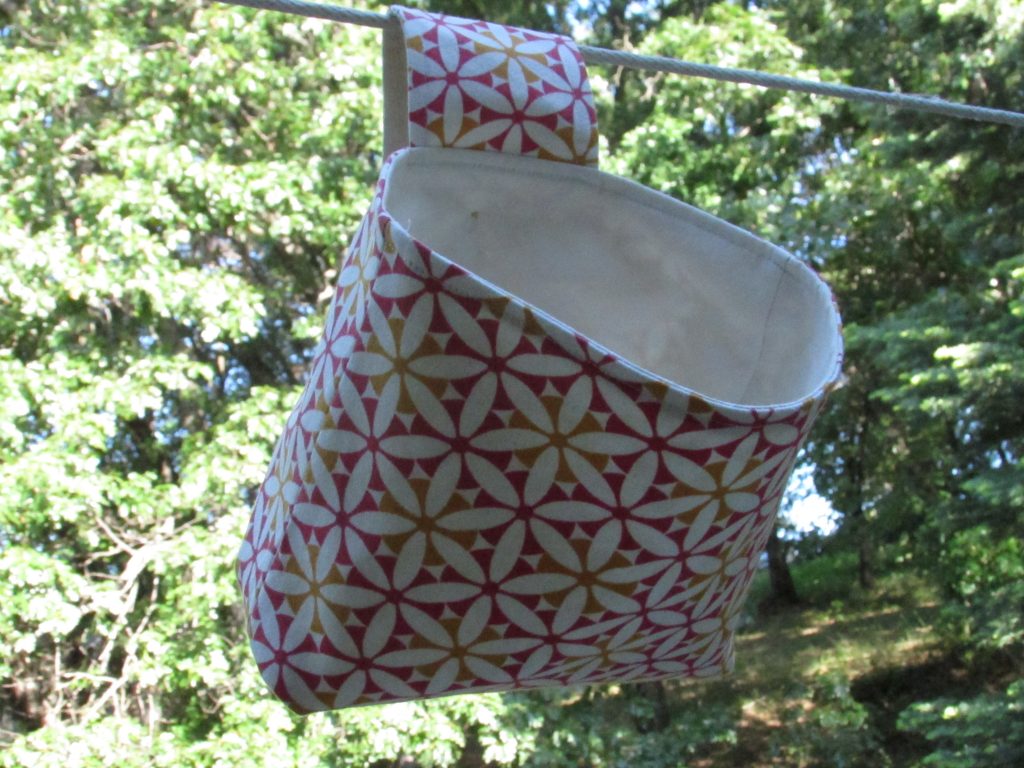
There are tons of printed twills that work well too.

IMG_20150525_3345

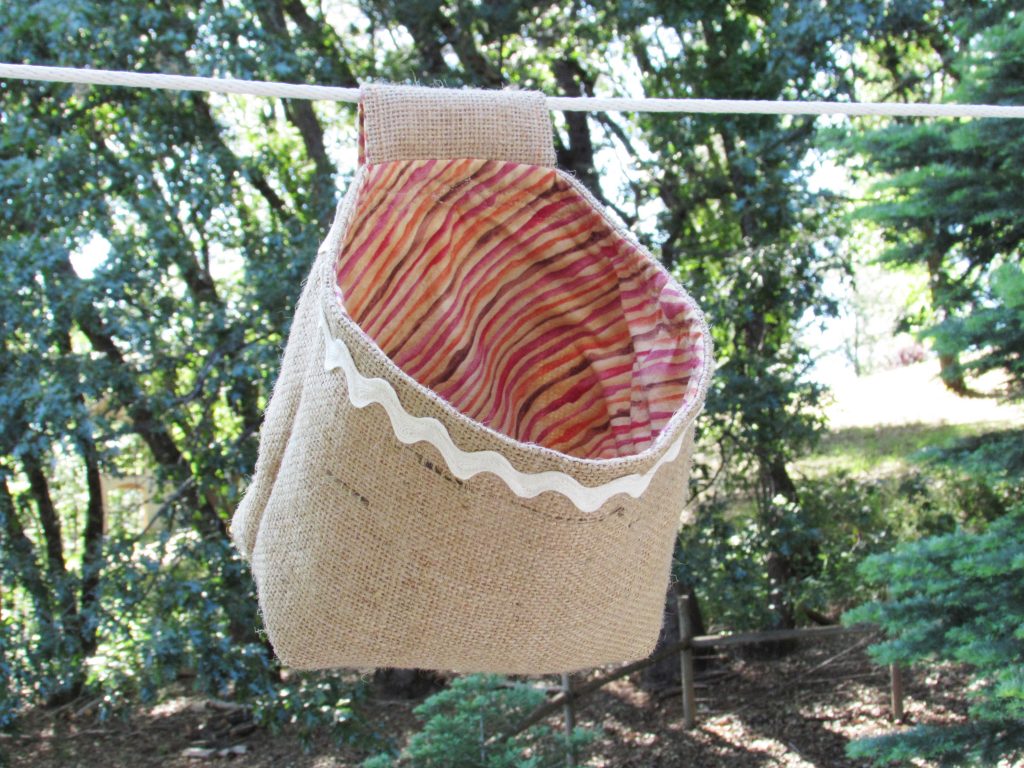
Upcycled burlap, lined with a fun print and embellished with trim, is adorable as well.

img_20160517_5168 I hope you take a look at the tutorial and give this a try. In celebration of summer and this tutorial, I have a giveaway for you today. I know, I know – two giveaways within the week! If you haven’t yet entered, check the first one out here!

Today’s giveaway is a generous one provided by Sheryl, my sponsor at Brewstitched. Enter the giveaway and you could win a $20.00 gift certificate to her Etsy shop.

brewstitched button

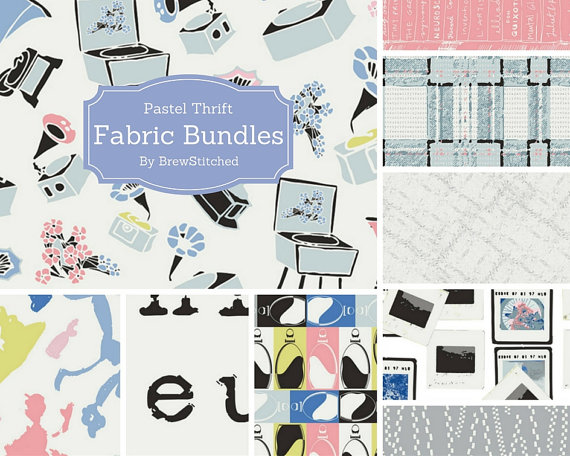
I have written about my partnership with Brewstitched before – you might check out an earlier post here. Sheryl has done some fabric shopping lately and stocked her shop with some gorgeous new fabrics, such as this Art Gallery collection, Pastel Thrift.

pastel thrift

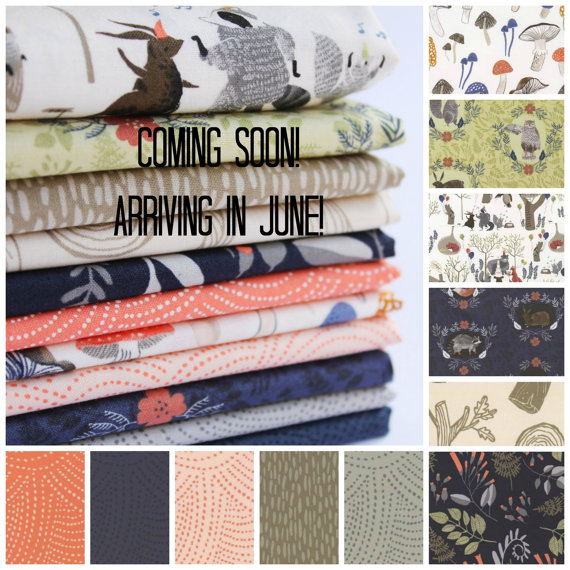
Soon, Brewstitched will also have the Dear Stella line, Foxtail Forest in stock. It is just gorgeous -but then you already know that I have a Dear Stella addiction. You can preorder yours now and Sheryl will ship it asap when the fabric arrives!

foxtail collection


OK – here is how you enter, leave me a comment and tell me what you do to keep your house cool this time of year. For a second entry, let me know how you follow Needle and Foot (Bloglovin, Instagram, Facebook).  Want a third try? Just follow Brewstitched on Instagram and let me know that you did. The giveaway will stay open until Saturday, June 11th with the winner announced on Sunday, June 12th. Good luck!!  Giveaway is now closed.


june-giveaway

All through the month of June Craftsy is having a Mystery Box Giveaway – one for you and one for a friend! Go and enter to win. Good luck!!

(Note: I am a Craftsy affiliate and if purchases are made by clicking on the link I provide, I will be paid a small commission.)

Cutest 241 Totebag Ever

Last weekend I finished up the 241 bag that I have been working on. The bag was made as a gift to my niece for her eighteenth birthday. Somehow I forgot to get a photo of Maddie with the bag at the party last week. She loved it though which made me very happy!

Making this bag in tandem with Tami from Sew Much for Free Time was really fun. Neither of us has seen the final project for the other yet and I look forward to popping over to her site to see her bag. I hope you will take a peek as well.

As is usual for Noodlehead patterns, this one was easy to follow and the result is exactly what I had hoped for.

img_20160509_5102 - Copy

This is the second bag I made using a tutorial or pattern of Anna Graham’s. The first was a tote for my mother-in-law. You can read about that here. Anna’s patterns are filled with small details that make for a stylish bag. For instance, I love that the side pockets have a fullness to them. They are fused with interfacing and cut so that they extend a bit from the side of the bag, making them really roomy.

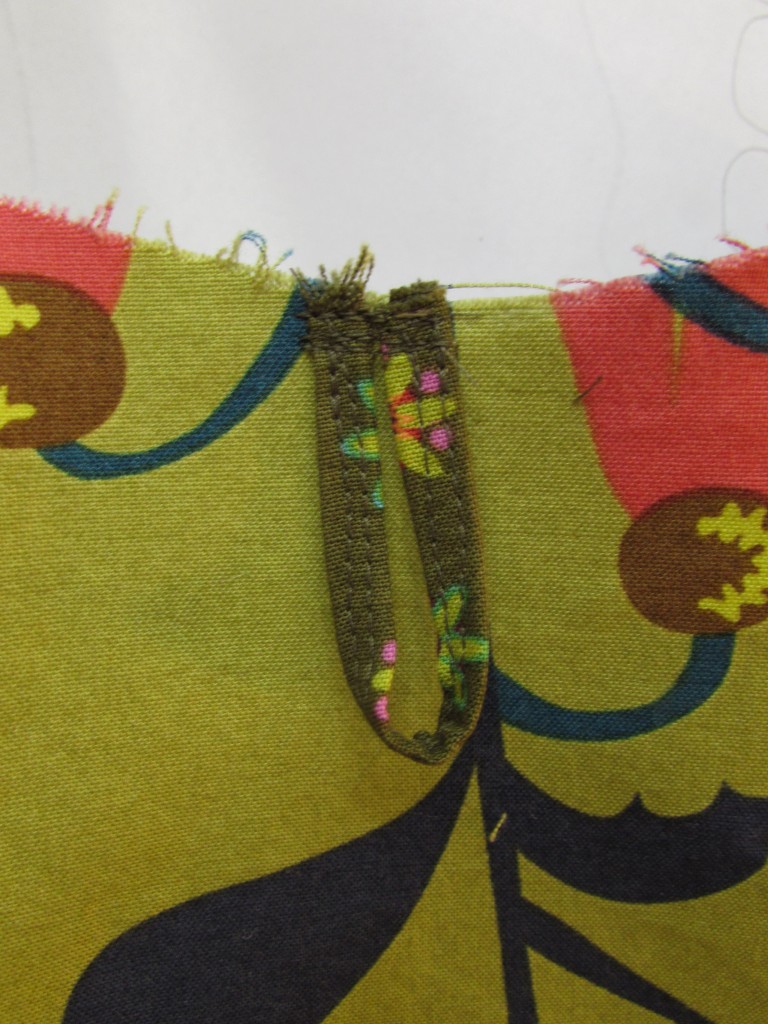
img_20160509_5101 - CopyThe pattern calls for a magnetic closure but I didn’t have one. Fearing I would (yet again) lose my self-control if I returned to Ben Franklin, I searched through my buttons and found a cute wooden toggle button. Using a small rectangle of the contrast fabric, I made a loop and stitched it to the top of the bag.

img_20160509_5104I sewed the button to the other side and it works like a charm. Remember I also added a key chain link to the inside so that Maddie can hook her keys to it and find them again easily. I forgot to take a photo of the key fob that I made but it was made with webbing and the small floral print used on the side pockets. (It was just like the one I made for my sister and talked about in this post.)

img_20160509_5106Anna’s pattern calls for the handle strap to be made from a six-inch wide strip that is interfaced and folded. I wanted to make the handle with two different fabrics so I modified that and used two 3″ strips. Then I fused the interfacing to one side and sewed them, right sides together. After turning the strap right side out, I pressed and topstitched the edges. Another slight modification was to extend the length of the straps. My niece is about 5′ 7″ and the strap seemed too short. I didn’t notice this until after I had cut the straps so I just cut a few more three-inch strips and added on to the length. Just because I thought it looked fun, I used the opposite fabric on each end. If you look at the top picture, you can see the different fabrics. The inner strap on the left is floral and on the right is the big print. On the outside it is just the opposite. The handle looked so fun like this and I would definitely do that again. (These little changes are one of the best parts of making things rather than buying ready-made. Each project is uniquely its own!)

As luck would have it, since I certainly didn’t try for this, the outer seam on the bottom matched up almost perfectly.

img_20160509_5108

I love when this happens! If I actually try to match it up, I usually meet with less success. At any rate, this bag was a huge success. I highly recommend the pattern for anyone with at least some sewing knowledge. It could be a bit of a challenge for a person who is new to sewing.

I hope Tami and I will think of another project to sew together. We had a lot of fun with this one!

Linking to all the usuals. Find them at the top of the page under Link Ups.

Craftsy’s birthday celebration continues through Sunday, May 22nd. Classes are on sale for 50% off! Buying a class enables you to watch each lesson as many times as you like, when it is convenient for you! The newest class taught by Amy Smart, of Diary of a Quilter, is released and on sale.

unnamed (1)

(Because I am a Craftsy affiliate, I will receive a small payment for purchases made by clicking through from my blog.)

Weekly Wip Update

Let’s start off with the fun fact that this is my 200th post. That is sort of cool. 🙂

The last week didn’t include as much sewing time as I would have liked. I lost a couple of days because I was down with a bug. I managed to watch a few episodes of Downton Abbey though so it wasn’t a total loss. (I just discovered the show a few months ago and luckily, Amazon streams it. I have been devouring this soap opera lately, with the Dowager Countess being my favorite character.)

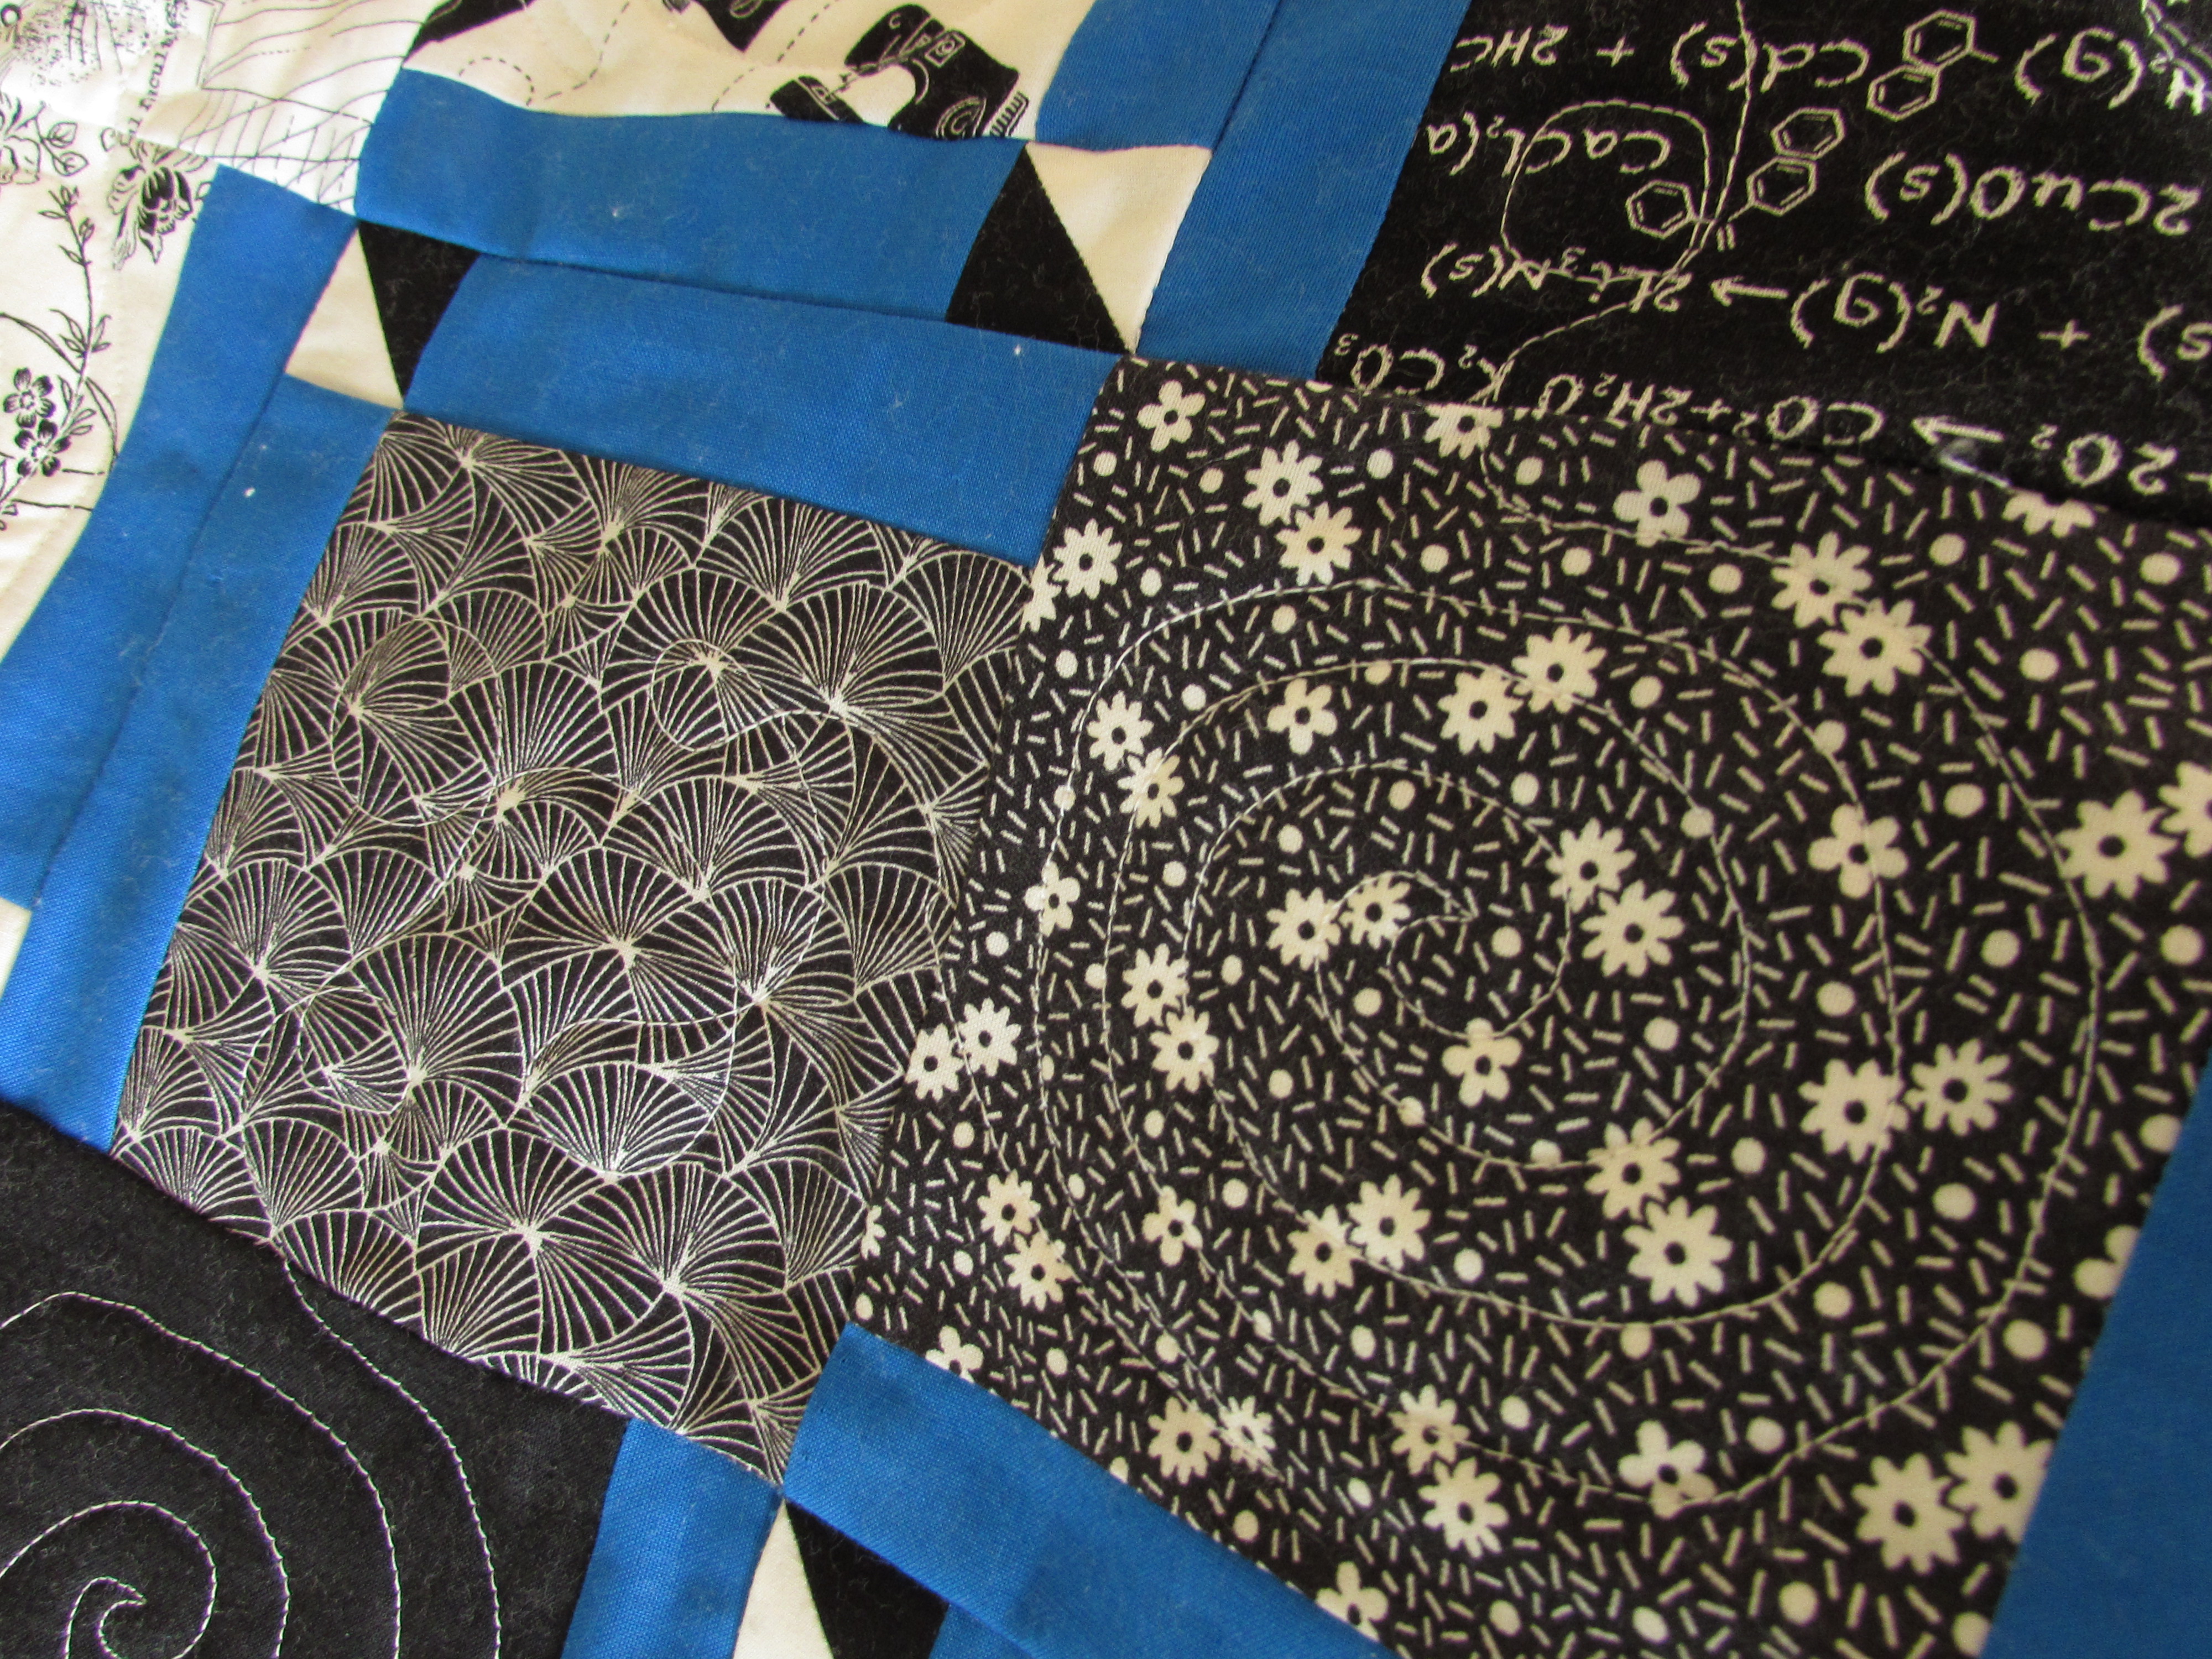
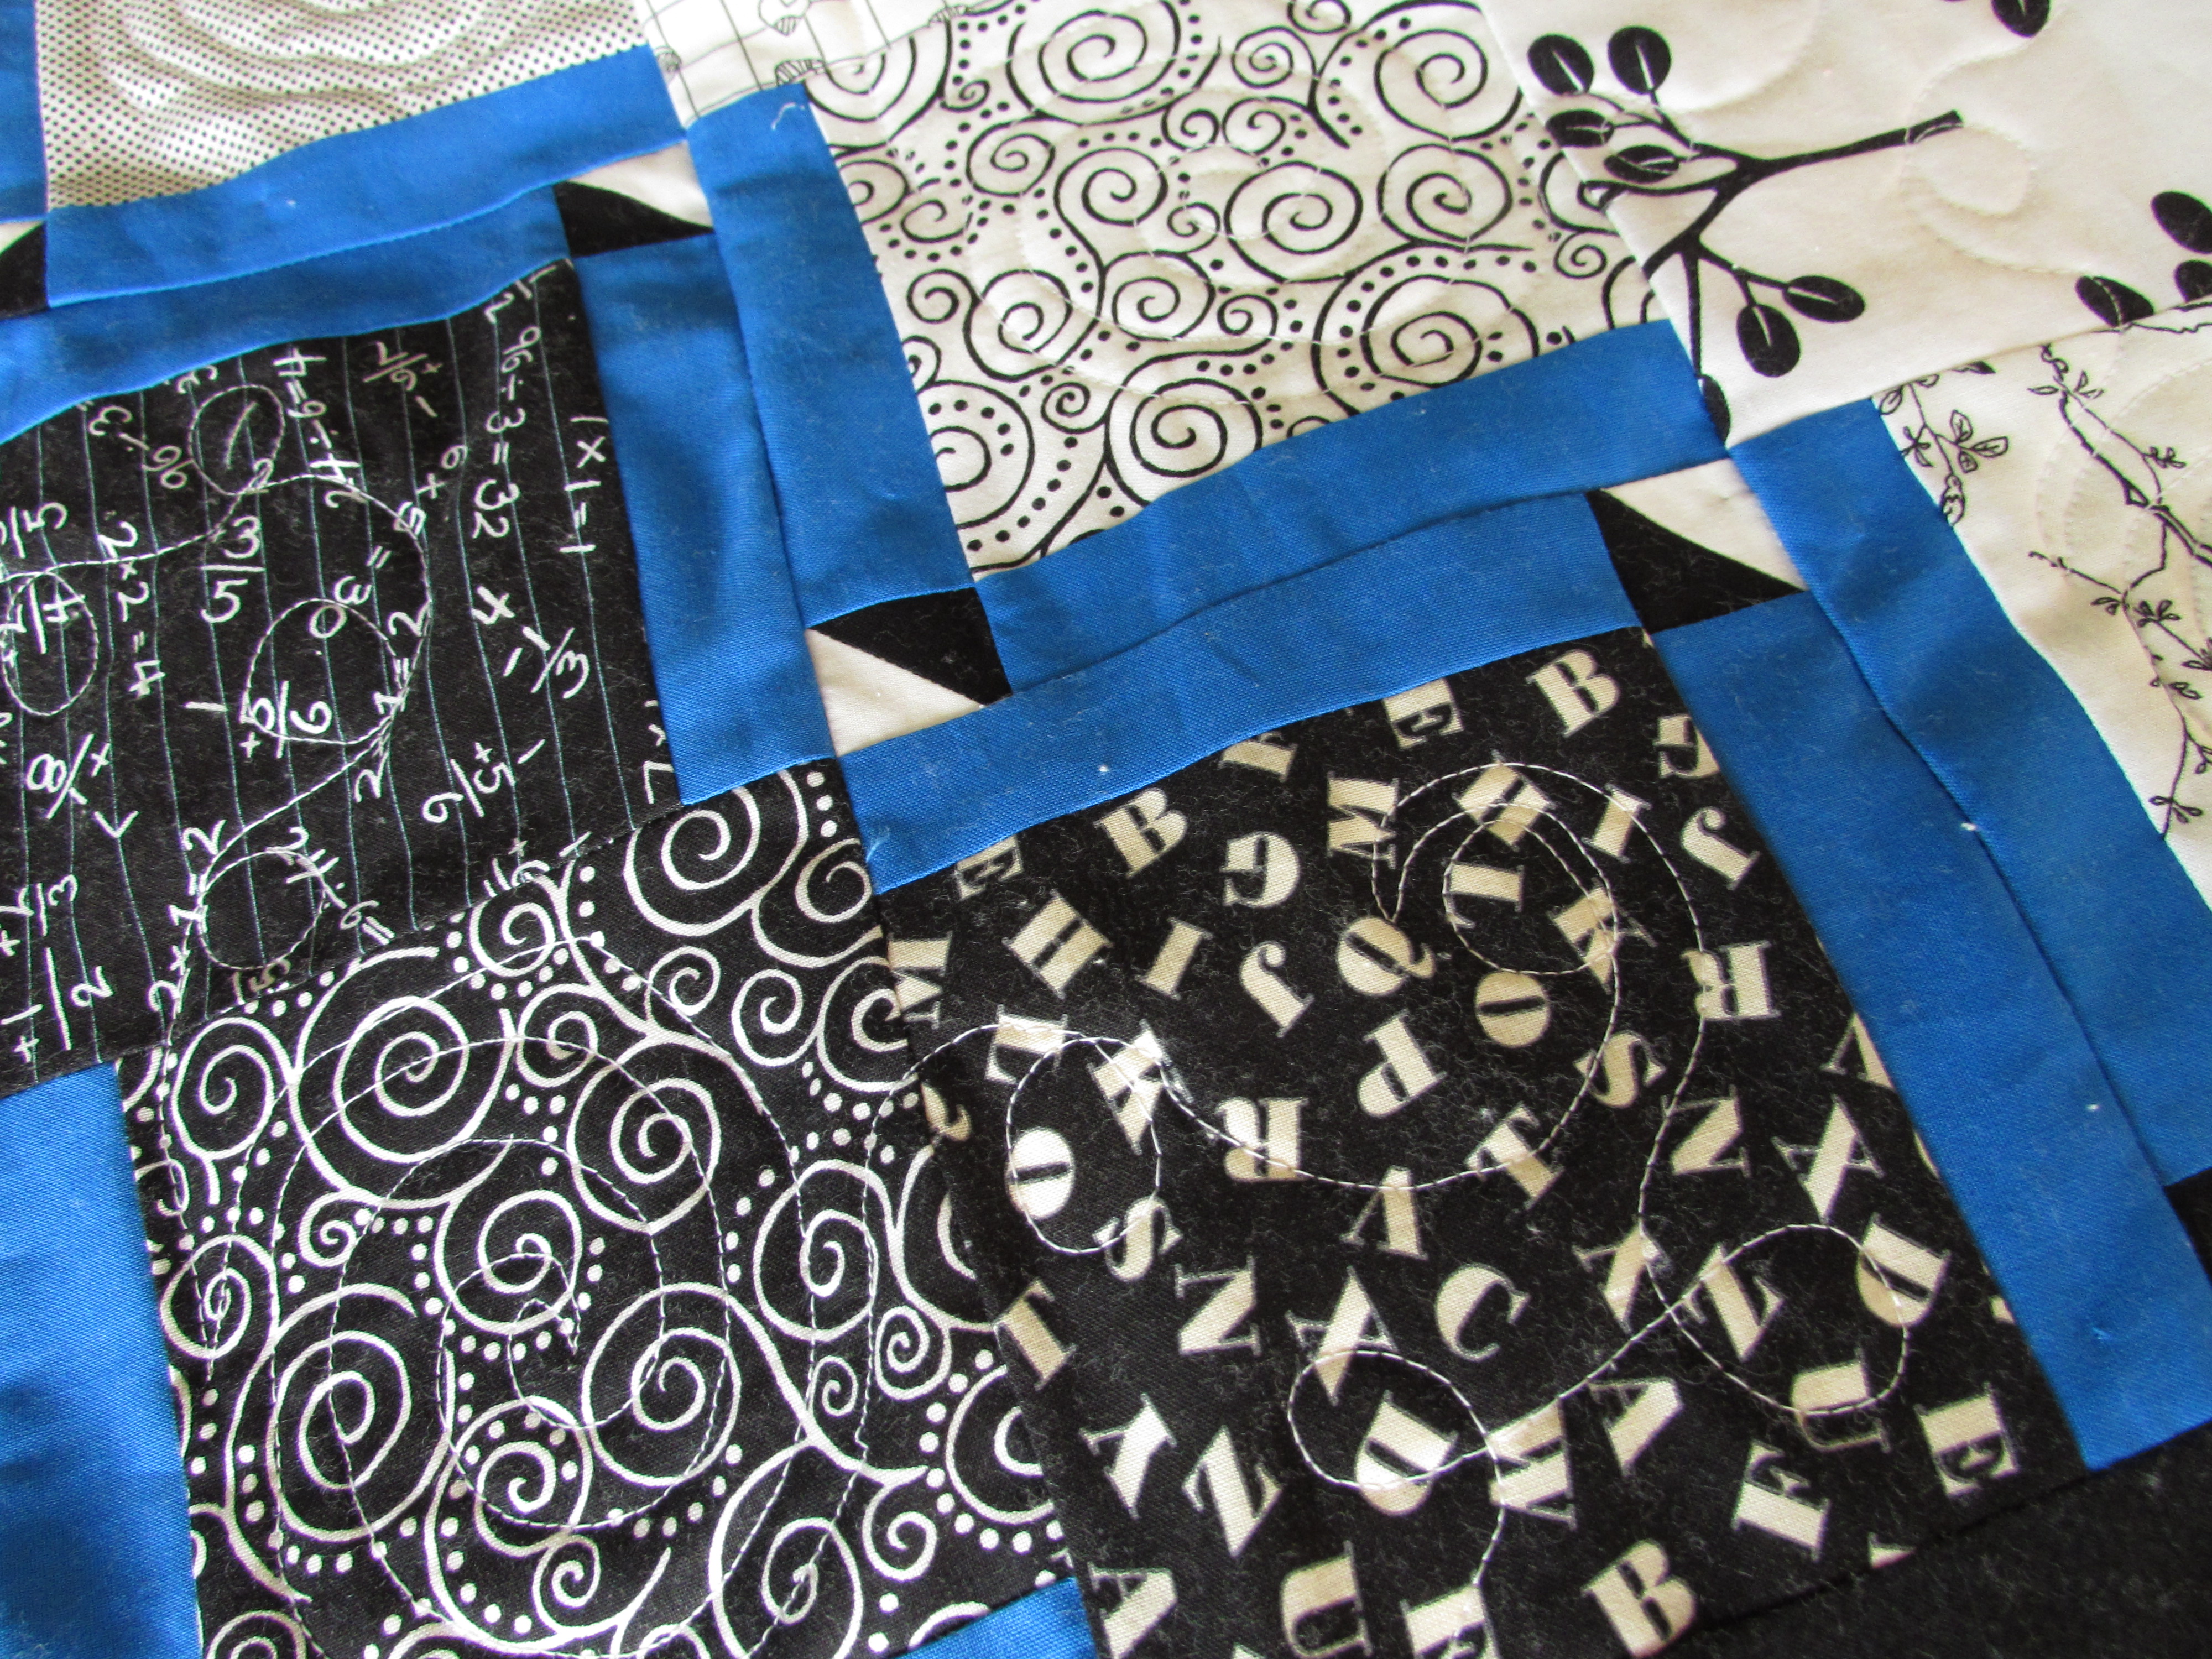
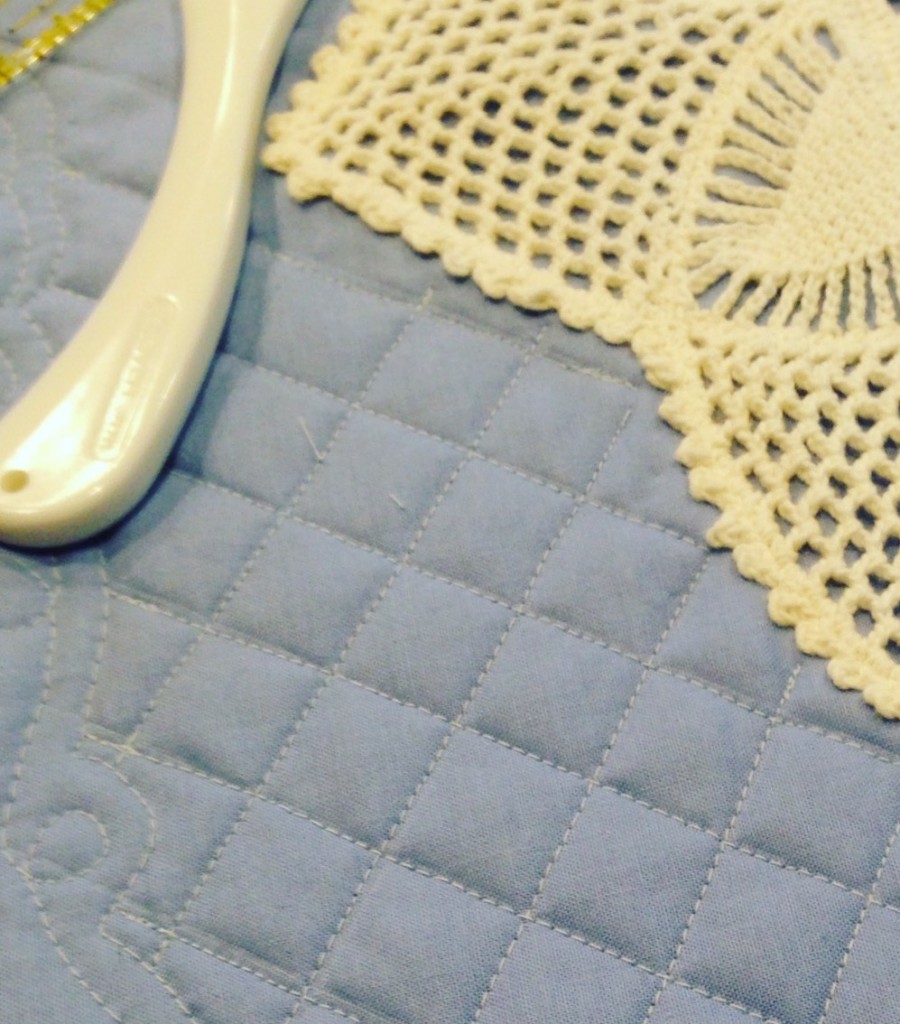
The days that I was able to spend time sewing were mostly productive. I made a few new French Press cozies for my Etsy shop. Beyond that, I started quilting my black and white Stepping Stones quilt. So far, I am quilting along the diagonal, following the black and white squares. I have not touched the tiny HST’s or the blue strips. My thought is to finish the black and white charms and then decide what, if anything, to do with the other smaller parts.

I am using white thread and the quilting is coming along nicely. However, the white stitching doesn’t show up well for pictures.

img_20160509_5110

I have been alternating quilting a large spiral and then in the next square quilting a loopy design.

img_20160509_5109

I have quilted about 1/3 so far. Other projects beckoned though and I set this aside for a few days.

I have been having a blast working on my sewalong with Tami of Sew Much for Free Time. Every time I make another friend via this blog, I am just blown away by the ease of the relationship. By now we have been emailing back and forth with progress pictures and ideas. It is so much fun. Our 241 Totebags are swiftly moving toward completion! Working with a friend has kept both of us on track and has somehow made the project seem to come together quickly.  This is my second project using a Noodlehead pattern or tutorial and the directions are just wonderful. So far, I have constructed the entire outer bag and have been working on prepping the inside portion.

image

These prints are bright, fun and maybe a little wild but I think they are perfect for the intended recipient.

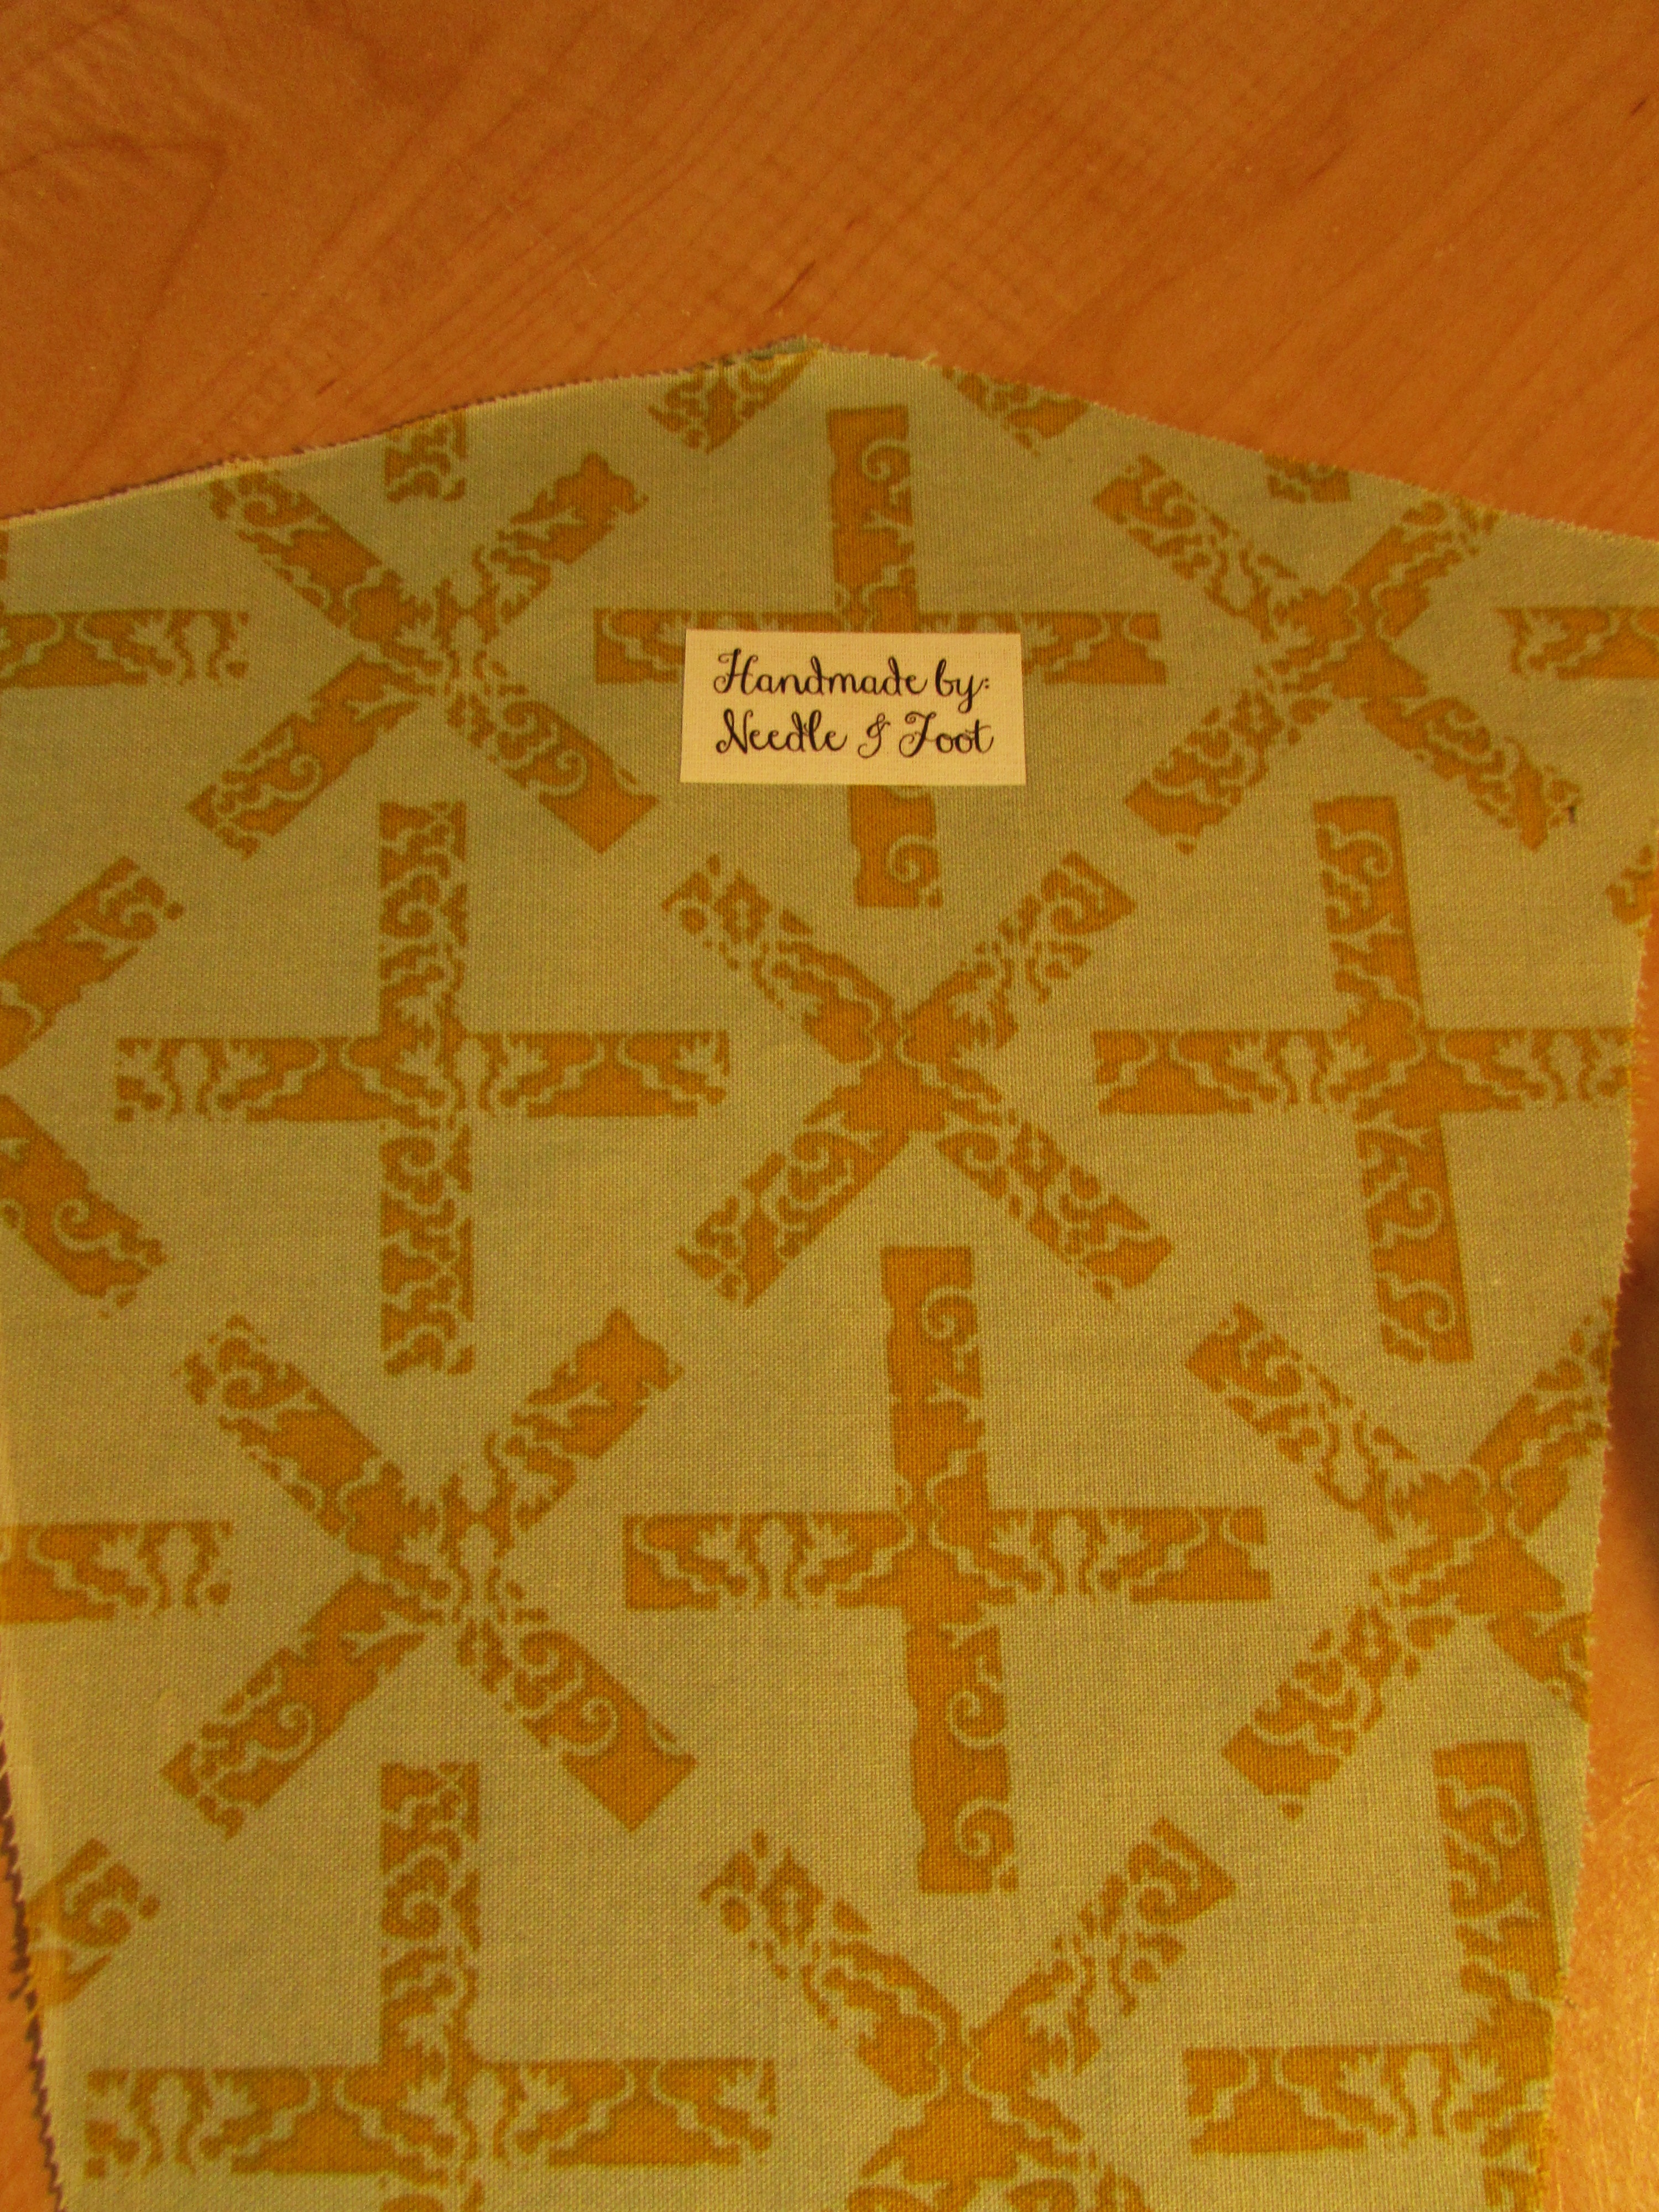
For the inside, I added one of my Needle and Foot labels. I have just a few left as I normally put these on product that goes into my Etsy shop.

img_20160509_5096

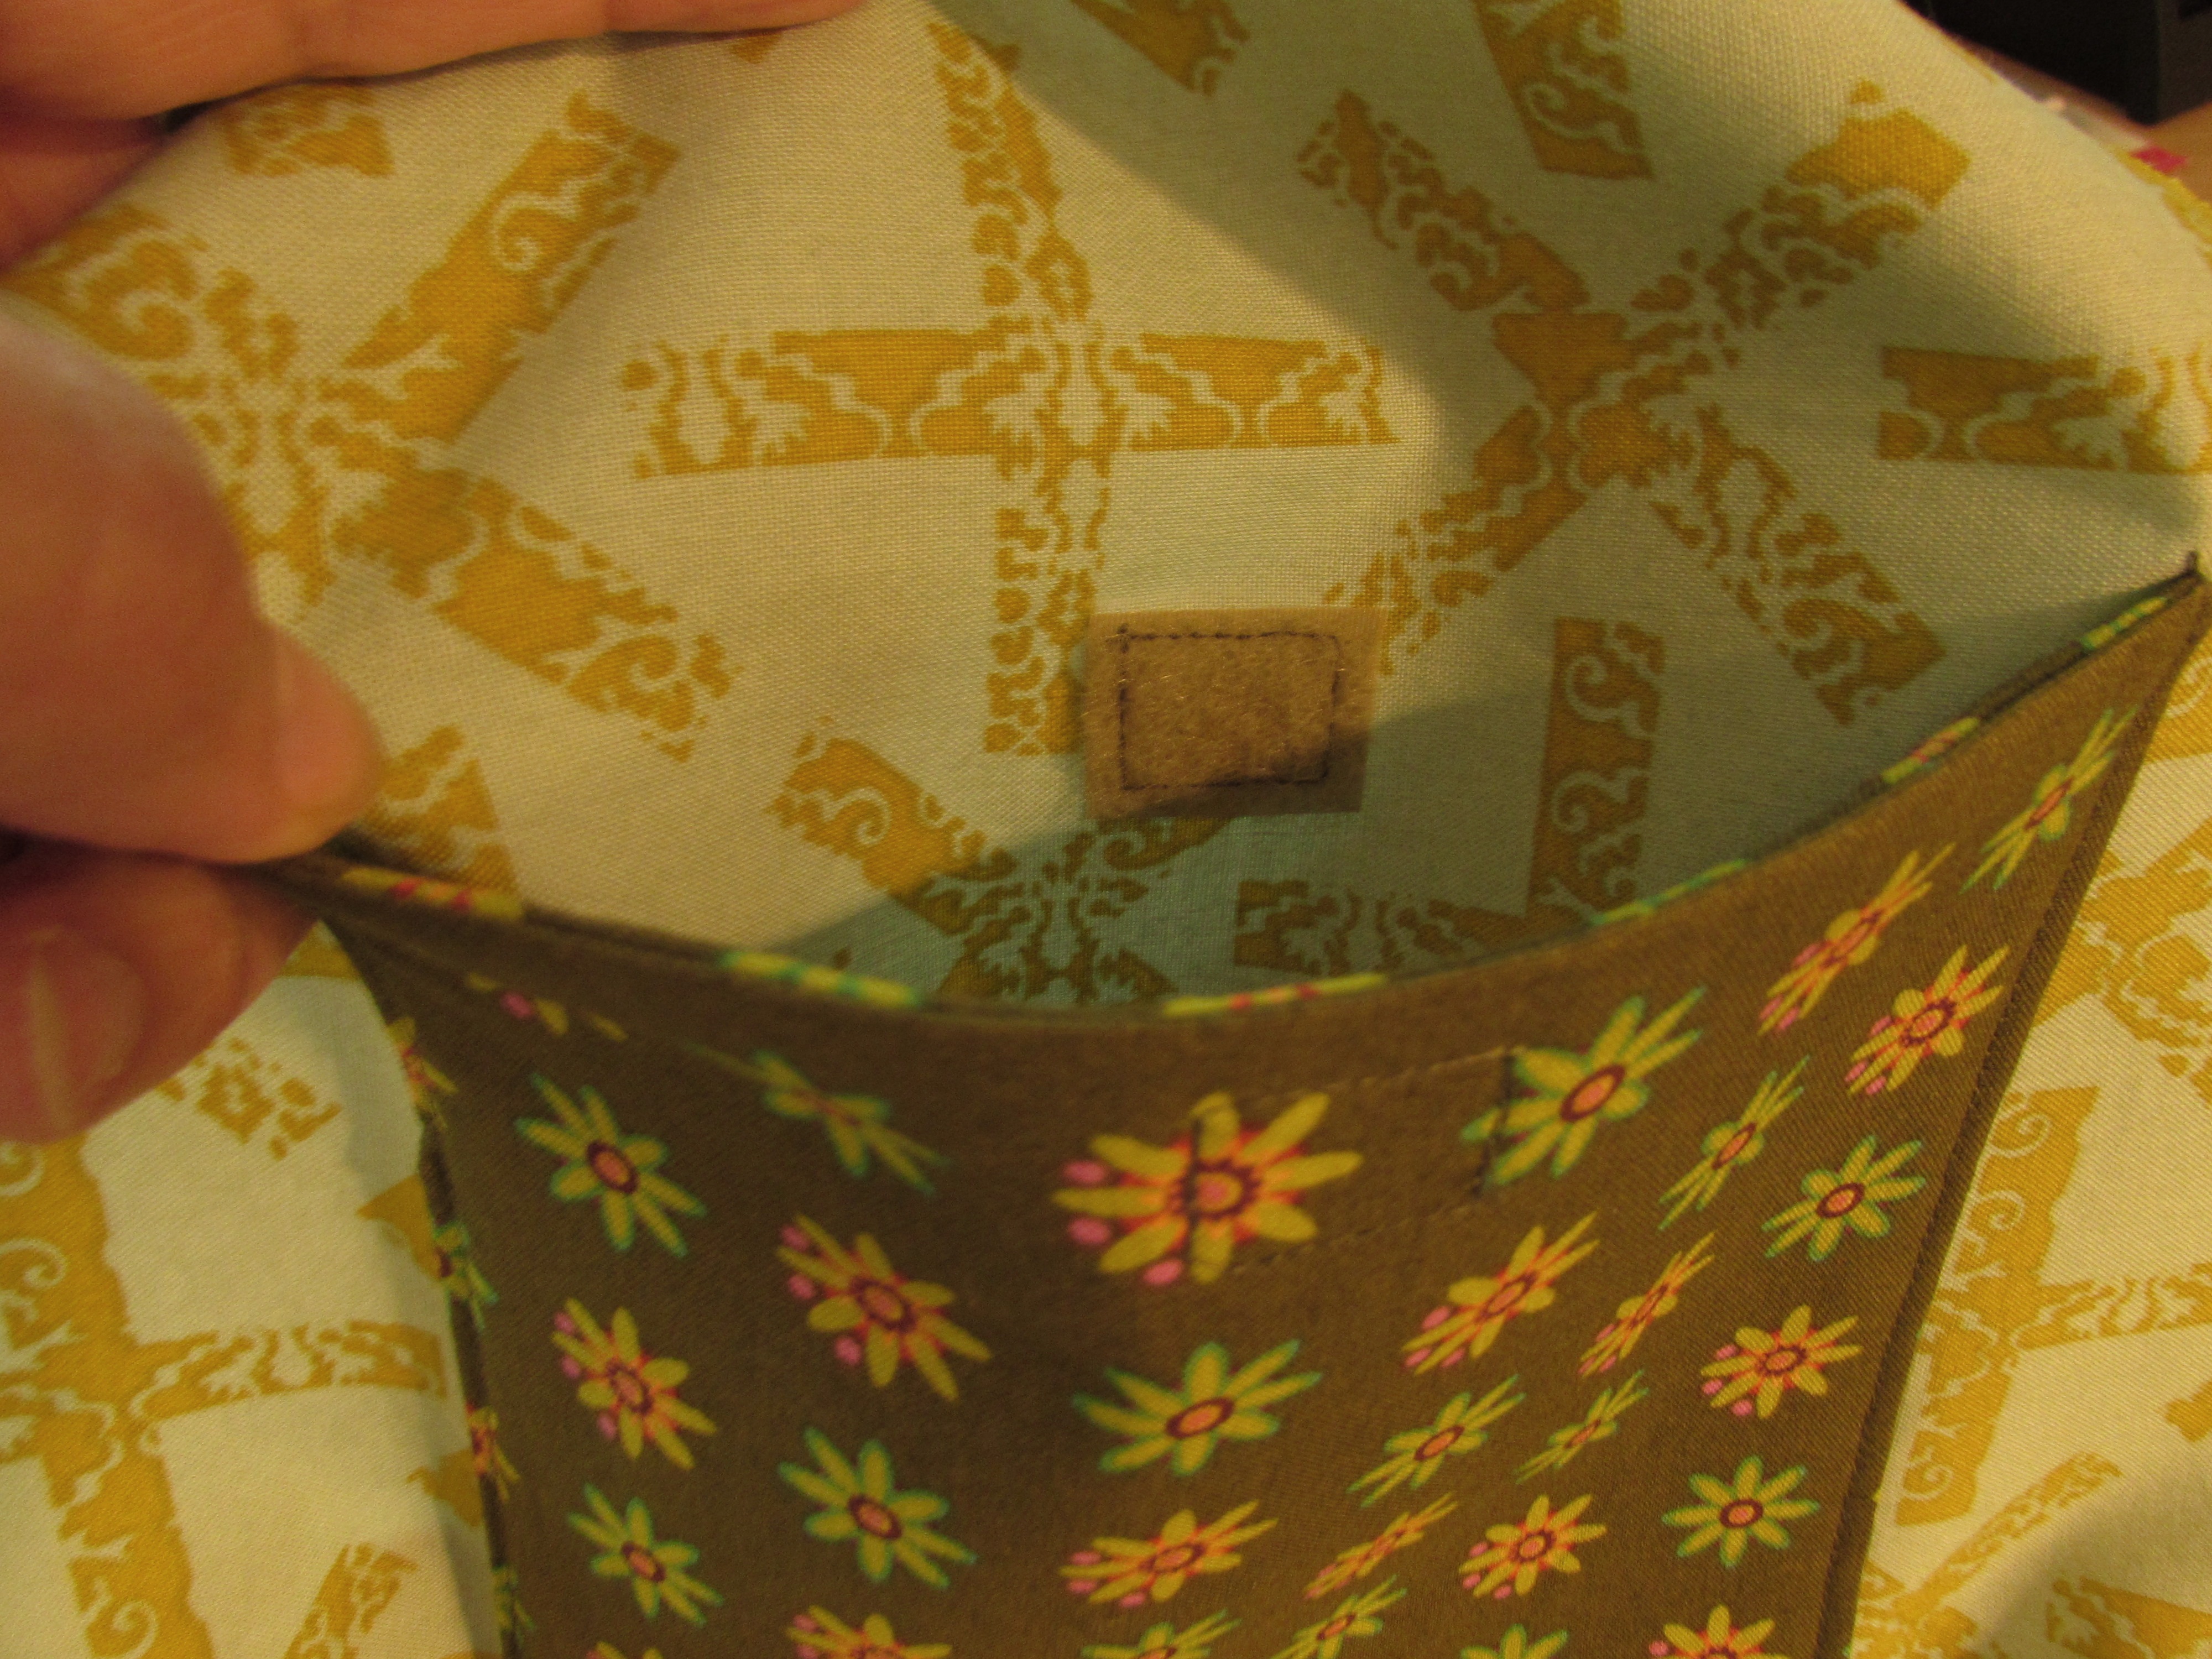
There are options for zipper pockets on the outer portion but I politely declined the option. (Read, I was too lazy to fuss with a zipper.) I did add a square of Velcro to the patch pocket on the inside (I was feeling guilty.)

img_20160509_5097

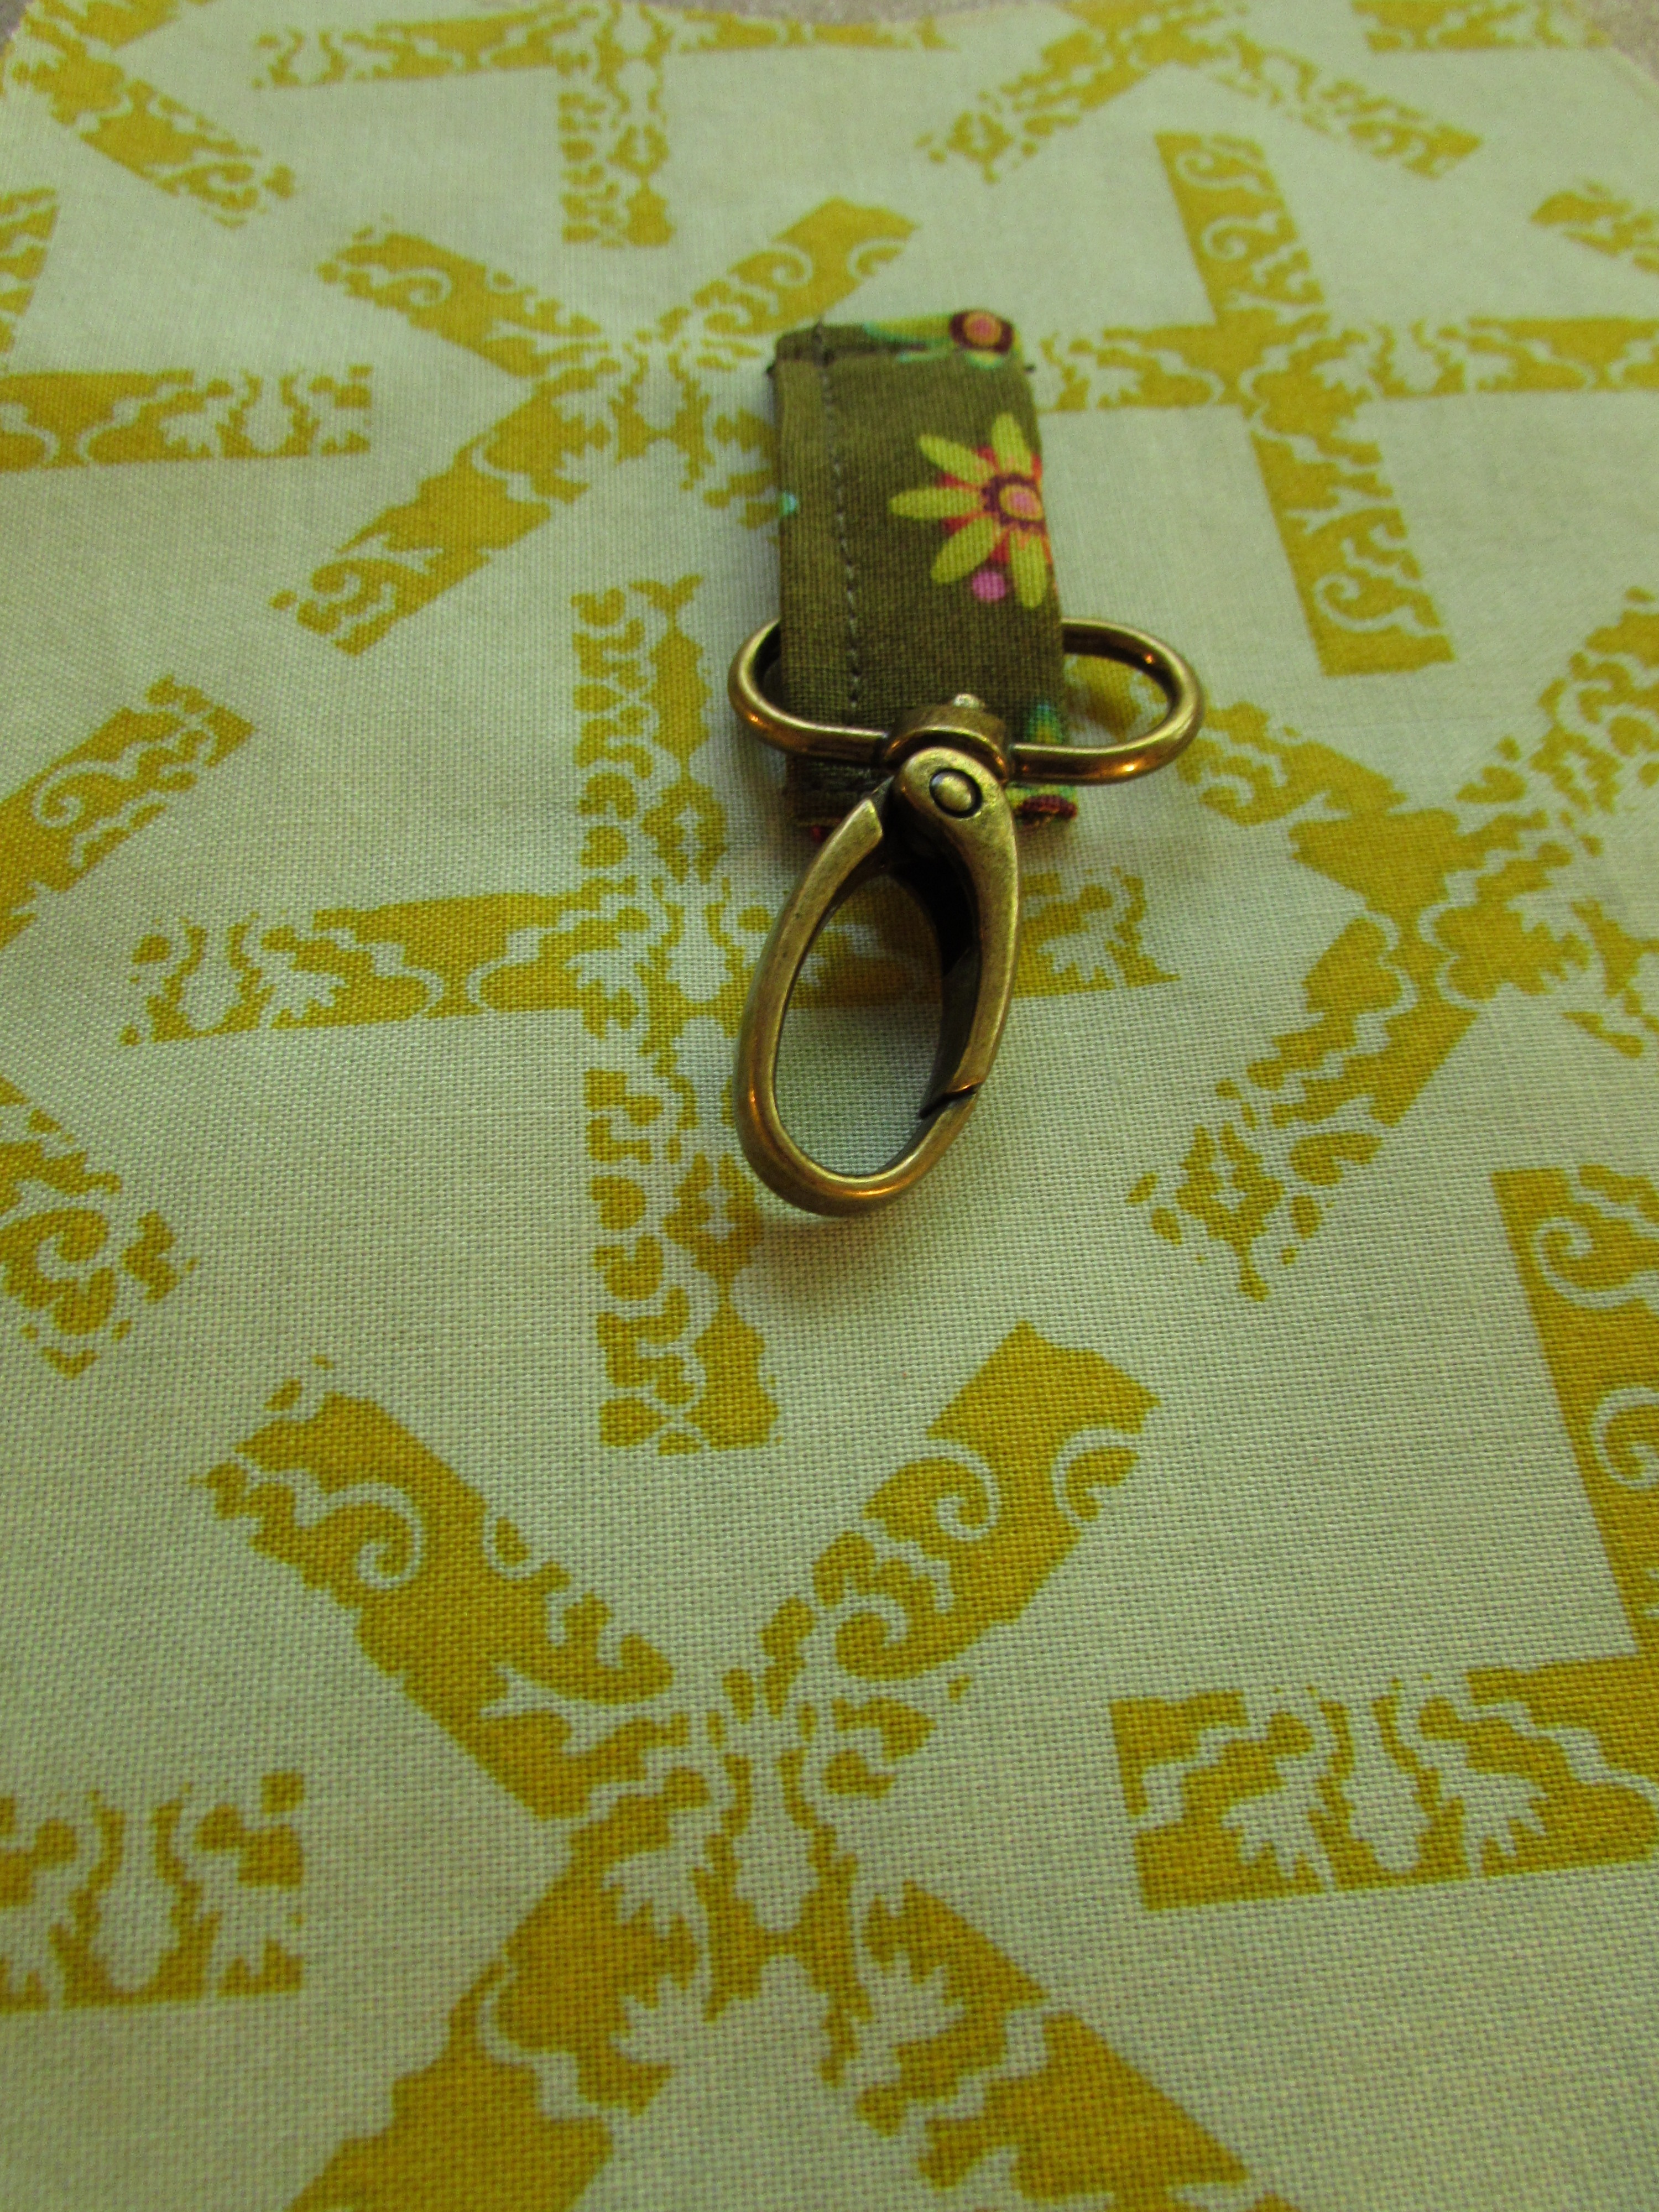
Finally, I made a little attachment to hang a  key chain holder. I love these little guys; saves so much time not having to hunt to the bottom of your bag to find your keys. There is a coordinating key fob in the works.

img_20160509_5098

Because there will be a bit of tugging each time the keys are hooked and unhooked, I fused some stabilizer to the back for support.
img_20160509_5099

The lining portion of the purse and the shoulder strap should go together quickly. I’m pretty excited about the whole thing and have a feeling I will make another one for myself.

Yesterday I posted a progress picture on Instagram and guess who commented? Um, Anna Graham, from Noodlehead. Looks like we are sewing buddies now. 😉

image

.What a great project this has been. I am going to have to find another fun sewalong/quiltalong type of activity after this. If you have a minute, check out Tami’s progress. Seeing the same pattern come together in two very different colorways is very interesting. They each look very unique.

Linking to Linky Tuesday, Let’s Bee Social and Sew Cute Tuesday! All links are found as always, at the top of the page, under Link Ups.

Craftsy Update:  In celebration of their 5th anniversary, Craftsy will hold a great sale of kits and supplies running May 12th through the 15th. Check it out here!

may craftsy

(I am a Craftsy affiliate and will receive a small payment for any sales that occur via my blog.)

Mid-week WIP Update

Lots of projects in various stages in my sewing room this week. It is actually kind of fun to have multiple things going on. I sew a while, cut for a bit, practice a little FMQ – none of it feels tedious because I am moving back and forth between projects.

My main sewing machine is being very cranky right now so I am sewing on my smaller machine. I love this machine though – the tension is not sensitive and it sews like a little work horse. Much like The Little Engine That Could, this machine just keeps going (I think I can, I think I can.) I really miss the needle down feature and the thread cutter on my bigger machine though. Makes such a difference when I am sewing for a long period of time.

Anyway…  Here is what’s going on:

I am working on my 241 tote bag that I mentioned in this post last week. This project has become so much fun because after reading that post, Tami from Sew Much for Free Time commented that she was also going to make a 241 tote. We did a bit of emailing back and forth and decided we would have our own little sew along. After working on my Stepping Stones quilt though the quilt along at Inquiring Quilter, I found I really enjoy the social aspect of the project. I love seeing everyone’s progress, having others to ask questions and get input, and seeing the fabric choices and how much that changes the pattern that we are all using. I think working on this tote with Tami will be the same. We set up a few deadlines for progress and hope to finish up together. It is low key though. If life gets in the way, so be it. We are just enjoying our virtual time sewing together! If you want to see Tami’s progress, hop over.  We are just getting started. Anyone that wants to, is more than welcome to join us. Leave me a comment if you want more info.
By today, we are both aiming to have our bags cut out and pieces prepared. I spent yesterday morning prepping everything. I plan on using these Allison Glass fabrics.

img_20160423_4915

The pattern seems very straight forward so I doubt there will be much difficulty makijng this bag. I traced my pieces with a chalk marker and cut from there. Printing the pieces on regular printer paper made for thick pieces. I didn’t want to pin and cut them because there might be some inaccuracy. Tracing the pieces was quick. (When I was cutting pieces, I took the pictures under the kitchen lights which distorts the color.)
img_20160503_5013

Once the pieces were cut, I fused the interfacing to the outer pieces.

img_20160503_5015

I’m really excited about this project. It is going to be perfect for my niece’s birthday gift.

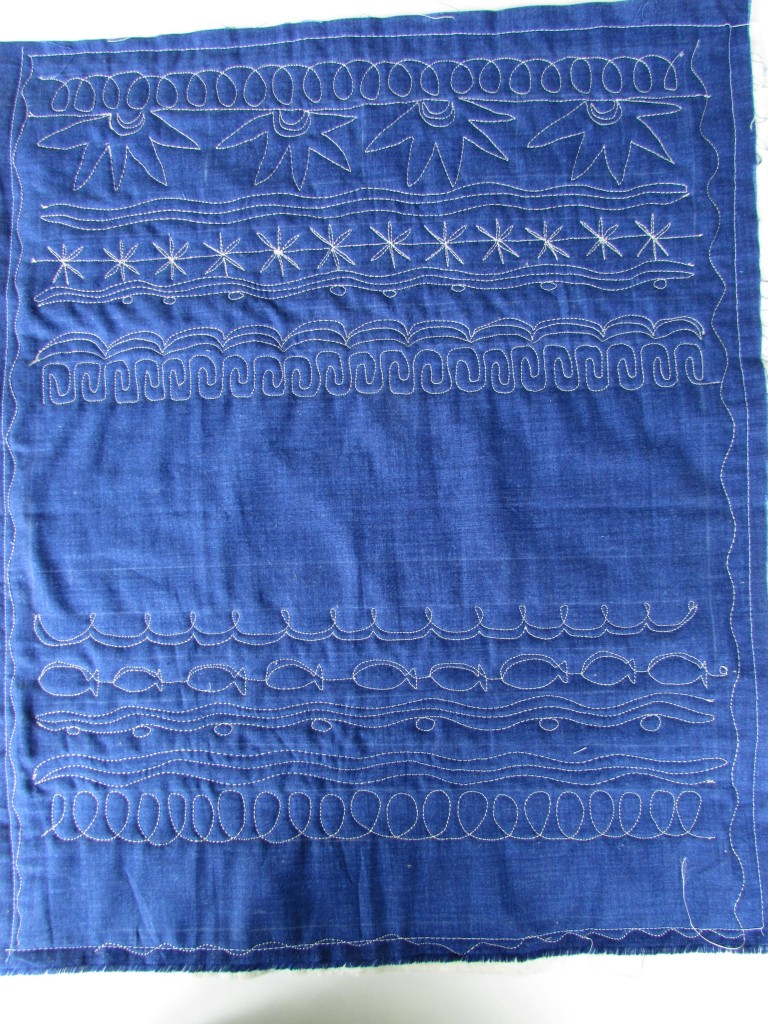
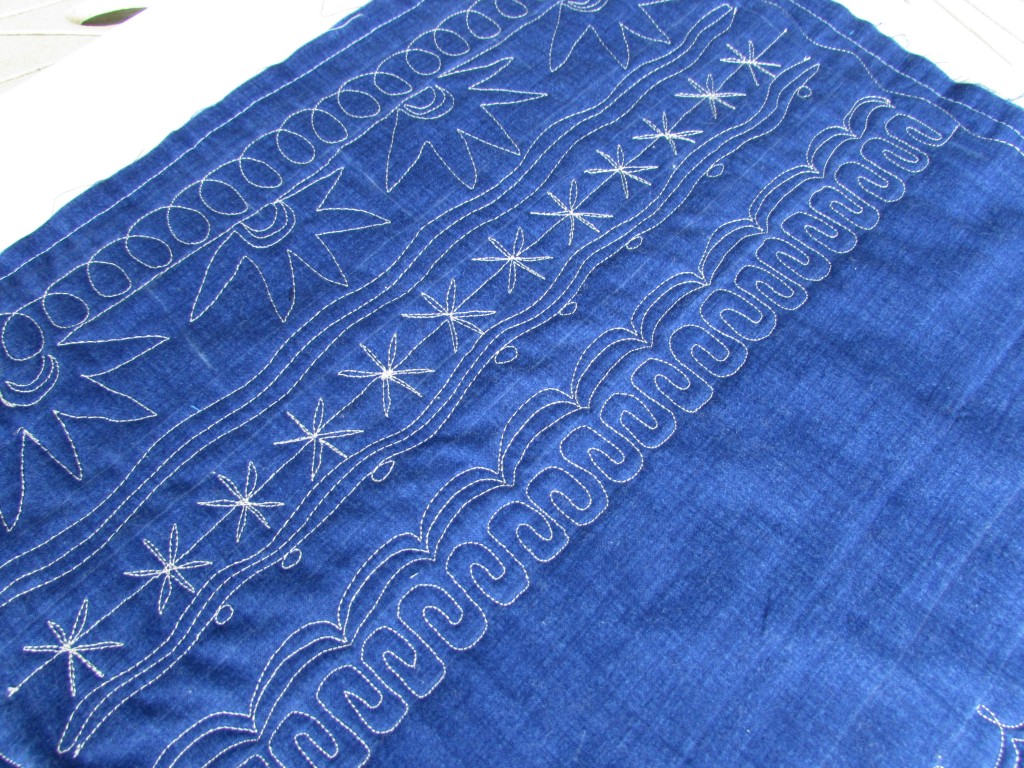
Besides working on prepping the bag, I also did some FMQ on the Mystery quilt along that Lori Kenedy is hosting over at the Inbox Jaunt. This week we were instructed to quilt little stars and suns. Lori calls them Spirograph Suns though we did a simplified version of them. The motif is so fun and you’ll find the tutorial here.

img_20160503_5020

We only have a few more sections to quilt and I think I will be a little sad to see this finish up. I love that the structure of this QAL only requires I quilt two lines each week. Not time consuming but it forces me to practice two new motifs each week.  (Also, take a look at my fish.  I feel like I stitched my fishies going upstream. Shouldn’t they should swim from left to right…. I must have gotten turned around (not all that unusual for this quilter.) 😉

img_20160503_5022

My Stepping Stones quilt is basted and ready to be quilted. I am looking forward to the weekly post tomorrow as she plans to give some ideas on possible quilting motifs for this pattern. Choosing how I will quilt something is still a challenge for me but maybe I will be inspired by Jennifer’s post tomorrow.

Finally, I am working on a mini that I will share later this week. It is going to be cute though. Here is a sneak peek.

image

I am going for an old-fashioned, vintage feel and I think it is coming together well.

OK – what do you have going on in your sewing room? i would love to hear.

Linking this post up with all sorts of fun sites. Take a look at the list. You’ll find it at the top of the page, under Link Ups.

**************************************************************************

Just in case you need an idea for Mother’s Day gifts (for a friend, your mom, even yourself  – even if you aren’t a mom!)  Craftsy has awesome classes and I can’t imagine a crafty mom who wouldn’t love one (or two, or three…) Classes last longer than flowers and they are way more affordable! Click here to check it out.

MothersDay (2)Craftsy

Sweet Pixie Baskets

Hi:  This year Easter was at my house. We celebrated with my husband’s parents, brother, sister-in-law, their two girls plus two more family members. It was such a lovely day. Lots of good food, pretty weather and visiting with family.

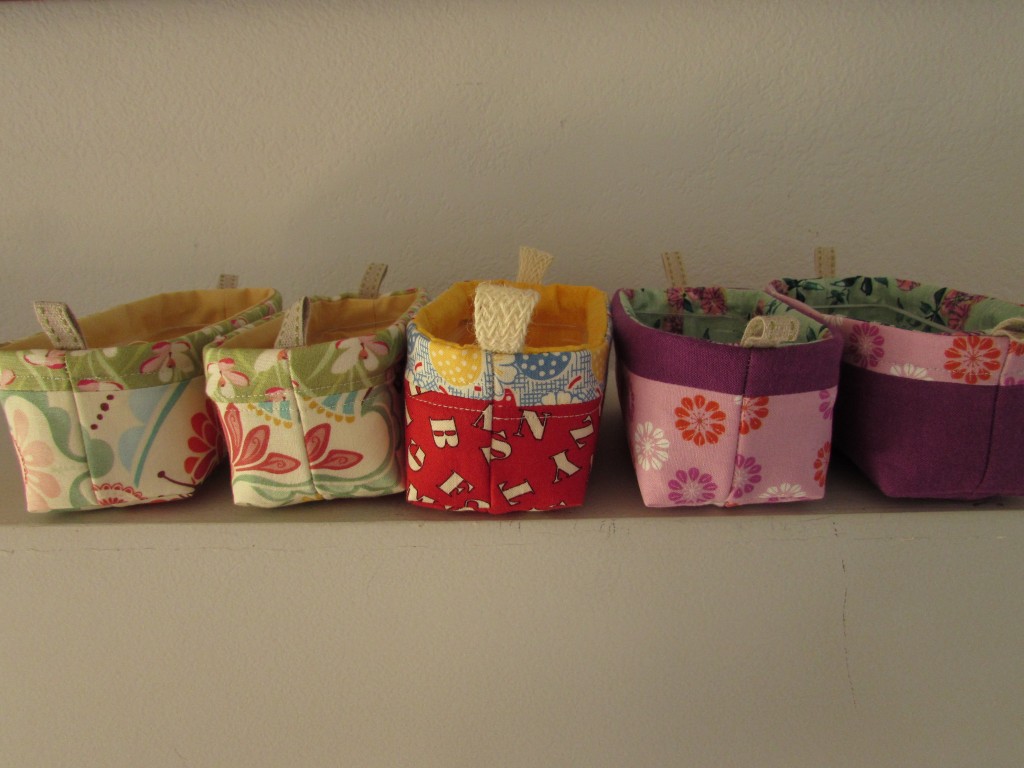
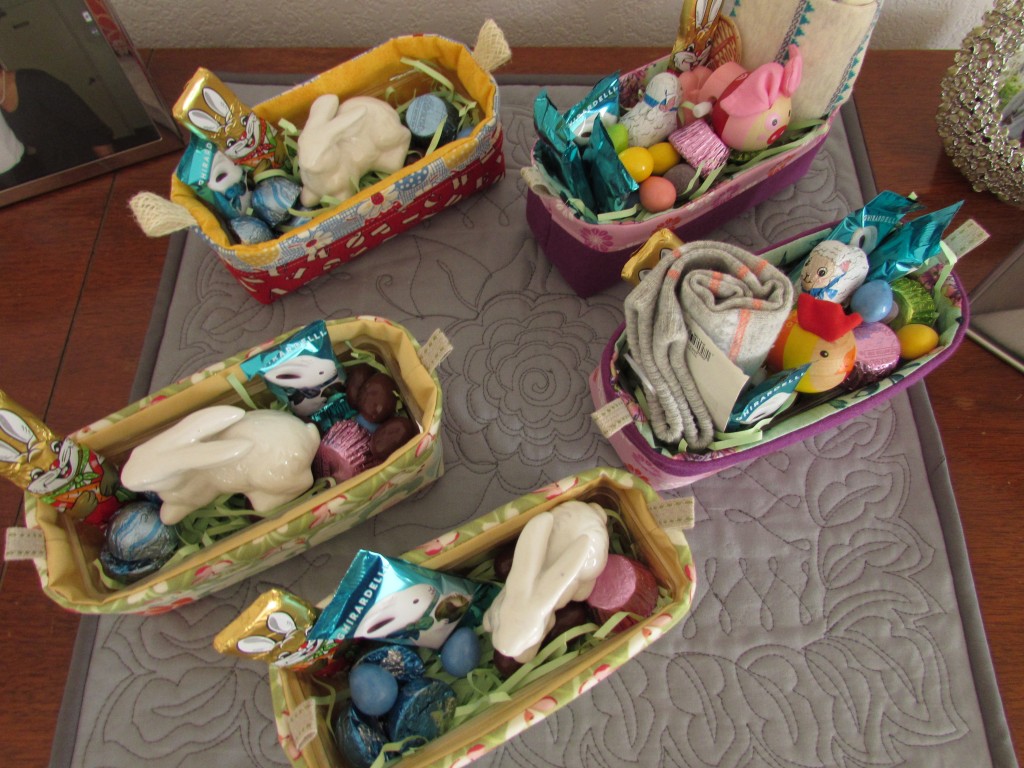
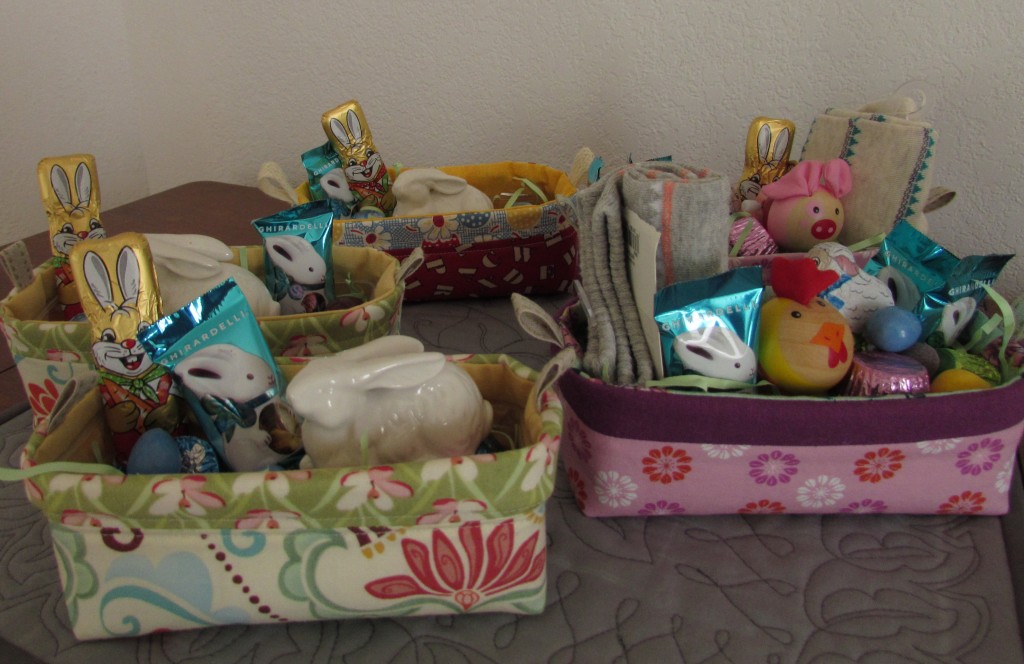
I decided to make Easter gifts for the women that were coming (five in all). Have you seen all the pixie baskets floating around on Instagram? The tutorial is by Heidi over at Fabric Mutt. It is a simple project and it took very little time to make five.

img_20160325_4730

I love the little accents such as the border around the top and the little tabs on each end.

img_20160324_4729

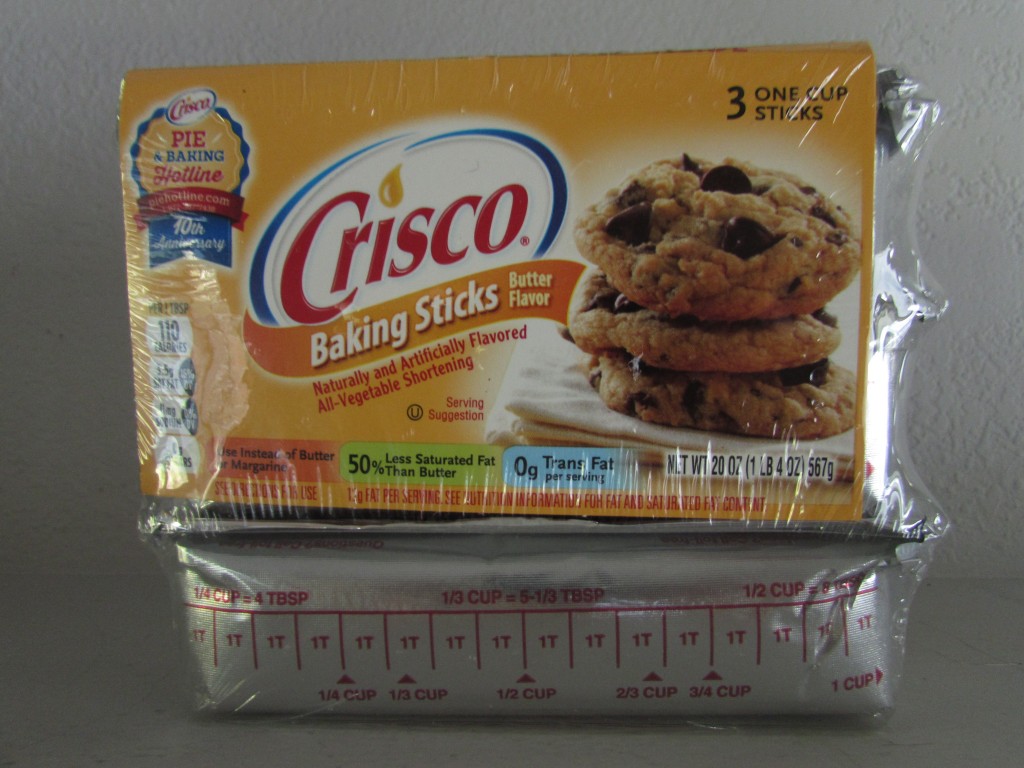
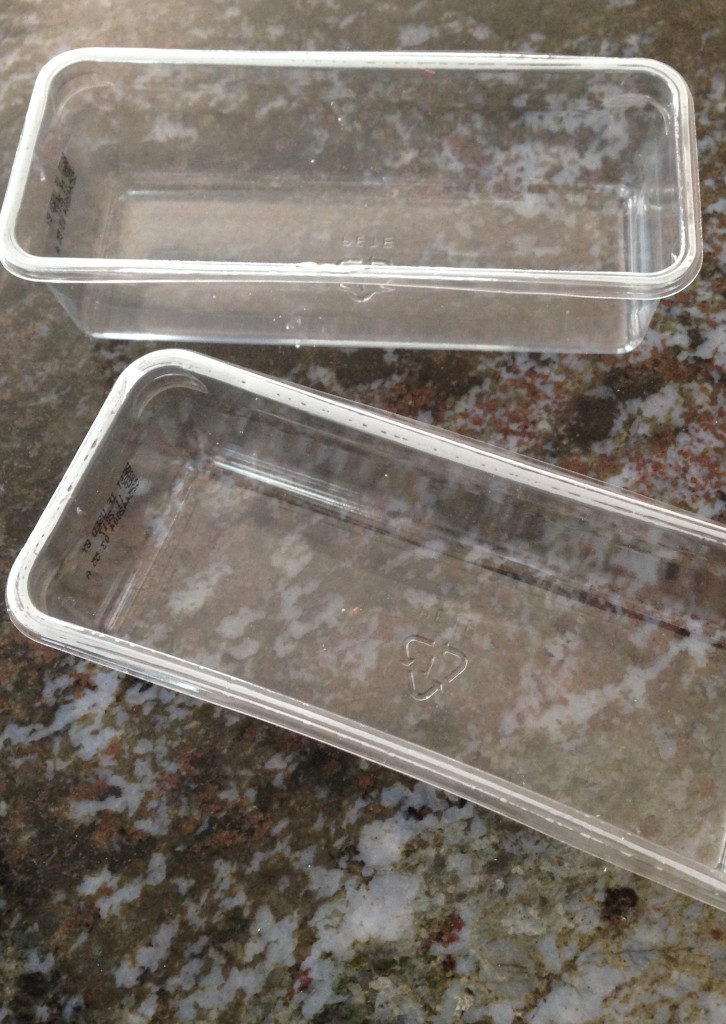
I did make a few changes. When I made the first one, I happened to make cookies the same day. Because Ray doesn’t tolerate dairy products well, I often use butter flavored Crisco when making cookies. In case you don’t use it, the cubes of shortening come in these little plastic tubs. They are nearly the same size as the pixie baskets. I thought it would be nice to place the tub in the finished basket to give it a better shape.

IMG_3165

Heidi’s tutorial instructs you to cut pieces to a length of 8″ when making the baskets. In order to use the little plastic inserts, I had to increase the length to 8.5″. These little inserts create wonderful structure for the pixie baskets. I used fusible batting which was a breeze.  Finally, I topstitched 1/8″ above and below the seam connecting the main exterior fabric and the upper trim piece. It was a nice finishing touch.

img_20160327_4732

These were so fun to make and fill up for my guests. I think they were well received too!

img_20160327_4731

I could see using these for all sorts of things. Different holidays, Christmas, teacher gifts, etc would be great times to make these.  You can see the red one in the back is made from American Jane scraps with the alphabet on it. My sister-in-law teaches kindergarten and I thought this would be fun for her desk.

Lots of sewing going on these days. Just finished the quilting on the Square Dance quilt. Time to trim it and square it up. Then I will get the binding done.

Have a nice weekend all!

Linking to my favorites – check out the list at the top of the page, under Link Ups.