
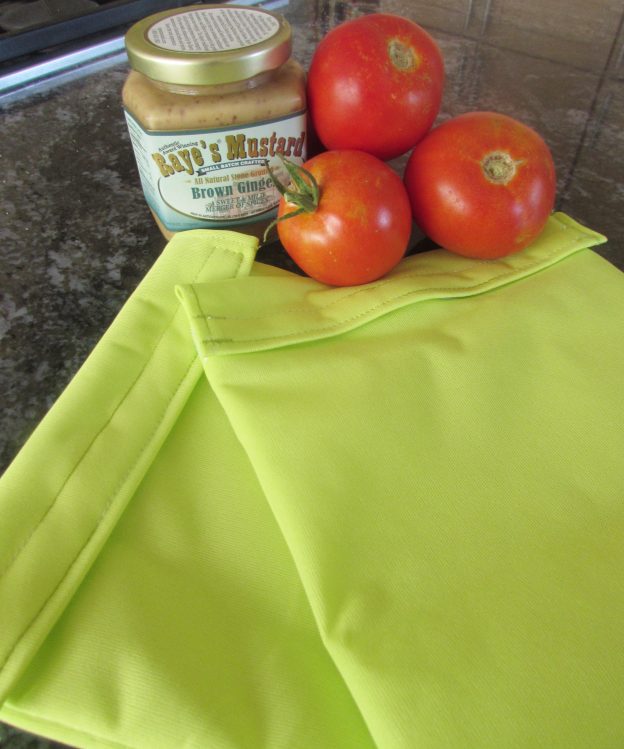
I am all about reusing and recycling. We try to minimize our garbage by recycling everything, composting all that we can and feeding many of our kitchen scraps to our chickens. As for single use plastic (e.g. zip lok bags), I really try to avoid them and when I do use them, I wash them and re-use them again and again because plastic just doesn’t break down or biodegrade. To that end, we have been using reusable bags for packing school and work lunches for the past several years. At this point they are looking pretty grungy. As usual, I hopped on Amazon to order some. Looking at the price ($25.90 for only three bags) and the simplicity of the bags, I decided to make them.
I wrote a tutorial for these bags a few months ago but had purchased the wrong fabric and found out it wasn’t food safe. I asked readers if anyone knew of a food safe fabric and lucky for me, Gayle of Pedal Sew Lightly, responded right away with a link to Wazoodle.
I quickly purchased a piece of PUL from that measured 18 x 60 inches (one half yard) and a strip of velcro for less than $15.00. Thus far, I have made three reusable bags (sandwich size) and I have plenty of fabric to make a few more. Yay for knowing how to sew, right?
These are extremely quick and easy to stitch up. Here are the instructions.
Materials required for one bag:
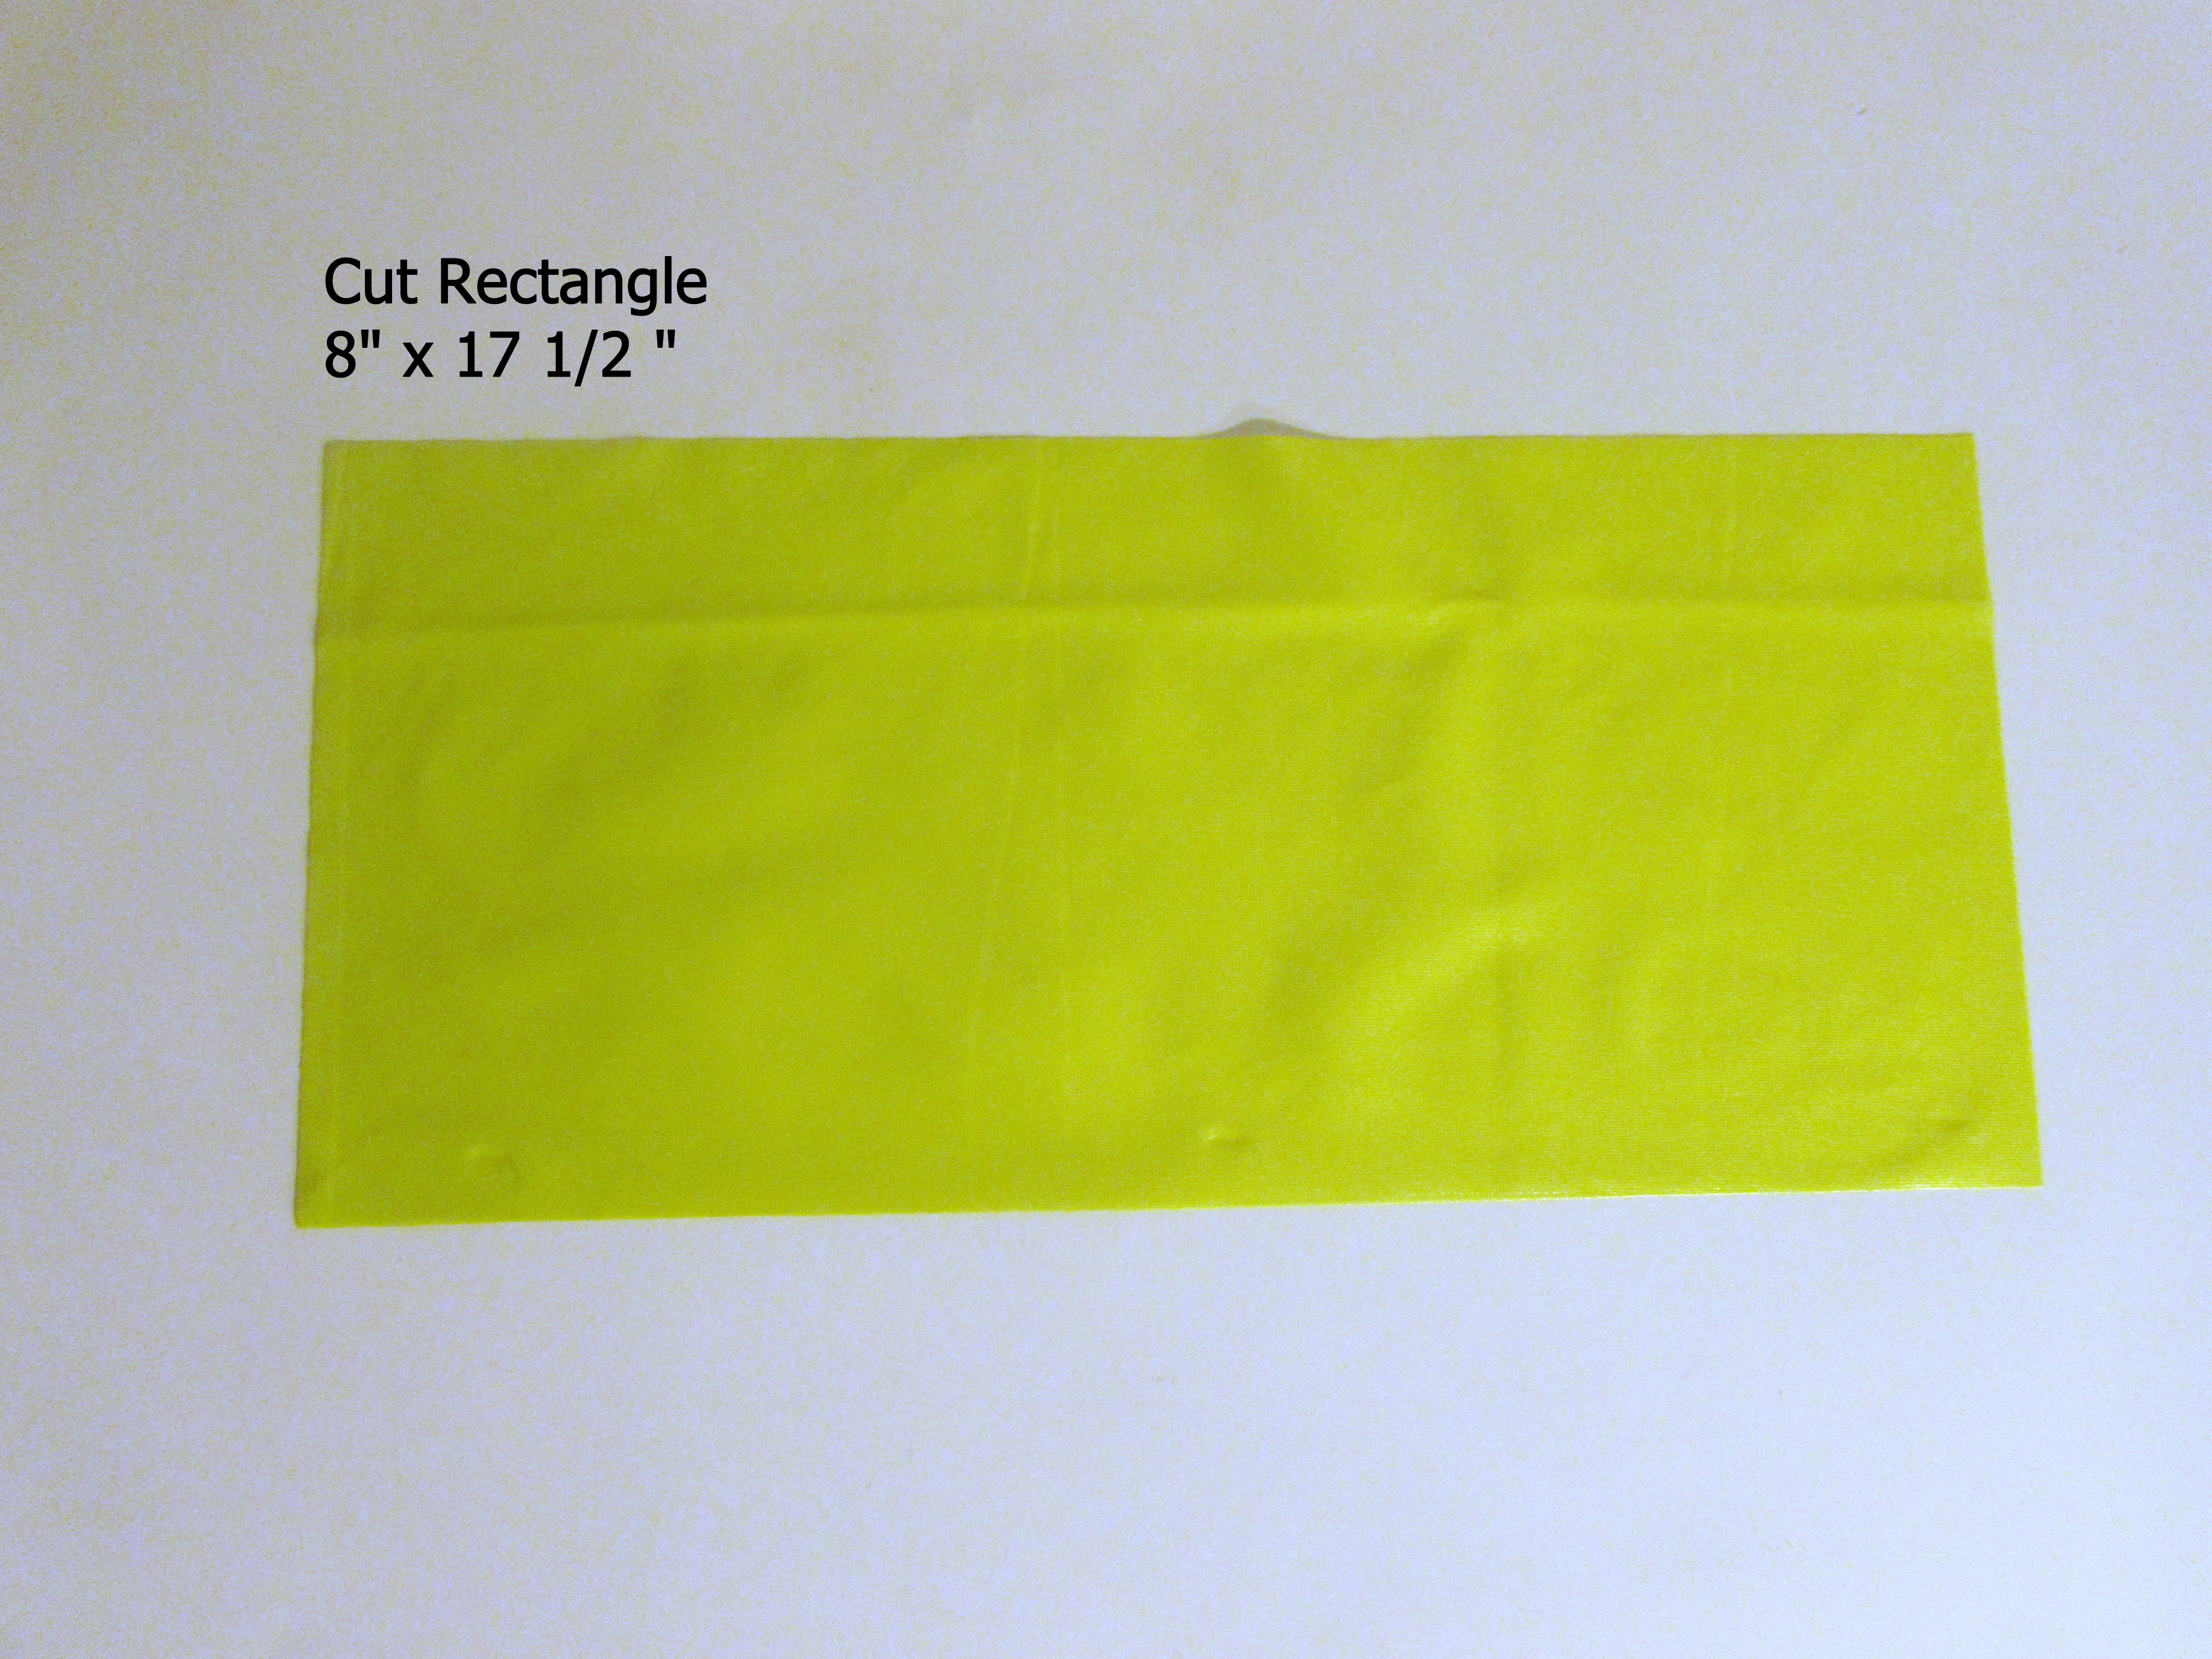
- PUL fabric: 8 inches x 17.5 inches
- Thread
- Velcro: 8 inch strip that is one inch wide
Note: PUL is very slippery fabric. I used a walking foot when sewing because having the extra traction of the walking foot made it so much easier to stitch. Maintain a light hold on the back side of the fabric, as though you are guiding it through the machine. Hold it but don’t pull on it.
- Cut your rectangle of fabric.
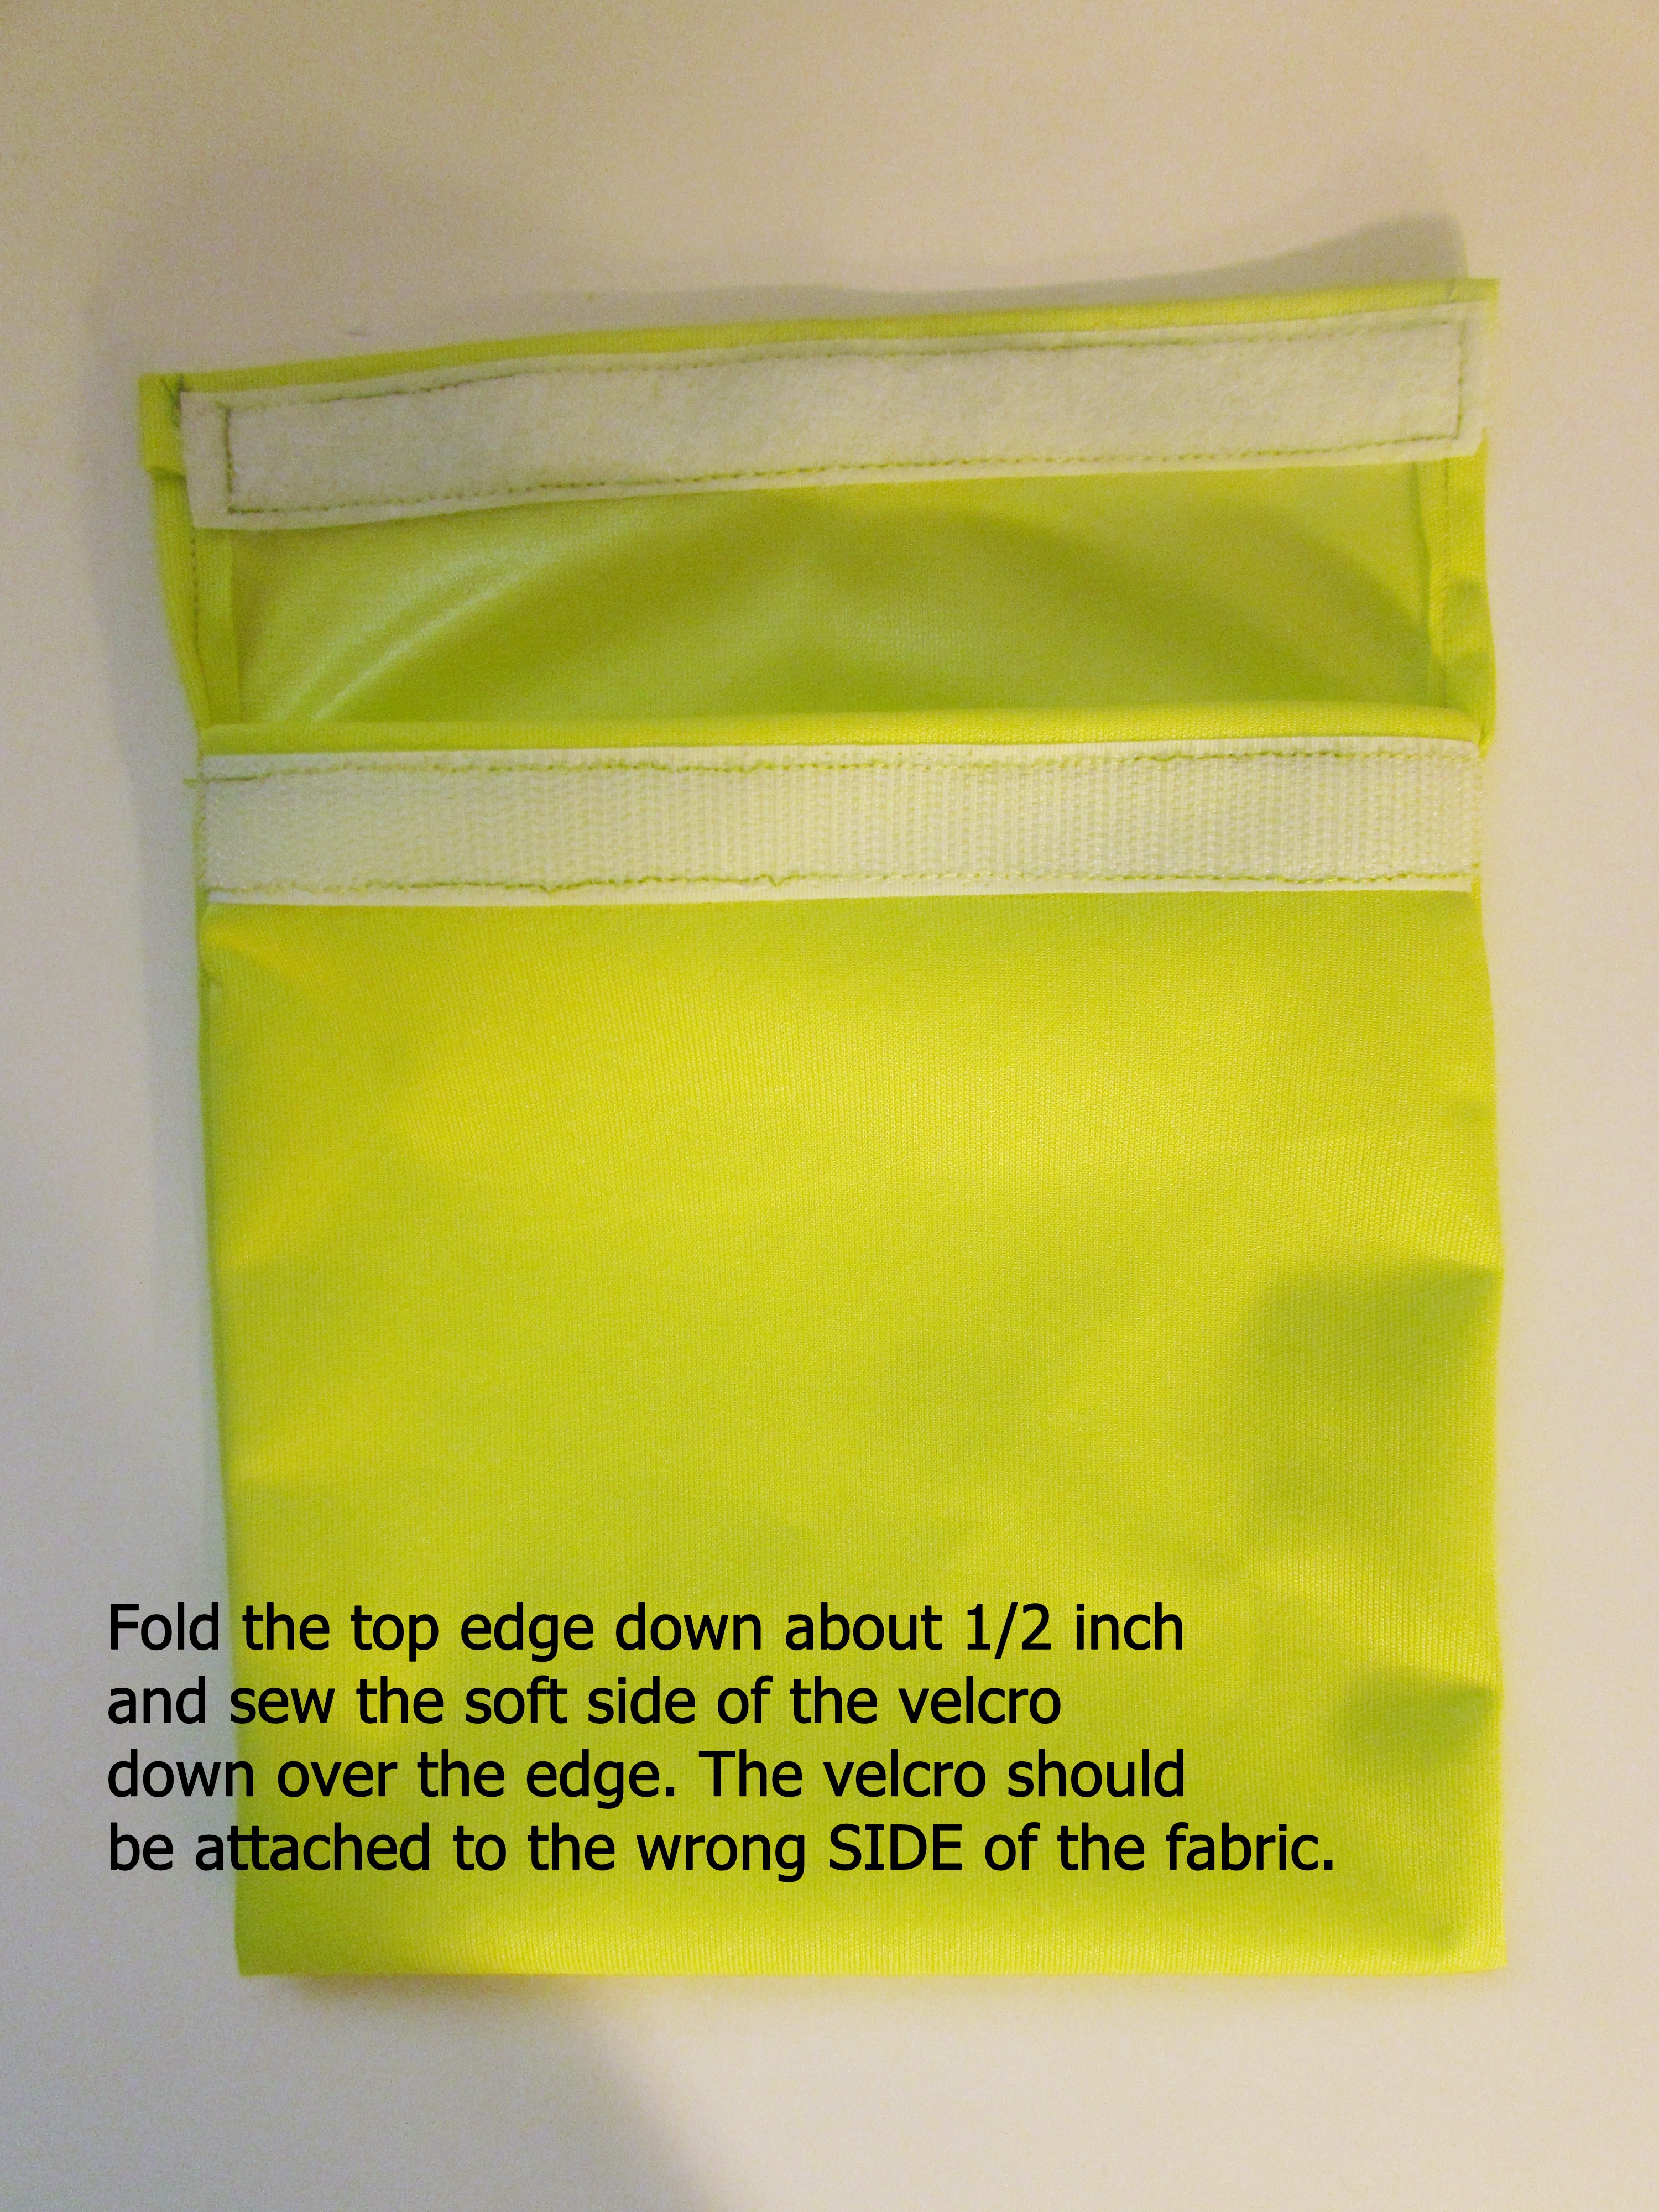
2. Finish one short edge.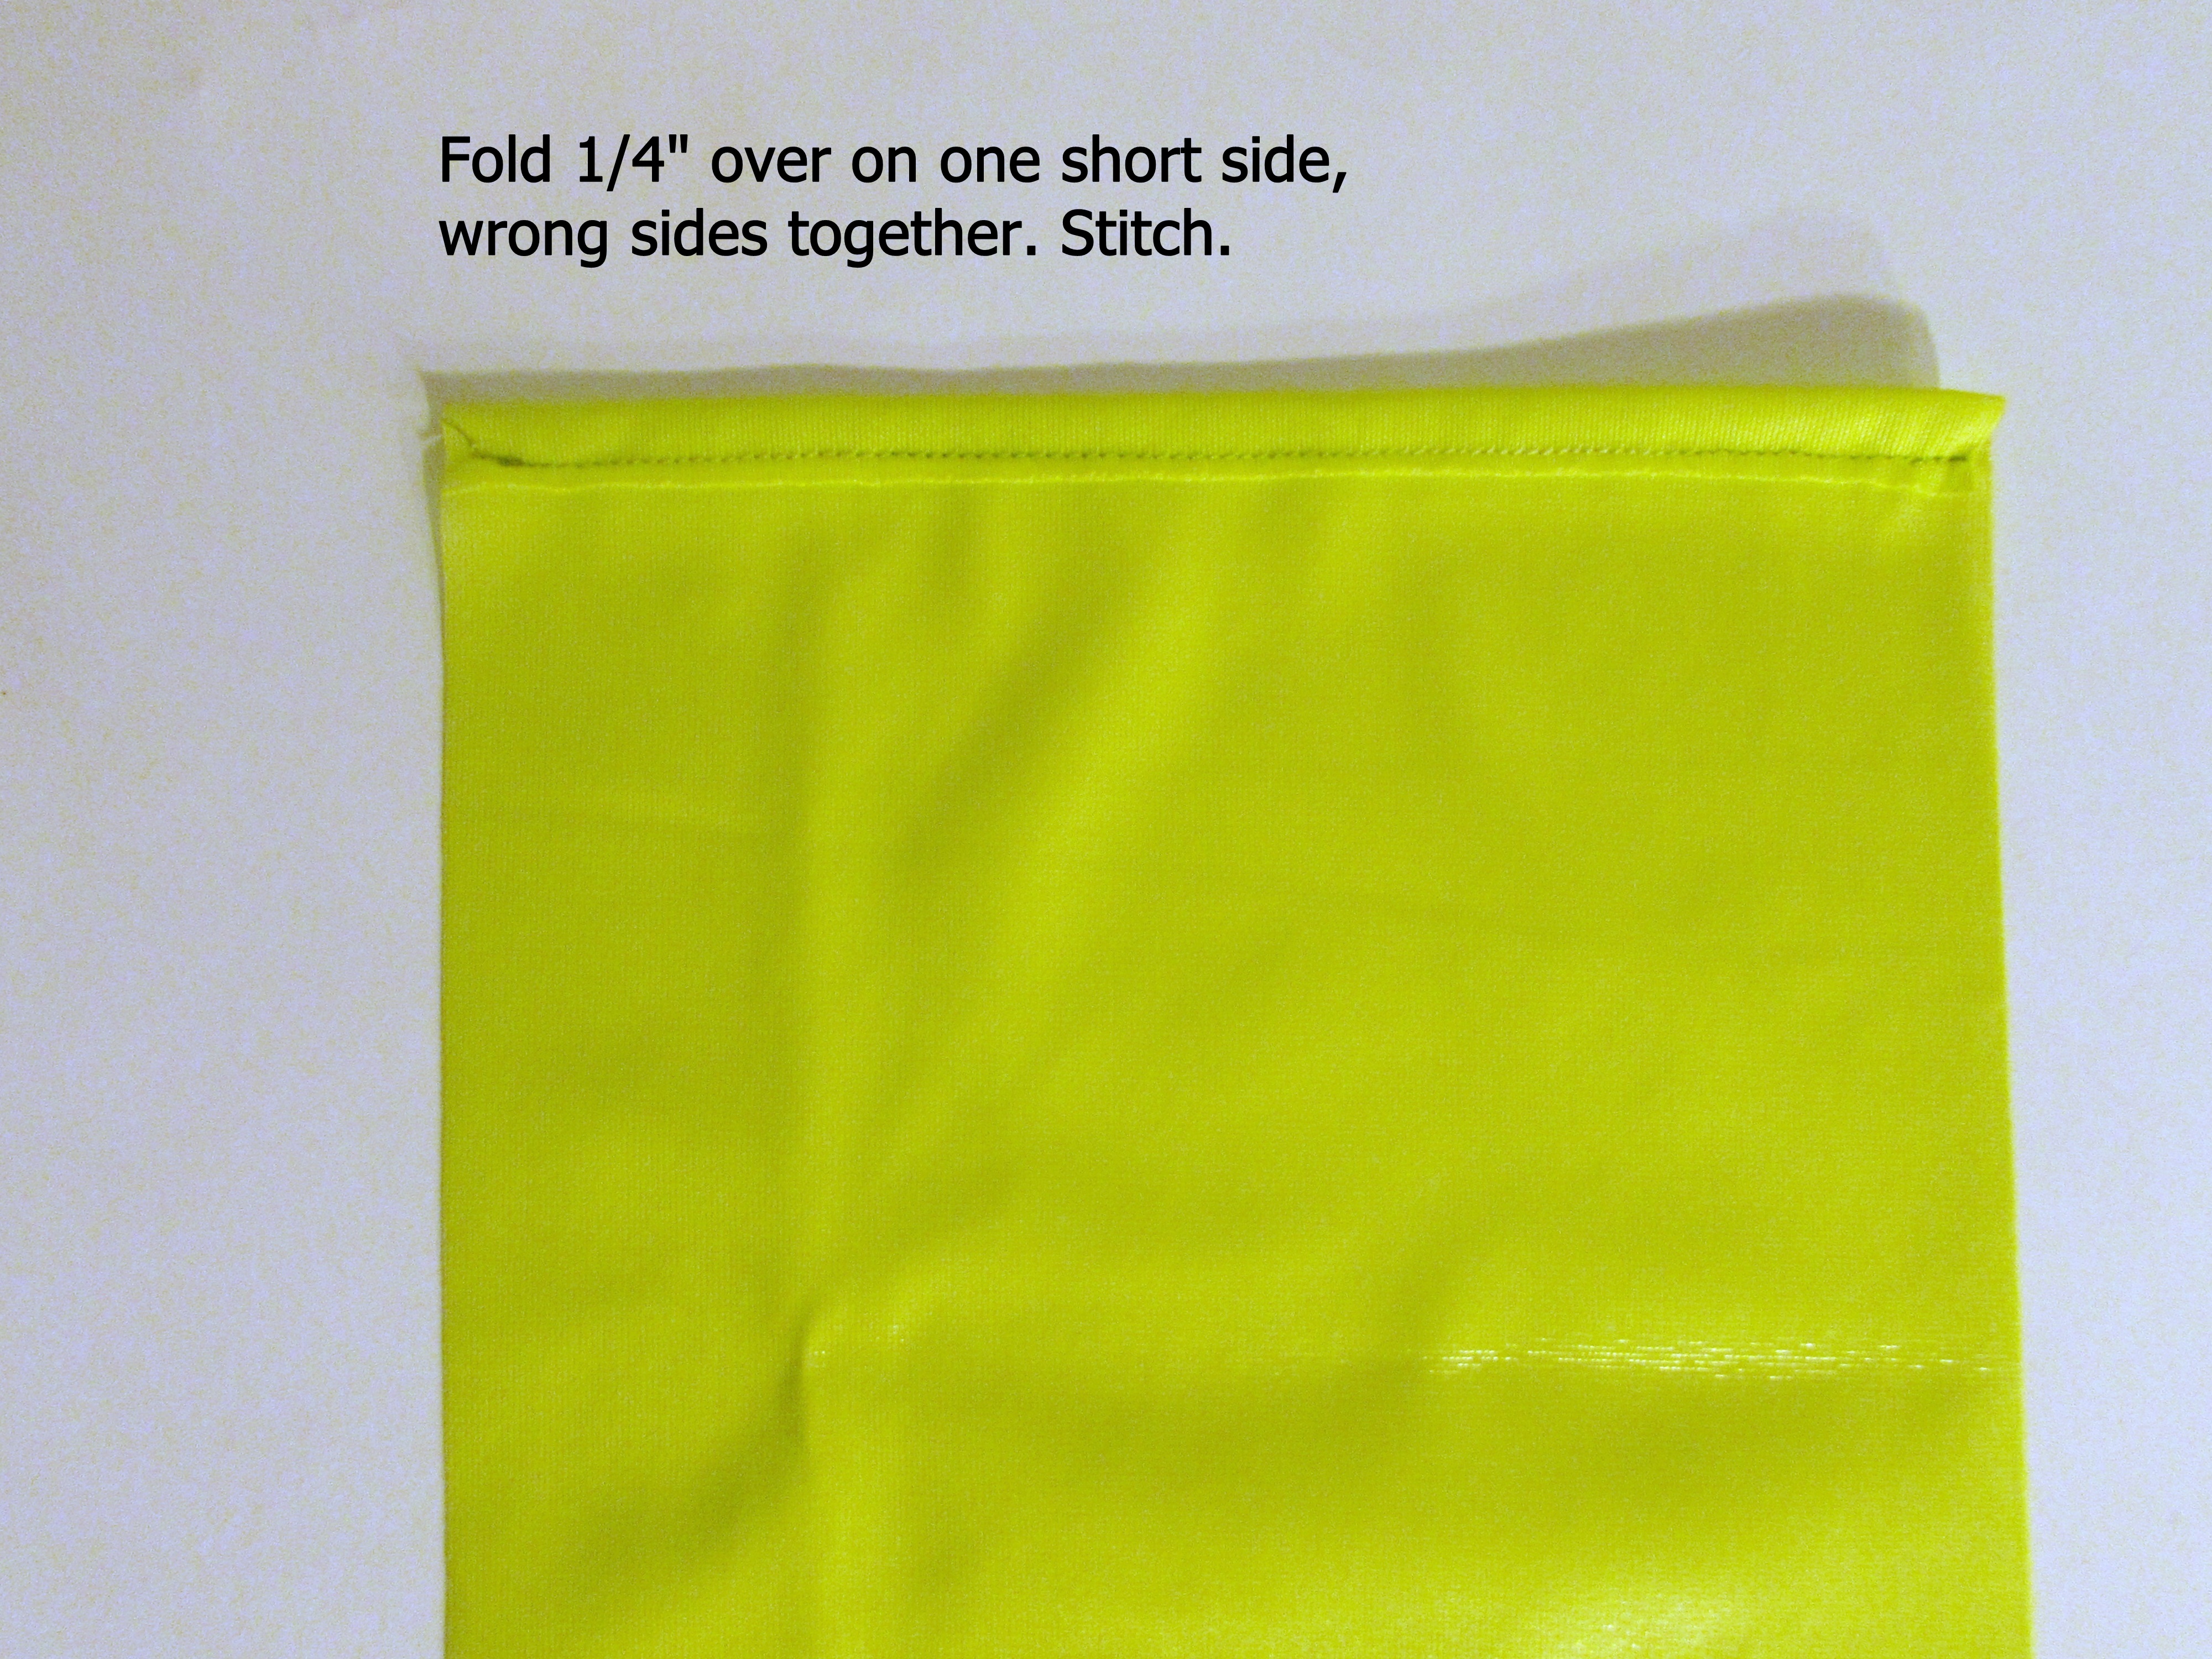
3. Fold right sides together, leaving about 3 inches extending above the opposite side. Stitch sides together with a 3/8″ seam, catching each edge of the velcro in the side seam. Then turn the bag right side out.

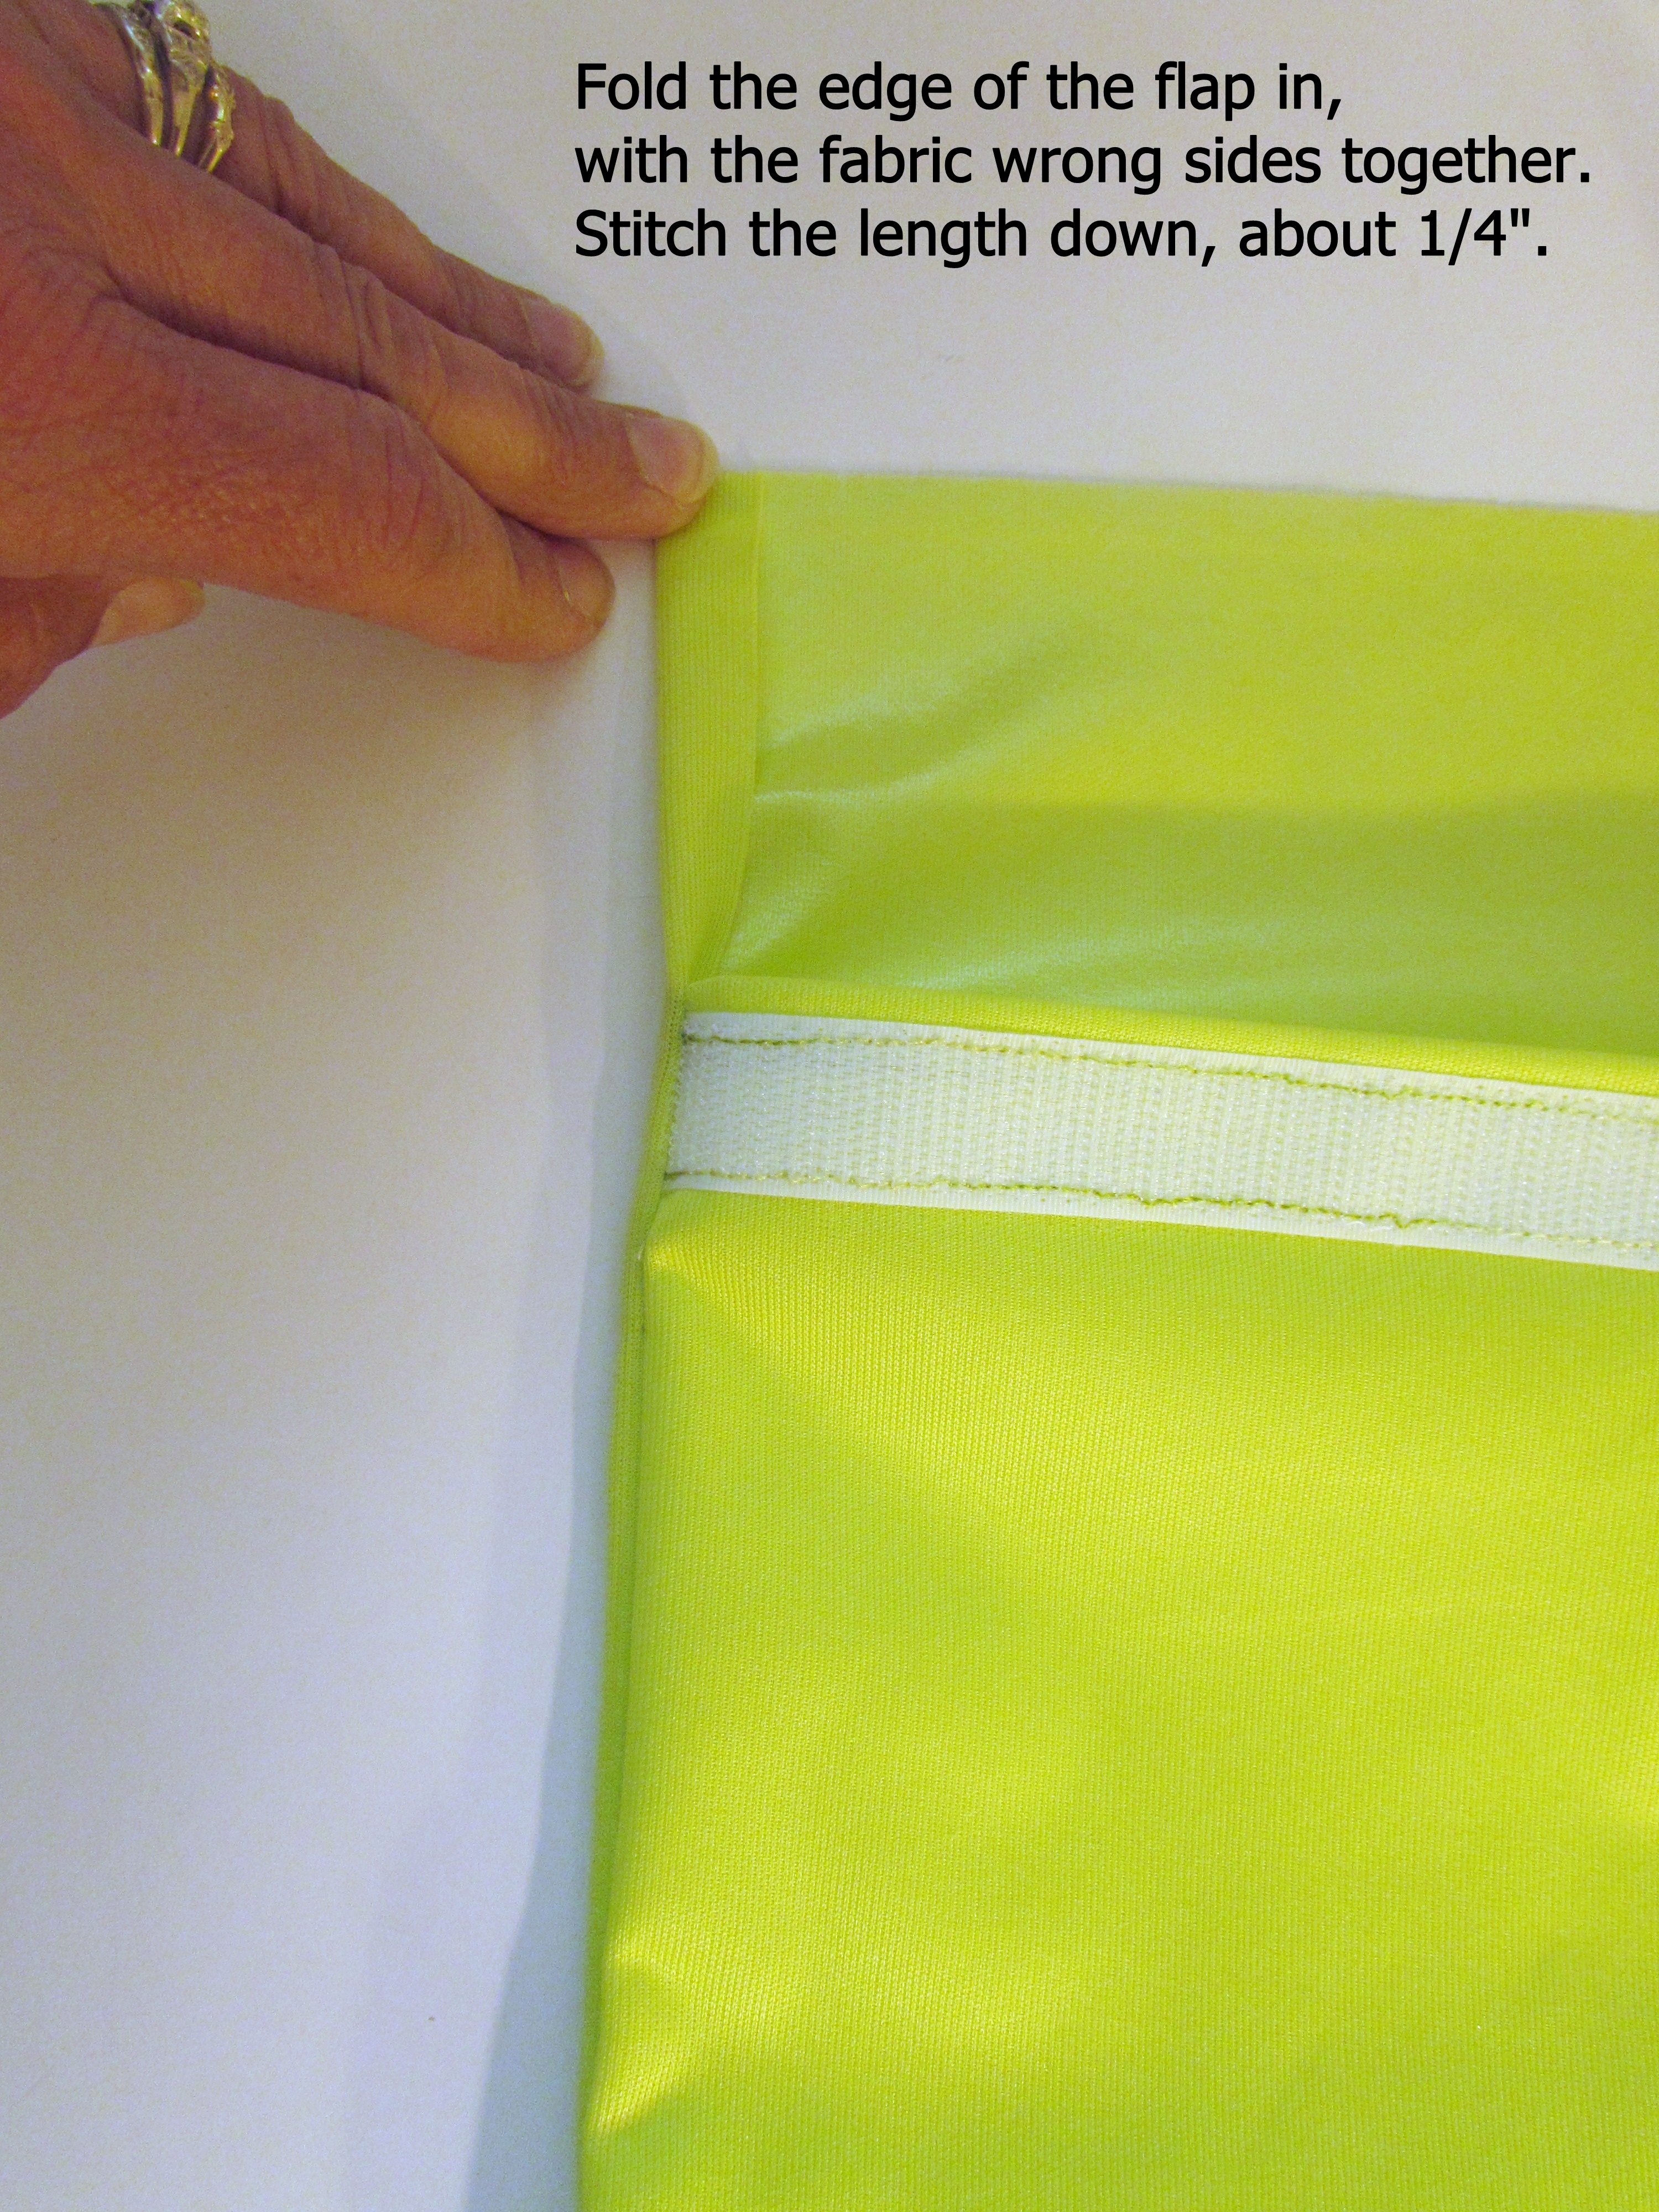
4.Finish the each side of the flap by folding over 1/4″ to the inside and stitching.
5. Fold over the top of the flap, bringing it to the inside. Sew the velcro to the inside of the flap, on top of the part you folded in. You may choose to pin this but I just stitched slowly and held it on top of the folded piece. It is a bit tricky because the PUL is slick so take your time and stitch slowly.
Finished! Not so hard, right? The first one took a few minutes as I got used to working with the PUL. The following two took less than 20 minutes each to make – these bags are that simple.

Let me know in the comments if you have any questions. Hope you will make a few of these and reduce the need for zip lok bags, thus reducing the amount of plastic in our landfills.
Linking up to my favorites. For more info, click on Link Ups at the top of the page.