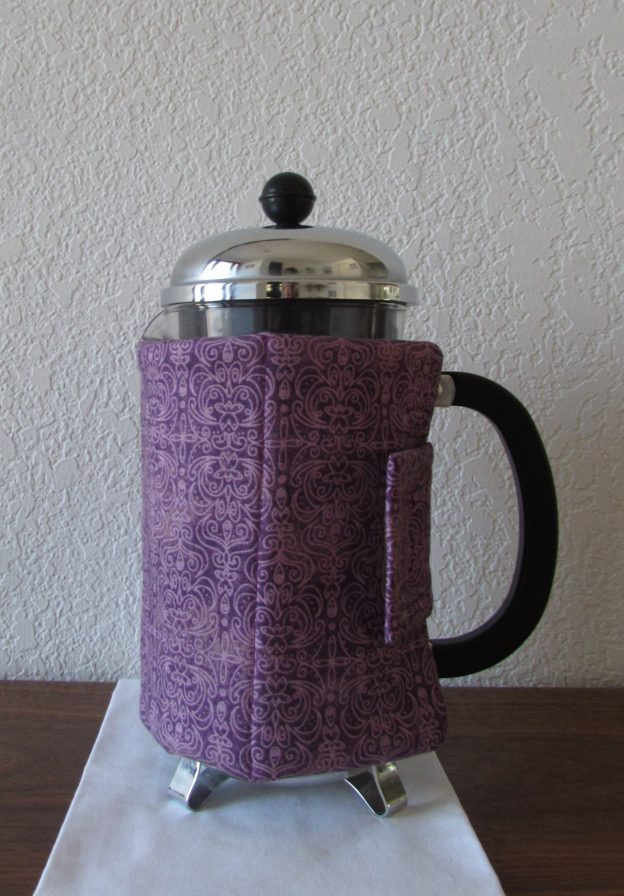
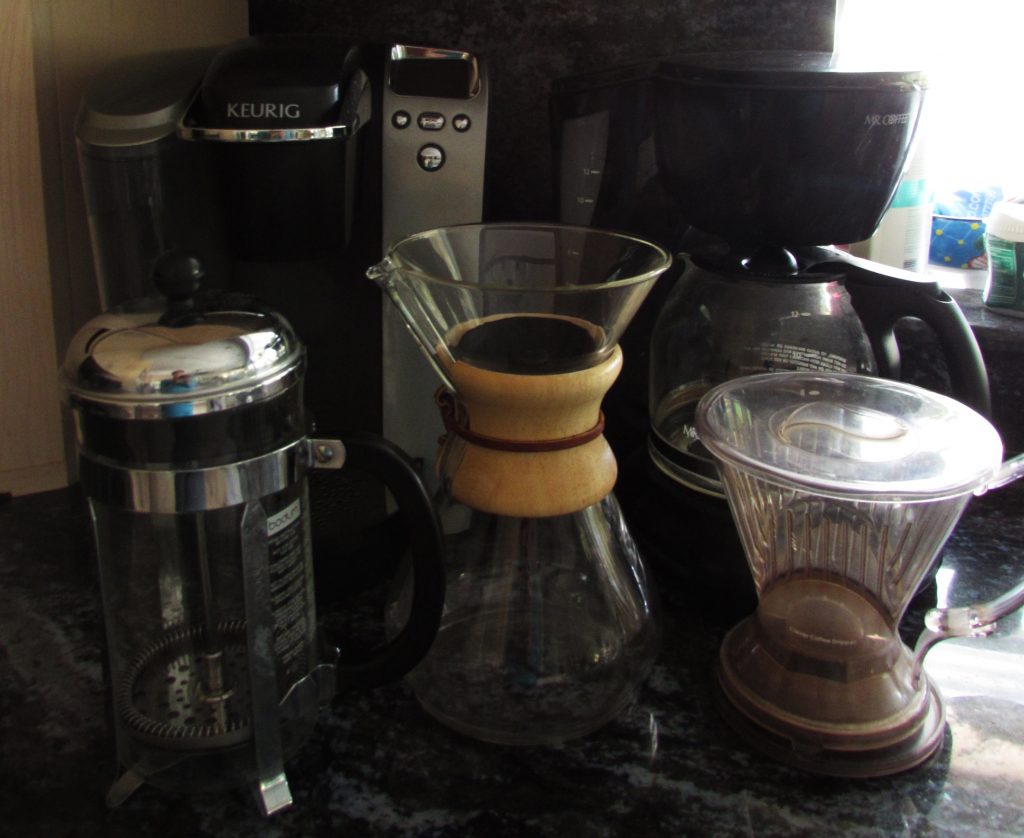
Today I want to share a quick and easy project with you. I have a bit of an obsession with coffee. Currently I have five different methods of coffee brewing in my kitchen. I am always trying out some coffee gadget or method to look for the best cup. I have a Chemex pot, a Keurig, a regular drip coffee maker, a Pour-over, and a French Press. I like all of them and they each have a place in my very deep and sustaining relationship with coffee.
If you asked most coffee lovers, the problem with the French Press and the Chemex is the coffee tends to cool off quickly. I like my coffee near the boiling point, really hot, so I use a cozy wrapped around the pot to insulate it. I have been making cozies for both French Press pots and Chemex pots for a while now and selling them in my Etsy shop. I thought it would be fun to share a tutorial for making a cozy for a French Press with you today. If you are a user of a French Press this will keep your coffee much warmer. Or, you could make one as a gift for the French Press lover in your family.
Let’s get started.
Materials List:
- 1 Fat Quarter
- 1 Batting scrap, at least 7″ x 13″
- 1 Insul Bright scrap, at least 7″ x 13″
- 1 scrap batting or Insul Bright, 3.5″ x 3″
- Velcro, coordinating color, 1.5″ x 1″
Notes:
- Use a 3/8″ seam allowance unless said otherwise.
- Right sides together means to put the print part of the fabrics (the good side, the outside) against each other – so the you can see the wrong side of the fabric on the outside.
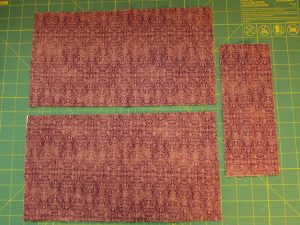
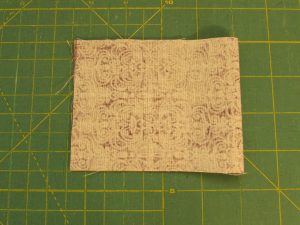
Cut three pieces from the fat quarters. Two at 7″ by 13″ and one piece that is 3″ x 7″.
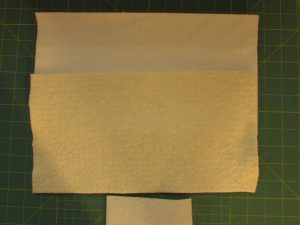
From your batting and Insul Bright scraps, cut one piece of each at 7″ x 13″ and one (you may use either batting or Insul Bright for this one) at 3″ x 3.5″.
If you aren’t familiar with Insul Bright, it is a batting made with polyester fibers that insulates items to stay warm. It is used for things like hot pads, trivets, cozies and can actually be used to line clothing. It is washable but is not microwave safe. There are strands of a metallic, mylar substance in it for the insulative properties.
Let’s begin by making the tab.
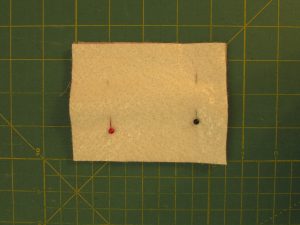
Take the smaller rectangle and fold it in half, right sides together. Then place your small rectangle of batting on top of this and pin.
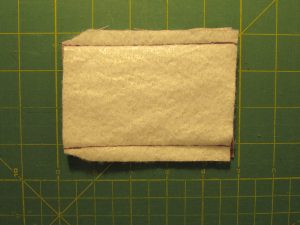
Stitch along both long sides, leaving the short end open. Trim the corners at the end where the fabric is folded – not the open end. This will make your corners less bulky when you turn it right side out.
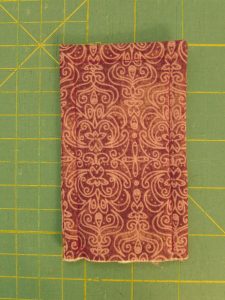
After turning it right side out, use a wooden chopstick or the round end of a pencil to poke the corners out – be gentle here so you don’t make a hole. Top stitch around the edge at 1/4″ allowance.
Use a fabric marker to make a tiny dot at the center of the short, open end of the tab. Set this aside for a moment.
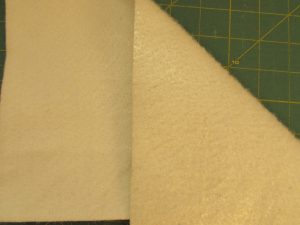
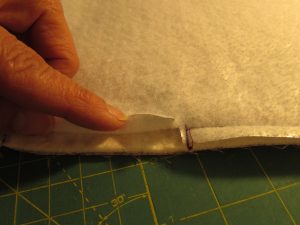
Take a look at your piece of Insul Bright. You will see that there is one side that is a bit shinier than the other, where the metallic bits show – in the photo below, the shinier side is on the right. When using Insul Bright, that side should be placed so that it is touching the inside of the fabric. We will be layering fabric, batting and Insul Bright. For better insulation, the shiny side should be in contact with the fabric, not the cotton batting. This isn’t hugely important though. The manufacturer states that it will only provide slightly better insulation.
Let’s assemble the layers for the cozy. Place the Insul Bright on the bottom side with the metallic, shiny side facing down on the mat. Next place your cotton batting on the Insul Bright. Finally place your two fabric rectangles, right sides together, on top of the cotton batting.
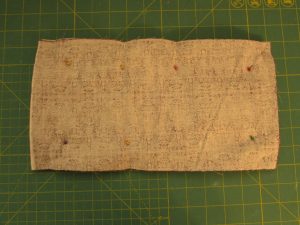
Pin the edges tightly so the layers don’t shift. Next mark a small dot at one of the short ends center point. You will match that dot to the center dot on the tab.
Fold back the top layer of fabric a few inches and insert the tab between the two fabric layers matching the center points on the large rectangle and the tab.Once you slip the tab between the layers of fabric, make sure you have that raw edge of the tab aligned with the short side of the cozy, NOT the finished end. You will stitch the tab to the bottom layers (which would be both battings and one fabric layer). Stitch it with 1/4″ seam allowance so this seam won’t show later on.
Unfold that top layer so it is now covering the tab. Pin securely.
Starting on one of the long edges, stitch all layers together, around all four edges with a 3/8″ seam allowance. Leave one 3″ opening on one of the long sides. Remember when you are beginning and ending this seam to stop at the opening with your needle down, pivot the fabric and sew off the edge. Reverse stitch about three stitches so that your seam holds while you turn your project right side out.
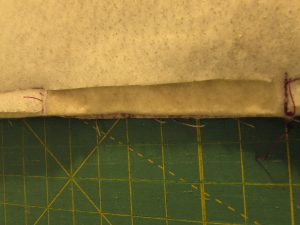
Very carefully, take your scissors and make a small cut in the Insul Bright. It should be only as deep at those stitches you just made. Clip each side and then trim that piece off. This will remove some of the bulk from that seam when you close it up. You will also need to trim each of the four corners, just like we did with the tab, taking care not to snip too closely to the stitching.
Now turn everything right side out by gently pulling the piece through that opening. It takes some patience but just work it through the opening. Then use your fingers to slide the batting layers into place and flatten them. Sometimes they get a wave or lumpy feel from turning it right side out but you can just massage everything flat. To have nice crisp corners, use your chopstick, or the round end of a pencil, and push the corners out. I roll the finished edges between my fingers a bit to get a nice flat edge. Then press everything with steam. Carefully fold in the opening seam and hand stitch it closed. Use a hidden stitch, such as the ladder stitch. (If you need a tutorial on the ladder stitch, click here.)
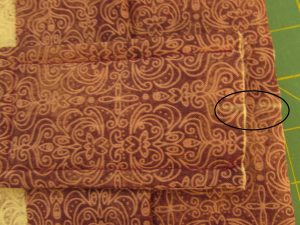
Using your walking foot, quilt a few lines through all layers to hold everything in place. The quilting can be as you like; this piece was quilted with three seams across the rectangle.
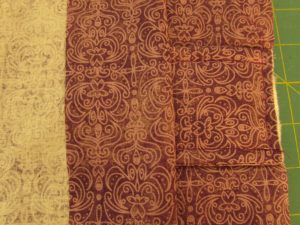
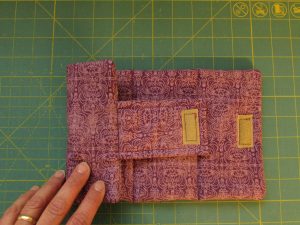
Finally – last thing to be done is to add that small piece of velcro to the tab and the body of the cozy. You will see the velcro is on one side of the tab and the opposite side of the body. The velcro cannot be on the same sides or the closure won’t work! Usually, I sew the piece to the tab first and then line up the body to mark where the second piece goes.
See how the two pieces line up correctly?
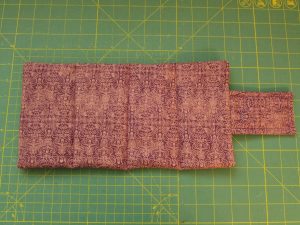
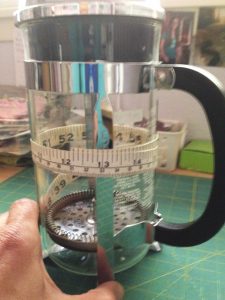
That’s it – easy, peasy. I hope I covered each step without going into too much detail. The finished cozy should measure about 6″ x 12″ (without the tab) depending on your seam allowance. I sized this to fit the 8 cup Bodum French Press. If you have a different model, you will need to measure the height of your carafe to get the height of the cozy. Then measure the circumference of the carafe to get the finished length of the rectangle. (This is easily done by using a cloth measuring tape and measuring around the body of the carafe.) If you carafe is narrower, or skinnier, than the Bodum, adjust accordingly.
Should you have any questions, leave them in the comments and I will help you figure it out. If you get a chance to make one, I would love to see it. Post it on IG with #needleandfootcozies. Enjoy your coffee hot, as it is meant to be enjoyed!
Linking to my usuals – see the list of linky parties at the top of the page, under Link Ups!

