Category Archives: Etsy

Stocking the Shop

It is all about Christmas prep this week. I feel like an elf in Santa’s workshop except rather than making toys, I have been creating items for my shop. This is the biggest shopping time of the year and I try to take full advantage of it with regard to my Etsy shop.

img_1546

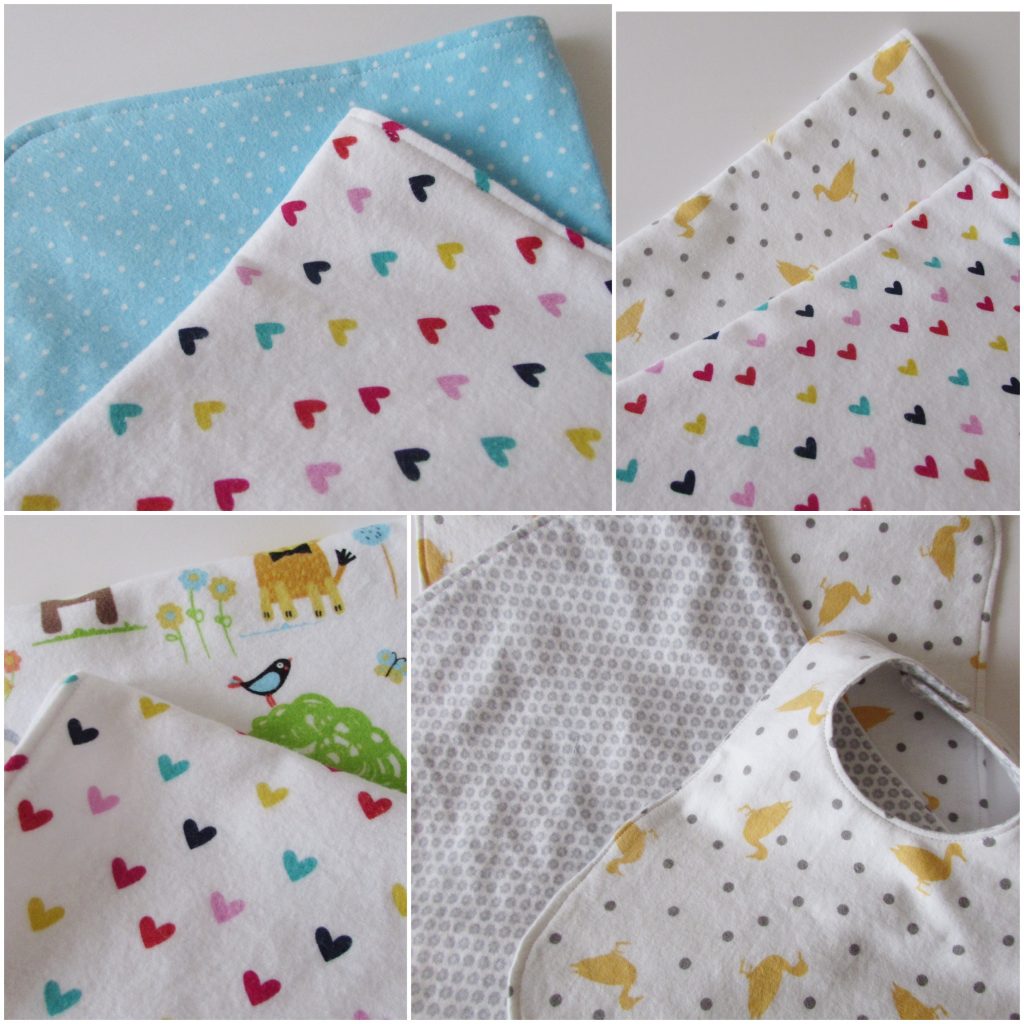
A friend asked me to make a set of burp cloths to gift to a friend at her work. It gave me a push to add some new baby items to my shop. Sewing with these soft flannels is a blast. Putting on a little music and creating little cuties for babies makes for a lovely afternoon. If I had to pick a favorite, it might just be the duck and dots print. I love yellow and gray together.

picmonkey-collage

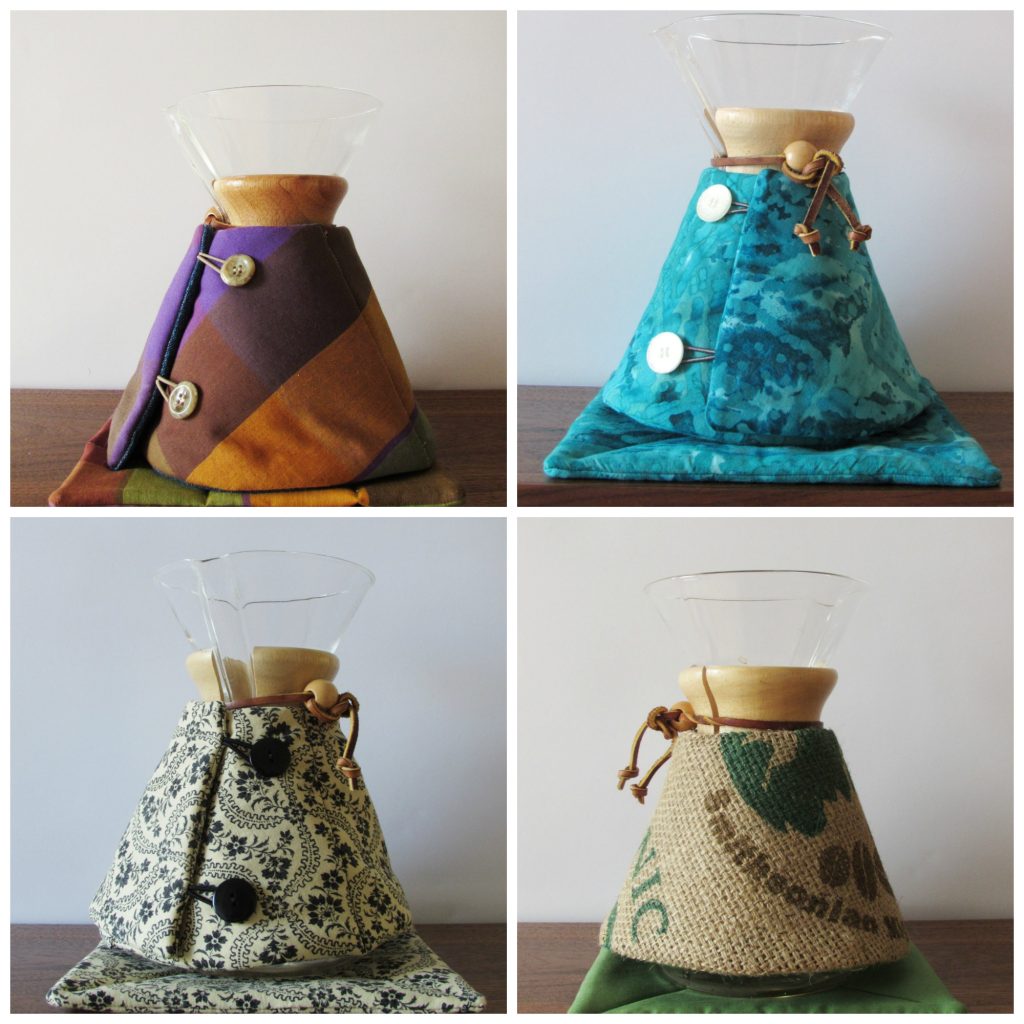
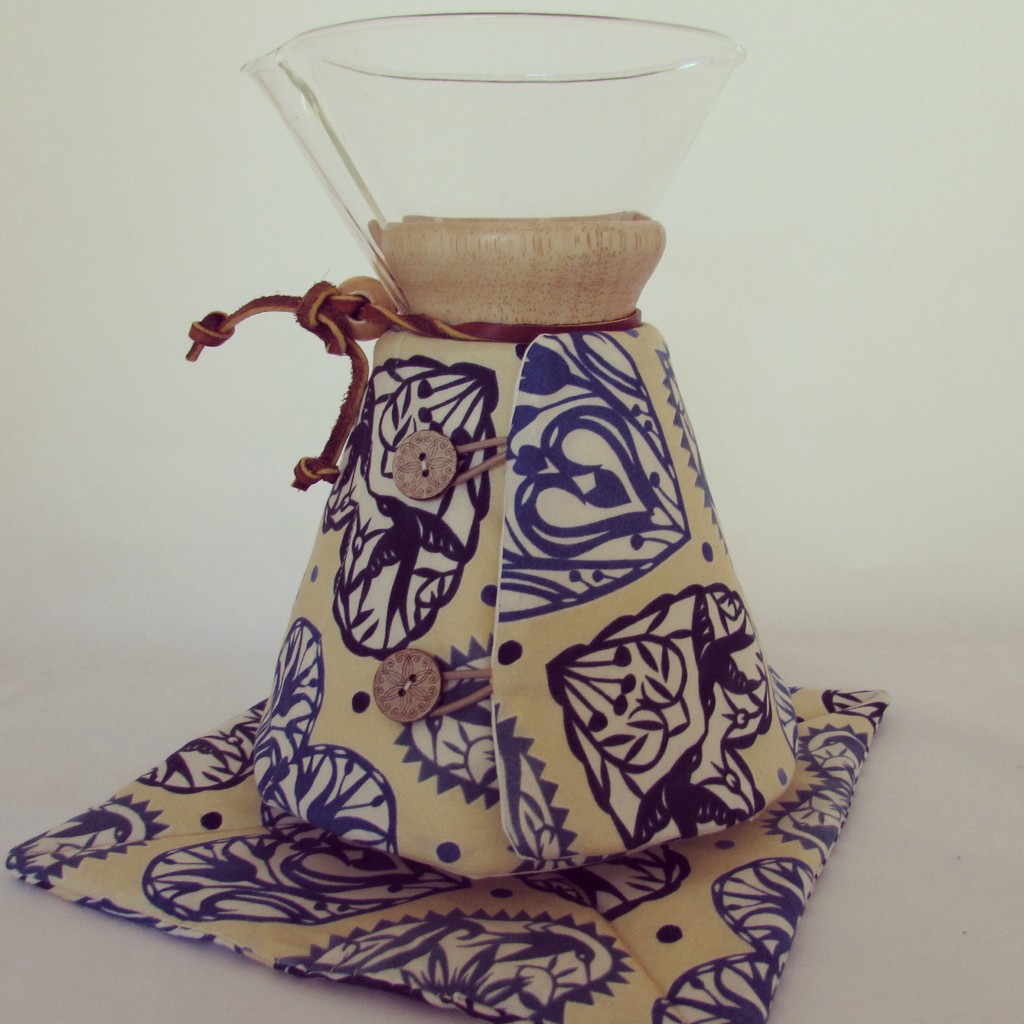
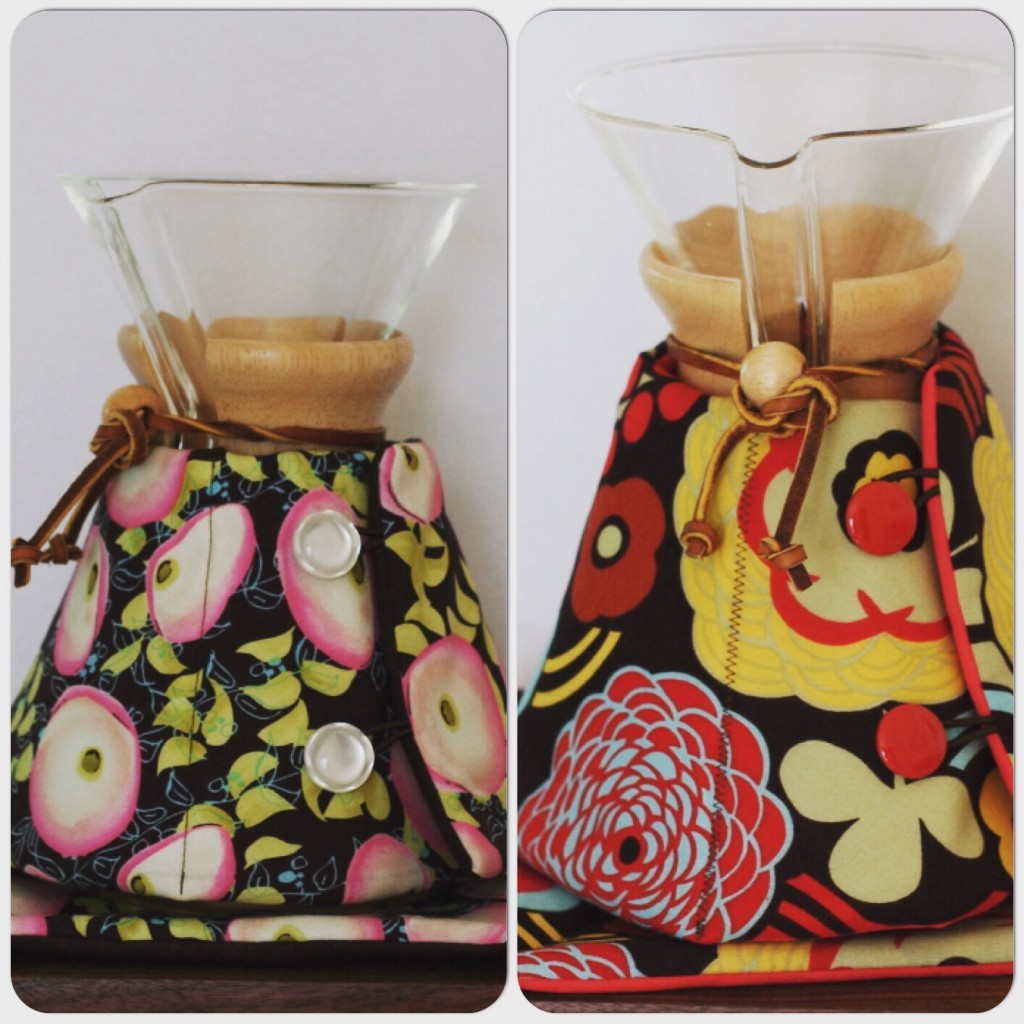
Here are a few of the Chemex Cozies I have recently listed. It is a challenge to be sure that I have lots of colors and choices available. The upcycled burlap pieces sell very quickly but they are a beast to create. There is always so much mess from cutting and stitching burlap; it just flies around the sewing room and fills my sewing machine with debris. As for colors, it feels like deep colors and basic patterns sell best. Also batiks – those are usually snapped up quite often.

picmonkey-collage-1

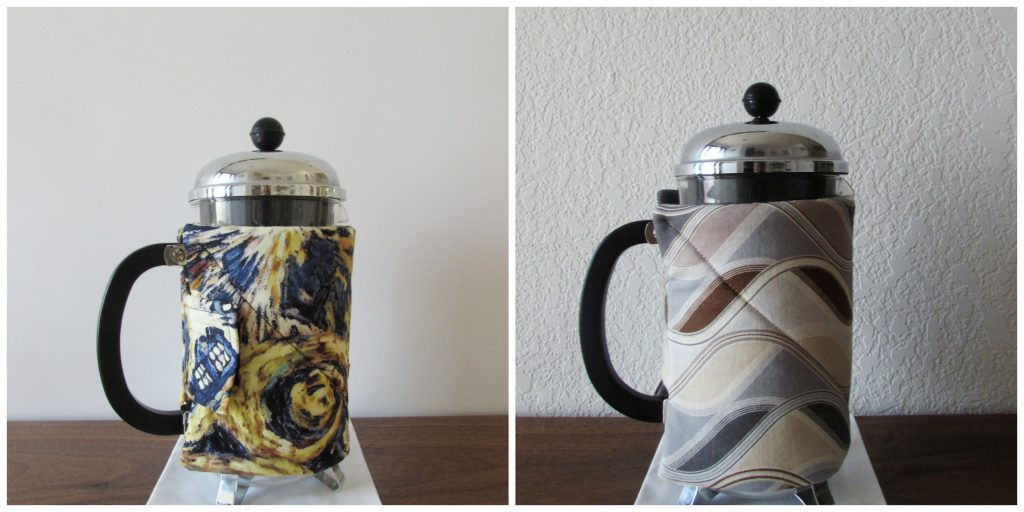
French press cozies are another strong seller in my shop. (Remember I wrote up a tutorial if you would like to make some for Christmas gifts – they are a fast project for the coffee lover in your family.)

I am also working on a baby quilt — I cut into a bundle of Maureen Cracknell’s Fleet & Flourish line. It is going to be adorable. I think I may soon share this as a finish. We will see. Our house has been passing this winter germ fest to anyone who enters. Julia had it and then I caught it and it turned into pneumonia. Now Ray has it. Ick.  Don’t come near Grass Valley or we might infect you! Hoping you all are staying healthy this season and enjoying whatever time you can find in your sewing room!

Remember, I am hosting a giveaway where one lucky person will win a copy of the 2017 Quilter’s Planner. Be sure you have entered as this is one very cool prize! The giveaway will remain open through Wednesday Evening (tomorrow). Good luck! I will post the winner on Thursday morning.



Fall Mini Quilt Finish

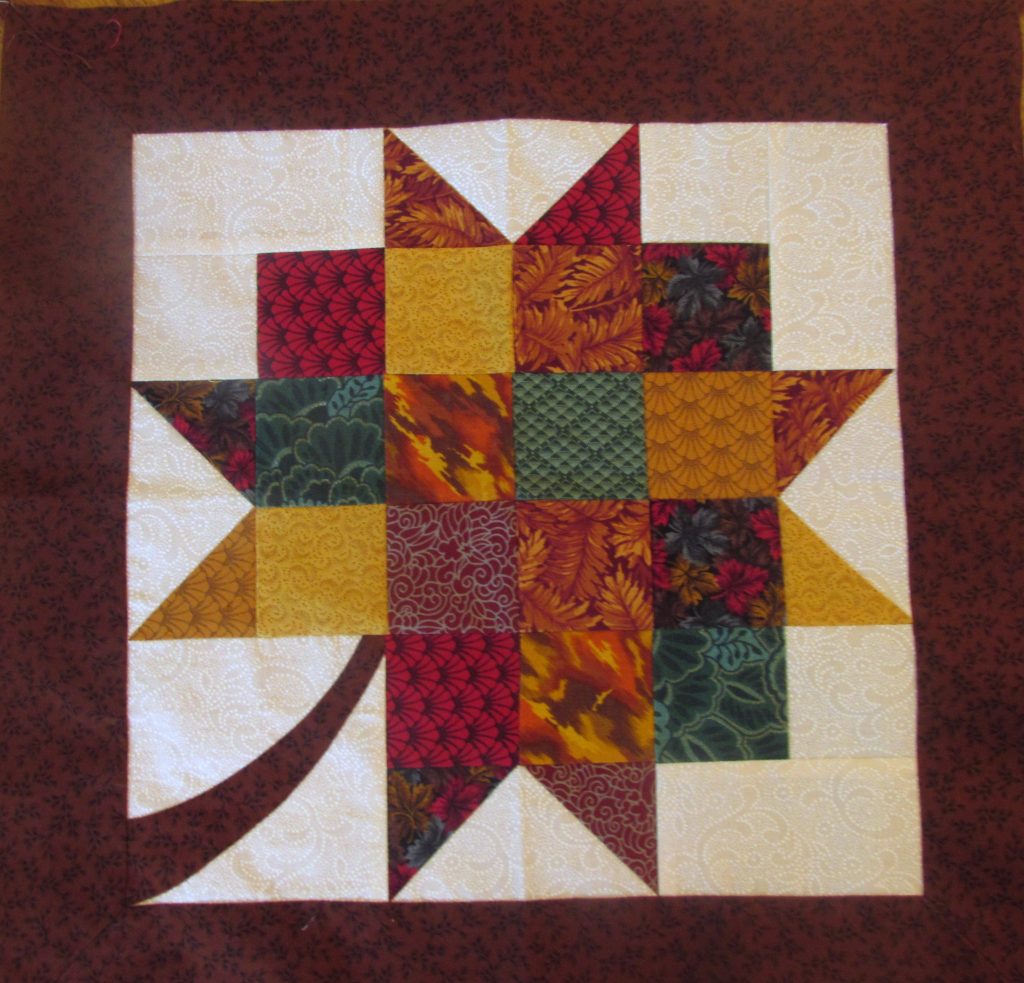
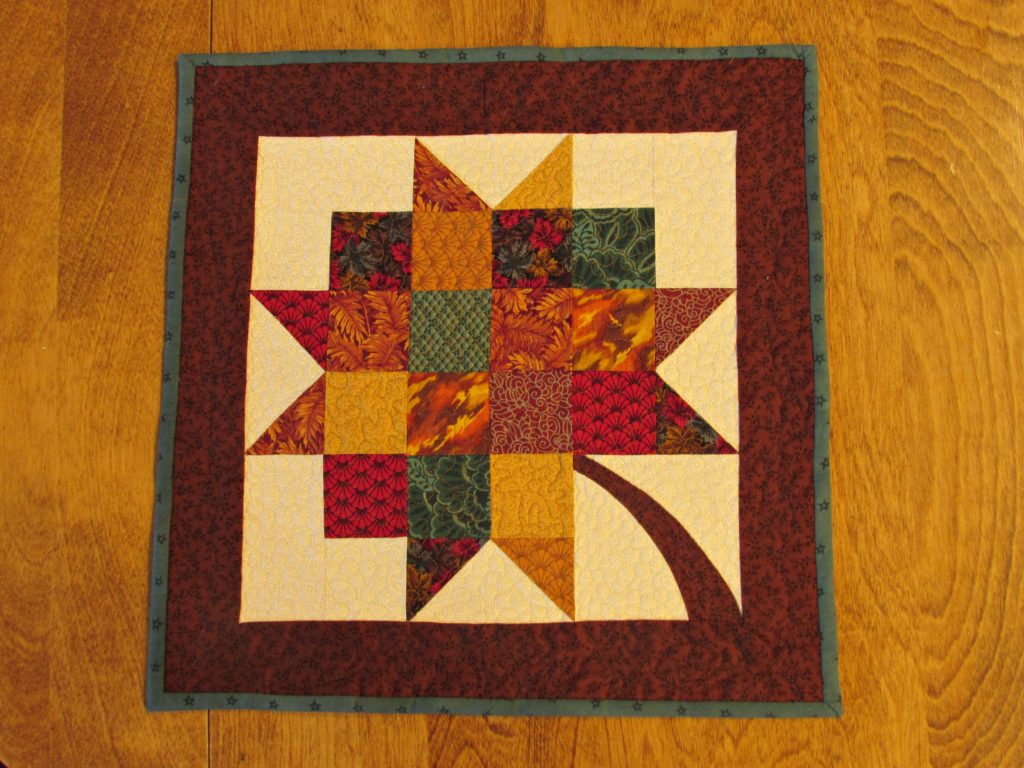
Remember this little orphan block that I scored at a thrift store a couple of weeks ago?

IMG_7172

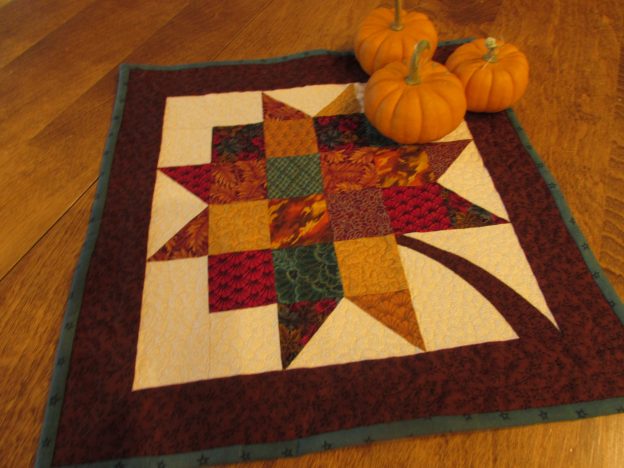
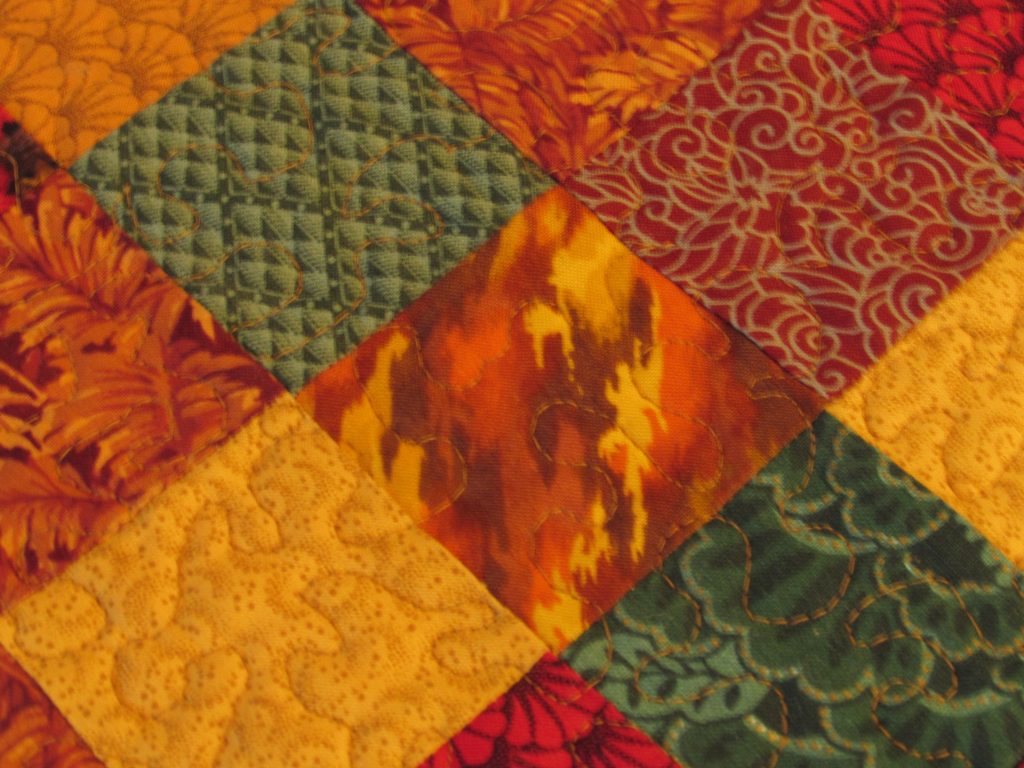
I spent a fun afternoon quilting it up. I used a rust colored thread for the main leaf portion and quilted it with a tiny stipple. These little stitches look so darn cute.

img_7455


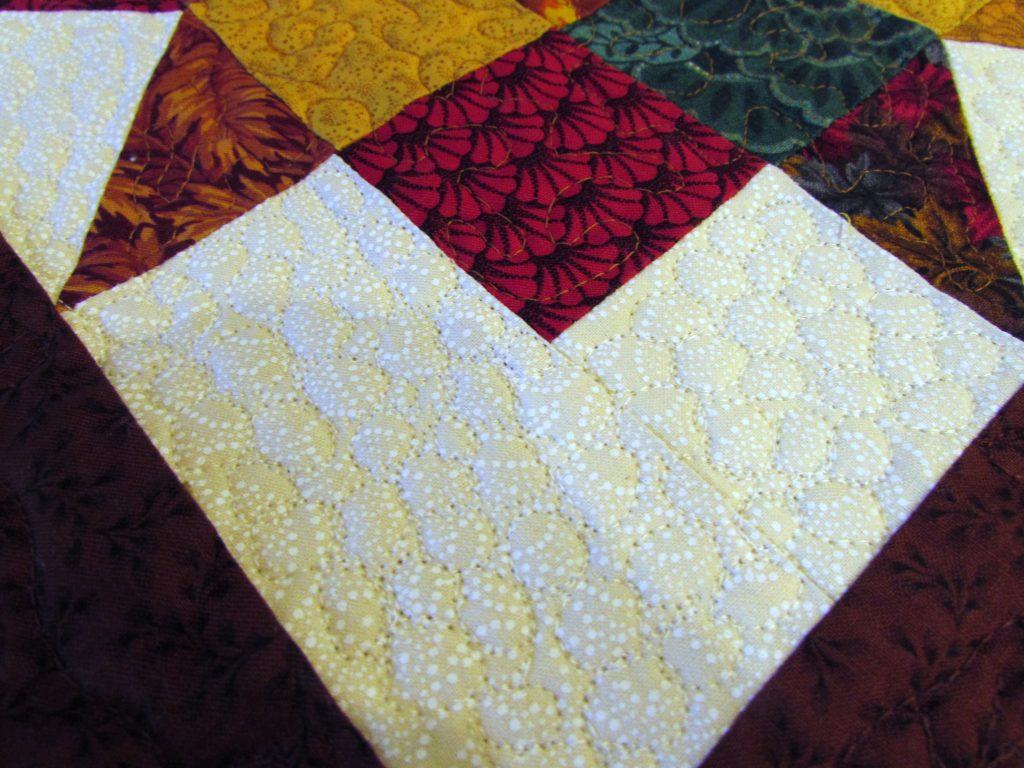
For the white background, I pebbled away for about one-half hour and filled it up. Sometimes it is so satisfying to work on a quick project. When I first started to pebble the white portion, I quickly remembered that I don’t really like to FMQ pebble patterns and thought  I would regret it. But with such a tiny project it didn’t really matter. I was done before I could even get annoyed with the tedium.

img_7454

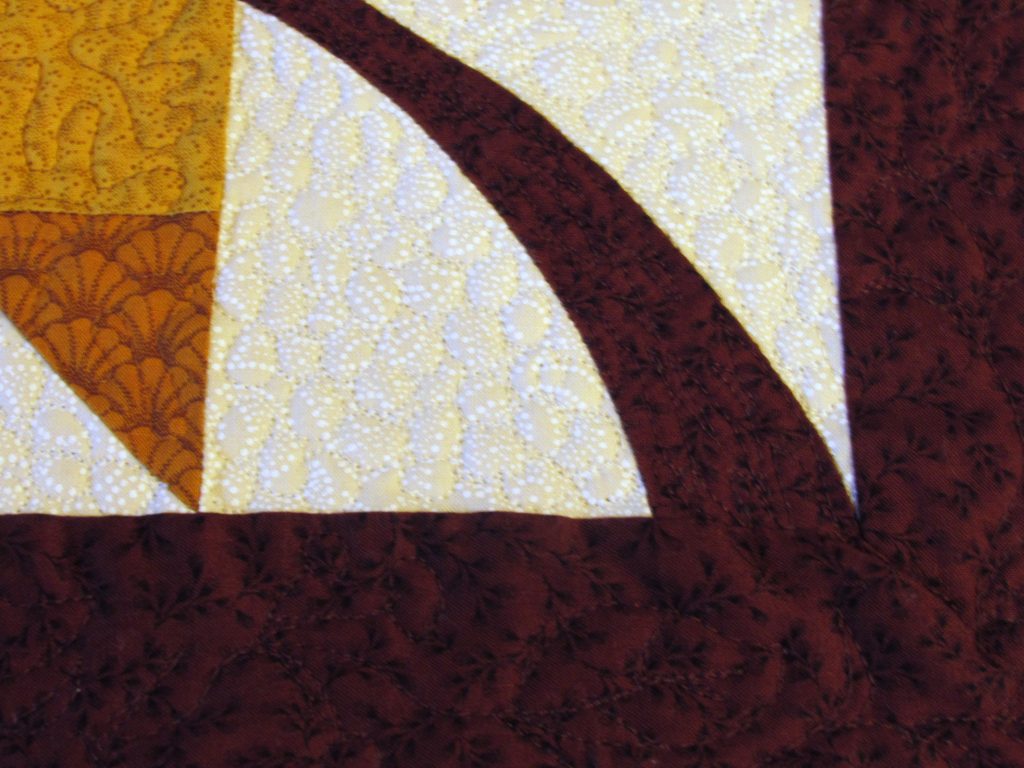
For the border I quilted little leaves and berries but it is nearly impossible to see because the thread matches too well. It was good practice but really, I have to look very closely to see it. Kind of funny.

img_7457

The dusty green binding wraps it all up into a sweet little mini. Perfect for fall.

img_7459

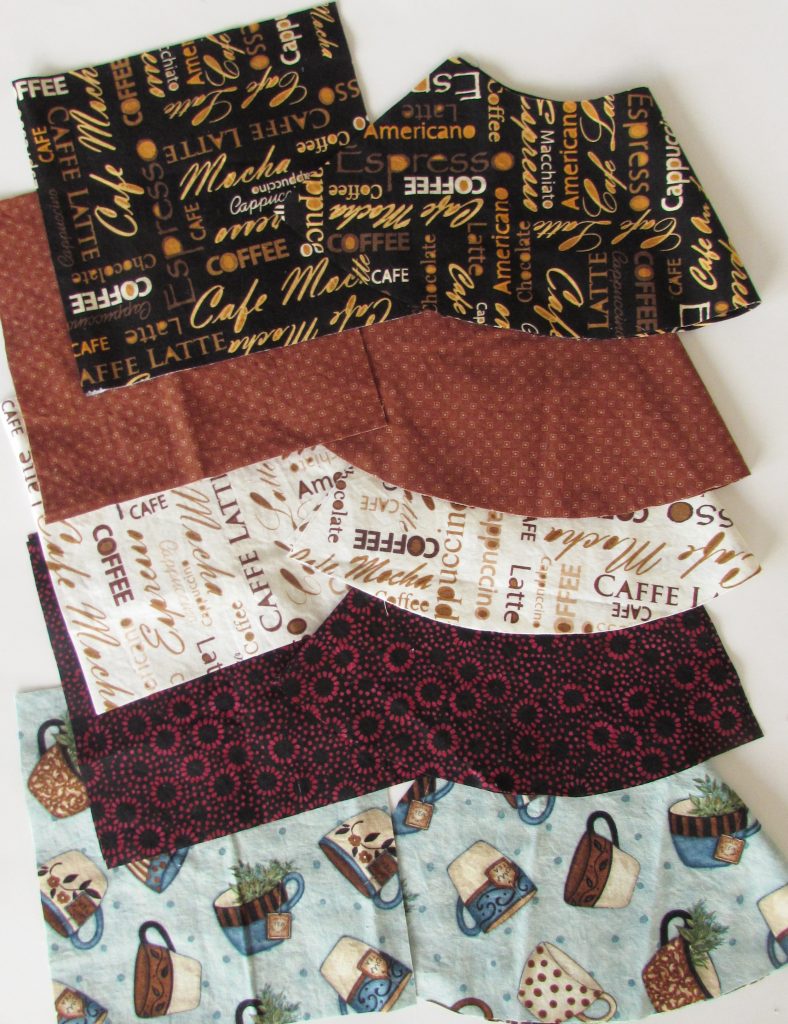
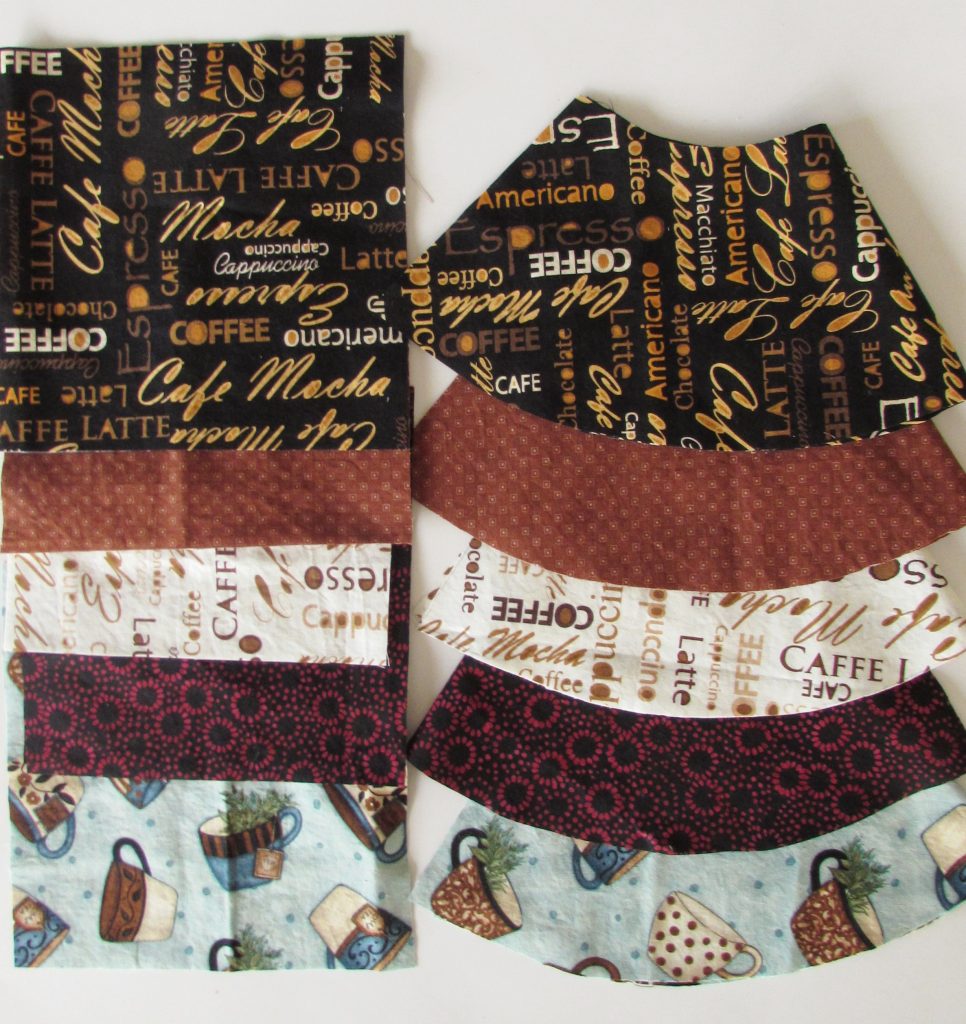
Now that we are approaching fall, I need to start getting my Etsy shop stocked for the holidays. The Chemex cozies that I make are definitely my best seller around Christmas which means I need to get busy. Yesterday I cut fabric for five covers.

img_7426

Selecting the fabrics is fun but also a bit of a challenge. Looking back at what has sold well over the past two years, the favorites are definitely gray, blue, black, and red tones. Also, the two fabrics with the coffee theme text prints (in cream or black) are usually good sellers. These are the last two I could cut from that fabric so I need to purchase more of it.

img_7427

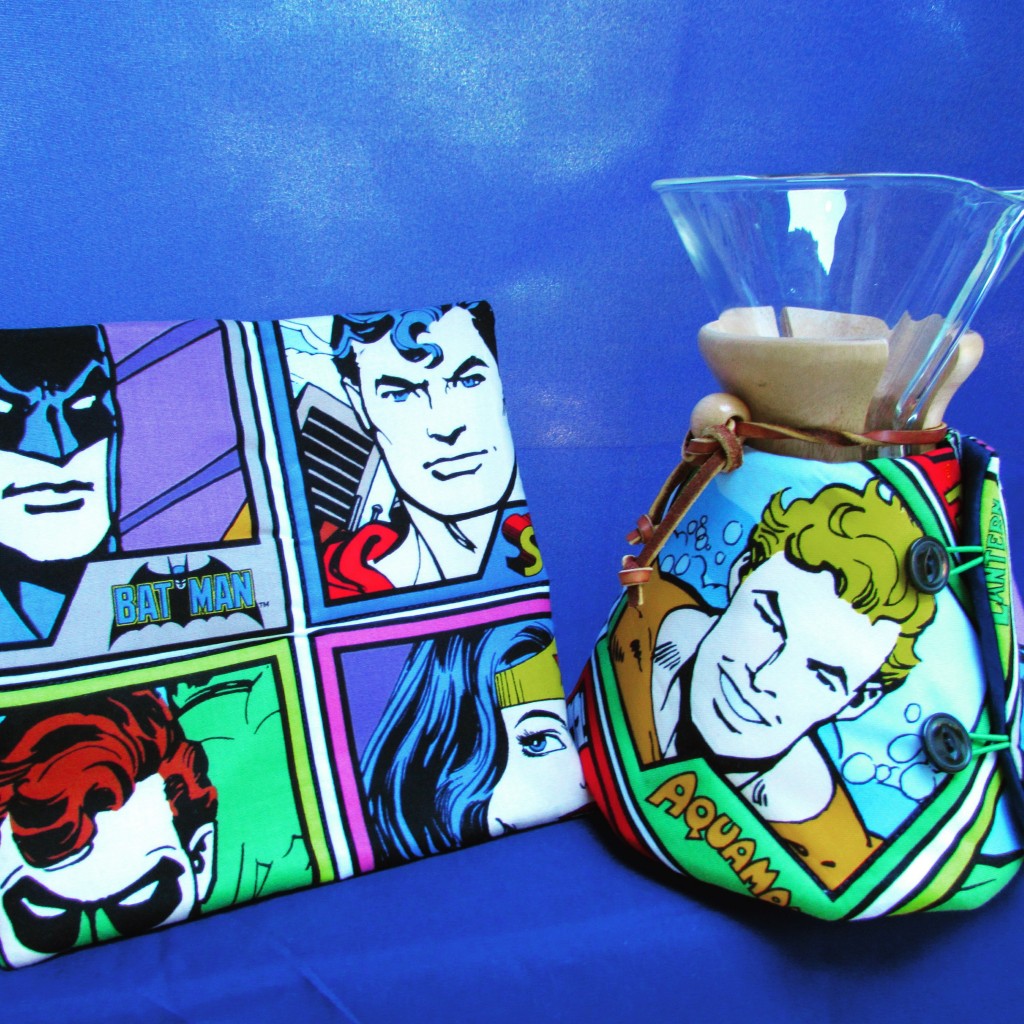
I love to make a few with novelty fabric. I have done some with bicycles for coffee drinking cyclists and another one with Marvel comics on it which made someone very happy. Last Christmas I had a custom order for a cozy made with Star Wars fabric. I am debating making a few fun ones like this but choosing a theme is hard, kind of a guess as to what will sell –  if you have any suggestions, please feel free. I truly love your input. For now, these will get me off to a good start.

Have a wonderful weekend everyone! Remember, I am hosting Handmade Halloween on October 4th!! Link up any blog posts, new or old, that are related to Halloween – costumes, decorations, quilts, even fun recipes. Let’s make it a fun round up of all things Halloween! I will tell you that I have had some really nice prizes offered in support of this party. Go write a post and come back and link it up. This will throw your name in the draw – maybe for a win!  See you then.

Linking up today with the best of the best. See the top of the page, under Link Ups.

unnamed


This is a good weekend to shop Craftsy! They have some great discounts on kits and supplies for their End of Summer Clearance. Take a look. This sale runs through Sunday night, 9/18/16.

(I am a Craftsy affiliate.)

Finished My Pennsylvania Blocks

It seems like it’s been a while since I posted a finish. But I have one this week! Getting back into the sewing room has been so nice though it took me a while to really get going. I decided to make the October blocks for my Classic Stitches row quilt. Being so close to the end of this project, I didn’t want to get too far behind.

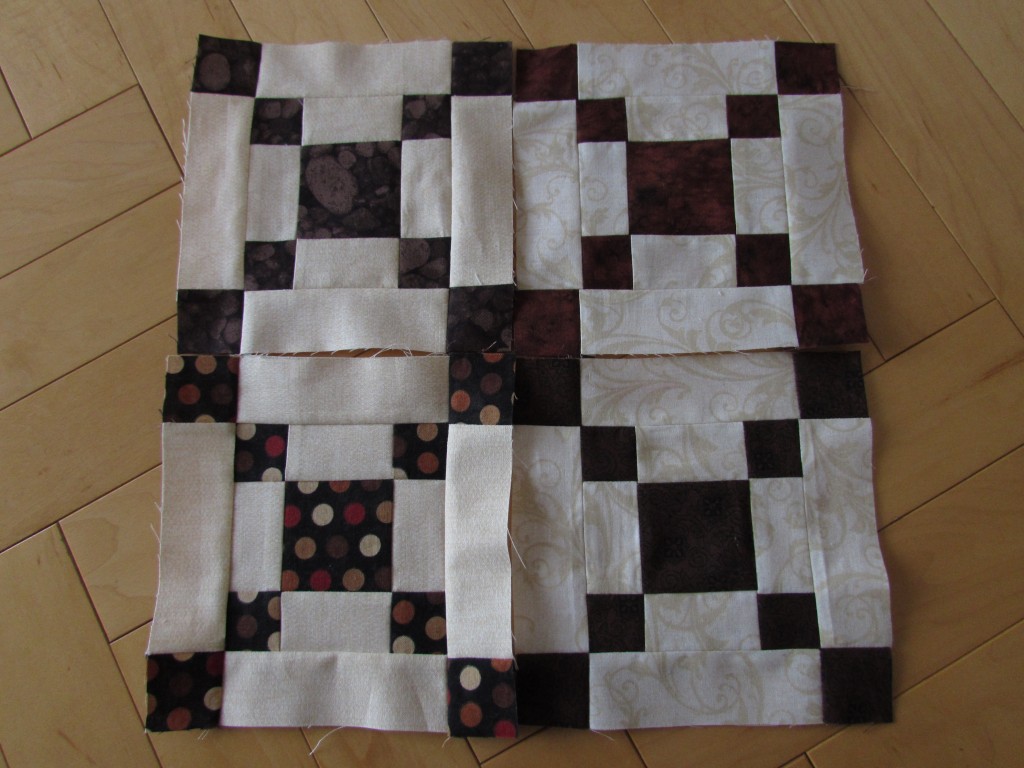
The color for October was brown for RSC15. The block that Mari chose for October was the Pennsylvania block. I think this was in honor of her recent move from Wisconsin to Pennsylvania. It worked perfectly for me too.  I have a strong fondness for the state of Pennsylvania.  When my boys were little guys, we lived there for two years. We were in State College and I loved everything about that town. So making a set of Pennsylvania blocks was perfect for me.

IMG_20151103_4068

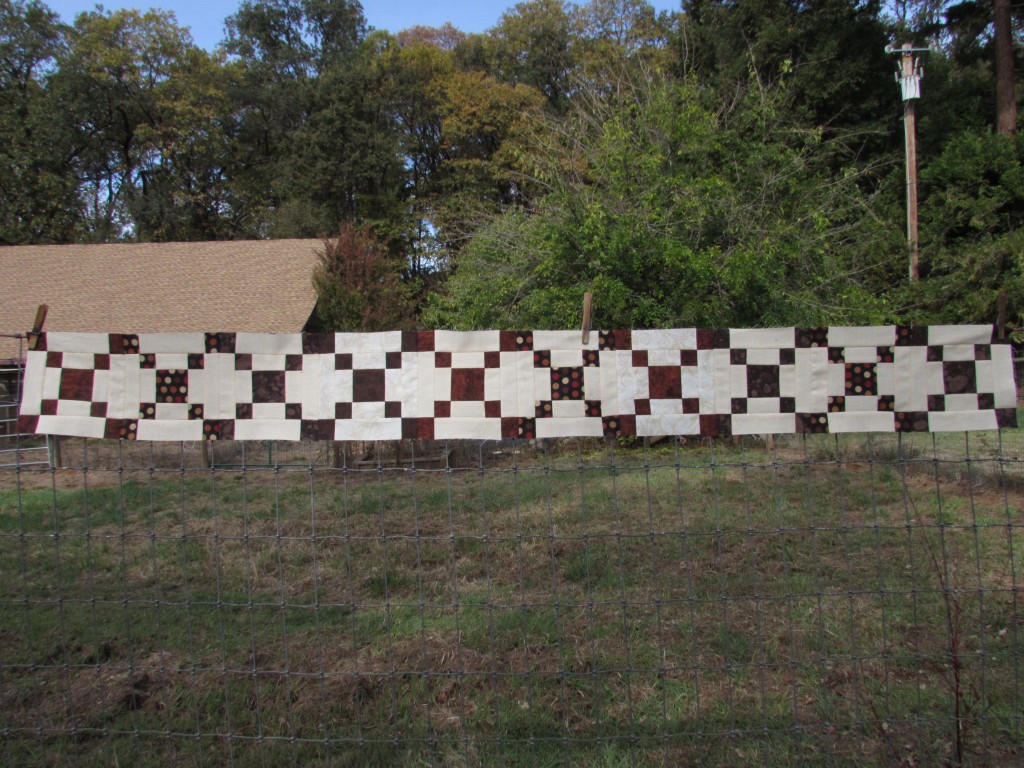
Unfortunately, I got off to a rocky start with these guys. Mari always posts the cutting plan for various size blocks when she writes her tutorials. I thought it would be fun to make a row of 3″ blocks. Turns out it wasn’t fun at all. 😉  The block is very simple to make but when you are going for a 3″ block, it means using little pesky pieces and honestly, we just didn’t get along.  I struggled along and got two blocks made, throwing away all sorts of attempts along the way. After a fair amount of ripping, cutting, and grumbling, I gave up and made six inch blocks. They went together with almost no effort (or at least it felt that way after my tiny block debacle.)
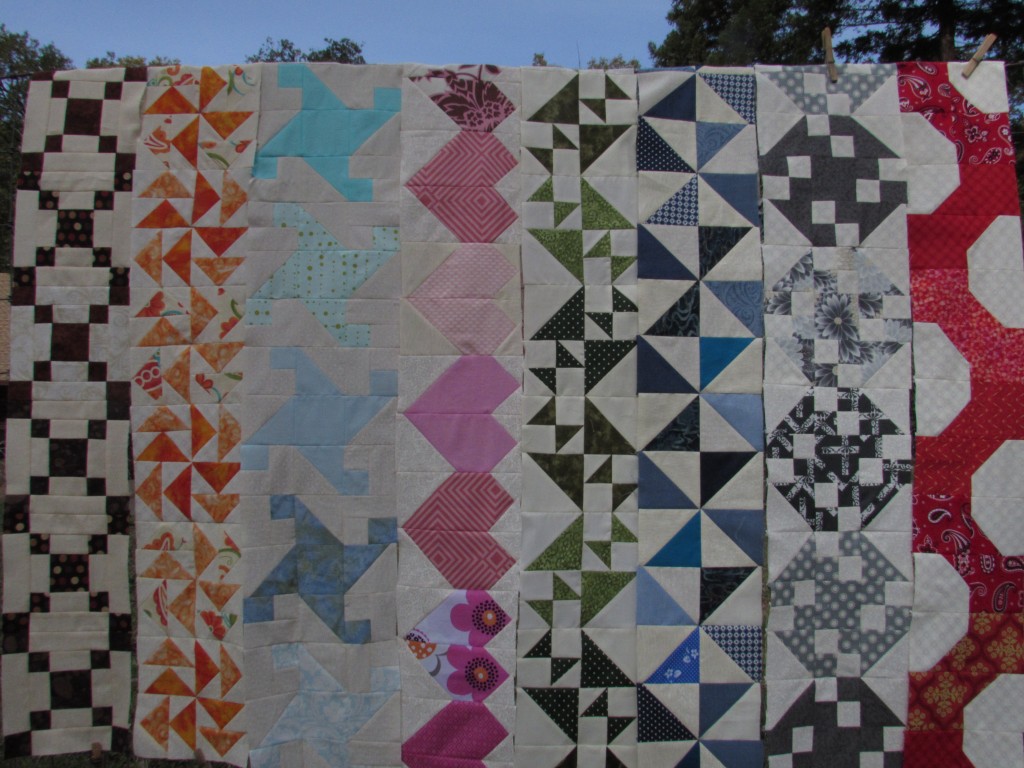
IMG_20151105_4084

Isn’t that a cute row? So traditional. Much like I thought State College was. I remember thinking it seemed like everything was more grounded, more down to earth in State College, as compared to living in California.

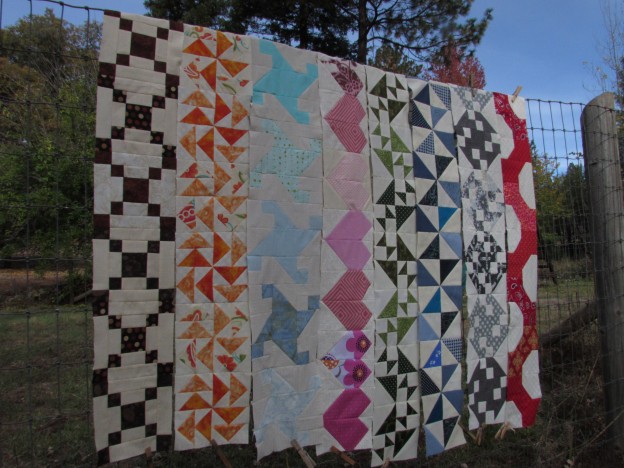
The row fits right in with the other rows of classic blocks that I have made this year.

IMG_20151105_4079At this point, I have ten rows completed. (For some reason, I didn’t grab the purple or the yellow rows when I went outside to take pictures. So, they aren’t shown here.) My next decision is whether or not to make the November row. With these ten rows, I have 62 inches in length (two of the rows are 7″ blocks and the rest are 6 inches.) I am going to sash the rows because my not-so-precise sewing style means the blocks won’t line up perfectly and that can be disguised with some sashing. This will add a bit more length. How long do I want this to be?  (It will be 60″ wide.) Any ideas???

The week buzzed by and I am happy to have this checked off the list.  My Etsy shop is getting busier and I need to make a few more things for holiday shopping so that jumps to the top of the list now. Along with that is the Michael Miller fabric challenge that I am doing with the Modern Quilt Guild. That project is due on November 30th so I need to get cracking on that. It is well underway and I am sure I will have a post for you with pictures sometime next week.

Enjoy the weekend!

Linking to Amanda Jean over at Finish It Up Friday.

Family Weekend

Last weekend was fantastic. My sisters and I try to get together annually to spend a few days catching up. Usually we rent a place or go to my sister’s in Saratoga. However this weekend we mixed it up and they came up to my house. I live about 15 miles from my parents. With everyone here, we could have a weekend that included the whole family, or as we called it the Great Eight weekend.

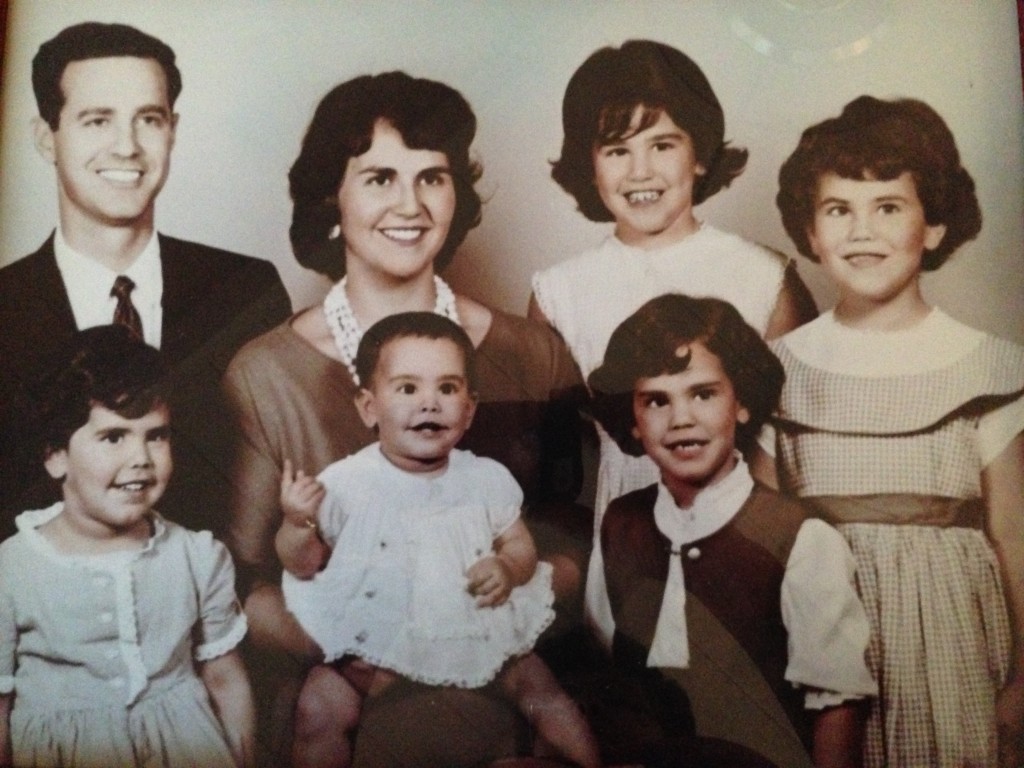
If you consider it, I would bet it isn’t often that a person gets to spend time with their nuclear family. Getting back to the original family, without spouses and grandkids and great-grandkids was really fun. Not that we don’t all love our current families and kids, but it was so nice to have a time to reminisce and celebrate our “first” family. (This picture was taken in 1964 so it was before the youngest was born.  Sorry Alicia.)

family pic

We had a lot to celebrate. Both of my parents had their 80th birthdays in the last nine months. We toasted to their health and happiness. (Check out their t-shirts. My maiden name is Delgado. There is a college in Louisiana called Delgado College. We all have their shirts!)

mom and dad

Next we celebrated my sister Patti. She spent the last ten months being treated for breast cancer. She endured surgeries, a horrid four months of chemo and then several months of daily radiation. It was awful and she was amazing throughout. There are no words that describe our relief that treatments are finished and she doesn’t have to see her oncologist except for routine check-ups now. She is working hard on getting her strength back, building some muscle mass, and above all trying to be patient as her hair grows back (soooo slowly!)

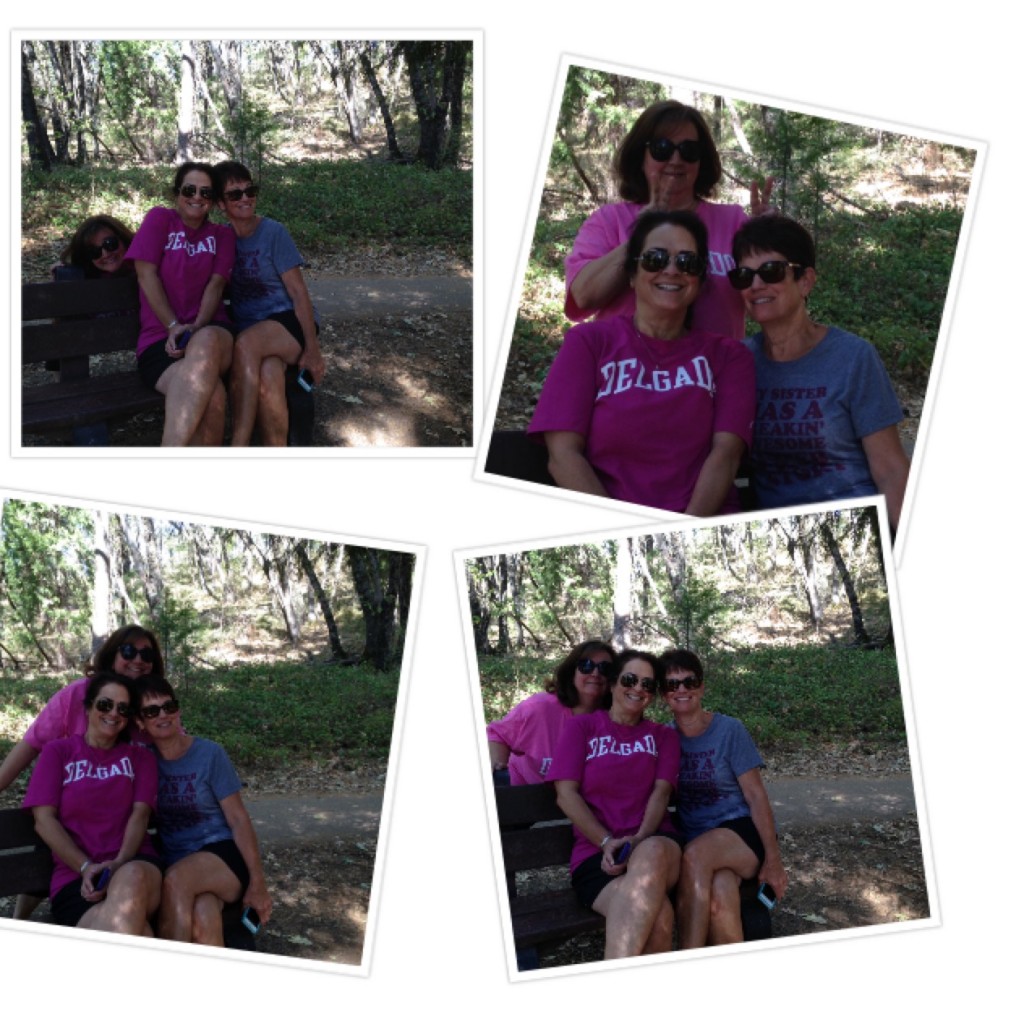
We had time on Saturday with just the sisters. We took a walk but mostly that looked like this:

collage

We had breakfast out and then came home and tried to focus on some yoga. No pictures there but it wasn’t terribly different from the walk.

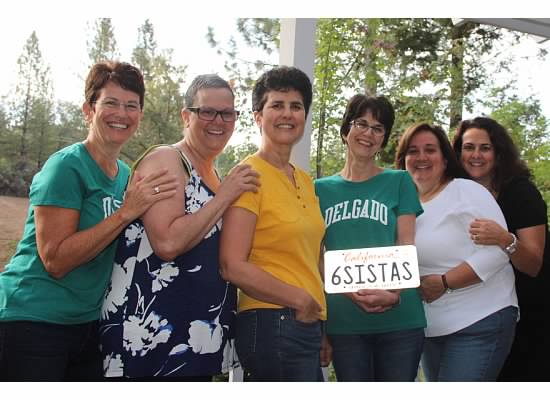
Finally we got a group shot with Patti’s new license plate. She grabbed it for California and Juanita grabbed it for Colorado (hers hasn’t come in yet.) I love it!!

6 sistas

My best friends!

For a token report on action in the sewing room – I am putting sleeves on two of my three quilts that will hang next weekend in the quilt show up in Downieville.This show isn’t judged. I am easing into this whole show process. Maybe a juried show is in the future but certainly not yet!

Also working on so many items for my Etsy shop. Here is a small sampling:

etsy collage

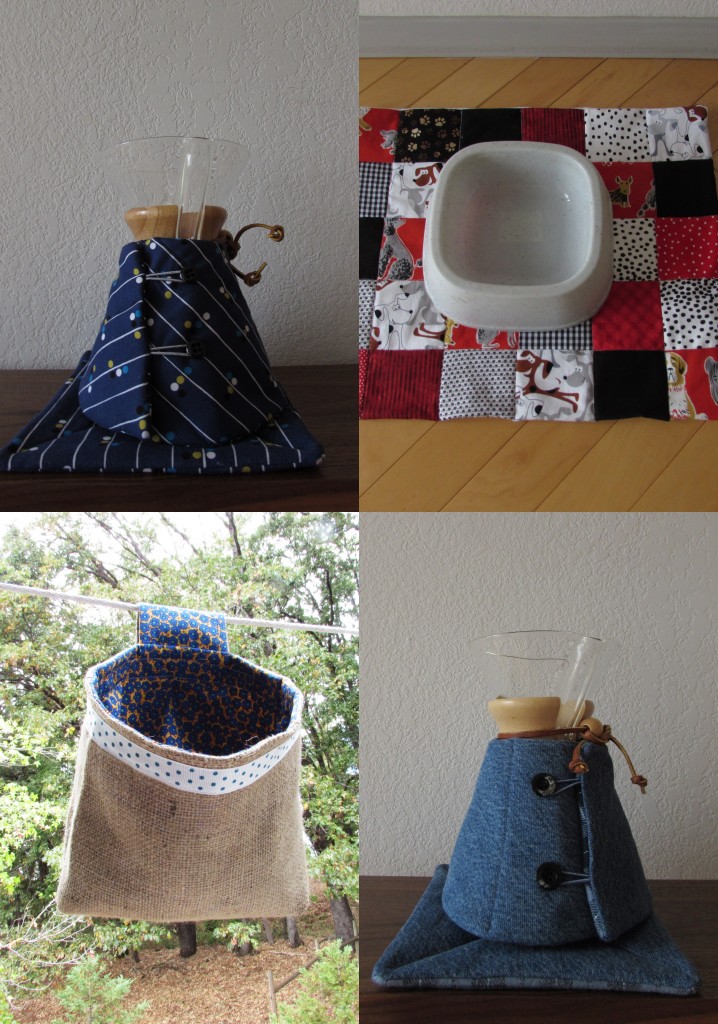
Lots of Chemex covers, a few mats for pet water bowls, lots of clothespin bags.  Business is really picking up. I also shipped a custom order yesterday and have two more in line. This shop definitely takes a large portion of my sewing time, but in return, it pays for (most of) my fabric addiction. I think that between now and December, I will not accomplish a lot of personal quilting. I hope to get the Kaffe Fassett quilt backing today. That project will be worked in between the others. Beyond that, things will have to wait.

Hope everyone is having a great week!


The Kindness of Others

This week I had one of those moments that reminds you that there are so many nice people in the world. Here you go.

You might remember that last December I did a custom order for a woman from New York. (Story posted here.) This was my first custom order and it was really fun to work with this particular customer. She was so friendly within the confines of our email conversations about her order.  For the first time, I used a wax print, Ankara fabric to make her Chemex cozy. We chatted a bit and I told her how much I liked this gorgeous fabric. She told me she buys wax prints at an open market in New York.

Time passed. (Lots of time, seven months!) Last month, she emailed me and said she would be going to the marketplace soon and would I like her to pick up some fabric for me. It is really a good price there. I had looked on-line to buy some and wasn’t thrilled with the pricing. I have to be fairly careful with what I spend on fabric for my Etsy shop or my already meager profits become even less.  All about the profit margin, right.  😉  I jumped at her offer.

When she got to the shop, she texted me pictures of about seven or eight pieces she thought I might like. Jamie explained I would have to buy them in three yard pieces as they are pre-cut to this length. It was a tough choice but I settled on two. It was amazingly easy to be texting with this virtual friend and picking fabrics out based on a few quick iPhone photos.

As I wrote her a check and popped it in the mail it came to me that some might consider this a bit of a risk. I didn’t have any hesitation about sending the money. I knew the fabric would show up. It appeared that she didn’t have any hesitation purchasing the fabric for me and she even mailed it prior to receiving any sort of payment from me.

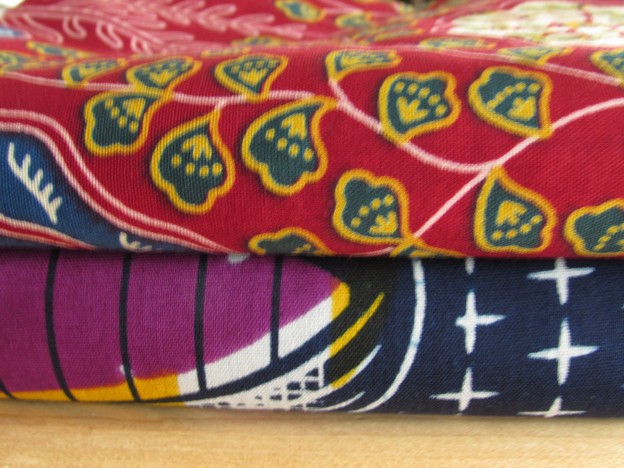
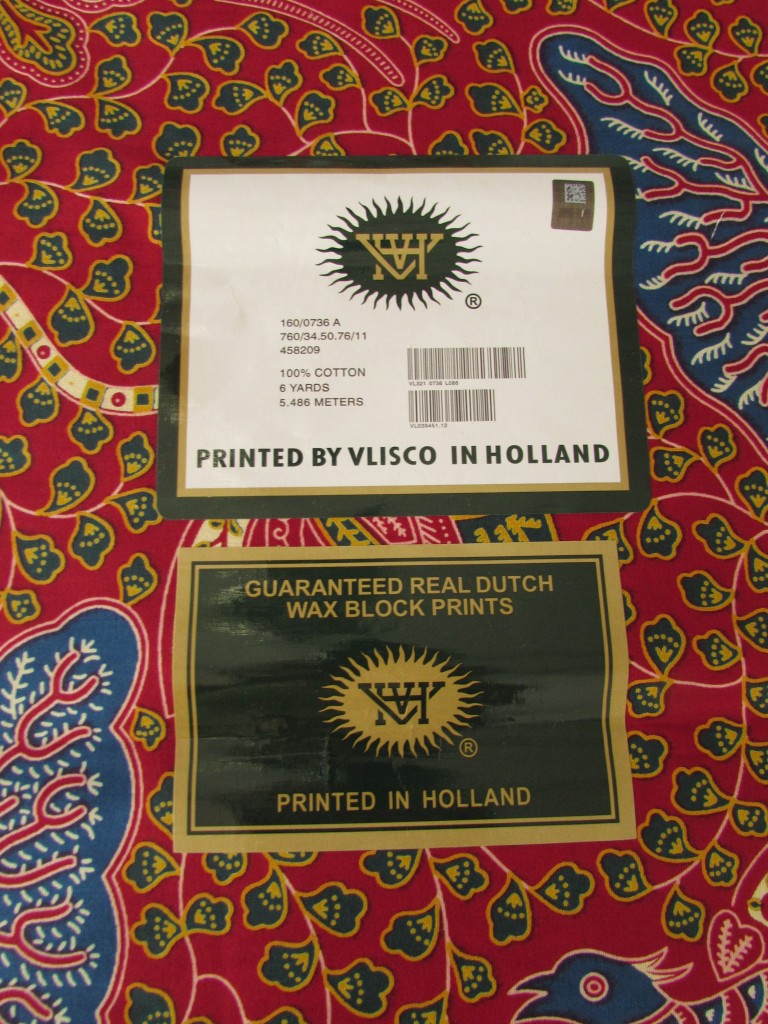
I received the fabric a few days ago. It is so gorgeous. Made by Vlisco, these wax prints are manufactured both in Holland and in Ghana. The company was founded in 1846 and has served a vast African market over the years. Their process reportedly consists of twenty-seven steps to achieve these prints and is a highly guarded secret. Because many textile companies attempt to create counterfeit Vlisco fabric, they are quite bold with printing their name along the selvedge and putting these (nearly impossible to remove) adhesive labels on the fabric.

IMG_20150816_3672

If you look closely at the label, you might notice that this piece was actually six yards, not three.  Both pieces are huge, six yards each. Jamie was mistaken when she told me she was sending three yards of each. At $20 per piece, this was a steal.

IMG_20150816_3674

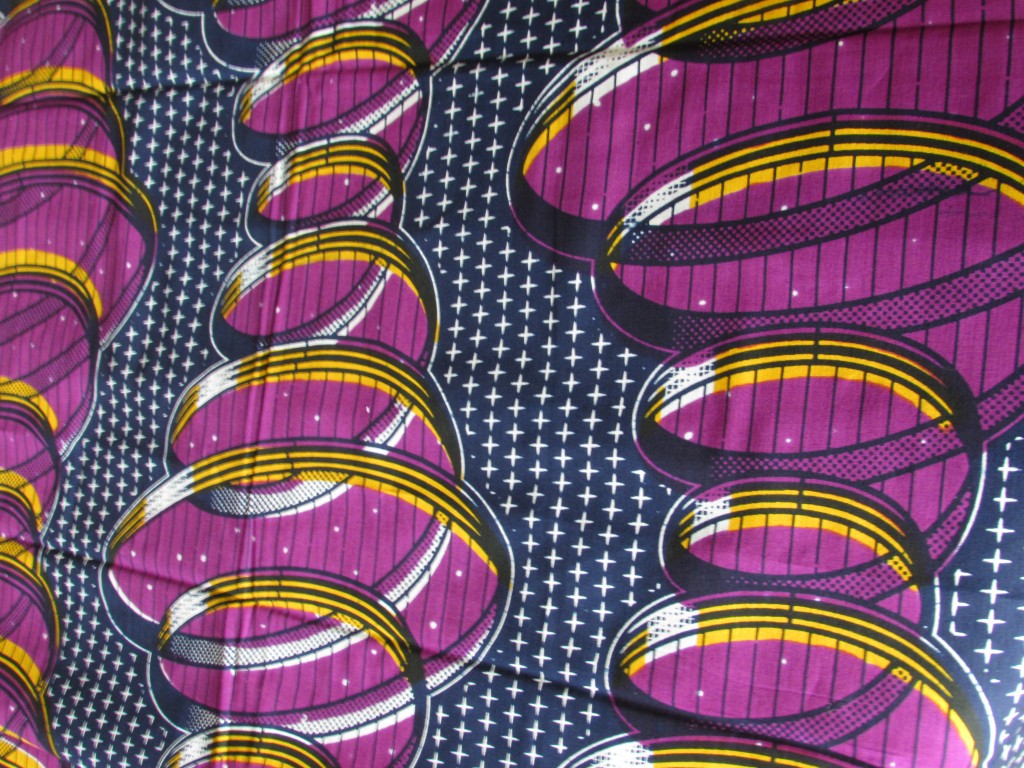
This blue and purple piece has more of an African look to the pattern. It is really bold. I chose it because I want to utilize the curve of those spirals when I cut the curve of the Chemex covers. But now that I have six yards of it, I need to think of another project to use some of it!  The fabric is 48″ wide. Lots of fabric here.

IMG_20150816_3675

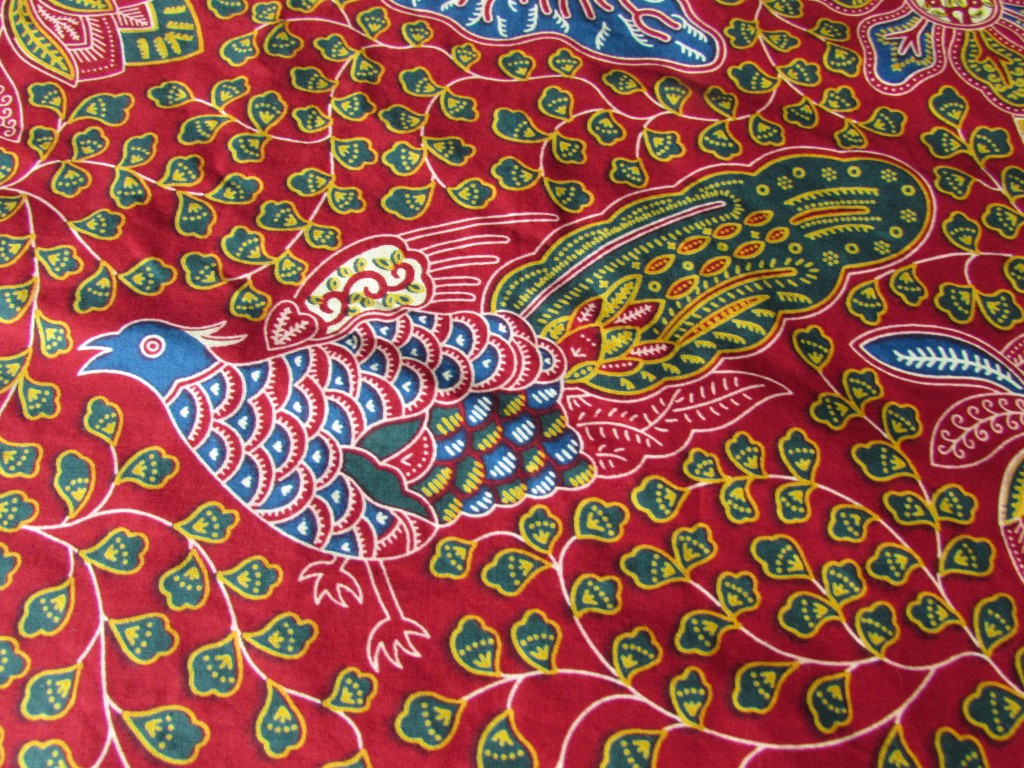
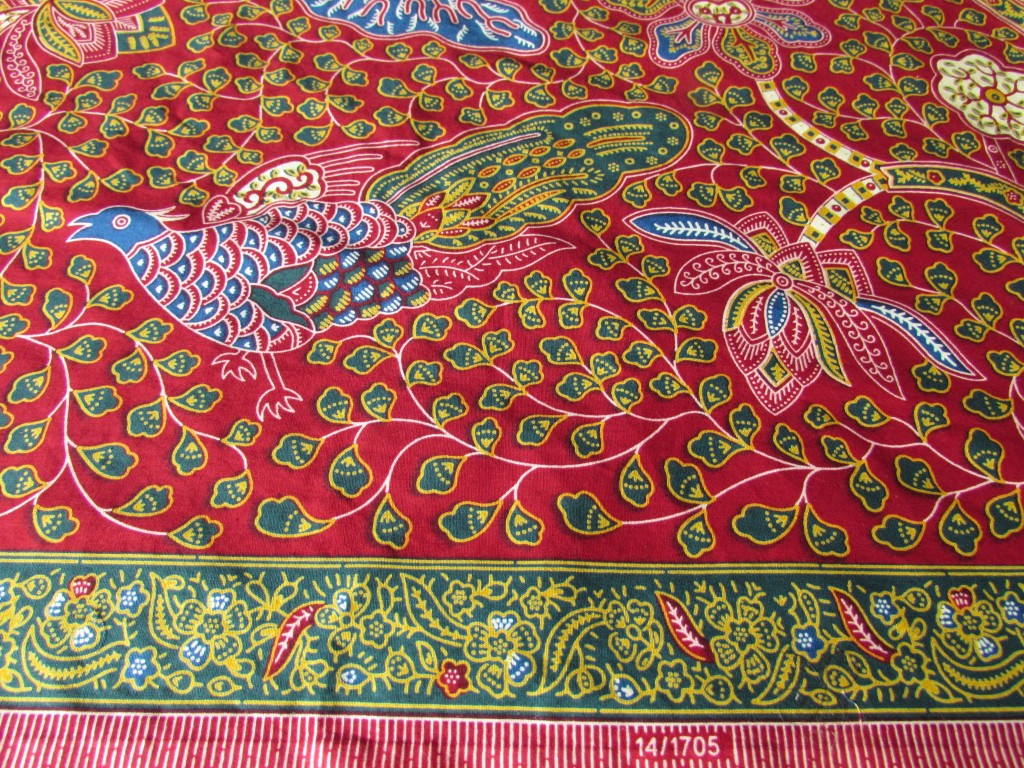
This red piece is my favorite. I love the birds. Do they look like a peacock? I think so but I’m not sure. It has a green border running the length of the piece. It is just gorgeous. I have several ideas for projects to use this piece for so I need to make some decisions.

IMG_20150816_3676

What most impressed me was that this was just an act of kindness. She had no compelling reason to do this, other than to be a nice person.  Yep, there are so many really kind people out there and she is certainly one of them.

Linking to this week’s Sunday Stash.


Stocking the Shelves

My Etsy stock was looking meager so this week I focused on making product to list. My biggest sellers are the Chemex cozies. I have also recently sold a couple of French Press cozies. I took a look through my fabric, pulled a few pieces, and began cutting. It is amazing how quickly things go if I have a stack of pieces all cut and organized. One night of prep time pays off well.

In all, I completed four Chemex cozies and three French Press cozies. Not too shabby. This is my favorite of the Chemex cozies.

imageI received this piece of fabric from my boys as part of a birthday gift. (Read about this amazing present here.) I have a 1/2 yard cut of it and thought this would be a fun way to use some of it. Kind of makes that first pot of coffee in the morning a bit more powerful, right?

Here are the others that I finished up.

image


image

The French Press cozies are super easy to make. I cut out fabric for five of them but at this point, only three are finished.

image

The blue one in the middle is gorgeous – the fabric reminds me of beach glass. All of these items are listed in my shop. Check them out here if you’d like.

Being the beginning of July, it is time to make a plan for the month. My main goal (and the one I will link to ALYOF with) is to complete my vintage double nine-patch quilt top. This is the one that I started working on last week. I haven’t made a whole lot of progress but I am hoping to get the quilt top done this month and then next month I can sandwich, quilt and bind it. I want to show it in a little quilt show in Downieville the first weekend of October and then it will be donated at an event two weeks later. This sounds doable to me but I better get going and finish up more of those baby nine-patch blocks. Hopefully I will also have time to finish the July row for my RSC15 project. I have been following Mari’s Classic Stitches BOM but I think for the month of July, I will veer off and use a different block. Hers looks fairly labor intensive and I don’t think I will get it done with the other project. If I choose a simpler block it will be more likely to get finished. Gotta know our limitations, right?

Hope all of you in the US have a fun, safe holiday on the 4th of July and a happy weekend to everyone else!

Linking to Sew Bittersweet Designs, Crazy Mom Quilts and TGIFF. Links are located at the top of the page under Link Ups.


Post 100 – Wow!

Why do the numbers even matter? I get so excited. I remember hitting 5,000 page views and then 10,000 felt so good. I was so pleased that someone was actually finding this blog and clicking through to read something. This week the number is 100, as in that is how many posts I have written.  A nice round 100. Hurray!

The main finish for this week was Junior High! Last night Julia graduated from 8th grade and is now on her way to high school. She looked adorable.

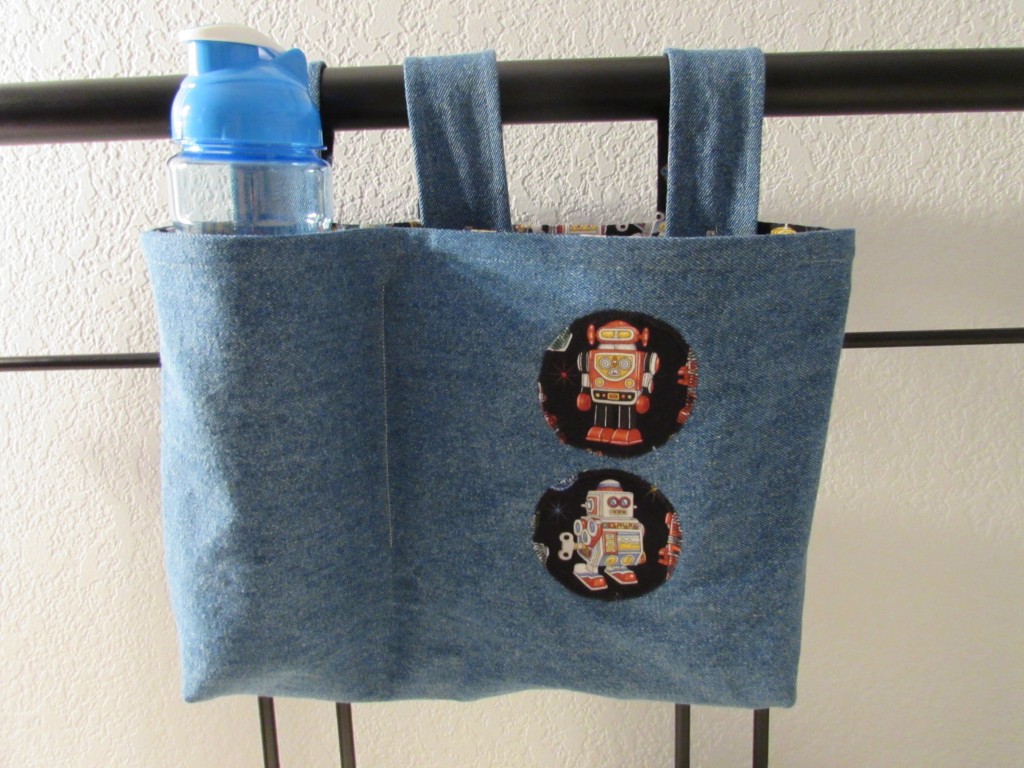
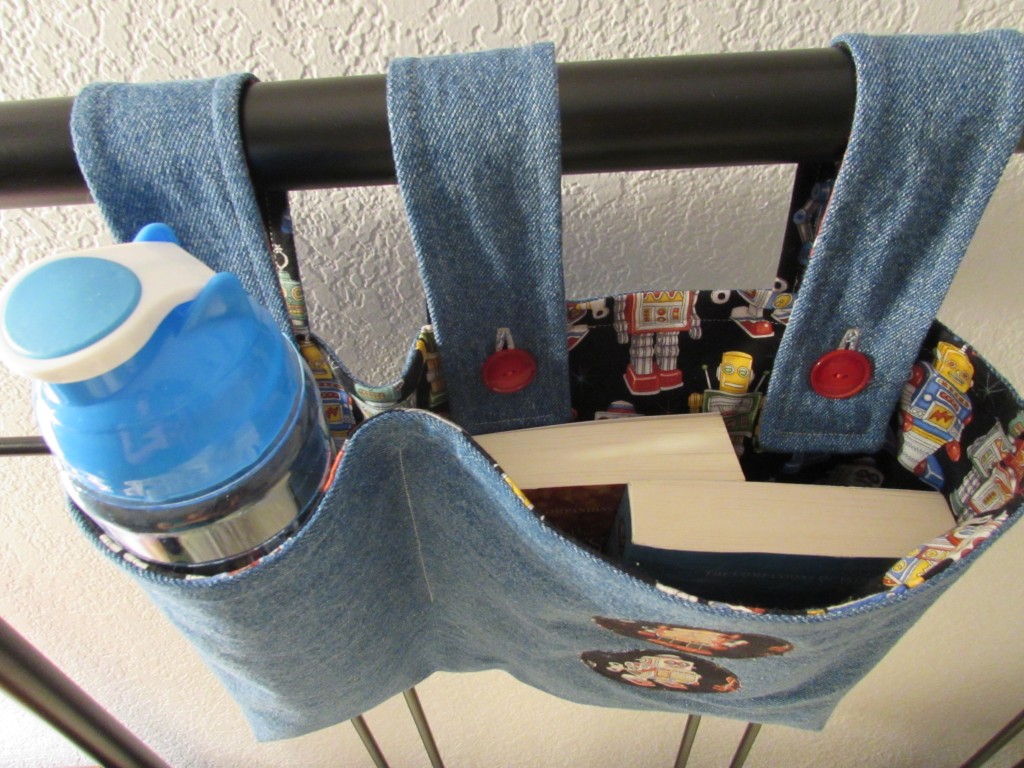
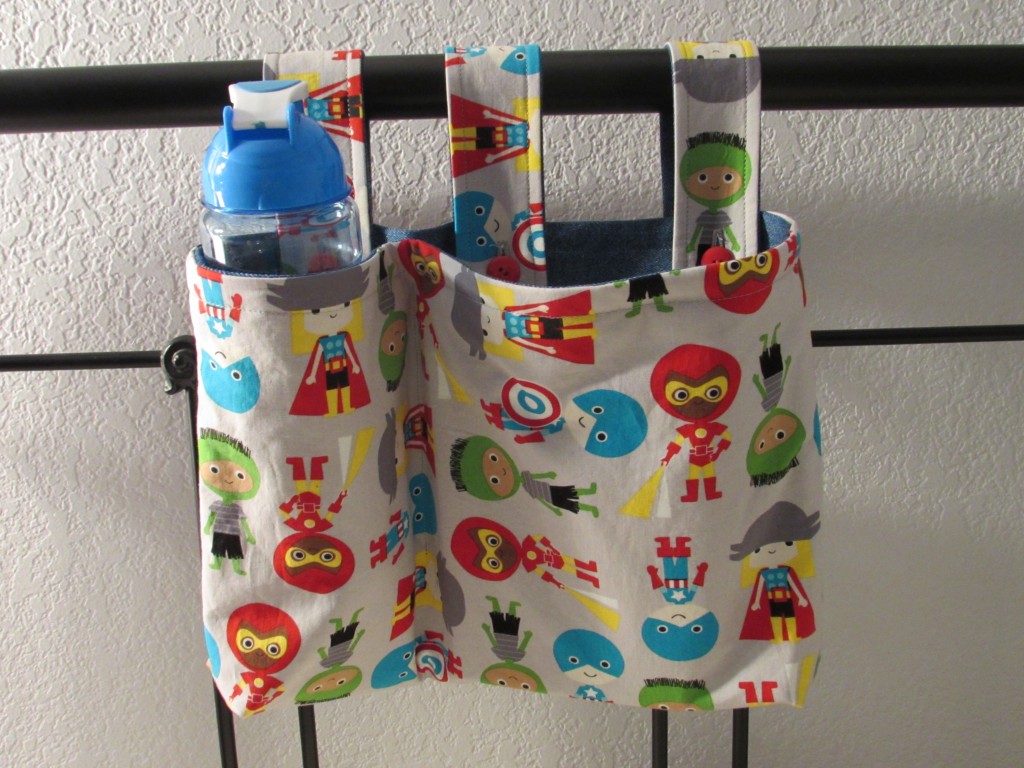
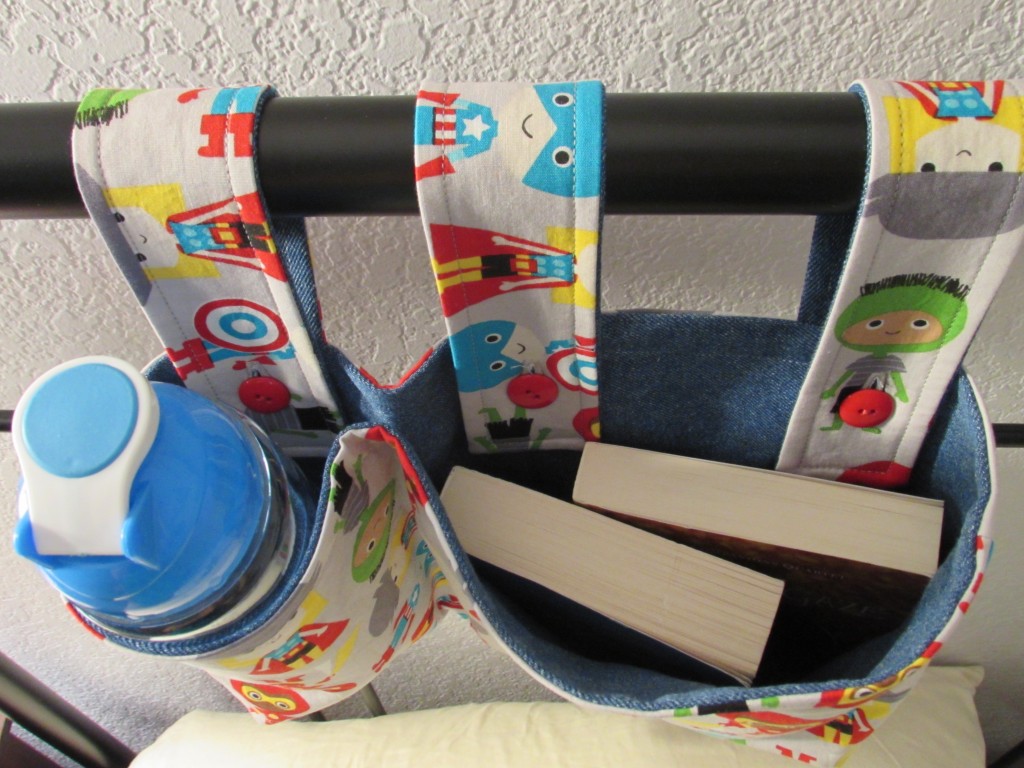
I did have a couple of finishes in the sewing room as well.  I made two more of the bunk bed bags that I posted about here. I really like these treasure bags that are made to hang from the rungs of the top bunk.  They are great for keeping books, stuffed animals, special blankies or water bottles up on the top bunk. This first one is made of denim and lined with an adorable robot fabric.

IMG_20150609_3386IMG_20150609_3388The second bag is also made with denim but I used that as the interior fabric. On the exterior there is a great fabric featuring super heroes (boy AND girl superheroes!)

IMG_20150609_3383

IMG_20150609_3384I am especially attached to these because both the superhero and the robot fabric were a gift to me. Last fall my three boys chose these, and many other, fabrics for me as by birthday present. You can check out the details here. I really enjoyed cutting into these pieces.

Both bags are listed in my Etsy shop!

Linking to Amanda Jean at Crazy Mom Quilts.


Mint Green

This has been a nice week. Hope the same goes for you. I joined the 2015 New Quilt Bloggers group that is being hosted by Quilting Jetgirl, Childlike Fascination, Late Night Quilter, and Meadow Mist Designs. So far, we are all getting to know each other. There are about 70 bloggers in the group which is a load of blogs to familiarize myself with. I really like the writing style of many of these bloggers and can tell already that this is going to be a fun project. The goal is to work together to improve our blogs. There is always something to be learned from a group such as this. I so appreciate the work of the four bloggers that put this together.

Even with the huge amount of time I spent reading these new blogs, I have a minty green finish this week. I came across a pattern on Pinterest from Canoeridge Creations. I love Megan’s patterns. This is the second one I have used. Her “Fireworks” mini quilt pattern was used for my Allison Glass mini swap. This free pdf pattern is called “Firefly” and it is a fun, quick project. It took no time at all to cut the fabric and piece the top (maybe a little over an hour?)

image

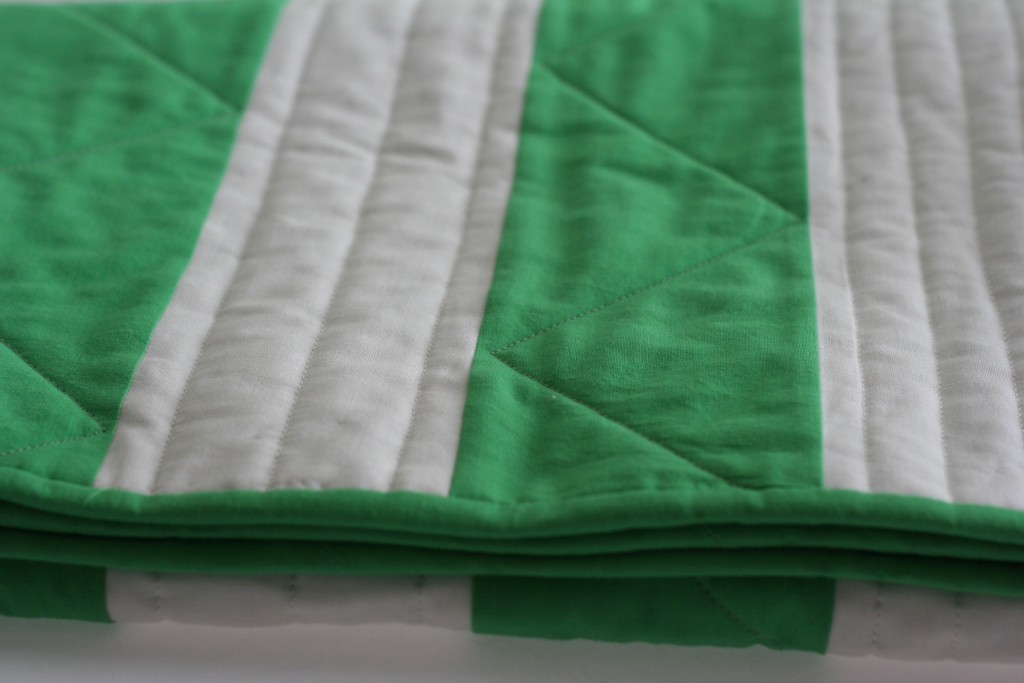
I had some solid minty green fabric and a large piece of white Kona that looked great together. The pattern is basically a series of stripes. Each color has a set of stripes that decrease one-half inch with each strip. They begin at 5.5 inches and decrease to 2.5 inches. The size of the stripes alternate such that one color begins with the widest and the other color begins with the most narrow. I like the effect.

image

I felt this quilt did not warrant an all over FMQ pattern. Initially I quilted straight lines on the white stripes. I wanted to keep it soft, thus didn’t want to densely quilt it. Without measuring or marking, I used the walking foot and/or the edges of the strips as my guide. My pin basting wasn’t tight enough and I ended up with huge fold in the backing fabric. Ugh. Ripping out that part of the quilting was really the longest part of making the quilt.

My thought was to quilt the white and leave the green blank. Feeling unsure about that decision, I put it out there to my Facebook quilting community and asked what to do with the green. I really didn’t want the quilt to be dense, I wanted a puffy soft feel to it.  Someone suggested doing a very wide, edge to edge zig zag on the green. That was genious. Perfect.

image

I tried to FMQ the first stripe. I marked it and used the free motion foot. Yuk. I hate quilting straight lines without the (stabilizing) help of the feed dogs. For the rest of the rows I marked them with a Frixion pen and a 90 degree trianglular template that I already had. Using the walking foot, I quickly quilted the zig zags.

The back is a very simple Timeless Treasures print that has the perfect shade of green in it.  I bound the quilt with the solid green to retain the simplicity of the quilt top. I listed this quilt in my Etsy shop.

image

In keeping with my goals for June, I did get the batik quilt (my ALYOF goal) pin basted and plan to  start quilting it this weekend. I am using an all-over pattern of a leafy vine from Christina Cameli’s book. Crossing fingers for this one!

Hope everyone has a wonderful weekend!

Linking to Amanda Jean over at Crazy Mom Quilts as well as Sarah at Confessions of a Fabric Addict.

Sharing Ideas

OK- I feel like I made the greatest discovery. Not earth shattering or life changing (well, maybe a bit life changing for me) but so cool!

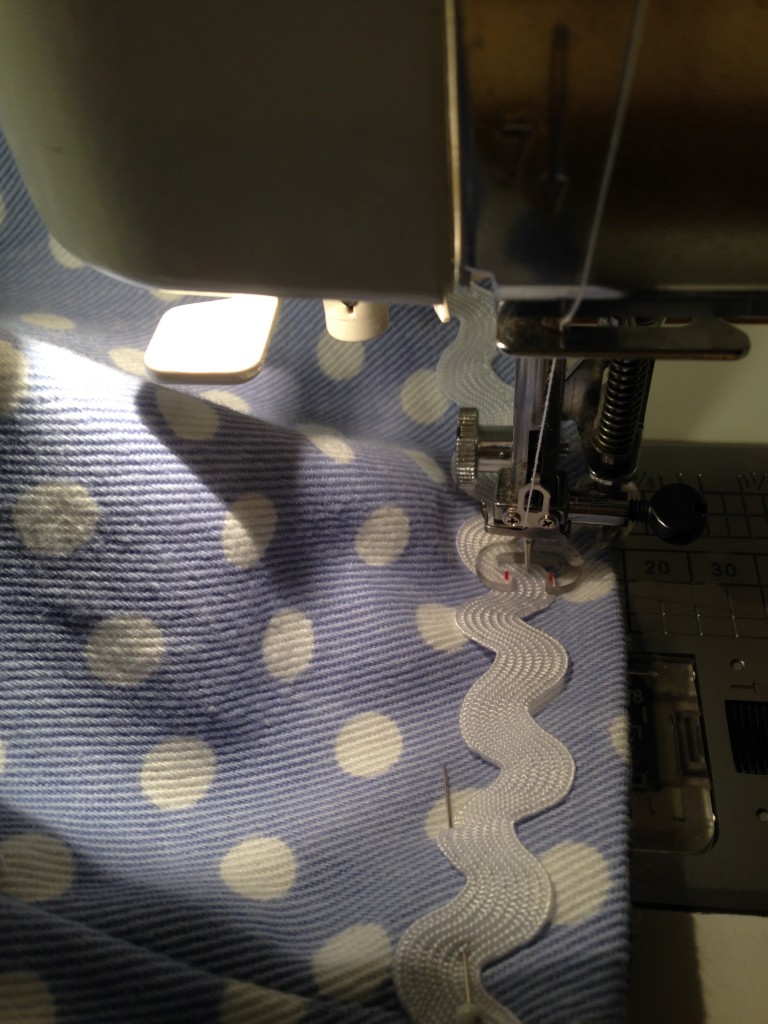
I have been making clothespin bags which I sell in my Etsy shop. They are fun to make and I have sold a number of them. Today I wanted to trim one out and decided to use rick rack. I love the cheerful look that rick rack gives to anything! It is such a classic trim. However, I don’t like the way it is usually attached. Often you will see it attached with a seam straight down the middle. However, this means that once it is washed, the edges of the trim will curl up around the seam. I debated sewing two straight seams down each edge to catch the edges but then you have stitching between each angle. This didn’t make me happy. I did what any self-respecting seamstress would do and turned to Pinterest. As one would expect, there are lots of ideas to be had. Many people are embroidering the trim down. This looks really cute but is too laborious. I can’t charge enough for these little bags to spend that kind of time stitching.  I came across a pin that linked back to Craft Nectar (which is the blog for Weeks and Bill over at Modern Quilt Studio). Weeks posted an idea about attaching rick rack by dropping the feed dogs and using your FMQ foot (aka darning foot).  Ah ha!!  Perfect. I never thought of that. It was so simple.

IMG_2159

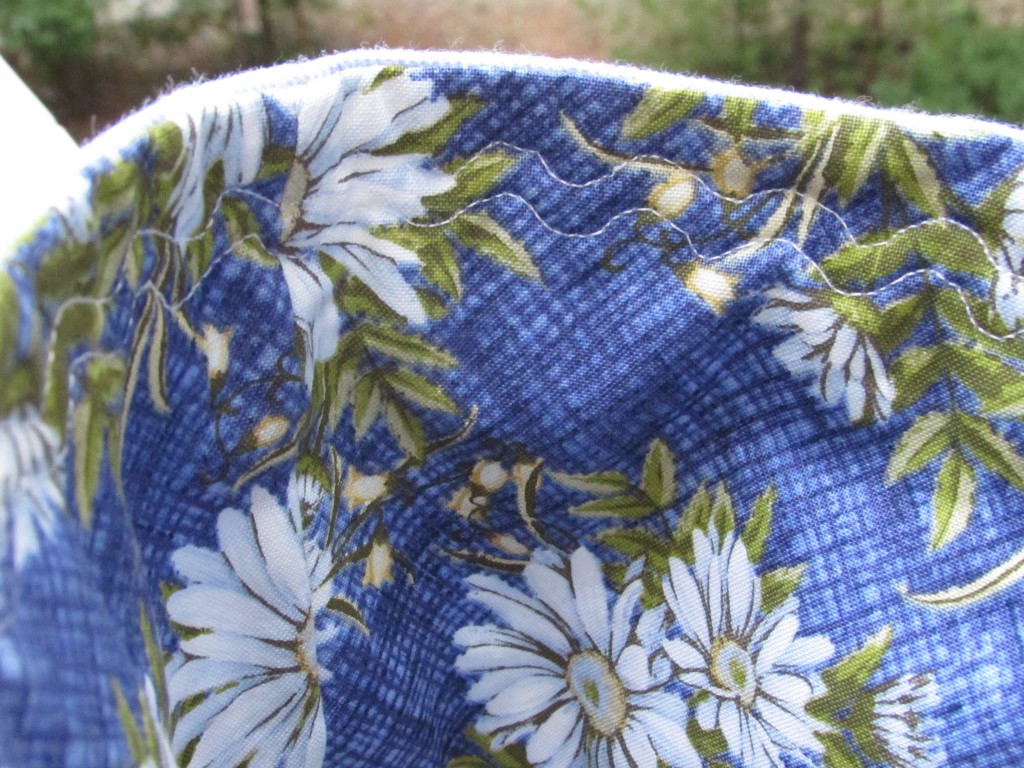
I did reduce the stitch speed on my machine – it takes a bit of effort to keep the trim straight and stitch along the edges. Next time I think I will pull out the glue stick and use that to attach the trim first. That should make it even easier. The inside looks pretty good!

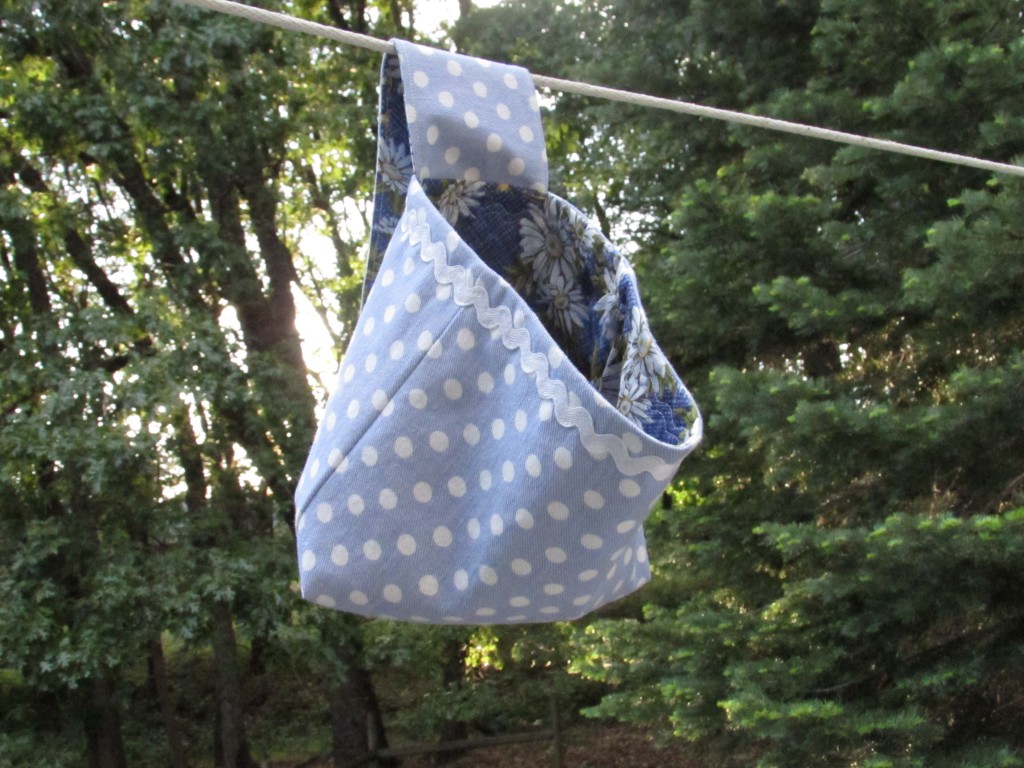
IMG_20150518_3333Here is the finished bag hanging from my clothesline.

IMG_20150518_3330On an unrelated note, I am so excited about the New Quilt Blogger bloghop event that is getting started. Hosted by Yvonne at Quilting Jetgirl, Stephanie at Late Night Quilter, Cheryl @ Meadow Mist Designs and Terri Ann at Childlike Fascination, this is a great opportunity to learn more about blogging and to interact with others in the community. I signed up this morning and thought I would put this out there in case any of you are interested.

2015 New Quilt Bloggers Button (300px)

The parameters they have set for joining are that you currently have a blog:

  1. mainly about modern quilting*,
  2. for less than 2 years,
  3. writing at least 4 posts a month,
  4. are willing to agree to be actively involved in the blog hop through visiting and commenting on the other blogger’s hop posts,
  5. and have or are willing to open a Facebook account to participate in the group discussions,

If you are interested, please visit and fill out the 2015 New Quilt Bloggers Blog Hop Sign Up Form.

(*Modern quilting to you is modern quilting to us.)

Note: They plan to accept 100 participants for the blog hop this year. The sign up form will be available until May 31, 2015, or until they reach 100 participants.

This looks like an amazing opportunity and I am really looking forward to learning from everyone involved. If you feel like it would be right for you, I encourage you to check it out.

That’s it for now! Hope you are all having a great week!

Linking to Connie at Freemotion by the River, and  Tips and Tutorials Tuesday.


Treasure Bags

Several weeks ago, a friend asked me if I would do some custom work for her. She has two grand daughters and they frequently spend the night. They have bunk beds – actually I think it is like a loft bed since both girls sleep up on top. She wanted to be able to hang a bag on the railing of the bunk so they had a place to put their books, stuffed animals, or maybe a water bottle at night. Since they are up on top, they don’t have a nightstand available or the floor right there to put their books on. My friend, Joy, had seen the clothespin bags that I sell on Etsy and thought if I modified that idea, the girls could hang a bag from their bed. Her only request was that I use lots of pink and make some way for the girls to differentiate the bags; so they knew which one was “their bag”. Sounded fun!

For fabric, I went straight to Hawthorne Threads. I wanted to get a twill for the outside so the bags had some body. (For the clothespin bags, I generally use upcycled burlap or upcycled denim, which gives the bag some shape.)  I found a hot pink polka dot twill by Riley Blake. I knew what I wanted to use for the lining. Wee Wander’s “Wander Woods” in Petal.  The print is sweet and girly, perfect for these two sisters.

Sarah Jane - Wee Wander - Wander Woods in Petal  Riley Blake Designs - Home Decor Basics - Medium Dot in Hot Pink

I made a mock up with some muslin scraps to figure out the size. I knew I wanted to put three straps across the top of the bag as the girls are likely to put some weight into their bags. After playing around with it a bit, I decided on the sizing. The bags finished out at 9″ tall, 14″ wide, and 3″ deep.

IMG_20150513_3312

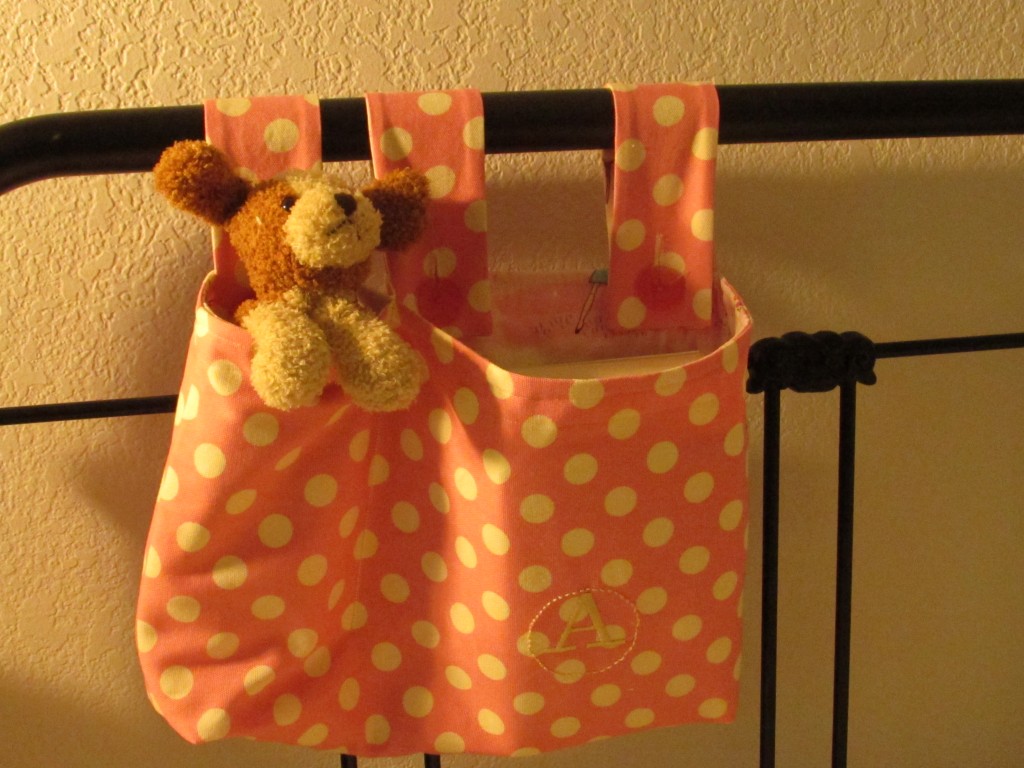
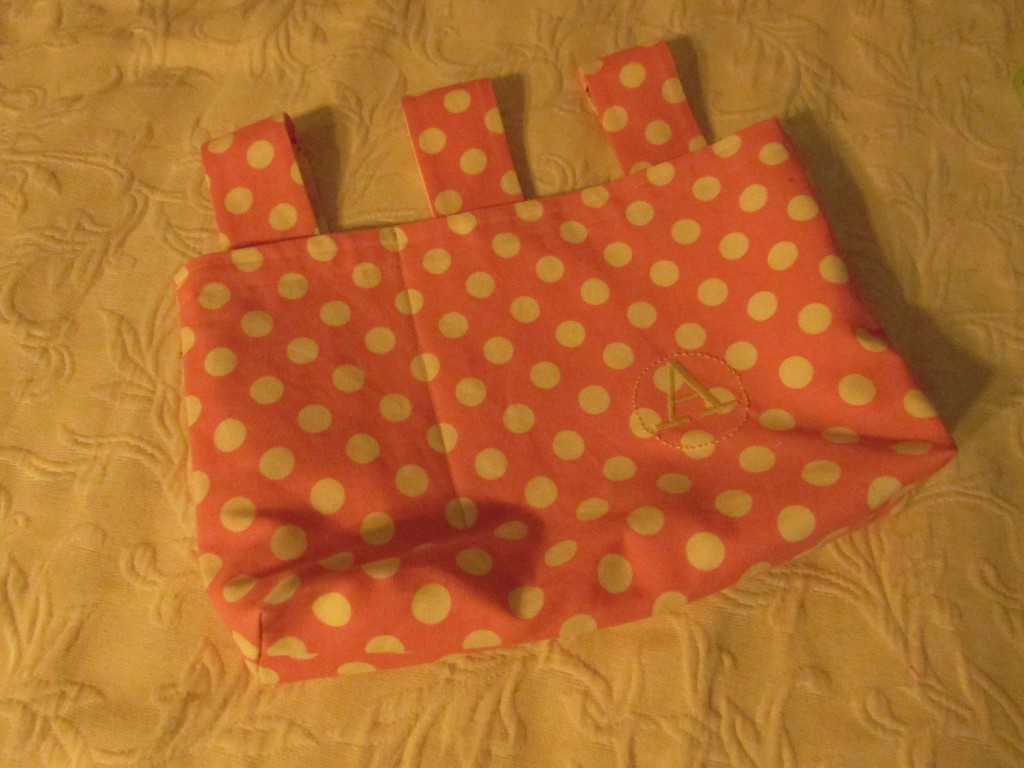
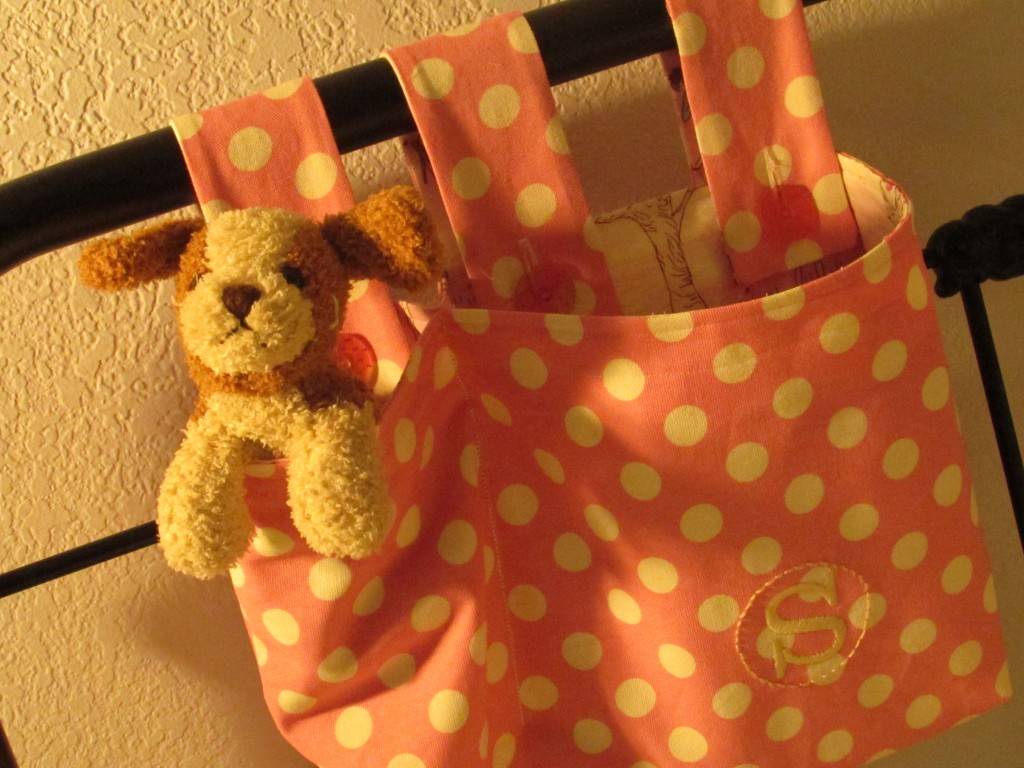
The three straps fold toward the inside of the bag so that the buttons are easily accessible from the railing of the bed.  I double stitched them to reinforce the straps. When I first made them, I didn’t have that stitching that is between the first two straps. The bag hung open too far so I ran a stitch vertically which created a compartment for the bag and kept it from gapping open.

IMG_20150513_3311

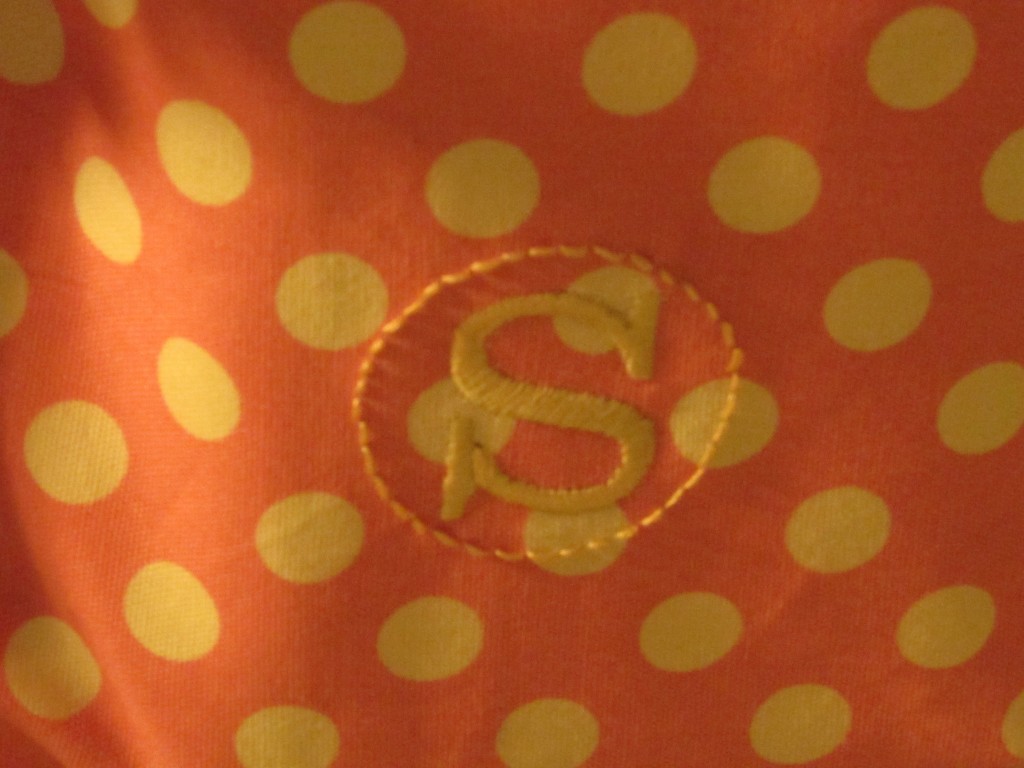
I boxed the corners at the bottom of the bag to create width in the bag.  Also, with the help of my quilting buddy, Sophia, I was able to add their initial to the front of the bag. Sophia has an embroidery machine which made quick work of this. I stitched a circle around the initial to set it off.

IMG_20150513_3309

I love how these turned out and hopefully, the girls will love them as well! Plenty of room for books, stuffies, and any other treasures they might want to have nearby at bedtime. I am debating offering these as a custom item in my Etsy shop. If I pre-make them, I won’t be able to add the monogram. Maybe I will make one or two up and see how they do in the shop.

IMG_20150513_3310

Linking to Sarah at Confessions of a Fabric Addict,  Amanda Jean at Crazy Mom Quilts as well as Lorna at Let’s Bee Social. Links to all to these wonderful sites are available at the top of the page, under Link Ups.