Author Archives: Bernie

Fireburst Flimsy

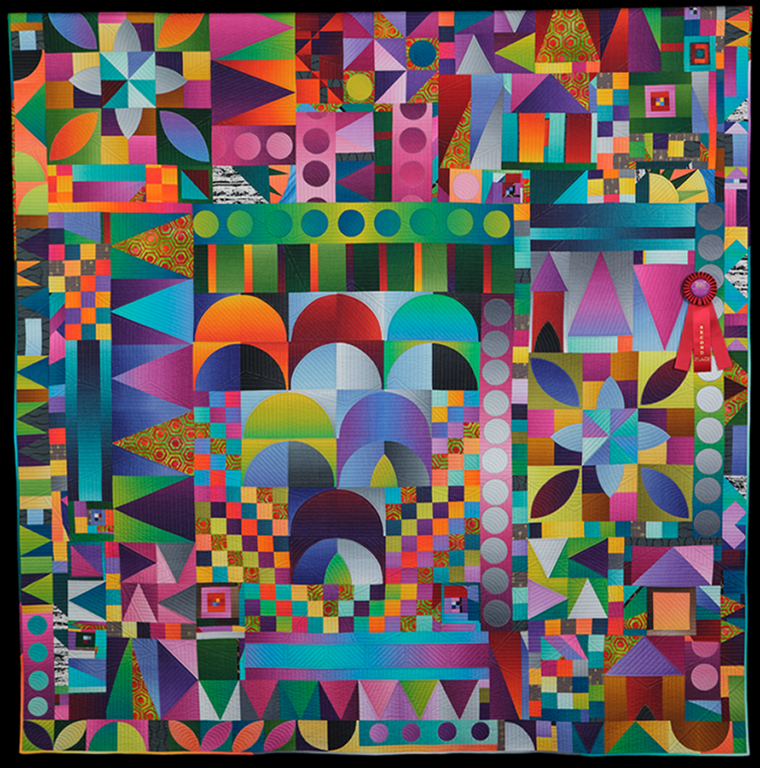
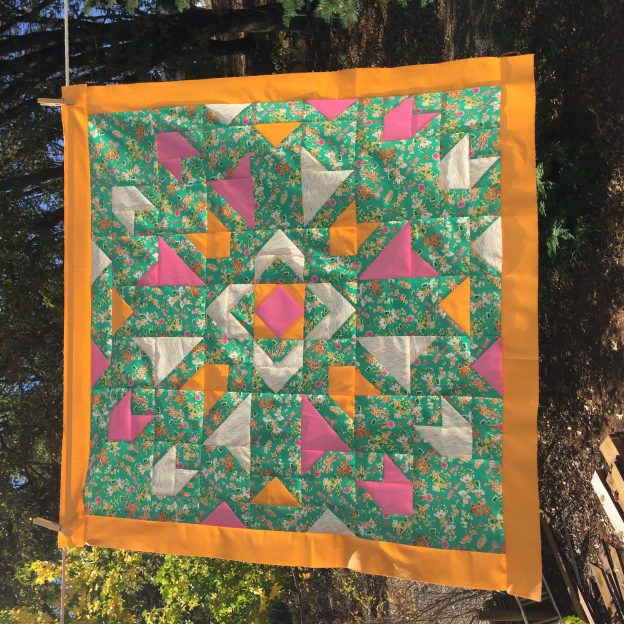
I have a quilt top to share with you!  It is my first time participating in a mystery quilt project.  For those of you who aren’t familiar, a mystery quilt is an event where the quilter who designed the pattern releases bits of information on a regular schedule.  The participating quilters follow along, making something but not knowing what the final result will look like.  This event is the Fireburst Mystery Quilt designed and hosted by Tish of Tish’s Adventures in Wonderland.

A little bit of background – I haven’t ever participated in one of these because, honestly, the idea of making a quilt when I couldn’t see the pattern freaked me out a bit.  I have such a difficult time with spatial relationships, what goes where and in what direction does it point, etc.  When I make something, I constantly look at the pattern to double check myself and even then I make mistakes and spend a lot of time with my trusty seam ripper.  But this time was different because I cheated a bit.  🙂

Tish was planning her event and, early on, she asked if I would put together some kits to sell in my shop that worked for the pattern.  There are quilters who like the idea of a mystery quilt along but feel challenged pulling fabric for it without being able to see the pattern (the host of the QAL will usually explain that the pattern needs so many light, medium and dark value fabrics so people can pull from their stash or shop accordingly.). Anyway, Tish and I worked together to pick fabric in my shop and create kits (which was actually a lot of fun and I look forward to seeing the finished quilts of people who purchased the kits.). To do this, Tish showed me the pattern, thus taking the ‘mystery’ out of it for me!  I decided to sew along with the group, sort of pretending I had not seen the pattern and give it a try.  For the most part, I didn’t look at the finished pattern – in fact I didn’t look at it until the end when I discovered a mistake.  More on that it a minute.  😉

Another reason I wanted to participate was the very slow and relaxed schedule Tish. planned for the event.  She gave instructions at the beginning of each month and it was very easy to accomplish what she planned within the month.  This has been such a hectic time lately with my son’s wedding, trips to Vermont, summer time etc.  I appreciated a project that I could just work  on a little bit each month and ‘keep up’.  (I have not kept up with any of my RSC2018 projects at all, which is a little disappointing.  But what’s a person going to do?  Life gets in the way.)  At this point, participants are finishing up the quilt tops and then will be quilting and binding them. There is a fun link up in January to celebrate the new year and these pretty Fireburst quilts.

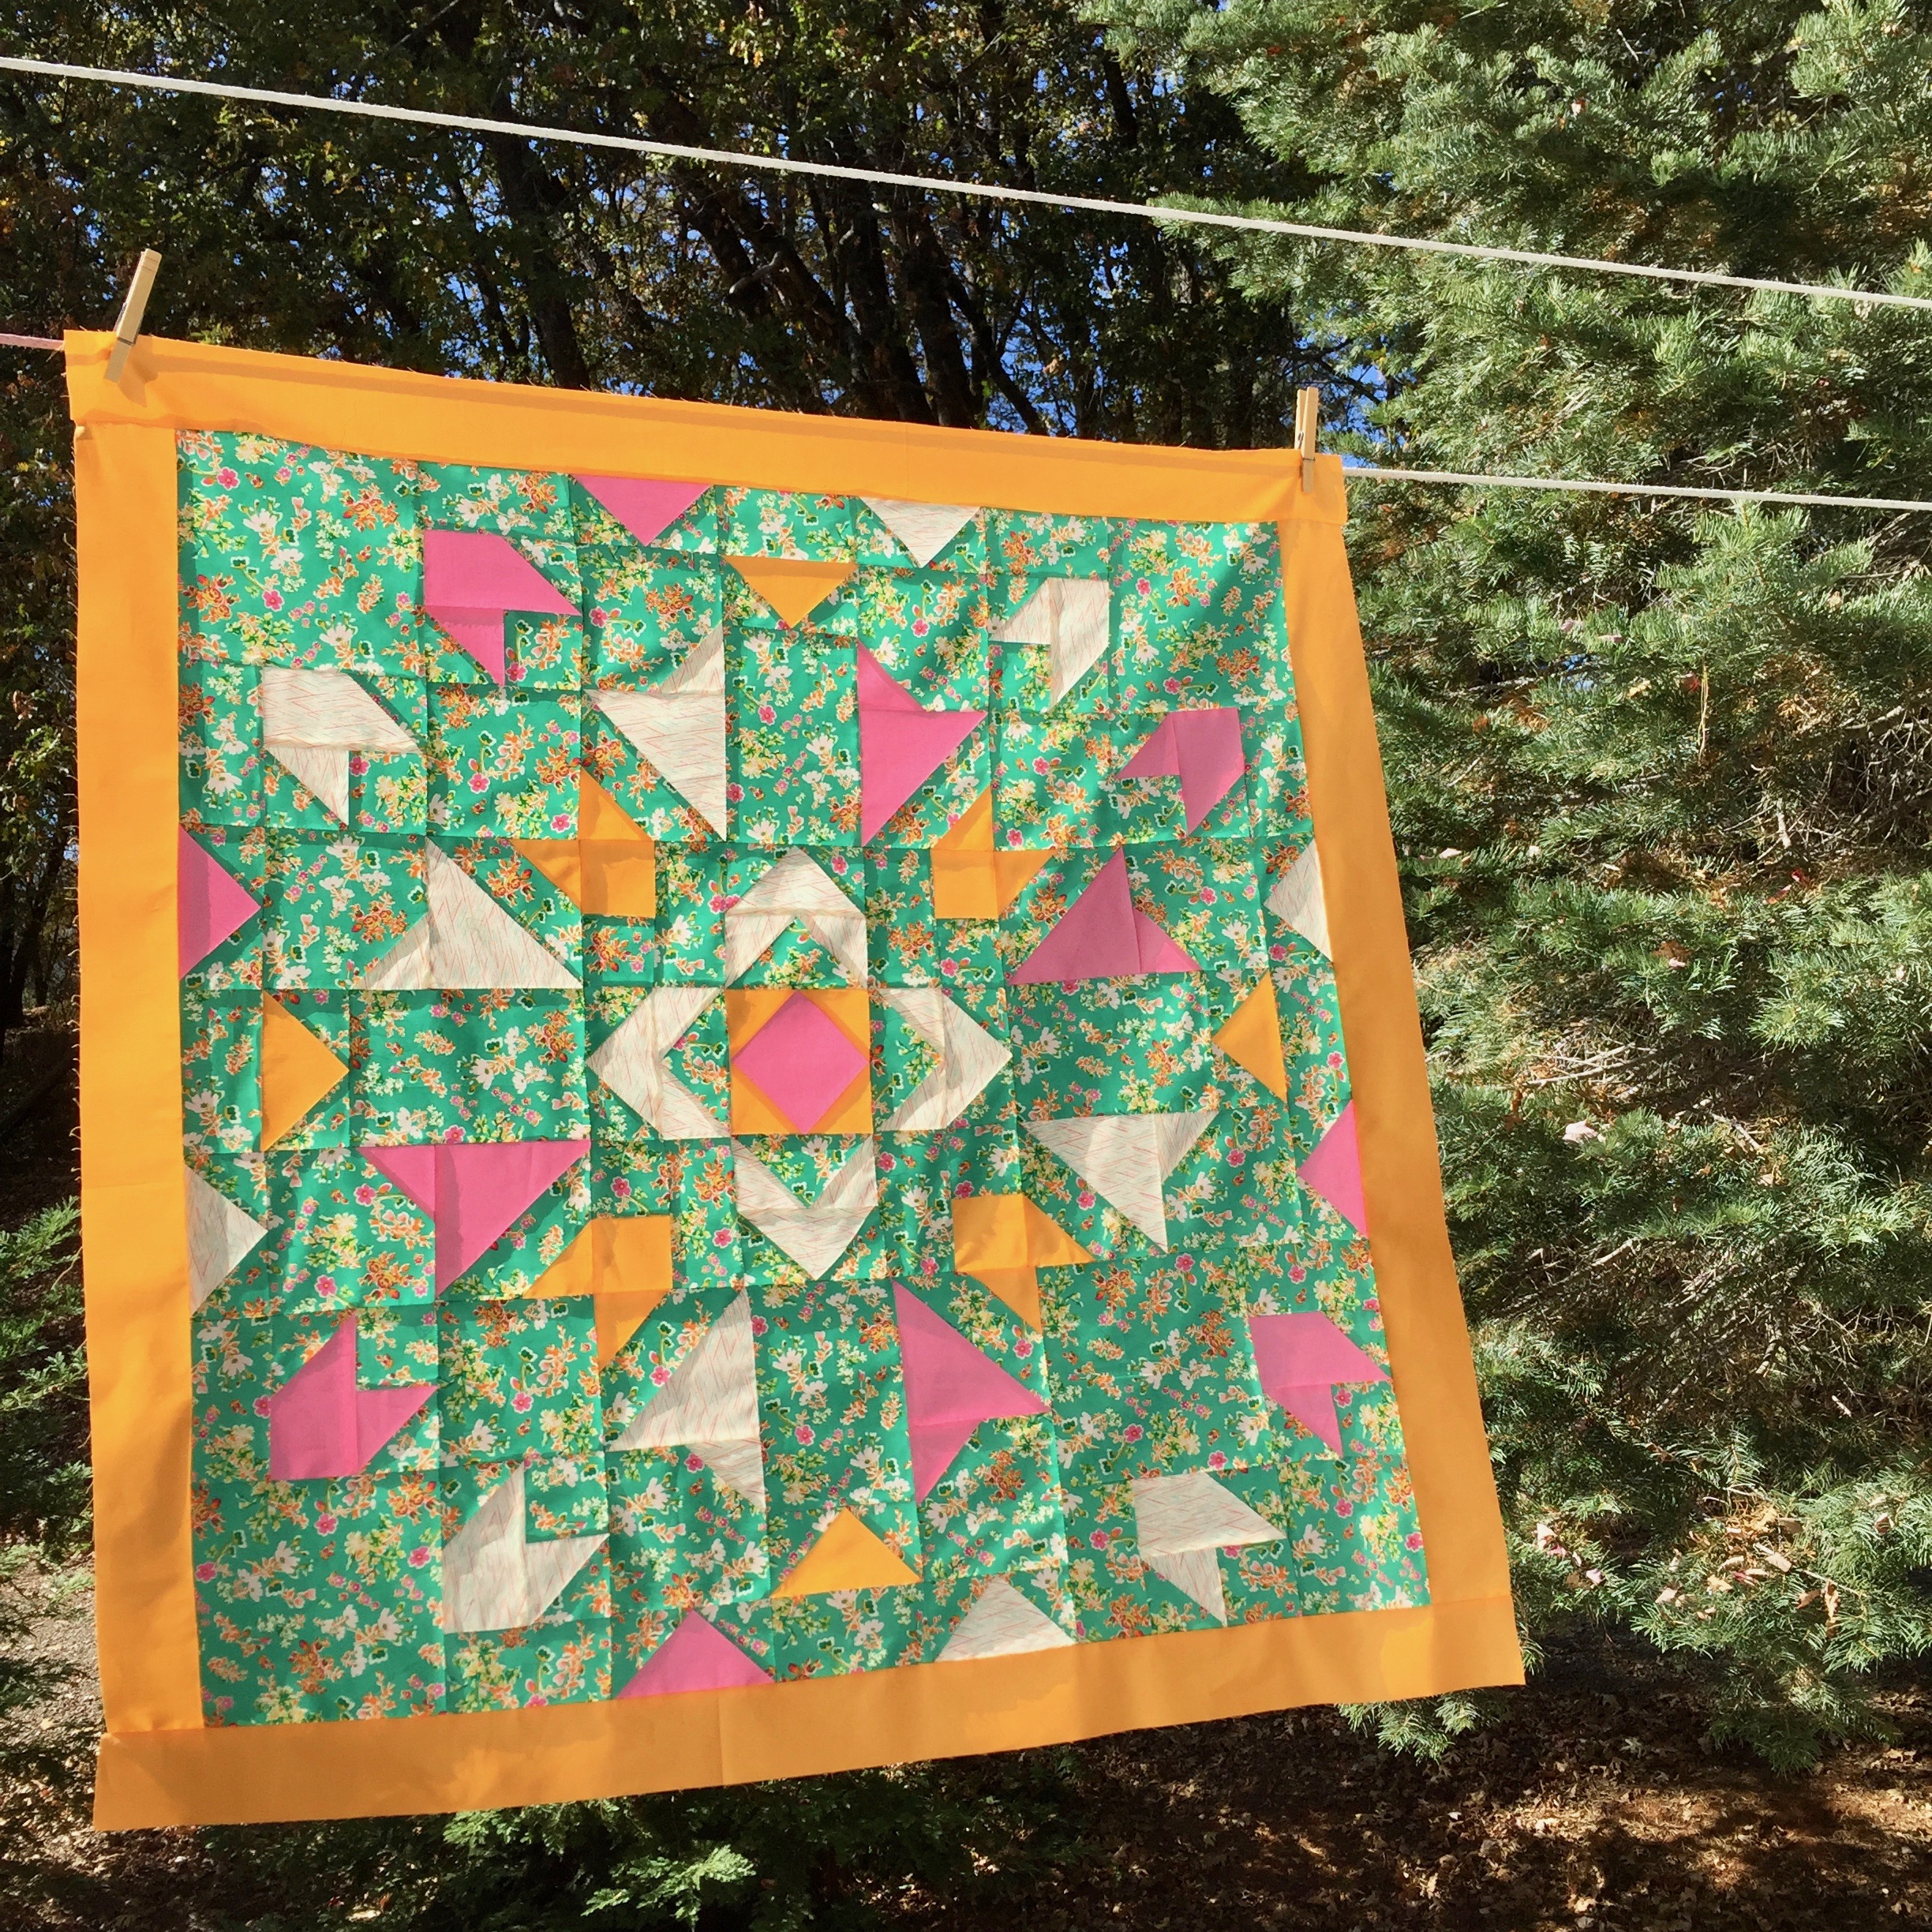
OK – so how was my experience with a mystery quilt along when it wasn’t actually a mystery?  It was interesting because I still spent a lot of time with my seam ripper!!  I have leftover pieces that I cut and/or stitched incorrectly.  Half square triangles that were not used because they were made with the wrong fabrics.  Maybe I will make a few blocks with these oddball pieces and put them on the backing.  With all of that, I still have a mistake on the quilt top.  Take a look and you will easily spot it! By the time I noticed it, the blocks were stitched together and I was no longer on good terms with my seam ripper.  This is the way it will stay! My fireworks are going to flare a bit different than everyone else’s!!

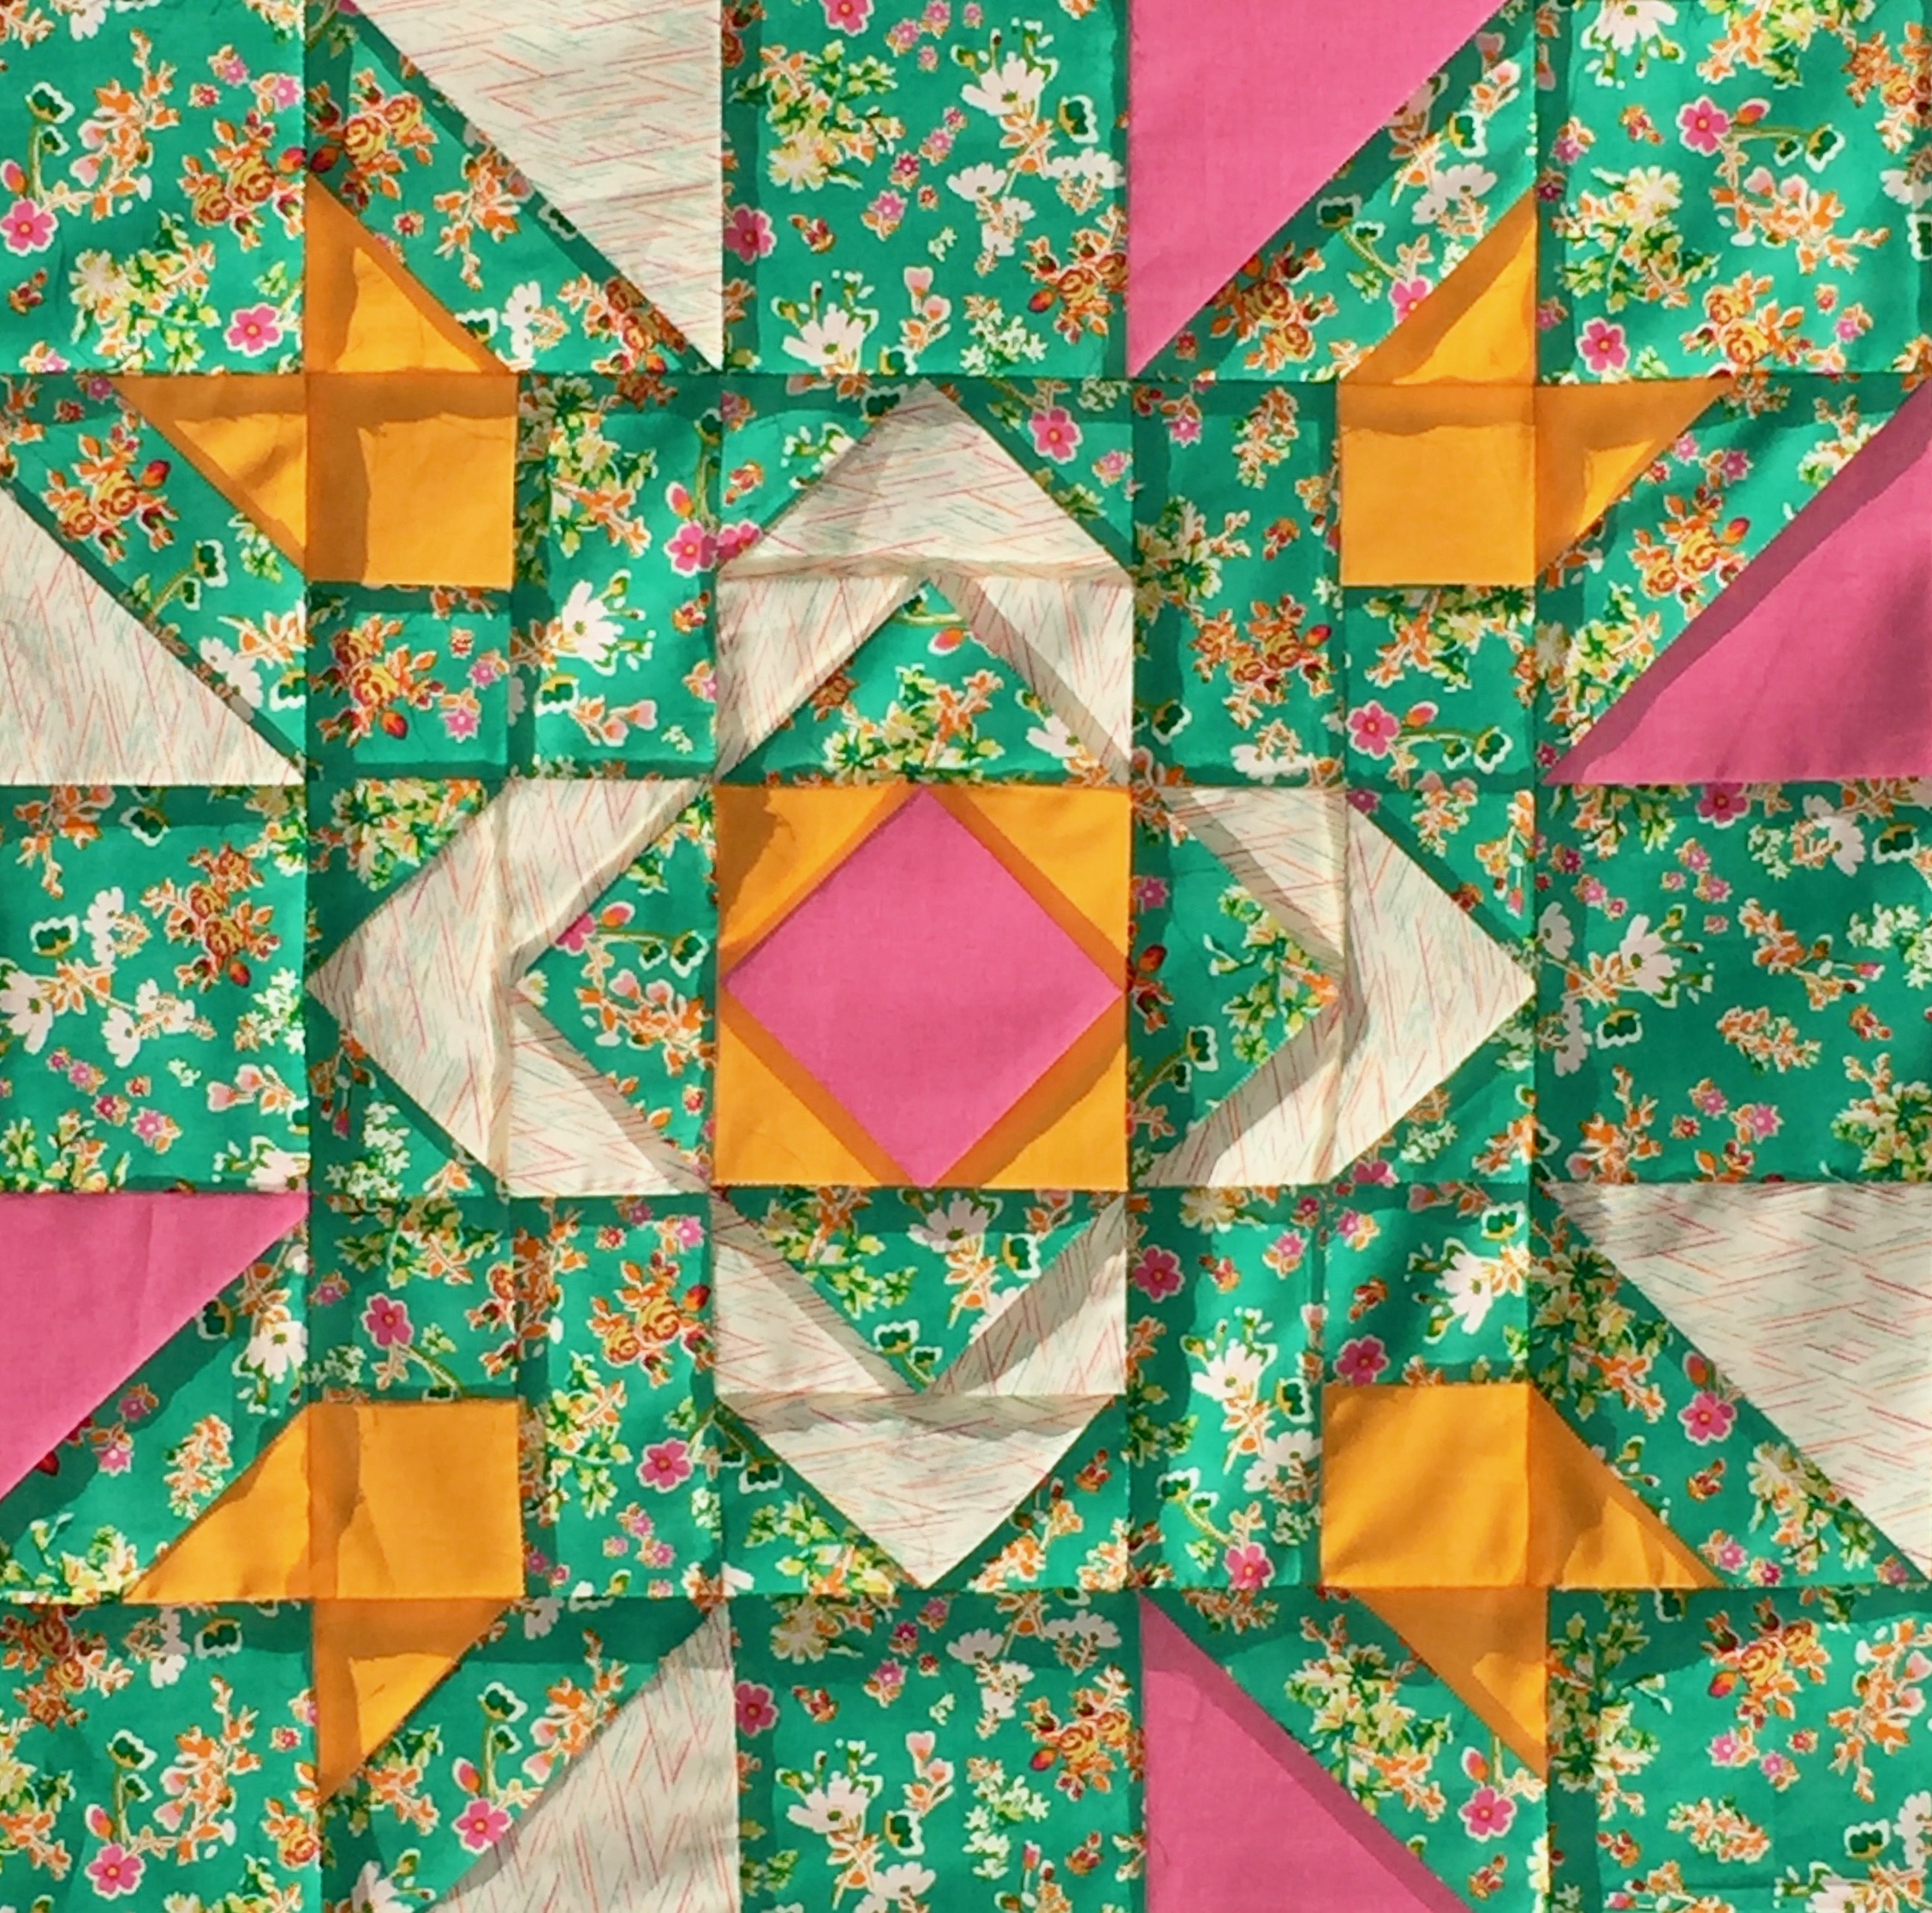
It is such a sweet quilt and will be a fun baby quilt to gift or donate.  I love the two print fabrics from Priory Square by Katy Jones.  The solids are bold and make a great fireburst coming off the center! Isn’t the center block pretty?  It would be a fun block on its own.

The project was fun and should have been quite easy.  Actually it was easy. Even with my errors, it came together nicely. If you like the pattern, I encourage you to make one.  All of the steps are listed with clear directions on Tish’s site.  There is time enough to begin now and finish with us in January if you like!

Time to make the backing now! I hope you are all having a lovely week.

Linking up with lots of fun places.  Check them out at the top of this page, under Link Ups.

Newsletter!

Have you signed up for my newsletter?  It is published every month or so and is full of information about my shop, new arrivals, sales, and events.  Click here to sign up!


The Cutest Lion Ever

When the family was all here for the wedding last month, I asked my daughter in law if I could make a Halloween costume for H.  I know she won’t really ‘trick or treat’ since she isn’t even 2 years old yet.  But the kids at daycare will likely celebrate Halloween.  Also, she is starting to enjoy pretend play and dressing up with silly hats, wearing her mama’s ‘pretties’ (bracelets), etc.  I think even if she doesn’t trick or treat, she will enjoy having the costume to play with.

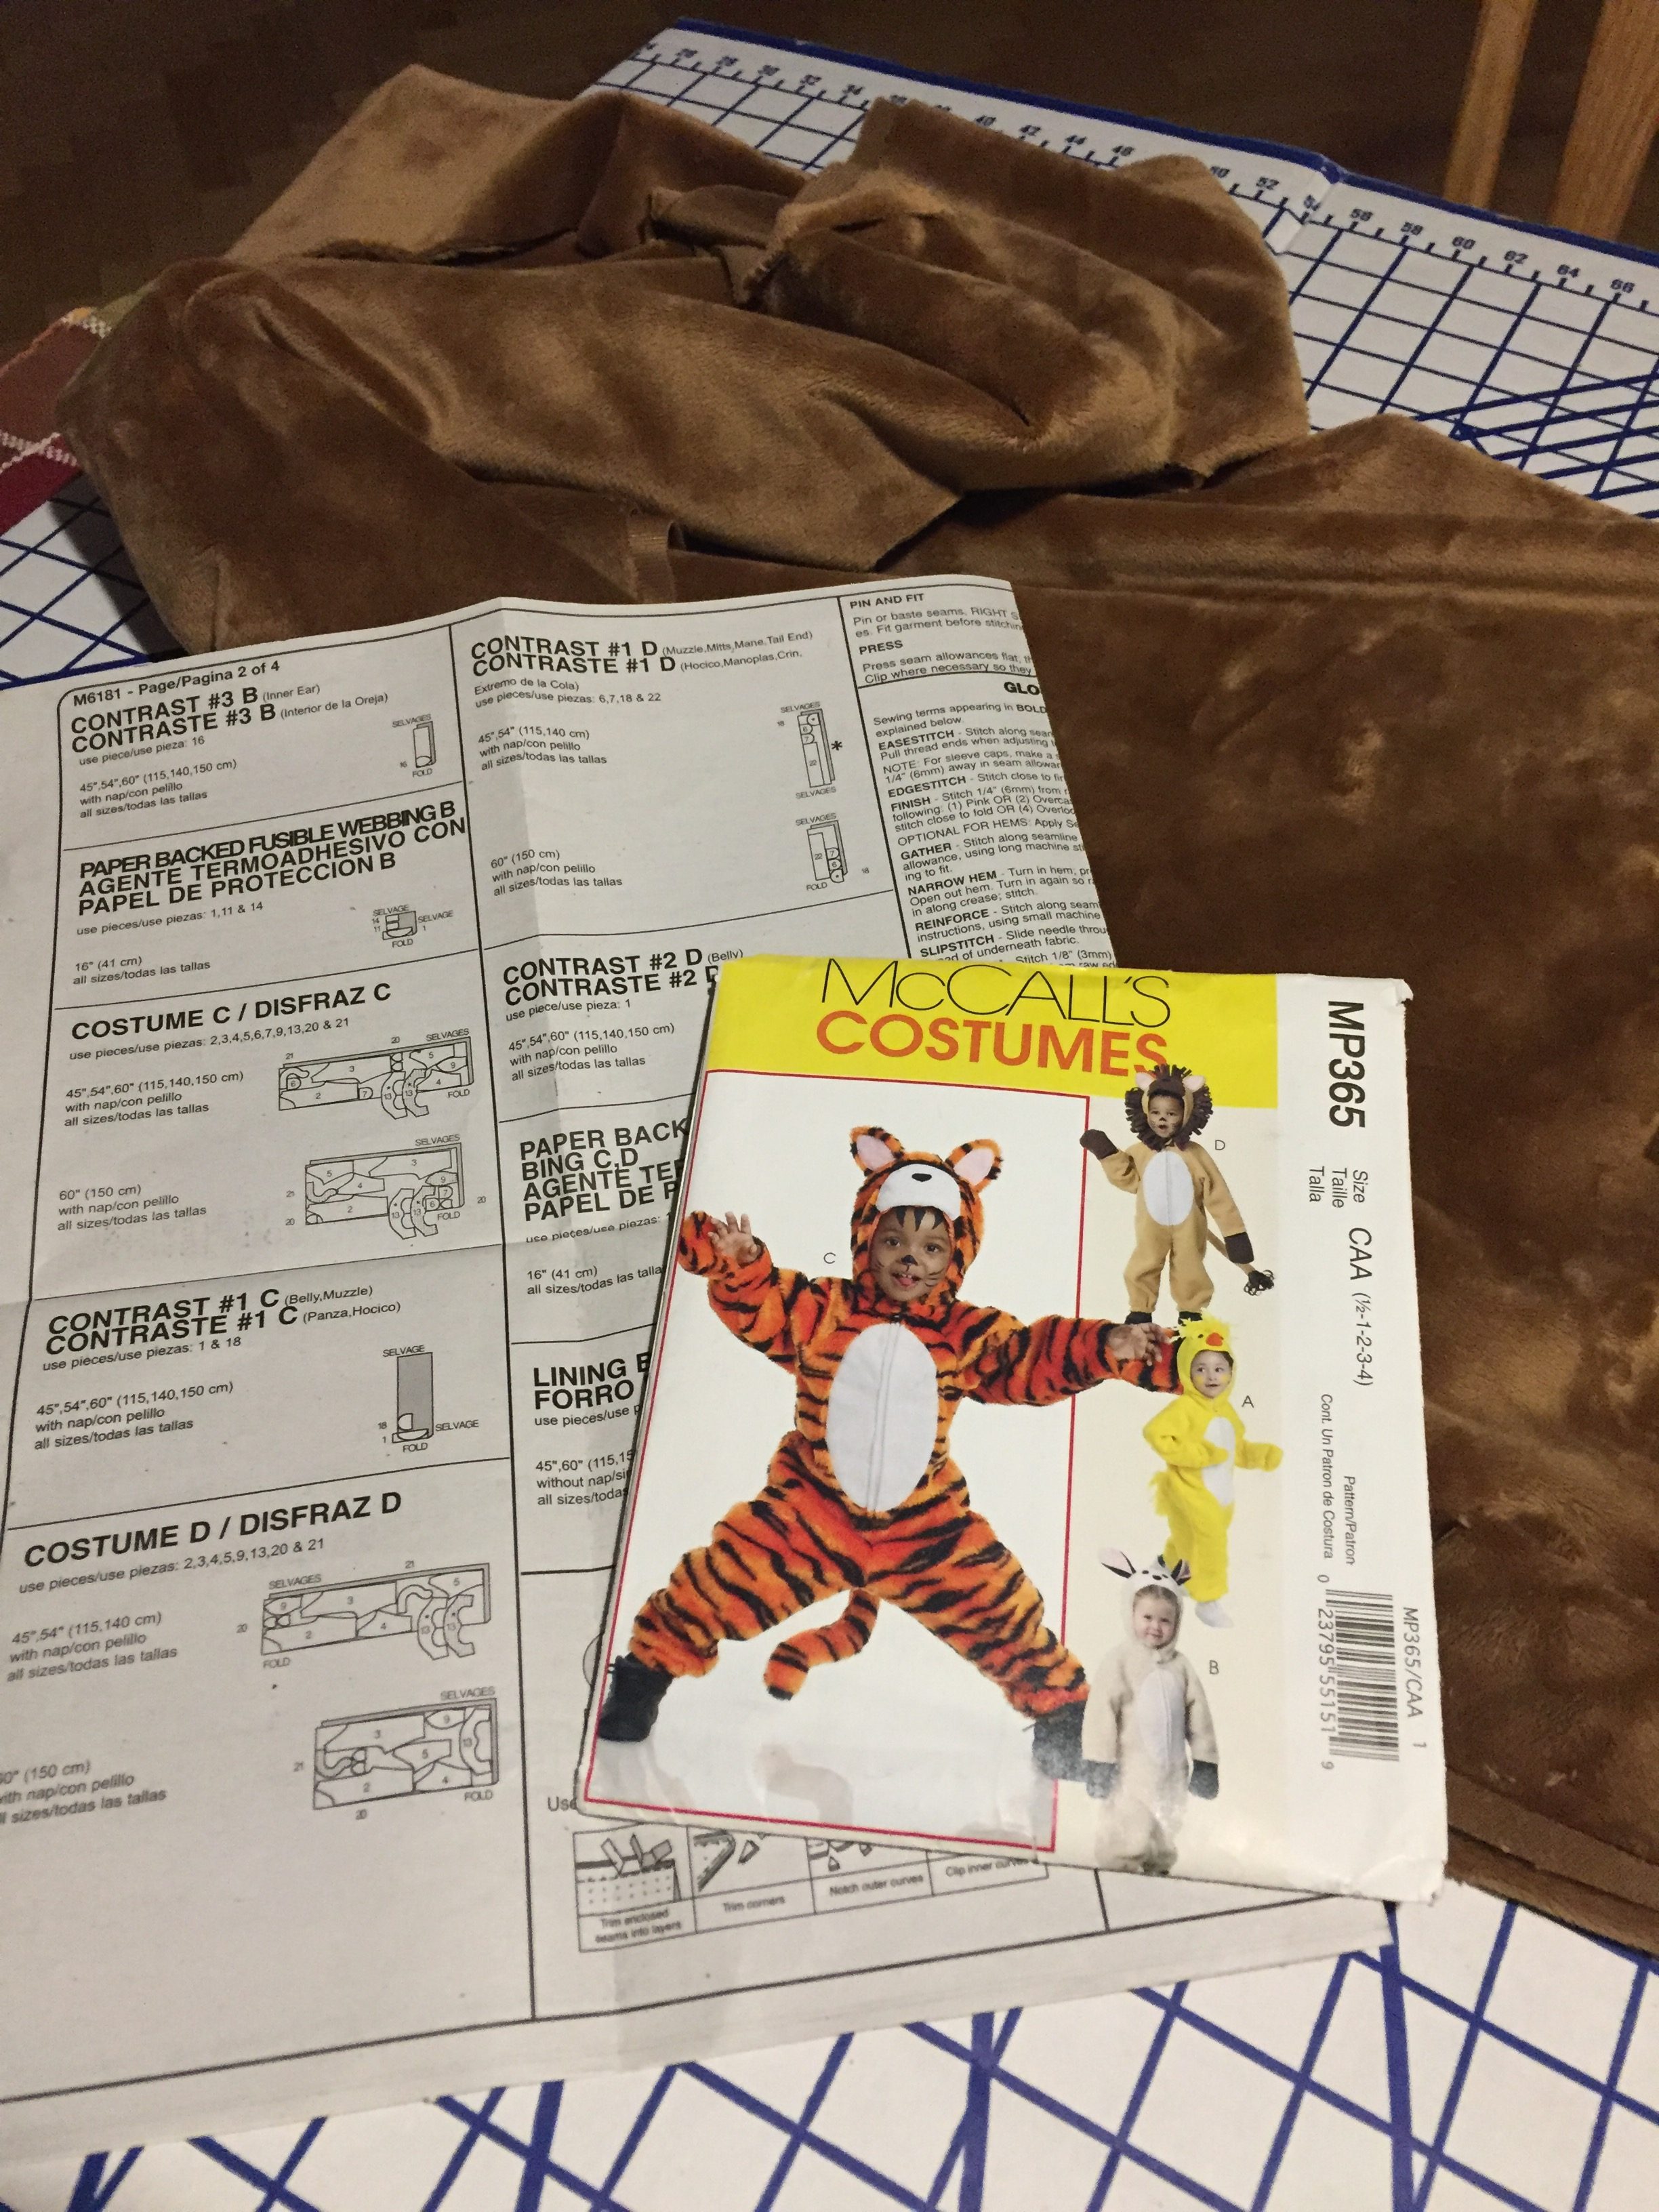
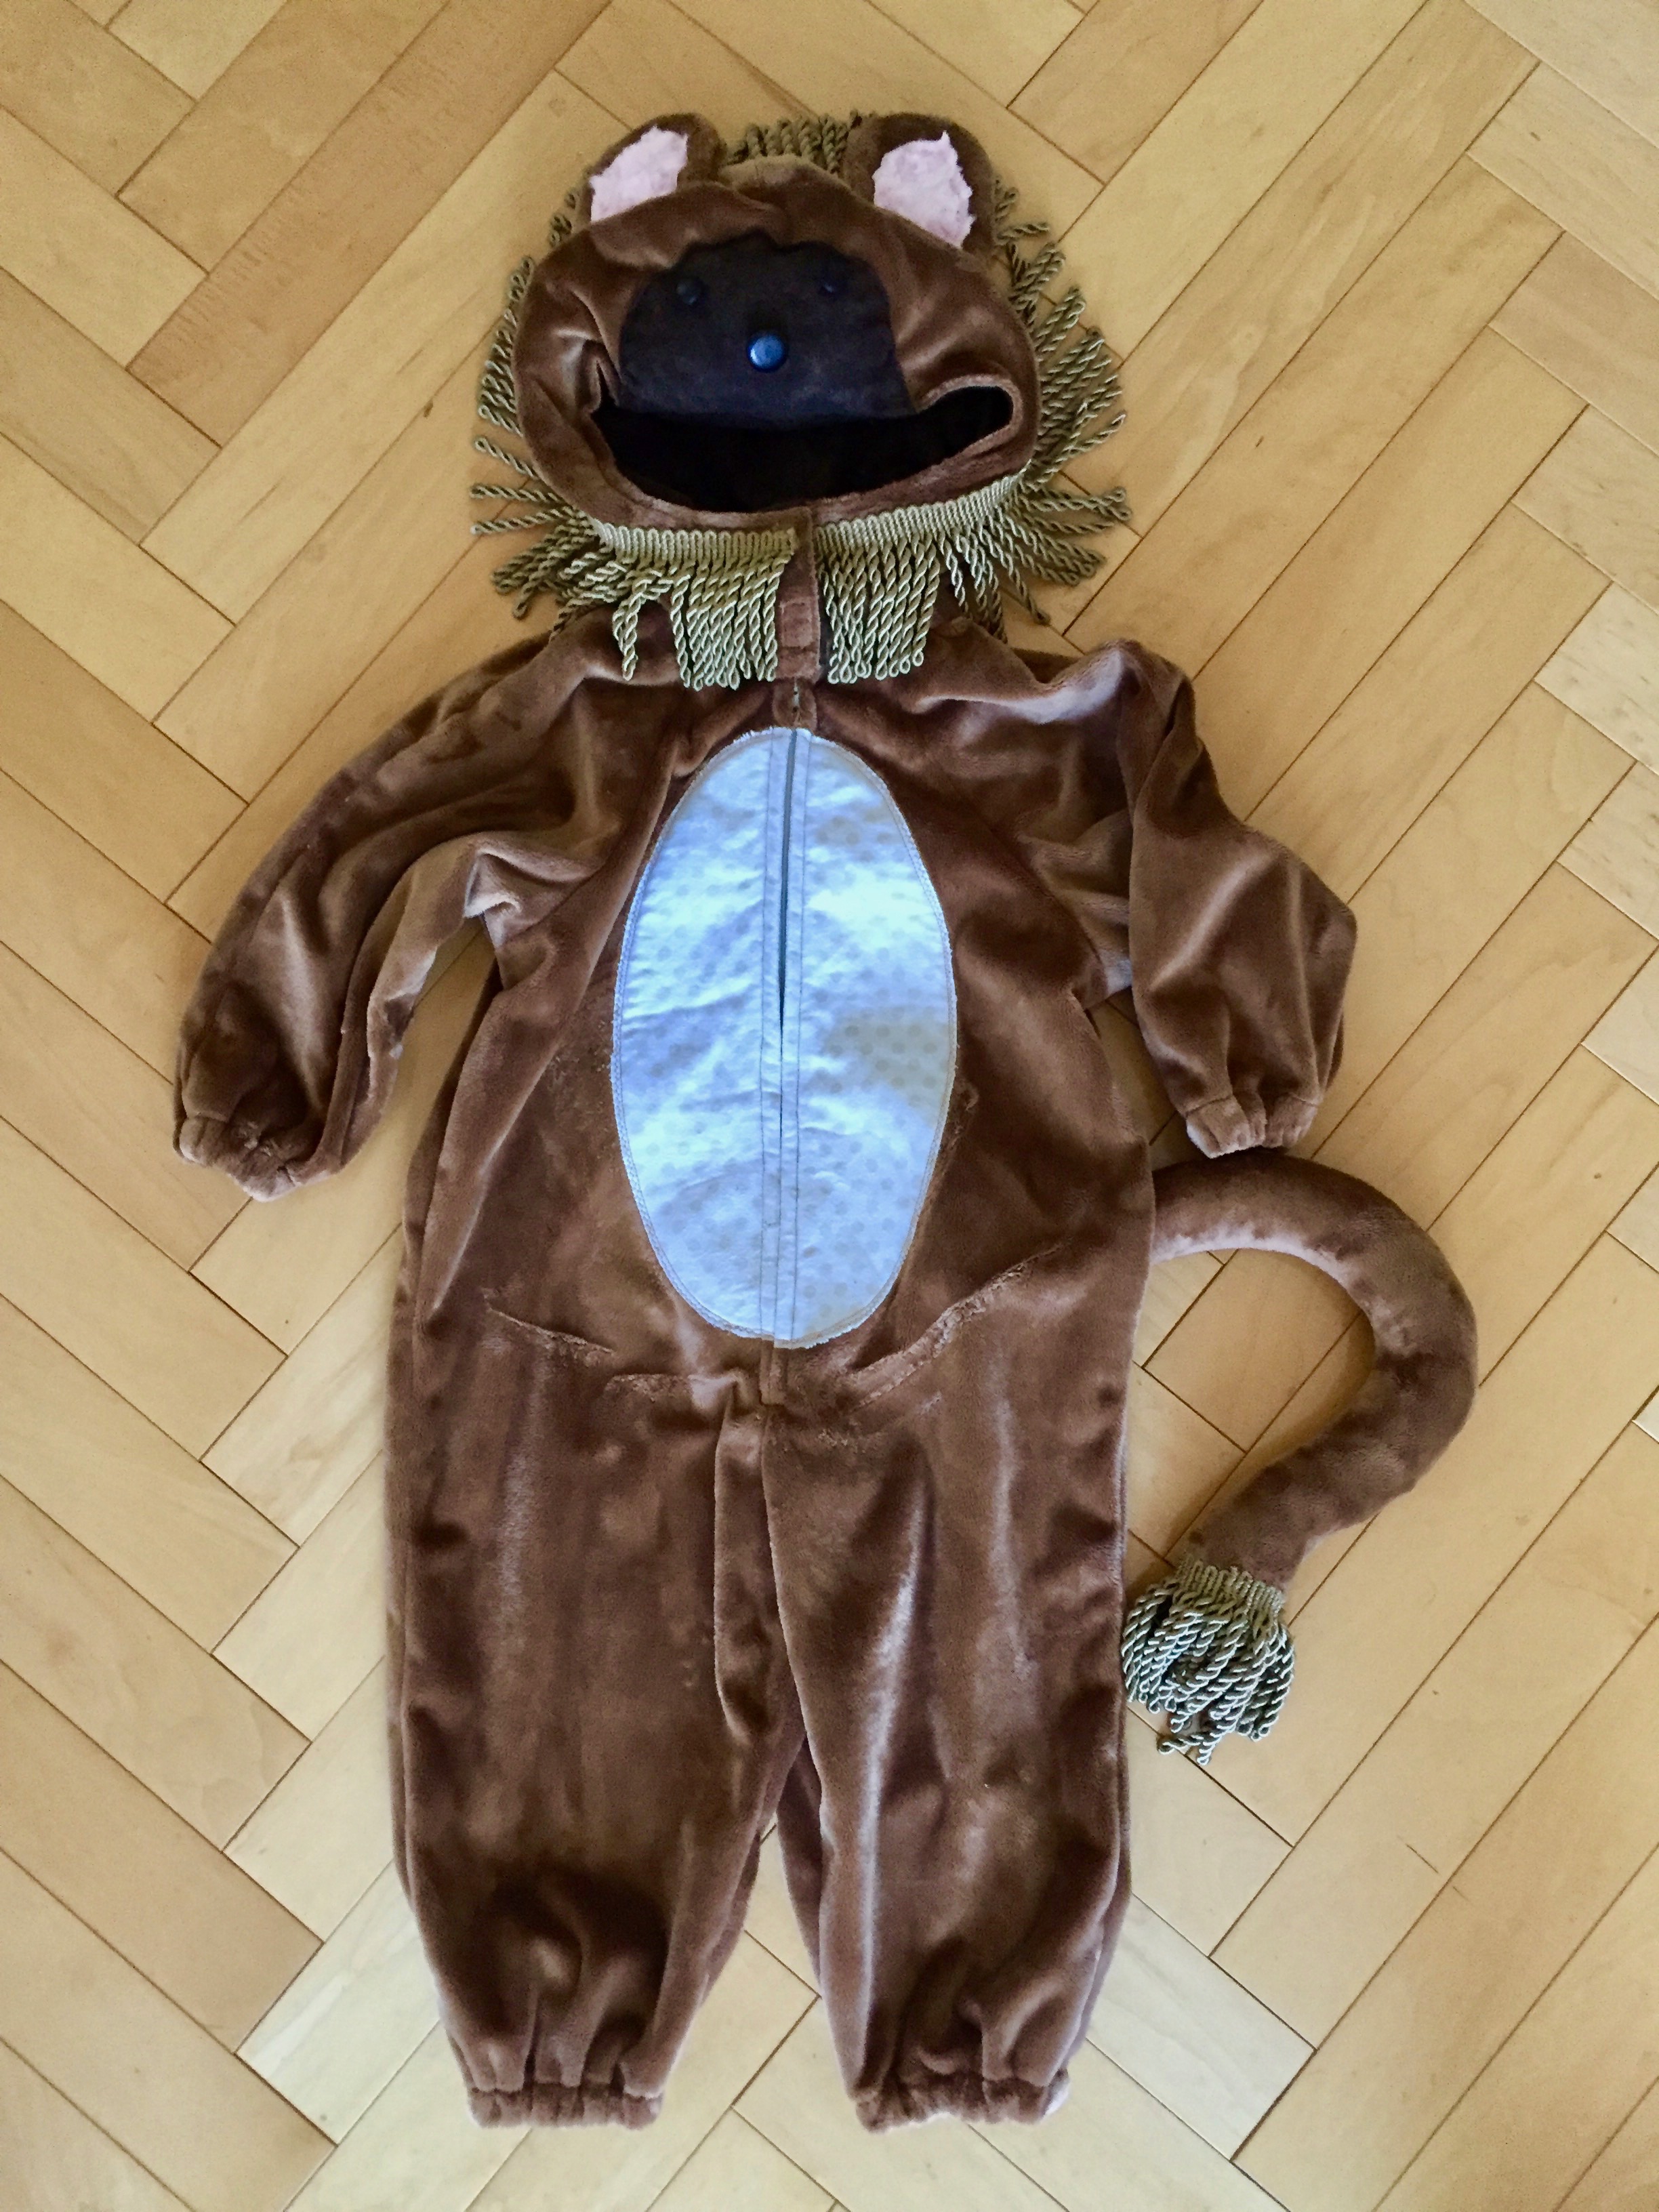
After chatting, we decided on a lion costume.  It will be fun for her to play with and she does enjoy roaring like a lion (which just cracks me up).  I ordered a pattern, which was silly because I have so many costume patterns in my pattern shop but I had sold the lion pattern already. Anyway, I selected McCall’s MP365 as it looked like it would be pretty simple to make.  I decided to leave the hand mitts off and make the tail detachable in case it was annoying when H was pretending to be a ferocious lion.

I chose a soft minky fabric for the body of the costume.  So cuddly….and so evil!  Honestly, cutting the minky was incredibly frustrating.  It slips and slides all over the place.  I would begin pinning the pattern piece from the center and work outward.  By the time I was to one end, the other would be off.  It was crazy!  So after putting nine billion pins in it, I finally started cutting. It made me nervous that sewing it would be a miserable experience but it wasn’t at all.  I had talked to my minky-expert-friend, Sophia, and she told me to use lots of pins and my walking foot.  The walking foot made all the difference.

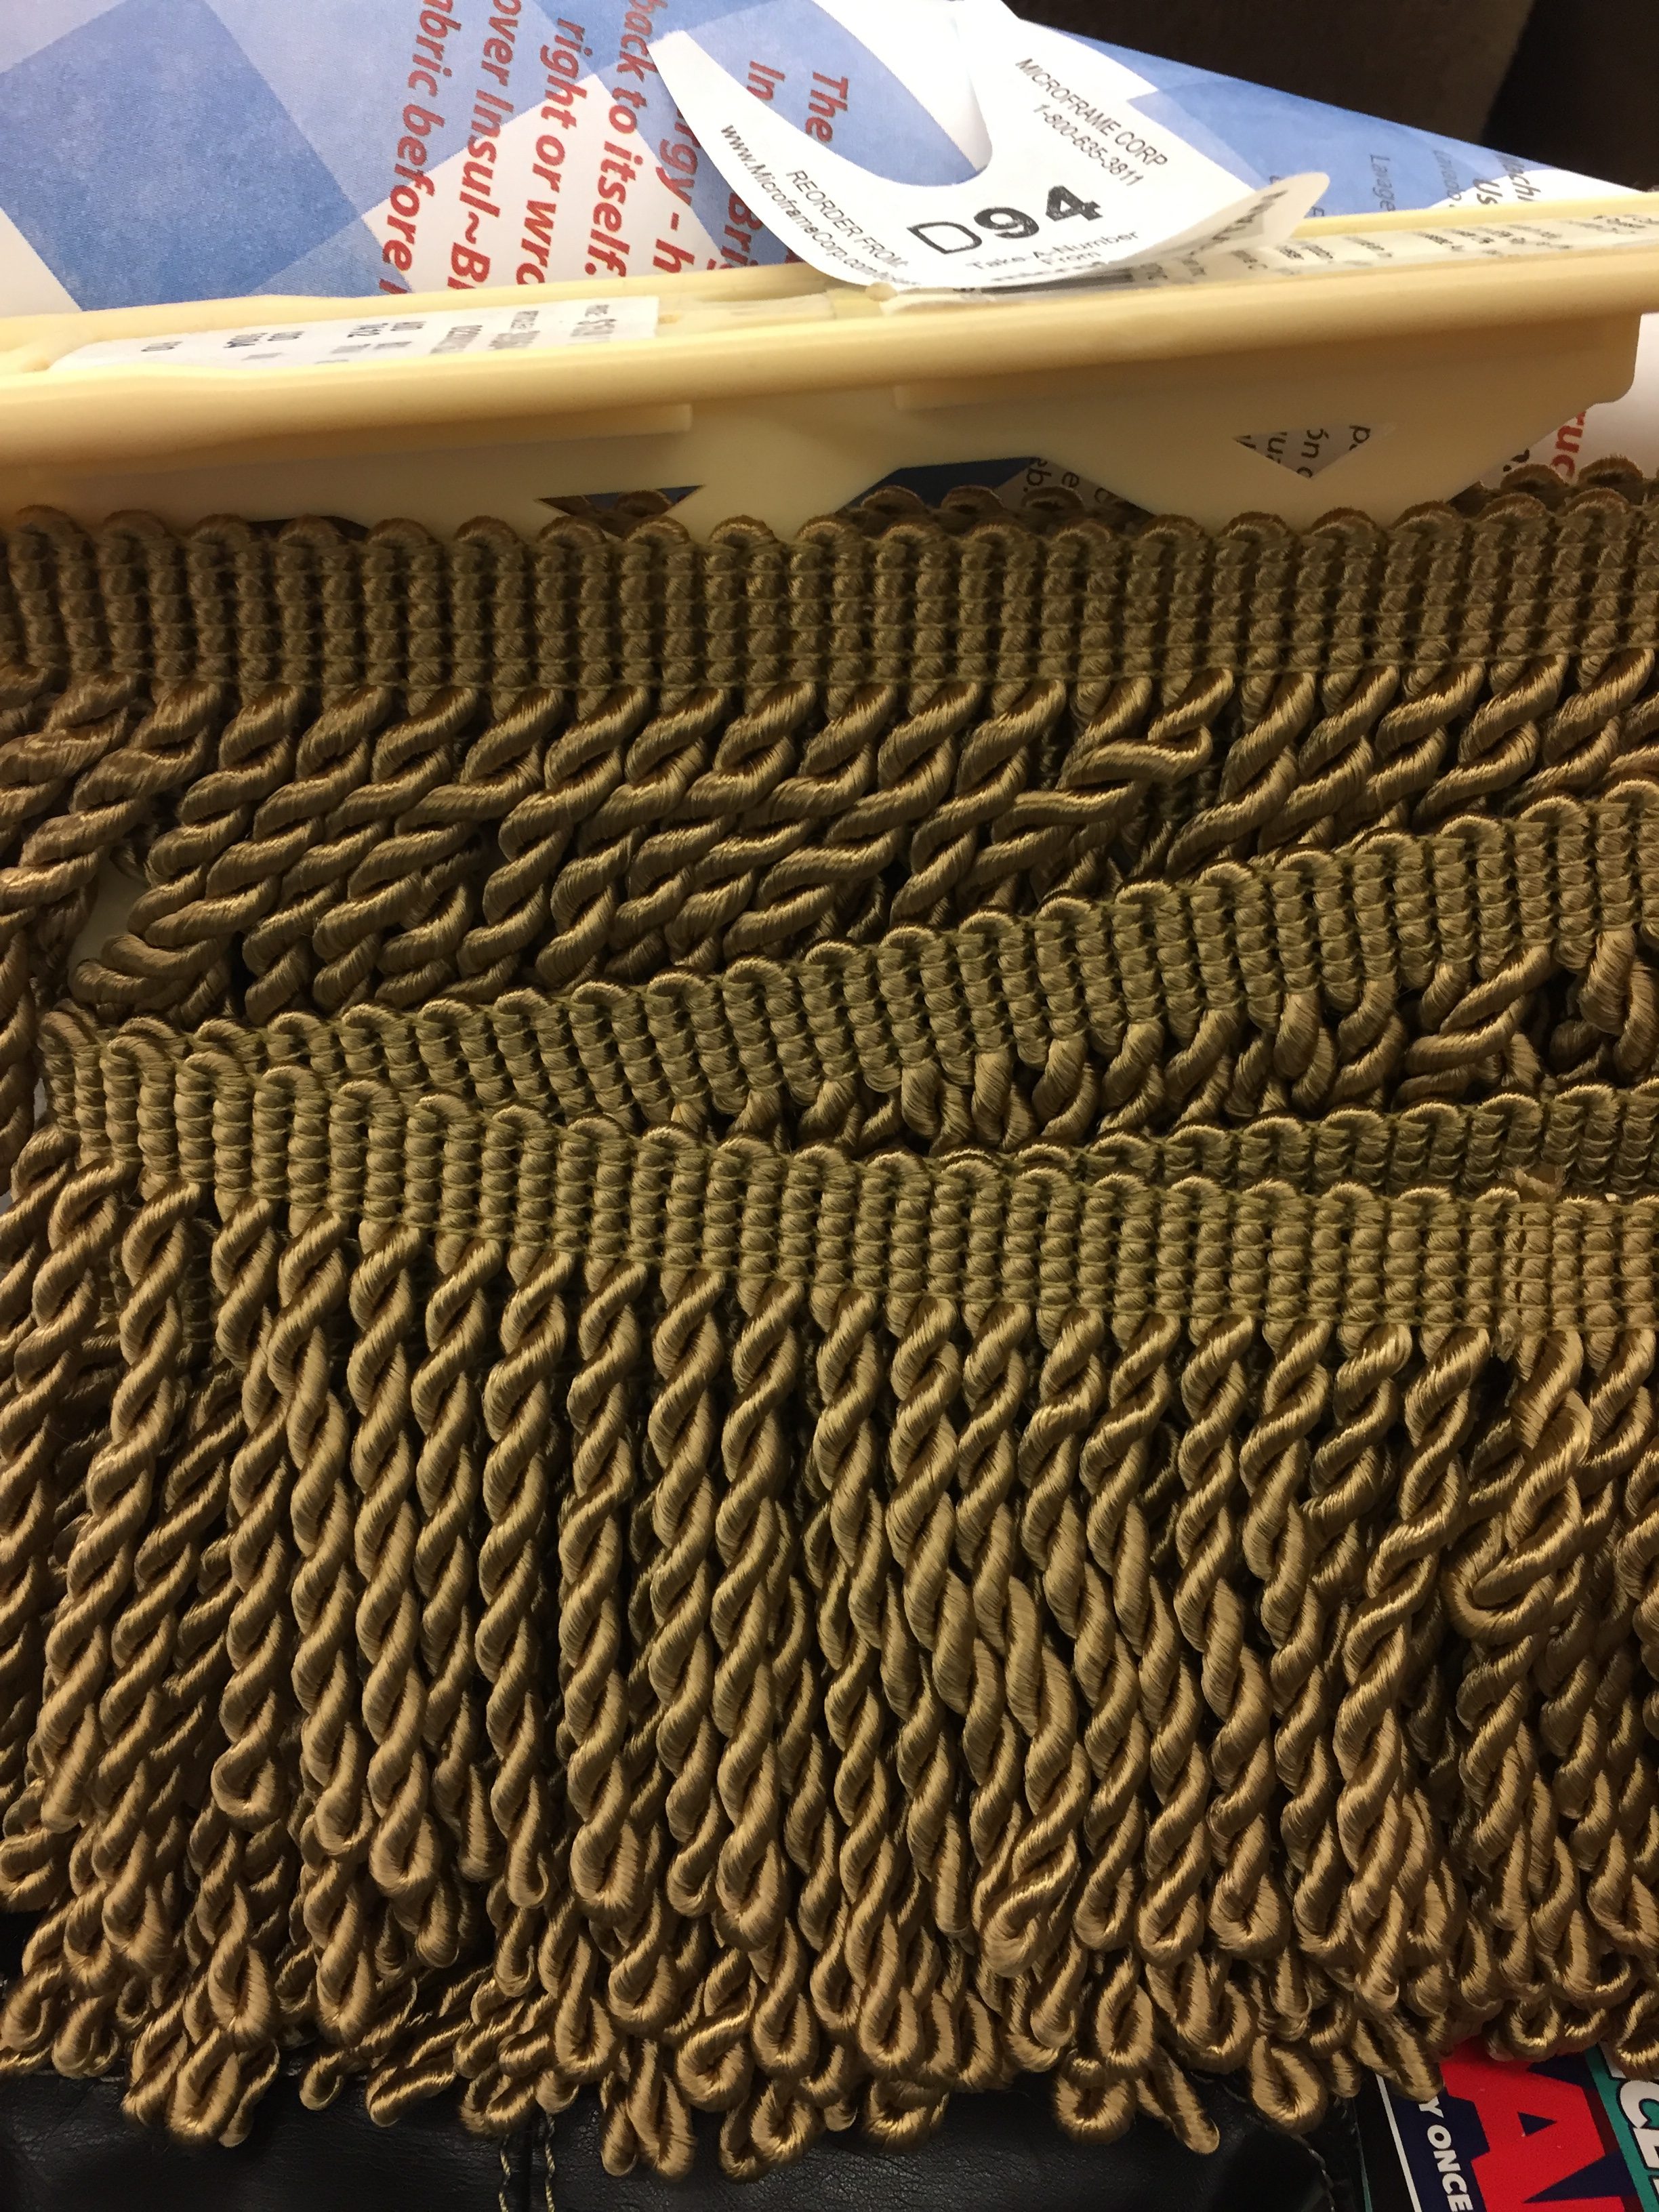
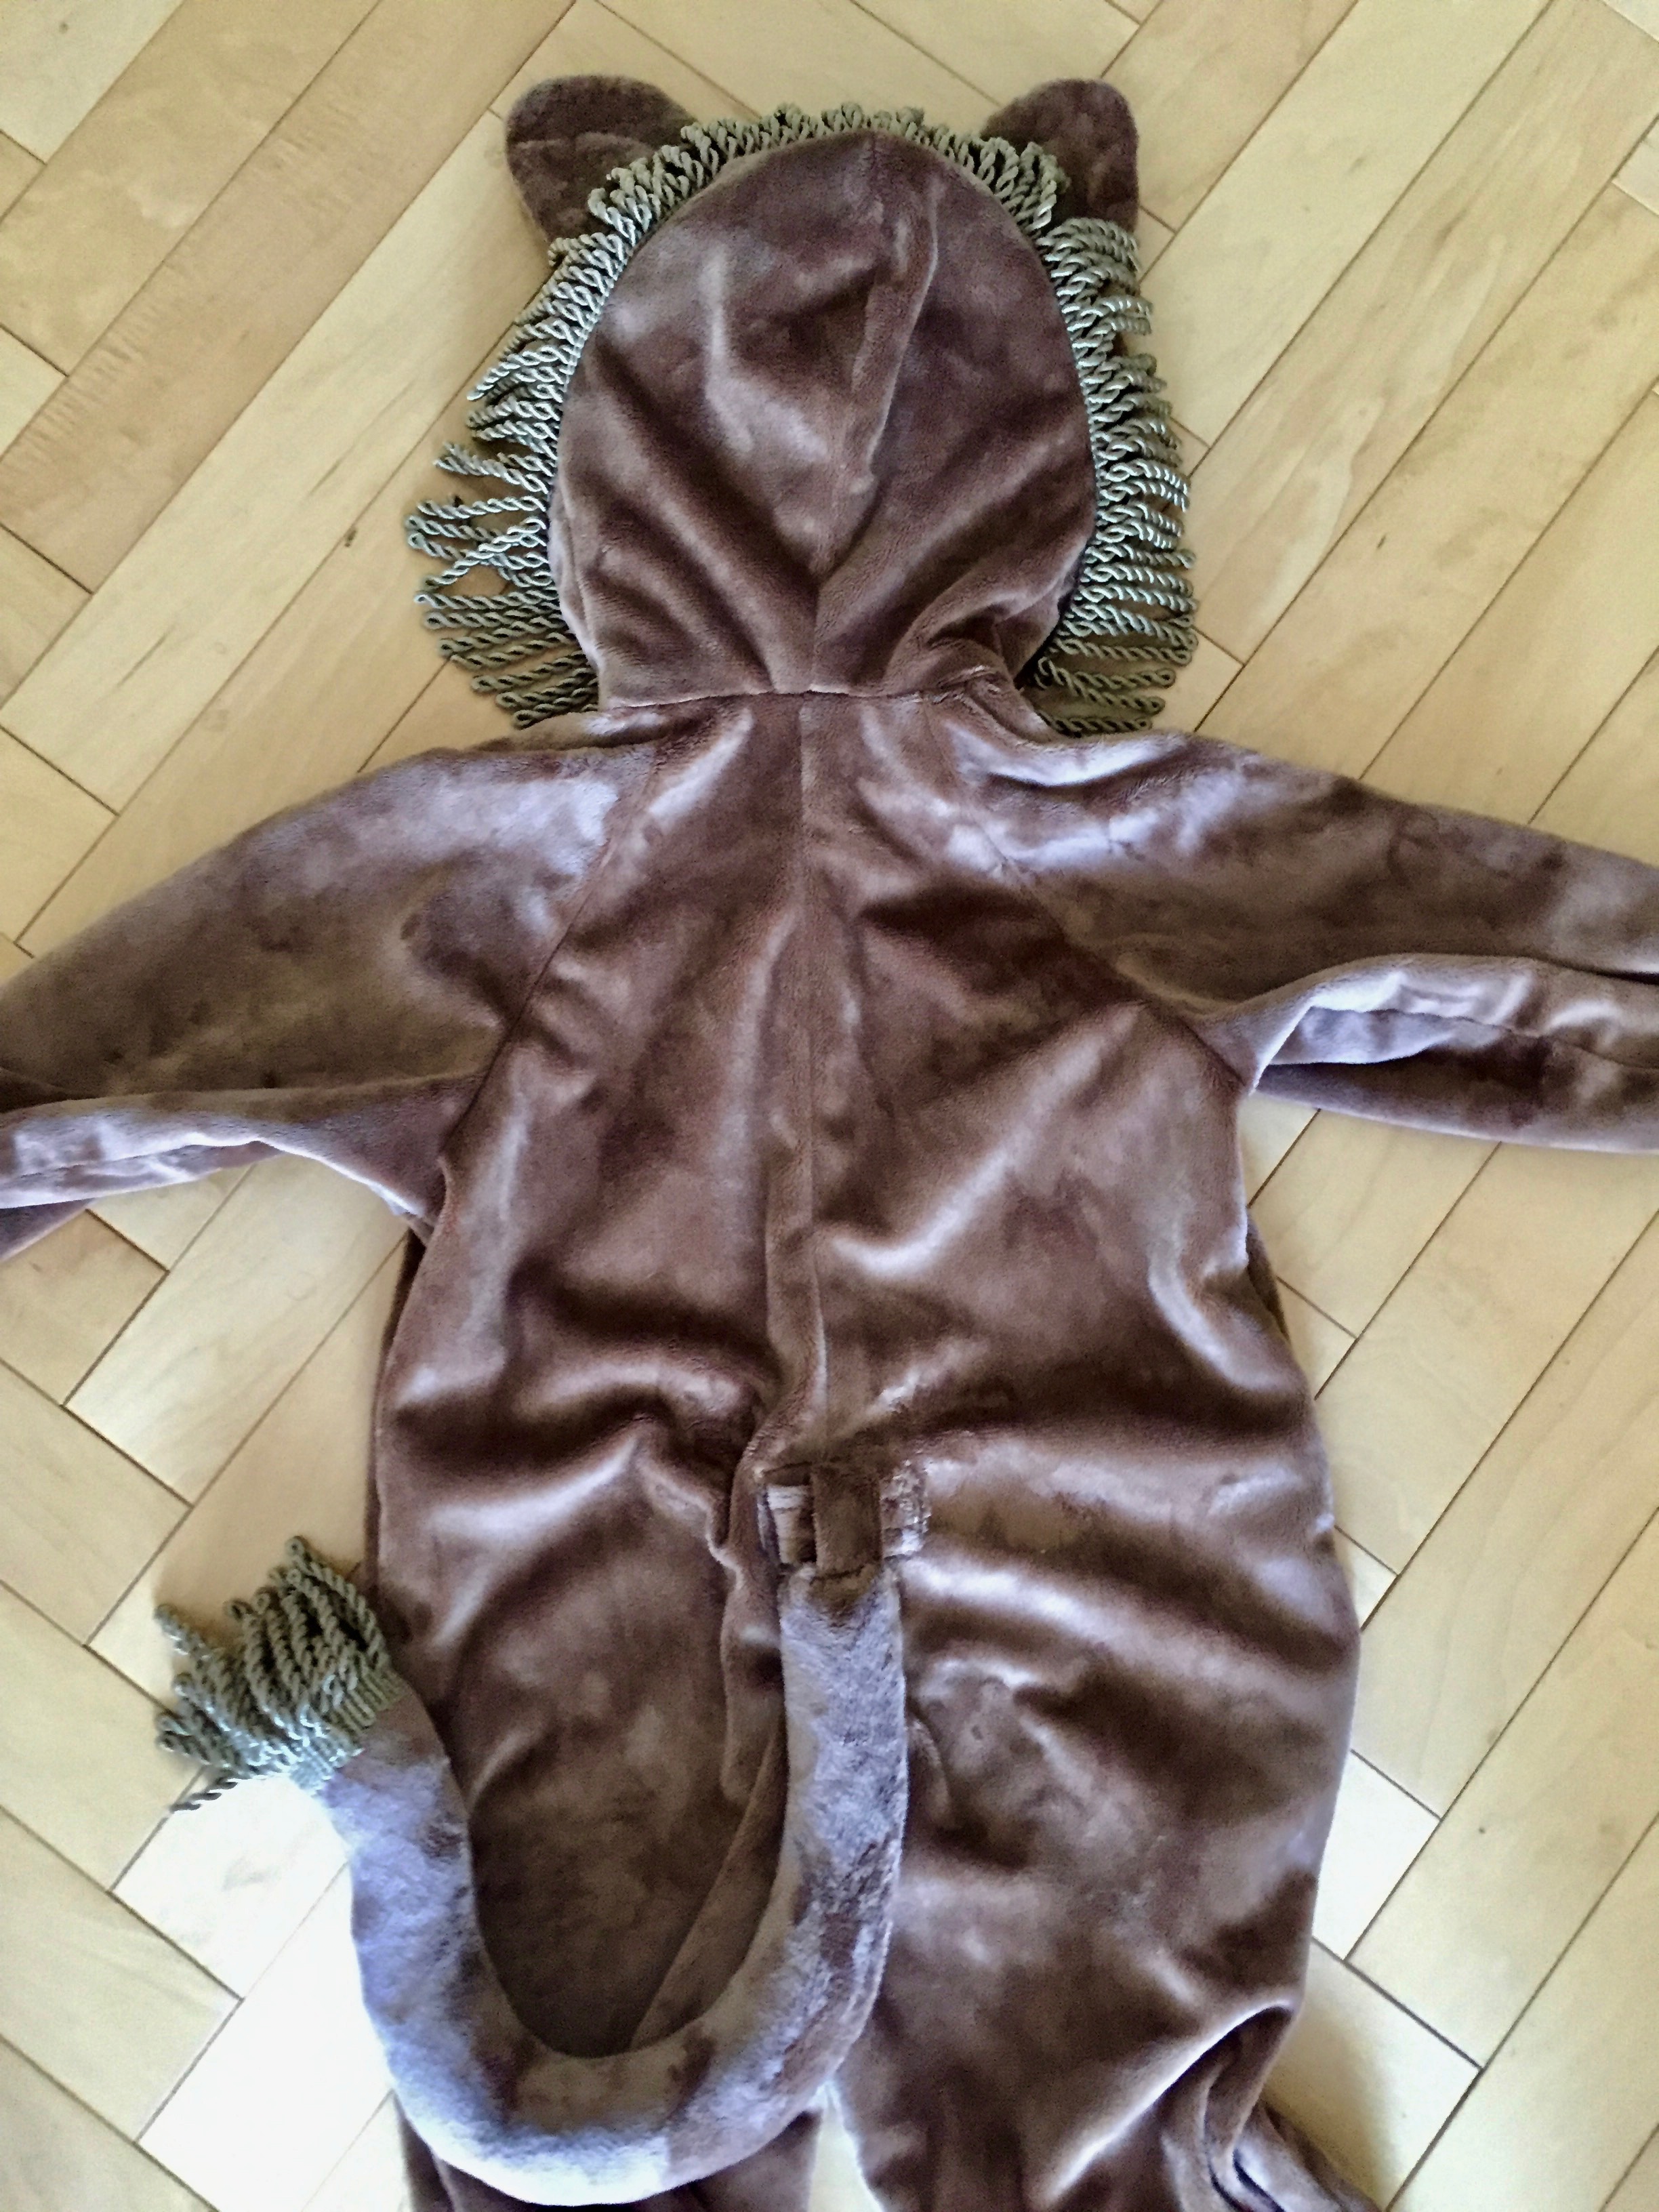
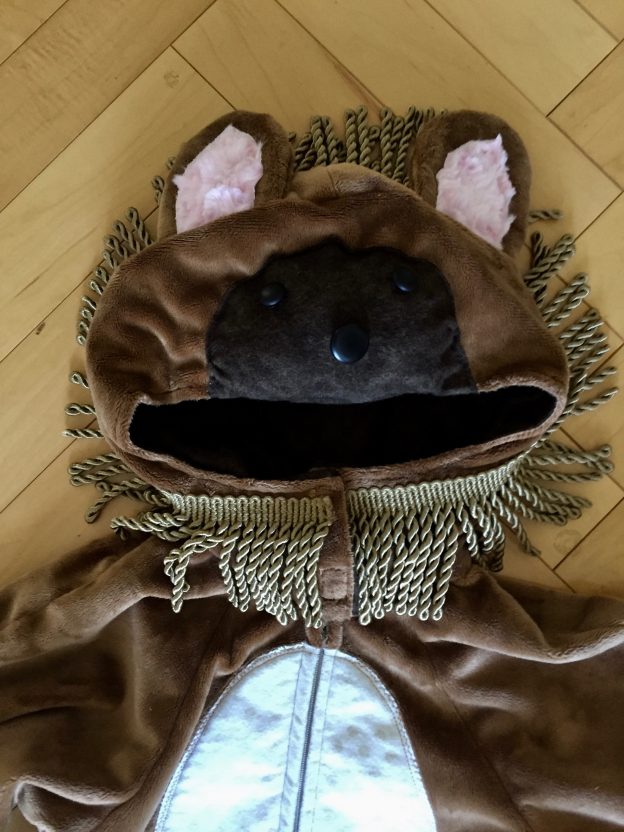
One of my favorite parts of the costume is the lion’s mane.  I had bought brown fabric and was supposed to cut fringe to create the mane. But if H uses this very much, it will be washed a lot and I wasn’t about to finish each edge of the fringed mane.  I could have used minky because I wouldn’t need to finish the edges.  Then one day I was at Jo-Ann’s and I took a look at prepared trims.  I found this fringe and it was perfect!! It makes the lion sort of sweet.  My DIL says it reminds her of the Cowardly Lion from the Wizard of Oz. It was so easy to attach and saved me a lot of time. I also hand stitched a bit of it to the end of the tail.

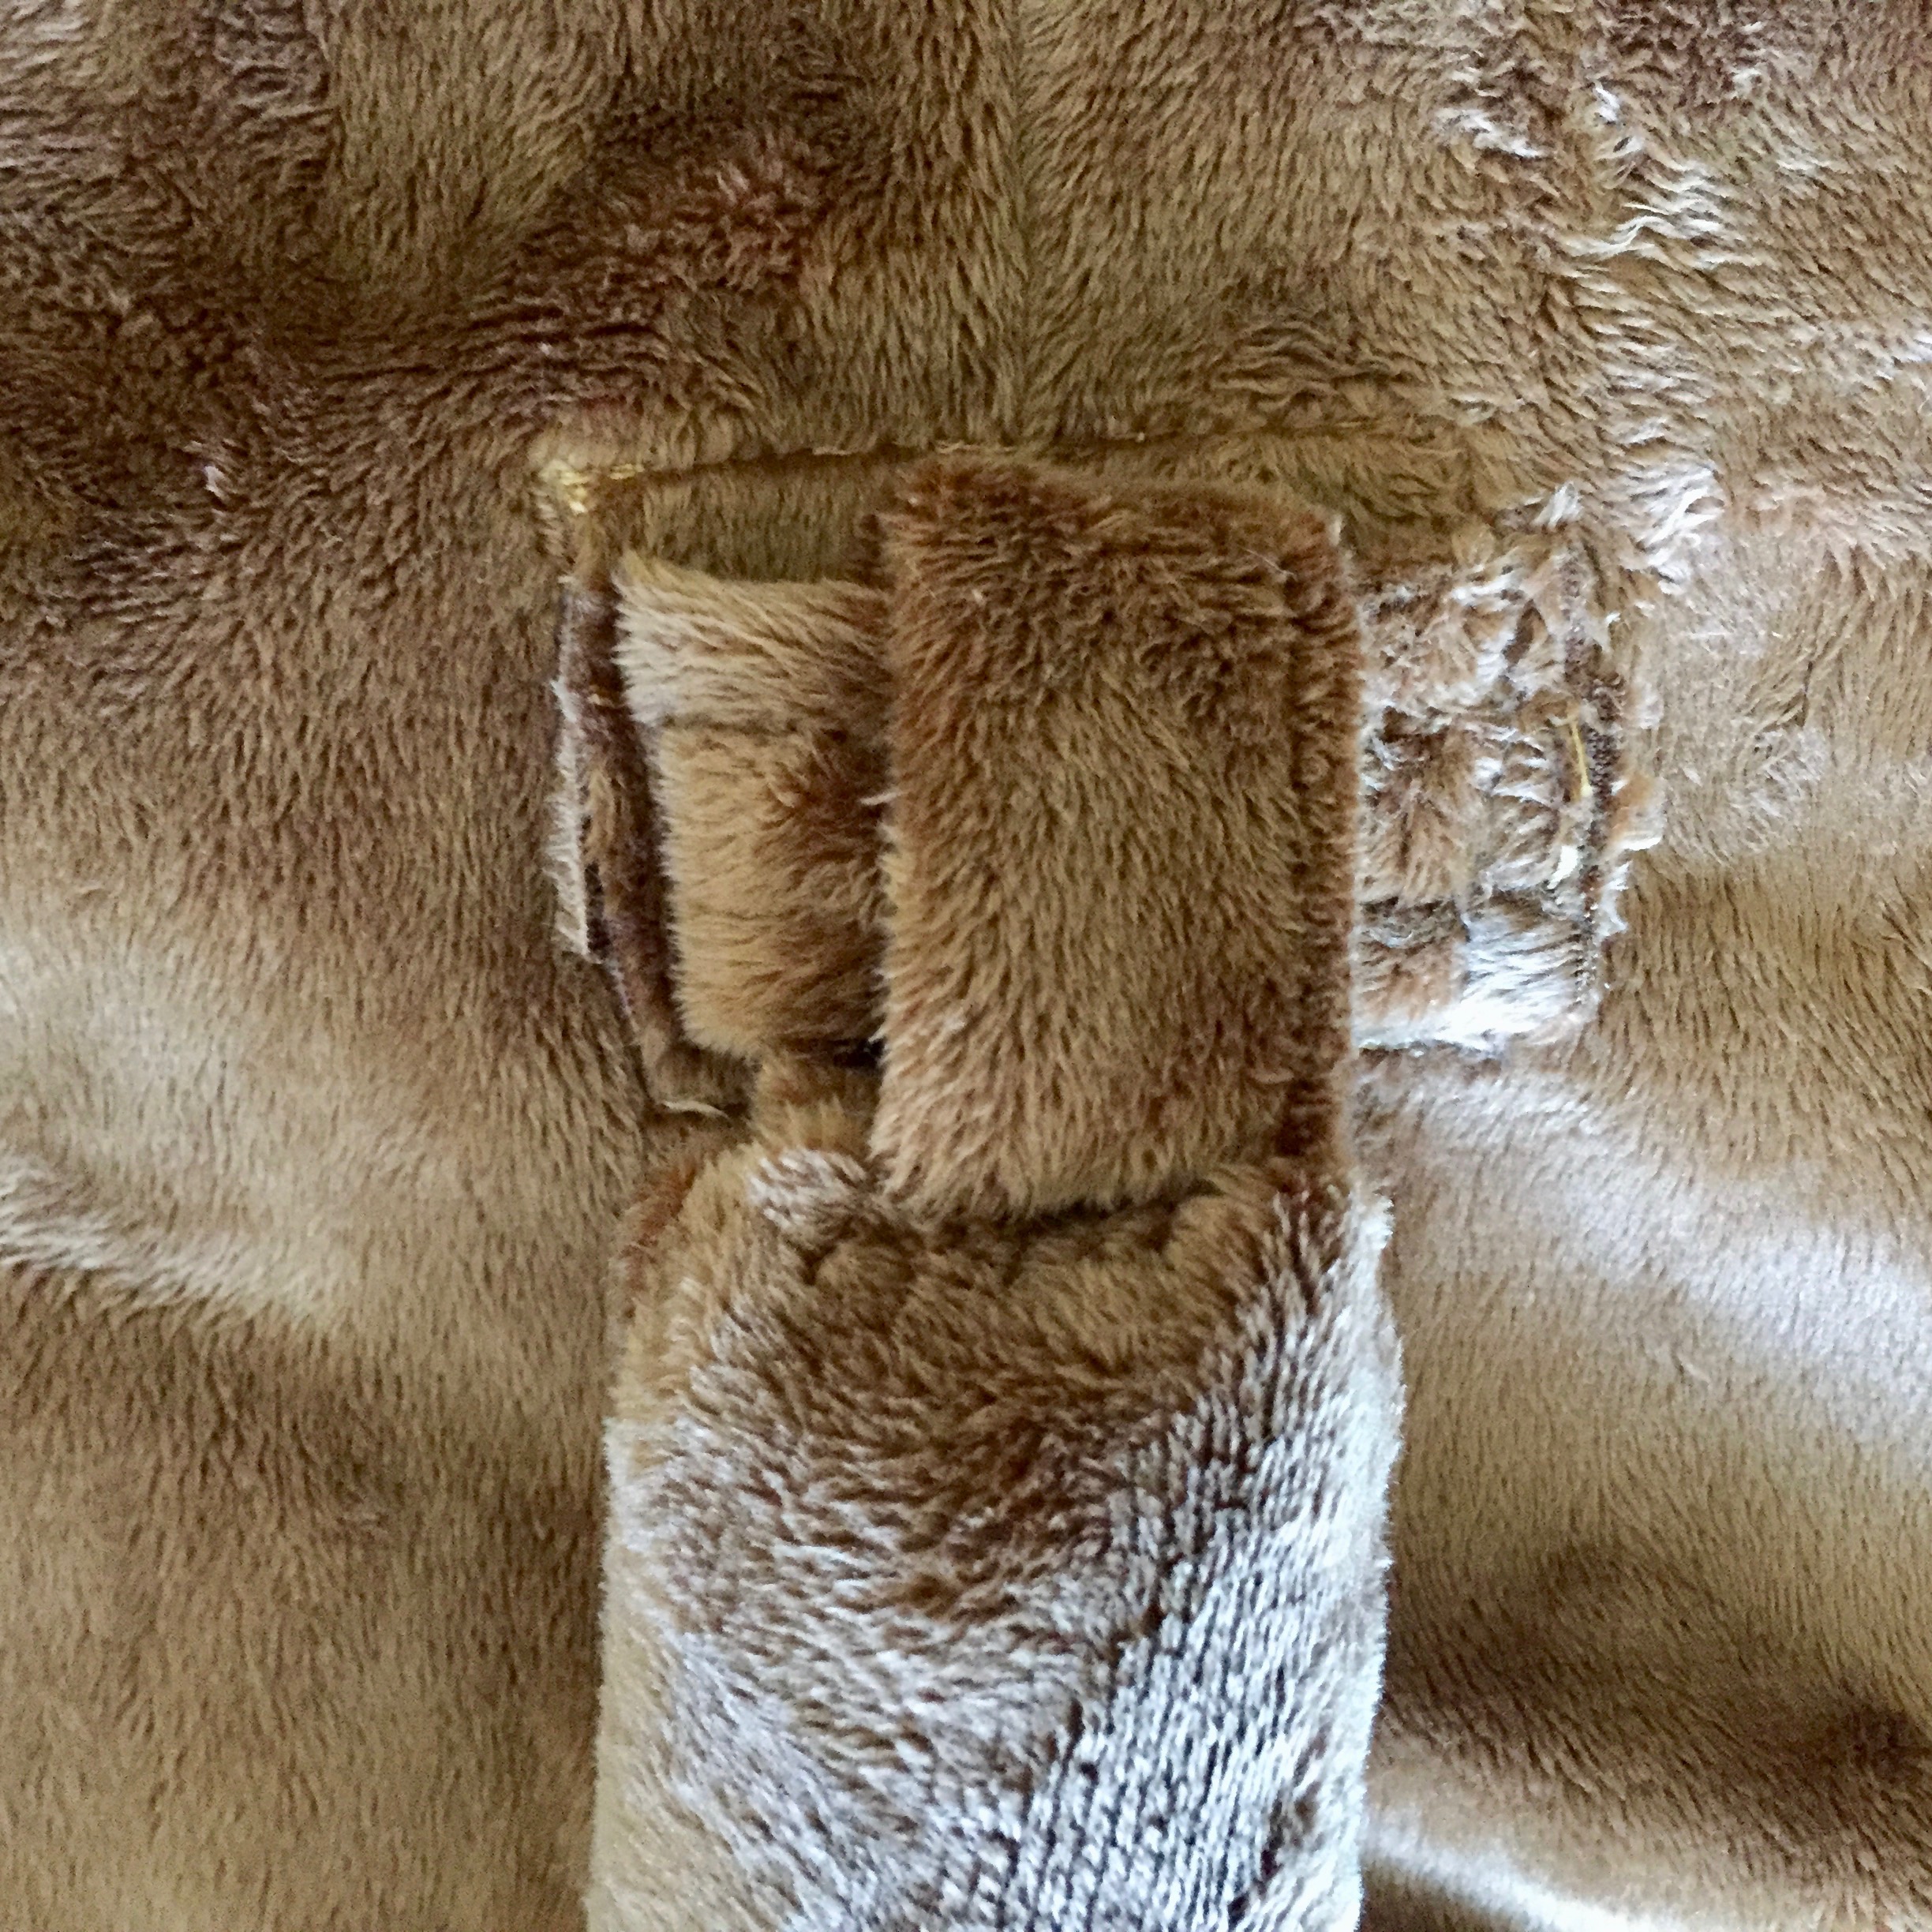
This loop on the back side of my little lion holds the tail.

Making the tail detachable was not a huge deal.  I took a strip of minky and folded it wrong sides together and top stitched around all sides.  Then I used “steam a seam” and fused a square of fabric to the inside of the costume just behind where the tail would hang.  I wanted to reinforce that spot so the tail didn’t stretch out the fabric when my little lion was roaring over the grasslands.  Once the back side fabric was reinforced, I used the strip of fabric to make a belt loop of sorts.  Then I made a second strip of fabric in the same was as the first. After putting velcro on each end of the strip, I hand stitched it to the end of the tail. This strip passes through the loop and Velcro’s to itself.

All in all, it turned out really cute.  I just hope it fits!  I had measurements to work with but I won’t know until they try it on her.

The cutest, cuddliest lion costume!

I can’t wait to see this on H.  I am putting it in the mail this morning.  When I have pictures of it on her, I will share one.  Of course, one never knows how a toddler will react and she may decide she hates lion costumes.  In which case, I am sure the next child will enjoy it.  I can remember my kids wanting to be something for Halloween and I would not want to start that costume until just before Halloween because surely they would change their mind at least a couple of times.

A few new items for the shop.

Other than the costume, I have been focused on adding new versions of Chemex Cozies and French Press Cozies to my shop.  This is the season where people begin shopping for the holidays and these two items sell quite well as gifts.  That will likely be what I concentrate on for the next couple of weeks.  When I select another fabric to offer, I make one as a sample and then my customers order them according to the size they need.  I make them to order which keeps me busy but it also means I am not sewing and sewing unless the item is sold.  Otherwise, I am guessing at which size and version to make.

Are you doing any Halloween sewing this year?  Maybe fall decorations?  Tell me what you are working on!

Linking up with lots of fun places.  Check them out at the top of this page, under Link Ups.

Newsletter!

Have you signed up for my newsletter?  It is published every month or so and is full of information about my shop, new arrivals, sales, and events.  Click here to sign up!
Falling for You Autumn Table Runner

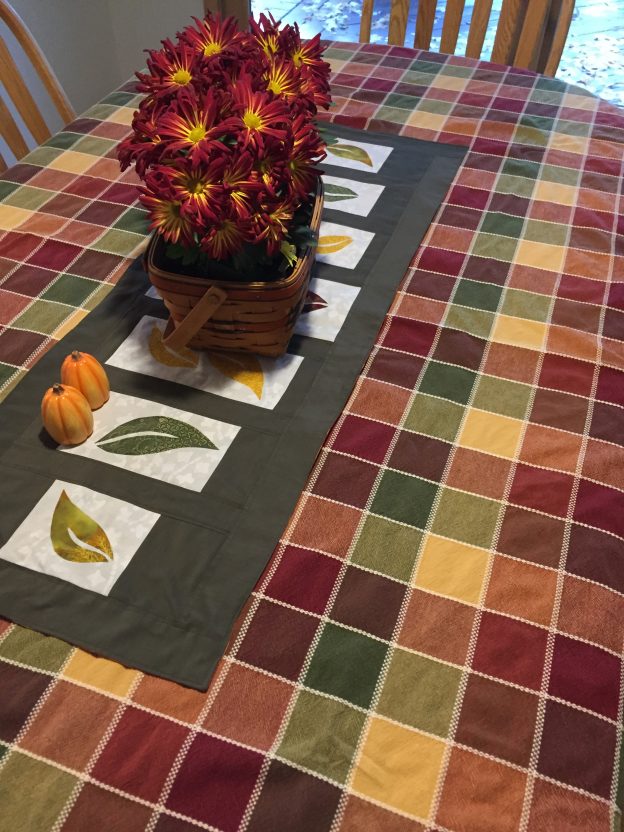
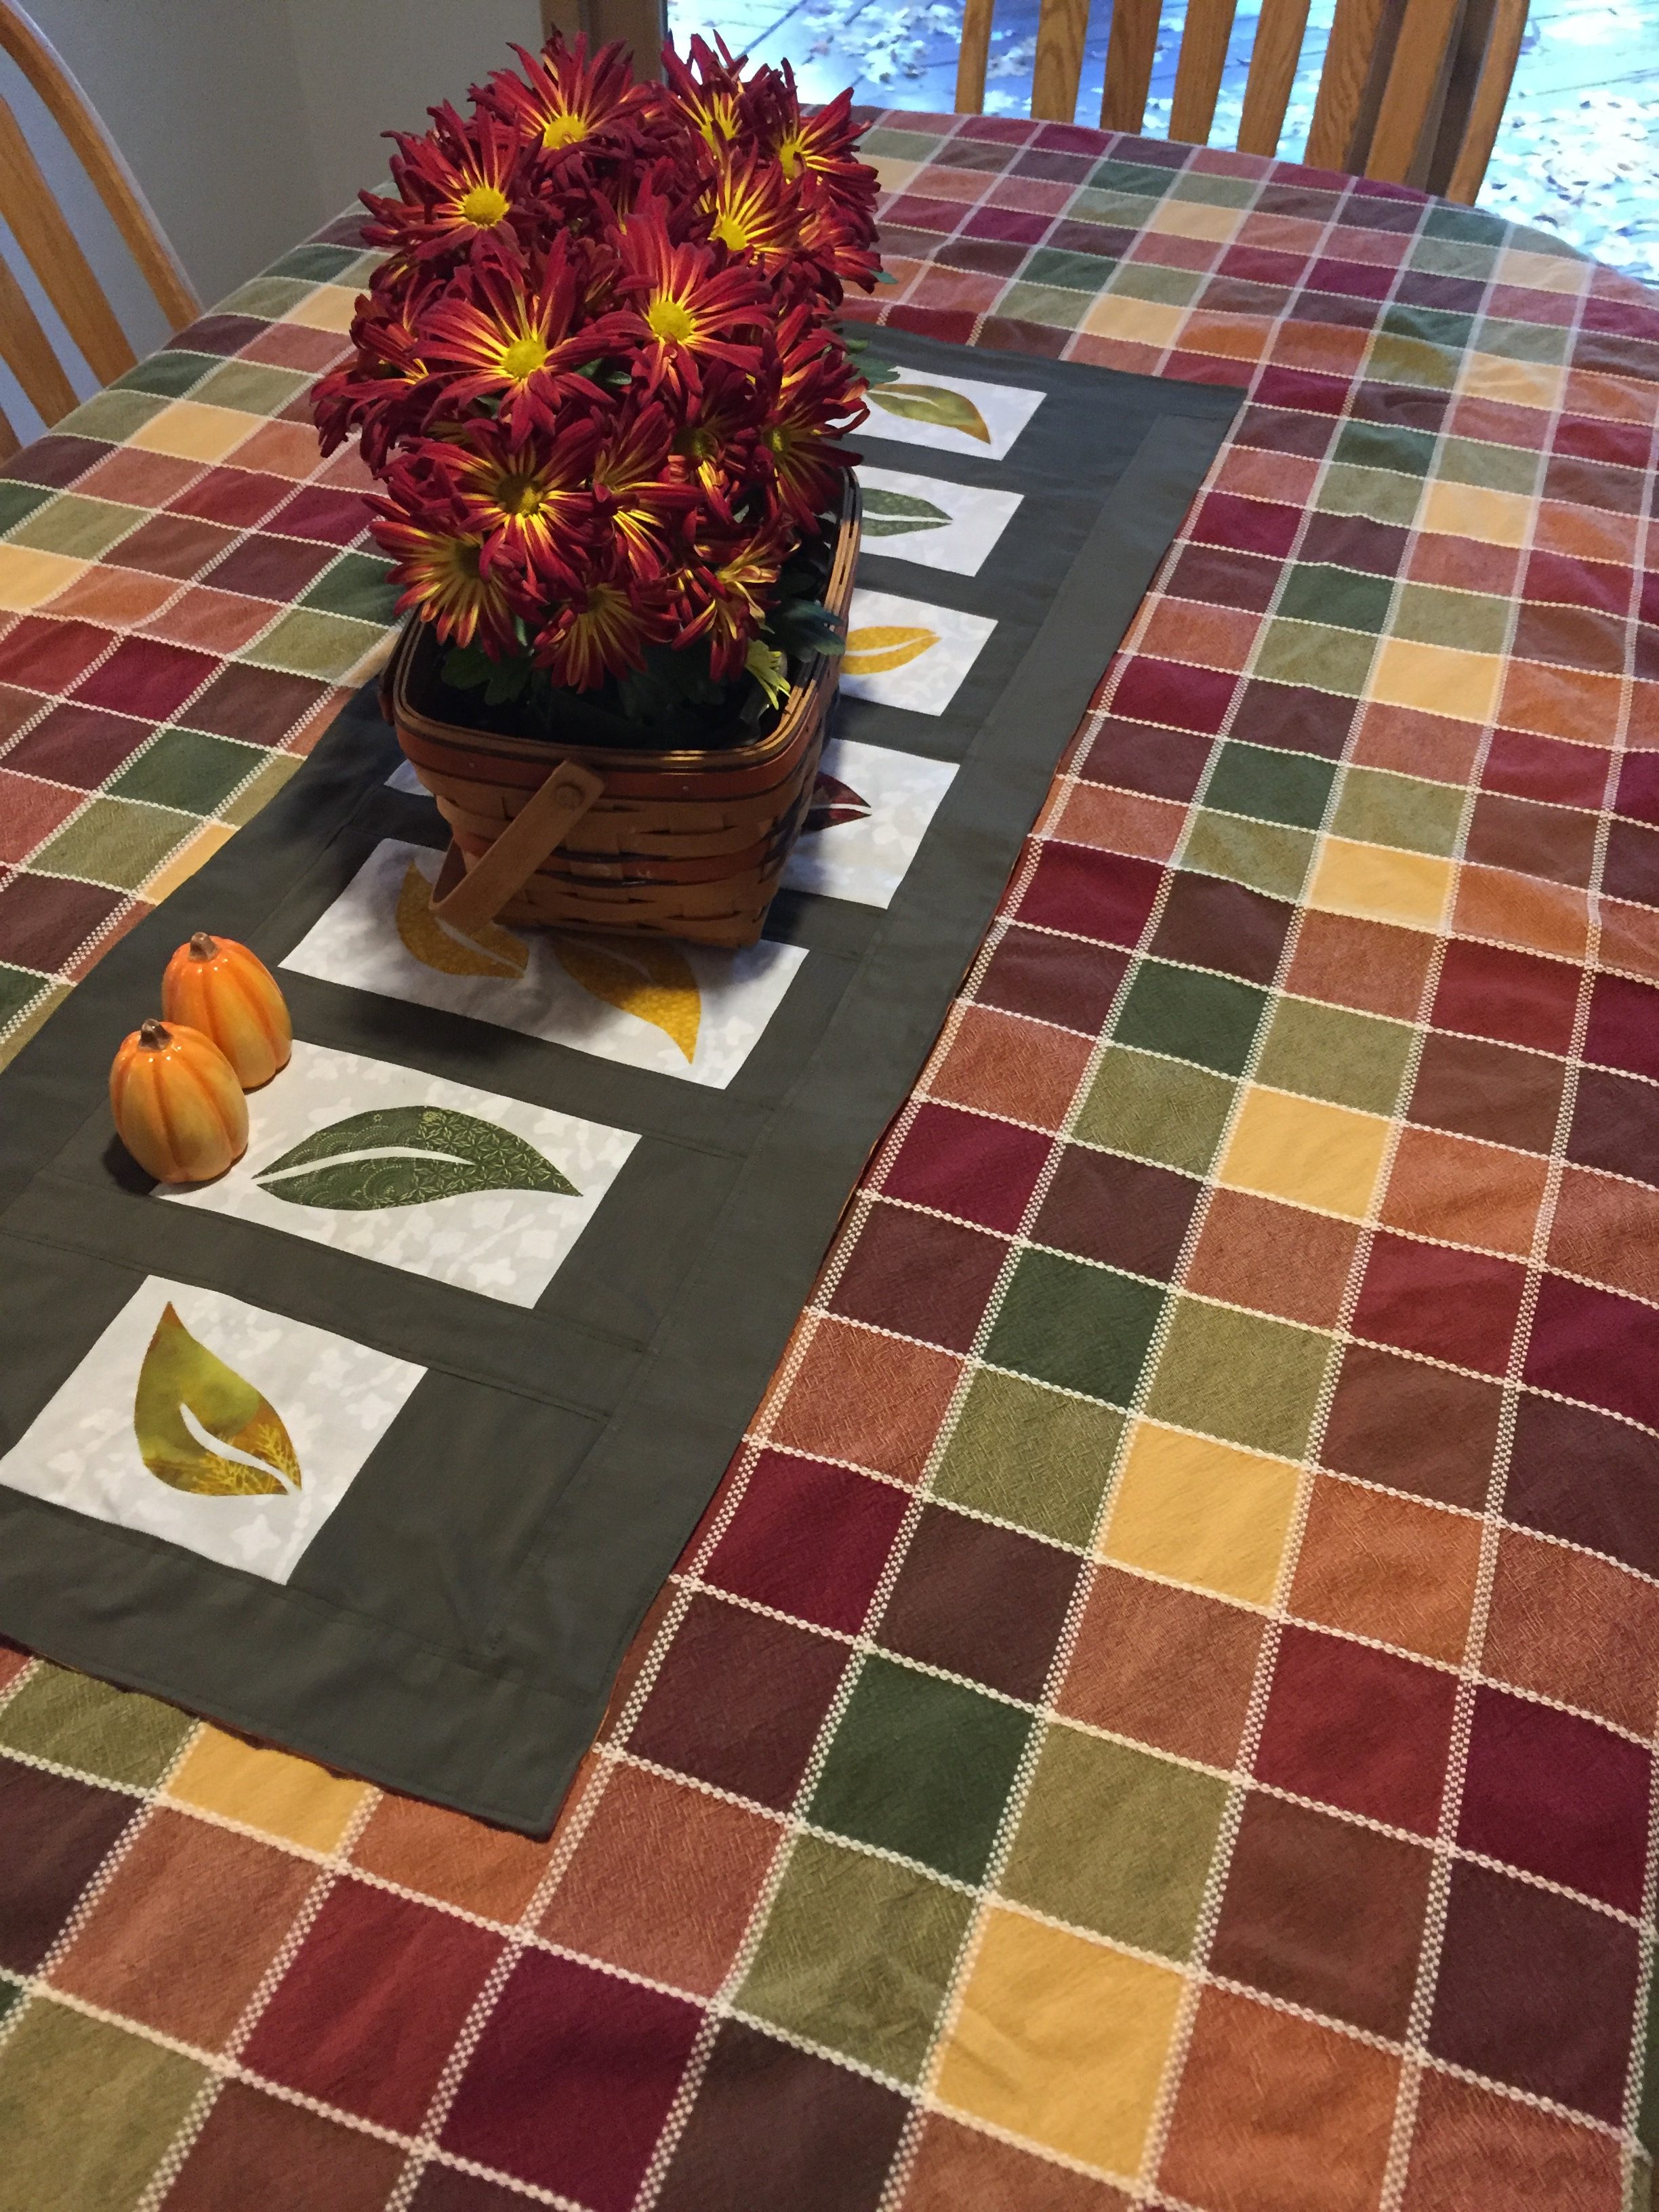
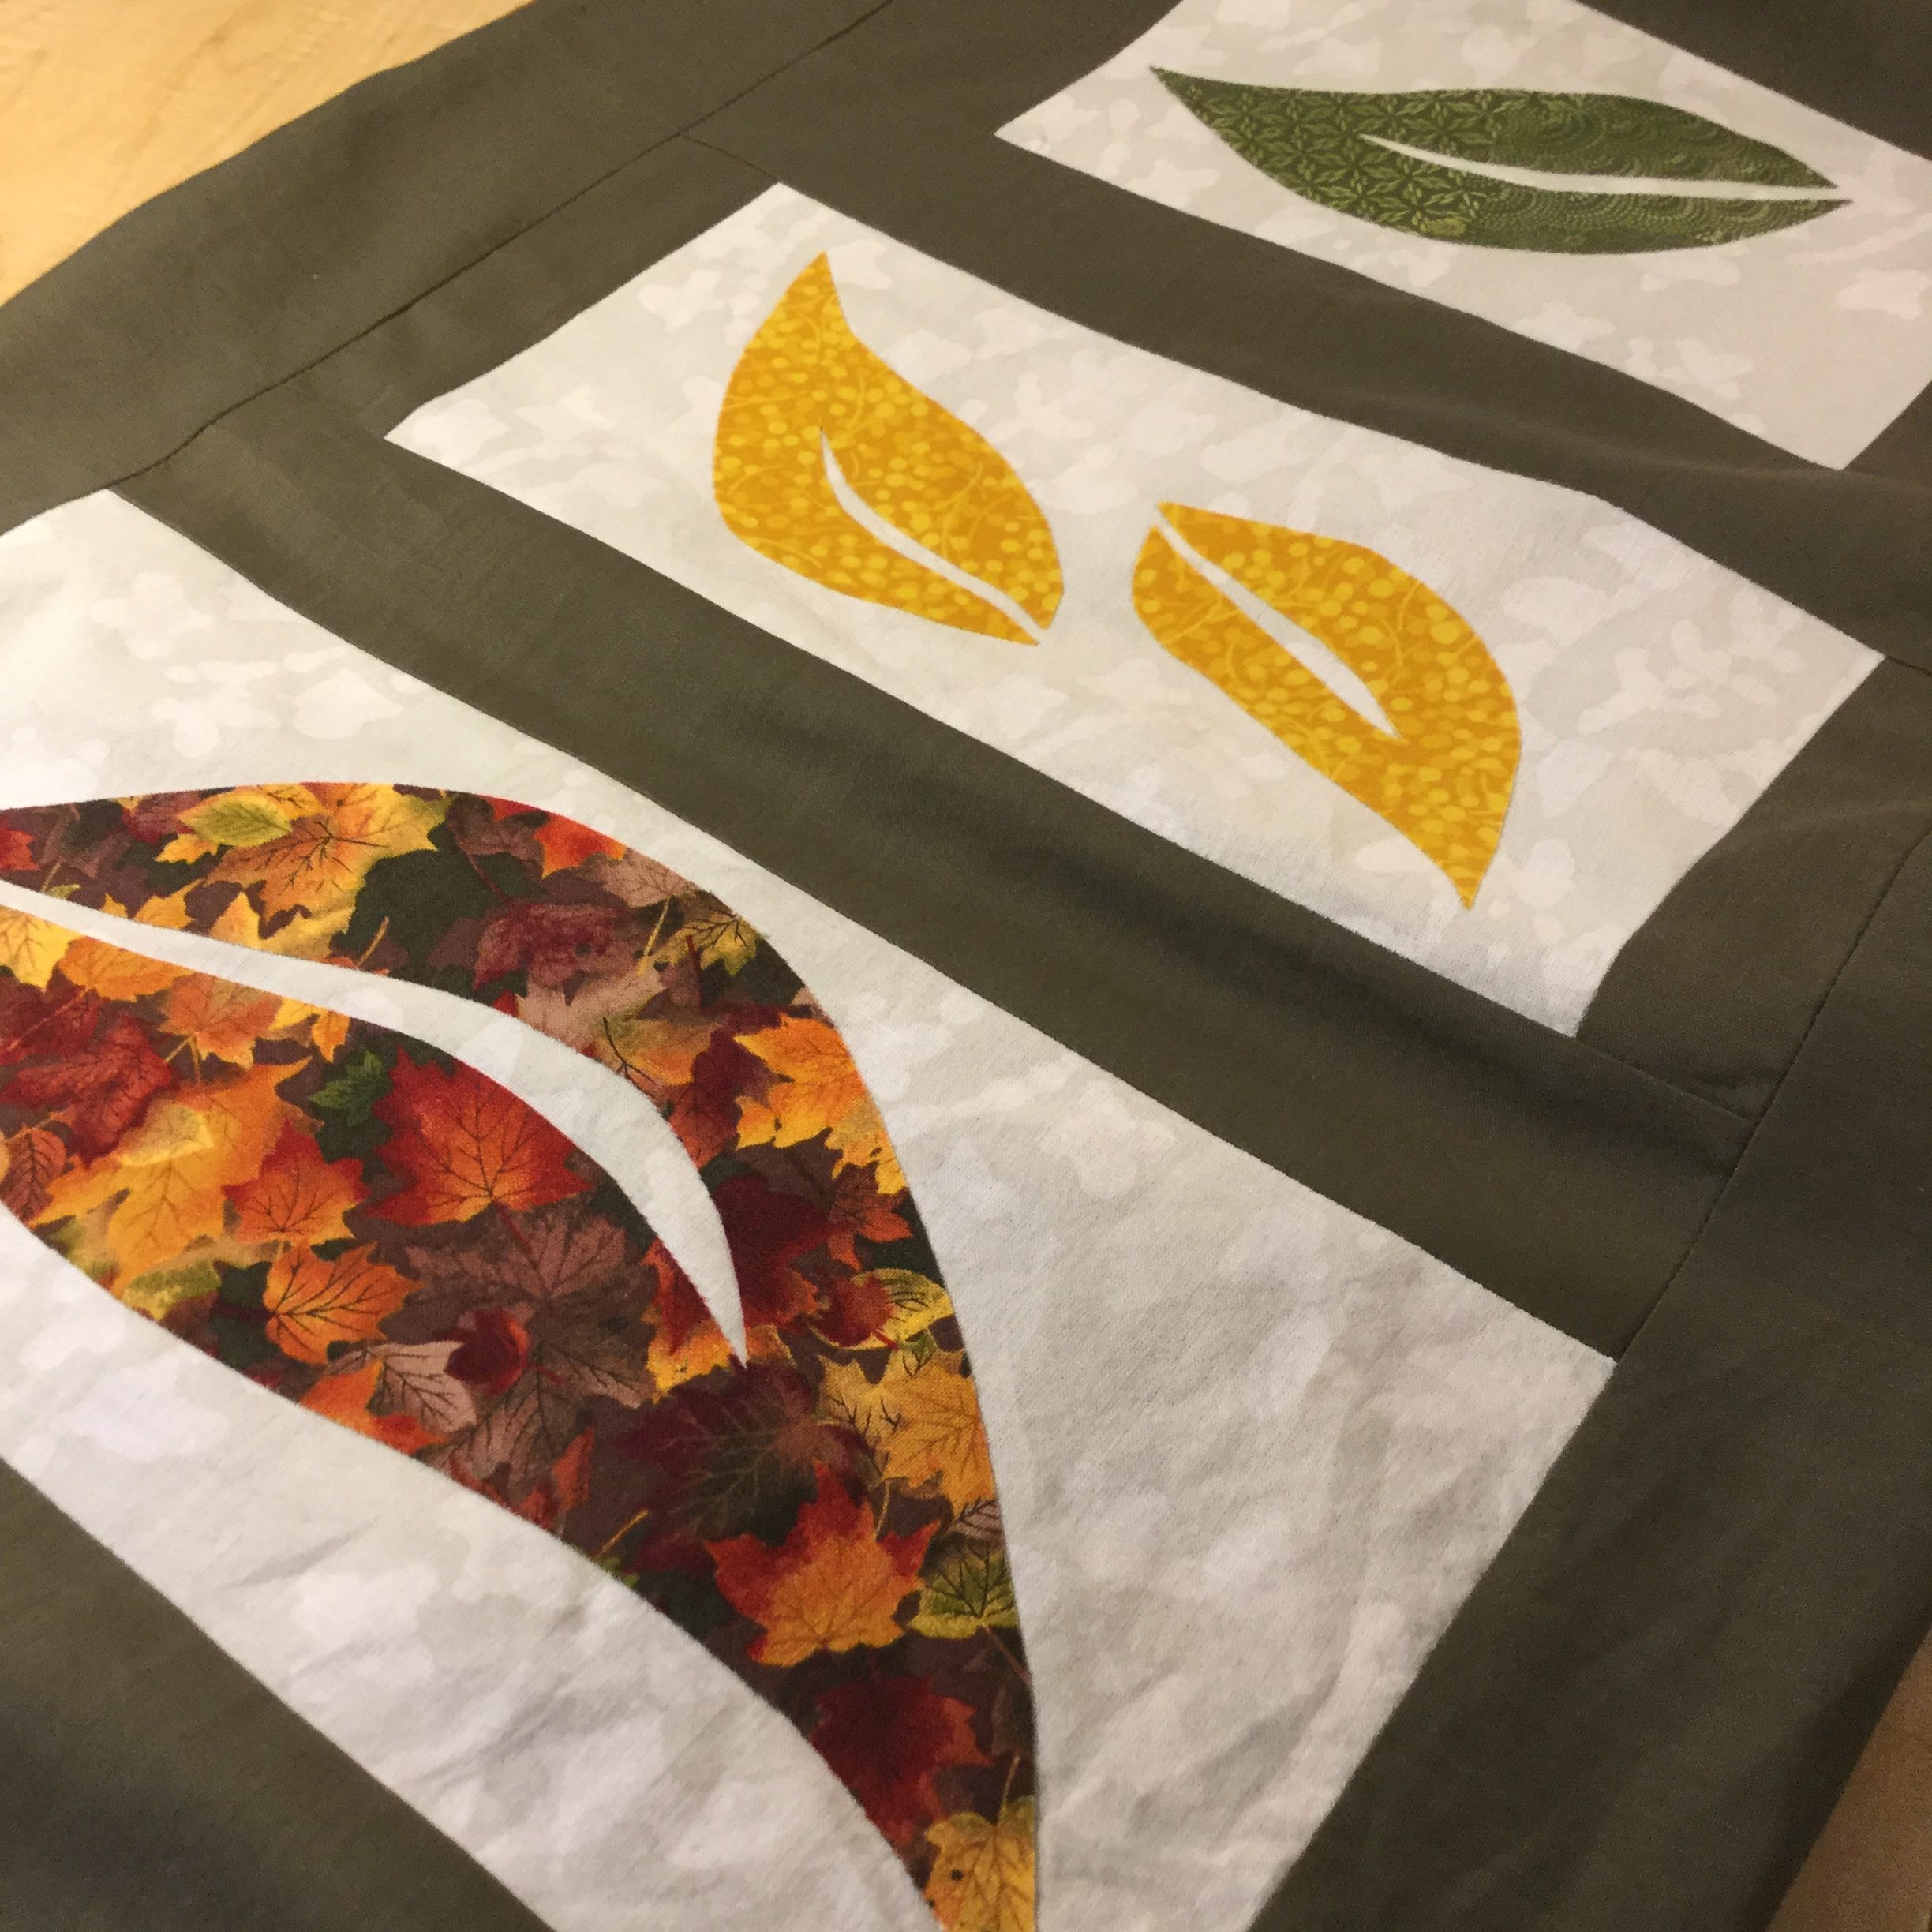
A couple of months ago I read about some fun table runners over at Pieceful Thoughts of My Quilting Life.  Wendy had been pattern testing for a friend and actually made two versions of the runner.  I really liked the simplicity of the pattern and immediately hopped over to Craftsy to purchase the pattern. Designed by Vicki of Vicki’s Crafts & Quilting, it is a fun pattern and a quick project.  My kind of sewing!!

So, I had the pattern and I pulled some fun autumn fabrics from my (currently very messy and unorganized) stash for the runner. I cut out the pieces and got ready to start. Then I had to set it aside because this happened!

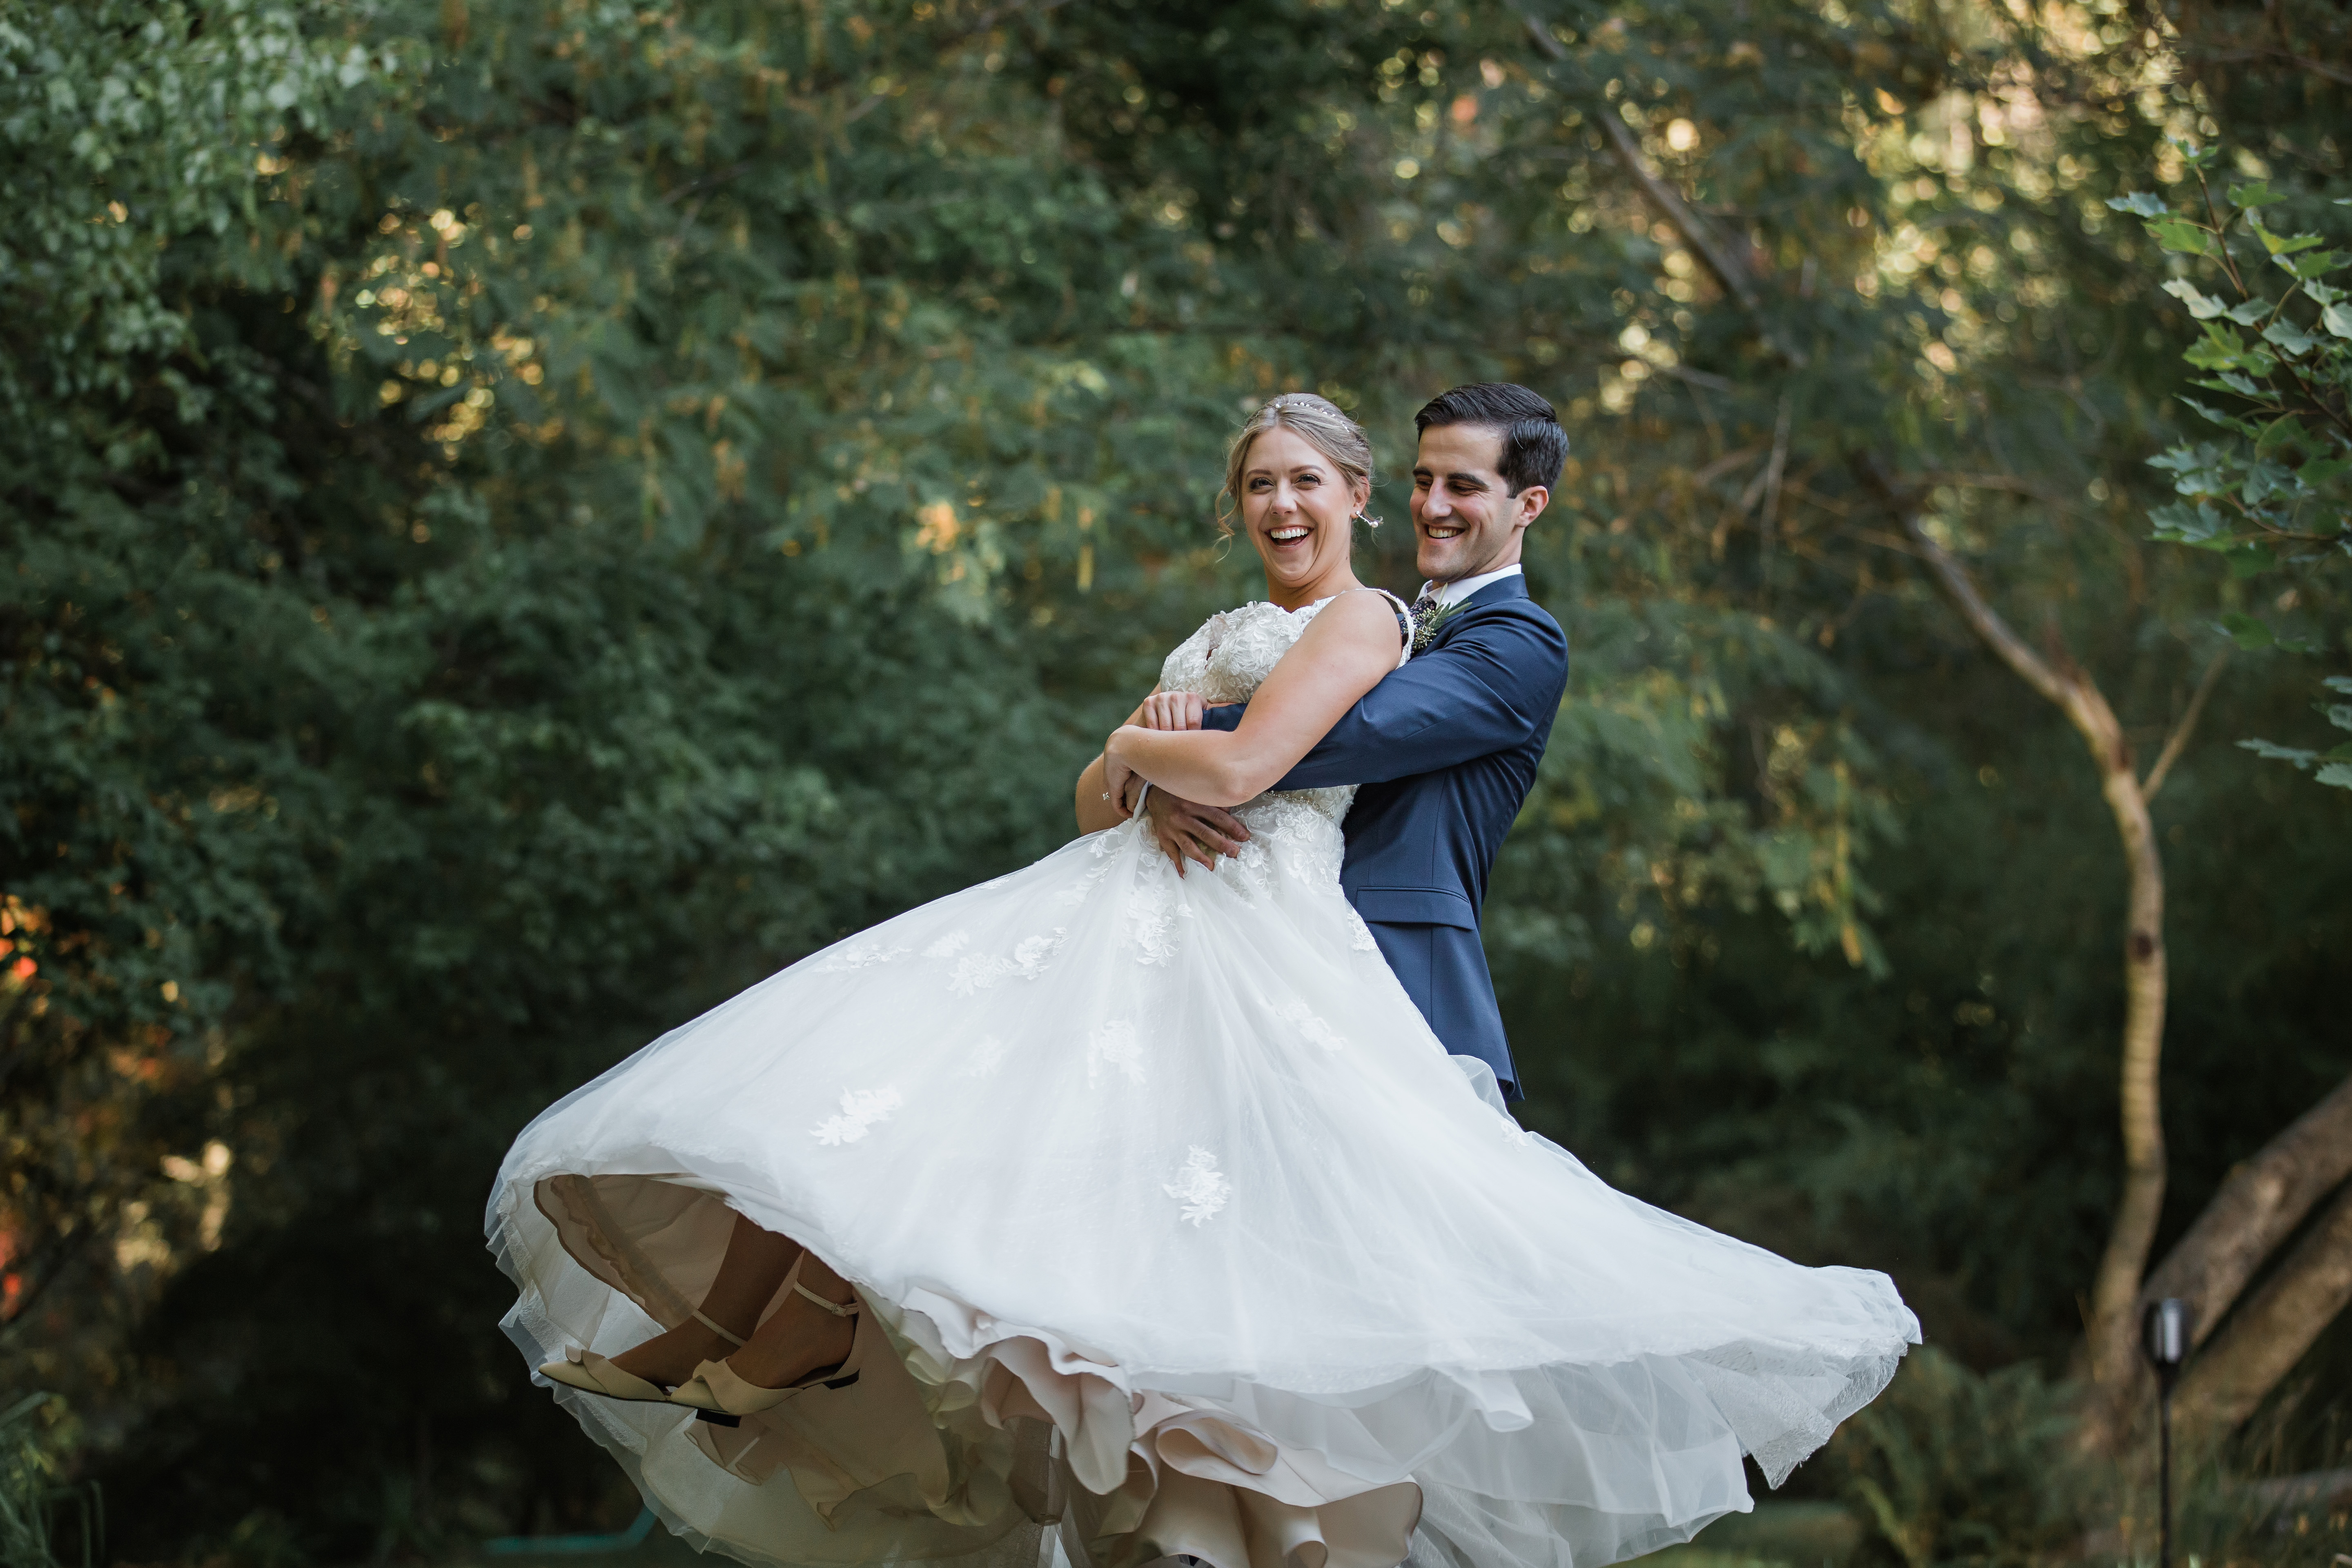
Isn’t this an adorable picture??

Once the wedding was over, life returned to it’s regular routine and I was able to make the table runner.

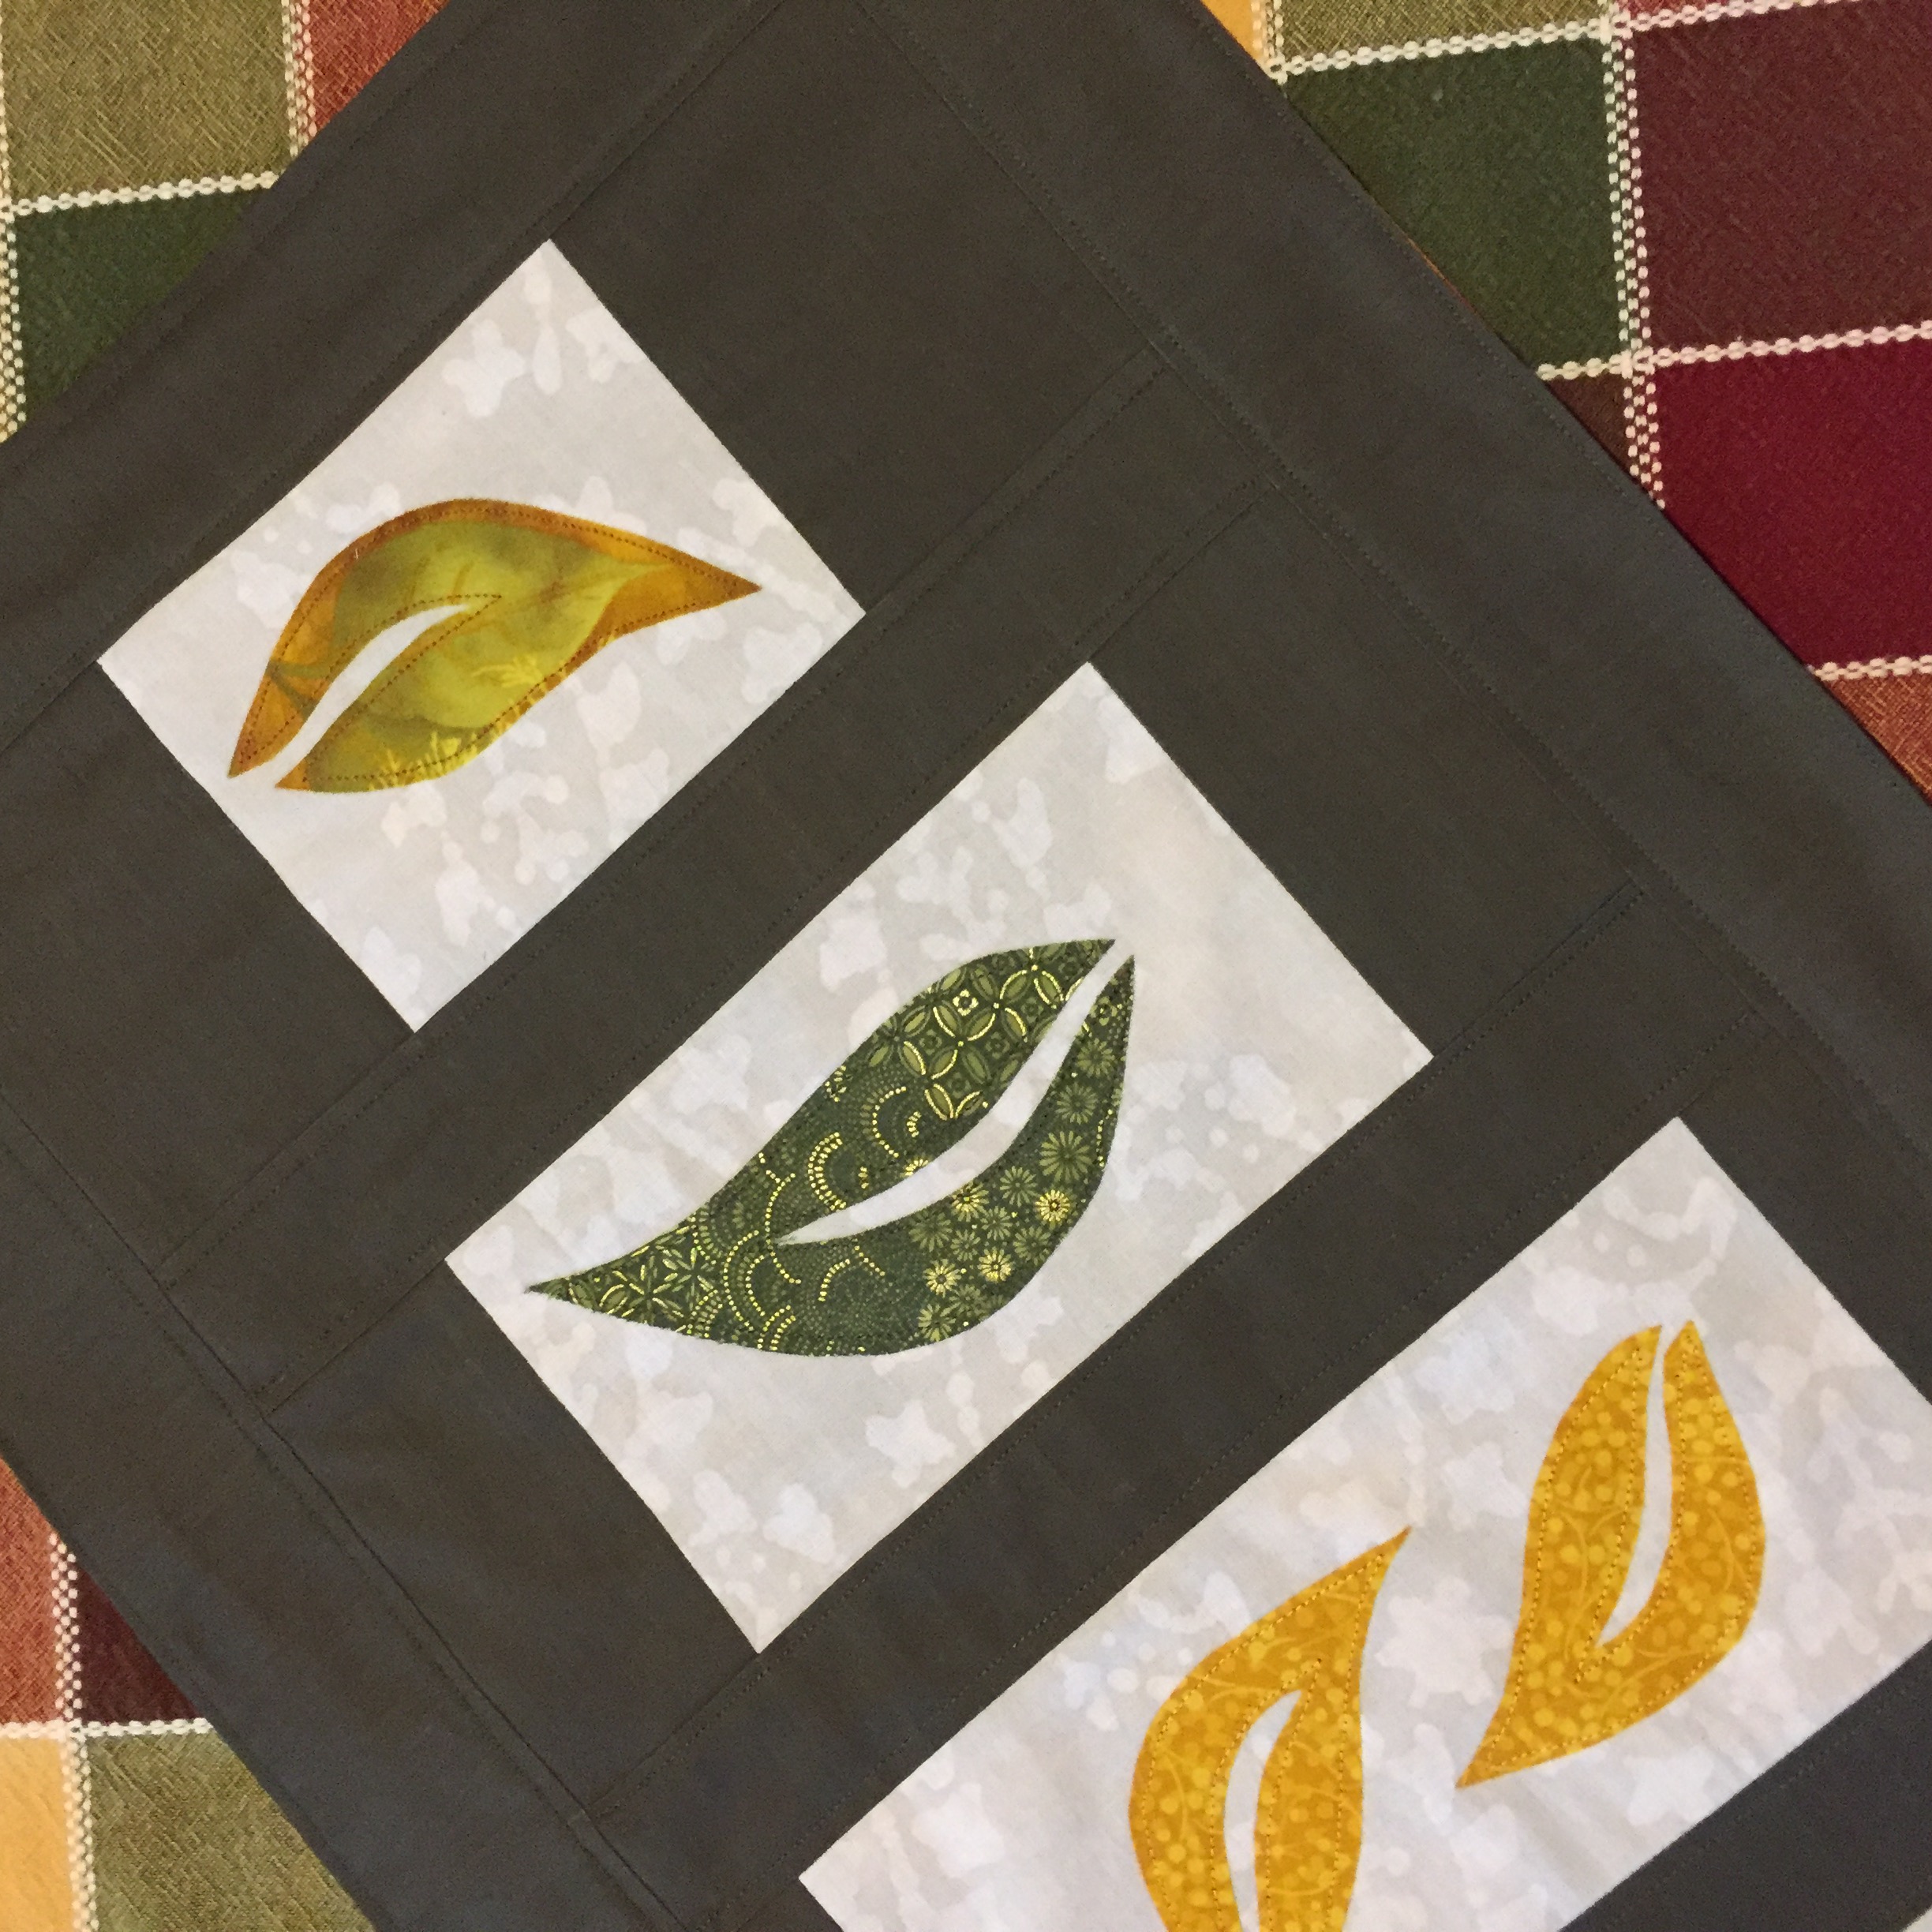
When I did the appliqué, I used Steam a Seam for the first time.  I loved it!  Prior to this, I usually used any fusible product such as Wonder Under.  But Steam a Seam works so well and it can be repositioned if needed. Really good product ( no affiliate here – just a recommendation). I didn’t do any appliqué stitching until I put the front and back together. I chose not to use the usual batting and binding process that the pattern called for. Instead, after piecing the top, I sewed it right sides together, to the backing, leaving an opening to turn it right side out.  After trimming the four corners to get nice, crisp corners, I turned it right side out.

Once I had it pressed, I top stitched the outside perimeter at 1/8″ to close the opening and define the edge.  Then I top stitched the other edge of the border and also along the sashing between the leaves.  Finally I did a raw edge appliqué stitch around the edge of each leaf.

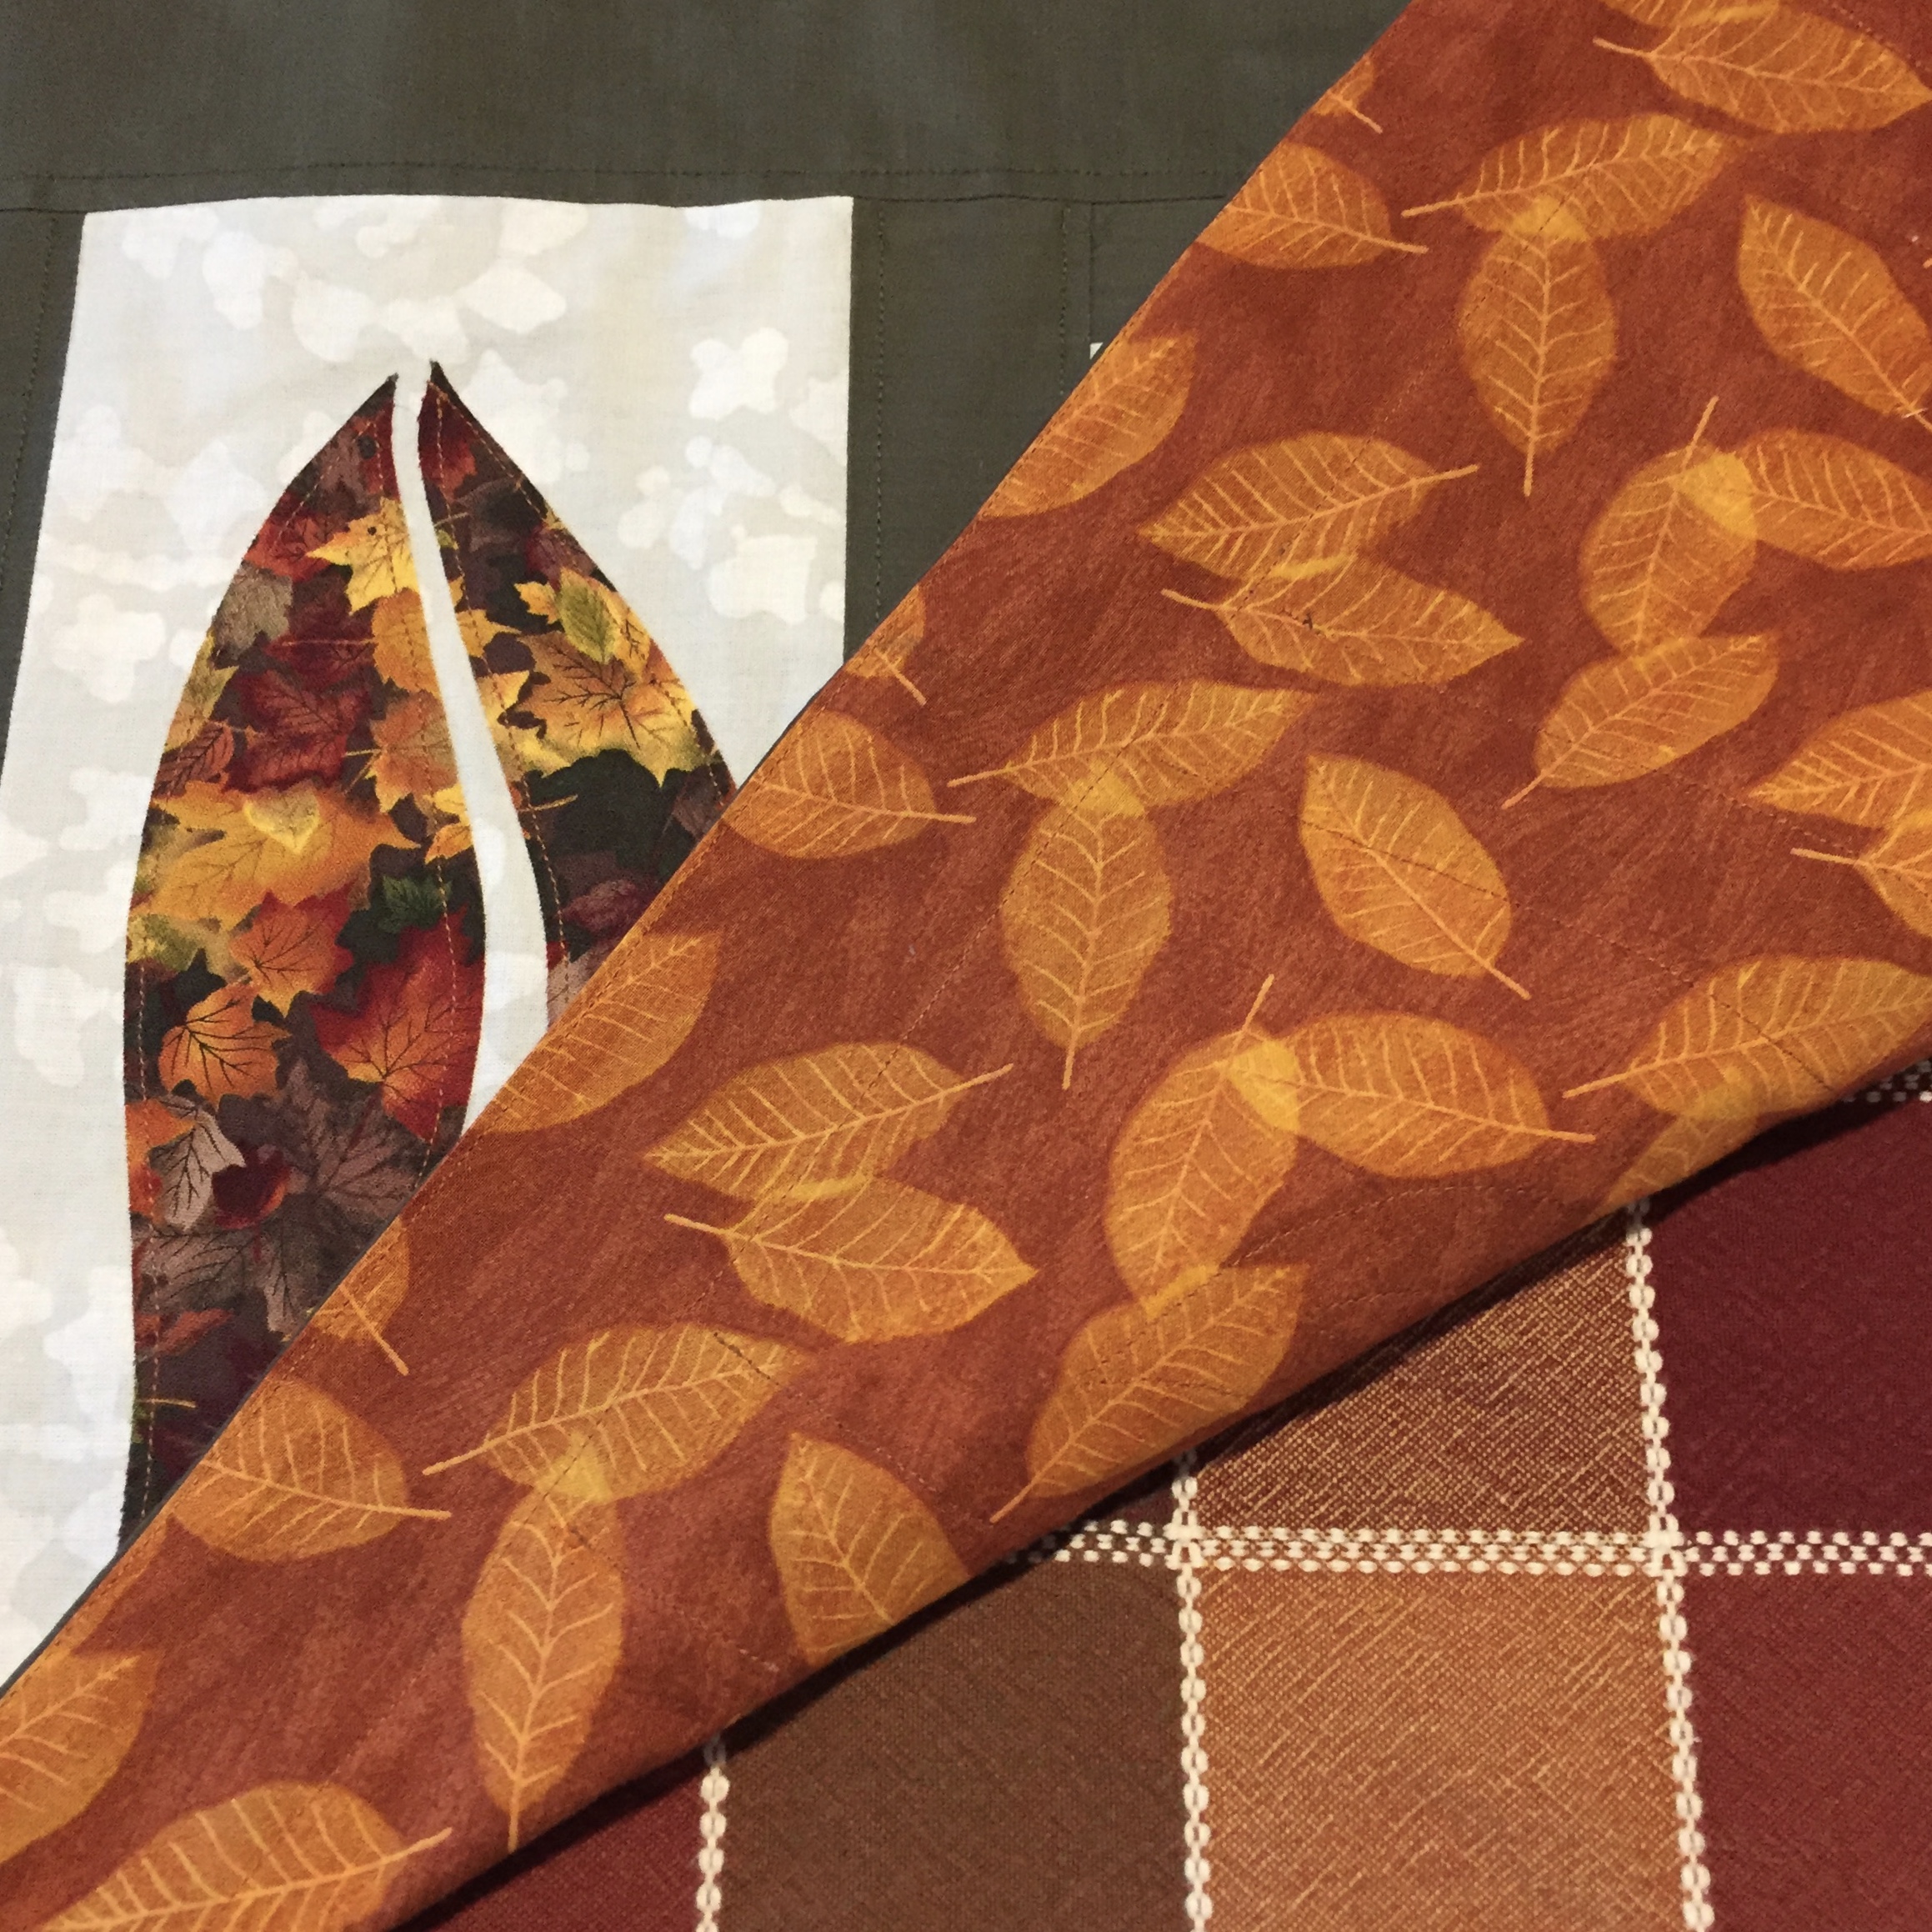
The backing is a fall leaf print I picked up at a thrift store a long while back.  I have used it in a number of projects as I really like the color (and I think the piece I bought was several yards in length.)

I am very pleased with the finished project.  It is fun to have a few seasonal decorations to put out each holiday and this works perfectly for this time of year. I highly recommend Vicki’s pattern, especially if you are in the mood for a pretty autumn addition to your table. I noticed she has several other holiday patterns in her Craftsy shop that are super cute too.

Have you seen the October Blogger Bundle?

Remember the October Blogger Bundle is on sale in the shop, 20% off through the end of today. Have you hopped over the Persimon Dreams to enter the giveaway for the October bundle?  If not, please do – it is such a pretty collection of fabric.  Giveaway is open until Monday, October 15th.  Good luck!!

Newsletter!

Have you signed up for my newsletter?  It is published every month or so and is full of information about my shop, new arrivals, sales, and events.  Click here to sign up!


Linking to all of my favorites – check out the list of linky parties at the top of the page, under Link Ups!


October Blogger Bundle with Kim Lapacek

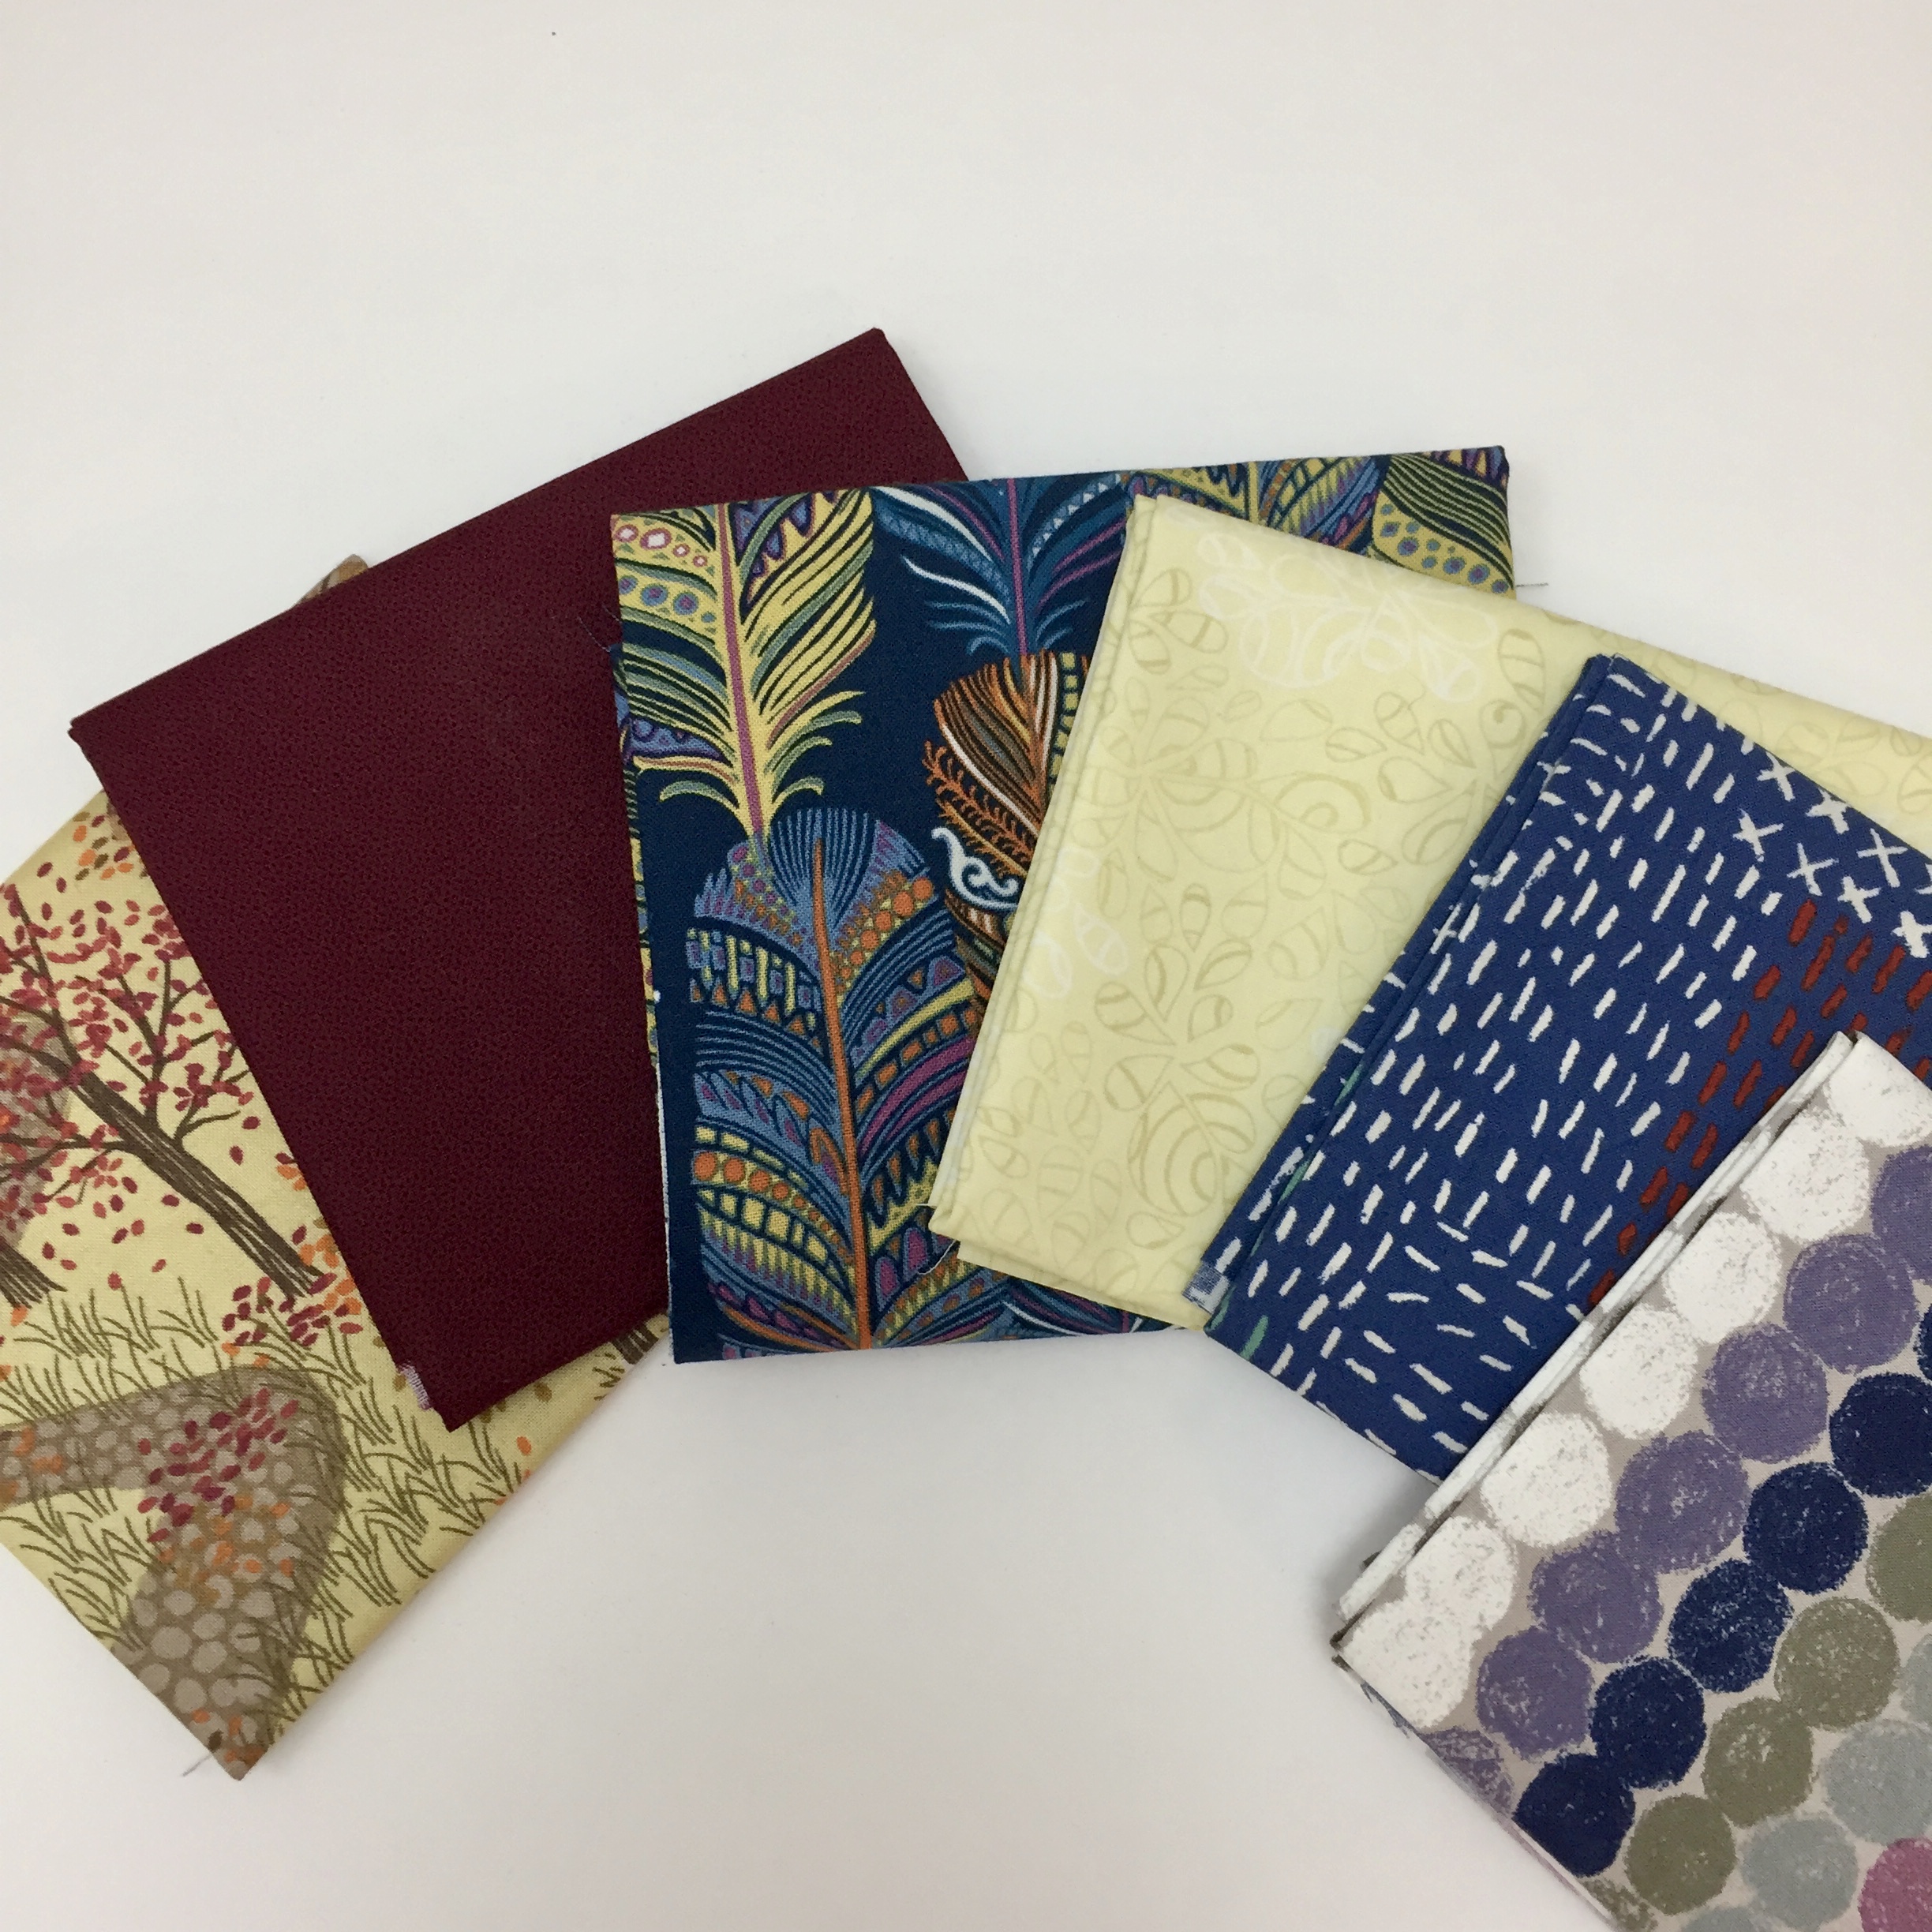
Over the past several weeks, I have had the pleasure of working with Kim Lapacek.  She is the curator of the October Blogger Bundle! Just in case you are not familiar with Kim, she is a talented quilter who blogs at Persimon Dreams. She is also a wife, mom to three sweet girls, business owner (Lapacek’s Orchard) and all around crafter. Kim designs patterns, speaks and teaches on occasion, makes incredible quilts, and she is the creative force behind Project Quilting. Knowing how busy Kim is, I was tickled to see the photo she provided for the blogger bundle graphic.  In the car, driving her girls somewhere, sporting cute sunglasses – this is the perfect picture of Kim!

In the Garden, designed and pieced by Kim Lapacek

I remember “meeting” Kim when I won a giveaway on someone’s blog (I can’t remember whose blog though). I was given an opportunity to choose a pattern and I selected Kim’s Dresden Neighborhood pattern. I love the pattern and have really enjoyed seeing so many iterations of it made by other quilters even if I haven’t yet made one!  I was so happy when Kim wanted to curate a bundle for me.  Her bold use of color is her signature style and I was excited to see her choices.  Let’s take a look!

October Blogger Bundle!

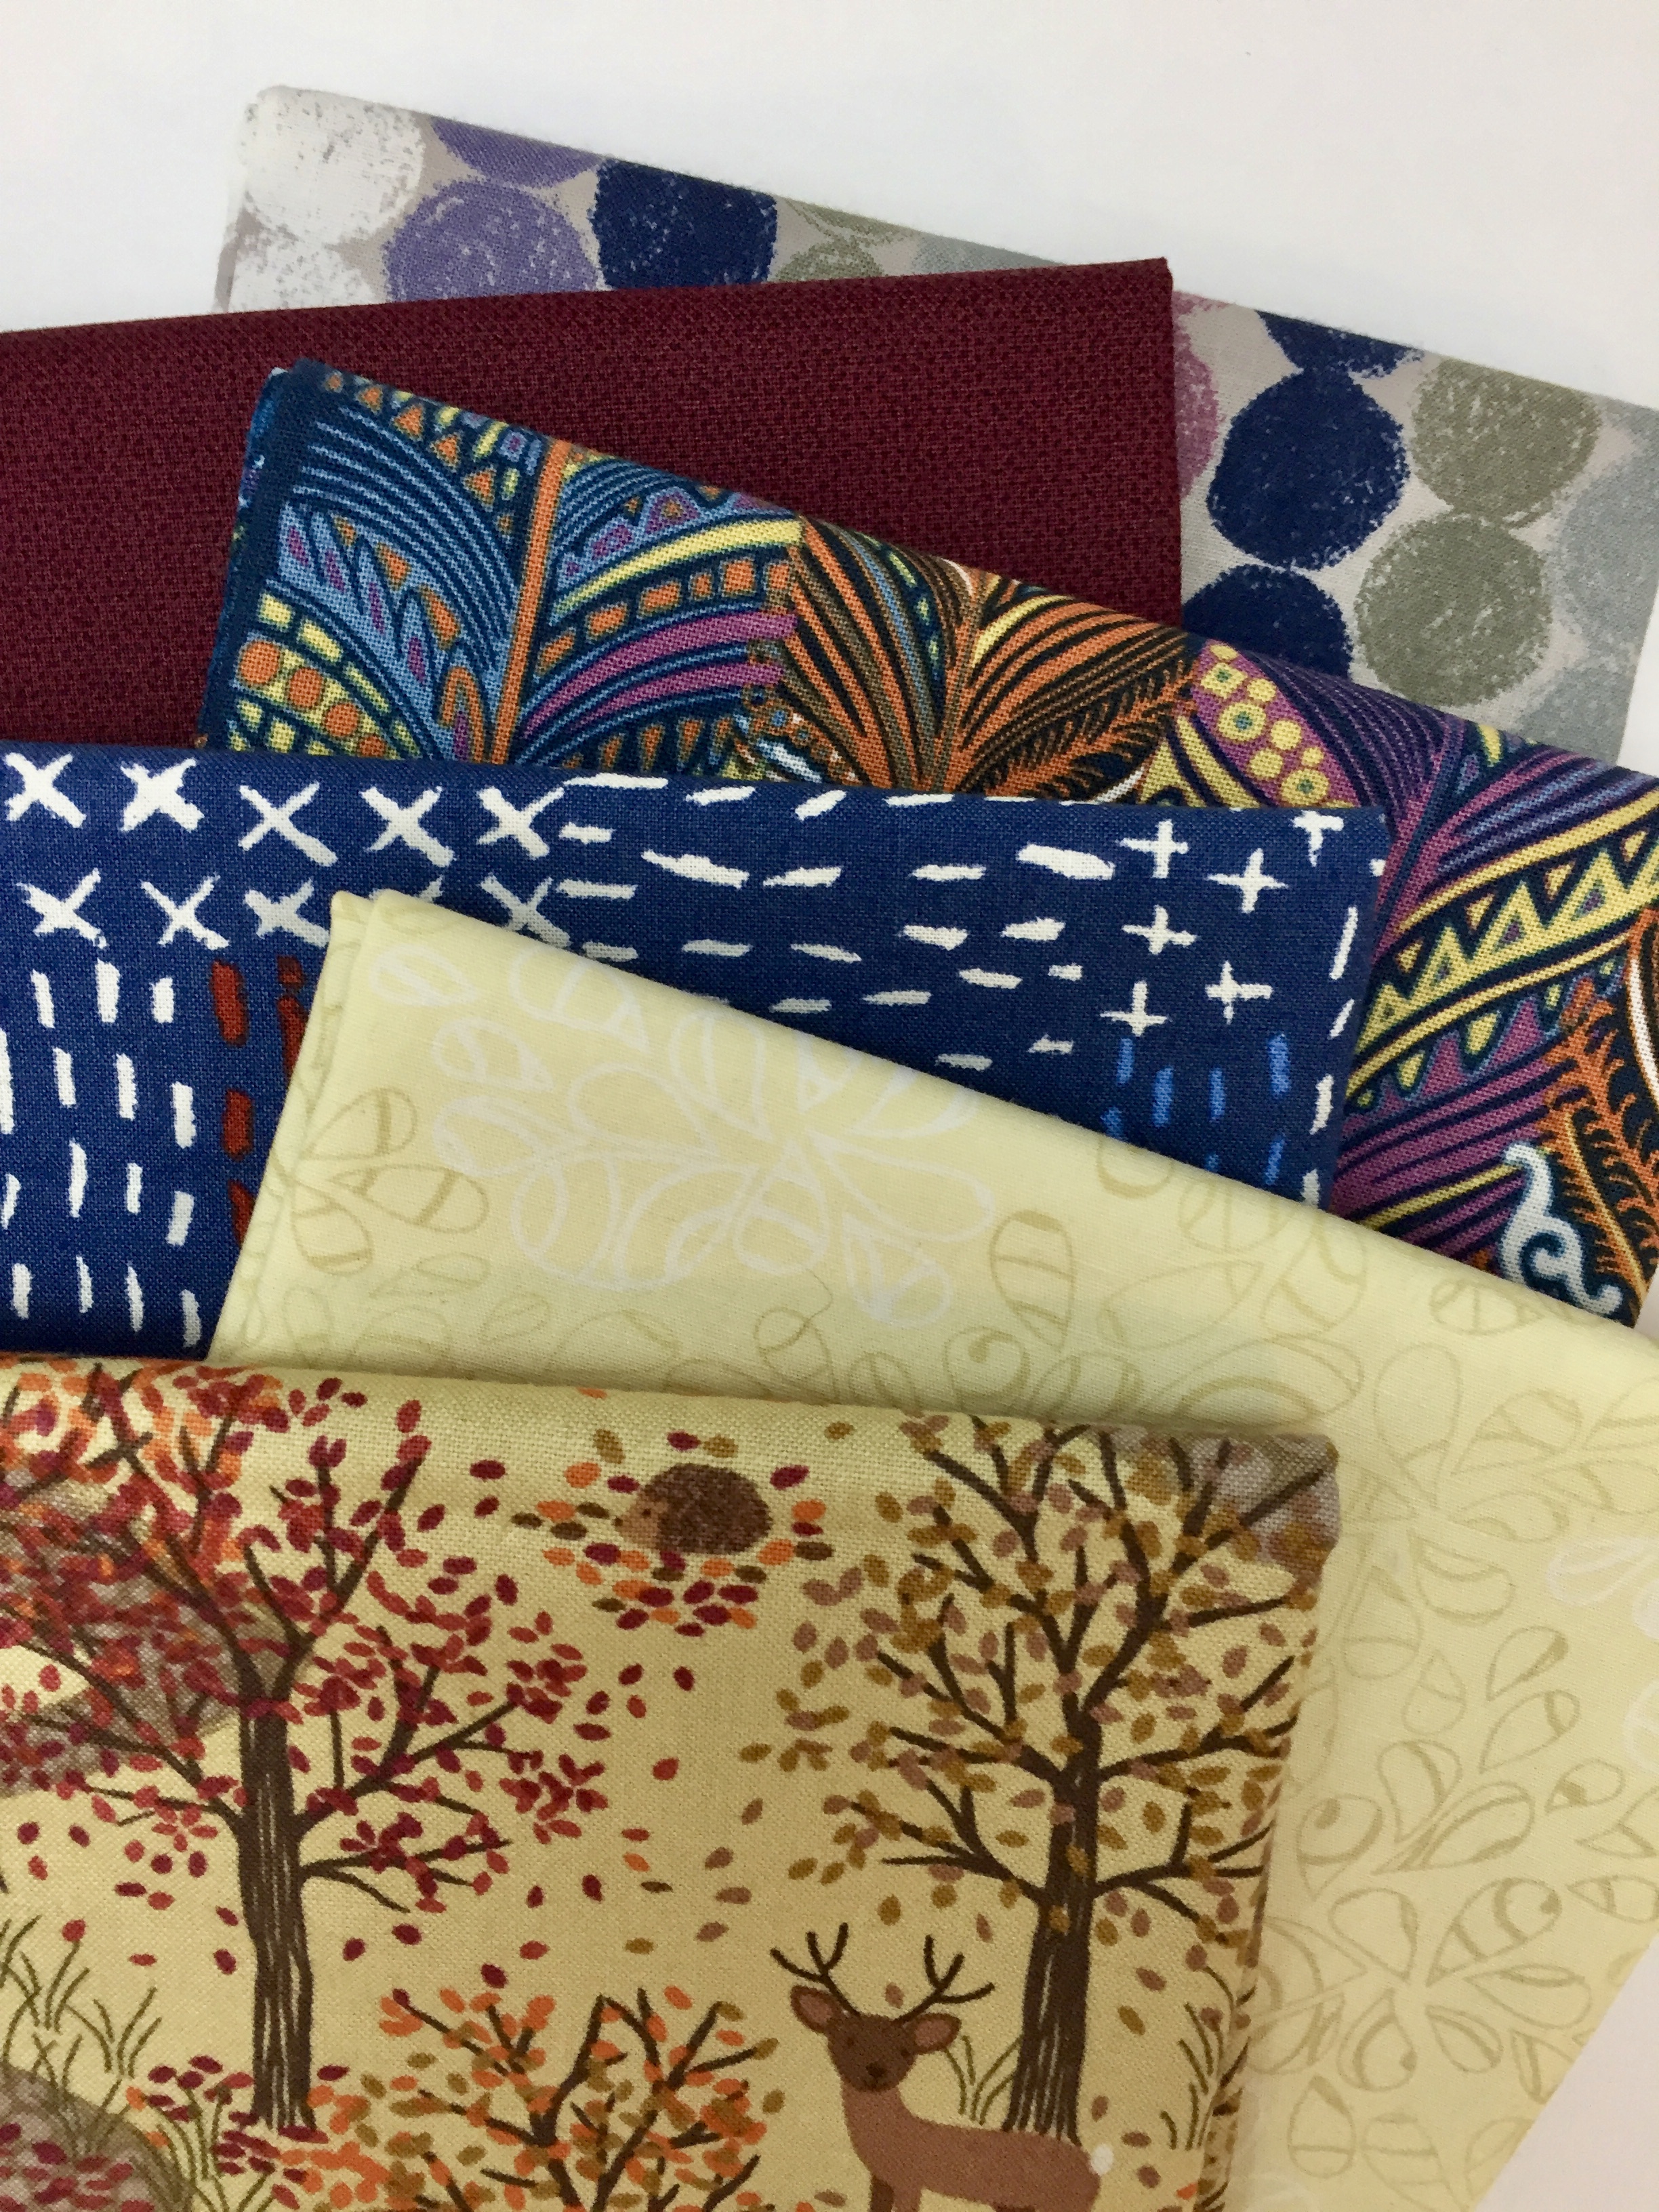
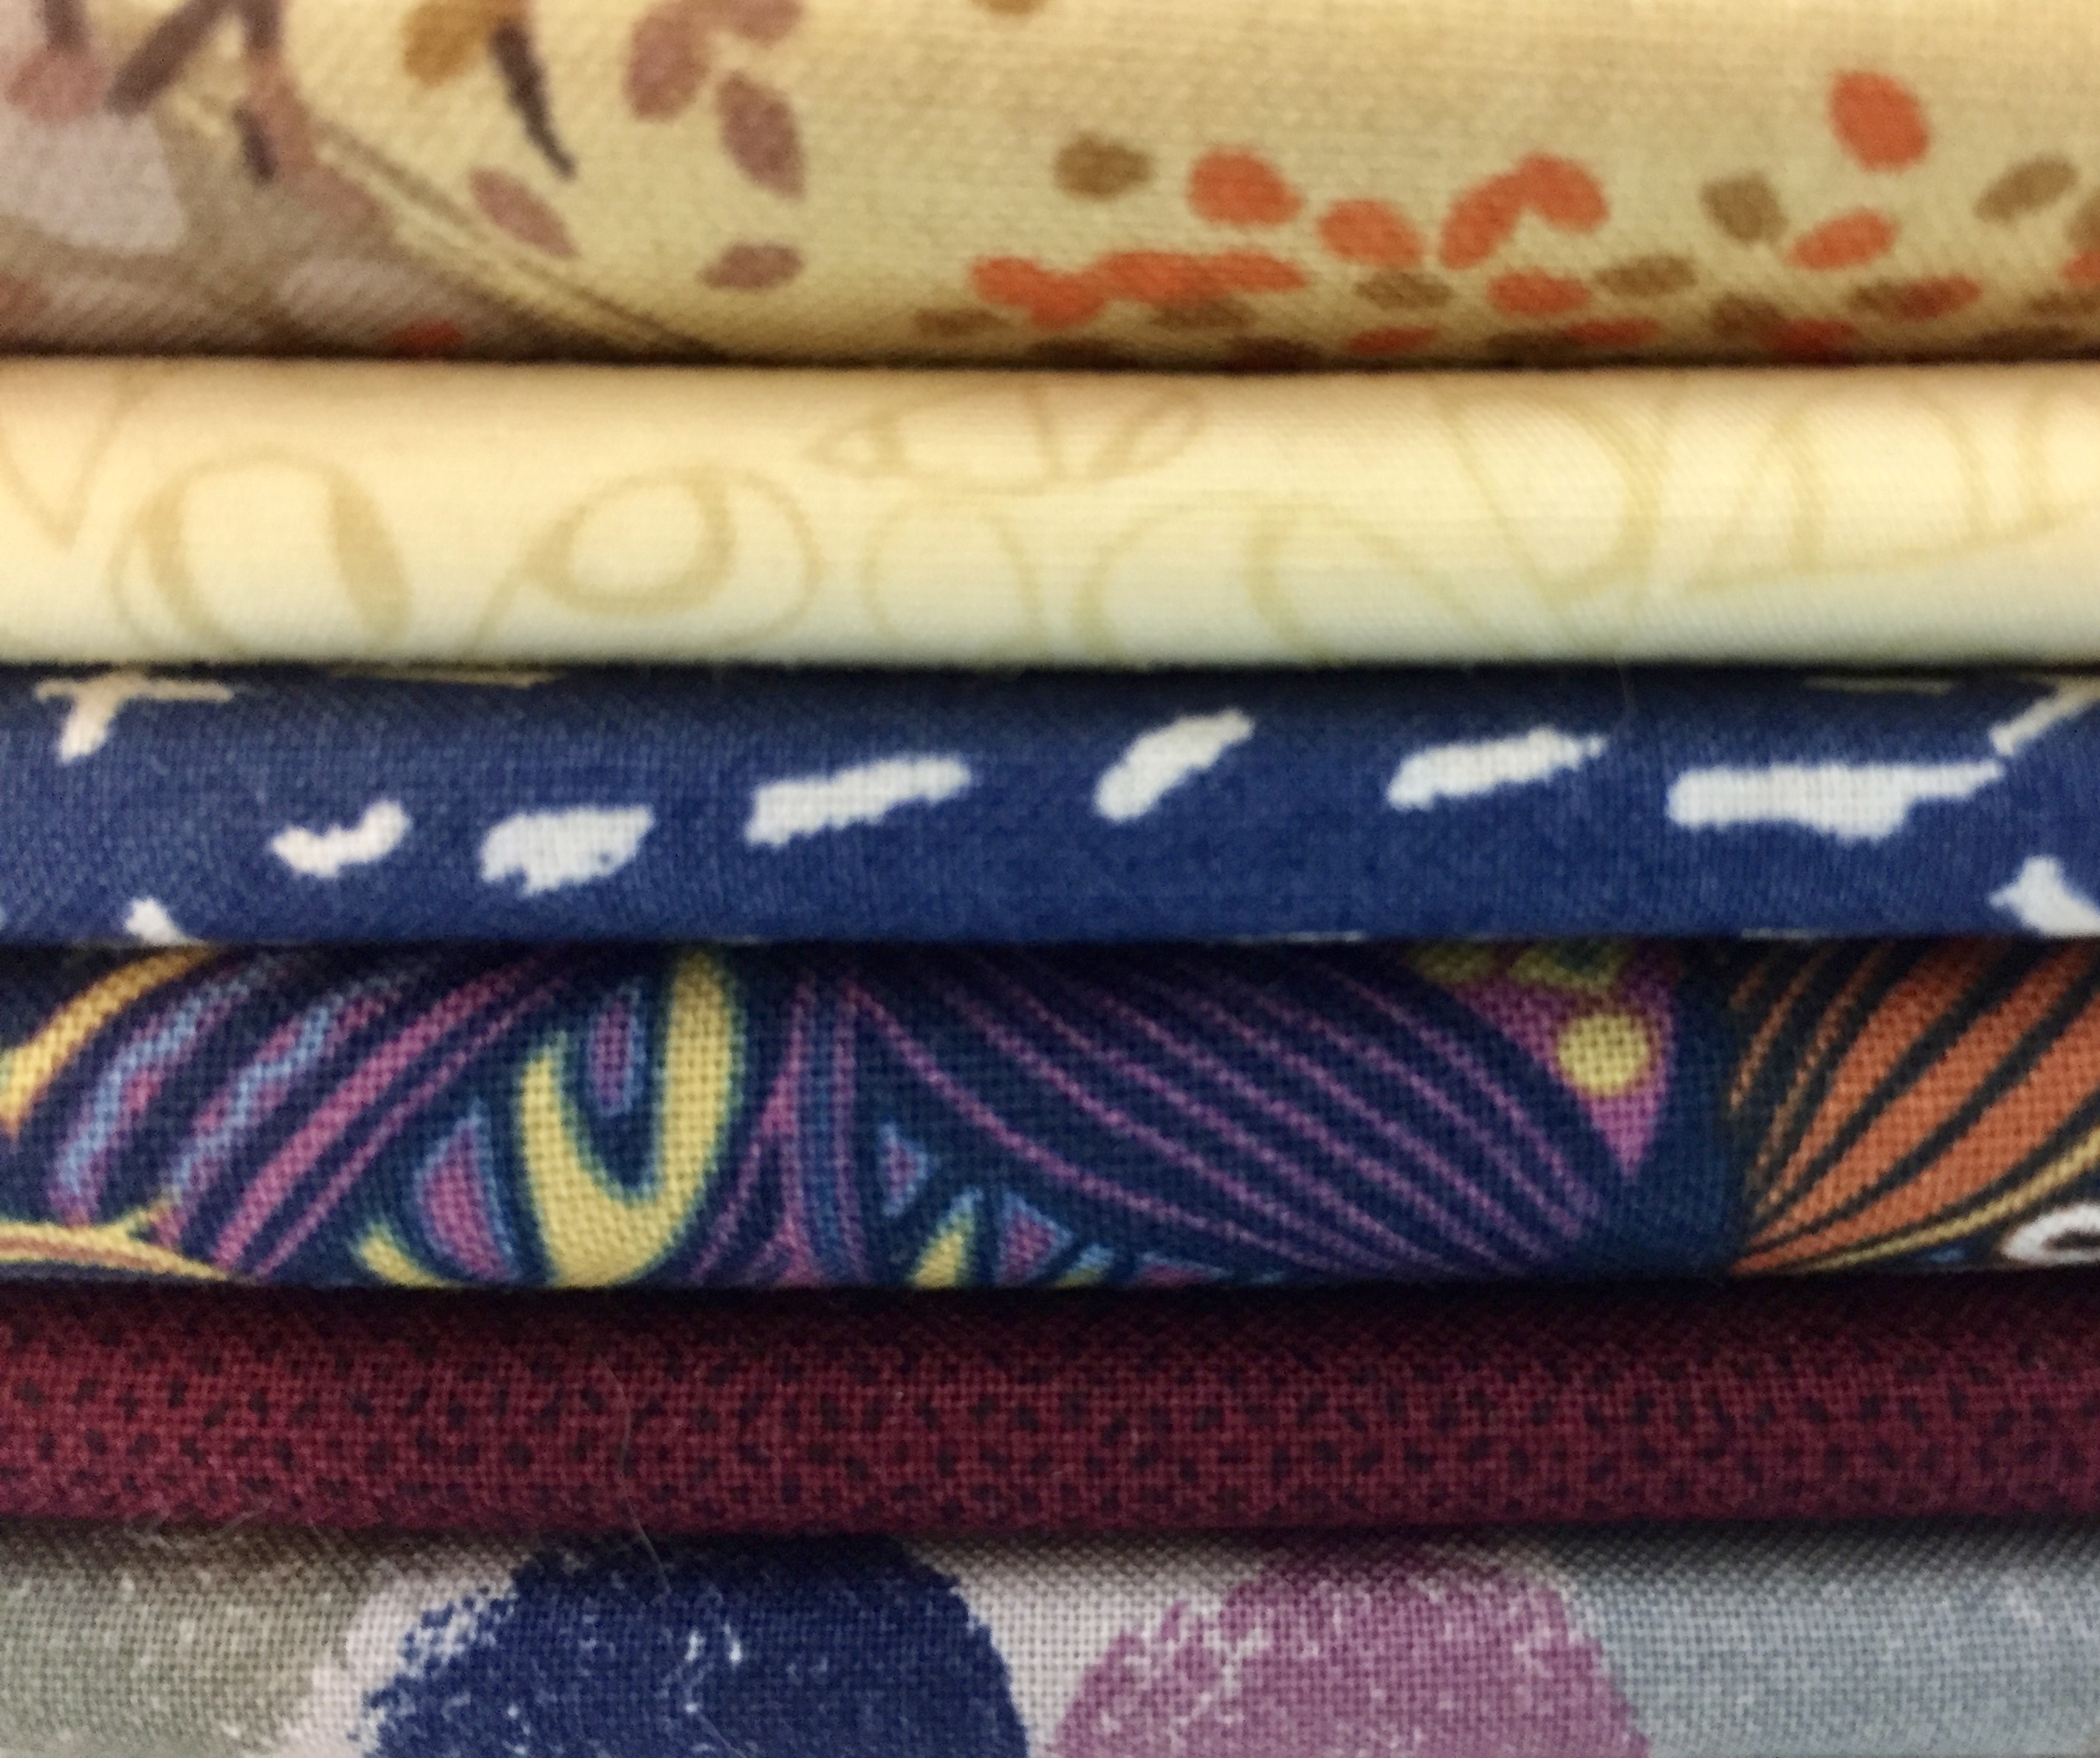
Kim’s bundle has a warm autumn theme to it with the darker burgundy and navy blue tones in it. Including the Catching Dreams (feathers) and the Afternoon With Deer prints created a really warm feel to the collection. For me, the surprising elements that Kim added are the two gorgeous, modern prints by Keiko Goke, Sashiko and Poppy. I love this line – it is probably one of my favorite lines in the shop – but not one I would think to put with the deer fabric.  That is how Kim rolls; bold prints and great color combinations. She created a block with these fabrics to show how they can be used together.  Hop over to her blog to see the block and take advantage of the tutorial she created for it.

As with the previous Blogger Bundles, the collection is now available in my shop.  Today through end of day Friday, the bundle is on sale for 20% off!  Take advantage of this pricing to add one to your stash – choose either a fat quarter or 1/2 yard bundle.  Also, enter to win a bundle on Kim’s site. You might be the lucky one!  Finally, if one of the fabrics in the bundle piques your interest, all are available individually as well.

Thank you Kim for working with me!  I love this bundle of saturated color. It is hard to believe this is the tenth Blogger Bundle.  Come back in November for the final bundle of the year! In December the Blogger Bundles will culminate with a fun event I planned to wrap up the year!

Newsletter!

Have you signed up for my newsletter?  It is published every month or so and is full of information about my shop, new arrivals, sales, and events.  Click here to sign up!


Voile and Simplicity 1589; A New Blouse

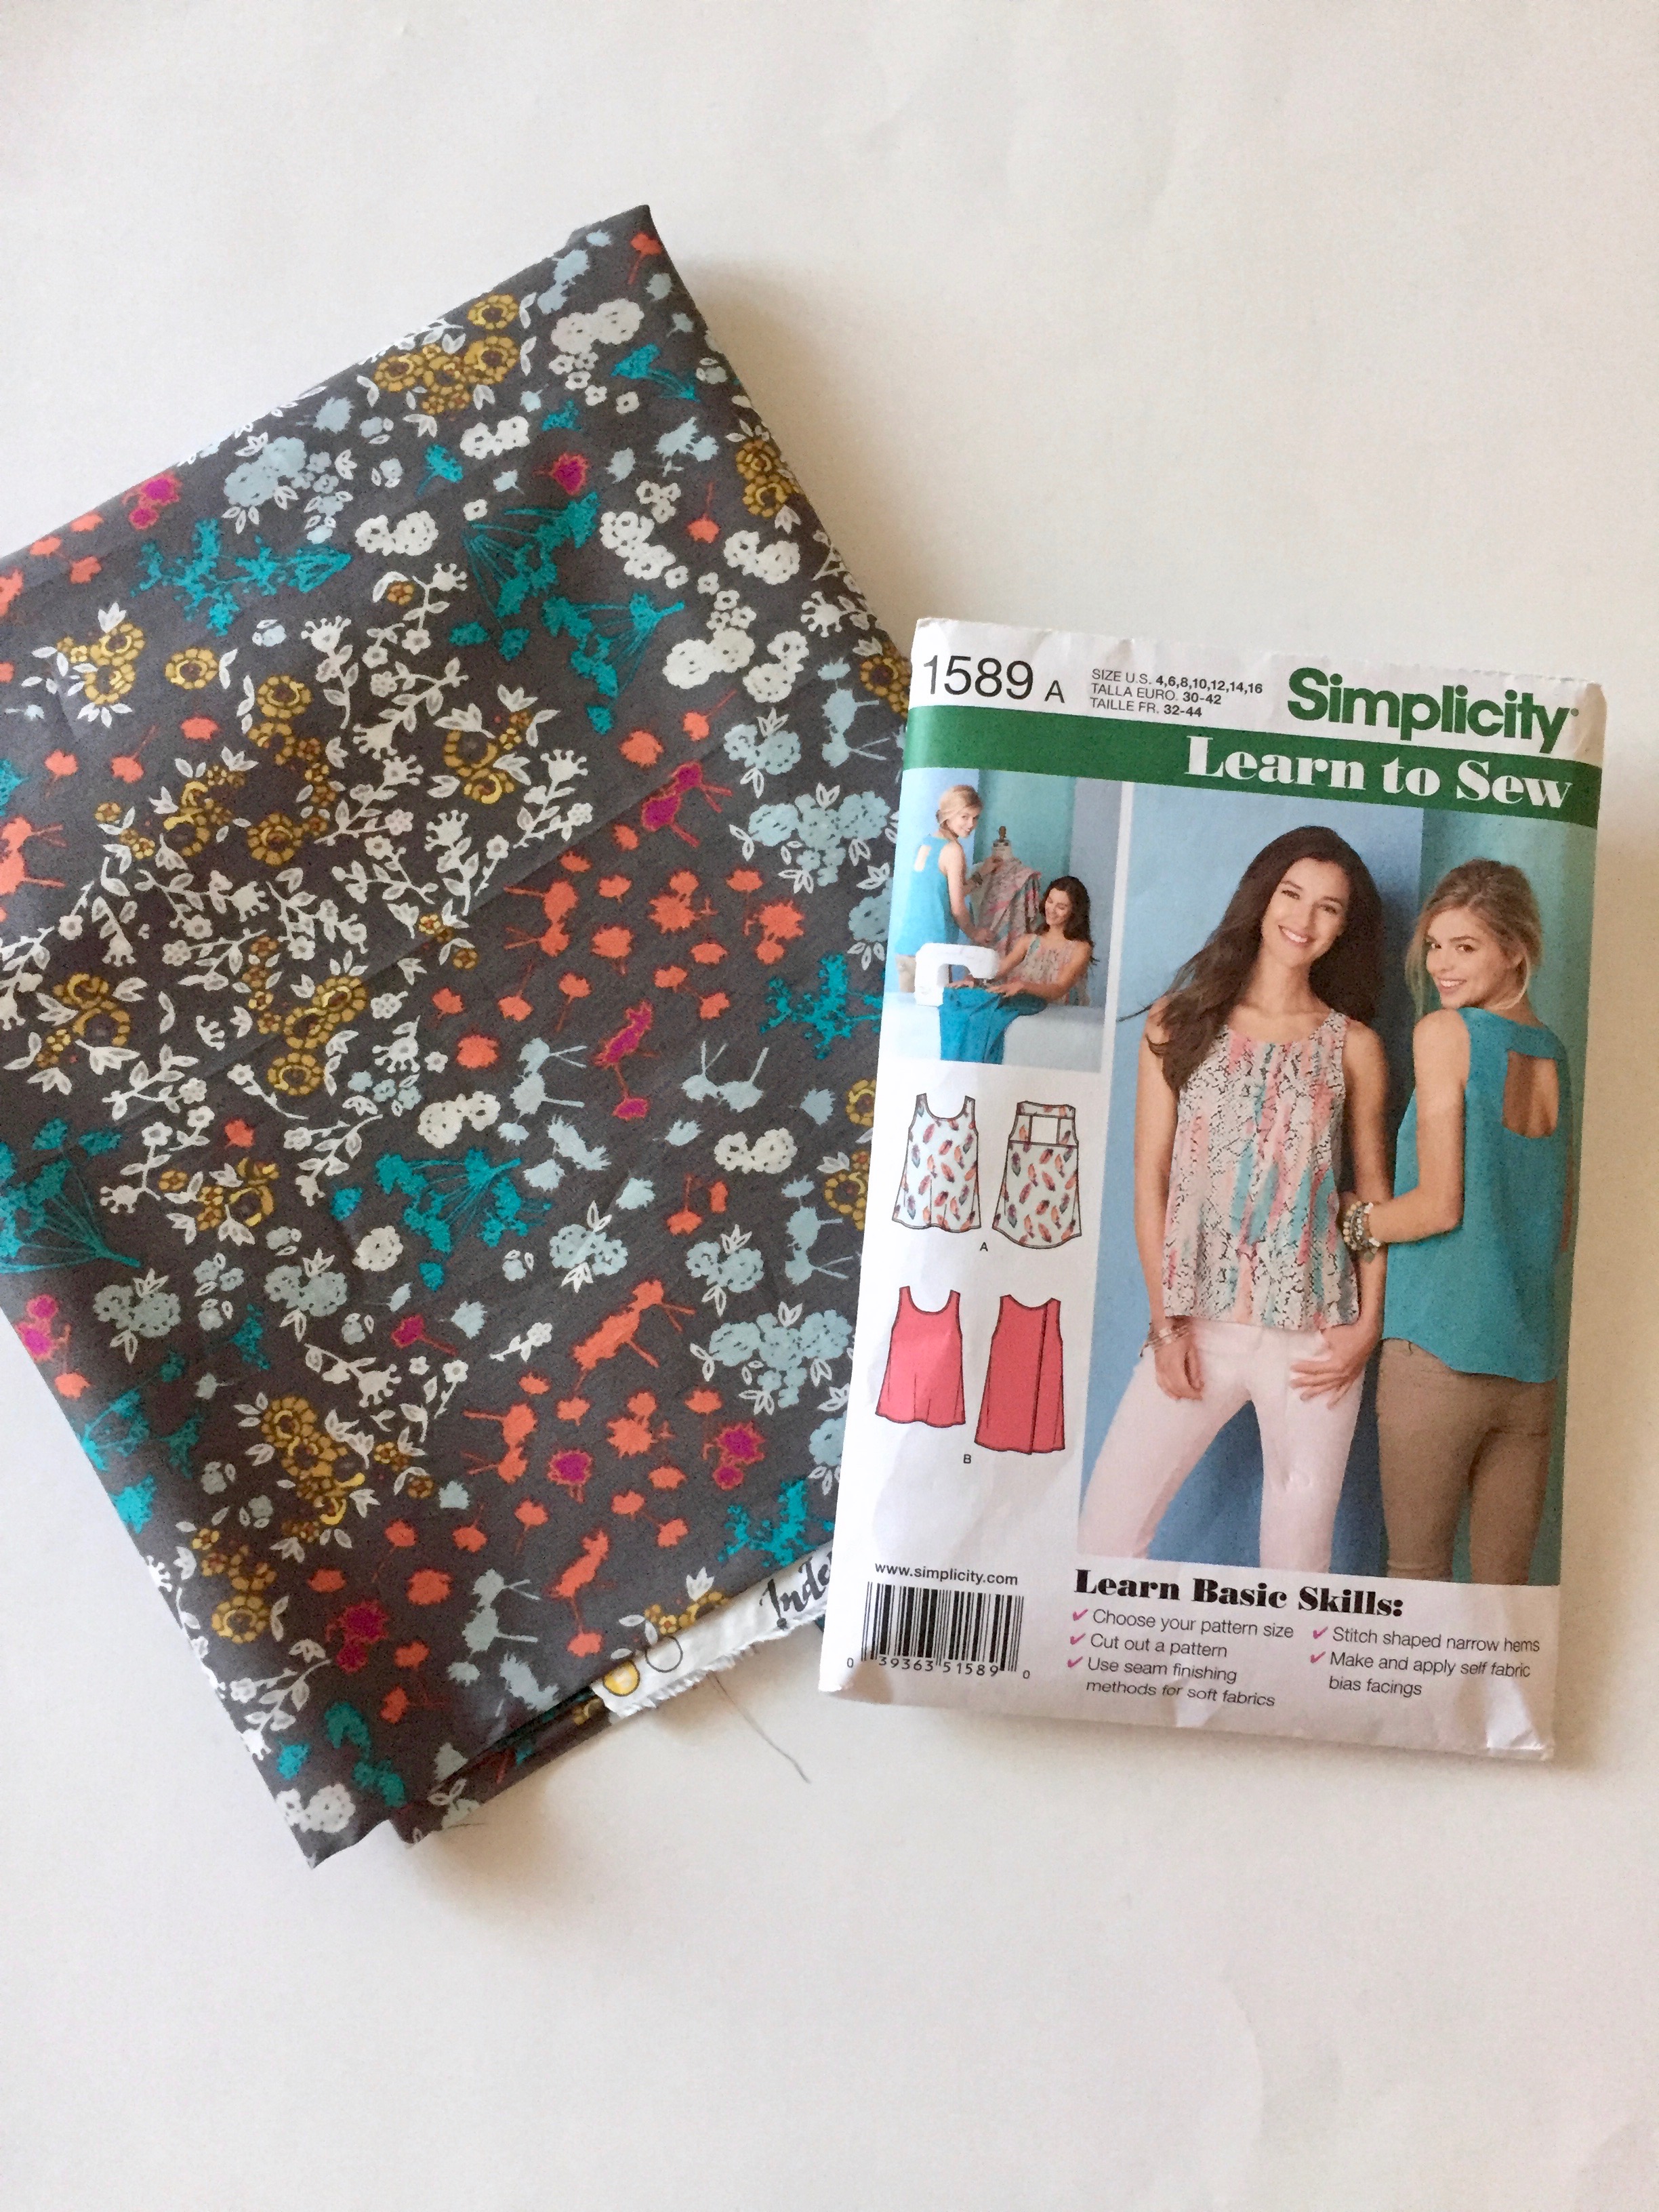
When I was in Vermont in early September, I took along a number of sewing projects to work on.  One of those was a piece of pretty voile (designed by Katarina Roccella for Art Gallery Fabric) and a blouse pattern.  I haven’t used voile before and wanted to try it out.  In case you aren’t familiar, voile is a lightweight cotton with a higher thread count making it softer and sort of flowy (is that a word?).  It washes well and can be used for garments or quilting.  Anyway, I thought I would give it a try.  One thing I wanted was a blouse that didn’t have to be ironed after washing and this one doesn’t.  If taken out of the dryer right away, it looks lovely.

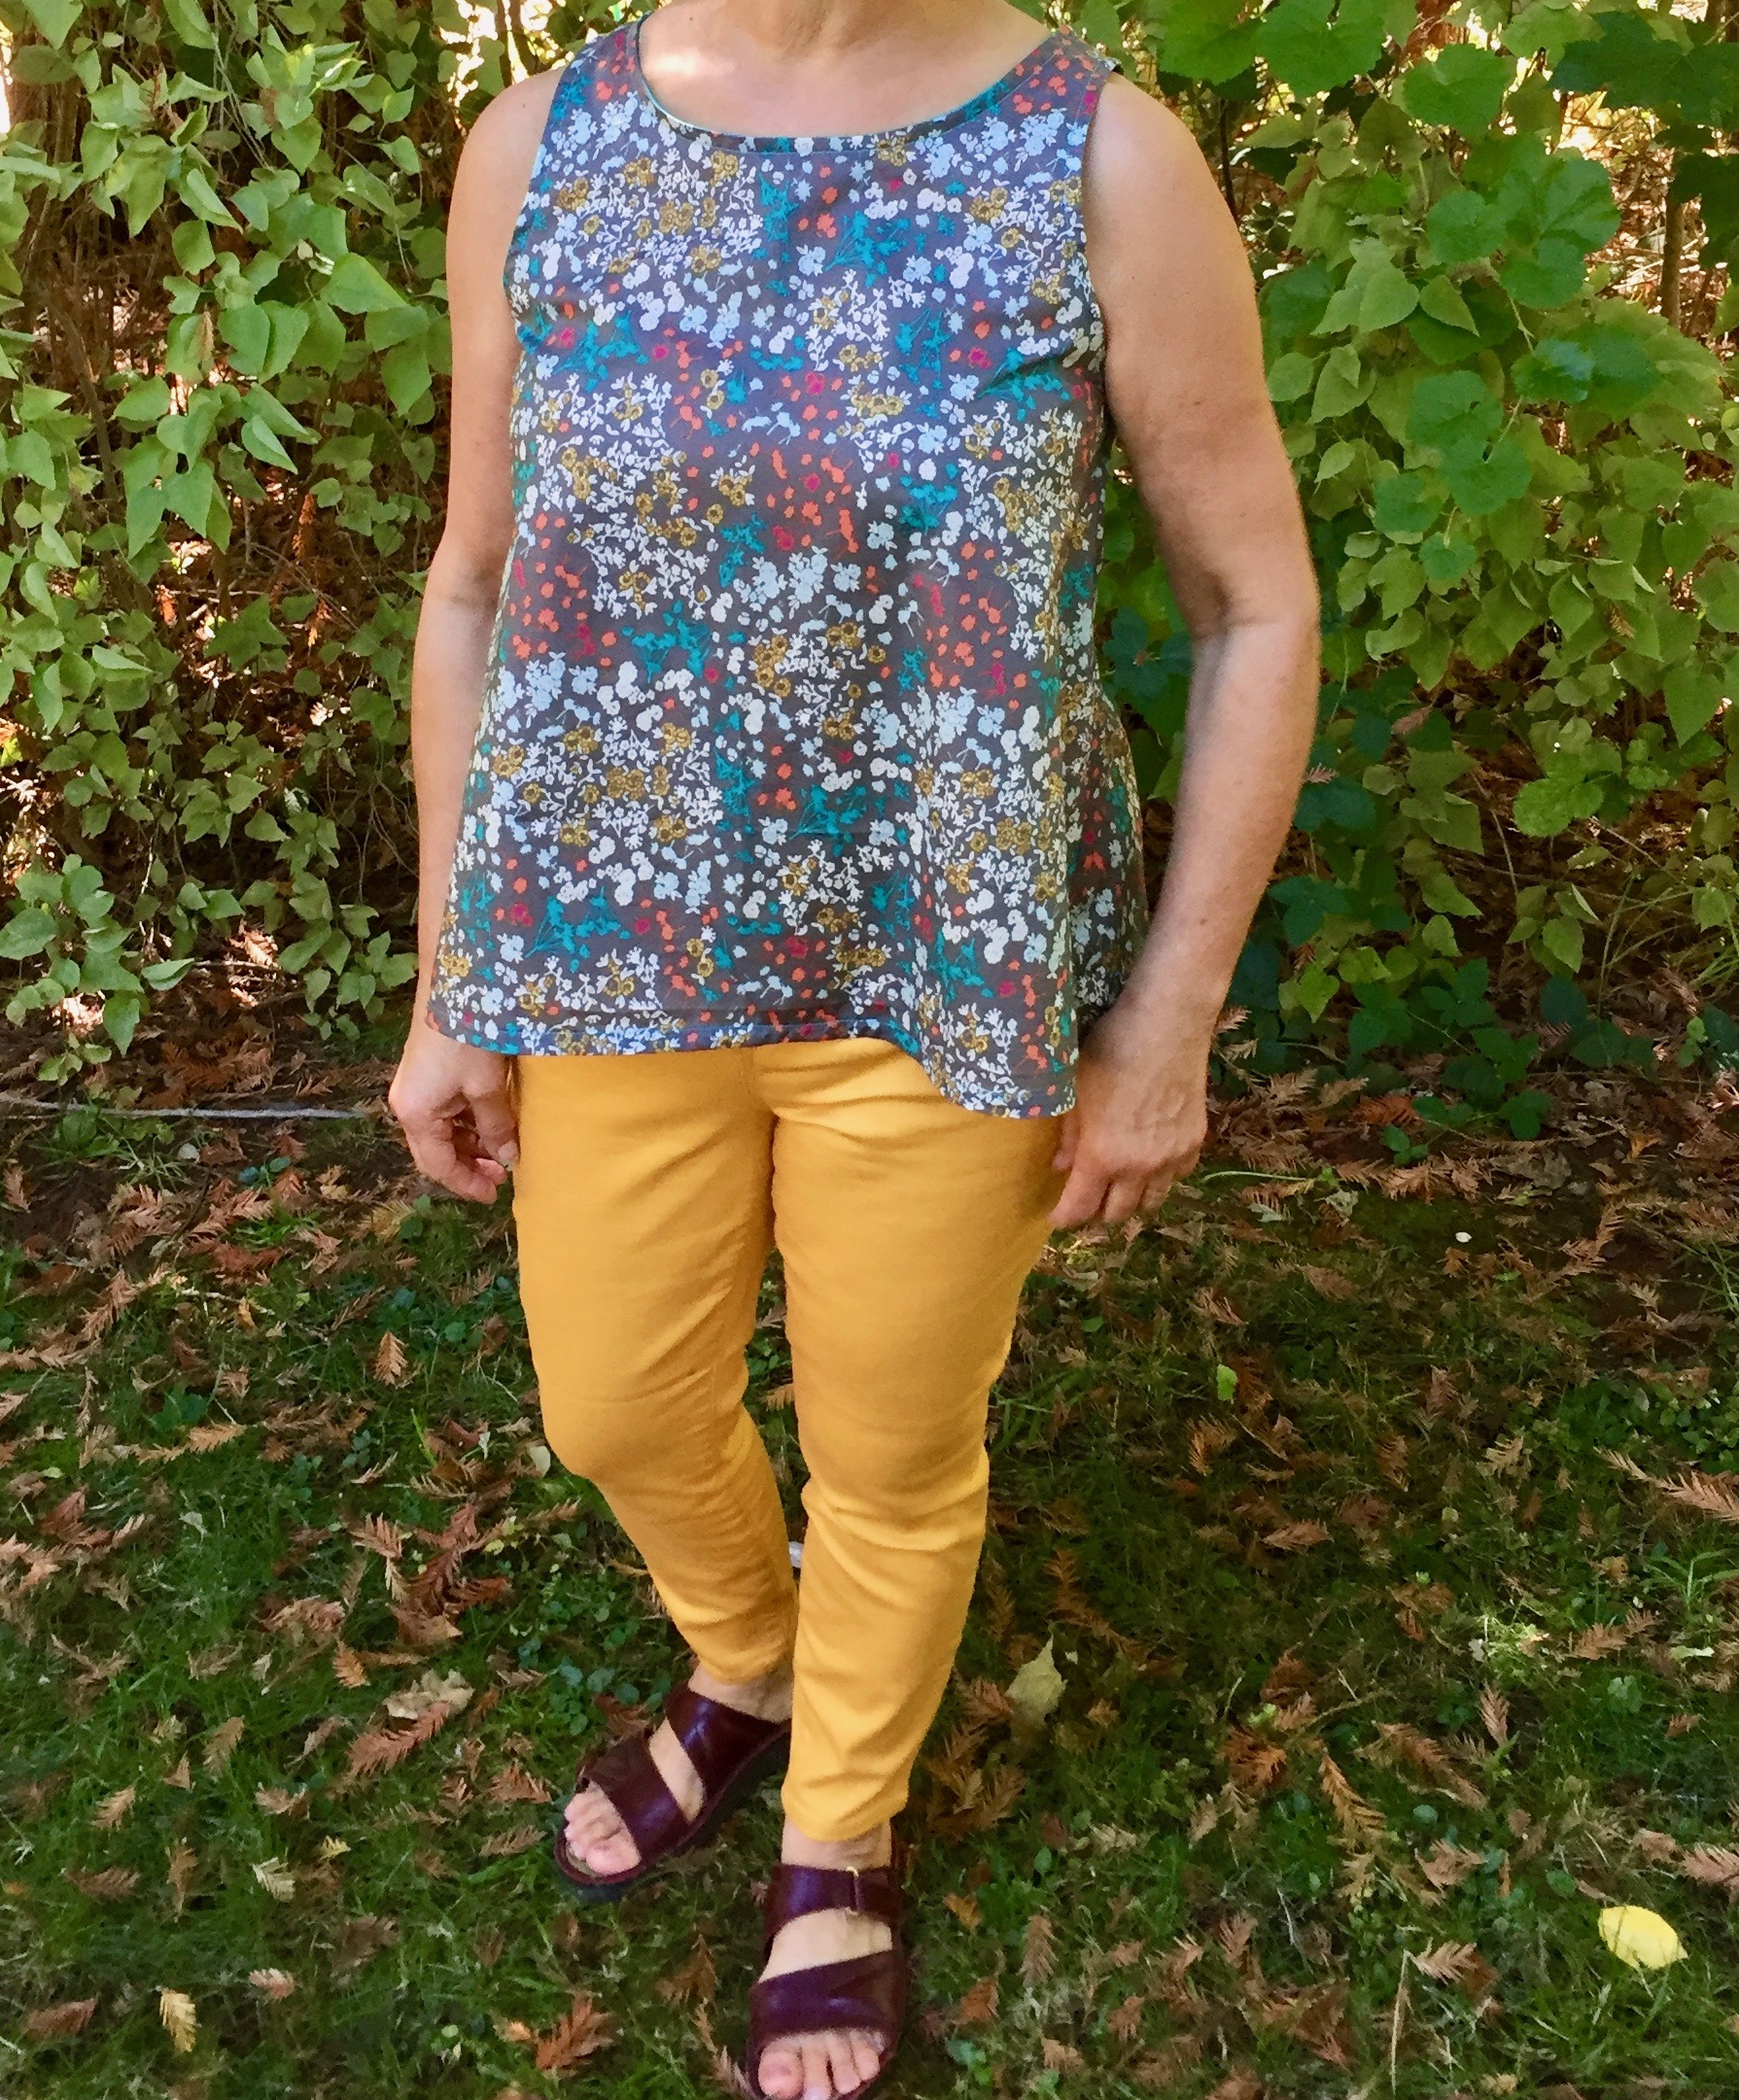
I chose Simplicity pattern 1589 because of its simple construction.  Two pattern pieces, just the front and back.  It literally took about an hour and one half to make.  I used French seams for the two side seams and the shoulder seams so the inside finish is very clean.  The neckline and armholes are finished with blue bias tape.  The pattern calls for bias cut strips of the same fabric but I am too frugal for that.  Bias strips leave so much waste and I like the pop of color that shows now and then from the coordinated bias tape.

I don’t have a normal set of pictures to show you.  My husband had taken some for me but most of them weren’t all that good so I decided to show you the shirt in action, so to speak.  I had it on while H was here last week and my son takes about 100 pictures daily of her so the shirt is featured in a number of them!

The pattern is fun because the back is just two overlapping pieces whose center edges are cut on a diagonal.  The opening goes all the way up to the neckline but when it blows open, it really only does so at the bottom because of the overlap.  Does that make sense?

Tomato picking was a favorite part of H’s morning with Grammy. However she was picking them green, orange and any color between!

It is long enough to wear with leggings which I like.  I did lower the front hem as much as possible.  It has that hi-low hem feature that is trendy these days but I didn’t want it to be as prevalent as the pattern had called for.

You can see the diagonal cut on the back pieces here.  I think it is a fun design.

Falling For You table runner

So, another blouse is done and now I have time to finish up a few other projects that are near completion. I started this table runner before the wedding and should be able to finish it up this afternoon. I am going to make H a Halloween costume so I want to get the sewing table cleaned off before I start it.  The pattern is ordered but I haven’t shopped for fabric yet.  She is going to be a lion and will be the cutest lion out there!

Finally, if you are in the mood for some fall colors, all of the autumn fabrics in my shop are 25% off today.  Come take a look – there are some really pretty pieces and they are a great deal.  Precuts, bundles and yardage are all available.  Also, hop over to either Instagram or Facebook and enter to win a cute bundle of Halloween fabrics.  Today is the last day of the sale and the last day to enter the giveaway!  Hope you will come and join in!

Brag About Your Beauties!


Good morning all!  I want to let you know I am sponsoring a prize for this week’s Brag About Your Beauties link up.  This is a new linky party happening over at From Bolt to Beauty.


I hope you will all click over the Michelle’s blog and check out the link-ups.  This week’s linkup just opened this morning so if there aren’t a ton of posts linked yet, come back in a bit. If you are a blogger, please link up with Michelle this week!  Let’s get the word out there. You might want to put her button on your side bar too.

You will have two opportunities to enter the giveaway and the prize is a $25 gift certificate to my shop.  Who doesn’t love a free shopping spree???  Maybe this is your lucky day!  🙂

Thank you Michelle for creating this fun weekly link up!

Upcycling a Vintage Caftan

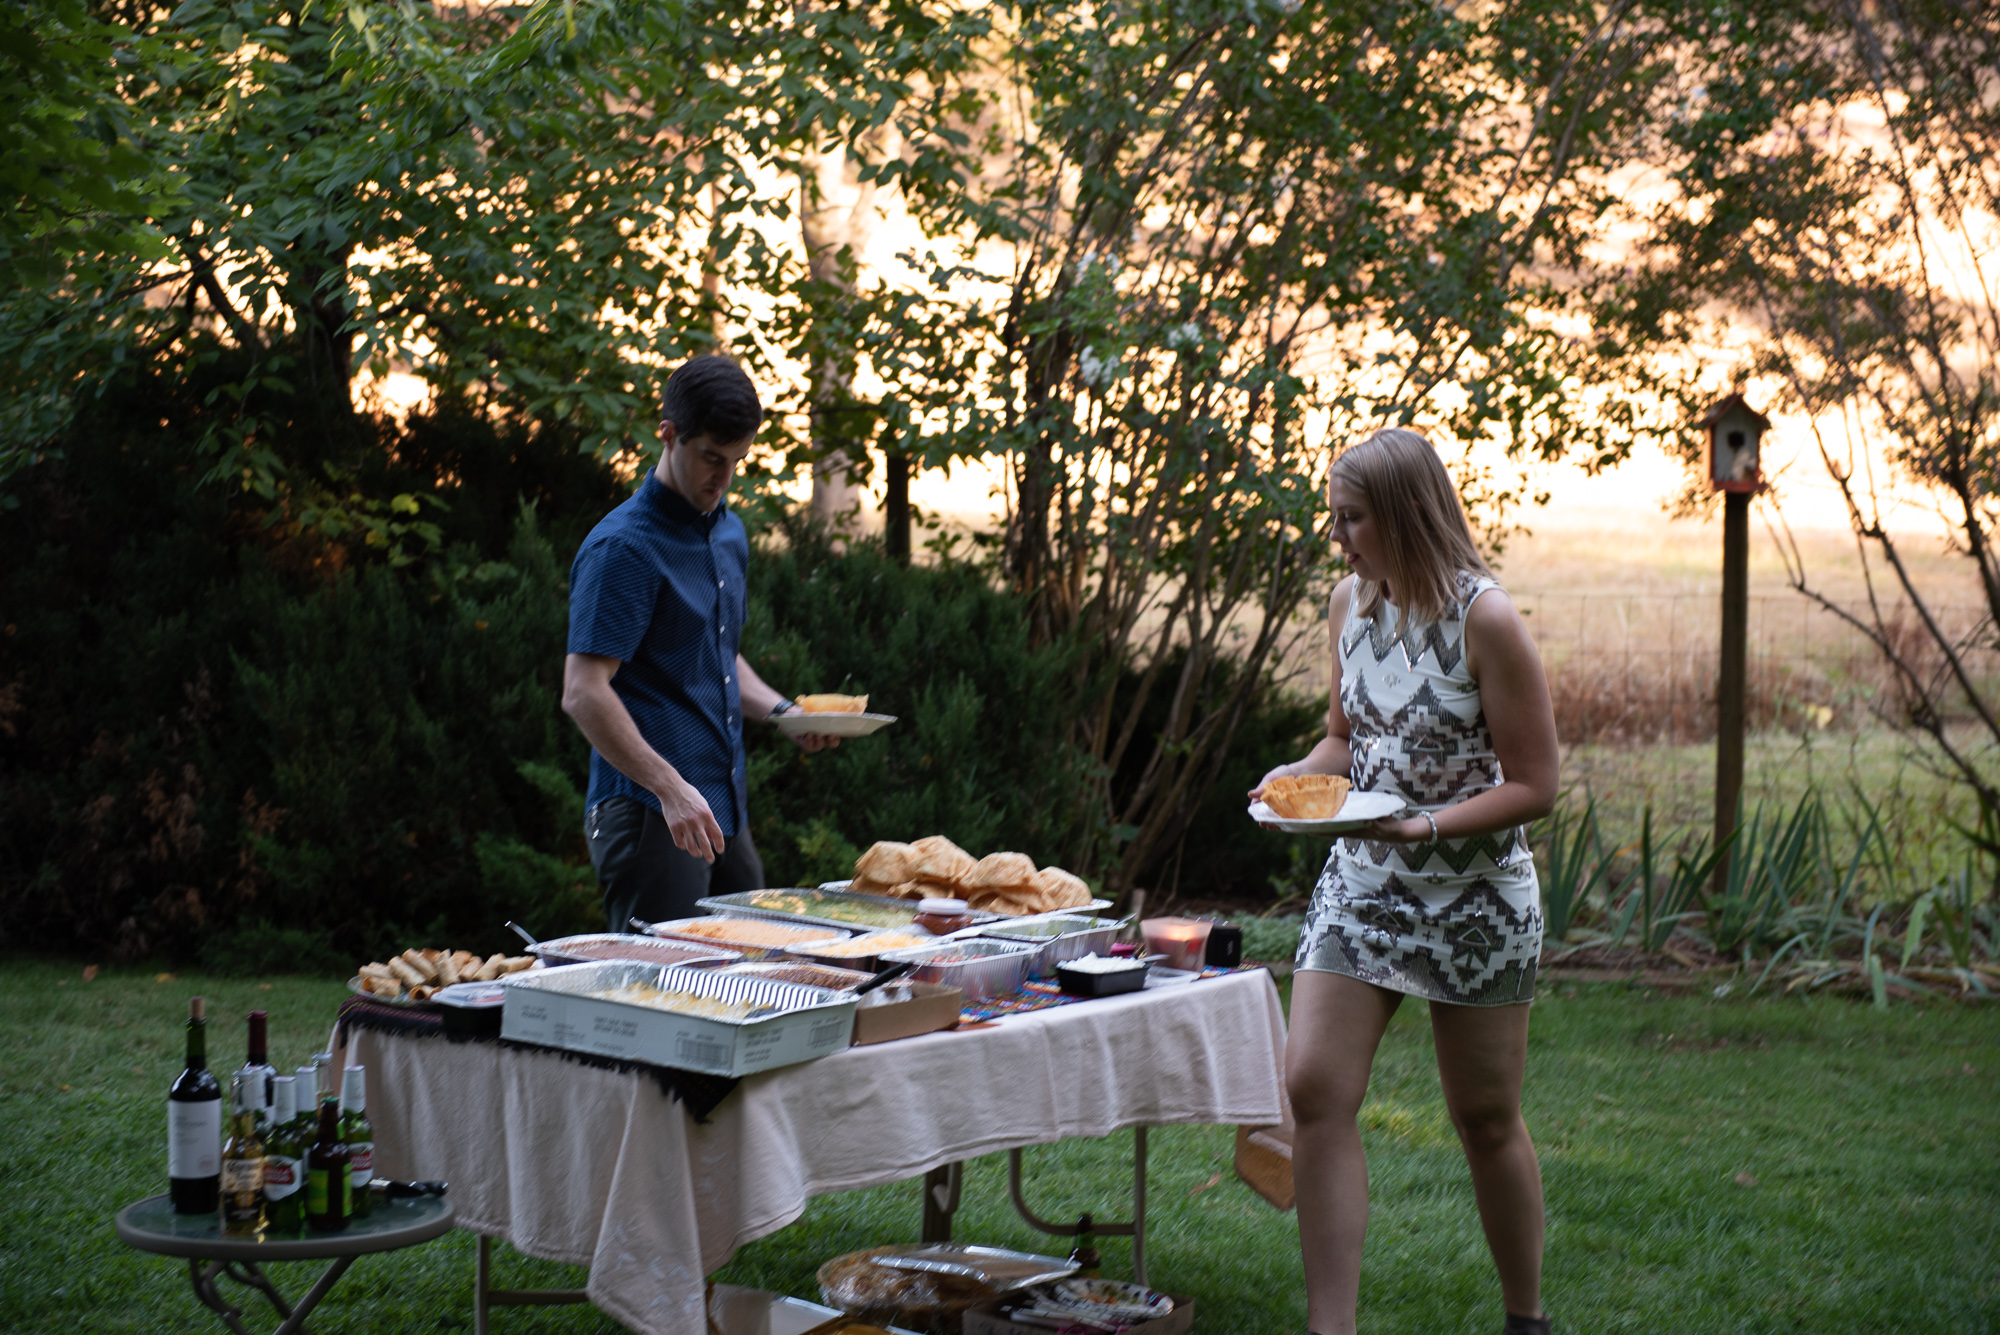
This post is picture heavy and contains just a bit of sewing related info so if you aren’t in the mood, I totally understand!  As you might already know, my son and his fiancé were married on Saturday.  As the parents of the groom, we hosted a rehearsal dinner on the Friday night before the wedding. The couple wanted a Mexican dinner which we had catered by a local Mexican restaurant.  I don’t usually do this but it worked out well for us.  I had so much going on and not cooking the meal myself was so helpful.

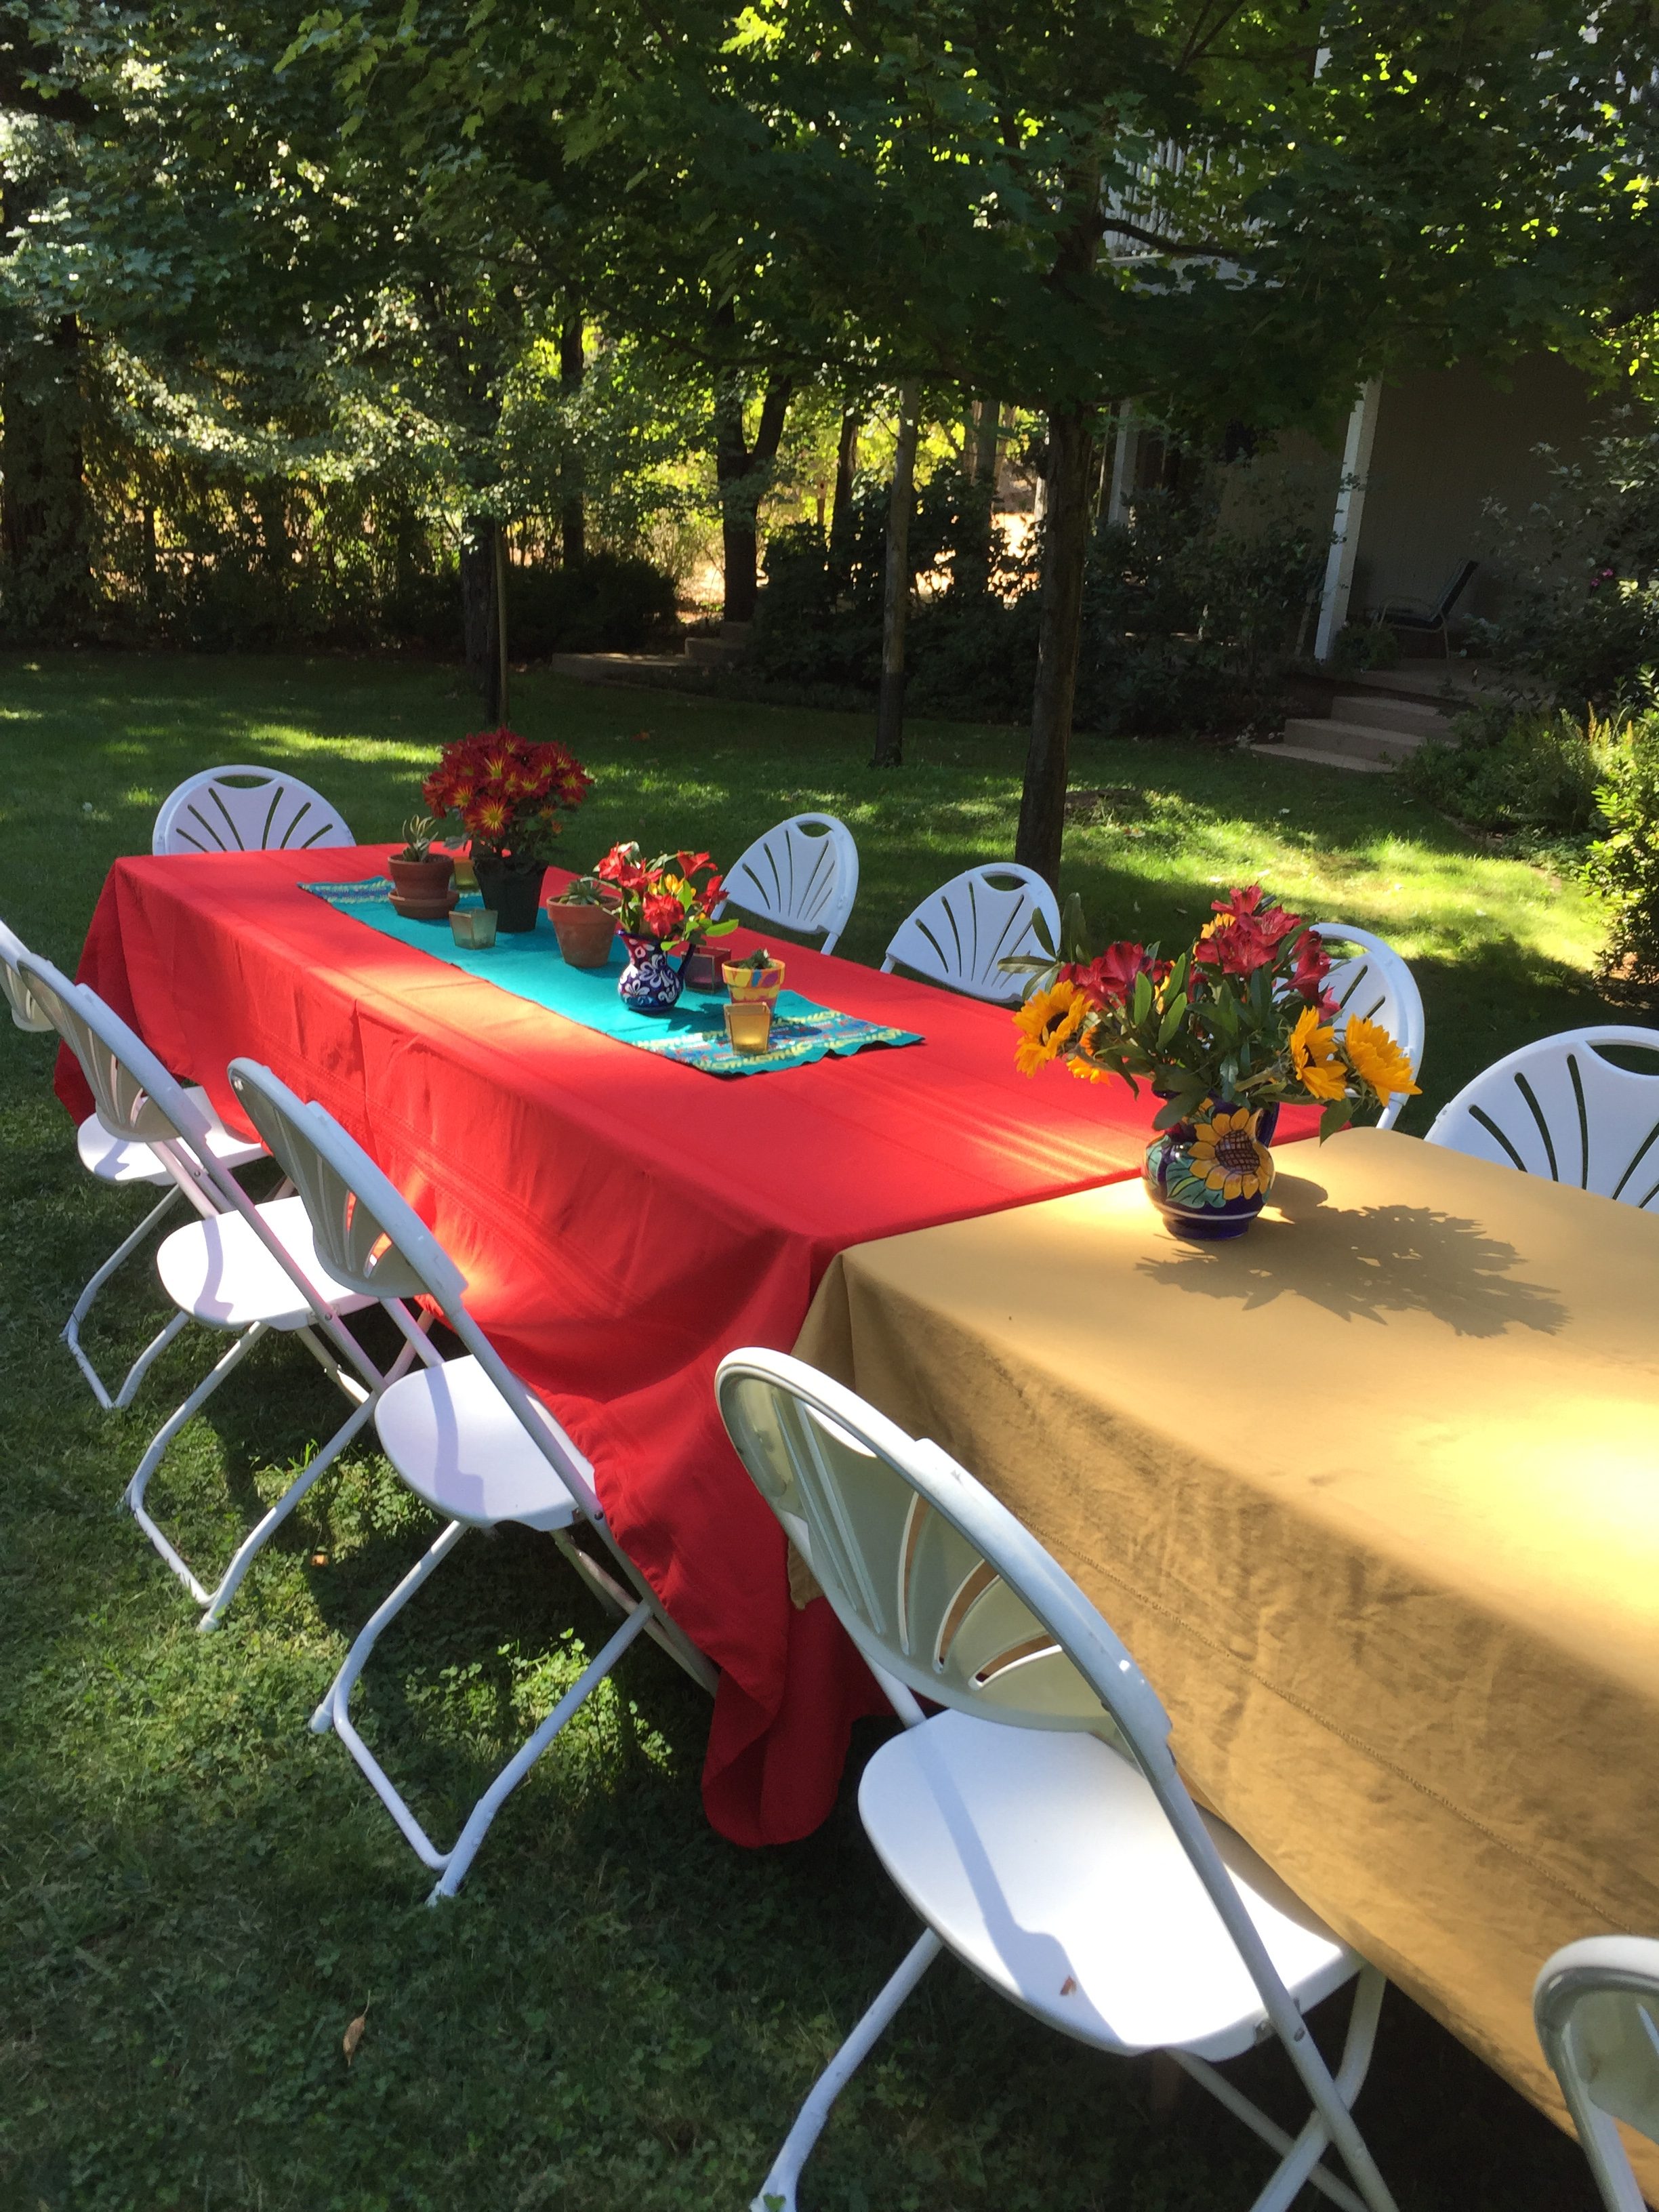
When my husband and I thought about the dinner, we really wanted to have it outdoors.  Our front yard is so pretty and very private because we live on rural property and don’t have neighbors close by.  Again, I went the simpler route and rented tables, chairs, dishes, flatware and wine glasses.  This really made for an easy party because we didn’t have to wash dishes afterward.  All that was required was to stack the dishes, glassware and flatware in restaurant style racks and they picked it up in the morning.  With the wedding the next day, it was great not to have to deal with lots of clean up that night.

The fun part was thinking about decorations.  My first thought was I needed two brightly colored table cloths and table runners for the center of each table.

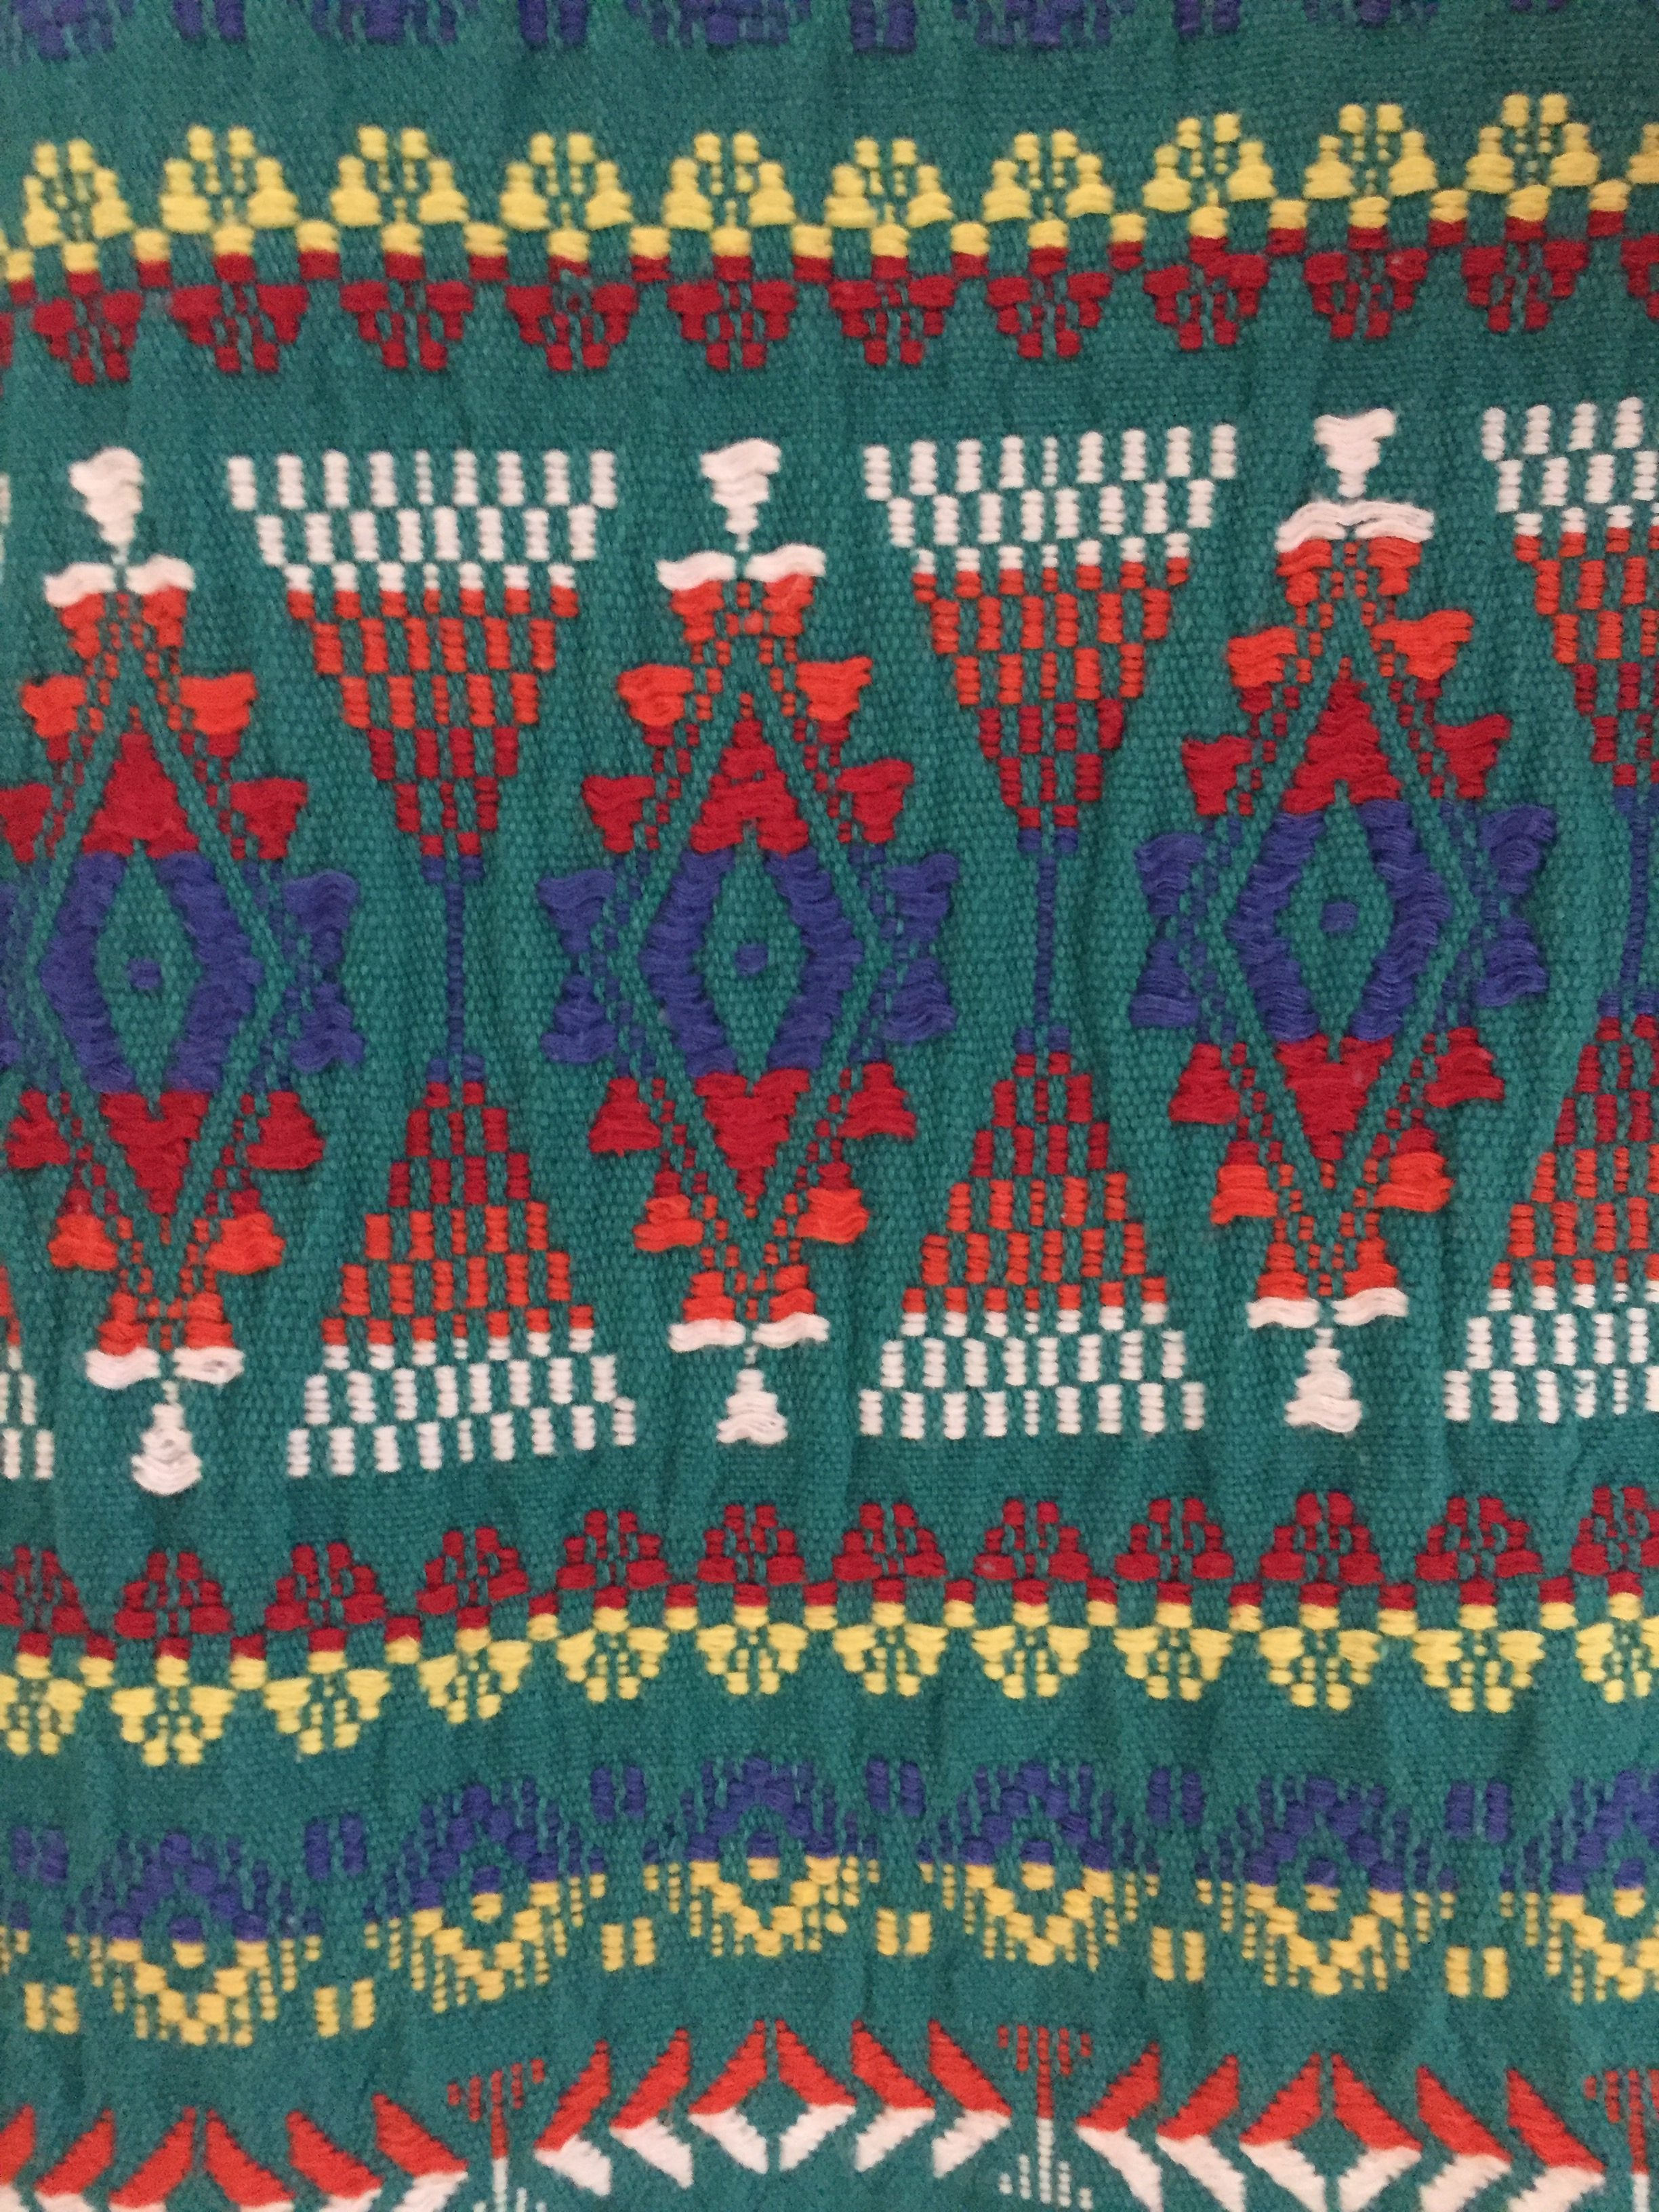
1970’s Caftan

My frugal self sent me over to the thrift stores in town to hunt.  I didn’t find any table cloths but did find a fun vintage caftan.  I decided to use a harvest gold table cloth I already had and a red one belonging to my mom.

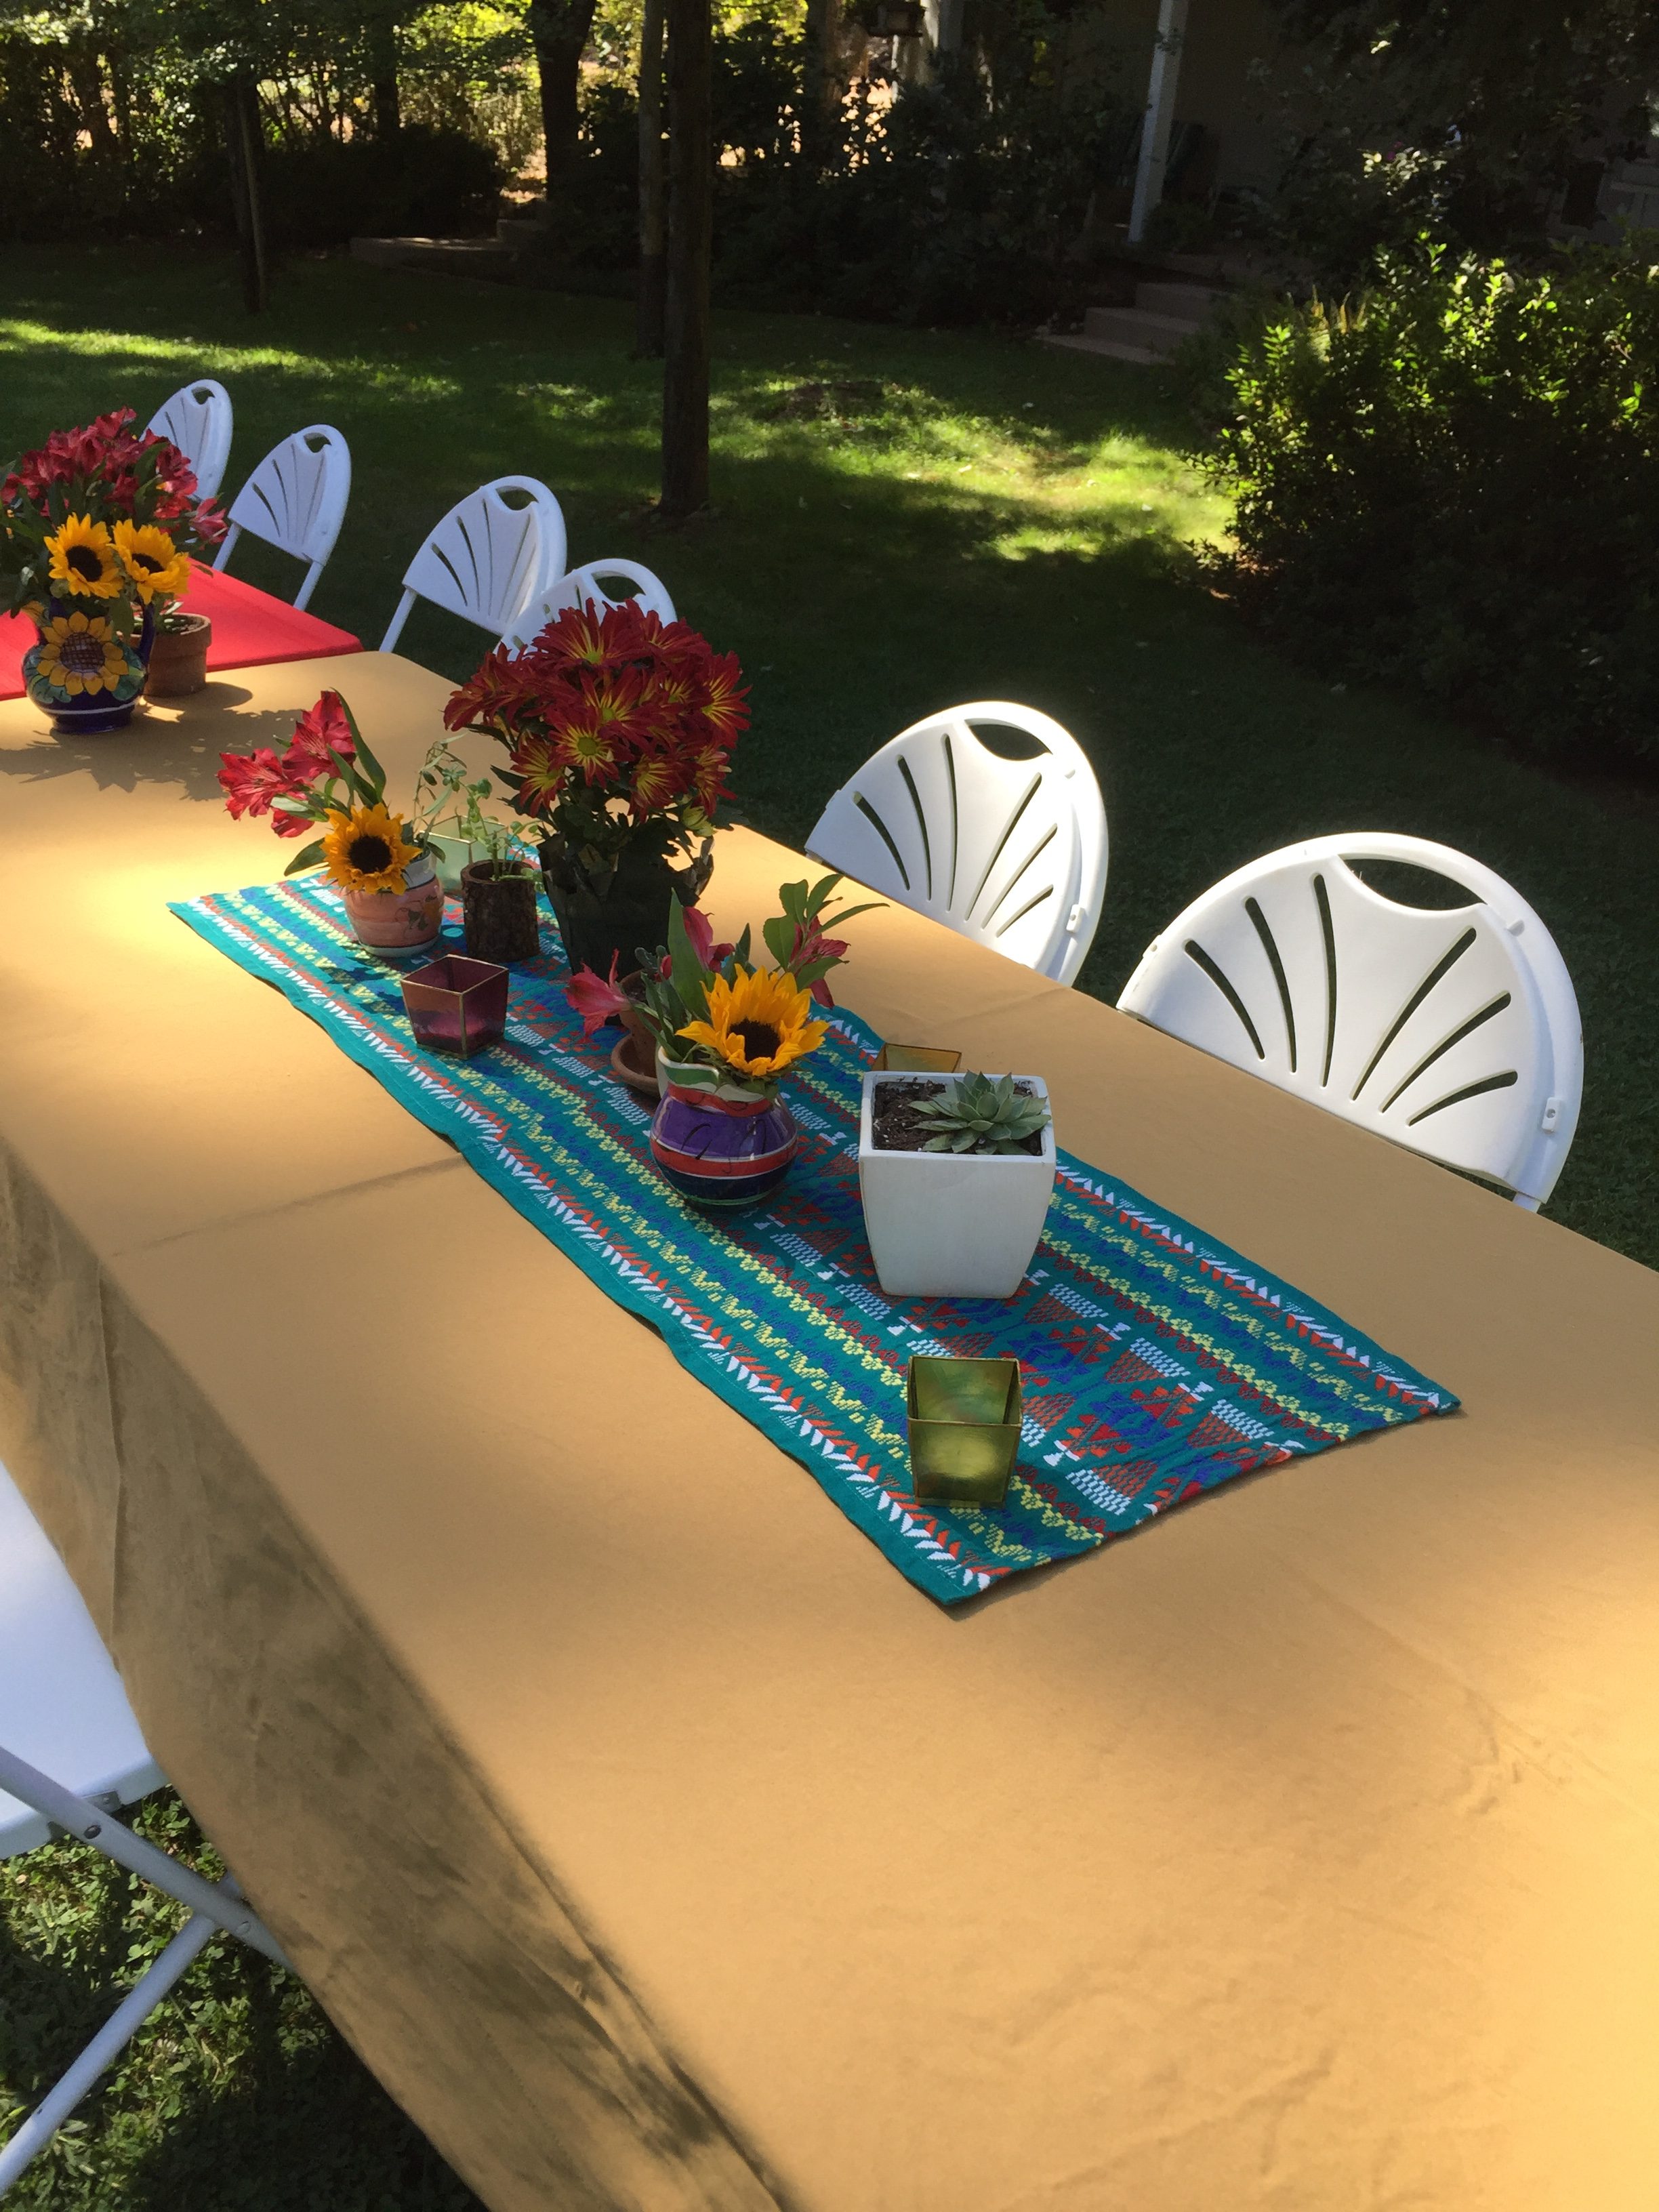
My thought was to utilize the stitching somehow by taking it apart and reassembling it.  I cut the bottom off, leaving a border of the green.  I hemmed it all the way around and that created one runner.  For the second runner, I cut a large swath of the solid fabric from the center of the dress.  Then I cut the sleeves off so I could use the decorated portion of the sleeves. The width of the second runner was determined by how wide the stitching was on the deconstructed sleeves. I attached one section of the decorative stitching to each end of the solid color fabric so it ran vertically on each end.  I did have to block the runners and starch them to get them to lay (mostly) flat.  These had been laundered and worn quite a bit so the fabric was not at all square.

The runners are different but coordinated.  (I didn’t take pictures of just the runners but this  sort of gives you an idea.

Here is the other one.

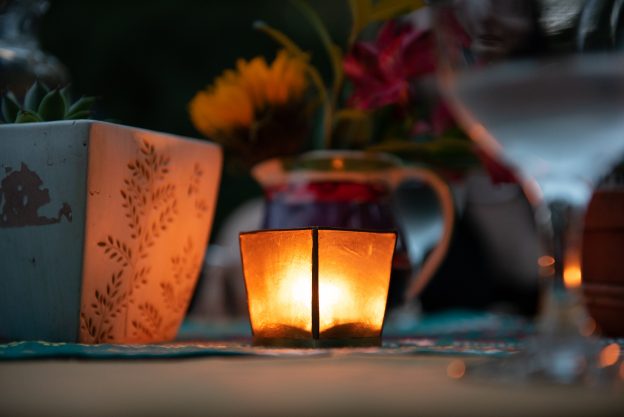
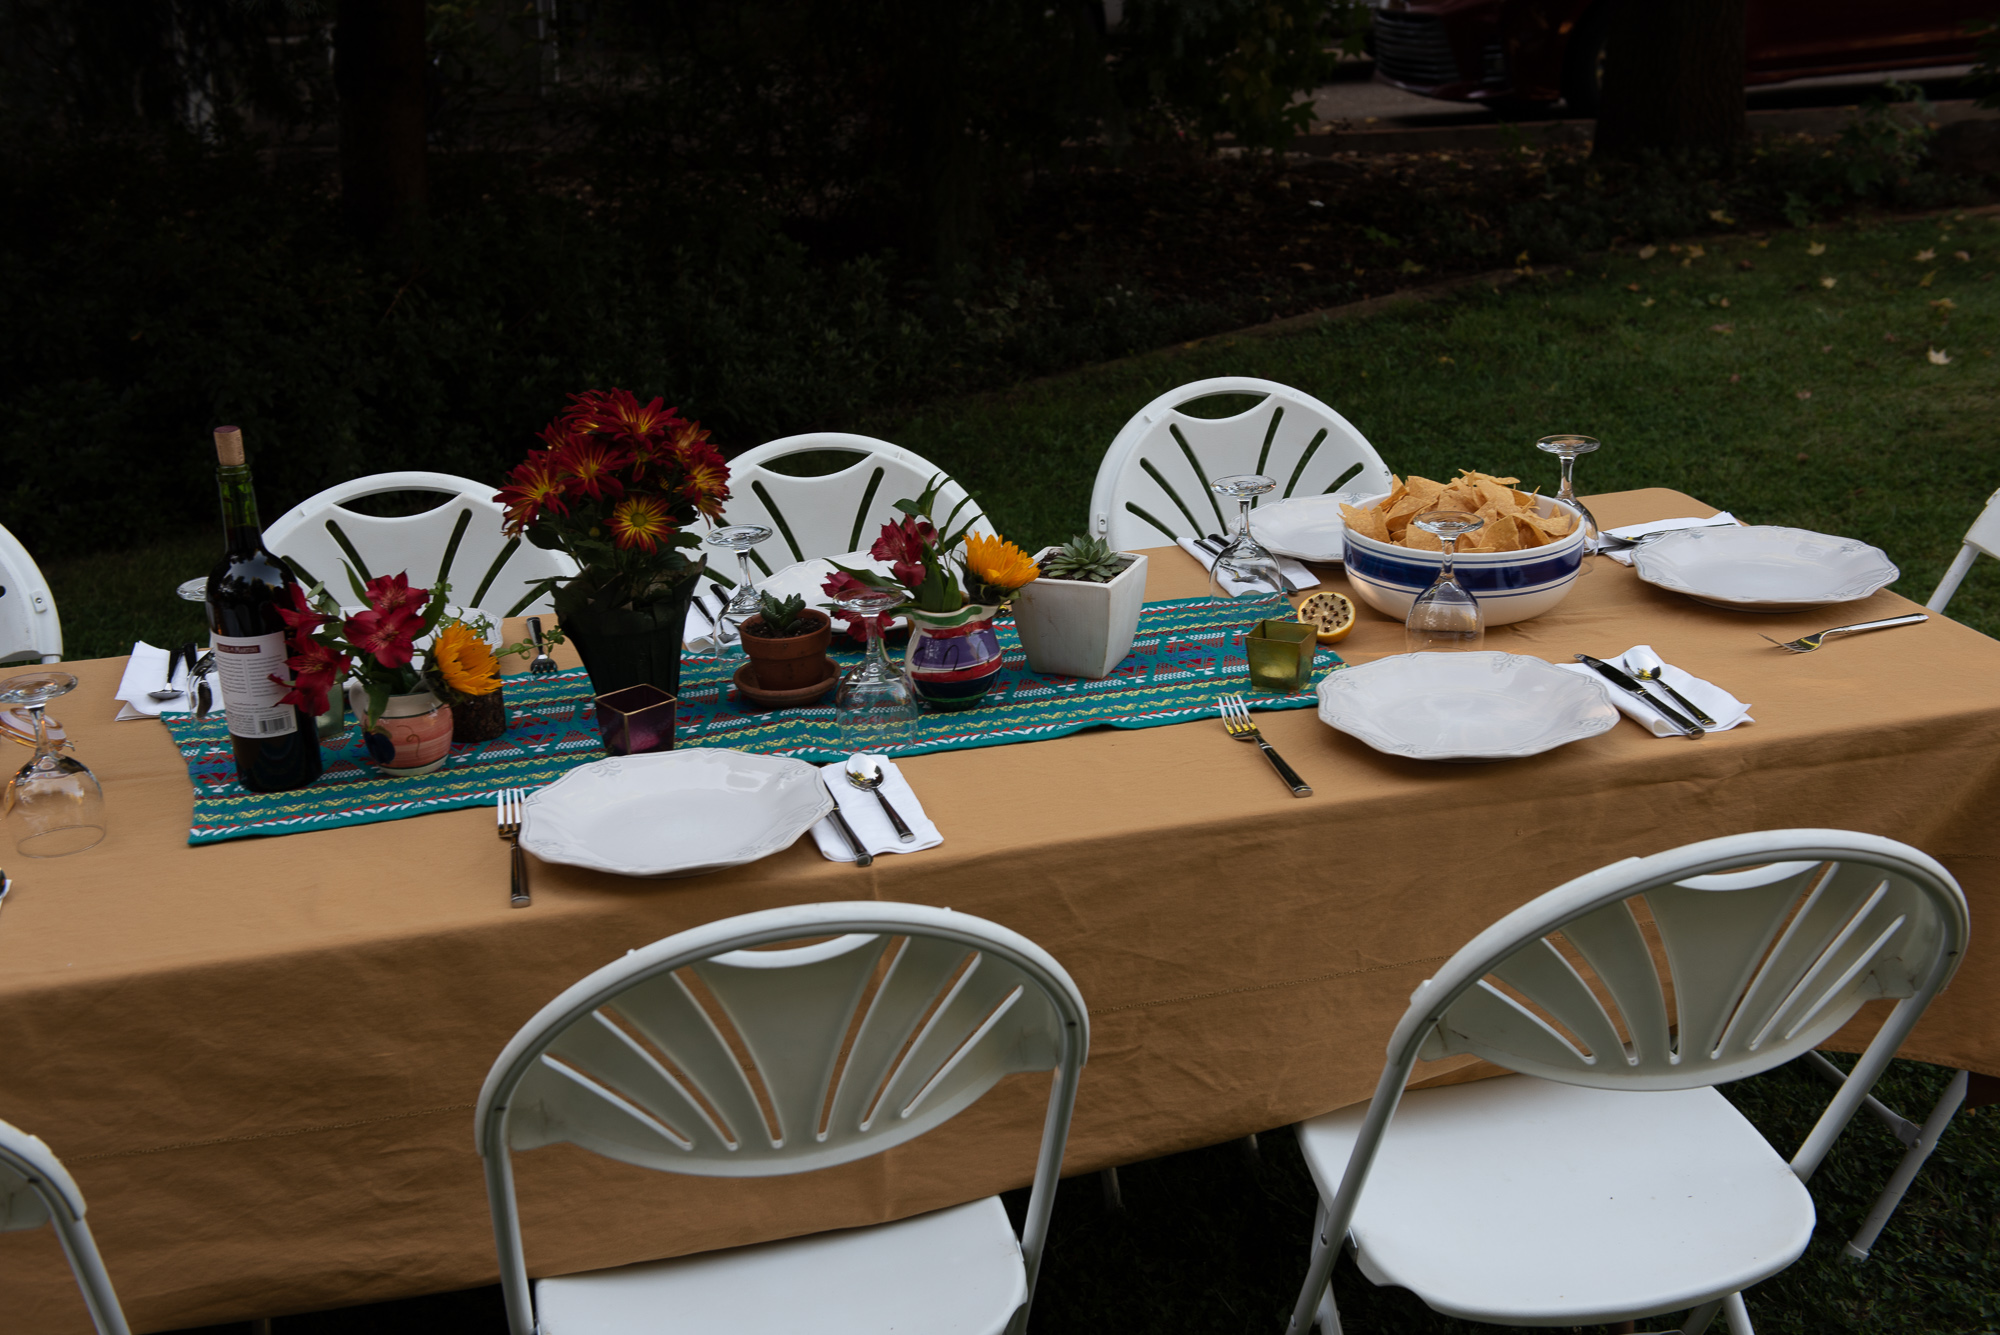
To finish things off, I potted little succulents in small clay pots gleaned from my garage and. my mother’s.  I added votive candles and small vases with Alstroemeria and dwarf Sunflowers. The vases are actually small pitchers I bought during a family vacation in Mexico a long time ago.  We also tucked in some lemon halves that had a large number of whole cloves inserted across the cut side because we read that it might repel the Yellowjackets.  (At this time of year, we often have yellow jackets and they are so annoying when we eat outdoors.  My husband put about 1/2 dozen open cans of cat food and tuna in strategic locations around the perimeter of the lawn and this proved to be a good distraction for the bees.  They were not a problem during the dinner). The lemons looked nice but I highly doubt their scent did much to help us.

Of course, way too much food!

The dinner was wonderful.

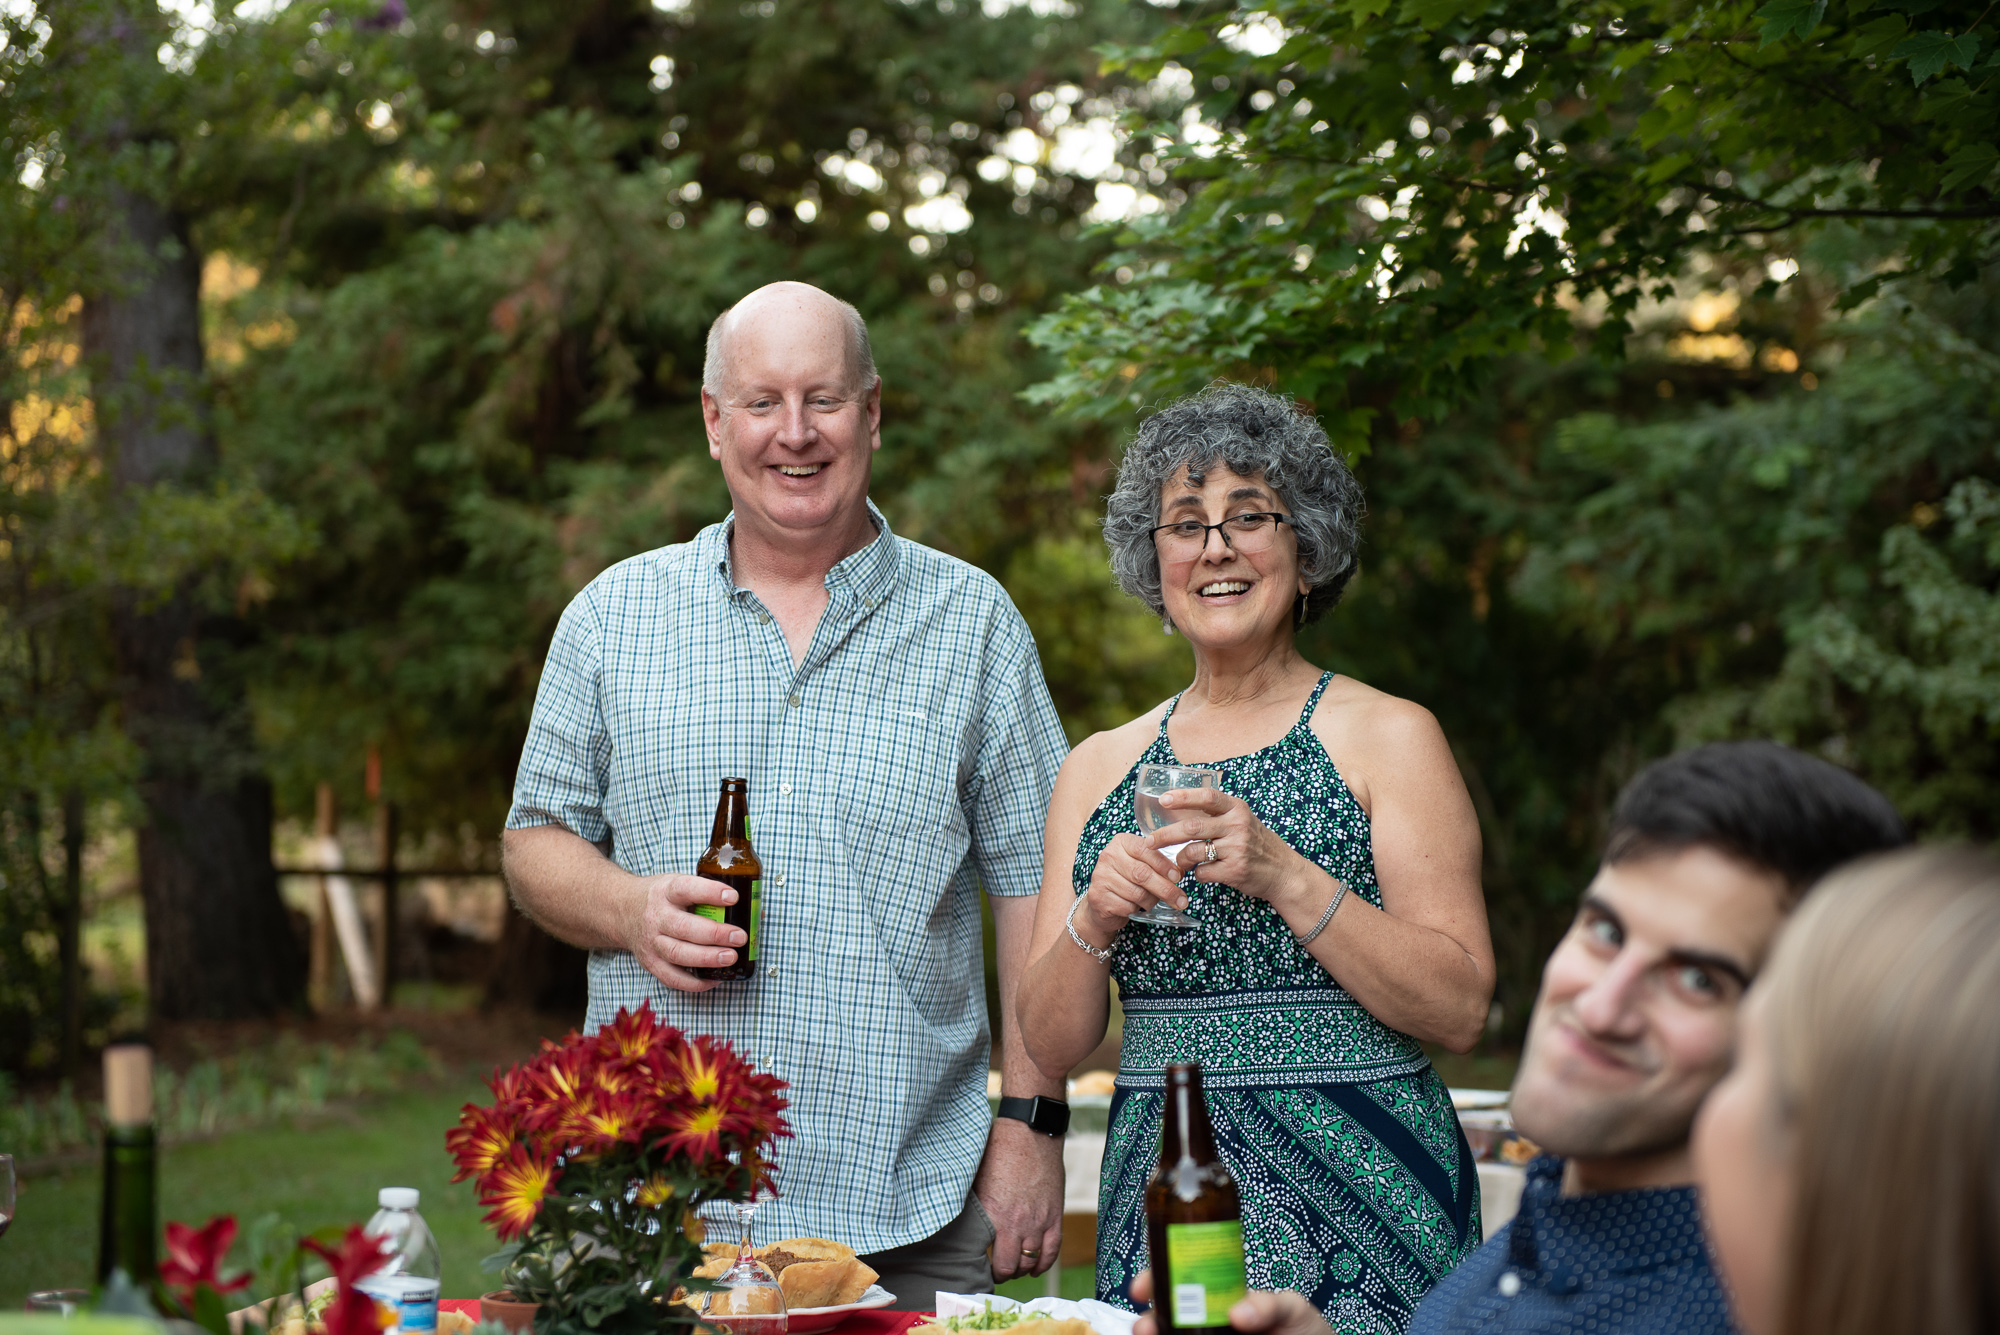
Toasting my son and his fiancé

We celebrated the bride and groom with toasts, laughter and great food.

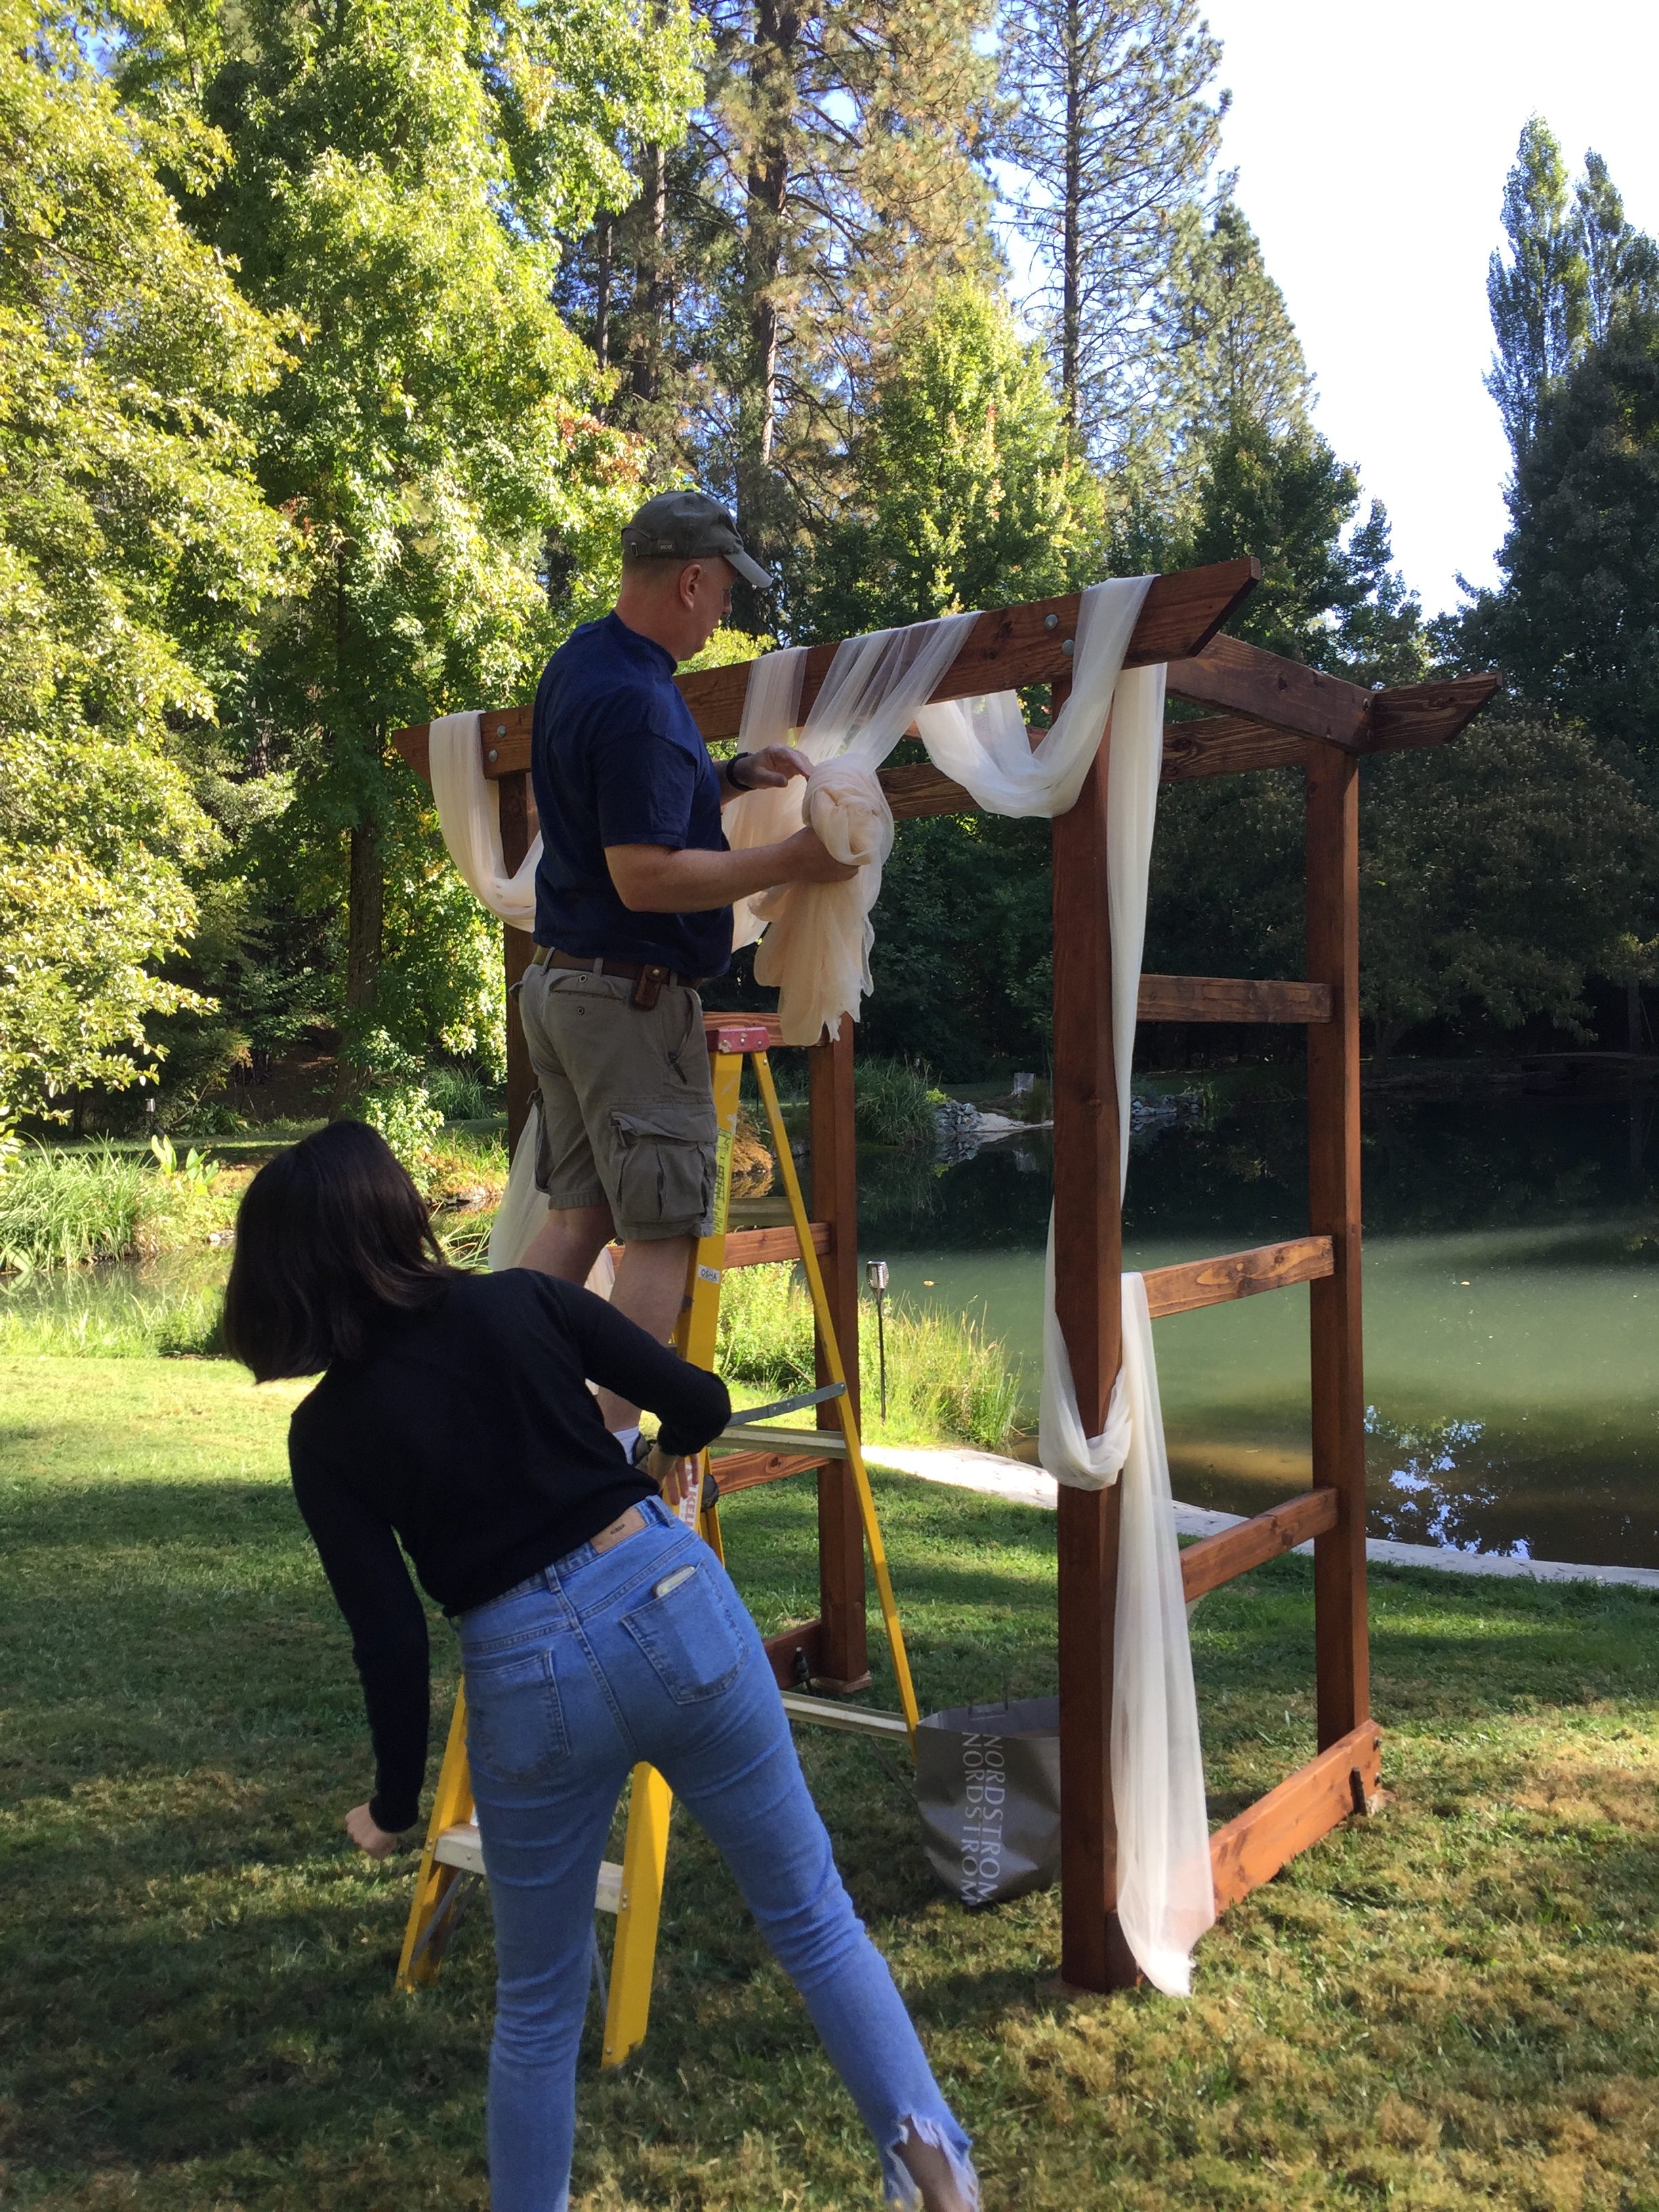
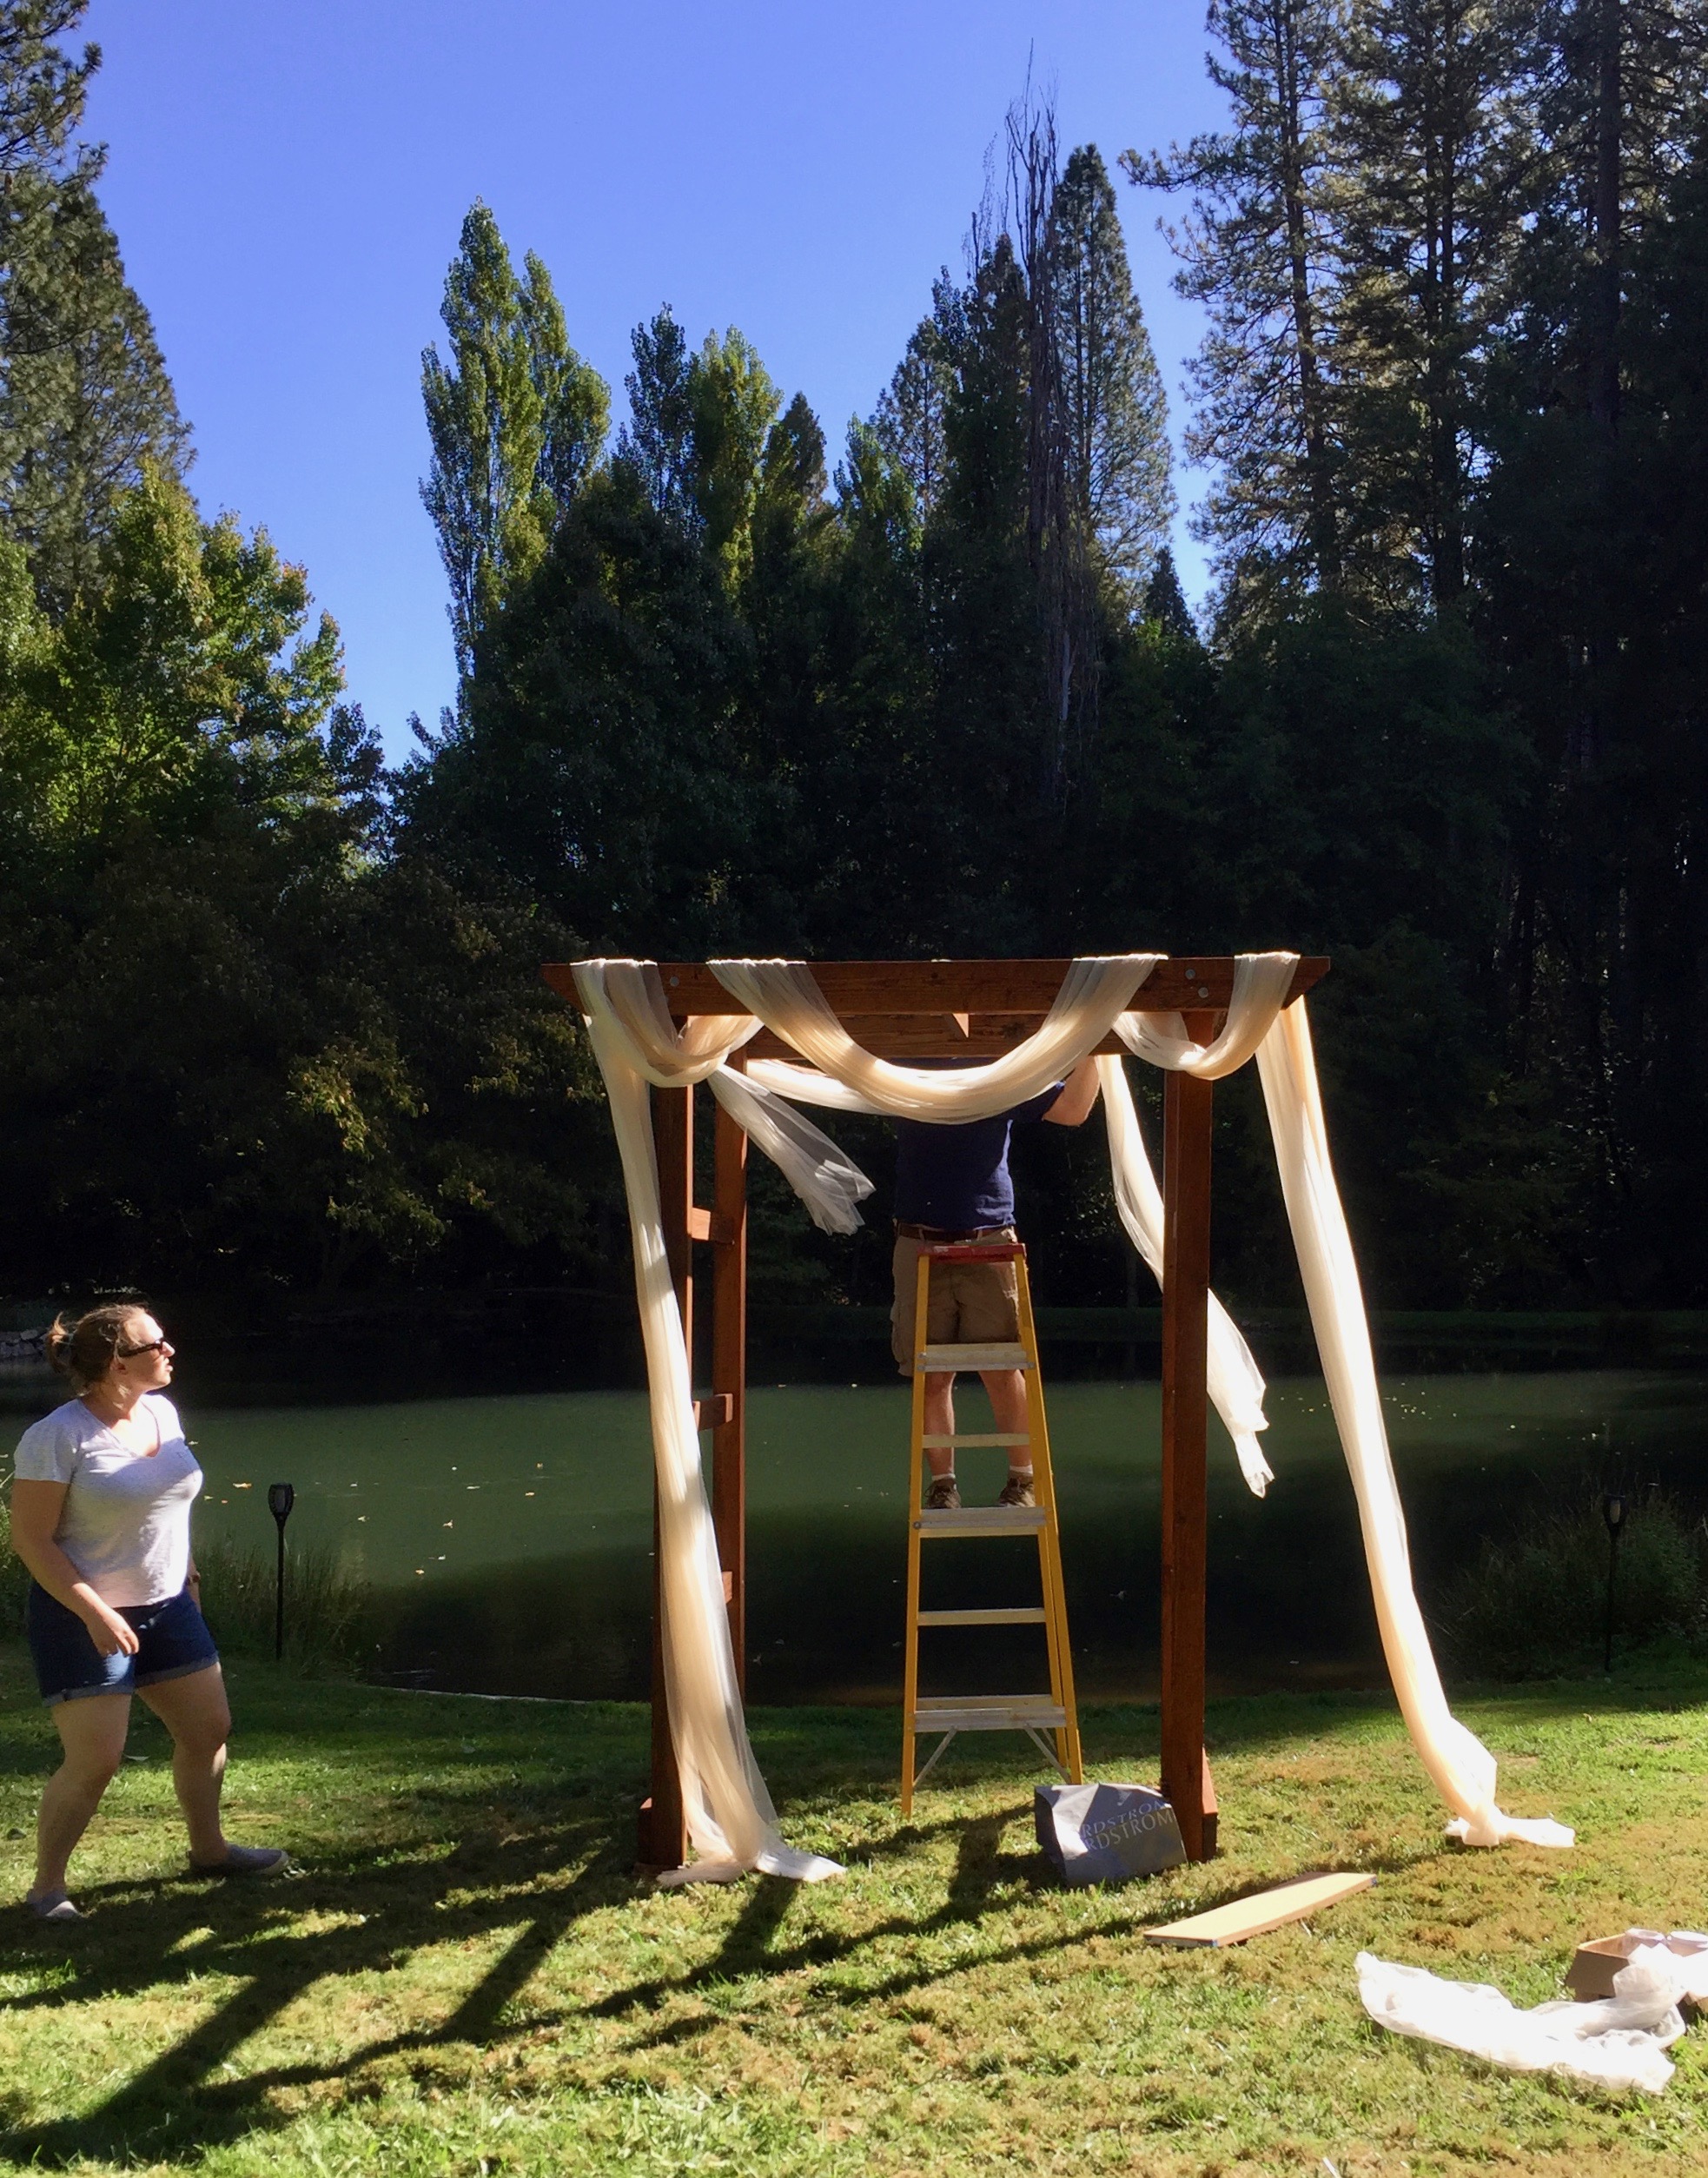
Decorating the arbor on Saturday morning.

Saturday morning we all headed over to the venue (maybe ten miles from home) and got everything ready.  My husband built an arbor for the kids to stand in front of for the ceremony.  Now they will have it to put in their yard as a remembrance of their day.  The bride wanted it draped with soft, flowing tulle.  I found two colors at JoAnn’s and bought 15 yards of each the Eggnog and the light Peach colors.  My husband patiently draped and re-draped it as we all stood on the ground giving direction. (You can imagine, right??)

It was a breezy day which was nice and it made the tulle float a bit.

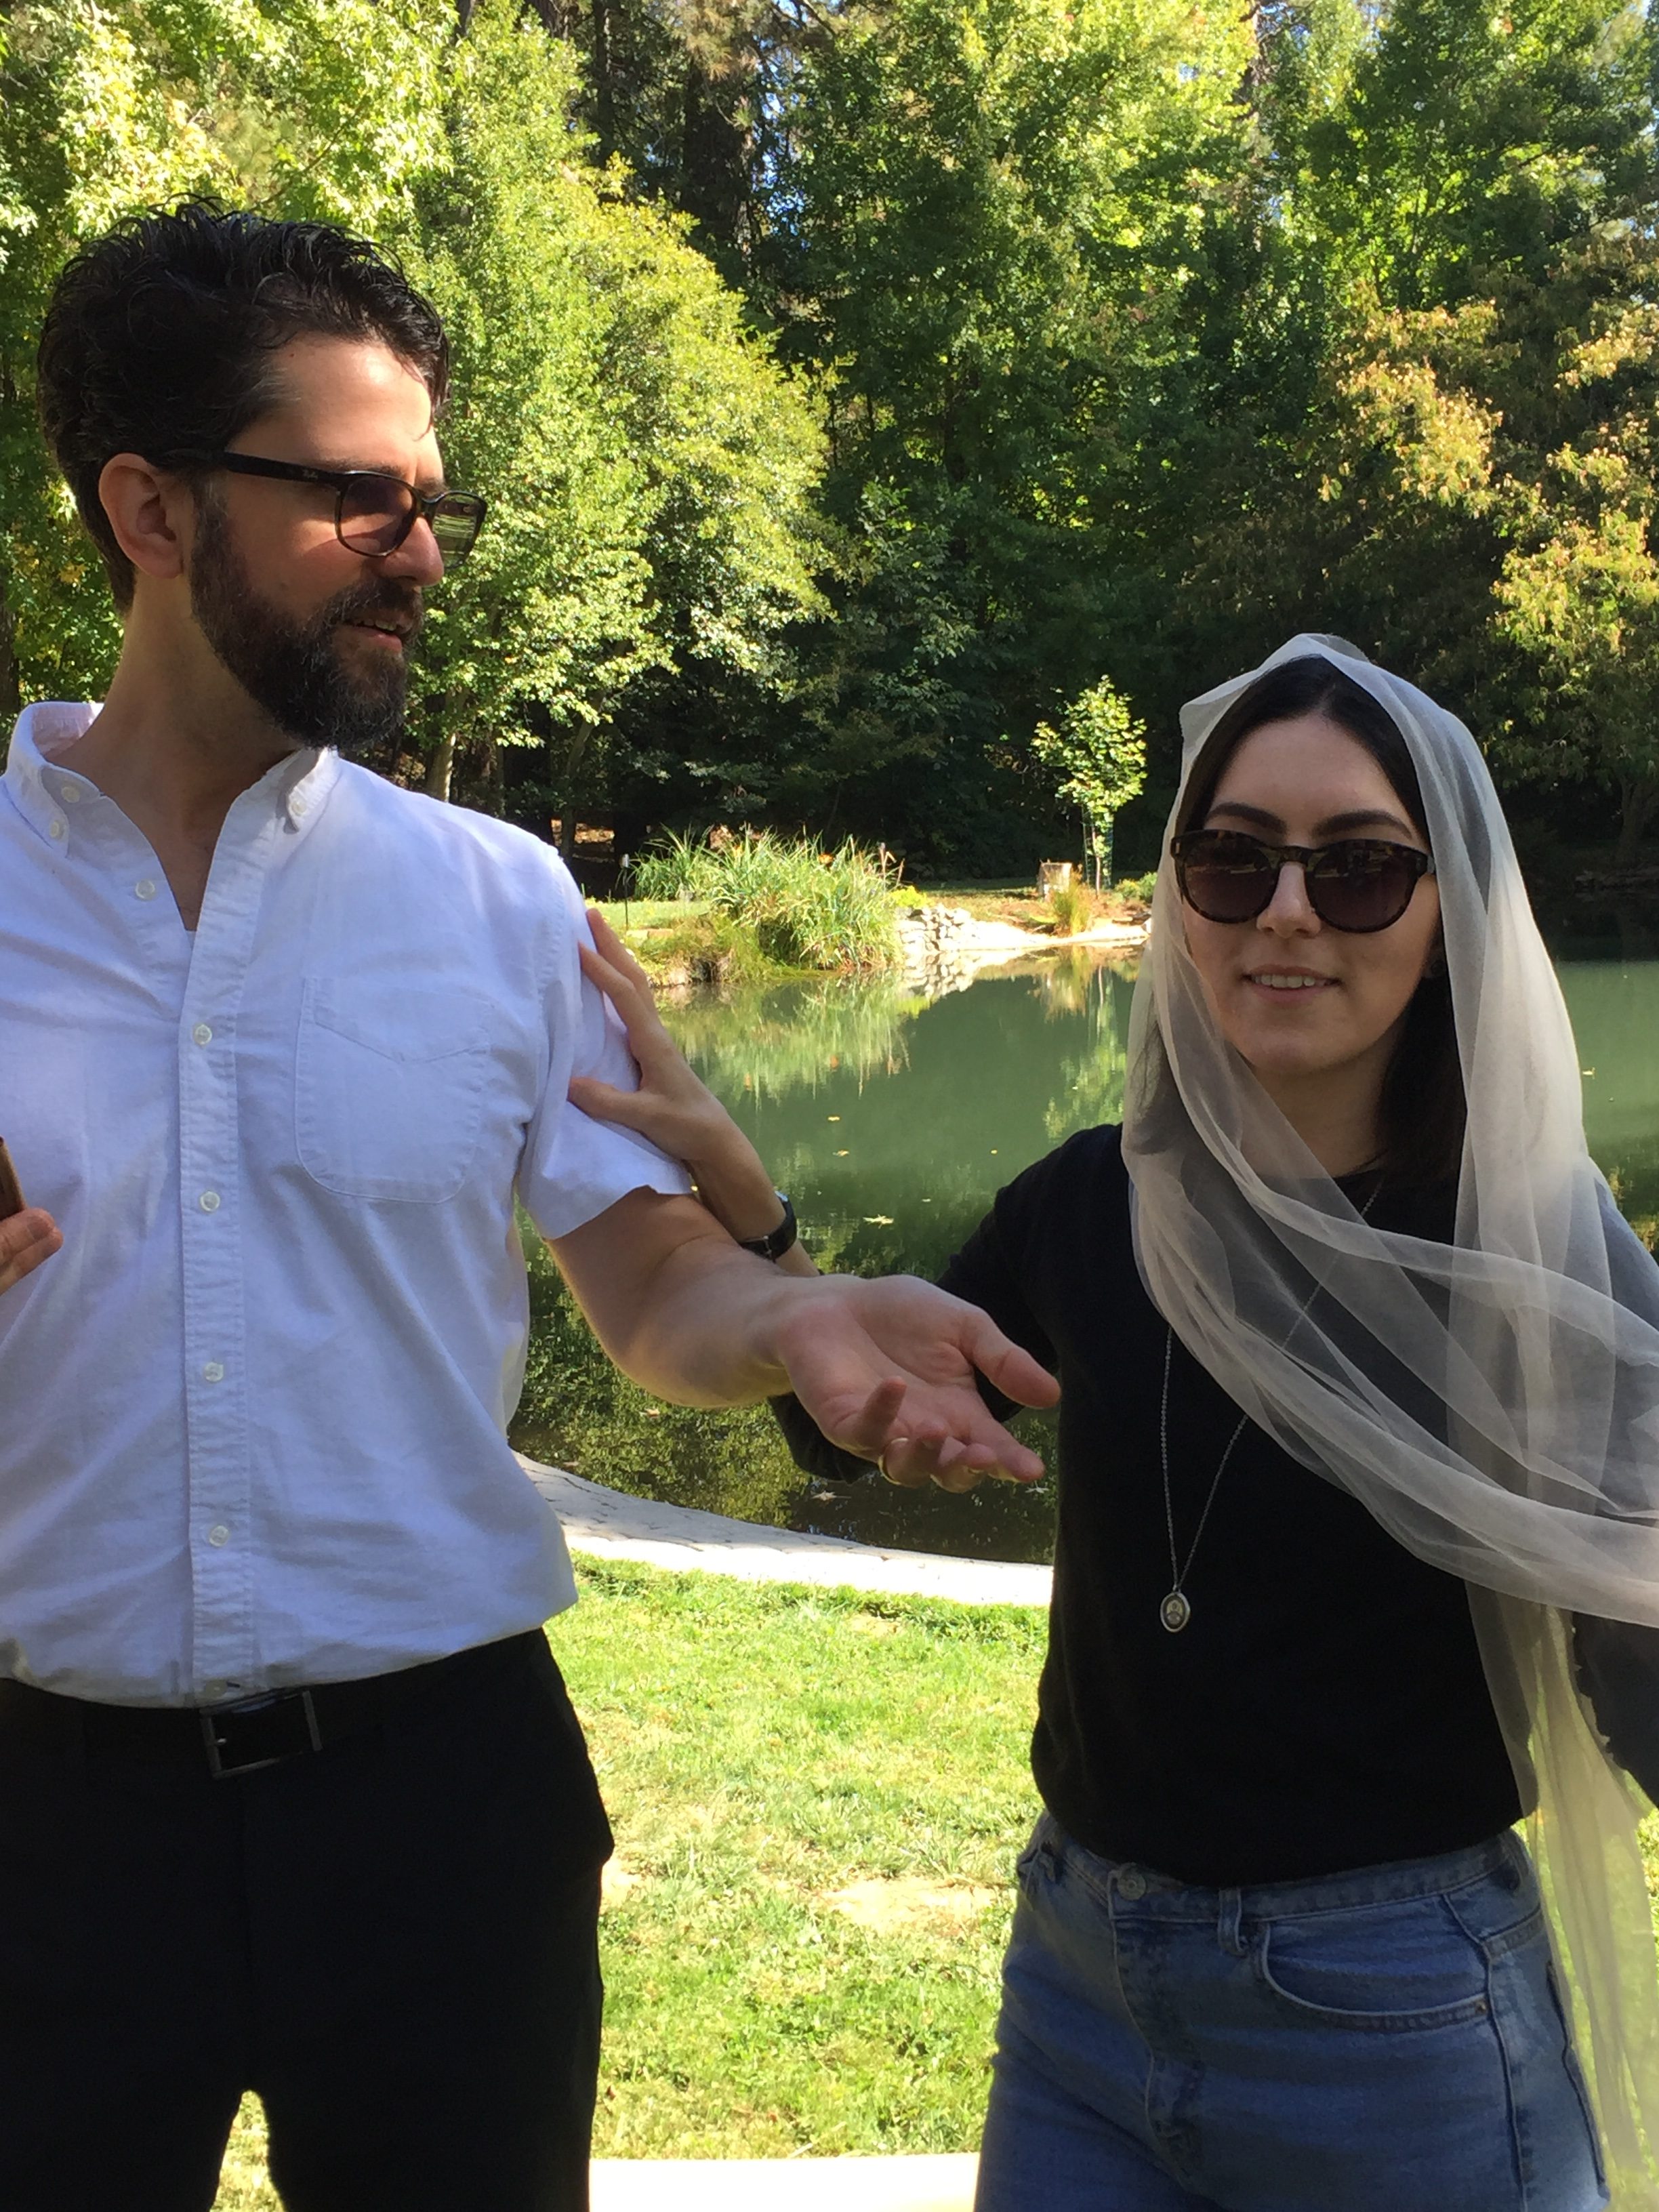
My daughter-in-law’s Jackie O look. She is so funny.

Saturday morning was really a fun family time.  Everyone was so excited about the wedding and just enjoying each other’s company.

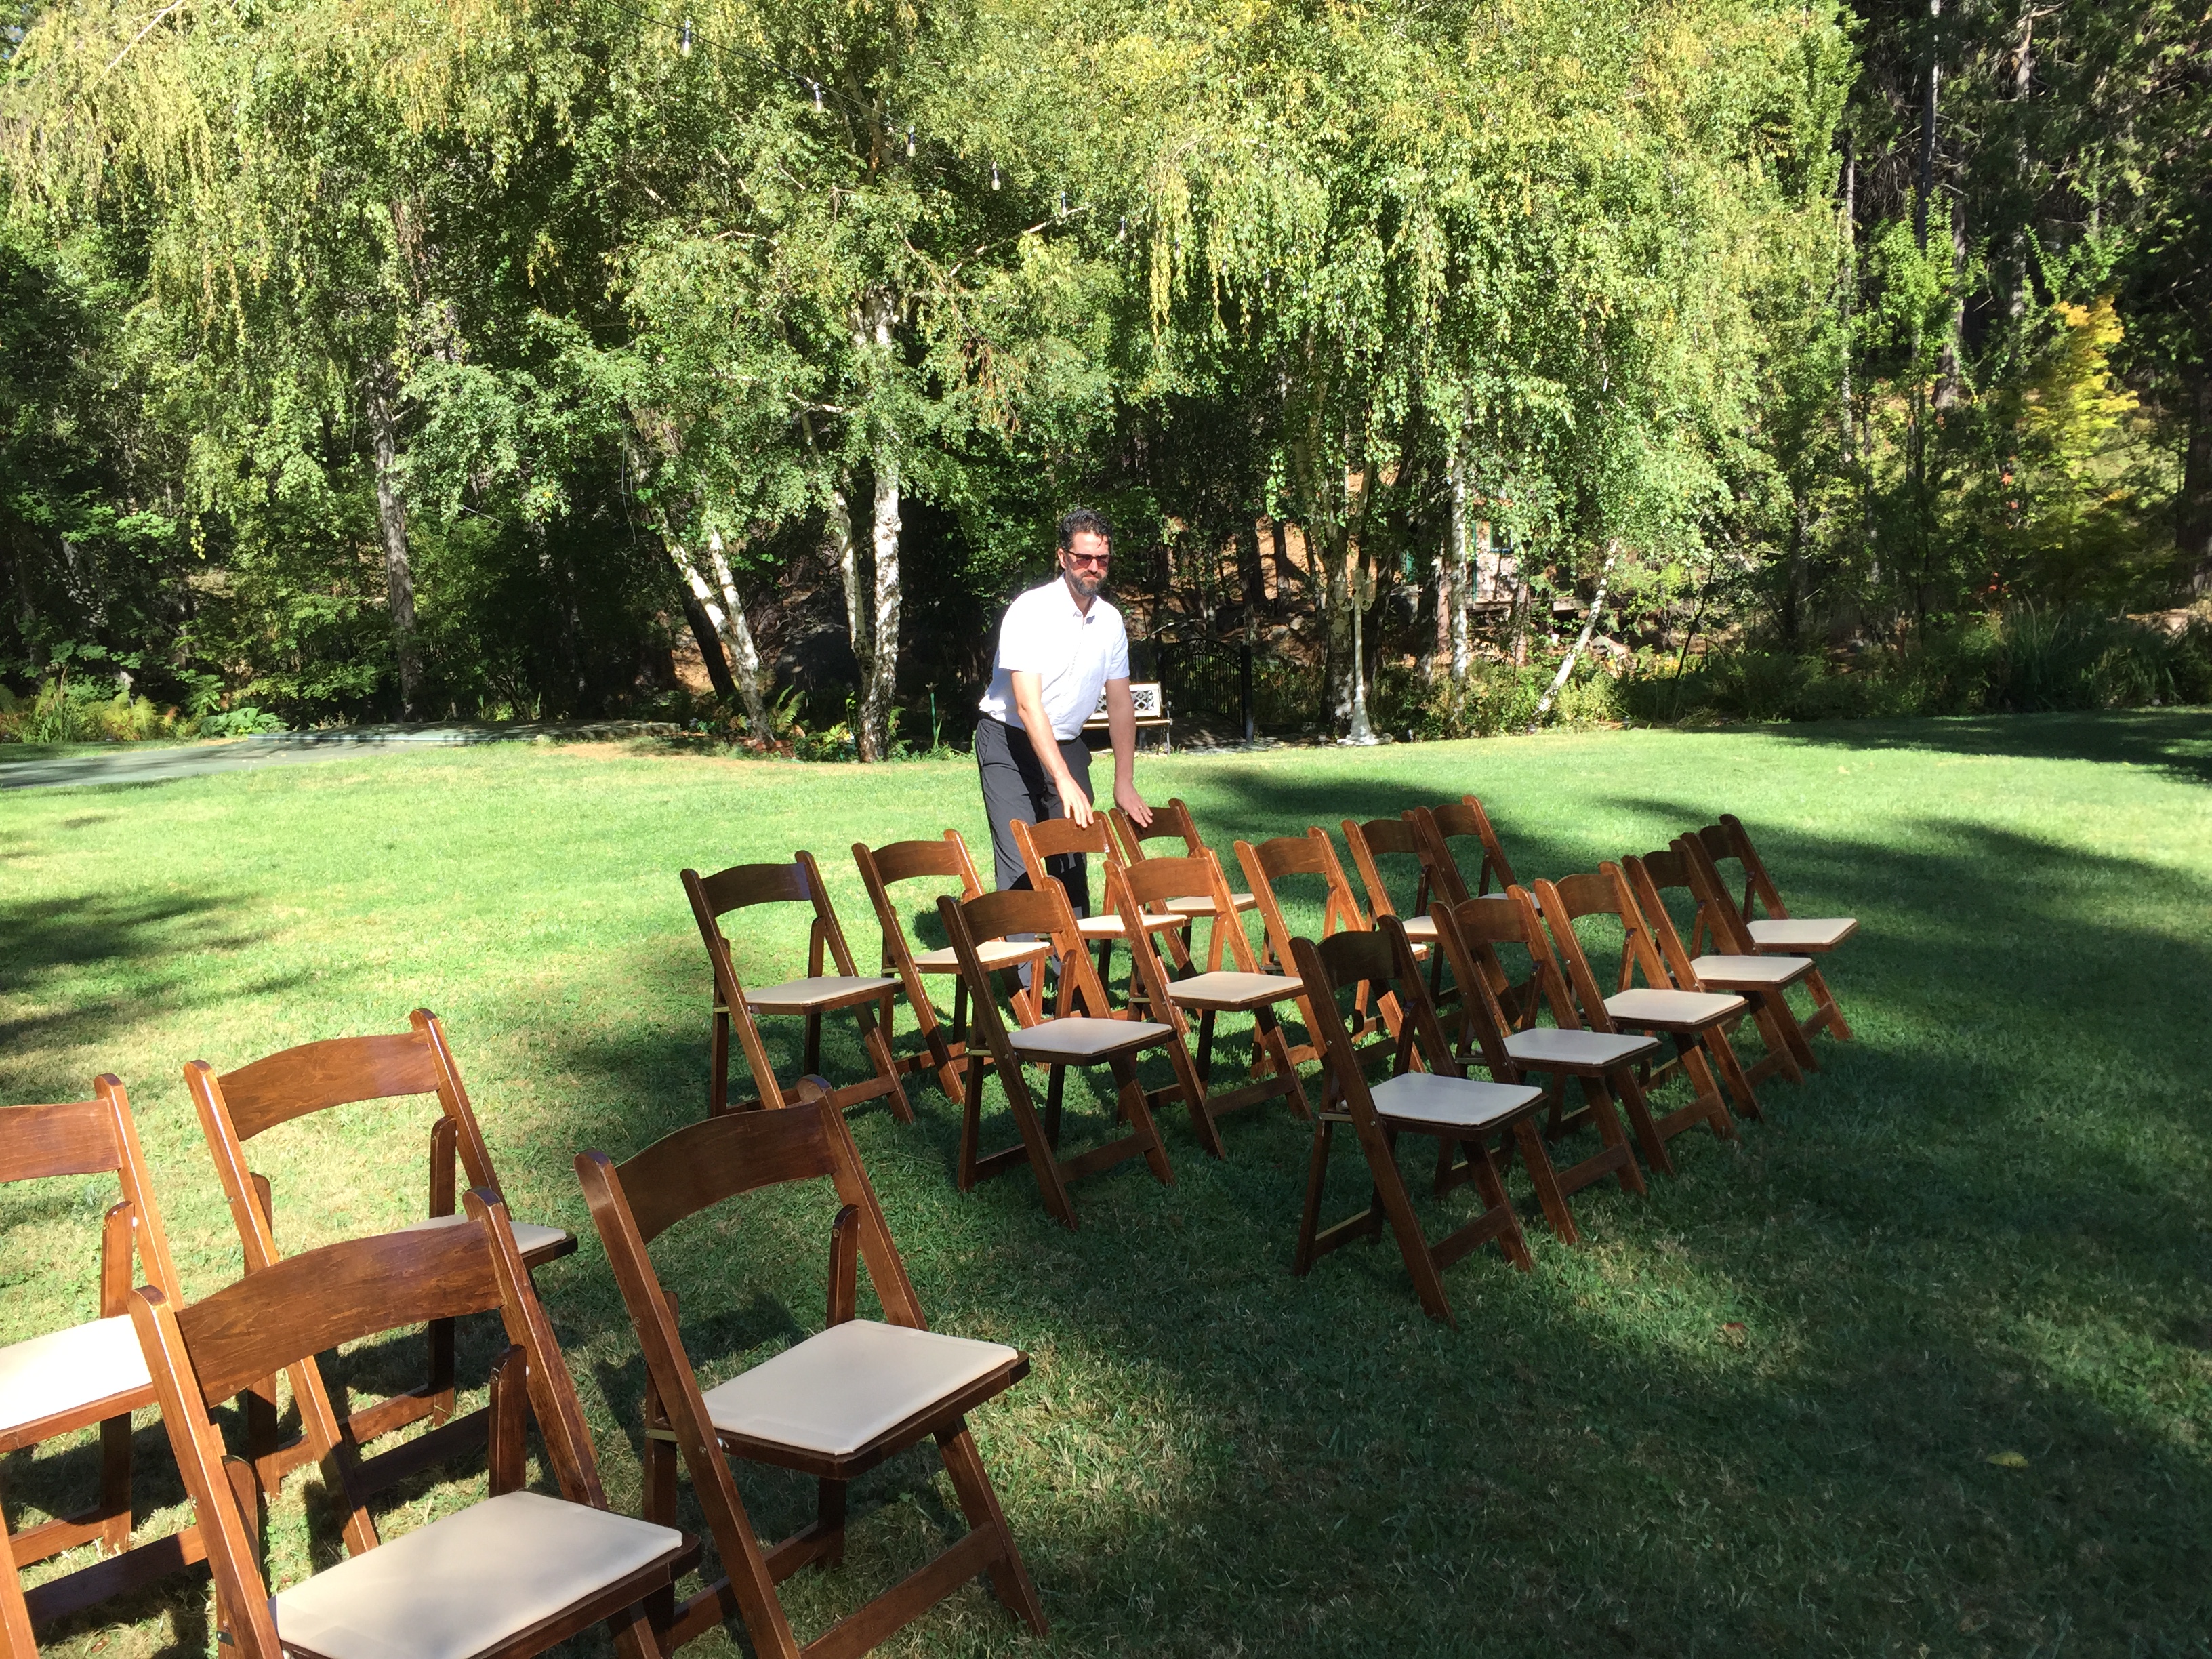
The guys set up the chairs while we decorated the arbor.

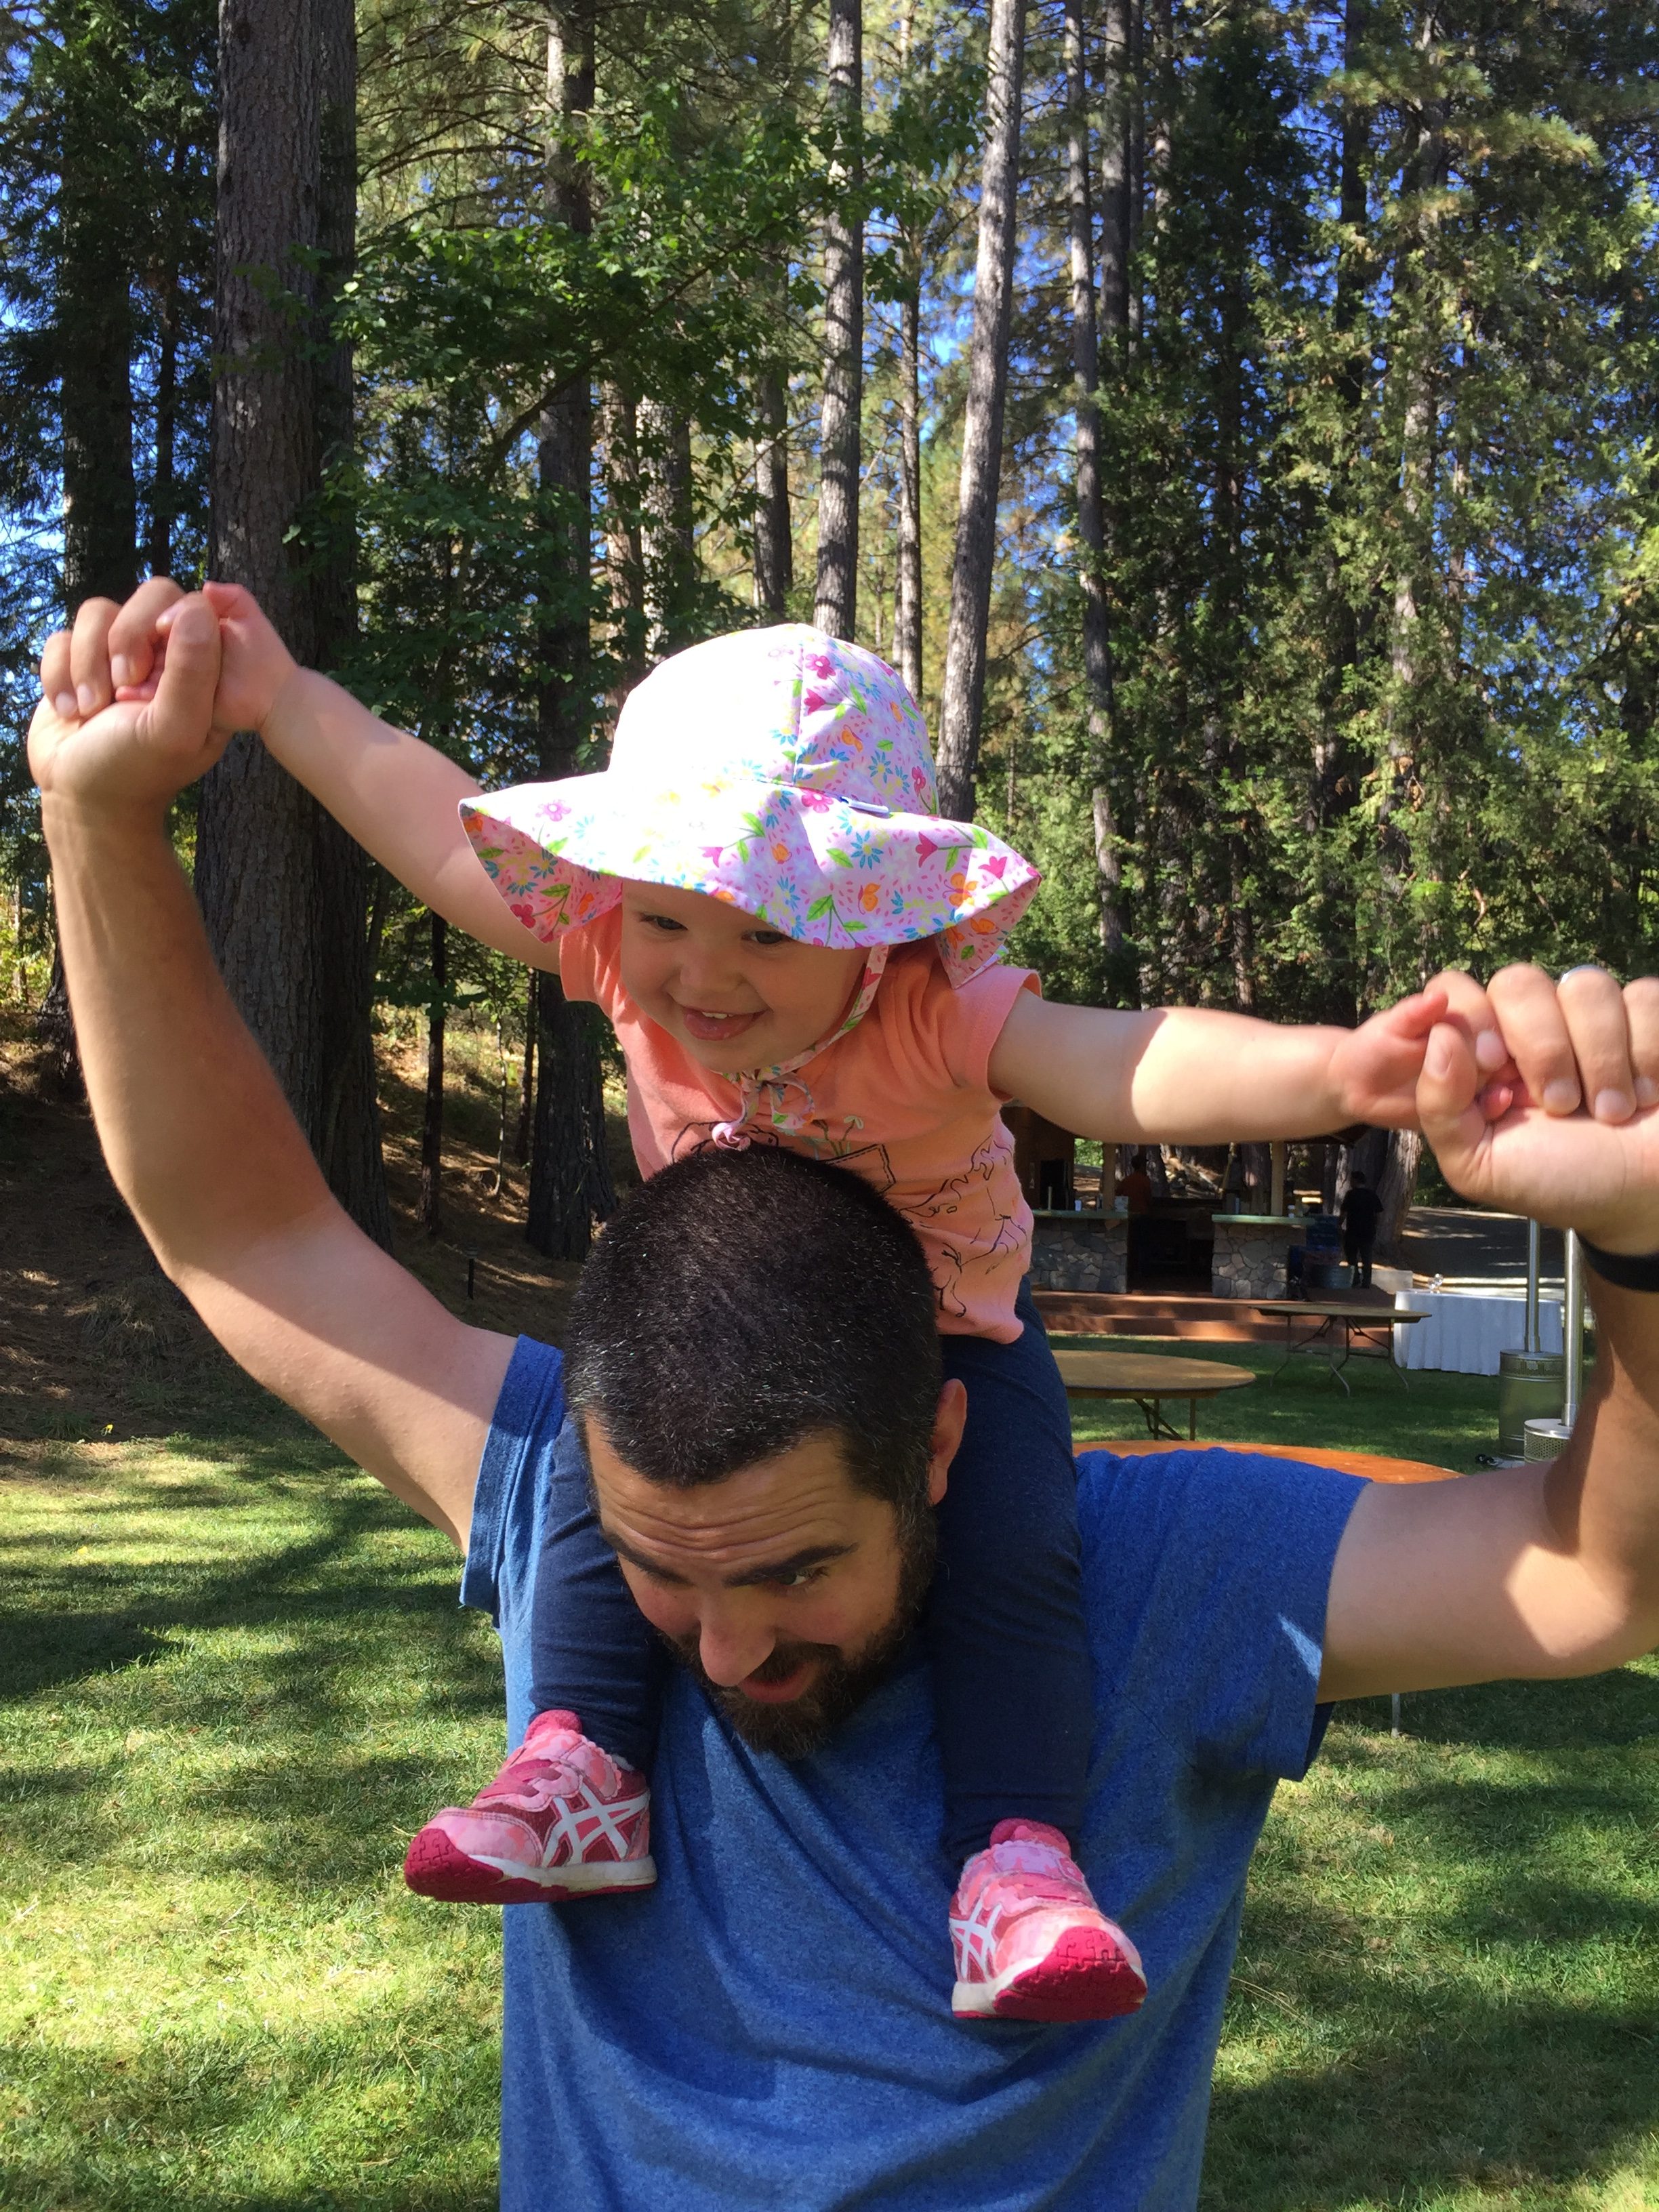
This guy loves being a father!

My grand daughter had so much fun running around but we had to keep close track of her because there is a creek running through the property and a large pond as well.

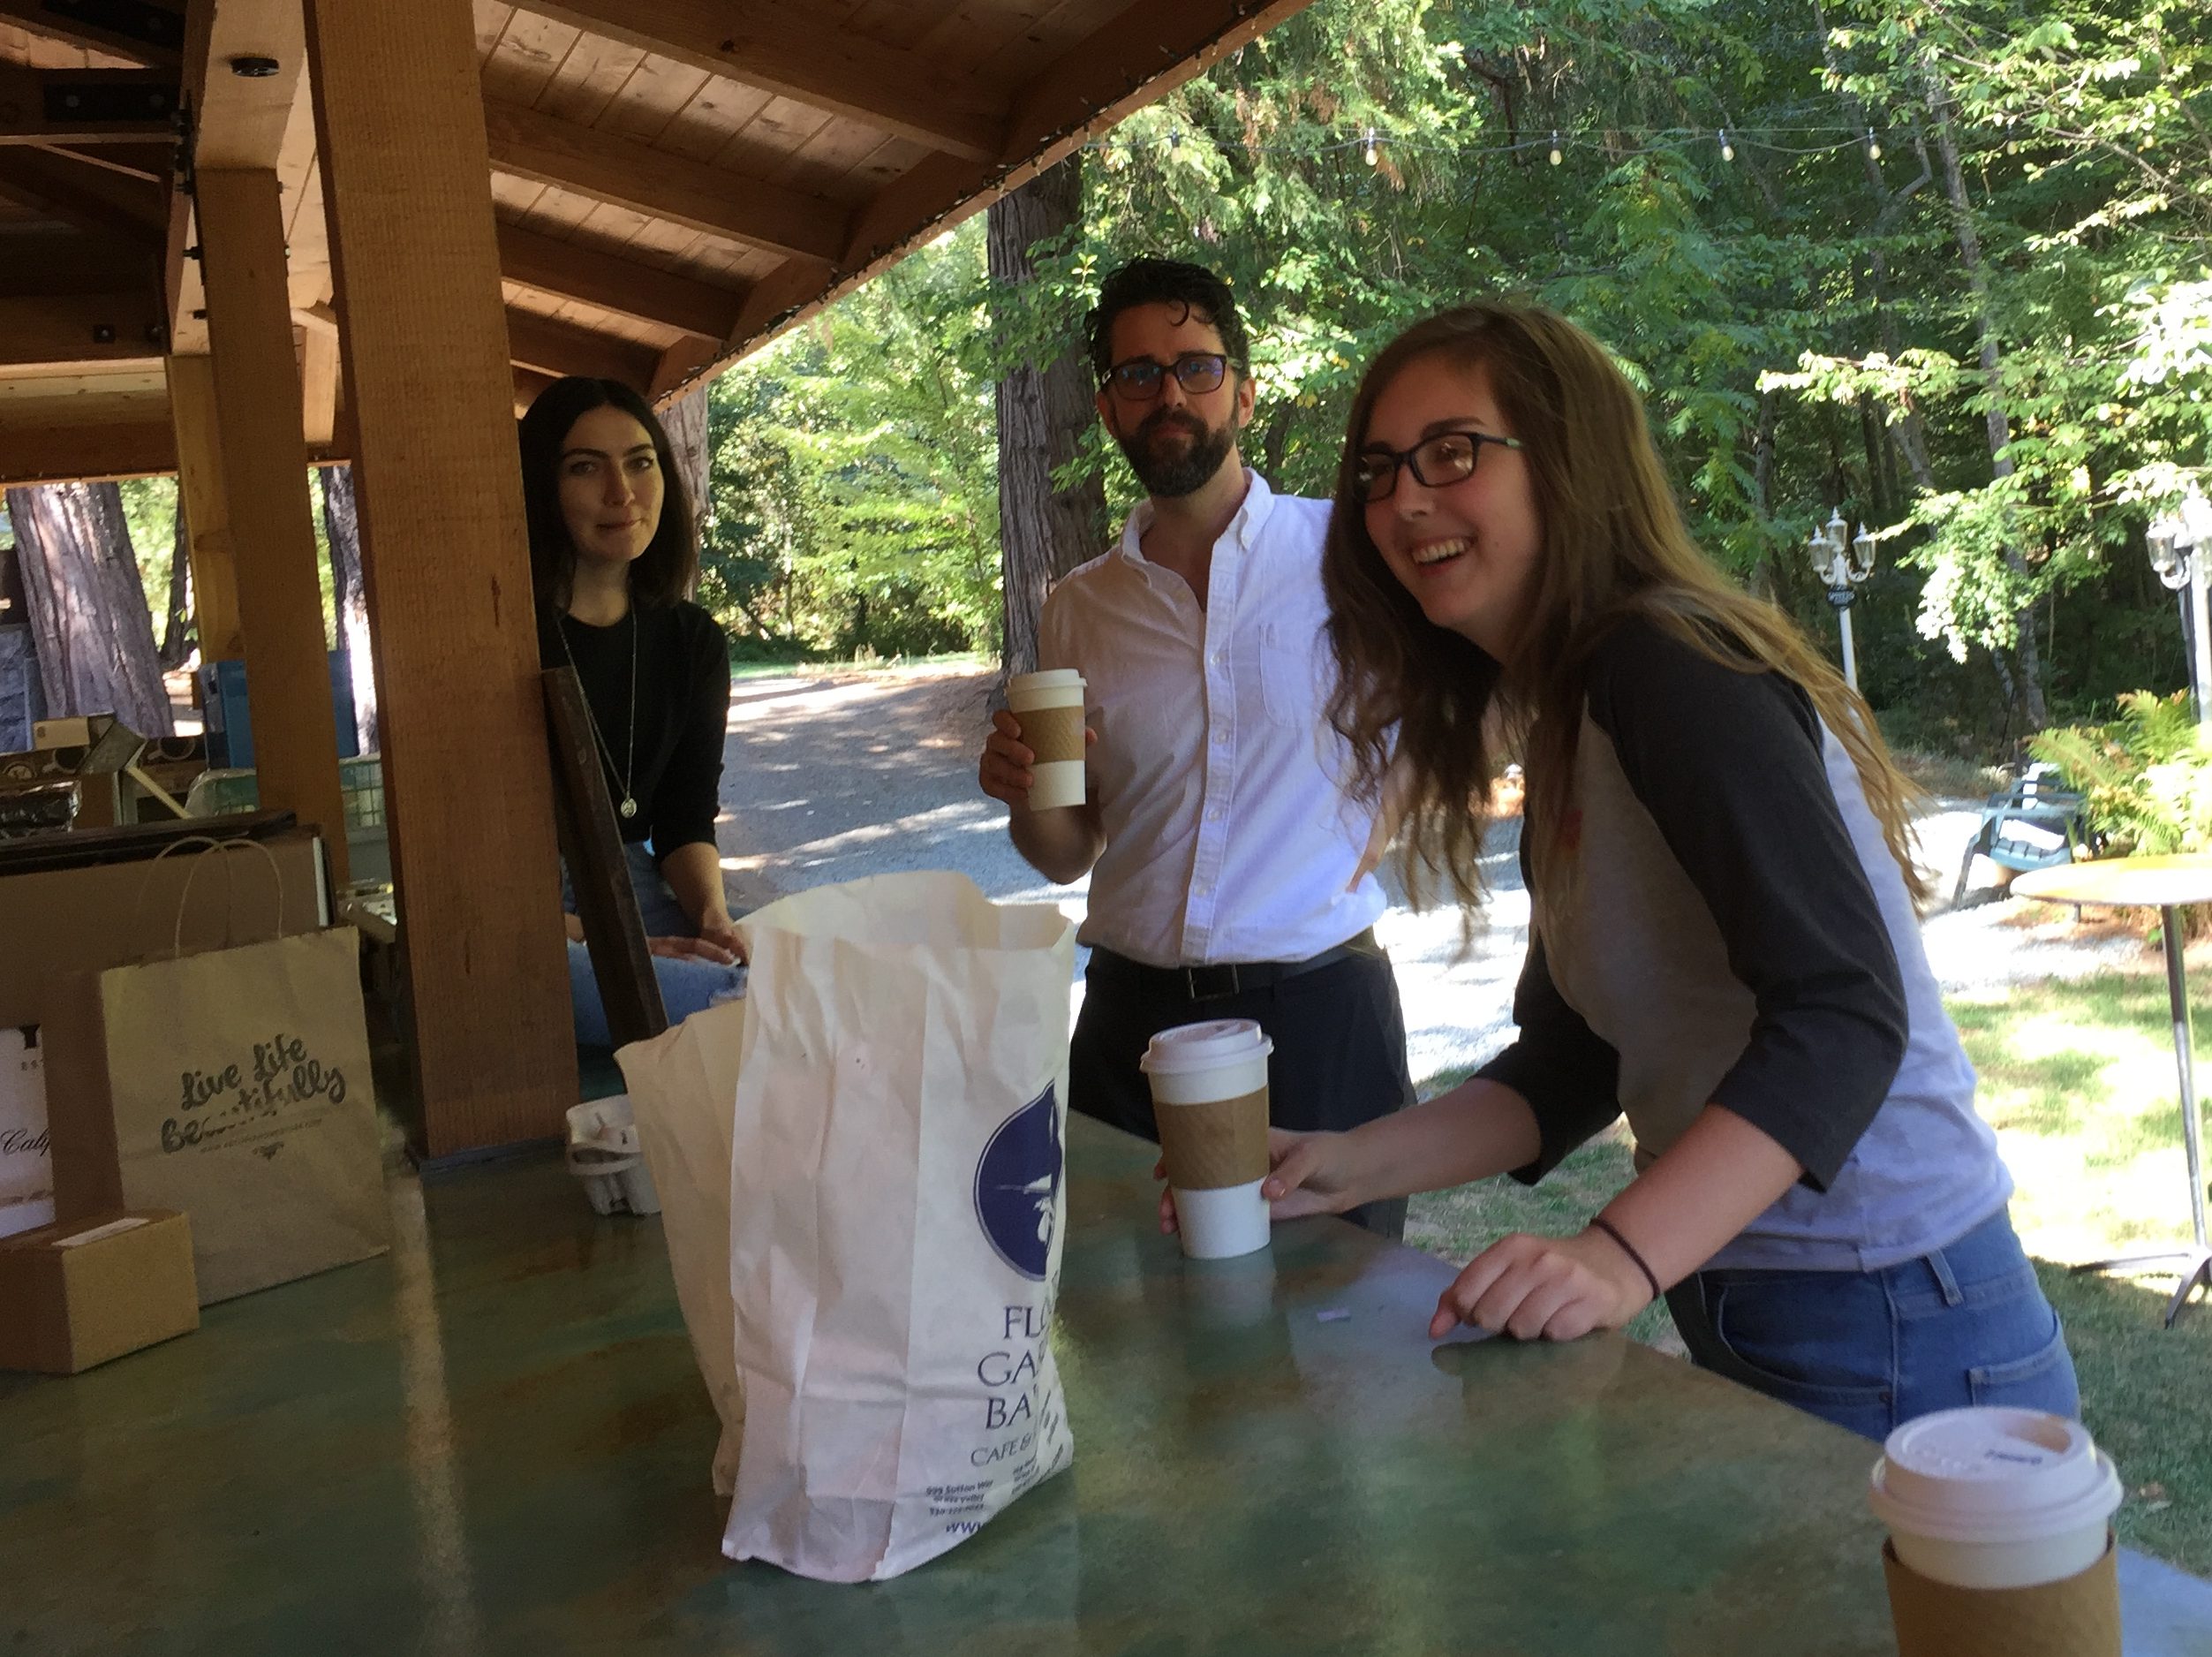
Time for coffee and scones.

Once the arbor was set up and the chairs in place, all we had to do was place the tables where we wanted them.  Then the wedding coordinator and the caterers came and set the tables.  I wish I had a picture of this before the ceremony started.  I am sure the photographer got some though.  I will share them when we get to see them (likely a several weeks from now.) Spending the morning of the wedding day together getting things ready was so much fun.

I will share some wedding pictures in a separate post.  Everyone has gone back to their real lives.  The bride and groom are taking their honeymoon in May so they are back to work now.  My plan for this morning is to tackle some housecleaning.  It is a complete disaster!  Then I need to get back to work.  I received a box of fabric yesterday and there is another scheduled to arrive this afternoon so I have lots to do.  If you have been waiting for Carrie Bloomston’s new line, Wonder, it should be listed by tomorrow, maybe late this afternoon if I can get to it!  It is just fantastic.

Linking to my favorites!  Including a new link up called Brag About Your Beauties, hosted by Michelle of From Bolt to Beauty. Come take a look – there will surely be something to inspire you!


A Sweet Finish

Today I found myself getting frustrated because I have so much I should be doing and no energy.  After a two day migraine it usually takes me two or three days to get back on track.  This weekend is a big one because my son is getting married on Saturday.  My kids all come home on Thursday which is so great.  Anyway, I felt like I should be cleaning house or doing yard work, etc and really my body is rebelling and saying I should take it easy.  So I went in the sewing room.  Time in the sewing room is often a cure-all, right??

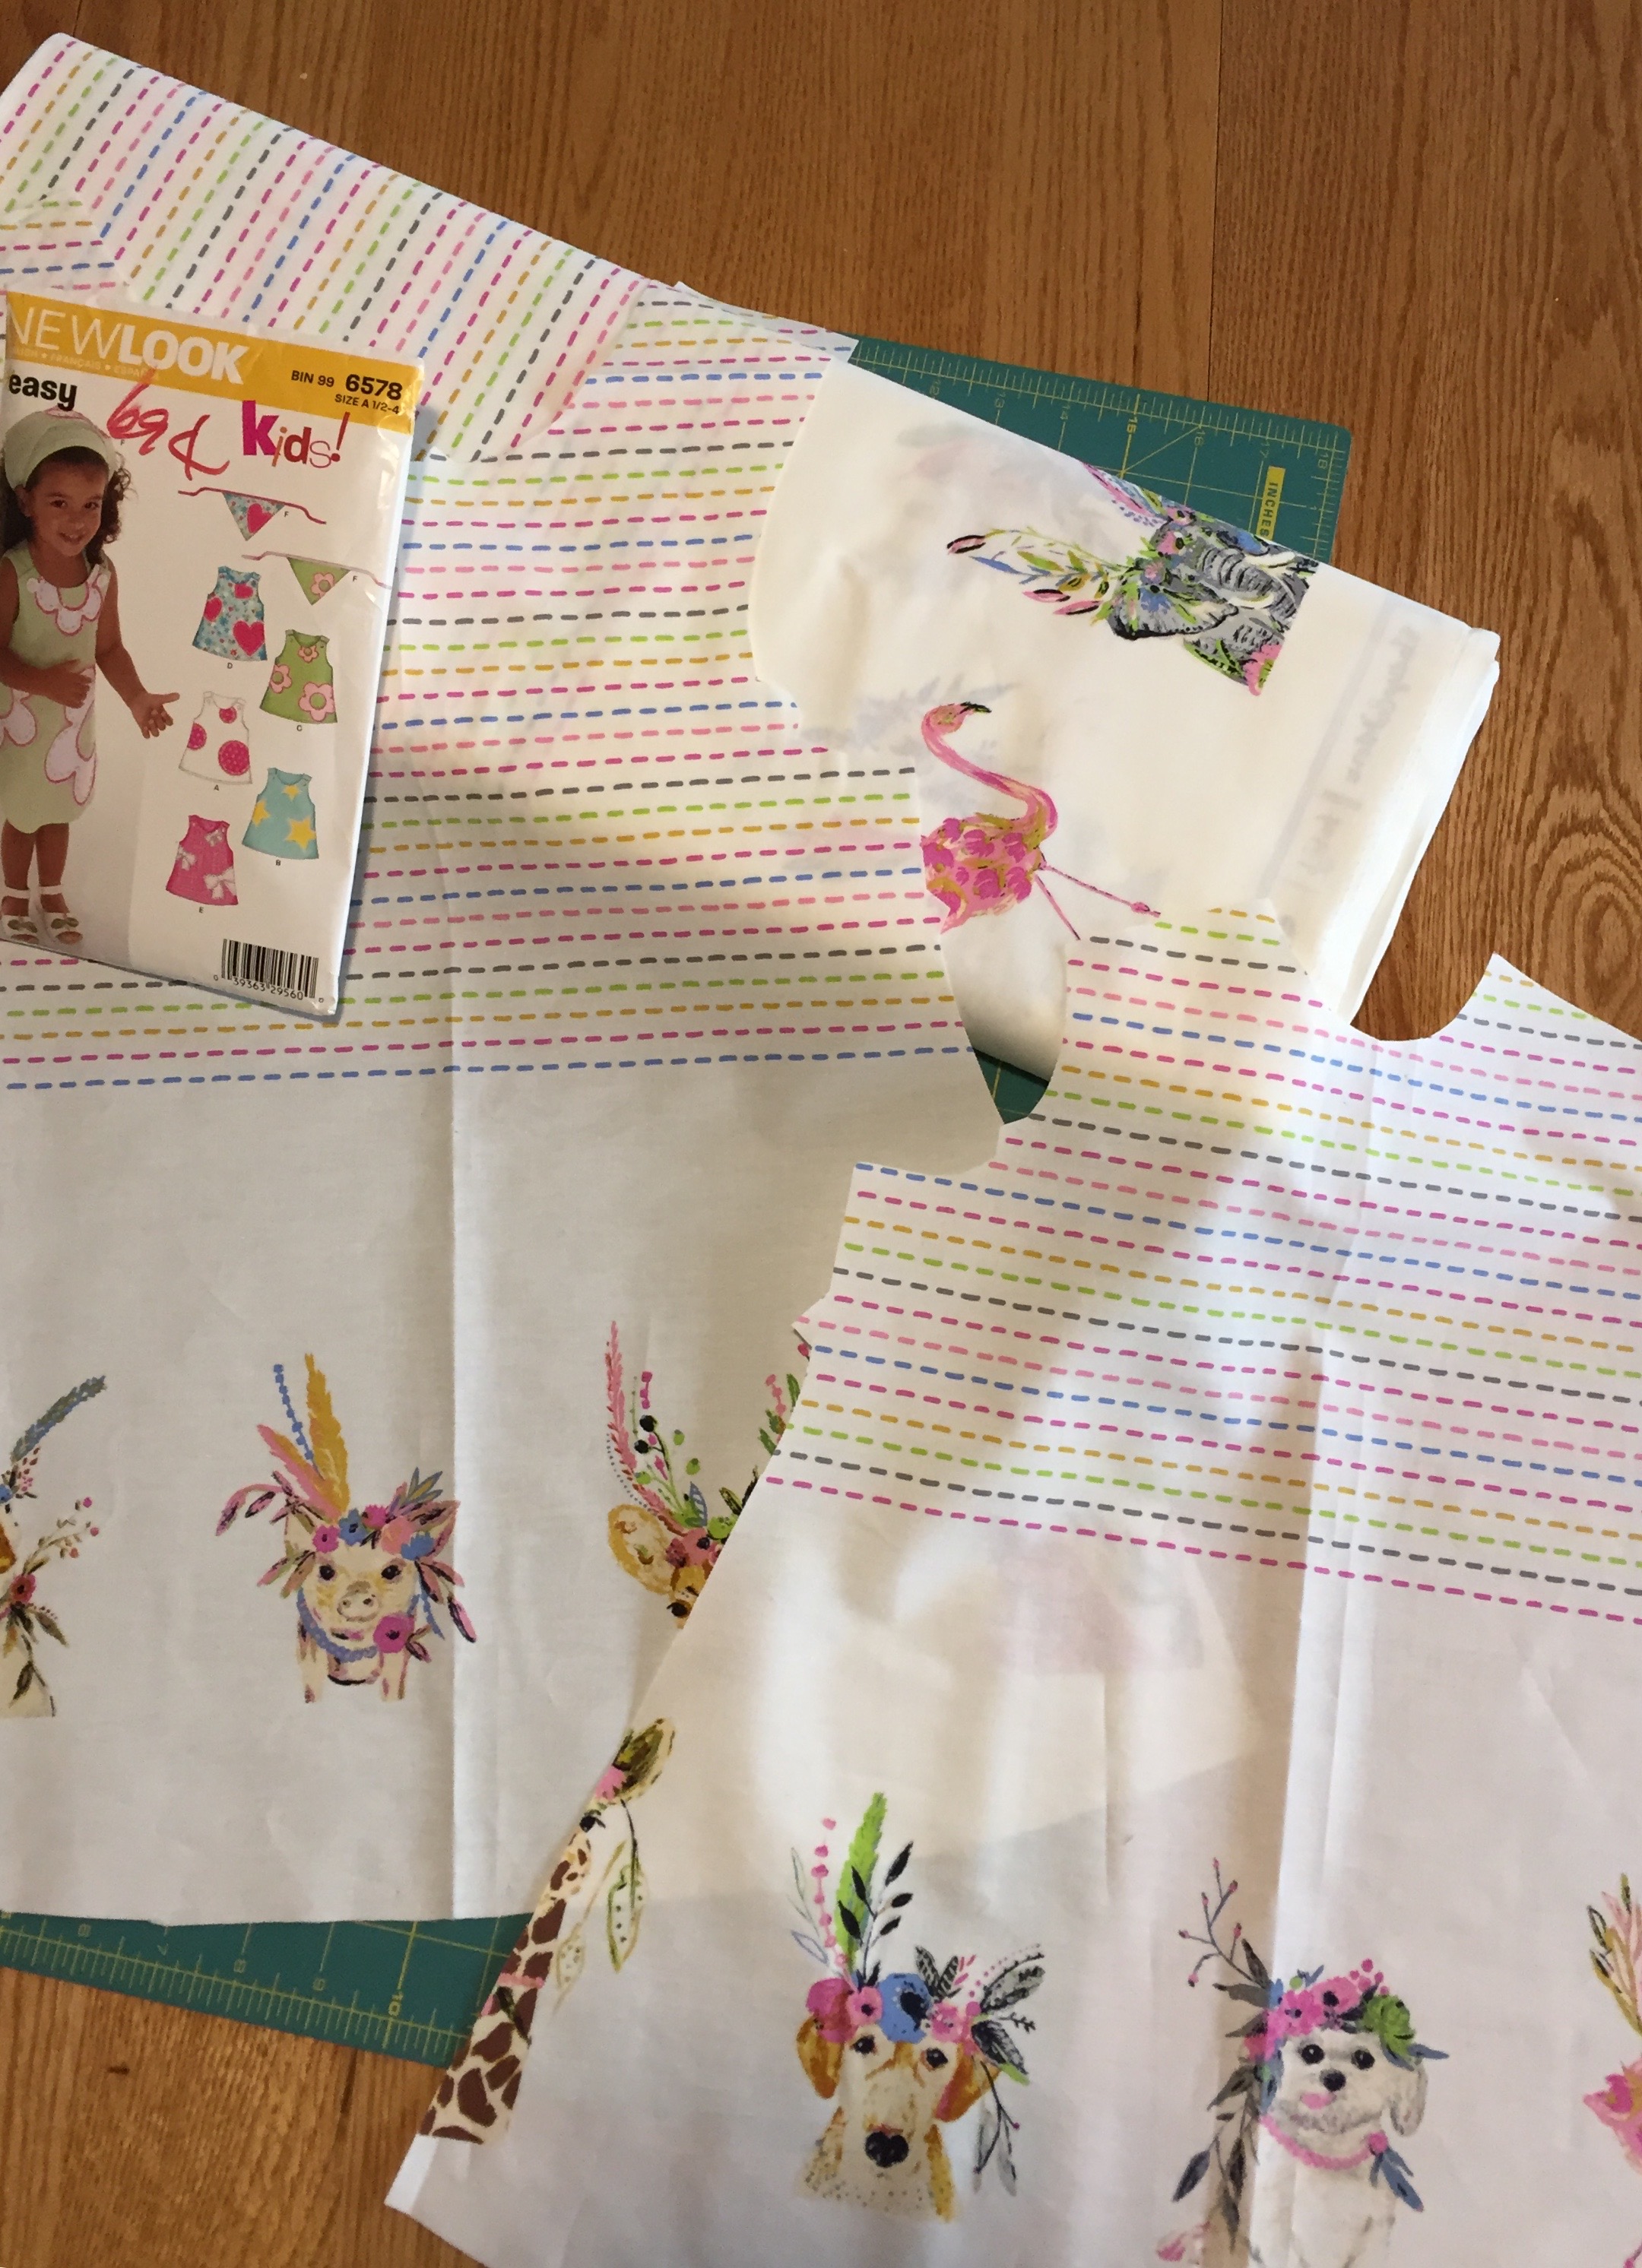
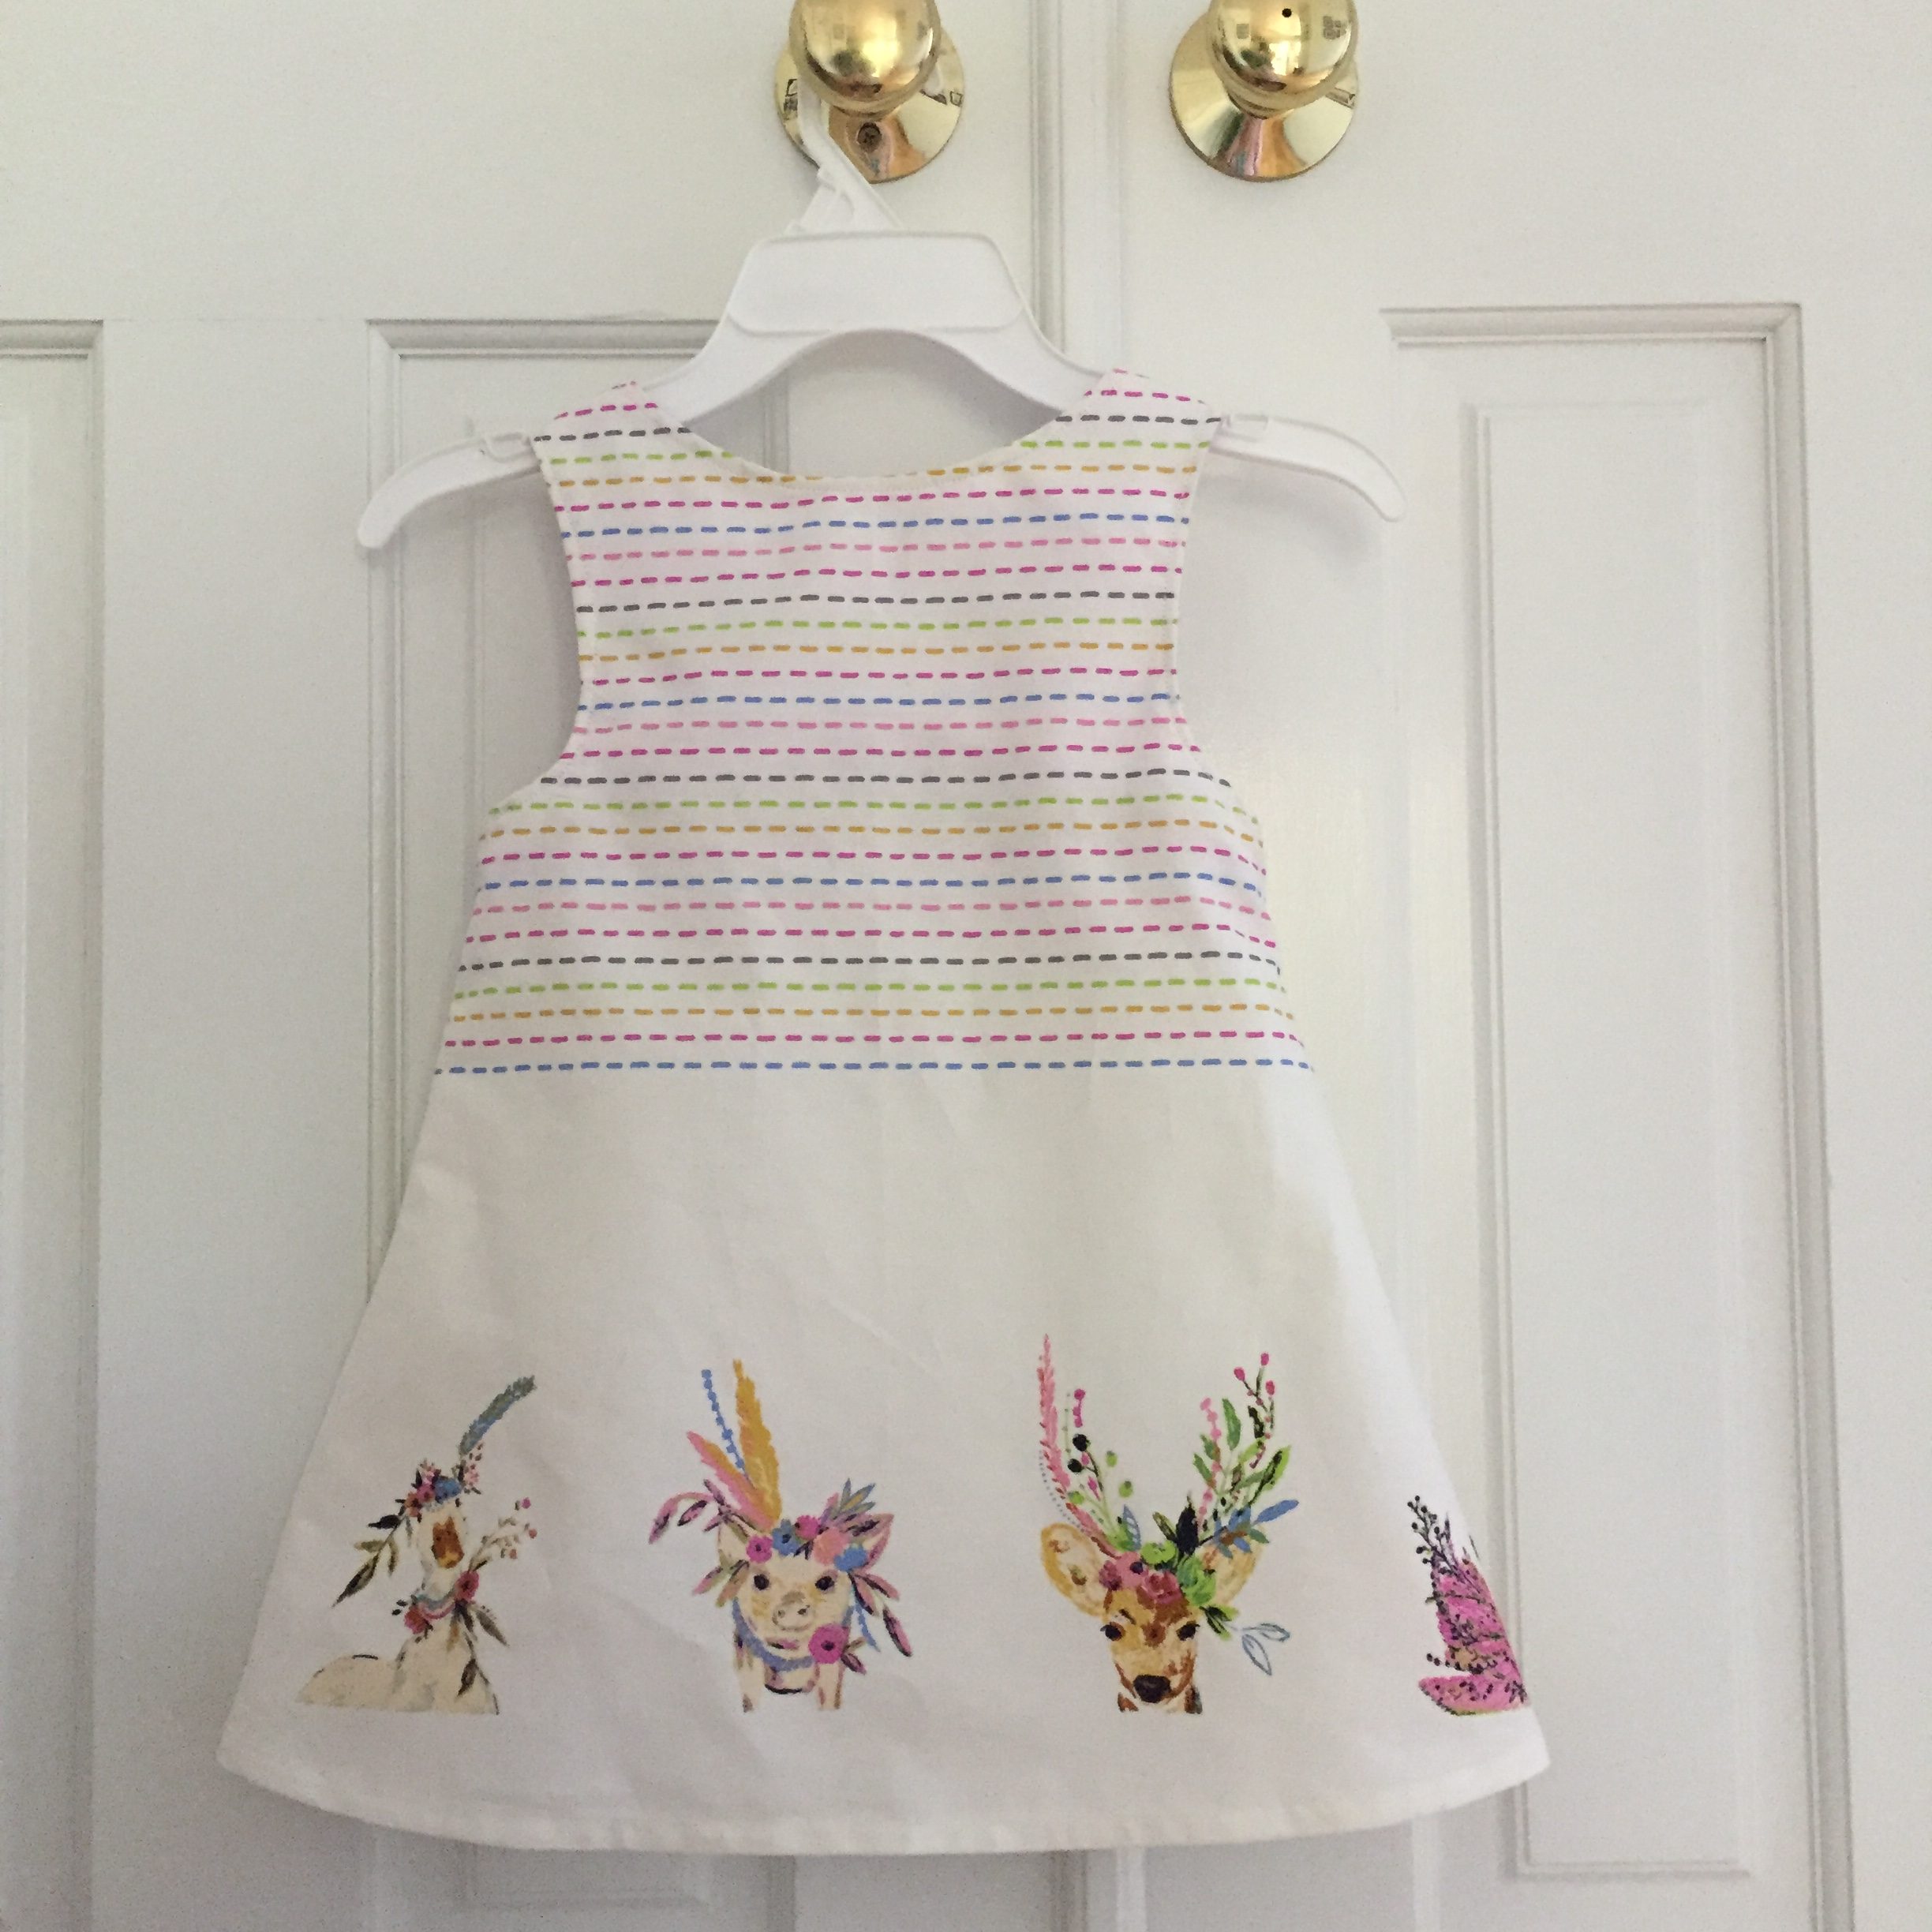
New Look Pattern 6578 and Radiant Menagerie Fabric by BariJ

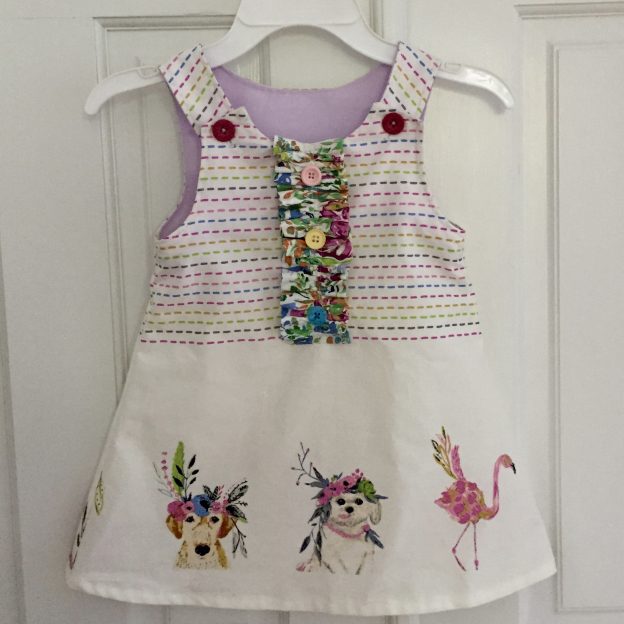
I had most of this cute little dress made already.  I started it at the beginning of August and when it came time to put the buttonholes on it (a task I dislike) I hung it up in the closet and pretended it wasn’t there. But it is so cute and it called to me this morning so I pulled it out. I wanted to make it for my grand daughter but it is late in the season so I made a size 3T in the hopes she will wear it next summer.

The fabric is called Radiant Menagerie (from Indigo & Aster) and was designed by the talented BariJ.  I LOVE her aesthetic and carry a lot of her fabric in my shop (Wild Bloom, Indigo and Aster and now Virtuosa.)  If you aren’t familiar with BariJ, she is a talented artist whose work is often quite feminine and usually features large floral designs.  Her paintings are very pretty and some are quite whimsical.  Take a look at her work here.

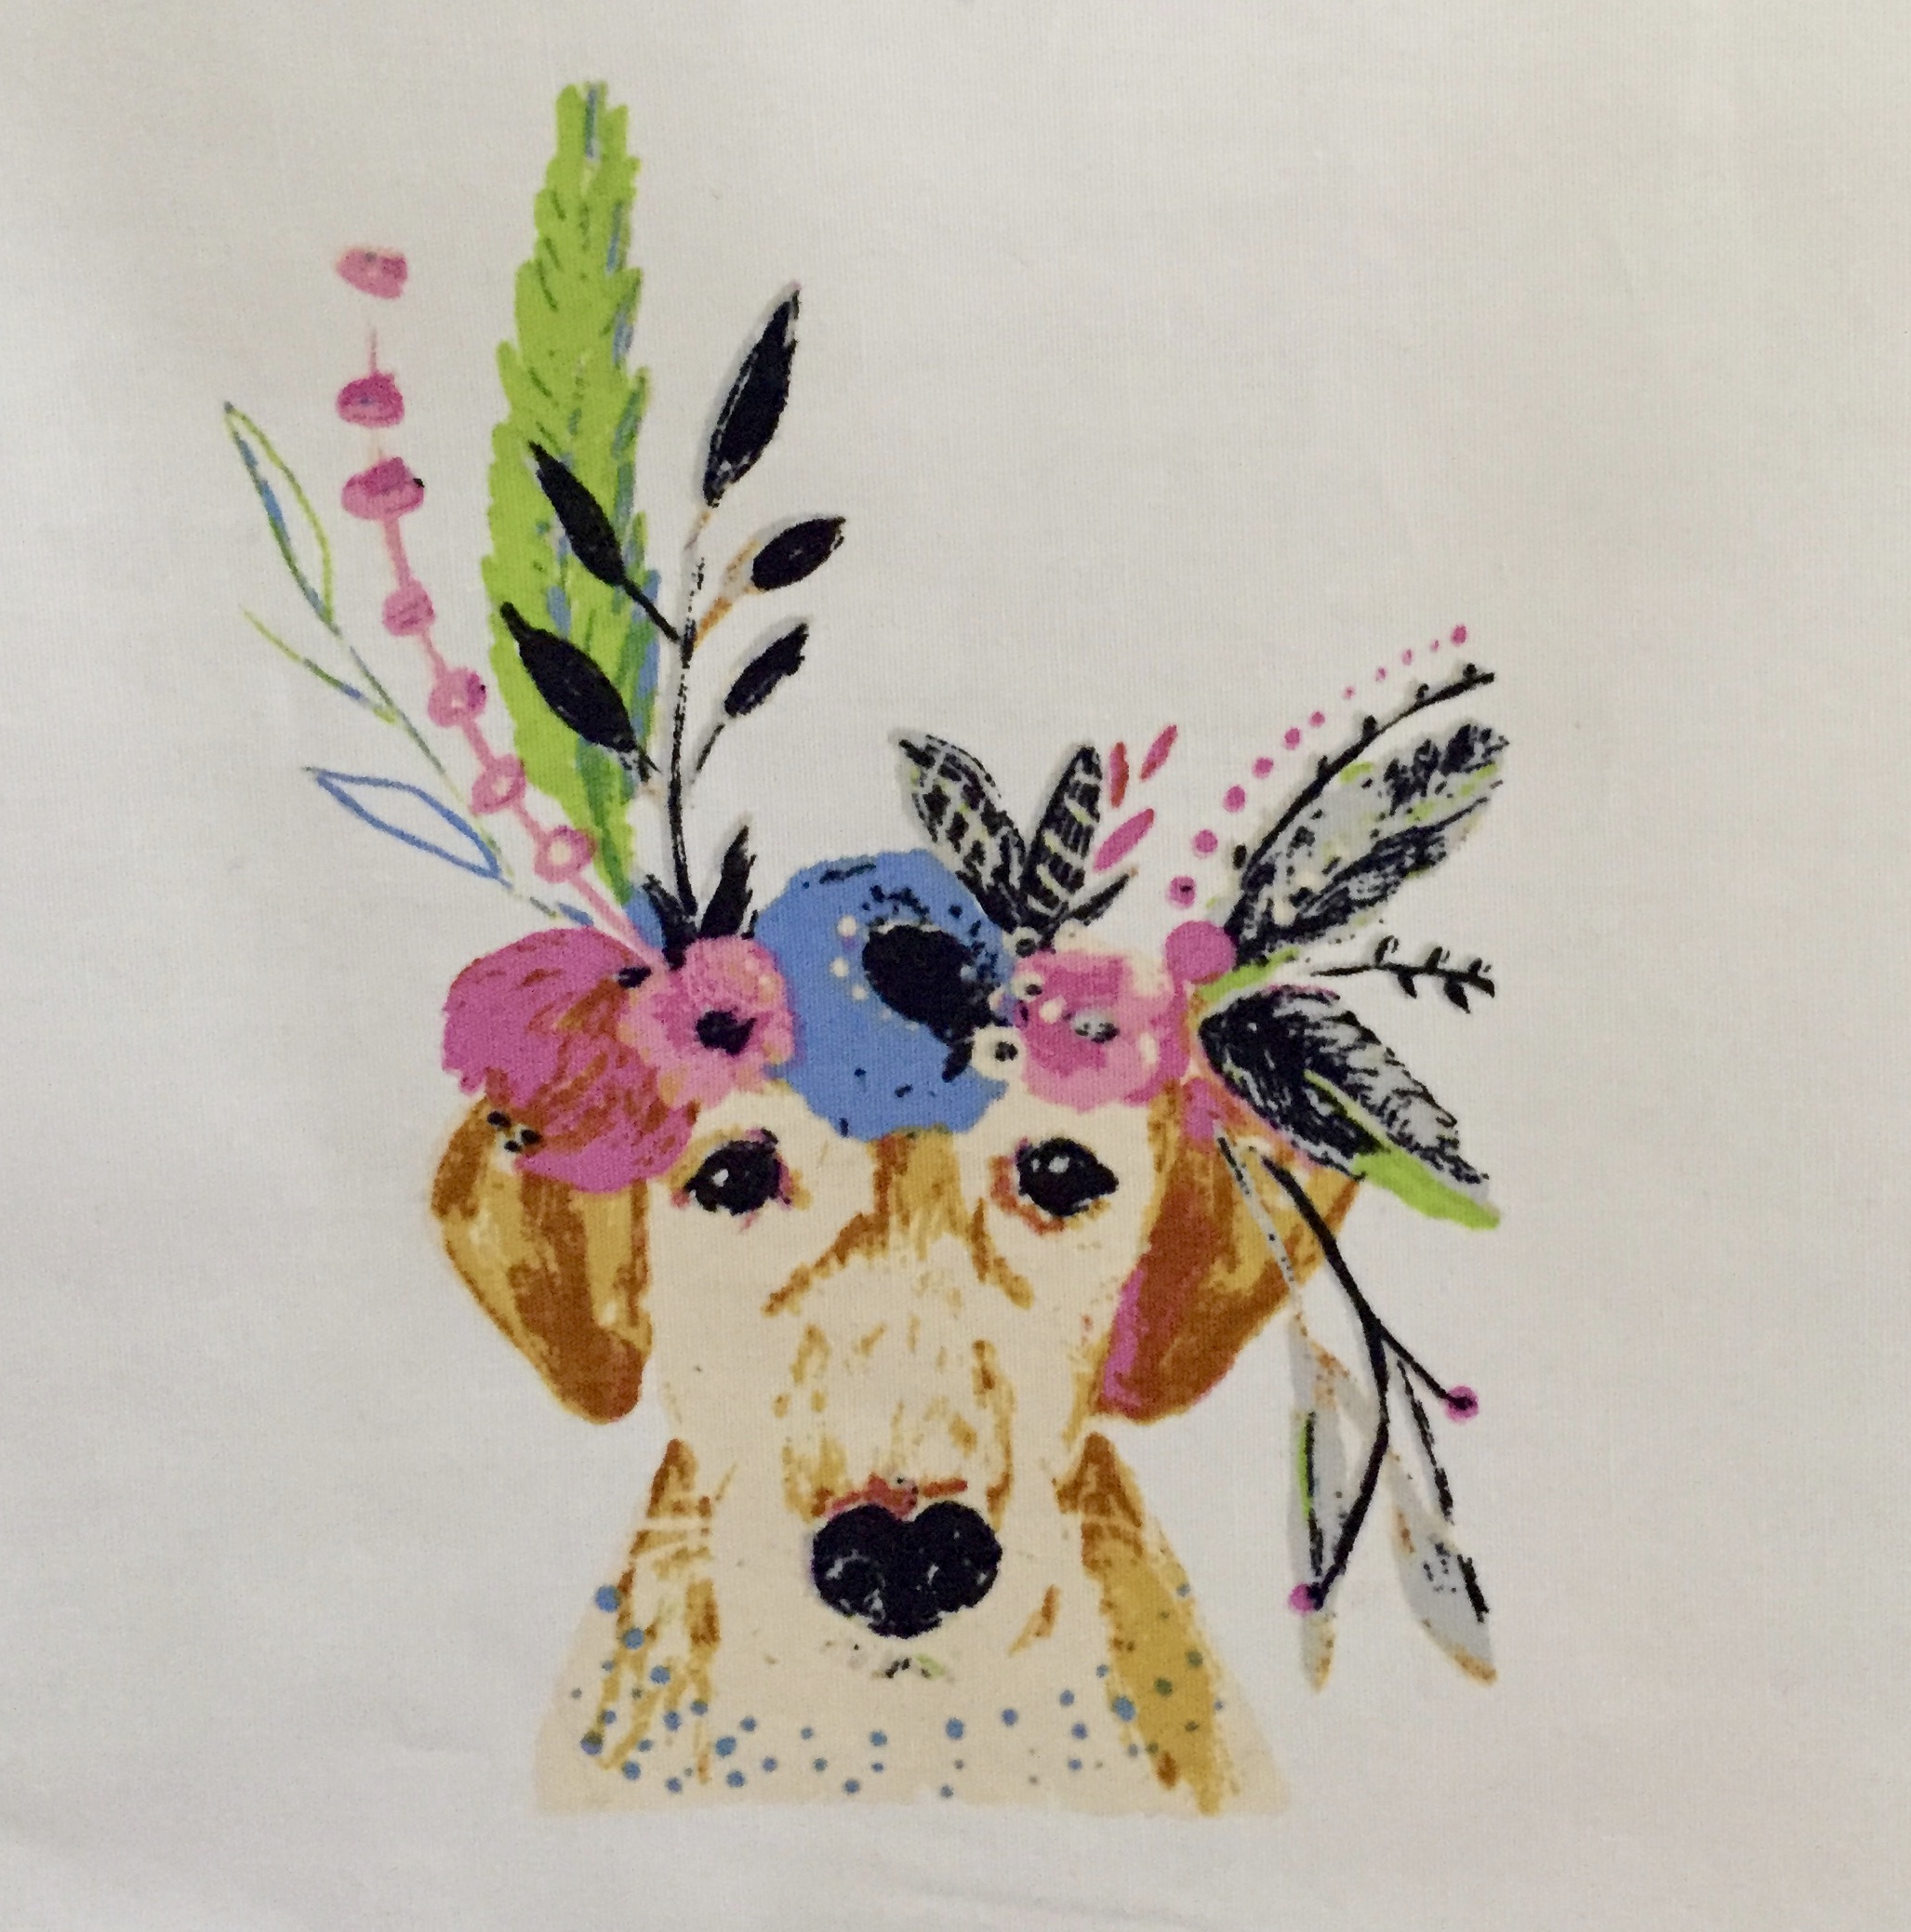
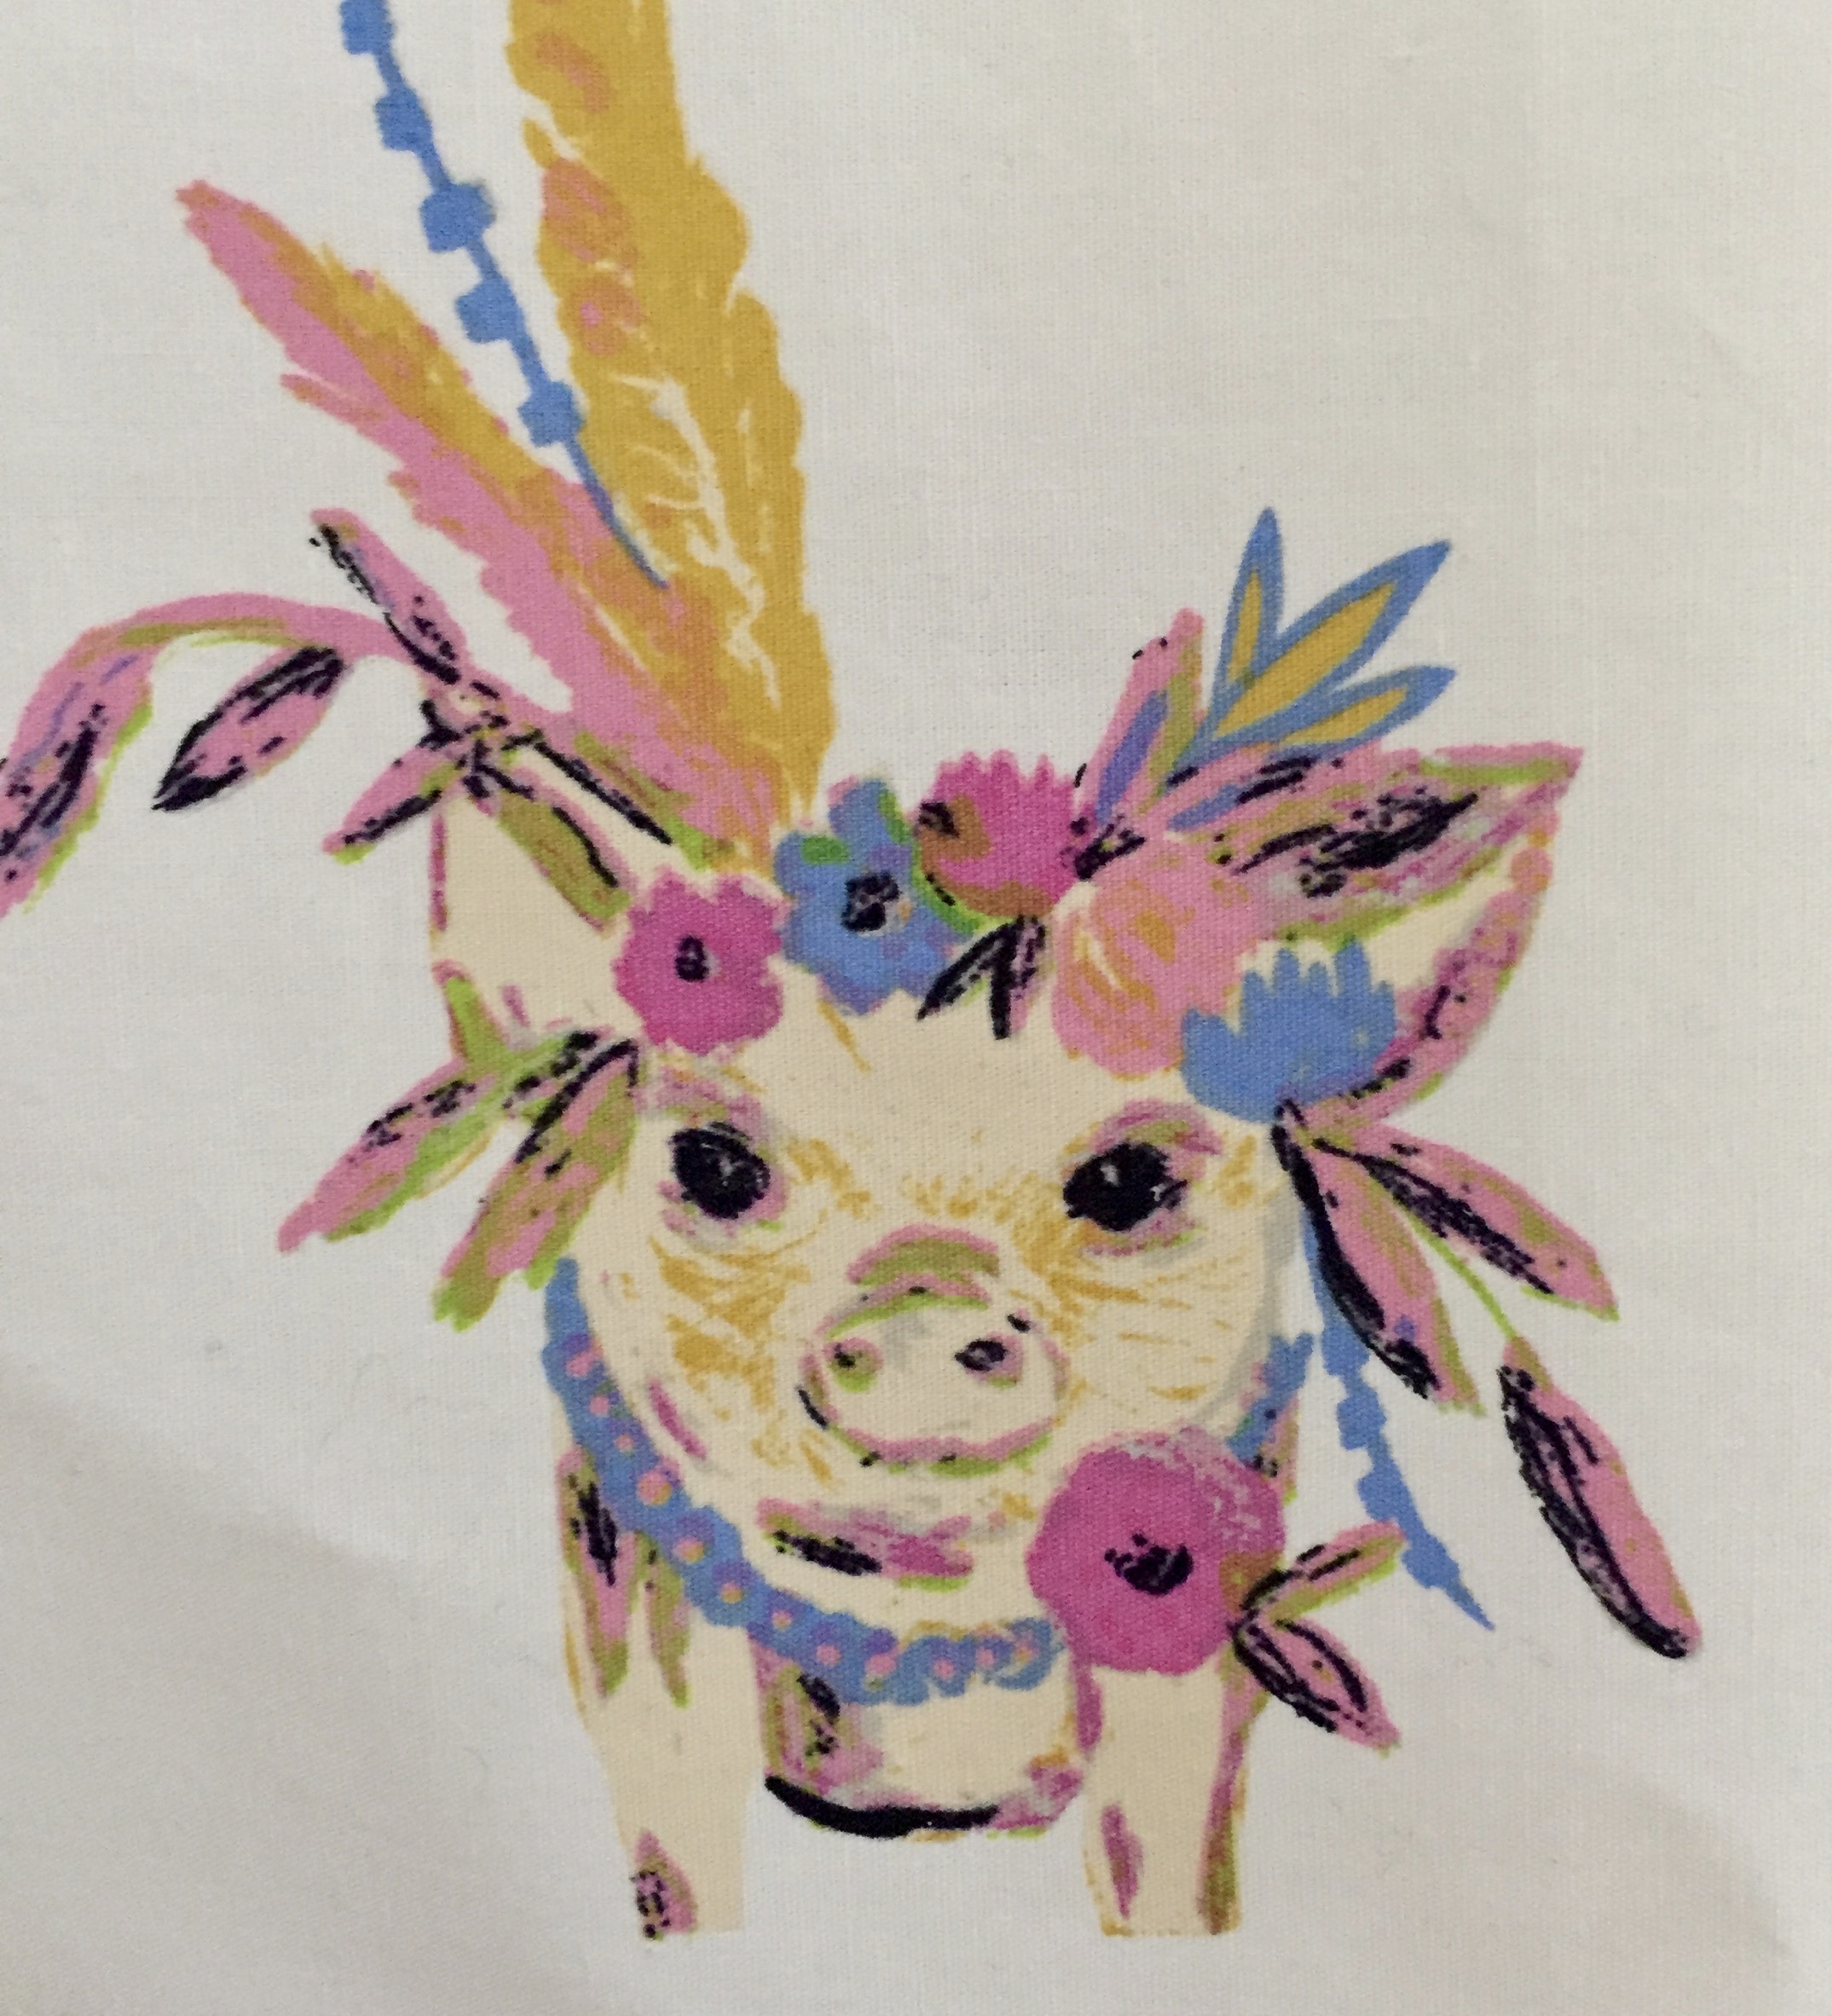
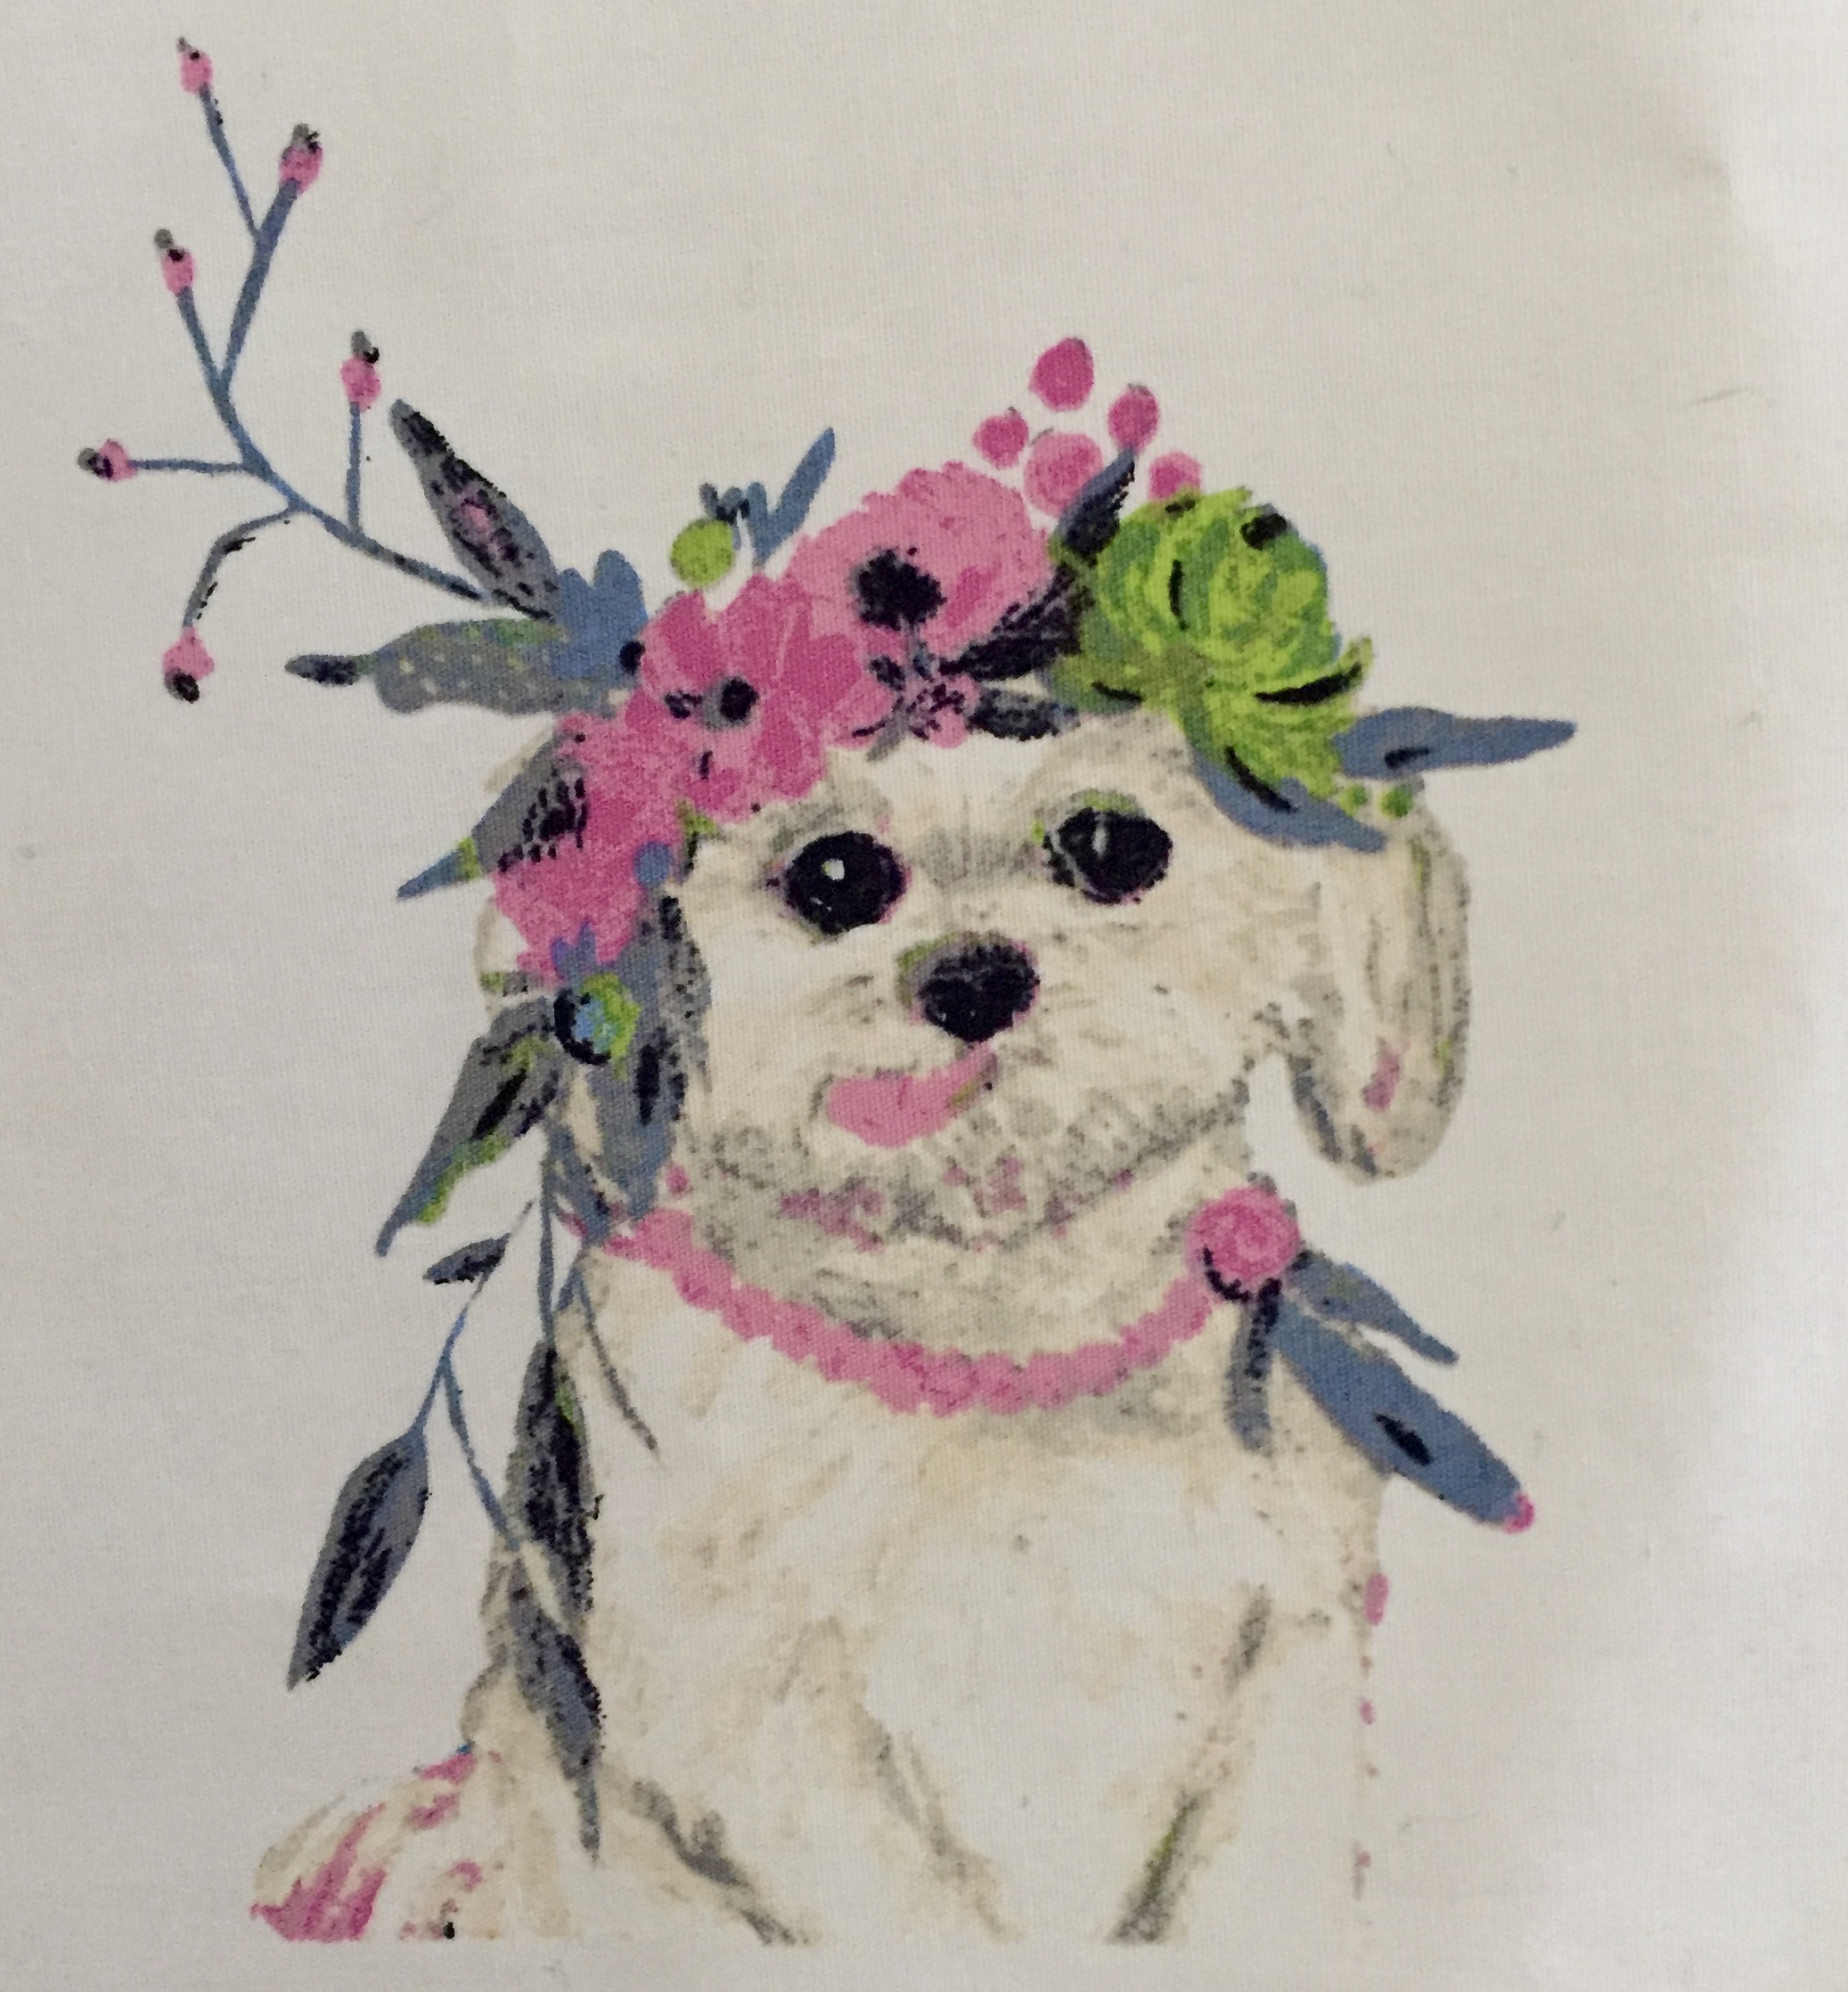
She has a lot of animals sporting floral crowns and I was thrilled to see her include them in the Indigo & Aster line (produced by Art Gallery Fabric).

Probably my favorite of the animals, no surprise there, right?

The fabric that features the animals is called Radiant Menagerie and is a border fabric of sorts.   Each selvage edge is lined with the various animals.

In between the selvages are stripes in coordinating colors or pink, orange, green and blue.  The stripes are actually dotted lines. So when using this piece in a quilt, it is simple to fussy cut the animals and then use the stripes as a coordinate.

I wanted to use this as a dress so I was careful to choose a simple pattern with a straight hemline (as opposed to curved.)  This enabled me to use the striped portion as the bodice of the dress and the animals as the bottom.  The back side of the dress mirrors the front with animals parading across the bottom and the colorful stripe at the top.

Front ruffle detailing.

As if it wasn’t colorful enough already, I decided to take it a step further.  Using a four inch wide strip of La Floraison Lit (another piece in the line) I sewed a tube with the fabric and turned it right side out.  Then I ran two lines of stitching down the center (with a long, loose stitch) so I could gather that tube into a ruffle.  A quick hunt through my buttons resulted in these cute, colorful buttons to add to the ruffle.  I really like the extra detail this adds to the dress..

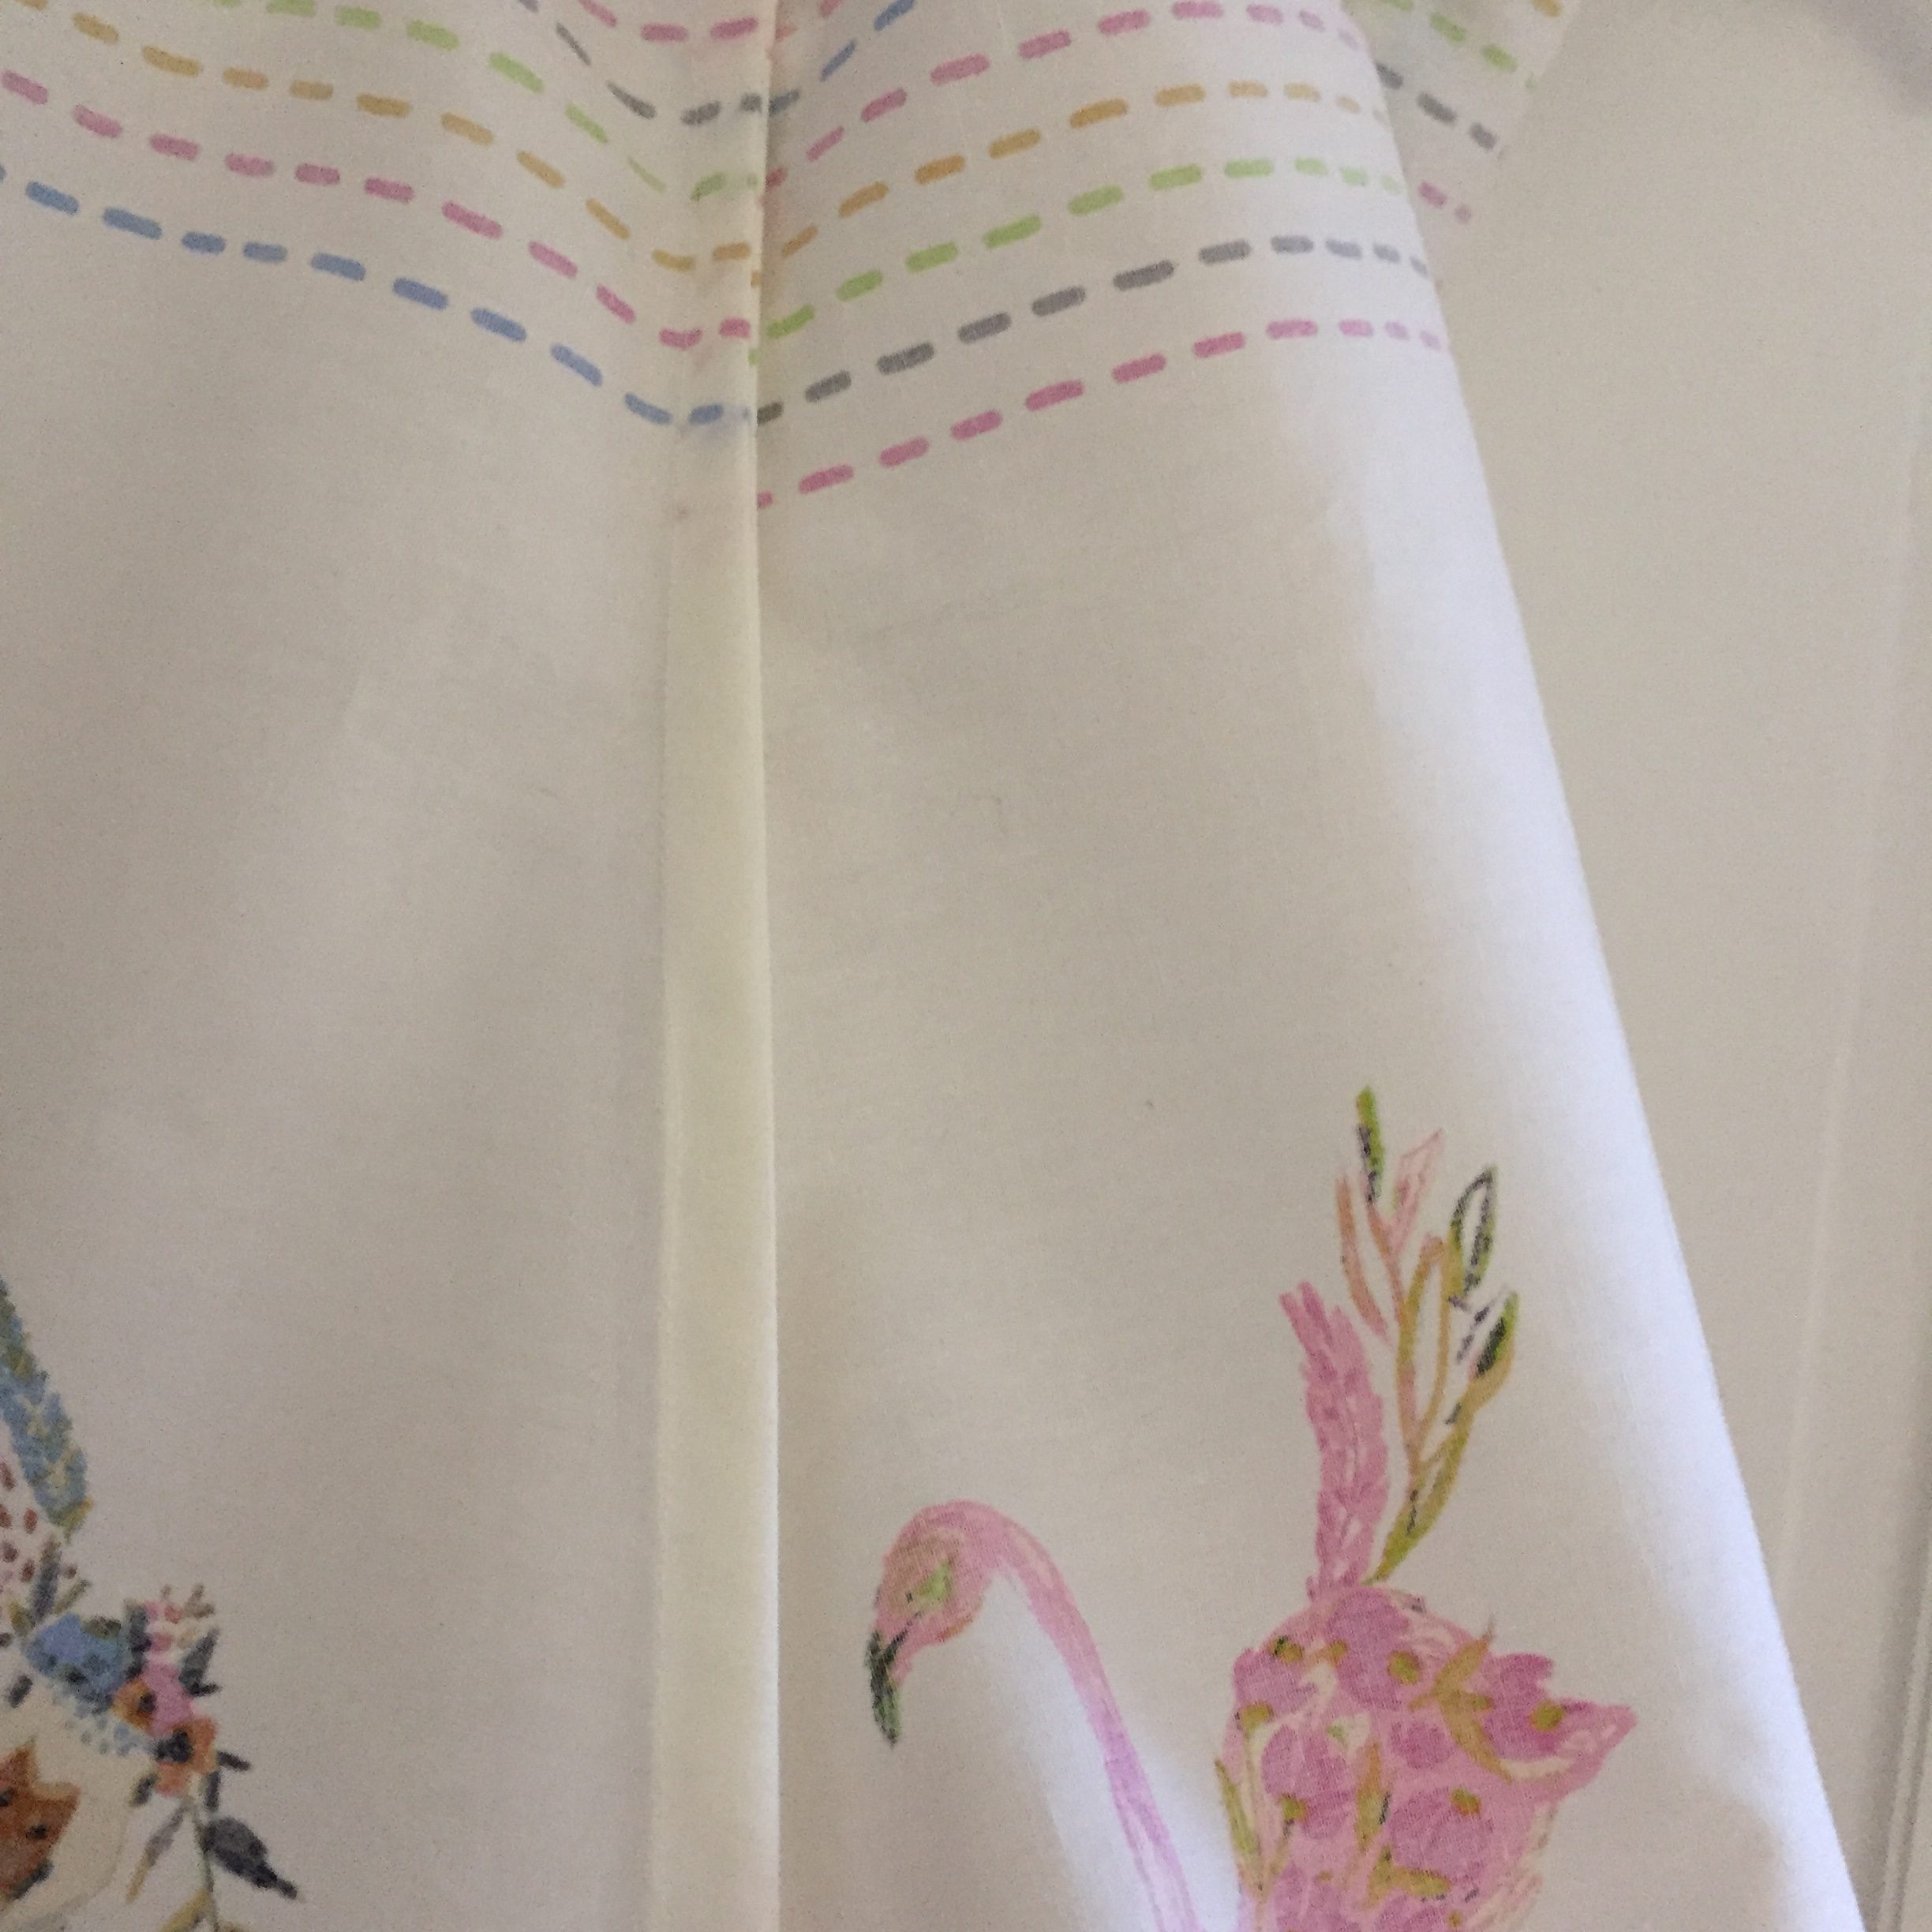
Finished French Seams

My serger is (still!) not cooperating with me so I finished the seams with French seams.  This will prevent any fraying.  I do love French seams.  They are easy and give a really nice finished look to the garment.

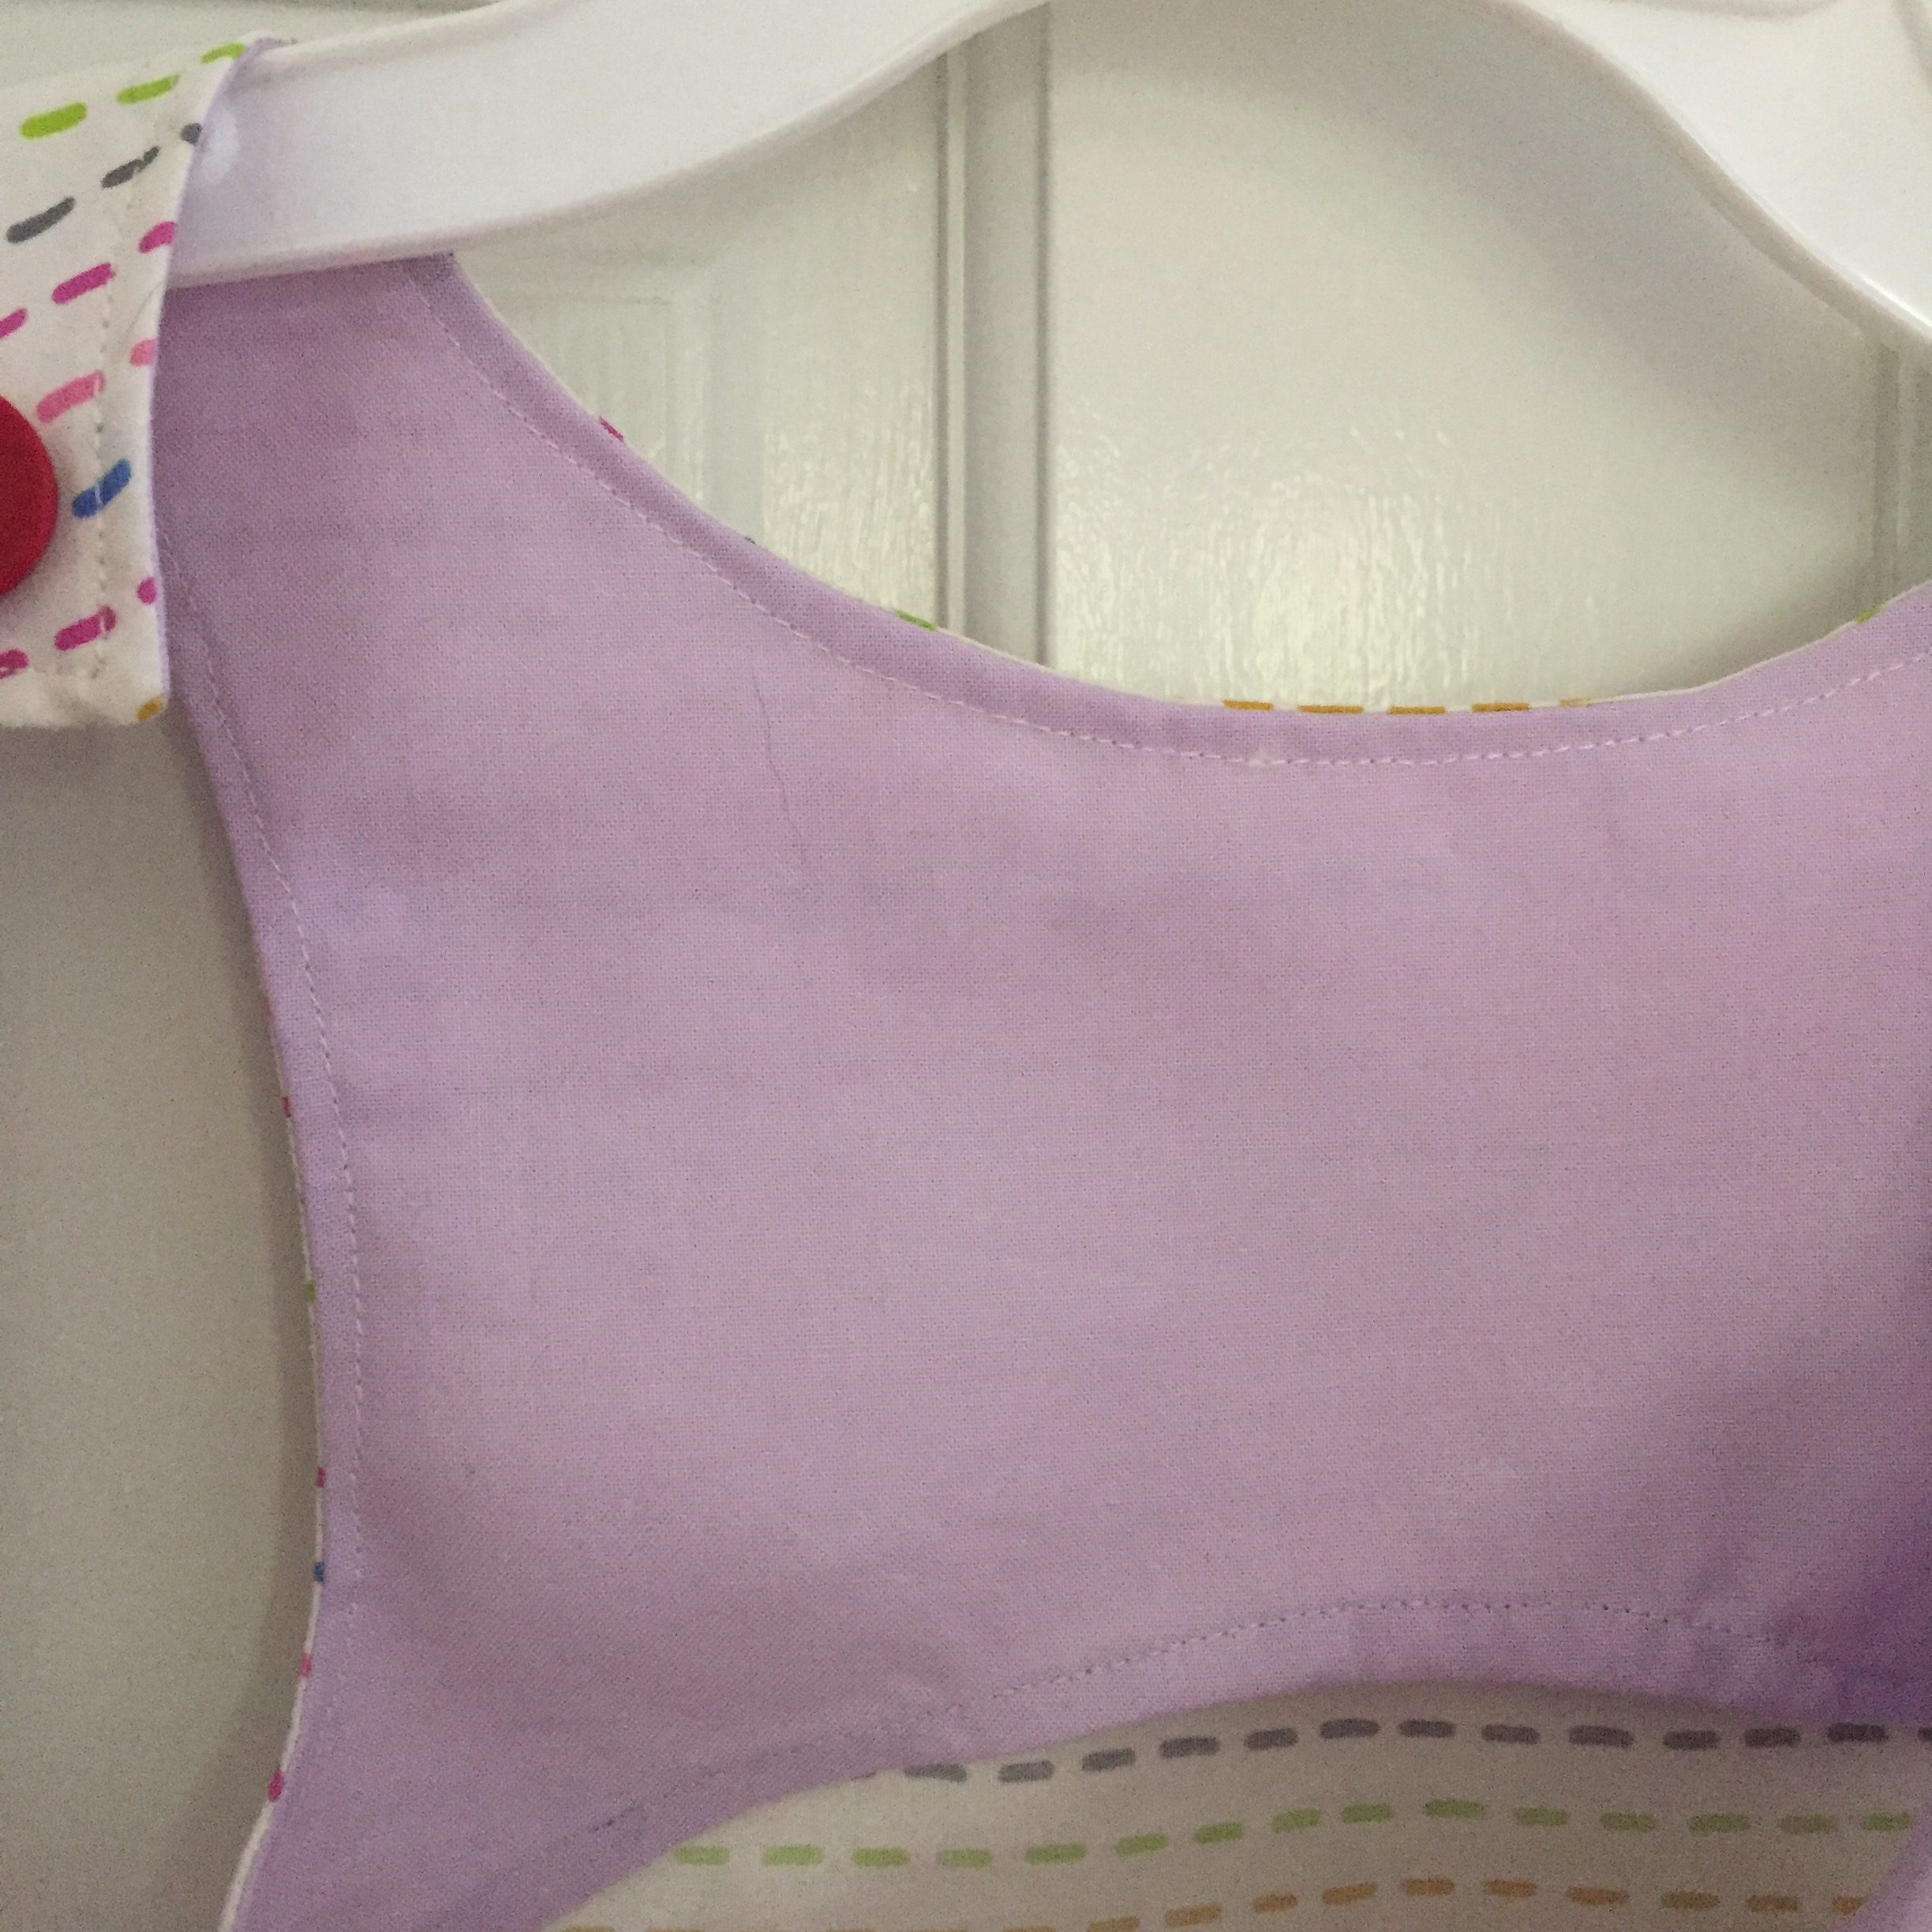
Lavender facing on the inside.

Because the fabric in a nice lightweight cotton, I didn’t want to use the dress fabric for the interior facings around the neckline and armholes.  It showed through and didn’t look very polished.  Instead, I used a scrap of a lavender solid (I think a Moda Bella piece)). It looks pretty to see that lavender bit popping through.

The dress is adorable and while I am certain it will be too big for now, I can look forward to seeing it on her next spring or summer.  These little projects are so much fun.  They don’t take a whole lot of fabric and I love seeing her in something I made.

It felt good to sit and sew the bits needed to finish this little dress up.  Tomorrow I should have a lot more energy to be able to get things done for our big weekend.  I am over the moon about this wedding as I really think these two are perfect for each other. We are so happy to welcome Shar into the family! I will share more about the wedding once everything quiets down again.


Sharing with my favorites, including a new linky party hosted by Michelle at From Bolt to Beauty.  It is called Brag About Your Beauties and happens on the 2nd, 3rd and 4th Fridays of the month.  Be sure to check it out!

Newsletter!

Have you signed up for my newsletter?  It is published every month or so and is full of information about my shop, new arrivals, sales, and events.  Click here to sign up!
 

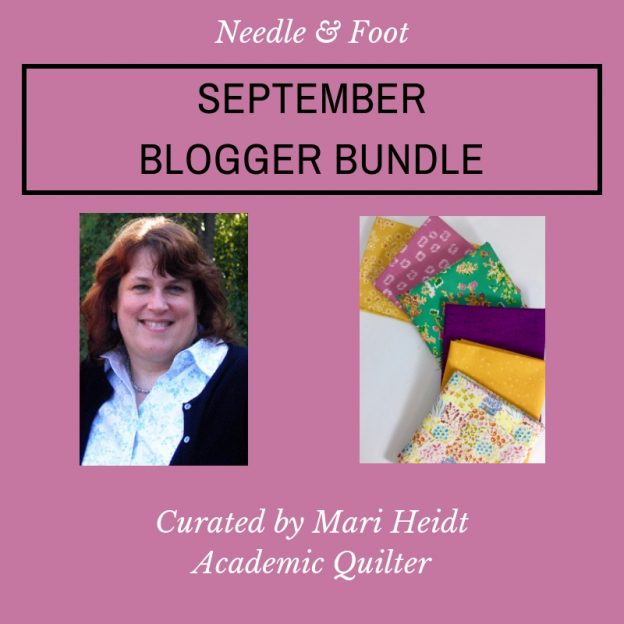
September Blogger Bundle with Mari Heidt

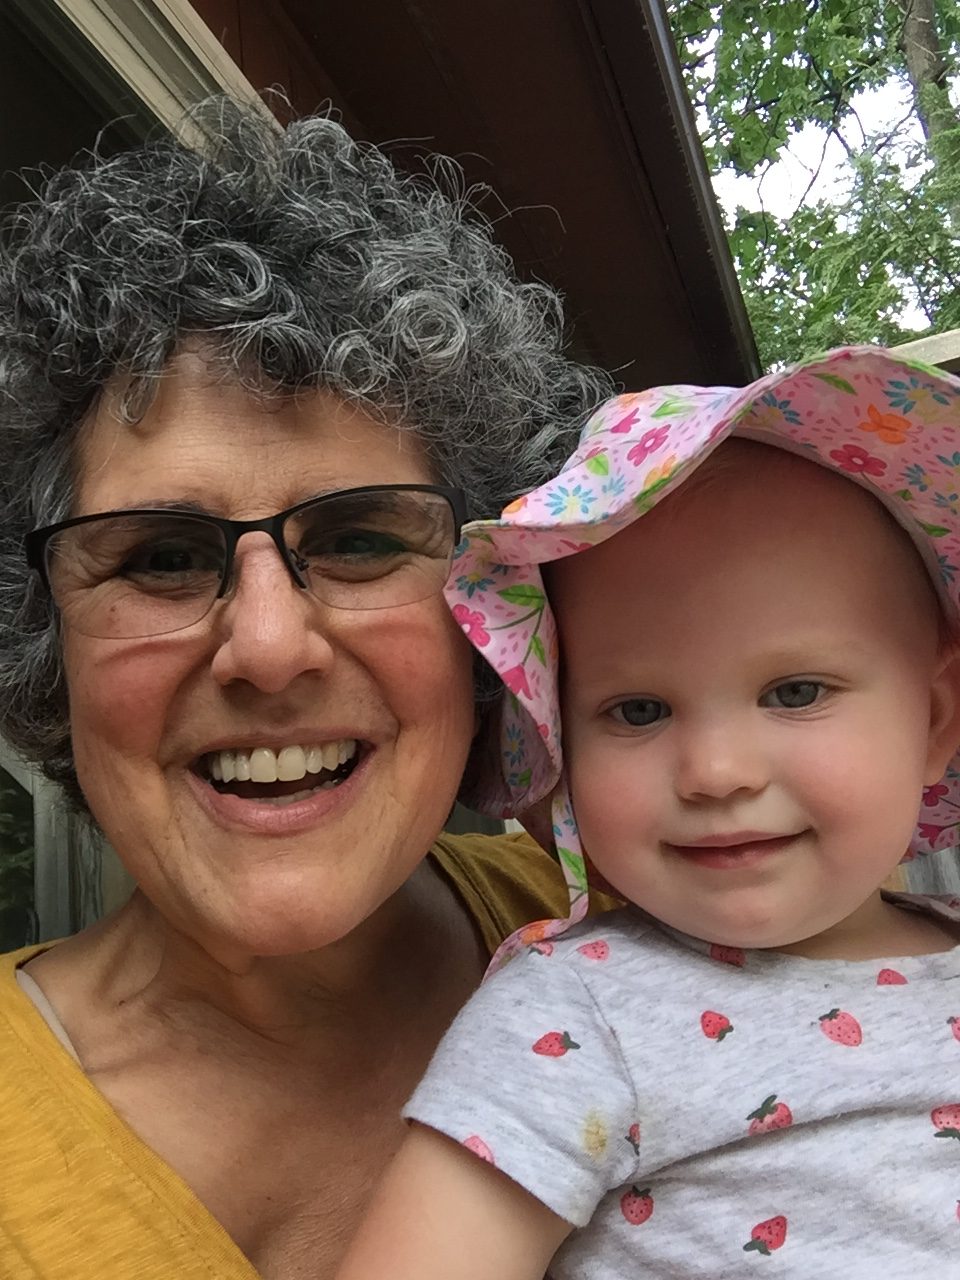
Hi Everyone!  As promised during my last post, today I am releasing the September Blogger Bundle.  Everyone seems to be so happy to see a bit of cooler weather as summer winds down and autumn begins.  I was very happy when Mari Heidt of The Academic Quilter agreed to curate the collection for September.  Mari and I have communicated on-line since I first began blogging.  (I think she started her blog just before I started mine). We worked together on different projects ever since and even got to meet in person during a vacation I had in Maine a couple of years ago.  Mari generously traveled to Maine (she has a daughter thereabouts) and we spent a really fun afternoon together.  Nothing better than finally meeting in person!  Anyway, besides being a fantastic quilter, Mari is a college professor, wife, mom and grandma.  If you are not familiar with her work, Mari does a lot of traditional blocks, loves scrappy quilting, and she designs great quilt alongs (block of the month) each year.  Be sure to check out her blog!

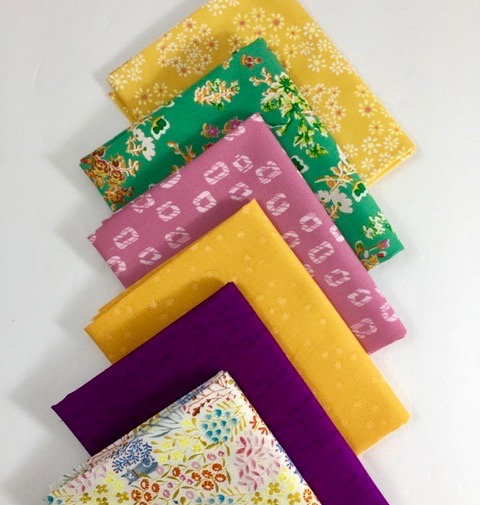
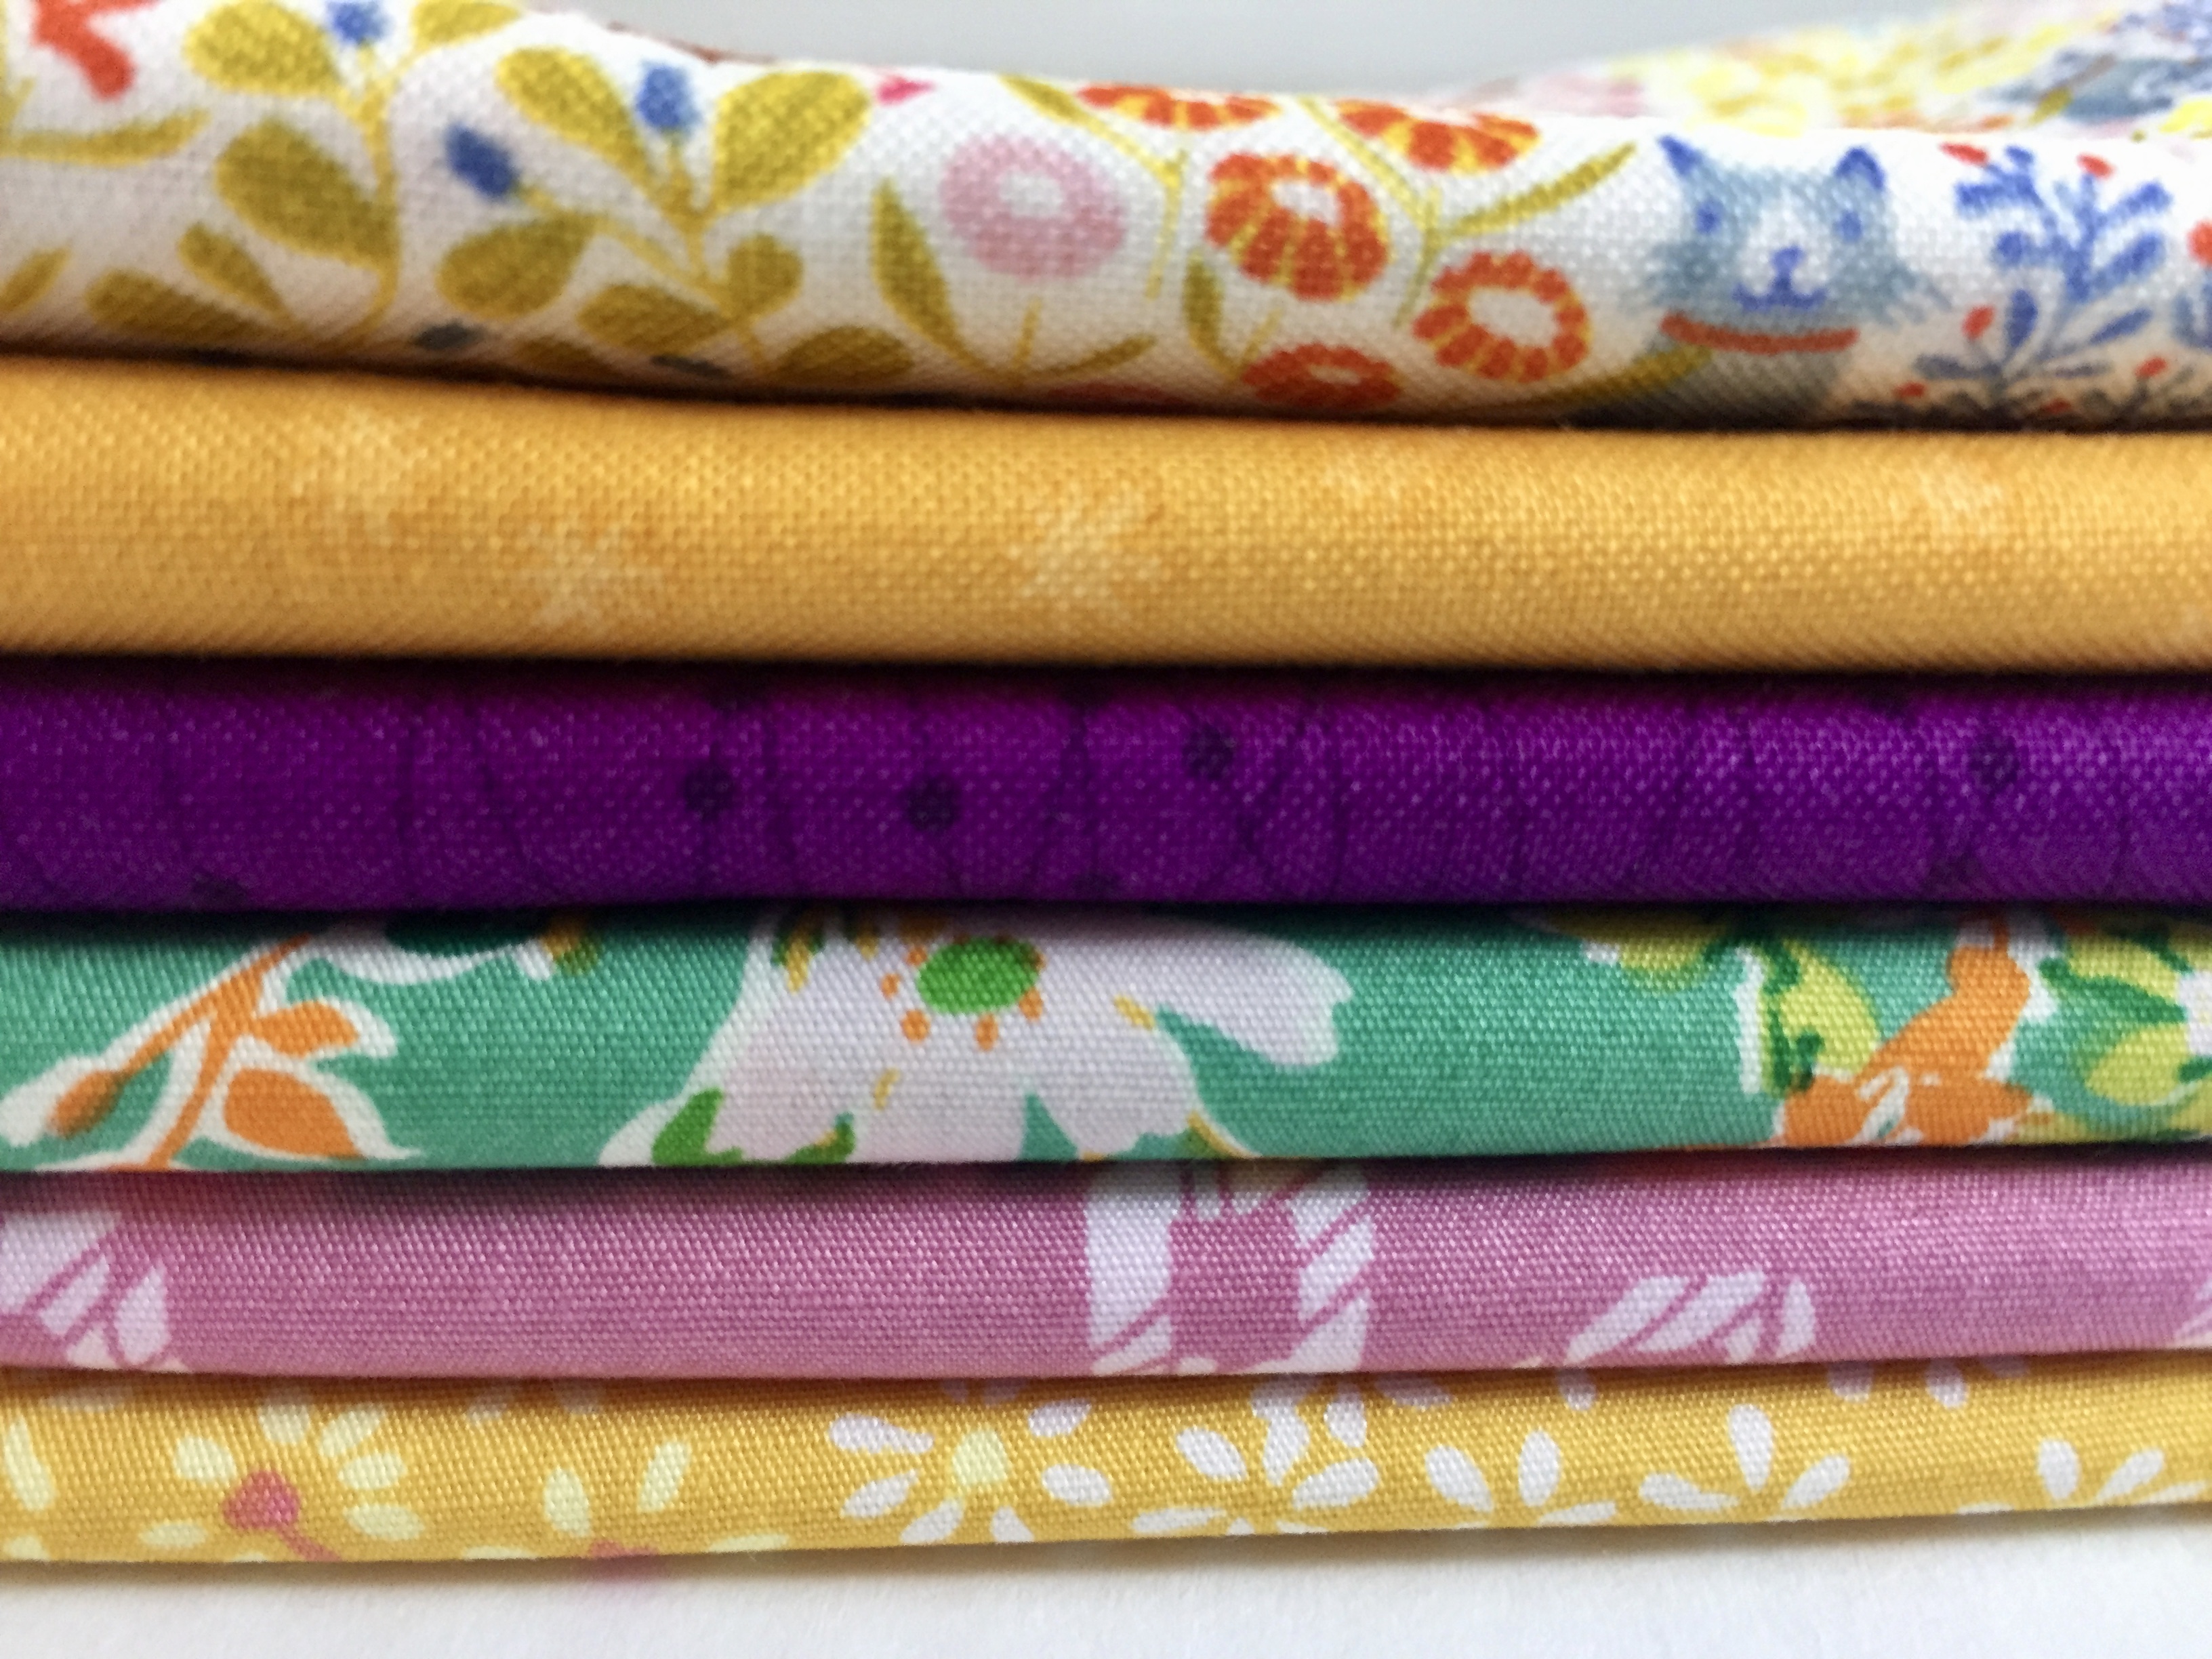
Let’s take a look at the bundle for this month!  A combination of florals, tone on tones, and a geometric print complete the bundle.

September Blogger Bundle, Curated by Mari Heidt


Included in the collection are fabrics from Art Gallery Fabric (the yellow daisies, the green floral and the pink geometric print) as well as from Windham Fabric (the orange tone on tone and the multi-color floral. with hidden kitties) and finally a vivid purple blender from P&B Textiles.  They look so great together (though if you would like yardage of any one of them, they are all available in the shop).  I think Mari knocked this one out of the park. She has a project started with the bundle and the blocks look great.  Click here to take a look.

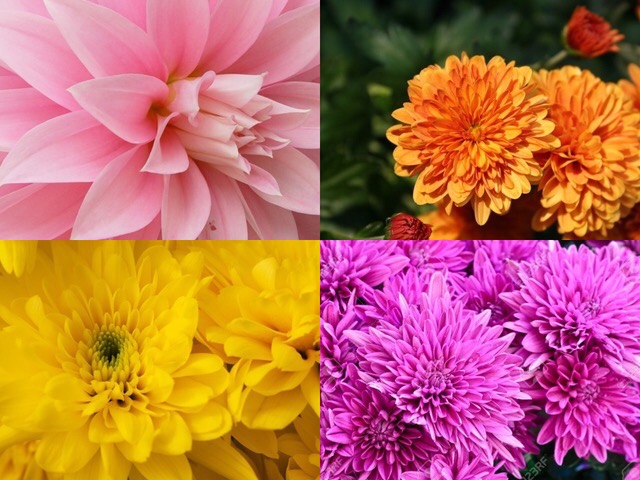
When I look at this bundle, I think of the flowers that bloom in the fall.  By the end of summer, my garden is always very dry and looks stressed.  But when the nights finally cool off, I have a large bed of chrysanthemums that bloom.  It always makes me so happy to have these flowers blooming – they are the last blooms we have until the daffodils pop up at the end of February. The colors of the bundle are quite saturated and that depth of color reminds me of the mums that will soon be blooming in the yard.  I can’t wait!

As with prior Blogger Bundles, this collection is on sale beginning today and running through Friday.  Save 20% off of either the fat quarter bundle or the 1/2 yard bundle!  Also, Mari is hosting a giveaway on her blog.  Be sure to enter to win!  If you purchase a bundle and happen to win the bundle (which happened earlier this year!) I will refund your purchase or you can have credit for another purchase.

Thank you Mari for curating this month’s bundle. It has been a lot of fun working with you!

Newsletter!

Have you signed up for my newsletter?  It is published every month or so and is full of information about my shop, new arrivals, sales, and events.  Click here to sign up!


Good to Be Home

I thought I would post a quick check in now that I am home from Vermont! If you are on Instagram, you might have seen the photos I posted from the trip. It was such a treat to spend so much time with my son and his family.
The first day there, my grand daughter woke with a fever.  While I certainly don’t want to ever wish her ill, I have to admit, I enjoyed holding her a bit extra while she wasn’t feeling well.  This girl is usually on the go and doesn’t have time for very many grammy cuddles.  That Monday when she was under the weather, she was running around a bit less and happy to sit on my lap and look at books a bit more so that was a treat.

The rest of the week, she was a bundle of energy.  We took lots of walks, ran a few errands and played in the back yard.  Remember I posted about the projects I intended to complete during nap time? I was mostly successful. I started a blouse for myself.  All that is left is to finish the neckline and the armholes.  I brought the wrong type of bias tape so that was set aside and I will finish it up this week.  

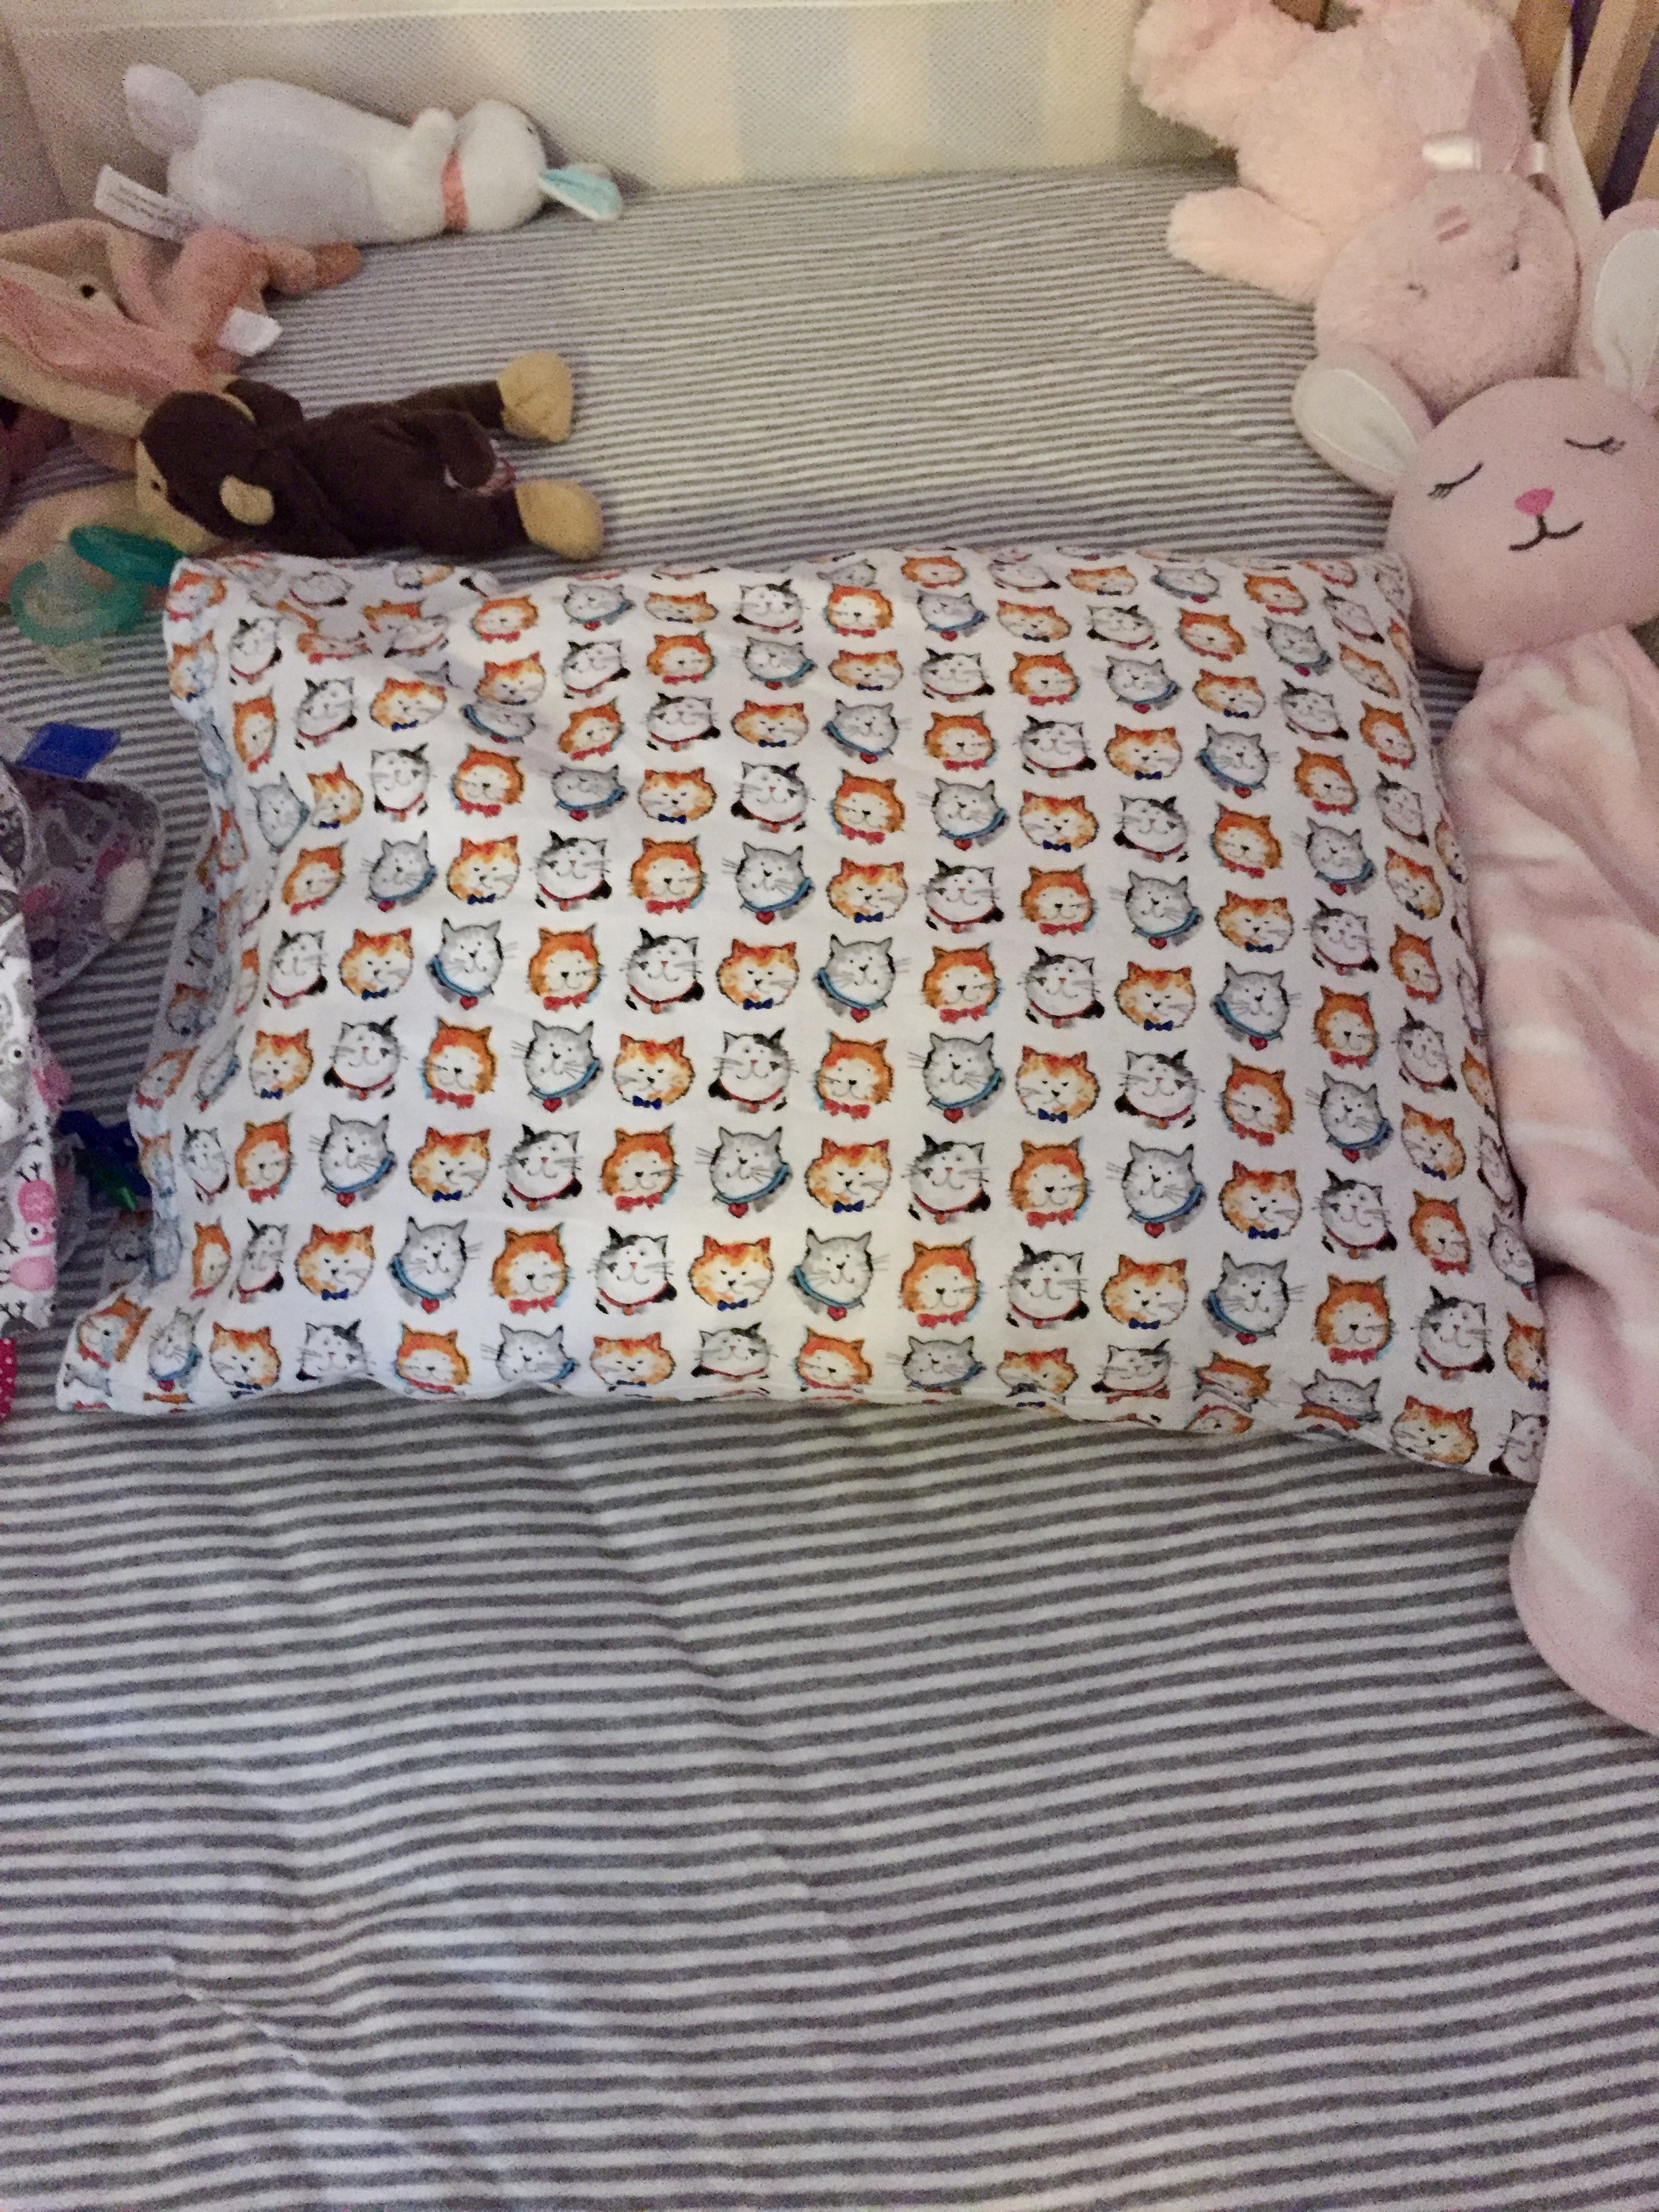
I did get a pillow case made for the baby’s bed.  The pillow case with the kitties was made just before I left home.  The baby got a kick out of it and pointed to the kitties as we meowed. 

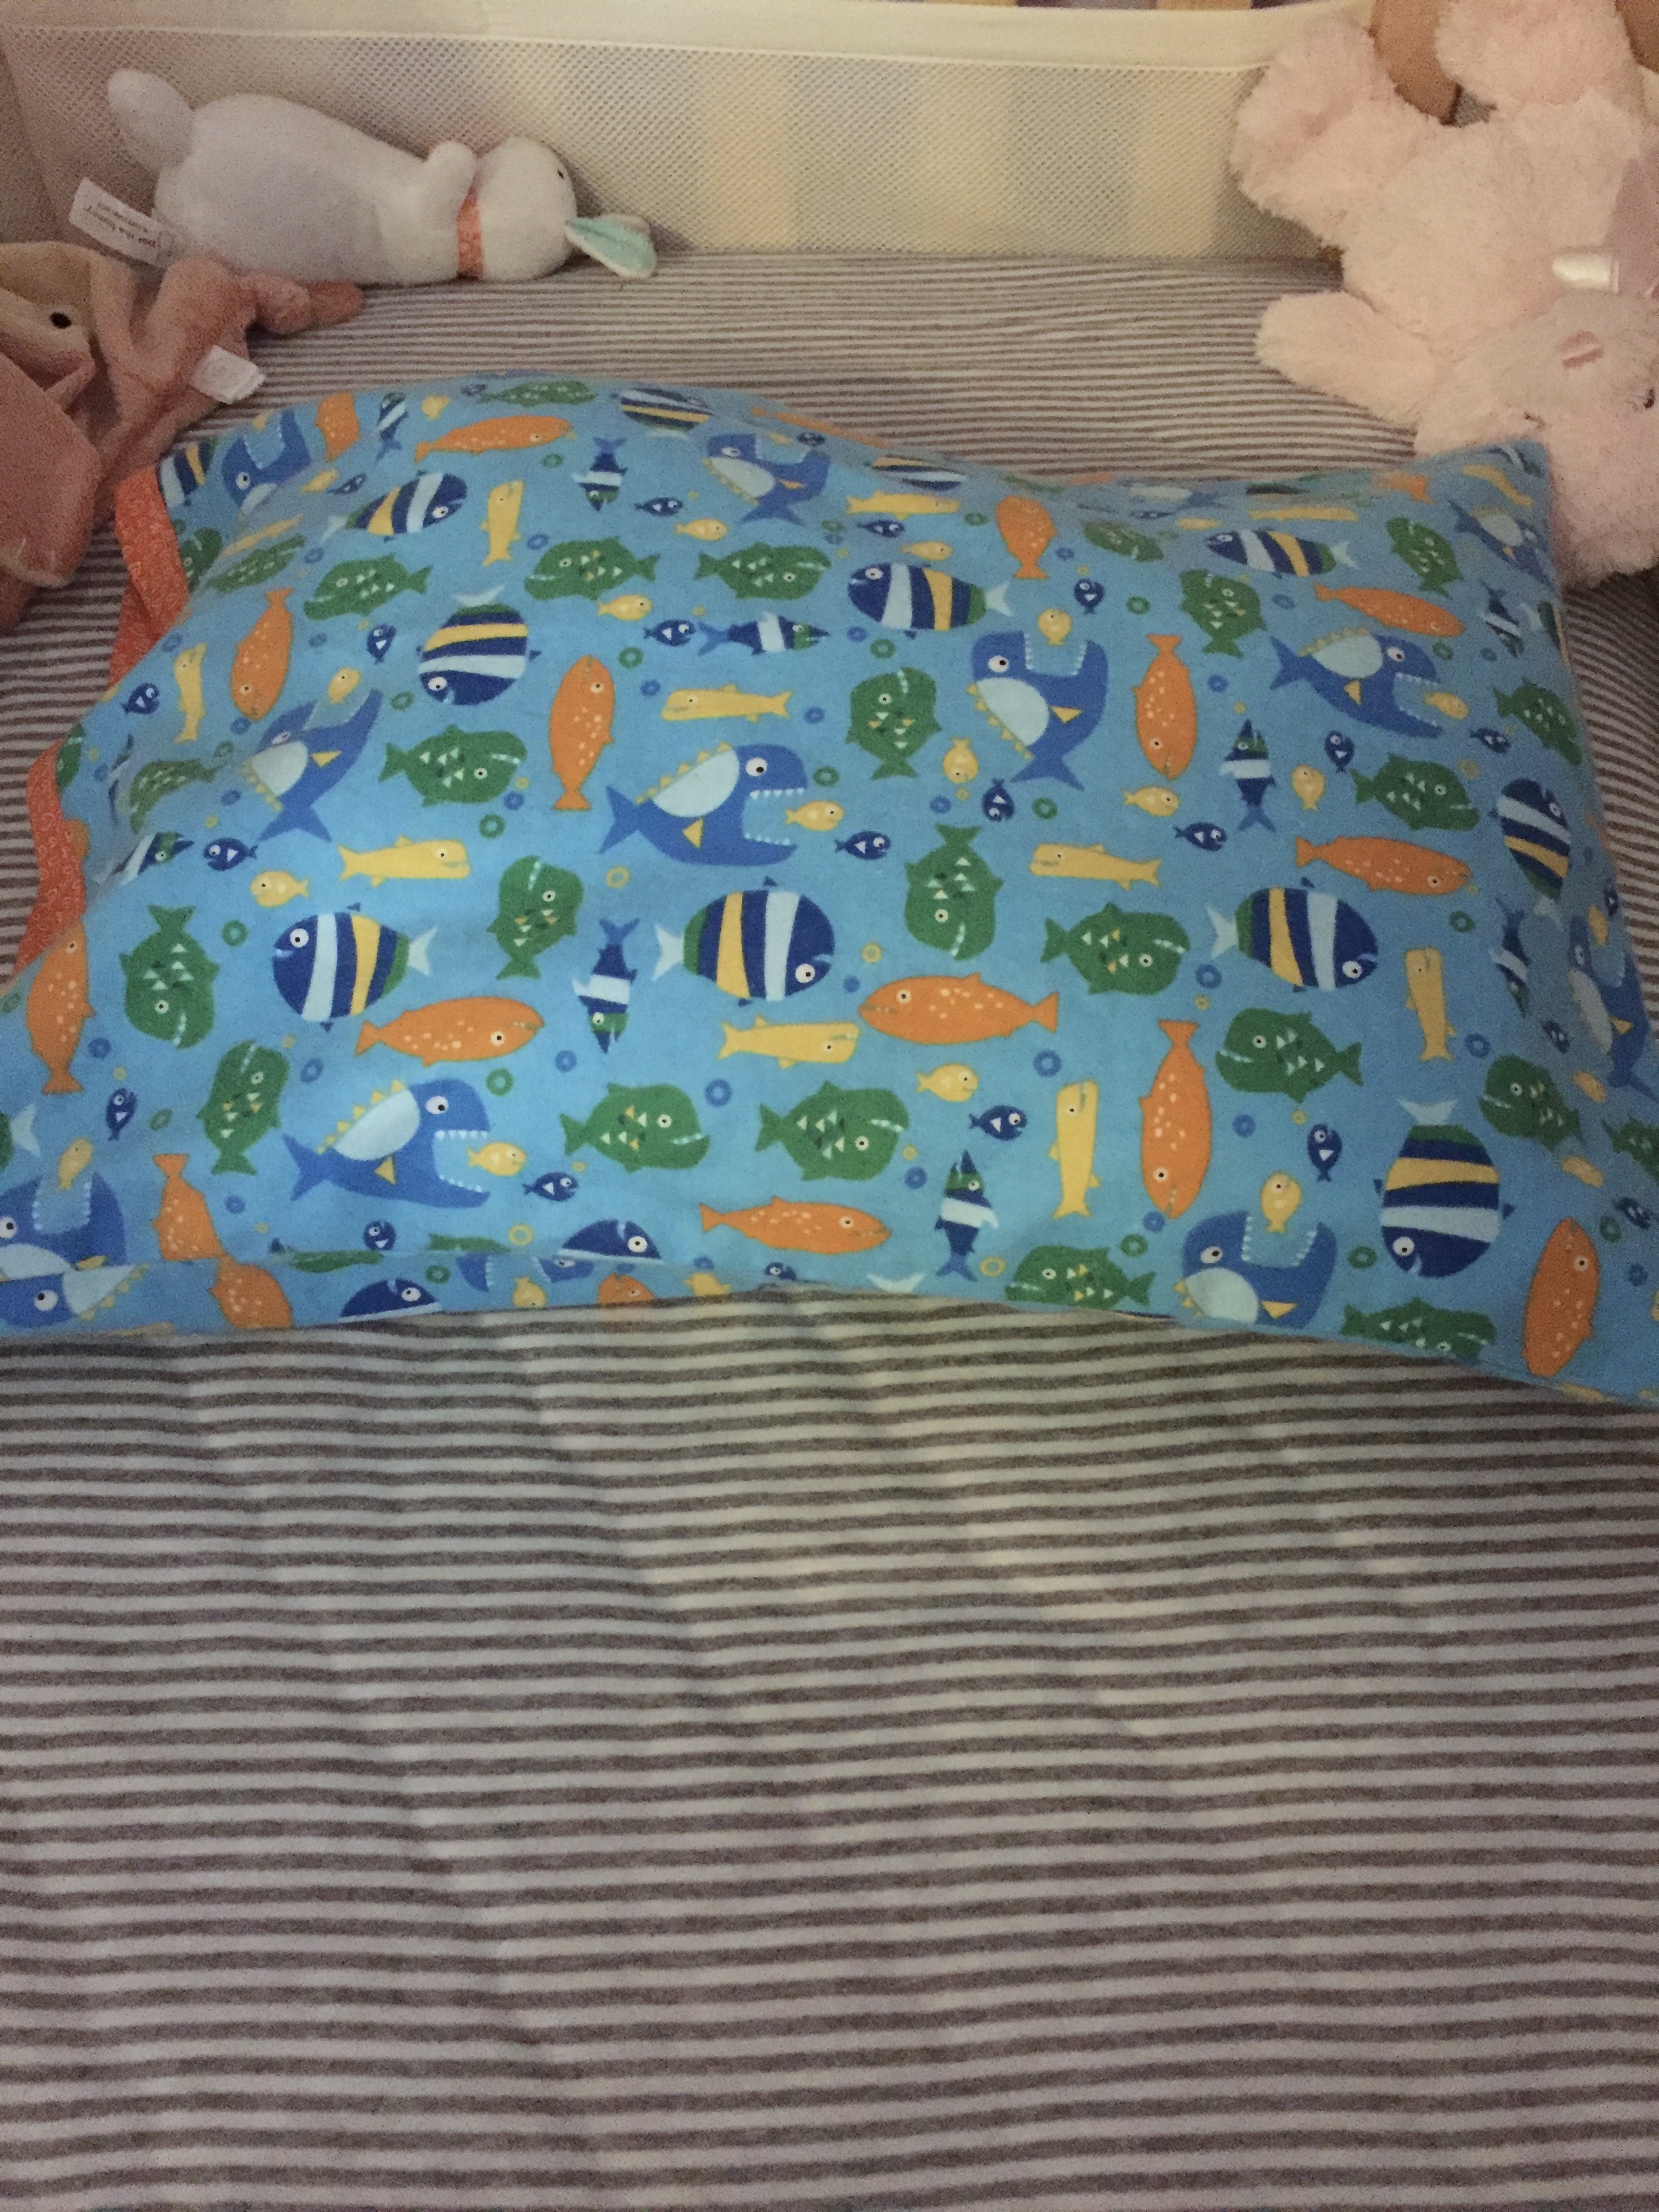
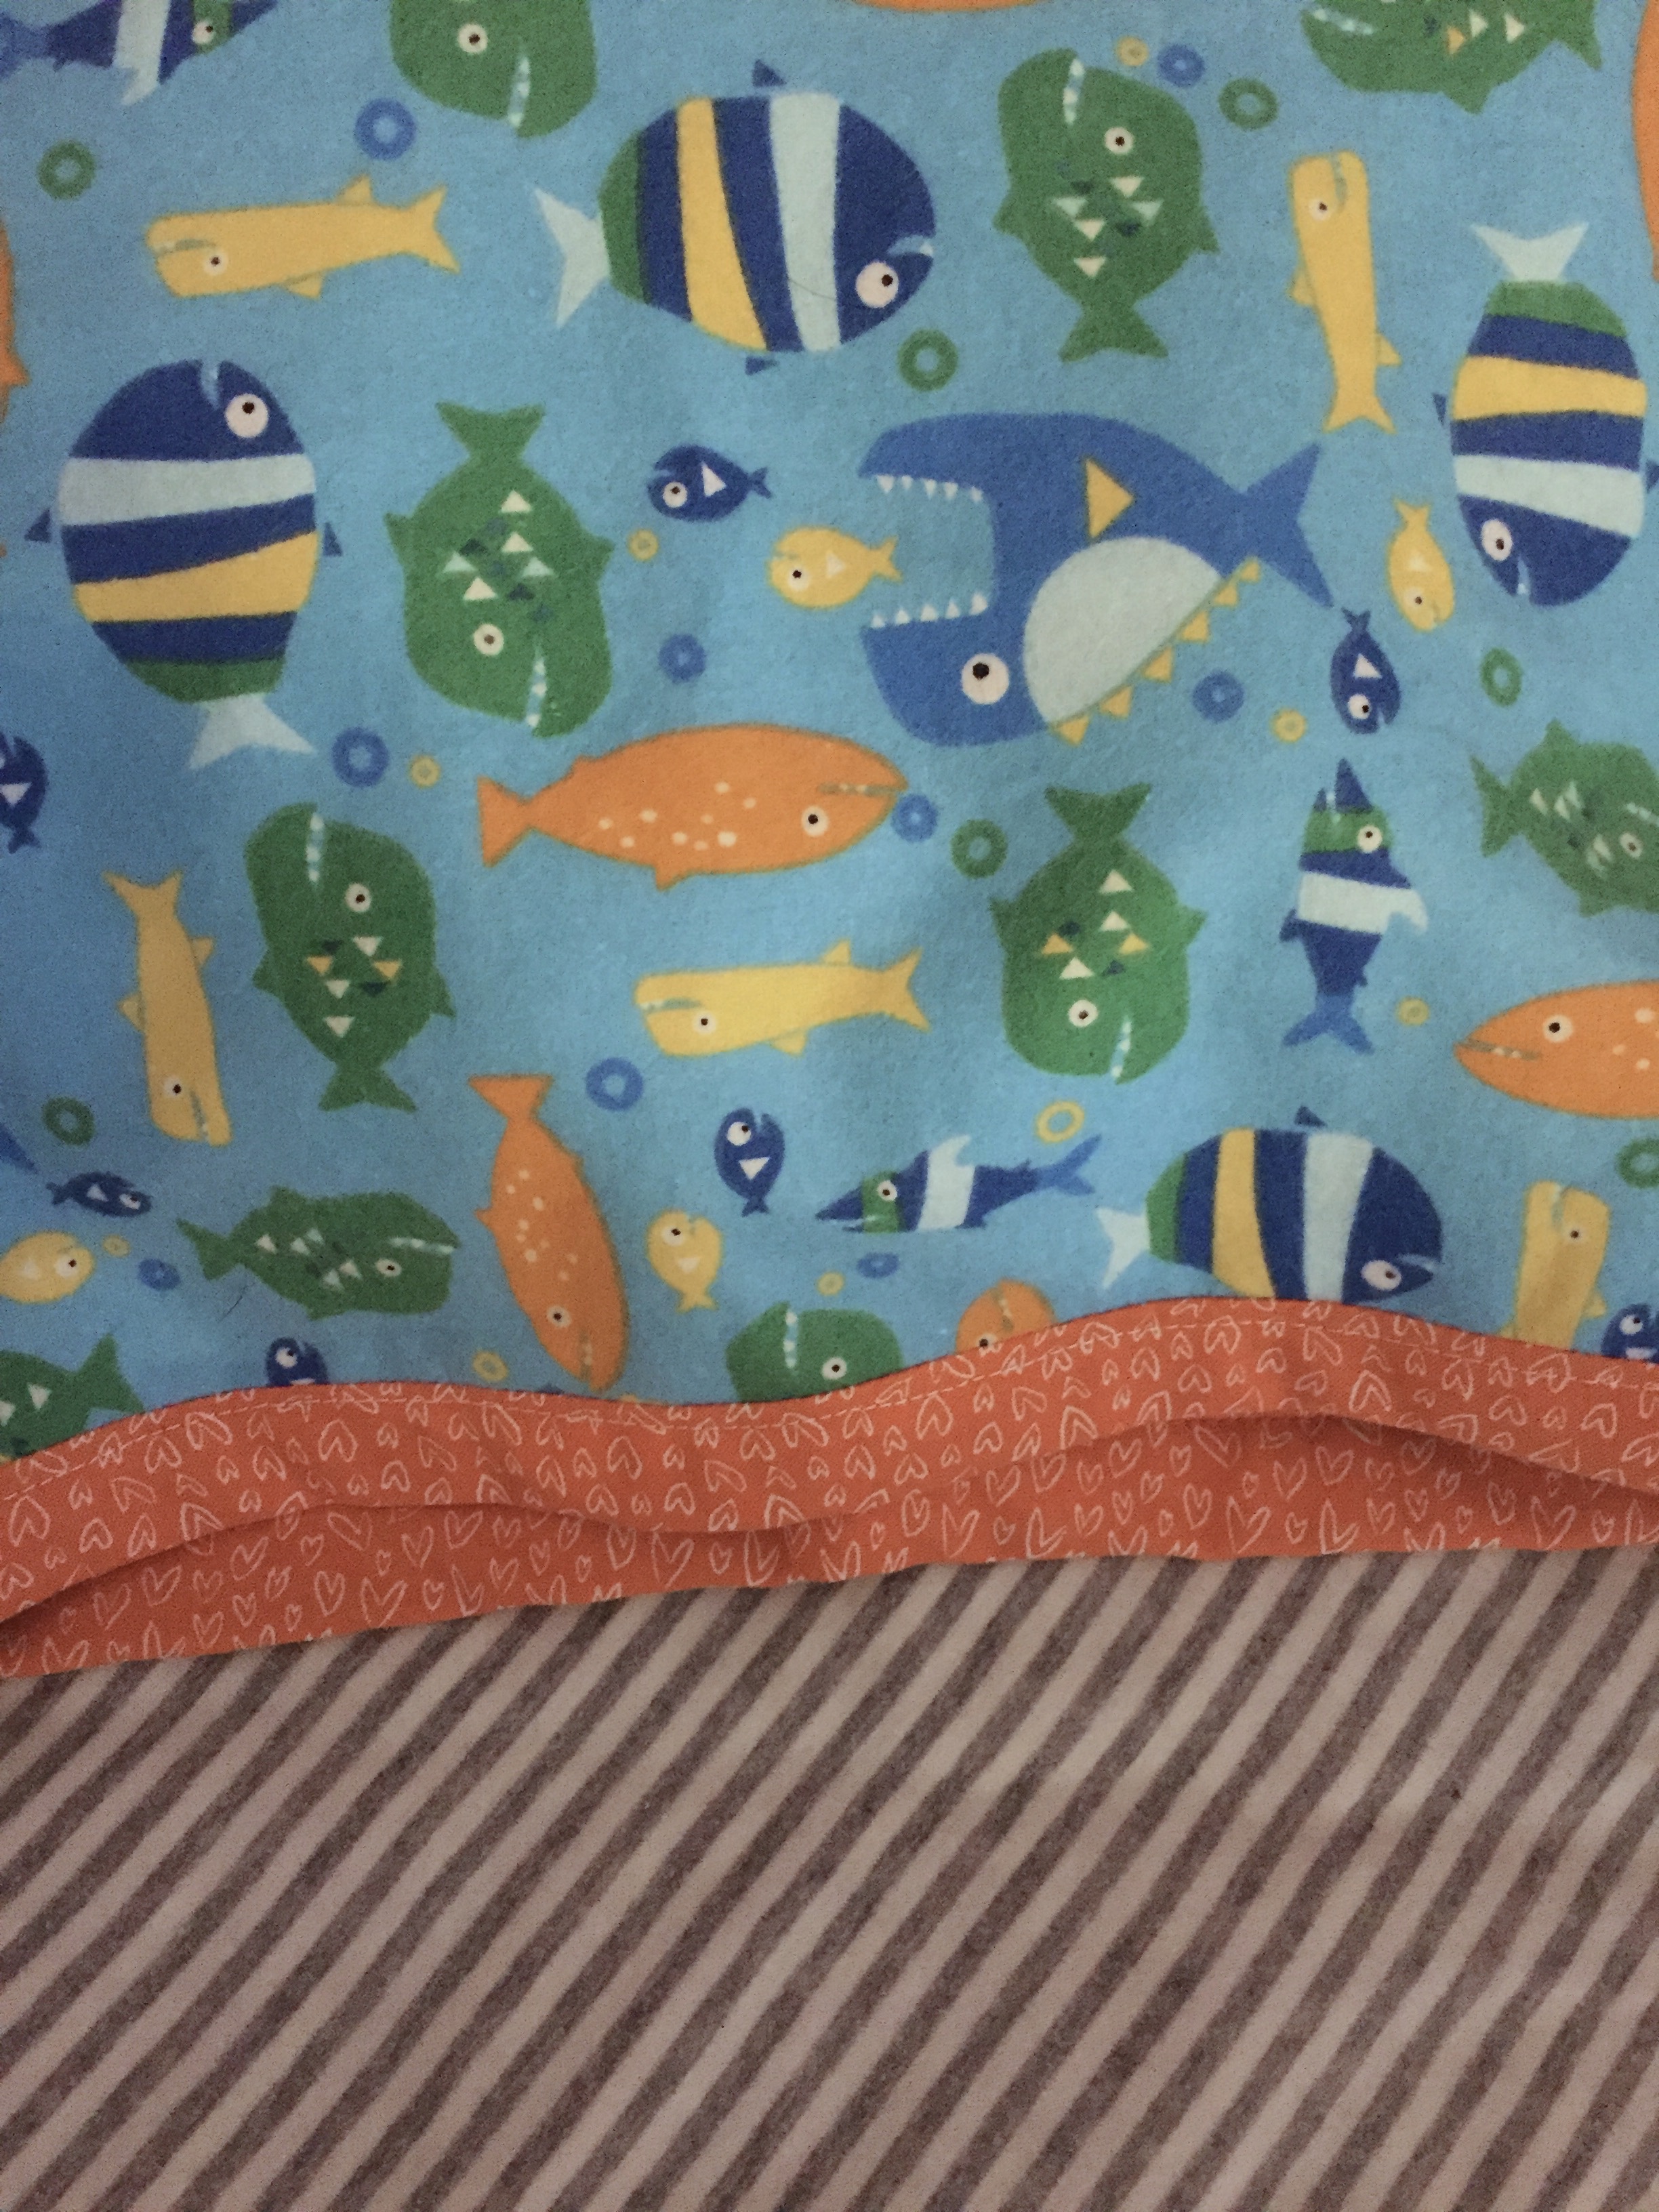
While in Vermont, I made one with a soft flannel from Michael Miller. (I love the flannels I have in stock – They are really soft and thick.) She loved the fish and we had fun pointing to those too.  I kept telling her the colors of each one which would make her smile as we went along, though she really hadn’t a clue what I was saying.  Haha – Grammy’s have to try, right?

When I cut the fabric, it was a bit shorter than I wanted.  To remedy this, I left the selvages on and then bound the edge with a bright orange print from my stash (maybe a Dear Stella print??) This worked well and the pillowcase was generously sized.

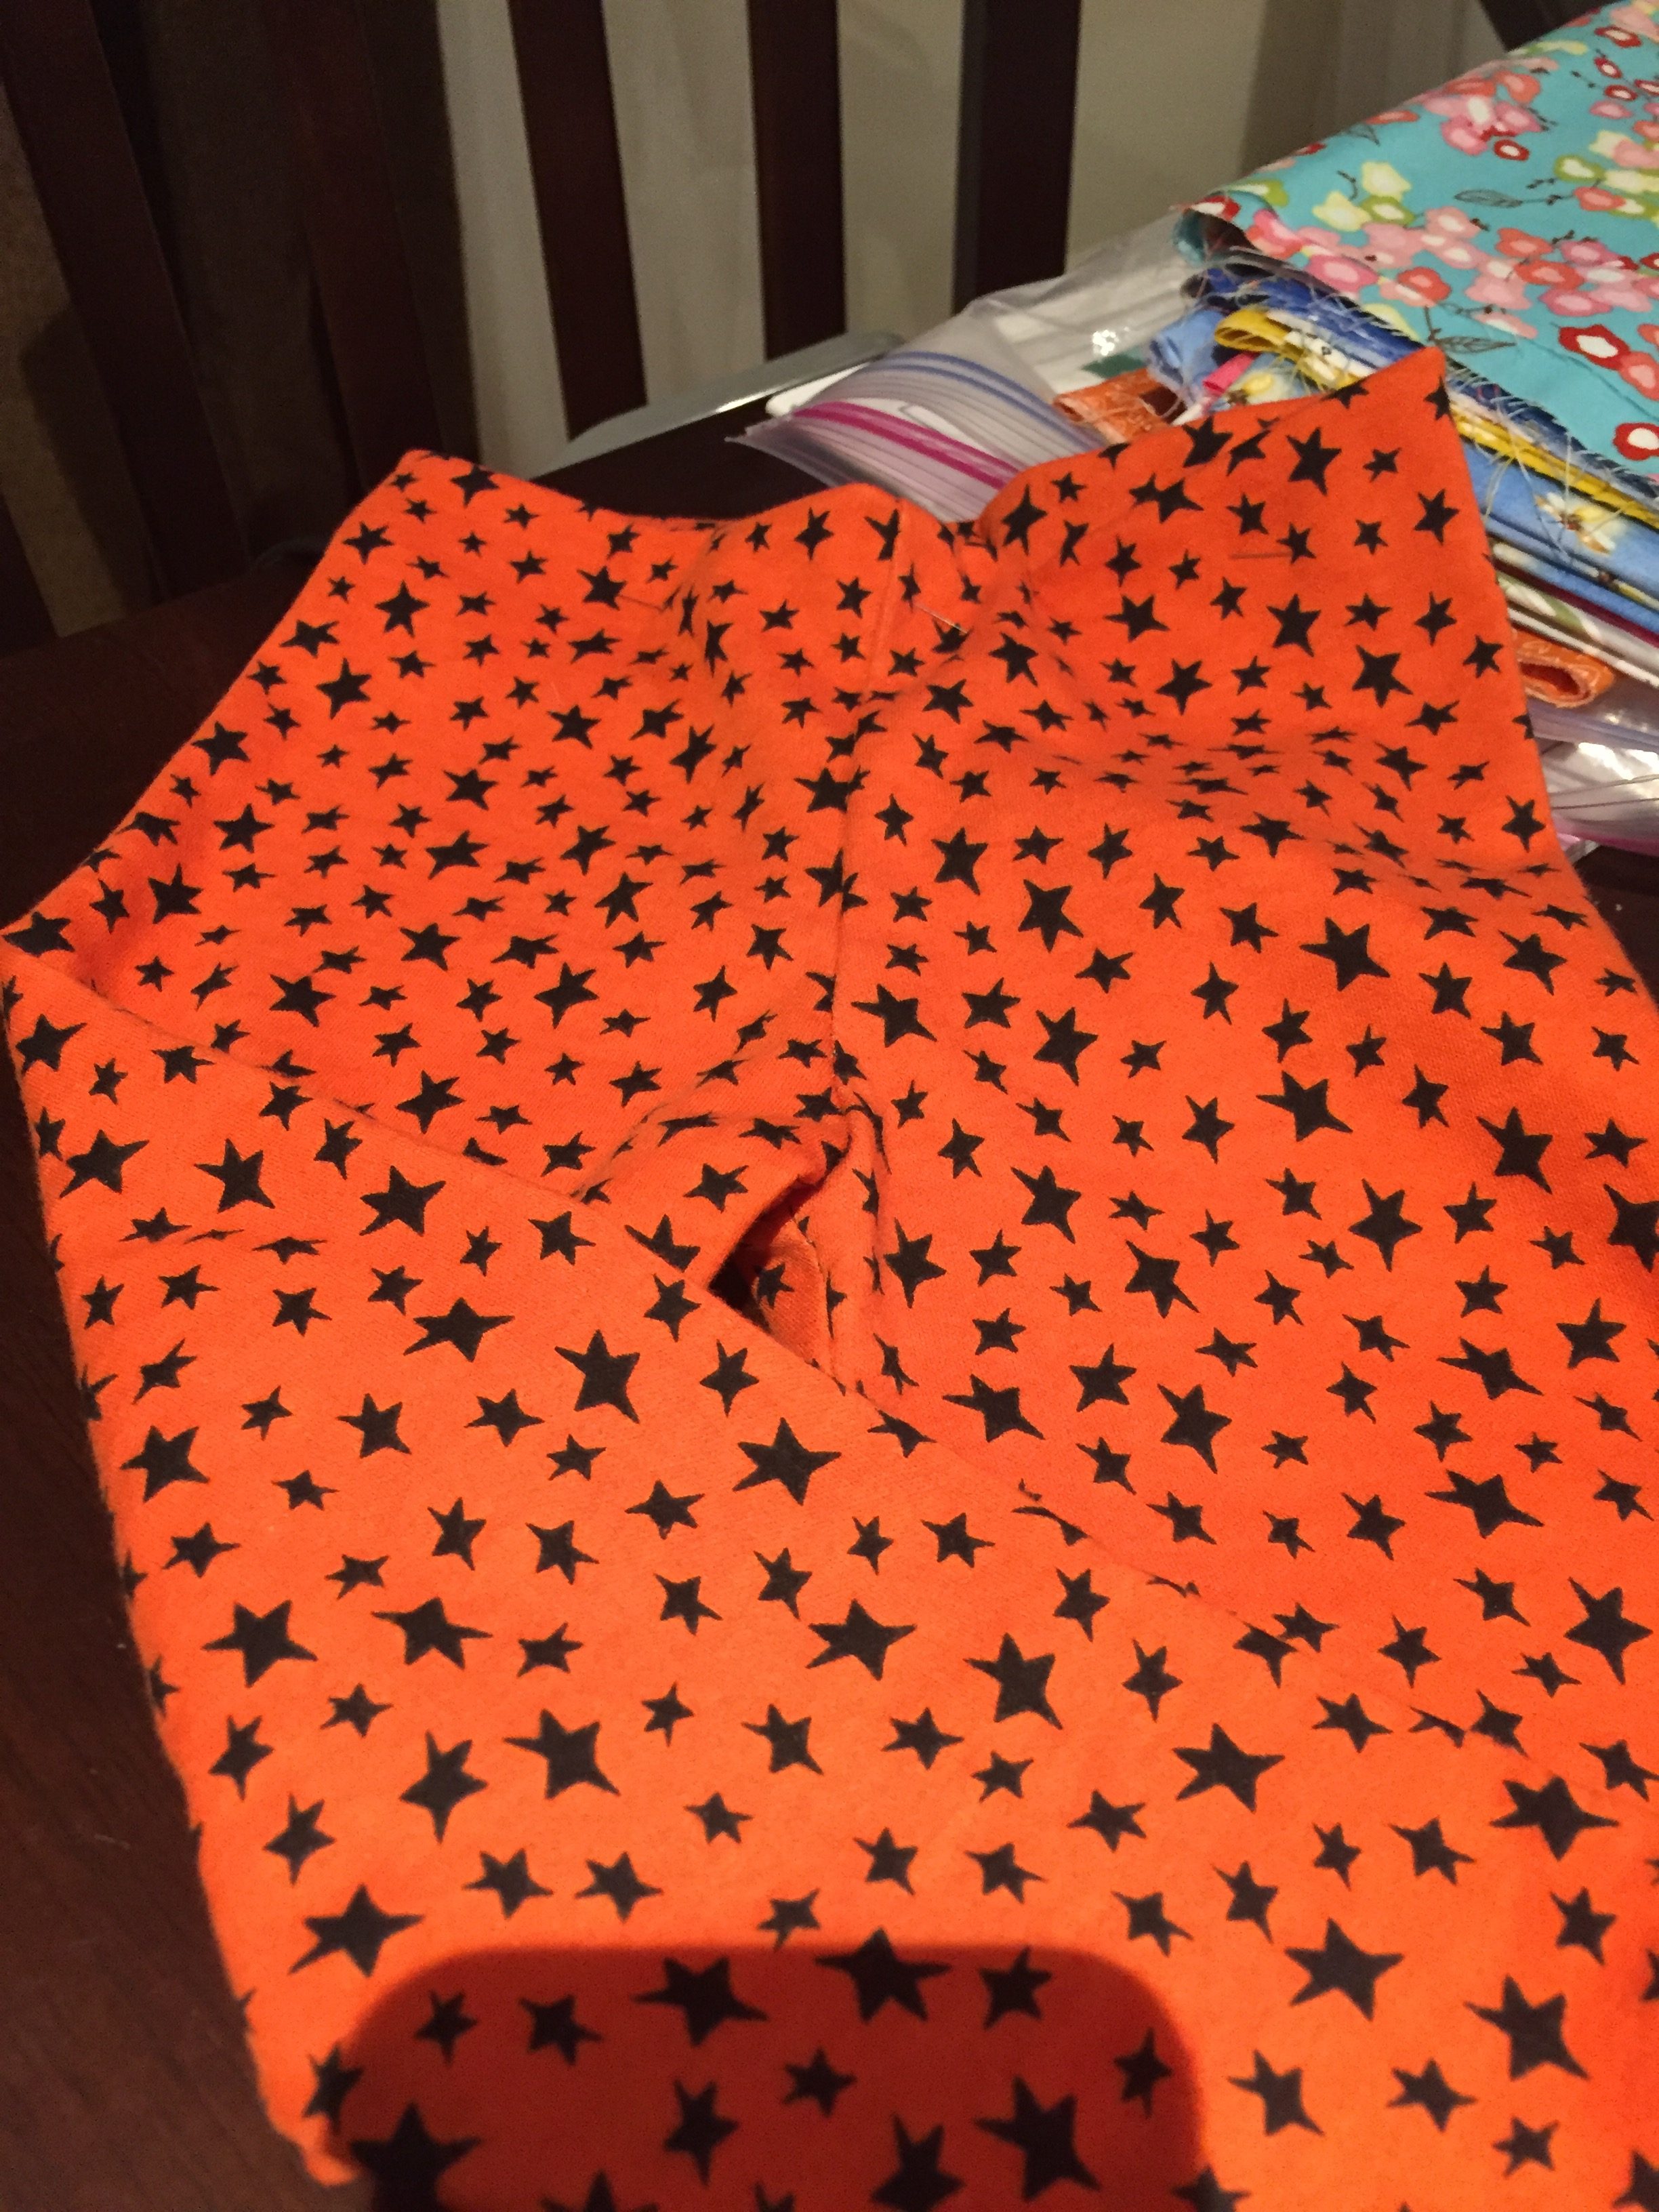
Unfinished leggings for the Halloween season.

Also I made the leggings I had planned.  I love the way they look on her though I didn’t remember to take a picture so you will have to trust me on that one.  I used the same pattern from Toddah as I used for her reindeer leggings last Christmas.

Other than that, no other sewing took place.  I am not afraid to admit she wore me out by the end of the day.  The plans I had to sew after she went to bed each night didn’t materialize (no pun intended!) By then, I was wiped out and usually watched a bit of tv and went to bed.  I did manage to finish a book, The Housegirl, by Tara Conklin.  It was a good read and I would recommend it.  The story is about a current day young lawyer who is working on a reparations case to recognize the descendants of African American slaves and it ties to a young girl who was a slave in the 1800’s.  I thought it was really interesting and of course, a bit sad –  still a good story though.

I am happy to be back home – I was gone nine days which is a long time to be away.  While I was away, I didn’t have one single migraine.  I have talked before about dealing with chronic migraine. It is really incredible to go such a long stretch without a headache.  I have been home since Tuesday night and still haven’t had one.  So it has been since August 25th.  I was texting my sisters about this and one of them asked me how much time I spent on the computer while in Vermont.  I thought about it and realized I hardly turned my laptop on at all.  I haven’t been doing much blog reading at all and didn’t write any posts (I had written the Meet & Greet post earlier and scheduled it to post). I often bring a book on my iPad to read on the plane but I was in the middle of The Housegirl so I brought it to finish up, meaning I read a paper book, not electronic.  This was really interesting and made me wonder if the lesser migraine frequency was at all related to the dramatic decrease in screen time. So, I am going to test it out.  For the majority of September, I am signing off the blog and won’t really be reading blogs either.  I do have the September Blogger Bundle coming up on the 12th of September so I want to do a post then. But I am very curious to see if this relief from the migraines continues. I cannot give up computers completely because I need to continue to work my shop.  But I know I can lessen the time spent quite a bit.

So, I will be back on September 12th with a gorgeous bundle curated by my friend Mari who blogs at  The Academic Quilter.  Be sure to pop over to check it out.  I love the colors Mari selected!!  Until then, take care and happy sewing!


Newsletter!

Have you signed up for my newsletter?  It is published every month or so and is full of information about my shop, new arrivals, sales, and events.  Click here to sign up!