Author Archives: Bernie

Rainbow Scrap Updates and a Panel Challenge

It is the end of the month and I scrambled to get a few things done for April. Seems the April came to a close much sooner than it was supposed to as I wasn’t really ready.

Yesterday was a housecleaning day. The obscure chores just get pushed back until finally the oven stinks whenever it is heating up and there is no choice but to clean it. That was not a fun chore but it is done and the oven is all ready to go again! I also had to give some of my houseplants a bath. The larger ones get dusty and it is easiest to take them on the back deck and just hose them off, let them dry and bring them back in. Yikes they look so much better now.

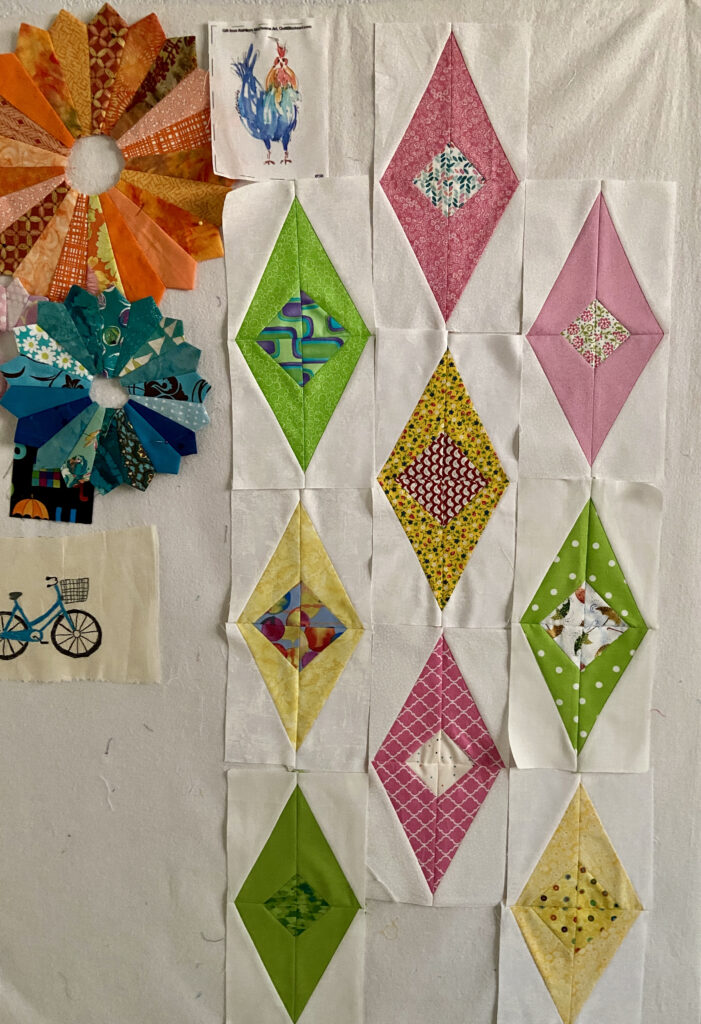
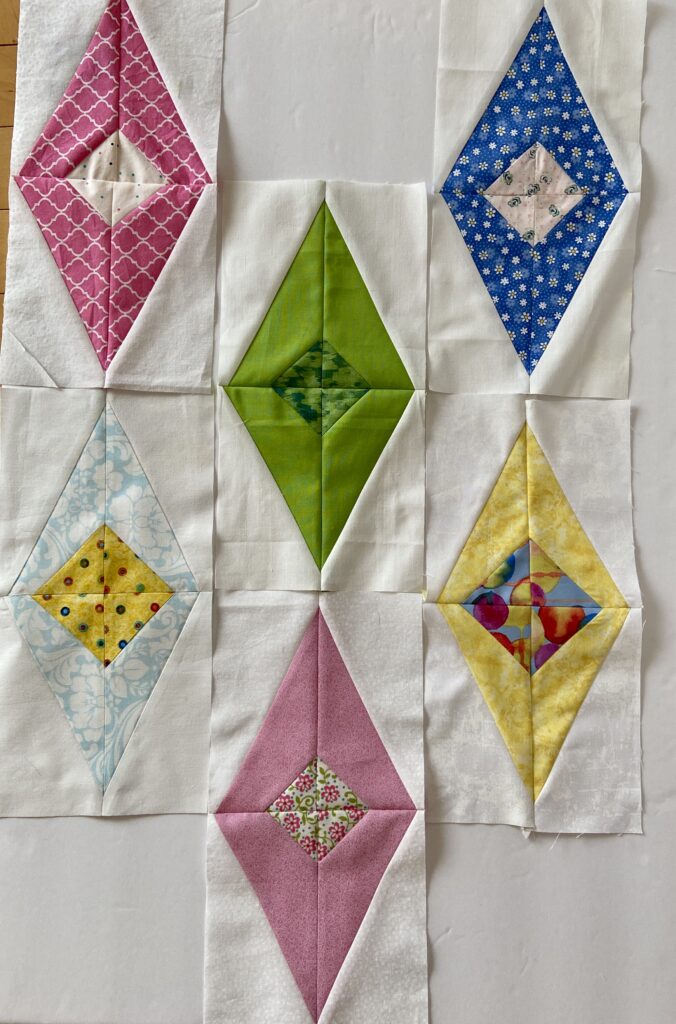
After that nonsense, I managed to finish the RSC blocks for April. I used three very different shades of blue for these blocks. The diamond blocks are fun to make and not at all difficult. They finish at 6″ x 12″. I have been pre-cutting the neutral background triangles making it simple to put them together (making one wonder why I would wait until the end of each month??) Sigh.

Here are a few of the colors put together. I am sure I will need more than three of each color (which is what I am currently making). Seems best I make a few more pink, yellow and green blocks so I won’t have to do it all in the fall. But will I??? We all know the answer to that. Motivate me. Tell me how happy I will be come October, if I have the right number of blocks made. Tell me how it will make it so much easier to assemble the quilt and if I don’t have the right number of blocks made, I will likely put this in a project bag and let it languish. Tell me, ok???

In the meanwhile, I have also been working on a panel challenge hosted over at Prairie Moon Quilts. A while back, Shelly challenged quilters to use one of the panels in their stash and make something with it. Too many times, the panels in shops attract a quilter and are purchased without a real plan how it might be used. Panels are so fun and can be used in any number of ways. To see a few of my favorites, check my Pinterest board.

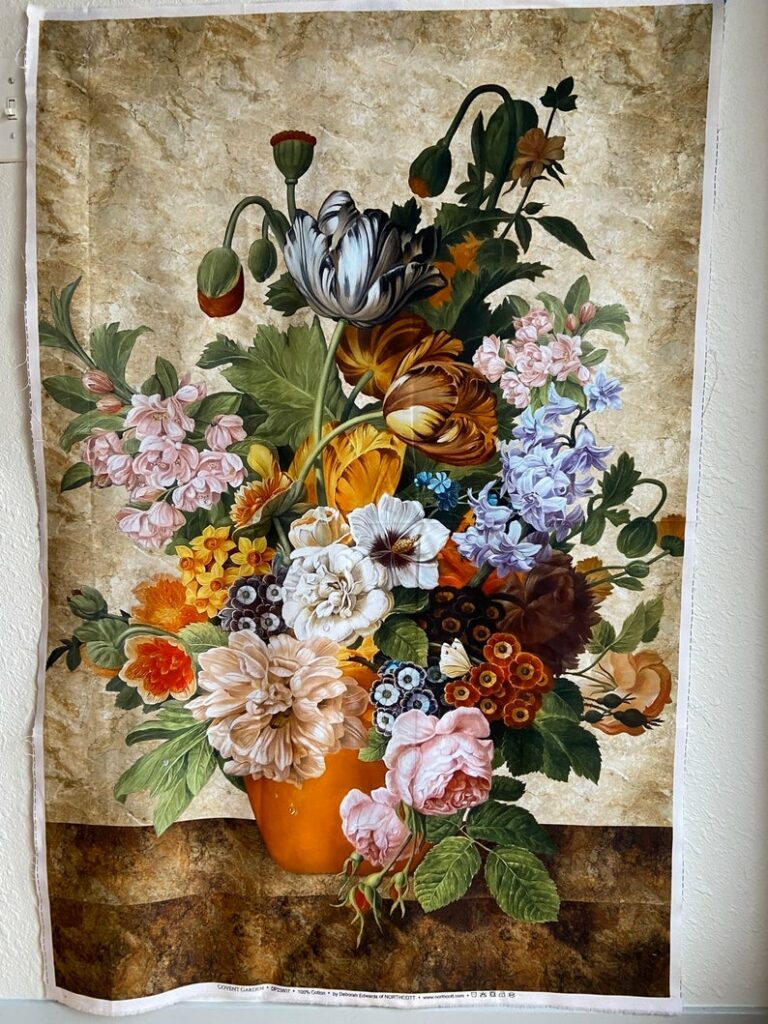
I chose to use this beautiful panel from Northcott’s Covent Garden Line. I do have it in the shop if you love it as much as I do! It measures 28″ x 42″. The colors are amazing. It was designed by Deborah Edwards.

When I first got this panel in the shop I wanted to just quilt it as a whole cloth and hang it somewhere. But as time went on, I was less convinced this was the right choice. When Shelly presented her challenge, I decided to cut it up and piece it.

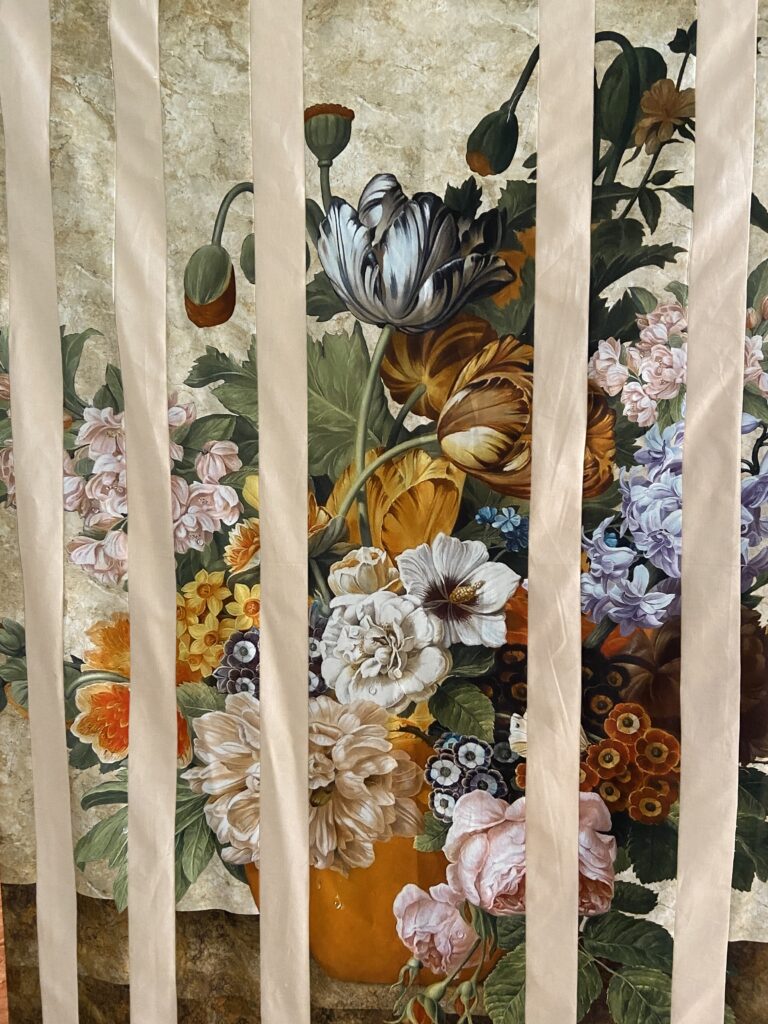
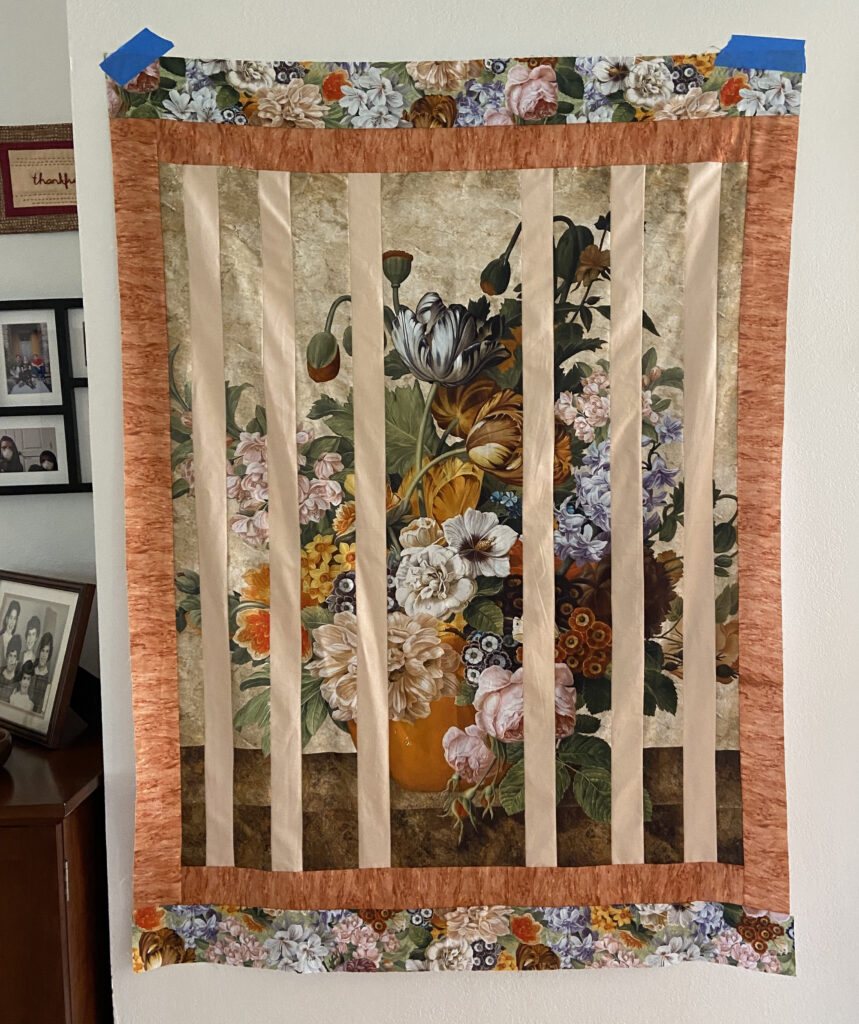
Next decision was how much to cut?? Not much was the answer I came up with. So I sliced it into columns. The center measures 9″ wide and moving out from there the size decreases. The next strip was cut at four inches, followed by three inches and the narrow outside strip was 2 1/2 inches wide.

For the first border, I used a piece of fabric from PB Textiles. I liked the rusty tones with the flowers. It was just about square at this point and my brain felt like it should be a rectangle. Adding a four inch floral strip at top and bottom made this happen and my brain was much more content. Shelly will be showing all of the quilts made for this challenge and will have it open for viewers to vote. I hope you will hop over there on Monday to look at all the different projects everyone has made. I am looking forward to it!

What a huge difference this made – There are so many ways to use this columnar method with a panel. Some quilters will move the panel pieces up and down so the picture is not totally lined up. This looks great with panels showing pretty landscape scenes. I also love when a panel is cut and made with attic window blocks. One idea that attracted me was seeing a quilt where part of the panel was cut and appliquéd to the quilt. The design looked wonderful. To see the panels I have in the shop, click here.

Thanks to Shelly for motivating me to play with this panel. Now it is time to baste and quilt it. I have a few quilt tops lined up to be finished. I think I will baste one this weekend to begin that process. What are your plans for the weekend? It is going to be rather warm here and there is plenty to do out in the yard during the cool of the morning and then in the sewing room in the afternoon.

Linking with my usuals. Check them out at the top of the page, under Link Ups.

A Homespun Finish

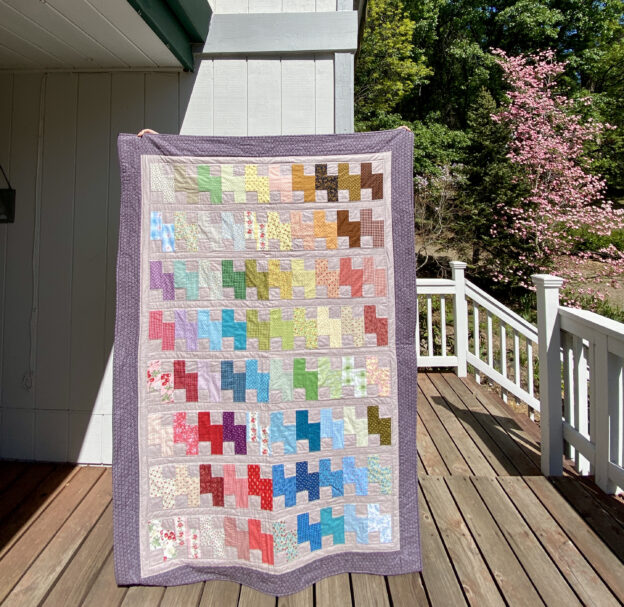
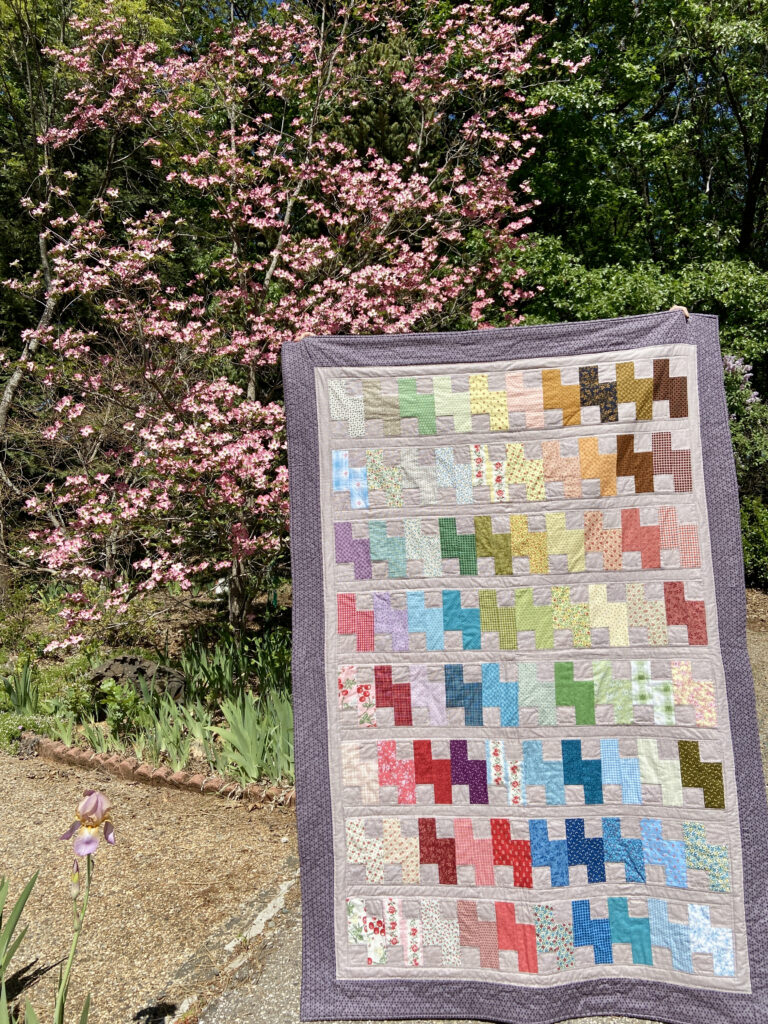
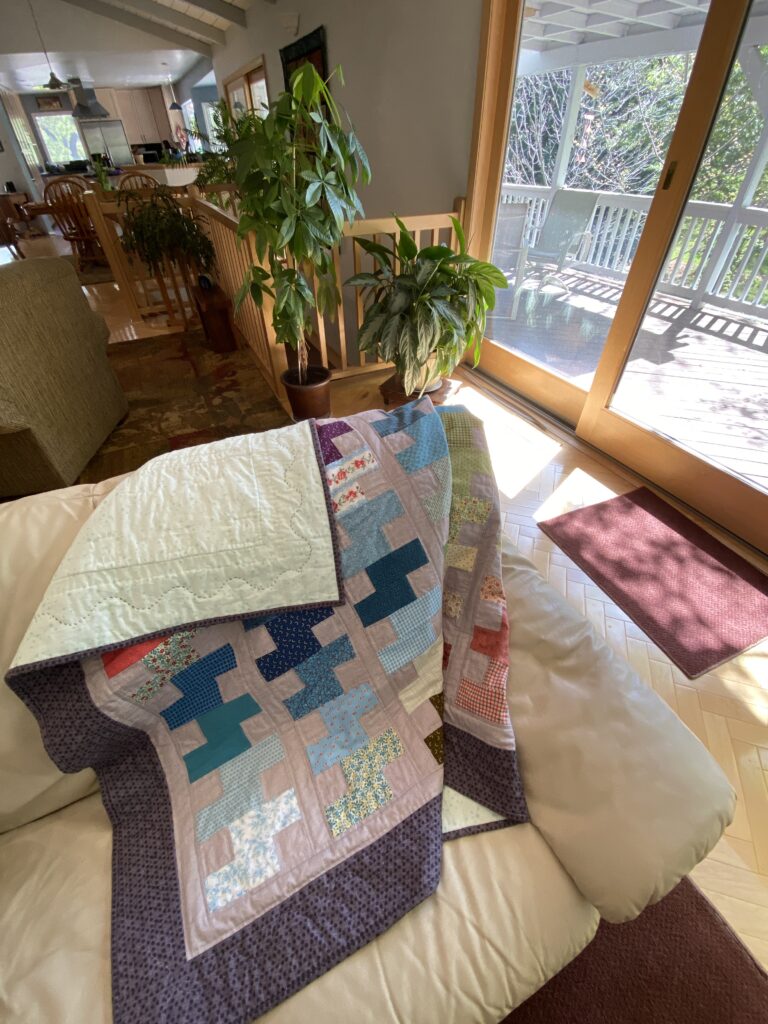
This quilt has been in process for quite some time. I finished the quilt top last March. The piecing was quite fun – I used two different charm packs from Benartex that both had a vintage feel to them. After sewing a 2 1/2″ wide strip to the top of each one, I sliced the block in 1/2 and flipped one side upside down. That gave me the rectangular blocks you see here. To add some size to the quilt, I sashed between rows. Finally I added a deep purple border all the way around.

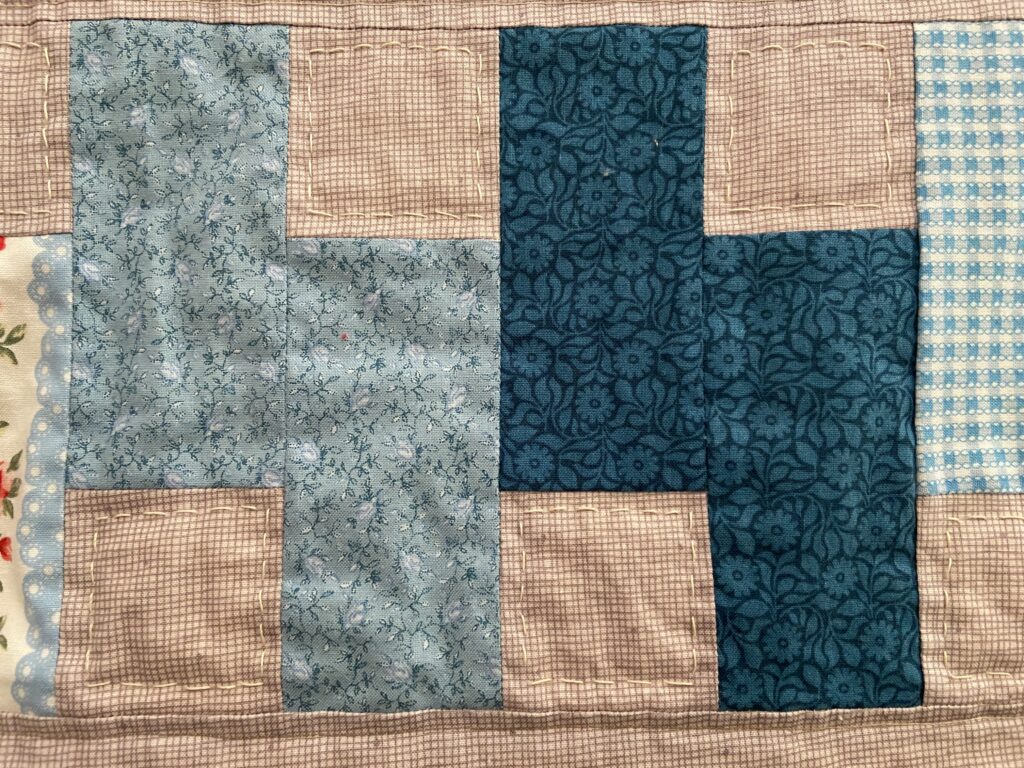
I knew I wanted to try hand quilting and this seemed a good project to learn with. Wanting to think just about the hand stitching and not worry about the durability, I stitched in the ditch along the sashing lines and around the inner border. This was really helpful in keeping everything together.

There are many who would say I might have used a darker color thread but again, this was my first time and it shows! The stitches are inconsistent – honestly, I didn’t want them to be the star of the show here. I quilted around each smaller square and was ready to call it good there. However, what was the rush? I enjoyed quilting this in the evenings so I decided to go around the inner border once.

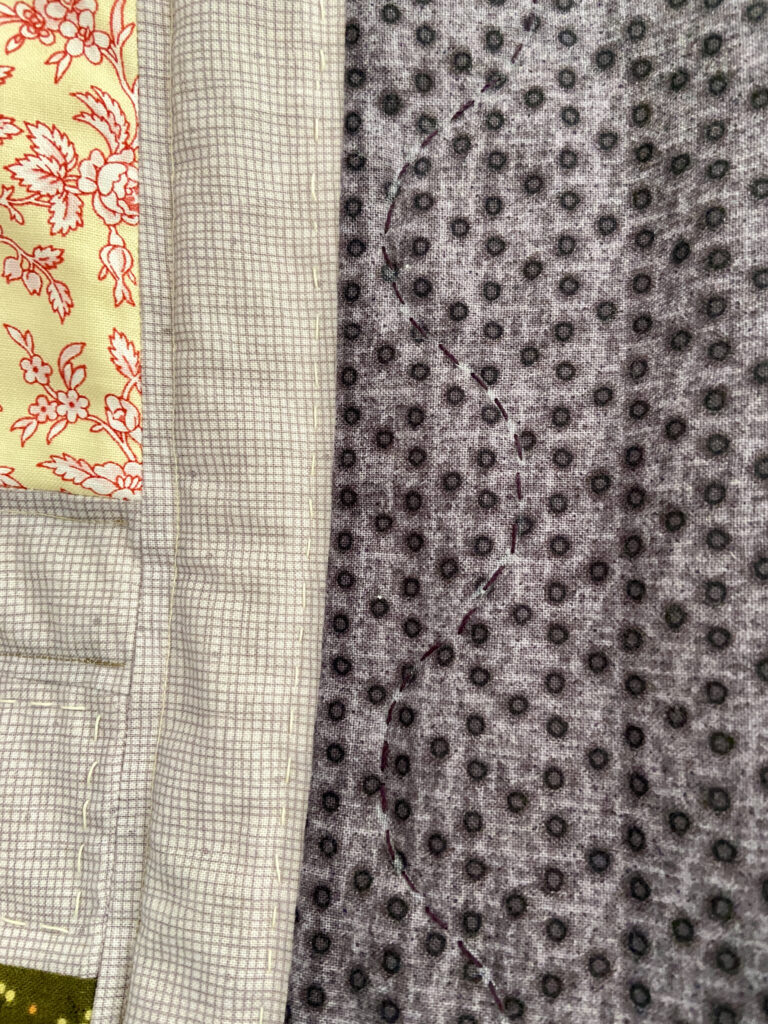
Then it came to me I might want to do some stitching in the purple border. I used a stencil to trace the curves here. I felt like I was done at this point so I put the binding on. For some reason, it was a challenge to find a binding I liked with this quilt. The neutral fabric used as the background is gone so that wasn’t going to work. There was enough of the purple fabric though and I decided I liked the simplicity of using the same fabric for binding and the outer border.

This quilt is sooooo cozy and soft. The only reason I haven’t yet washed it is there is one more thing nagging at me. I think maybe I should quilt another wavy line on the purple so it intersects and makes a bit of a chain. What do you think? Add more, or leave it as is?

Hand quilting was quite satisfying, especially since I was in no rush to finish this, and I knew I wanted to keep it so there wasn’t the pressure of it being just perfect for the recipient. I have a long ways to go. The back of the quilt doesn’t look so amazing. My stitches on the back look so tiny. I need to learn how to stitch so the front and back are more uniform. A few times, I forgot to pull my knot through and now it seems like it is too late. This doesn’t really bother me but you know…. it is a learning curve.

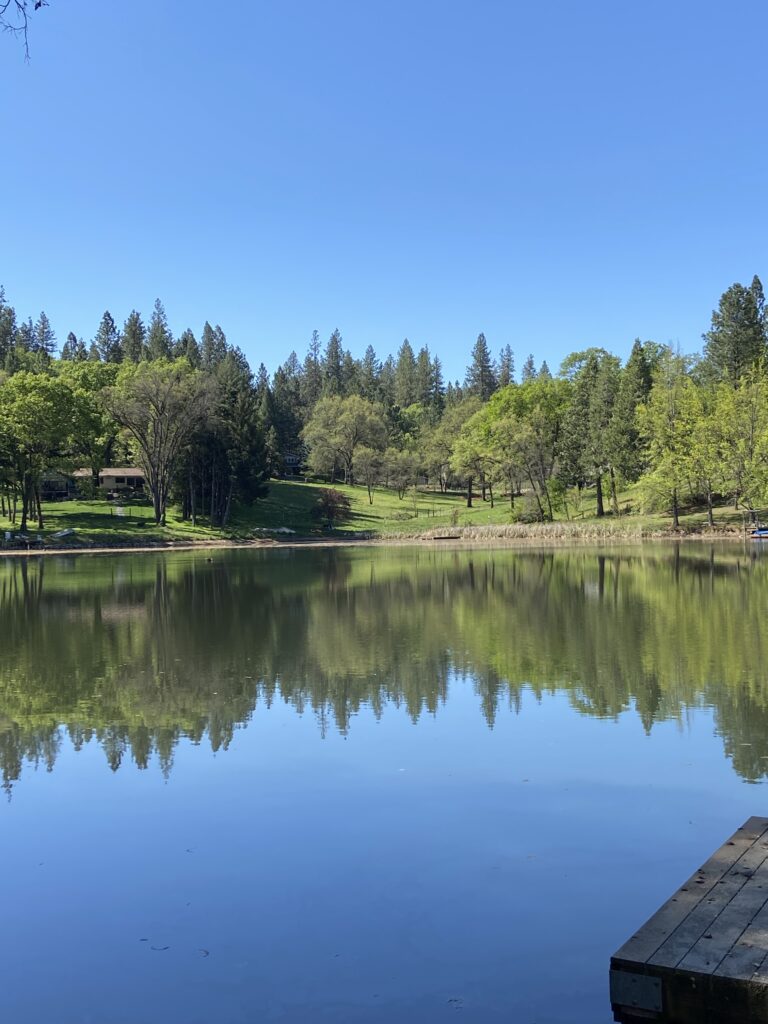
Spring is surely here! This pond is on the edge of our property and there are geese galore right now. Ray has seen a mama and her goslings swimming but I keep missing them.

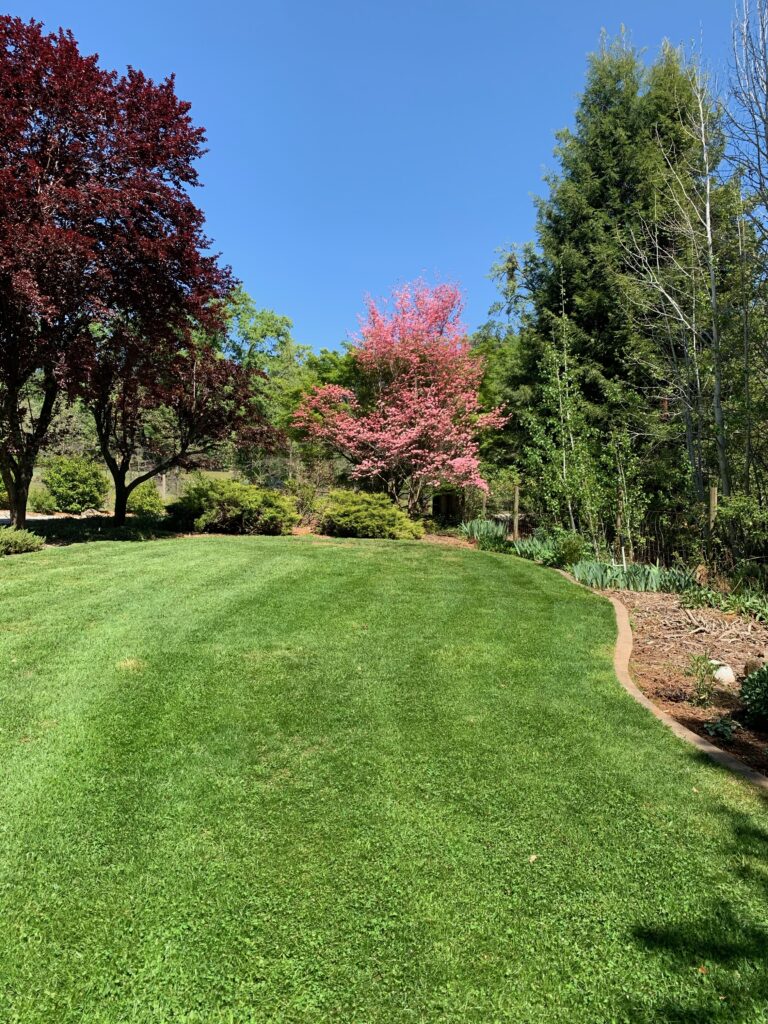
The Dogwood tree in all its glory!

Our yard is at its best in spring time, before it gets too hot and the plants become stressed. The iris are pushing loads of blooms so they will be putting on a show soon.

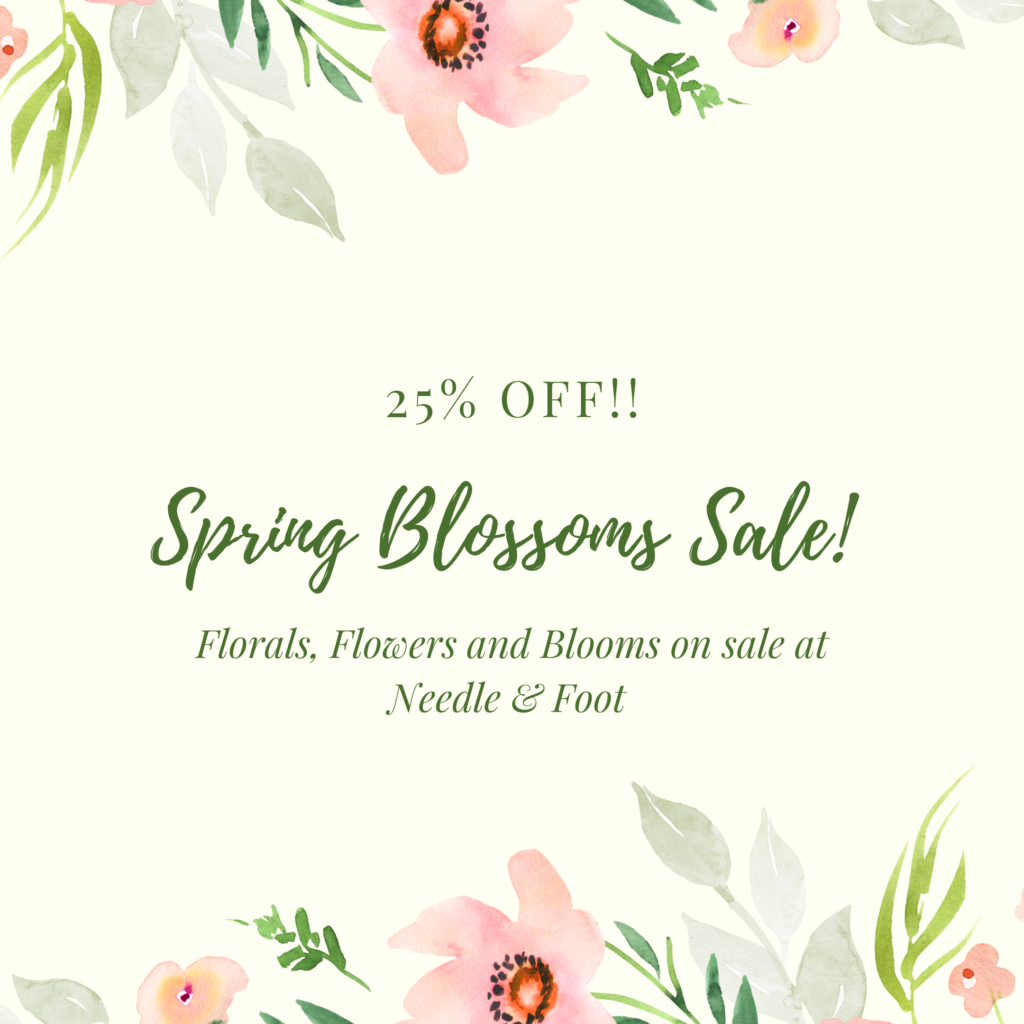
This weekend I am celebrating spring flowers with a sale for you. All fabrics with flowers and blooms are 25% off. Sale begins today and runs through Sunday, April 25th! Enjoy!

Dinosaur Quilt Finished & Delivered

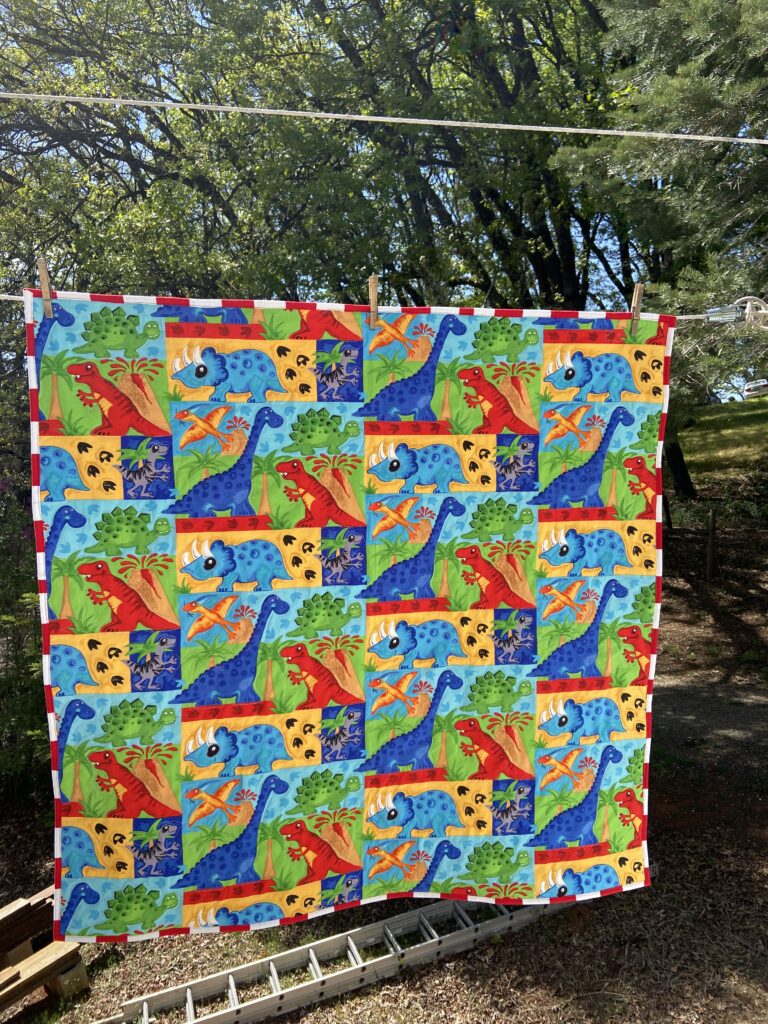
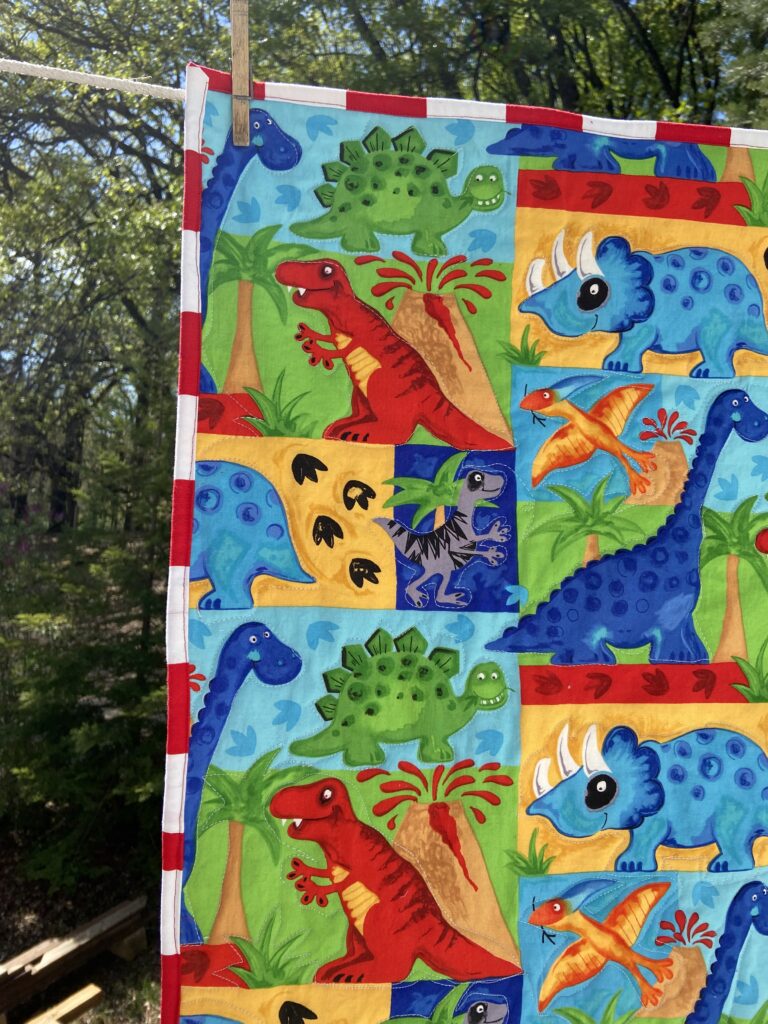
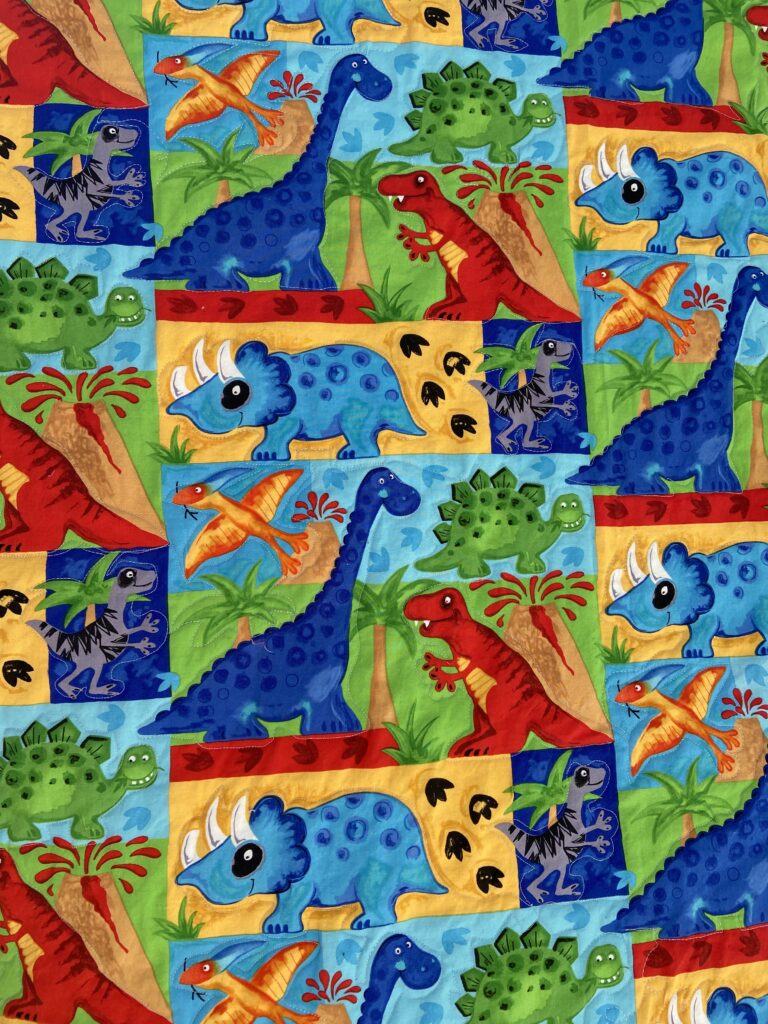
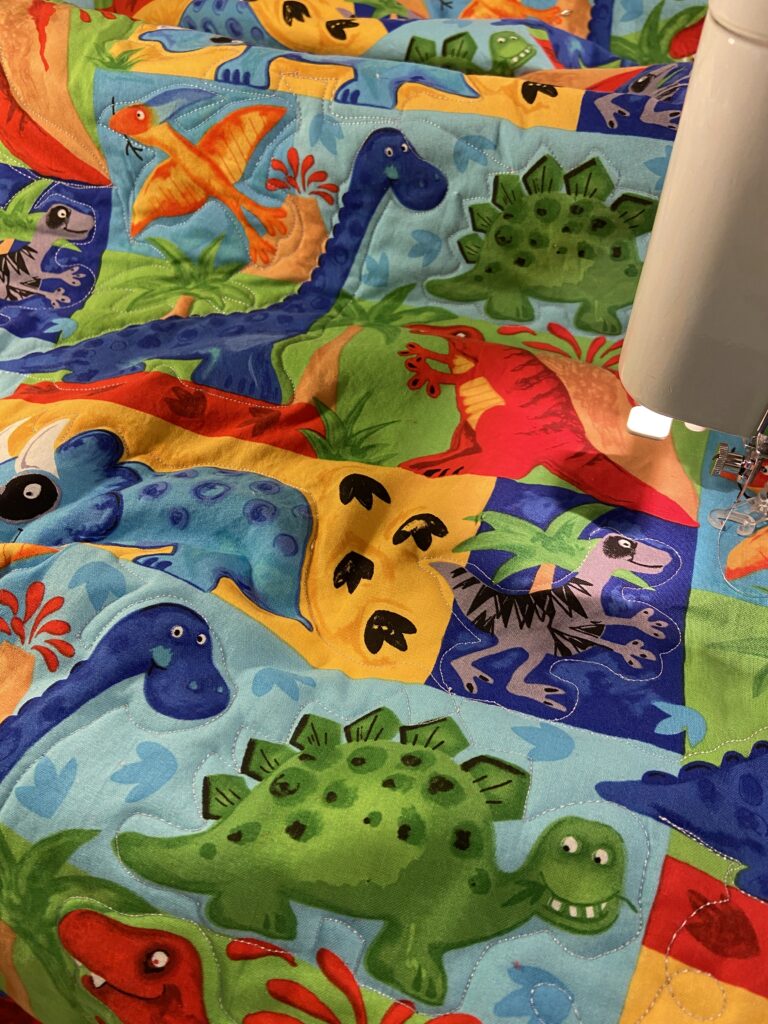
It took very little time to finish up the whole cloth dinosaur quilt I made for our local Community Service group. It is great to have quilts available for children in crises and I think this one is perfect. Cute dinosaurs on the fronts and snuggly, soft flannel on the back.

A not so artsy photo – complete with ladders and scrap wood in the background!

The binding is a bold red and white stripe, leftover yardage gifted by my sister some time ago.

I quilted around each dinosaur and if needed (to travel to the next creature) I echoed some of the trees or volcanoes. Simple and fun!

It finished at approximately 40″ square, a good size for a toddler needing a quilted hug.

Whole cloth quilts are a lot of fun and provide such easy FMQ practice. Here are a few I made in the past.

Panda Garden Recess Whole Cloth Quilt

I couldn’t bear to cut up this fabric. The little panda bear scenes deserved to stay whole. I had made this as a sample to use in my quilt show vendor booths some years back.

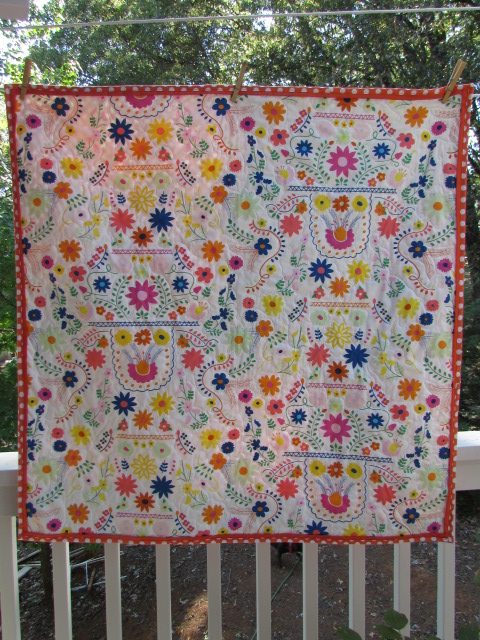
Commissioned baby quilt using Fiesta Fun.

This was a commission done for a customer. It was, again, a great chance to practice FMQ as I quilted around the flowers.

Who
Whole Cloth Quilt using Valori Wells’ Marikech fabric

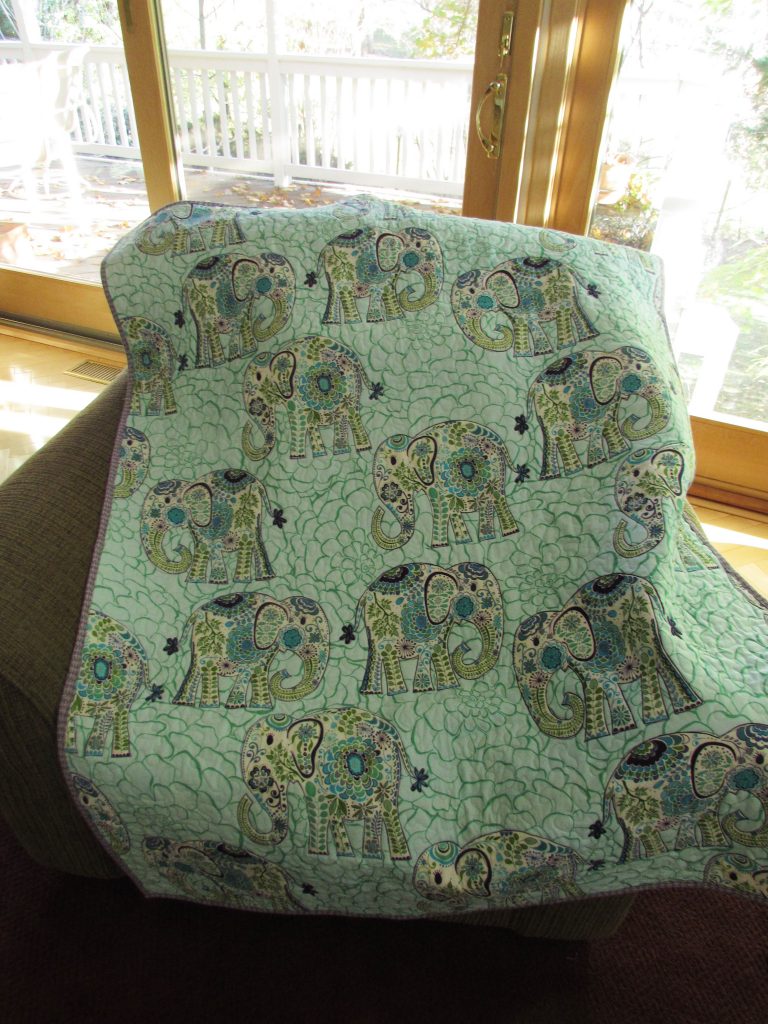
Some years back, my niece asked me to make a quilt for her best friend’s first baby. She really wanted this boho elephant fabric which was no longer available. But you know how it goes – I put it out there that I needed a piece of this and was able to buy it from someone who had it on her shelf. Just enough to make the quilt.

Sometimes, a fabric is just so pretty as it is, I feel like I don’t need (or want) to cut it up. What do you think? Have you made a whole cloth quilt? If not, I bet you have a perfect large scale fabric in your stash to give it a try! Plus, it is easy to quilt and a nice way to get some practice. Quilting around shapes that are already there helps those shapes to pop a bit and is a great way to improve your FMQ skills.

Sharing with my usual link ups. Please take a look at the top of the page, under Link Ups.
Wednesday Work in Process

Hello!! Just a quick note to check in with you this fine morning. We had a sudden thunderstorm last night which was fun. However when we have a quick change in barometric pressure, that triggers a migraine which was the not-so-fun part. This morning I am moving a bit slow and thought I would post a bit about what I am working on.

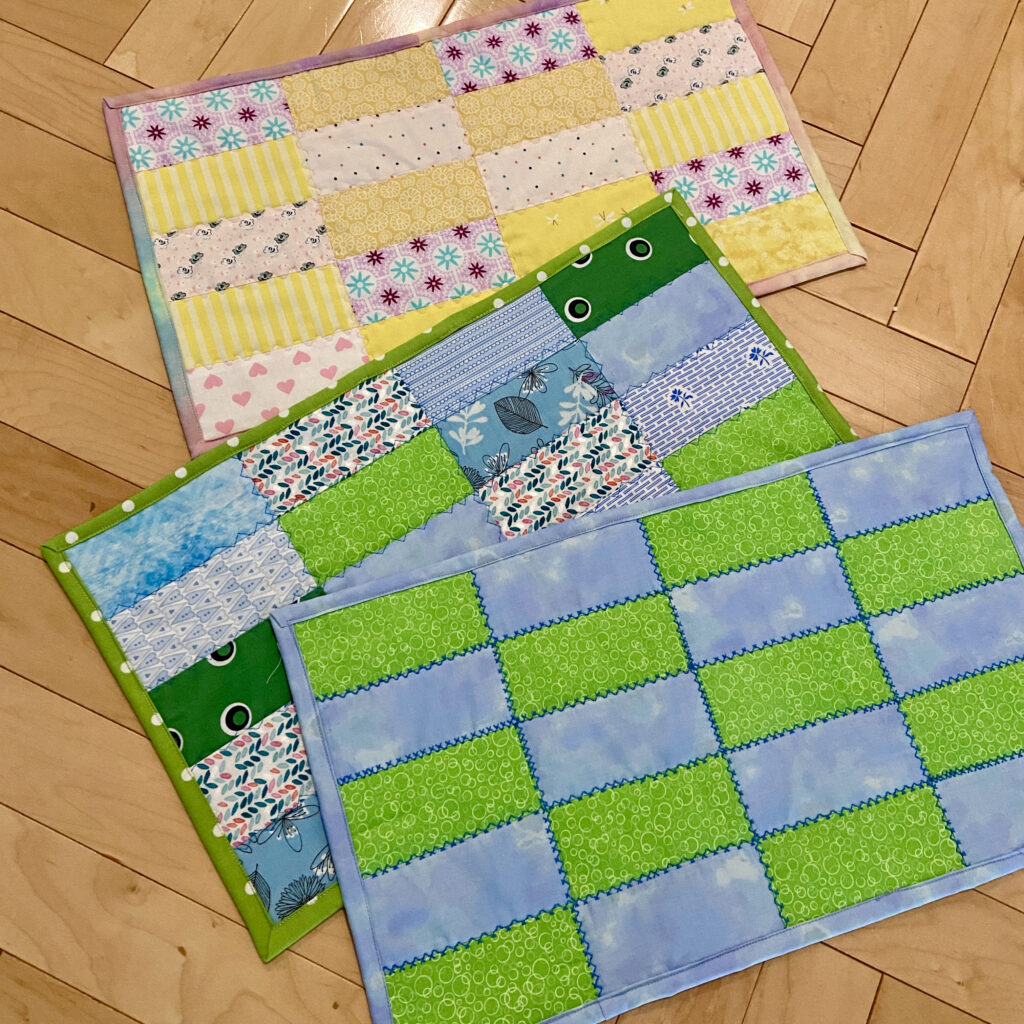
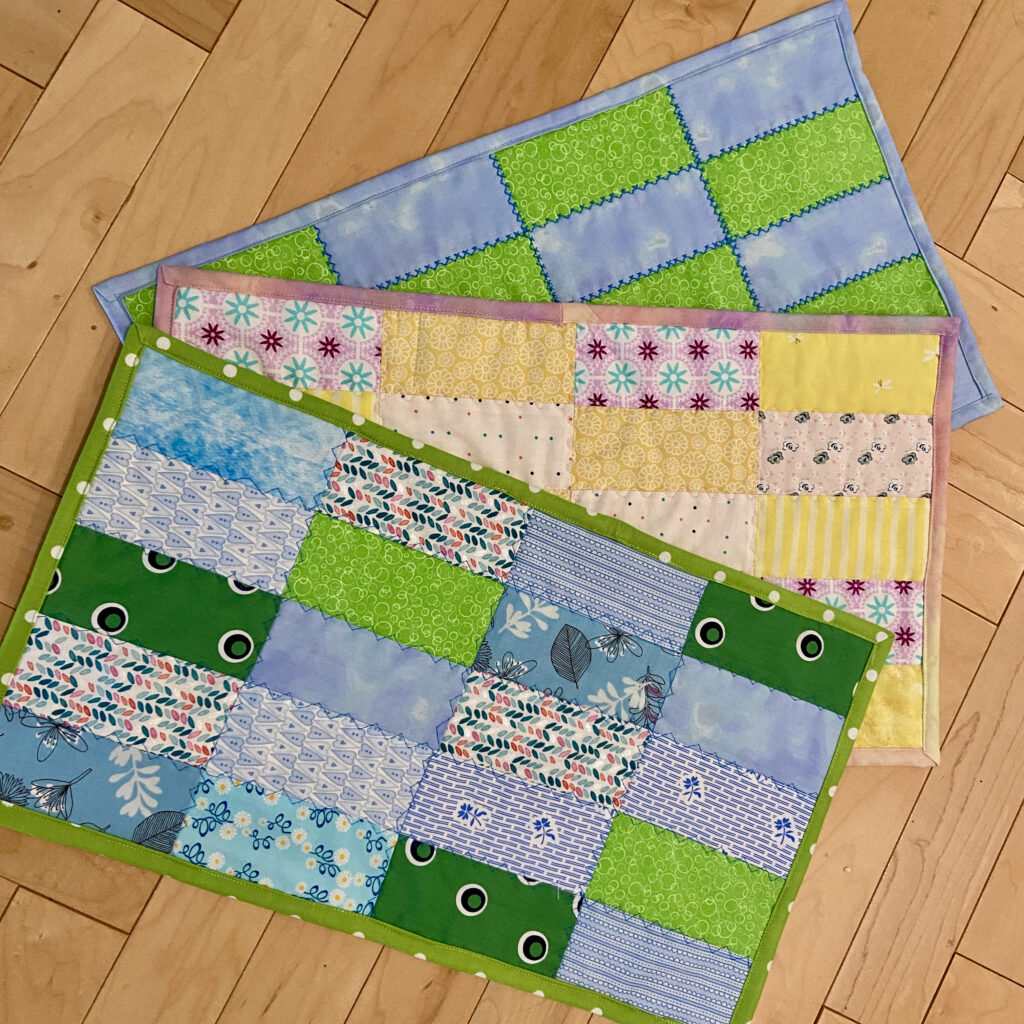
This week I made a few more placemats for our local Meals on Wheels chapter. Our guild is collecting them but hasn’t yet hit the number they are hoping for. I made five of them in February and am always happy to make more!I happened to have a stack of strips (2 1/2″ x 5″) leftover from the coin quilt top I just shared. This made it super easy and fun to whip up a small stack of mats.

For each mat, I used a different stitch on my Janome to quilt them. It was nice to try out some of the stitches and see what I preferred.j

Yesterday I shared this on Instagram. I am making a simple whole cloth quilt for our guild’s community service group. They have an abundance of fabric and when I was last there, I picked up this cute print to make something for them. It is an older fabric from Blank Quilting Co. It seemed better to just leave it whole and quilt it as is. I will finish this up today so I can bring it over tomorrow to the work-day. These dinosaurs are so dang cute and will make a child happy some day!

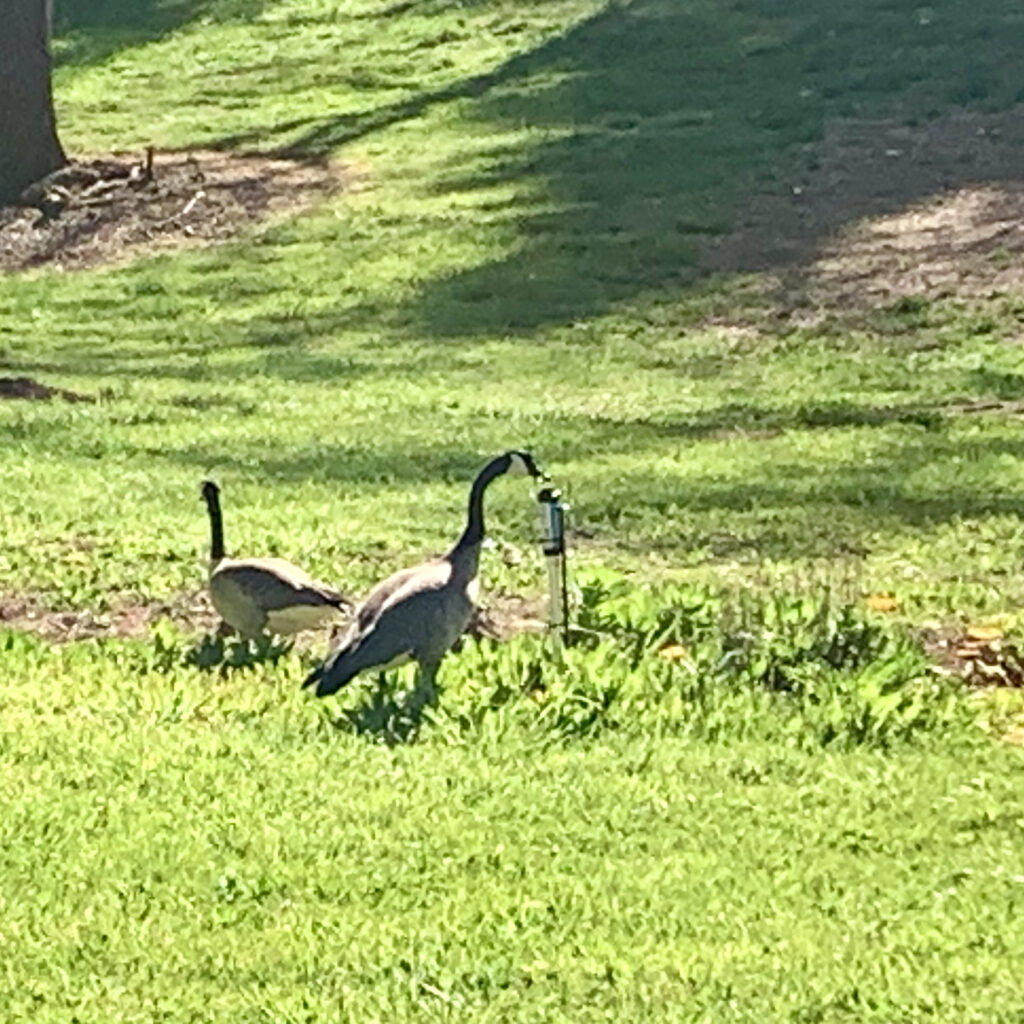
I will close with this cute picture my husband took the other day. He has been working on getting our irrigation water going for the spring and summer. When this sprinkler was running, the geese came right over for a drink. We have not seen them use this as a drinking fountain and found it so funny. Even more so when the geese gave us a stern look after he turned off the sprinkler. Hahaha. Silly goose!

Hope you are all well and happy!! What are you up to this week? Leave me a quick note so I know how you are doing.

Linking up with a few favorite sites. Check them out at the top of the page, under Link Ups.
Coin Quilt is a Flimsy

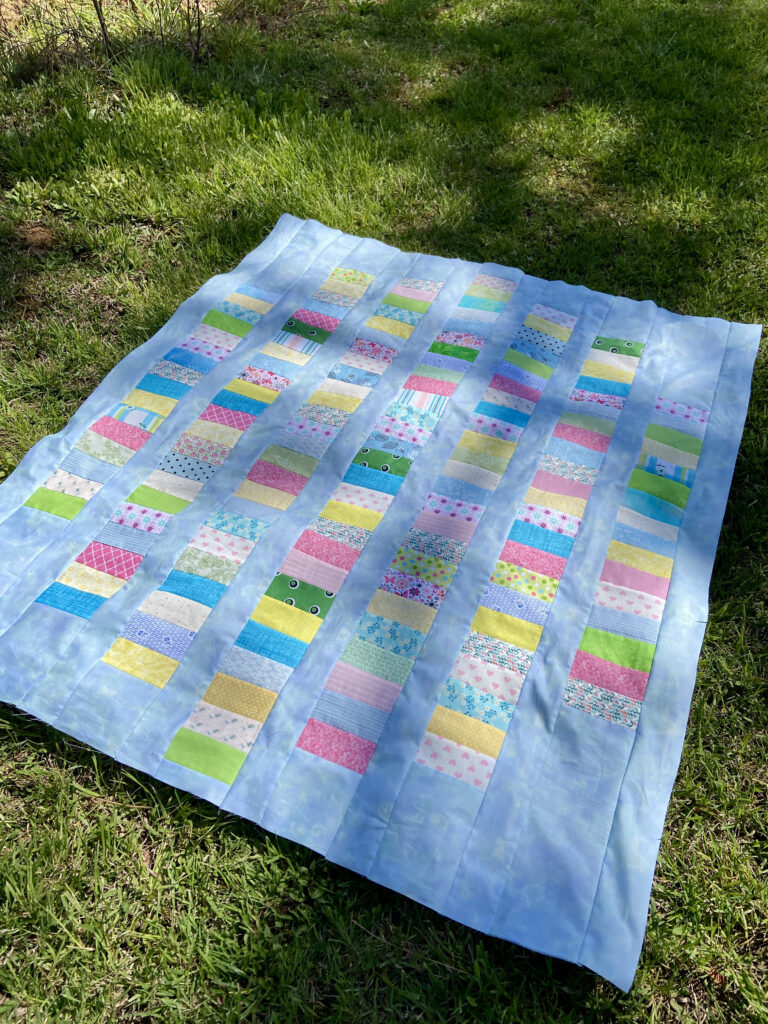
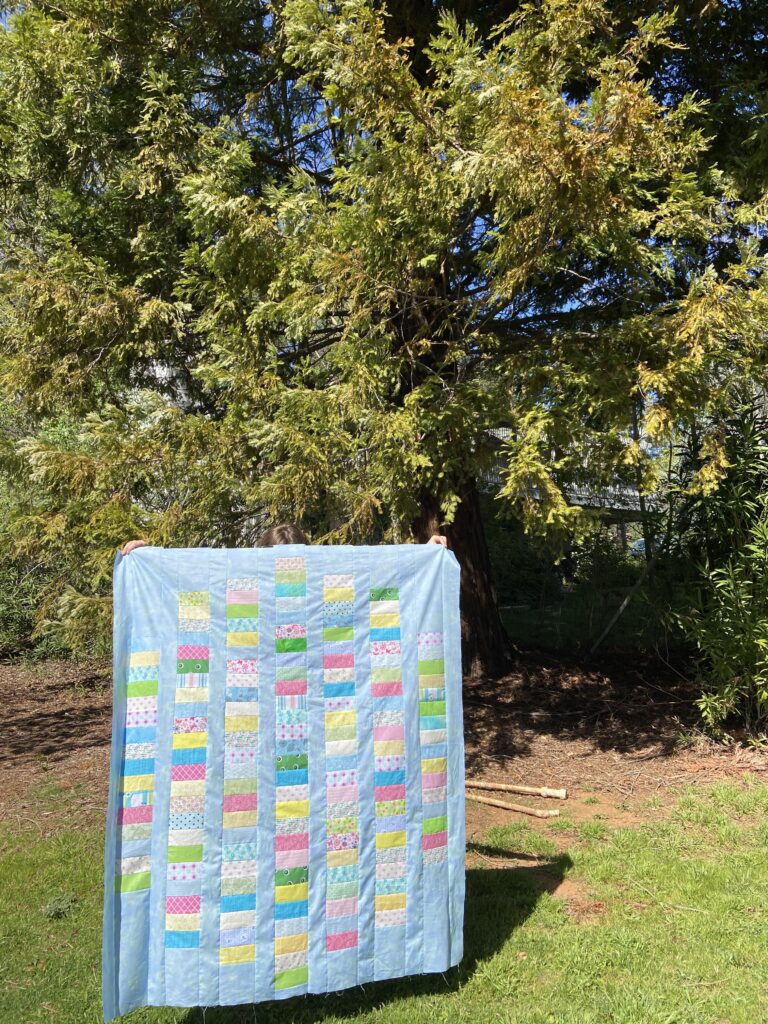
I think this is the first coin quilt I have made and I love it. It is simple, pretty, and has lovely color. This project consumed a nice pile of scraps, most of which were given to me by my sister.

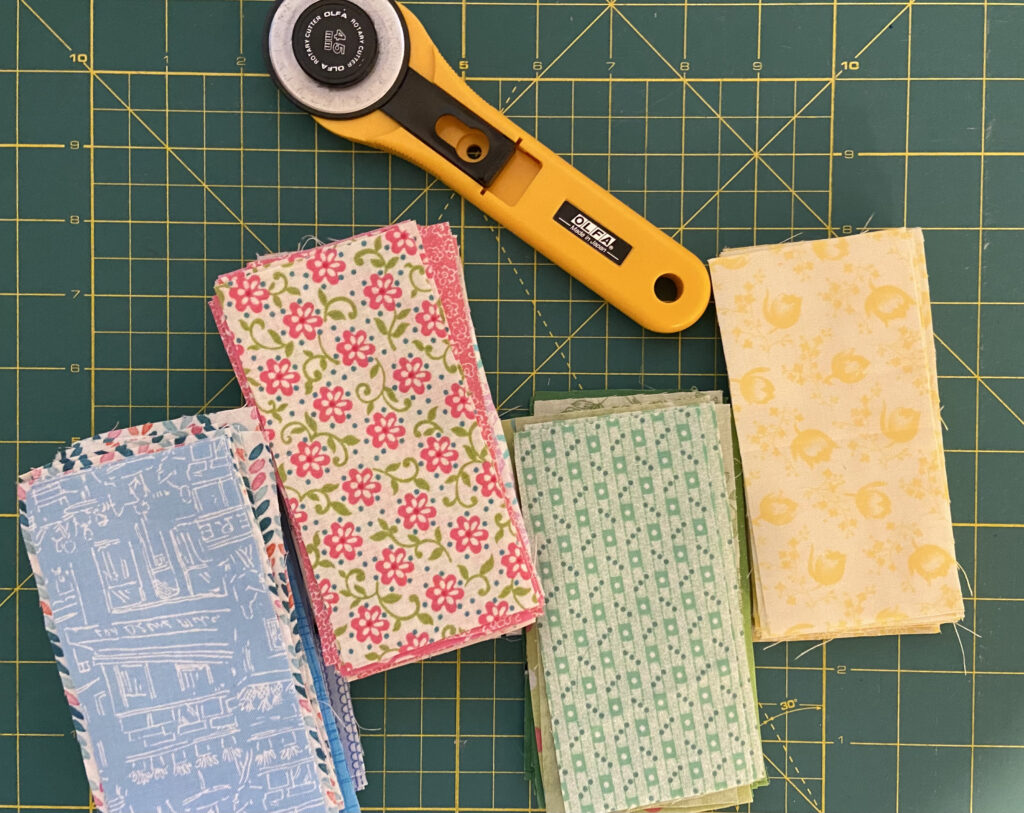
In January I spent some time cutting pink, green, blue and yellow scraps into strips measuring 2 1/2″ x 5″. Then I made myself put them away and finish a few other projects before playing with these. When I was ready to sew the coin quilt, it was great to just pull the bag of strips off the shelf and dive in.

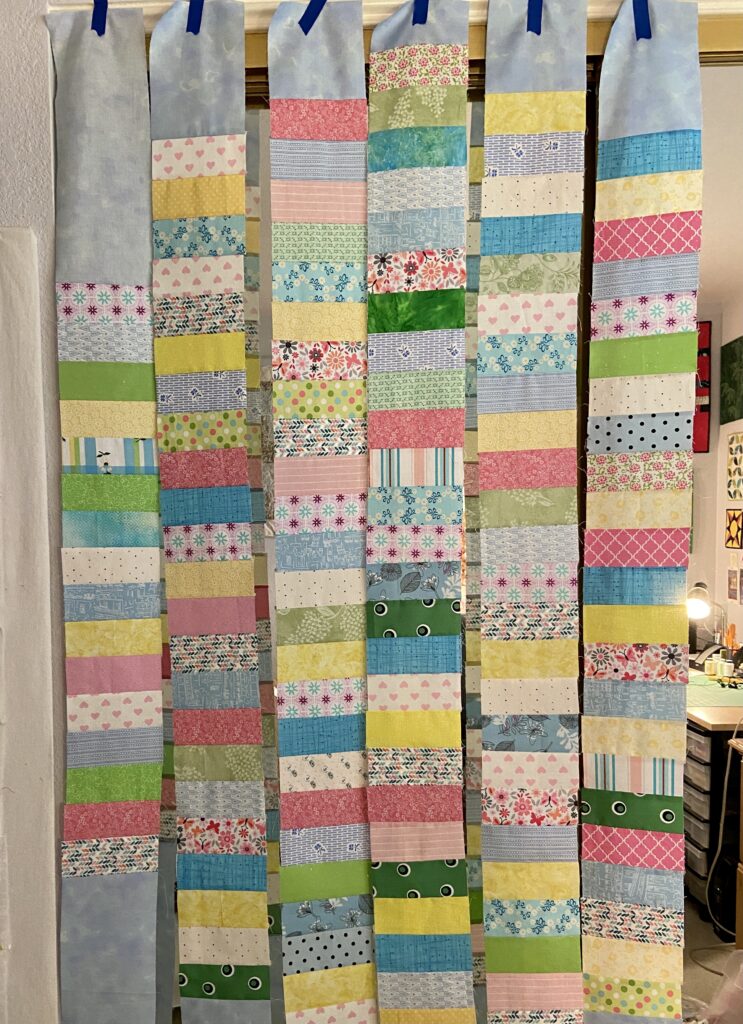
I decided to make one long strip of coins for the center and worked outward from there, reducing the number of coins in each strip. Not having much of a design wall, I kept them taped to the trim above these closet doors. I spent almost no time placing colors or making sure one color wasn’t next to another. Knowing there would be wide sashing strips between the columns meant no coin would truly be side by side with another. Seeing it come together so nicely was satisfying, especially given I didn’t lay anything out. I simply pulled pieces and chain stitched them together.

I used a mottled, light blue fabric for the 2 1/2″ wide sashing, as well as the tops and the bottoms of each column. It screams springtime to me!

The next step is to pick a backing and get it basted. It is 69″ tall and maybe 54″ wide?

What have all of you been up to this week? It is gorgeous here but too dry. Way, way too dry. Today I read that this is the 3rd driest season in over 40 years for our area. We all know what that means. Horrific fire danger coming this summer and fall. Sigh.

We don’t really have much planned for the weekend. Some yard work, some sewing and generally hanging out. Hope all of you are well, happy and feeling creative.

I will leave you with some fun pictures – they are sure to make you smile!

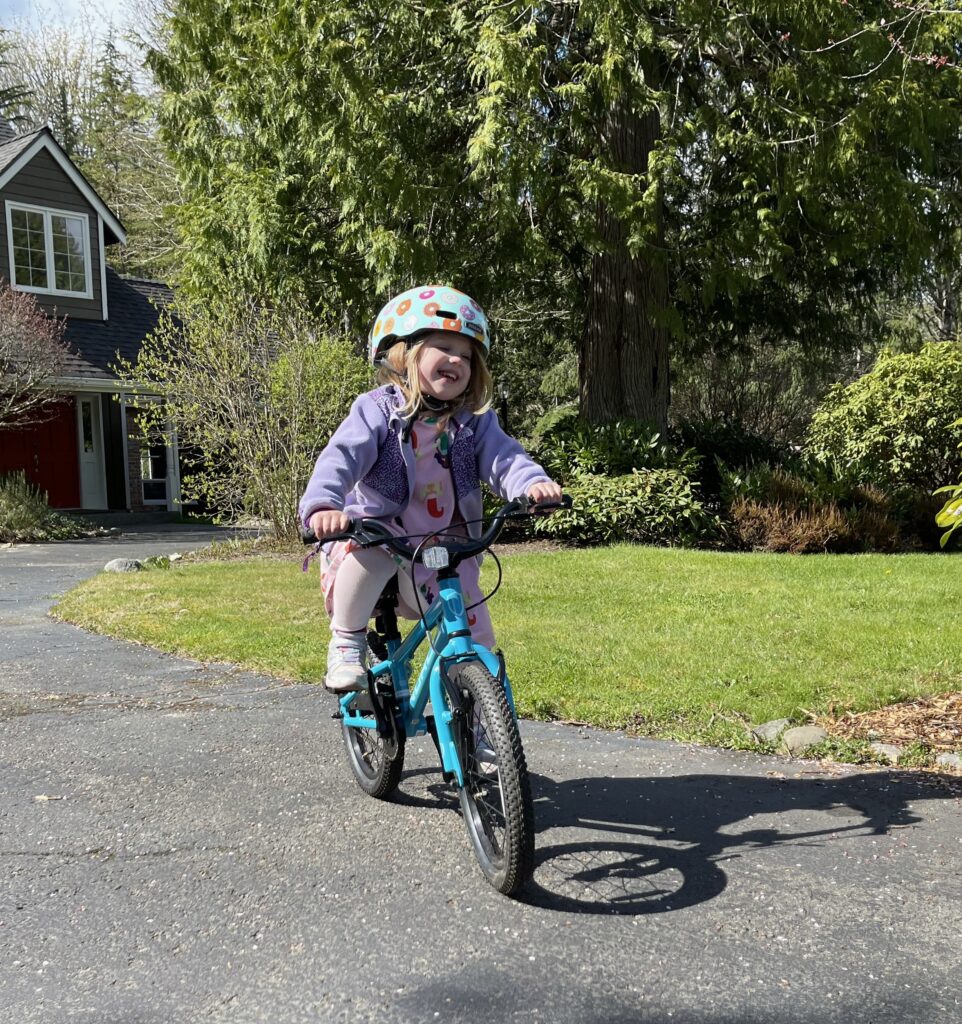
Look who learned to ride her bike!! She is so proud of herself!!
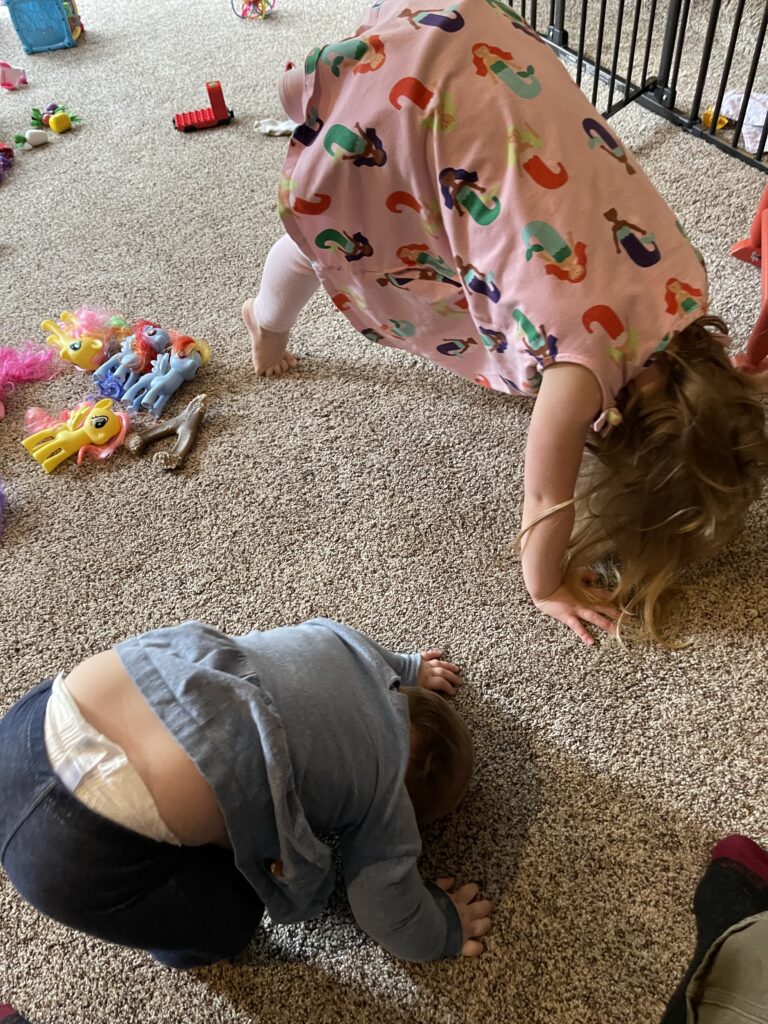
Big sister is teaching little sis a bit of yoga. Downward Dog anyone???
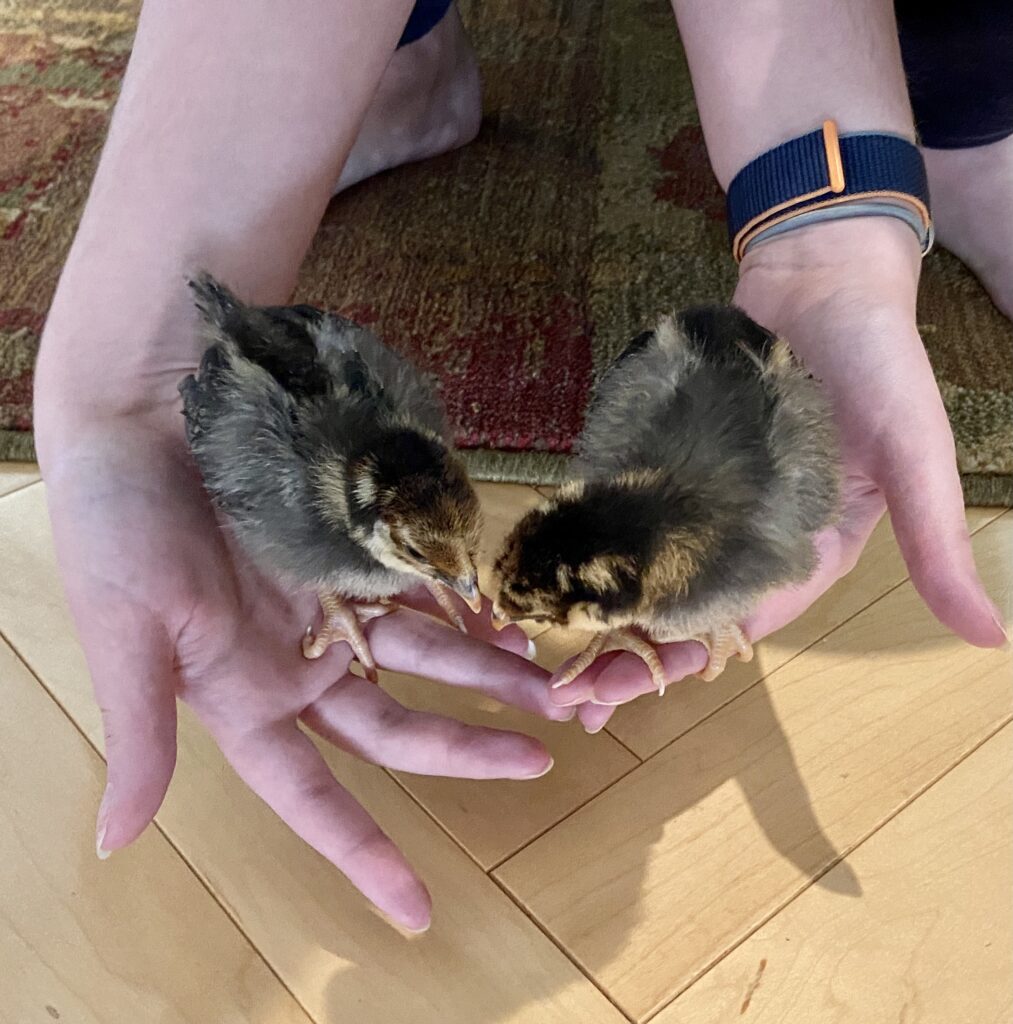
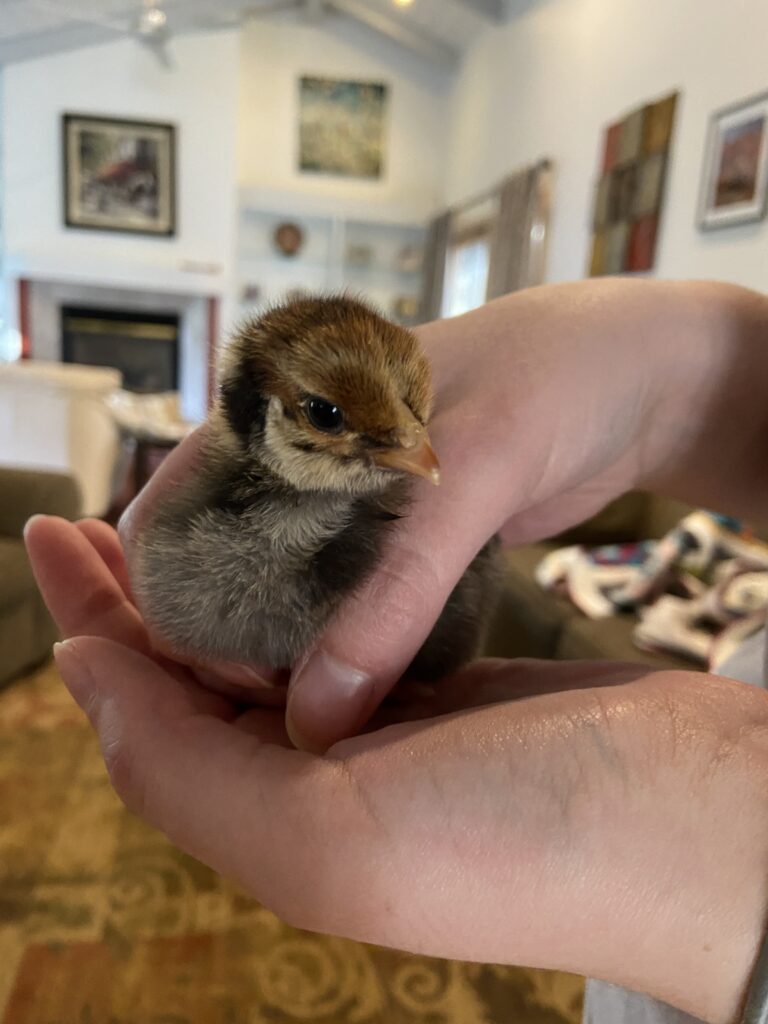
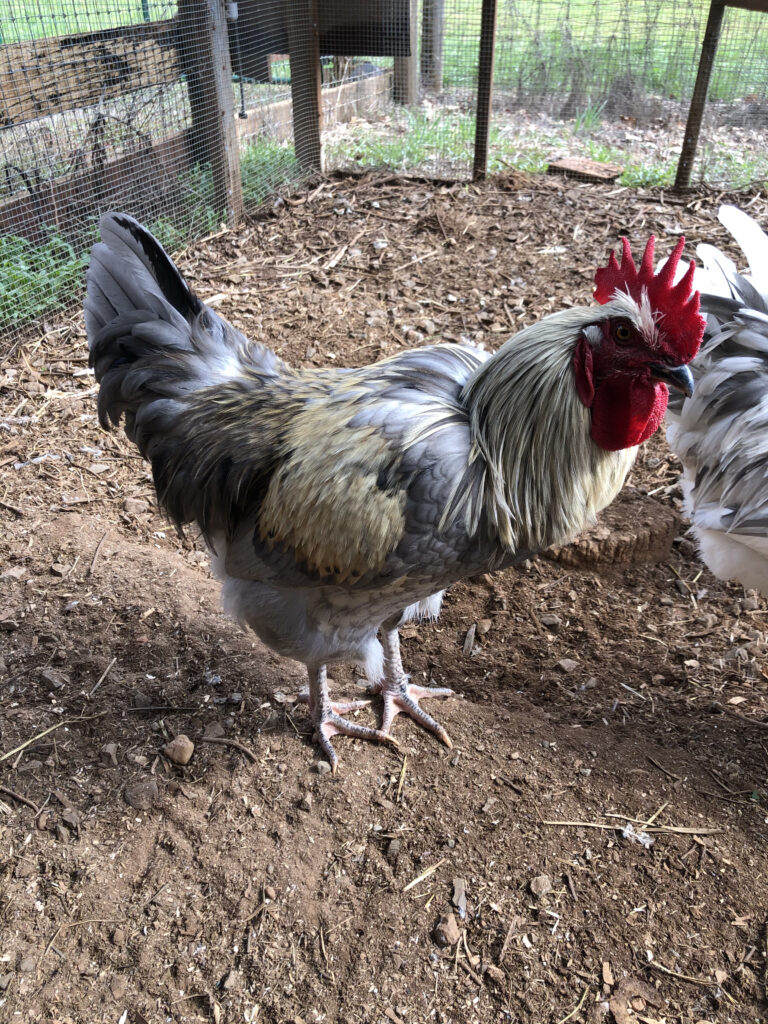
Julia’s chicks are growing nicely!

Linking to my usuals. You will find lots of choices at the top of the page, under Link Ups.
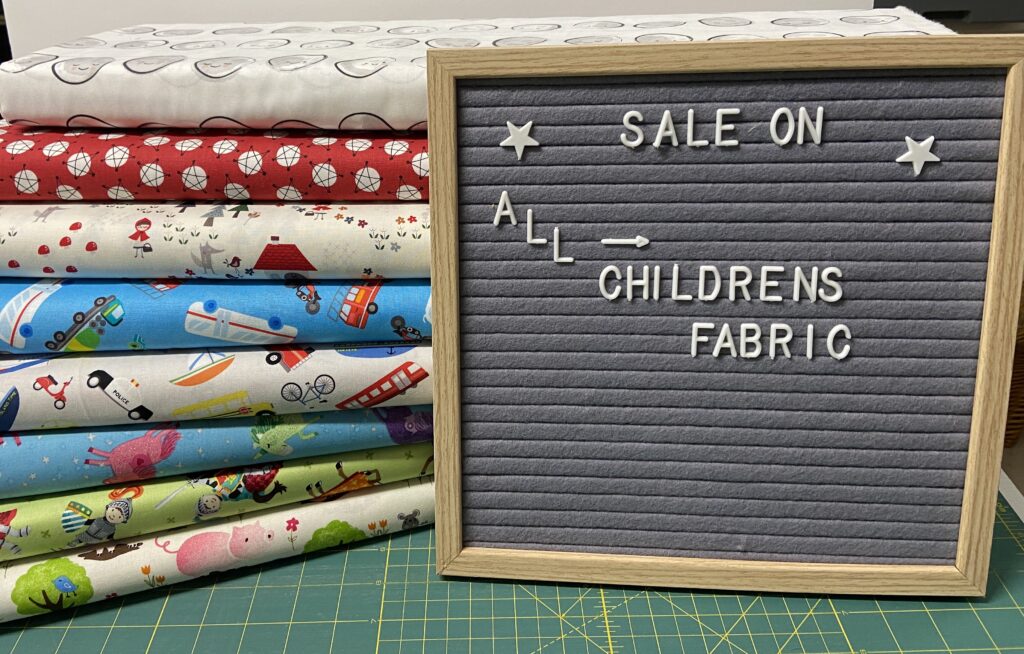
By the way, all children’s fabrics are 25% off all weekend long!! Happy shopping. 🙂

A New T-Shirt for Spring

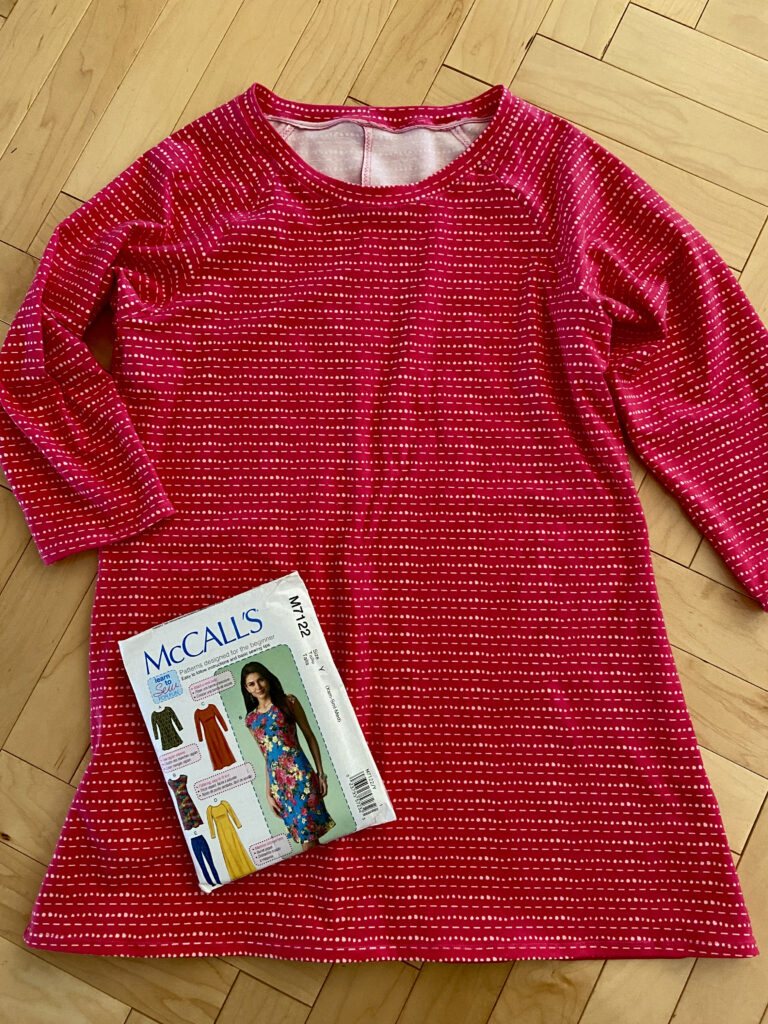
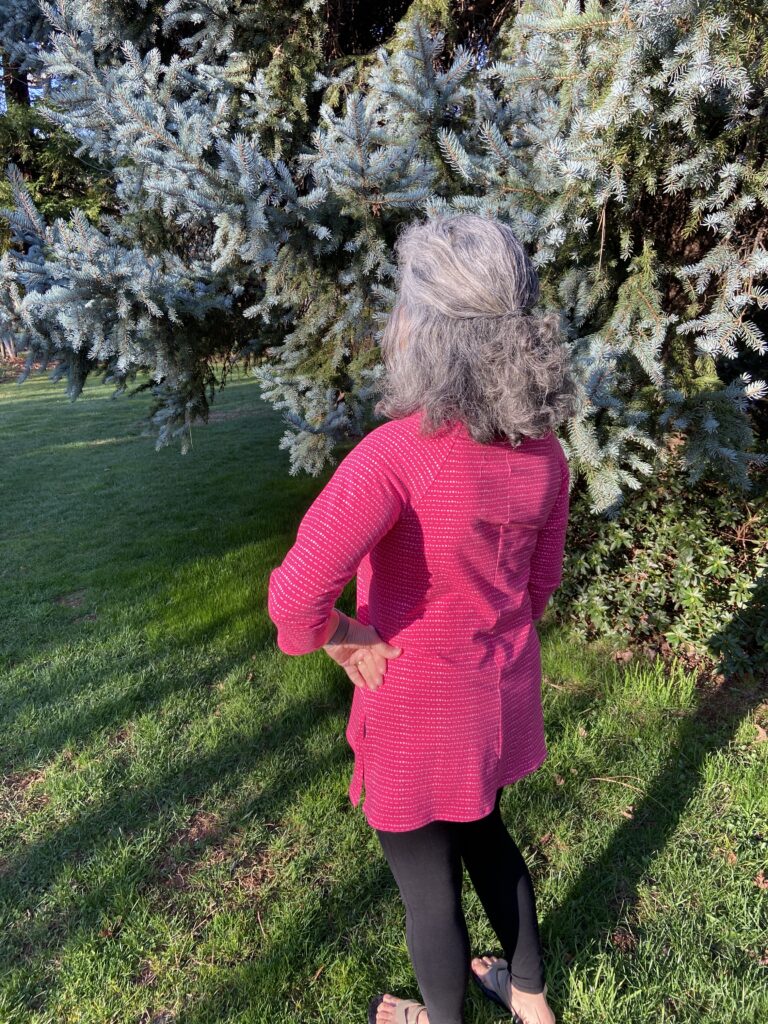
When I got home from Washington I picked up a project that I started about a month ago. I had it 80% complete and for whatever reason, it was set aside. It was fun to pick it up and finish it. Even more fun that I really like the fit, which as you can imagine, is not always the case!

Using McCall’s Pattern M7122, and a jersey knit by Art Gallery Fabric, I made a fun t-shirt. It has dolman sleeves that are 3/4 length. Being a vertically challenged person, I did cut the sleeves and overall length shorter. I made sure to prewash the fabric and dried it in a warm drier to make sure I wouldn’t have a shrinkage problem.

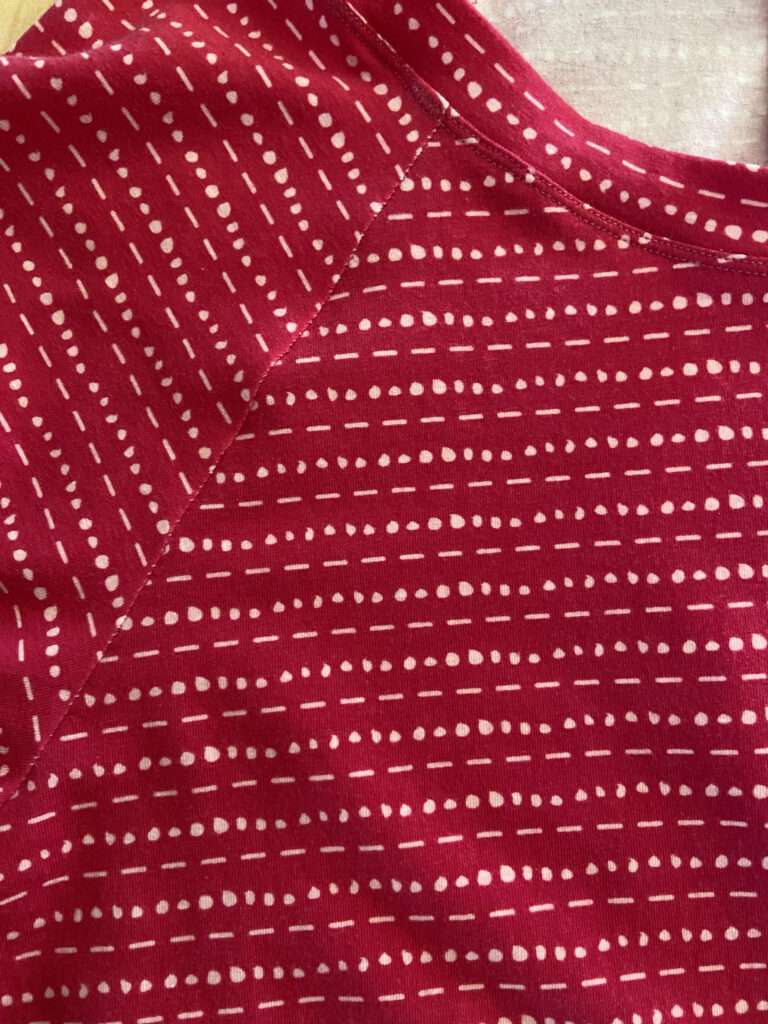
The only area where I did have to pay a bit of extra attention was making sure the striped pattern matched up when cutting the pieces. For the most part, I was successful here. It isn’t perfect but from a distance it looks nice.

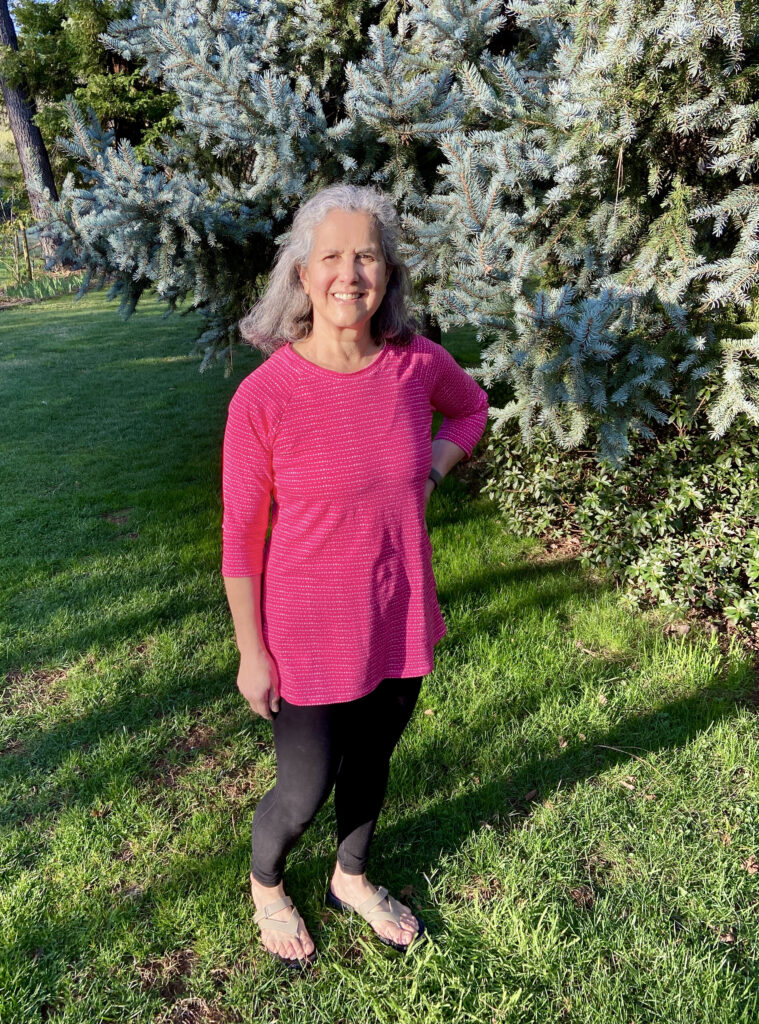
The morning sun was making my eyes squint a bit but I am pleased with the fit (more so than the photo!!)

I like the little slits at each side. The t-shirt is really comfy and perfect to wear with leggings.

POST UPDATE: I should have included more details about how I made the shirt – there was a good question in the comments. Here are some tips.

I use my normal Janome 6500P sewing machine. All of the seams are stitched with a very, very narrow zig zag. On my machine it is 1 for width and 1 for length. This allows for some stretch so the seams don’t pop. Once I try it on and the fit is good, I do another, slightly wider zig zag to the right of the stitching line and then I trim the seam close to that. I use a ball point needle for the entire project. This is critical when sewing with knits. Also, I use a double point needle for any top stitching such as the hemlines and around the neckline. Hope this is helpful information. If you have questions, let me know.

Now I just have to be sure and wear it a few times before it gets too hot. I can tell summer will be here far too early. It has been in the mid-70’s this week. By end of May it will probably be hot. Ugh! We didn’t get nearly enough rain and I am definitely not ready for the heat of summer. (It is my least favorite season.)

In other news, my husband and I got our first vaccine injection yesterday! We both felt a little bit off last night but hopefully that will be it. Feels so good to have that done. I hope you are all making progress with the vaccines as well. We will soon be safely visiting friends and family in person!! Have a lovely weekend everyone.

Linking to:

Thank Goodness It’s Finished Friday at QuiltingGail
Can I Get a Whoop Whoop! at Confessions of a Fabric Addict
Brag About Your Beauties at From Bolt to Beauty

While Julia Was Away, The Roosters Did Play

Remember the chicks Julia raised last fall in the laundry room? Well two of the four turned out to be roosters, Pete and Jack. This was somewhat disappointing as that obviously reduced the number of eggs we thought we would be getting. However they were very handsome birds and we got over our disappointment. Then we went up to Washington to celebrate the girl’s birthdays and those naughty roosters had a party of sorts.

When we left, the roosters were about five months old. We thought this was still young that they wouldn’t be fertilizing eggs yet. Oh what sneaky birds.

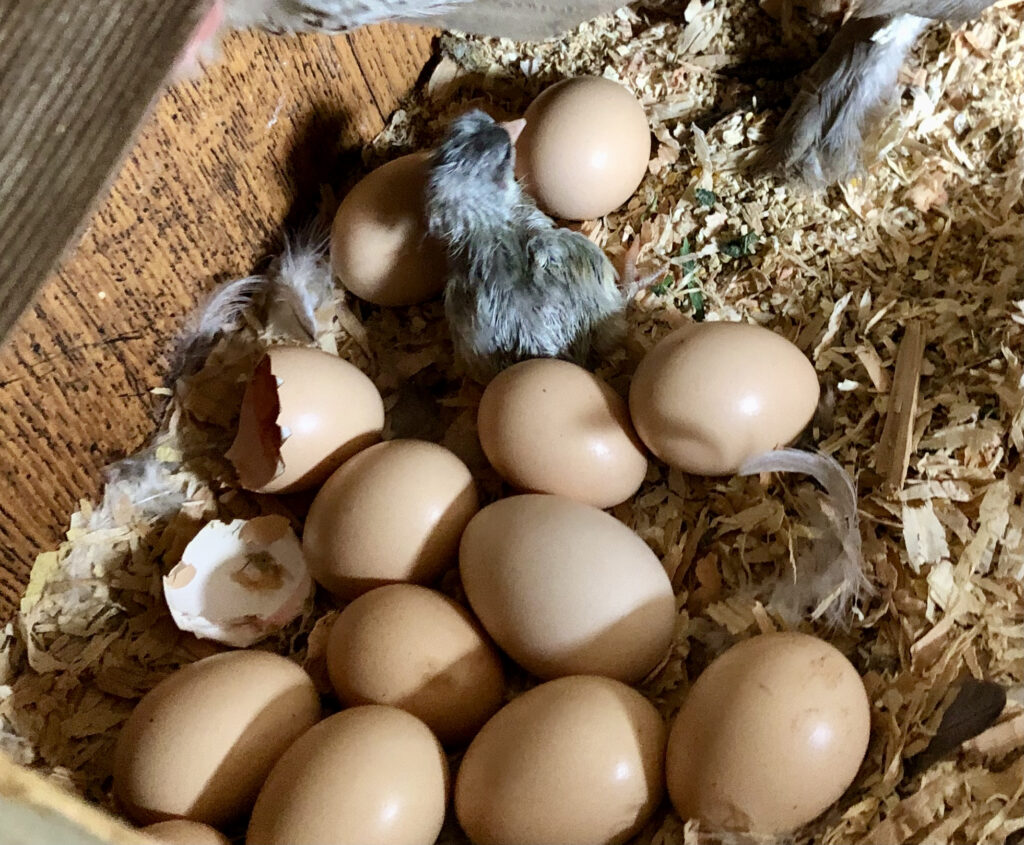
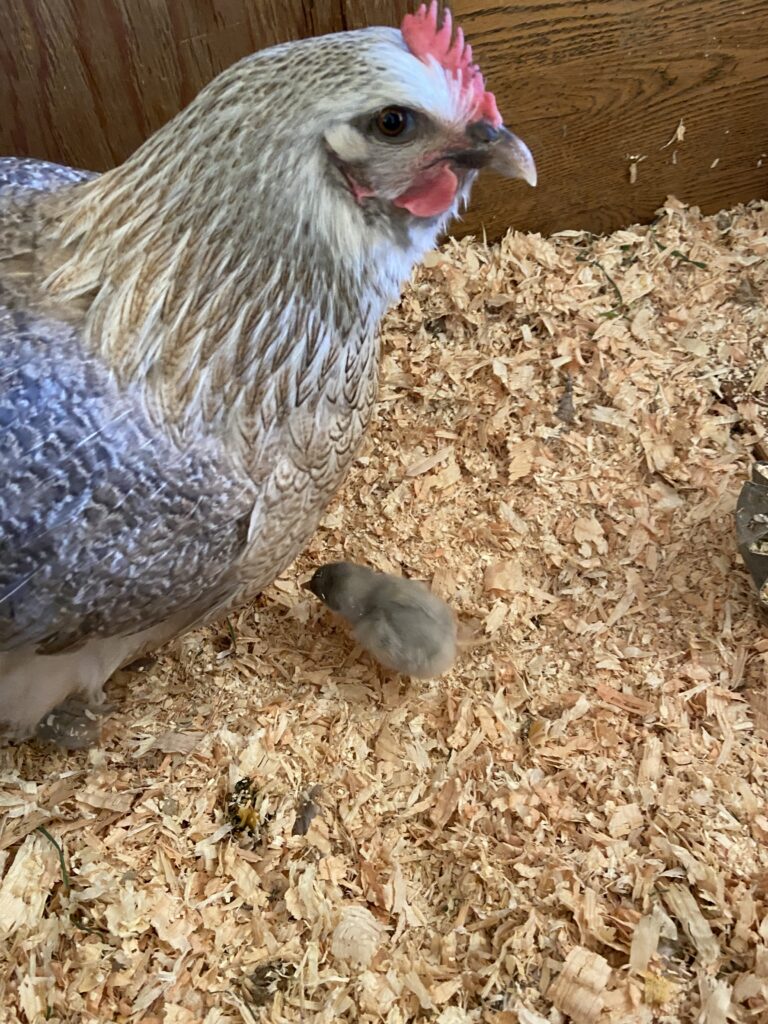
By the time we got home, Fauna was sitting on a clutch of thirteen eggs. Several days after that, this little one hatched. Since then, no more eggs have hatched. This is a lousy yield for sitting on thirteen eggs. We haven’t ever hatched eggs but our suspicion is that she added eggs, and allowed the other hen, Flora, to add eggs to the clutch for too long so the hatch dates are really strung out. Chicks take 21 days to hatch from the eggs. Poor Fauna has been sitting on these eggs for 28 days now.

Fauna and her wee one.

She has decided she is really over this whole broody, sit-on-the-eggs, thing and keeps kicking eggs out of the clutch (which means she doesn’t think they are viable so she pushes them out and lets them get cold). Julia tosses those eggs when she finds them. At this point, Julia doubts any of the other eggs will actually hatch. In order to prevent any more hanky panky, Julia put an ad up on Craigslist and quickly gave Pete and Jack to a good home in need of a couple of fine roosters.

Now that Pete and Jack are gone, Julia was really hoping for more eggs to hatch so we would have more than four laying hens. We don’t know what Fauna’s little one is, rooster or hen, so she decided to buy two more chicks. They are a week old. She placed one with Fauna and her baby but Fauna just gave her the side eye, “Just exactly what are you doing here? You are not my chick.” She wasn’t mean to her and let her scratch around and eat, but as a mama hen, she needs to take the babies and keep them warm by sitting over them along with the eggs until they mature. This is sooo cute – when we go out there, we can see the baby peeking out from under Fauna. It didn’t look like she was going to take the new chicks in with her own. Understandable as Fauna has had a lot going on lately and it was just too much to ask of this mama. So once again, we have chicks living in the laundry room.

Now that we have covered what is happening with the animals, lets check on the sewing projects!

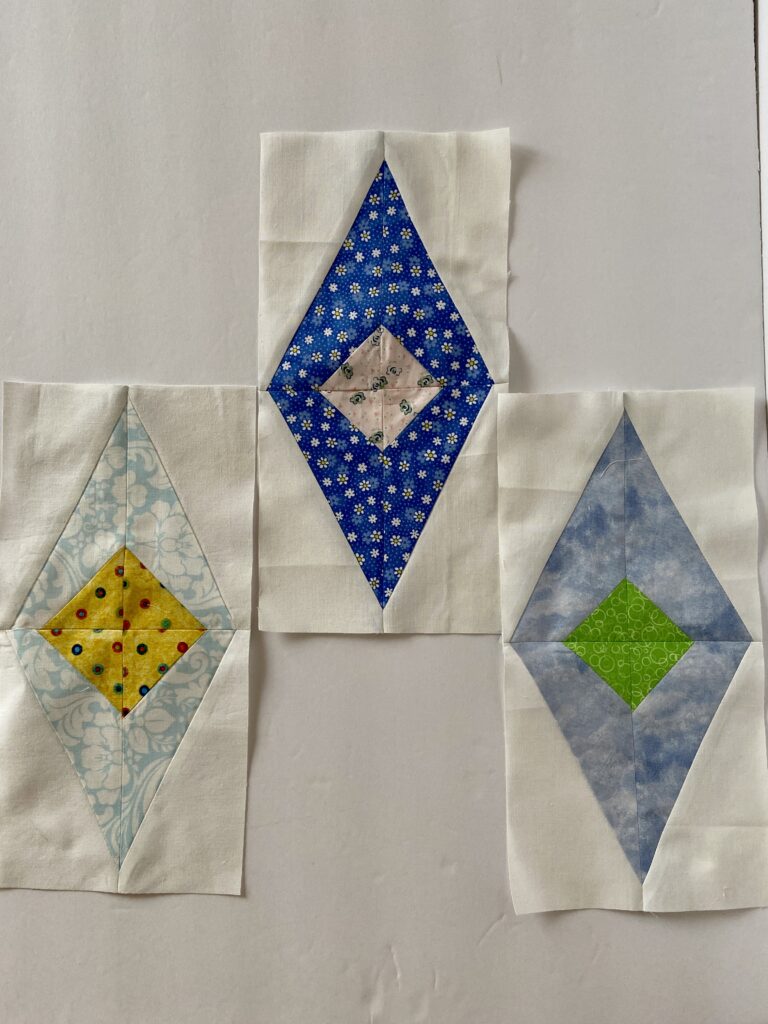
RSC 2021 blocks

Crowded on my very tiny design wall are the completed blocks for my RSC 2021 project. I am really liking the blocks so far. I have played with the sized of the center diamond so they are not going to all be the same. The outer diamonds will be the same though. I have done three of each color but may need to add more. I don’t think 33 blocks (3 x 11 months) will be enough. Not sure yet though. I have plenty of time to figure that out.

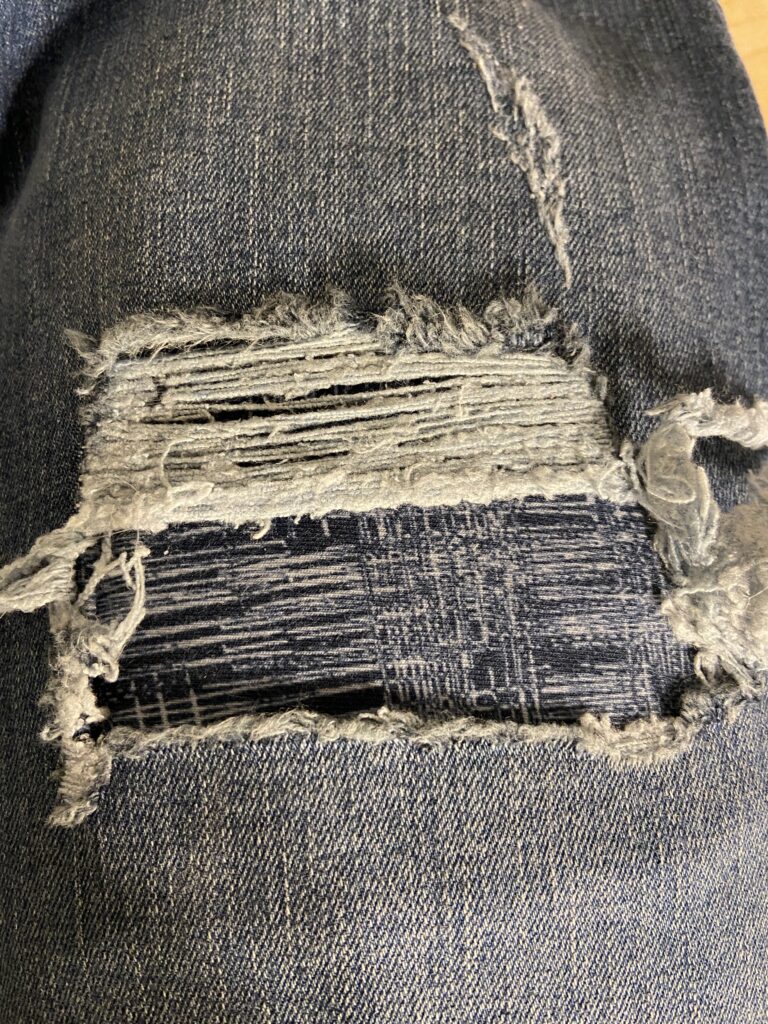
Here is the stretch knit I put under the hole in the jeans.

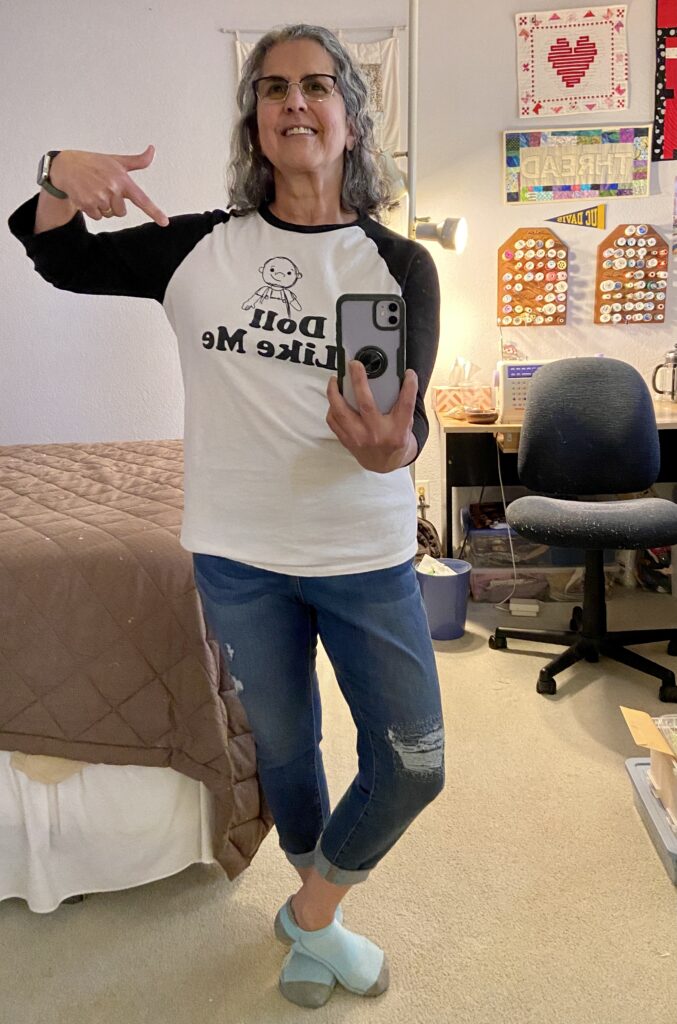
The next project I want to share is my first attempt at visible mending. All the rage these days, sewists are hand stitching various mending projects so they are decorative. (As opposed to the idea of trying to carefully mend something so no one knows it was stitched back together.) Months ago, I bought a pair of jeans at Ross. They fit well and were a bargain but they have holes in them which is trendy these days. I tried to wear them with the holes but I didn’t like it. It always felt like there was a pudgy pop of flesh in that hole when I was sitting down. I am not a fan of that look. 😉

Don’t you love my Doll Like Me shirt???

I am much happier with the jeans now that I stitched the hole up. I know I will wear them a lot more now. If you love my shirt, you too can sport one! Click here to check them out. Portions of the proceeds go directly to A Doll Like Me to support Amy’s ever important doll-making process.

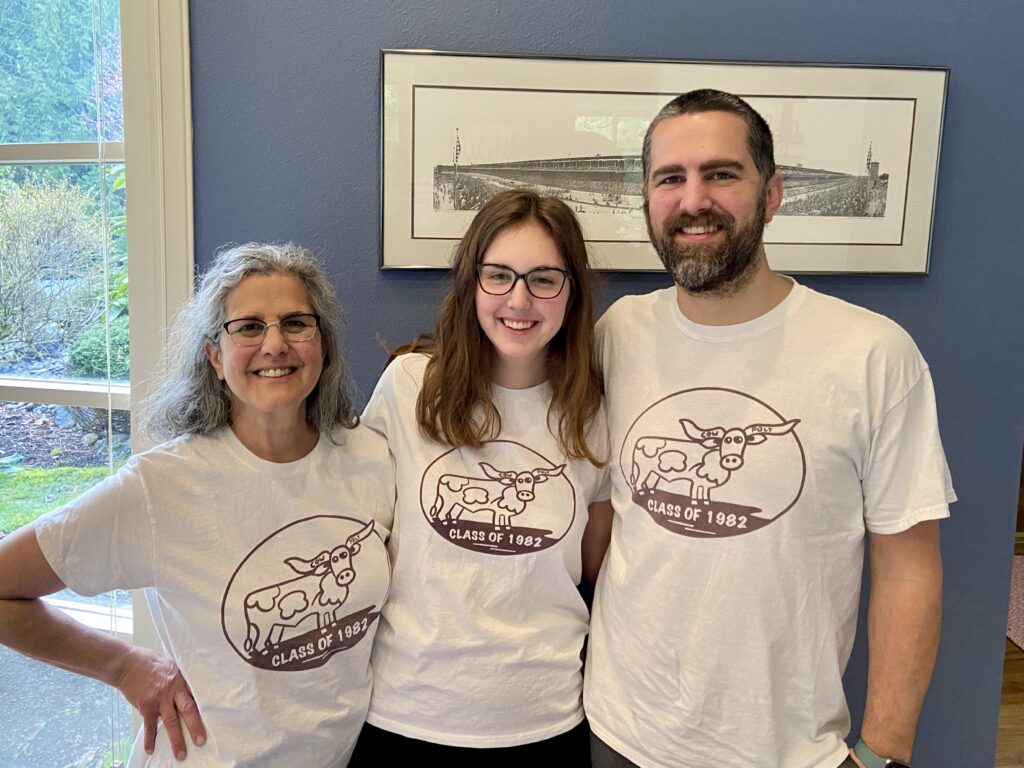
Cal Poly Alums and a new Cal Poly student!

In other news, as you likely know, Julia has been home since March, 2020 taking classes on-line. She withdrew from UC Davis because it didn’t seem appropriate to pay such expensive tuition while she was taking classes from home. When it came time to apply to go back to school (in fall of 2021) she decided she wanted to switch universities and go to Cal Poly. While visiting Andrew up in Washington, she found out she was accepted! We are all so excited. I graduated from Cal Poly in 1982. Andrew and Ian (two of my sons) also graduated from there. Julia will be joining the ranks soon!

Do you want the backstory on the matching t-shirts? I thought so!

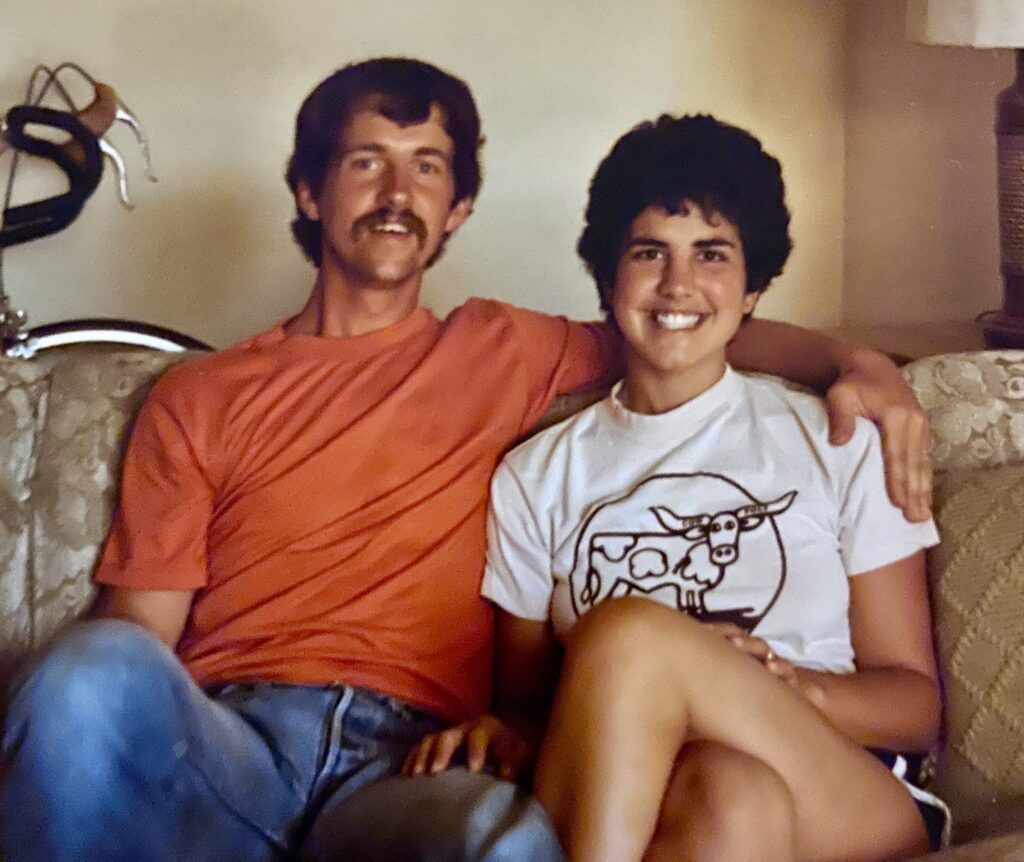
Mark and I at our apartment in San Luis Obispo, circa 1982

Back when I was a newly married student at Cal Poly, had this t-shirt. I wore it all the time – until it was deemed unwearable. On the horns of the bull, it said “Cow Poly”. Cal Poly stands for California Polytechnic and it has a huge agriculture component in its academic offerings. Hence the “Cow Poly” joke.

Well a while back, I was scanning old photos and sending them to my kids; one of them was the picture above. I told the kids how much I loved this shirt. I have looked for it on vintage college t-shirt websites to no avail. Well, may I just say, I have some pretty amazing kids. My middle son, Kyle, decided to recreate it. He first called the Cal Poly Alumni Association to try and get design files or to see if the t-shirts were available in any fashion. He couldn’t find anything so he drew the design himself and had the shirt made. Since the siblings knew he was making them, the Cal Poly alumni ( current and future) decided they wanted the shirts too. (Julia was superstitious and decided not to wear hers until she was accepted.) The only difference between our shirts and the original is Kyle added ‘class of 1982′ to the bottom of the design, honoring my graduation date. The kids’ t-shirts also have that on the front which I think is kinda cute. Another example of an awesome handmade gift!

OK – this has gotten to be quite a long post. I will catch you up on other sewing projects soon. If you have read all the way to the end, thank you for hanging in there!!

Linking up with So Scrappy and Oh Scrap, among others. Check out my Linky parties at the top of the page, under Link Ups.
Birthday Celebrations, Part 2

Hello all! We are back home in California after a couple of long driving days. Much as I love visiting the kids, the drive is long. It will be nice when we get our vaccines and can feel safer about flying. Soon, I hope. I have seen lots of posts on Instagram about many of you receiving the vaccine. California hasn’t gotten to me quite yet. Waiting and checking and waiting some more!

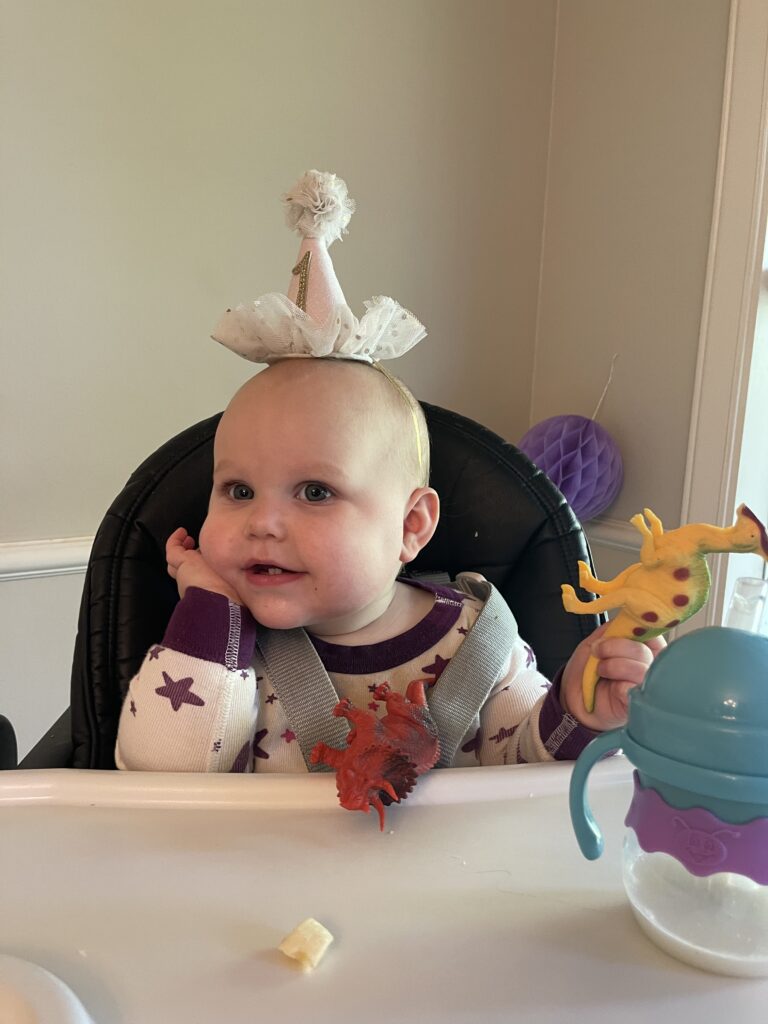
Let’s talk about A’s first birthday. It was really fun and I greatly enjoyed being there for it. Of course she didn’t have a clue what the fuss was all about.

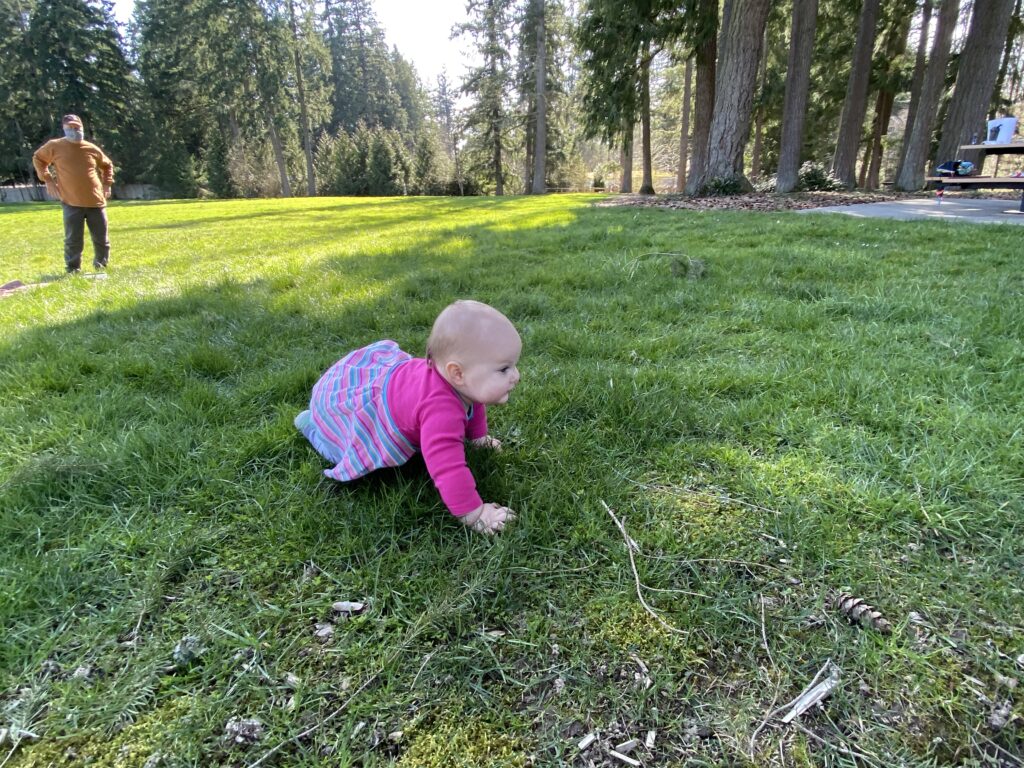
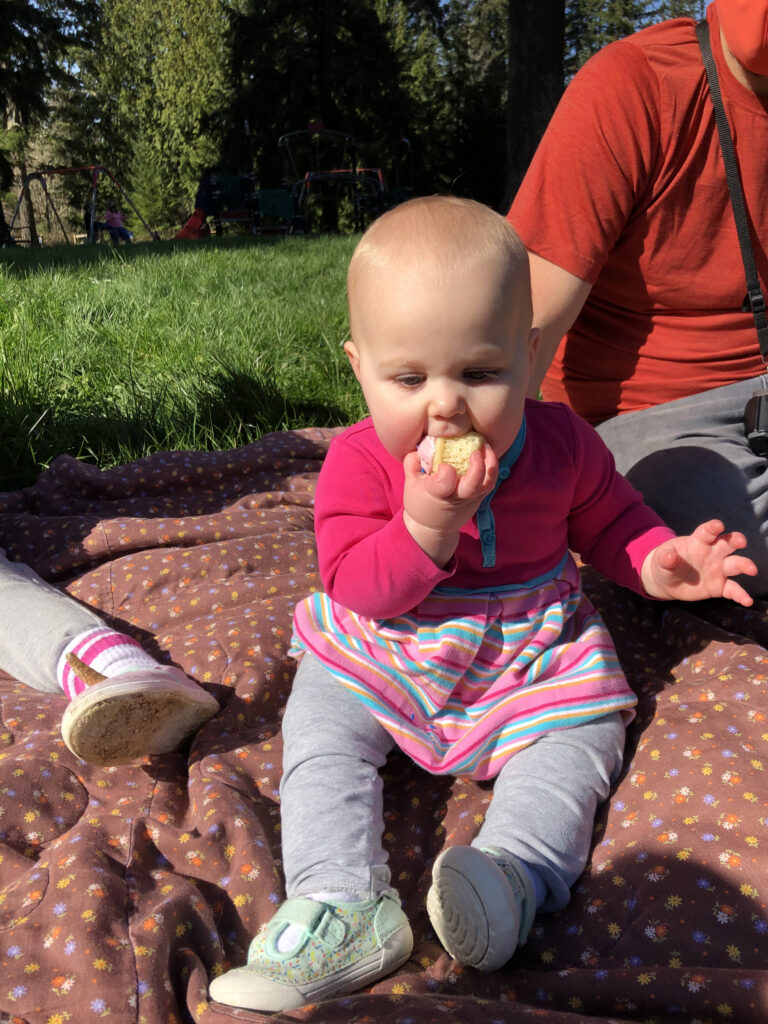
Her parents kept it simple with a picnic of peanut butter sandwiches at the neighborhood park. It was just perfect. She really enjoyed being out on the grass, trying to eat a few rocks here and there.

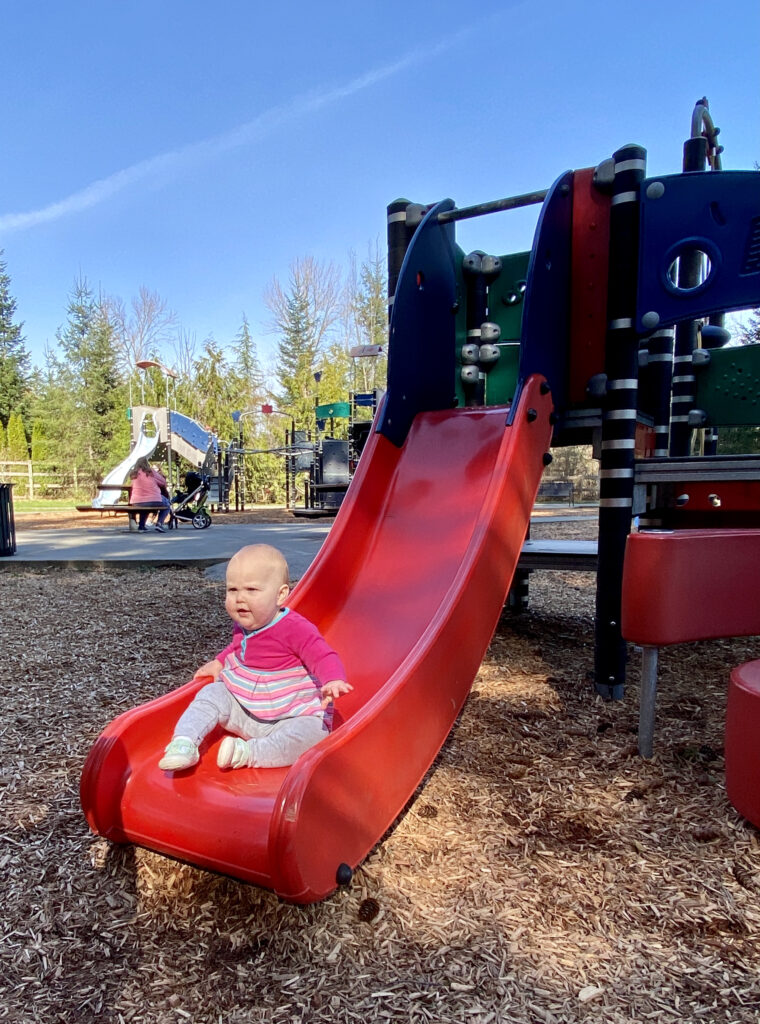
Her first time down the slide (from the 1/2 way point and with mom right there) was lots of fun. Wearing shoes, not as fun! She doesn’t understand why she has to have these annoying, clunky things on her feet.

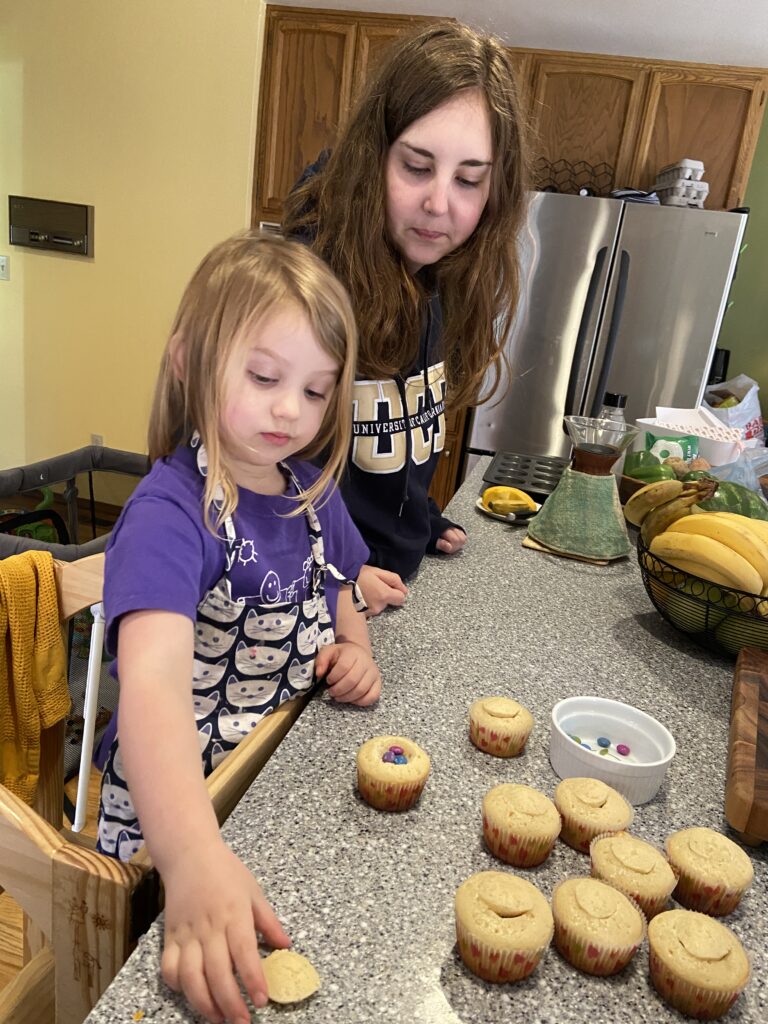
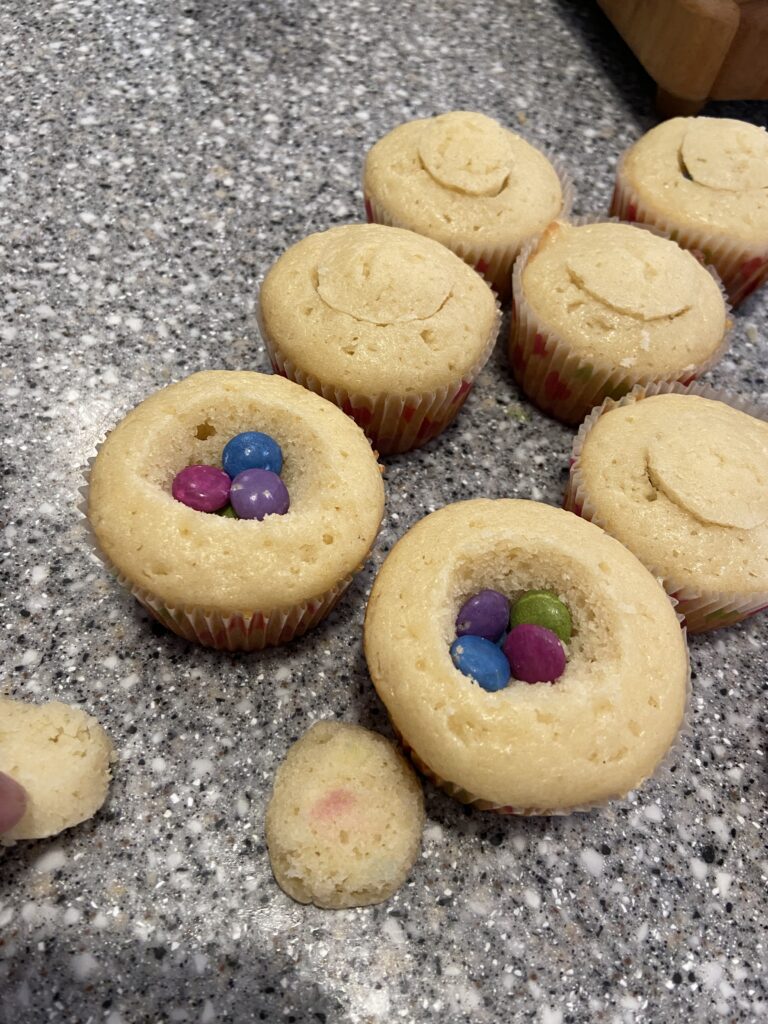
Julia, H and I made cupcakes for the party. We made mini cupcakes for the birthday girl and regular size for big sister and the grown ups. To make it extra fun, we put a surprise in the center. After cutting a small hole in the top, we put a few M&M’s in the center of the larger cupcakes and then replaced the top (we had to slice a bit off the cut out pieces to make them fit again.)
Then we iced the cupcakes, hiding the surprise. H just LOVED hiding these candies and telling her parents she had a surprise for them. It was so cute and I think made her feel like a big kid.

Her first cupcake ever!

The birthday girl thoroughly enjoyed her cupcake and ate every bit of it!

A’s first doll quilt

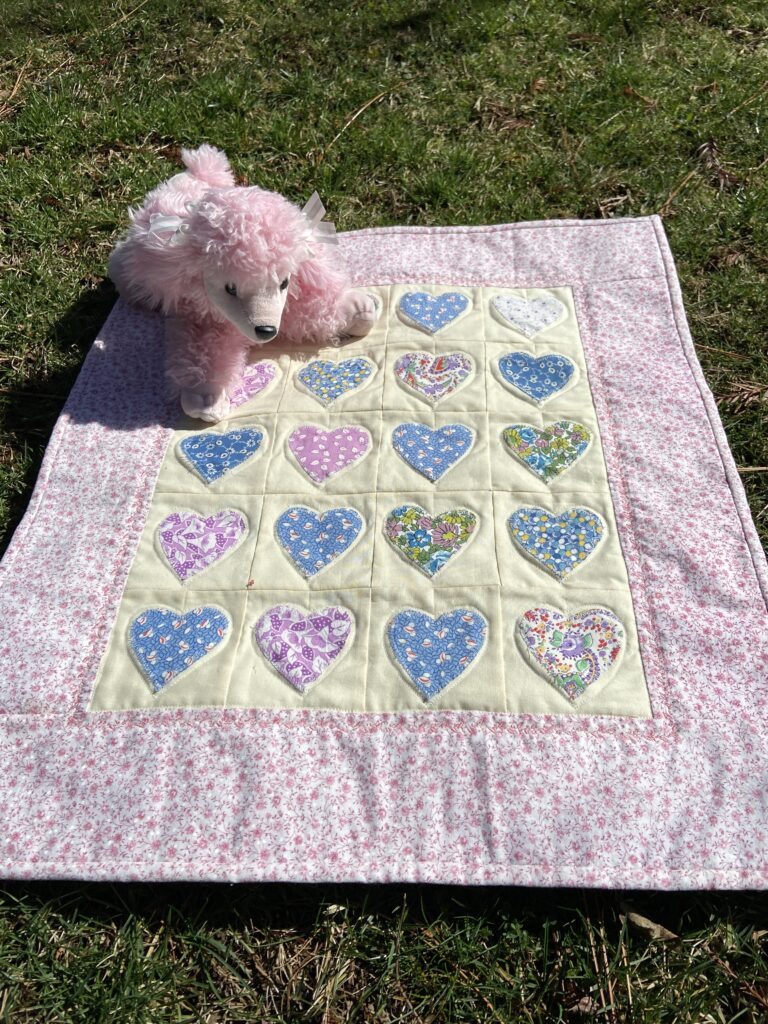
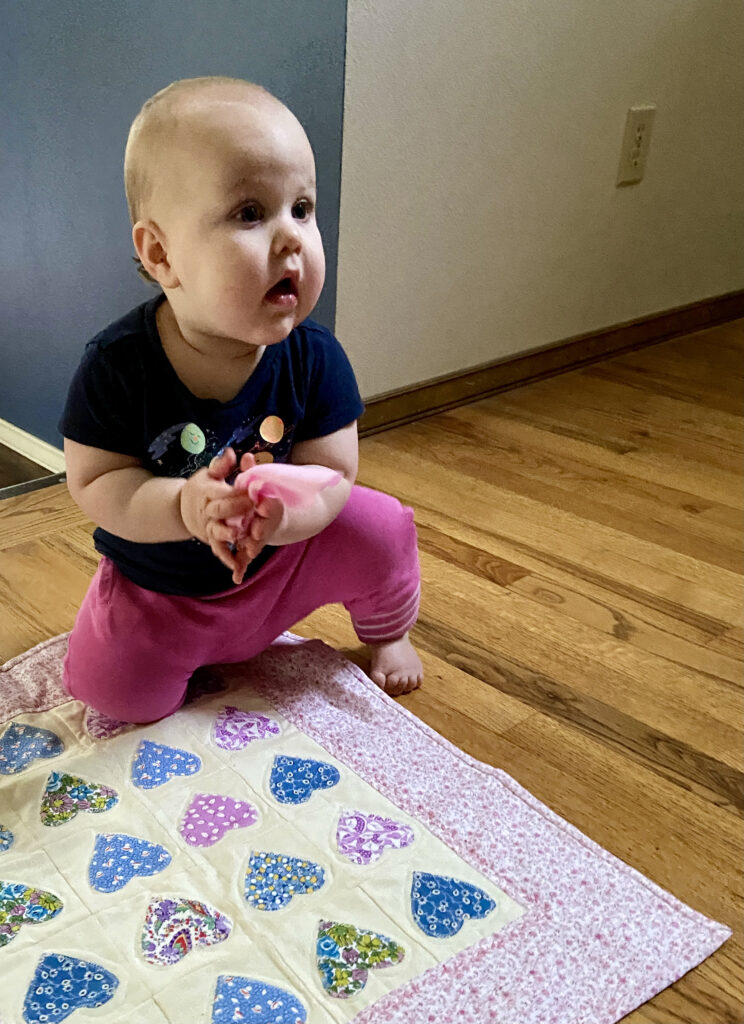
As I did for H’s first birthday, I made a small doll quilt for A. For this quilt, I dug into my vintage fabrics and cut little hearts out. These were fused to squares of an off-white solid I had in the stash and then appliquéd with a straight stitch. I used a piece of white flannel inside the quilt rather than batting. It made it really soft and easy to wrap around a baby doll. For quilting, I just stitched around each heart and then used a decorative stitch around the edge of the border. It is very sweet.

She doesn’t have a clue as to how to use her vintage dolly quilt but I am sure she will figure it out when she starts playing with baby dolls. We also got her a doll but I guess I didn’t take pictures of that.
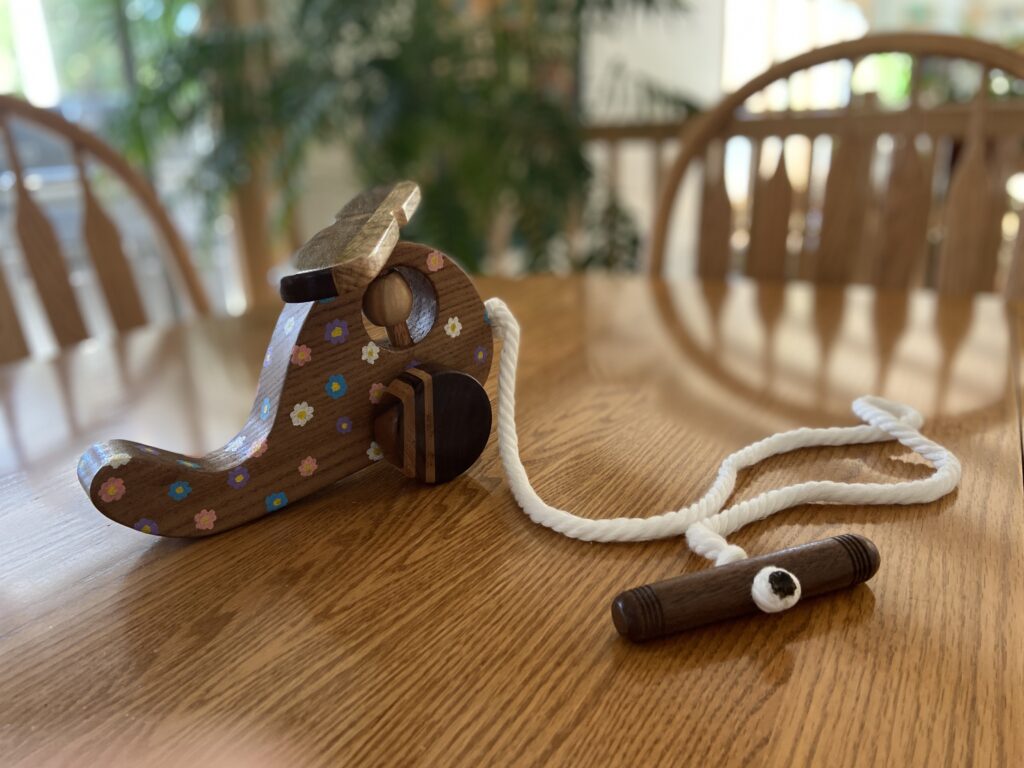
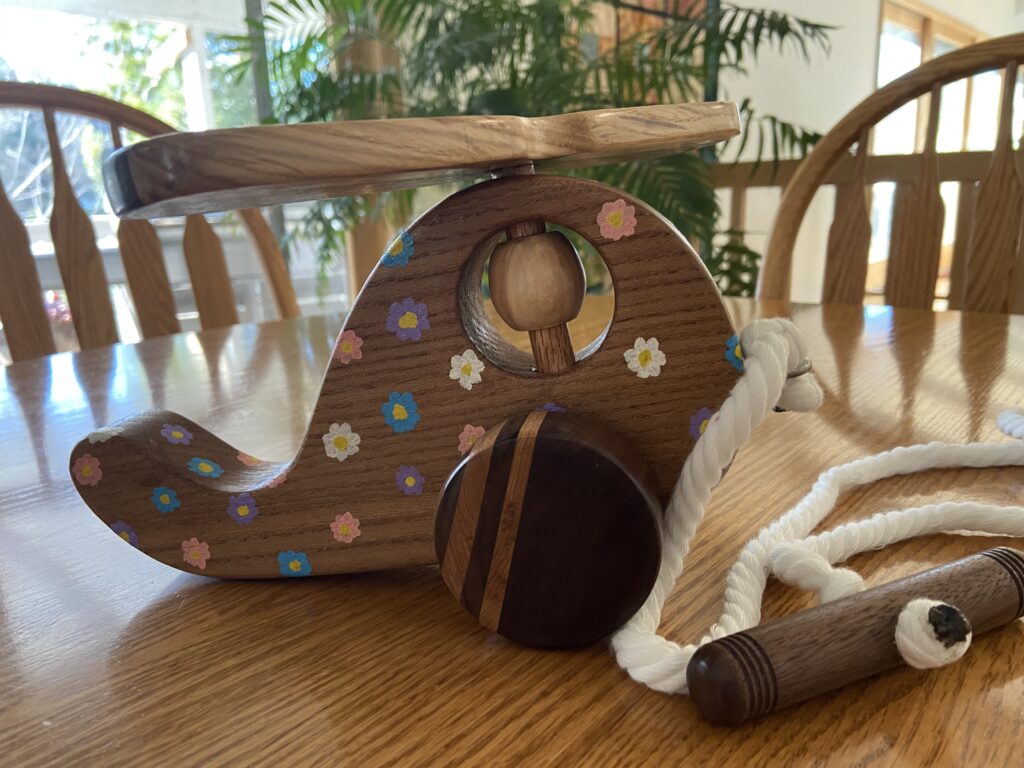
My husband wanted to make something for A as well. He thought a wooden pull toy would be fun. She is almost walking (takes two steps and then drops to crawl). Once she is walking, I think she will enjoy pulling this little guy down the hallways.

The helicopter was a collaborative effort between Ray and Julia. She sketched the shape of the body for him and he did all of the woodwork. Before putting the wheels and propeller on, she painted little flowers all over it. It really is adorable. He had small rounds of laminated walnut and oak leftover from making rolling pins so the wheels are really fun.

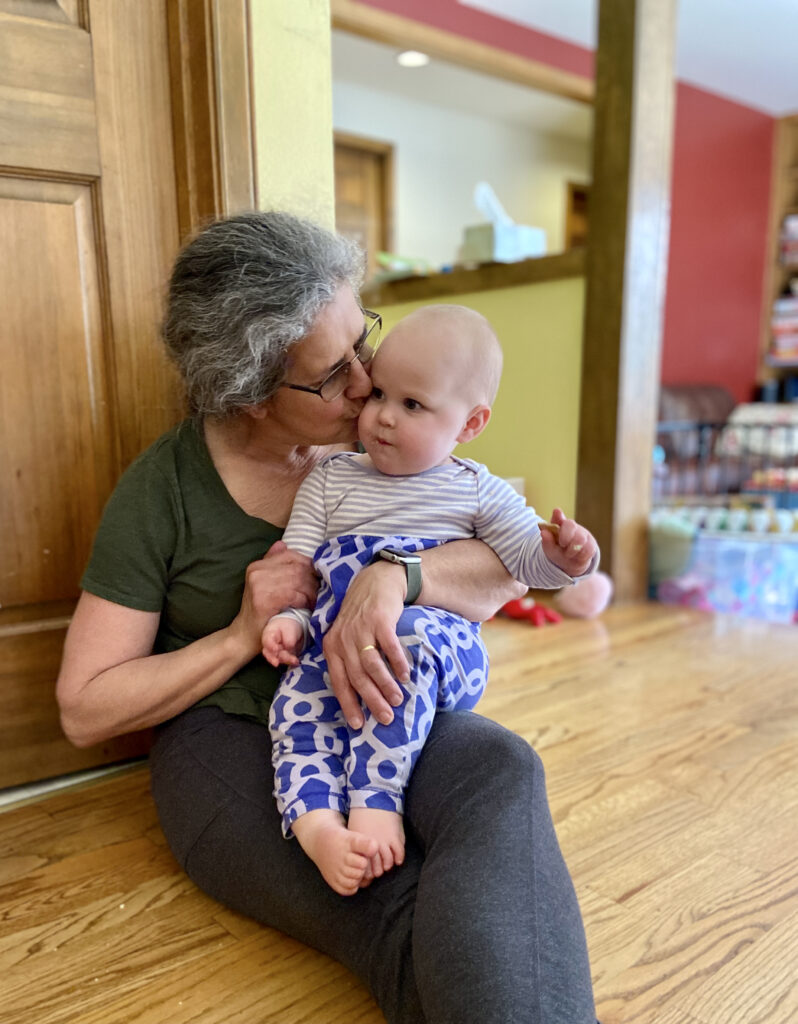
I just love this girl’s sweet personality. She is very cuddly and gives great hugs, patting my back when she is hugging me. The next time we go up to visit she will surely be walking and talking more. So far, she says Hi, waves bye bye, and signs when she is hungry or ‘all done’.

We had two great weeks with family and now it is great to be home. Last night I played in the shop a bit, getting ready for this weekend’s sale. It is a bit one, 30% off everything! The perfect way to celebrate National Quilting Day!! The sale runs today and tomorrow. Enjoy!!

Linking to Monday Making this week!

Birthday Celebrations, Part 1

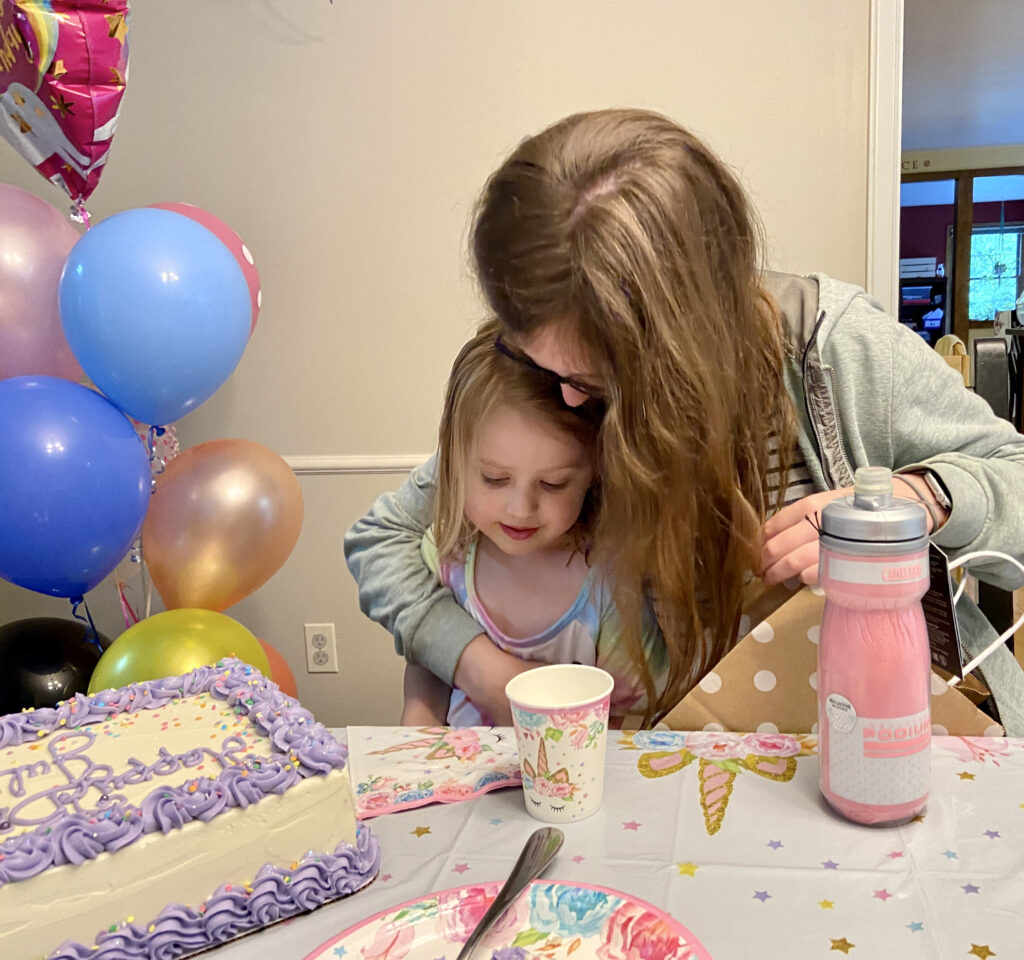
Last week was filled with presents, excitement, cupcakes and lots of happy squeals. H celebrated her 4th birthday and five days later, A celebrated her first birthday.

Let’s start with H’s birthday. Turning four was a big deal for her and the night before her birthday she started to cry and told her mom and dad she didn’t want to be four. She had suddenly decided maybe it would be better to just stick with three. Fortunately these fears subsided quickly. She loved being the princess for the day, choosing the meals and the games we would all play. Her mom had balloons and cute decorations. This girl was in heaven.

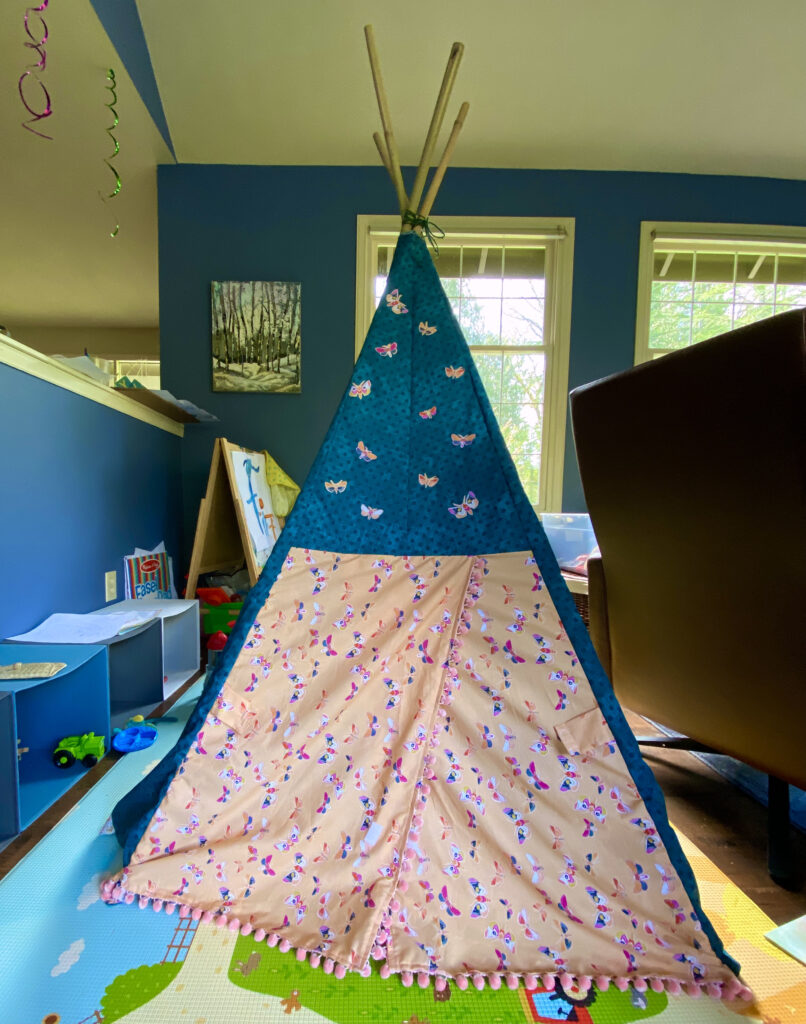
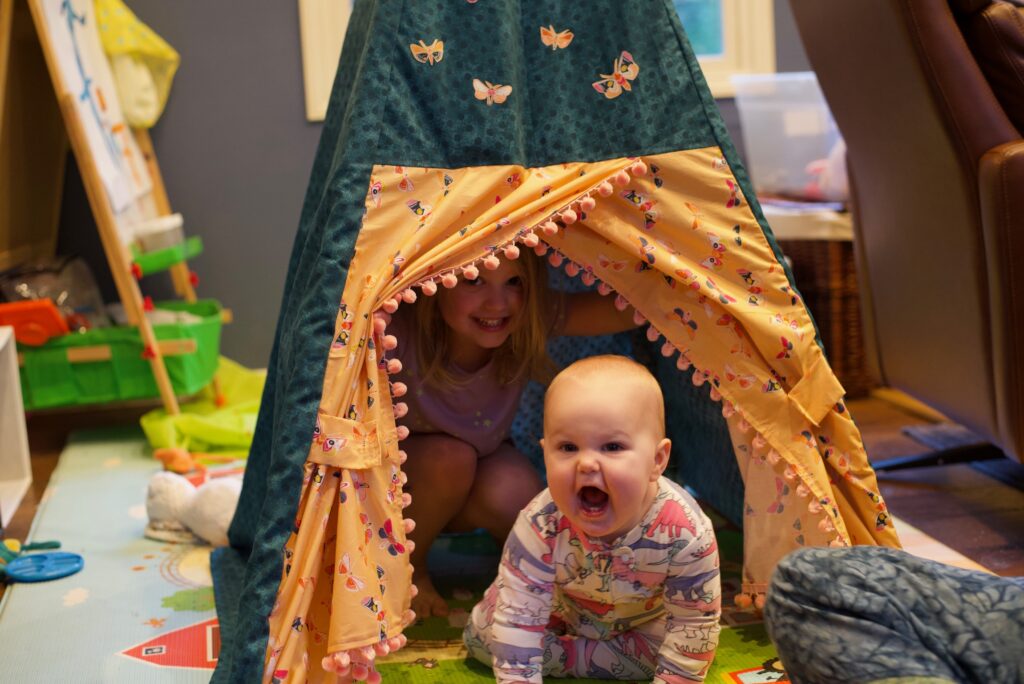
I made this teepee for the girls to play in together. It was fun and quite simple to make using the tutorial at DIYMommy.com. The canvas is a denim polka dot purchased at Jo-Ann’s and the butterfly print is from Jessica Swift’s Lugu line by Art Gallery Fabric. (It is available here in my shop). I decorated the top triangle above the door with matching butterflies by fusing them with fusible web and trimming some butterflies. They seem like they are adhered well enough but probably won’t last forever.

Two happy birthday girls1

The main issue with this project is the fabric slips down the poles. This makes the seams stretch. We ordered some velcro strapping and I am going to try to tighten it around the poles to stop this. Otherwise, it works well. I used some velcro and two straps to keep the ‘doors’ open. H got the idea easily and can open and shut the doors with the velcro tabs.

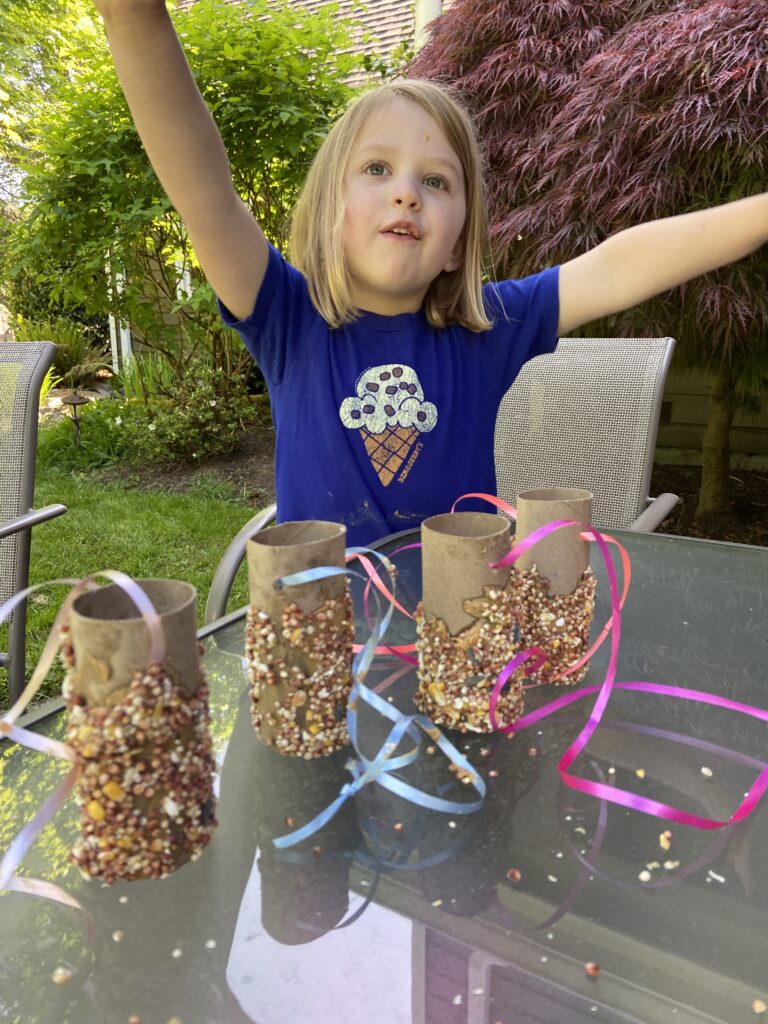
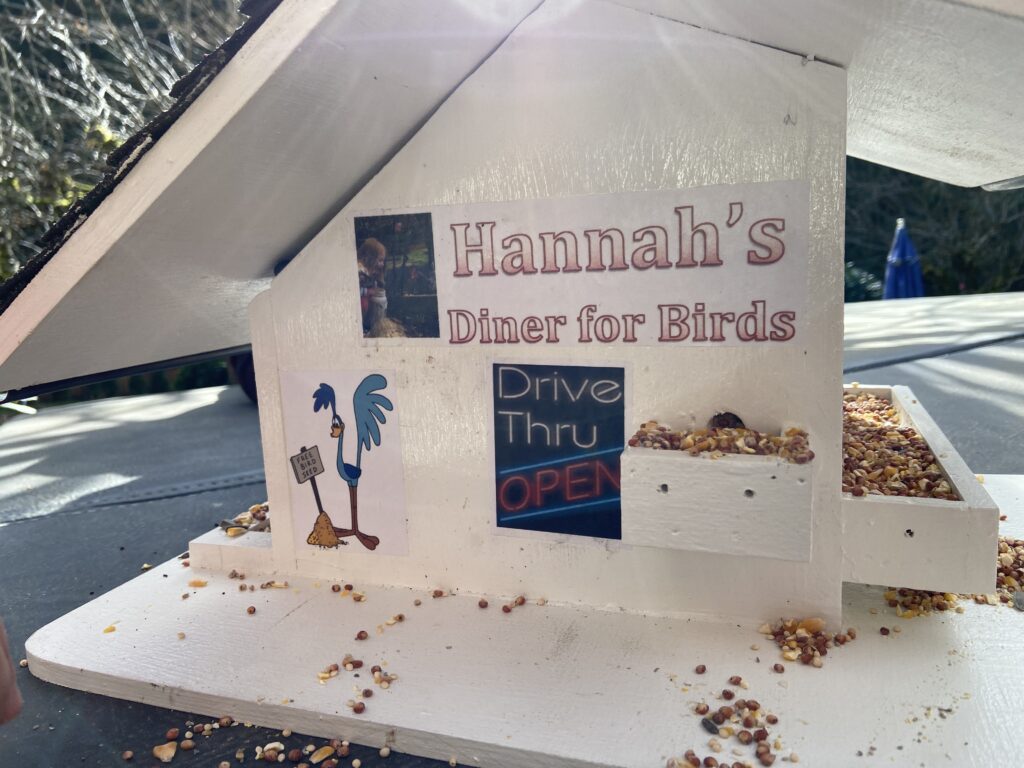
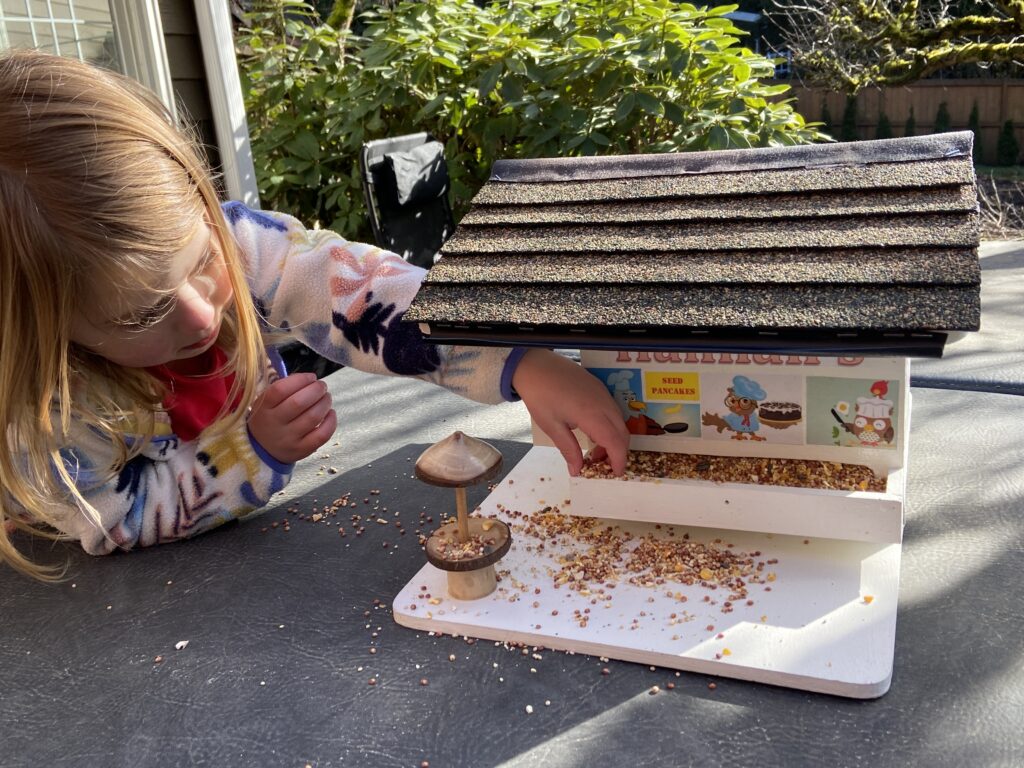
As he often does, my husband also wanted to make some birthday gifts. For H, he made a bird feeder. She loves birds and knows many varieties on site. He thought it would be fun if he made it look like a drive-through restaurant. There are feeders on three sides of the ‘restaurant’ and even a table with an umbrella for dining al fresco.

This side is the ‘drive through’.

I knew my grand daughter would like it but was pleasantly surprised by how much. It doesn’t have the pizzazz of the My Little Ponies or the Lego sets she unwrapped and I wondered if she would not be too impressed by it. But she really enjoys it.

Yesterday she joyously announced there was a chickadee at her feeder. We decided he was having birdseed burgers and birdseed fries!

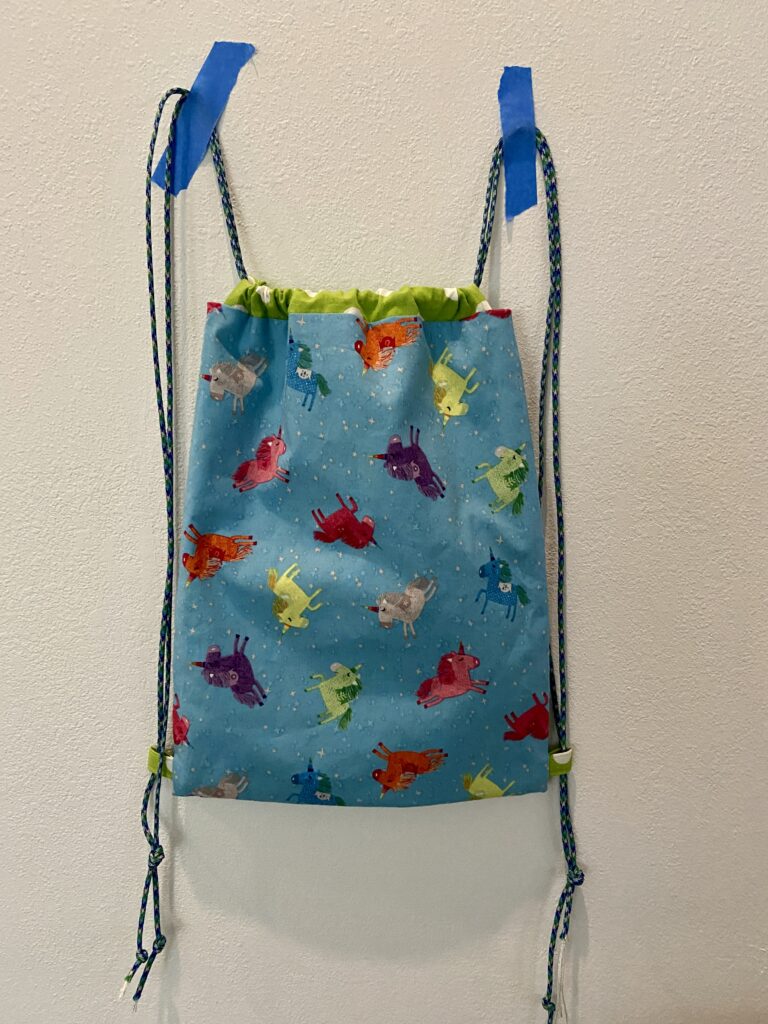
A string backpack for H.

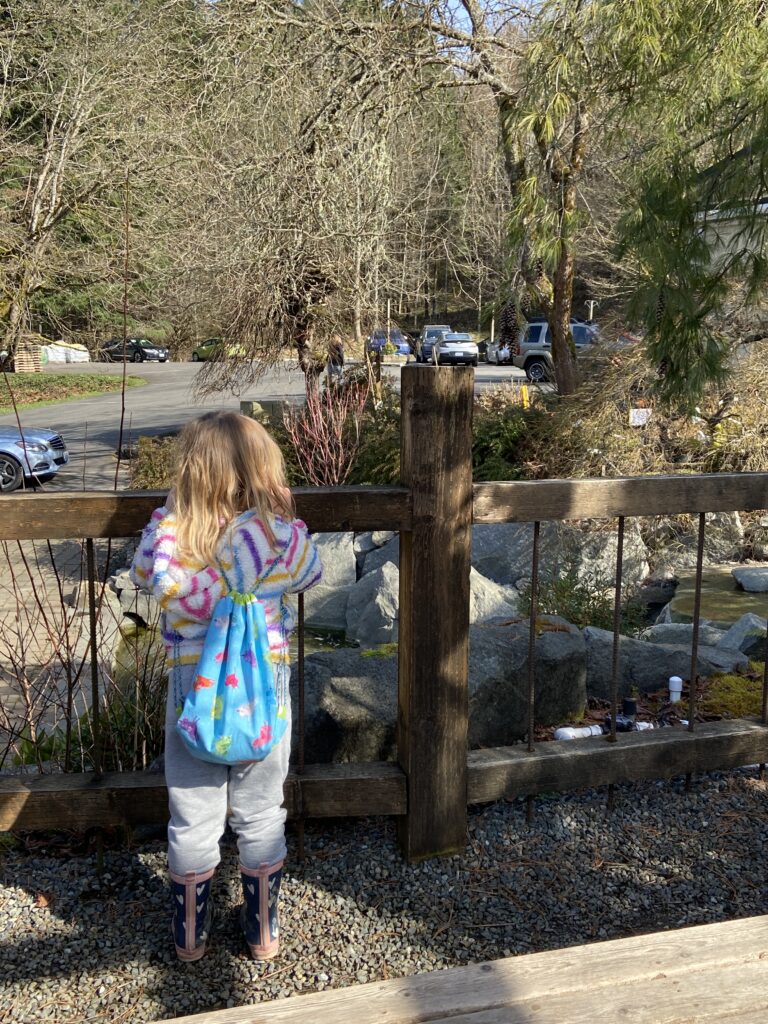
Another fun gift I made for her was this string backpack. She is really into unicorns and rainbows right now so this fabric from Shine Bright by Clothworks was just the ticket. This gift did not excite her upon opening but that was fine. She enjoys it now and has it filled with snacks to take with her when we are in the car or running an errand.

Looking at the waterfall at the nursery with a backpack full of snacks.

A few days ago we went and wandered at the most gorgeous nursery! We had given my daughter in law a gift certificate to this garden center for her birthday in February. She wanted to get some roses to plant in the yard. It really was incredible. I love a good wander through the nursery and this was a fun morning. H really enjoys looking at the plants and colors. She picked out a purple pansy which she and mommy planted in a little pot for the outdoor table.

Handmade gifts are so much fun – I hope we can keep this tradition going even as the girls are older. I will be back soon to share the gifts we made for our one year old. Hope all is well with you. We are only here with the kids for another couple of days and then will be heading for home and regular life.

Quick Check In & an Interview

Not a whole lot of sewing is happening for me – mostly because I am about 800 miles away from my sewing room! My husband and I and Julia all drove up to Washington state to visit my son and his family. We have not seen them since early October. What a treat to be with all of them. Both girls will have a birthday this month so it seemed like a great time to visit.

The girls are just a delight. H is nearly four years old. She is very imaginative and loves to make up games to play. Lots of pretend play as well as drawing and making things. She is working on using scissors and spent quite a bit of time this afternoon cutting confetti which we promised she could toss in the air on her birthday this weekend.

The baby, A, is nearly one! She is trying to walk and has taken two or three steps at a time. When we first got here she was a bit shy, having been with only her parents for months on end with the quarantine keeping everyone at home. It didn’t take too long for her to warm up though and we are good buddies now. Her personality is delightfully easy going.

My two favorite little girls.

Here are a few pictures from our first few days here.

This neighborhood is lush and heavily wooded.

We have gone on walks in the neighborhood each day.

Today H made donuts with Grandpa.

Grandpa asked H to be careful and not lick her fingers while icing the donuts. She was pretty darn happy when he told her the icing was finished and she could lick her sticky, sweet fingers.

I feel so very fortunate to be with them. I know many of you have been separated from your kids and grand children for way too long and miss them. I hope you are able to enjoy them in person before too long.

I also want to share that I did an interview with Leanne from Devoted Quilter for her “Let’s Get to Know” series. I very much enjoyed the previous two interviews she posted, one with Sarah Craig, Confessions of a Fabric Addict and the other with Holly Ann Knight of String and Story. If you’d like to read it and get to know a bit more about me, click here. It is a lot of fun to learn more about the quilters we all associate with.

That is it for now. Wishing all of you a wonderful day.