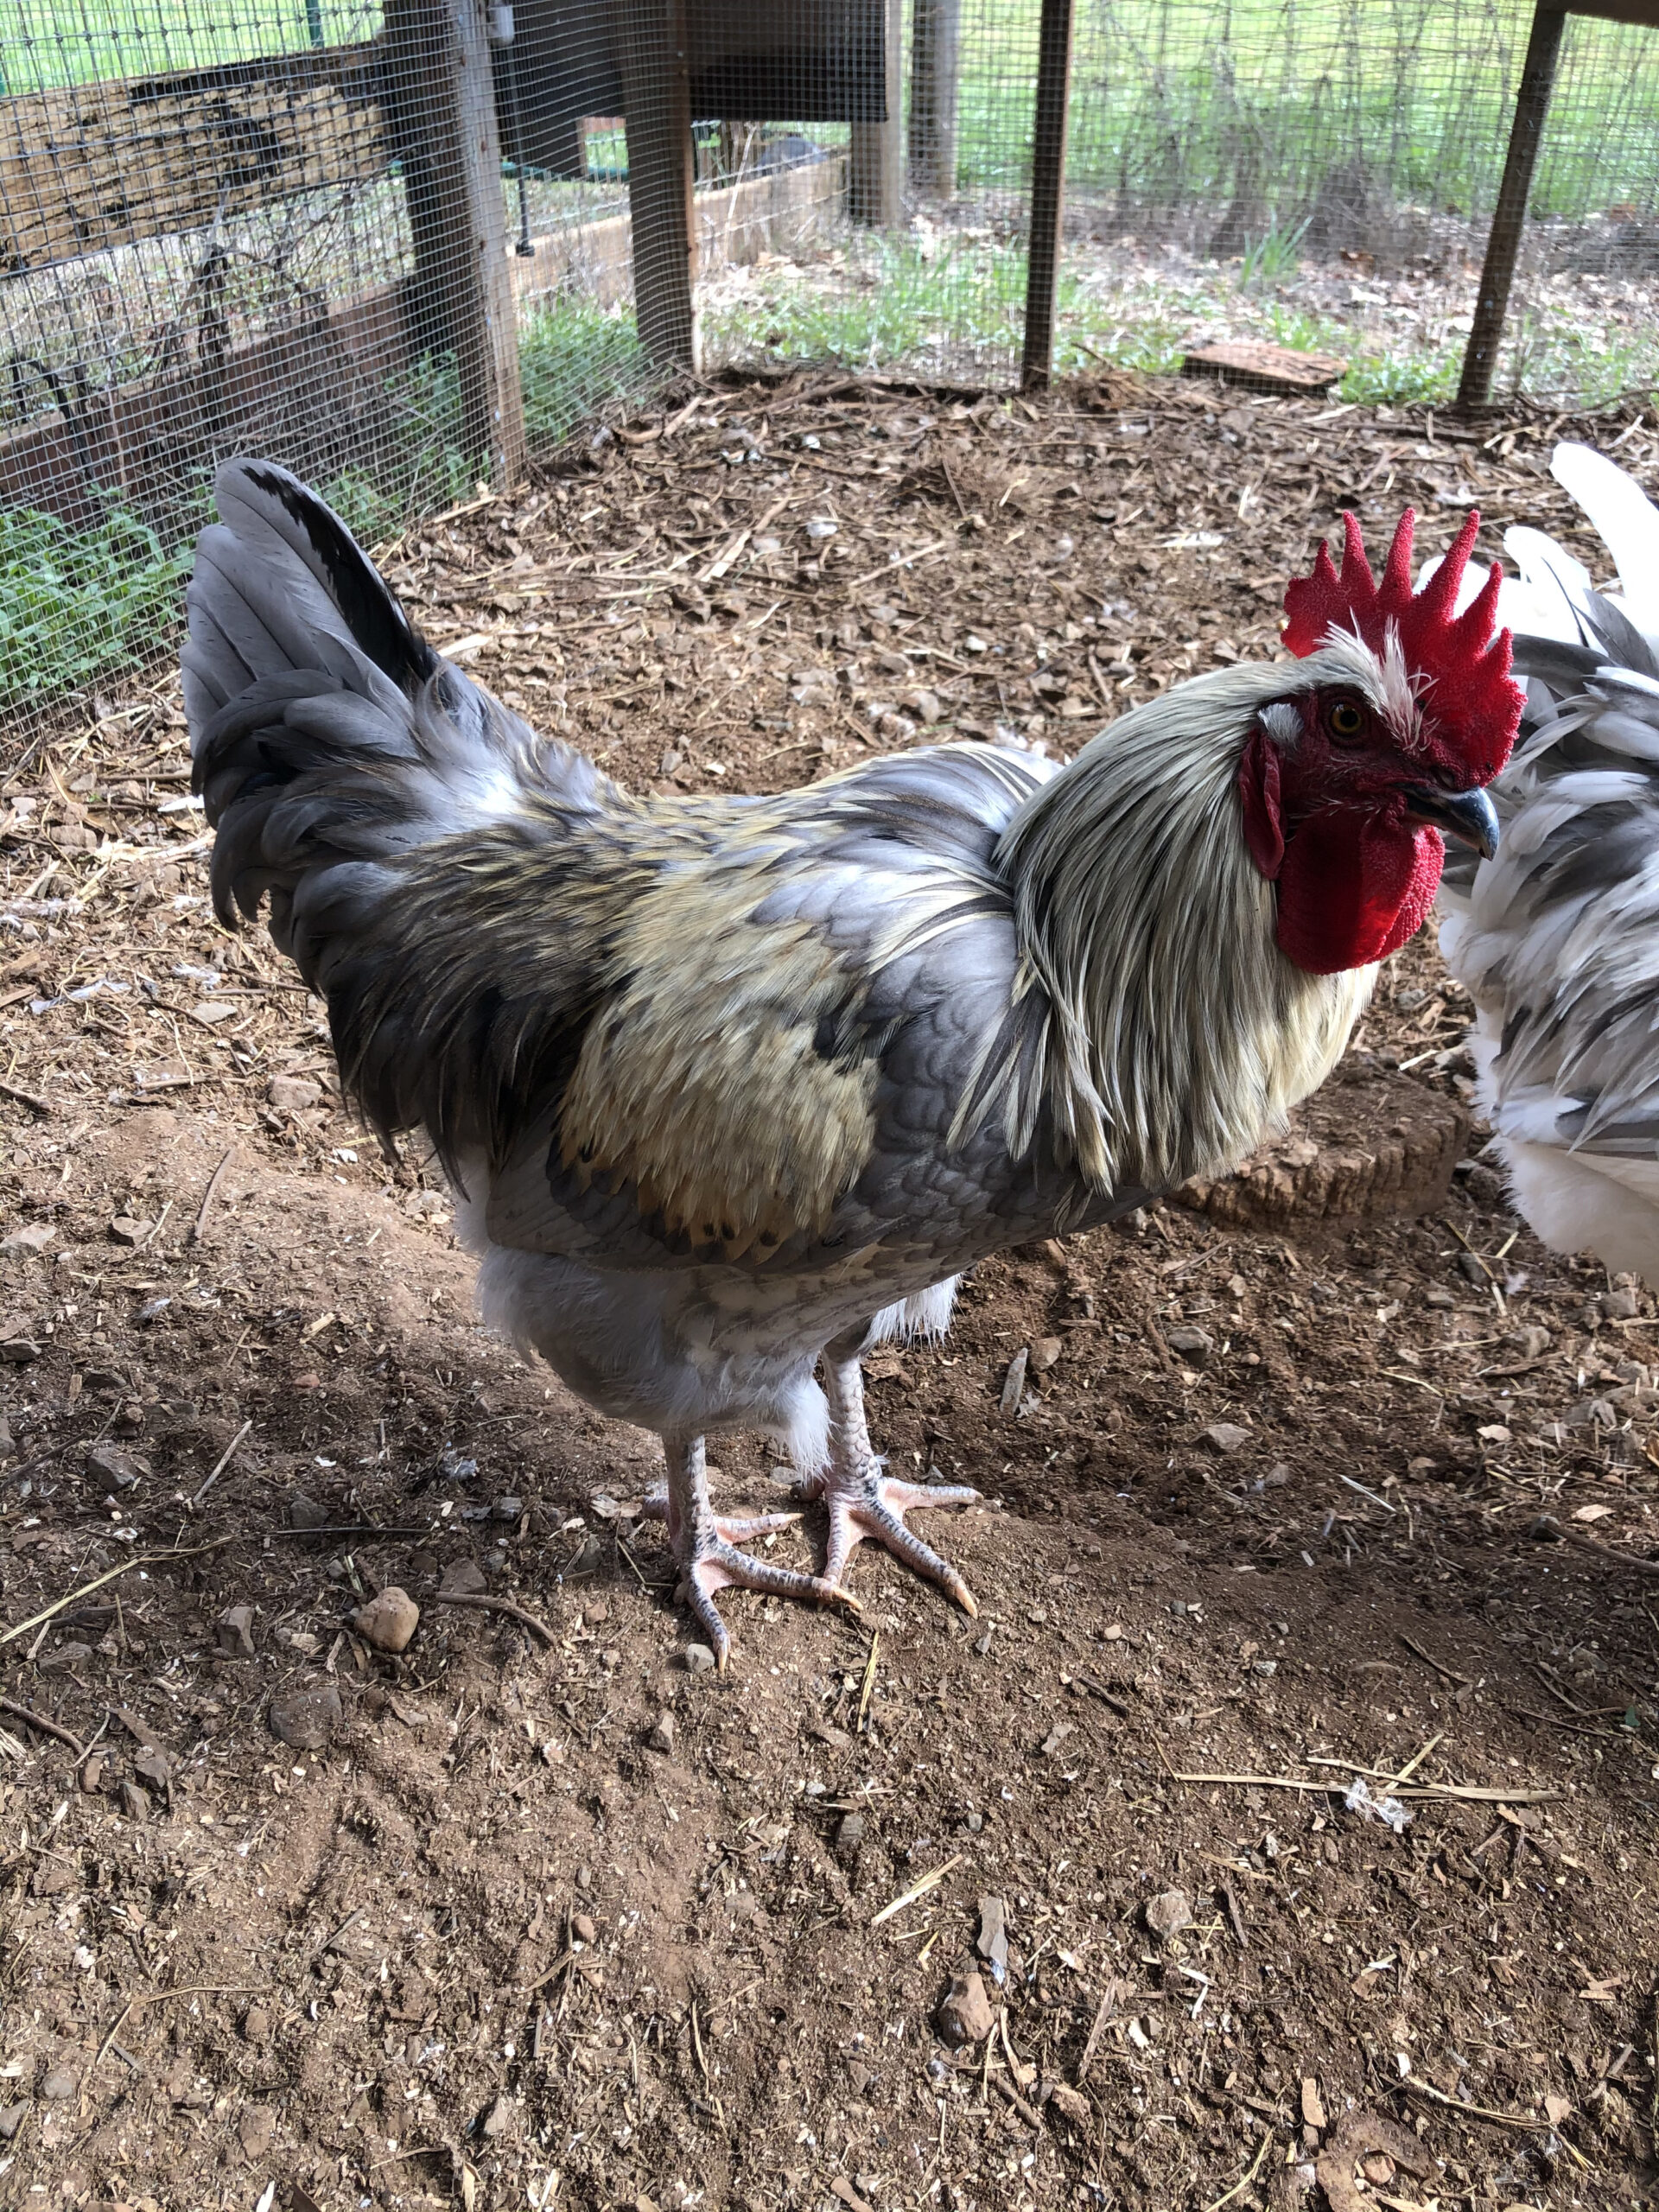
Remember the chicks Julia raised last fall in the laundry room? Well two of the four turned out to be roosters, Pete and Jack. This was somewhat disappointing as that obviously reduced the number of eggs we thought we would be getting. However they were very handsome birds and we got over our disappointment. Then we went up to Washington to celebrate the girl’s birthdays and those naughty roosters had a party of sorts.
When we left, the roosters were about five months old. We thought this was still young that they wouldn’t be fertilizing eggs yet. Oh what sneaky birds.
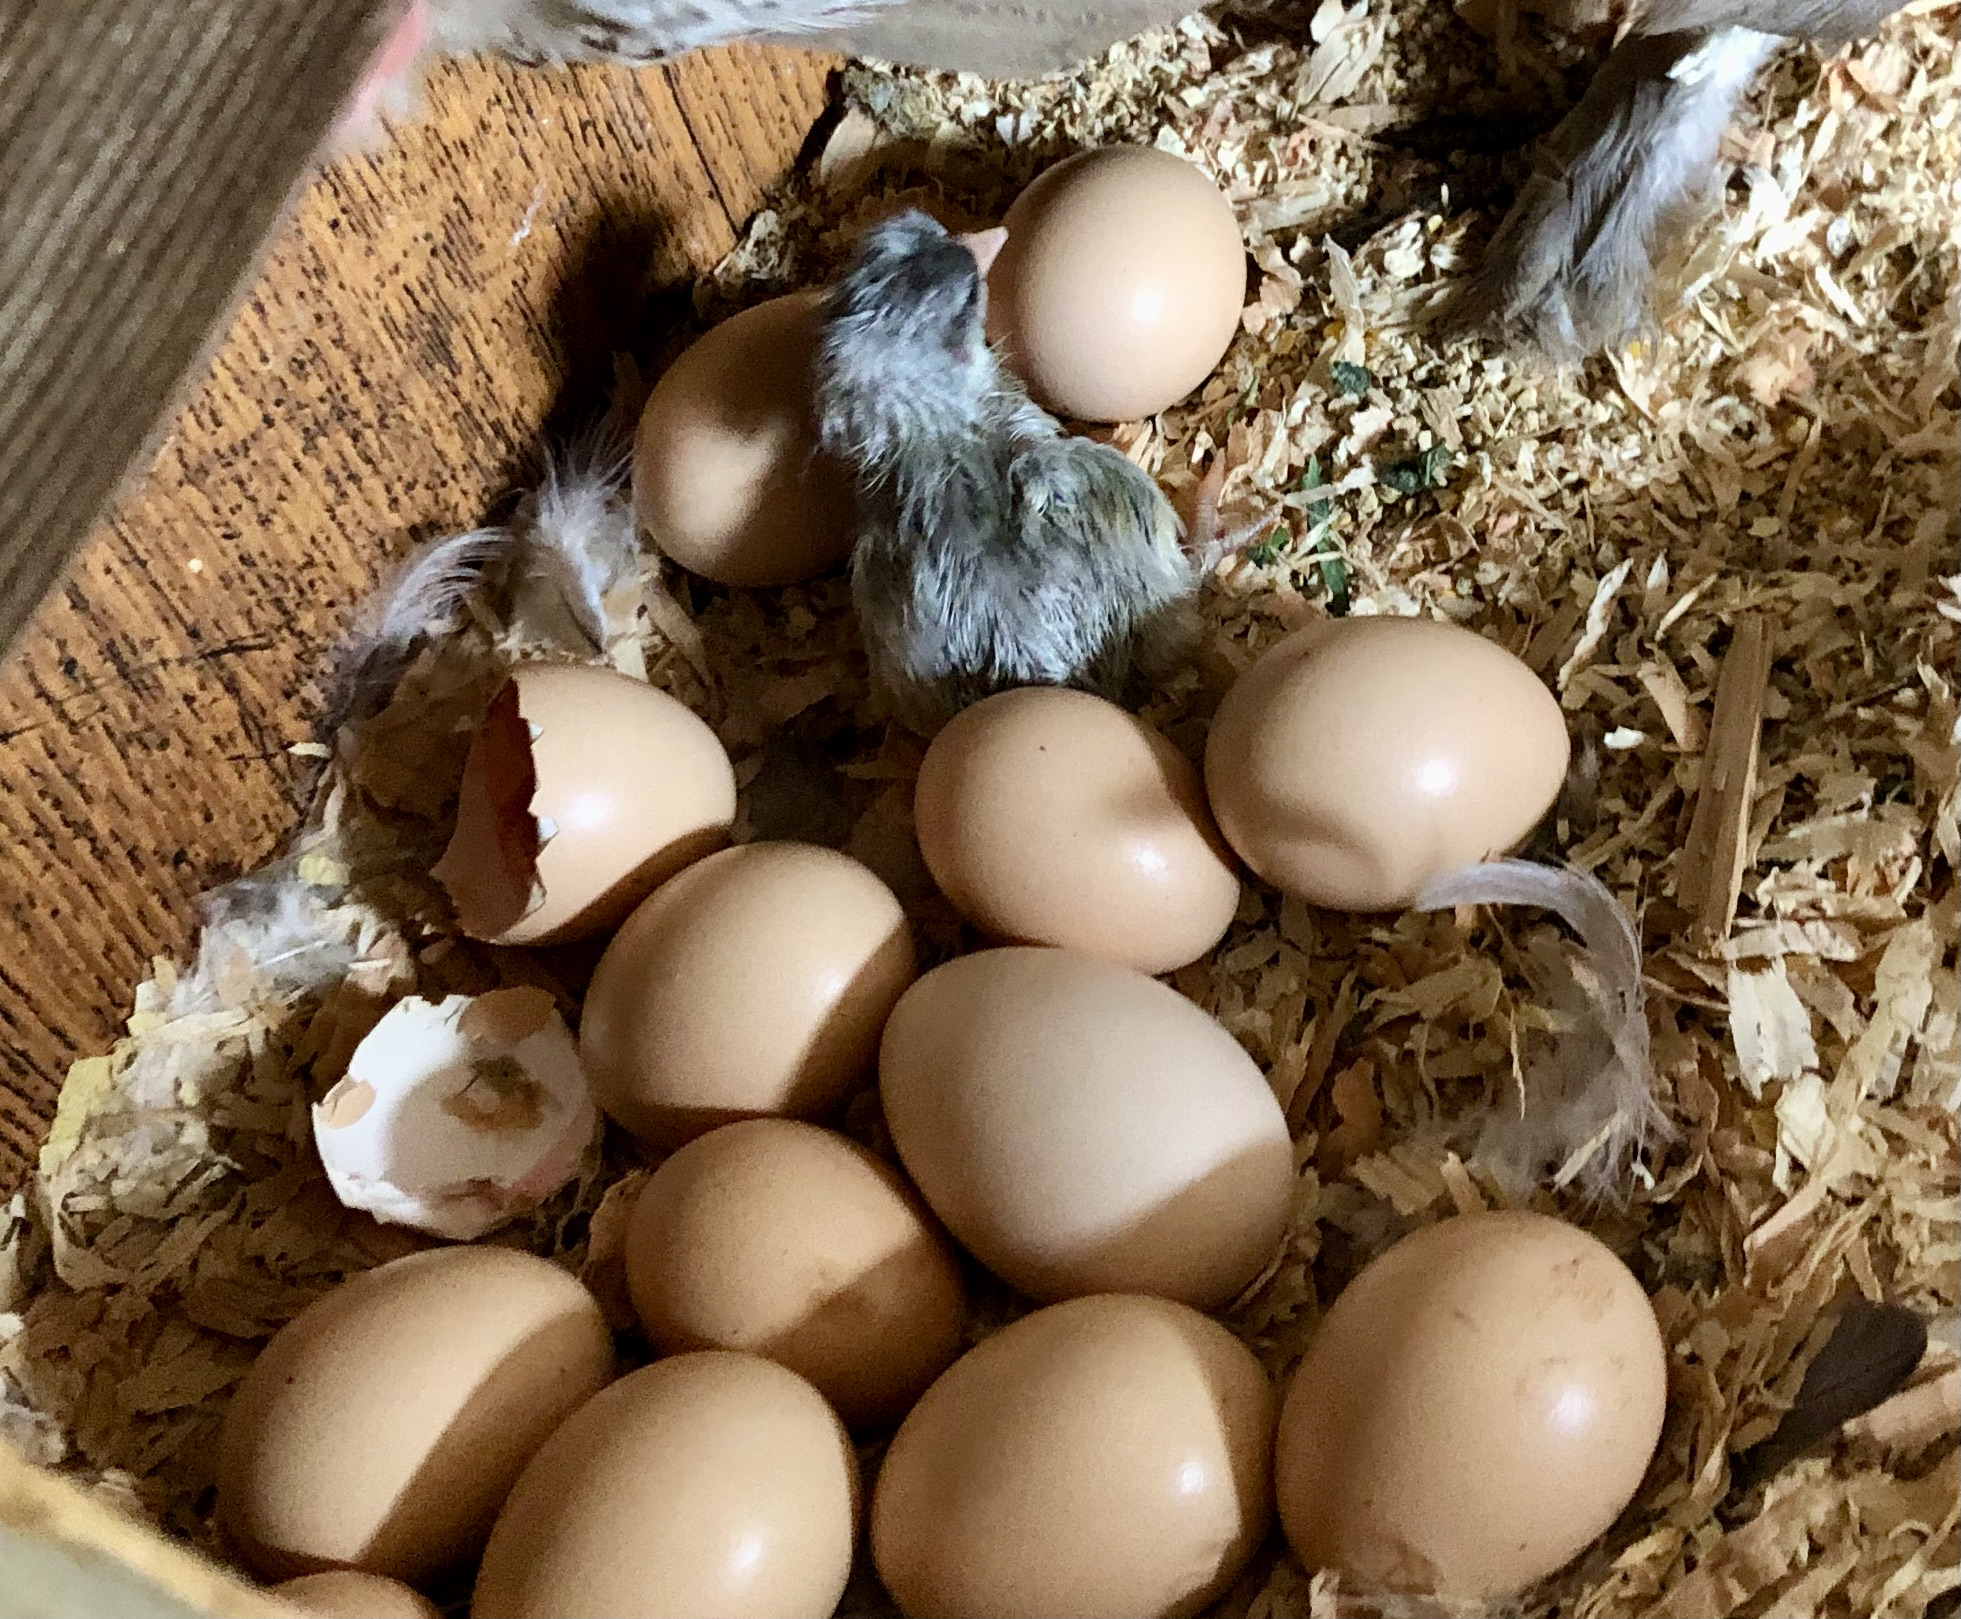
By the time we got home, Fauna was sitting on a clutch of thirteen eggs. Several days after that, this little one hatched. Since then, no more eggs have hatched. This is a lousy yield for sitting on thirteen eggs. We haven’t ever hatched eggs but our suspicion is that she added eggs, and allowed the other hen, Flora, to add eggs to the clutch for too long so the hatch dates are really strung out. Chicks take 21 days to hatch from the eggs. Poor Fauna has been sitting on these eggs for 28 days now.
She has decided she is really over this whole broody, sit-on-the-eggs, thing and keeps kicking eggs out of the clutch (which means she doesn’t think they are viable so she pushes them out and lets them get cold). Julia tosses those eggs when she finds them. At this point, Julia doubts any of the other eggs will actually hatch. In order to prevent any more hanky panky, Julia put an ad up on Craigslist and quickly gave Pete and Jack to a good home in need of a couple of fine roosters.
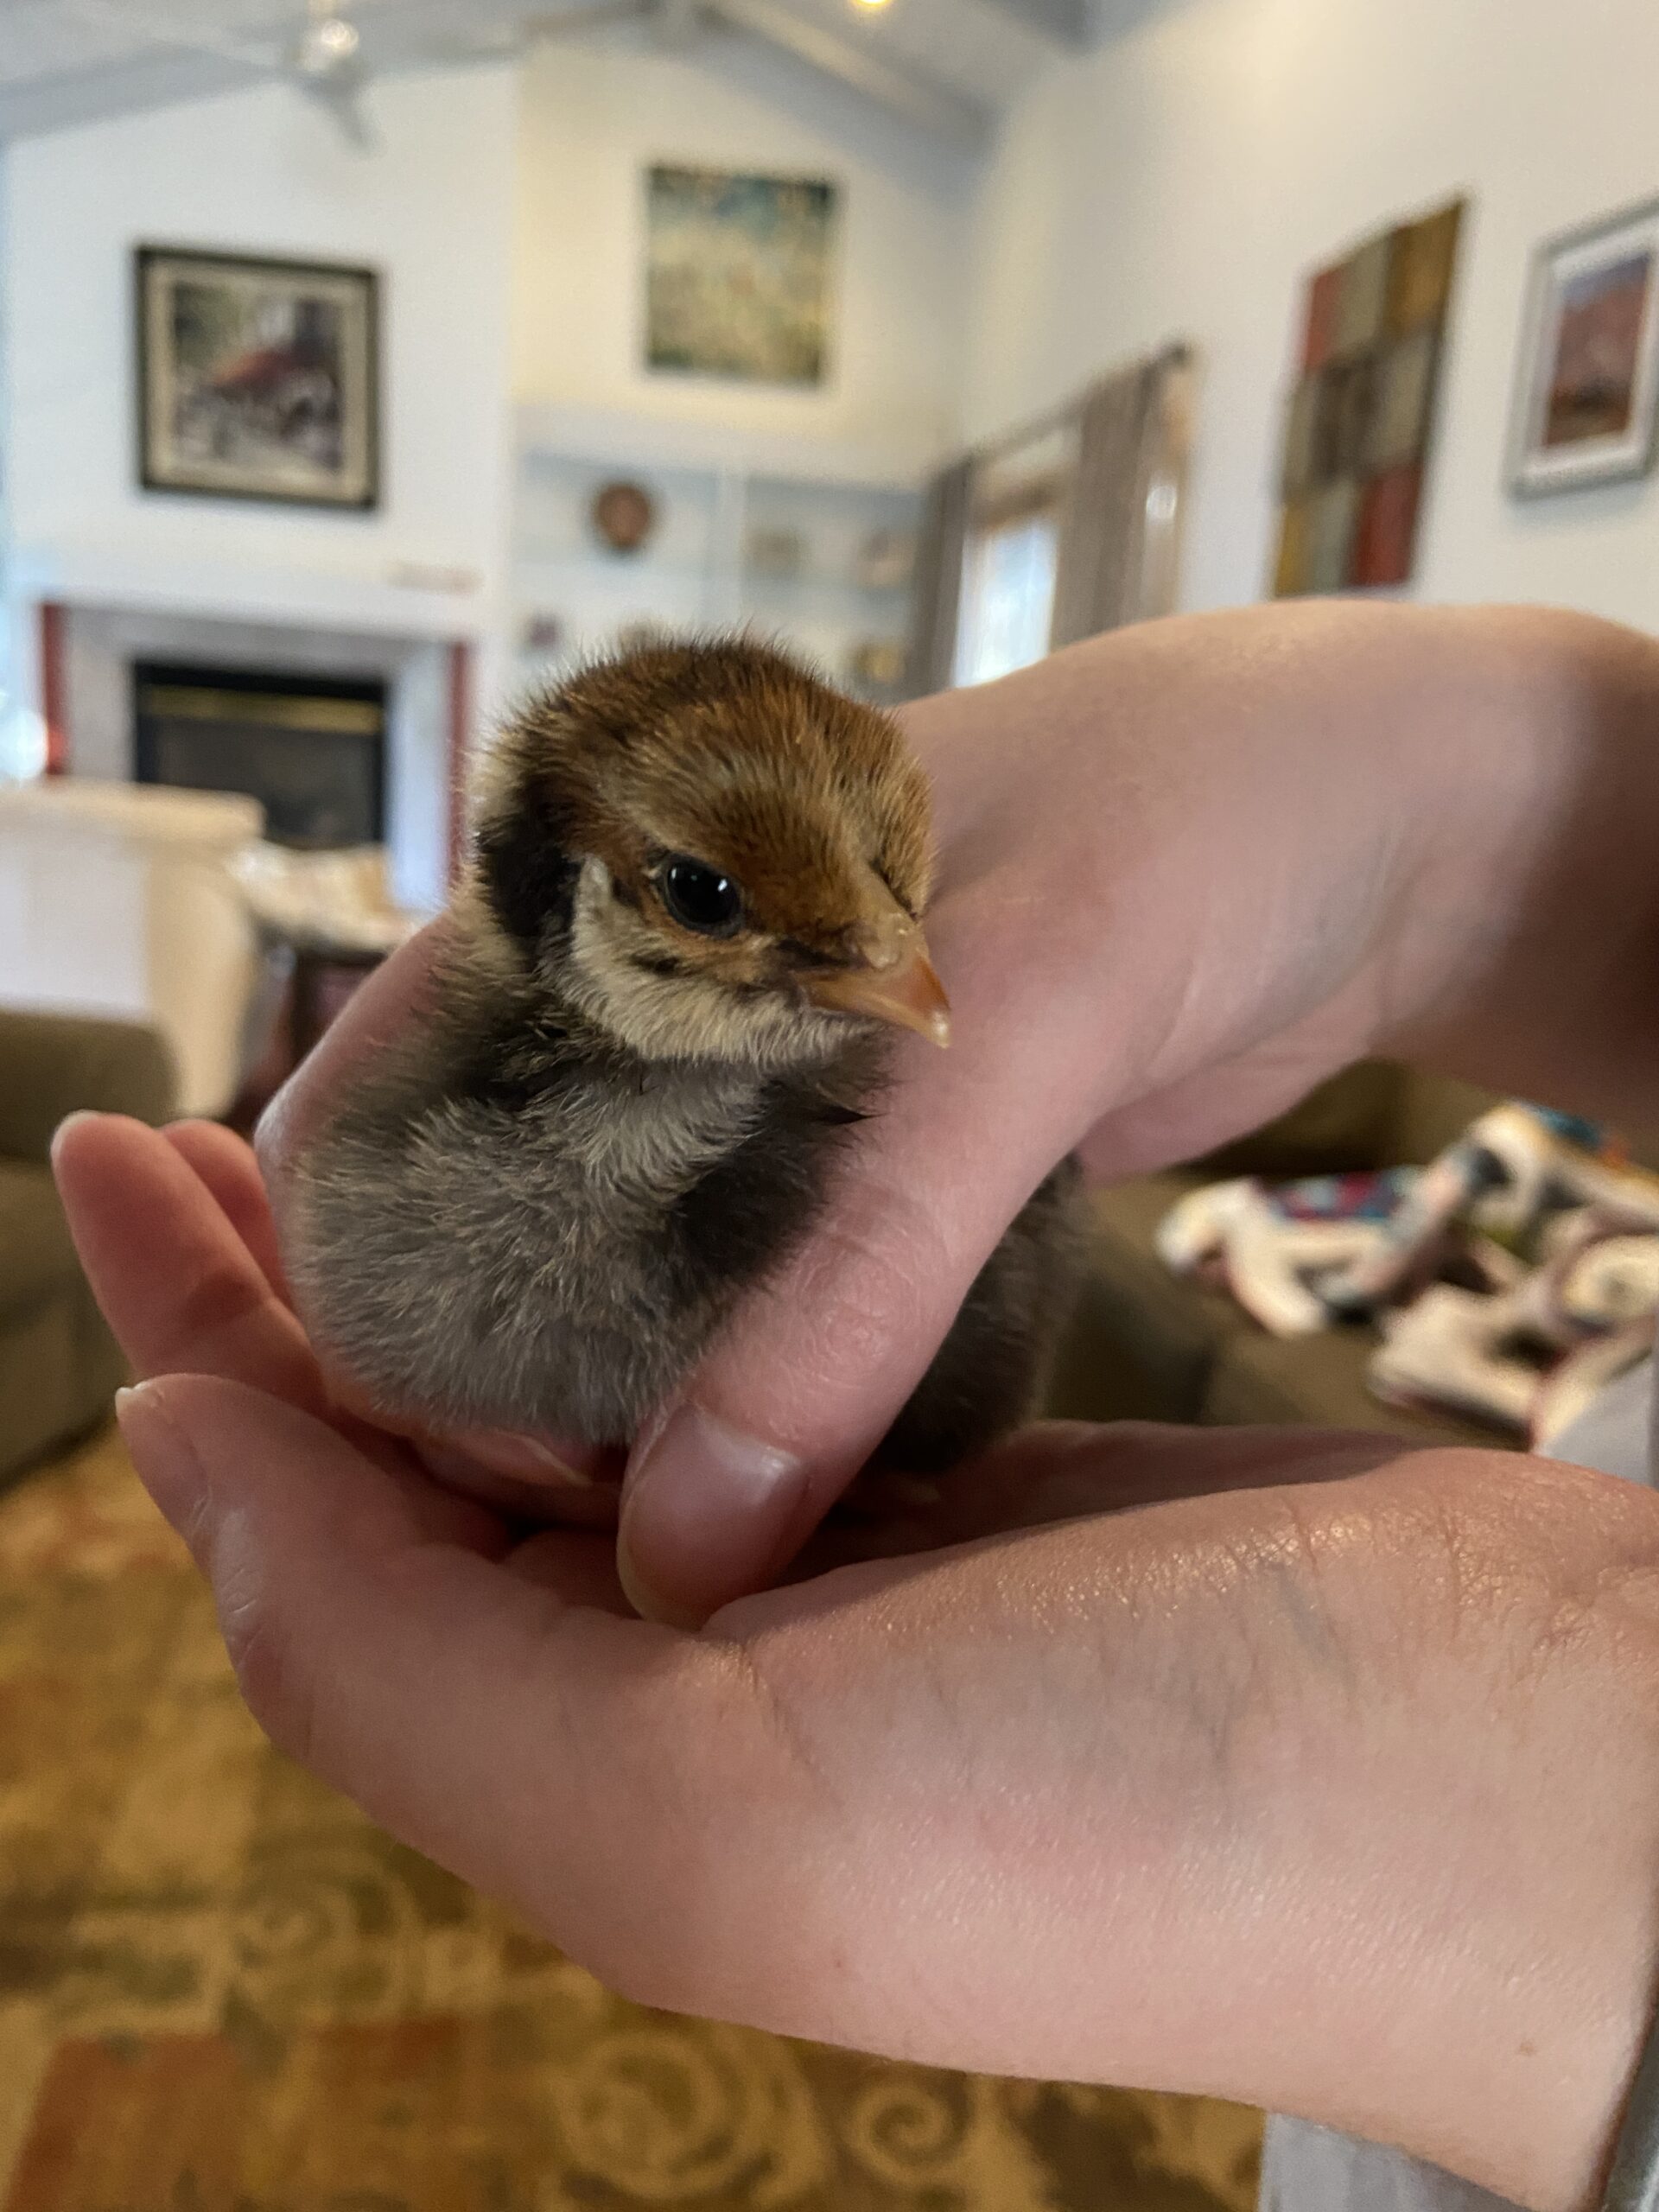
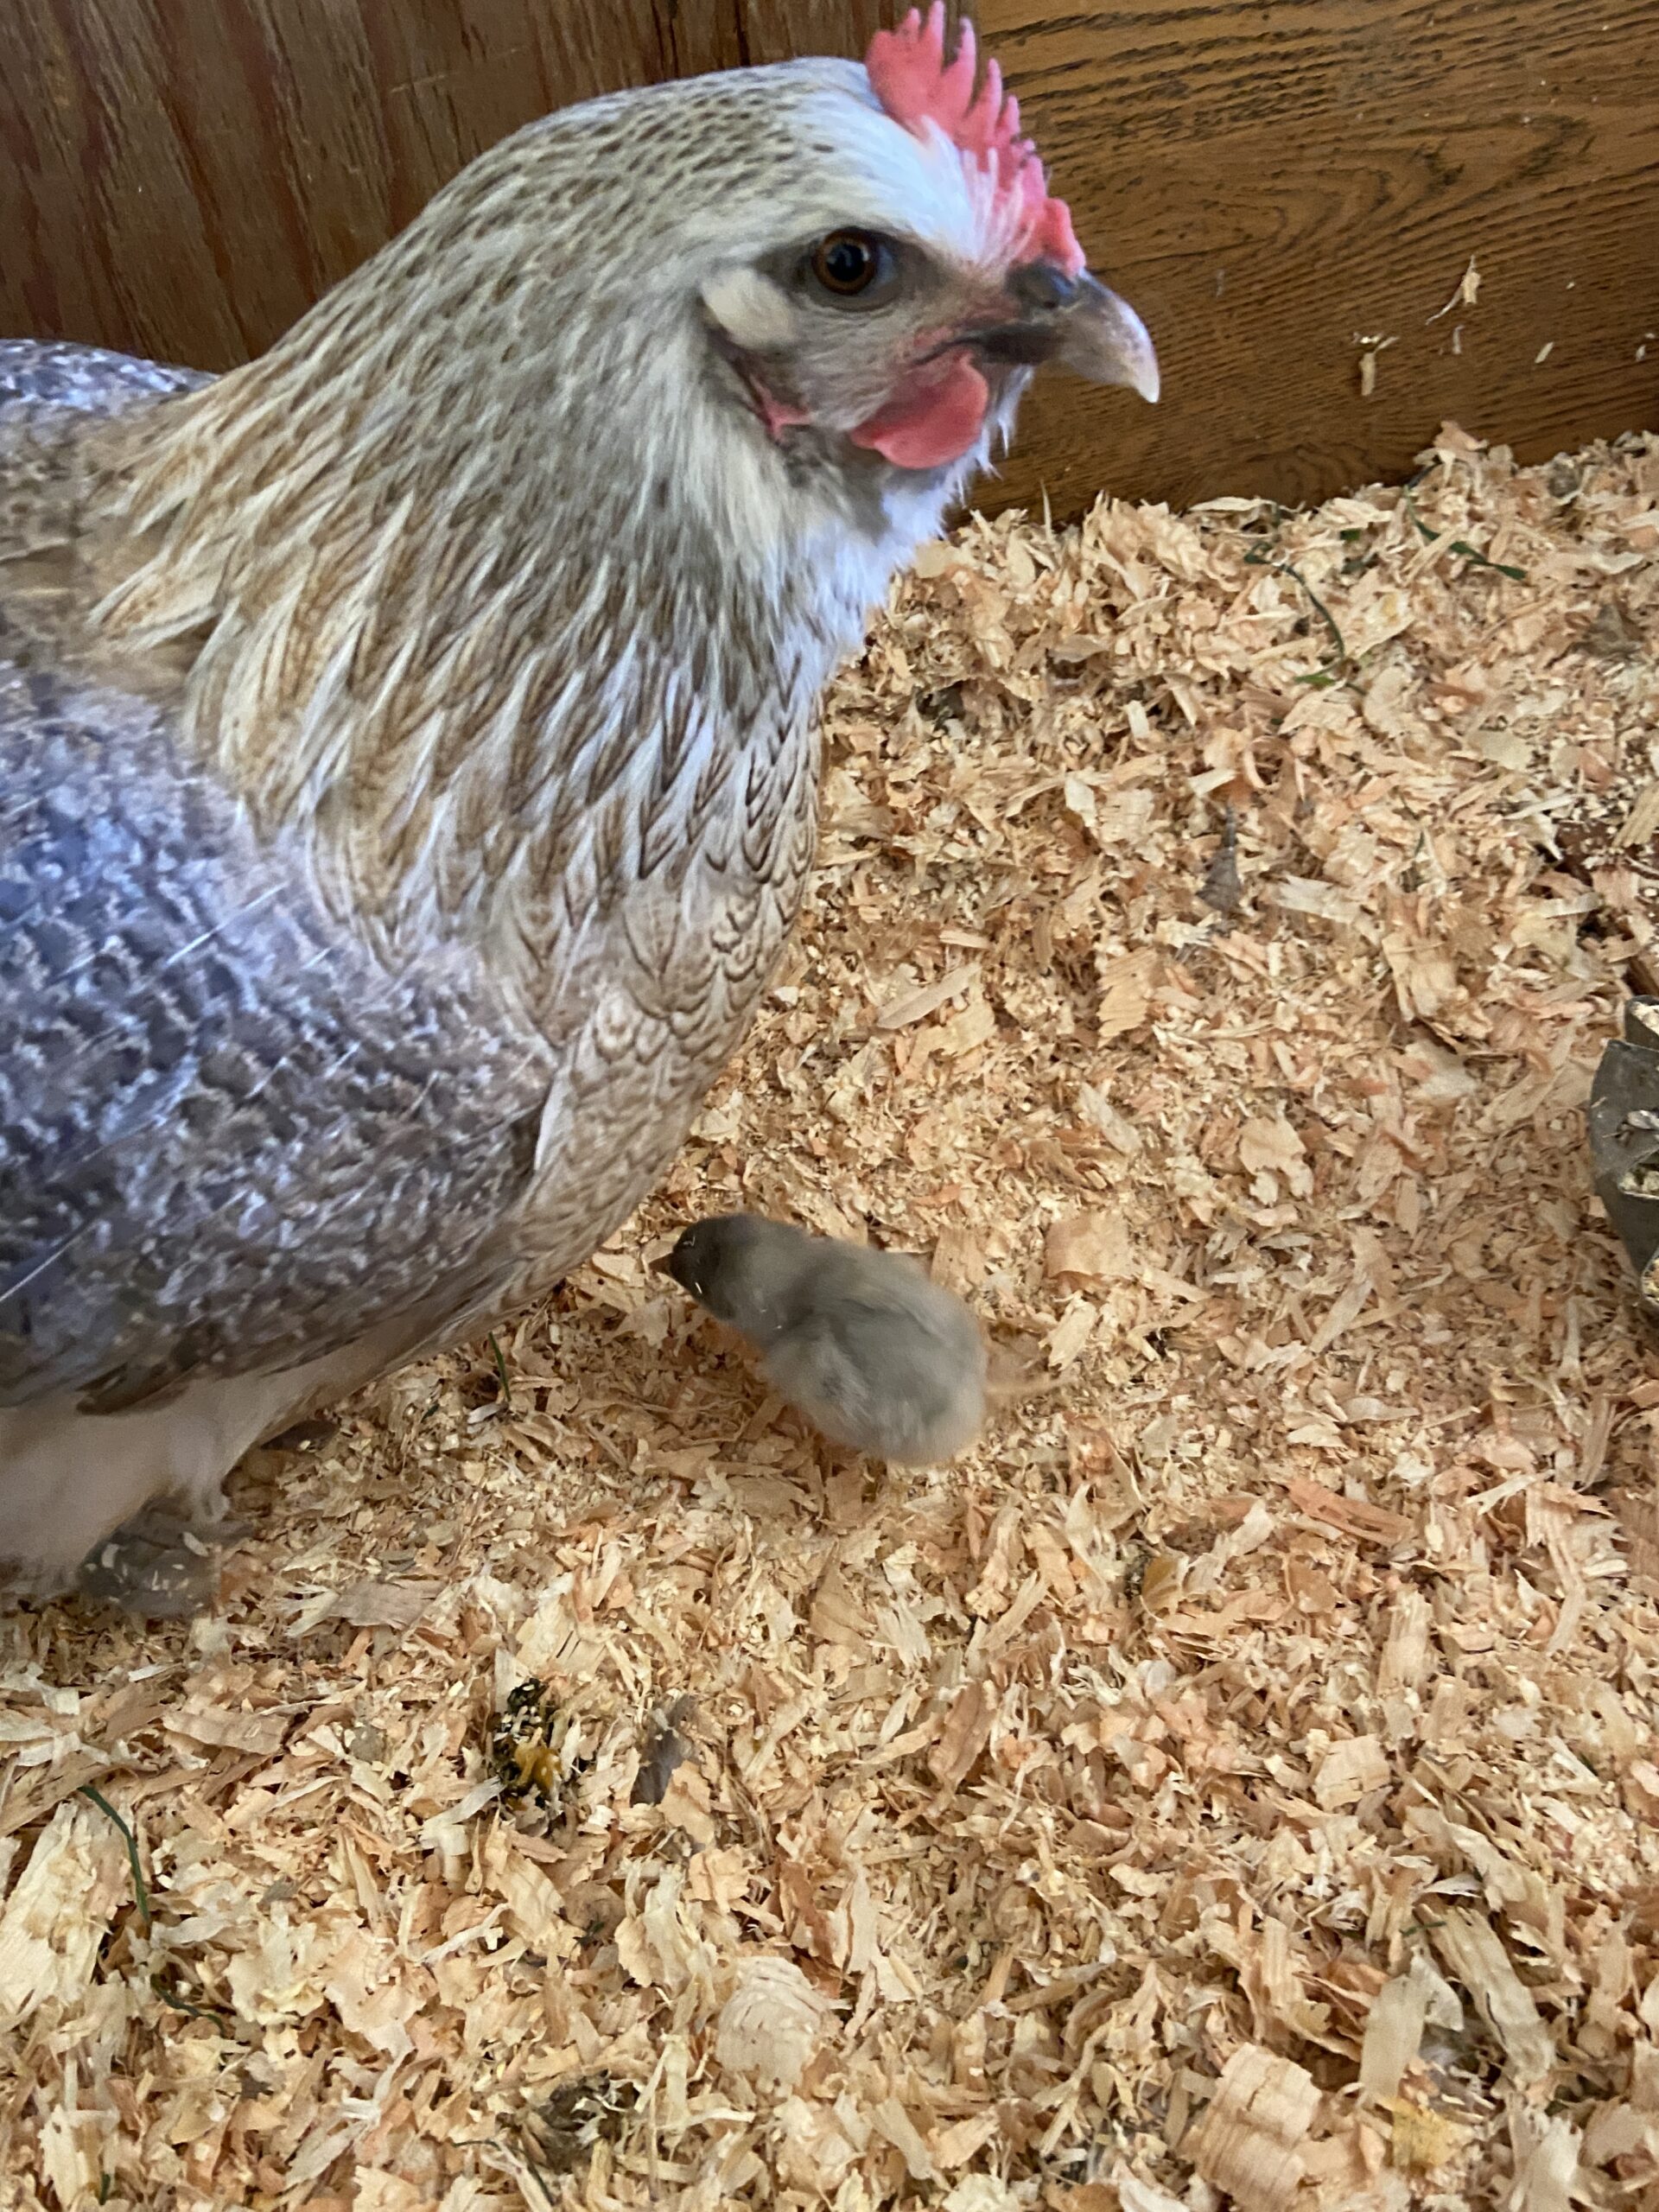
Now that Pete and Jack are gone, Julia was really hoping for more eggs to hatch so we would have more than four laying hens. We don’t know what Fauna’s little one is, rooster or hen, so she decided to buy two more chicks. They are a week old. She placed one with Fauna and her baby but Fauna just gave her the side eye, “Just exactly what are you doing here? You are not my chick.” She wasn’t mean to her and let her scratch around and eat, but as a mama hen, she needs to take the babies and keep them warm by sitting over them along with the eggs until they mature. This is sooo cute – when we go out there, we can see the baby peeking out from under Fauna. It didn’t look like she was going to take the new chicks in with her own. Understandable as Fauna has had a lot going on lately and it was just too much to ask of this mama. So once again, we have chicks living in the laundry room.
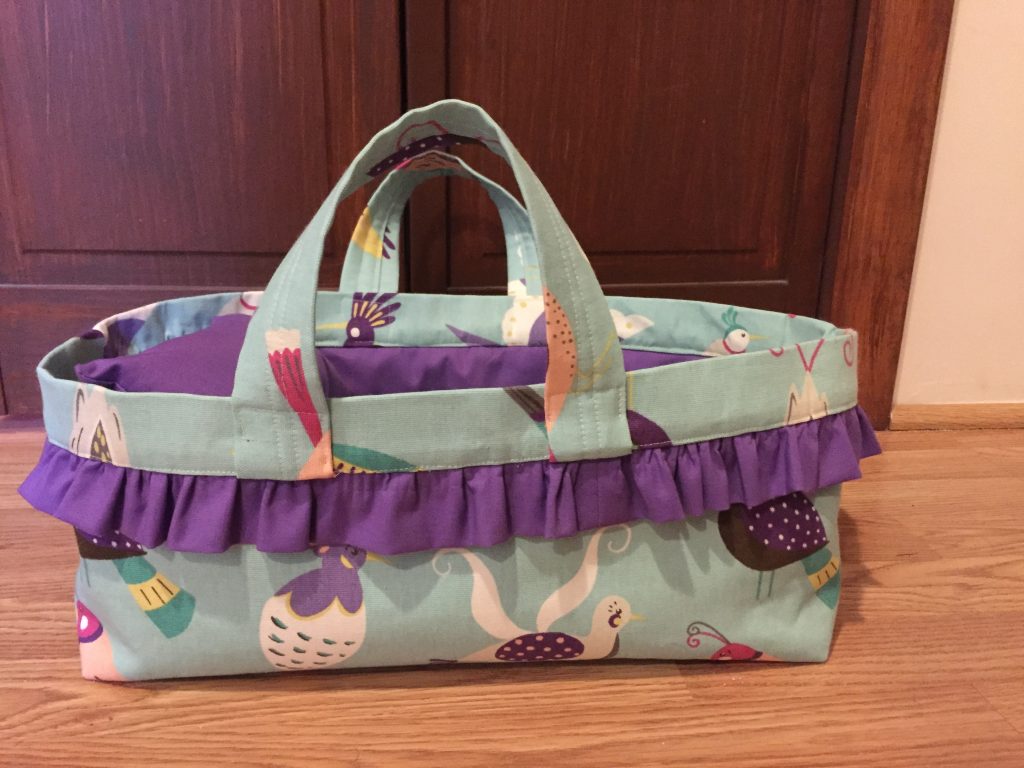
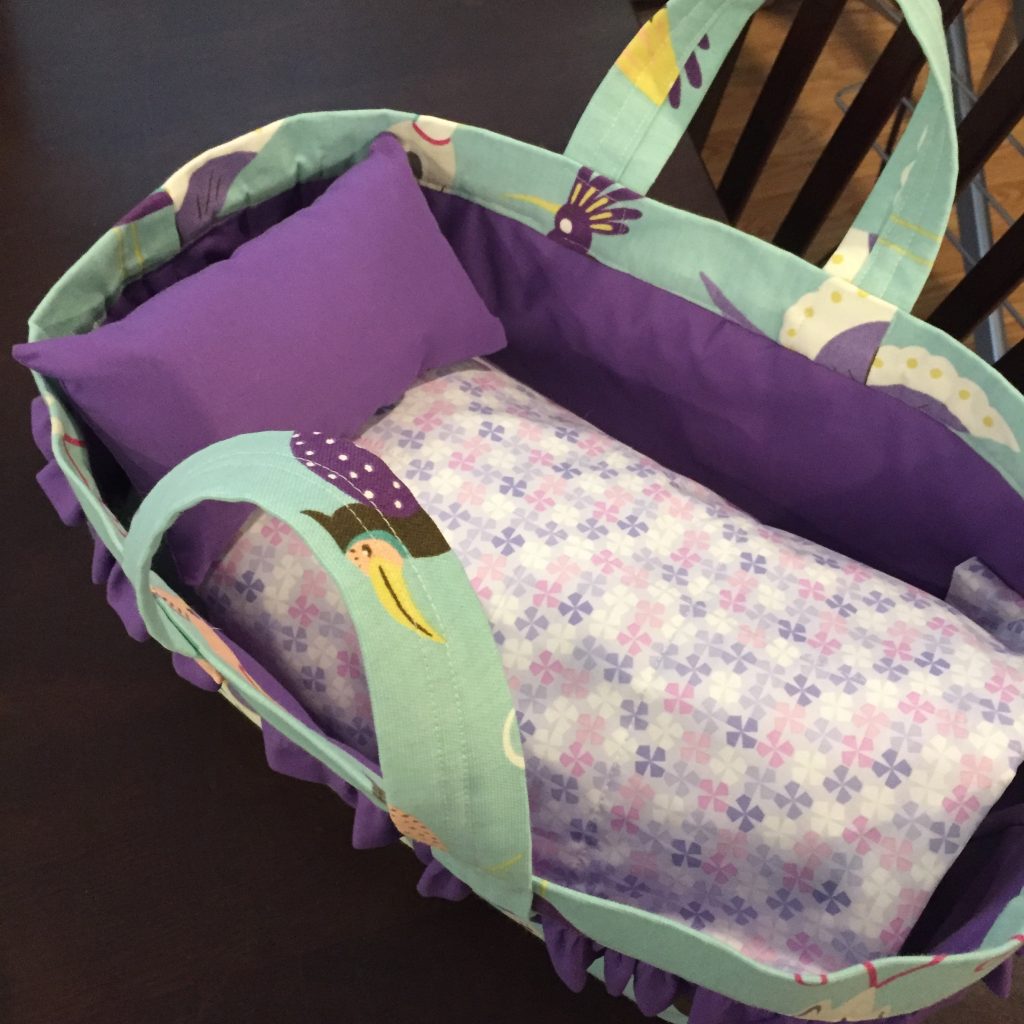
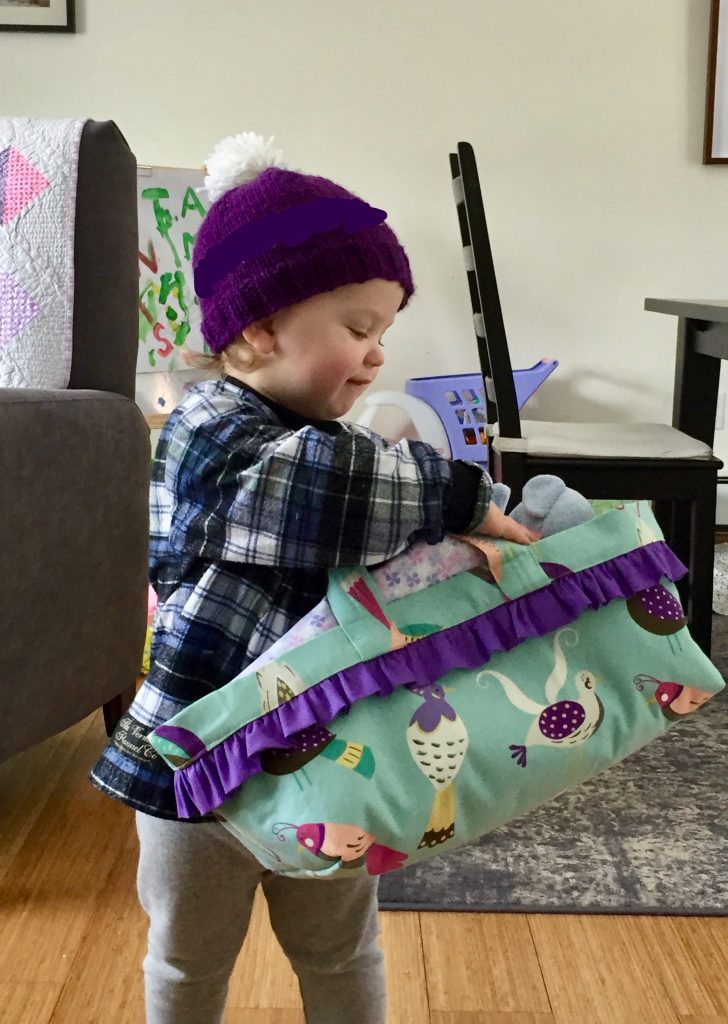
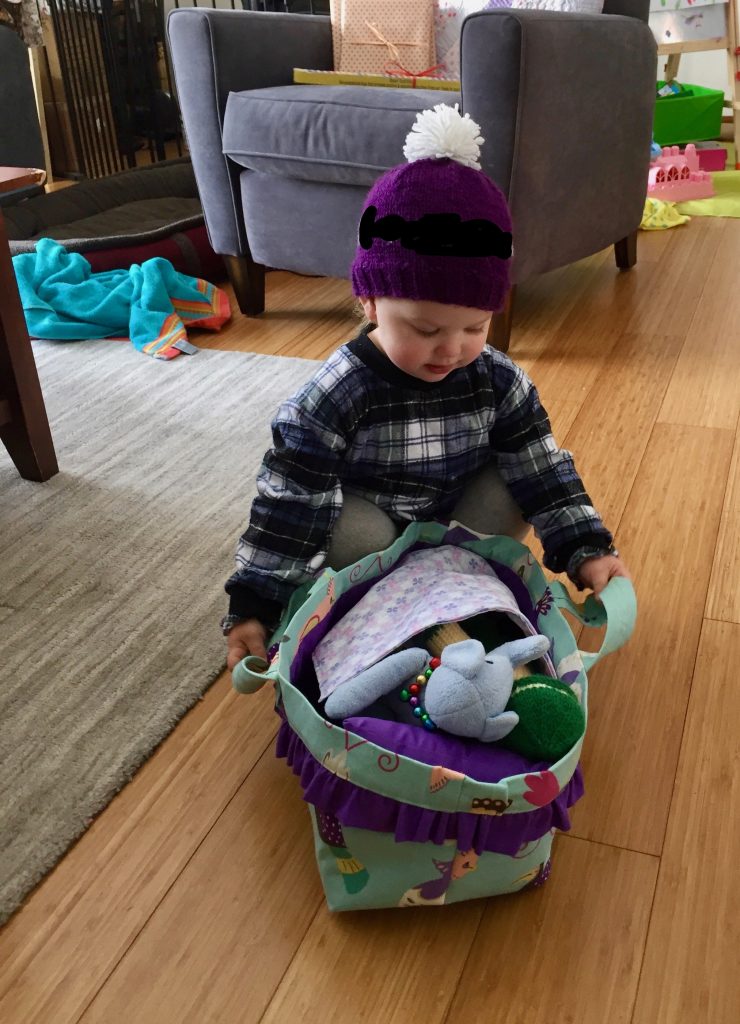
Now that we have covered what is happening with the animals, lets check on the sewing projects!

Crowded on my very tiny design wall are the completed blocks for my RSC 2021 project. I am really liking the blocks so far. I have played with the sized of the center diamond so they are not going to all be the same. The outer diamonds will be the same though. I have done three of each color but may need to add more. I don’t think 33 blocks (3 x 11 months) will be enough. Not sure yet though. I have plenty of time to figure that out.
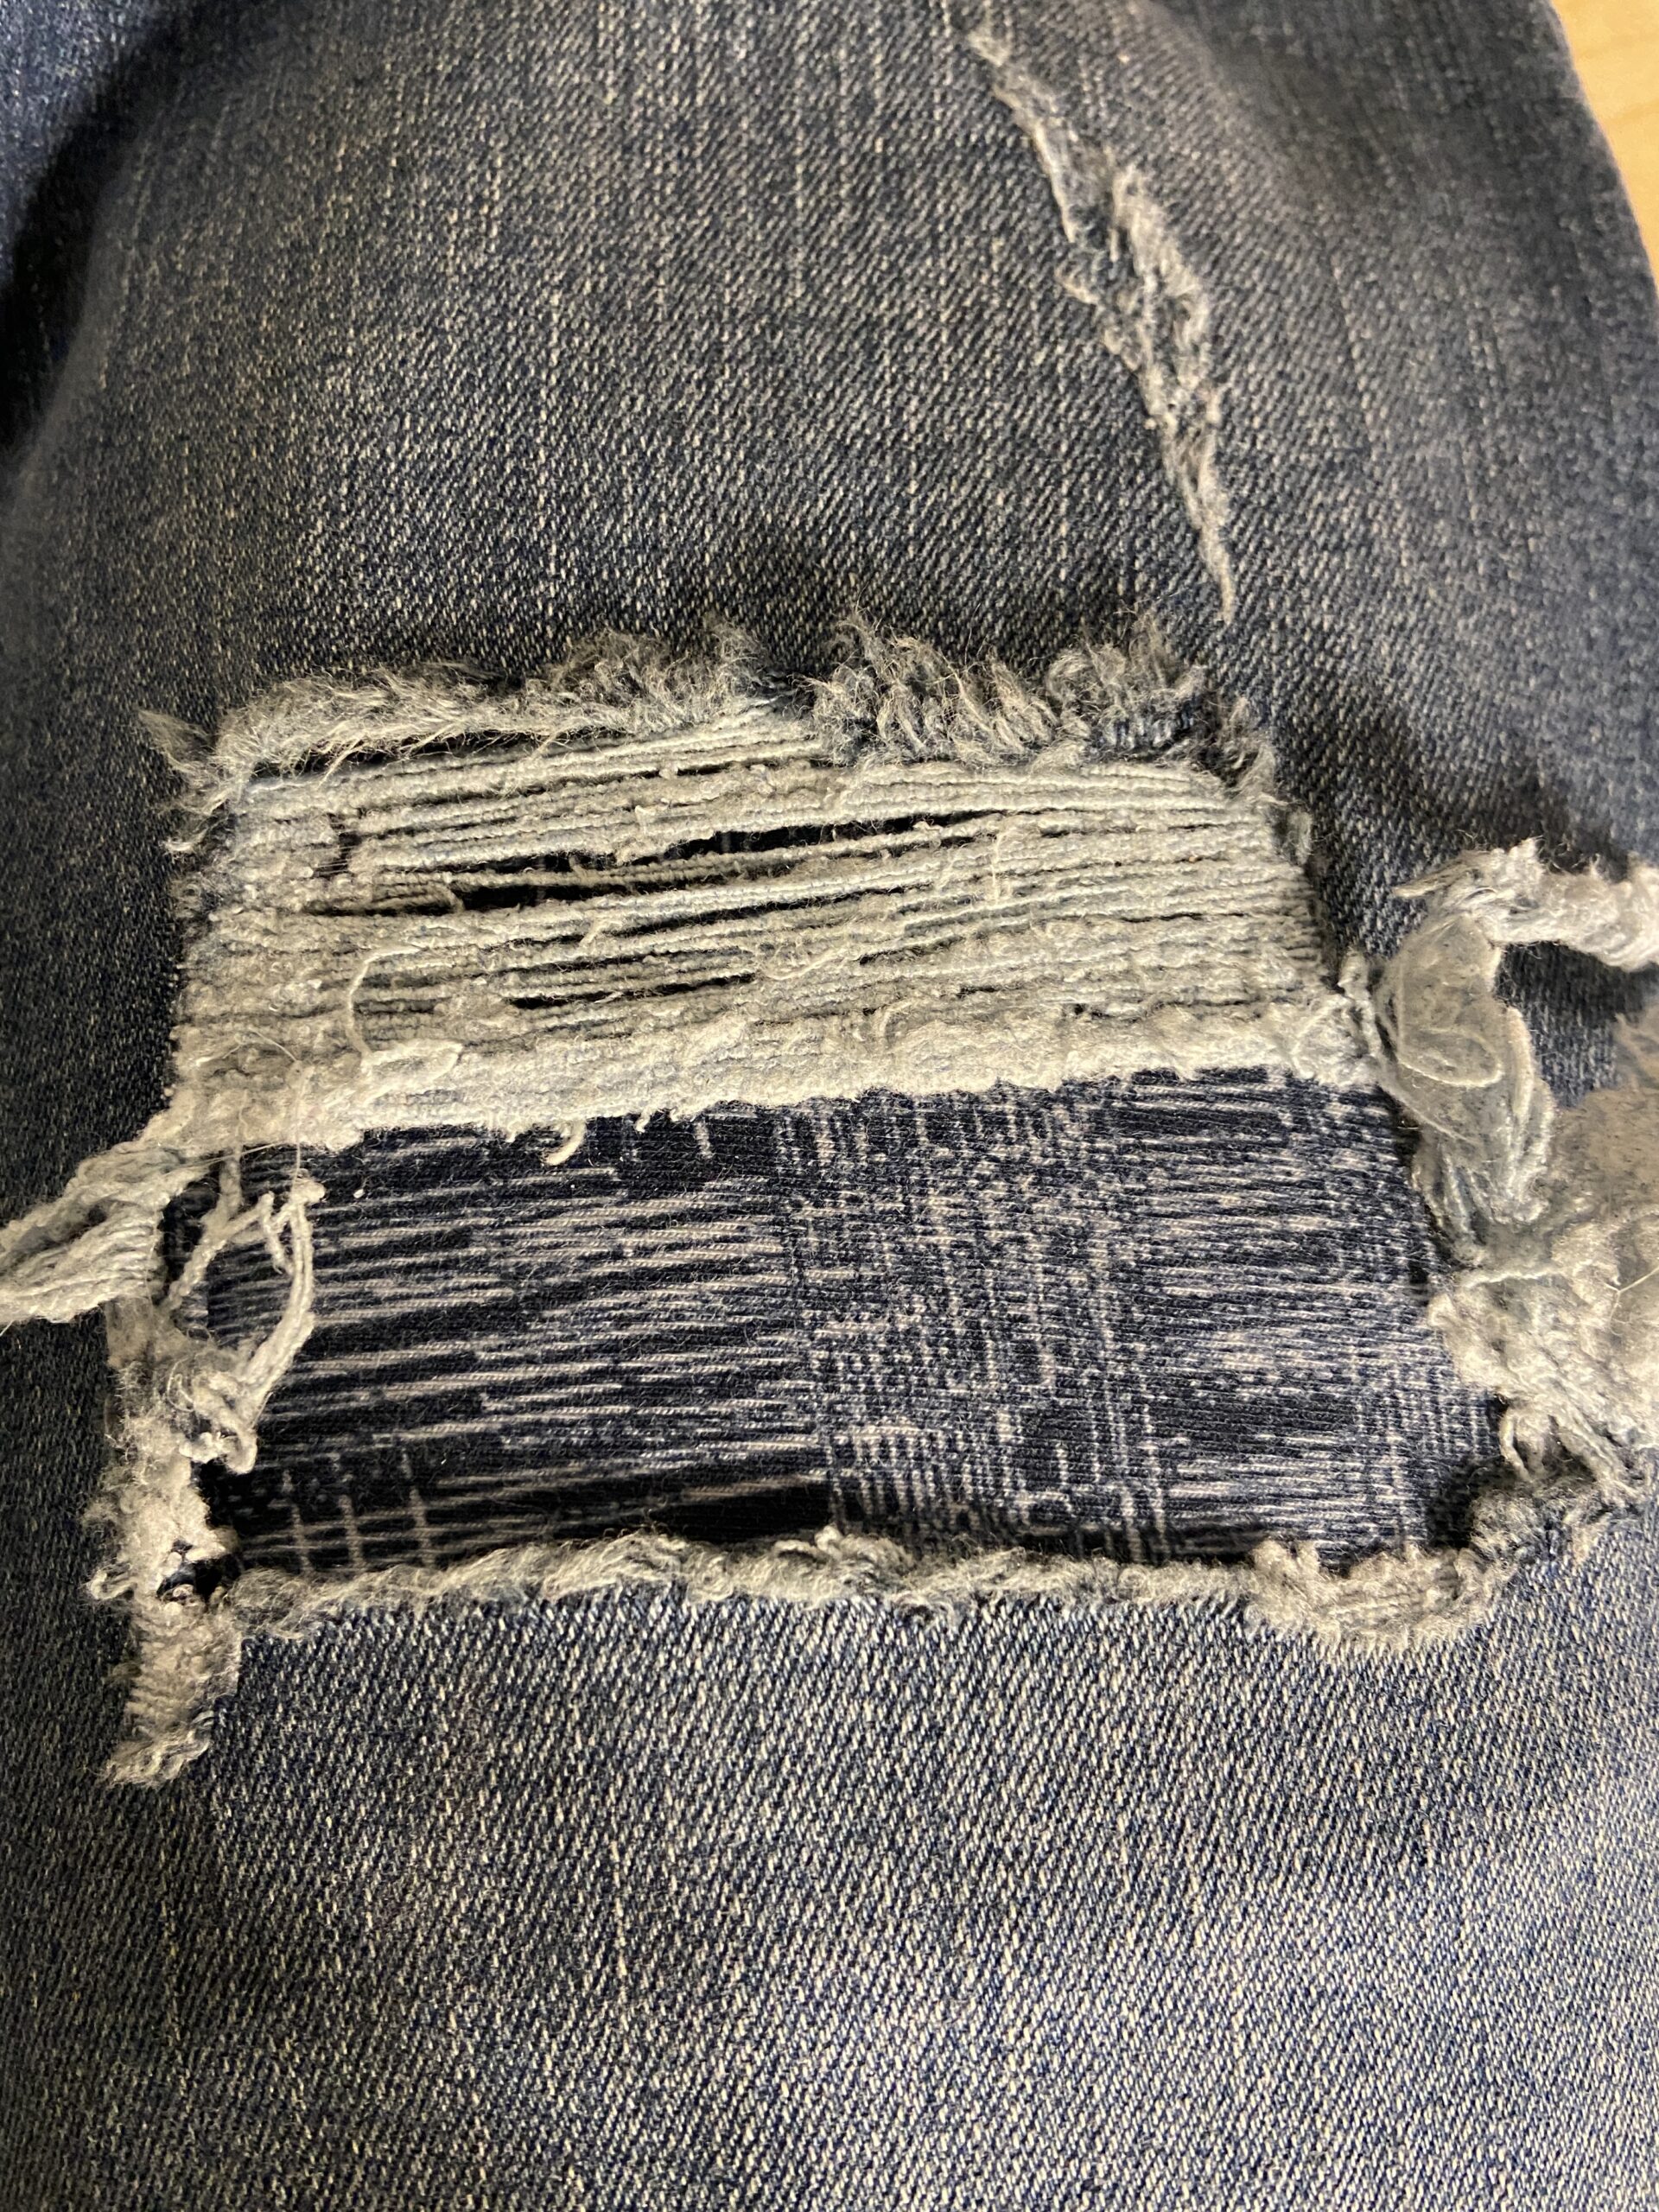
The next project I want to share is my first attempt at visible mending. All the rage these days, sewists are hand stitching various mending projects so they are decorative. (As opposed to the idea of trying to carefully mend something so no one knows it was stitched back together.) Months ago, I bought a pair of jeans at Ross. They fit well and were a bargain but they have holes in them which is trendy these days. I tried to wear them with the holes but I didn’t like it. It always felt like there was a pudgy pop of flesh in that hole when I was sitting down. I am not a fan of that look. 😉
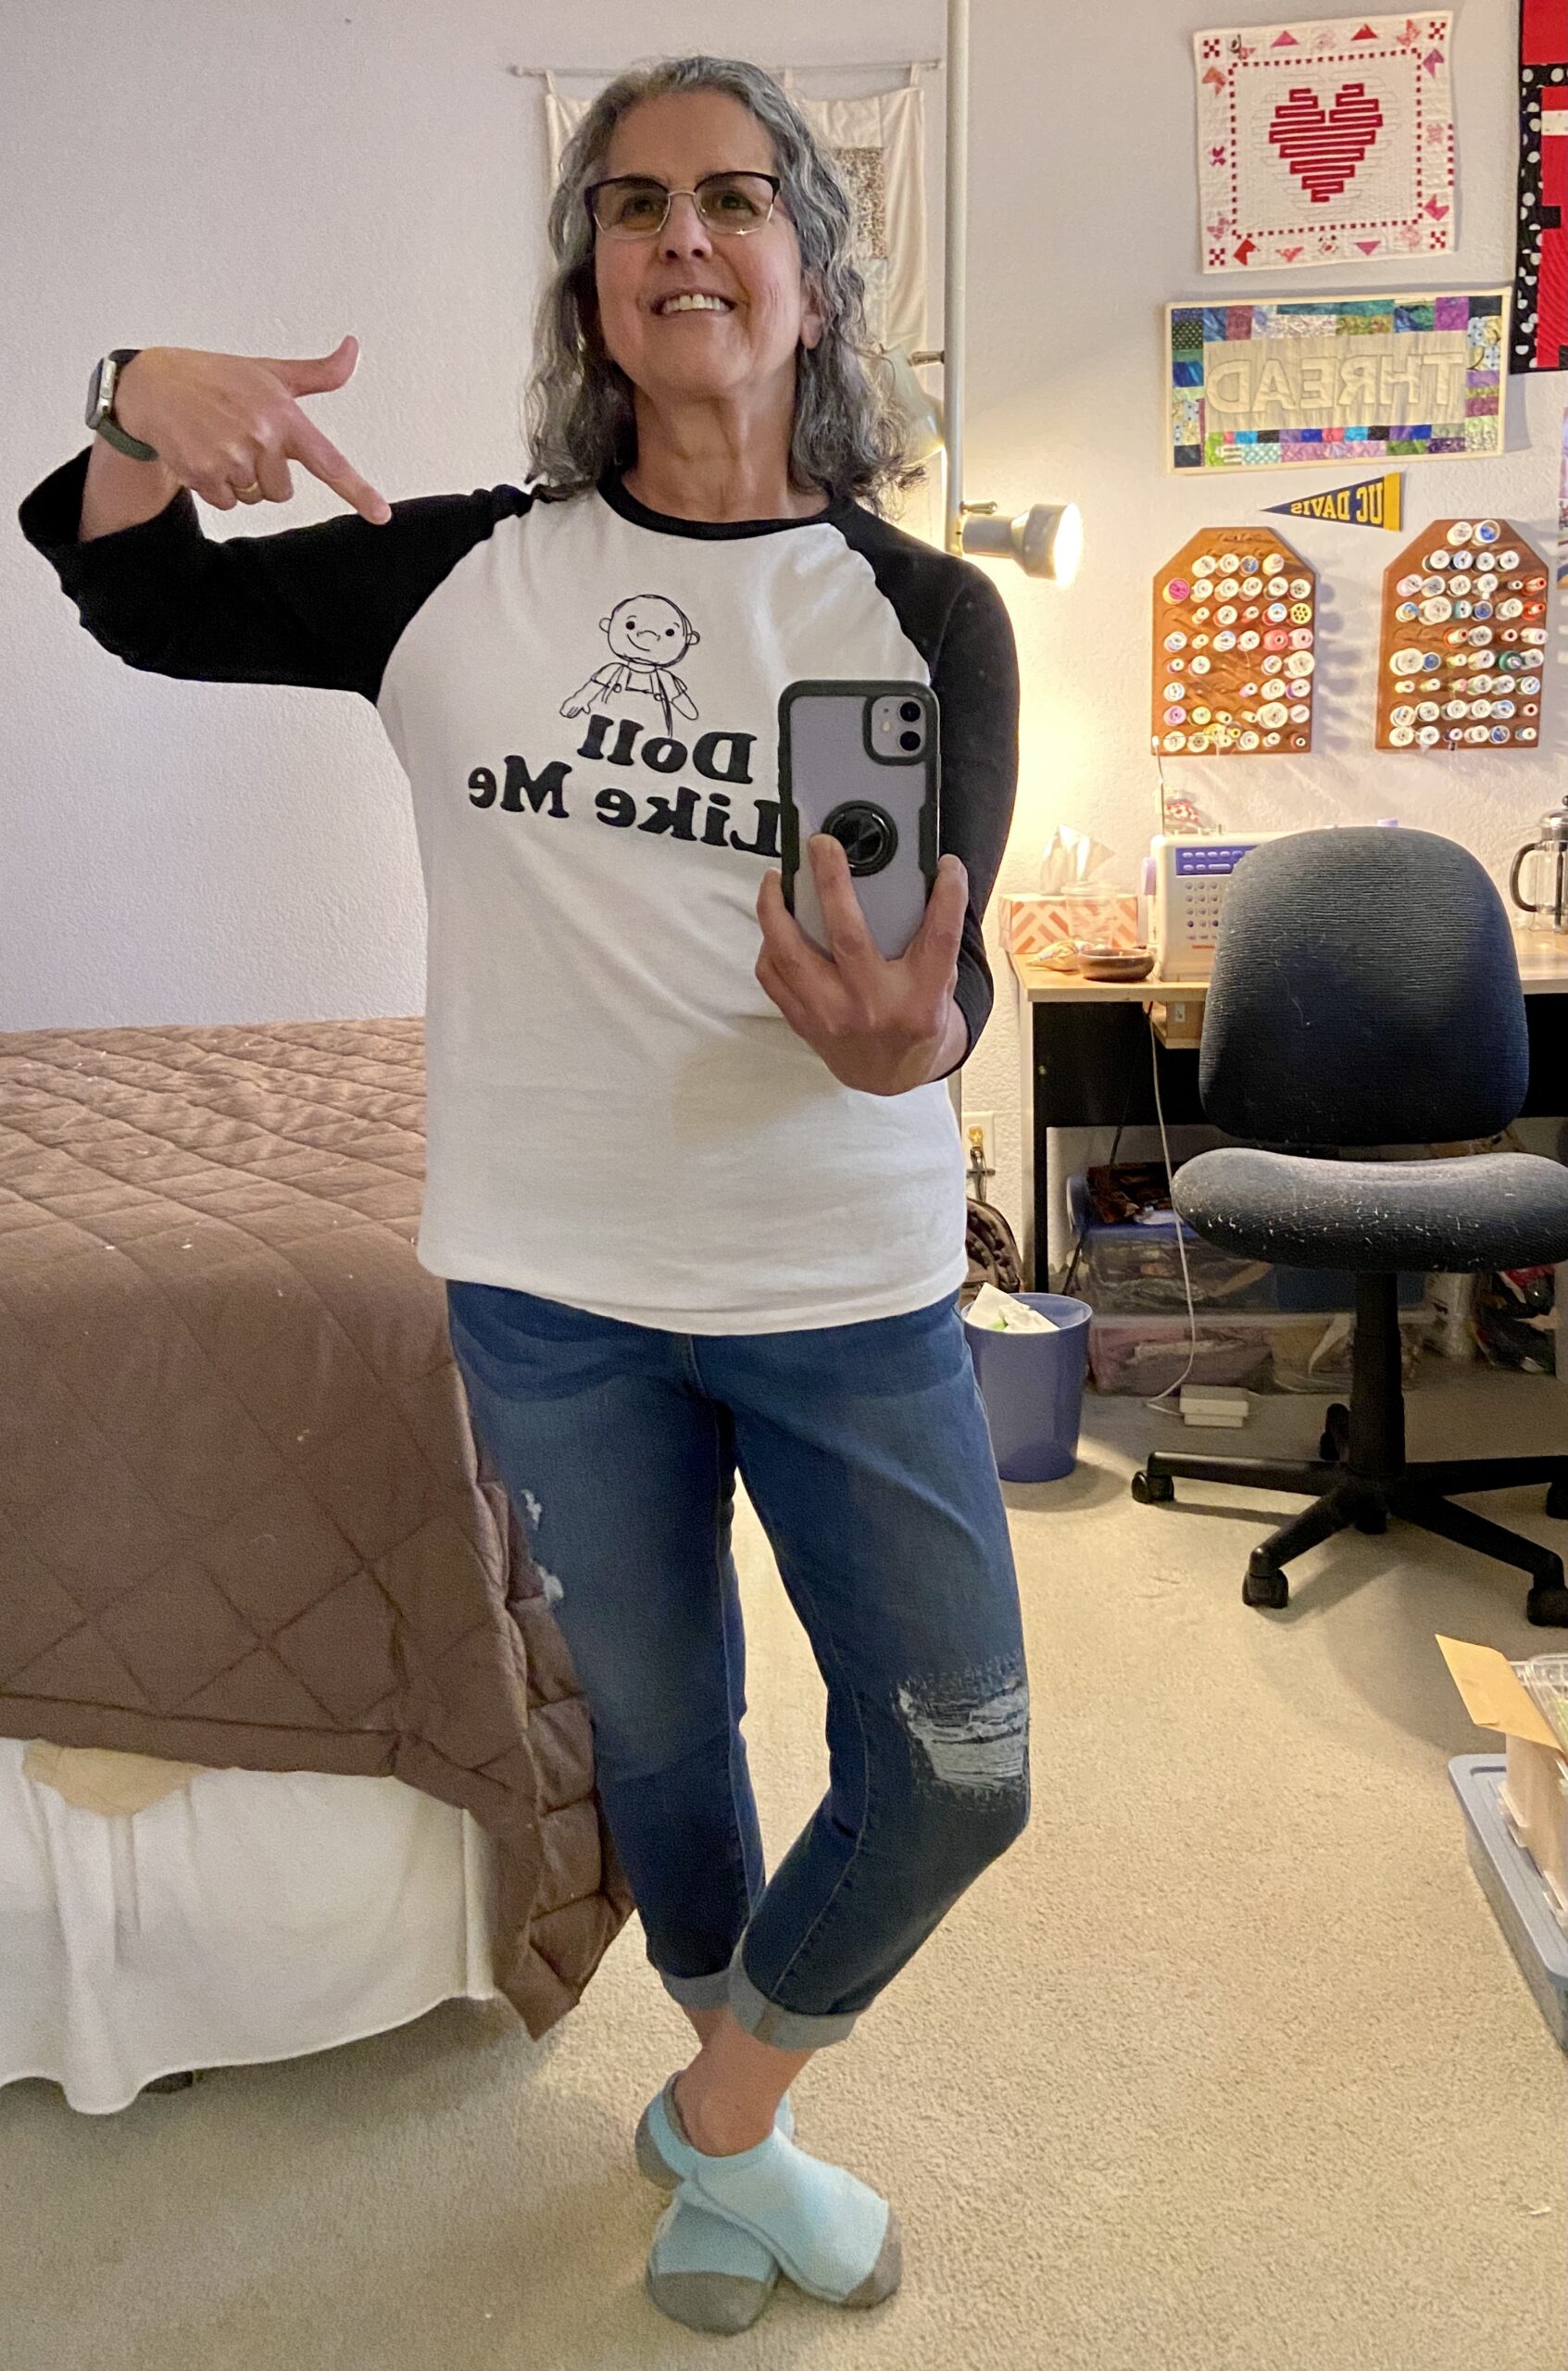
I am much happier with the jeans now that I stitched the hole up. I know I will wear them a lot more now. If you love my shirt, you too can sport one! Click here to check them out. Portions of the proceeds go directly to A Doll Like Me to support Amy’s ever important doll-making process.
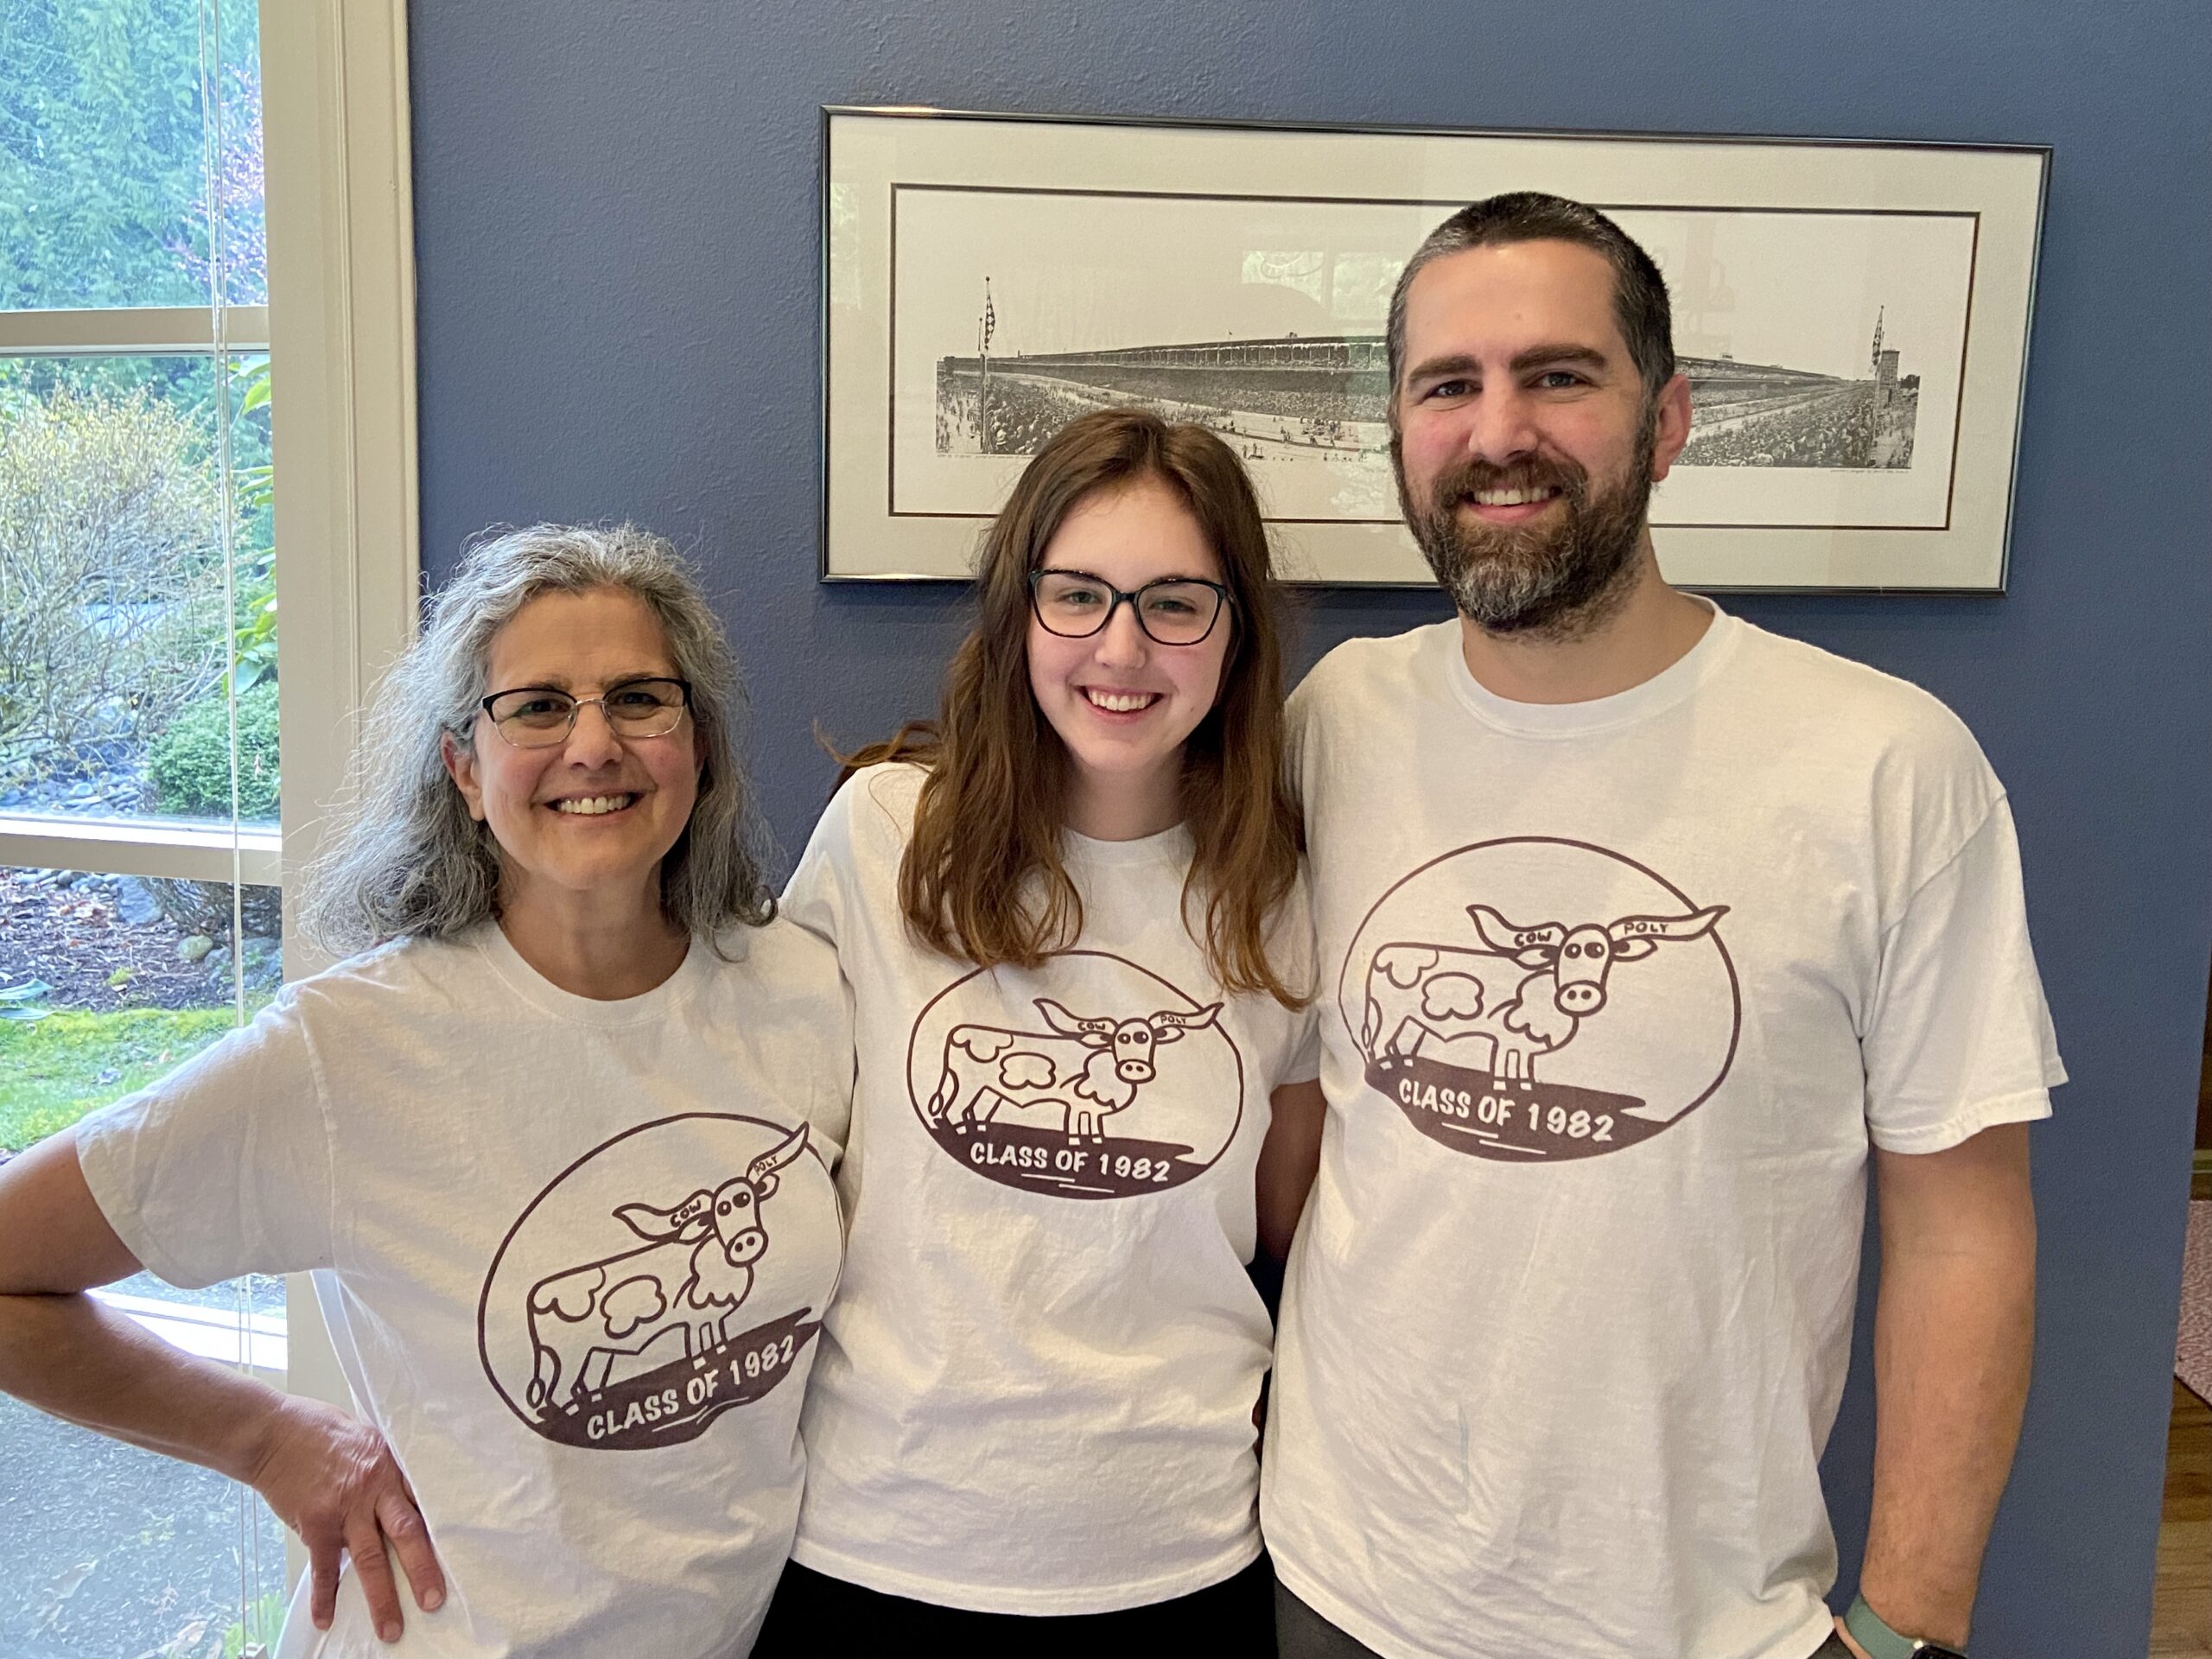
In other news, as you likely know, Julia has been home since March, 2020 taking classes on-line. She withdrew from UC Davis because it didn’t seem appropriate to pay such expensive tuition while she was taking classes from home. When it came time to apply to go back to school (in fall of 2021) she decided she wanted to switch universities and go to Cal Poly. While visiting Andrew up in Washington, she found out she was accepted! We are all so excited. I graduated from Cal Poly in 1982. Andrew and Ian (two of my sons) also graduated from there. Julia will be joining the ranks soon!
Do you want the backstory on the matching t-shirts? I thought so!
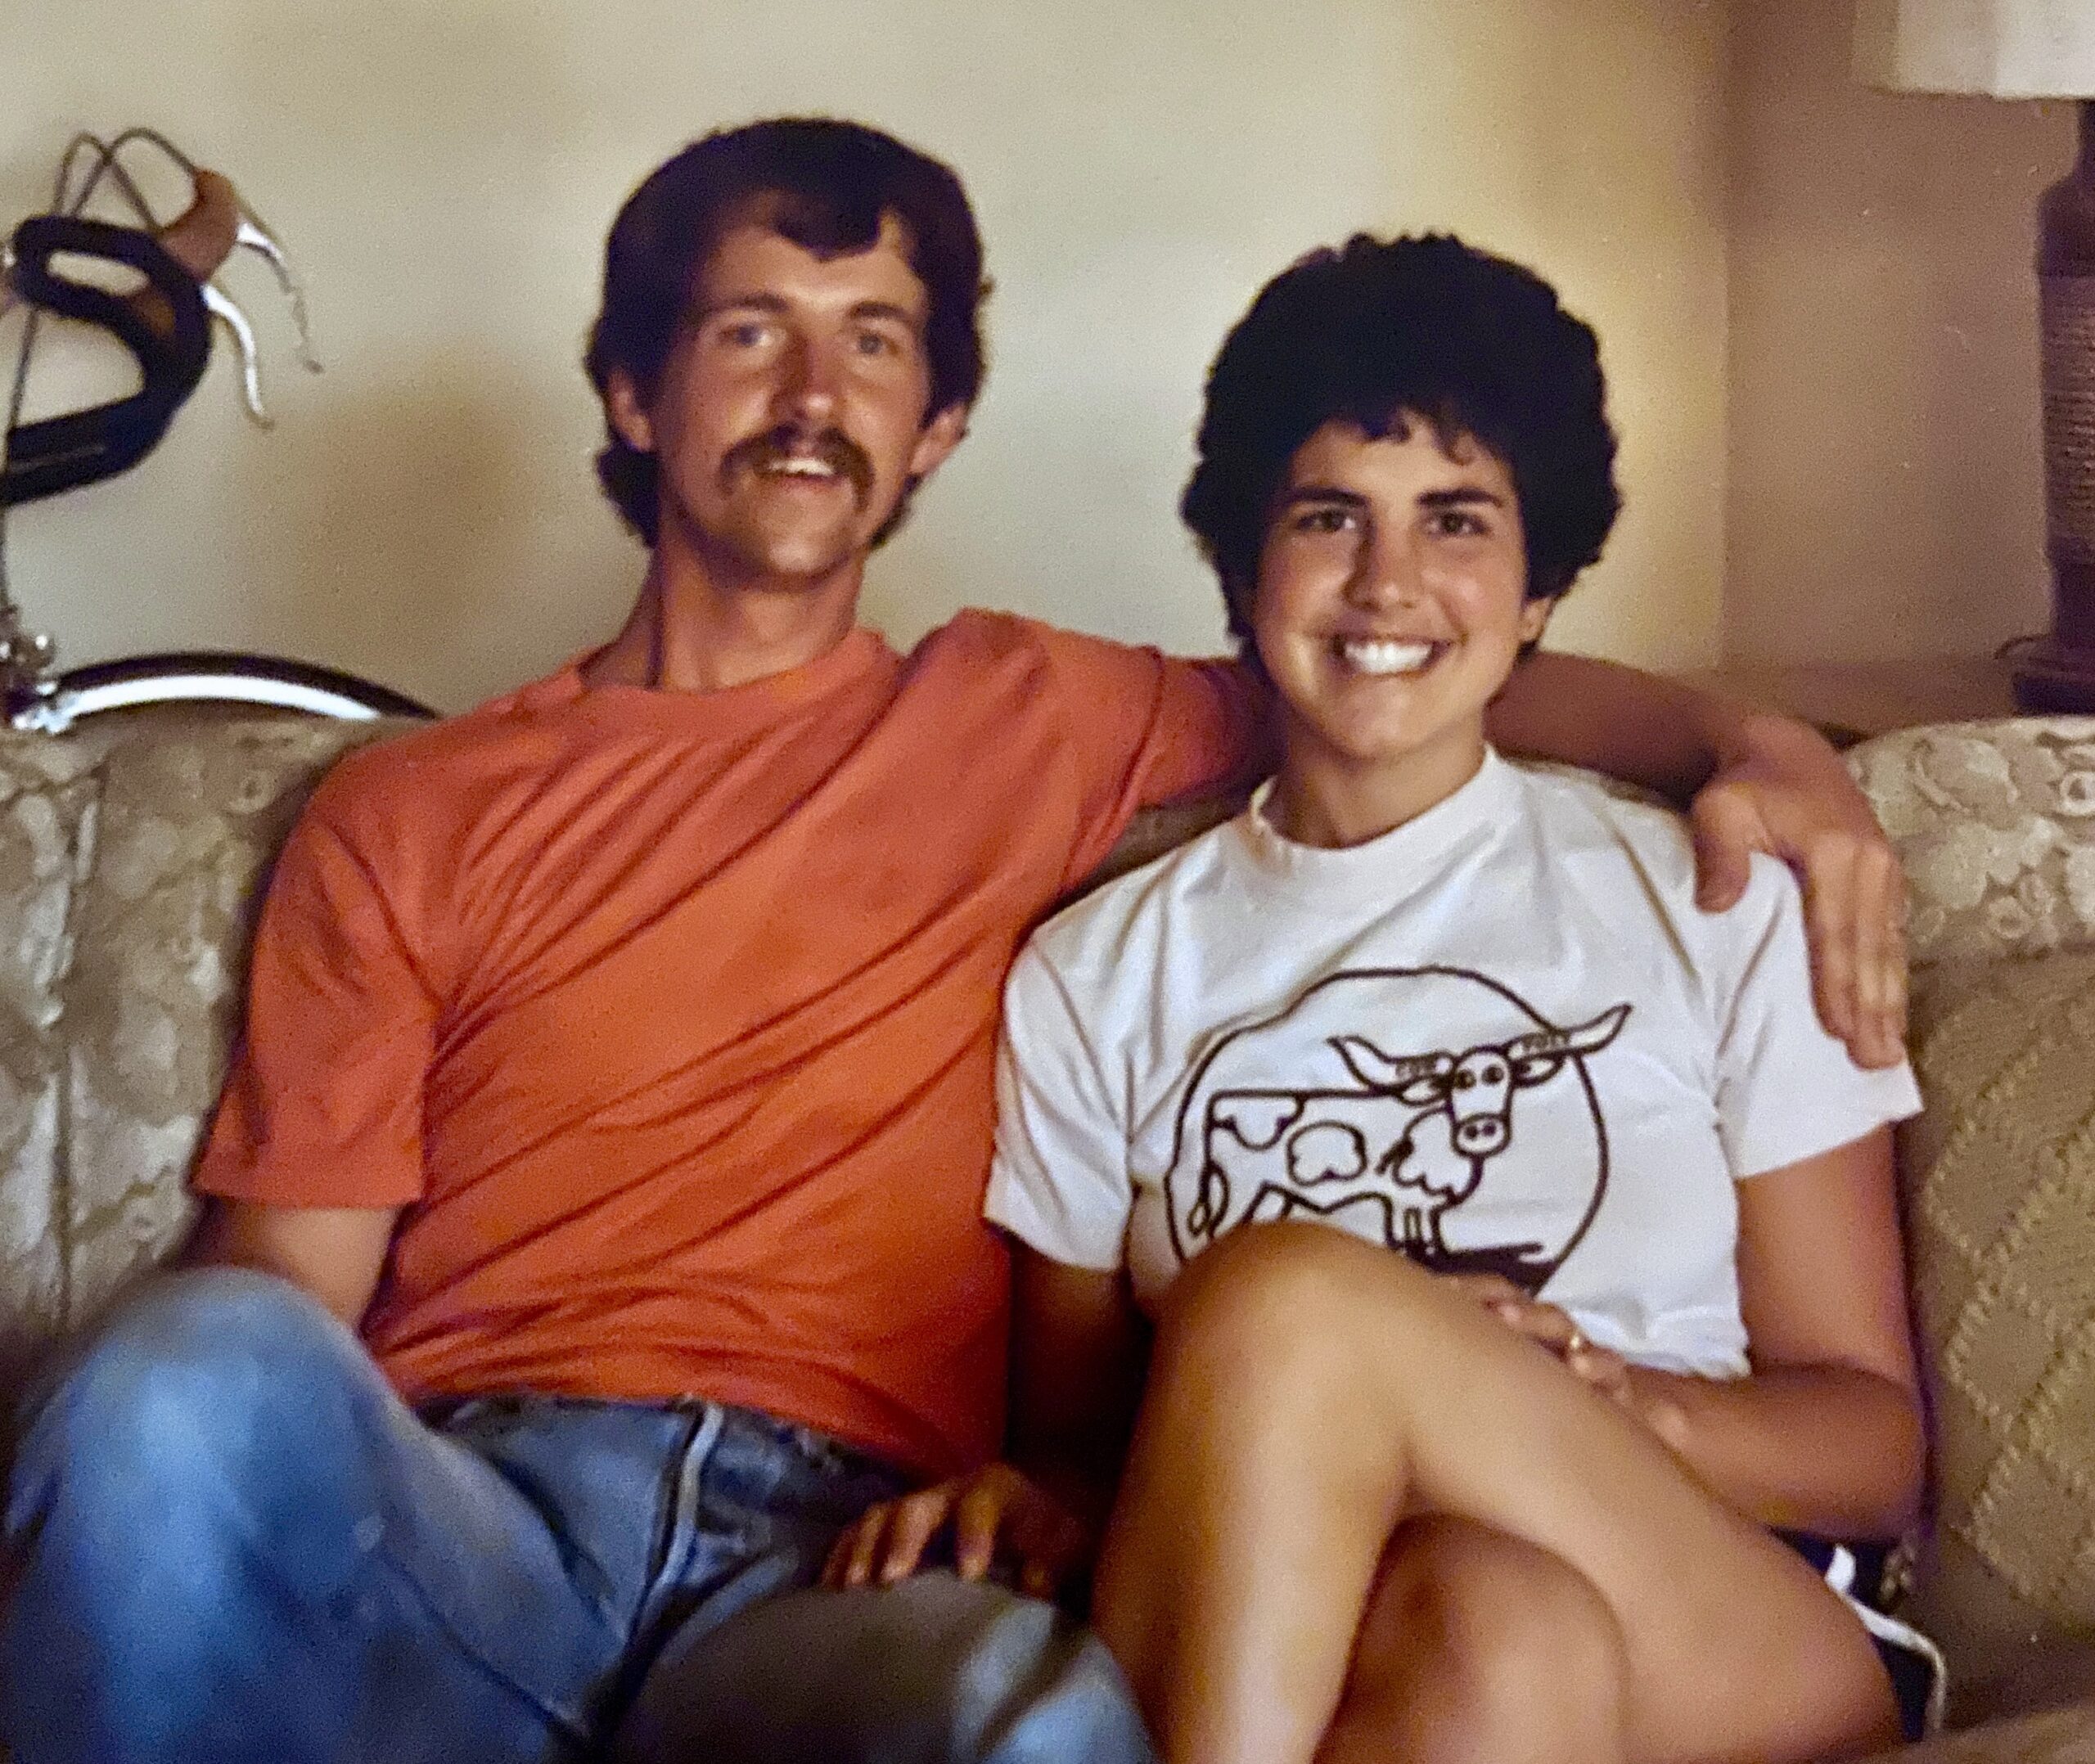
Back when I was a newly married student at Cal Poly, had this t-shirt. I wore it all the time – until it was deemed unwearable. On the horns of the bull, it said “Cow Poly”. Cal Poly stands for California Polytechnic and it has a huge agriculture component in its academic offerings. Hence the “Cow Poly” joke.
Well a while back, I was scanning old photos and sending them to my kids; one of them was the picture above. I told the kids how much I loved this shirt. I have looked for it on vintage college t-shirt websites to no avail. Well, may I just say, I have some pretty amazing kids. My middle son, Kyle, decided to recreate it. He first called the Cal Poly Alumni Association to try and get design files or to see if the t-shirts were available in any fashion. He couldn’t find anything so he drew the design himself and had the shirt made. Since the siblings knew he was making them, the Cal Poly alumni ( current and future) decided they wanted the shirts too. (Julia was superstitious and decided not to wear hers until she was accepted.) The only difference between our shirts and the original is Kyle added ‘class of 1982′ to the bottom of the design, honoring my graduation date. The kids’ t-shirts also have that on the front which I think is kinda cute. Another example of an awesome handmade gift!
OK – this has gotten to be quite a long post. I will catch you up on other sewing projects soon. If you have read all the way to the end, thank you for hanging in there!!
Linking up with So Scrappy and Oh Scrap, among others. Check out my Linky parties at the top of the page, under Link Ups.