Author Archives: Bernie

TWISTED

Twisted Quilt Top

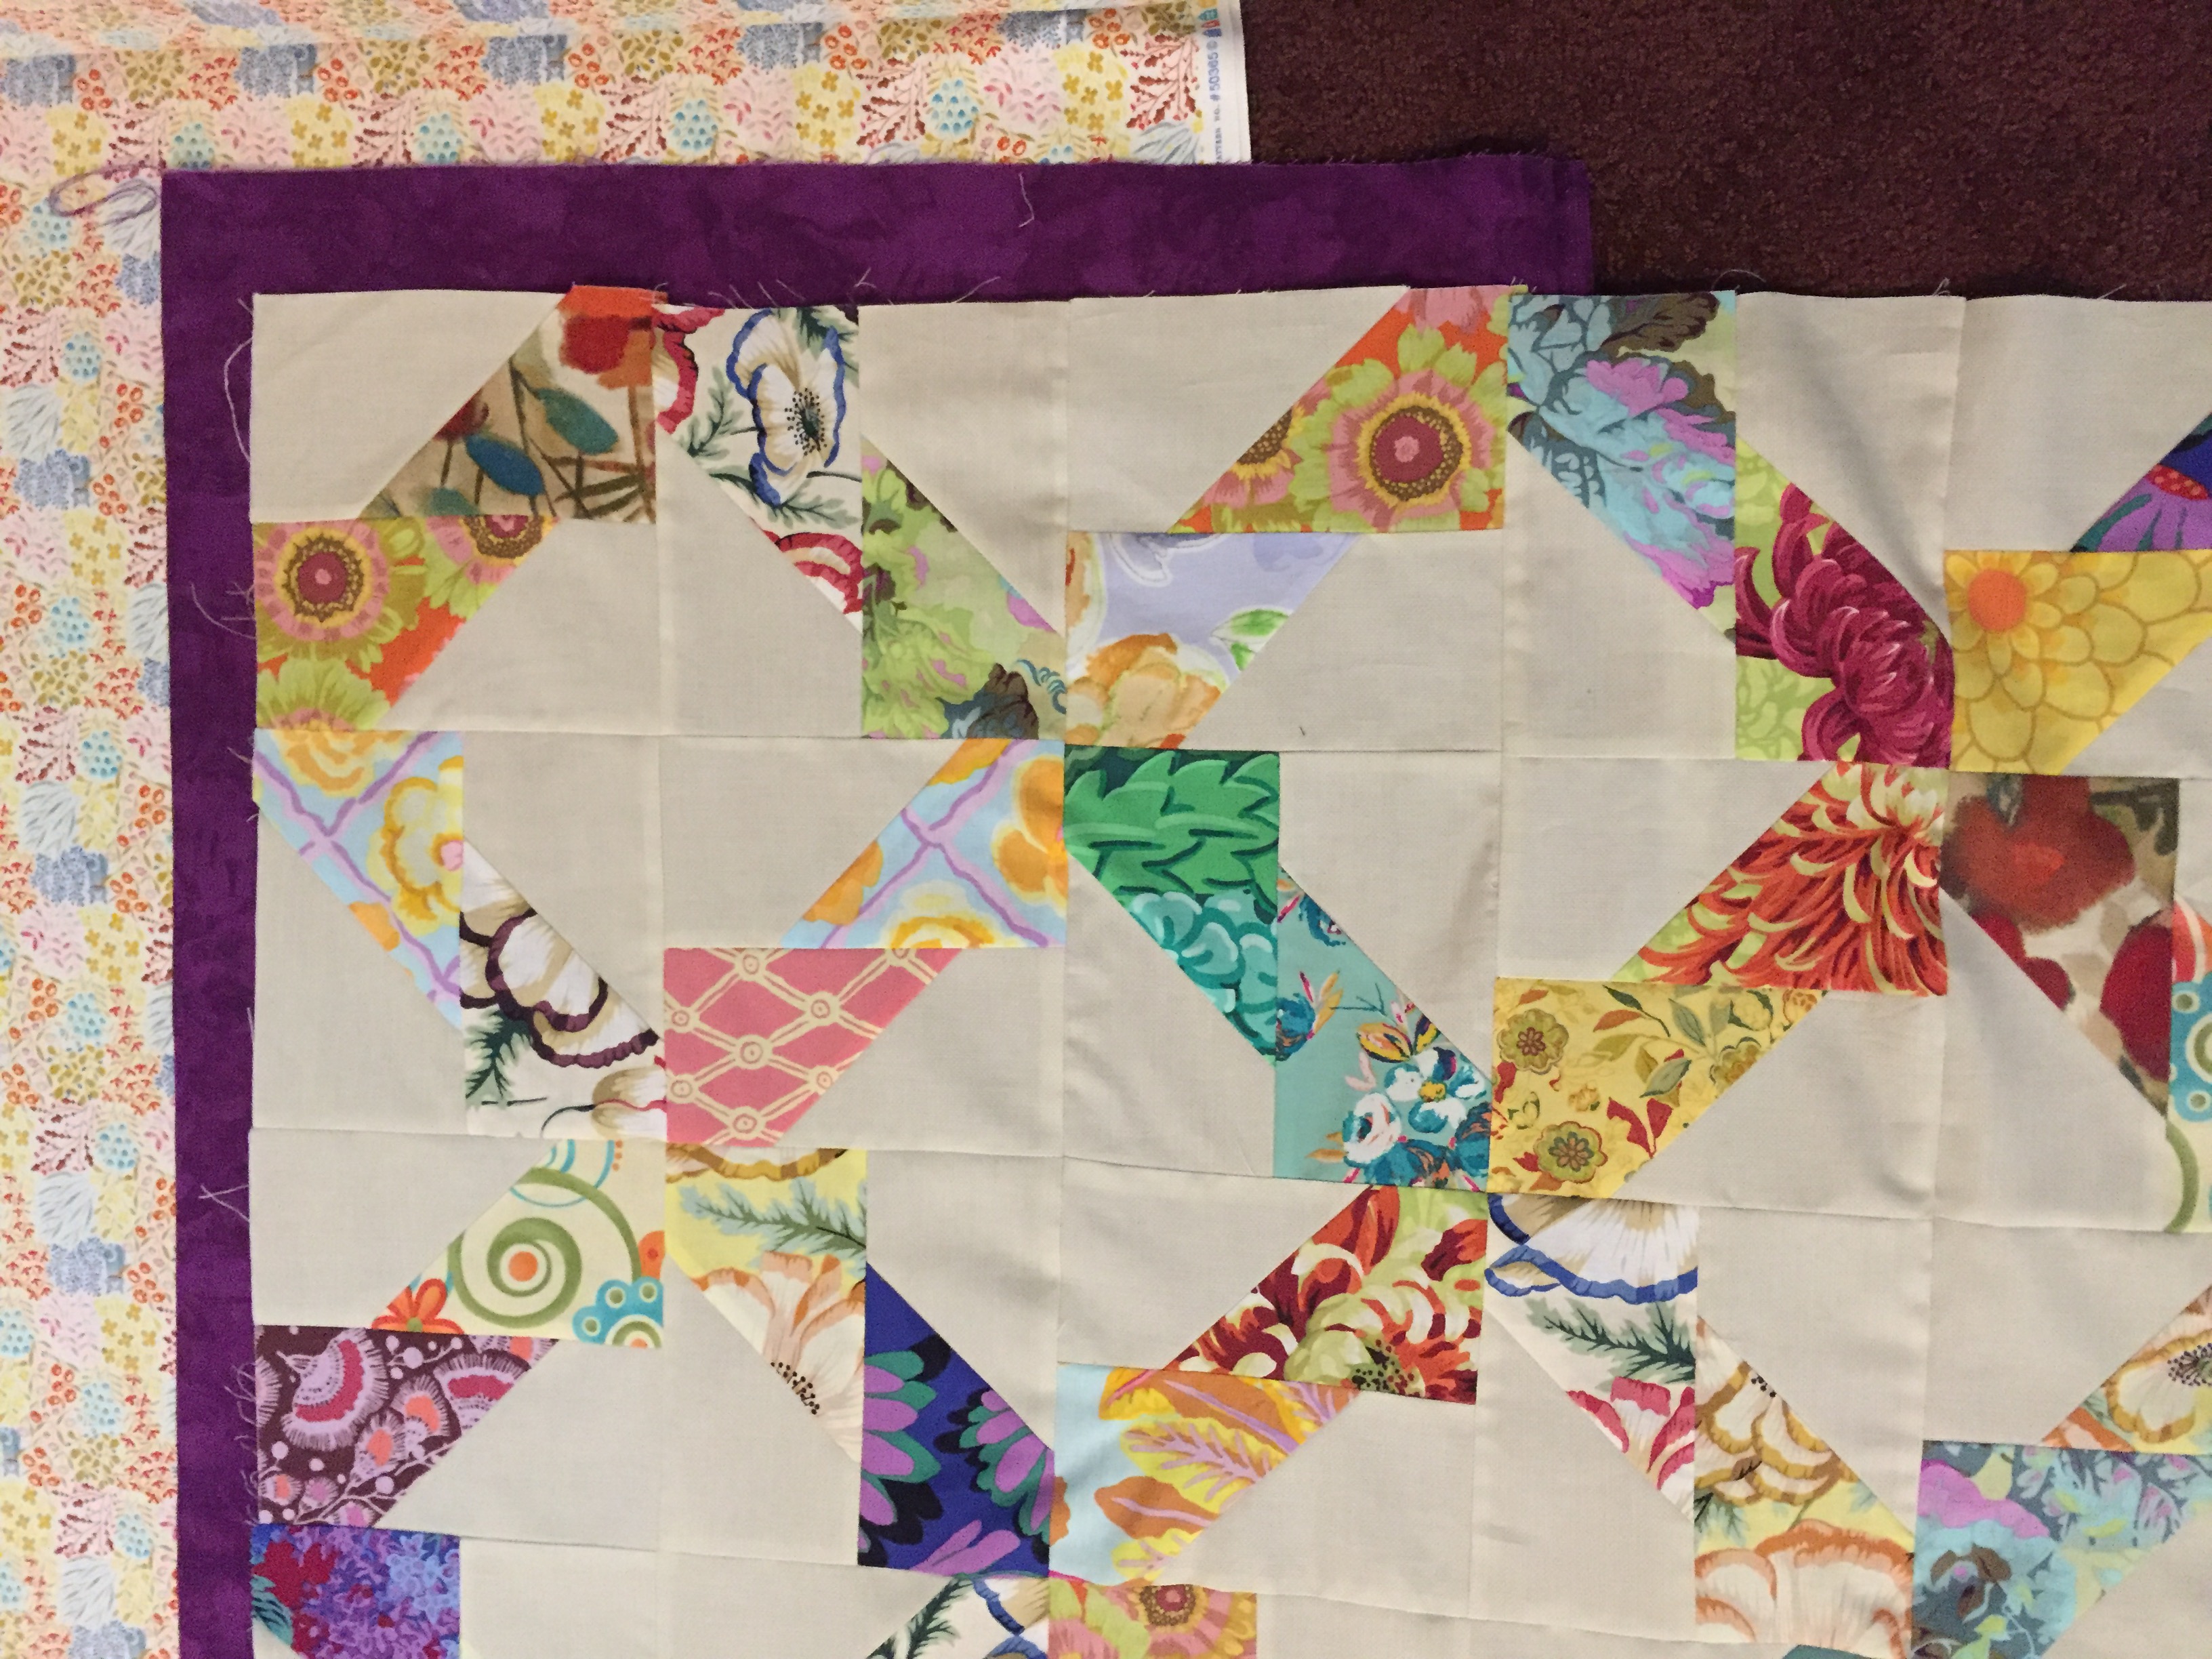
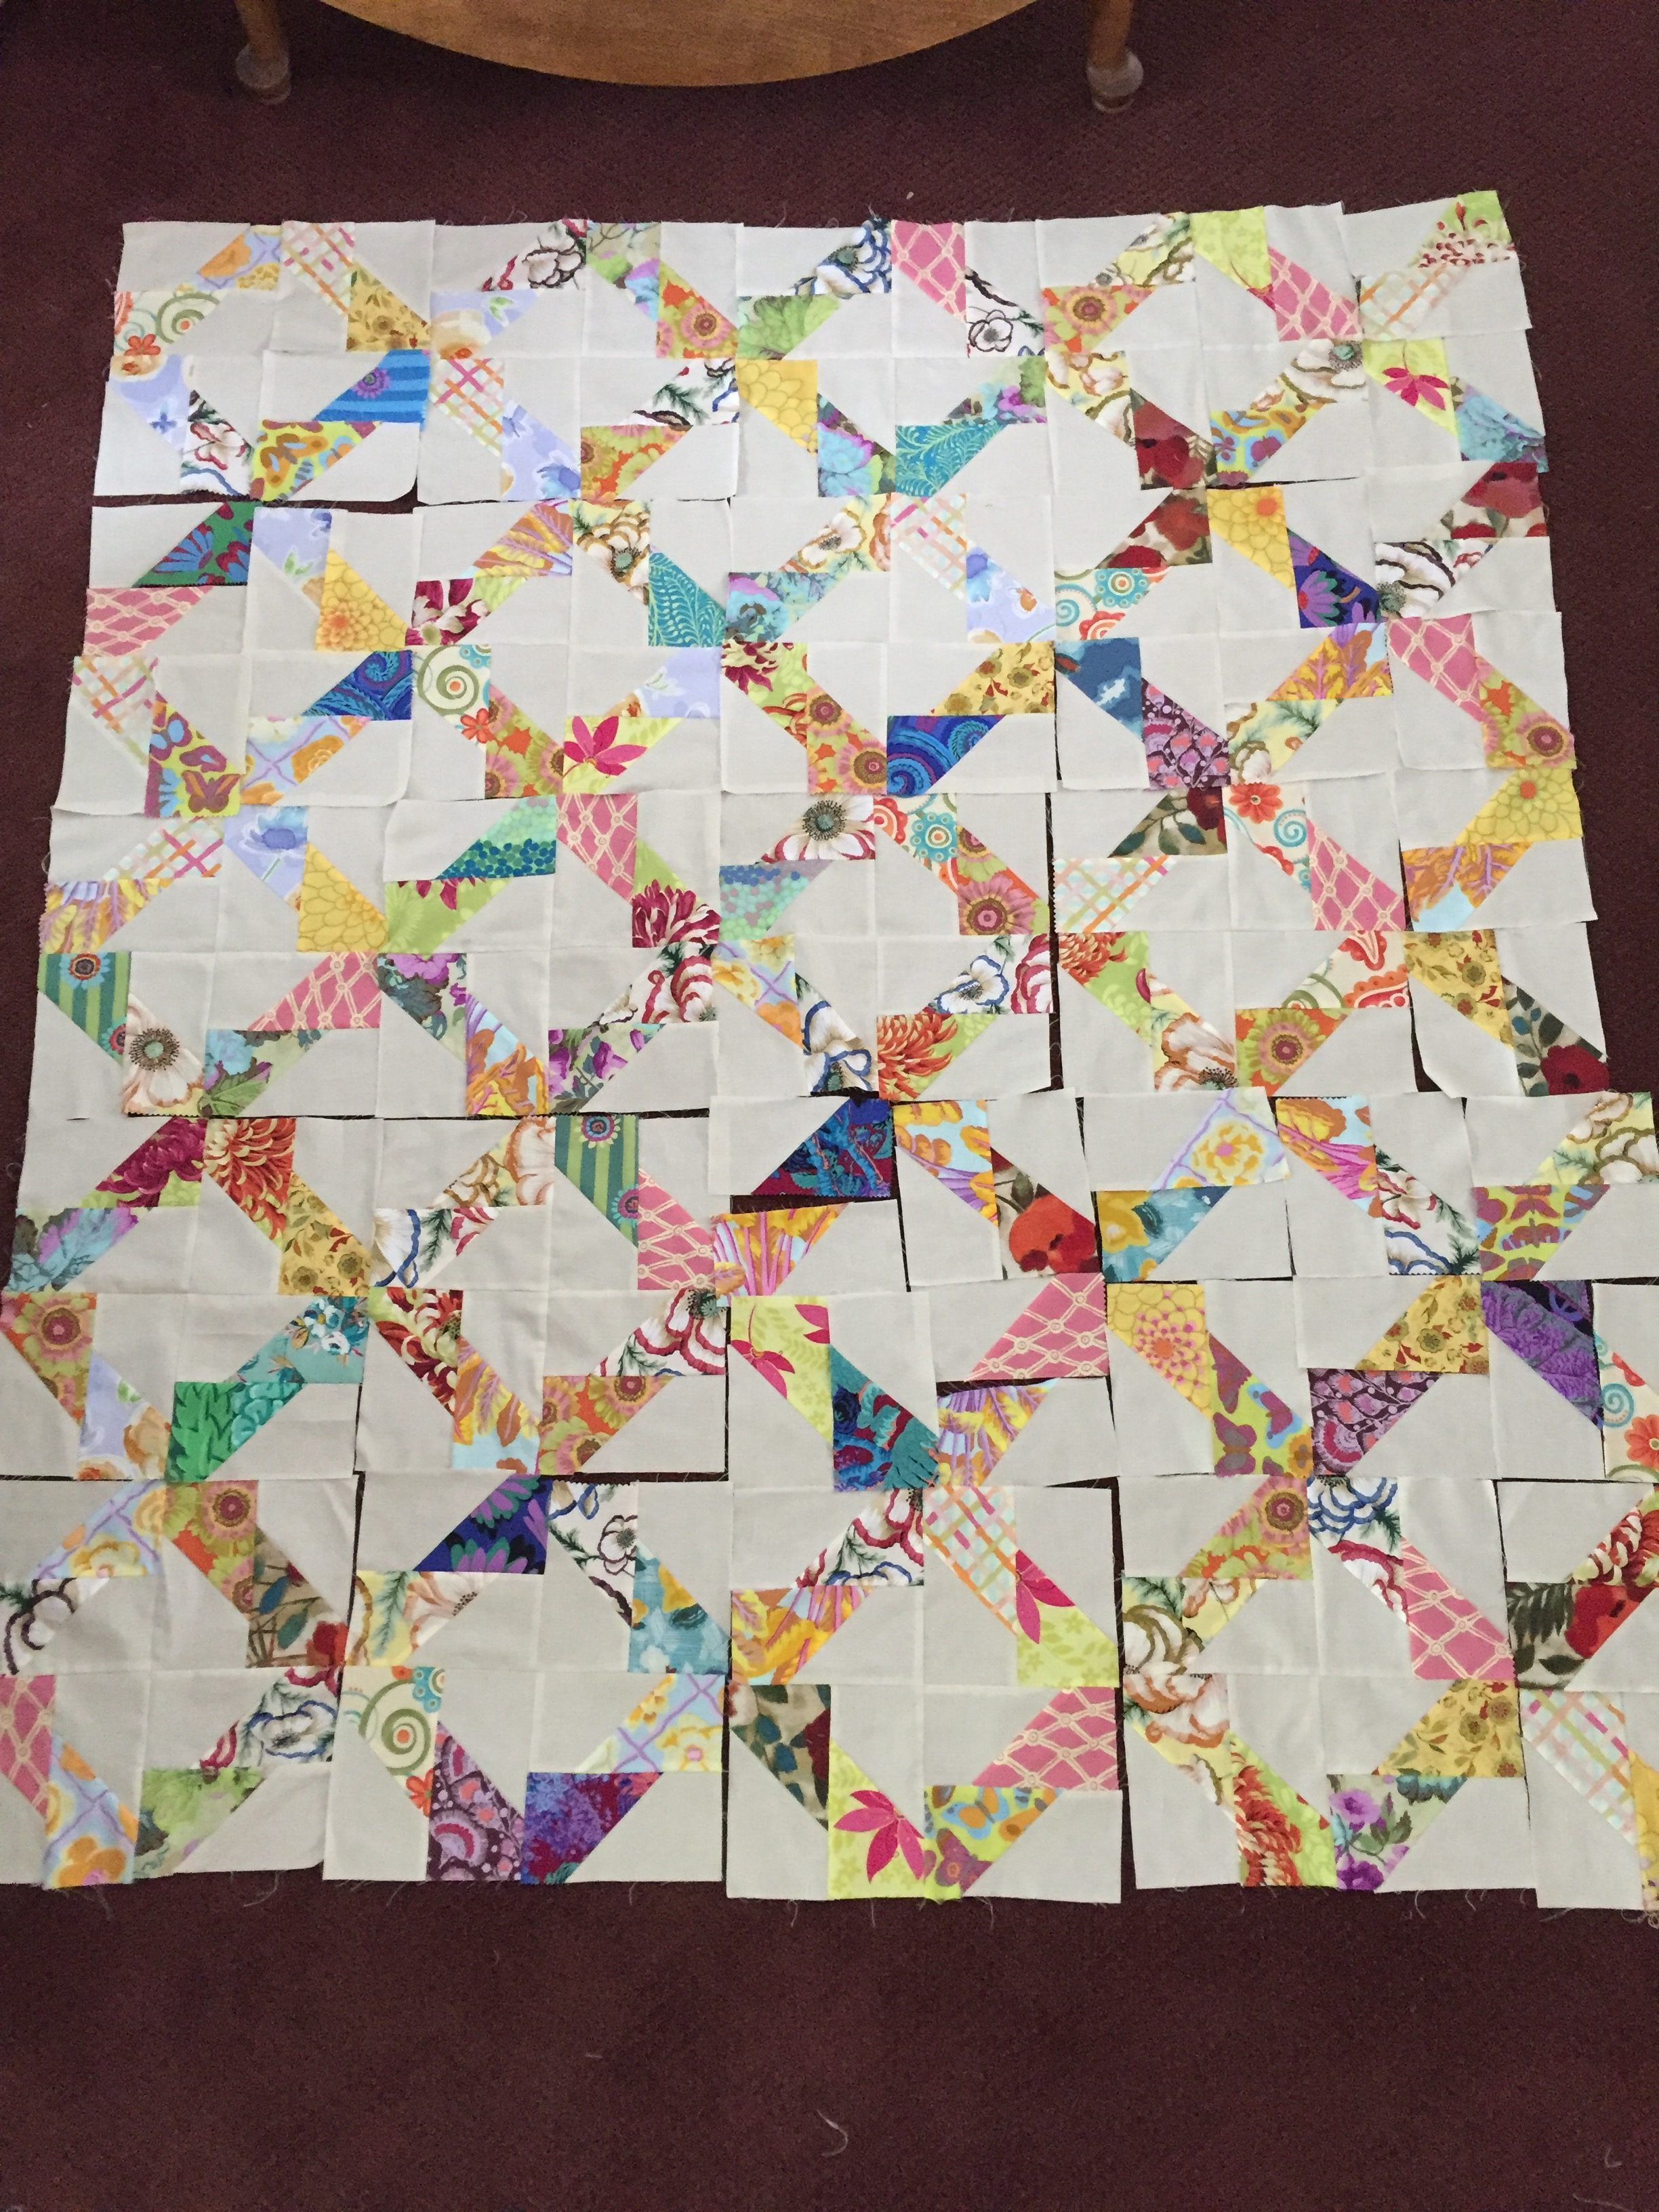
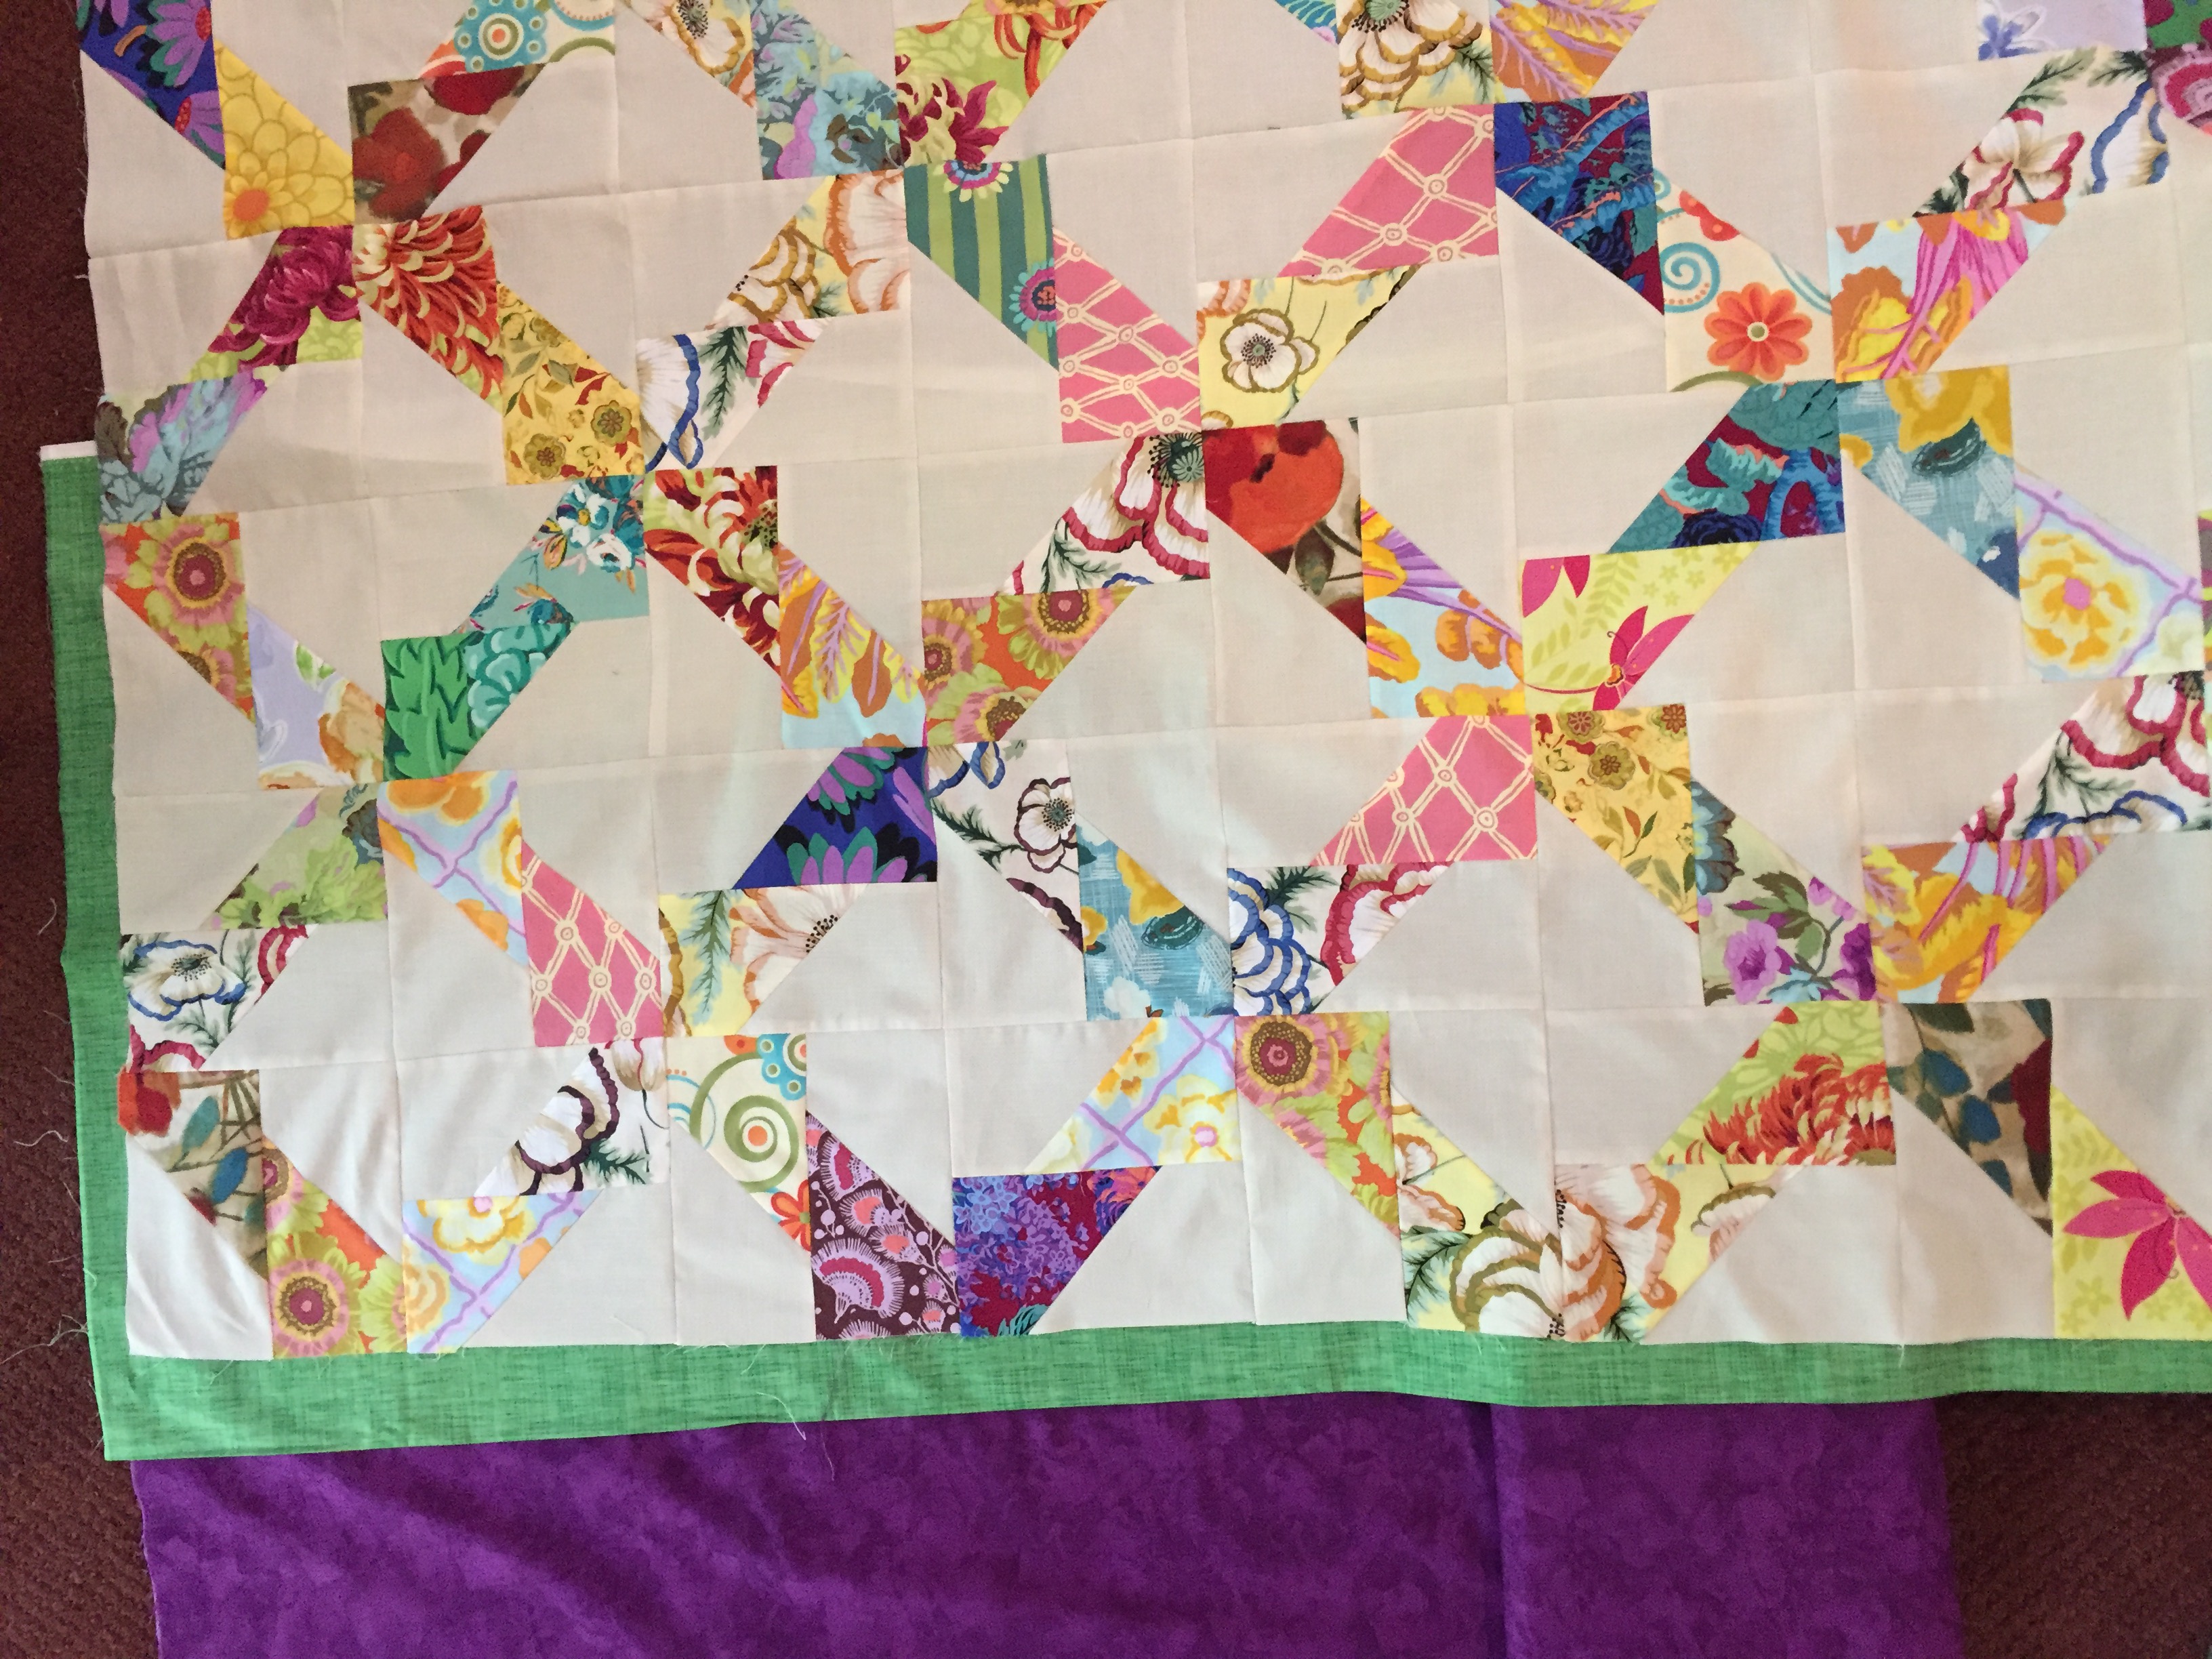
I have made progress on my Twisted quilt — I have a finished quilt top!  Do you remember this project? I started it a long while back when my local quilt guild hosted a class taught by the pattern designer, Dorie Javier. (Pattern is available in my shop.  Click here to see.) It was in June of last year that I began the quilt.  I pulled it out once or twice since then and made a few more blocks for it.  Then it would sit.  Here we are, a year later, and I had hardly made any progress on it.twistedAbout two weeks ago, I had the pleasure of sewing with my friend, Sophia.  I decided this was the project to work on.  Making the rest of the blocks went quickly.  Playing with the layout took a little bit of time.  At first I was sewing the four blocks together and then laying out the 12″ blocks but I realized I needed to play with colors and sprinkle the darker values out across the quilt. It worked better to layout some of the six inch blocks so I had more flexibility.  I unpicked the seams on a number of the 12″ blocks to allow for this.
twisted

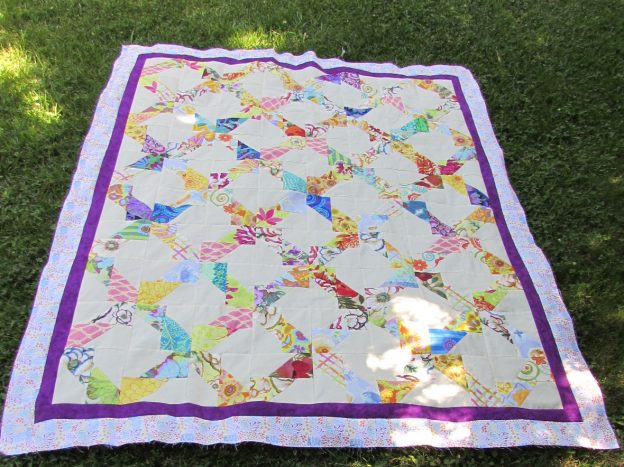
After settling on the layout and getting the design sewn together, I played with fabrics for the border. My first thought was to use a dark purple and a narrow strip of green.  I posted the picture above on Instagram and asked for opinions.  I love hearing from others because it often spurs me into another direction.

twisted

After looking at others’ feedback, I thought I would introduce a floral into the border. I looked at two from my shop.  One was the High Meadow Floral from Amy Gibson’s Meriwether line and the other was Cat in the Flowers from Paint the Town.

twisted

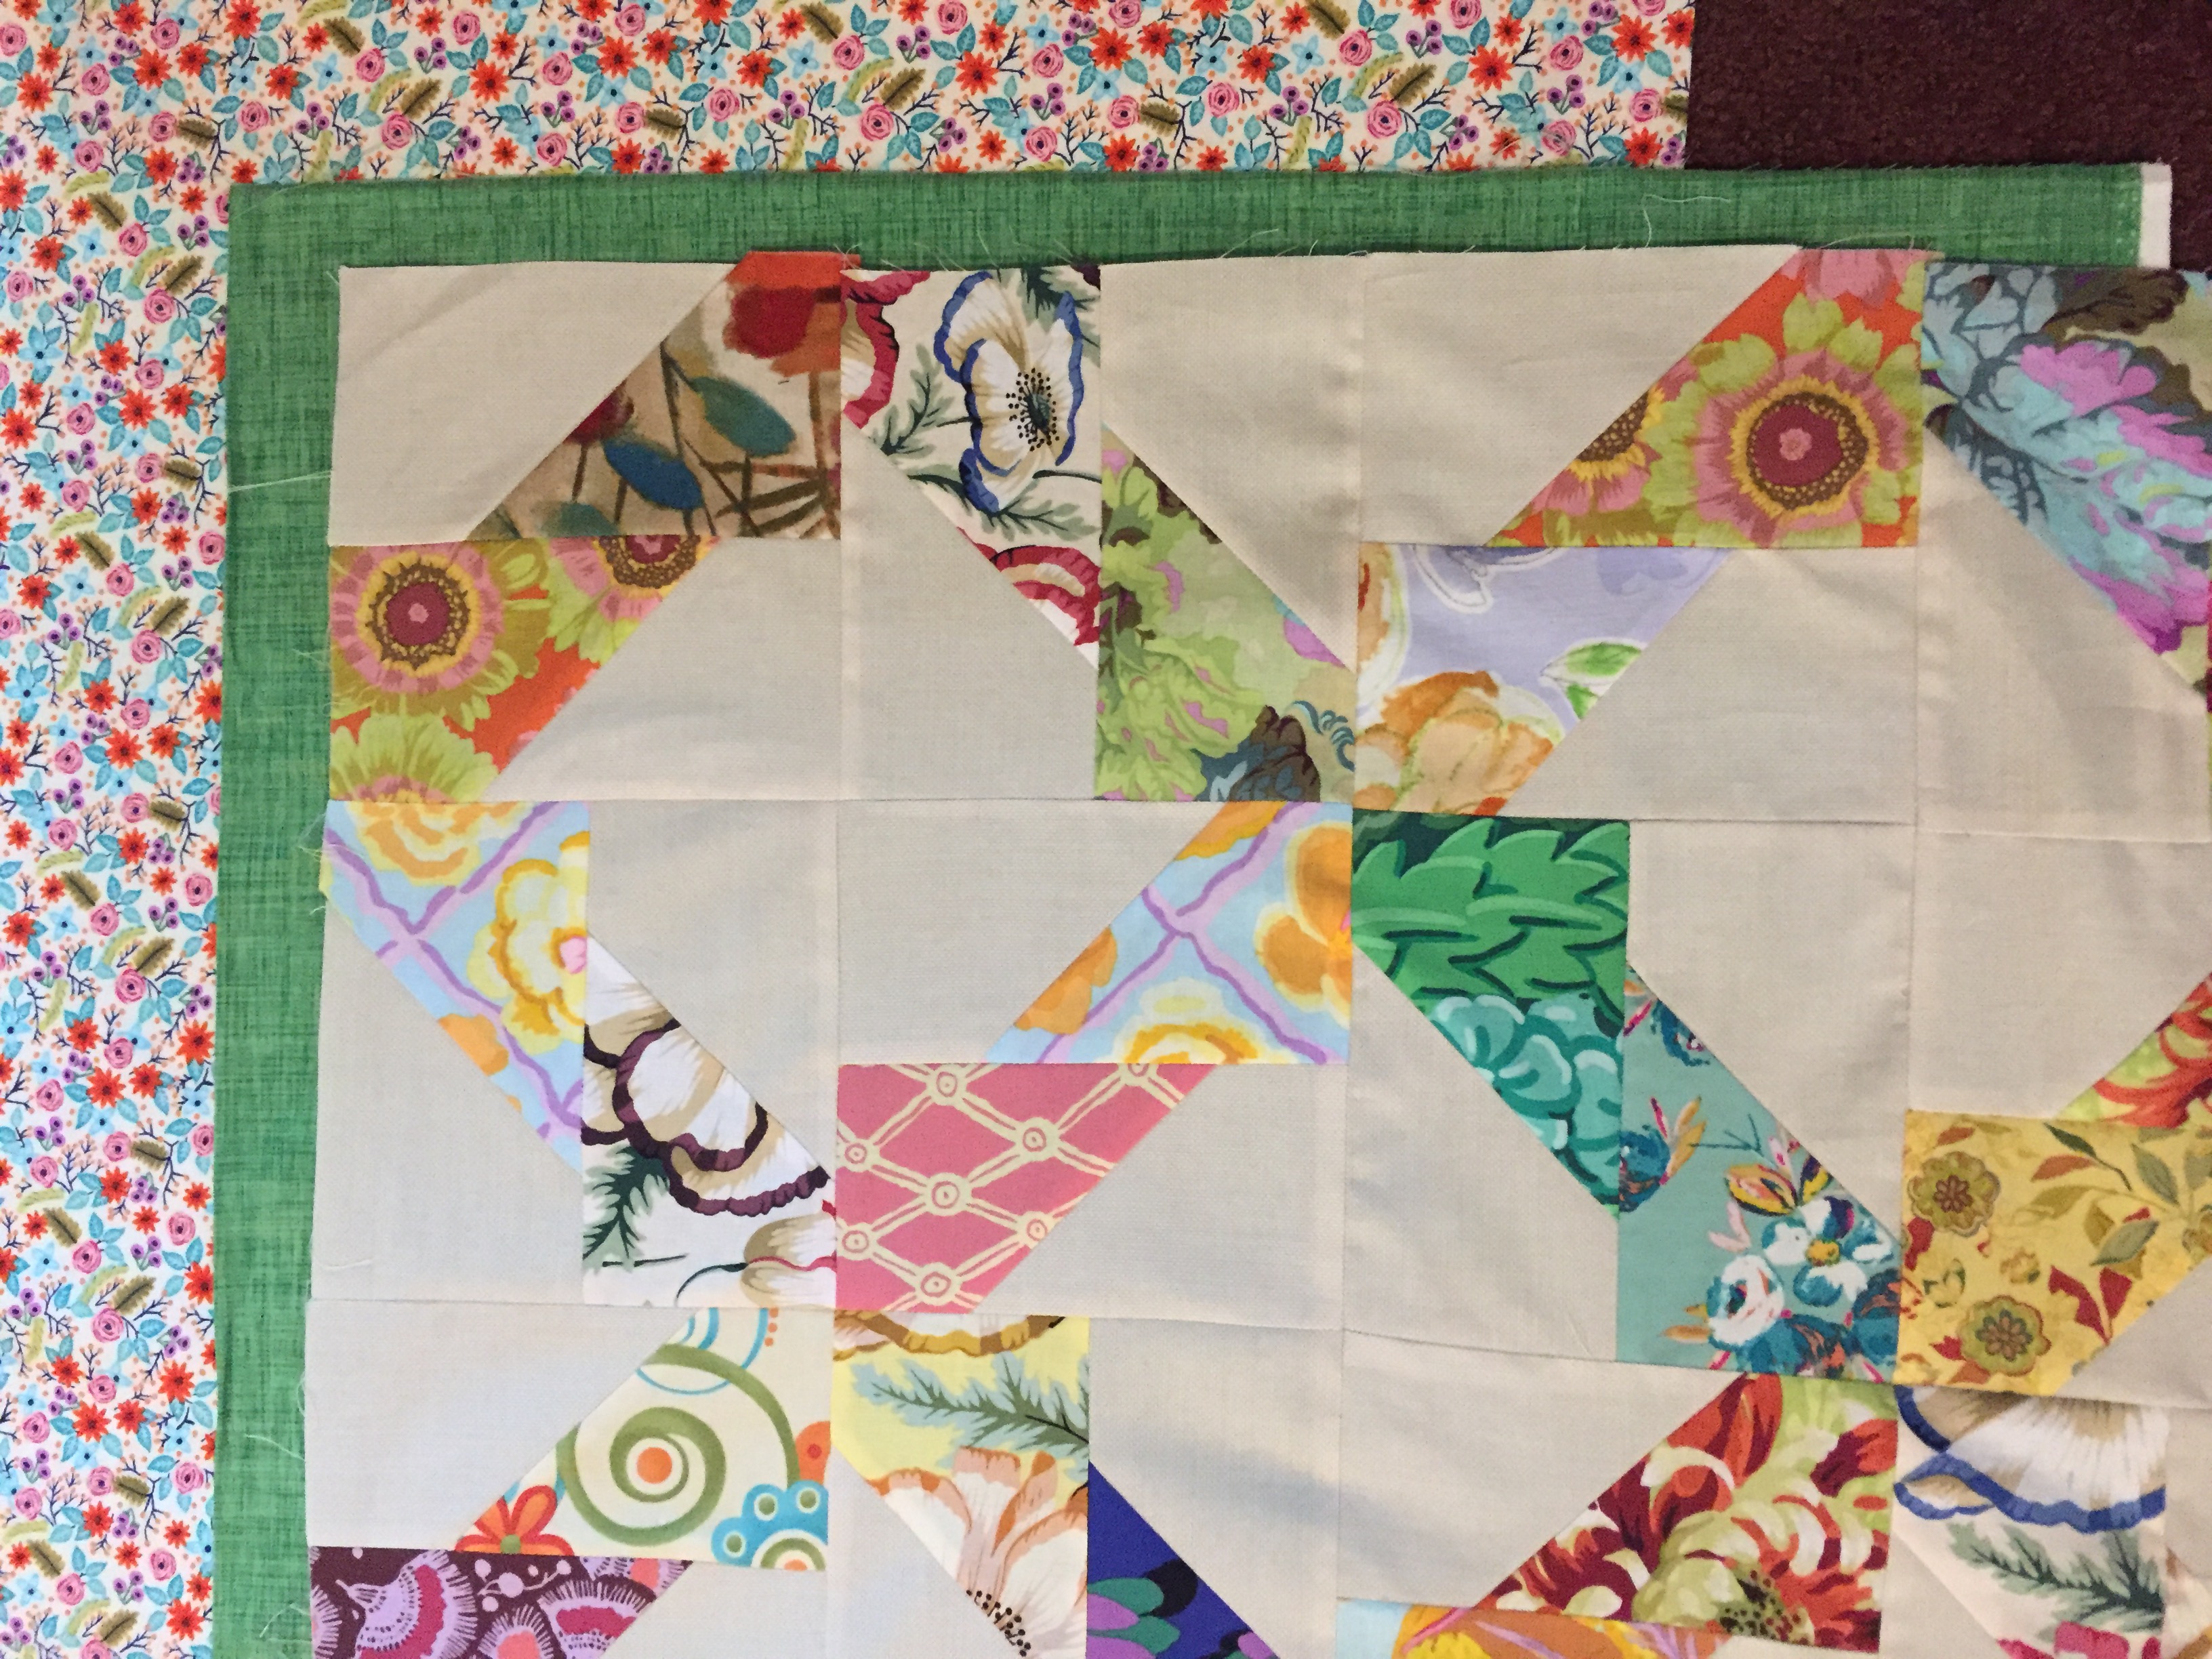
It was a tough choice and I actually think either would work, but I went with Cat in the Flowers and a narrow purple border.  I liked the deeper color of the High Meadow floral but I didn’t like the red tones in some of the flowers. Cat in the Flowers has a softer palette and it seemed to work a little bit better. Because it is directional, with the kitties all oriented in the same direction, I decided to attach the borders so that the cats were all looking out and away from the quilt’s center.

twisted

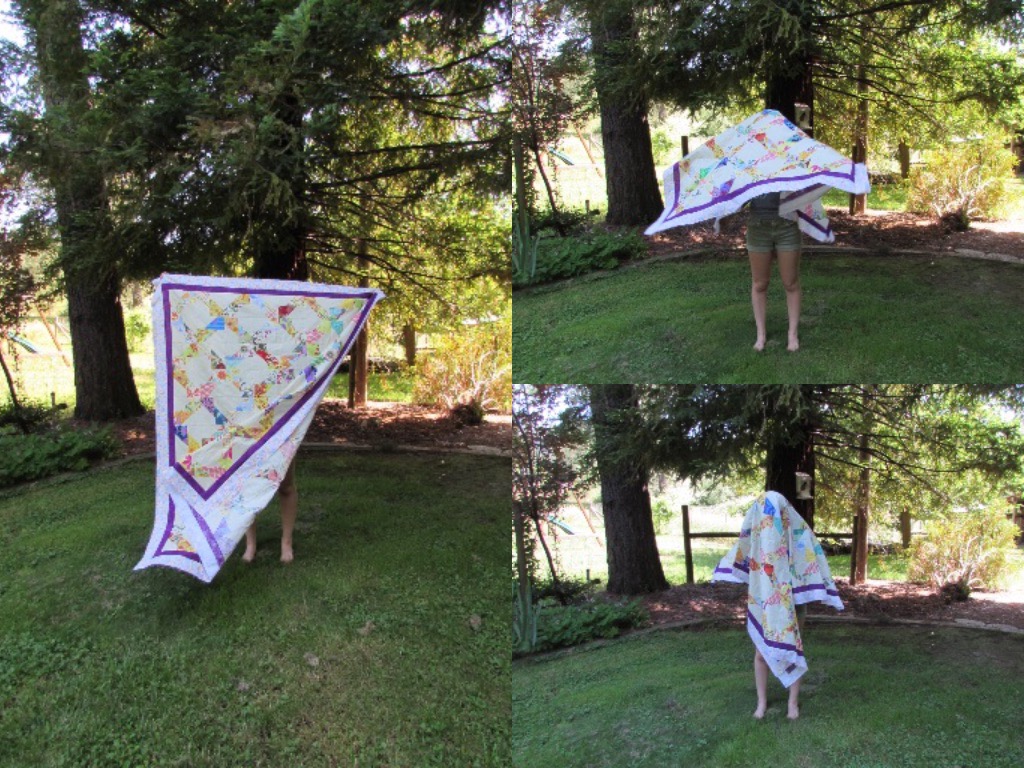
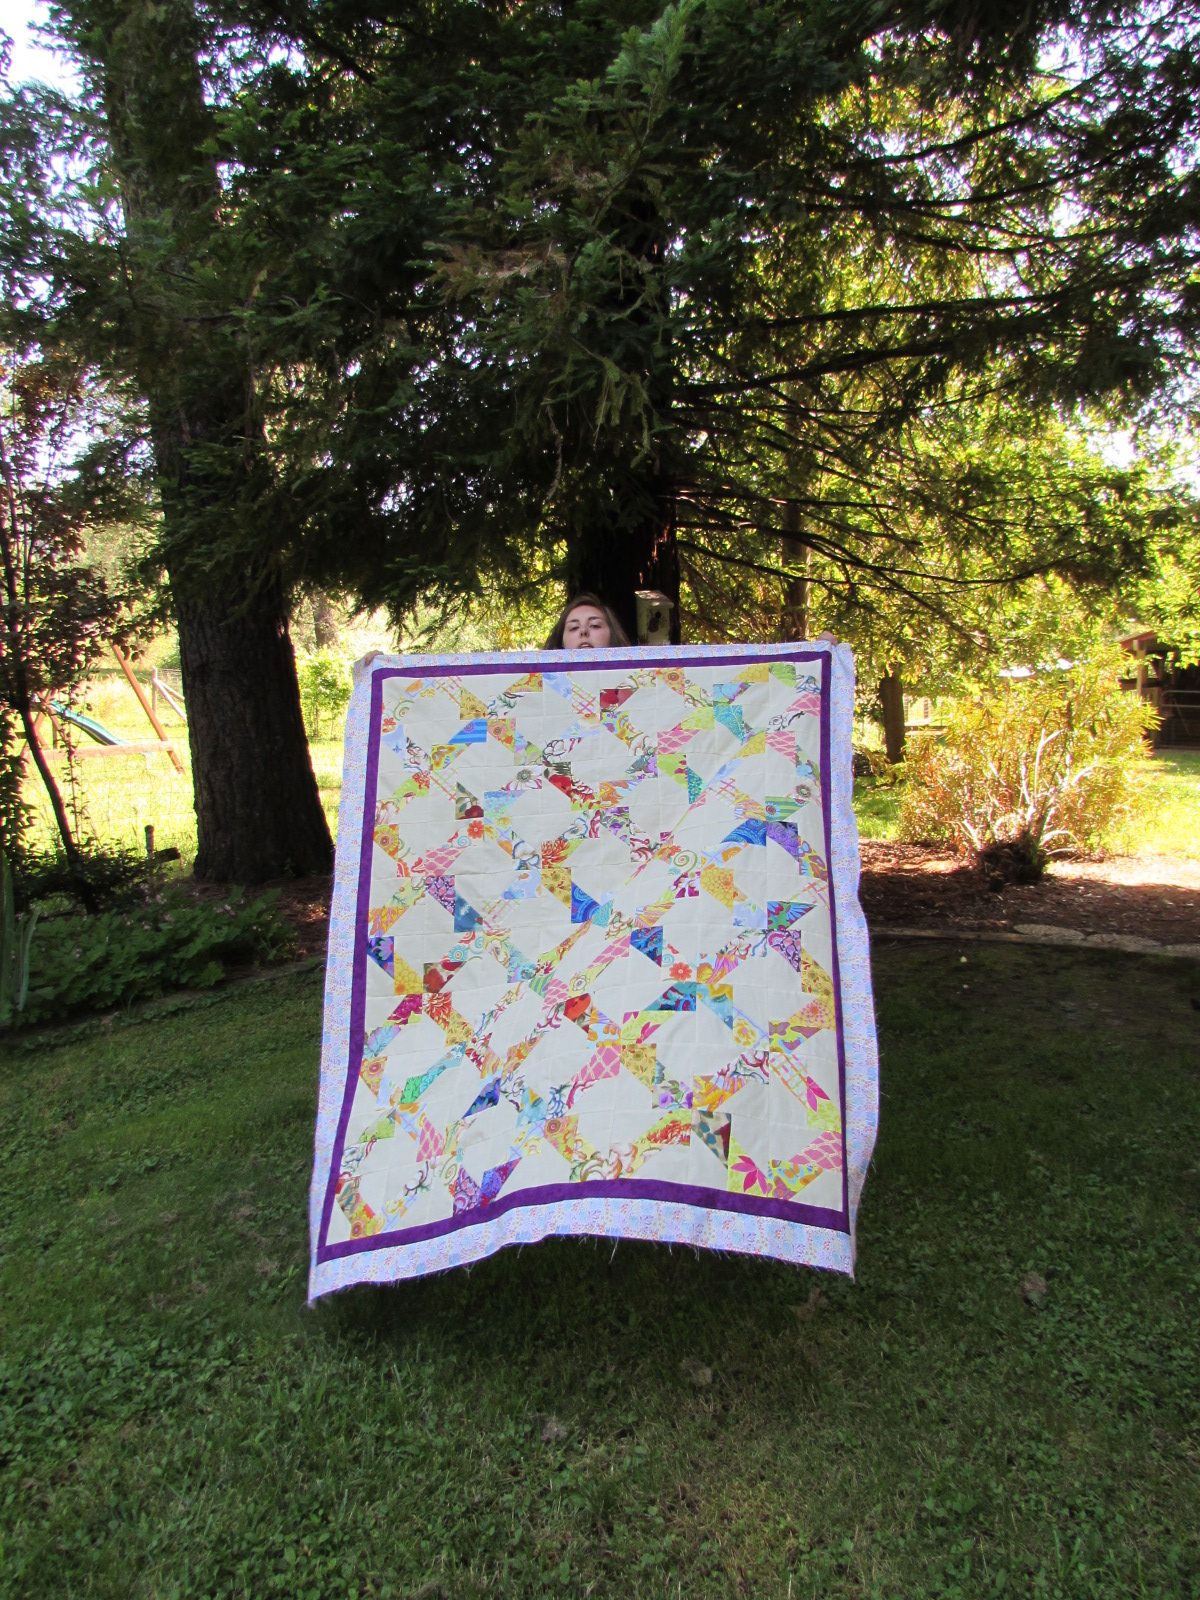
What do you think? I am so happy with the colors and the feminine, flowery vibe of the quilt top.  We had some breezy weather and a comical quilt holder when trying to take pictures.

twisted

Now that the whole top is assembled, I am moving on to the next phase – time to decide how to quilt it!  Like many of you, this is always a tough decision for me. At this point, I am thinking I will separate the quilting into three logical sections.  The center of each set of four blocks, the lattice-like pattern created by the florals, and , of course, the borders.

Once I figure out how to quilt it, I will do it at home.  Also, I have not yet decided on a backing for the quilt.  I don’t have tons of yardage in my stash (well, if we don’t consider the shop fabric my stash!!). But it would be nice if I could use some stash up.  Maybe I will piece a backing together or I could use a vintage sheet if I have one in a good color.  Decisions, decisions

If you are interested in the Twisted quilt pattern, I carry it in my shop. There are also some of Dorie’s other patterns available too.

Feels good to have the quilt top done, some twelve months after starting it.  How about you?  Lots of UFO’s languishing?  Do you have many quilt tops needing to be finished?  Hopefully I will get this top basted over the weekend.  It is supposed to be quite warm out so planning for an indoor project is a good idea.  Have a great weekend everyone!  I am linking up with the Friday favorites.  Check them out at the top of the page, under Link Ups.

Newsletter!

Have you signed up for my newsletter?  It is published every month or so and is full of information about my shop, new arrivals, sales, and events.  Click here to sign up!

SaveSave

SaveSave

Fourth Blogiversary Celebration!

Today marks four years since I began this blog. I remember starting it and wondering if anyone would find it, read it, enjoy it.  It was akin to that feeling of having a party and thinking ‘what if no one shows up’.  But people did find it, you guys do read it and it is so much fun!

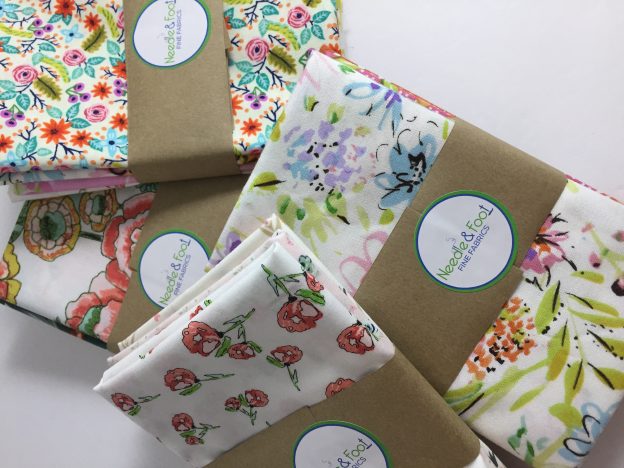
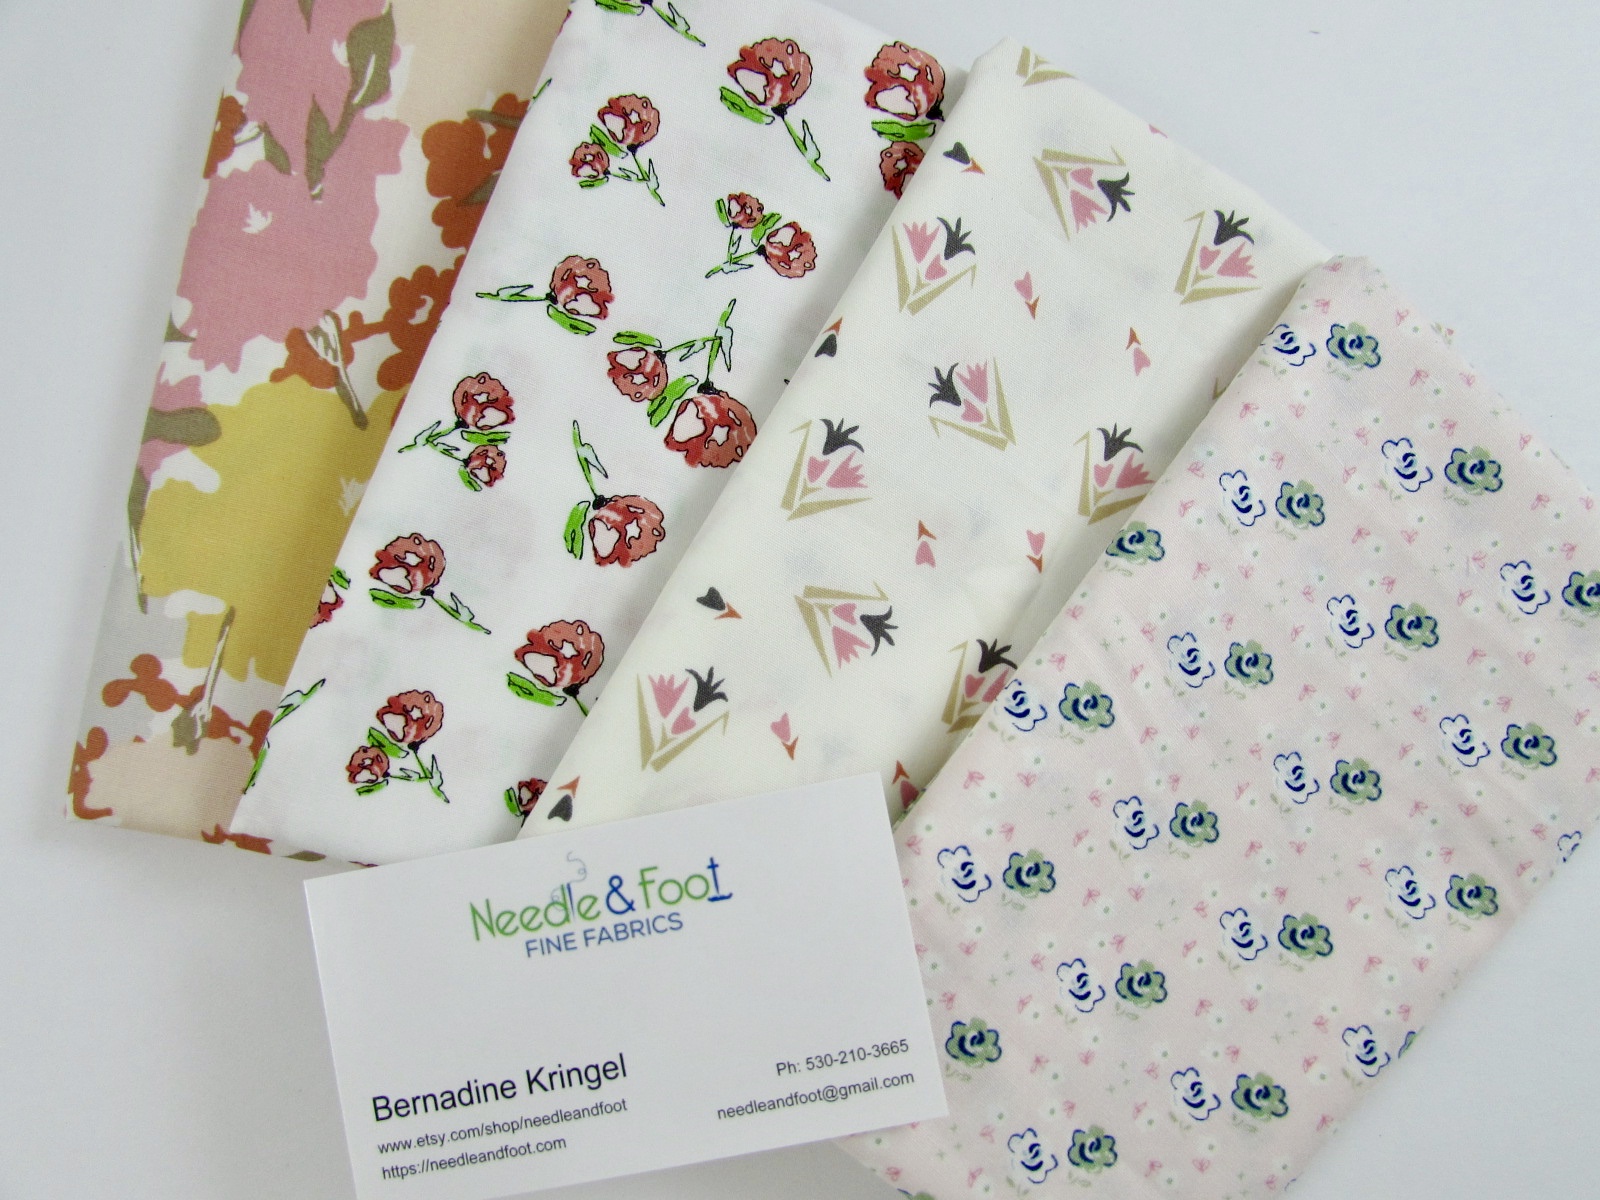
A bundle of four pretty florals!

I thought about the number four and looked at the significance of it in my life. Turns out it is a pretty cool number.

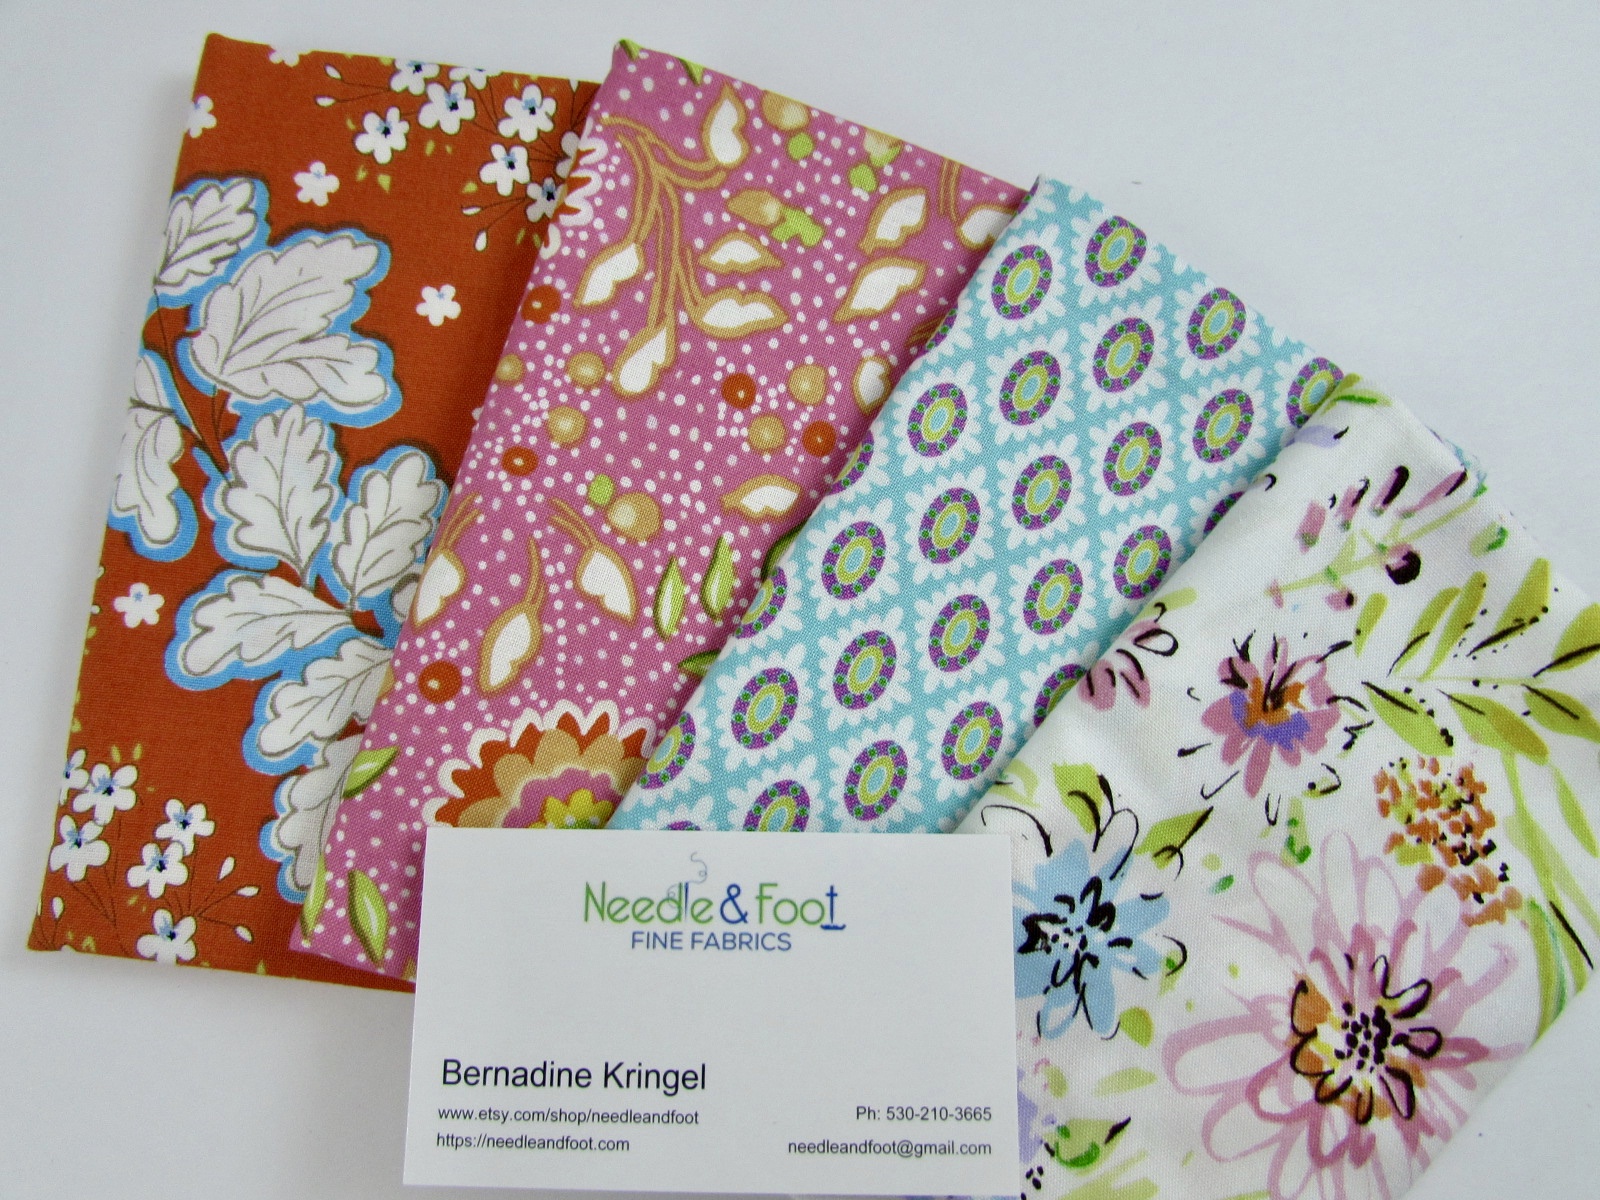
Florals in pink, orange, and blue. So pretty!

For me personally, I thought of the following:

  • I have four children.
  • I am the fourth daughter out of six.
  • My mother is the fourth daughter in as many children.  She was given the name Bernardine (the Italian feminine for Bernard, her father’s name).  I am the fourth daughter too and she gave me the name Bernardine.

In nature:

  • There are four seasons.
  • There are four cardinal directions or points on a compass.

Culturally:

  • Four mathematical rules; addition, subtraction, multiplication, and division.
  • Wizard of Oz – the foursome including Dorothy, Tin Man, Scarecrow and the Cowardly Lion.
  • Commonly used 4:4 time in music.
  • Everyone knows the Fab Four!
  • There are four suits in a deck of cards.
  • How many Teenage Mutant Ninja Turtles?  Yep, 4!
  • How many houses in Hogwarts??  You got it – 4!
  • The Four Corners in the United States is where four states join at a single point; Colorado, Arizona, New Mexico and Utah.
  • For those who look for meaning in their dreams four is significant.  Four is important in that it indicates stability and success.  A pattern of fours would say your work and efforts are likely to pay off with success. Whether I believe in dream analysis or not, I like this because I feel like my work to develop my blog and my shop has been really successful and, more importantly, so satisfying!
  • When celebrating wedding anniversaries, the traditional gift for the fourth anniversary is fruits or flowers.

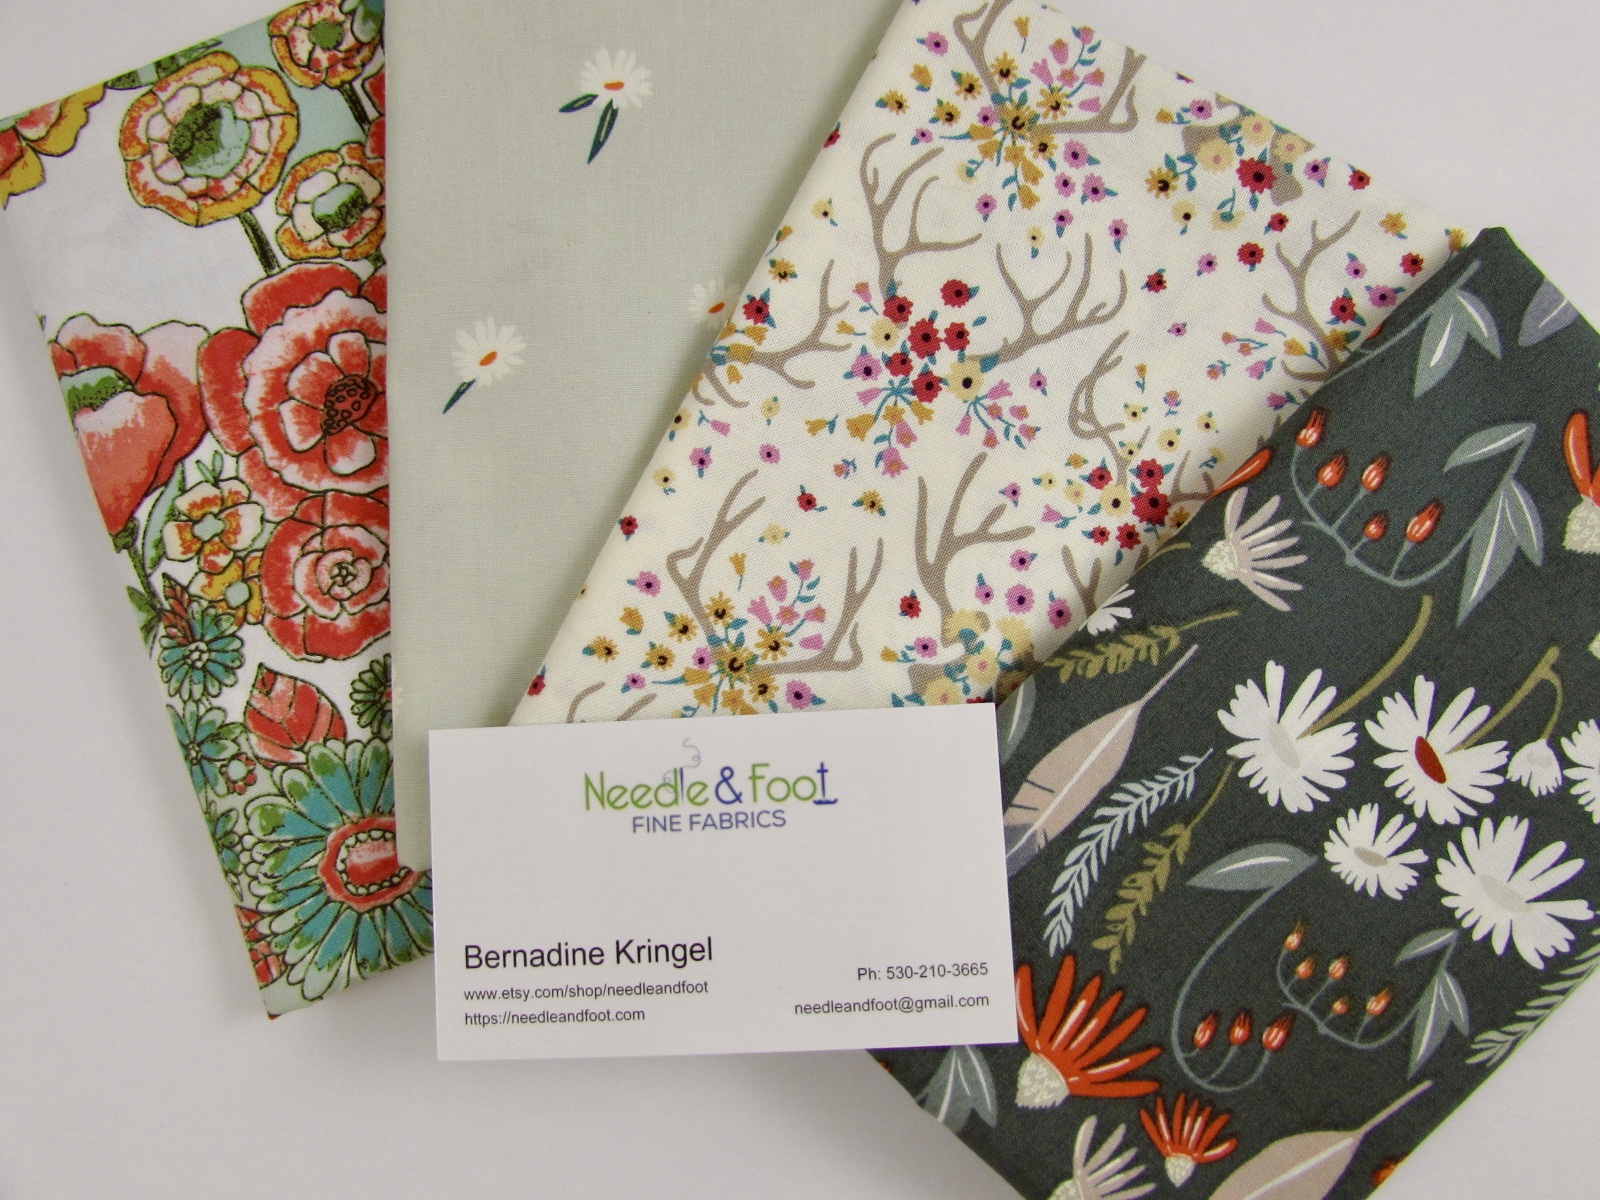
Love this palette of green, tank, coral and pink.

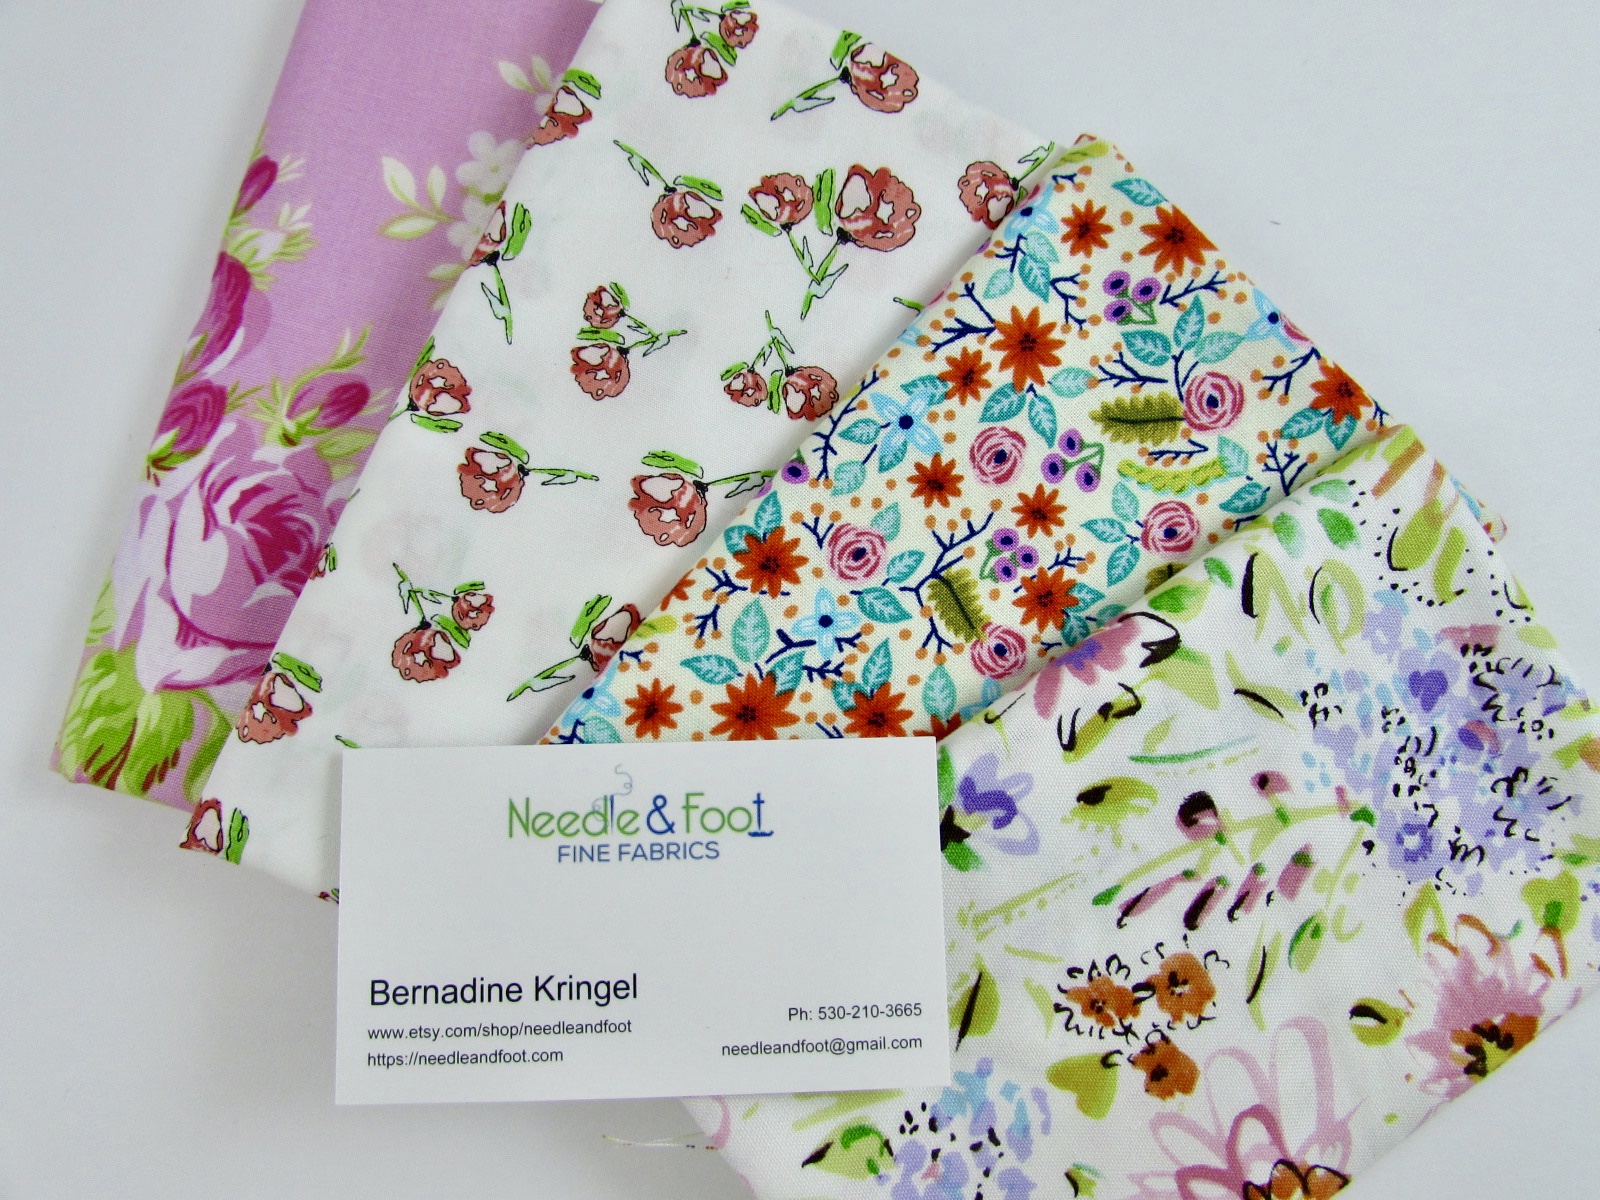
OK, here is where it gets interesting.  This being the fourth anniversary of my blog, I want to give my readers a gift.  It seems rather impractical to send you fruit so I want to give flowers.  In keeping with the theme of four, I have created four fat quarter bundles, containing four pieces each.  The fabrics are all florals. So to mark this fourth blogiversary, I will select four winners, each of whom will win a bundle of four florals!

Soft and feminine florals in pinks, blues and lavender.

To enter to win, tell me what the number four means to you. Does it have any significance?  If not, that’s fine too.  How long does the giveaway remain open?  WellI, four days of course!  I will pull names on the 8th of June!  Thanks to everyone who reads my blog, sews along with me, shops at Needle & Foot, and extends their friendship and community to me.  It’s been a fun four years!!


SaveSave

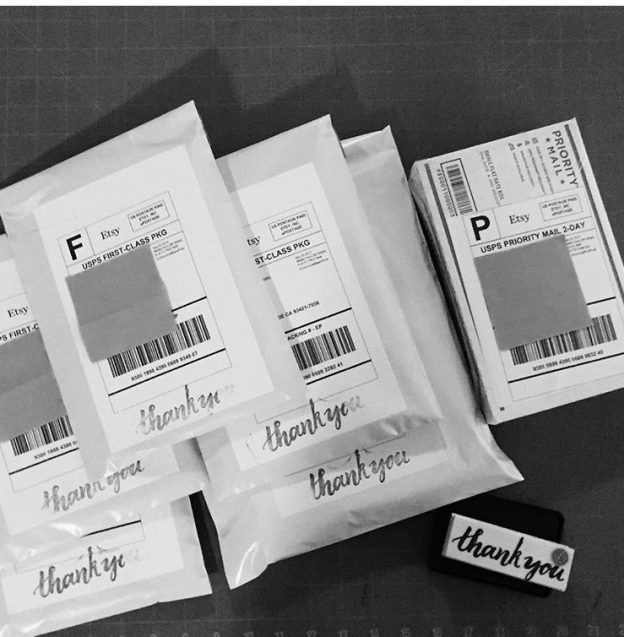
shipping packages

The Latest Updates at Needle & Foot

Hi Everyone!  I want to share a change I am implementing at my shop.  I have had so many issues with trying to properly list my products and use the shipping tools provided by Etsy.  I think the tools are great for sellers who usually receive orders for one item at a time. With an order for just one item, the postage is calculated based on the region the item is being shipped to and the weight of the item.  This means if I receive an order for a yard of fabric, the shipping is calculated accurately for my customer.

The problem occurs when a customer orders a list of different things.  If an order is made for 2 yards of one fabric, a yard of another fabric, and a bundle of fat quarters, the shipping is invariably over-charged (by quite a bit).  Many of you have been very loyal customers since I started stocking the shop with quilting fabrics (which I am oh so grateful for!!) Those of you who have ordered a number of items on one order know about this issue and also know that I refund the shipping overages to you.  As time has gone on, the shop has grown and my order rate has become nice and steady. At this point, I find I am spending a bit of time refunding shipping overages and sending notes to customers explaining why they were overcharged for shipping. It has become tedious and time consuming.

Flat Rate Shipping, Only $6.99!

After thinking about this for a while, I have found a solution! All orders at the shop will now be charged a flat rate of $6.99 for shipping.  Any order, no matter how many items – one fee, $6.99.  This means customers ordering a number of items, regardless of the weight of the items will only pay $6.99.  I will happily cover the rest of the shipping expense.  Coming to this decision was difficult. I have been looking at the order rate and the number of orders I had to refund shipping on.  As that number grew, it just made sense to streamline things.

Another factor that drove this decision is that I realized I was losing sales because of the mis-quoted shipping charges.  If a customer shopped and put a number of items in her cart, the shipping quote would be for $14 or $15.  In fact, just two weeks ago, a customer wrote to me asking if this was the correct shipping charge.  I explained the situation and reassured the person I would refund the overage once I packed their order for shipping.  However, the person ended up shopping elsewhere.  I understand that.  She isn’t familiar with me and has no reason to trust I will actually refund the extra $9.00 she was going to have to pay at checkout.

Over the past months I have tried to work with the tools Etsy provides.  Don’t get me wrong. I am a very happy Etsy seller.  Etsy provides a great way for me to own and run my business. I believe the problem lies with the variety of items that are combined on any one order I receive.  With flat rate shipping the transactions will happen smoothly and for my shoppers who need to order a number of things at one time, it will actually make shipping less expensive.  Any order of two and one-half yards or more will usually weigh over one pound.  This means it needs to be sent flat rate for the best shipping cost.  At this point, shipping is charged at $7.10 for the padded flat rate envelopes I use to ship orders.

What if I Only Need a 1/2 Yard Cut?

I realize this flat rate shipping charge isn’t the best option for the person who chooses to order a 1/2 yard of fabric or a couple of fat quarters. Don’t worry!  I have figured out a solution for this too.  I will have two listings available for purchase.  There will be a listing for a generic fat quarter.  On that item, you will be able to leave a note telling me which fat quarter(s) you need.  That listing will use the regular shipping calculation and my customer won’t have to pay $6.99 for shipping one or two fat quarters.  Similarly, I have a listing for a generic 1/2 yard cut.  Again, the customer will tell me which fabric they need a 1/2 yard of and the shipping will be charged accordingly. To find these listings, you can type “fat quarter listing” or “1/2 yard listing” in the search box and they will come up for you.

It is my hope I have considered the variety of needs you, my customers, might have.  But as always, I want to hear your thoughts!  Please let me know what you think of this policy change. Did I explain it clearly?  If you have questions, feel free to ask.  When one reader has a question, it is highly likely others are wondering the same thing.  Please ask!

Having this shop over the past 18 months has been a blast.  You are all the greatest and I am so appreciative of you.  Thanks so much.  Hard to believe but the fourth anniversary of my blog is June 4th. That seems reason enough to celebrate, doesn’t it?  Come back in a few days and we will have a party!

Newsletter!

Have you signed up for my newsletter?  It is published every month or so and is full of information about my shop, new arrivals, sales, and events.  Click here to sign up!
boatneck t-shirt

Boatneck T-shirt Finish

Today is the last day of May, which means it is also the last day of Me Made May for this year. I had hopes of making one new garment each week.  While I didn’t quite get there, I am close!  I made a mauve t-shirt, a black and white t-shirt dress, a boatneck tank top and almost finished a pair of pants.  Not too bad!  I also cut out a pair of shorts but didn’t get farther than that. It was really a fun series of projects and I feel like my rusty garment sewing skills are improving.

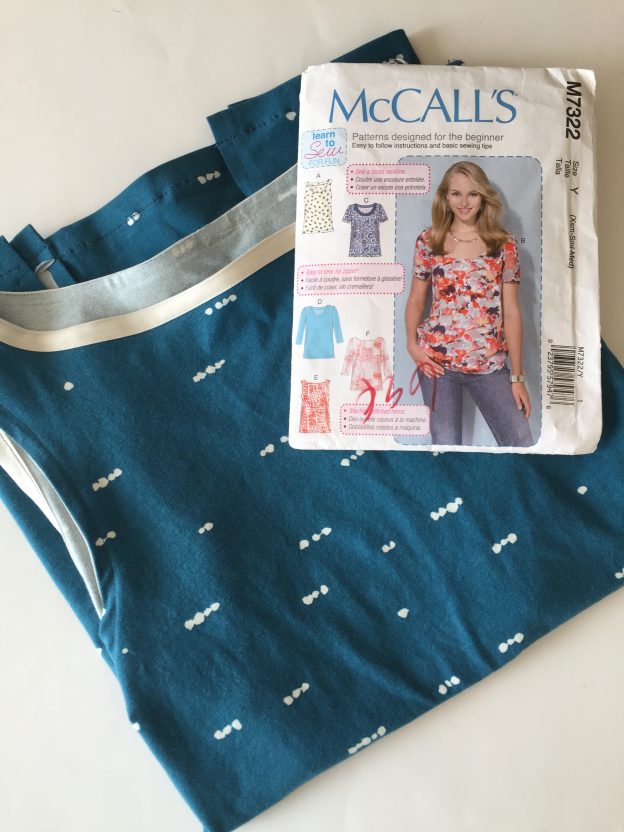
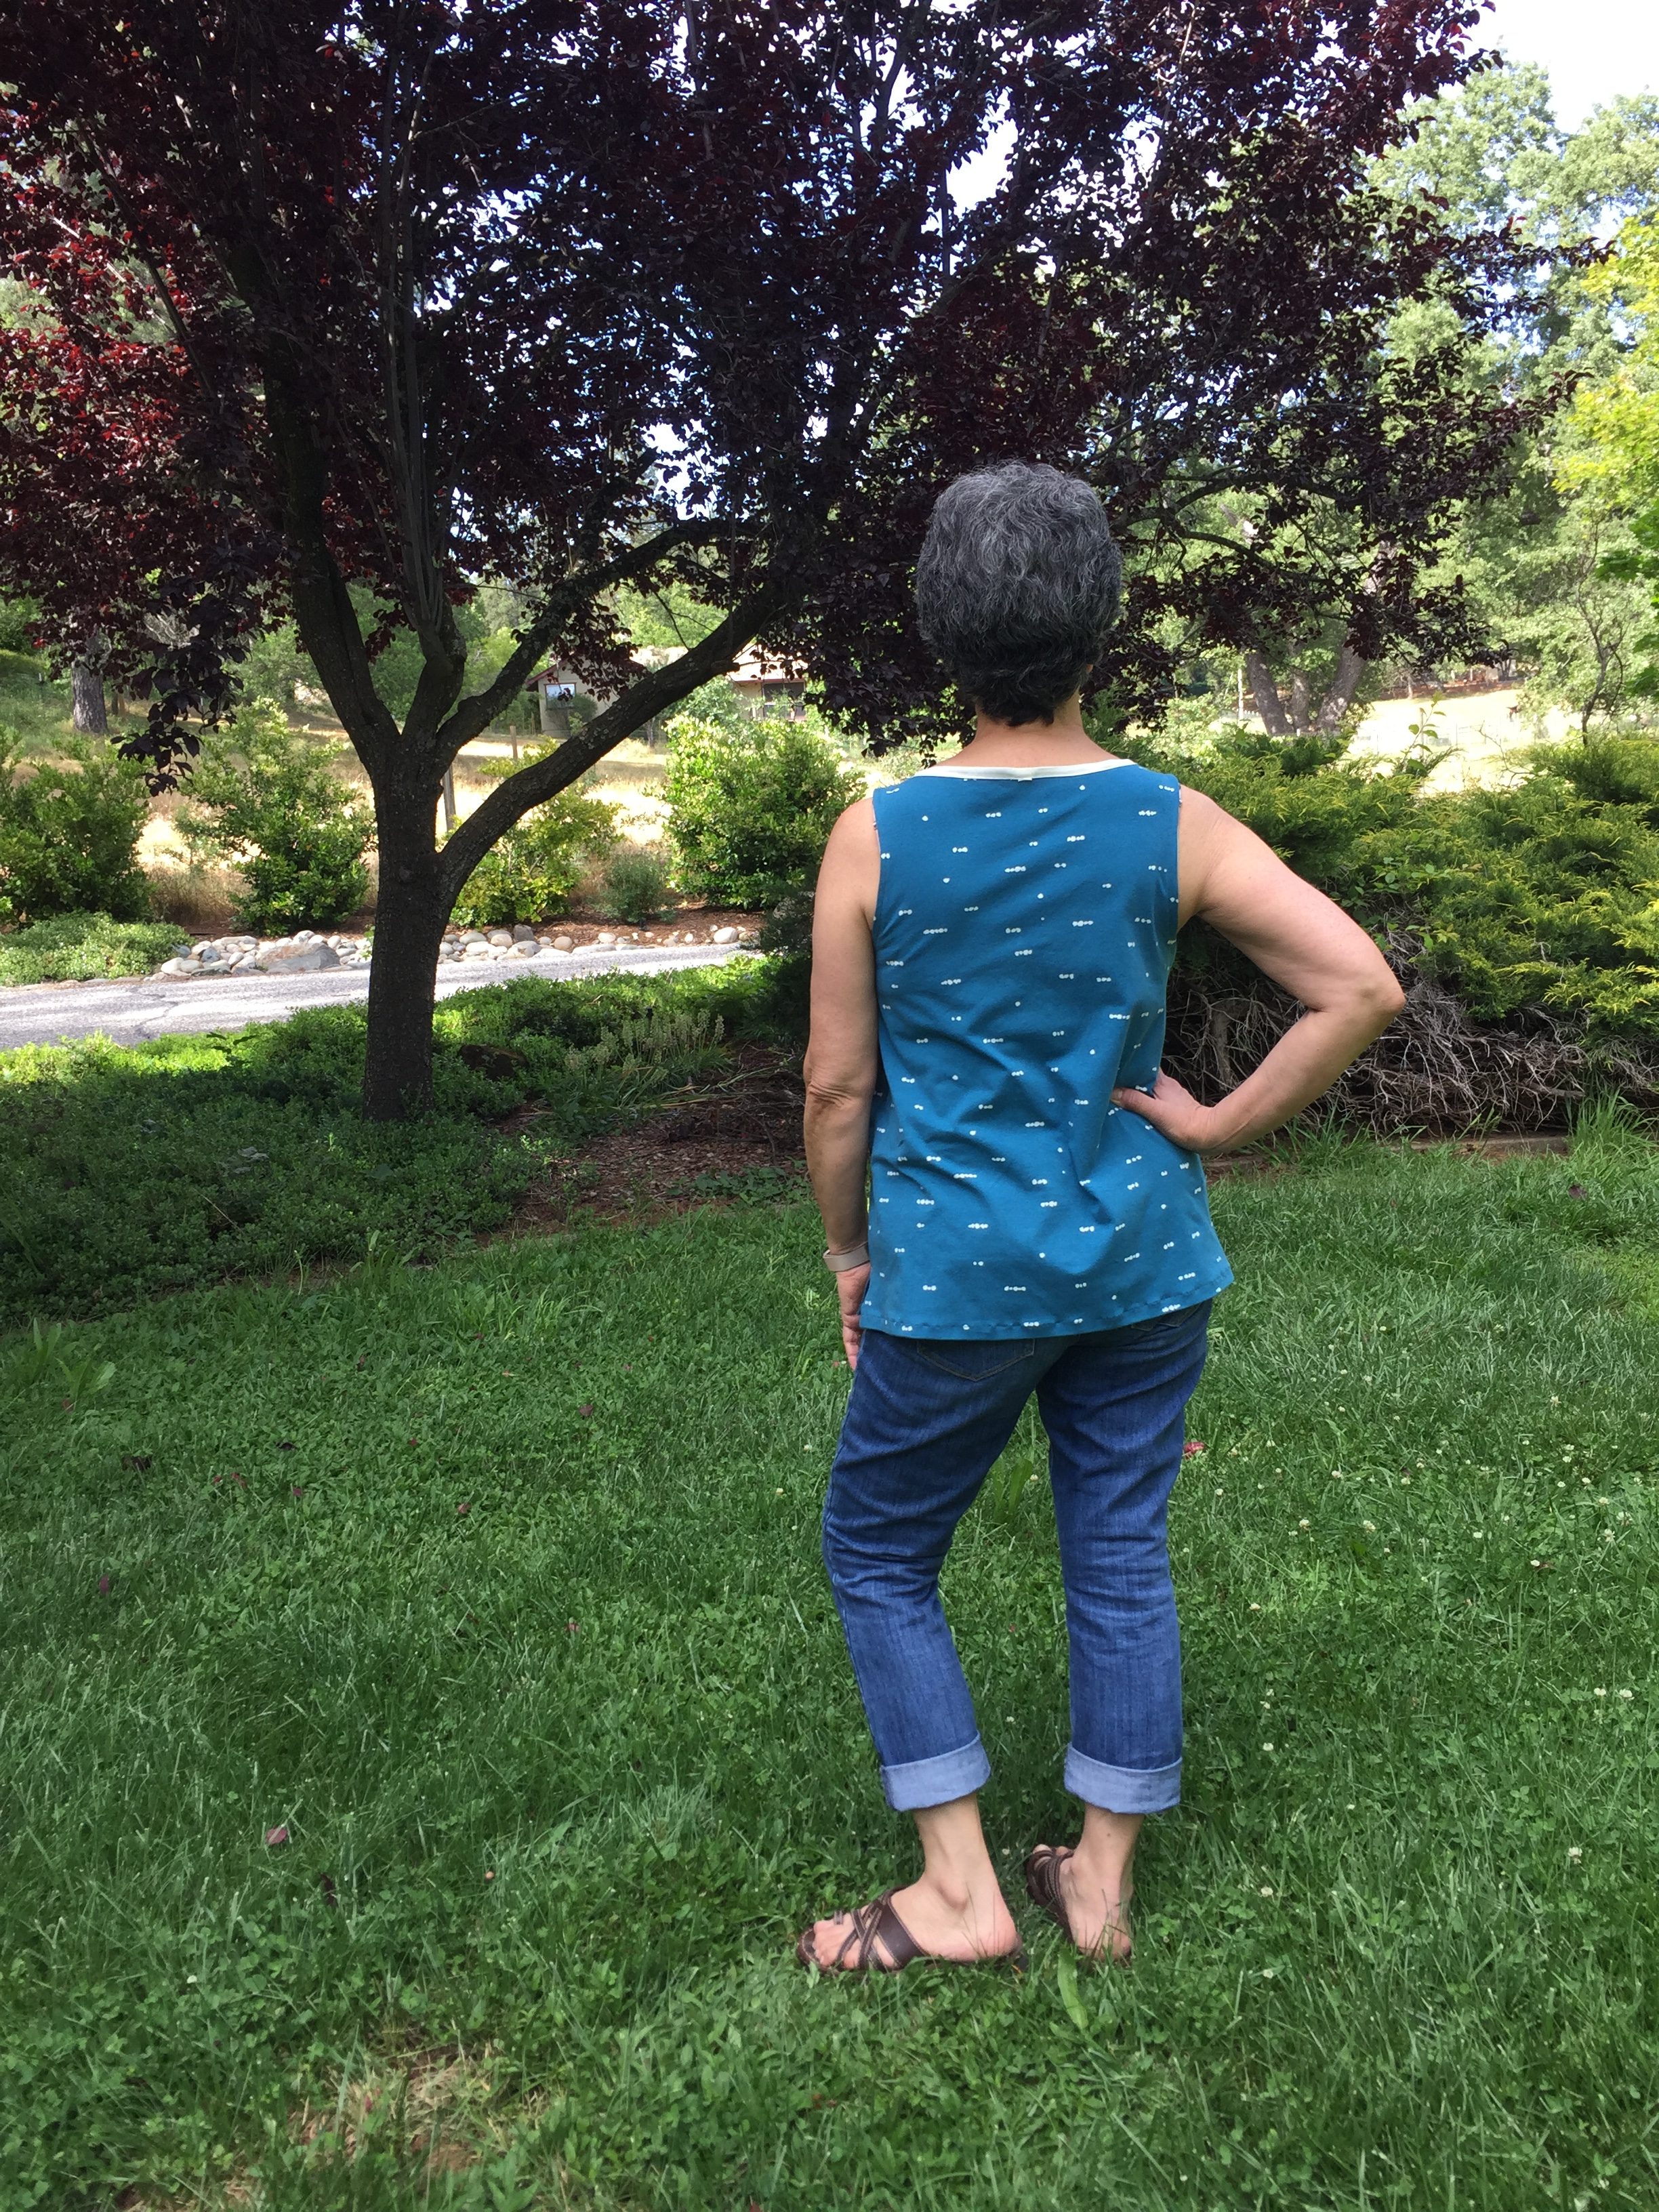
Let’s take a look at the simple tank top I made.  In actuality, it wasn’t as simple as I had hoped!  Combining a McCall’s pattern (M7322) with a great piece of knit fabric called Morse Dot Blue, I cut out a boatneck tank top. The knit is from Art Gallery Fabric (it is available in my shop) and is just lovely – great quality and feels so comfy.  I chose to make a size large because I thought it would be easier to size down than up and my measurements showed me to be between a medium and a large. I also skipped cutting out neck and armhole facing pieces as I don’t like having that extra fabric to tuck into place. It is a cleaner, simpler, finish to bind the arms and neckline with bias tape.

It became apparent right away that the shirt was going to be too boxy in shape.  I decided to cut in the armholes to give it more shape at the shoulders.

Yikes, the armholes look terrible!

When I did this, it made the armhole openings too big.  Look at the photo above and you’ll see they are cut too deeply.  Somehow I didn’t notice how far off the fit was until taking photos! The camera doesn’t lie.  🙂

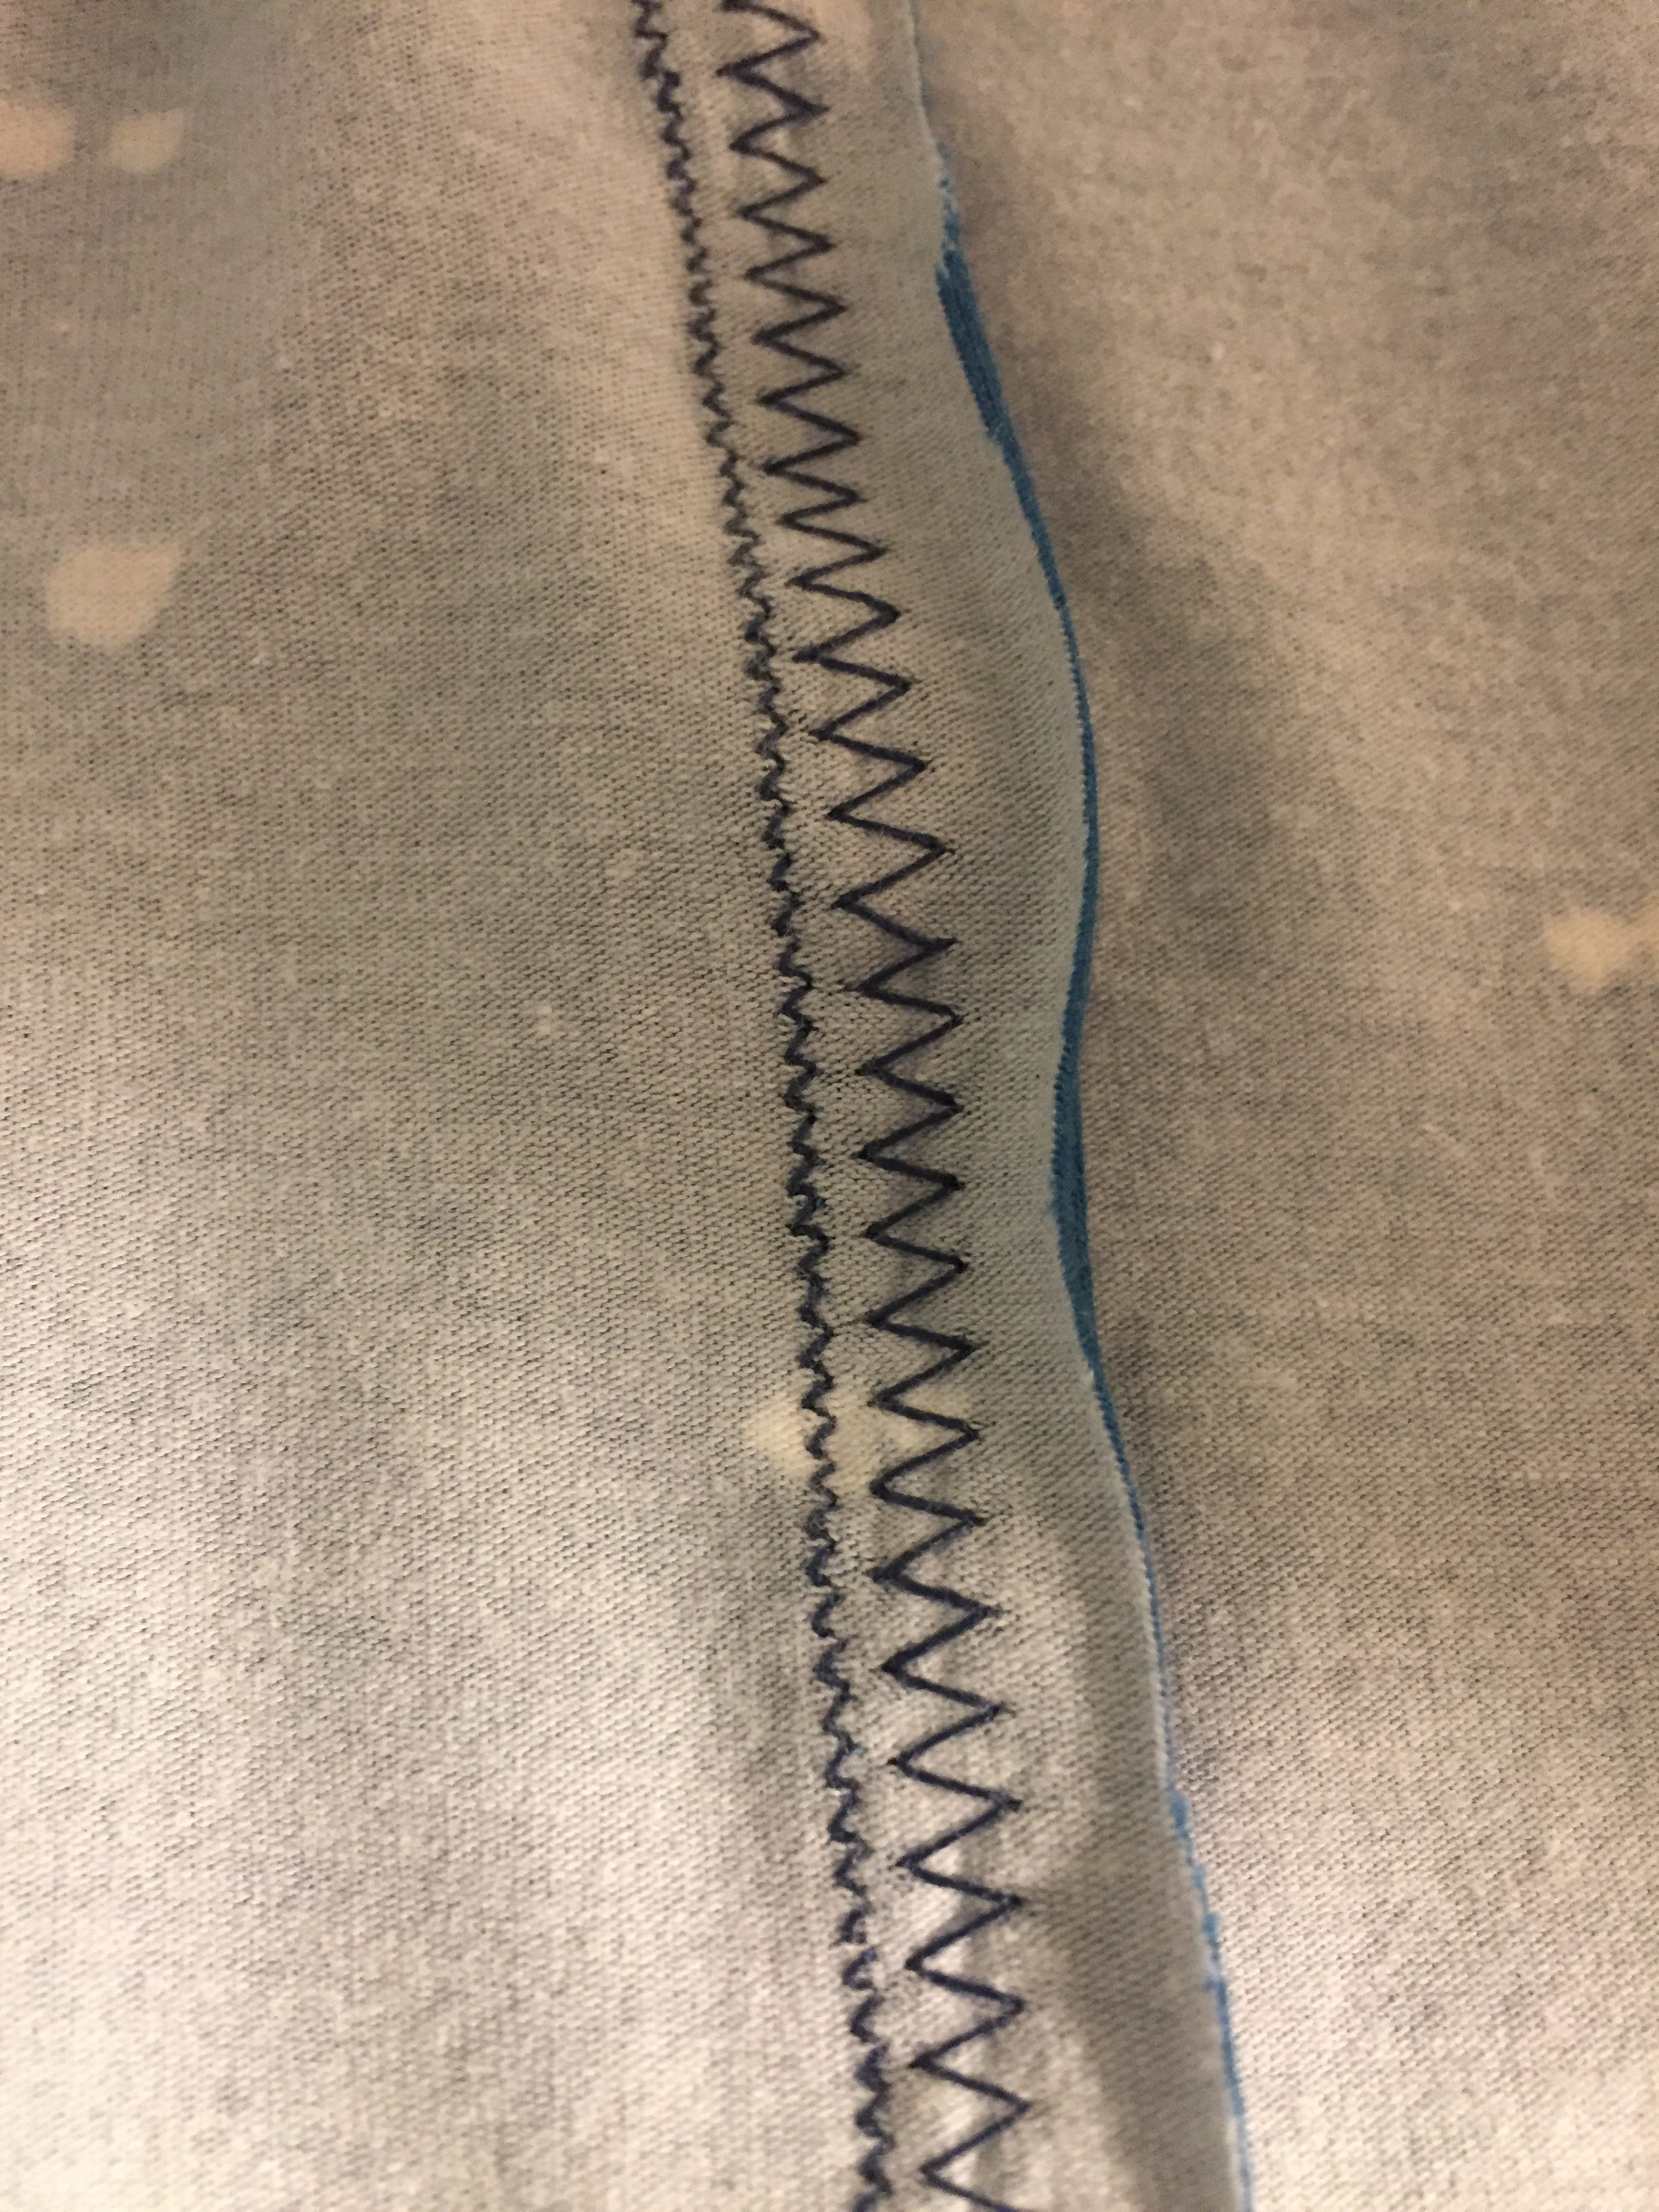
Ugh, at this point, the armholes and shoulder seams were sewn with a stretch stitch and then a zig zag beyond that. Determined to fix this, I decided I would need to take a wider seam at the shoulders to lift the shirt and then tighten up the underarms. This photo is a close up and you can see how tiny the seams of the stretch stitch are.  I couldn’t unpick these without damaging the fabric, plus it was taking forever to rip out the seams.  Instead, I decided to cut the shoulder seam off completely and restitch it.  The seam binding finish wasn’t as clean but it worked.  For the underarm, I cut a narrow strip out of the first three inches of the seam and sewed it back together on an angle.  Not pretty but at least it was served the purpose of closing up that armhole a bit.

boatneck t-shirt

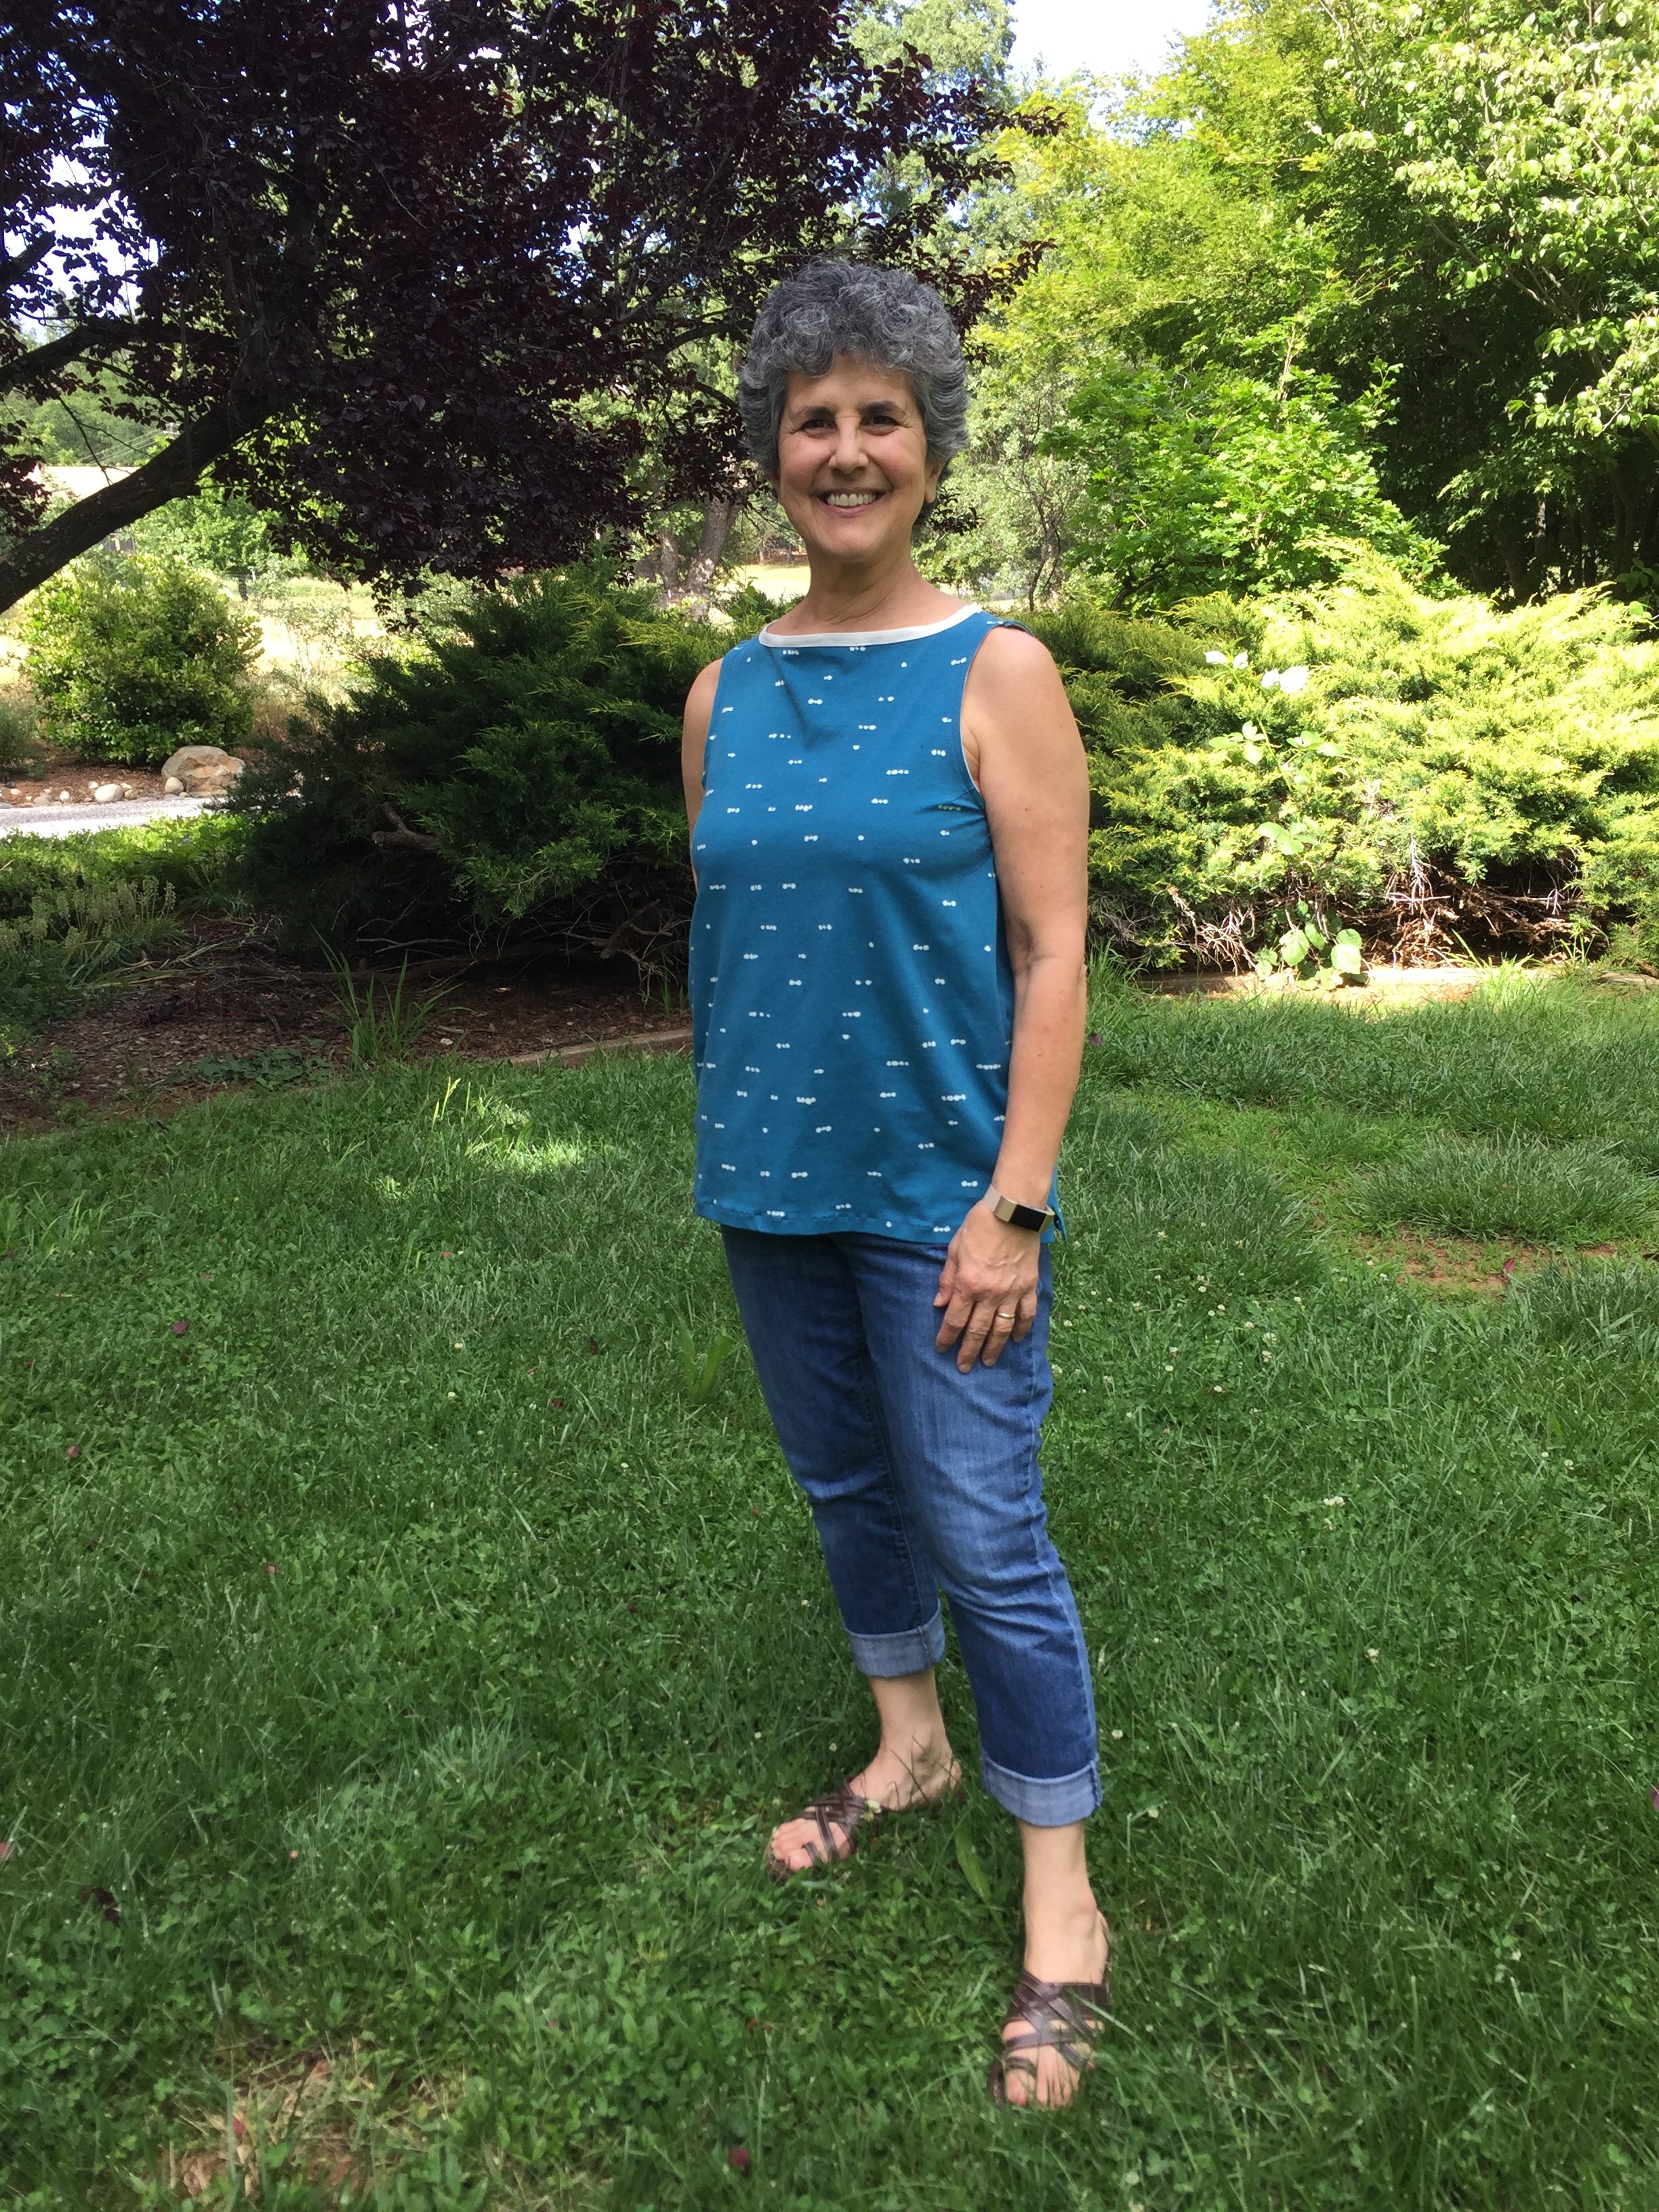
Looking back, I should have taken a picture with my hand on my hip again so you could compare, but it does fit much better.

boatneck tank

The fit is so much better with those two alterations. The shape of the armhole is what I was going for in the first place.  Side note, looking at the pictures, one has to wonder how on earth did my hair get so gray!? When Julia took the photos for me, I specifically asked her to make me appear taller, less gray and about 35 years old.  She promised to do her best but I am pretty sure I look at least 57 and barely 5’4″ in all of these shots.  (It is so weird to post pics of myself – Sigh…)

As I made these changes to the shirt, I pondered why I was willing to spend the money and more importantly, the time, to make such a simple shirt.  I can pop into Target or Ross and pick up a tank top for not a lot of money and no time at all.  Sewing something for myself is satisfying and I enjoy the challenge.  It makes me so happy to see a resurgence of interest in sewing, both in quilting and garment sewing.  Seems like the high school Home Ec classes I took are a thing of the past (unfortunately) so it is nice to see the hobbies being taken up.  Hopefully this means they will be taught to others and passed along to new generations of kids and grandkids.

The pants I made are pretty cute.  Once I hem them, I will share them with you.  The shorts will be set aside but not for too long.  I want to have them to wear this summer.

Linking up with my favorites.  To see the links I use, go to the top of the page and click on Link Ups!

Newsletter!

Have you signed up for my newsletter?  It is published every month or so and is full of information about my shop, new arrivals, sales, and events.  Click here to sign up!
SaveSave

Playing Catch Up

Well, I did great for the first three months of the year. My two RSC18 projects were worked on each month and one was finished in time for the next.  Somehow April and most of May slipped by and I didn’t work on either of them. Knowing myself, I figured I had better get caught up.  Once I am too far behind, it becomes very easy to talk myself into skipping it altogether. We know what happens next don’t we?  The blocks I did make end up in orphan block land, a very sad place to be.

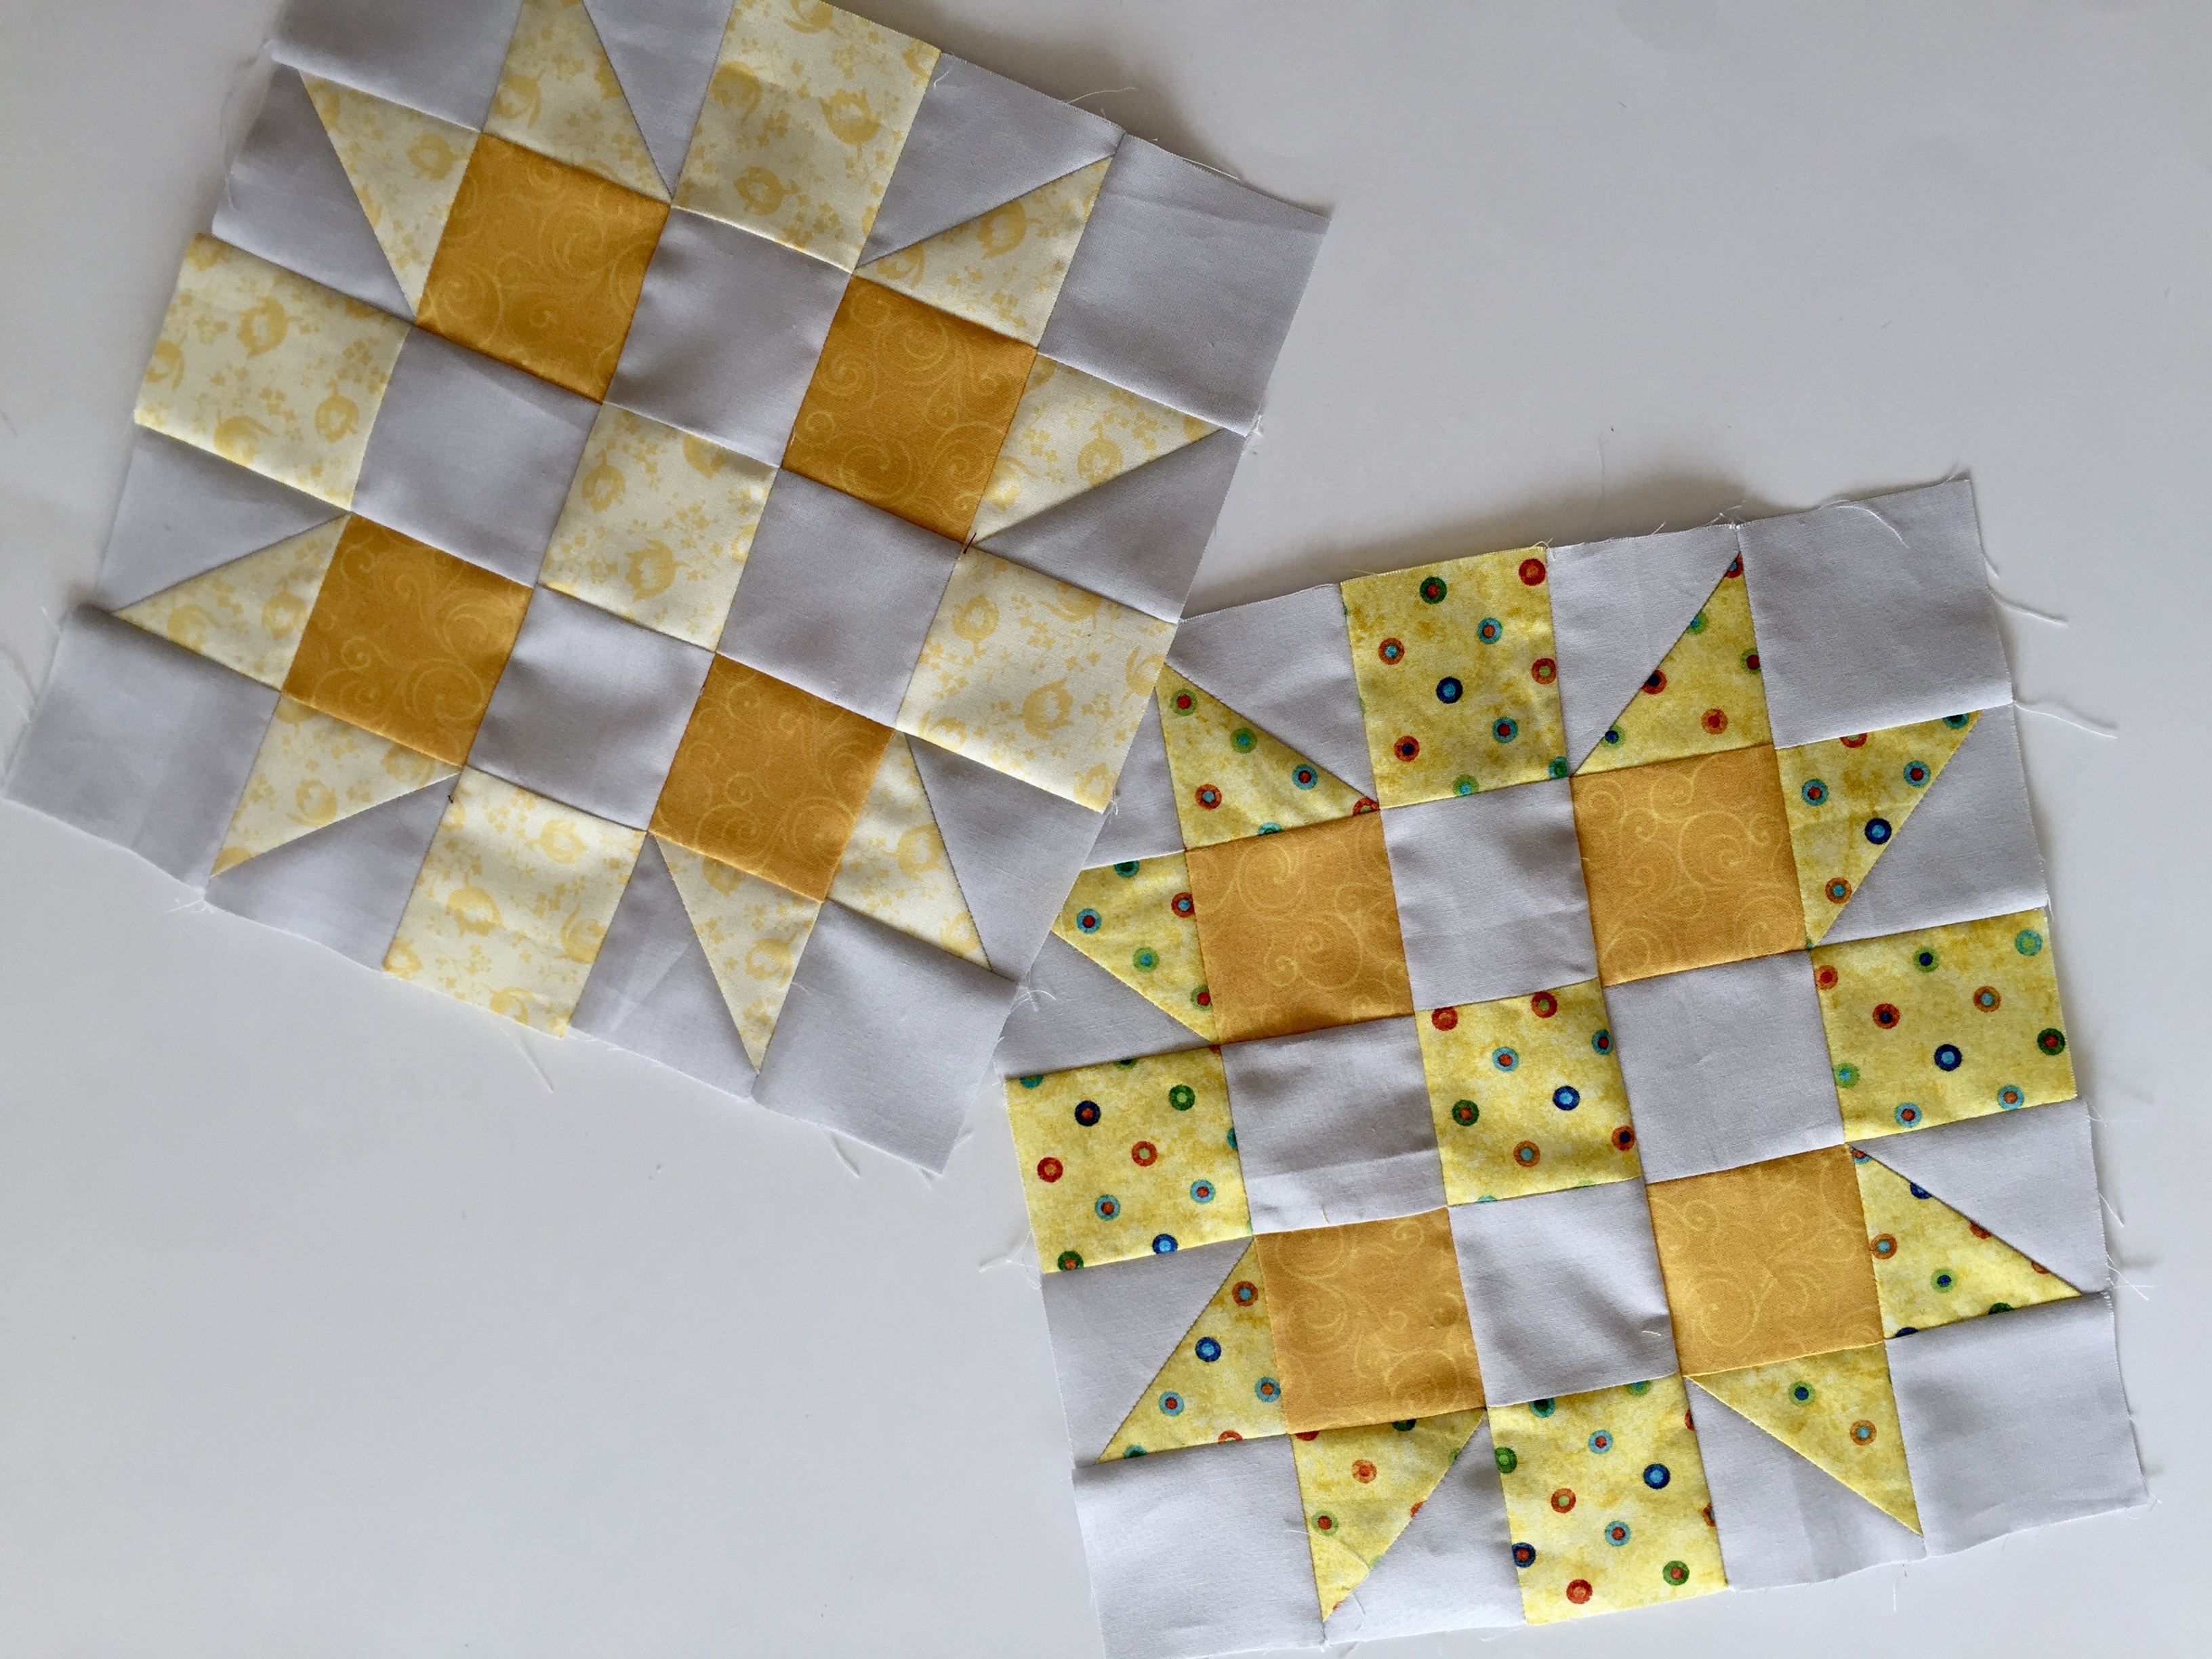
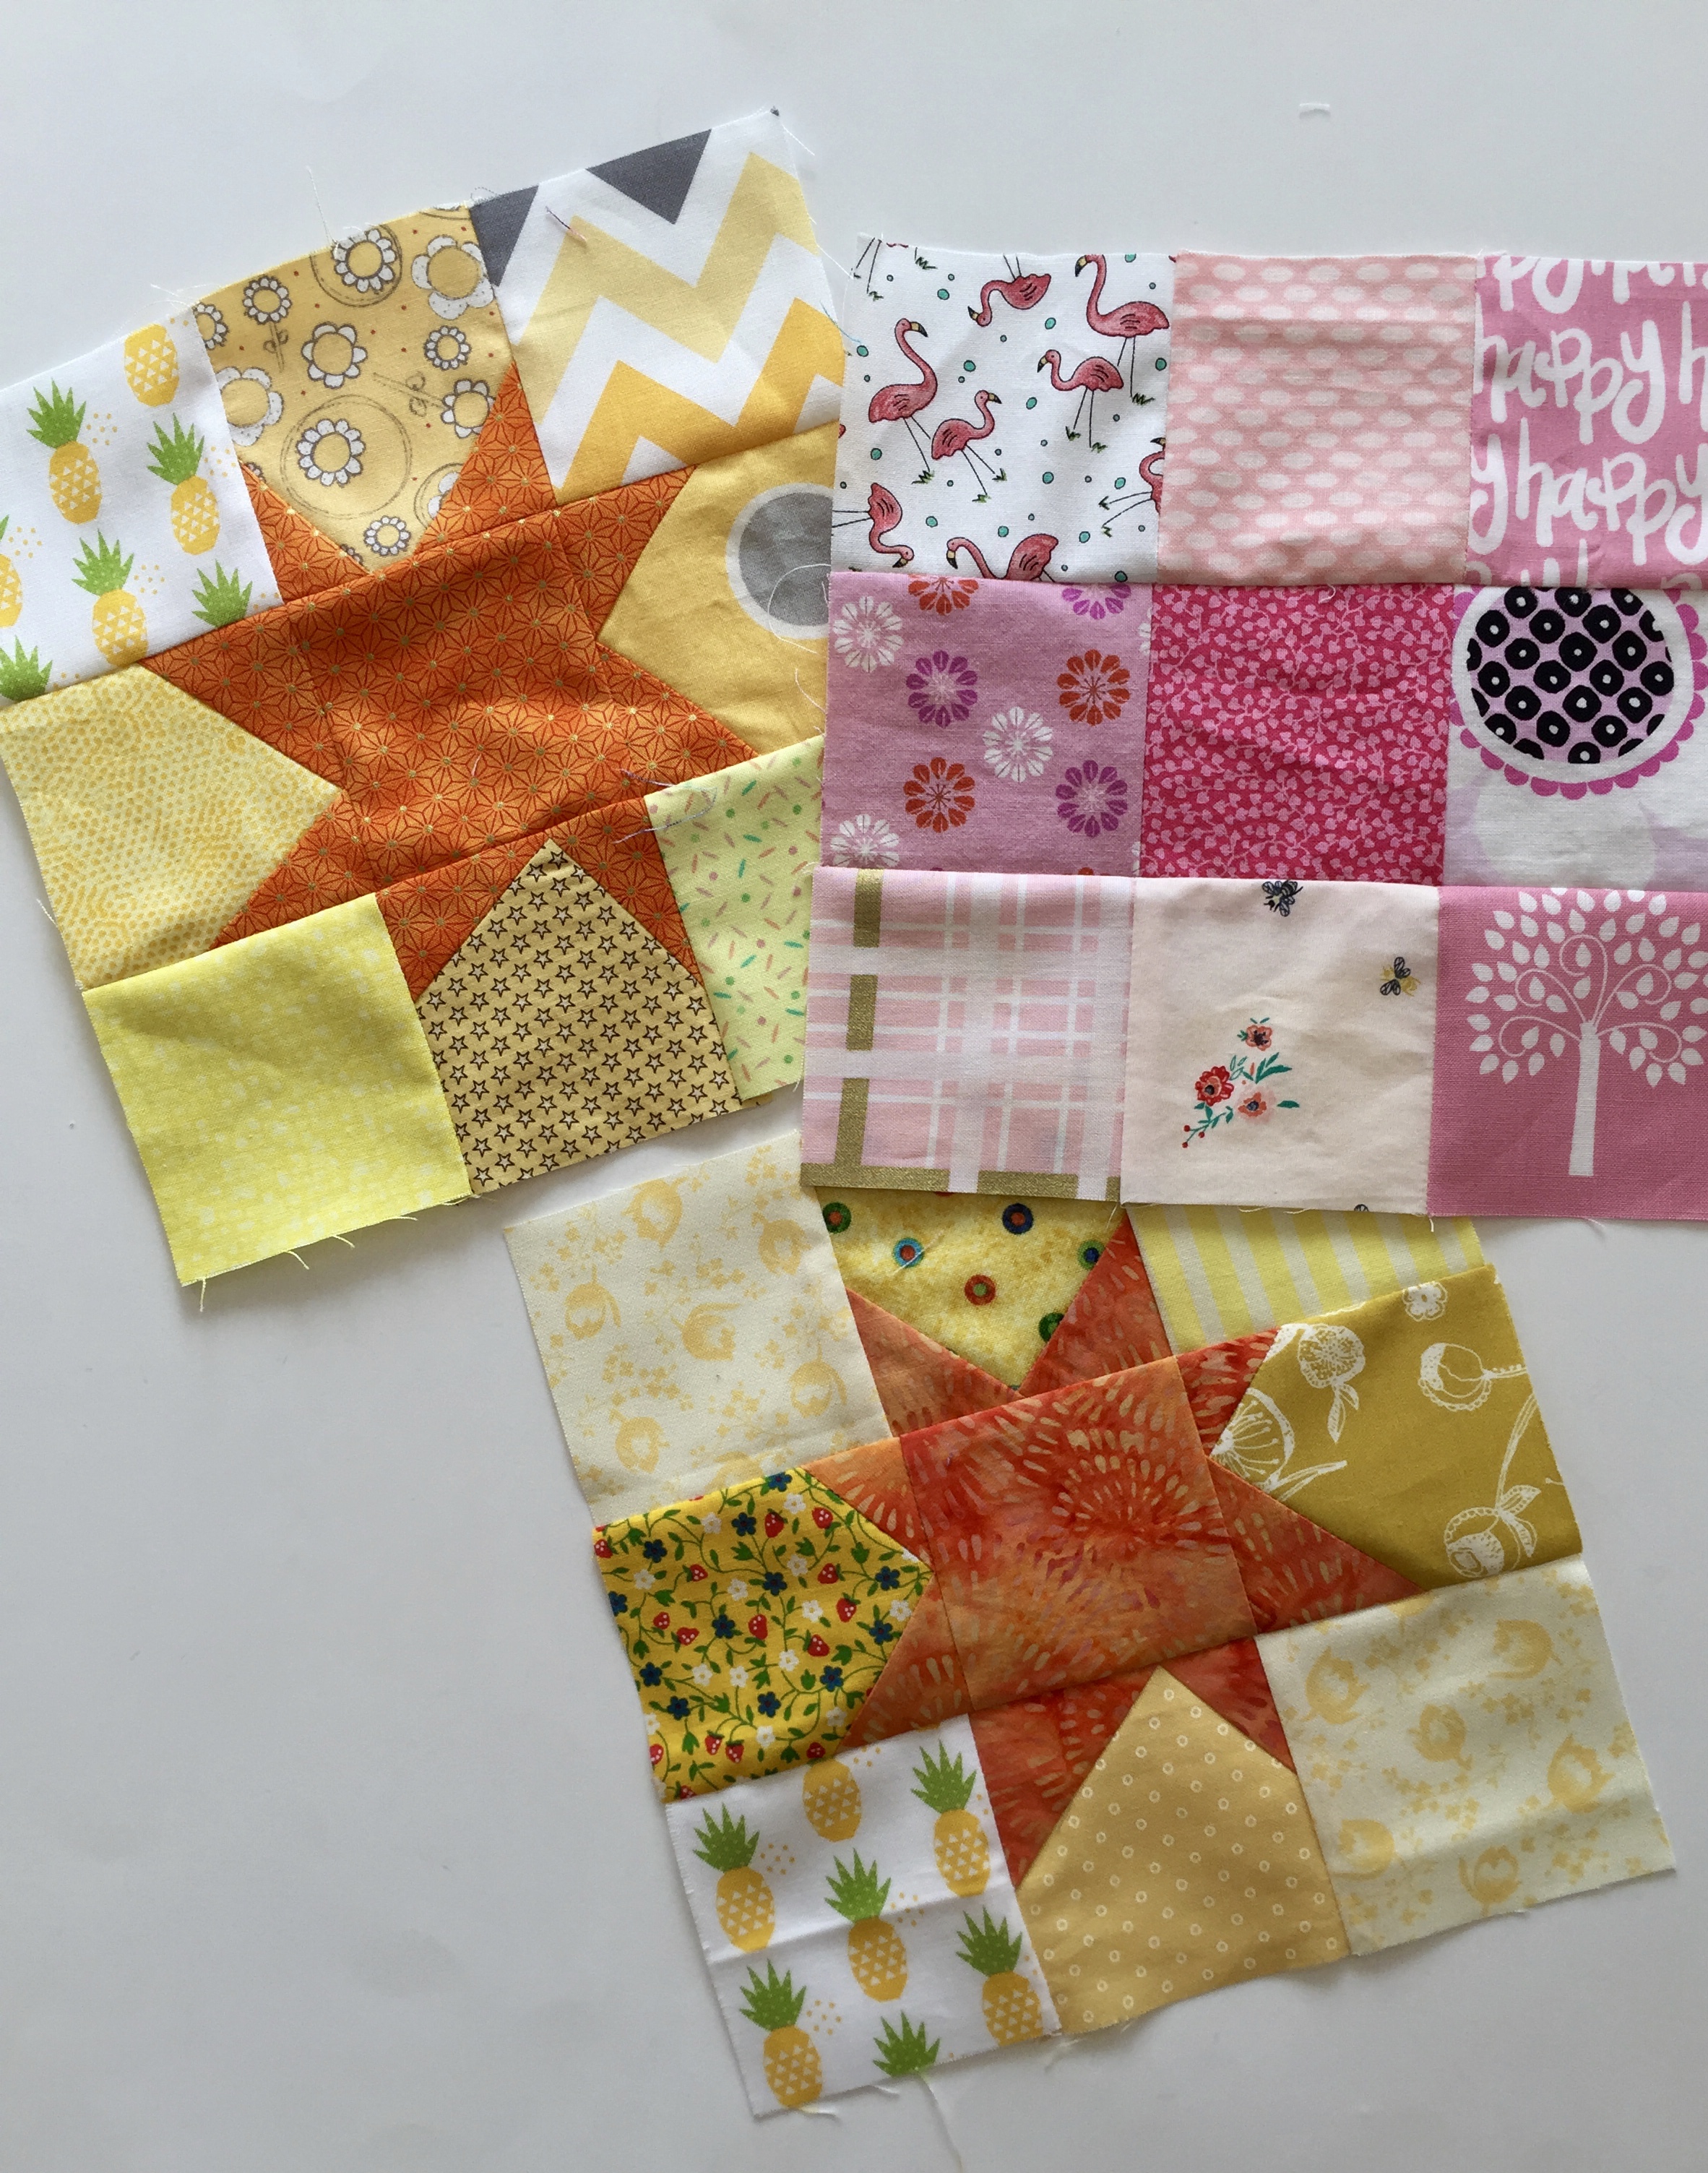
While I am not totally caught up yet, I feel much better with the progress I made. To remind you, I am sewing along with Angela and Mari’s Squared Away BOM and I am making nine patch blocks for a separate project.  April’s color was yellow with a touch of gold. The block tutorial for the month was the 4X Star, also known as the Carrie Hall block.  These made for super easy piecing  as only squares and a handful of HST’s were required for each one.  I love both of these blocks – note that I used the same golden fabric for the four squares in the center but it looks quite different on each one. I was having a really tough time finding scraps of yellow for April because I only had such a small amount of yellow.  Mentioning this to Mari, she sent off a huge packet of yellow scraps. Though her idea of scraps might be different then mine because she generously sent a number of fat quarters. So, Mari’s tutorial, Mari’s fabric….. I wonder what it would take to get her to come to California to cut my pieces and stitch them up? Thank you Mari!

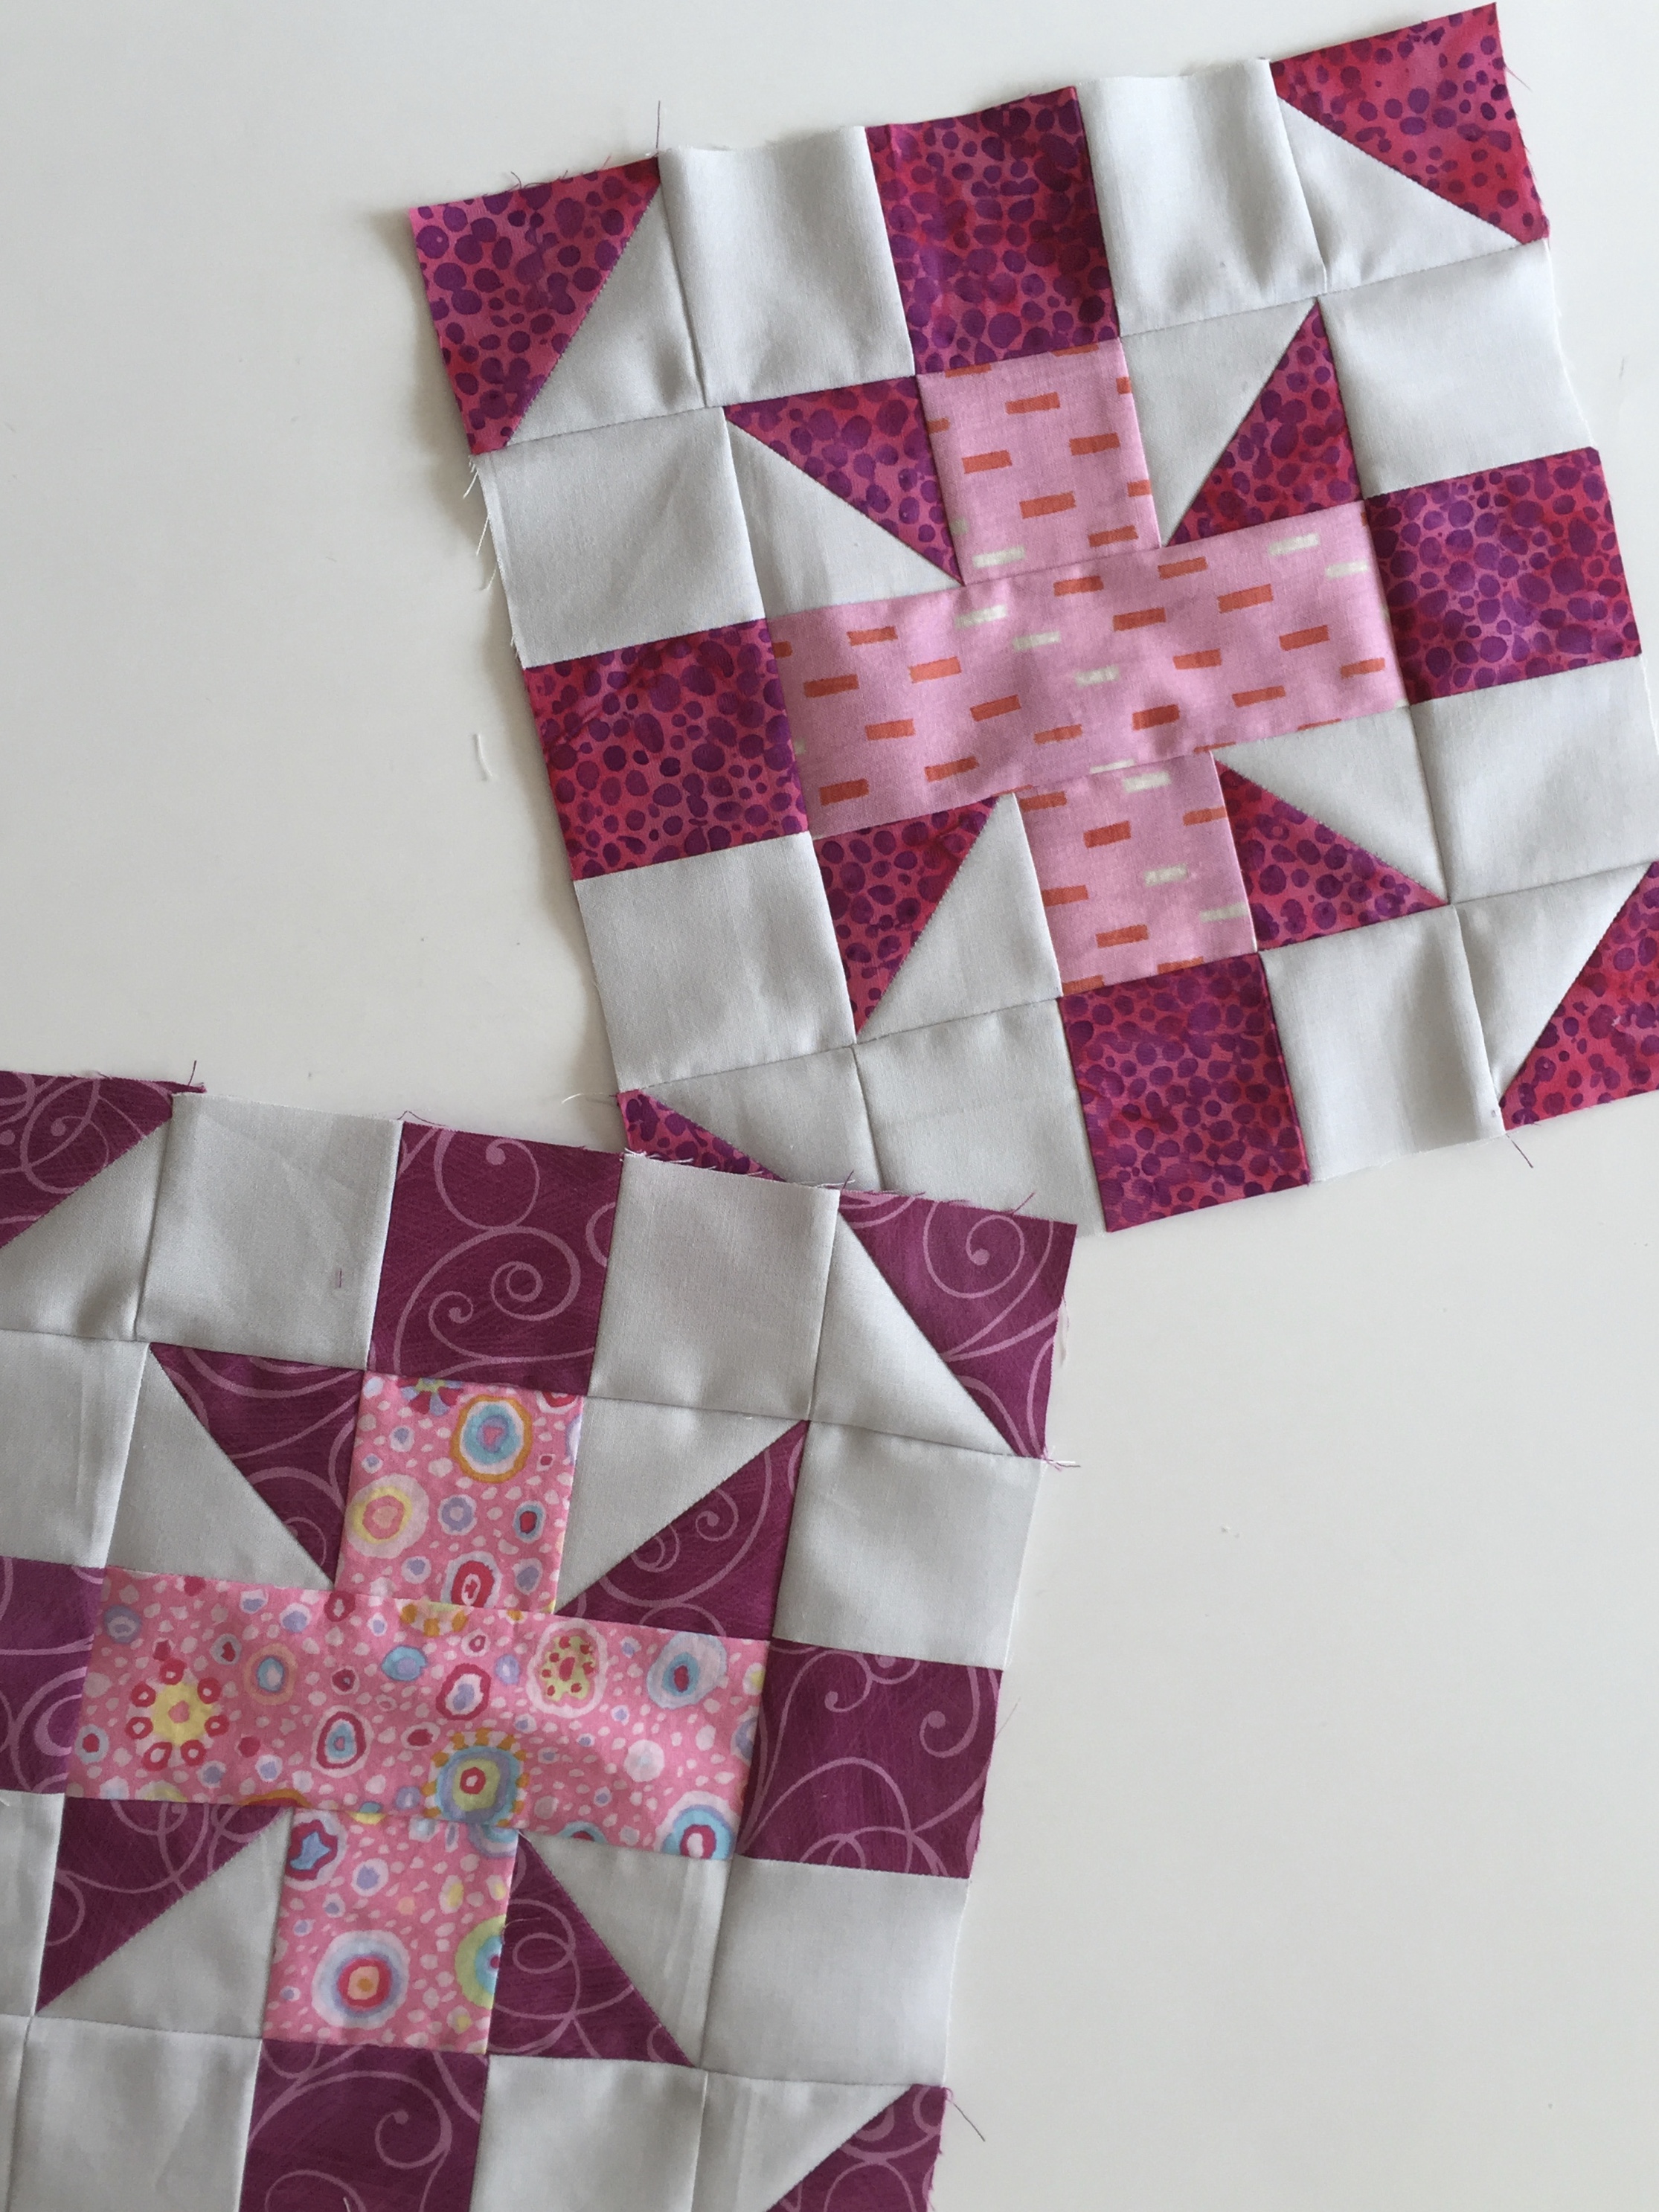
May’s color is pink and rose.  This was easier for me as I have plenty of pink scraps in my stash.  I don’t know if I really went with rose but I like the combinations I came up with thus far.  The block for this month is by Nancy Cabot, called Baton Rouge Square.  Mari describes it as a package with ribbons tied at the top.  I like that! Again, these are easy blocks to construct as long as you watch the direction of each HST.   At this point, I still need to make one more of each block for both April and May, and I will be good to go.  June’s block will pop up on Saturday so I better get these done!

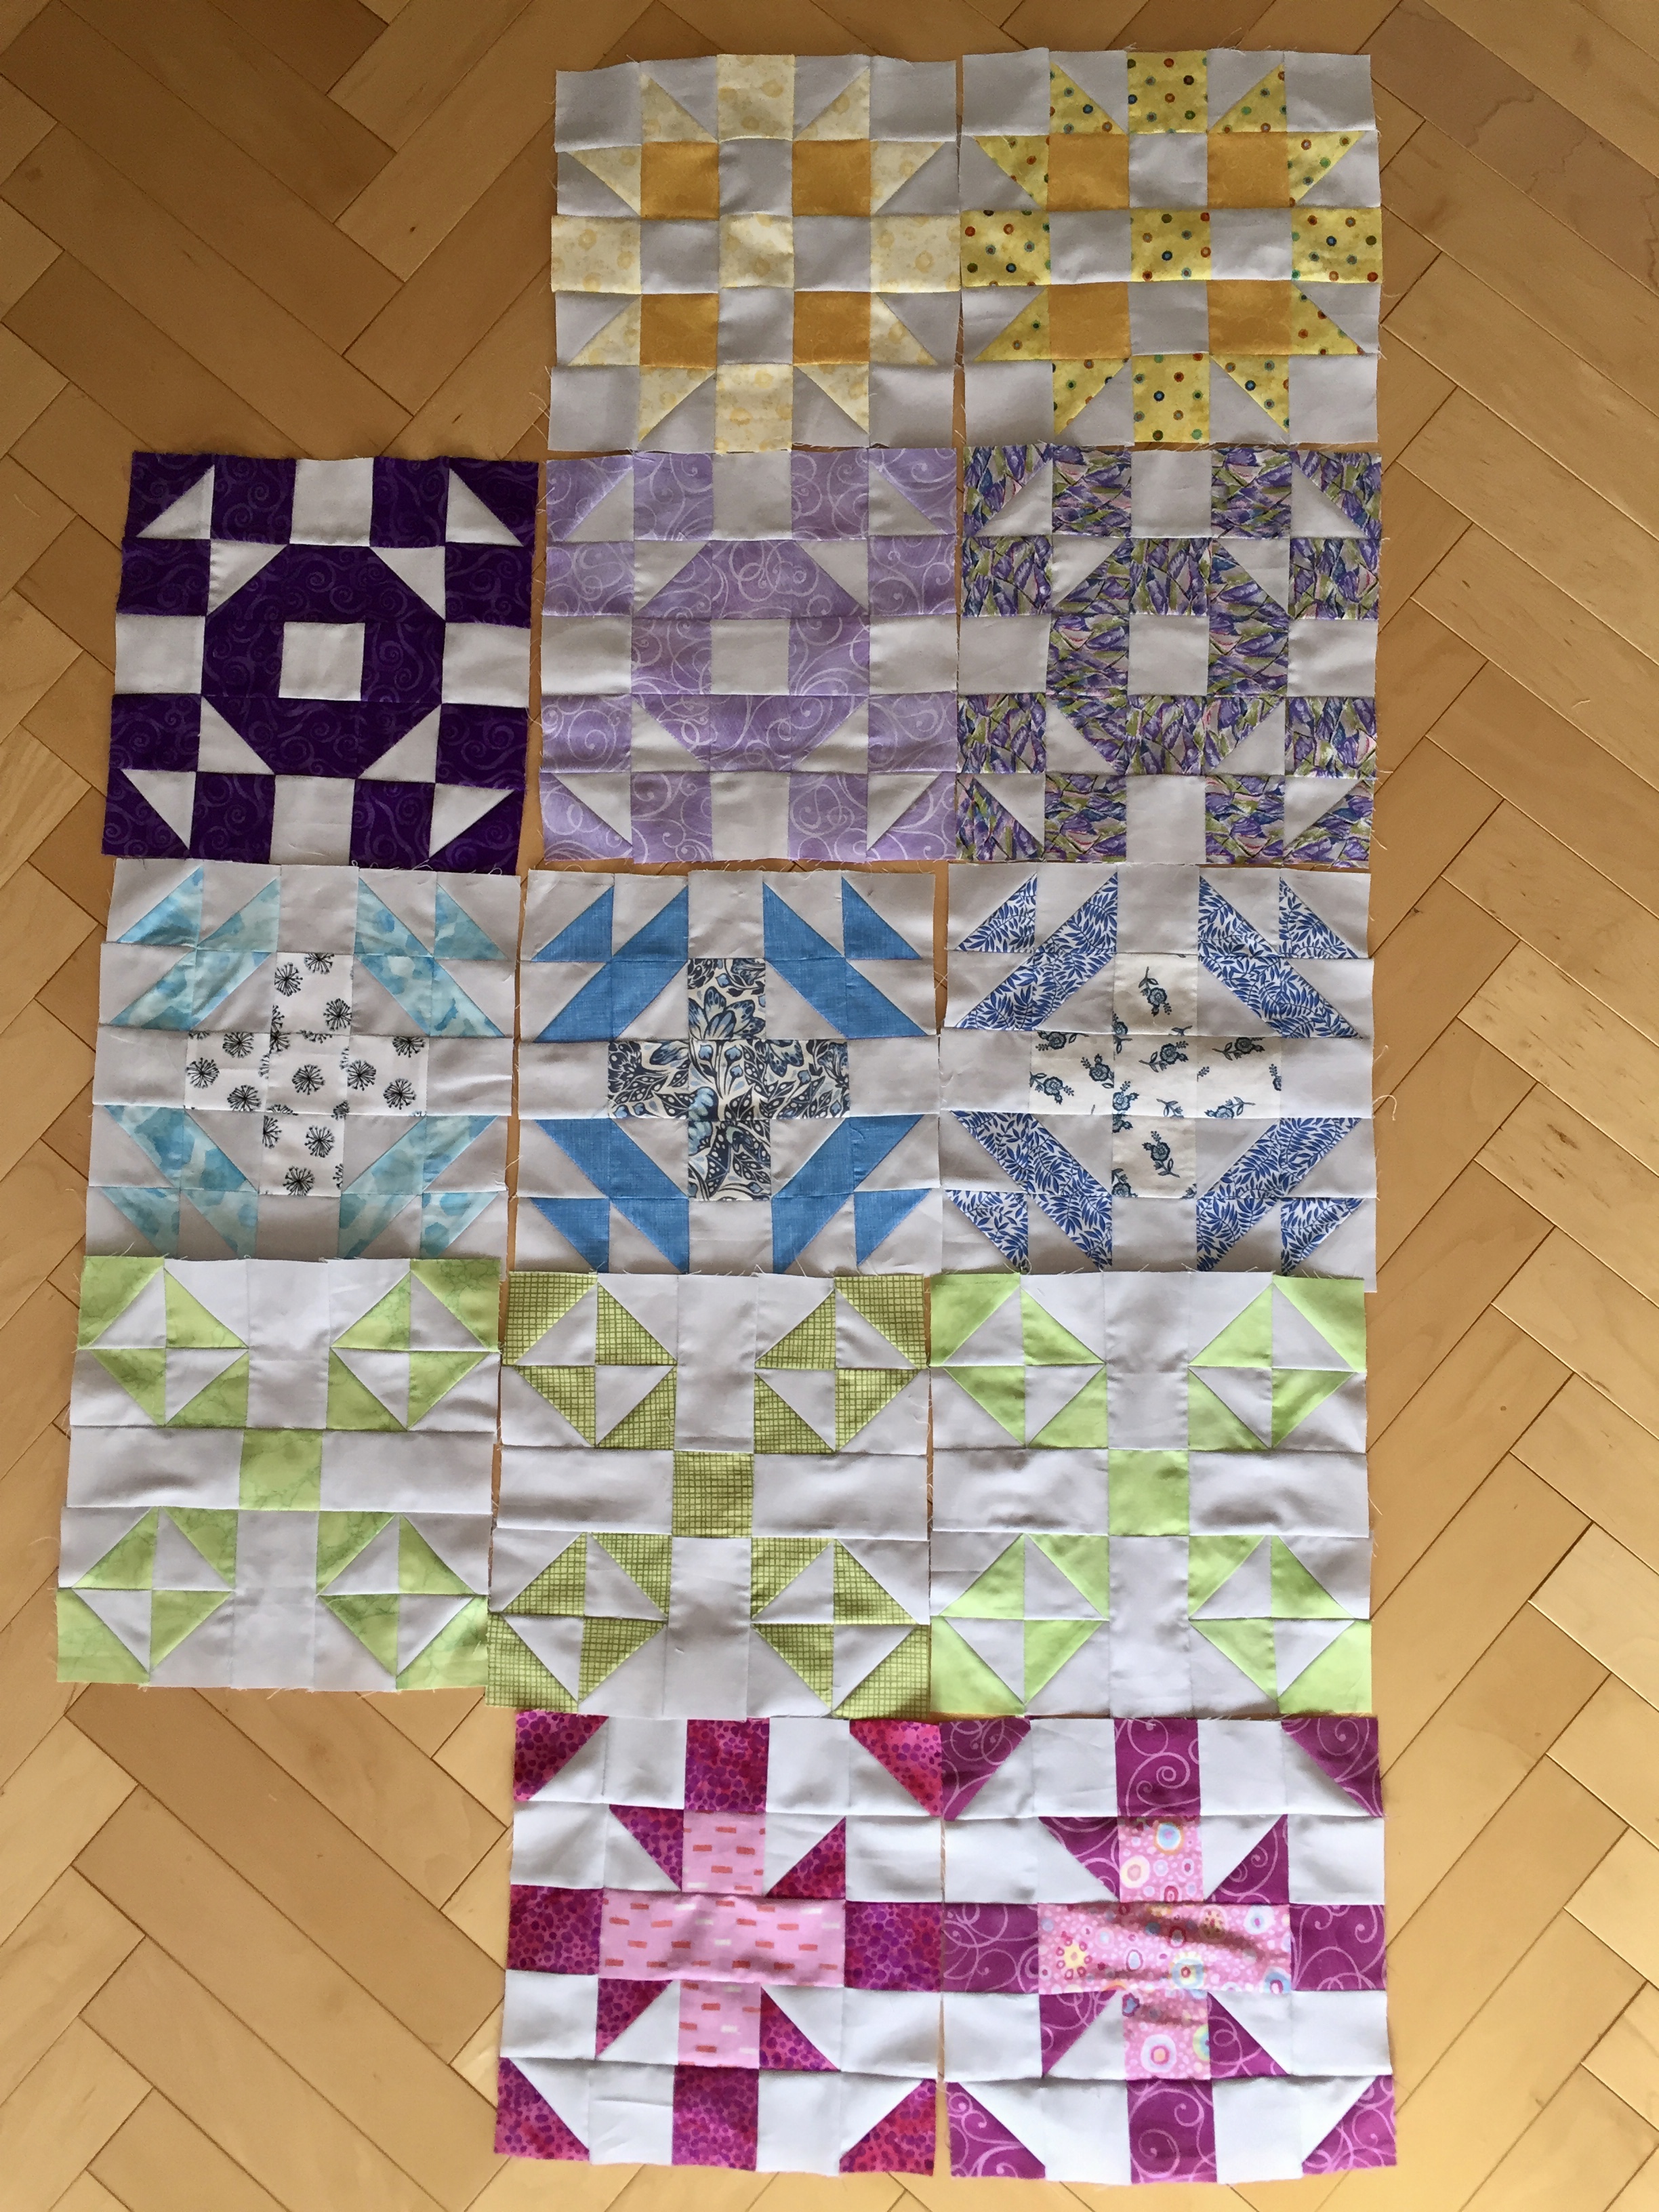
Here is a shot with all of my Squared Away blocks to date.  Looking good, with the exception of the missing pink and yellow blocks!  I am thinking of placing them on point and sashing them with a gray that is a tad darker than the background color I am using. But there is plenty of time to figure out those details.

Finally I did make a few nine patch blocks.  I haven’t made the wonky stars in pink yet, but these are quick and simple to put together.

Now I am off to the sewing room to make a custom Chemex Cozy for a customer in Virginia. Time to get busy.  Also, come back on the first of June as I have some updates about my shop to share with you.  Until then, happy sewing!

Linking to Let’s Bee Social and Needle & Thread Thursday.  Info on both of these is found at the top of the page, under Link Ups.

Have you signed up for my newsletter?  It is published every month or so and is full of information about my shop, new arrivals, sales, and events.  Click here to sign up!
SaveSave

T-Shirt Dress Finished!

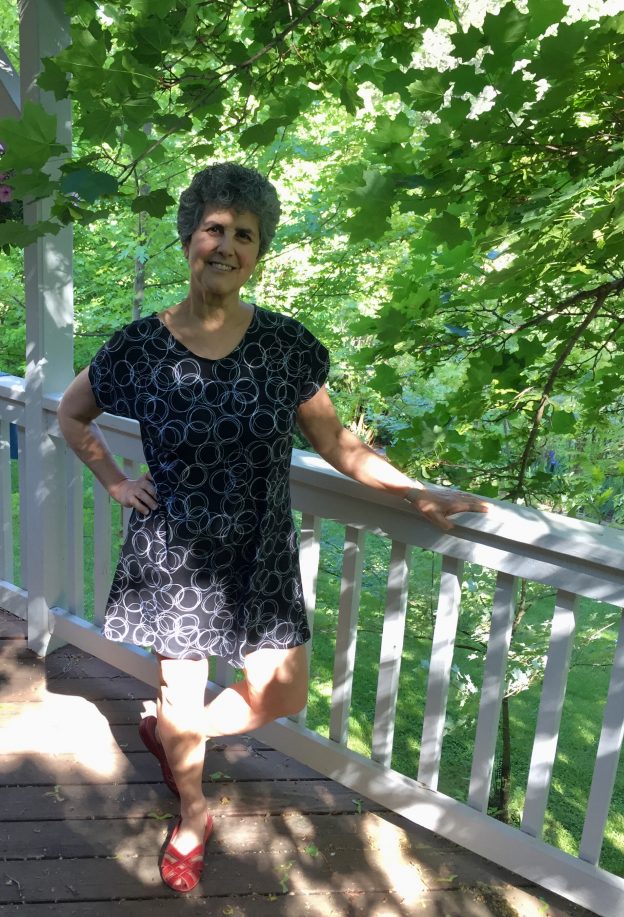
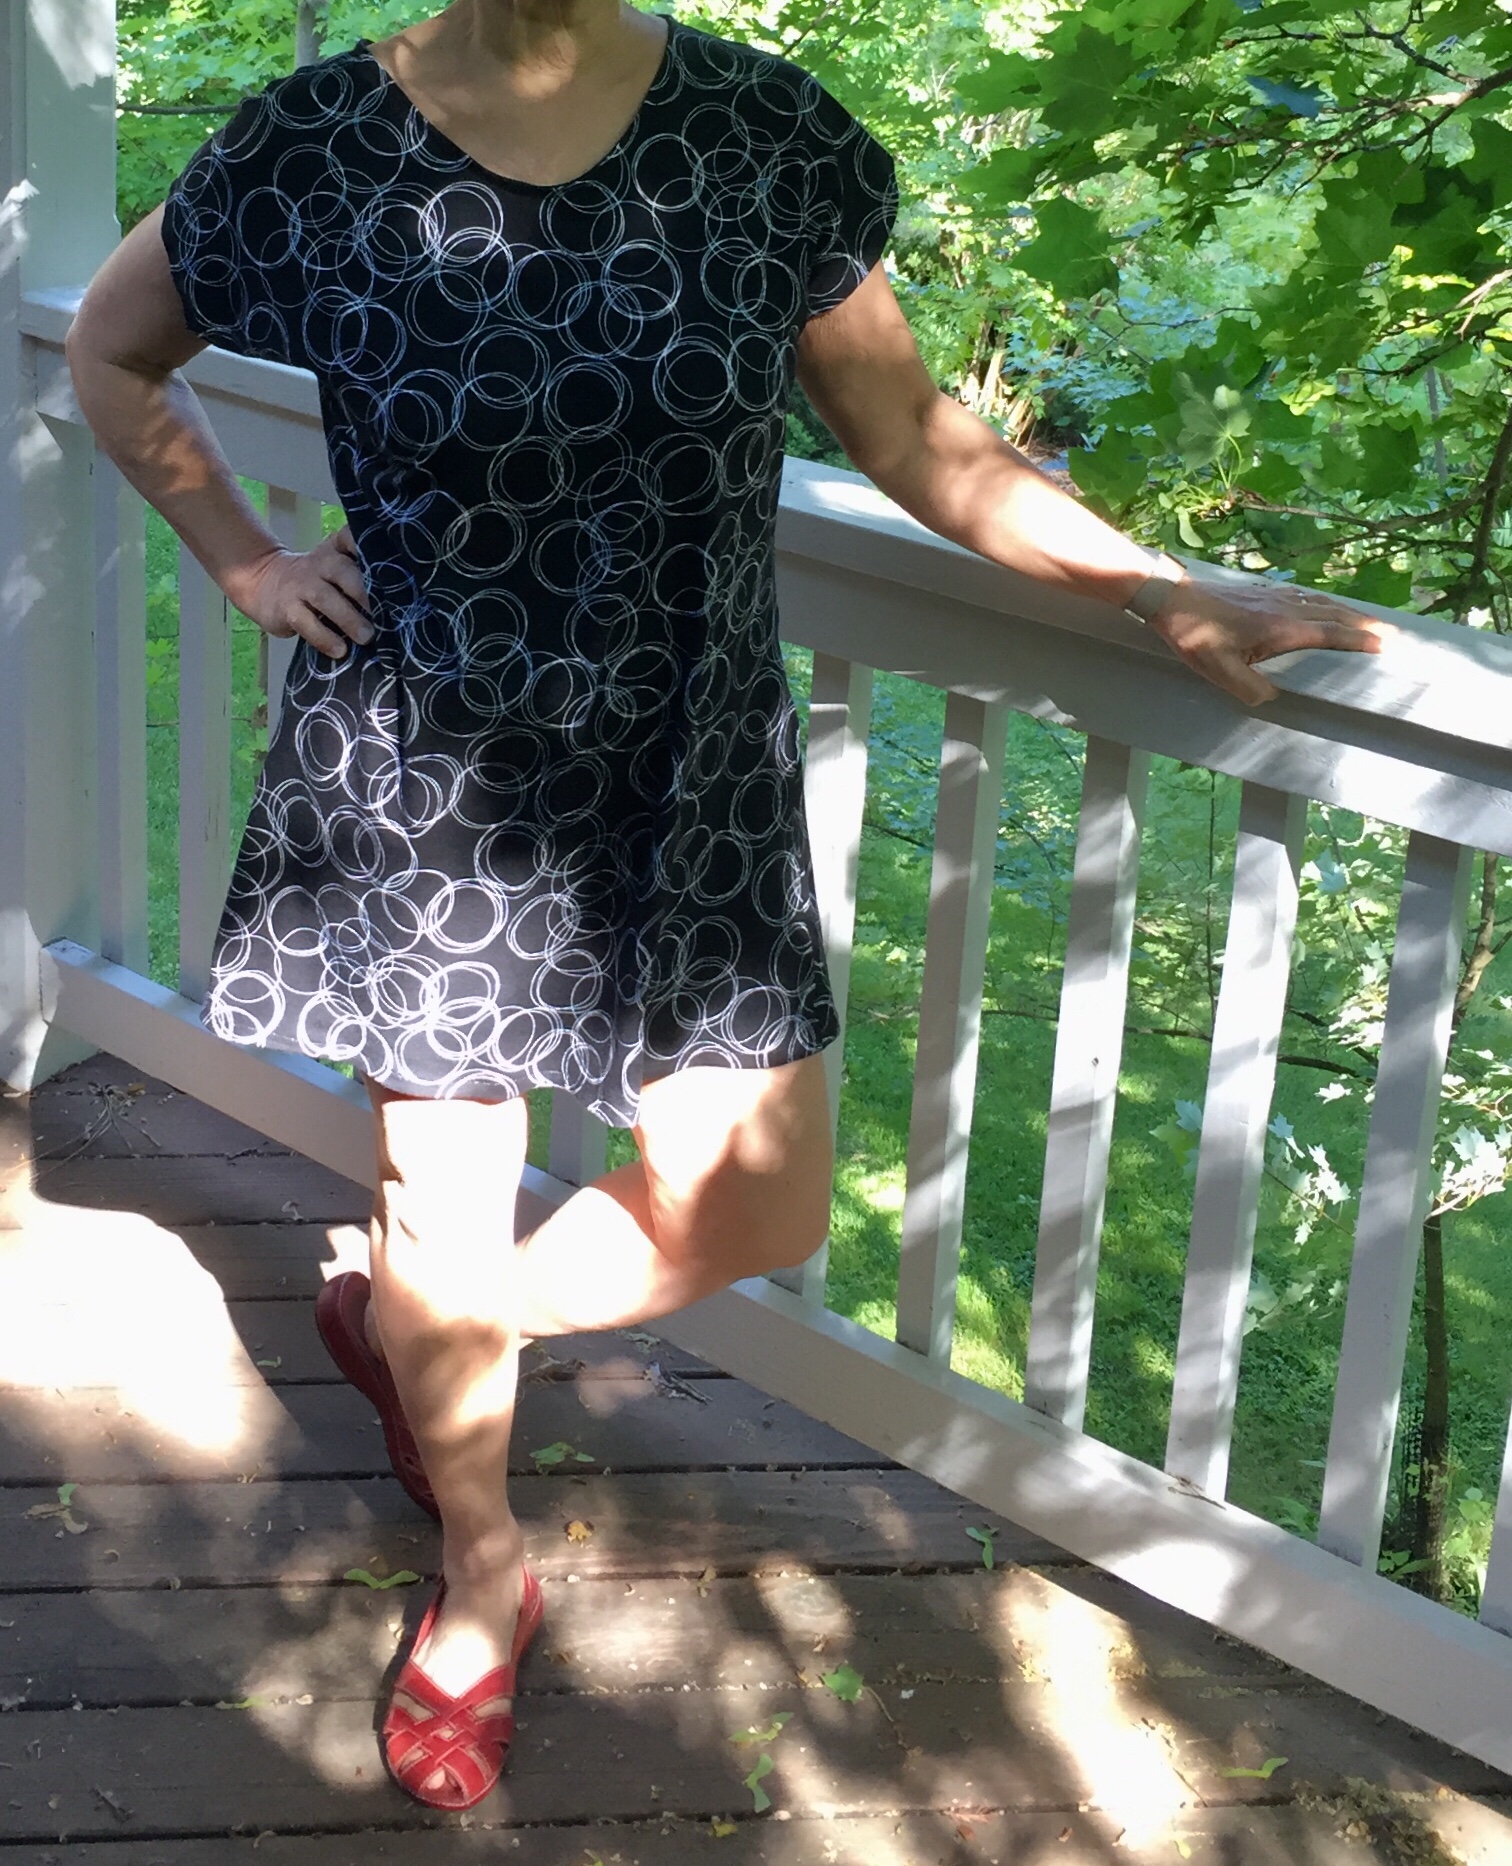
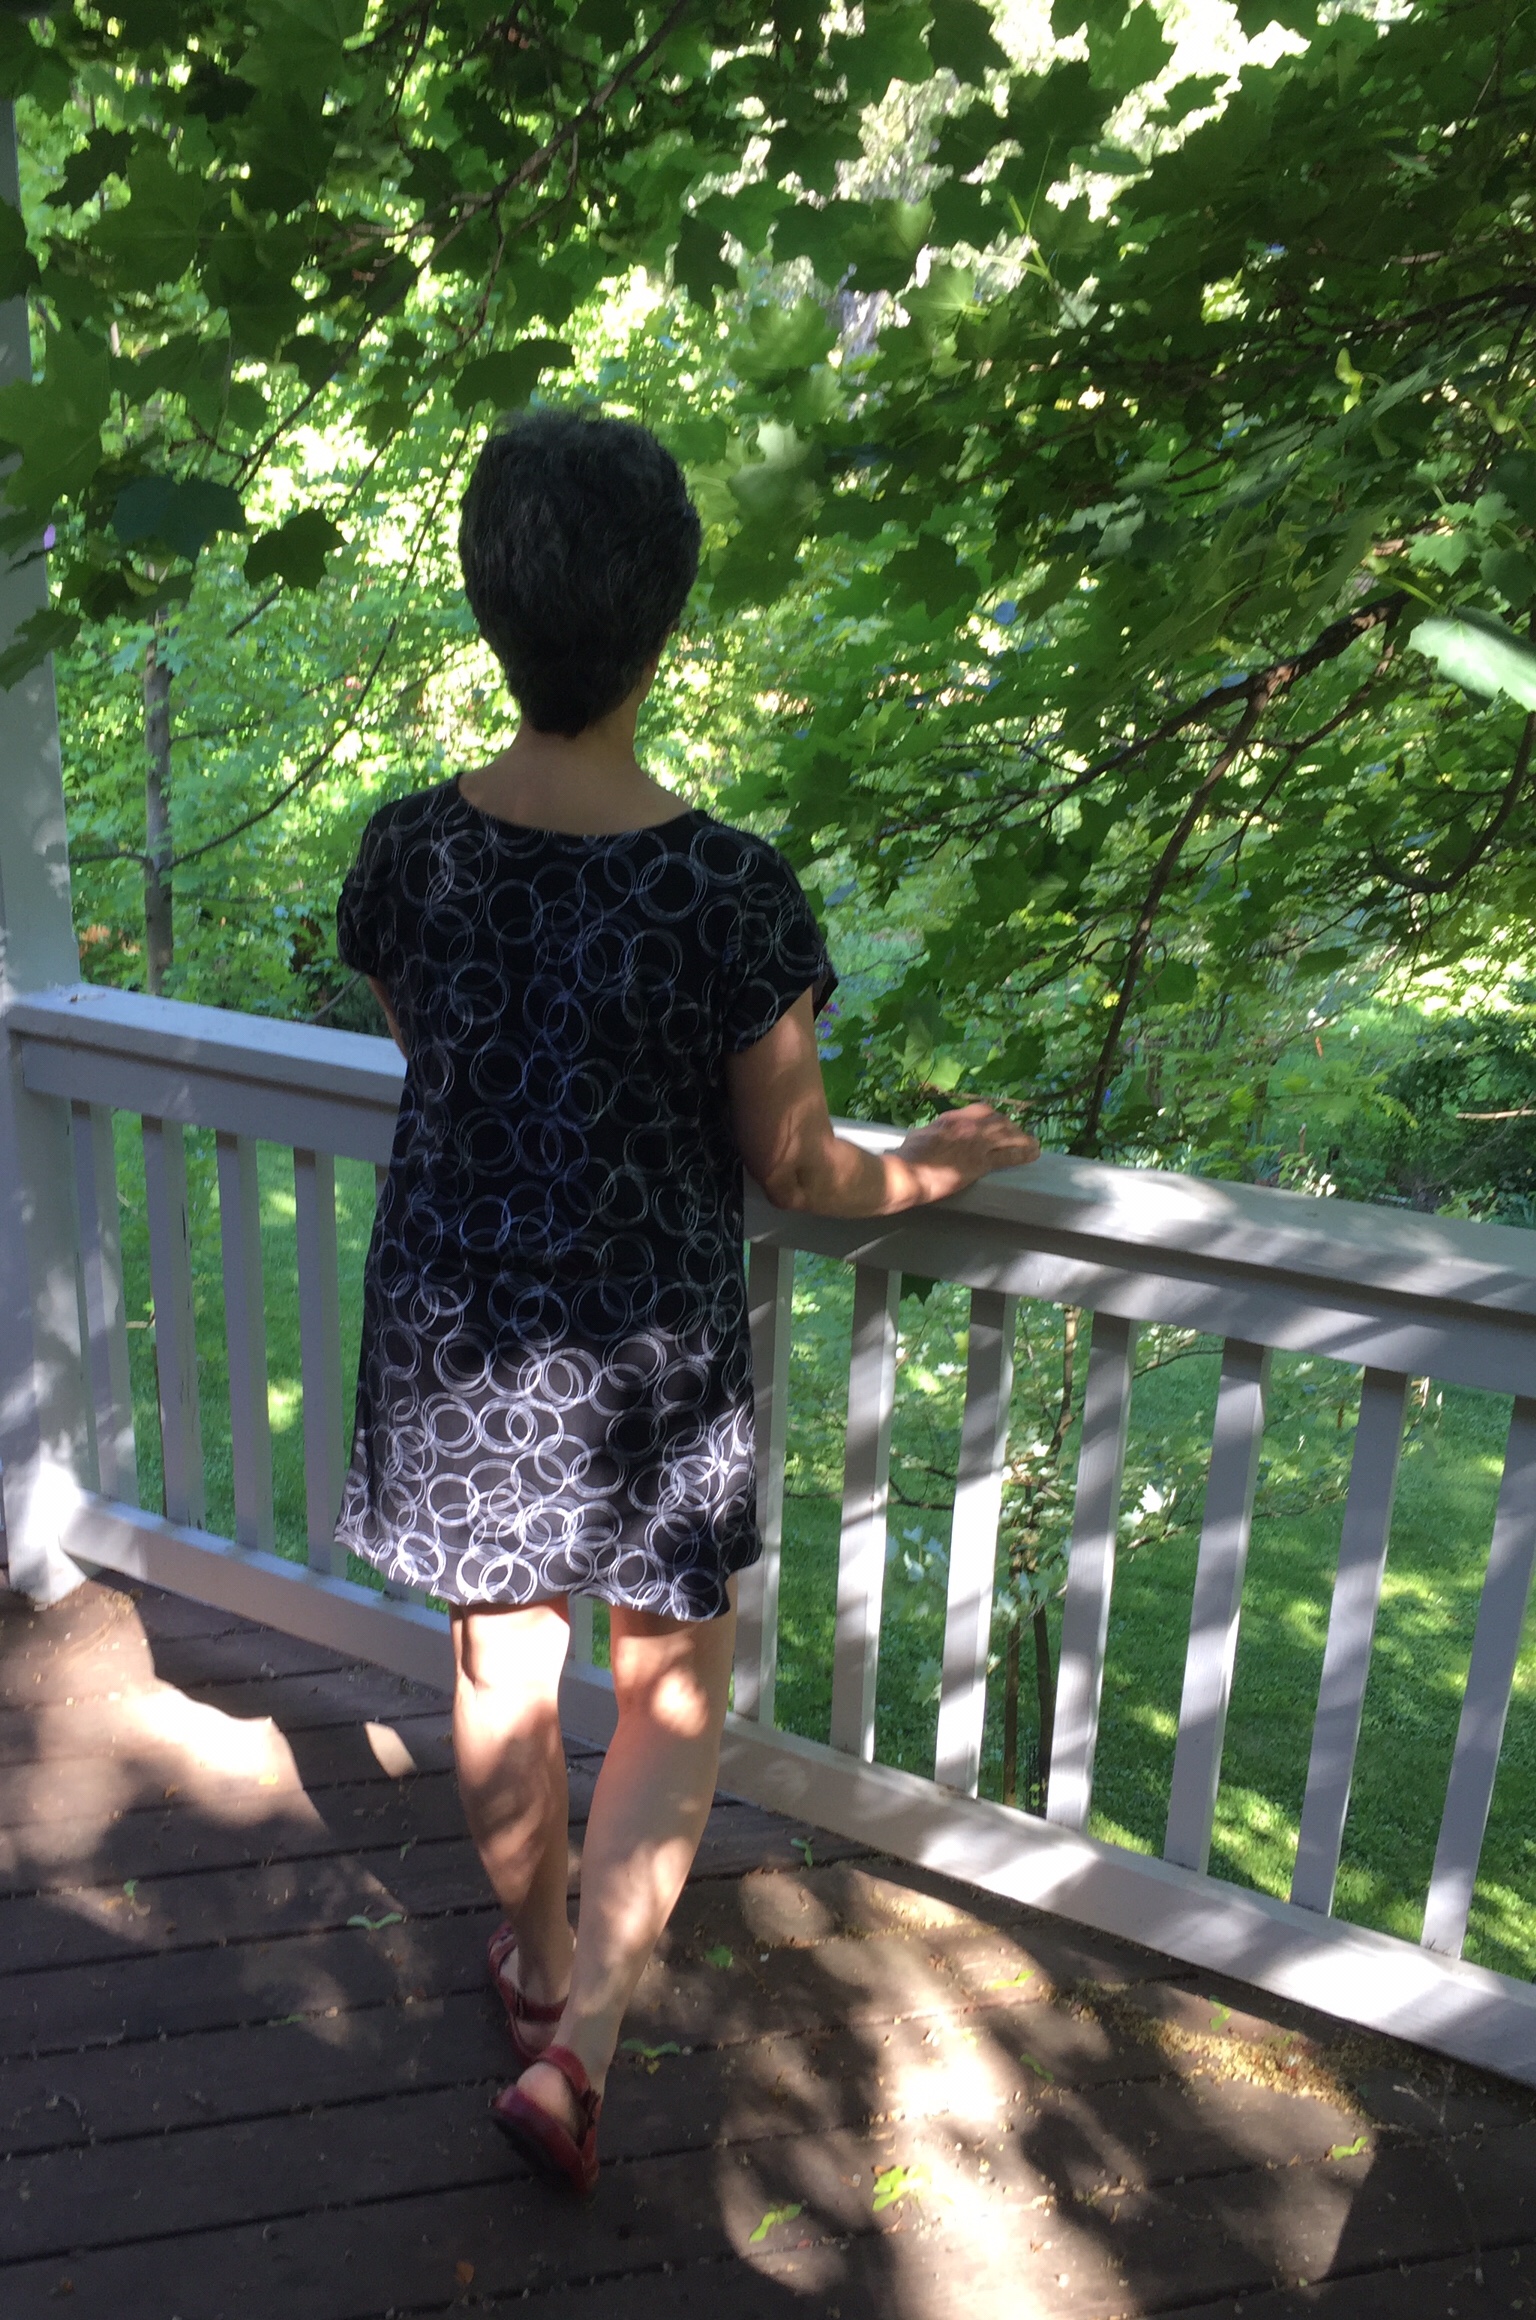
Inspired by all of the wonderful makes being shared on Instagram this month for the Me Made May event, I made a simple t-shirt dress last week.  Three weeks ago or more, I spied this black and white knit fabric at Ben Franklin’s.  It was 20% off which made it a good deal.  When I first saw it, I thought it would be a cute t-shirt.  However, once I got ready to cut it out, I realized I had more than enough for a dress.

t-shirt dress

Because I liked the fit of the Blanc t-shirt I made with that mauve fabric, it seemed reasonable to just extend the length of the pattern and create a dress. I figured if it didn’t look right, I could trim the length and wear it as a shirt.  Once I had the pattern pieces and fabric laid out, I took an old t-shirt dress I have worn for the last couple of summers and put it on top to determine the length and width of the lower part of the dress.

After cutting it out, it is just a couple of seams to put it together.  The neckline is finished with bias tape and each seam is finished with a wide zig zag stitch. (I know, I should have used the serger but it is in the shop.  A story for another post!)

Once I had the shoulder seams together, I slipped it on and saw the length was a bit shorter than I wanted.  I debated adding a block of solid black to the bottom for length but honestly, I didn’t feel like driving to the store.  (Living where we do, a run to Ben Franklin is about a 20 mile round trip.) Instead, I finished the hemline with the same black bias tape.  That way I didn’t lose any length to turning under the fabric for a hem.  It worked really well and made it just long enough to wear.

Overall, I like the dress.  The fit isn’t perfect but I will enjoy wearing it. I have really been enjoying making things to wear lately. Me Made May was a great way to jump back into garment sewing.  How about you?  Do you have the itch to make something too? I have a pair of pants in process that I am unsure about.  The seem like they are going to fit well but the fabric is very soft and I fear they are going to look like pajama pants.  If this is the case, well I guess I will have a new pair of pj pants! We shall see.

I am linking up with all sorts of fun linkys.  Please check them out at the top of the page, under Link Ups!

SaveSave

SaveSave

Hands 2 Help 2018

Hands 2 Help is a very popular on-line quilting event hosted by Sarah of Confessions of a Fabric Addict.  This event was first held in 2011 and seems to grow in popularity each year.  The “rules of the game” are simple.  Make a quilt and donate it.  Sarah always rounds up several worthy organizations who love receiving handmade quilts.  The quilter is also free to choose to donate to an organization close to her heart.  I participated in 2016 but not 2017.  This year I signed up again.  My plan was to donate the Postage Plus quilt I made for the Modern Plus Quilt blog hop a few months back.  One thing after another has gotten in the way of any attempt I made to get the quilt top finished up.  At this point, it is clearly apparent it won’t be done by the end of the week (when the event concludes.). This doesn’t mean I can’t finish it and donate it still, it just means I need another way to fulfill this particular commitment.

I thought about it and decided to donate two baby quilts I made last year.  Both of these were made as samples for fabric I carried in my shop.  I think they are adorable and will be loved by a child somewhere. Rather than send them both out of the area, I want to donate one to Little Lambs in Utah and the other to my local chapter of Project Linus.

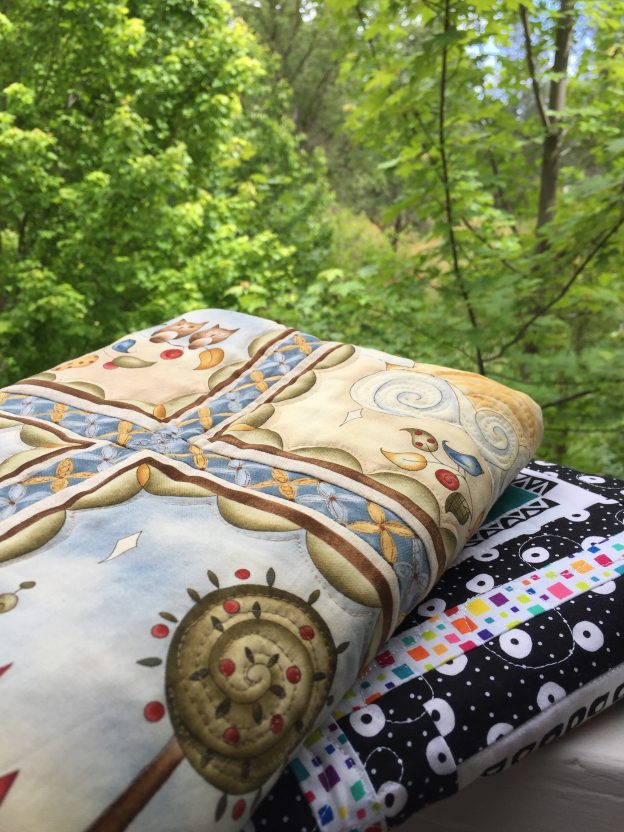
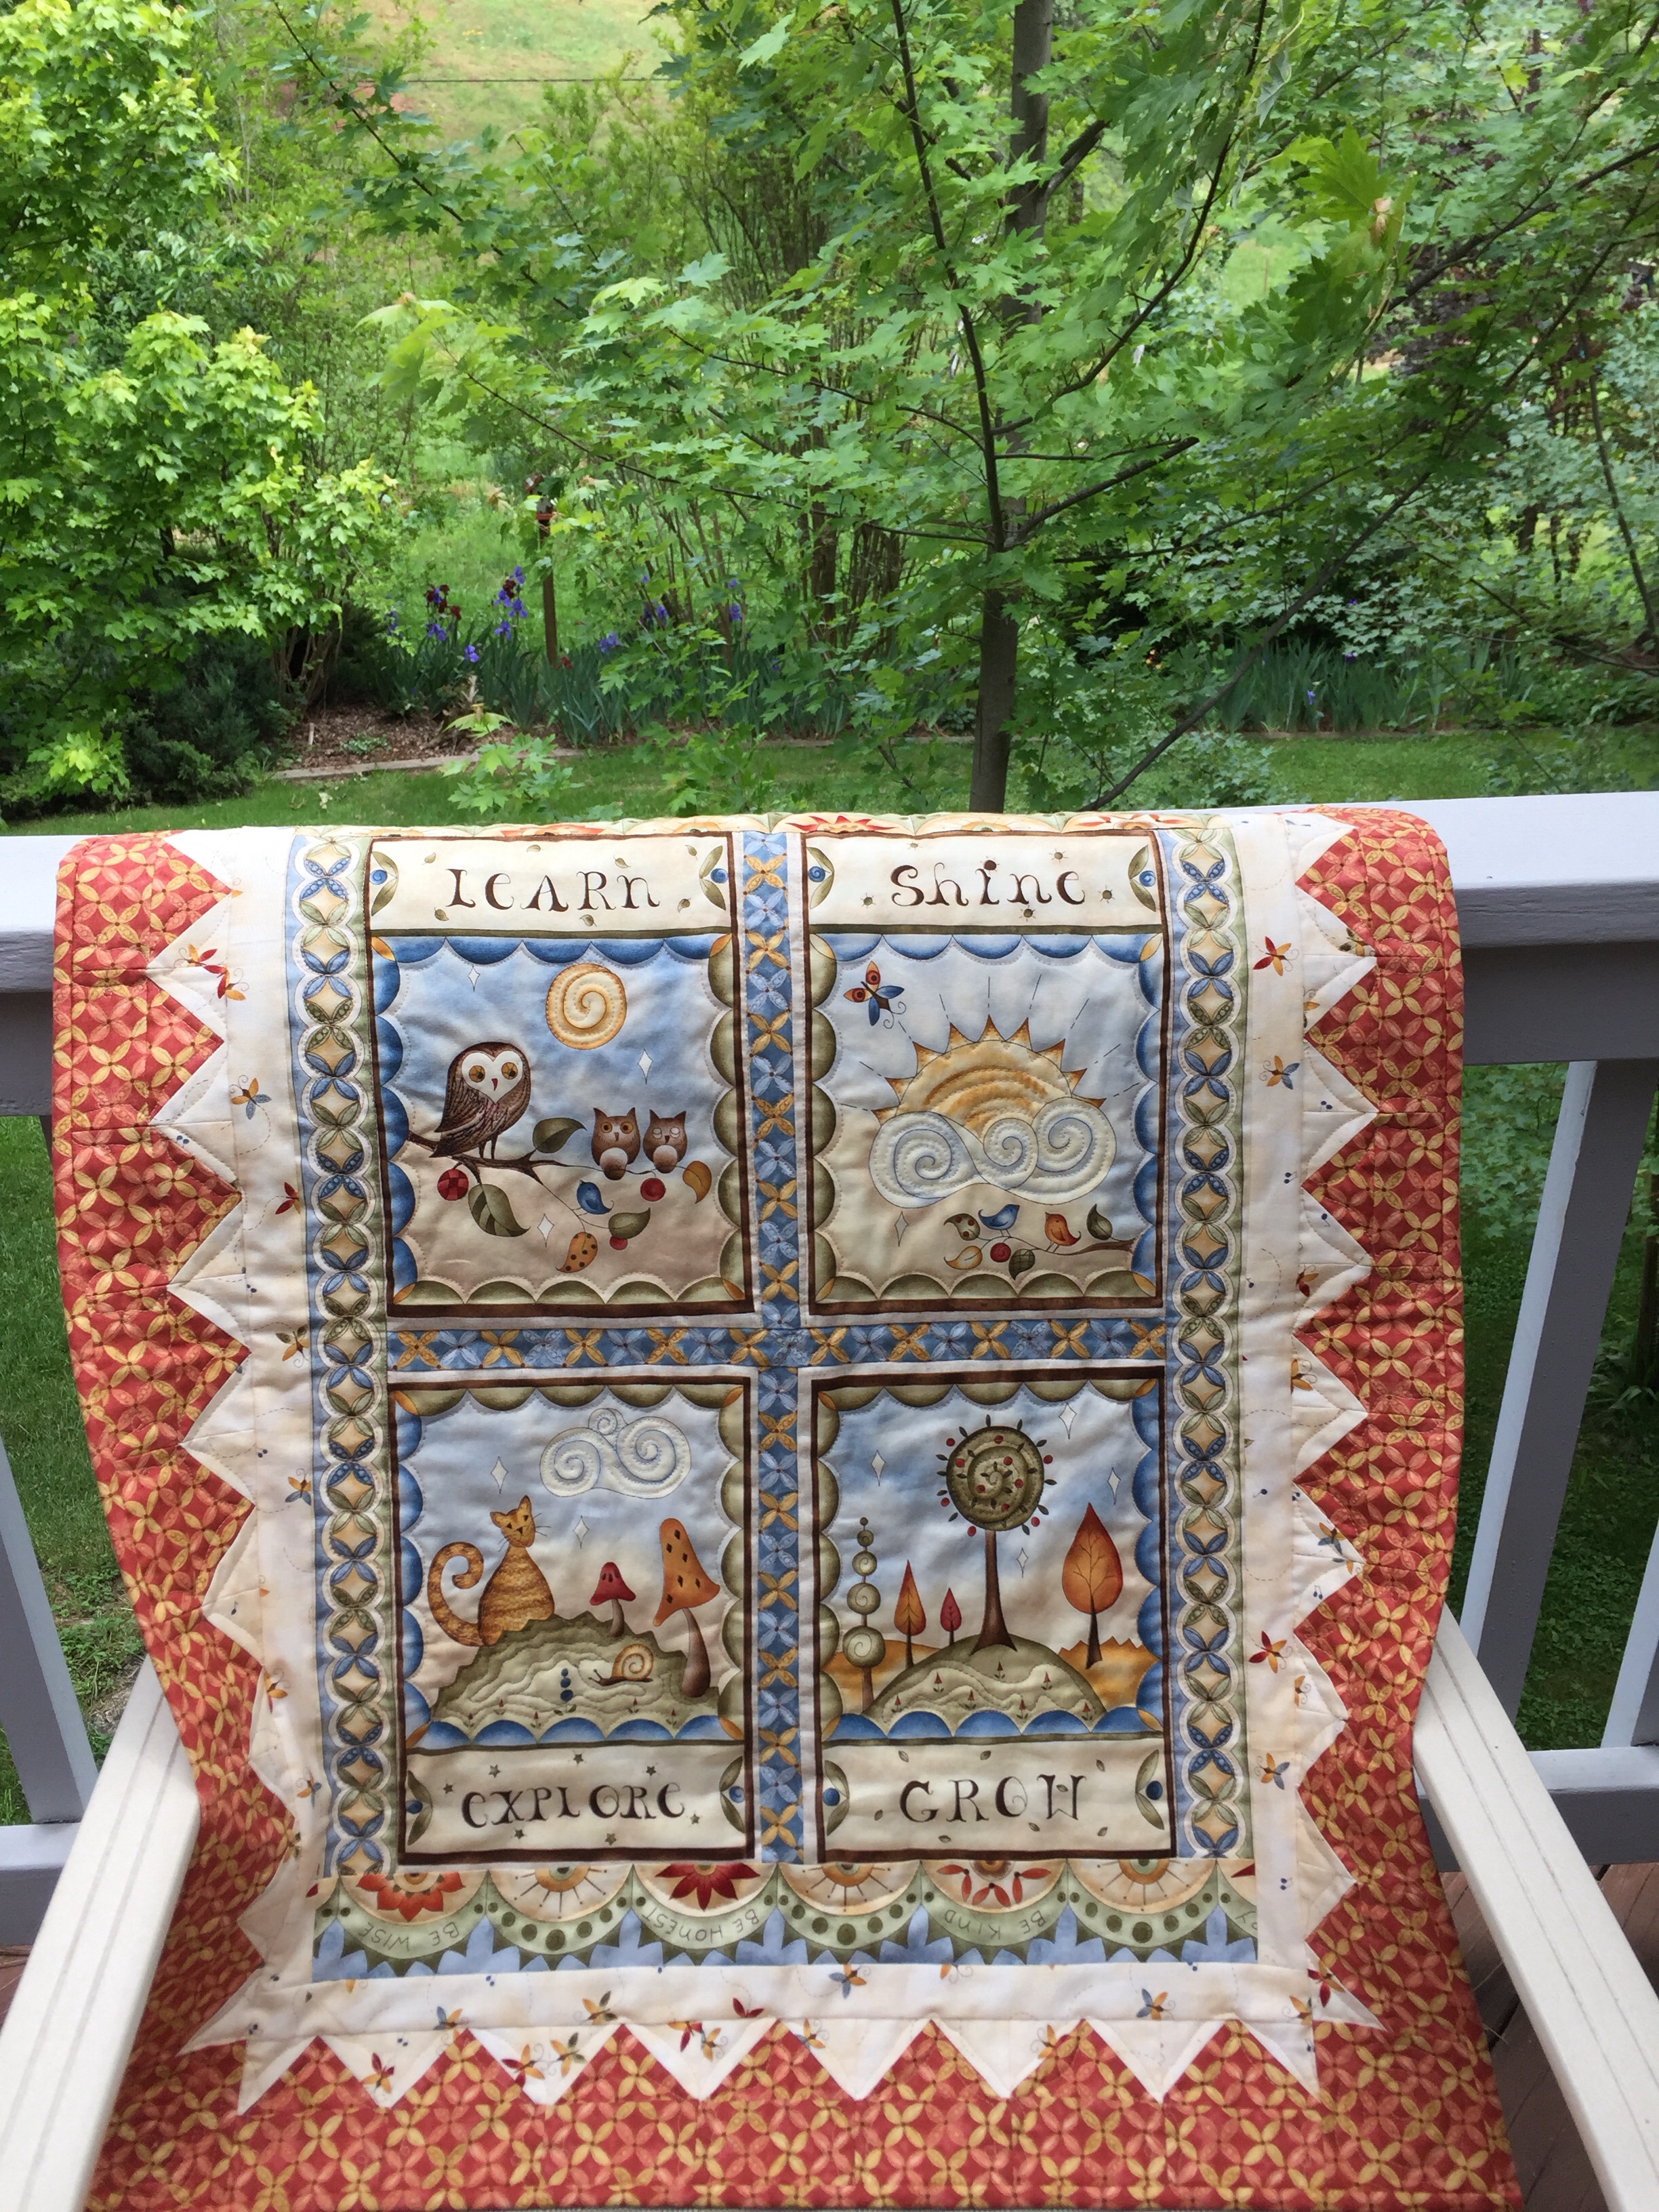
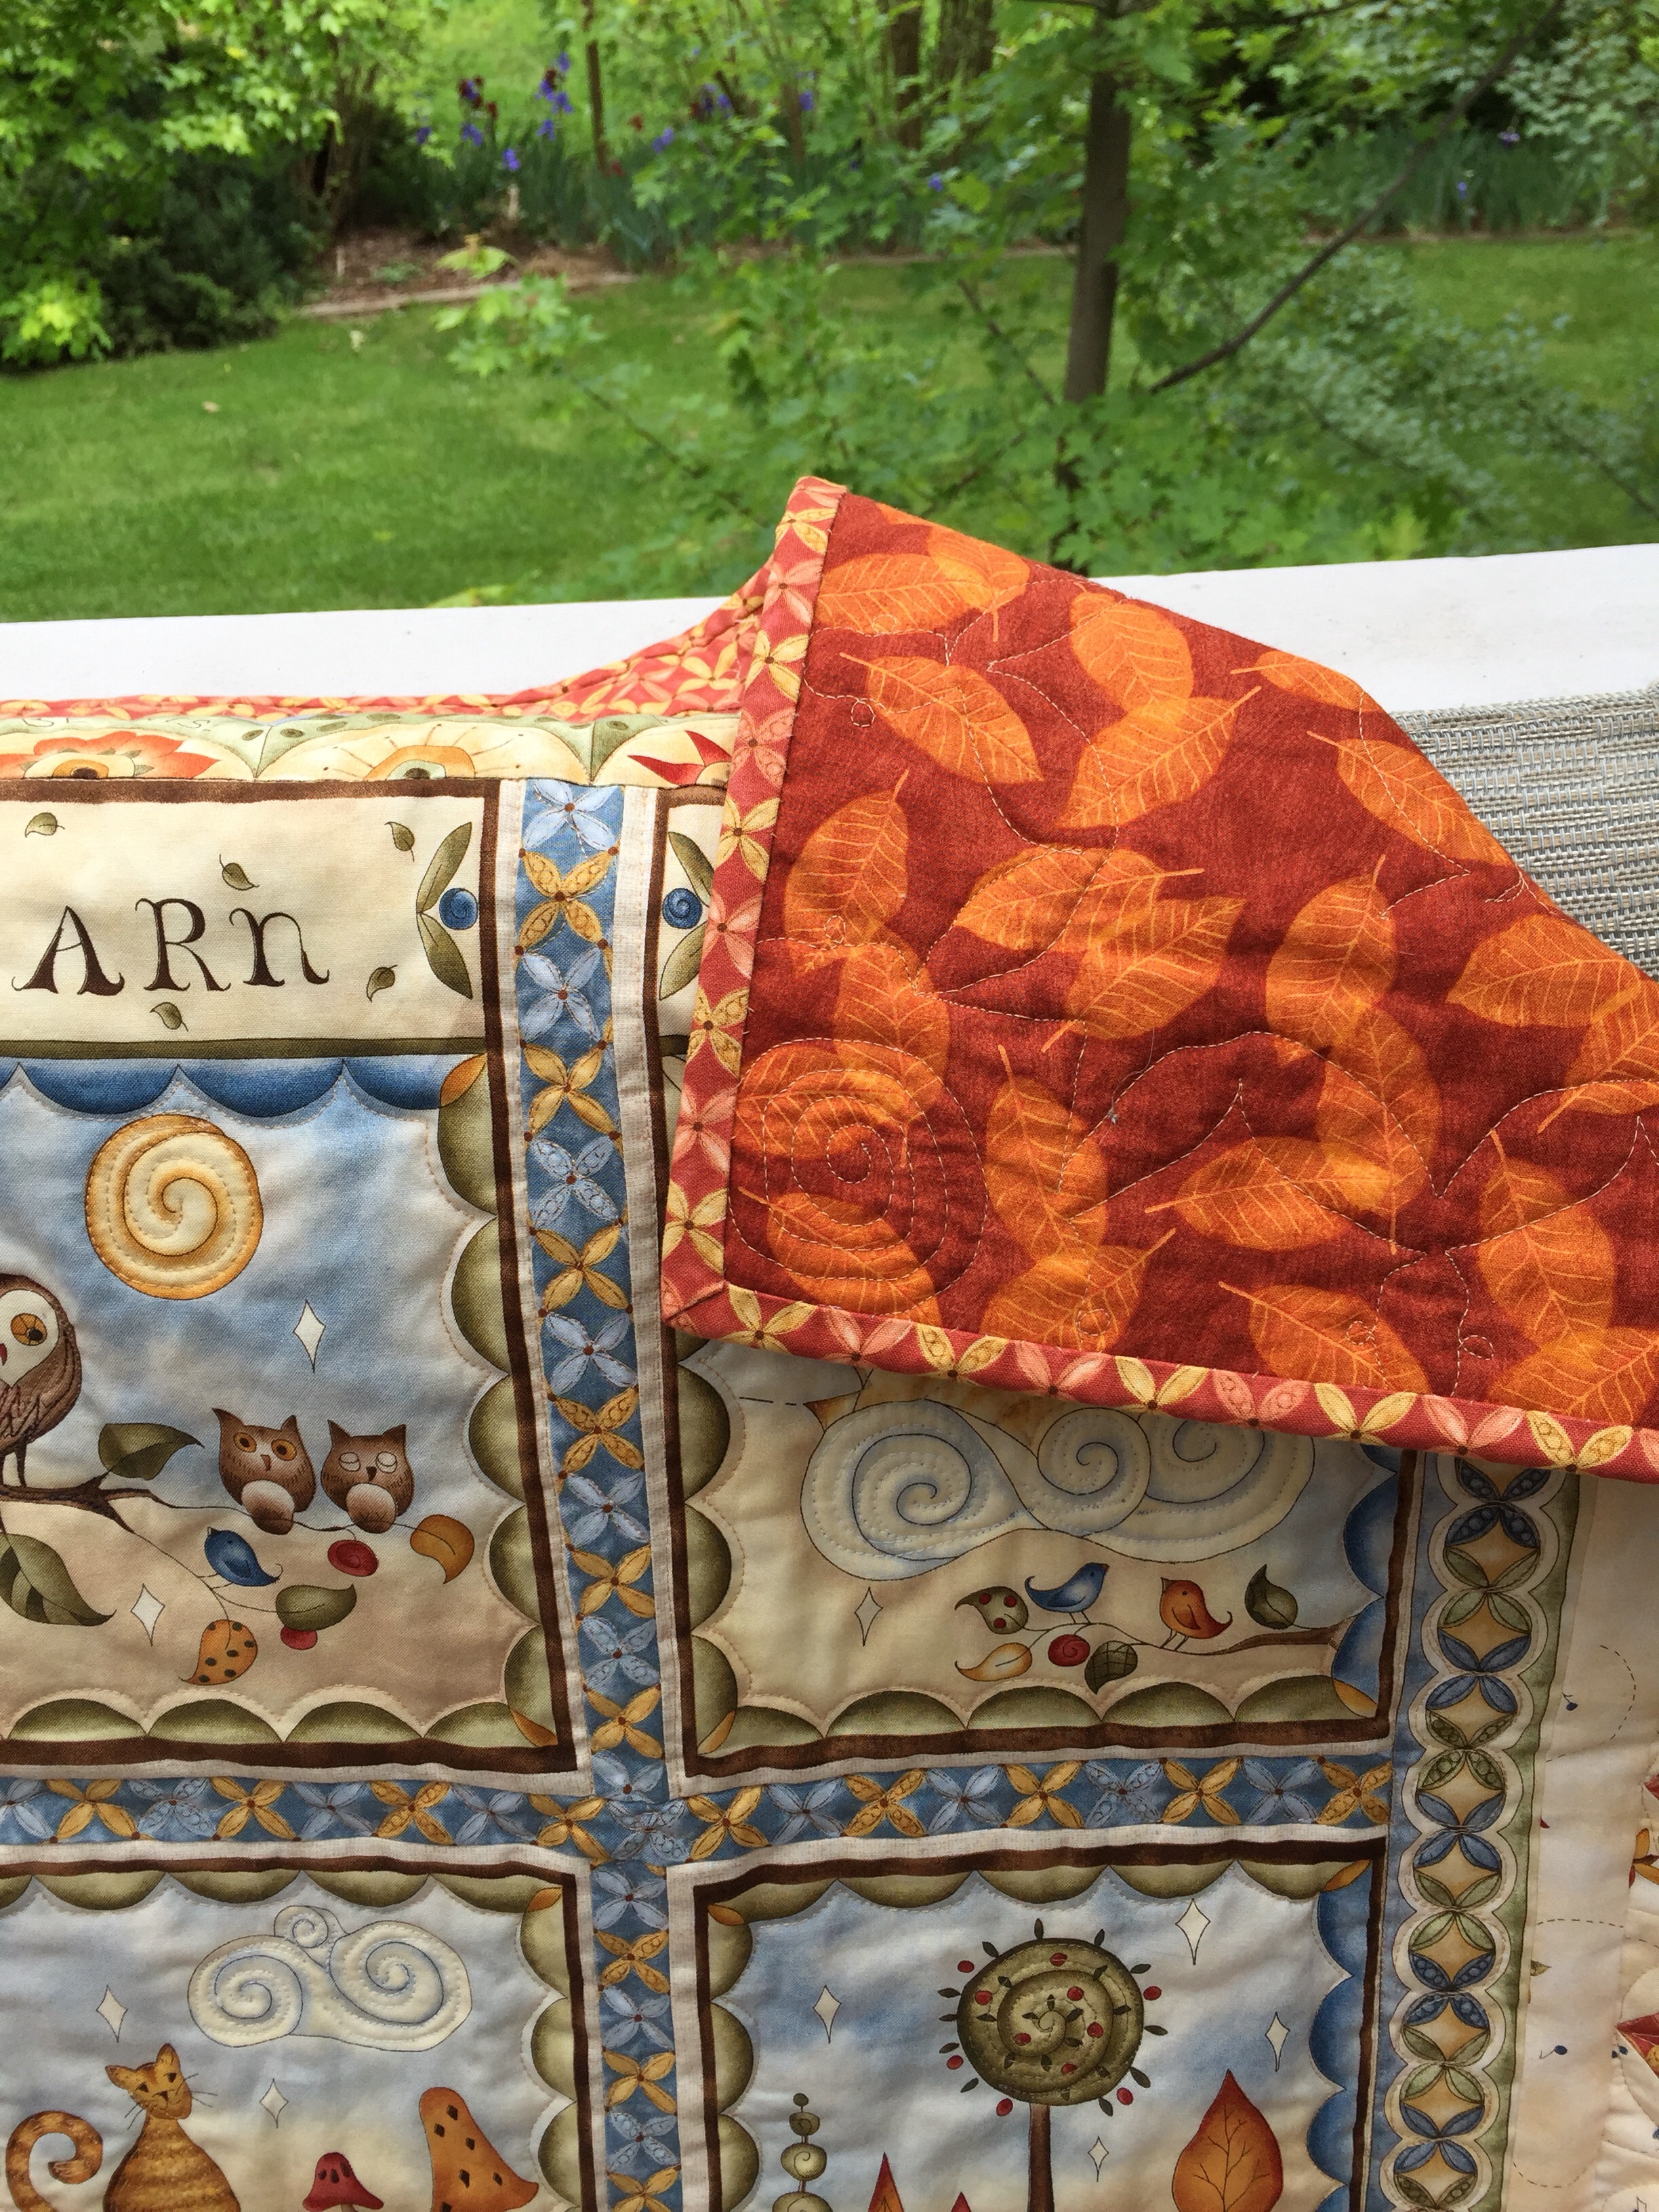
This is the quilt I will send to Little Lambs Foundation.  It was made with a panel from a fabric line called Shine.

If you want to read more about this project, click here.  I think this one is really sweet. I had a lot of fun quilting it and used it as a display in my booth at several quilt shows. The fabric is so sweet with the cats and owls, sunshine and clouds.

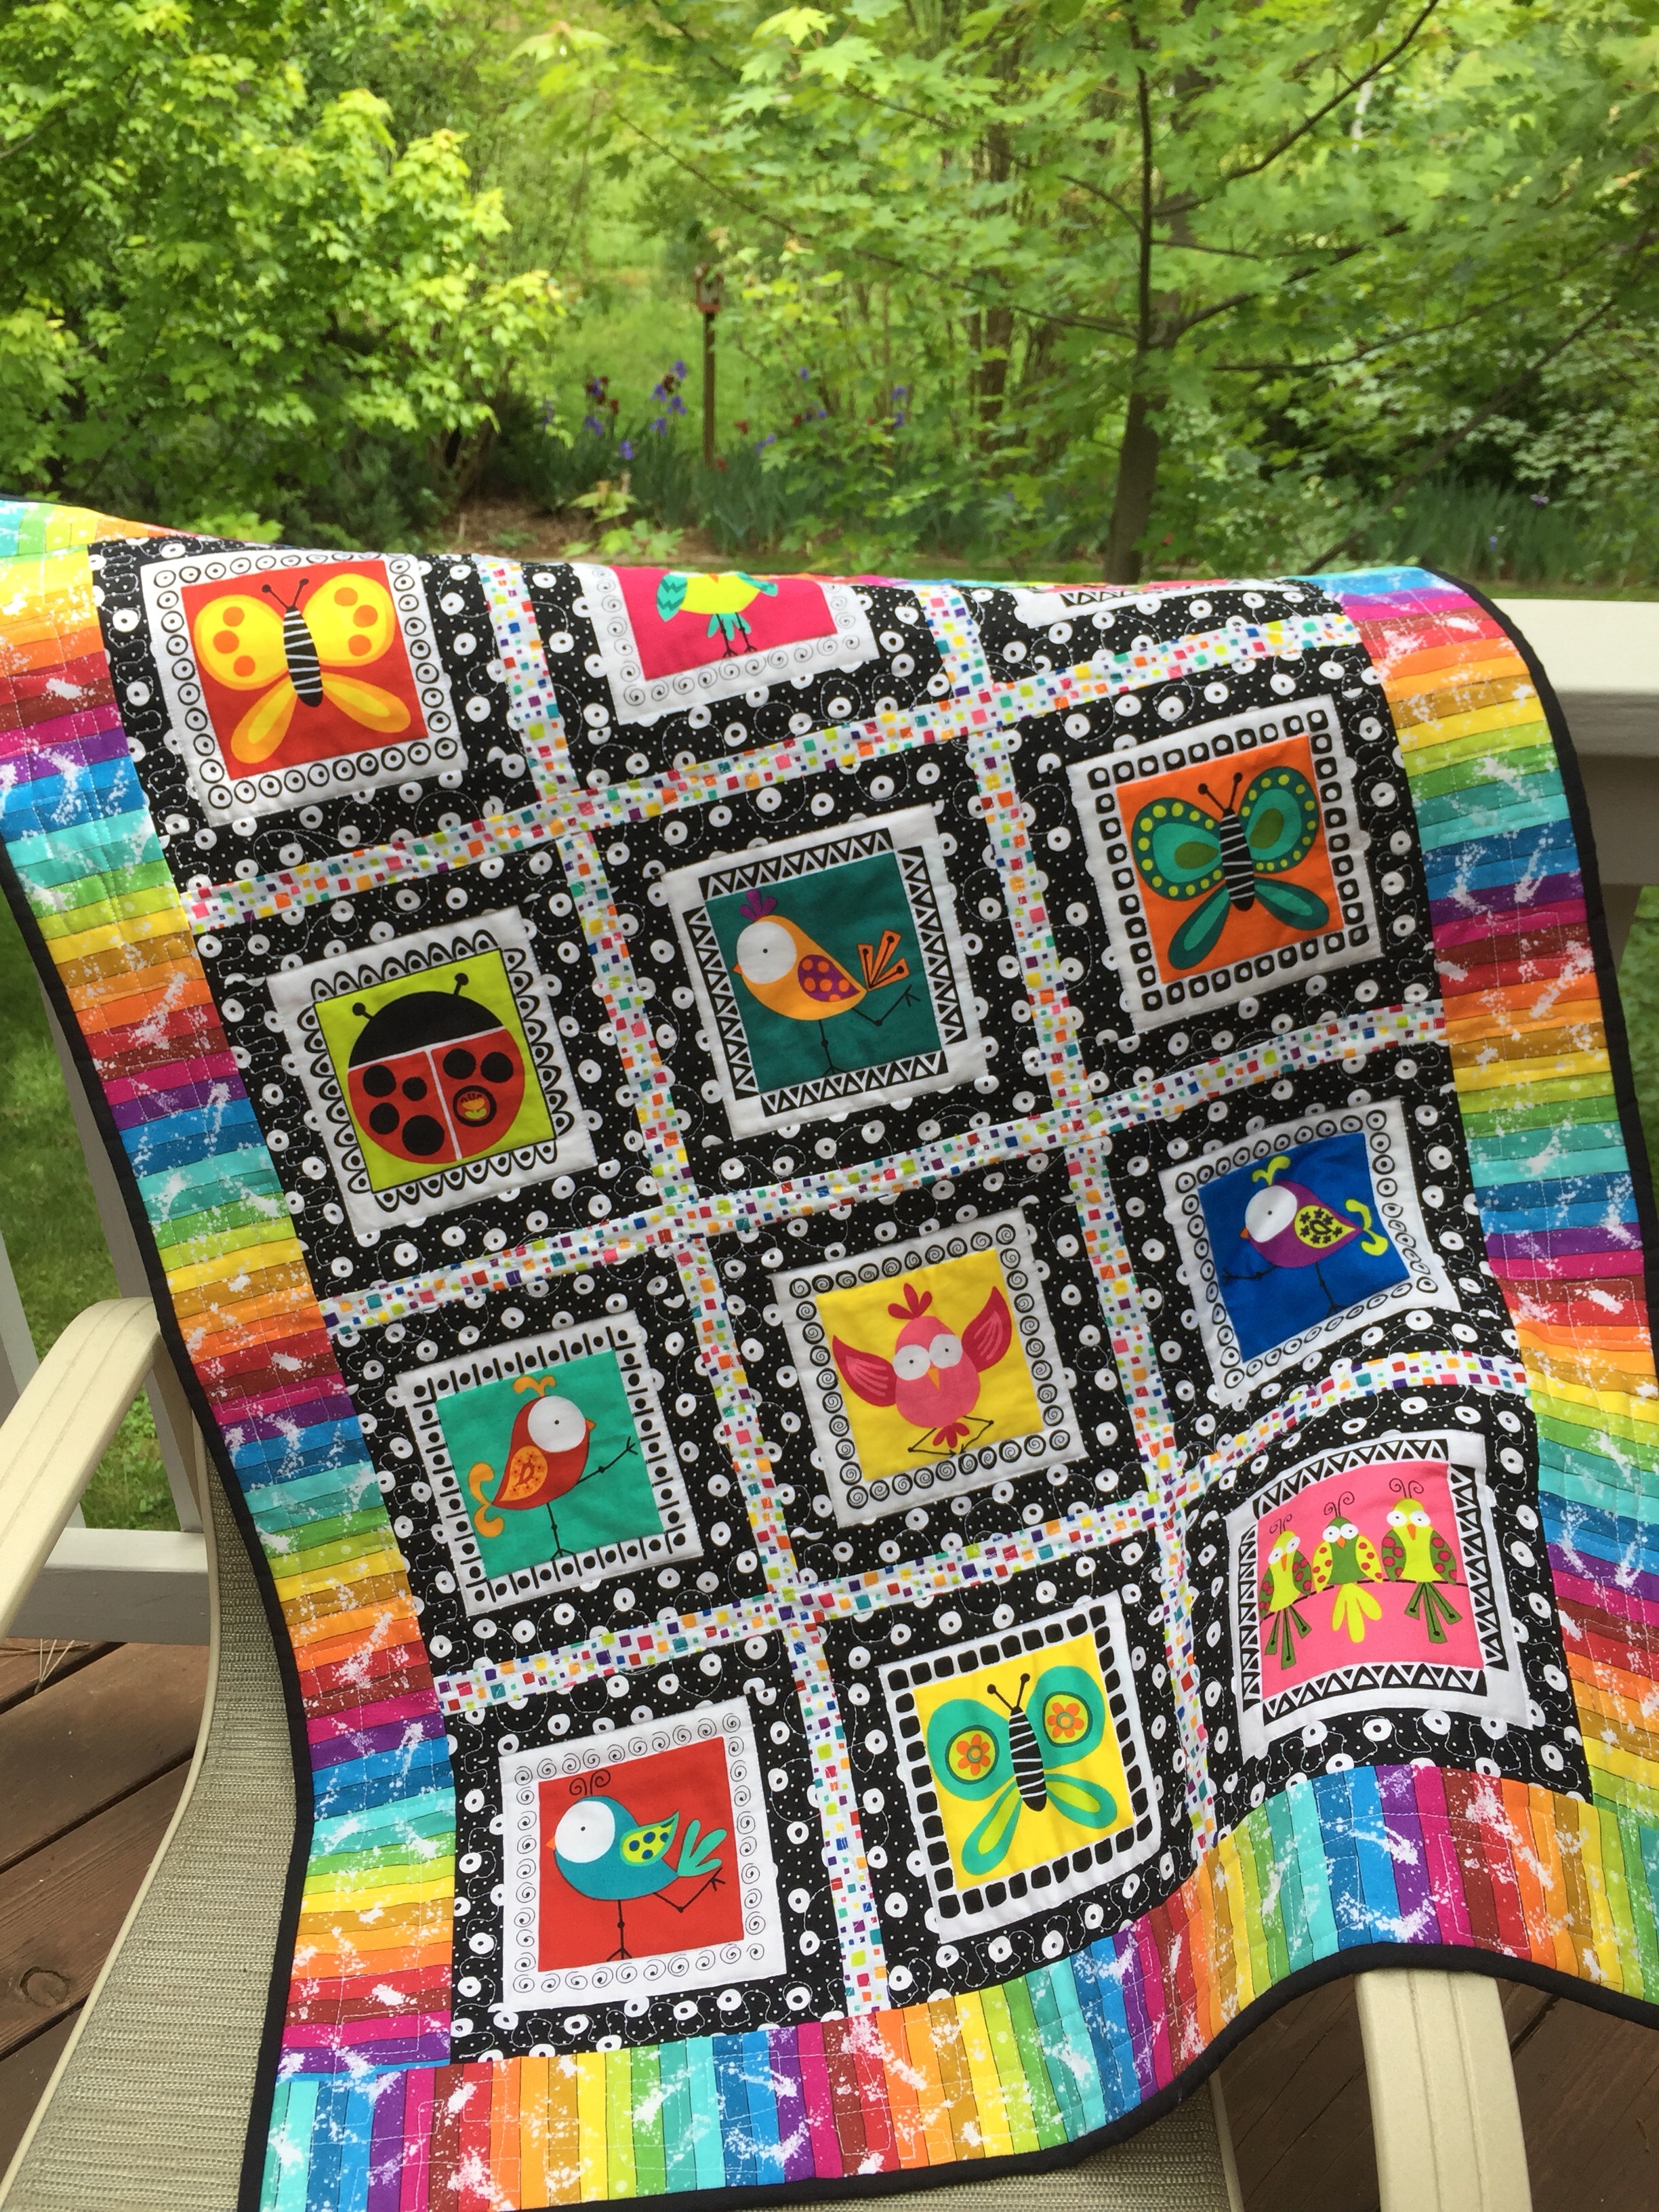
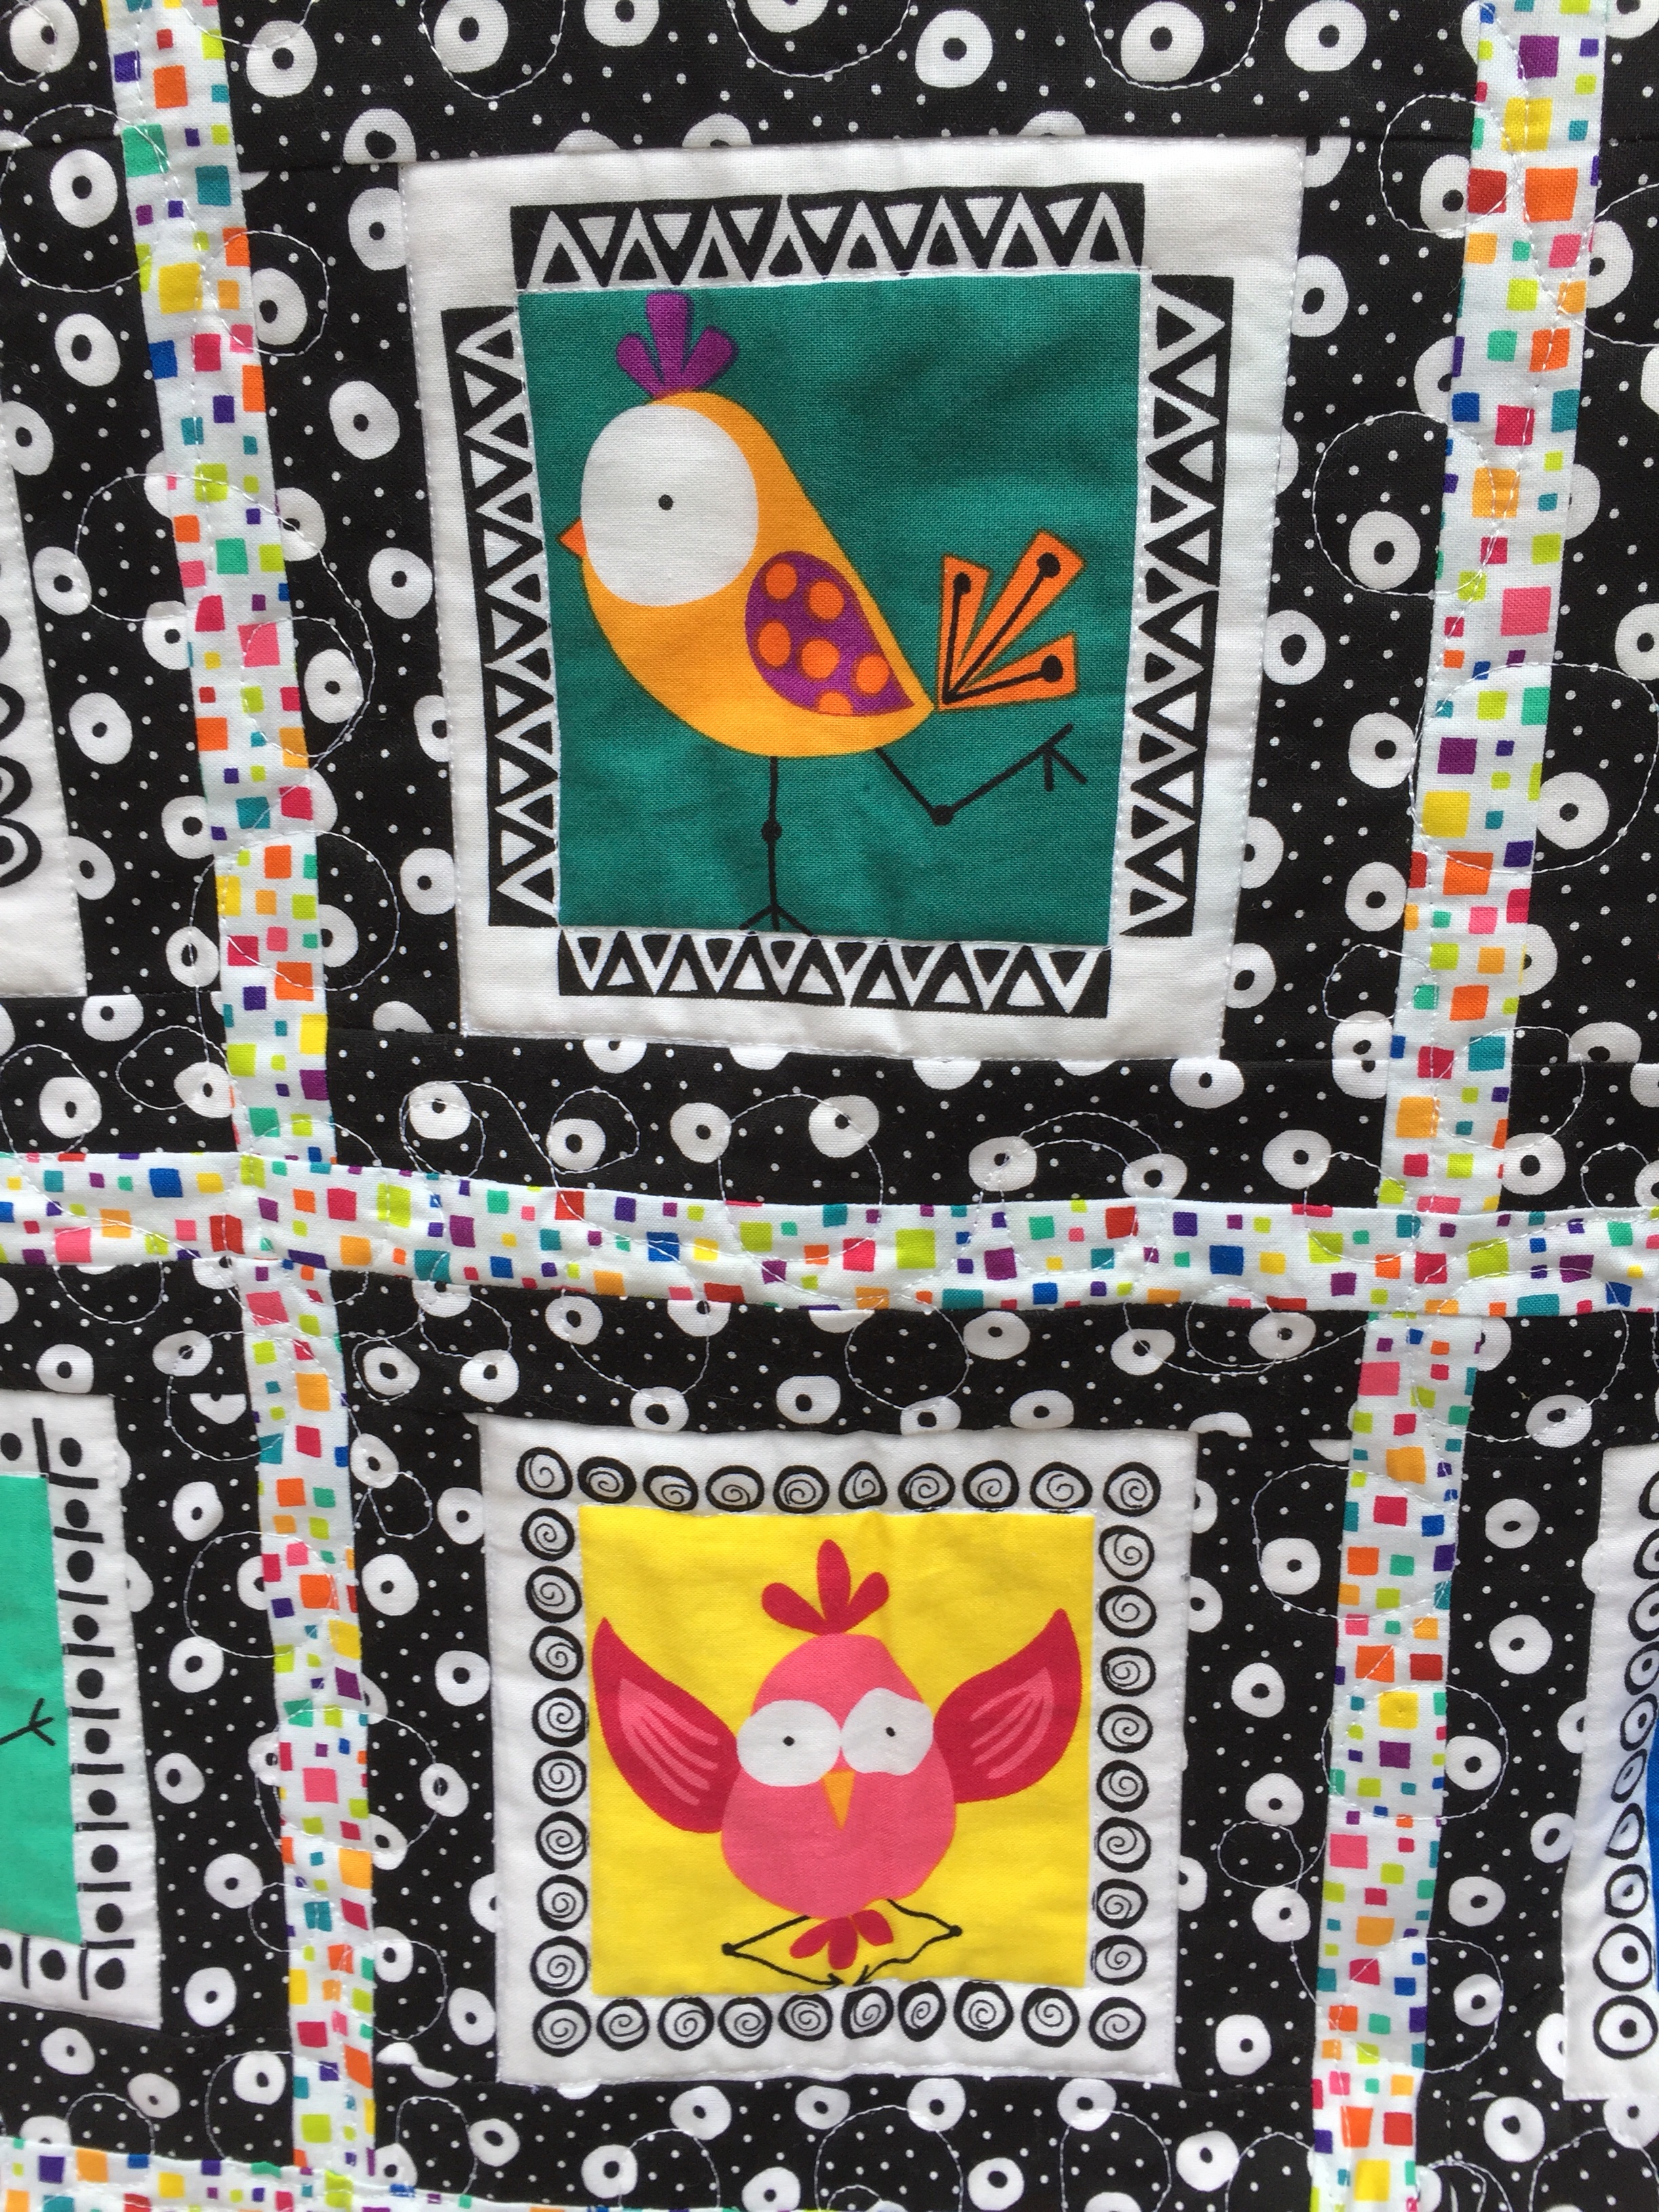
The second quilt will be donated to Project Linus, Featuring bold colors in black, white and rainbow, the quilt was made with a panel from Sweet Tweets.

For more details on this quilt, click here. This line was really fun and sold out incredibly fast.  While I had it, I used the quilt as a sample in my booth.  I think the birds and critters are so much fun for children of any age.  It is a bright, cheerful quilt. This fabric is, unfortunately, not printed any longer or I would still stock it.  I just love it.

It is such a challenge to get everything done that one wants to.  I can’t kick myself for not finishing things as I had planned.  It is a constant battle fto figure out the best way to stay organized and do as much as I can.  The Postage Plus quilt will get finished and it will also go off to a good cause, just not this week!  Thank you Sarah for your wonderful work organizing this huge event.  I know it takes so much of your time and you reach many people as a result. You are such a generous soul.  There are so many gorgeous quilts being donated this year.  If you want to see some, click here and be inspired!

Linking to Confessions of a Fabric Addict.

SaveSave

SaveSave

Collecting Florals

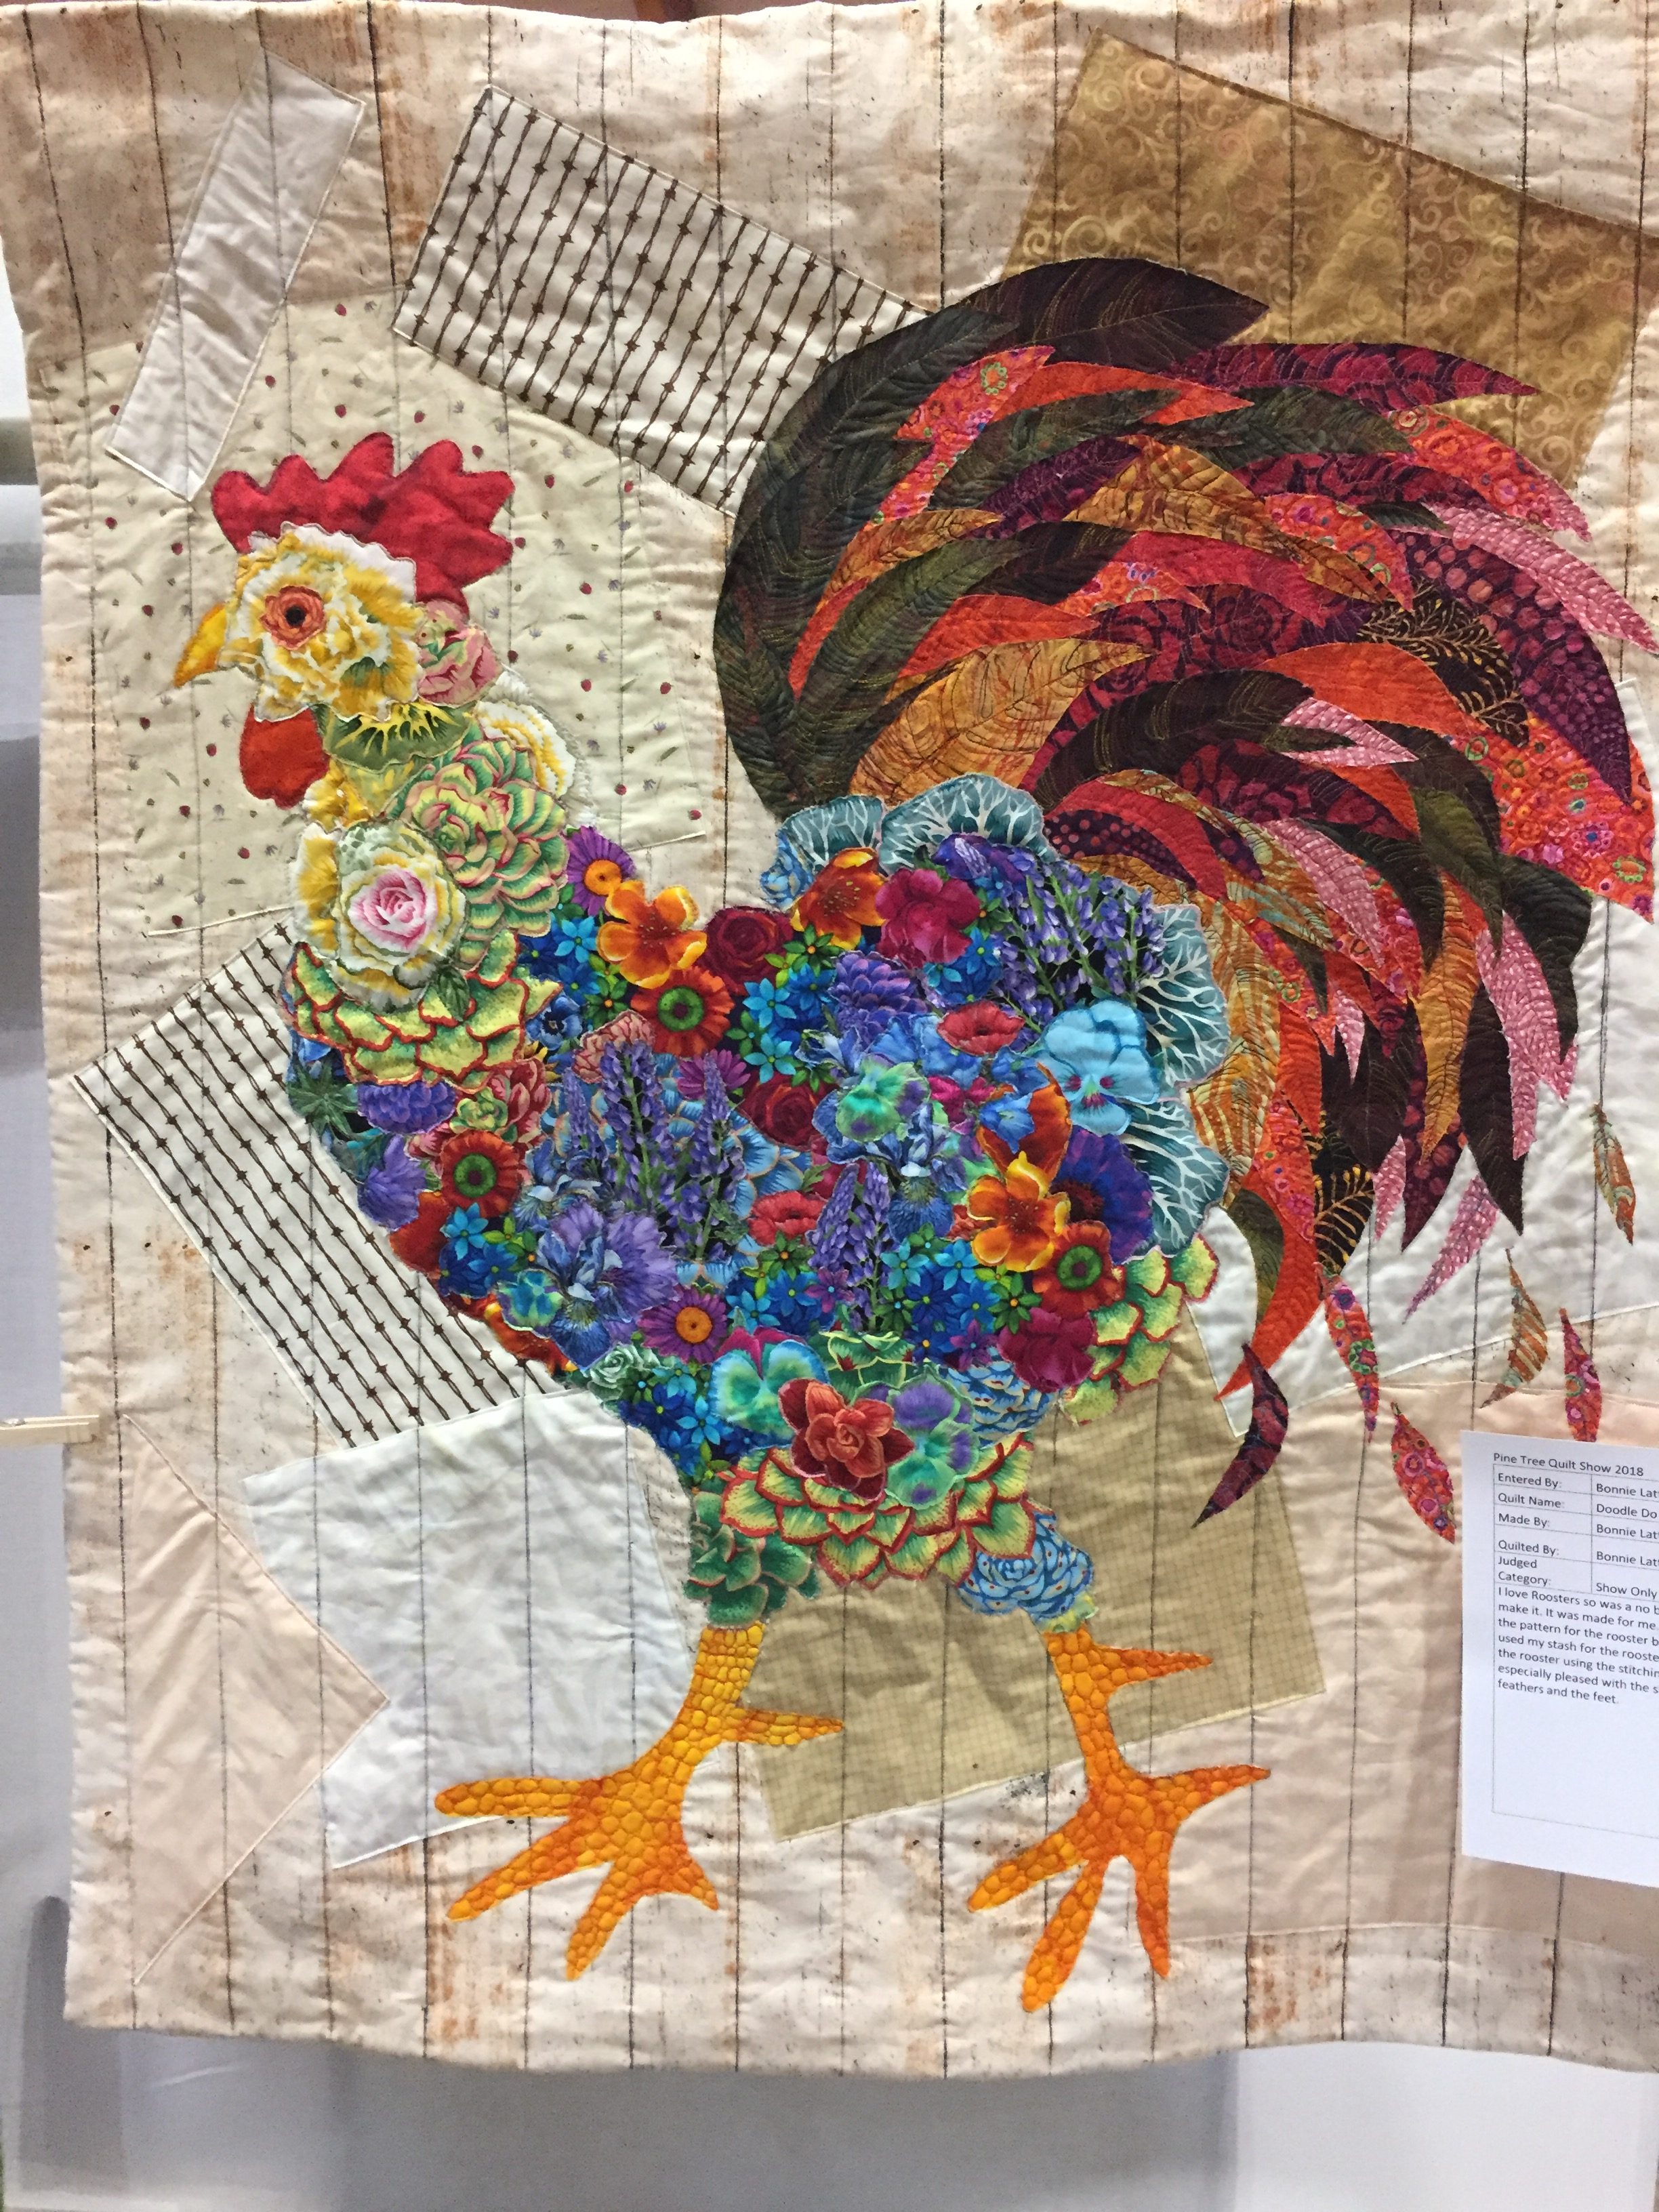
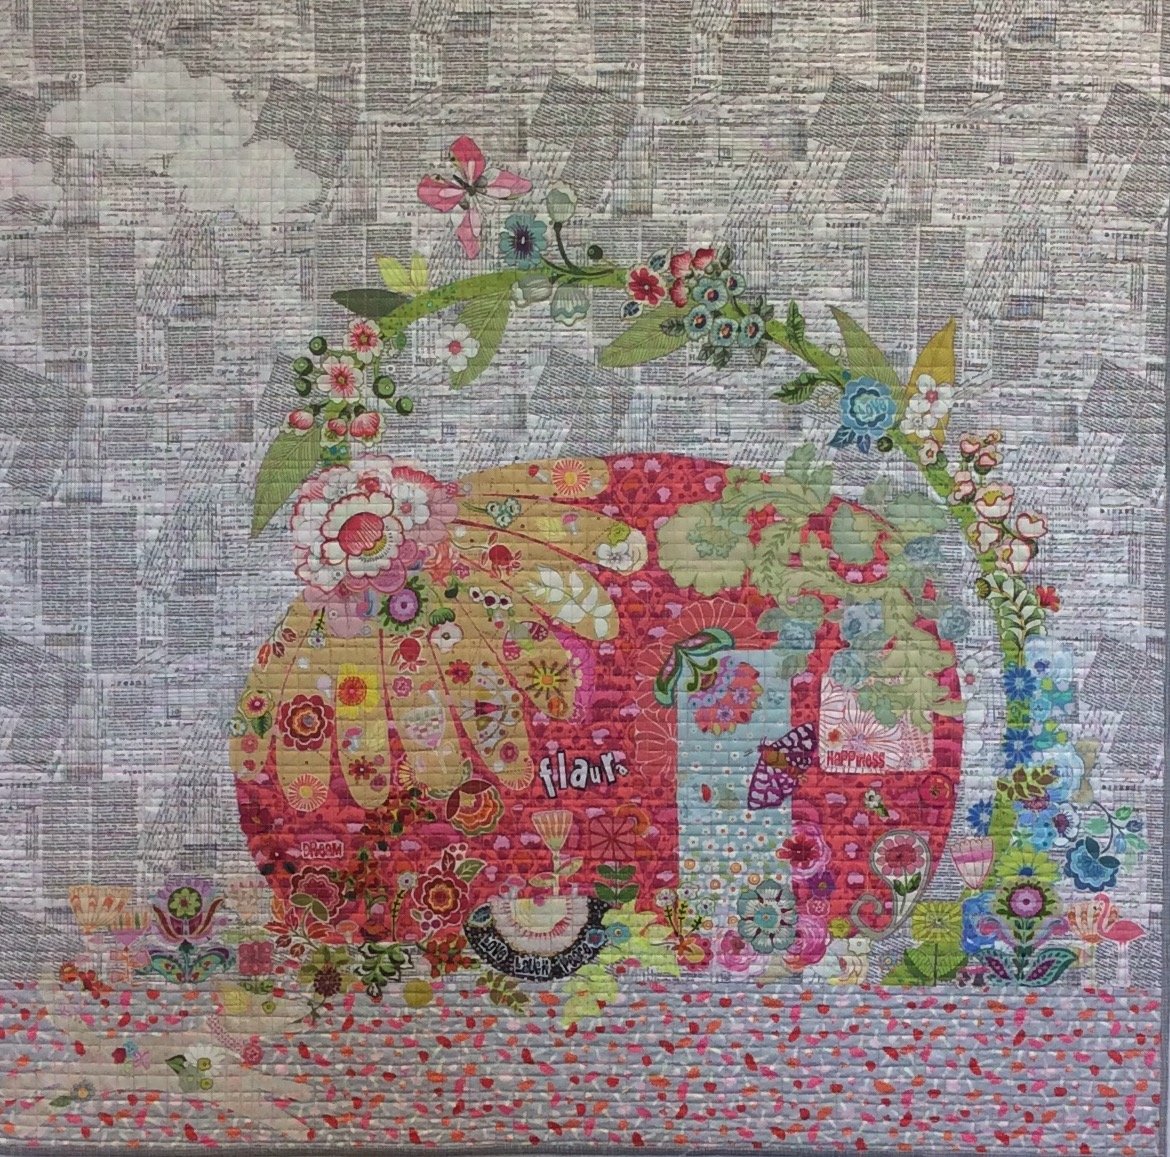
Have you seen the gorgeous floral collage quilts popping up lately?  I have seen a number of them at the last couple of quilt shows I have attended.  One was a dressmaker’s form made of flowers and at the last quilt show, there was a really pretty rooster wall hanging made of floral fabrics collaged together.

The patterns are the work of Laura Heine.  The more I see these, the more smitten I become.   She has designed all sorts of patterns that utilize this collage method.

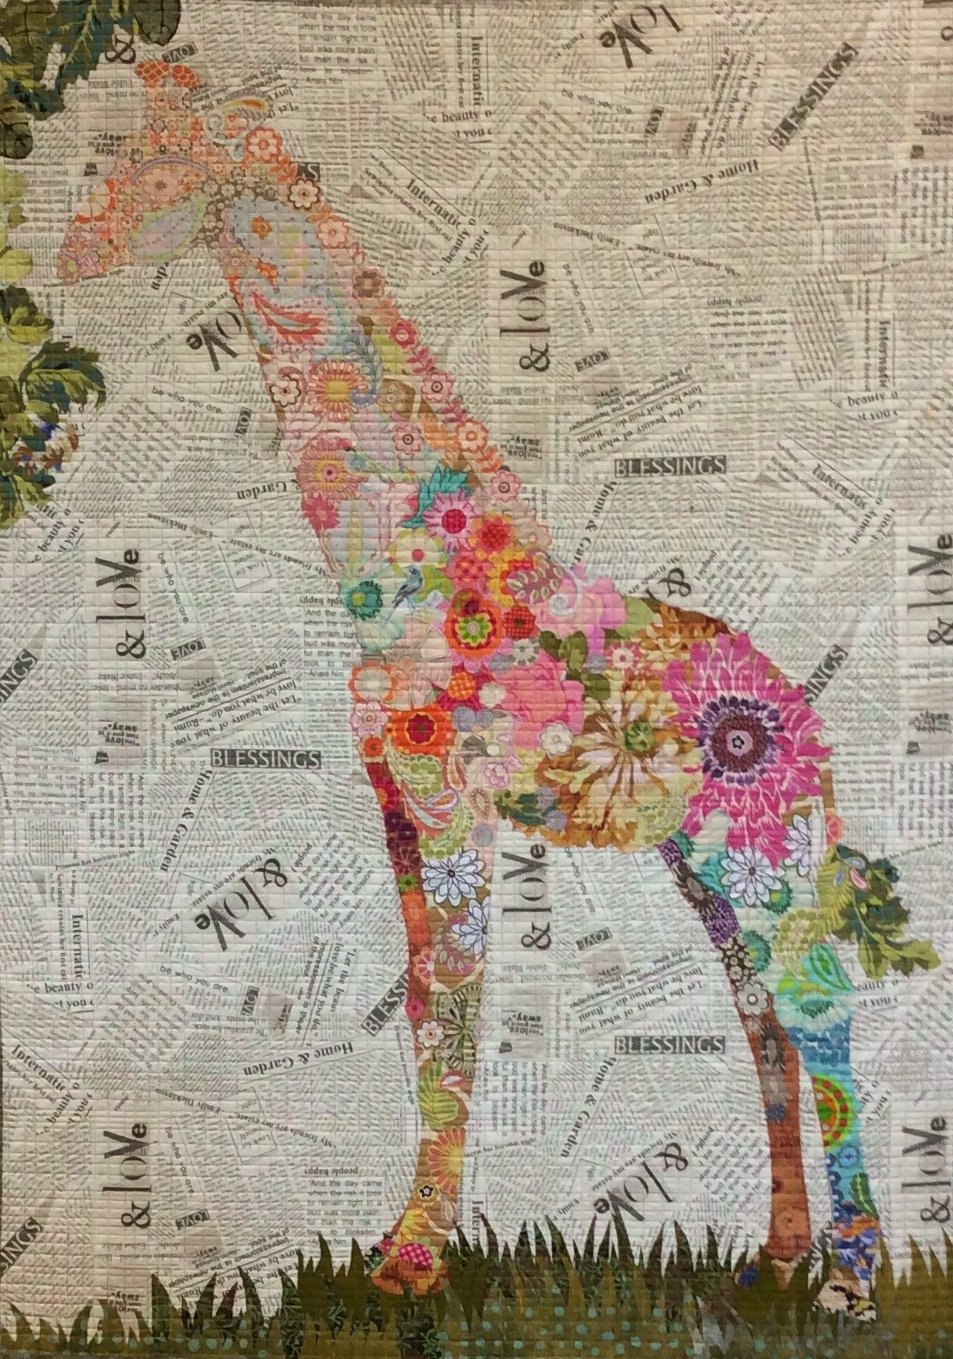
Potpourri Collage Pattern; Giraffe on Newsprint Fabric Background

I love this one. The giraffe was created against a background of Carrie Bloomston’s Story Newsprint fabric.  This is one of my very favorite Bloomston fabrics. (If you want a better look at it, click here because I carry it in the shop.). It makes a fantastic background for this design.

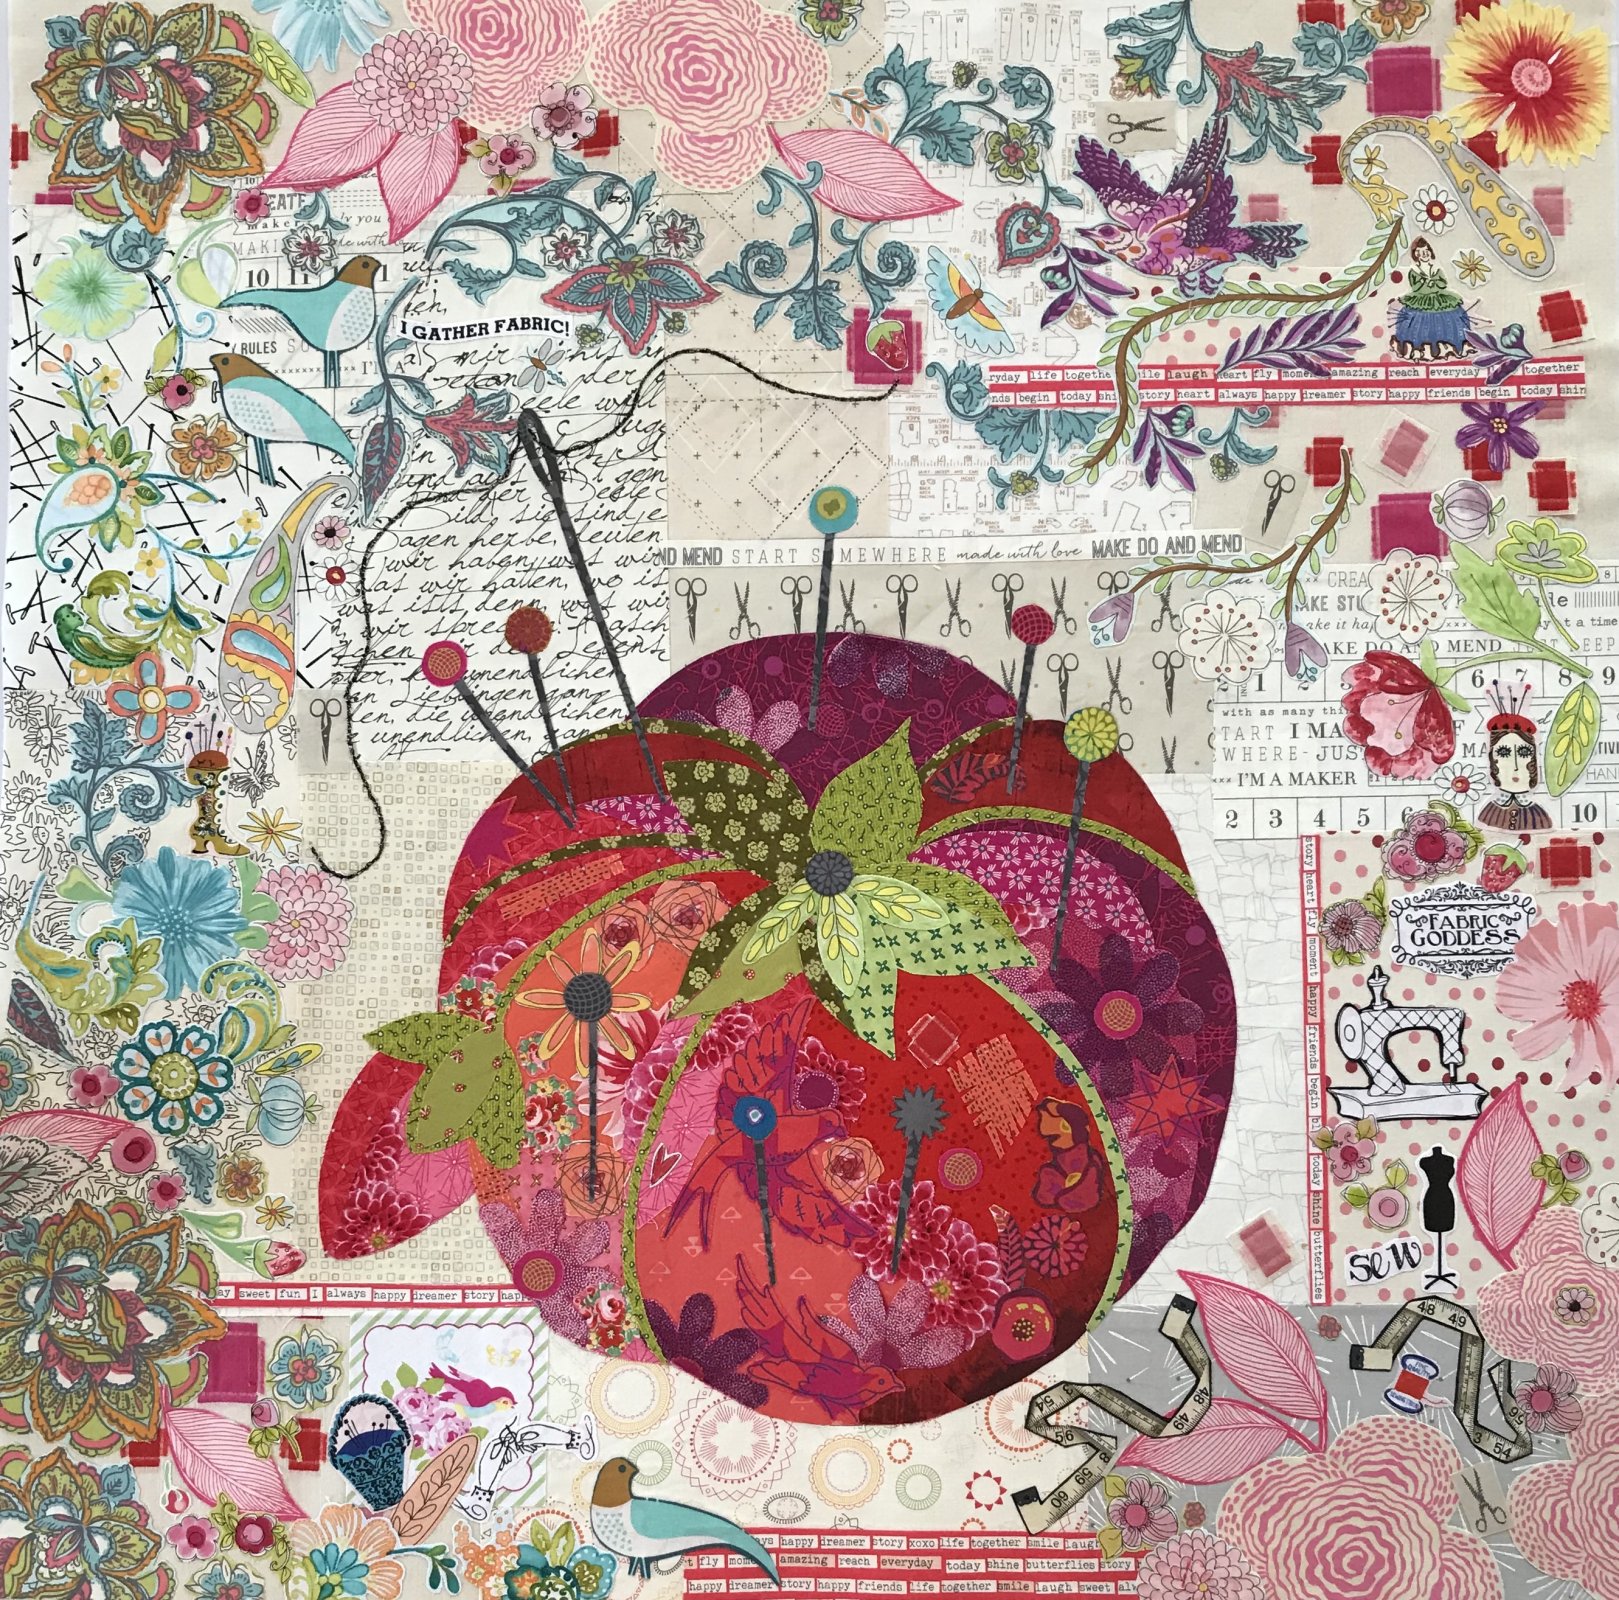
Laura doesn’t just use animals (though she has many) but also cars, campers, birthday cakes, pin cushions and even Santa.

She uses the collage technique across all sorts of fun themes.

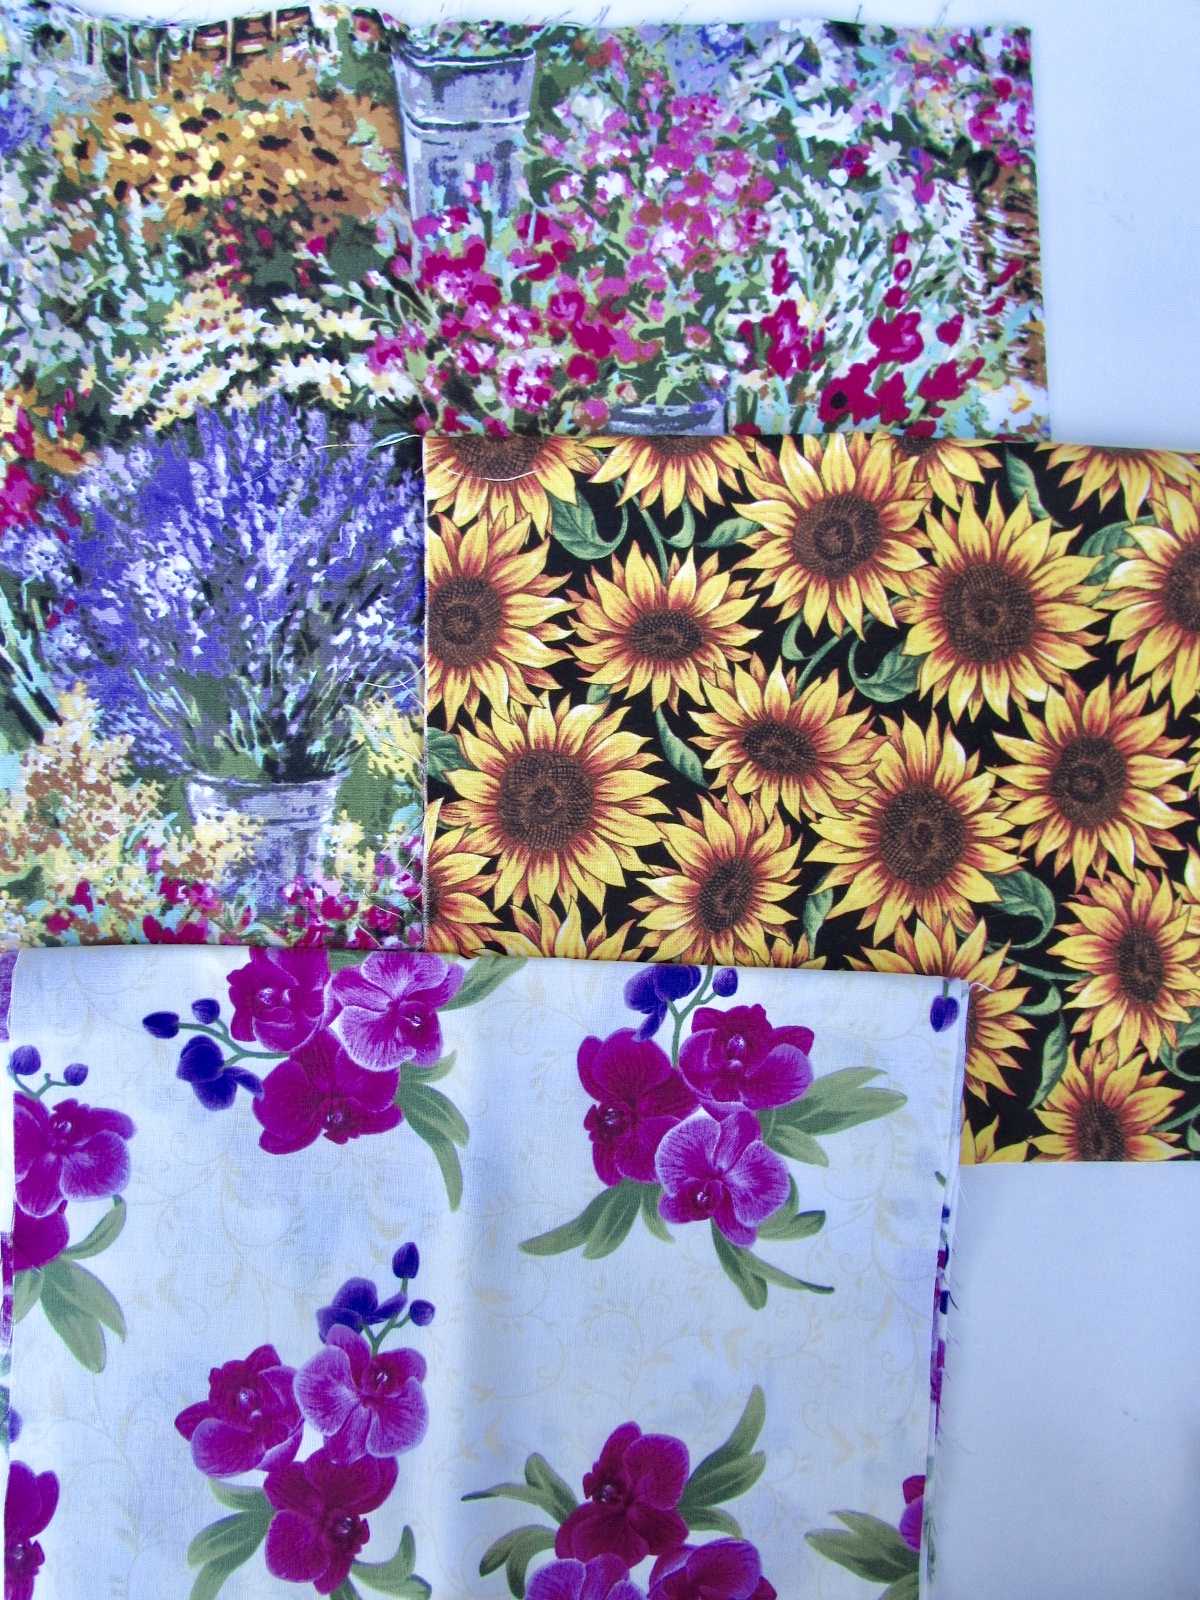
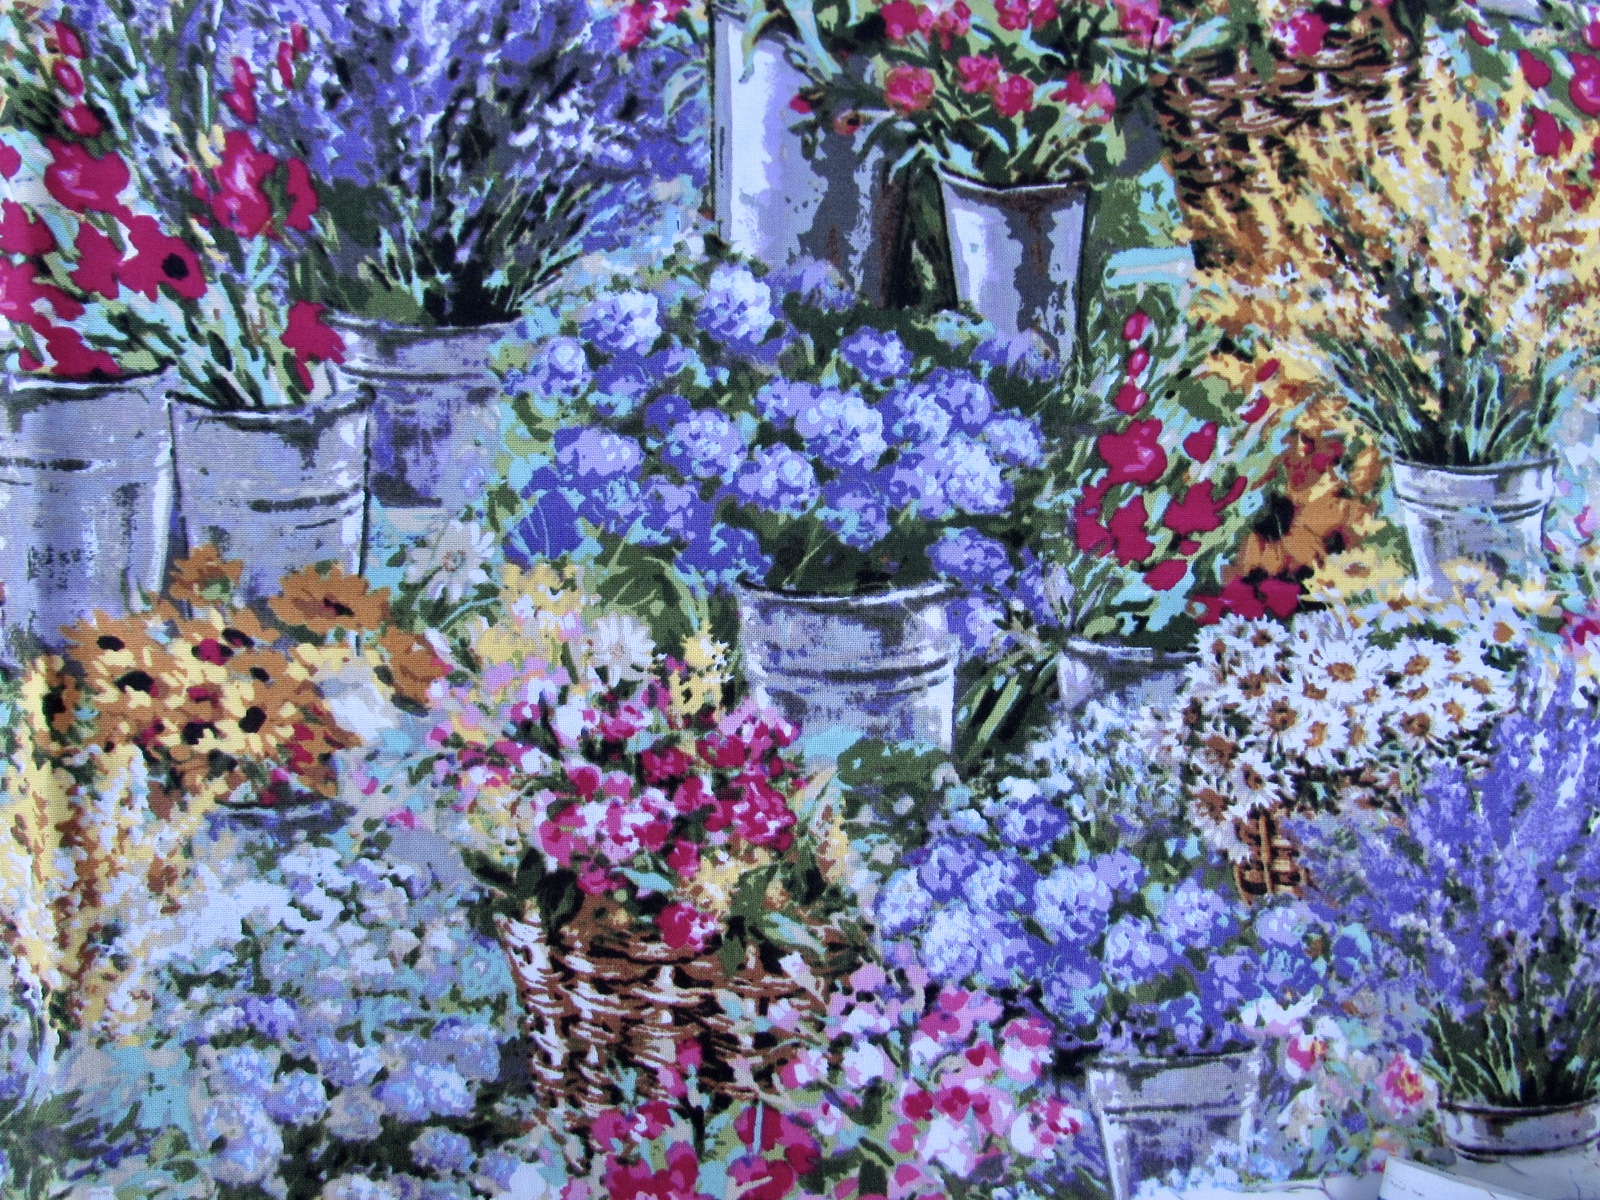
Last week, while I was shopping at Ben Franklin, I picked up three floral pieces, just 1/4 yard each. I’ve decided to start collecting florals and to attempt one of these patterns. I think smaller floral pieces are adequate and in fact, I could have even bought an 1/8 yard cut. These three are really pretty florals and the colors vary greatly.  I did that intentionally as I don’t have any plan yet so I am unsure if I will only use certain colors or the whole rainbow.

This particular Timeless Treasures fabric is so pretty. It looks like a water color to me.  Cutting it up for the floral bits will be perfect for this sort of project.

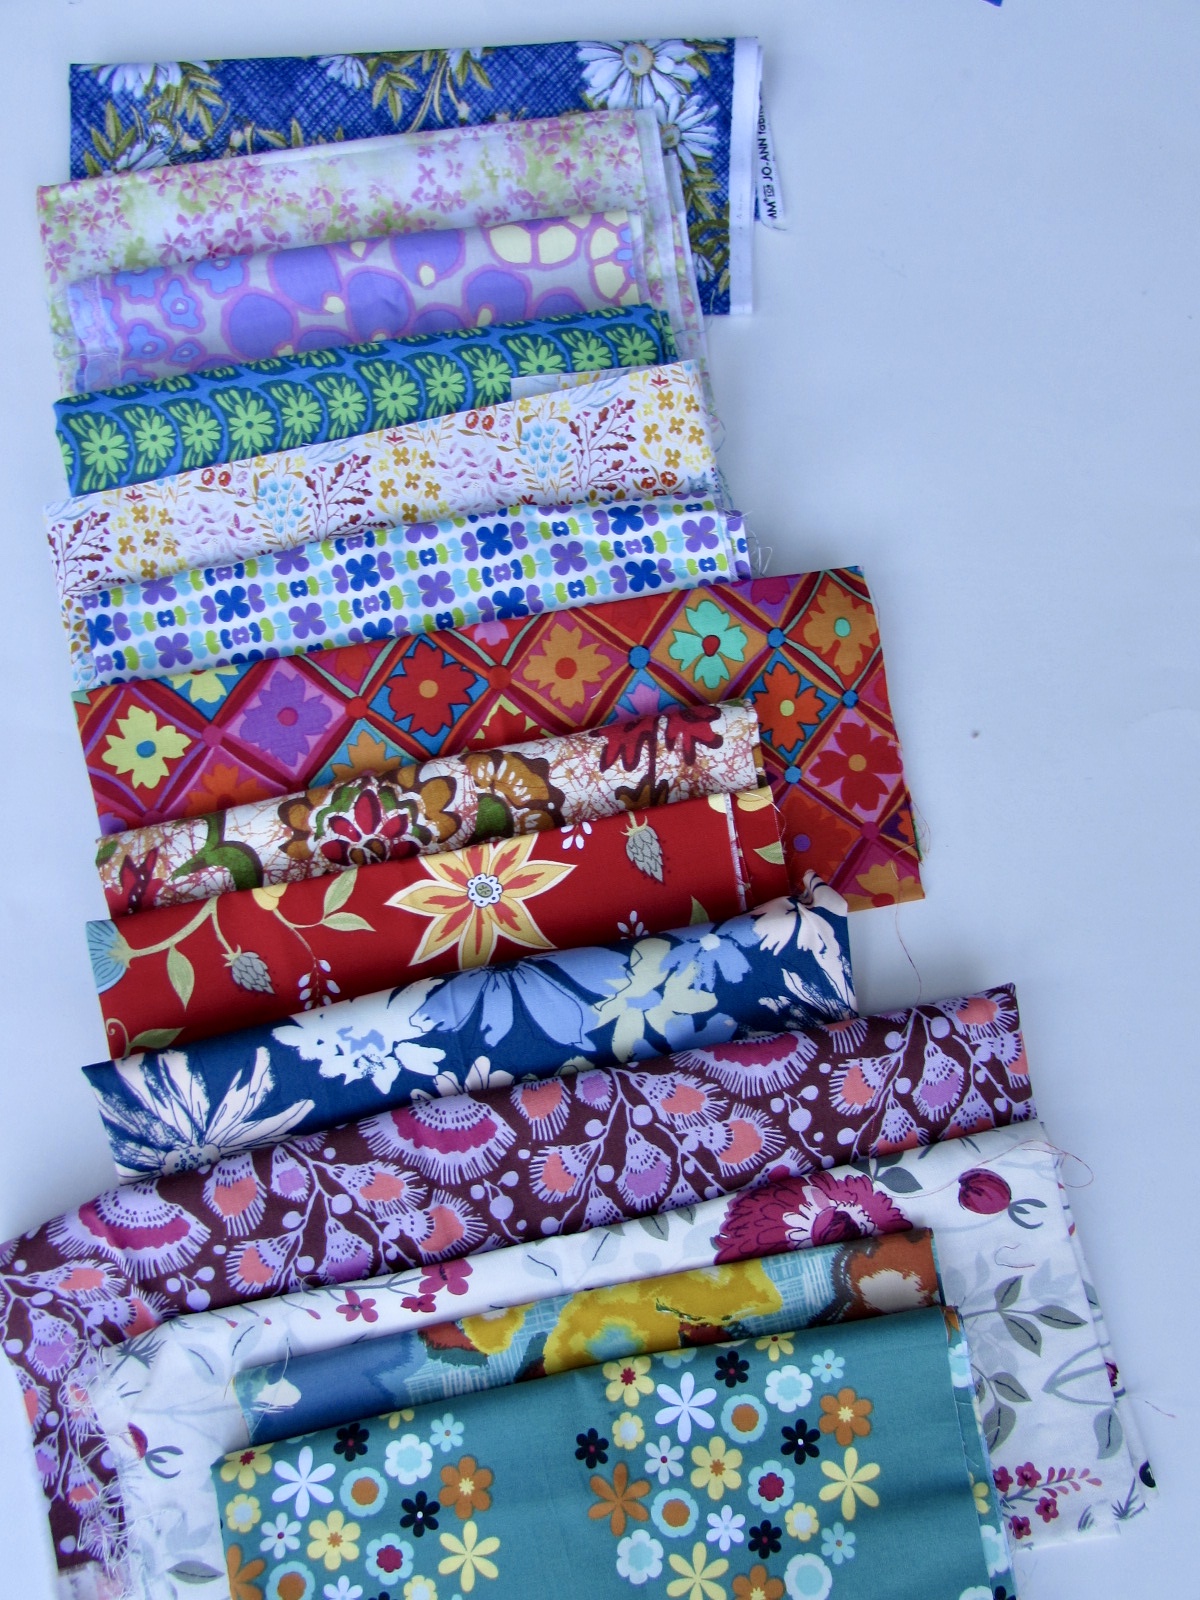
When I got home and went to put these away, I decided to do a quick scan and pull any florals I already had.  To no one’s surprise, I had plenty!  Isn’t it amazing what we have tucked away, here and there!

Florals, florals, and more florals.

Reds, purples, teals, blues, pinks and greens.  All kinds of flowers!

Before I go any further with this, I need to pick which pattern I want to attempt.  Then I need to do some research and see whether anyone has any tips on these patterns.  In fact, have any of you tried one of these?   If so, I would love to hear your thoughts on the pattern and the collage process.  I don’t think I should purchase anymore florals until I have a plan. Also, I have a few things in the works that I need to finish up before starting this.  It is fun to look forward though and add this project to the list (the long, never-ending list!)

Linking to Molly Sparkles Sunday Stash link up as well as Main Crush Monday!

Juanitas runners

Finally! My Sister’s Project is a Finish

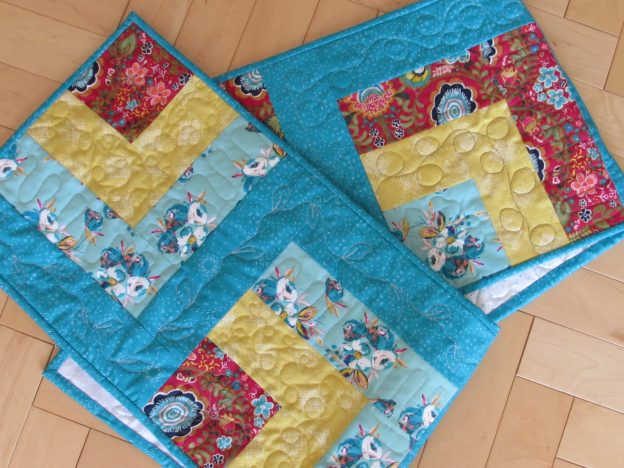
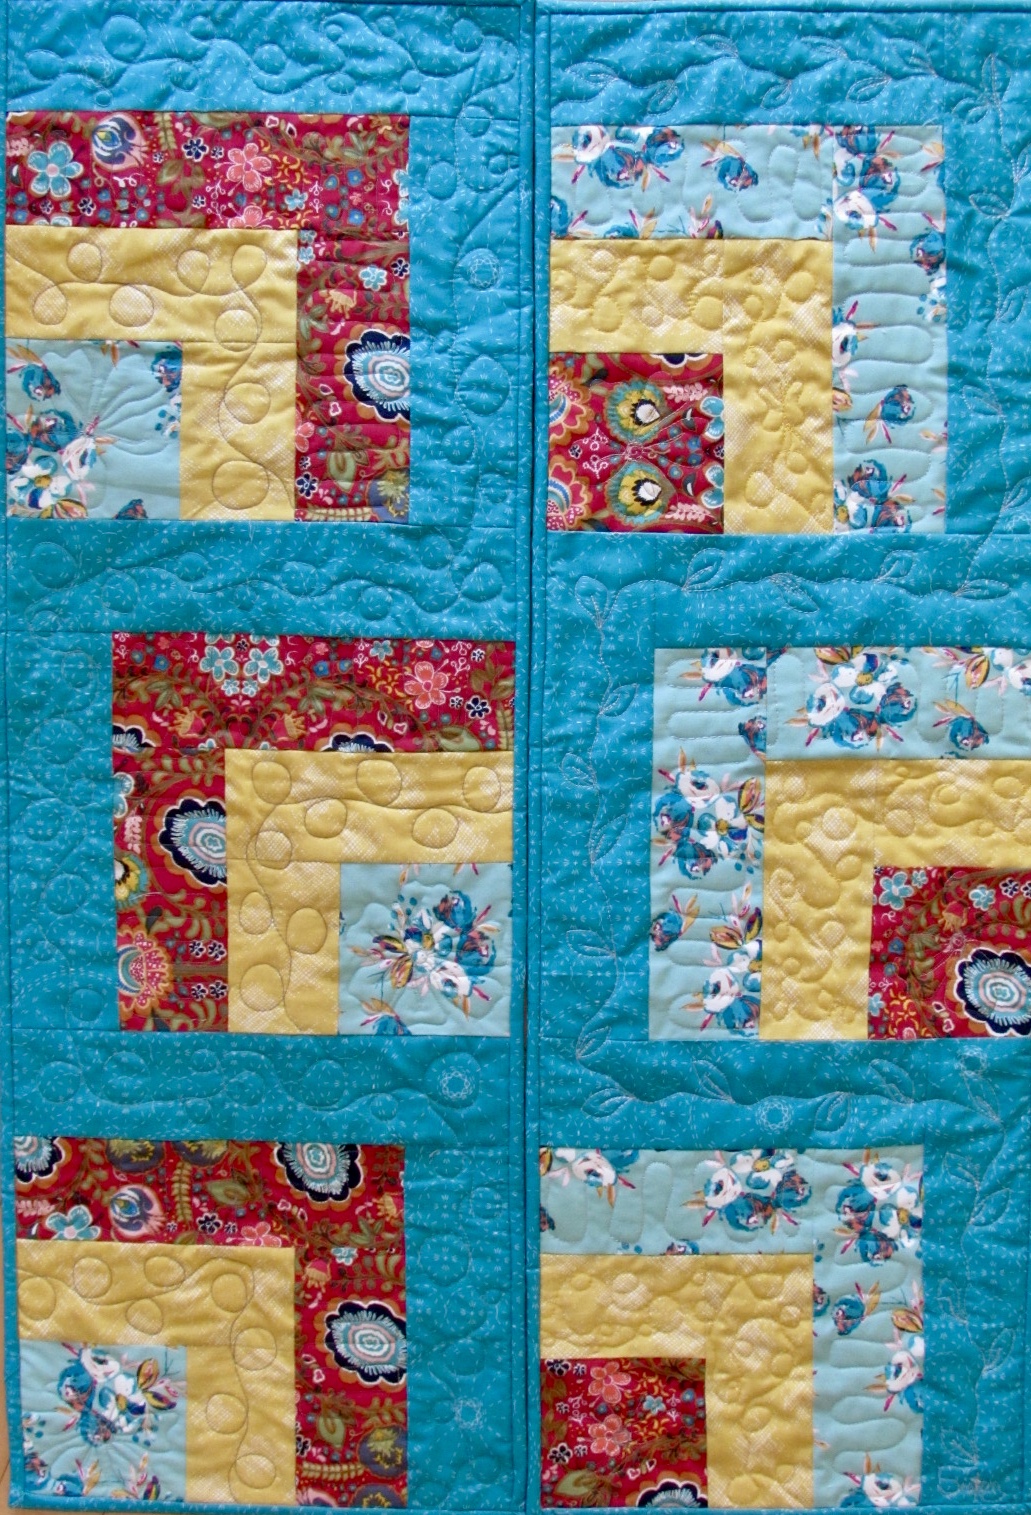
Last November (a full six months ago) my sister asked if I would make two small runners to put in the window boxes in her flat in London.  She shares her time between Colorado and London due to her husband’s career. Once their kids were up and out, it became possible for her to travel back and forth so she could actually spend some time with her husband.  It is an exciting time for her as she makes new friends and learns to live the city life.

When they rented a little flat, she started to fix it up and make it feel like home.  She has plants in the windows and wanted a runner to put under them. The window sill is about 14″ x 36″ and the runners measure  12″ x  35″.  They (hopefully!) will fit just fine.

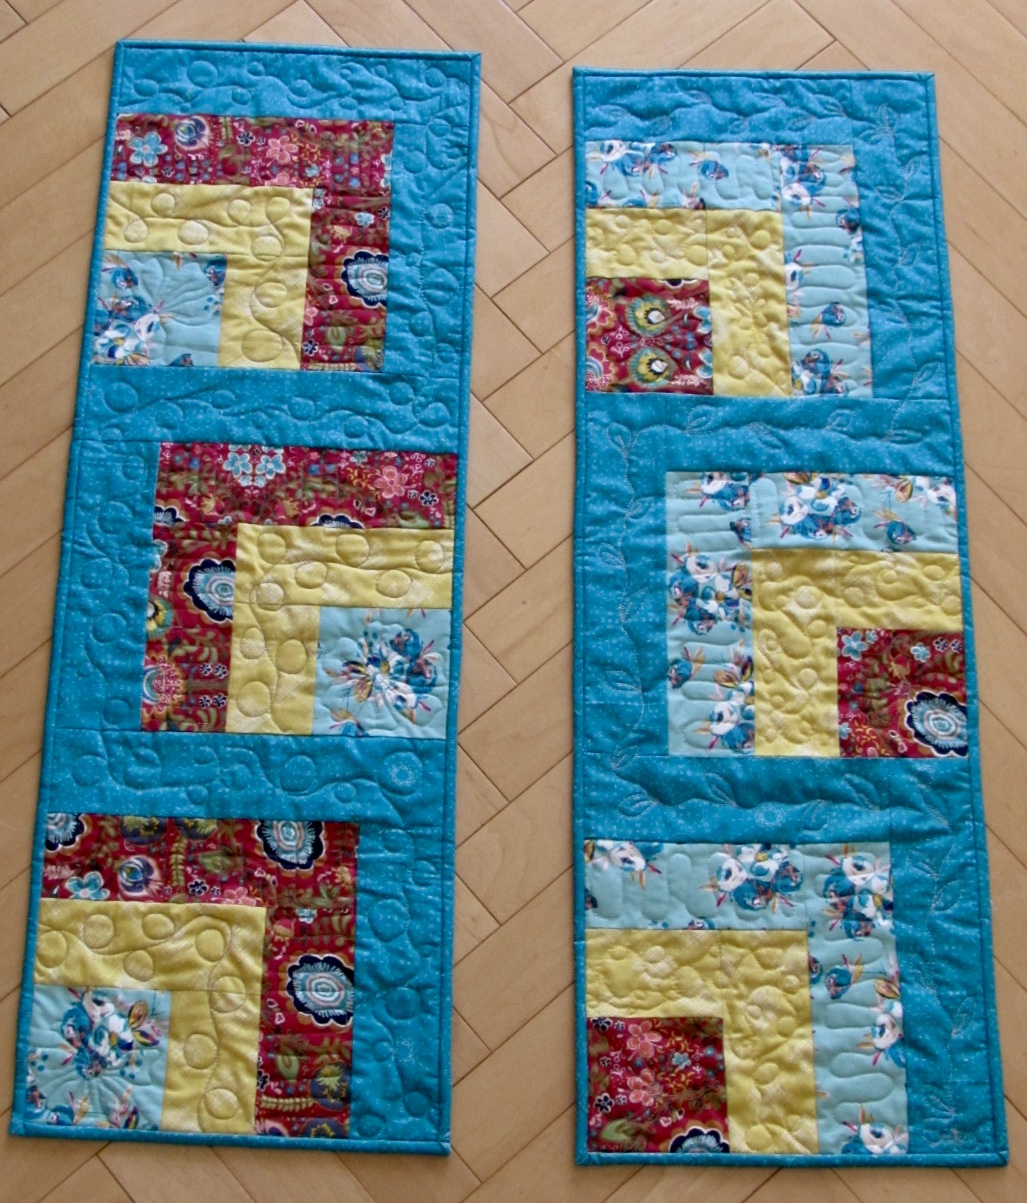
It was fun to pick colors for these.  My sister asked for teal and some red.  I sent a few ideas and we ended up with this combination of Sashiko Florette (teal), Corsage Charm, Terra Firma Sunlit, and Kohkhloma Burgundia for the pop or red.  All of these are Art Gallery fabrics from my shop and as always, even though they are from three different lines, they look great together. 

This simple pattern was inspired by Anorina’s tutorial over at  her blog, Samelia’s Mom.  I made it a bit smaller and only made three blocks for each runner. It came together quickly.

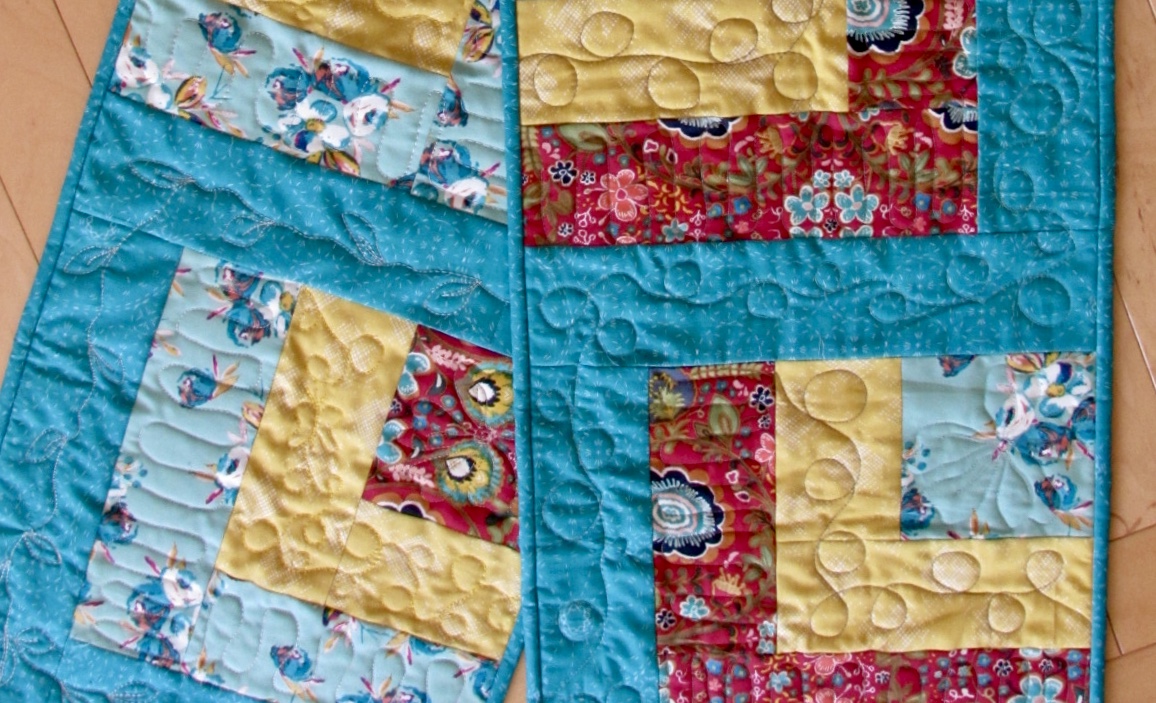
While I did use the same fabric for each, I reversed the red fabric with the light blue floral on each runner, just to mix things up a bit.  I looked at this project as a great opportunity to practice some free motion quilting.

For the four inch square blocks on both pieces, I quilted a large flower.  The other sections were filled in with loops, squiggles and leafy vines.

Juanitas runners

When I put these side by side, I could picture it as a larger quilt and it would look great.

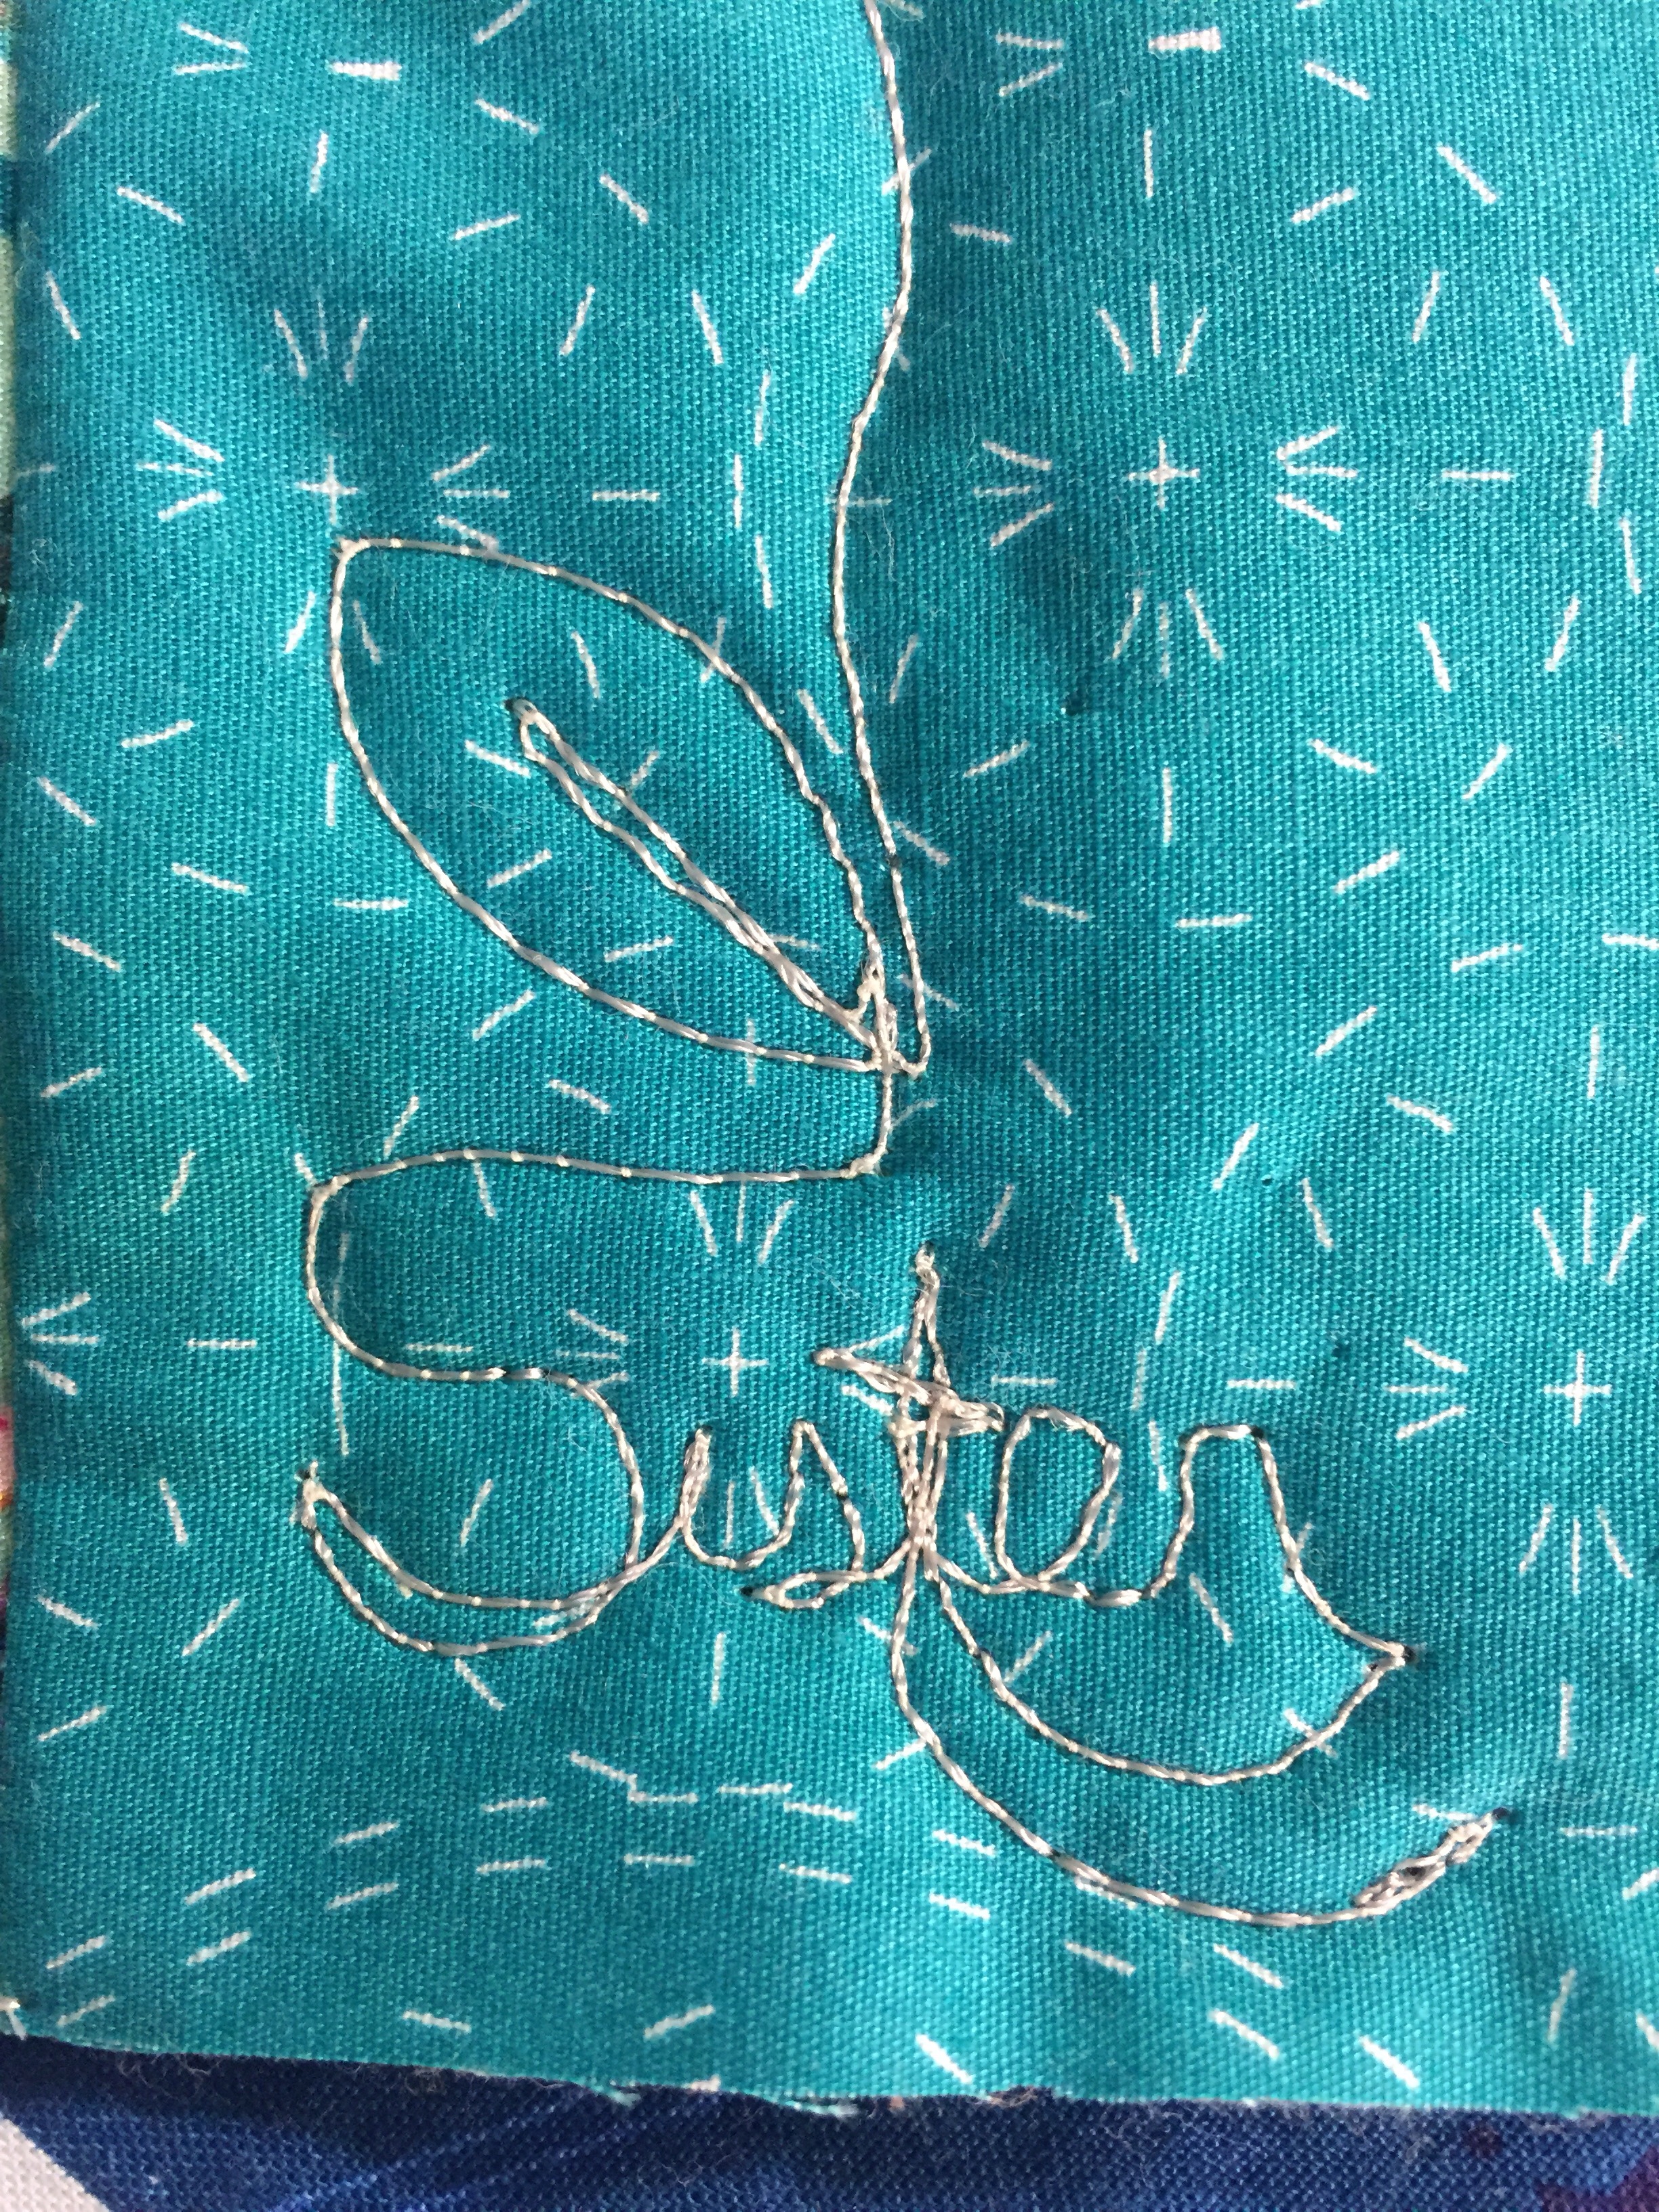
When I was just about done quilting these, I remembered I wanted to quilt a word or something more personal on the runner. But seriously, I was at the very end! I managed to squish in the word sister. Not terribly creative but i didn’t think of it in time.

Anyway, it took far too long to make these little guys but they are done and ready for the mail.  My sister is heading back to England soon so frugal side motivated me to get them done and in the mail so I will be mailing them to Colorado and not to England.  Saves a couple of dollars….

Now that I can check this project off the list, I am ready to move on to something else.  Much as I am itching to start something new, I will be disciplined and pick up one of my unfinished projects and get going!

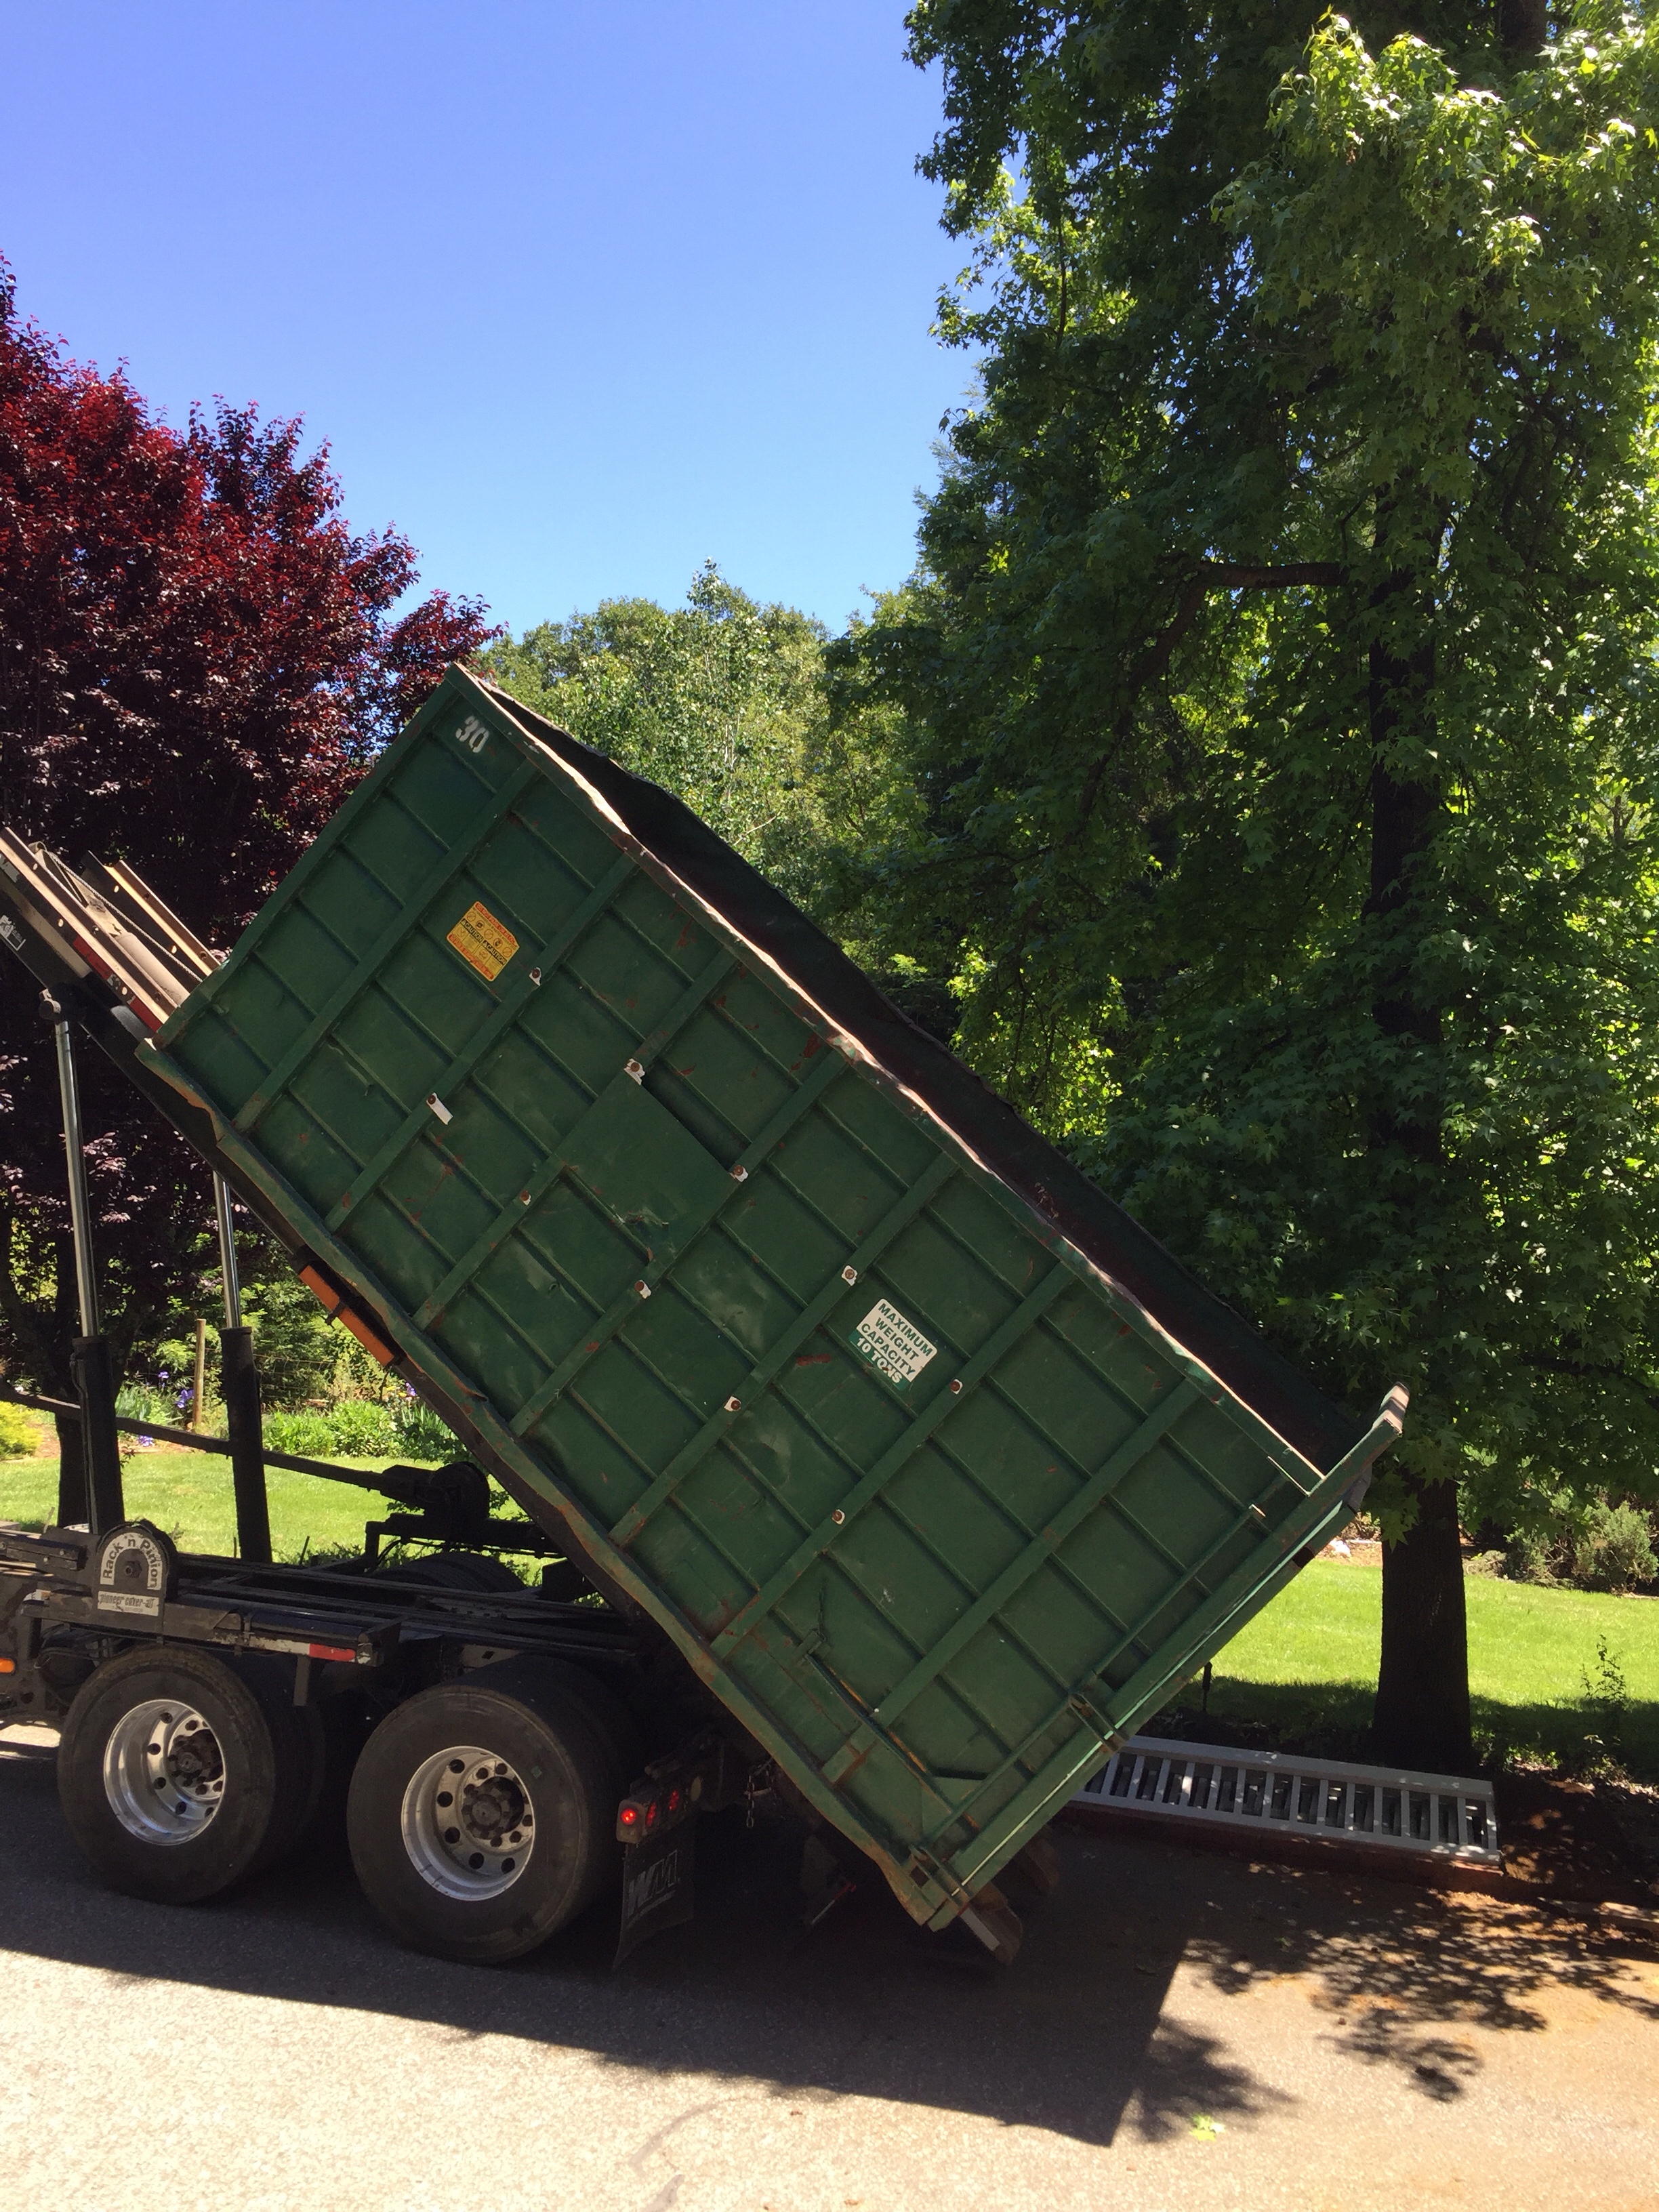
However, sewing will have to wait until next week.  This weekend is going to be busy with my husband continuing to pull out that lower deck.  This afternoon I had a dumpster delivered for the huge piles of scrap wood that are piling up on the property. Hope you have an equally fun weekend planned!! Whatever is on the agenda, enjoy your weekend.

SaveSave

SaveSave

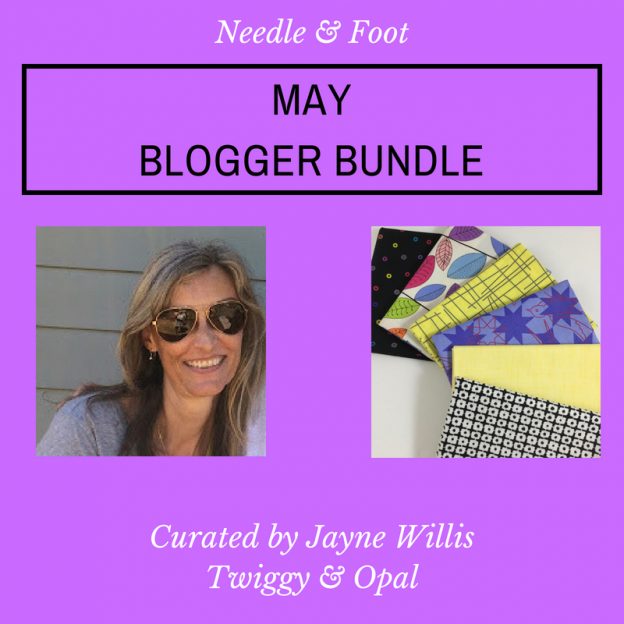
May Blogger Bundle with Jayne Willis

Today I am going to share a cheerful bundle curated by Jayne Willis of Twiggy & Opal.  Before I jump into that though, let me introduce Jayne.  Actually she likely needs no introduction because I suspect you are already familiar with her spectacular modern quilts. I am not sure exactly how Jayne and I became friends but we have been following each other’s blogs for quite a long time.  She was one of the team of bloggers who supported the opening of my shop about 18 months ago, which was such a nice thing for her to do.

When I think about Jayne’s work, I am really impressed by her improvisational work, the clean lines she uses when she designs a piece, the quilting she does, and the determination she shows from start to finish on a project. I love following along on Instagram as she creates something. She often shows progress shots and the finished project never ceases to amaze me.  She is really a talented quilt artist. I grabbed a quote from her About Me page on her blog that says it well.  “My process may be a little unconventional—I let the fabric speak to me and rarely know where a design will take me from start to finish!”

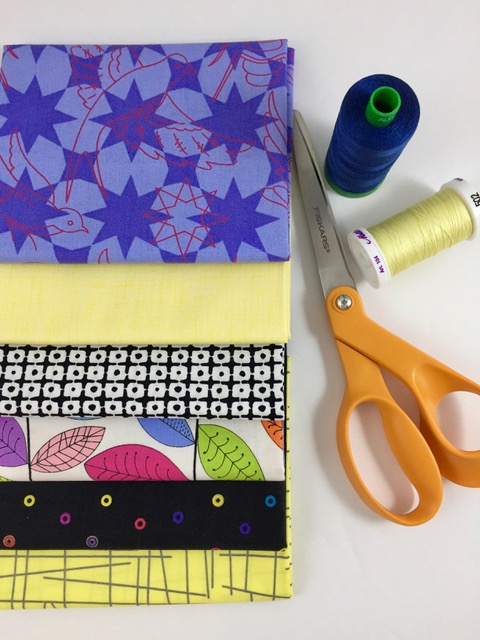
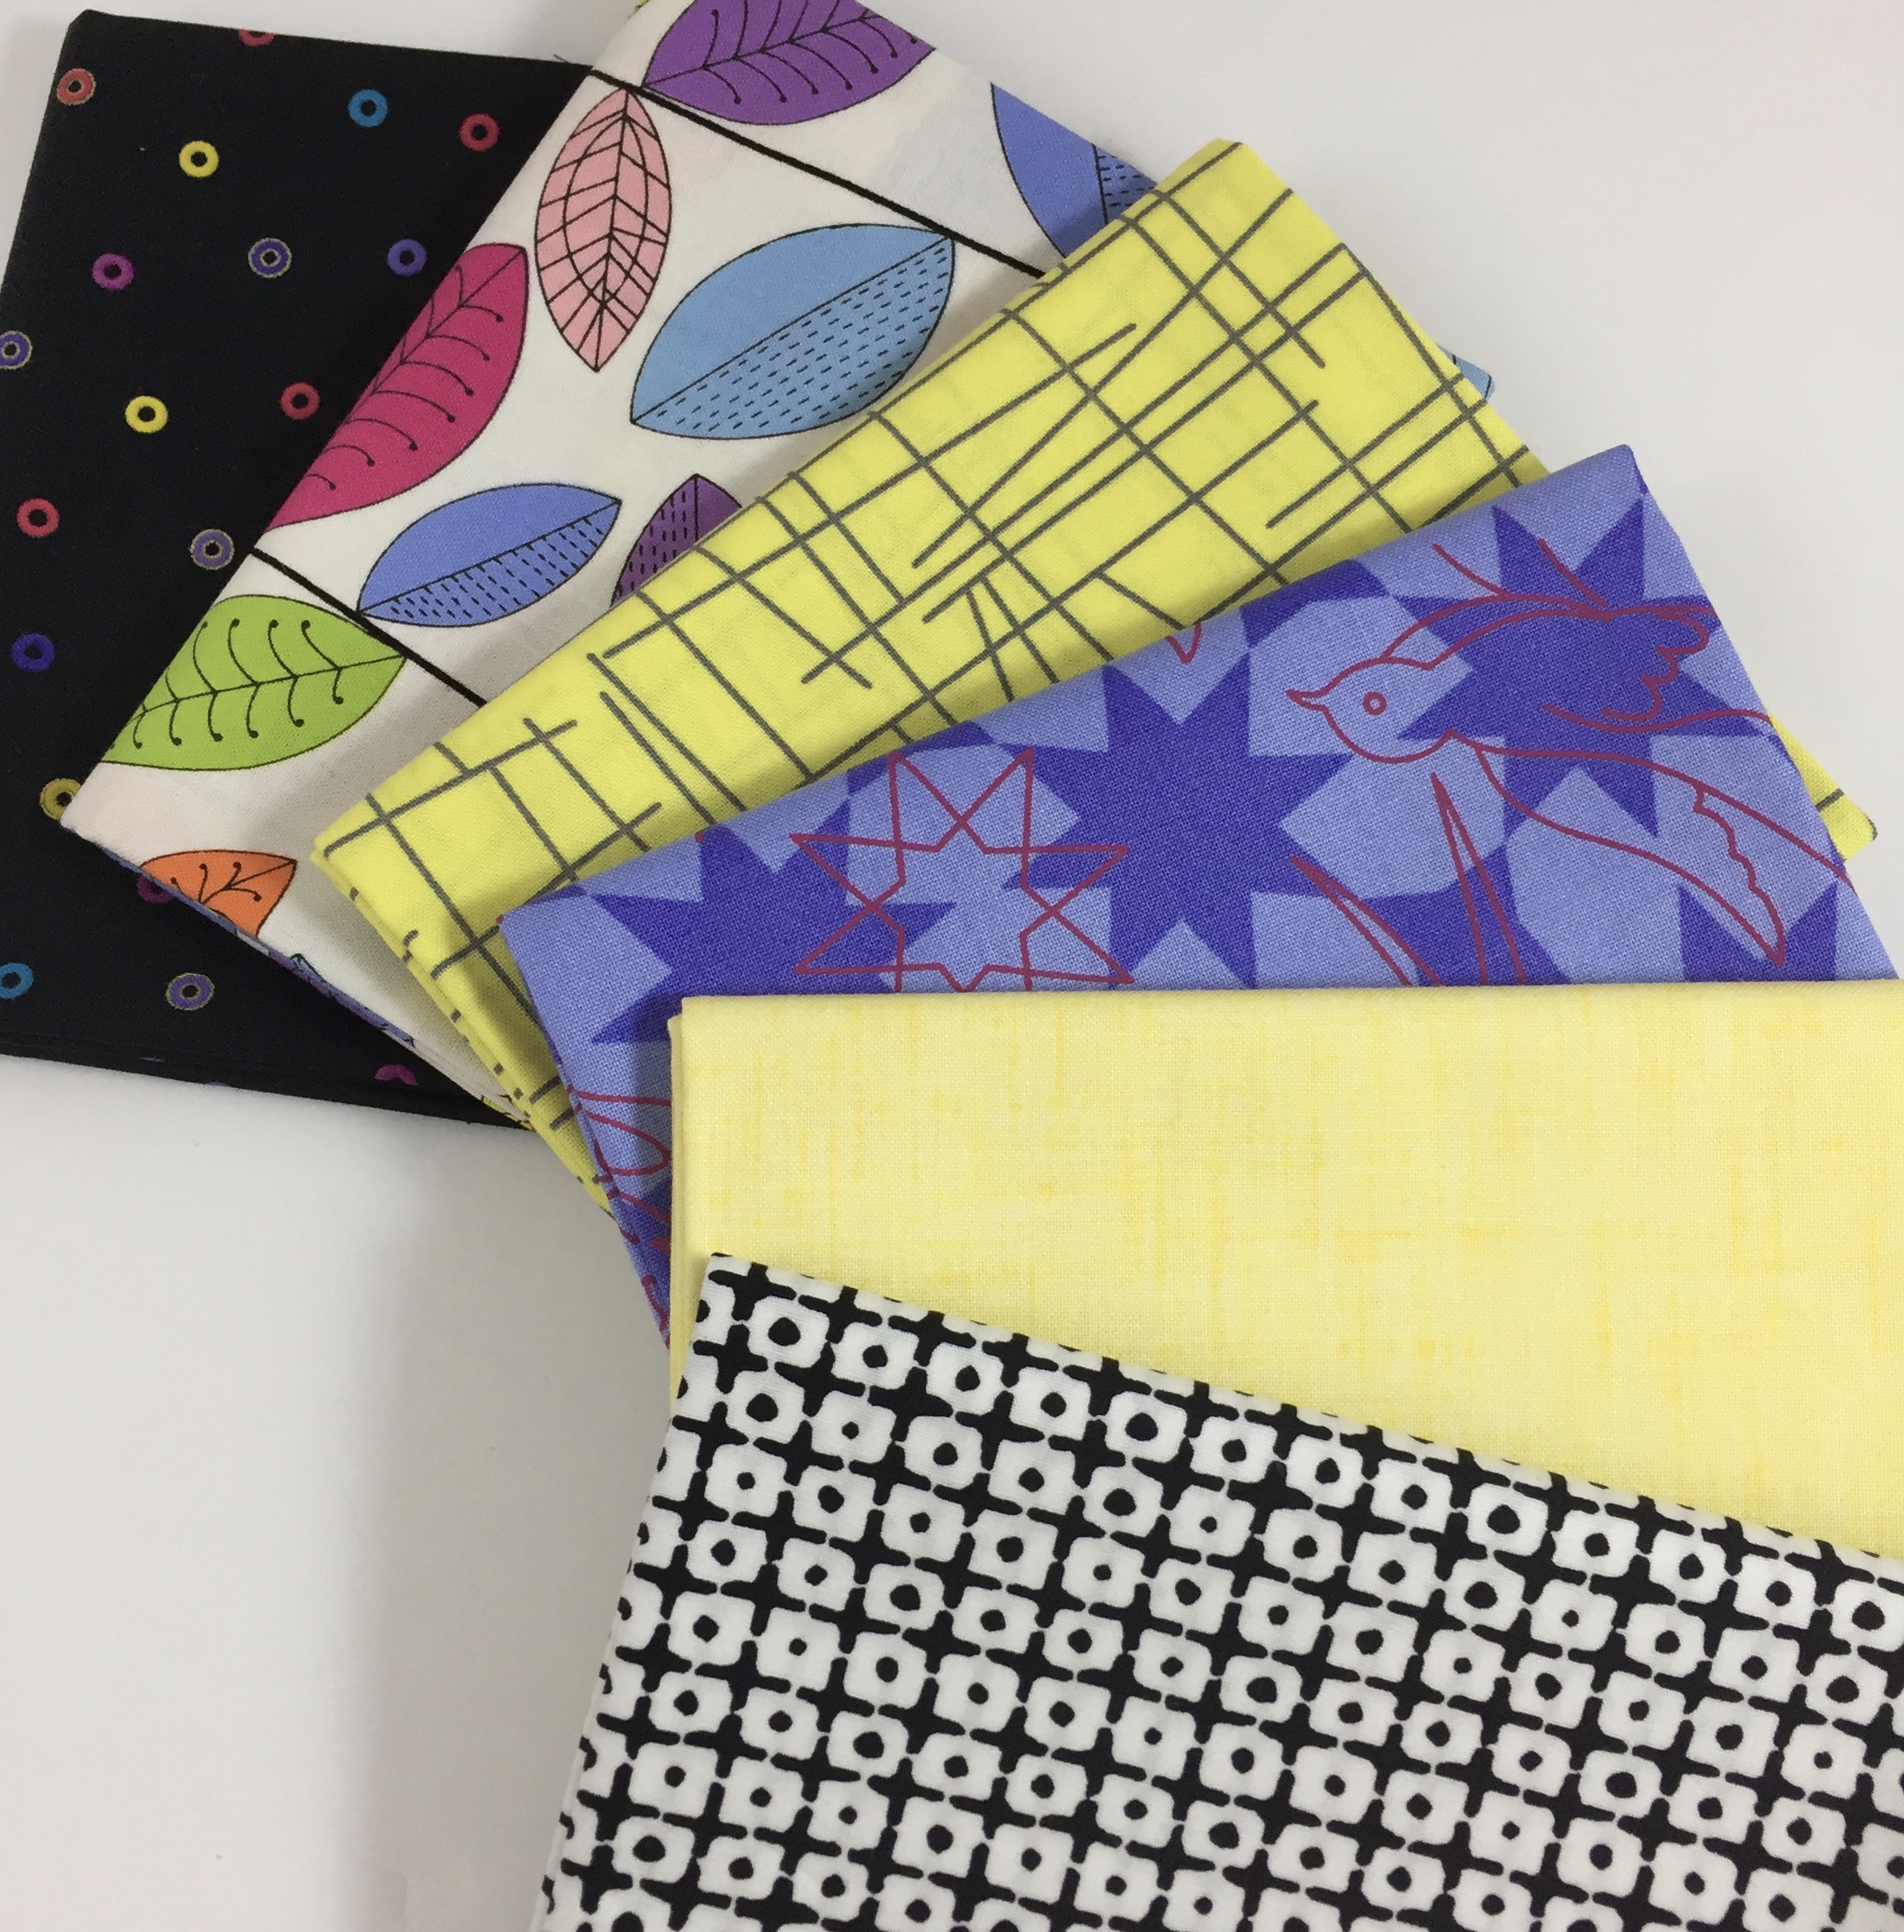
OK, let’s take a look at the bundle she curated.  I was not at all surprised to see Jayne select black, white and brights for her bundle.  She is the queen of color and she uses it well. What did surprise me was how well the the blues in Flourish and Rainbow Vines (both made by Andover) worked together. Just look at the darker blue leaf on Rainbow Vines – – it is nearly identical to the background blue of Flourish.  These details are what make Jayne’s pull attractive!  I also love that by including the Rainbow Vines fabric, she chose a bright print that has a strong black accent.

Adding Panda Patches and the Basic Circles , Jayne pulled the bundle together – sort of like highlighting the whole collection with black.  Next Jayne selected two soft yellow prints which added a burst of spring to the bundle.

These fabrics are all about spring!  I encourage you to hop on over to Jayne’s blog where she will share the bundle and a project she has in the works.  I guarantee a dose of creative inspiration if you do! Also be sure to enter her giveaway to win a fat quarter bundle for yourself!

If you love this bundle as much as I do, it is available in my shop. I have fat quarter bundles as well as 1/2 yard bundles.  Both will be on sale for 20% off through tomorrow night (Thursday, May 17th). Also, if you are interested in yardage of any of these fabrics, all of them are available in the shop!
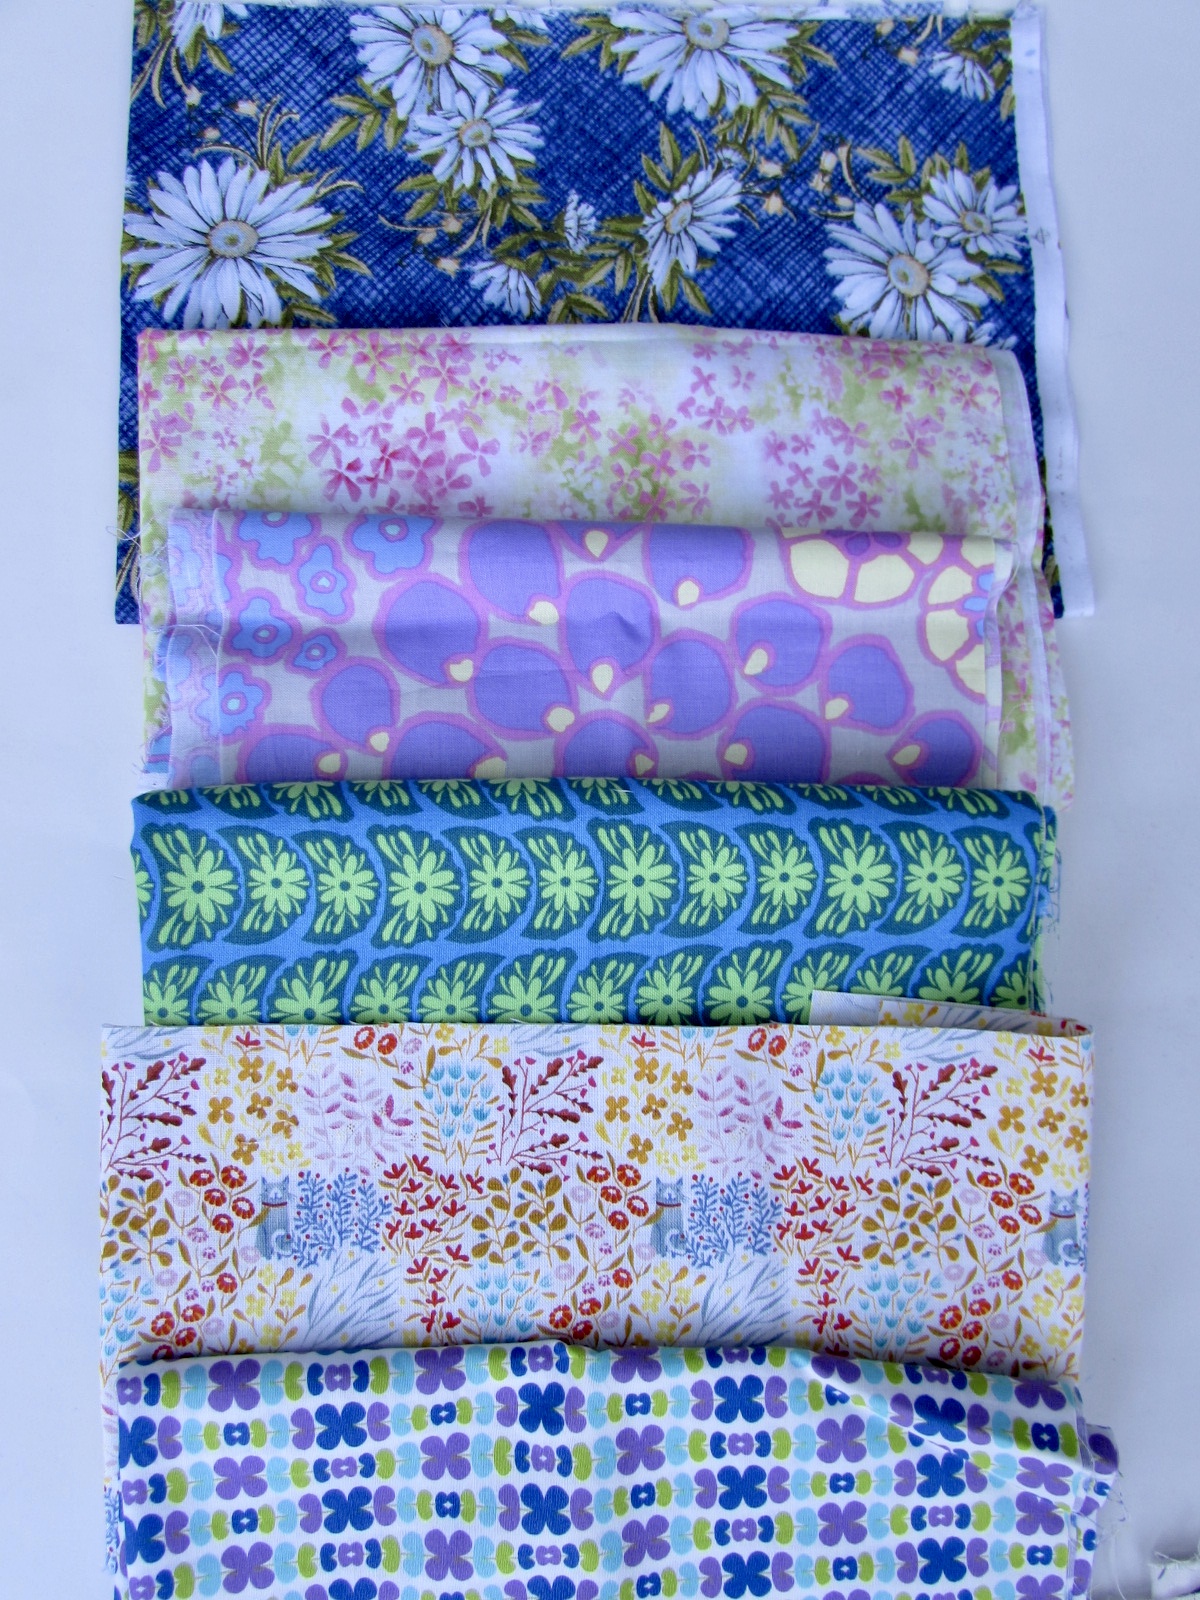
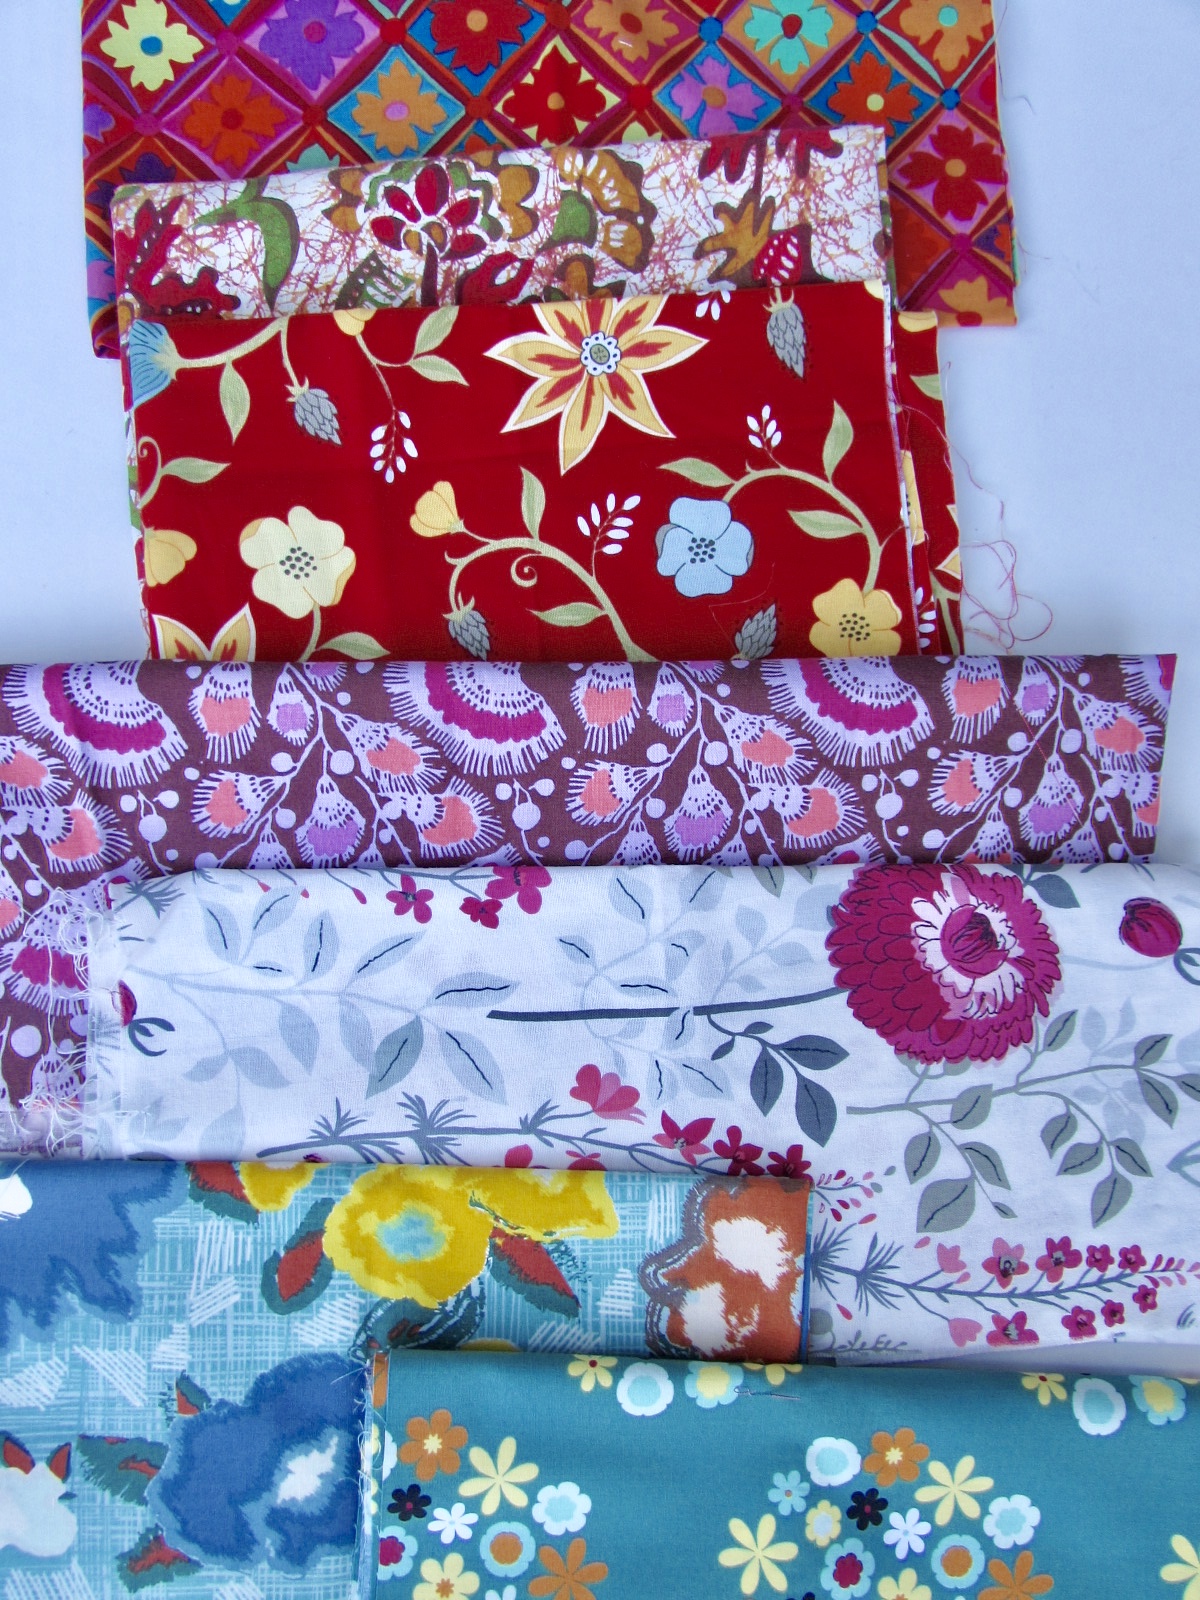
Hopefully you are enjoying the bundles that have been shared each month!  It is great fun for me and I learn something about color each and every time!
Linking up to my favorites.  Check them out at the top of the page, under Link Ups.

SaveSaveSaveSave

SaveSave

SaveSave

SaveSave

SaveSave