Yearly Archives: 2017

Family Time

We just got home from a rather quick trip to Vermont. It is somewhat difficult to find times that work for our schedules and the work schedules my son and his wife keep so even though it wasn’t too long of a trip, we decided to go for it. Basically we had two long travel days and 3 1/2 days of family time squeezed in between.This is the second time I have been to Vermont. The first was last spring at the beginning of April.  Much of the snow had only recently melted off so the landscape was still recovering from a crazy winter. We got lucky with this trip though.  The leaves are all turning color and it was just gorgeous. Two sunny days and one day of very windy, chilly weather.

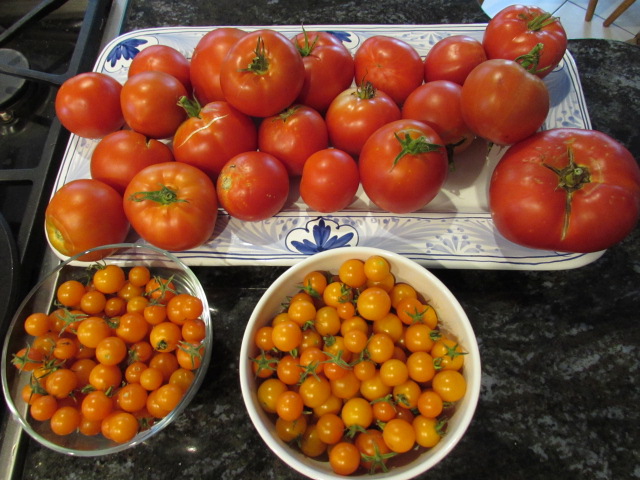
Saturday we walked the local Farmer’s Market which is always fun. I love to see what they are able to grow in an area when we are visiting. Plus this Farmer’s Market has a lot of food booths (our local market doesn’t have nearly as many) so we sampled our way through. Best find of the morning was surely the dark chocolate and cherry soft pretzels. Oh my gosh, they were incredible. Ray and I decided that we need to try to replicate these. I also tried these ‘husk cherries’ that look like tiny tomatillos and, to me anyway, had basically no flavor at all.  Certainly nothing resembling a cherry flavor?

We spent the afternoon driving through Stowe and then back home via Smuggler’s Notch. This is a mountain pass through the Green Mountains. It was named for the times when Vermonters were smuggling trade with Montreal, Canada because President Benjamin Franklin had declared a trade embargo between the US and Canada in the early 1800’s to prevent America’s involvement in the Napoleonic Wars. It was also used by slaves to escape to Canada and later than that as a route for smuggling liquor in from Canada during the Prohibition. A whole lot of historical activity has occurred  over this gorgeous, incredibly narrow, mountain pass.

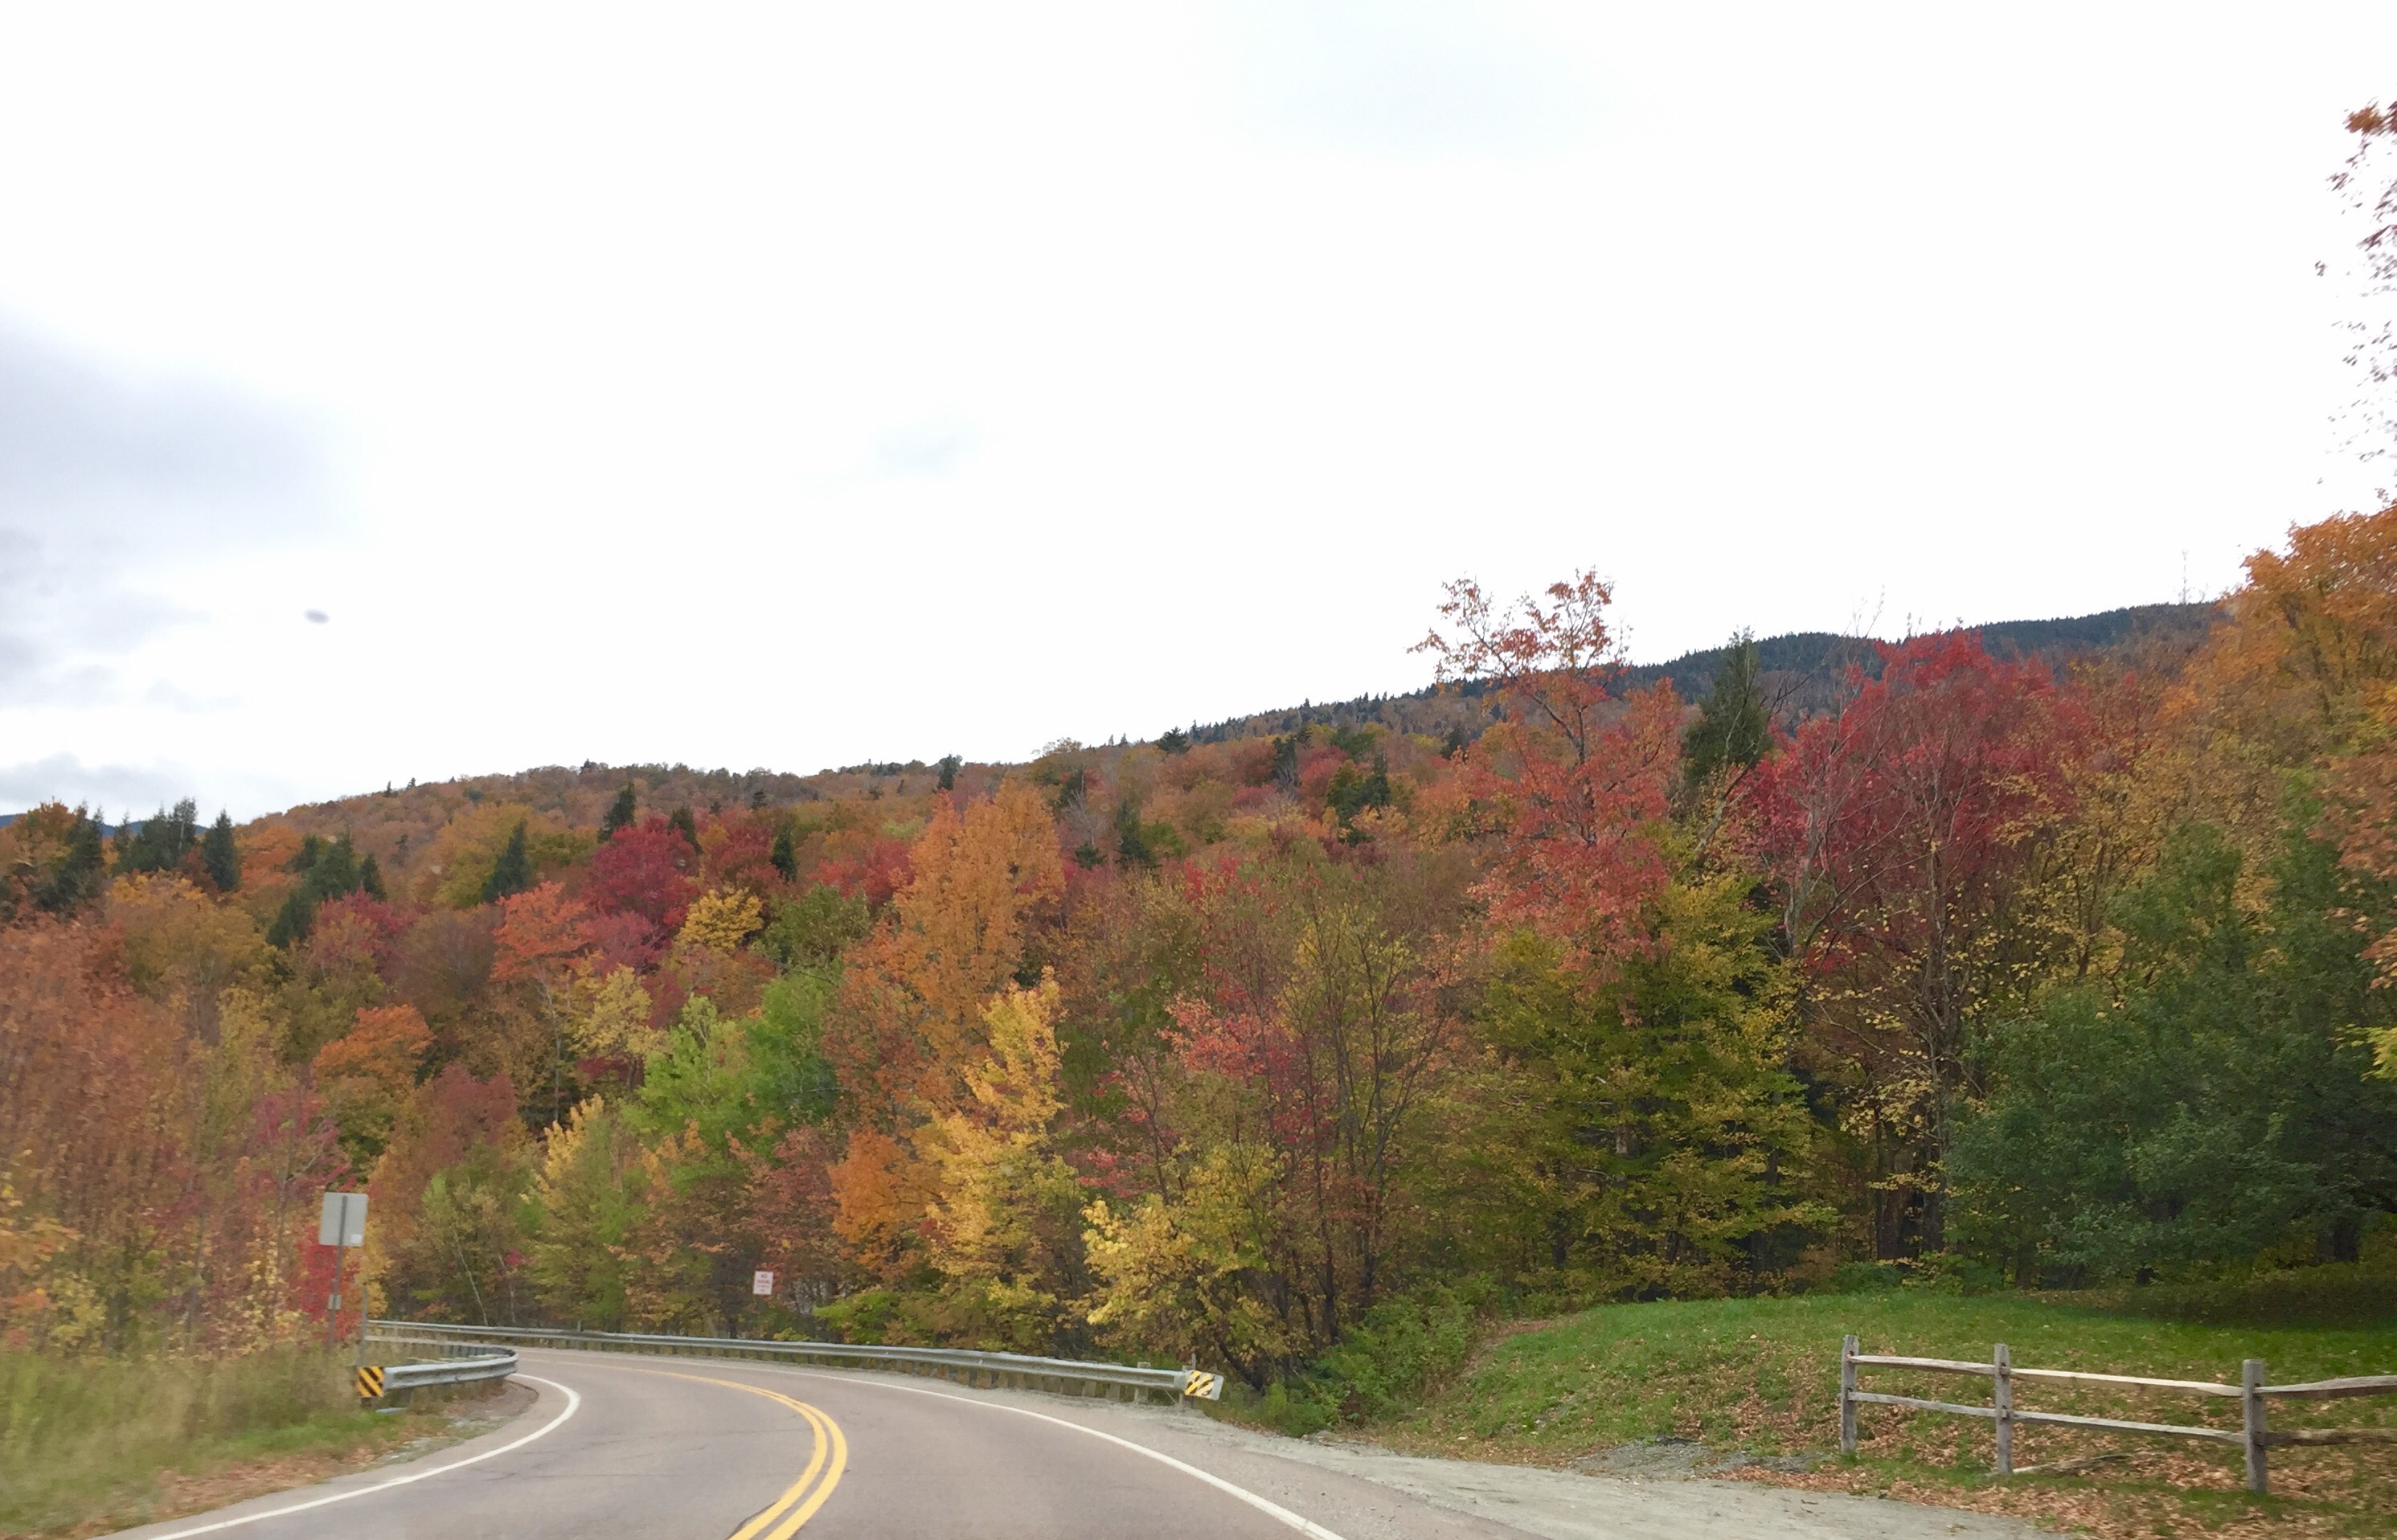
Julia took this picture as we drove. Gorgeous trees. On the way home, my DIL suggested we stop at Poorhouse Pies.  This is a little pie stand a few miles off the highway, in Underhill, Vermont. Who would turn pie down??  The place was adorable.

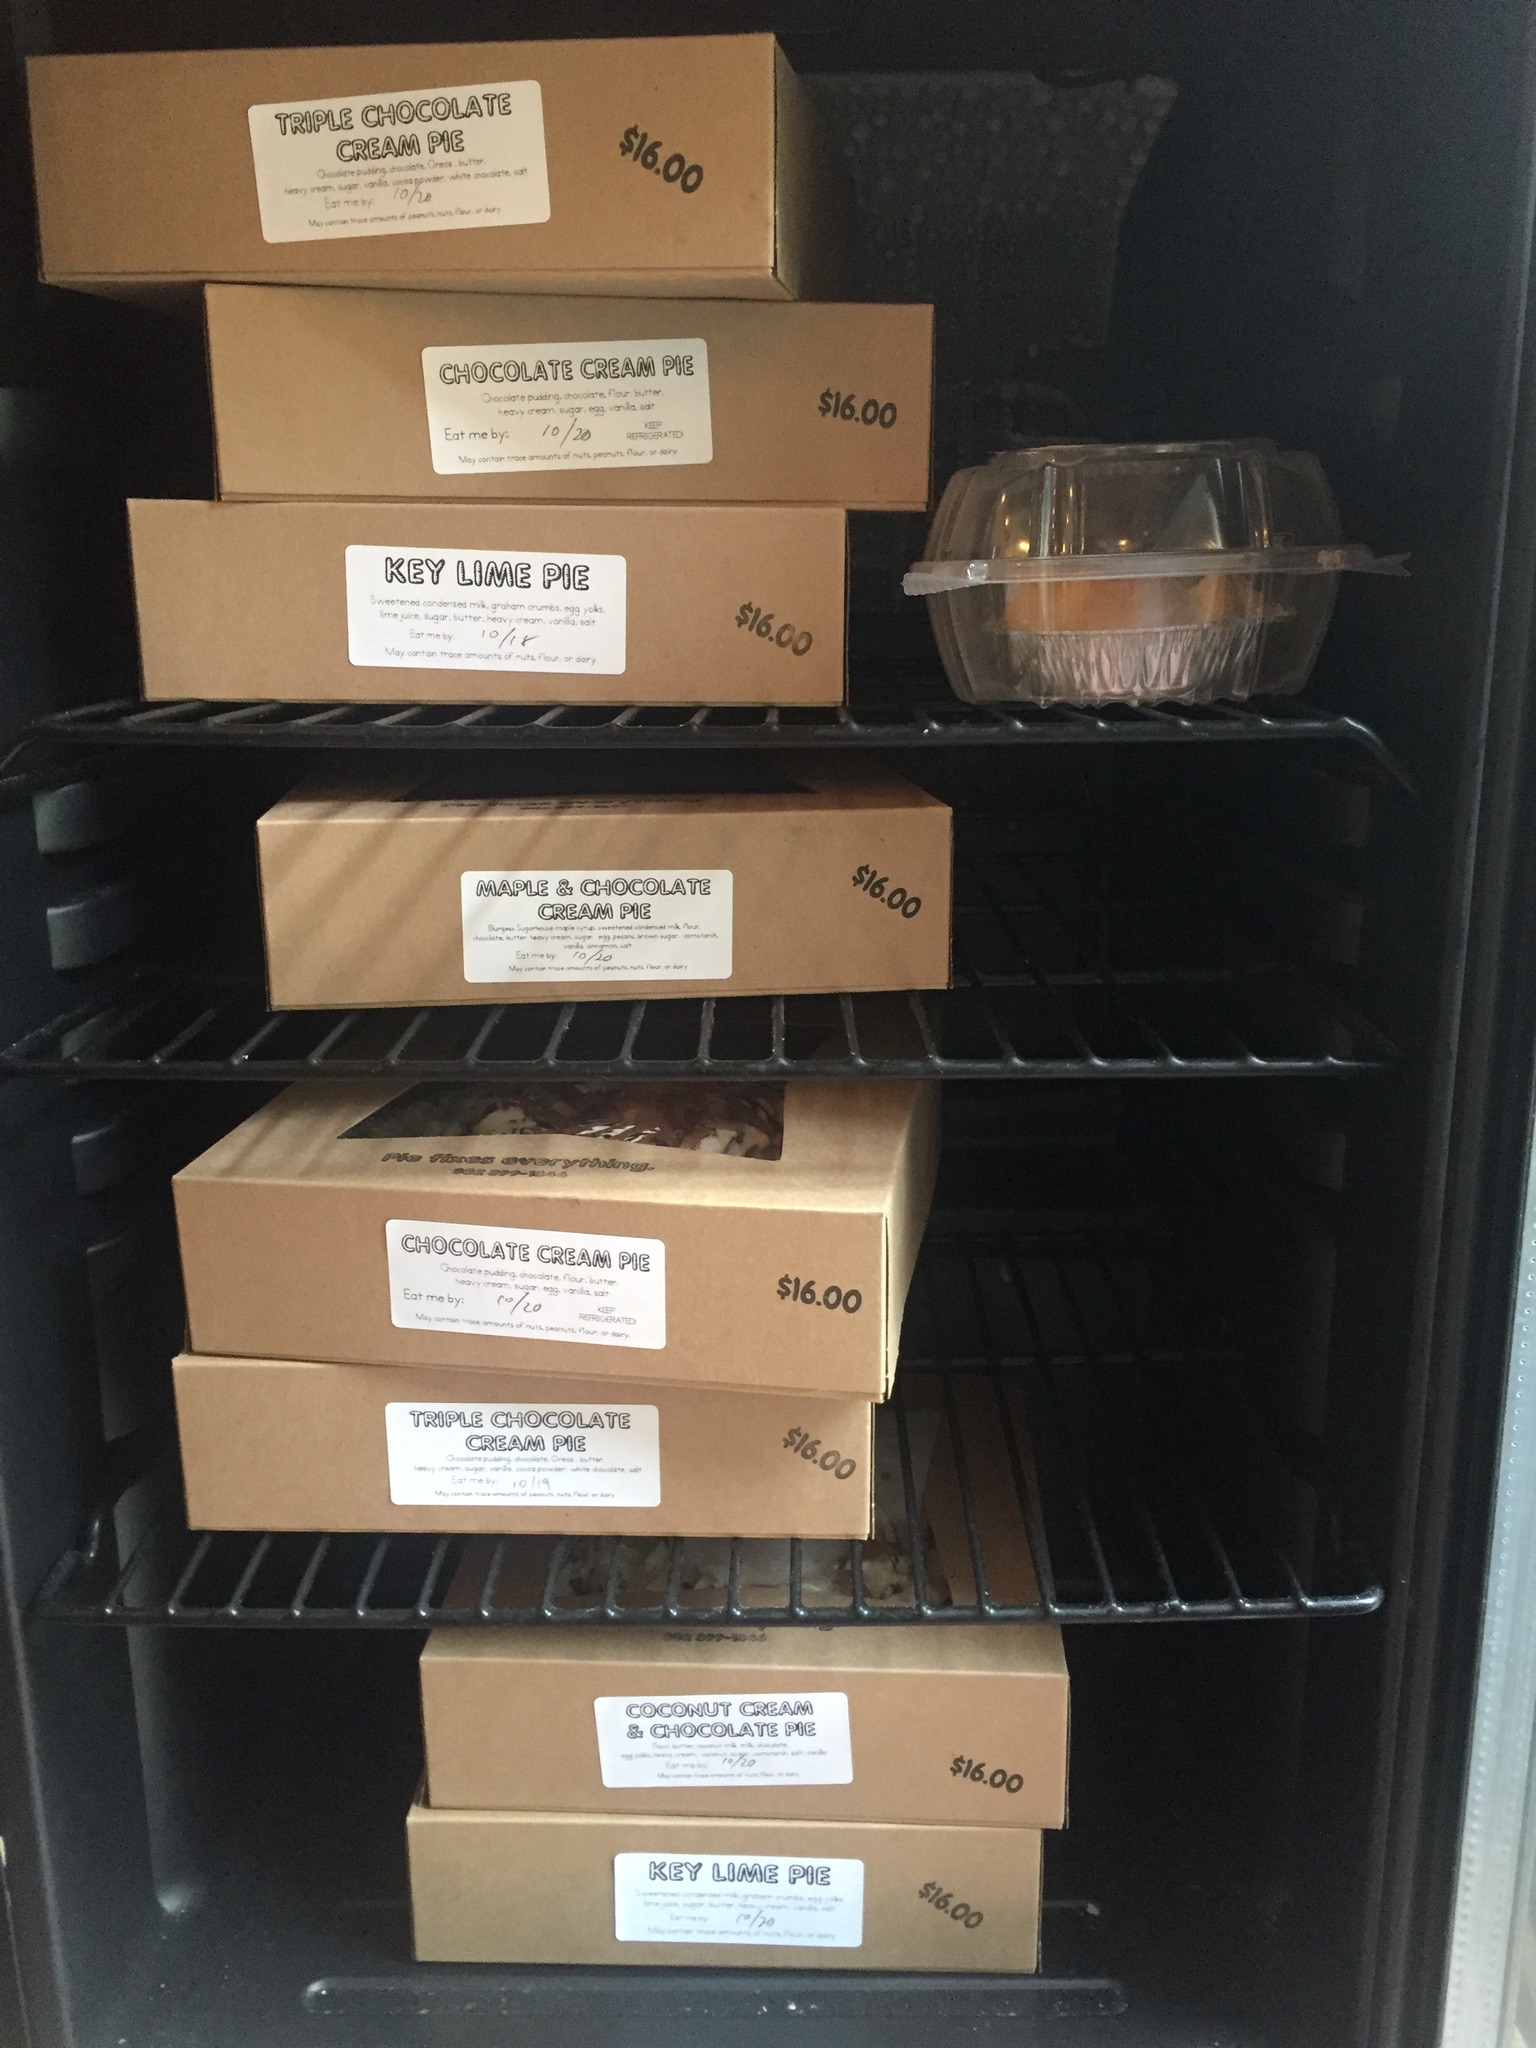
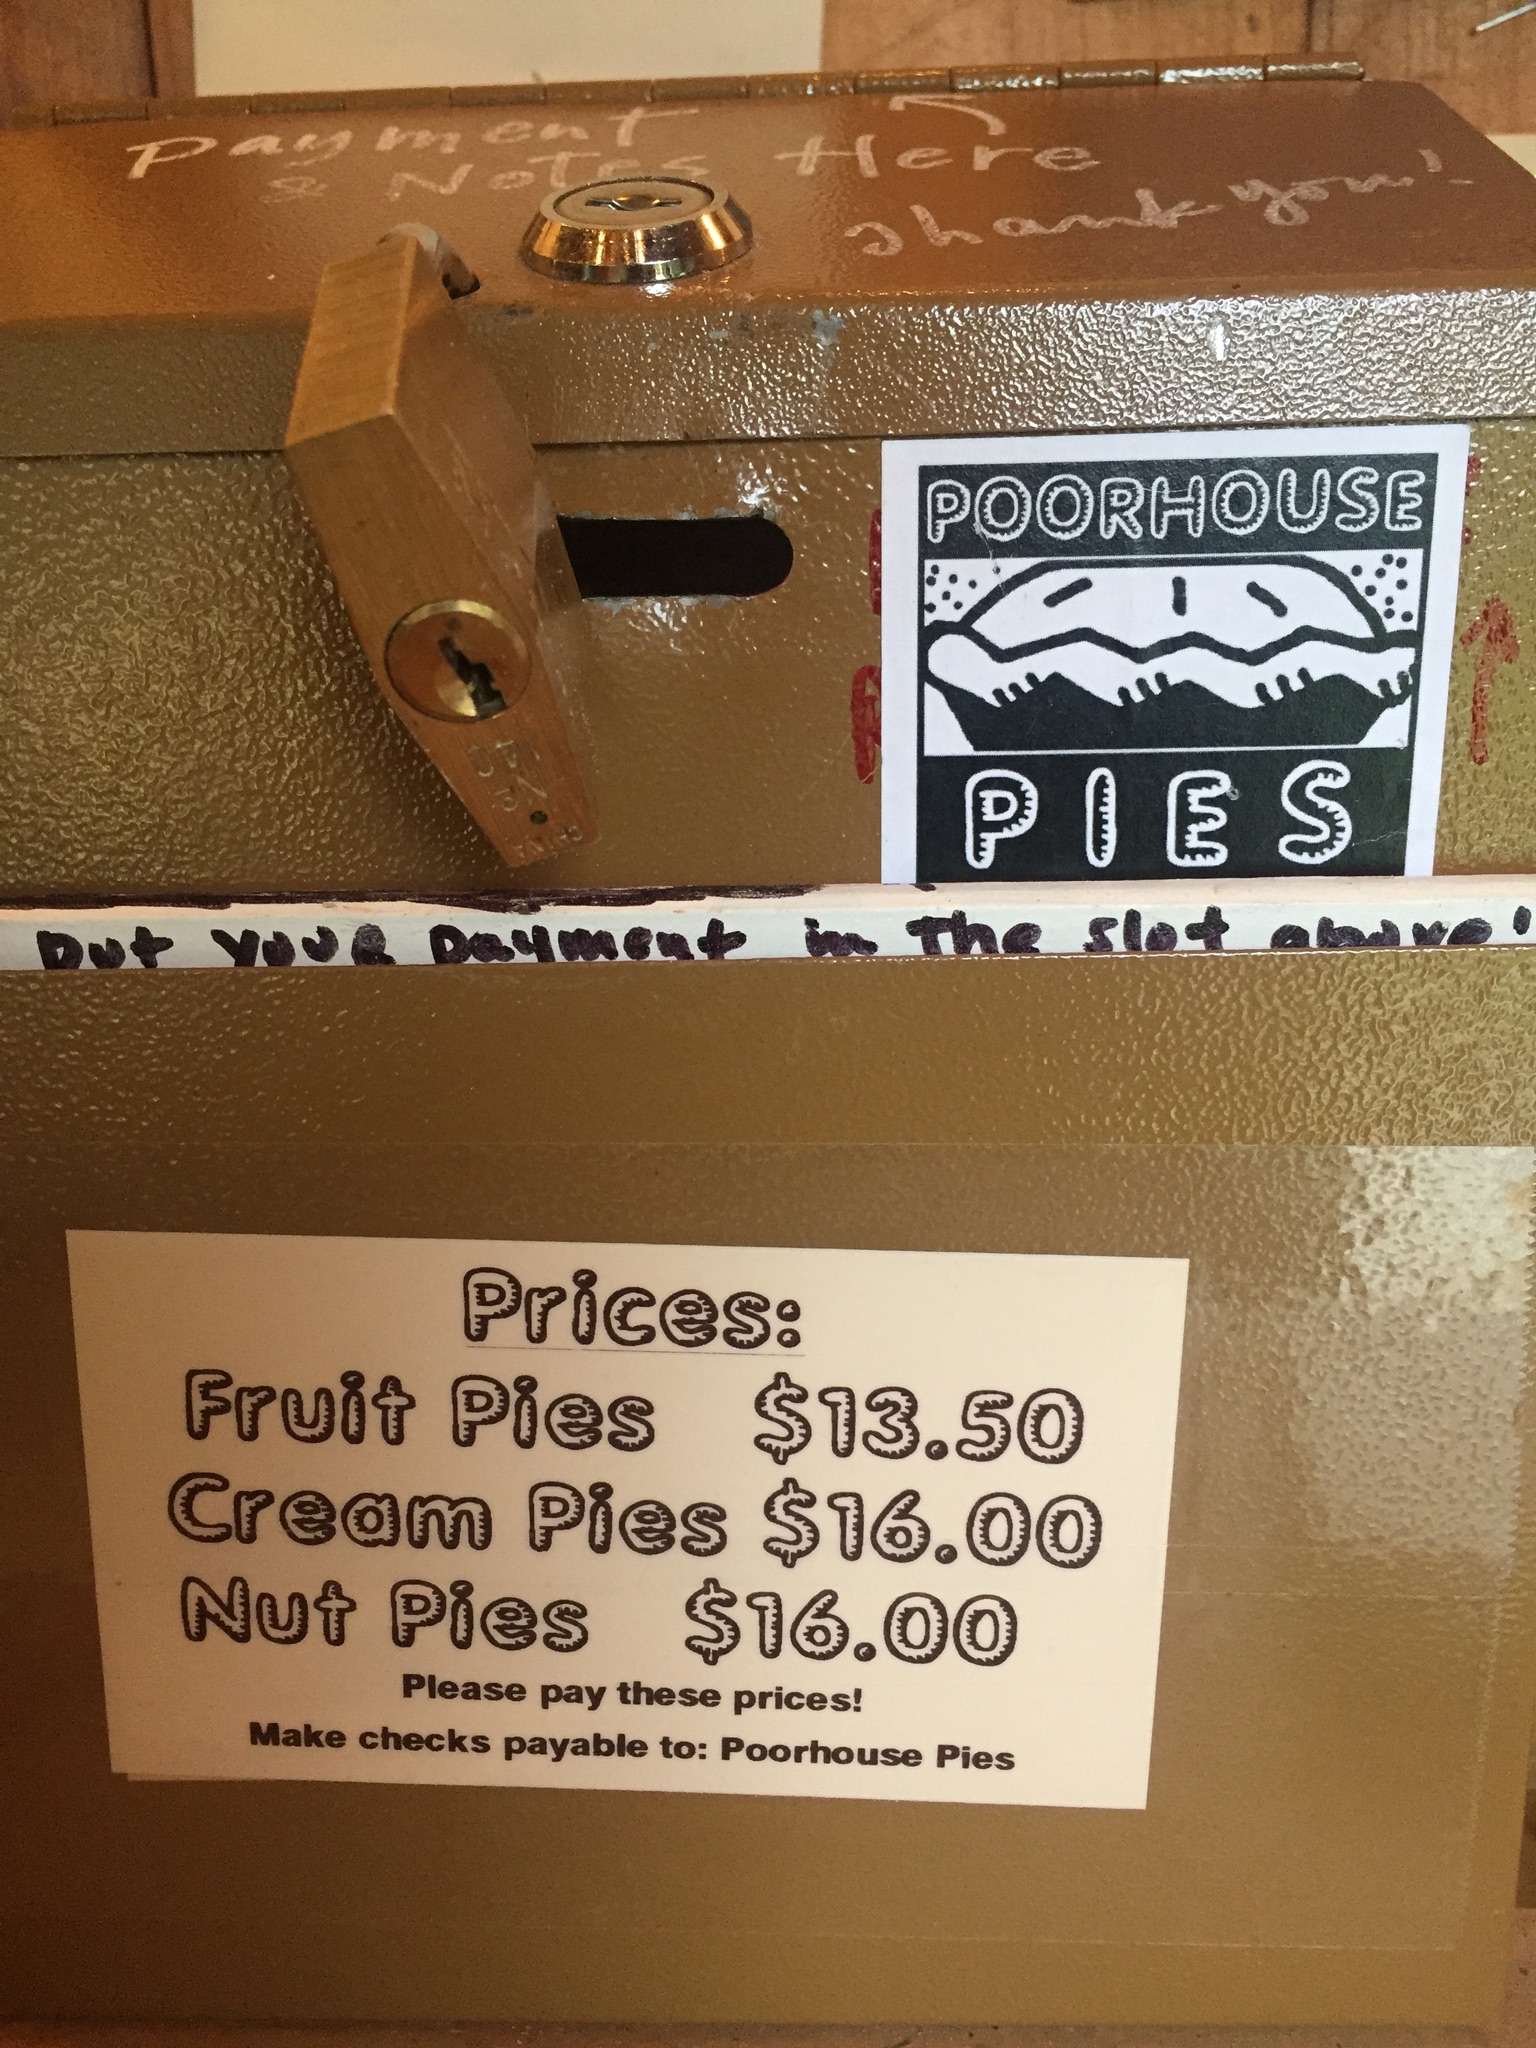
Poorhouse Pies is run by two women, Jamie and Paula.  They opened their business in 2009 and make pies daily (every single day!) and sell them to a few local markets as well as at their home. I love this place because they rely solely on the honesty of people.  They put the pies (full size and little hand pies) in a refrigerator in the shed and there is a lock box above.  The prices are listed and people slip the money into the lock box. You don’t see a whole lot of this sort of thing anymore!

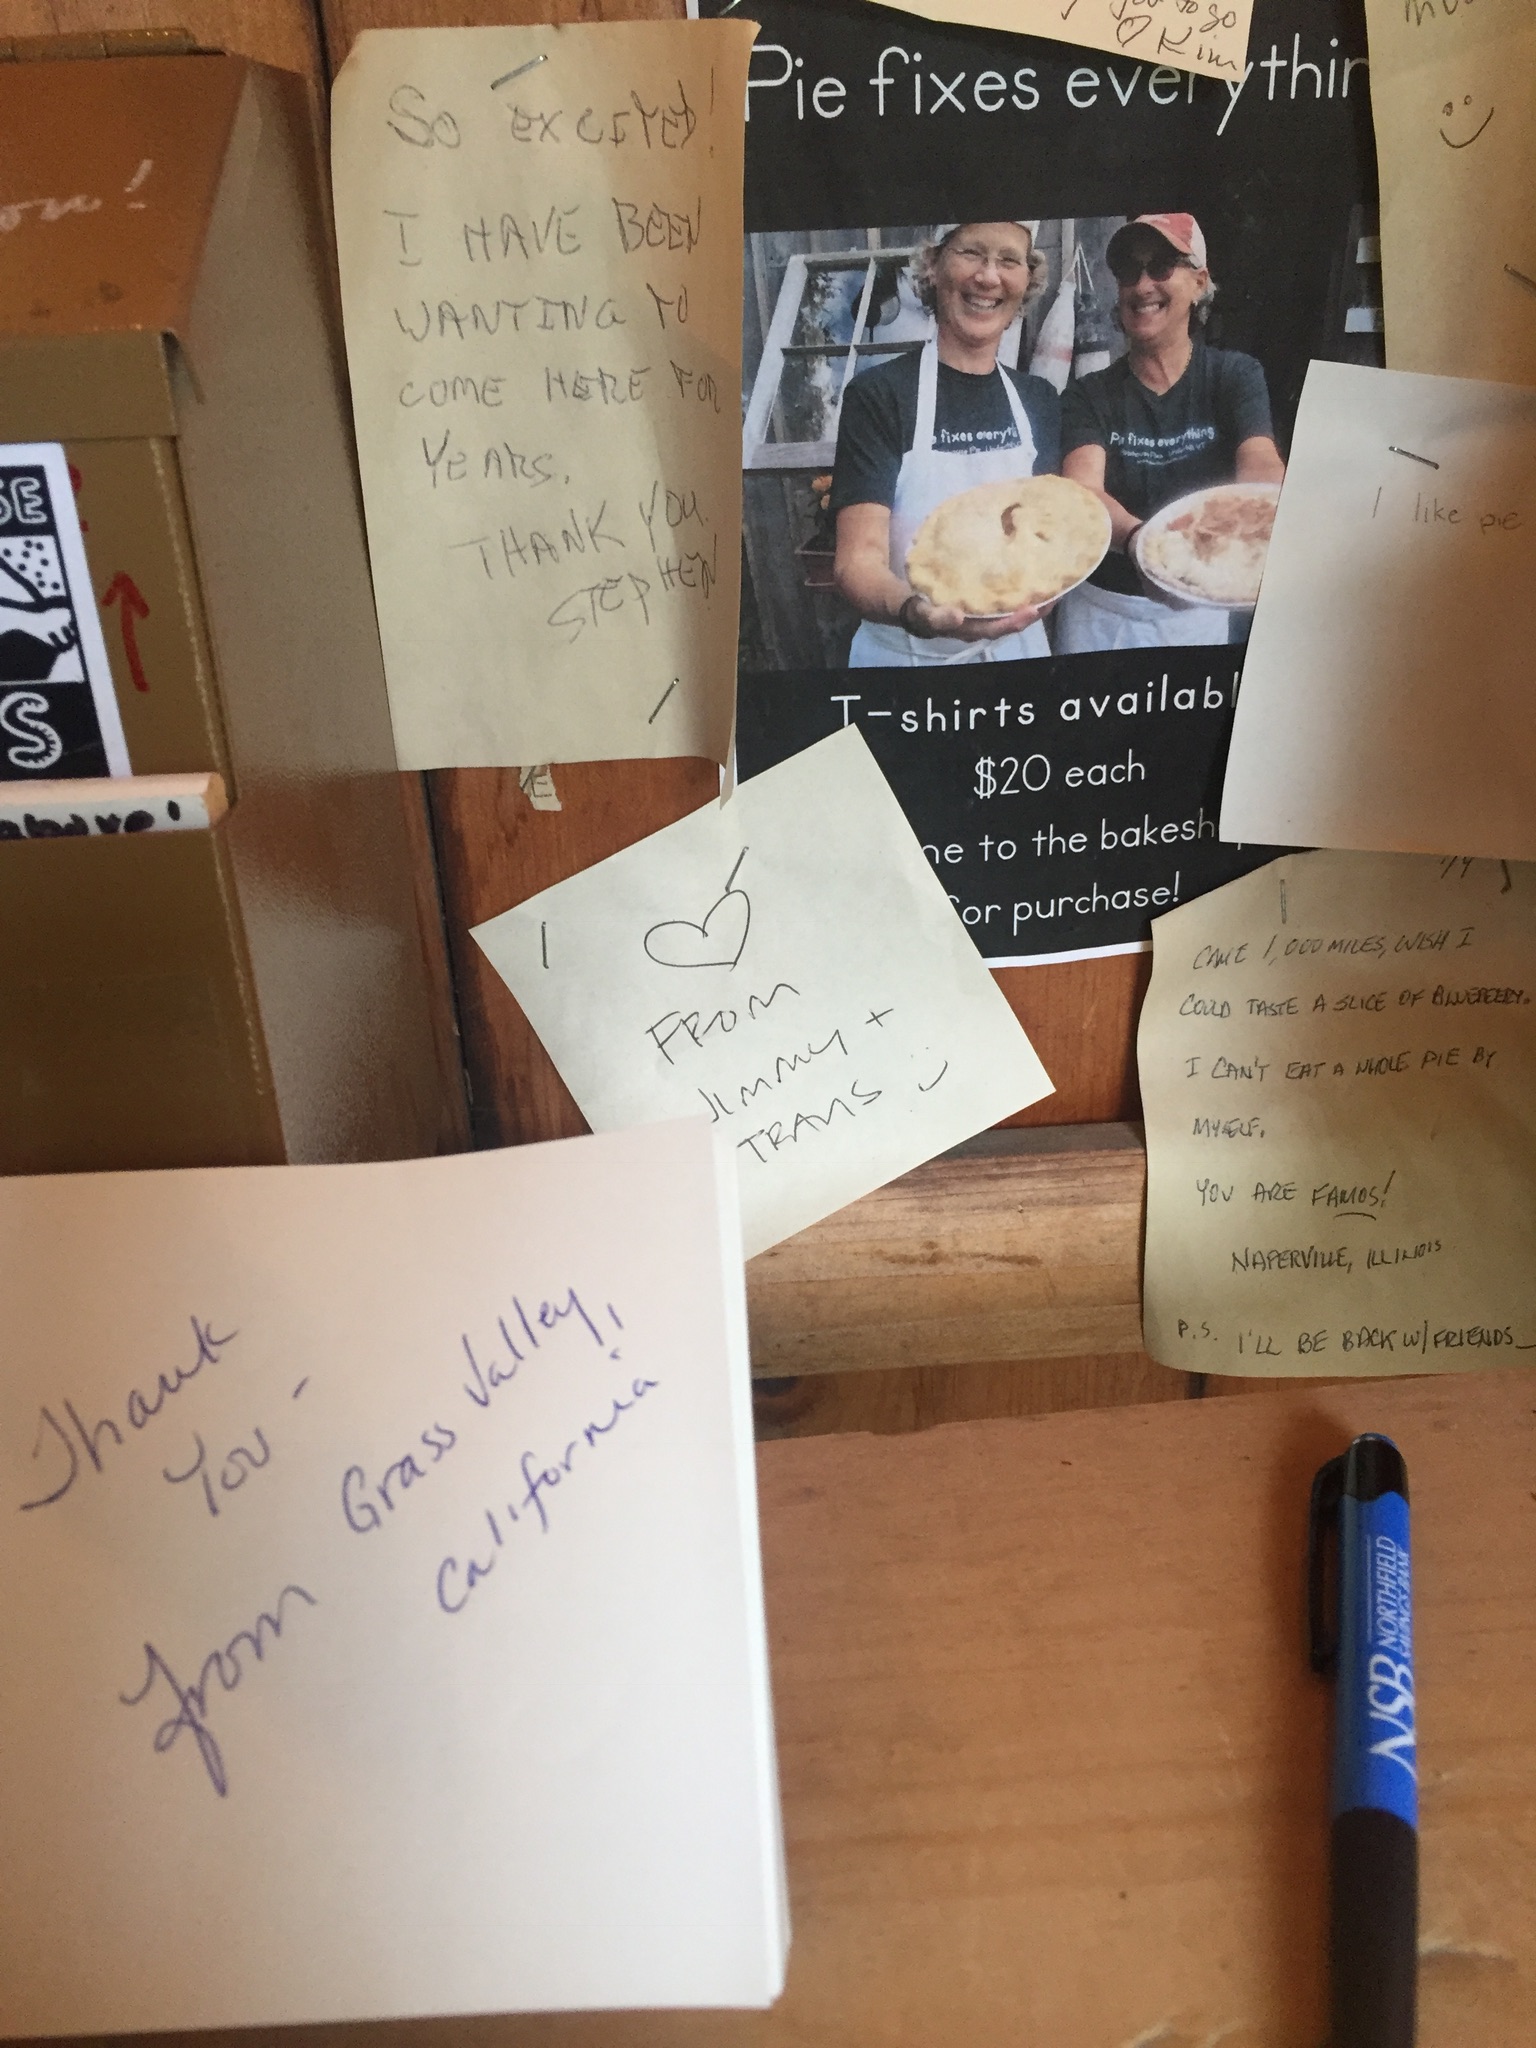
The walls of the inside of the shed were covered in little notes from many visitors.


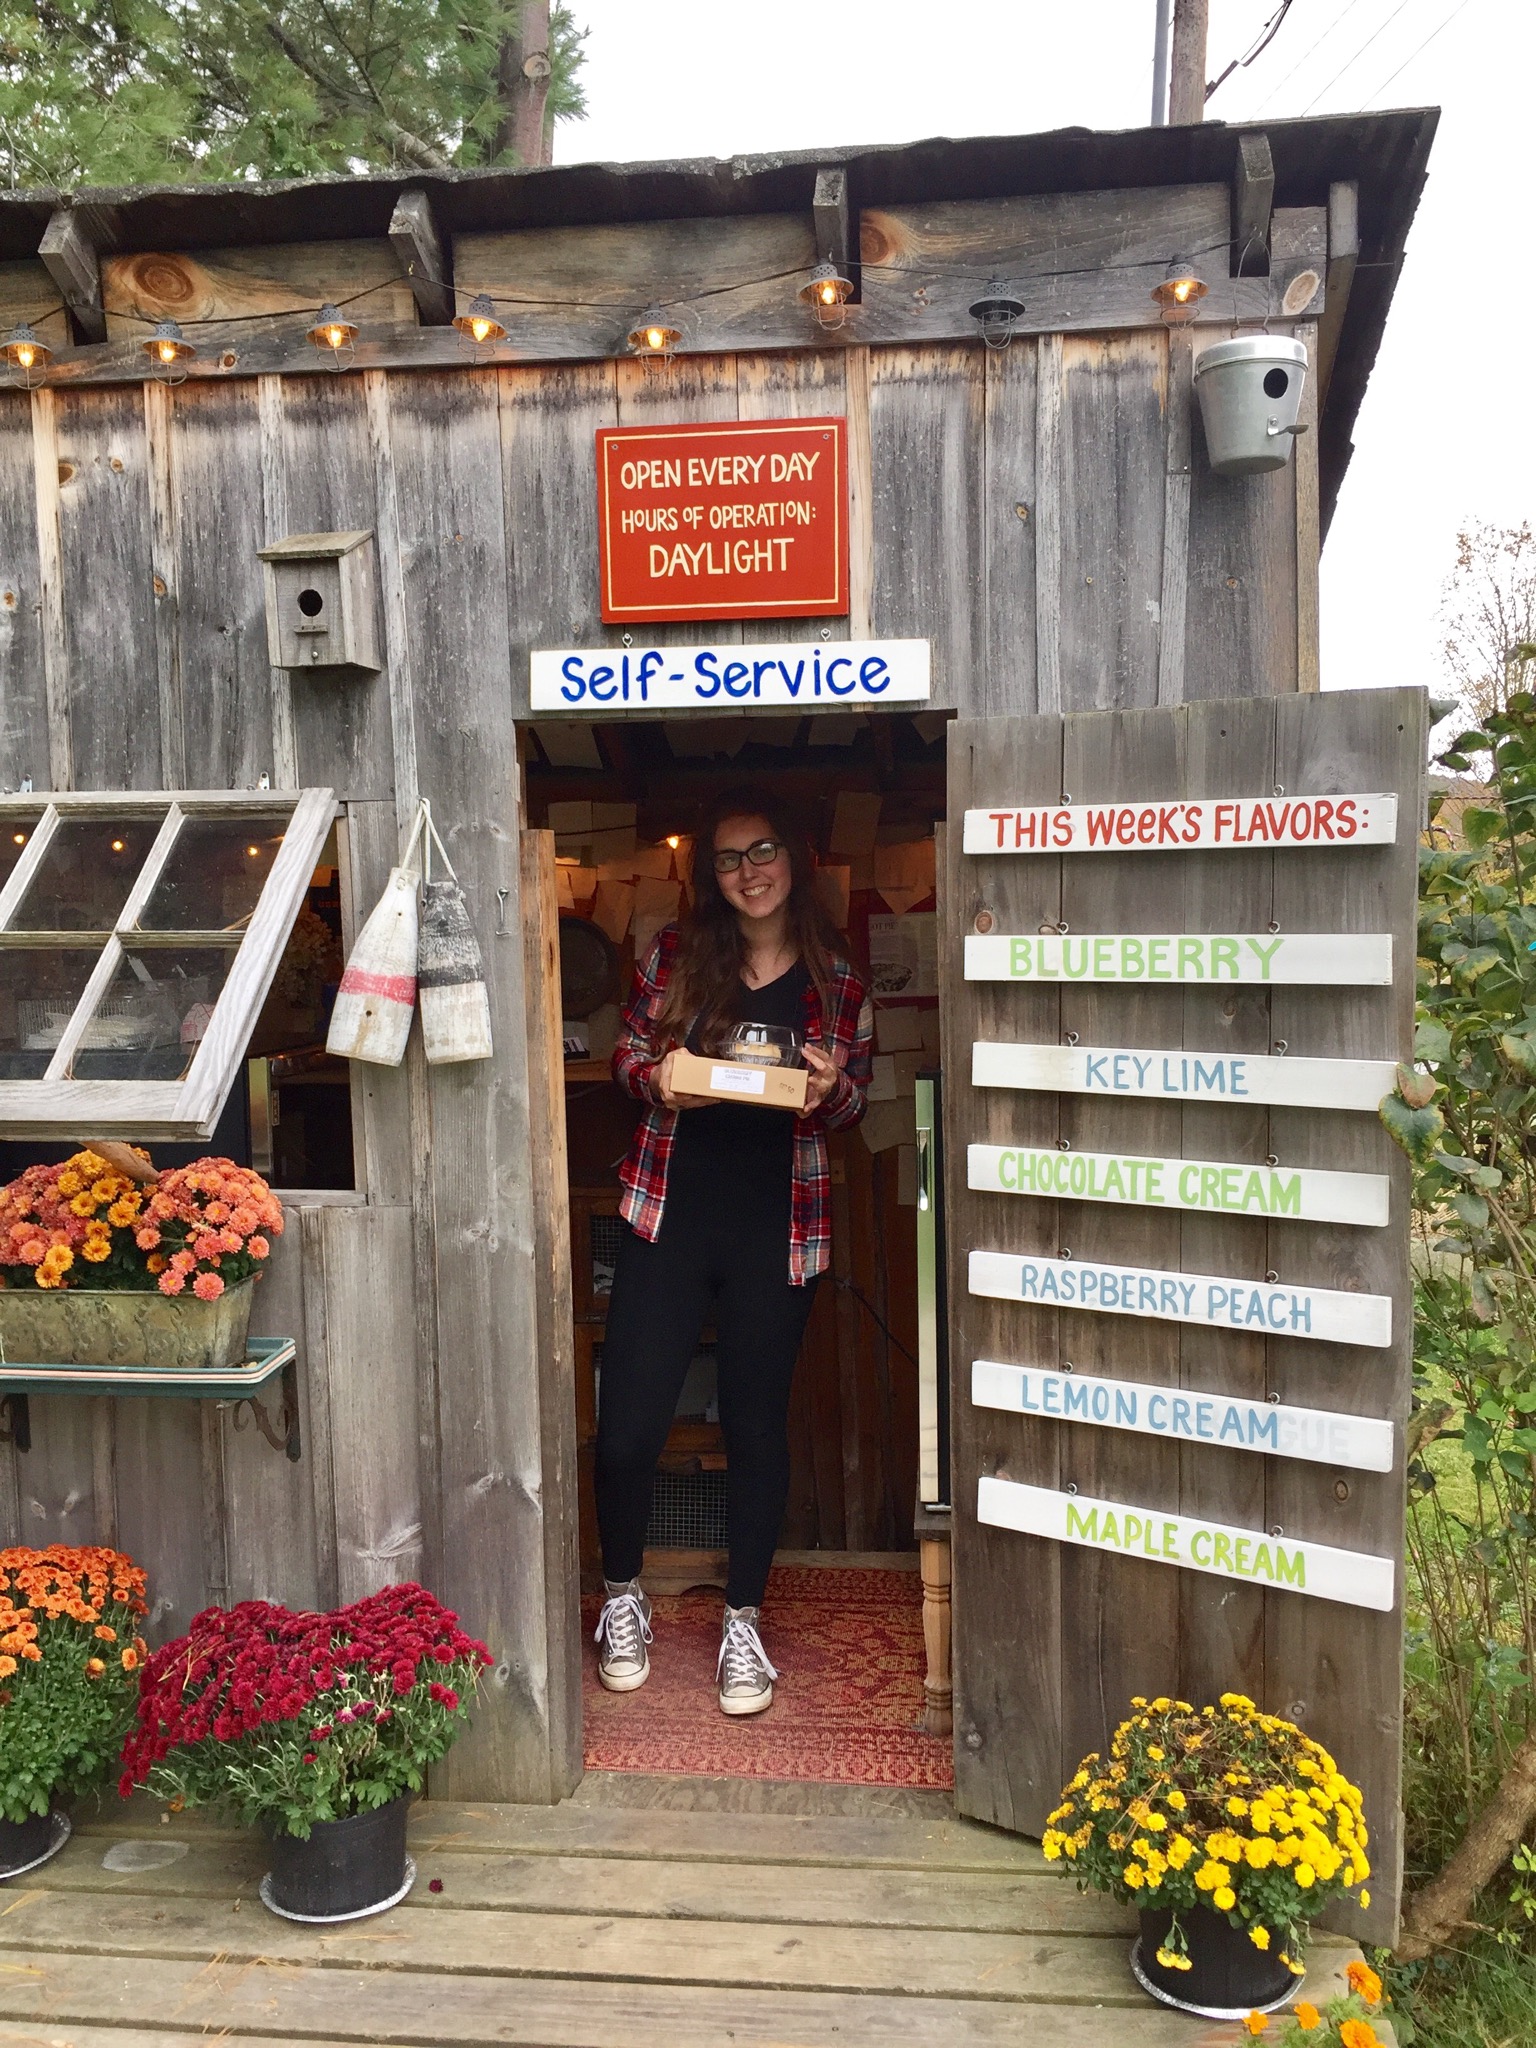
This girl is ready for pie!

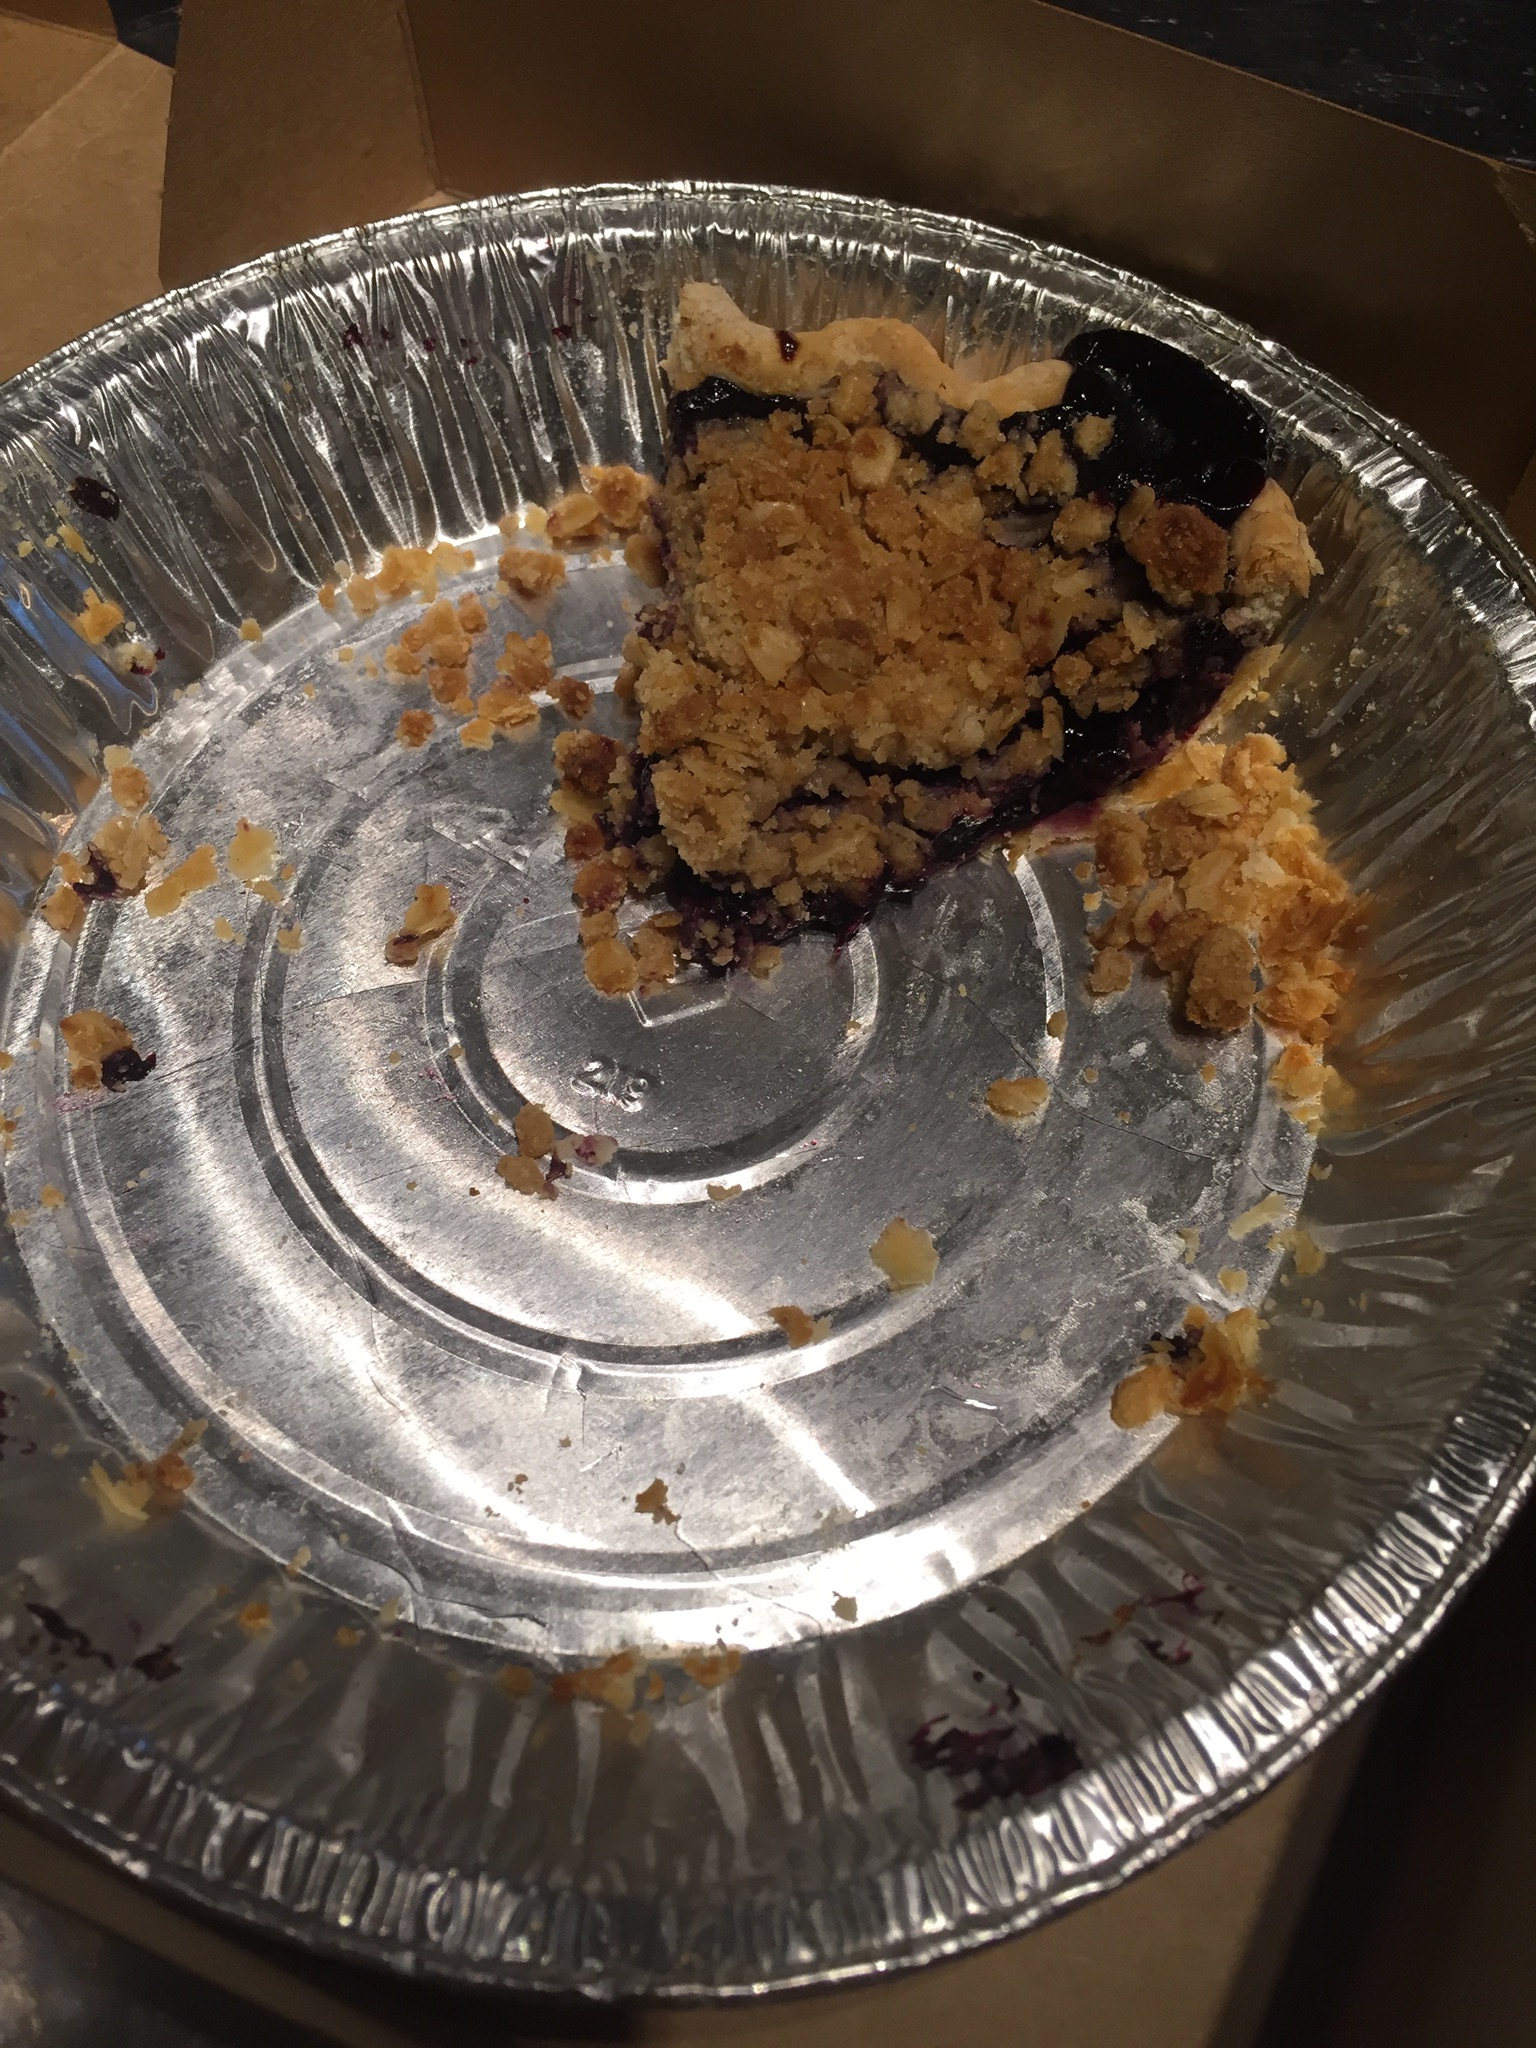
Oh my gosh, the pie was delicious.  We had blueberry pie and we all thought it was really tasty.

Later that night Andrew and I watched a clip of an interview with the Poorhouse Pie owners. Responding to a question about the honesty of their customers, they replied that they knew of only two times where pies had been taken without payment.  Both times were on the last day of school and they figured some high school kids decided they needed pie.  For the most part though, their customers are very honest and generous, leaving more money than the pies cost. This warms my heart.

We had such a nice day. I was really impressed with my grand daughter.  At seven months old, she is one of the most easy-going infants around.
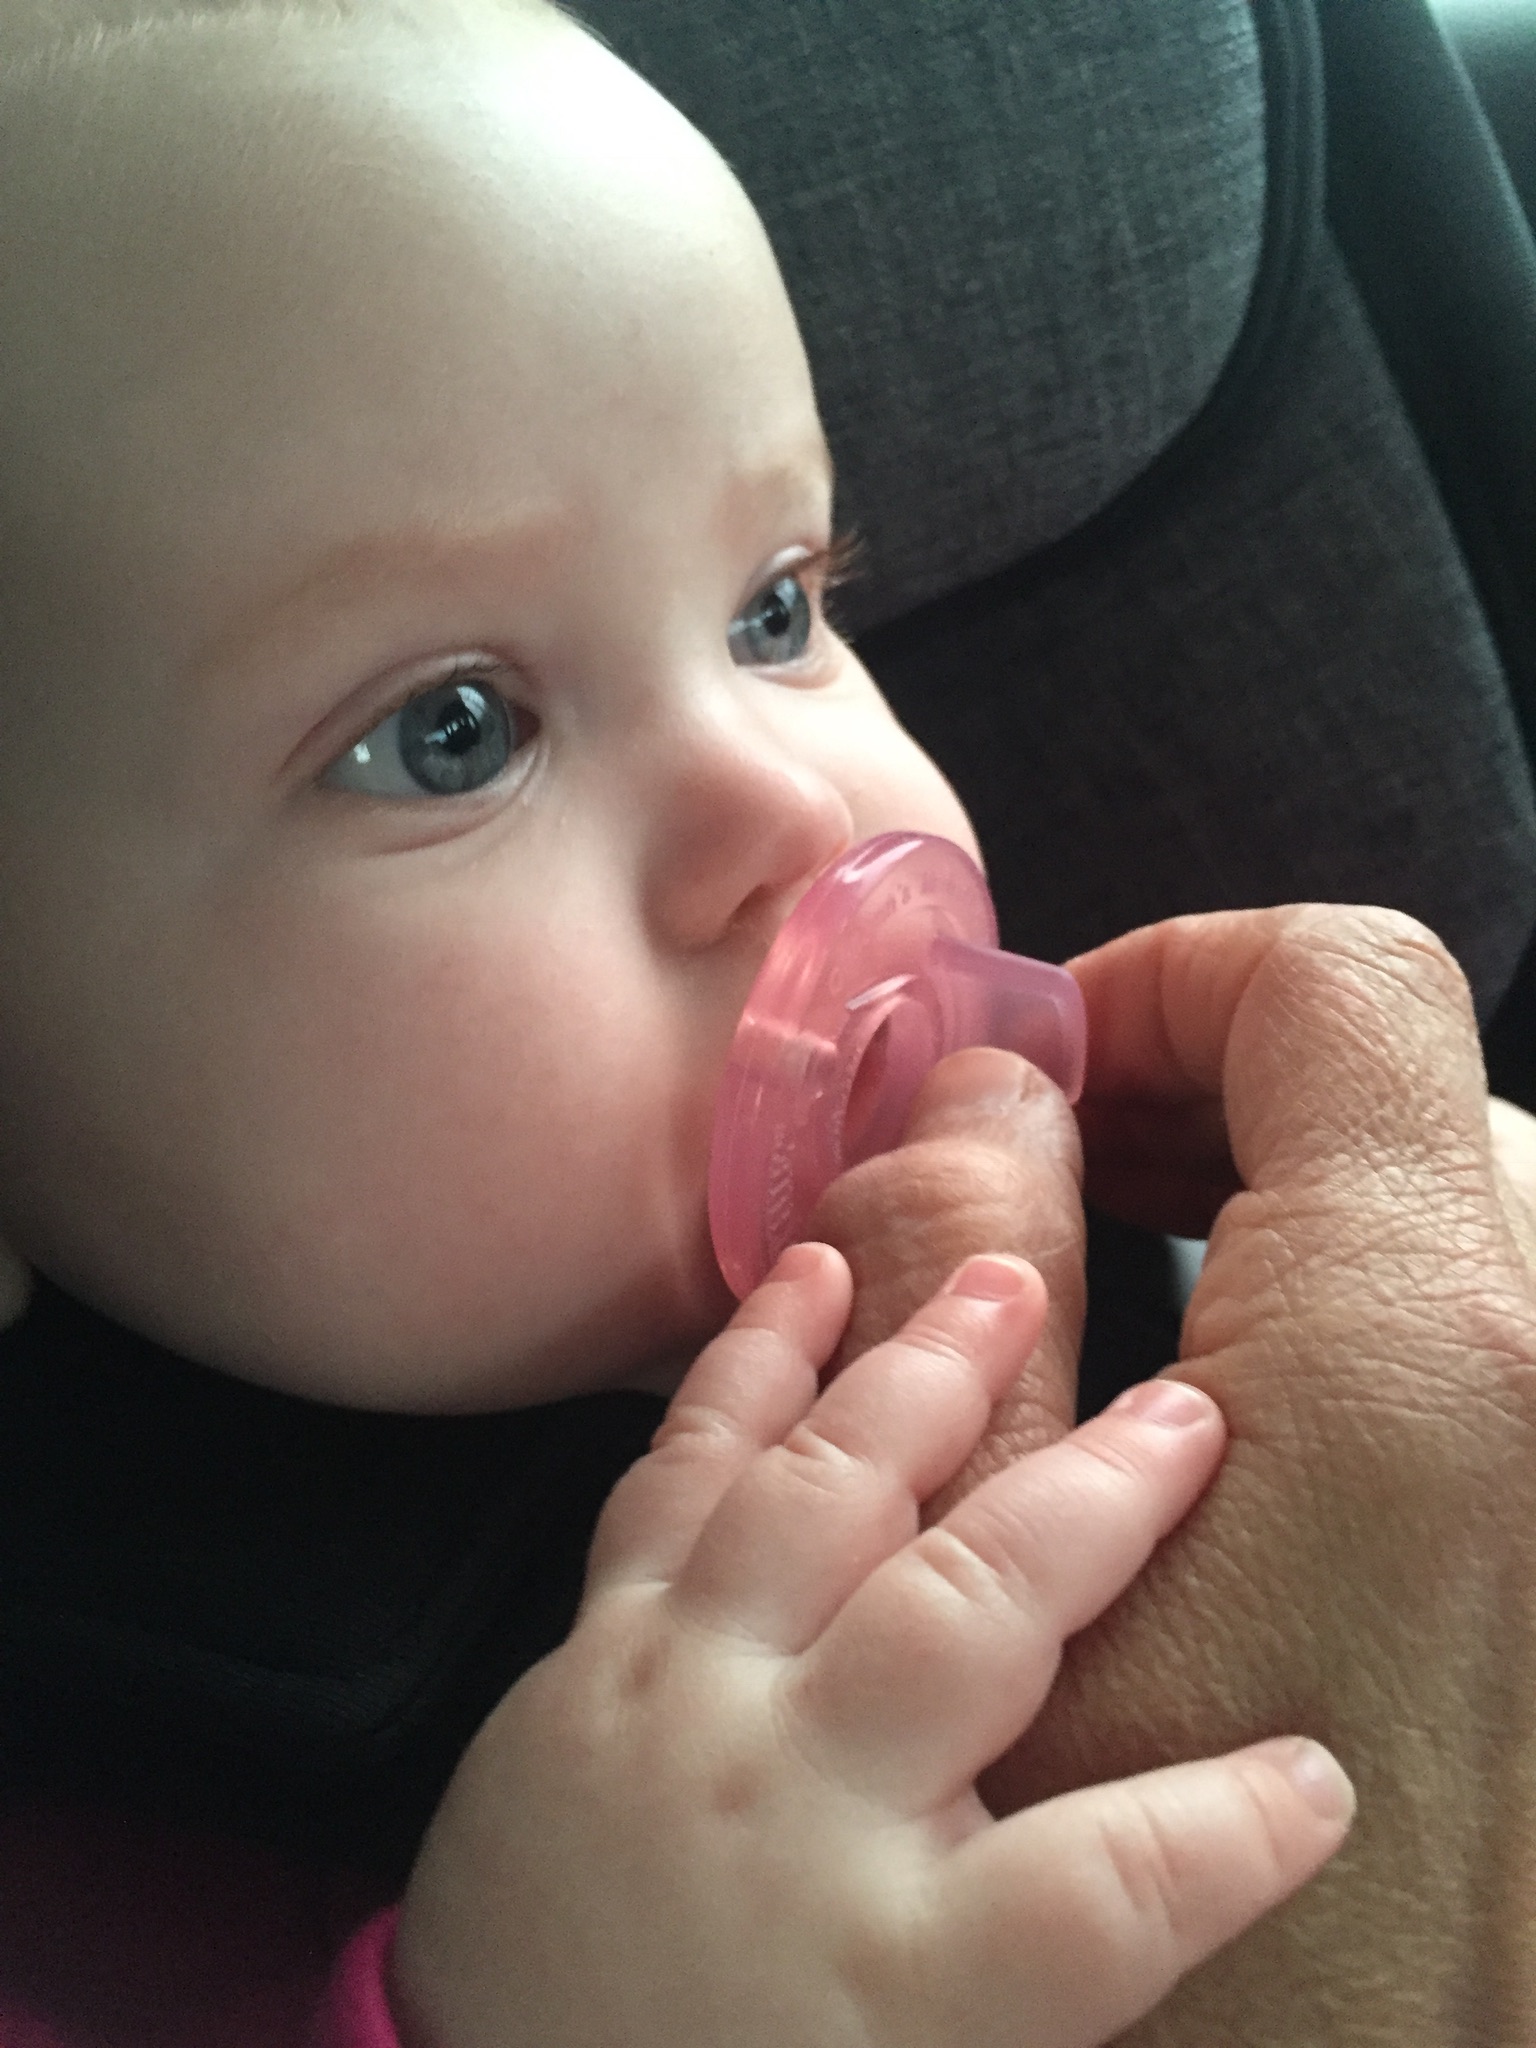
Sweetest baby ever!

She was out and about with us all day long and didn’t fuss until the very end of the day. She is delightful.
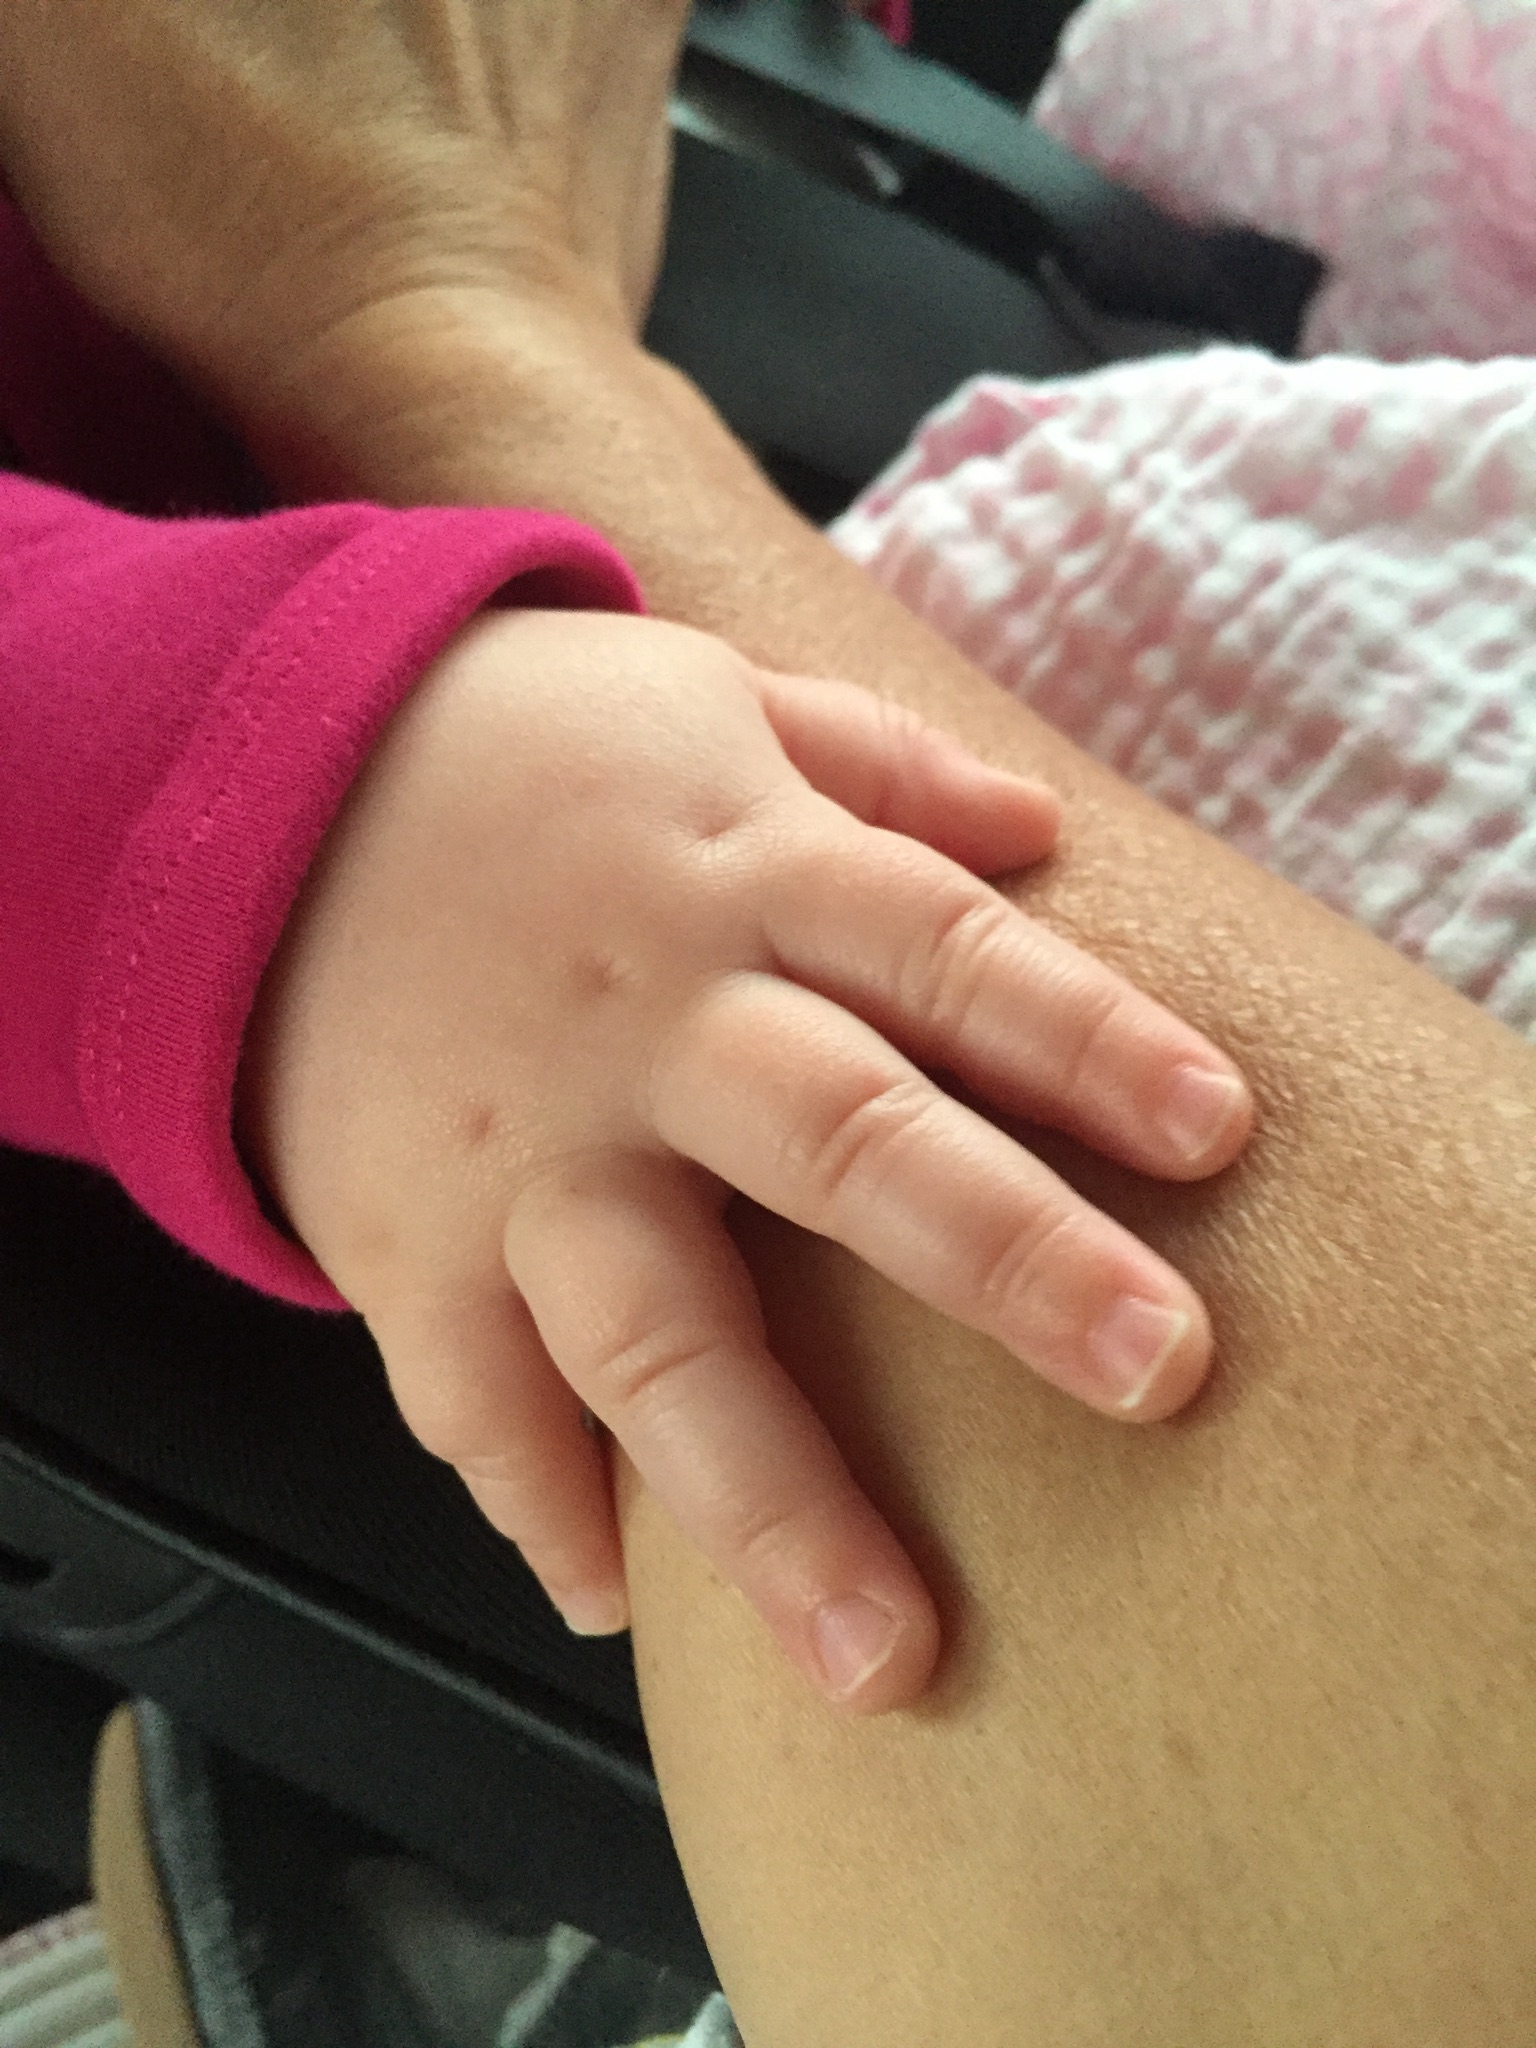
Knuckle dimples!

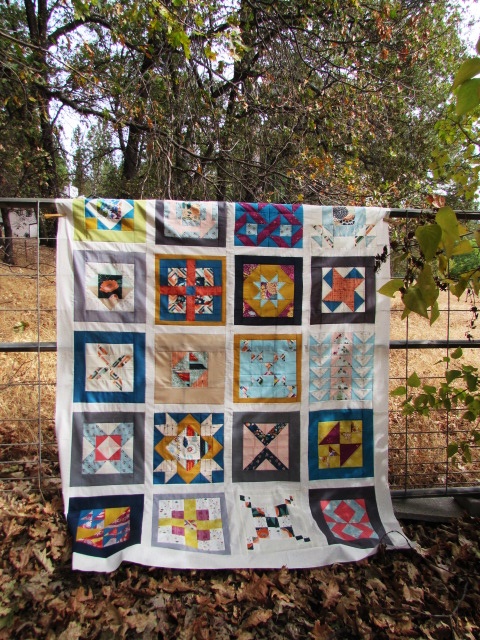
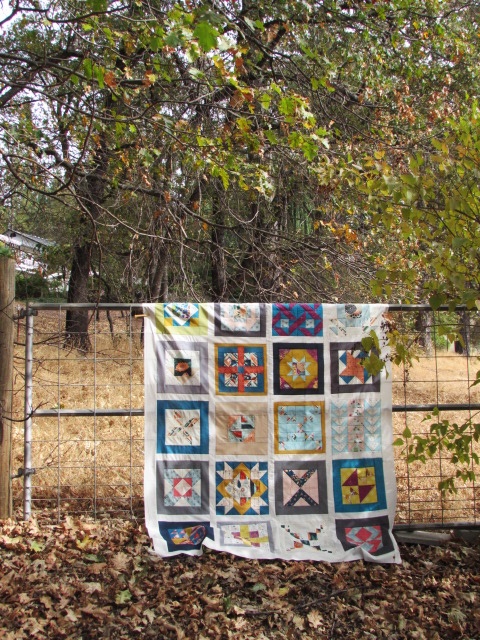
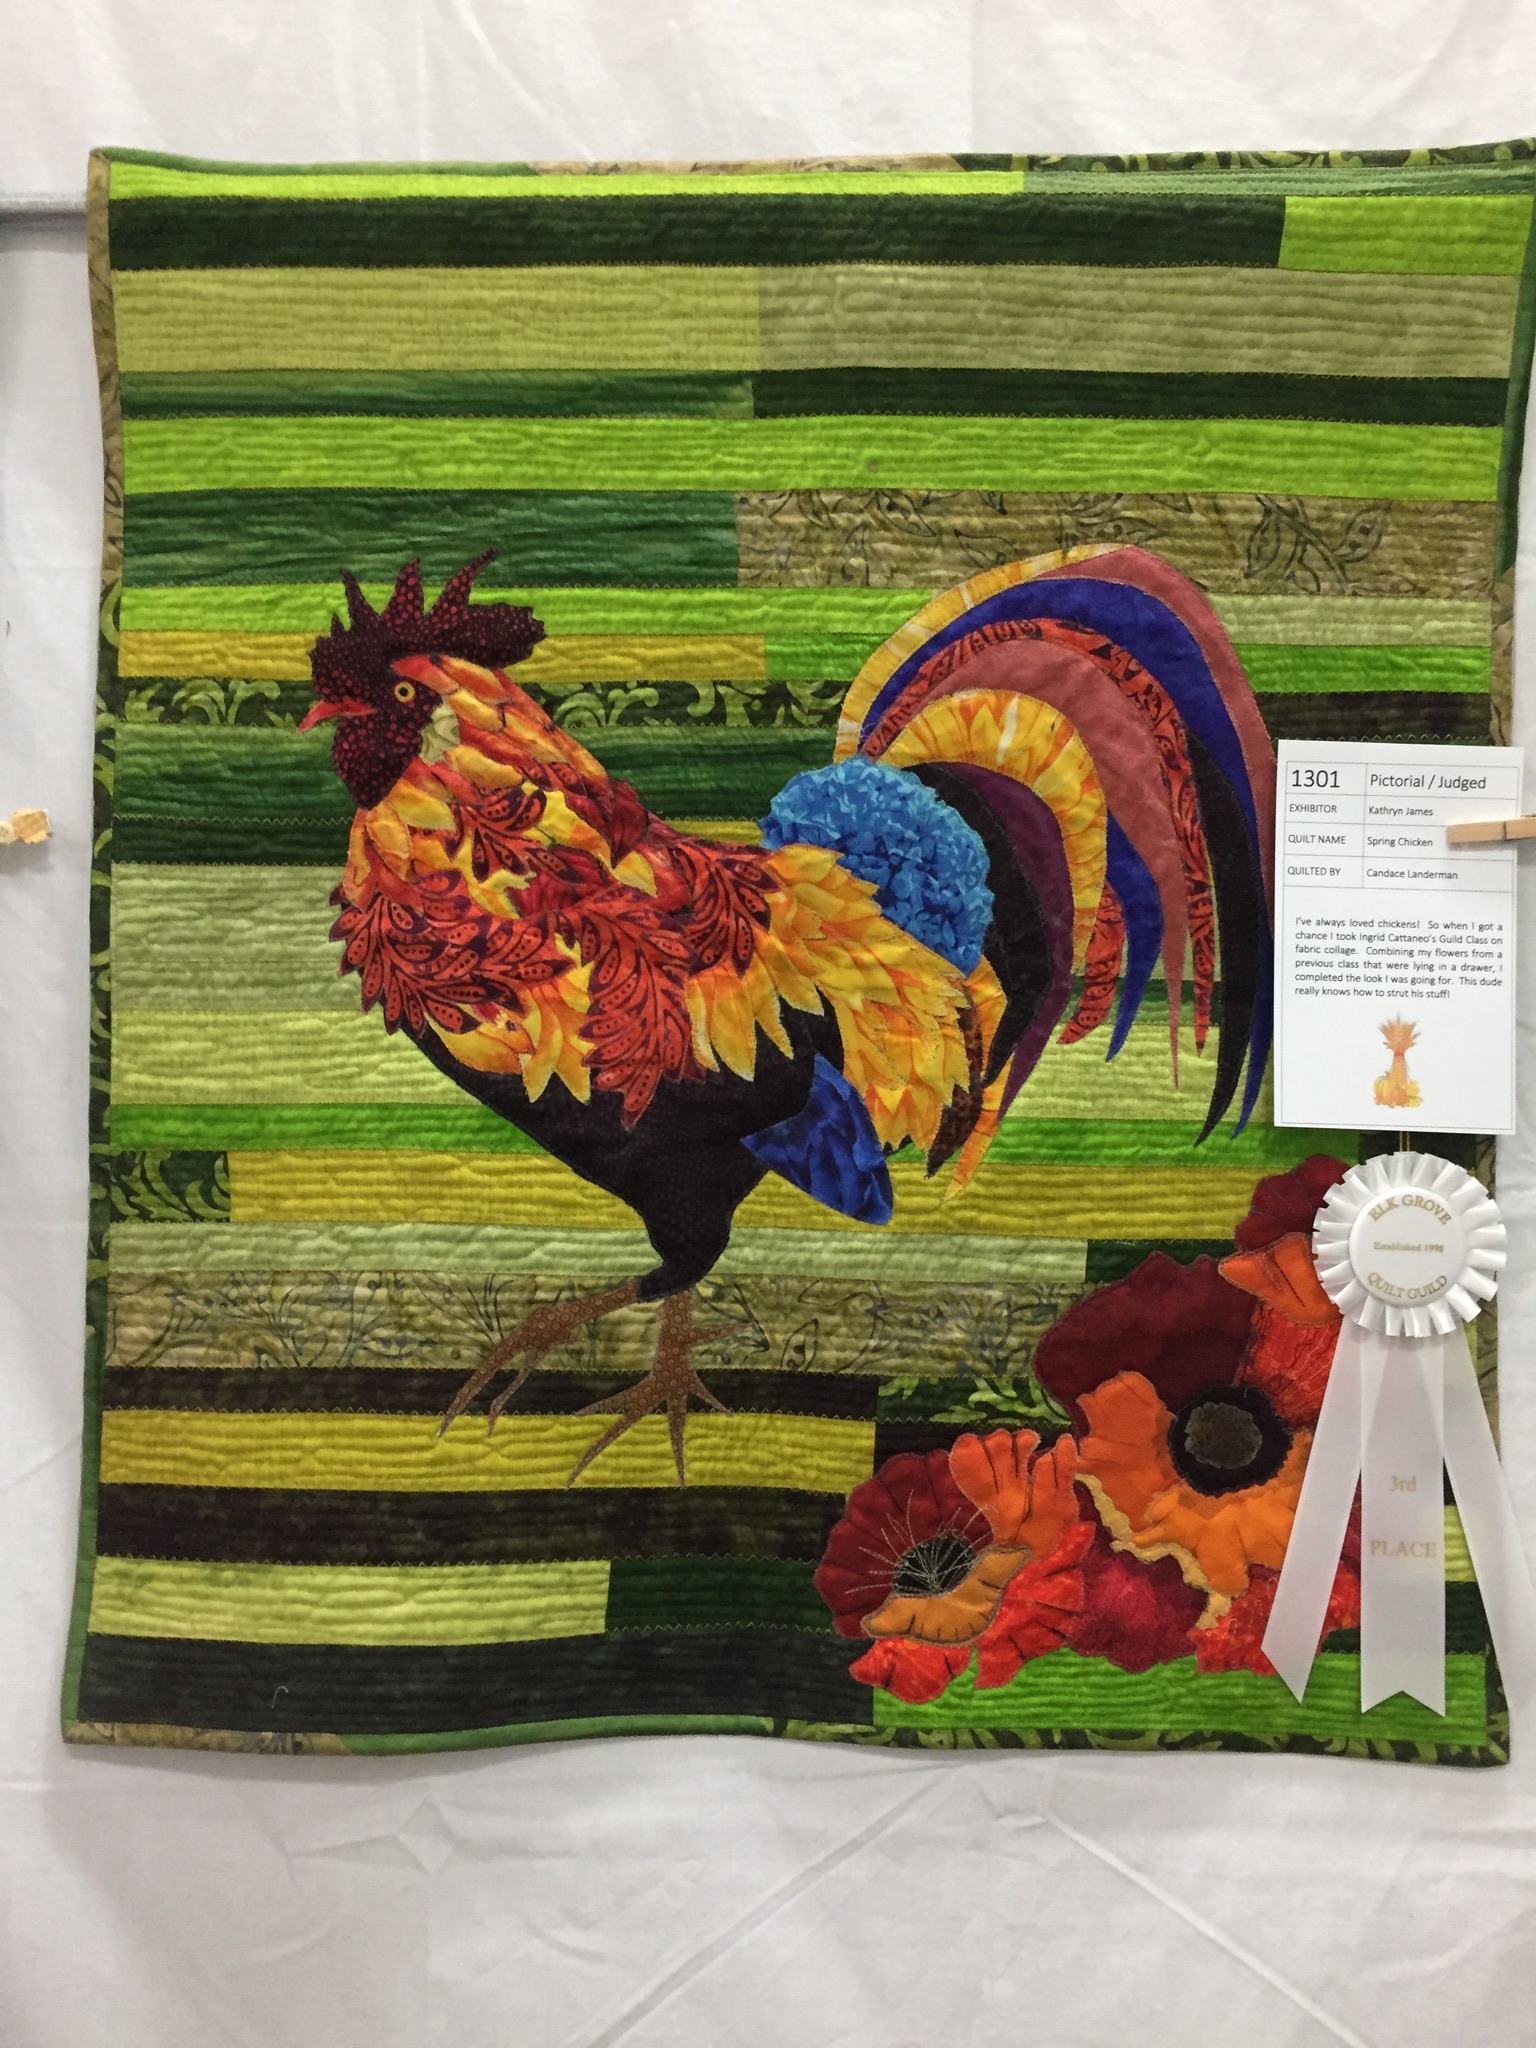
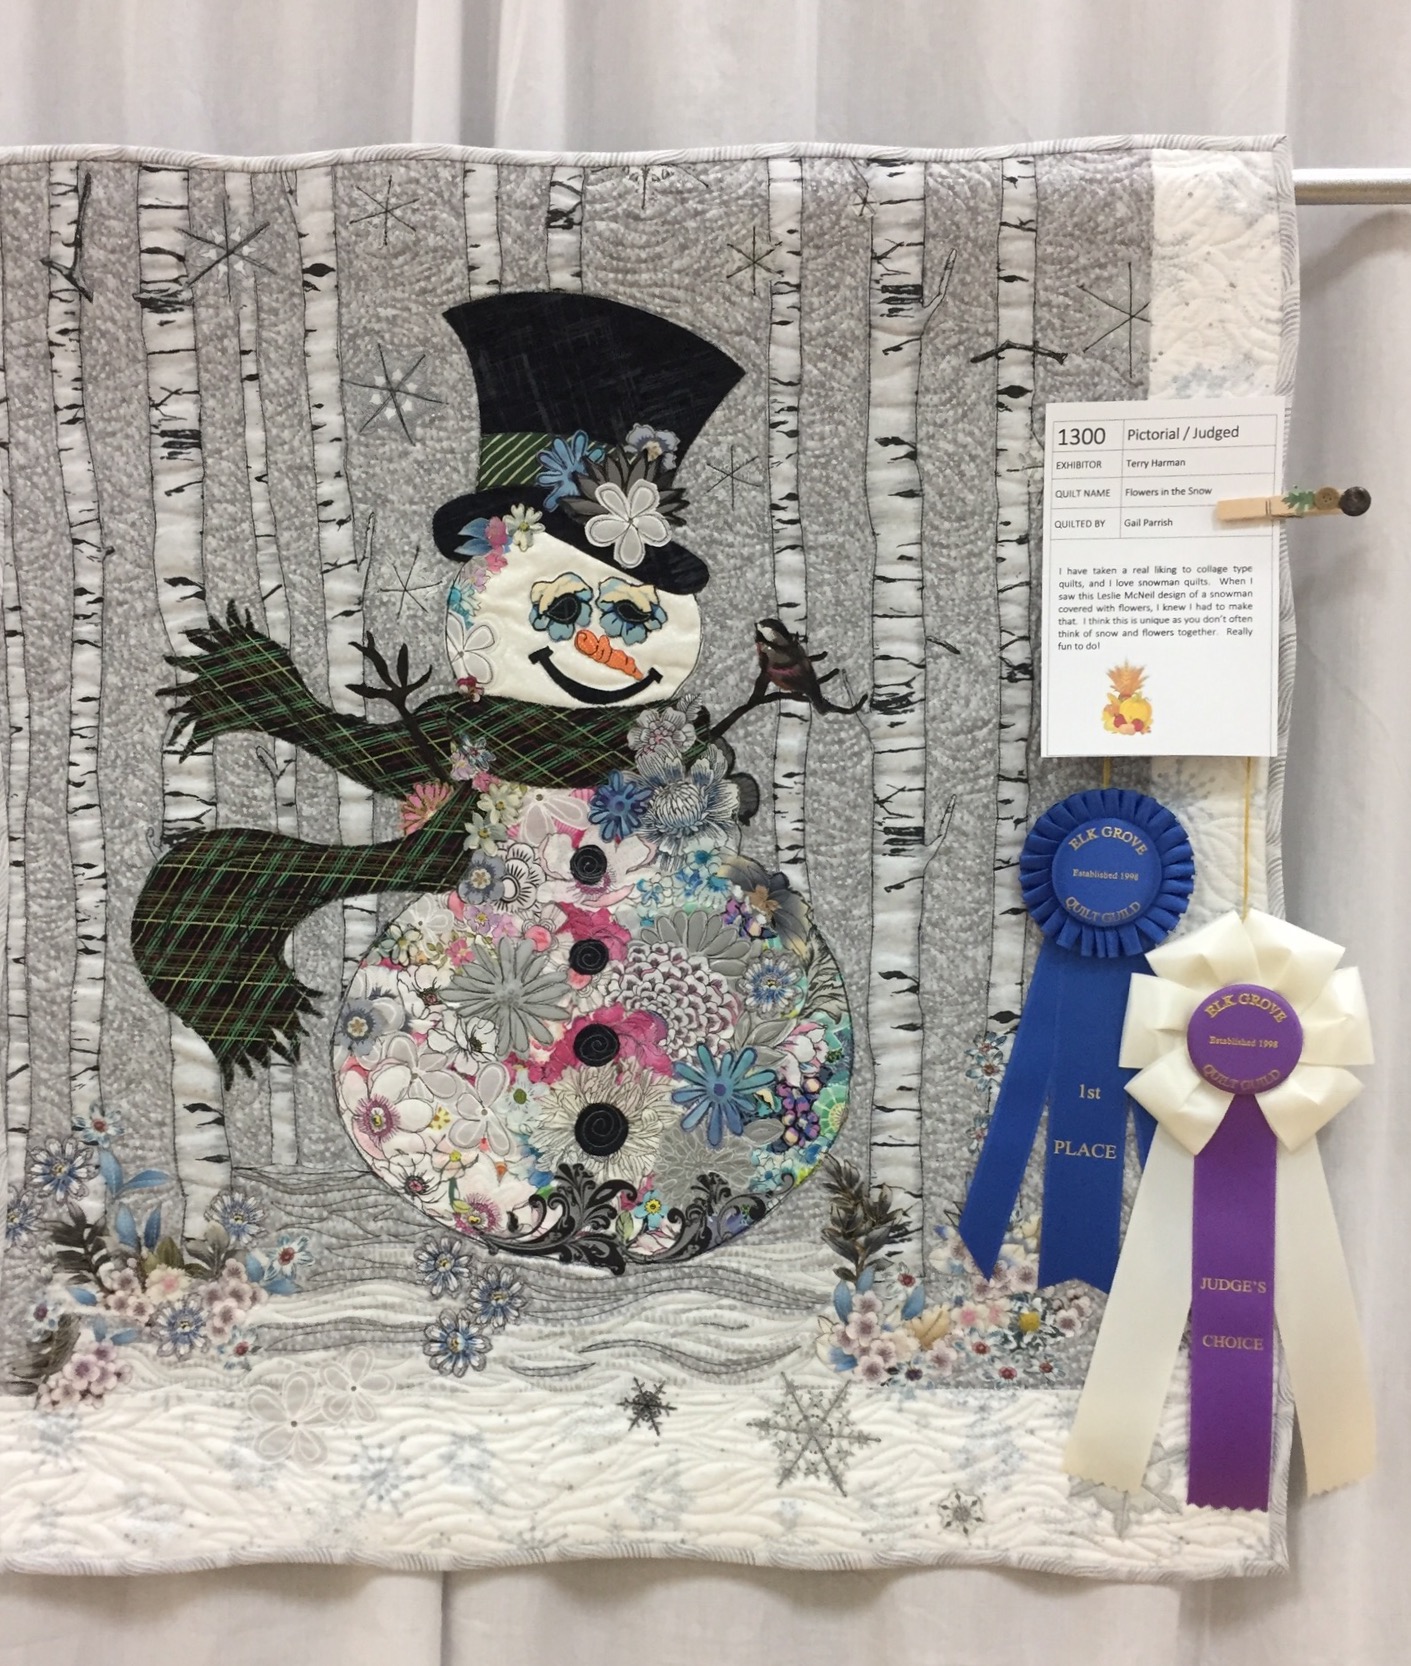
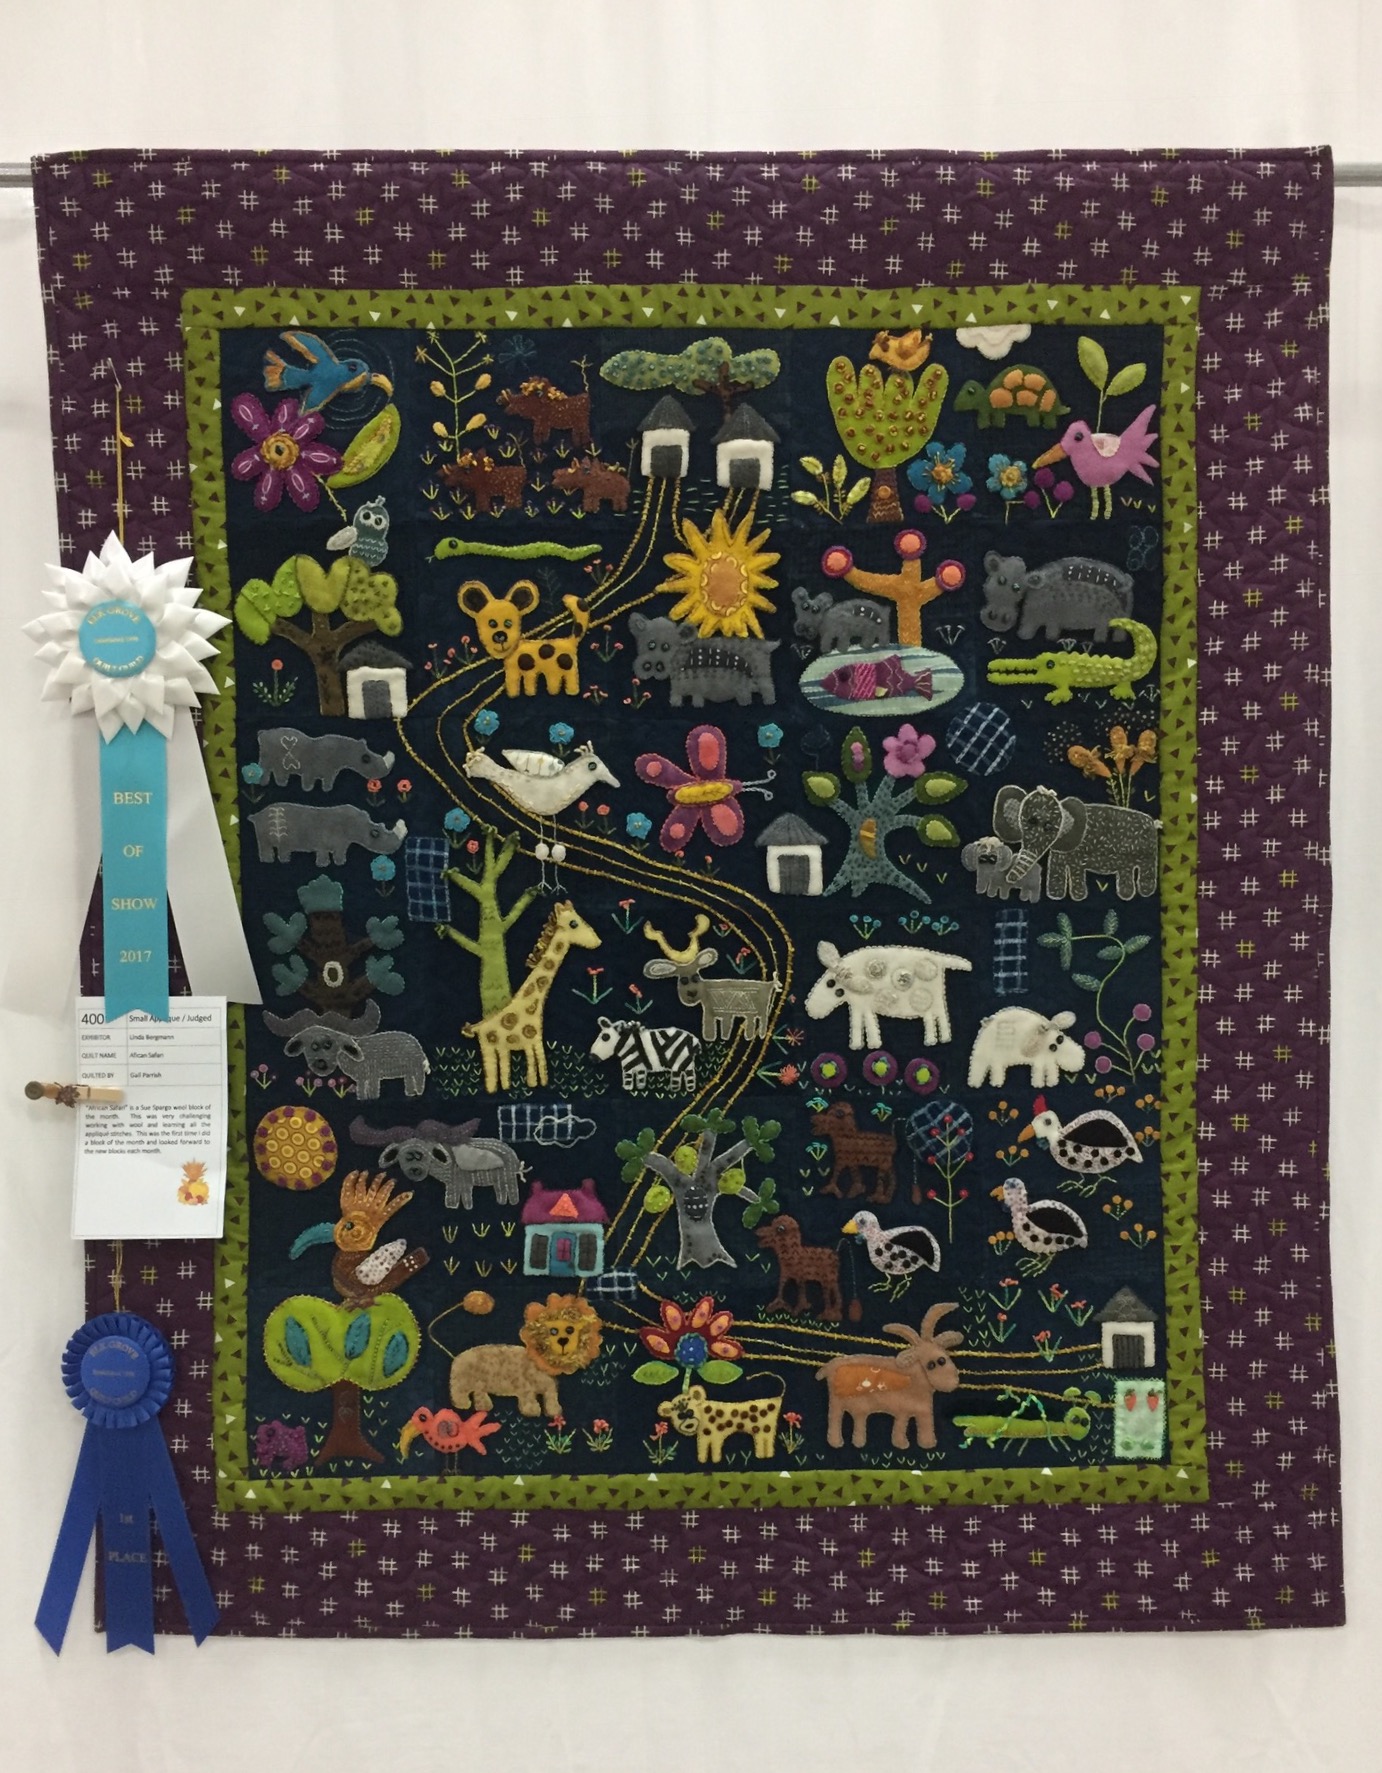
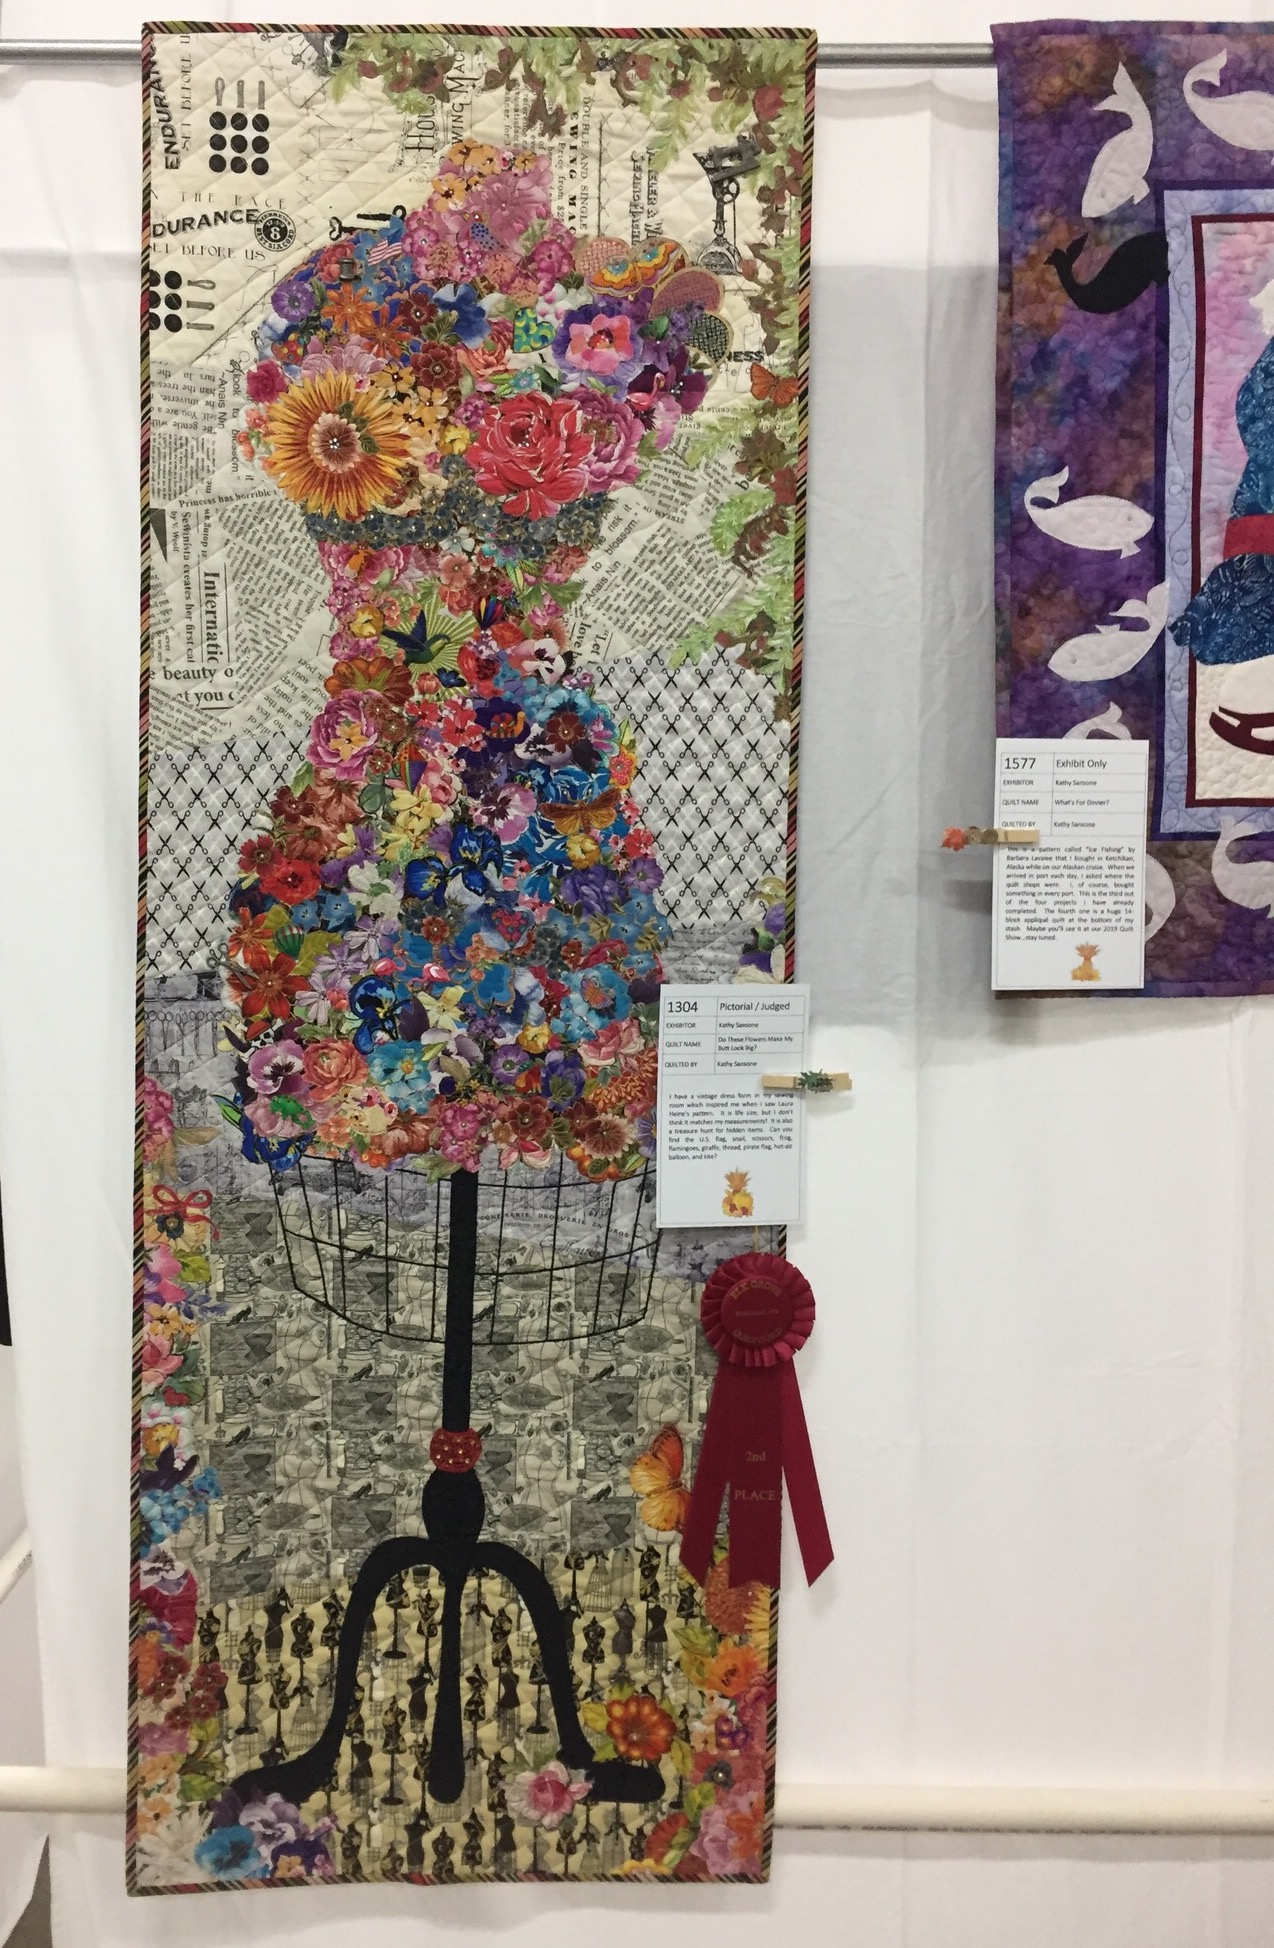
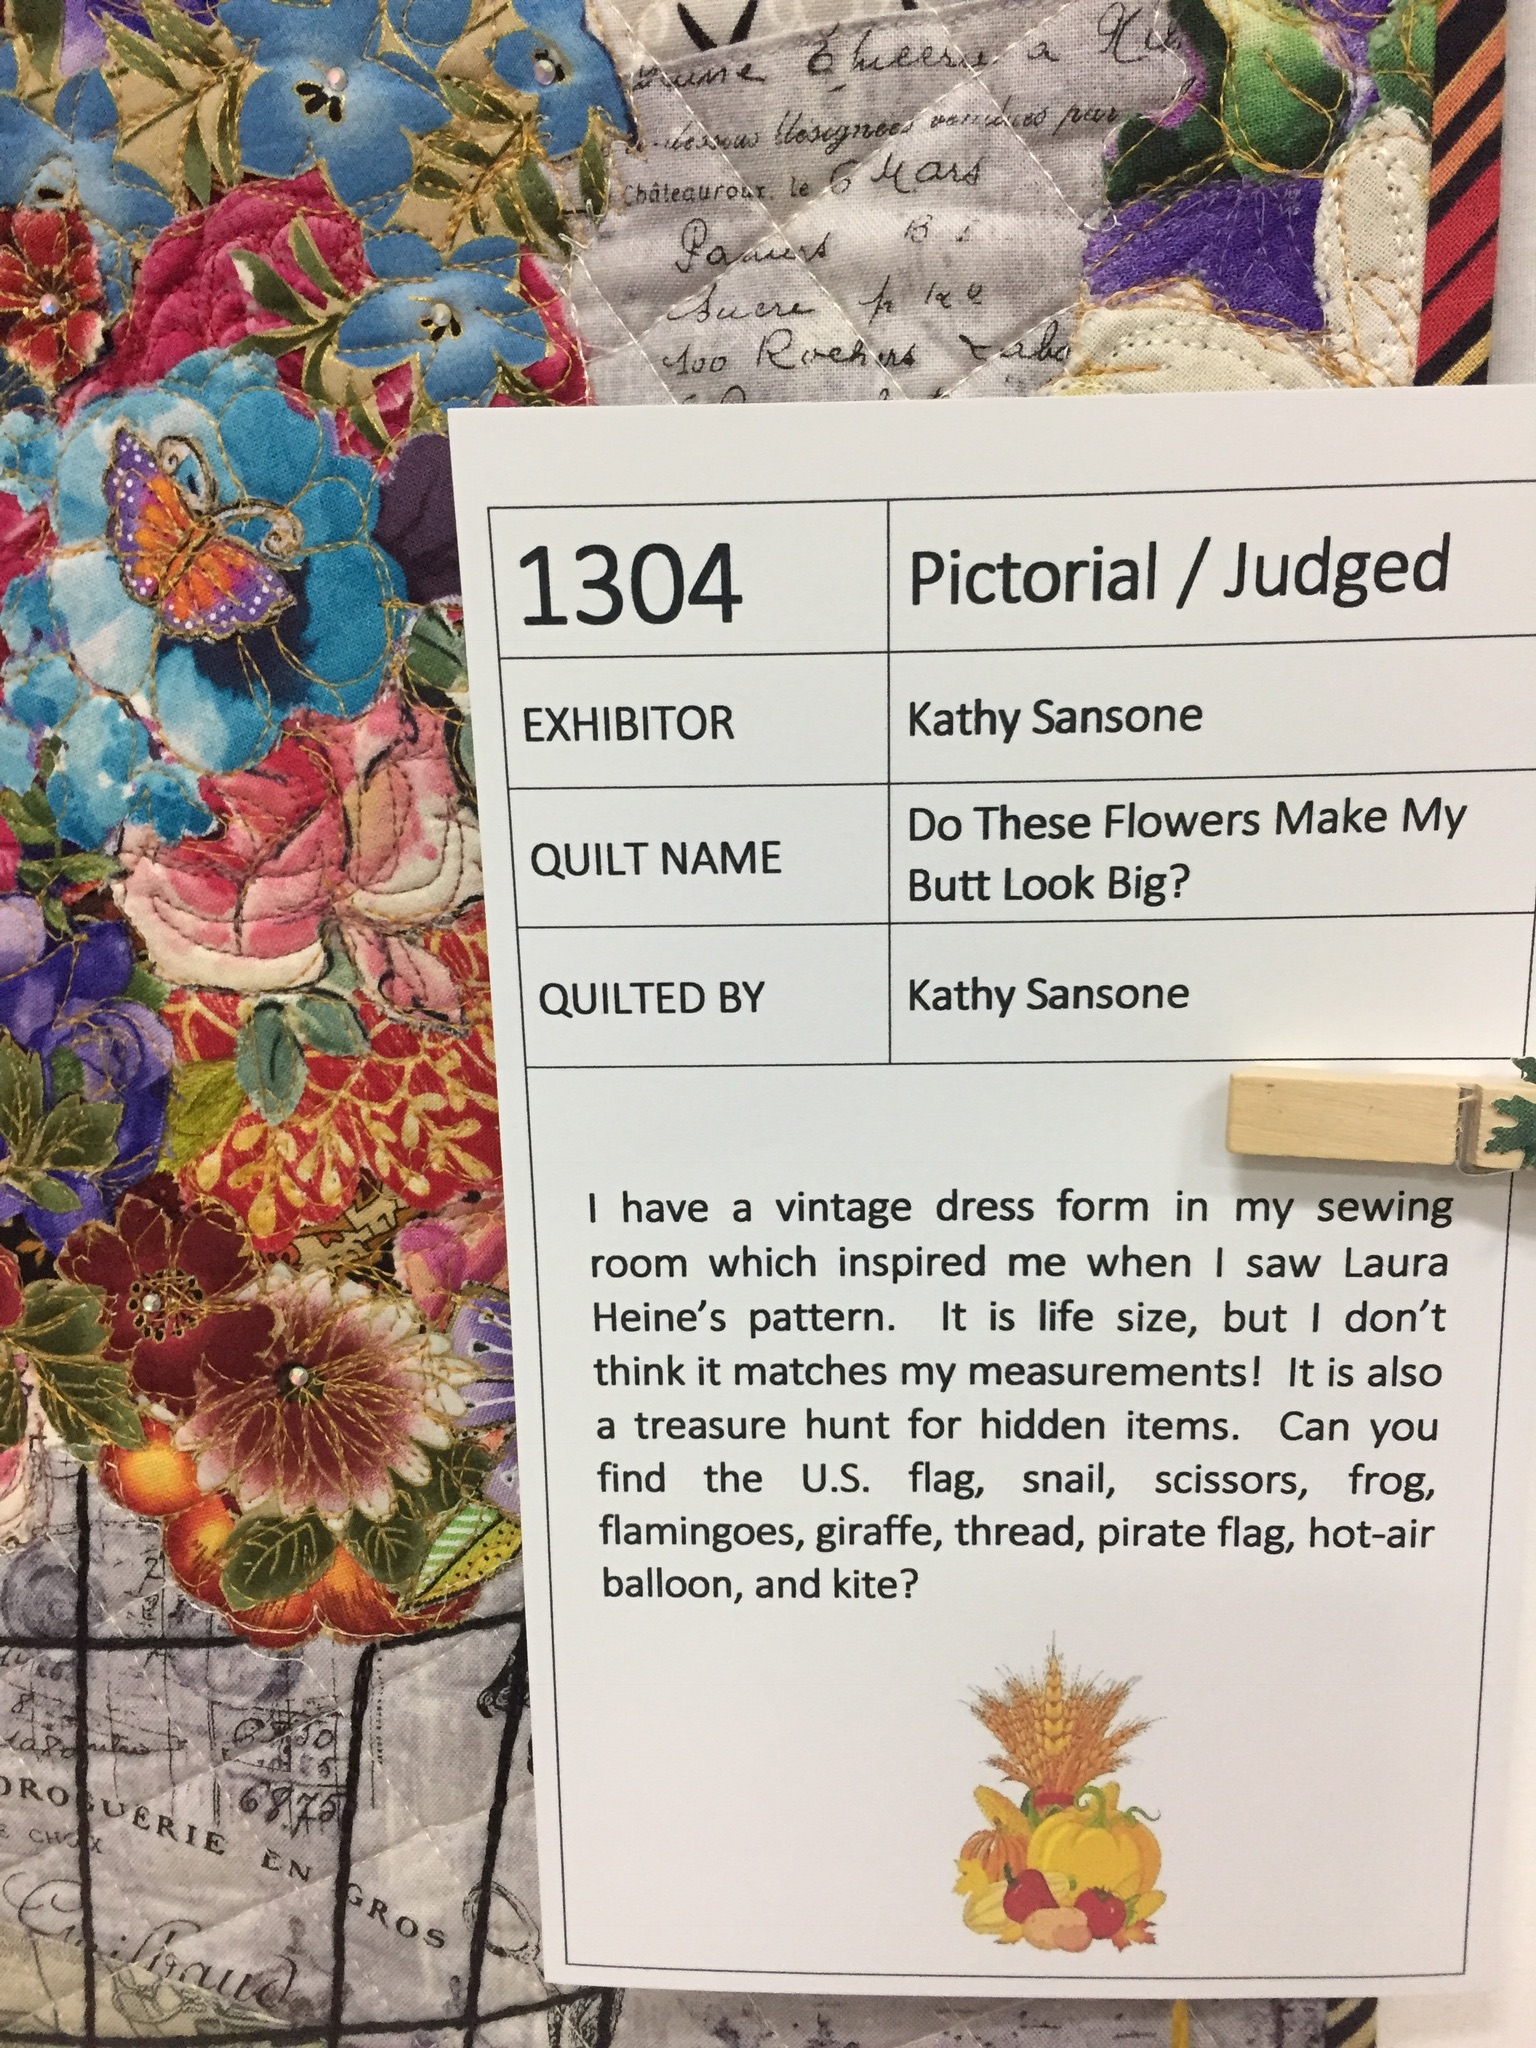
OK – that is enough for now. I need to get the laundry going as there are piles of it to be dealt with.  Julia still has two more days of Fall Break. She and I are heading to the zoo this morning. She is in the midst of a primate unit in Anthropology and wants to go check out the monkeys with new perspective.  I have more on this trip because we spent an awesome afternoon at the Shelburne Museum where there is a….. quilt exhibit!!! I will share that in a separate post.

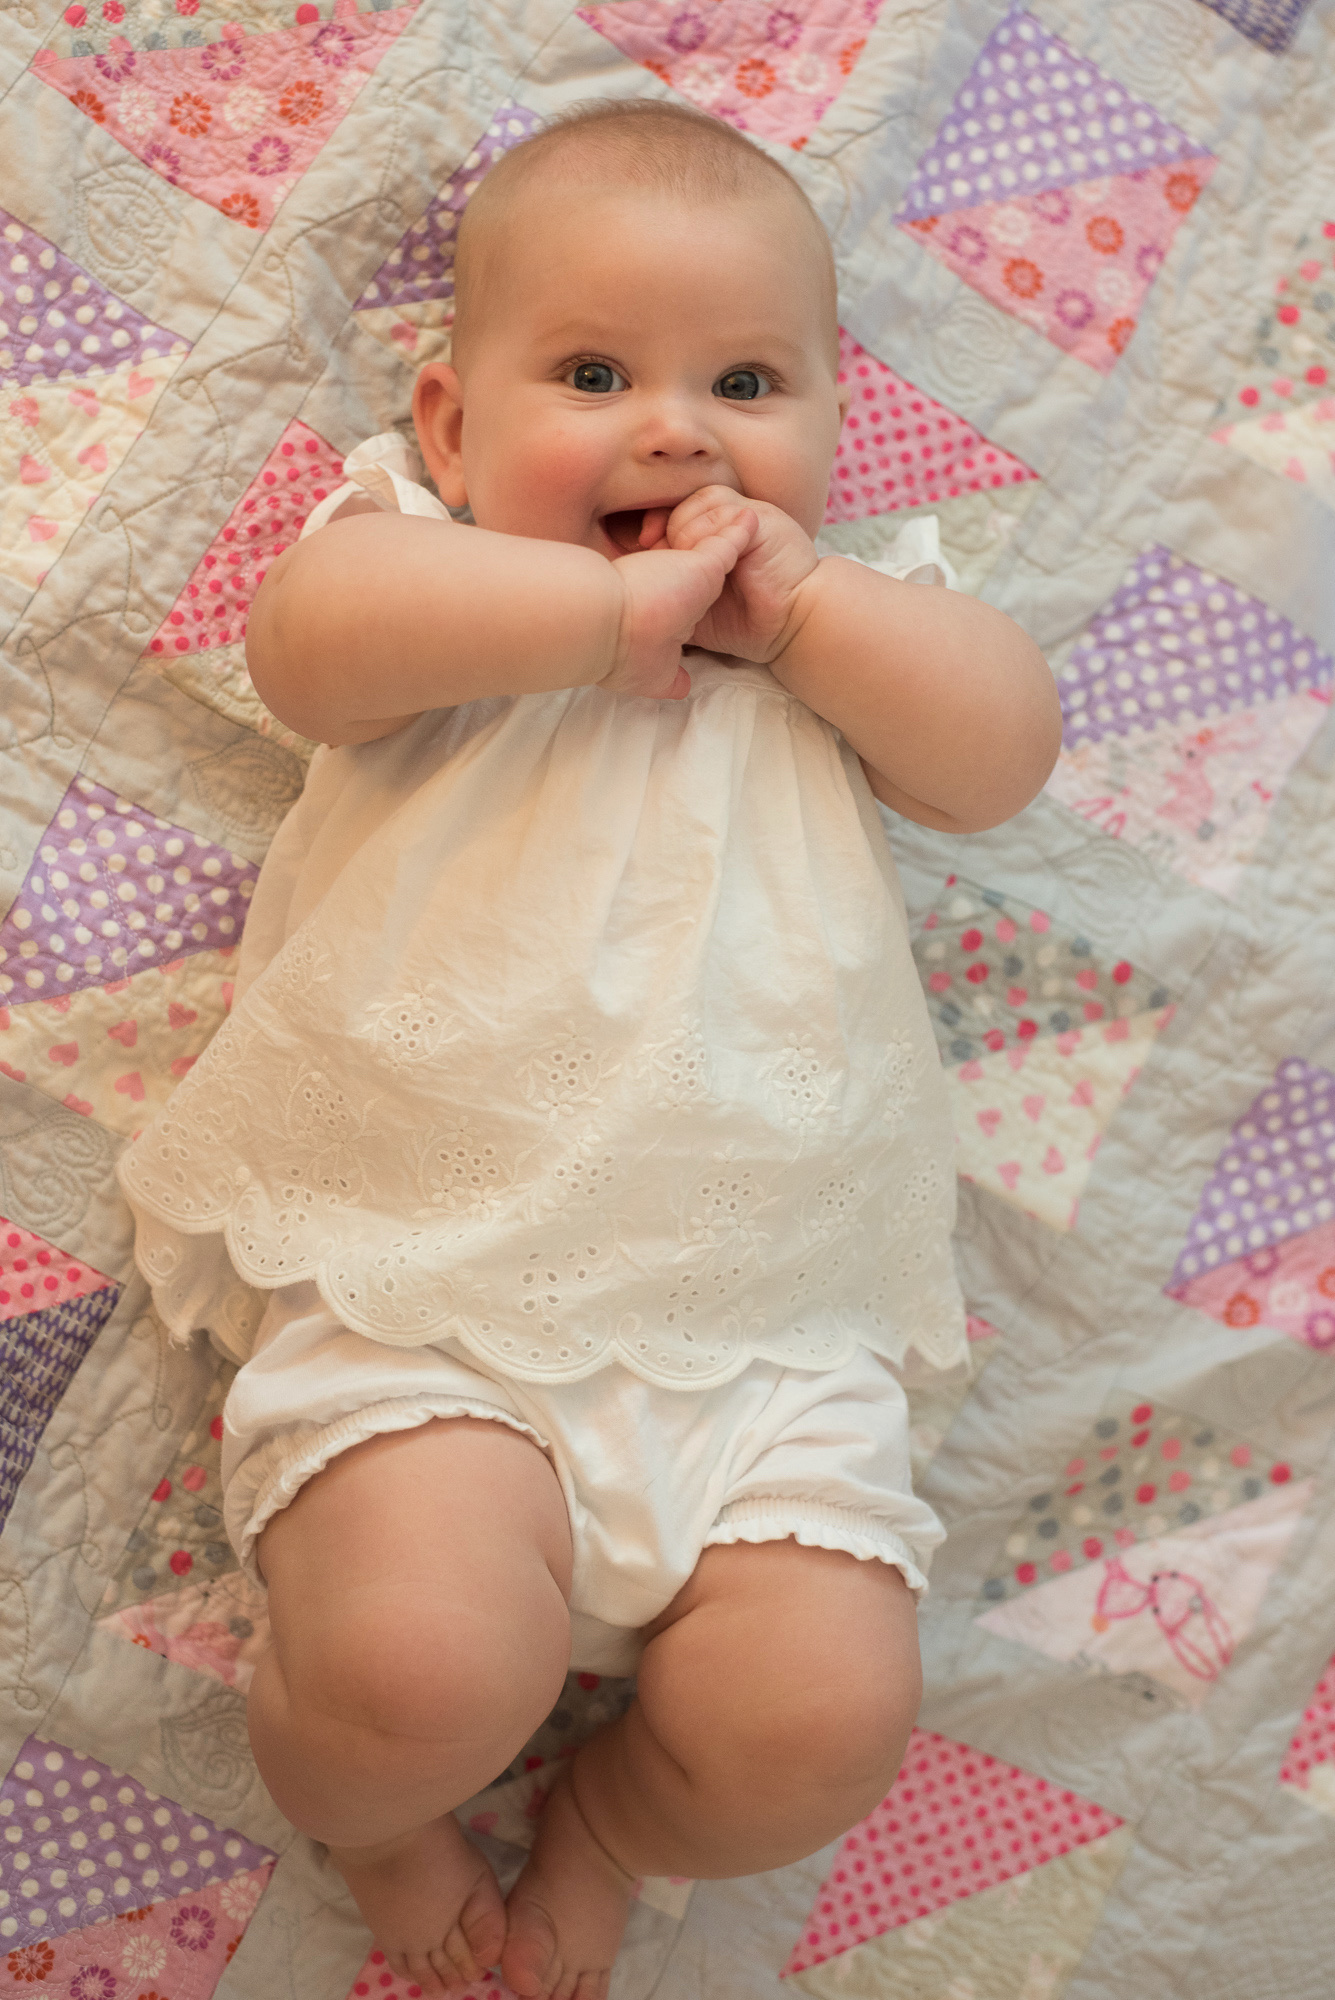
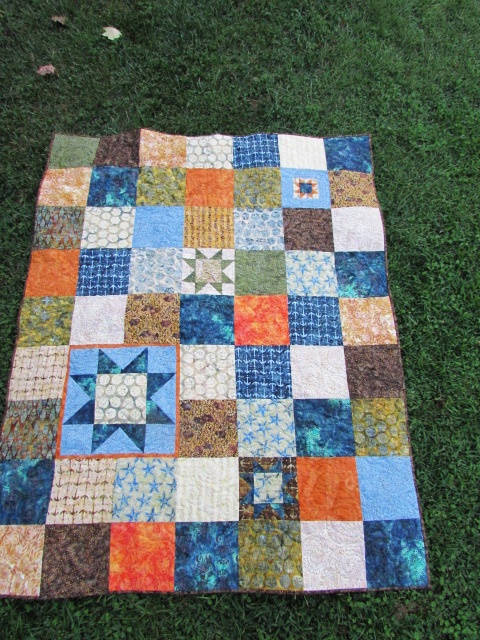
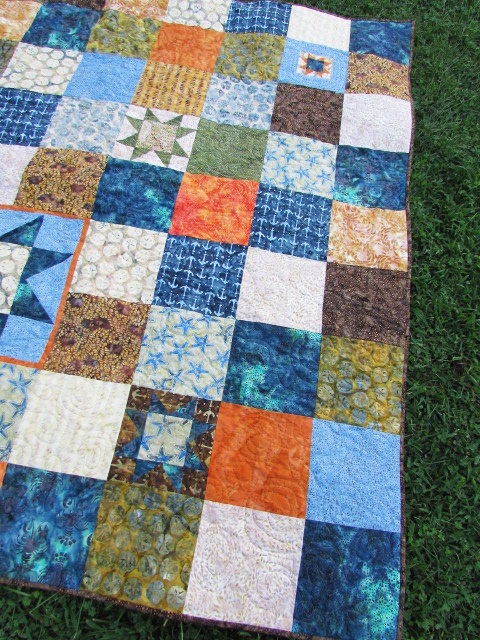
Leaving you now with an adorable baby-on-a-quilt picture. What better way to end a post??


Autumn Fabric Pumpkins

Hi Everyone!  As part of the Sew Much Fun Halloween Blog Hop hosted by Jen at Faith and Fabrics, I decided to make some autumnal fabric pumpkins. I wanted to make something new for the house but decided to forgo the Halloween novelty fabric and use fall fabric so I could leave them out through Thanksgiving.

These pumpkins are such a breeze to make. I poked around Pinterest for a while and found this easy tutorial from HGTV. Mainly I was looking for suggestions on the size of the individual rectangles that make up each puff on the pumpkin. This tutorial had three sizes worked out which was just perfect.

To  make the sections of one pumpkin, I cut six rectangles of equal size. I stacked the rectangles and trimmed off each corner, making a slightly curved shape.  Next I sewed the long side of the rectangles together from top curve to bottom, using a large, basting stitch.  (My Janome machine stitch length was set to four.)  Use the threads on either end of the seams to gather the pumpkin sides to your liking.

Then you hand sew a loose, running stitch around the bottom opening and draw the opening to a close.  Stuff with pillow stuffing (you might be able to use batting scraps?) and then sew a loose running stitch around the top to close the opening.  When closing the top and bottom openings, it doesn’t have to look perfect because both areas are covered.

To cover the bottom, I traced a round object (the top to my little button jar) and cut a circle of matching fabric.  I used raw edge applique to attach it, hiding the bottom stitches. I thought the blanket stitching looked really nice for this.

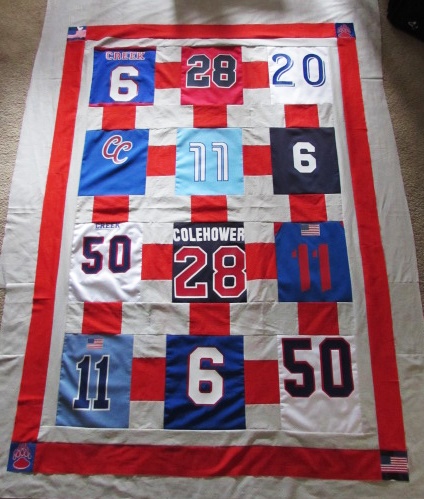
Here is another one.
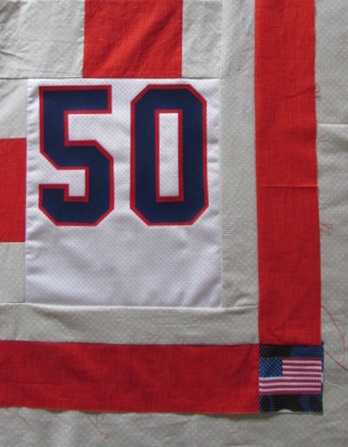
I found a sprig of fall leaves at Ben Franklin and decided to cut it apart, using the leaves to decorate the tops of the pumpkins.  I also took apart two beaded napkin rings I had to use the little vines with red and gold beads on them. They look really cute.


The smallest one, below, is my favorite. Probably because I really like the fabric used for this one.

Nothing here that can’t be accomplished with a bit of hot glue and some leftover bits found around the house! I was glad to have a bag of stuffing that was nearly full (leftover from making these stuffed blocks for my grand baby).  It took the remainder of that bag to stuff the three pumpkins. I found twigs in the yard for the main pumpkin stem. The only thing I purchased specifically for this project was the fall leaf sprig for a whopping $2.99!

I hope you will give these a try.  If you get stuck or have questions, don’t hesitate to comment or shoot me an email. I am happy to help.

For more Halloween inspiration, be sure to check these posts out too.  Have fun!!

Faith and Fabric

The Cloth Parcel

Daydreams of Quilts

Slice of Pi Quilts

I Have Purple Hair

Patterns by Jen

Adventurous Applique and Quilting

Sew and Tell Project

Cross Body Bag for Travel

Most of the time, I use a big purse. I carry all sorts of stuff, probably more than I really need to. But that doesn’t work as well when I am traveling.  If I bring a tote bag or backpack on a plane (for a book, iPad, food etc) it becomes cumbersome to also have a purse.

I decided to make a slim, simple cross body bag for these, not-very-frequent, travel days. This way I will have a purse with my wallet and phone in it while I am traveling and it won’t take up tons of room in the carry-on bag. Brilliant, you say? Aw, shucks…

I chose the Grid fabric from Sarah Golden’s Maker Maker fabric.  It is a wonderful cotton and linen blend with great texture. Andover makes it and I have a selection in my shop.  I washed the fabric before I started so it would soften up a bit.

When I was thinking about this project, I decided to model it after the 30 Minute Pouch on KelbySews.com.  I have made tons of these as gifts.  One Christmas I gave them to a number of my friends, my sisters, my mom and mother-in-law. You can check those out here.  Anyway, I thought if I just made it substantially larger, added an interior pocket, and loops for a strap, it would be a cute bag.  Guess what?  I was right!  It turned out great.  Here are some photos of my process.

I cut the exterior piece, the batting and the lining all the same size, 9″ x 20″.  Then I quilted the batting to the exterior piece with three seams.  The quilting doesn’t show at all, black thread on a black print, but it held the batting in place while making the bag.

The interior pocket came next.  It is a bit of a trick to explain but I took a 5″ square and placed it on top of the lining piece, right sides together. I drew a rectangle toward the top, on the back side of the square and stitched around that rectangle.  Next I clipped out the interior of the rectangle so I could turn the fabric to the other side of the lining.

Finally, I took a second 5″ square and sewed it to the flap of fabric that was now on the wrong side of the lining.  (I know this is hard to follow and if anyone wants further info, I can write a tutorial.  It is a nice way to add a pocket to any bag you are working on. Let me know if you would be interested.)

Interior pocket sewed to lining fabric.

Once the pocket was in place, I set the zipper – I won’t go into detail here because I used the exact process described in the KelbySews tutorial. It is very simple.

Before sewing the side seams, I placed two loops of twill tape, one on each side, to be stitched into the side seam. Then I sewed the side seams.

This bag has exposed seams (the lining doesn’t hide them) so I did run a tight zig zag stitch along each side to finish the fabric.

Once the bag was flipped right side out, it looked like this.

The final piece was to make a long strap. I pieced together two lengths of fabric that were two inches wide. By pressing the raw edges to the center first, then pressing the whole strip in half, and finally stitching the strap all the way down the length of it, I quickly had a shoulder strap. I looped one end through each of the twill tape loops and stitched them together.  This means it isn’t adjustable.  If you wanted something more flexible, you could buy the hardware to make a little looped finish on the end of one strap.

Peeking at the interior of the bag.

The lining was a scrap from a thrift store but I love it with the Grid fabric.

For measurements, in case you are curious, the bag finishes at 8″ wide, 10″ tall, with a strap that is 50″ long.  I think the size is just what I wanted.  The only change I would make is to move the zipper up about two inches so I would have a bit more usable space inside the bag.  The most functional space is below the zipper and it would be better to have less space above the zipper.


Hazy, Smoke Filled Days

Most likely you have heard or read about the horrific fires ongoing in California right now.  It is hard to put into words how awful this siege of fires has been, still is really….

The Napa/Santa Rosa fires are the most tragic, at least in terms of homes lost. All of these fires began Sunday night as the northern regions in California experienced a sudden burst of high winds.  The horrific loss of homes in Santa Rosa is disastrous.  These photos have been floating around the internet so you may have already seen them.

One of the Santa Rosa neighborhoods after the fire.

Another photo of Santa Rosa.

When my family went to bed Sunday night the wind was just crazy and we woke up Monday morning to calls that school had been cancelled. There were large numbers of people being evacuated from their homes and several huge fires were raging. I am very fortunate to live about 6 miles from the closest fire so our home was safe.  But many were not so fortunate. Now, two days later, some of the evacuations have been lifted.  We have not lost nearly as many homes as the heavily populated Santa Rosa area, but at this point, more than 200 structures in the three largest fires nearby have burned. Yesterday was windy again, making battling the fires much more difficult.

Fire retardant being dropped on the Lobo fire in Grass Valley, CA

As I write this, the most recent update is that the fires in my area are roughly 35% contained. This means they are making progress and, at the least, the fires aren’t spreading further. They opened school for all of the local schools but there are still several areas without power though. The air quality, as you’d imagine, is horrible.

Smokey haze in my front yard this morning.

At this point, there is no containment yet reported with the Santa Rosa fires. Hopefully the winds will remain calm today, making for a better firefighting situation. Unfortunately, there is no rain in the forecast this week.

Like I said, there aren’t words adequate to describe all of this. I am filled with gratitude for the fire fighters, first responders, and fire fighting teams from other parts of the state, as they work to put out these tragic fires. Throughout the day, I can hear the helicopters and planes that carry water and retardant to release over the fires. It is really eerie. The community has come together and supported each other. The fairgrounds opened up to take any livestock that needed to be evacuated. While my family was lucky this time and not affected by any of these fires, it is a vivid reminder that it could happen on any day to any one of us.  Living in this gorgeous tree filled and very dry region, fire is always a possibility.

Staying inside today because of the smokey air and will finish up a little project I started while Julia and I were home together this week. Hope to share this with you tomorrow.

No Finish This Friday

Well, I guess not every week is going to include a finished project, right? That is unreasonable.  But I did come close! It wasn’t a terribly productive week. Monday morning I had my second round of Botox injections. I have been receiving them as a way to lessen the frequency of migraines as well as the severity of them. My first round was in July and I will receive them every ninety days.  Both times, the series of injections set me off and triggered a cycle of migraines.  So, it wasn’t unexpected that I was down for the count for much of the week.

While I was in migraine mode, I wisely stayed away from the sewing machine as I tend to make so many mistakes if I sew while dealing with headaches. My brain just doesn’t fire on all pistons and I make silly errors.  Instead, I sorted my scrap pile which hasn’t been done in months. I also watched too much TV but Netflix has the most recent season of the PBS show, Call The Midwife, and I love that series so I couldn’t help myself.

As is often the case for me, the blue scrap pile and the green were huge. I managed to stuff the greens into their tub but no way would the blues fit. I posted this on Instagram and found someone who could use blue scraps. Those are packed up and ready to be sent off to a happy quilter. It is nice to share them, better than tossing the fabric and really, how on earth will I use all of it?!

Yesterday I felt much better and was able to keep my appointment at the long arm shop. I had planned to take the jersey quilt and finish that up but I chickened out. I decided to take one more of my own quilts to gain a bit more practice time before I tackle the jersey quilt.  I was nervous about thread or needle issues with that thicker quilt.  When I got there and talked to the gal at the shop, she assured me it wouldn’t be a big deal to quilt Sam’s project so it will definitely be the next one I take to the shop.

I loaded my Sewcial Bee Sampler quilt top and was excited that I was able to load it (almost) without help. I am getting the hang of this process which feels good.  The quilt top lay nice and flat – also exciting to me – it doesn’t always happen that way. I decided to just do a simple meander so I could focus on controlling the needle’s speed and direction.

Because I didn’t place any focus on a more challenging quilting motif, this was very relaxing and I really enjoyed it. I had almost no hiccups – the thread snapped once but the shop gal was able to adjust the bobbin tension and I was back in the game in no time.  I have to say, I am loving using the shop’s machine because there is a source of support right there – It is the best of both worlds.

It took no time to get the top quilted up. Another perk of renting time at the shop is their huge cutting table in the back.  I was invited to use it to trim and square up the quilt once I had finished. This process is so difficult at home because I don’t have a surface larger than the dining room table and I have to lay both my cutting mats under the quilt and keep shifting everything around. It is not easy, for sure.  But having this huge table available to me makes the task a breeze.I loved everything about finishing up this quilt. Today I will prepare my binding strips so I can do the hand stitching this weekend.  Hopefully I will have a finished quilt to share with you soon.

 I have also decided to pull my “Ring Me” quilt out of the closet and work on it. I started this one as a part of the blog hop celebrating Amanda Jean Nyberg’s recent book, No Scrap Left Behind.  I want to make it queen size instead of lap size (as I originally planned) so I have some cutting to do to enlarge it.  Previously I have been hesitant to make larger quilts because I dreaded quilting them on my home machine. I feel like I have options now so I am going to take advantage of that and make some larger projects. I would love to put this one on the guest bed in my sewing room.

Ok – enough for now.  I have a custom Etsy order to finish up and several fabric orders to pack. The shop has been really busy this week which makes me happy. It has been so nice to have this part time job that I can work into my time schedule, depending on whether I am dealing with a migraine or not.  Have a wonderful weekend everyone.

Remember today is the last day to enter the giveaway celebrating the Grand Opening of Ferrari Handmade.  Check that out here.

Ferrari Handmade – Grand Opening Celebration

Today I have something really fun to share with you. This week my sister Patti is celebrating the grand opening of her shop, Ferrari Handmade!!  She has been working incredibly hard on this for several months now and she is ready to invite you to come and browse her shop.

Let me take a few minutes to introduce you to Patti.  Of the six of us sisters, she is number three and I am number four which means…. yes, she is older than me. I will admit this gives me satisfaction in a sort of unhealthy way.  It is readily apparent in the photo above. I am the baby and she is to the right of me — even at this age, she is clearly older and wiser than I. (I love this picture – two more girls were born not long after this.)

Patti and I shared a bedroom growing up and we fought constantly.  Like, really and truly — all the time. Funny how once you live apart you miss the person that drove you nuts for so long. We would love to live near each other again.  We share a love of sewing and we both took sewing classes from Mrs. Handley back in high school.  She haunts us somewhat and if we have a sewing mistake or a major project fail, we will say “Mrs. Handley would be so disappointed.”  (I wrote about Mrs. Handley a long while back if you want to hear more about our esteemed sewing teacher.)  Yes, Patti and I have been sewing a long while now.

We both made lots of our clothes during high school (remember,  my father owned a fabric store so we had ‘easy access’.). Not long after high school, Patti moved to Southern California, married and started her family. (Click here for a post about the bridal gown she made for her wedding.)

Once Patti started having children, her sewing changed a bit and she began sewing for her kids.  She has a five children, three girls and two boys. One of the things Patti really enjoyed was making costumes for her children. Her girls were very involved in theater when they were in high school and she made costumes for them.

Maria playing the part of Tina Denmark, in the play “Ruthless”

As Patti’s kids grew up and began their own families, she shifted her sewing priorities yet again and began to focus on her grand children.  Hers are very lucky grand kids because she has made some really fun costumes for them.

When her first grandson, Jack, was just a baby, his mother, Maria (same girl as the one that played Tina Denmark in the costume above)  had to speak at Comic Con in Southern California. She asked Patti to make a costume so she could dress him up as Jack-Jack, from the kids’ movie, The Incredible’s.

Last year, two of her grand daughters wanted to dress up as Princess Lolly and Queen Frostine from the kids’ Candyland game.  Grandma came through and the girls were adorable.

The older grand daughter (Queen Frostine) had a recent obsession of Veruca Salt, the character in Charlie and the Chocolate Factory movie.  She was thrilled with this costume from her Grandma.

Am I getting the idea across?  She loves to sew and she sews a lot! It came time to think of another way to put her sewing to work for her.  Now that her children are out of the house, she has a lot more time.  I have written before about how helpful she has been by working the quilt shows with me.  As we spent time together preparing for and working the shows,  the more she thought about having her own business.  She loves creating these wonderful outfits for her kids and wanted to expand on this hobby of hers.

And so it began. Ferrari Handmade came to fruition just days after she decided to open a shop. Once Patti decides to do something, there is no going back.  She epitomizes the phrase, “Go big or go home”.  She commits and dives in. Patti began researching fabrics and selecting designs and creating dresses. She had a soft opening at the last quilt show we worked and she was quite successful. She sold a number of dresses and little tote bags and took home orders for custom work.

She has been sewing fiend over the past weeks.

She is lucky to have a great studio to work in. I may be a wee bit envious. Ok, yes, I am envious – it is a lovely space. (Real life crafting comment though…. she made me promise to tell you it never looks this clean. She wasn’t ready to go public with a picture of a messy space just yet.)  😉

Her inventory grows daily as does her selection in her Etsy shop. Right now she is focused on creating a dress in each of the fabrics she has on the shelf. She is making sizes 2T through girl’s size 8.  I really like the system she utilizes for stocking her shop. She lists at least one finished dress which the customer is welcome to order, or the customer can place an order for that dress in a size that works for her child. Patti will take the order and ship the dress within five business days (though she is usually faster than that– she does not seem to require very much sleep.)

I think one factor  setting Patti’s product apart from others, is her use of trim work and unique accents. Most of her dresses have piping accents at the sleeve, bodice or neckline and many have ruffles or under skirts in coordinating fabric.

Her fabric selections are the perfect combination of pretty and practical.  She uses quality cottons which are easily washed, so her dresses are beautiful but also practical for children; ready to be worn and played in.

Of all she has made for this season, this is my favorite.

I love the dark blue celestial pattern with that bit of gold trim peeking out at the sleeve and from the hem of the lining.


How about these snowmen on blue – it is great for the holidays but could easily be worn all through the winter months.

This dress features snowflakes on a deep red background. I should note that Patti uses a very generous hem so these can be worn for a long while before the child out grows the dress.


This sweet holiday dress has a rustic feel to it.  Patti chose a print featuring Christmas ornaments decorating a background of pine. I love the bias strip of plaid she used to accent the bottom of the dress.

Handmade doll dresses to match your little one’s dress.

One more thing I have to show you.  Patti also makes doll dresses that fit American Girl Dolls, or other dolls that are 18 inches tall.  I love this!! How fun to surprise your little one with a matching dress for her doll. If you are shopping and select a dress for your special girl, you can also order a matching dress.  She has some in stock but will happily take orders for others to match the dress you are purchasing.

Hopefully you now have an idea of the style and excellent quality of the items made by Ferrari Handmade. Because so many of you either have children or grandchildren, or a special child in your life, I know you will be happy to hear Patti is offering a custom dress to one lucky winner.  To enter the giveaway, you need to do two things.  First hop over to her shop and take a peek at the dresses she has listed so far.  Come back and comment here to tell us which dress is your favorite. (Hoping this will provide some input on the fabric choices she is using and then she can plan accordingly.)  The other requirement is to either like her Etsy shop so you can keep track of what she is offering, or to follow @ferrarihandmade on Instagram. Either way, you will then be able to hear about any promotions or new product that might be available in her shop. So, you have two simple tasks to complete and you may win a lovely handmade dress for your special girl.

Additionally, readers can use the coupon code GRANDOPENING20 to receive 20% off any orders at Ferrari Handmade.  This coupon is valid through the end of day on October 10th.  Definitely a great deal on a gorgeous gift for a little one.

Thank you for taking part in this celebration of Ferrari Handmade. I am so proud of my sister and the work she has done to get this up and running. If you feel so inclined, please share the  news of her shop with any of your friends who might appreciate Patti’s work. It takes a village and I love the way our community supports each other!  Good luck with the giveaway!

Sewcial Bee Sampler Quilt Top

This week didn’t go quite as planned.  But I have learned to be flexible because my week rarely goes as planned.  I had scheduled time to quilt Sam’s jersey quilt at the long arm shop but this plan was derailed by a migraine.  Fortunately, the woman running the shop is very flexible and was able to reschedule me to Thursday of next week.  Hopefully, that will work out for me as I am really looking forward to quilting it.

After a day of recuperating, I pulled out my blocks made with the Sewcial Bee Sampler during the spring and summer.  I loved this QAL which was hosted by Maureen Cracknell and Sharon Holland. For the majority of my blocks I used scraps of Fleet and Flourish (designed by Maureen) and solids from my stash.  Toward the end though, I added in a bit of Garden Dreamer and one scrap from Alison Glass because I was really running out of Fleet and Flourish.  Thankfully, these all worked well together.

Somehow time got away from me toward the end of the quilt along and I completed only 20 of the 25 blocks designed for the quilt. I pulled out the blocks, looked them over and decided that 20 blocks was plenty.  These are 12 inch blocks and there is sashing, so the quilt makes a generous lap size. Even without the last five blocks, it finished at 58″ x 72″. I love these blocks and wanted to finish this one up.

I used Mesh Joy, from Sharon Holland’s Gossamer line for the sashing.  This low value print is a huge favorite of mine. Actually, it is a favorite of many which was made clear by how quickly I sold out of two full bolts of it. The colors and grid like print are really soft and work with so many colors. I am please by the way it enhances my blocks. Between the colors, Maureen’s fabrics, the sashing and the block design, I am thrilled with this quilt top. Samplers are a favorite of mine, second only to basic, simple patchwork. It is fun to see the varied design of the blocks, some with large chunky shapes and others with smaller, detailed designs. Sashing is a life saver for me as I am not a precise quilter. With sashing, I know my less than perfectly pieced blocks won’t need to line up corner to corner.

I think I will try quilting this project at the long arm shop too. I want to do a loose all-over pattern so it is soft and cozy. It is second in line, after Sam’s jersey quilt.

Chemex cozies for my shop

Besides finishing up the Sewcial Bee quilt top, I have been making Chemex Cozies for my shop. It is getting to be the time of year for holiday shopping (I know, it is still 80 degrees outside and fall has barely begun!) so I need replenish stock in my shop.  It has been fun to shop my own store for fabric to make these.

With holiday shopping around the corner, my shop will become busier than usual.  I need to look at the sewing I hope to accomplish during the last part of the year and prioritize.  My personal sewing tends to be less during this time as my Etsy projects and holiday gift sewing increases. I had planned to take part in the Wayward Transparency QAL hosted by Yvonne of Quilting Jetgirl. I love the pattern she created for the event, so much so that I am sponsoring the event with a giveaway prize. However, this isn’t the right time for me to begin another quilt. If you haven’t looked at this event yet, I highly recommend it. The pattern is really cool and the transparency effect is striking.  The QAL for this striking lap size quilt has barely begun with fabric selection happening now.

Julia and I are heading up to Apple Hill this weekend. About an hour’s drive from here, there are lots of you-pick places, yummy Apple Cider donuts, pumpkins and all things autumnal.  I am looking forward to spending the day with her out and about.  I hope you have something fun planned for this weekend too!

Be sure to stop by next week. I have a fun post and giveaway to share on Tuesday!

Linking to my favorite places. Please check out the links at the top of the page, under Link Ups. See you back here next week!


Jersey Quilt Progress

Happy first day of Autumn! I love this time of year and the change of season that is happening these days.

This week I took a look at the jersey quilt I am making for my nephew and decided the quilt top wasn’t quite large enough for this very tall guy.  I added 3 1/2 inch borders to all sides to enlarge it.

There were some smaller emblems that had been on the sleeves of a few jerseys and it seemed like a good place to use them.

I put the American flag on two corners.  (Number 50 was his father’s number when he played football for Stanford. I wonder if Sam requested the number, not too likely it was a coincidence, right?)

On the other two corners I used these bear paw prints. His high school mascot was the Bruins. This one is a funny coincidence because the high school mascot for my boys here in California, several  states away, was also the Bruins.

Now the quilt top measures about 56″ by 76″ which will be a bit better for this guy.

Besides adding to the quilt top, I also pieced the backing.  Wanting to use up a few more jersey logos, I made a strip with the last three.

The strip was the inserted into a piece of the light gray polka-dotted wide back that I used for piecing the front. I am hoping to reserve some time on a long arm machine next week so I can quilt this.  It will present a few challenges. One is the difference between the jersey blocks and the cotton pieces. There is some wave to it. Also, this is the first time I will have a pieced back on the frame. I need to make sure it is loaded nice and straight so it doesn’t come out slanted when it is quilted together. I am sure Kendra, the assistant at the shop, will help me with this. Finally, I need to better understand the order of things when quilting a project on a long arm. Once loaded on the frame, I want to do a simple all over pattern on the body of the quilt and then quilt something different on the borders. Do I do the center first and then roll it back to the top and do the borders? That seems cumbersome but I am not sure how else to do this without tons of stops and starts on the borders? I would love to hear hear how you handle this. Actually, I could easily quilt the main part and then do the borders at home on my machine. Options, options. Leave a comment if you have input on this–there is always something to learn.

I also spent time in the kitchen using up the bounty of tomatoes we are picking in the garden right now. I posted on Instagram that I have been making tomato jam.  I thought I would publish a link to the recipe I use from the Use Real Butter website. (Don’t you love that blog name?)  I have been making this for several years now.   It is a great mix of sweet and tangy that is great on burgers as well as spread with Brie on slices of baguette.  The combination of tomatoes, sugar, tart green apple, onion, and vinegar is really yummy.

When I made this batch I reduced the sugar by 1/4 cup and didn’t notice any difference. It is always good to be conservative with sugar if possible. Once it is all mixed up, I just let it simmer without a lid on the pot for a couple of hours. The pot needs to be watched and stirred often or the bottom will scorch. (n one batch I got sucked into blog reading and burnt the bottom. It wasn’t a total loss because I could just skim the top off and keep that. Luckily it didn’t taste scorched. But the yield was certainly smaller.

Once it cooks down, it can be canned in jars and processed in a water bath. Or, do as I did, and put it is small containers, label them, and freeze it. Much simpler!

Today is the last day to enter the giveaway for a 26 piece bundle of Island Batik.  Click here to enter.  Hope you all have something fun planned for the weekend.  My cousin is out here visiting (from Louisiana) and I am looking forward to spending time with her. Happy Friday!!

Quilt Show Recap

Last weekend my sister, Patti, and I worked at the Elk Grove Quilt Show. It was a beautiful weekend and attendance was great. I loved meeting the women from the Elk Grove guild. They were really warm and friendly. There were some issues with the wi-fi and the server had to be rebooted numerous times.  The vendor chairperson never lost her smile and was a delight to deal with. They hold a quilt show every other year and one could tell they really look forward to this event. Attention was paid to each detail and the show was wonderful.

This is the third show Patti and I have done.  She brought a great selection of hand made children’s dresses, messenger bags, and Halloween Loot bags. These were well received and she sold quite a few things. (To see more of her work, check out her shop, Ferrari Handmade.)

We had fun decorating the booth with pumpkins, gourds, and fall colors.

Even though it is early, we had one small corner with Christmas fabrics, both yardage and fat quarters. As we did at the Grass Valley show, on day 2 – Sunday – we moved around some bolts that were not attracting attention on Saturday. In doing so, we had a number of sales from those bolts. It is a constant learning curve which Patti and I are really enjoying.

This guild is small but mighty, I believe they told me they have 75 members. They are one very talented group. So many quilts caught my eye. Let me show you a few of them.


I am a country girl and was smitten with this rooster.

The use of floral prints and fabric painting made for a really unique quilt with the creation of this snowman. (Or snow-woman?)

The photo does not do this quilt justice. Titled African Safari, it won Best of Show and it was well deserved. The applique was fantastic and the hand stitched detail work was spot on. I loved it.

This was probably my favorite of all. The quilter used gorgeous florals to create a vintage seamstress’ dress form. The use of individually cut flowers to create the shape was genius. She also hid little items in the collage which added a fun element.

I love the title too. 🙂

Yesterday I spent the day reorganizing fabric and putting everything away. It was a great show and I turned over a lot of fabric which is great because you know what that means…..  I get to buy more!

Today will be clean-the-house-day.  It is in a sorry state, for sure. Hoping for a sewing day tomorrow. I have some pieces ready to cut and organize for the backing of the jersey quilt I am making for my nephew. I want to get that done and make an appointment at the long arm shop for next week. I can’t wait to practice with the long arm again.

I hope you all had a lovely weekend. We are having incredible fall weather this week (but next week it is heating back up.) Oh well, I will take it while it is here! In case you missed it, I posted my blog hop post for Island Batik yesterday. There is a great giveaway of 26 fat quarters! Check it out here. There is still time to enter.


Back to School Blog Hop with Island Batik


It has cooled off significantly and summer has definitely come to an end.  Julia is back to school and homework has begun in full force. This change in routine has been happening in our house for 27 years now, since my eldest started school back in 1990. That is a lot of back to school shopping, first day of school pictures, and back to school nights over the years.

I have mentioned I have five sisters and between us we have 21 children.  All of these kids but Julia have either graduated college or are in college now. California kids are fortunate to have a lot of universities to apply to and many of those are on the long stretch of coast that runs up and down the western side of the state. In fact, of the 21 grandchildren, only five selected universities that were not on, or very near, the beach. My three older kids went to school either in San Diego or in San Luis Obsipo, both coastal areas.  I think after growing up in the mountains, the three boys loved the change of moving to the coast. For several years, back to school meant waving the boys off as they headed toward the coast (lucky guys all three!)

When Island Batik sent me a 1/2 yard bundle of their collection called Seas the Day, it made me think of our gorgeous coastline. This line features starfish, boat anchors, sand dollars, lobsters, rope and netting and the most wonderful blue and green watery prints. The Island Batik ambassadors were asked to make anything we like as long as it was larger than 36″ square so we could really showcase the beautiful fabric. Thinking about it for just a bit, I decided to go with a large patchwork quilt, one big enough a college kid could easily take it to one of those tiny dorm rooms along our Pacific coast.

I cut 8 1/2″ squares and started to lay them out.  The prints are so fun but it needed something else.  I saw a large patchwork quilt made by Amy Smart from Diary of a Quilter, and she added a few saw tooth star blocks to it for a little something extra. She has a great tutorial for saw tooth star blocks on her blog which was helpful.  Click here for Amy’s Sawtooth Star tutorial. The great part is she maps out the cuts you need to do for multiple size stars which made it really quick to make a number of them.  I really like the look of sprinkling a few star blocks in varying sizes to the mix. Isn’t the little four inch star up at the top, right corner a cute one?

For the largest star, I bordered it in orange to set it off. The narrow orange frame works well.

As I mentioned in my last post, I took this to the local long arm shop (well, sort of local – it is a 45 minute drive from here!) and rented time on a machine to quilt it.  After a little refresher course on how to use the machine, I got into quilting it up. I did simple spirals and a few loops as an all over design.

In all honesty, I completely forgot how difficult it can be to get a nice round spiral with the long arm.  If I don’t go relatively fast, the spirals elongate and become ovals.  Since I have not had a lot of practice, I don’t feel comfortable moving quickly because it takes me time to plan my path as I go.  The oval shapes don’t bother me though. I like the quilting for the most part. It was so much fun and sooooo much quicker to quilt it on the long arm.

For the backing, I used two pieces of yardage provided by Island Batik – neither was quite large enough to back it as one piece but by using them together, I had plenty. I used the rest of the brown print to bind the quilt as well.

Seas the Day – by Island Batik

I am a big fan of batiks  and love the look of this quilt. It probably won’t go off to college with anyone but it sure makes me think of our gorgeous coastline! If you would like to have your own bundle of these batiks, I might just be able to make to make that happen!  I have a set of fat quarters which includes most of the prints. I didn’t have exactly of all of them left after making this quilt but there are quite a few to share with one lucky winner.

Most of these cuts (26 pieces in all) are fat quarters. Maybe four or five are standard 1/4 yard cuts, depending on how I used the piece. A few may be just shy of being a fat quarter? But there is a lot of fabric here, probably over six yards altogether.

Island Batik Seas the Day stack

To win this coastal lover’s bundle, please leave a comment and tell me if you prefer the coast or the mountains on a vacation getaway.  For a second entry, please follow me — lots of choices on how to follow. There are buttons at the upper right for my social media platforms.  Or, sign up to receive my newsletter, also at the upper right. Just tell me how you follow!

Thank you to Island Batik for this generous gift of fabric. I love the quilt I made and I am sure the lucky winner of the remaining fat quarters will make something gorgeous as well!

Linking to my favorites. Check the list at the top of the page, under Link Ups.