
Most of the time, I use a big purse. I carry all sorts of stuff, probably more than I really need to. But that doesn’t work as well when I am traveling. If I bring a tote bag or backpack on a plane (for a book, iPad, food etc) it becomes cumbersome to also have a purse.
I decided to make a slim, simple cross body bag for these, not-very-frequent, travel days. This way I will have a purse with my wallet and phone in it while I am traveling and it won’t take up tons of room in the carry-on bag. Brilliant, you say? Aw, shucks…
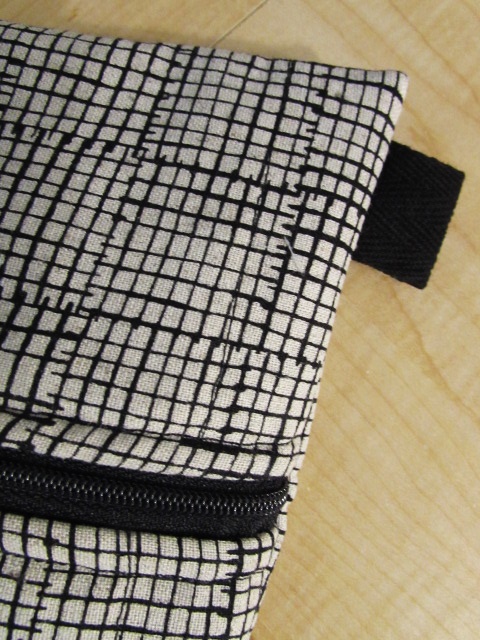
I chose the Grid fabric from Sarah Golden’s Maker Maker fabric. It is a wonderful cotton and linen blend with great texture. Andover makes it and I have a selection in my shop. I washed the fabric before I started so it would soften up a bit.
When I was thinking about this project, I decided to model it after the 30 Minute Pouch on KelbySews.com. I have made tons of these as gifts. One Christmas I gave them to a number of my friends, my sisters, my mom and mother-in-law. You can check those out here. Anyway, I thought if I just made it substantially larger, added an interior pocket, and loops for a strap, it would be a cute bag. Guess what? I was right! It turned out great. Here are some photos of my process.
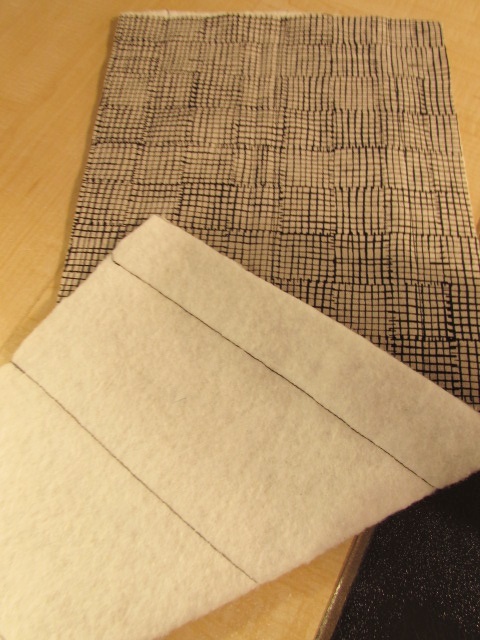
I cut the exterior piece, the batting and the lining all the same size, 9″ x 20″. Then I quilted the batting to the exterior piece with three seams. The quilting doesn’t show at all, black thread on a black print, but it held the batting in place while making the bag.
The interior pocket came next. It is a bit of a trick to explain but I took a 5″ square and placed it on top of the lining piece, right sides together. I drew a rectangle toward the top, on the back side of the square and stitched around that rectangle. Next I clipped out the interior of the rectangle so I could turn the fabric to the other side of the lining.
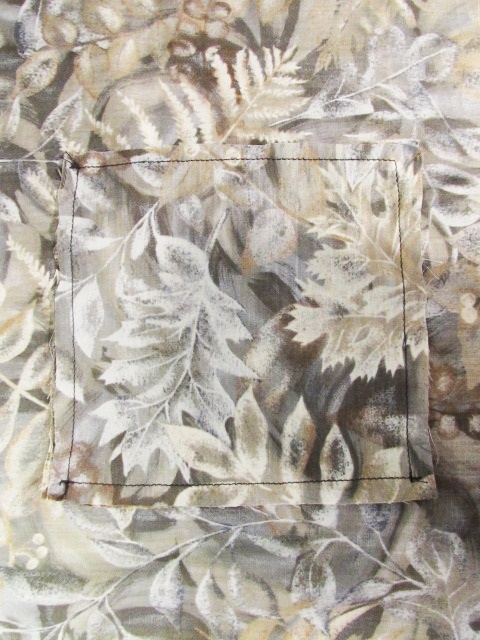
Finally, I took a second 5″ square and sewed it to the flap of fabric that was now on the wrong side of the lining. (I know this is hard to follow and if anyone wants further info, I can write a tutorial. It is a nice way to add a pocket to any bag you are working on. Let me know if you would be interested.)
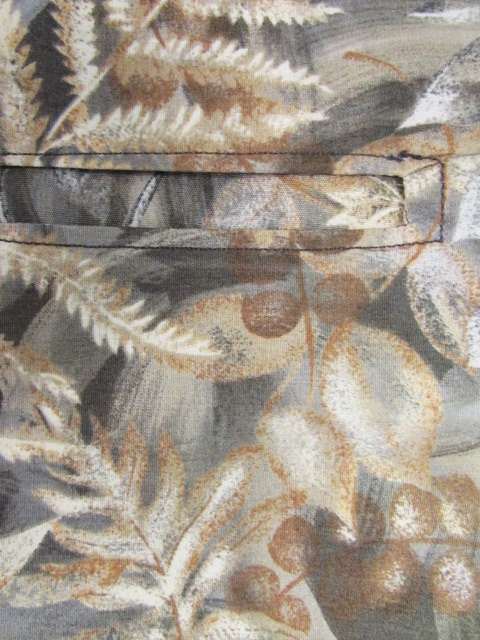
Interior pocket sewed to lining fabric.
Once the pocket was in place, I set the zipper – I won’t go into detail here because I used the exact process described in the KelbySews tutorial. It is very simple.
Before sewing the side seams, I placed two loops of twill tape, one on each side, to be stitched into the side seam. Then I sewed the side seams.

This bag has exposed seams (the lining doesn’t hide them) so I did run a tight zig zag stitch along each side to finish the fabric.
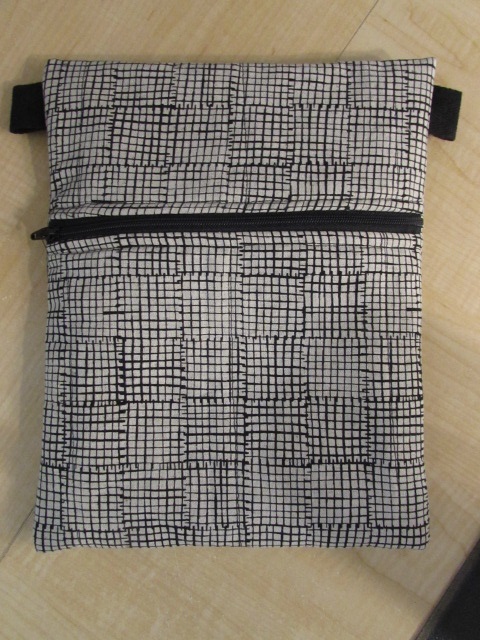
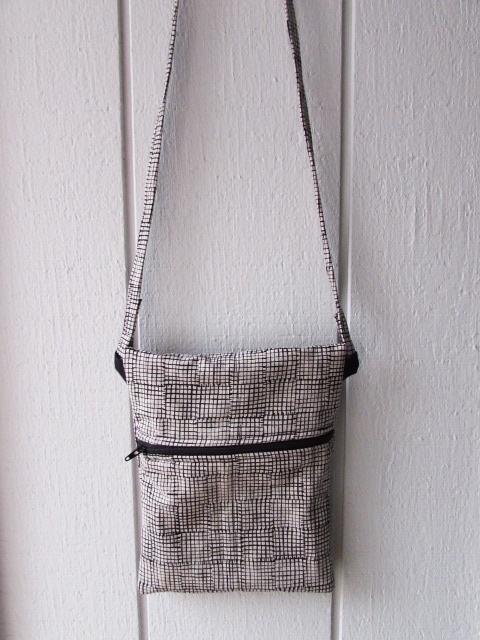
Once the bag was flipped right side out, it looked like this.
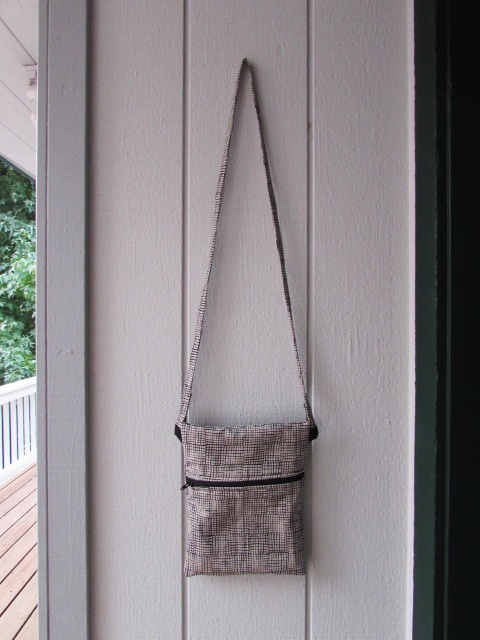
The final piece was to make a long strap. I pieced together two lengths of fabric that were two inches wide. By pressing the raw edges to the center first, then pressing the whole strip in half, and finally stitching the strap all the way down the length of it, I quickly had a shoulder strap. I looped one end through each of the twill tape loops and stitched them together. This means it isn’t adjustable. If you wanted something more flexible, you could buy the hardware to make a little looped finish on the end of one strap.
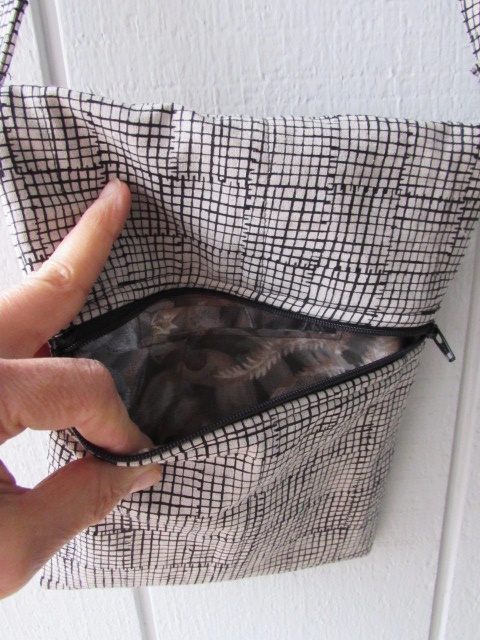
Peeking at the interior of the bag.
The lining was a scrap from a thrift store but I love it with the Grid fabric.
For measurements, in case you are curious, the bag finishes at 8″ wide, 10″ tall, with a strap that is 50″ long. I think the size is just what I wanted. The only change I would make is to move the zipper up about two inches so I would have a bit more usable space inside the bag. The most functional space is below the zipper and it would be better to have less space above the zipper.