Tag Archives: halloween craft

Autumn Fabric Pumpkins

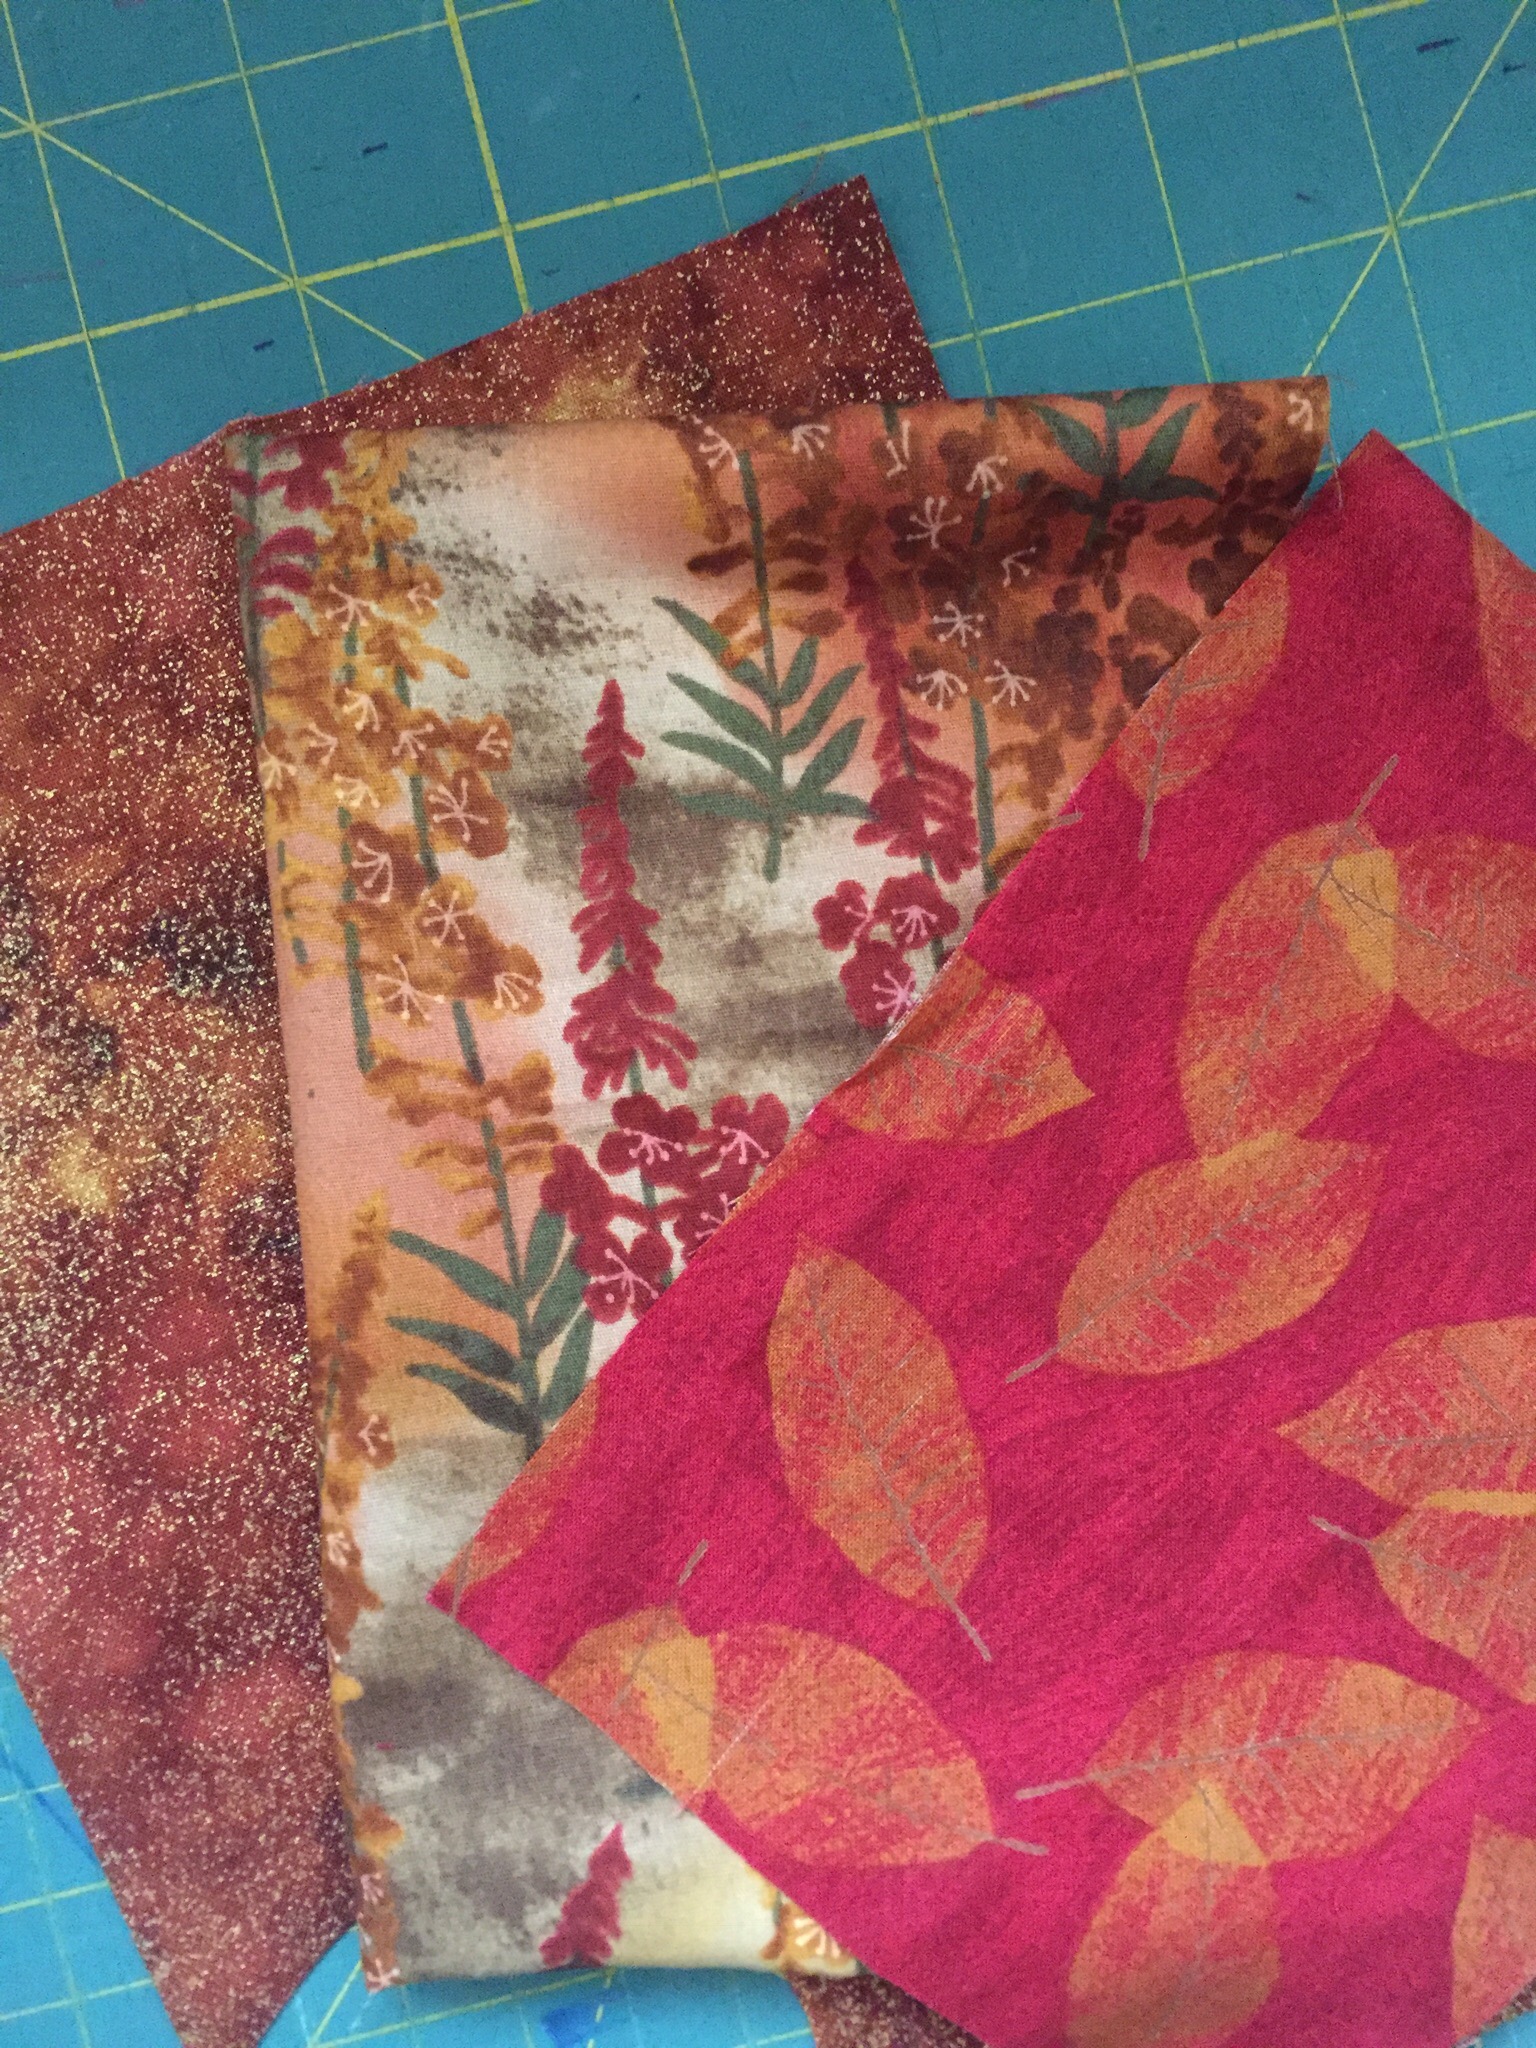
Hi Everyone!  As part of the Sew Much Fun Halloween Blog Hop hosted by Jen at Faith and Fabrics, I decided to make some autumnal fabric pumpkins. I wanted to make something new for the house but decided to forgo the Halloween novelty fabric and use fall fabric so I could leave them out through Thanksgiving.

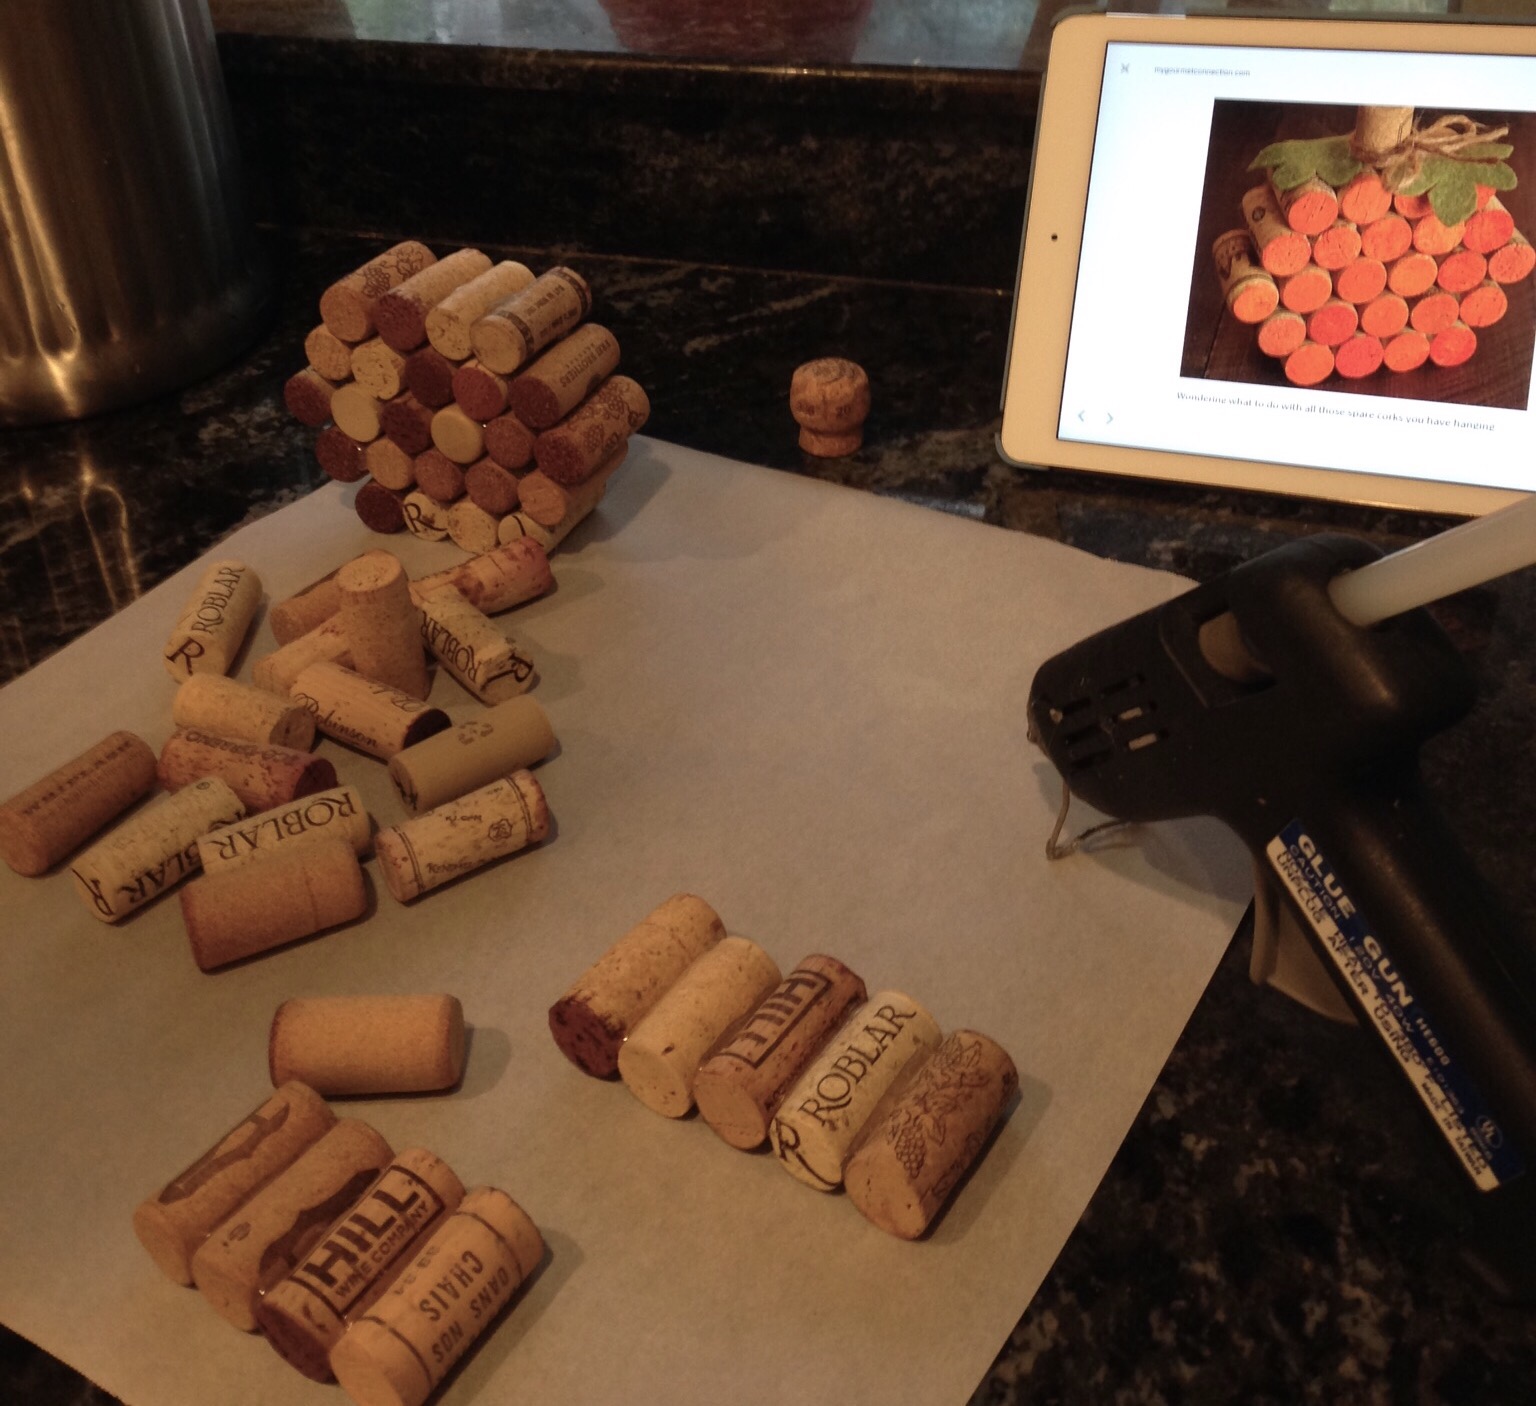
These pumpkins are such a breeze to make. I poked around Pinterest for a while and found this easy tutorial from HGTV. Mainly I was looking for suggestions on the size of the individual rectangles that make up each puff on the pumpkin. This tutorial had three sizes worked out which was just perfect.

To  make the sections of one pumpkin, I cut six rectangles of equal size. I stacked the rectangles and trimmed off each corner, making a slightly curved shape.  Next I sewed the long side of the rectangles together from top curve to bottom, using a large, basting stitch.  (My Janome machine stitch length was set to four.)  Use the threads on either end of the seams to gather the pumpkin sides to your liking.

Then you hand sew a loose, running stitch around the bottom opening and draw the opening to a close.  Stuff with pillow stuffing (you might be able to use batting scraps?) and then sew a loose running stitch around the top to close the opening.  When closing the top and bottom openings, it doesn’t have to look perfect because both areas are covered.

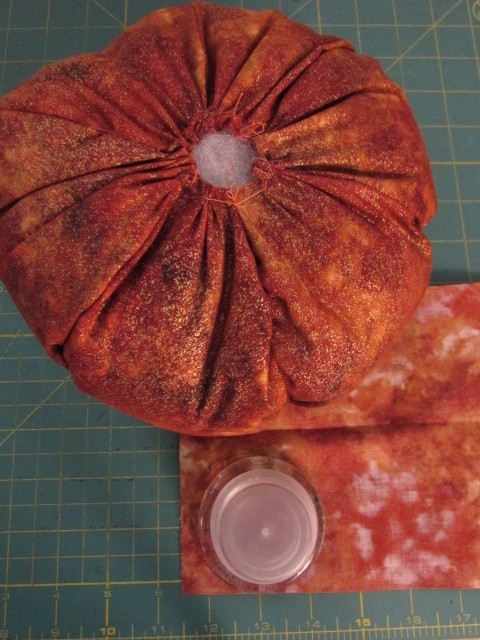
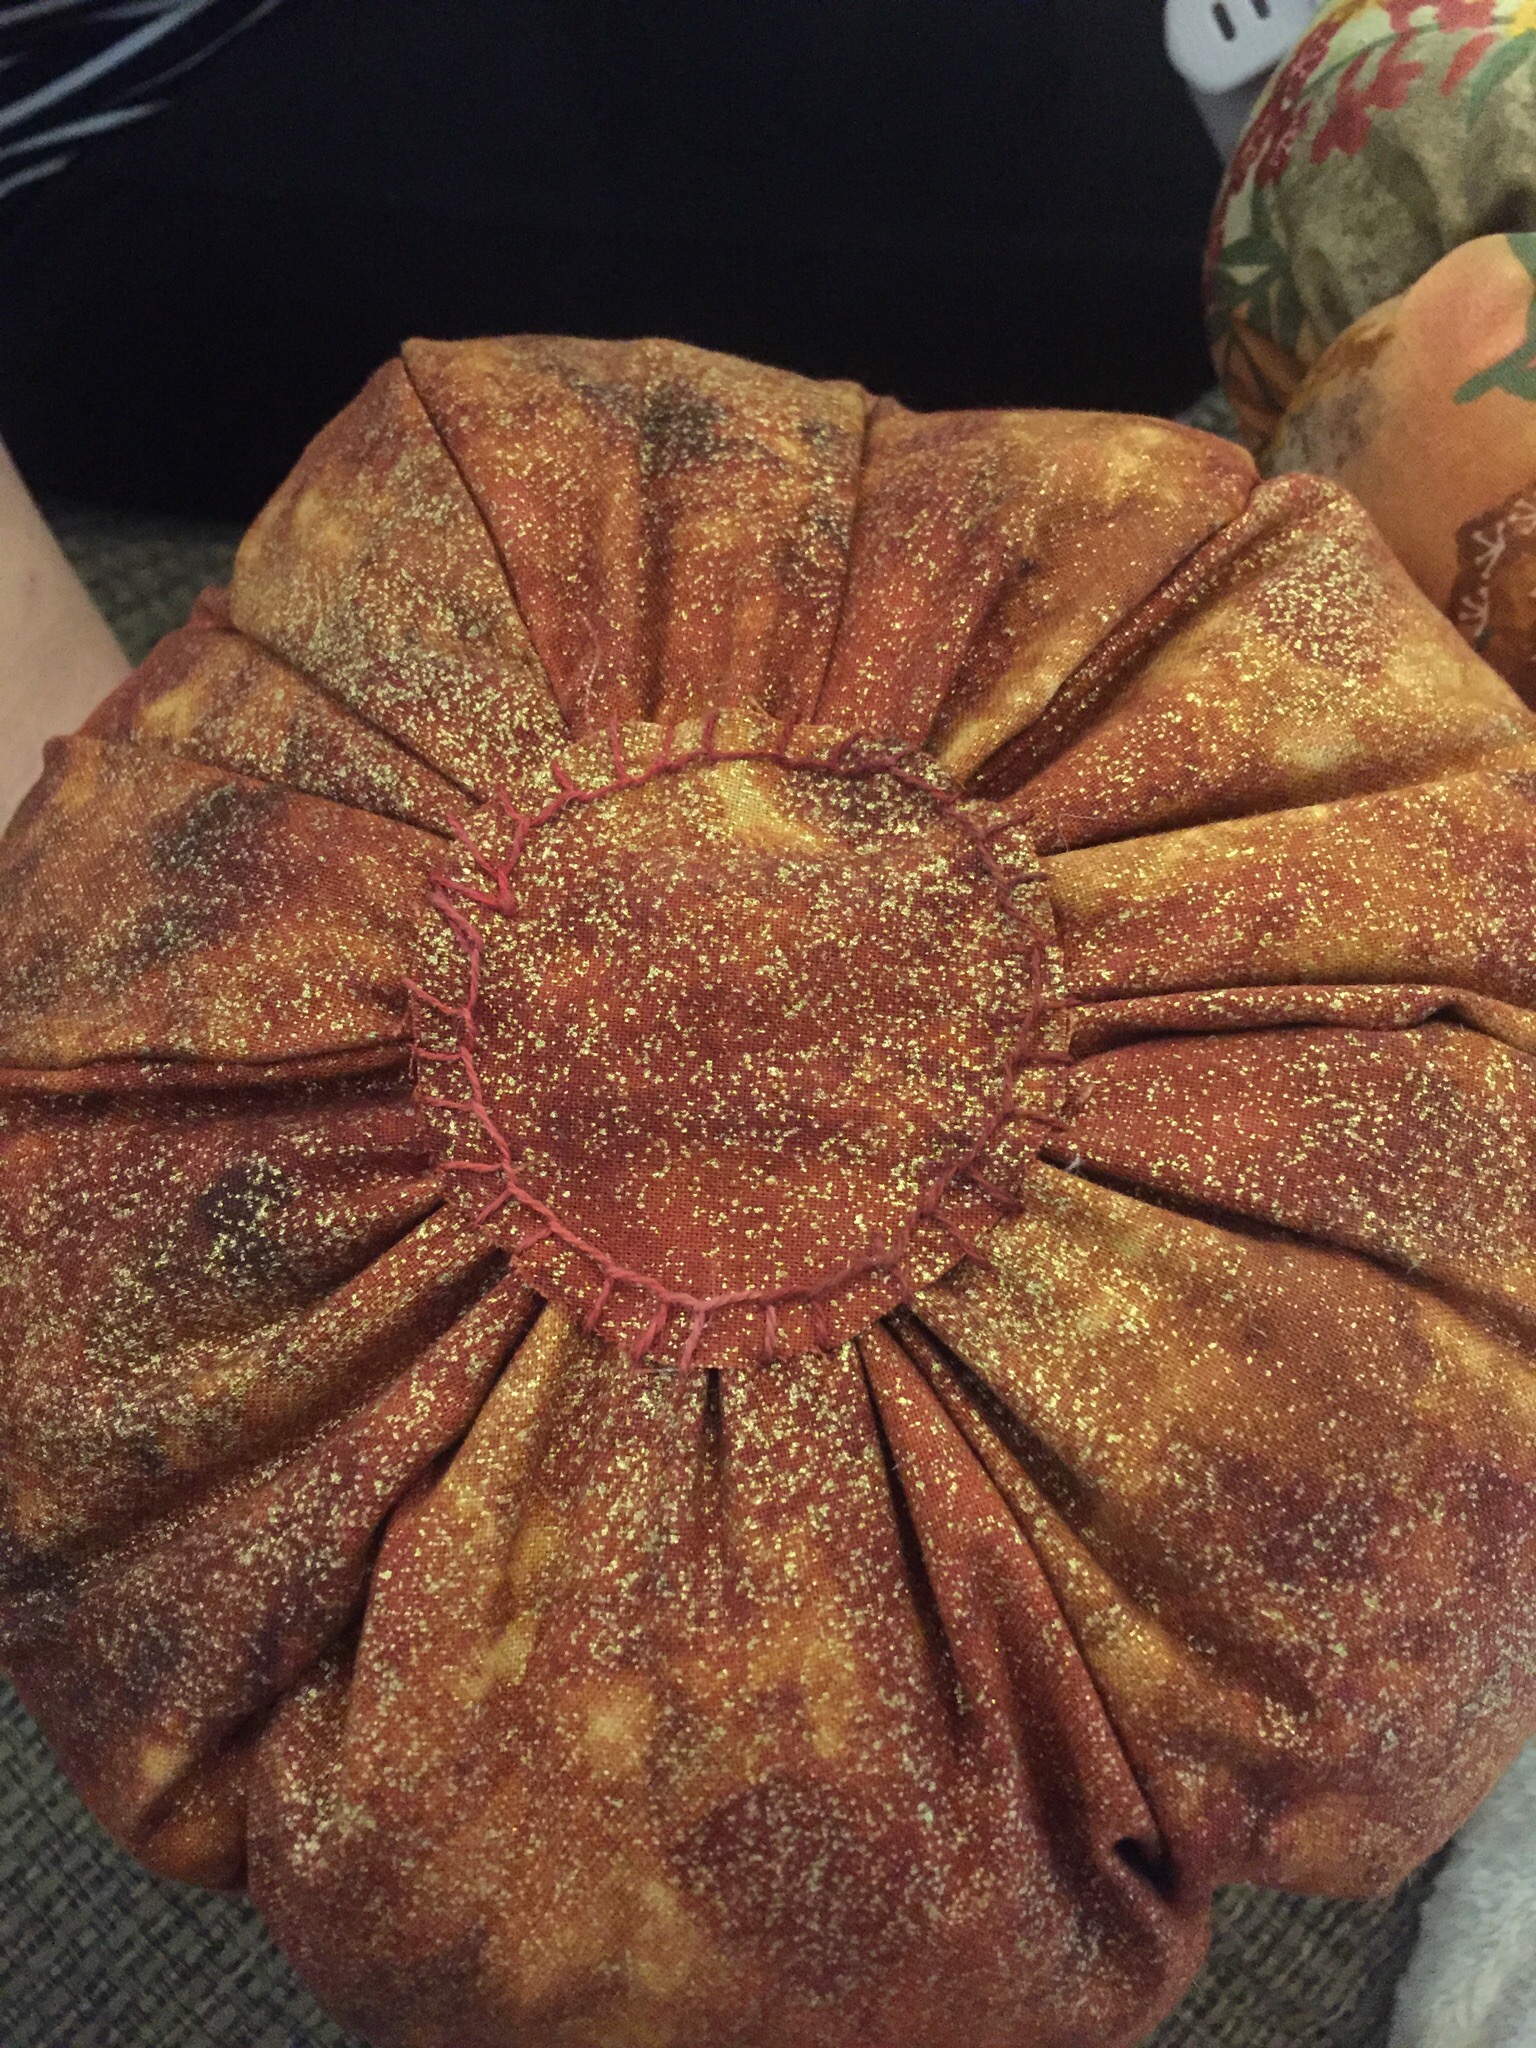
To cover the bottom, I traced a round object (the top to my little button jar) and cut a circle of matching fabric.  I used raw edge applique to attach it, hiding the bottom stitches. I thought the blanket stitching looked really nice for this.

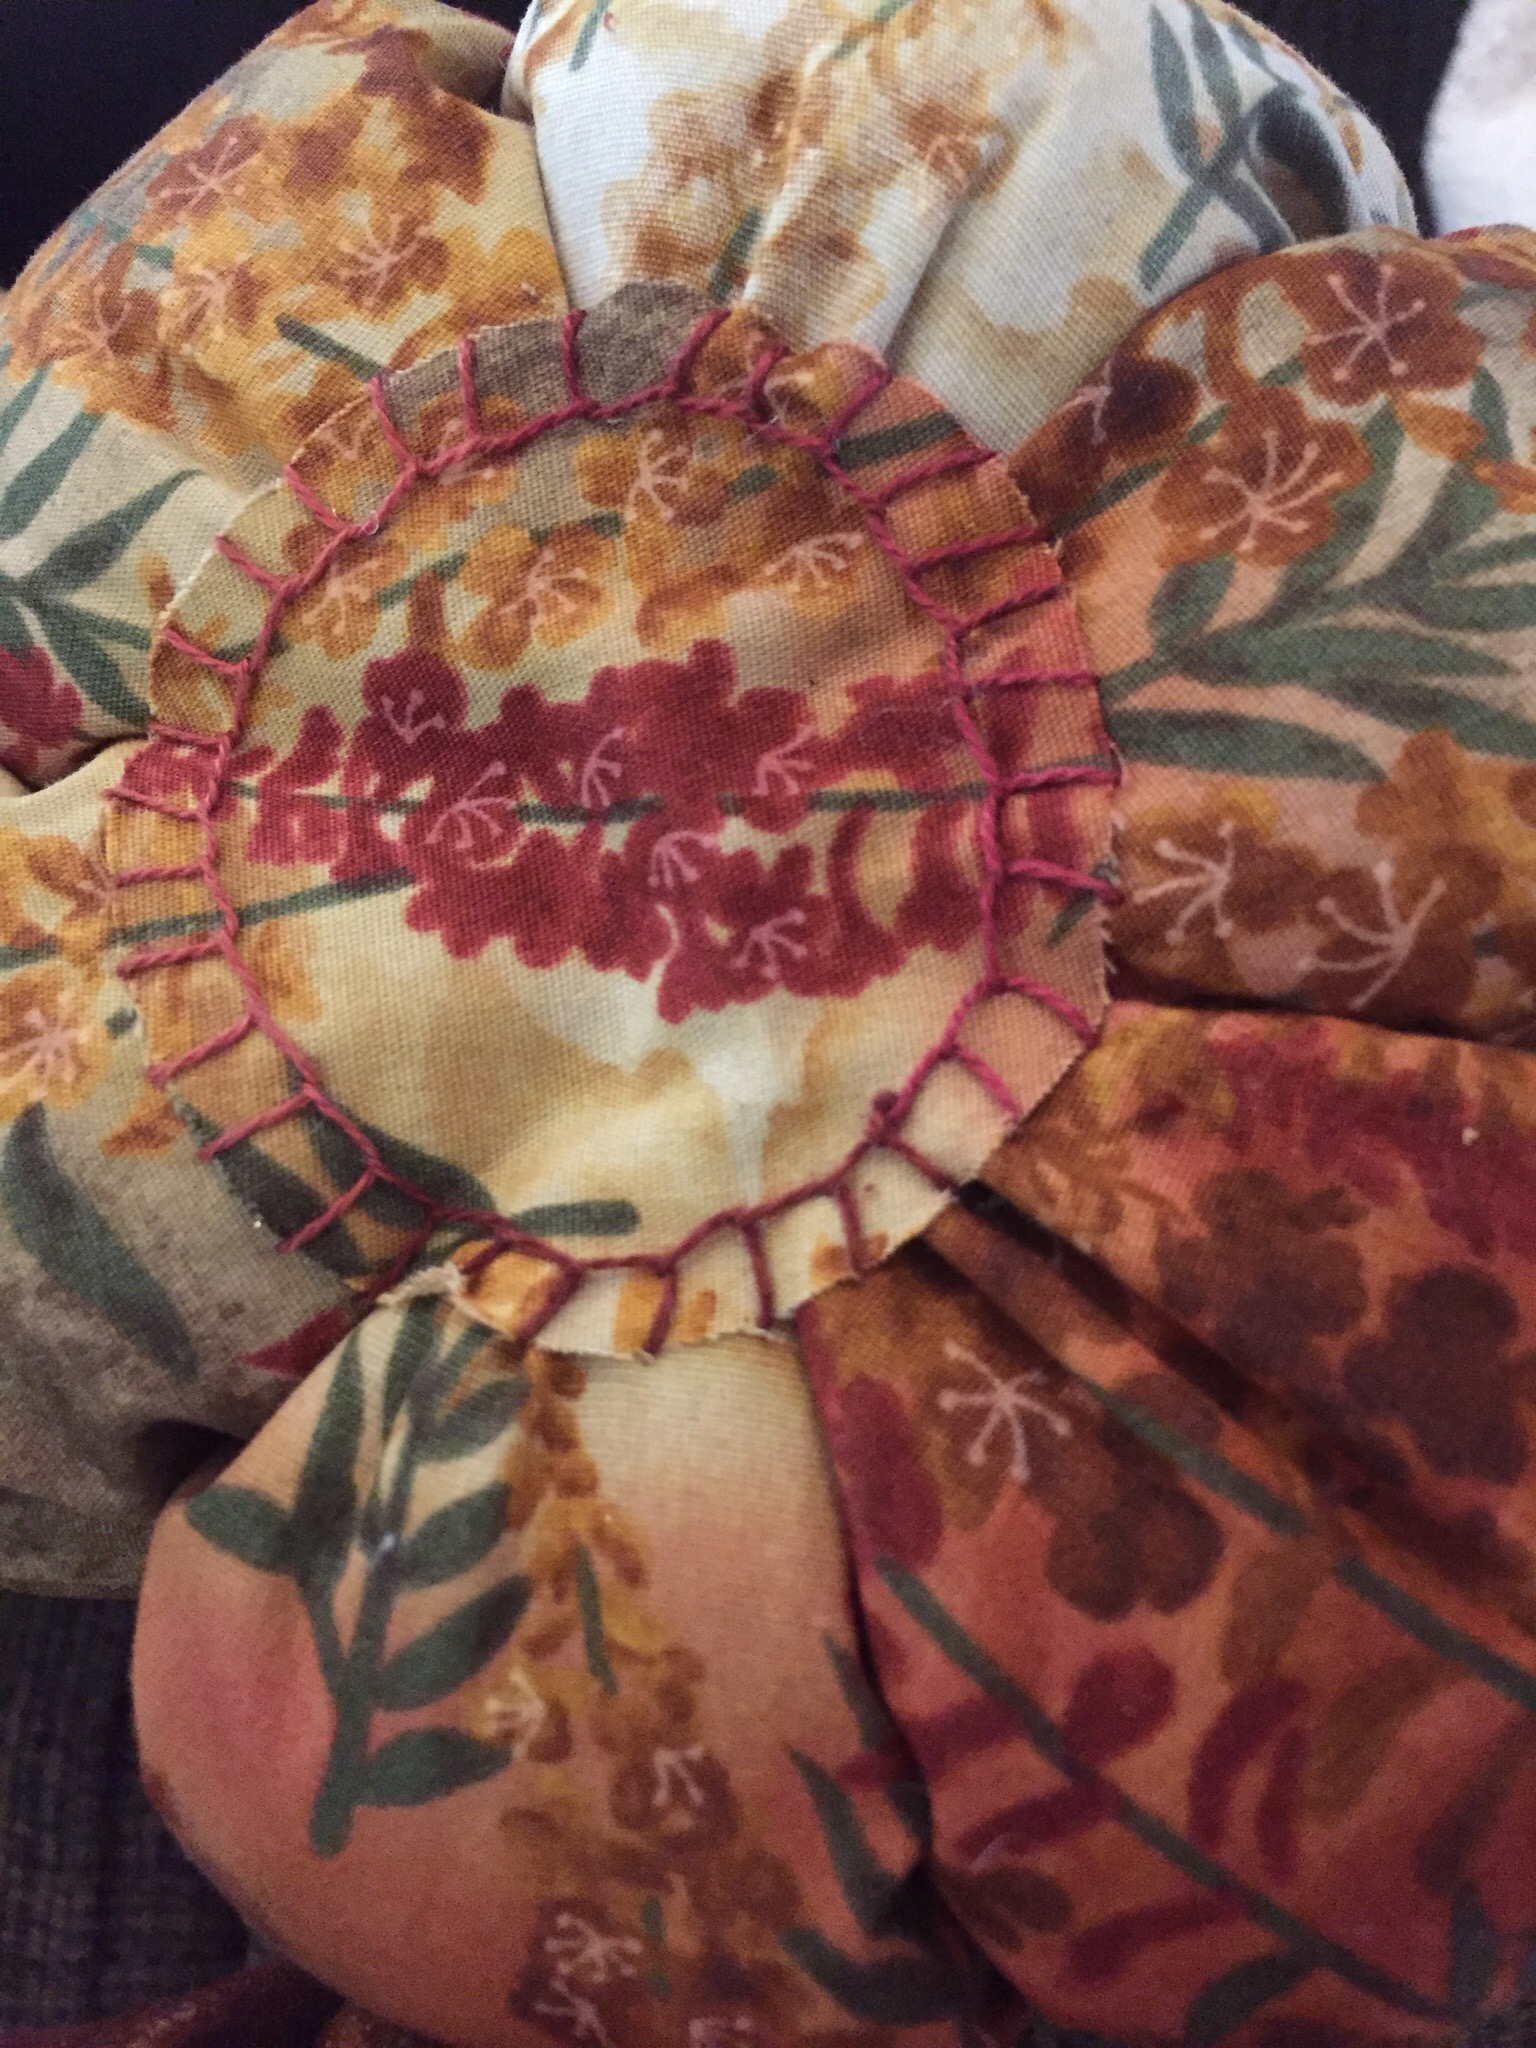
Here is another one.

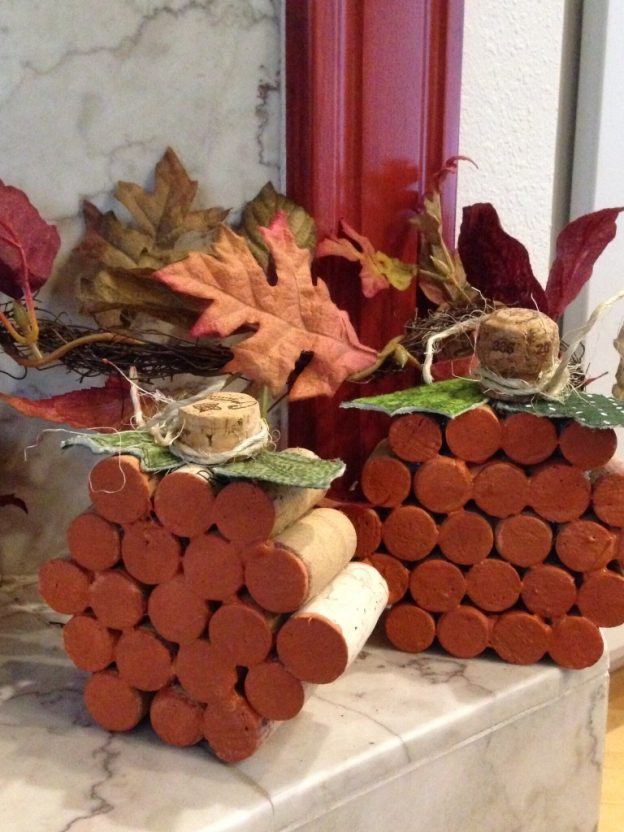
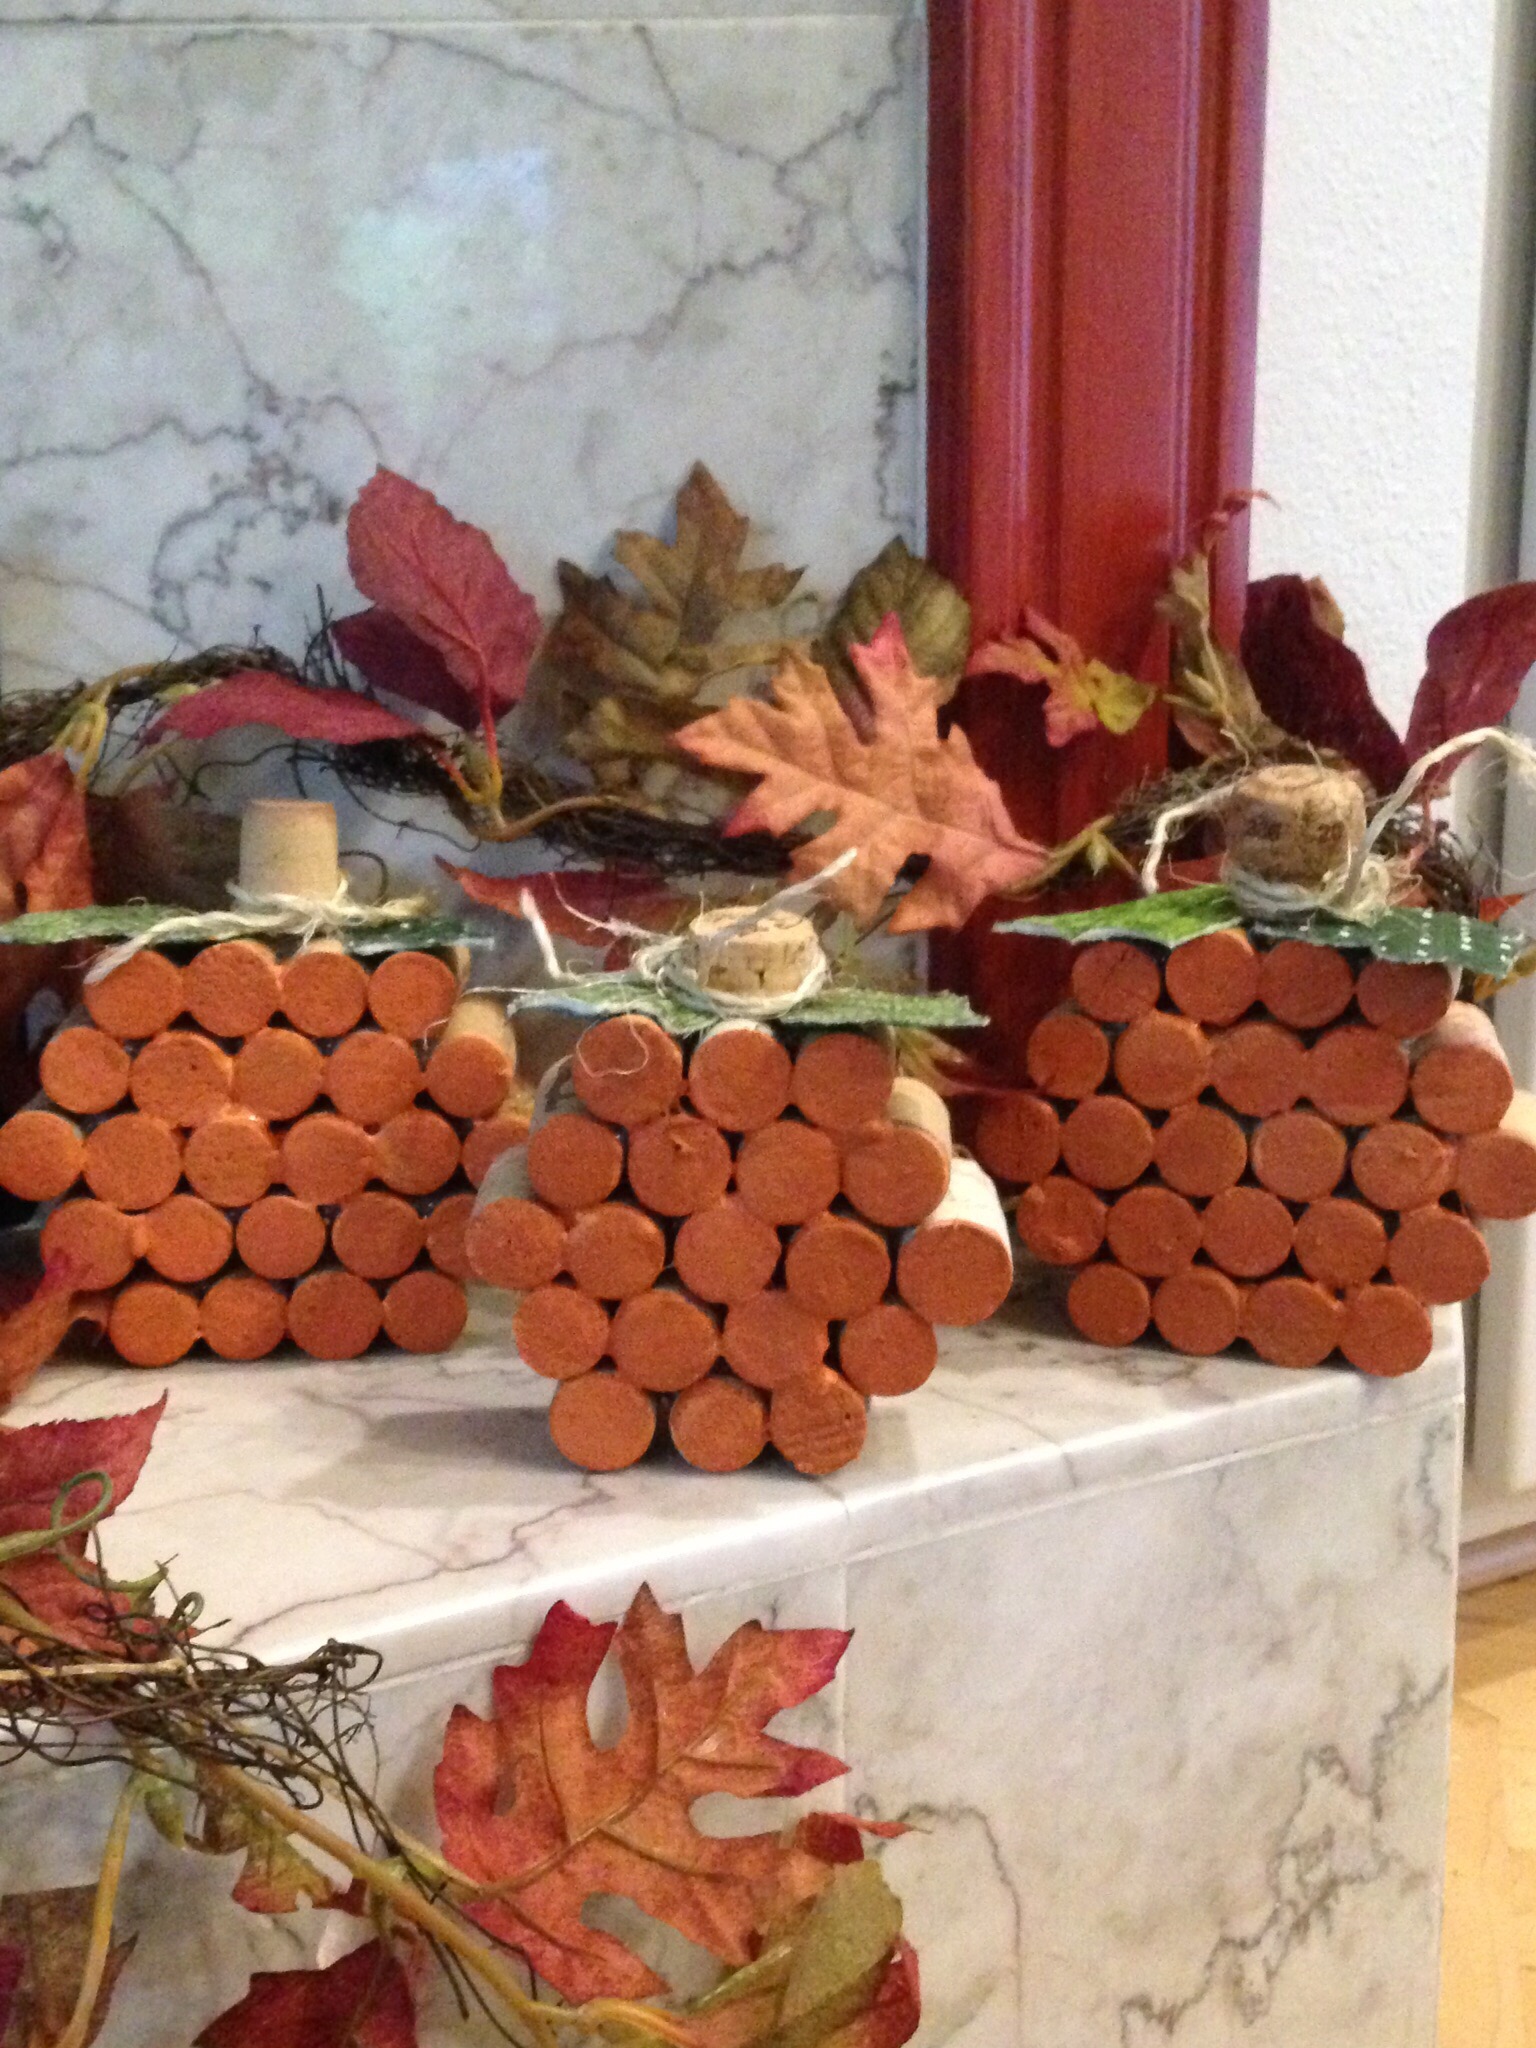
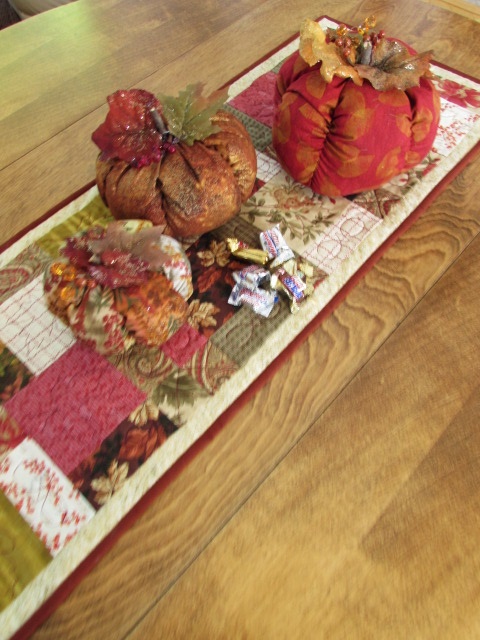
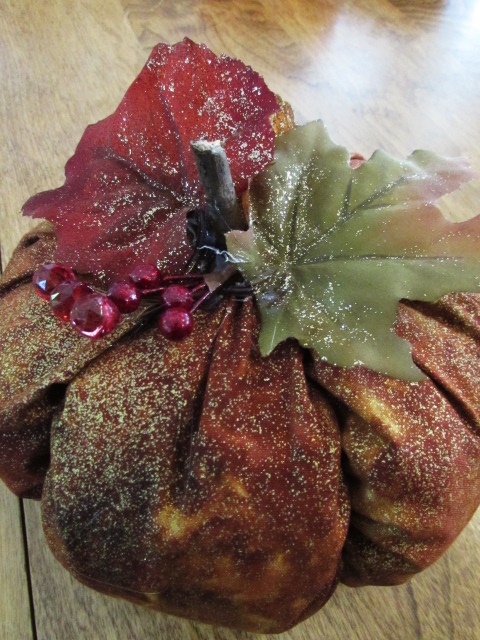
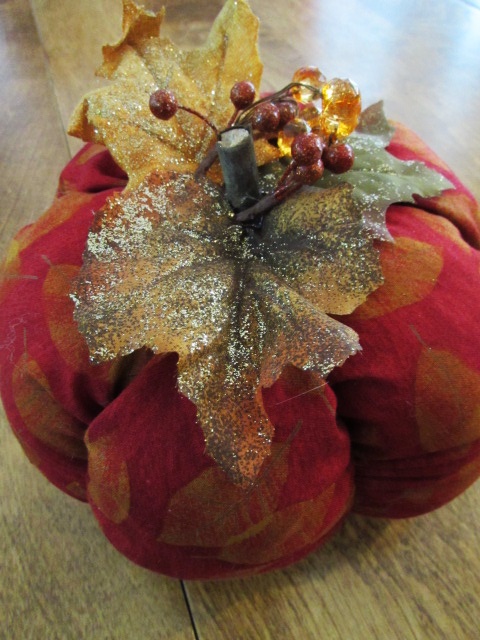
I found a sprig of fall leaves at Ben Franklin and decided to cut it apart, using the leaves to decorate the tops of the pumpkins.  I also took apart two beaded napkin rings I had to use the little vines with red and gold beads on them. They look really cute.


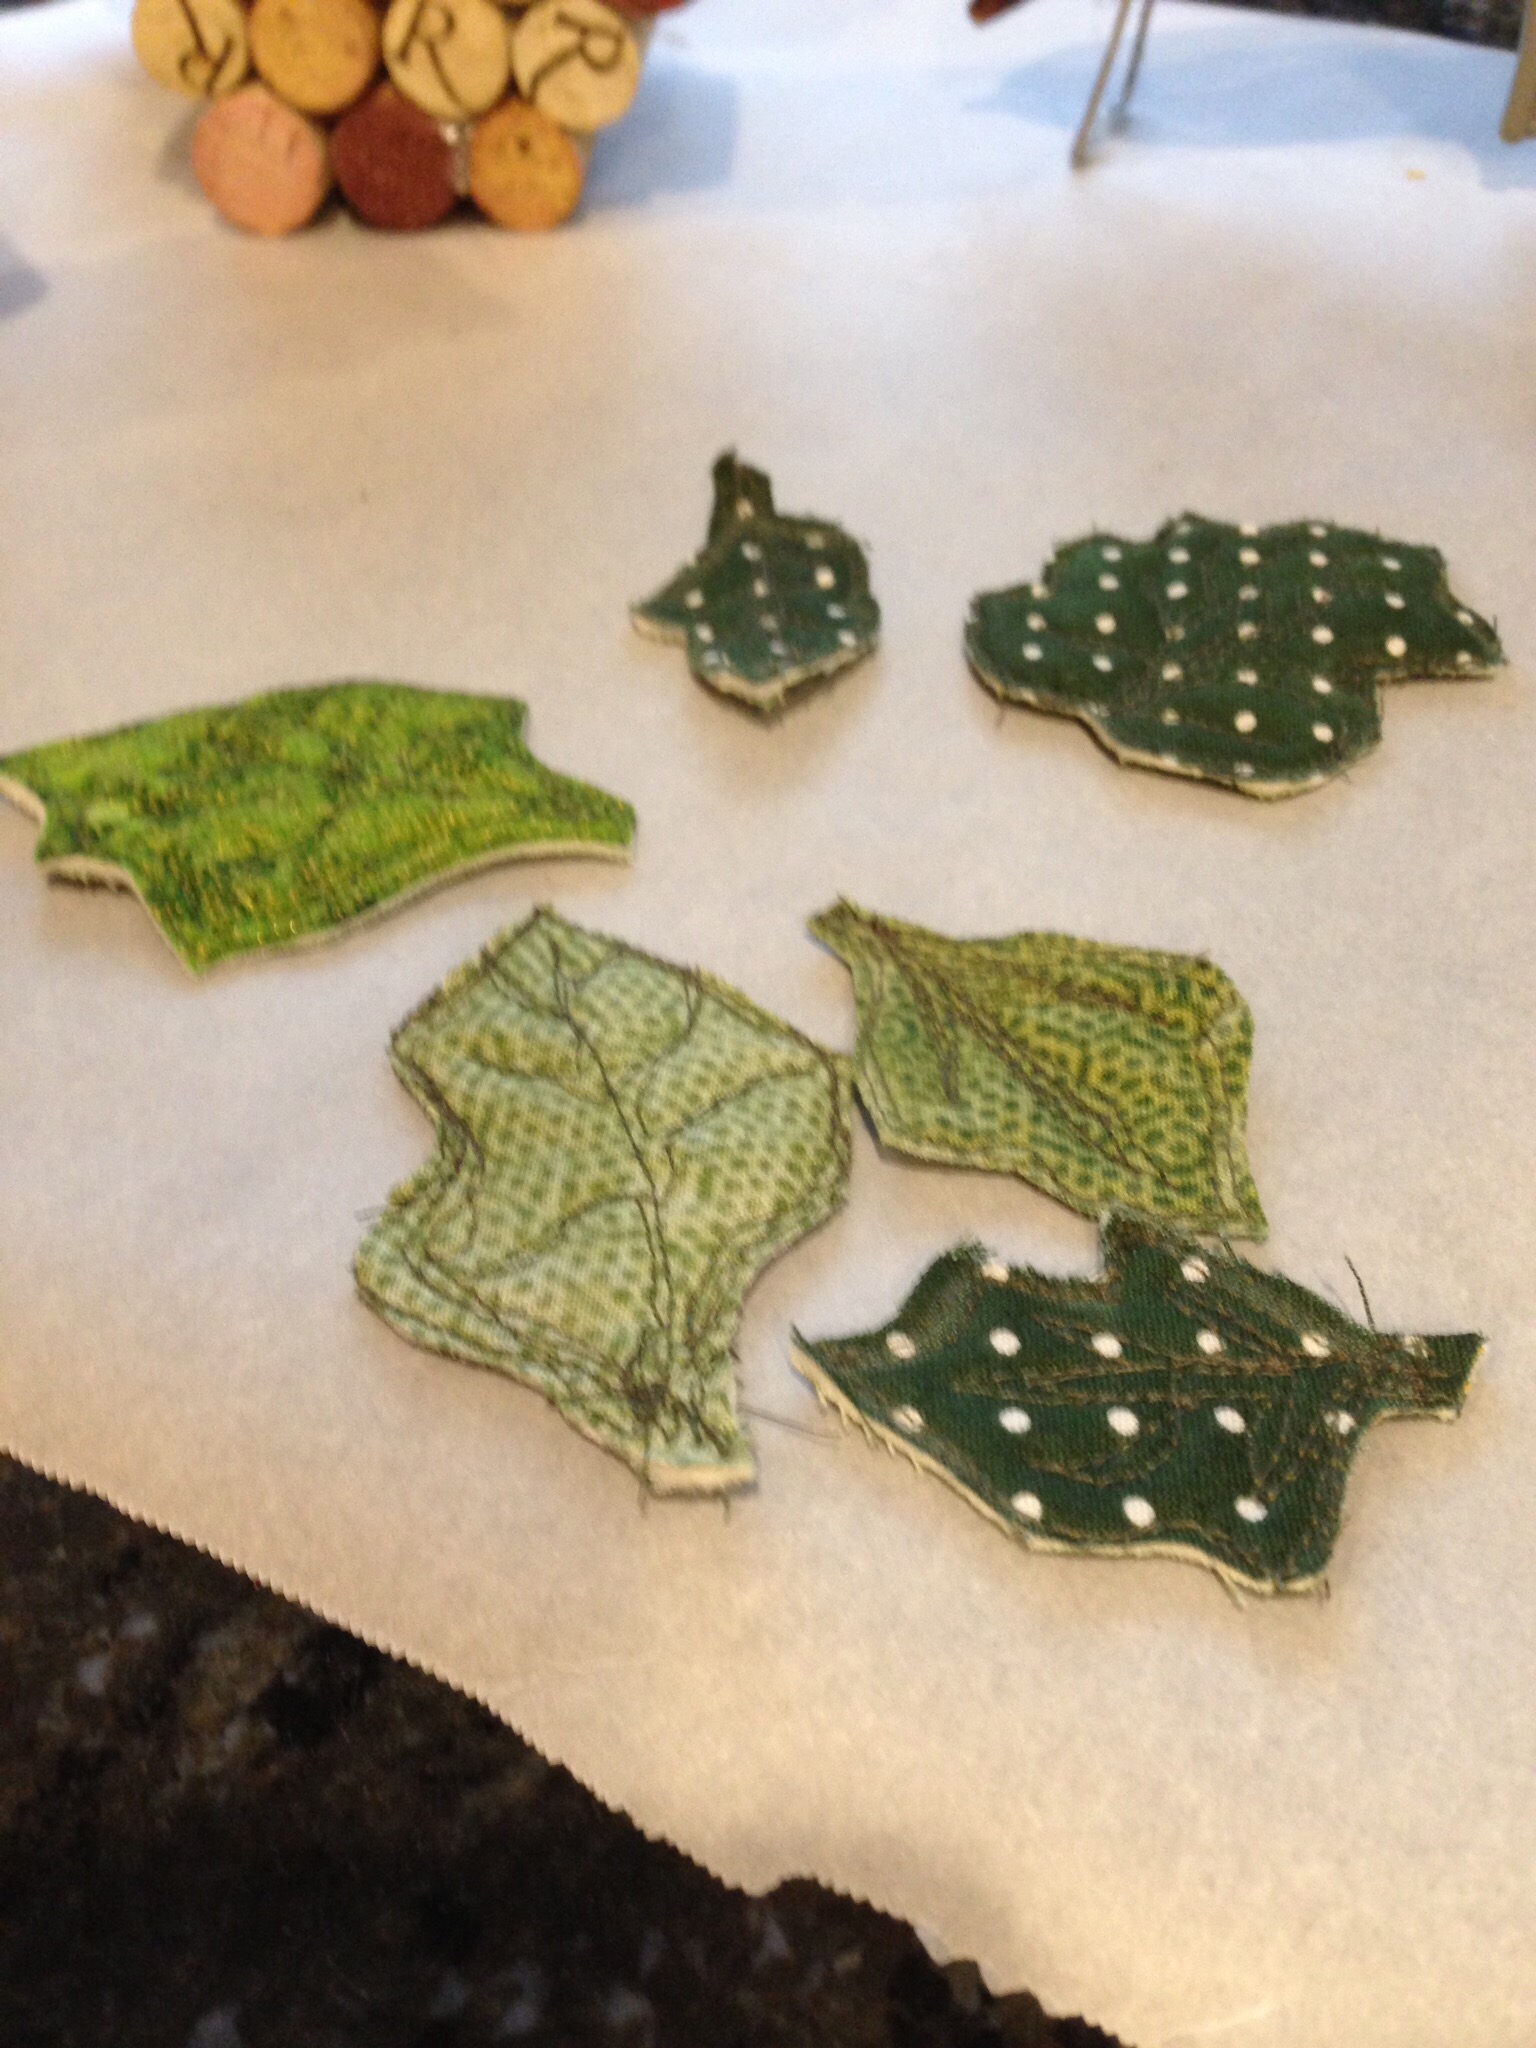
The smallest one, below, is my favorite. Probably because I really like the fabric used for this one.

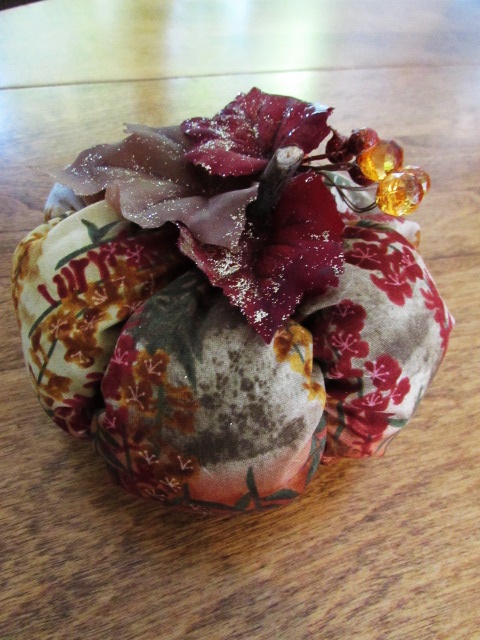
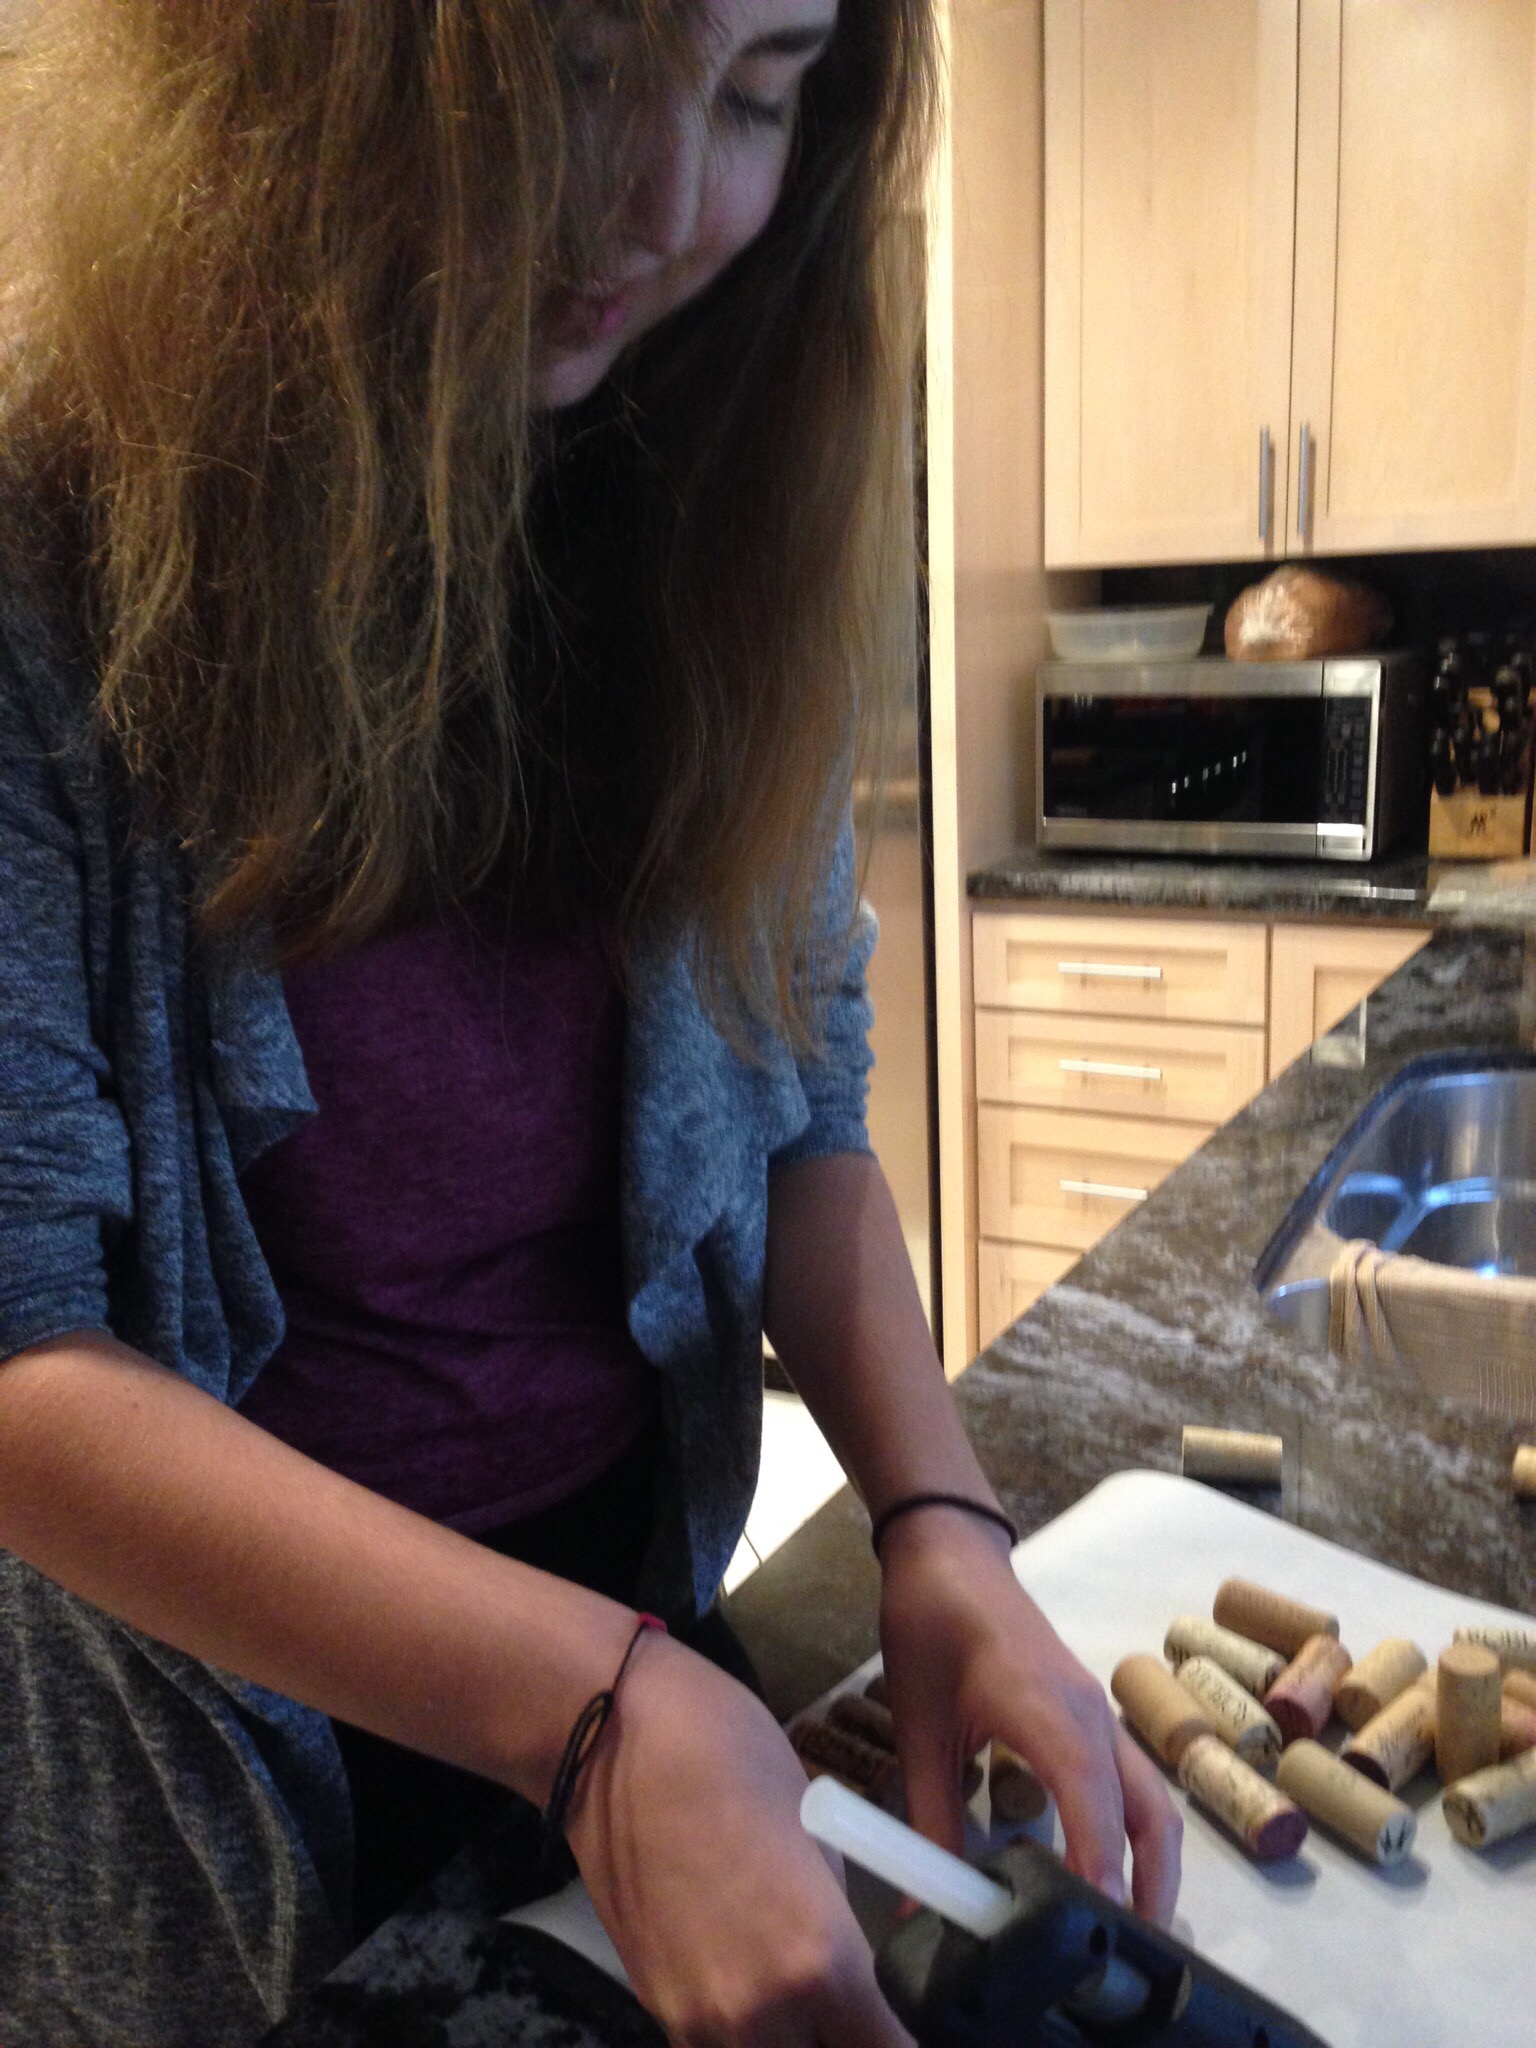
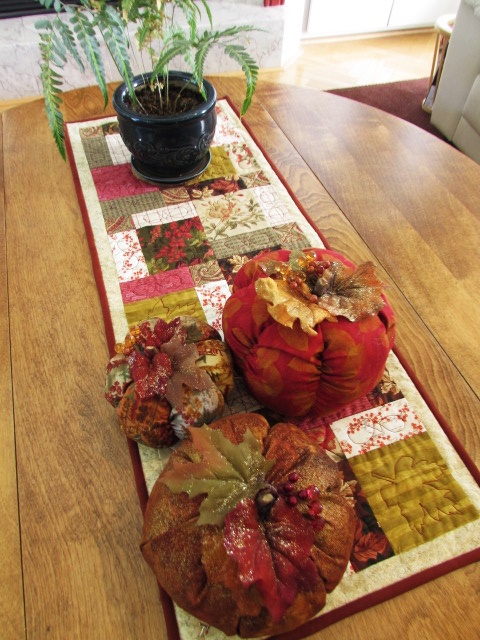
Nothing here that can’t be accomplished with a bit of hot glue and some leftover bits found around the house! I was glad to have a bag of stuffing that was nearly full (leftover from making these stuffed blocks for my grand baby).  It took the remainder of that bag to stuff the three pumpkins. I found twigs in the yard for the main pumpkin stem. The only thing I purchased specifically for this project was the fall leaf sprig for a whopping $2.99!

I hope you will give these a try.  If you get stuck or have questions, don’t hesitate to comment or shoot me an email. I am happy to help.

For more Halloween inspiration, be sure to check these posts out too.  Have fun!!

Faith and Fabric

The Cloth Parcel

Daydreams of Quilts

Slice of Pi Quilts

I Have Purple Hair

Patterns by Jen

Adventurous Applique and Quilting

Sew and Tell Project

Crafty Saturday- Wine Cork Pumpkin

We are so lucky to have Ian (number 3 son) and his girlfriend, Sharlyn, here for the weekend. They are here to attend a friend’s wedding. Ian loves photography and he is doing the photos for the wedding. Additionally, today is Ian’s birthday. So, there’s a lot going on for these two today.  Earlier this morning, over coffee, I discovered Sharlyn shares my love of Pinterest.  Looking at her boards was a lot of fun.  I found all sorts of ideas to pin to my own boards.

One of those ideas was cute pumpkin made with wine corks. She pinned it from this site. It was only one of several crafty ideas using wine corks that Sharlyn had pinned. This comes as no surprise because she works as an enologist, or winemaker, for one of California’s largest wineries. She comes across more than one or two wine corks in the course of a day at work.

After Ian and Shar left for the wedding, Julia and I got to feeling a little crafty. Luckily, I had everything we needed to make a few of these pumpkins. I have been tossing wine corks into a zip lok bag for a while now, thinking there might be something fun to do with them. (In case you are concerned, don’t be. It took a good long while to save up these 75 or so, wine corks.) Counting the corks we had, there were just enough to make three pumpkins. With the help of a whole lot of hot glue, we got started.


It is such a simple project. We glued rows of corks together and then glued and stacked them one on top of the next. To get a round shape, we glued a row of four, then five, then six. Those were glued together, in that order. Then two more rows, one with five corks and the next with four were made and glued to the first three rows. So you end up with a row of four, then five, then six, then five and finally four.  We also made a slightly smaller version, eliminating the row of six. (Meaning making a row of three, then four, then five, then four and finally three.) Wherever possible, we tried to make the ends of the corks as even as possible so hat the pumpkin was mostly flat on the front side. The back side is uneven but really, who is looking back there?


When the hot glue felt somewhat solid, we painted the face of the pumpkin, meaning the ends of the corks, with some orange acrylic paint and left it all to dry. While the paint was drying I made some simple leaves. I didn’t aim for precision with the leaves. I took green scraps and tiny bits of batting, made a sandwich, and quilted the basic outline of a leaf. I added some veins to define the center of the leaf. I went around the outer edge several times and then cut the leaf out.


As I was making them, if they looked to big, round, or otherwise not quite right, it was very easy to just keep trimming them and stitching until I liked the shape. They looked rough but I wanted a rustic feel. The stem of the leaf looks messy with the stitching backtracking over and over, but that part was hidden by the pumpkin stem.


By the time the leaves were made, the paint was dry enough to handle the pumpkins again. Actually, I was being impatient…. the paint was barely set. 😉 We glued the leaves down, two per pumpkin.


Following the leaves, we glued the cork/stem. I did cut the cork down a bit to use for the stem, the full size cork was a tad too tall.


Once they were truly dry, I decided the shade of orange was too light. I gave each of them another very light coat with another orange paint that was a touch darker than the first. The final touch was adding a bit of twine.

What do you think? The darker orange is better, right? Yep, they are adorable. A fun, easy project for this very rainy day. Save up those wine corks and give it a try!


It’s the season for more making! The changing colors call for new projects, and Craftsy wants to help you start the season with all the supplies you need.  Lots of the basics are on sale, including batting, Aurifil threads, and Kona cottons. For all of you Cotton and Steele fans, there is a fat quarter assortment on sale for an amazing price.This promotion ends Sunday, October 16, at 11:59 pm MT.

(Note-I am a Craftsy affiliate.)