Category Archives: Quilting Skills

Coming Soon to Needle & Foot

I am so excited to share this with you! I will be publishing a new series on the blog.  It is called Meet the Designer. Over the next few months I will be sharing an interview between me and a fabric designer. Let me tell you how this came about. As you know, I have been spending a great deal of time researching fabrics and manufacturers as I build my shop. Working through this process of picking manufacturers and certain lines of fabric, I have had several opportunities to talk to the designers of the fabrics I selected. I so enjoyed this and I thought it would be fun to share the stories I have heard with all of you.

Each interview will be posted during the third week of the month. You can look forward to reading about my conversation with Sarah Golden, designer of Maker Maker for Andover Fabric next week. I truly enjoyed meeting Sarah (even though it was over the phone) and I know you will enjoy getting to know her as well! Other designers that you will soon read about just might include Maureen Cracknell and Kim Diehl.  That’s all I am saying for now.

I really hope these posts are a fun feature.  I am thrilled to share them with you.

2016 — What a Great Year

I have to tell you — I had a whole lot of fun blogging this year. I met quite a few new friends – some bloggers, some readers, and all so very kind. Let’s take a quick look at what went on here over the past year.

I feel like it was a year of growth. Not just with my quilting and sewing skills but also with regards to my blog. For the first time, I held several events here. It was a fun learning experience, between approaching companies to sponsor the events with giveaways, to creating the theme of the event and then publicizing it; it was all new for me. I think it was both successful and rewarding. I have more up my sleeve for 2017 so stay tuned. Both of the book shares were great fun. The next one is coming soon. I will post the new book during the first week of January. If you want to join in, watch for that as it is first come, first served.

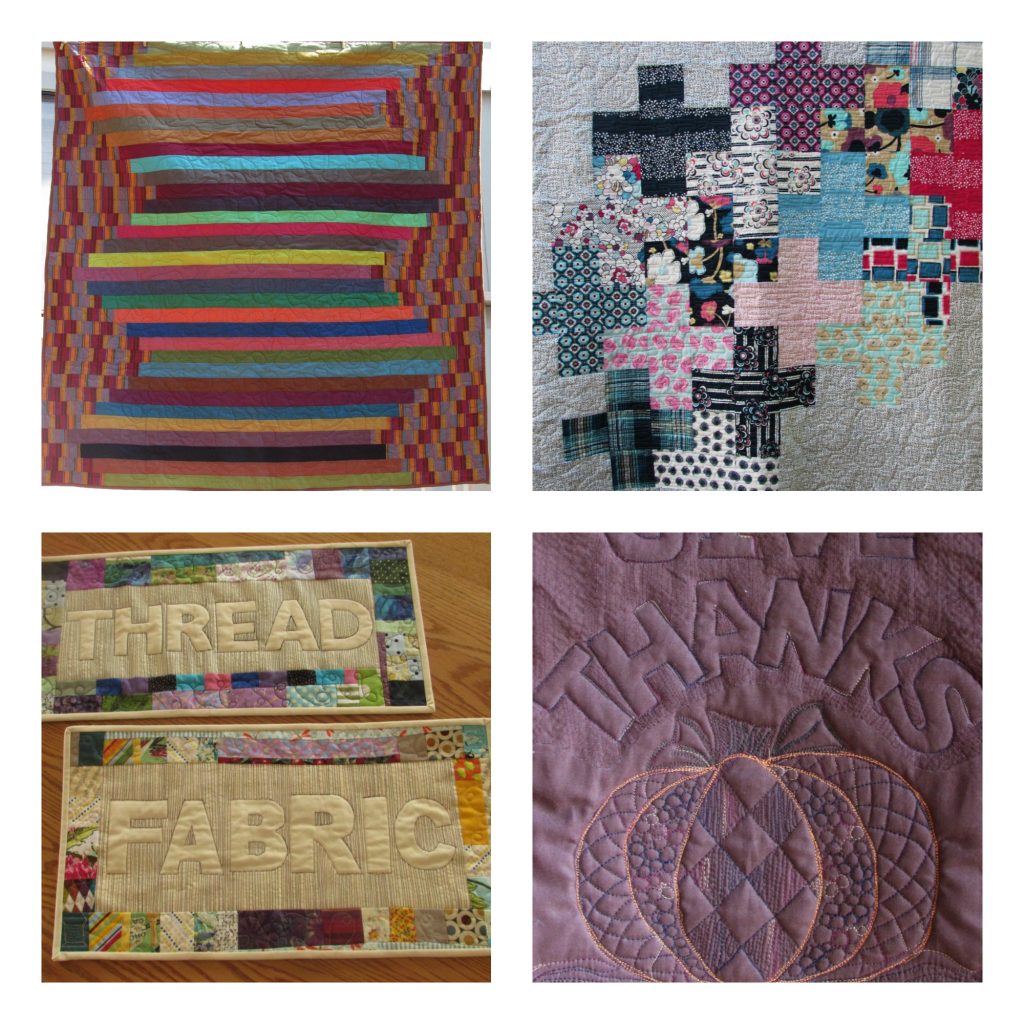
While working on expanding the blog, I was also trying to improve my quilting skills. To this end, I worked on my free motion skills quite a bit. I am loving creating pictures, or motifs, with my quilting. Also, I learned to relief quilt and did several projects using this technique. Finally, I took a long-arm class (I believe that was the only class I took all year!) and it was so much fun! Since the class, I have quilted two more quilts and have one ready to go. I am sure I will continue to practice both my FMQ and long-arm skills throughout 2017.

One of the goals I set for myself at the beginning of 2016 was to write more tutorials.  They are one way to give back to this community. I have certainly used my share of the amazing tutorials that are floating around this community and it is only fair to create some for others to use. In addition to those that are shown in the pictures; French Press Cozy, Reusable Sandwich Bags, and THREAD Relief Quilting tutorials, I also posted a tutorial on Sew Mama Sew.  These are only a few of the tutorials I posted on the blog. If you would  like to see more, click on the Tutorials link at the top of this page. I have very much enjoyed sharing these with you and plan to create more in the coming year.

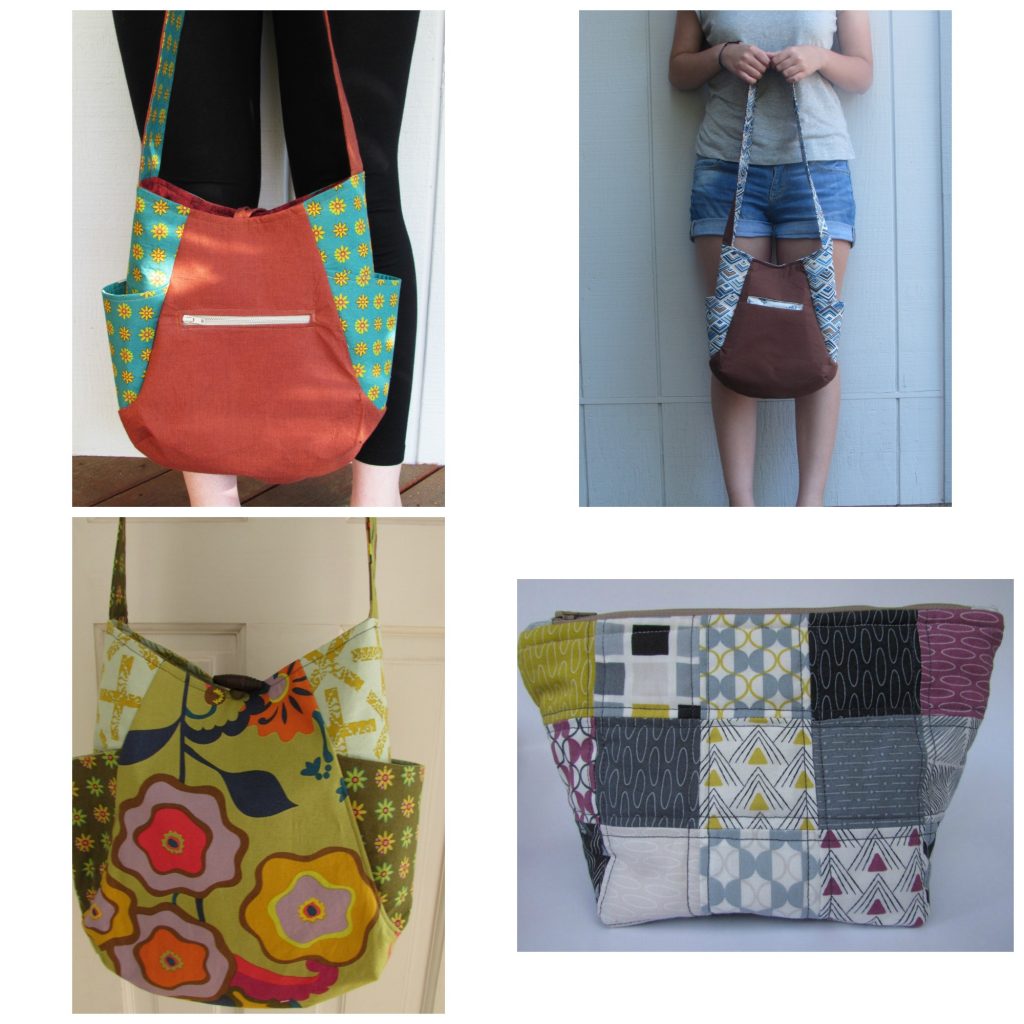
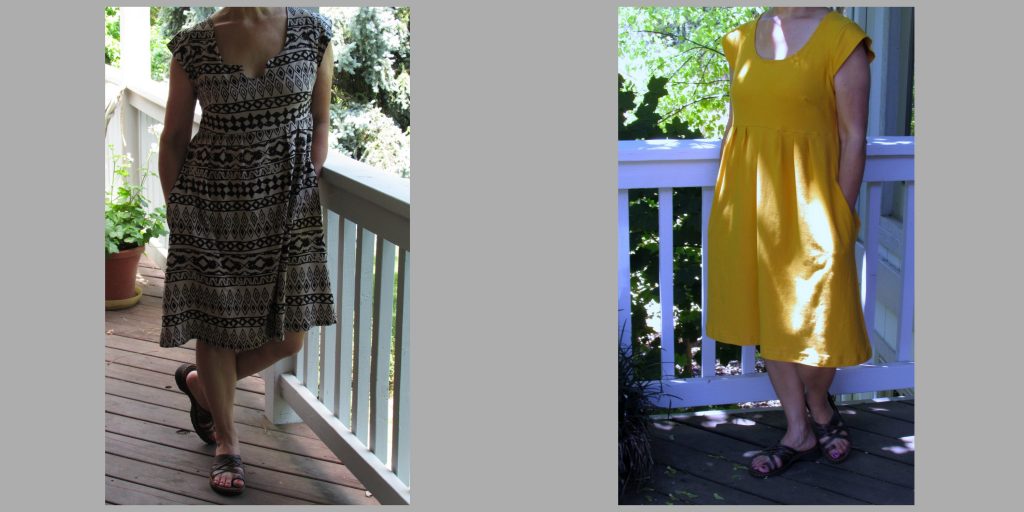
While I do love to quilt, I have also been enjoying making things like bags, zip pouches, and even two dresses! Sometimes these projects are just what I need to give as a gift or to satisfy my need of a quick finish. They don’t take nearly the time that a quilt does! I will say that if I make any bags in 2017, I will explore a new pattern. I have used my Noodlehead 241 Tote pattern three times already. Time to move on!

However, this Washi dress pattern may be used another time or two. It is so comfortable!! I have seen people make it as a tunic and it looks really cute. Possibilities, so many possibilities!

I hope that 2016 was a good year for you as well. The new year is just weeks away. I have some really exciting plans to tell you about but let’s save that for another post. For now, I am grateful for all that I learned this year and for all of the friendships that have occurred via this blog. I look forward to another fun year with each of you.

Linking with Meadow Mist Designs Best of 2016 event!

Third Time is a Charm

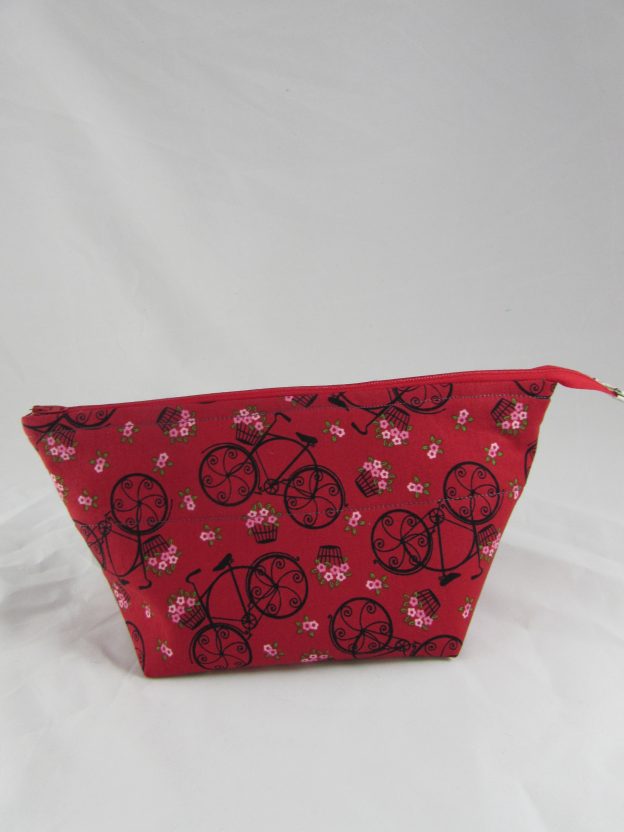
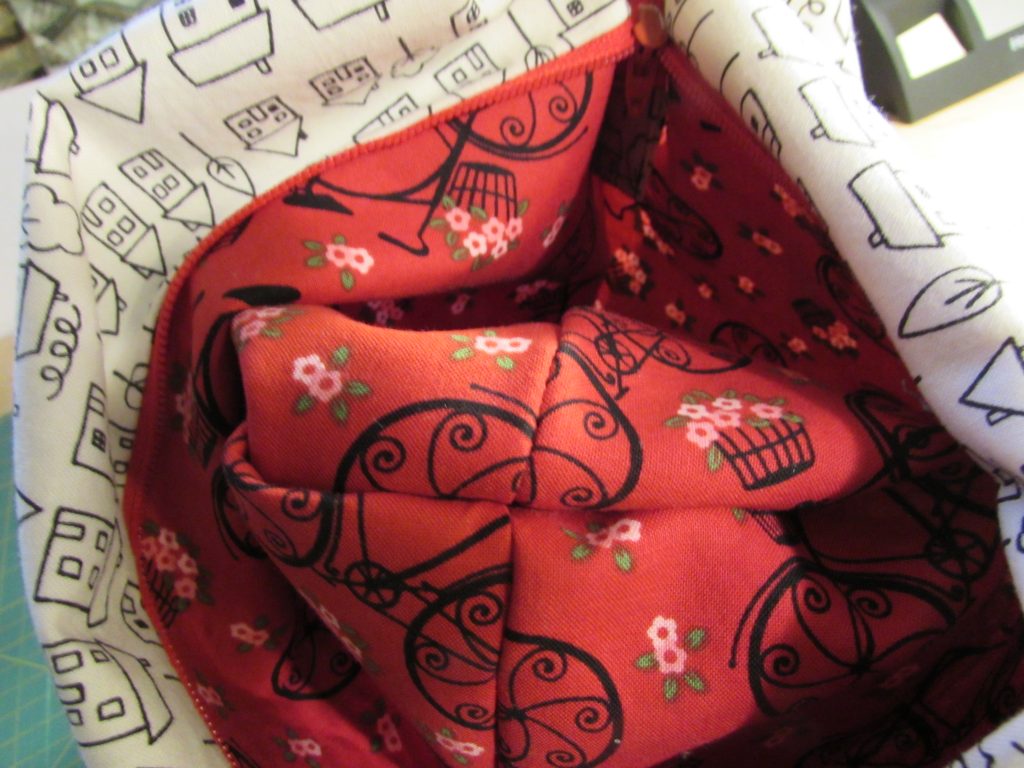
You know I had to do it, right? This morning I made a third Open Wide pouch. I wanted to test out the ideas I laid out in yesterday’s post. Guess what? The worked out quite well (if I do say so myself).  For this pouch, I made the medium size again, with the pouch finishing at 6.5 x 6 inches.

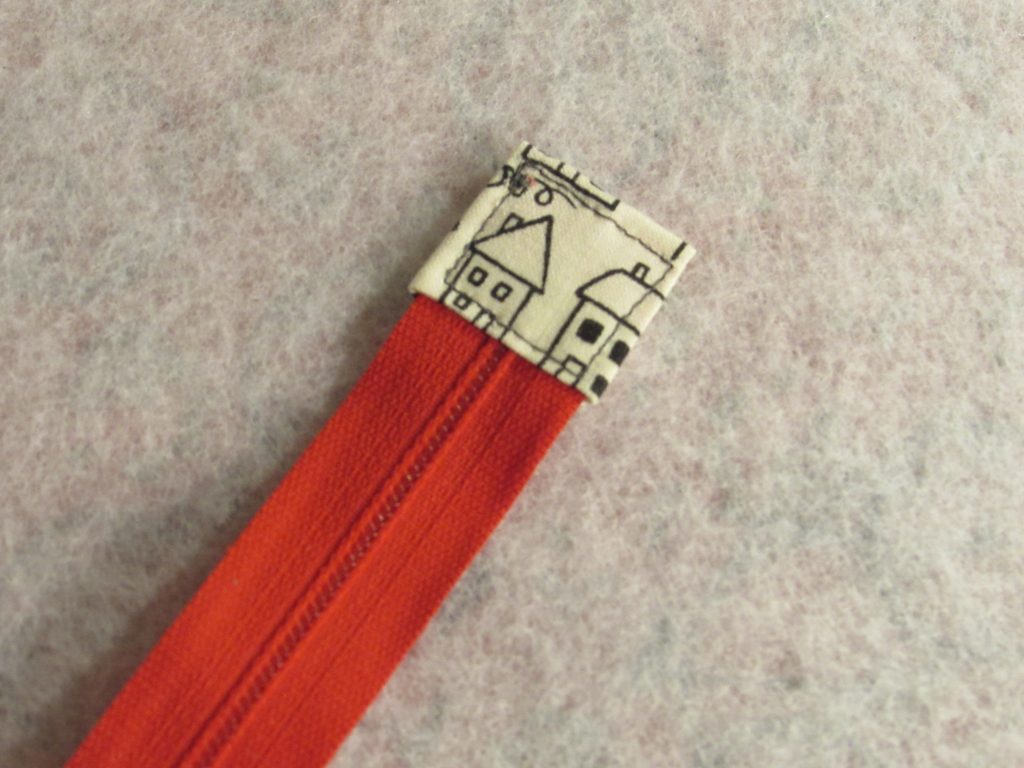
The first change I made was to finish the end of the zipper prior to stitching it to the fabric. So much easier! Sewing this little 2×3 inch rectangle of fabric was much simpler without having the little pouch dragging around while I manipulated the zipper under the presser foot of the machine. Score!

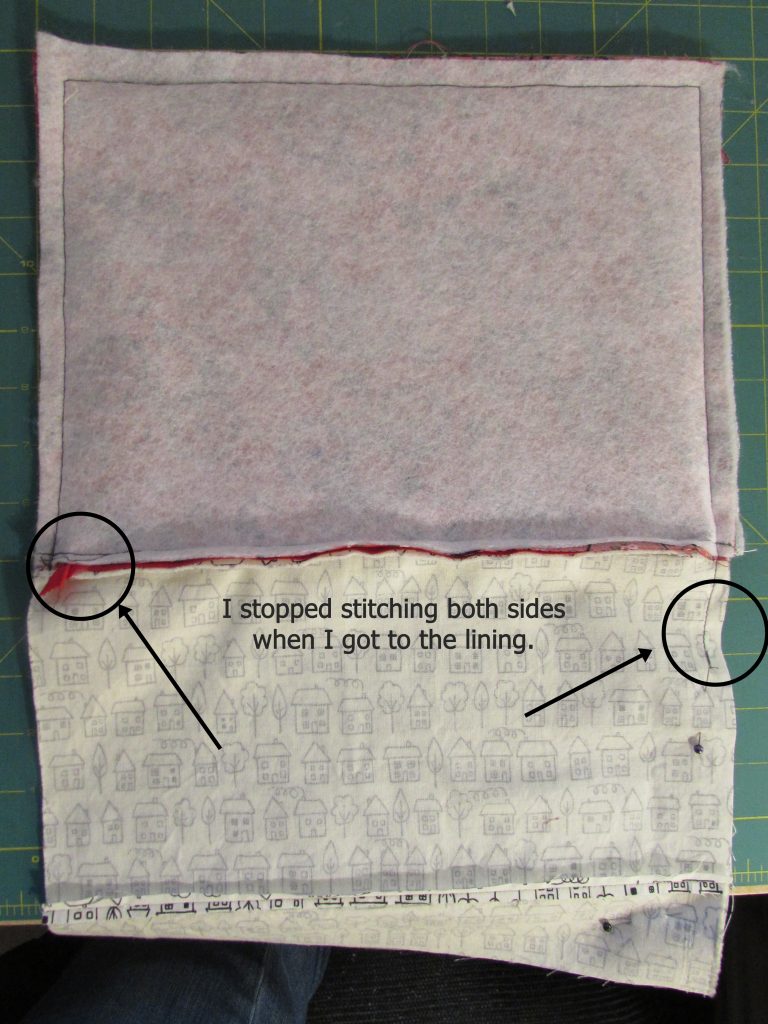
The second change was to leave the lining open, or unstitched, while I boxed the corners of the outer fabric.  Again, much easier.

I had everything pinned together as normal and started on one side, by the zipper. I continued up the edge, across the width of the bag and down the other side until I was back at the lining fabric.  Then I was able to box the corners and could peek inside to see that the seams were lined up properly.

Once I had the two outer corners boxed, I finished sewing the lining together. I left the usual opening at the bottom of the lining and then boxed those two corners. Bingo. It worked just fine.

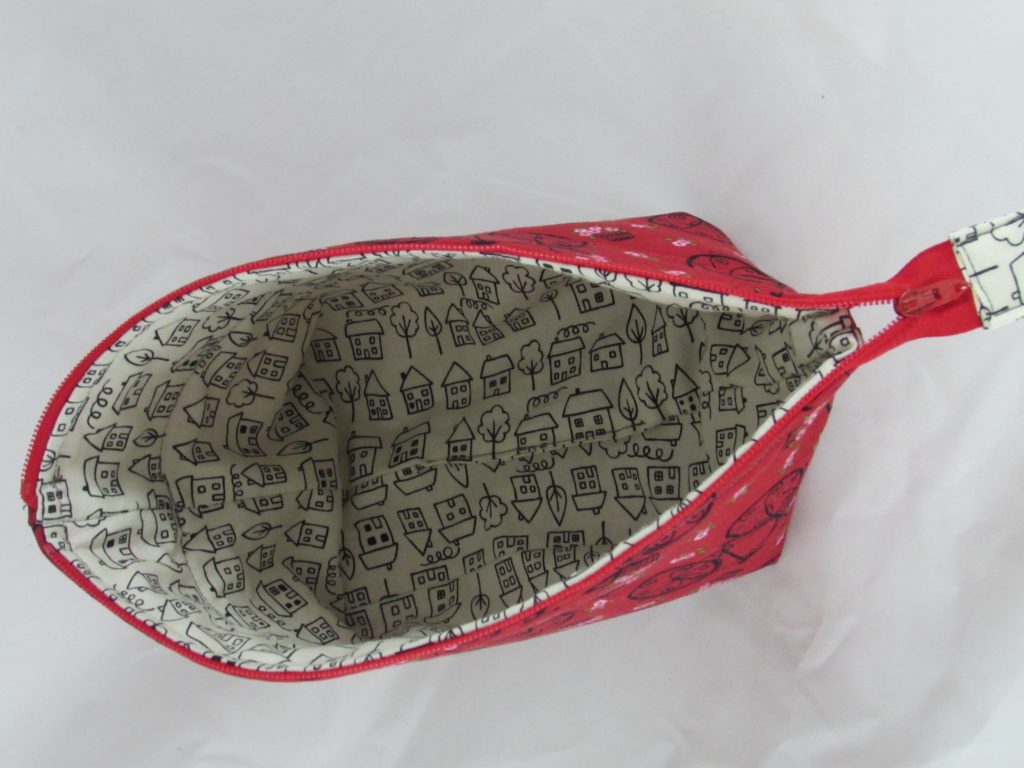
I forget what this fabric is even from, but isn’t it sweet. I love these little houses. I wish I had another piece, but I don’t…. such is life. 🙂 I think it is adorable with the sweet bicycles on the outer fabric.
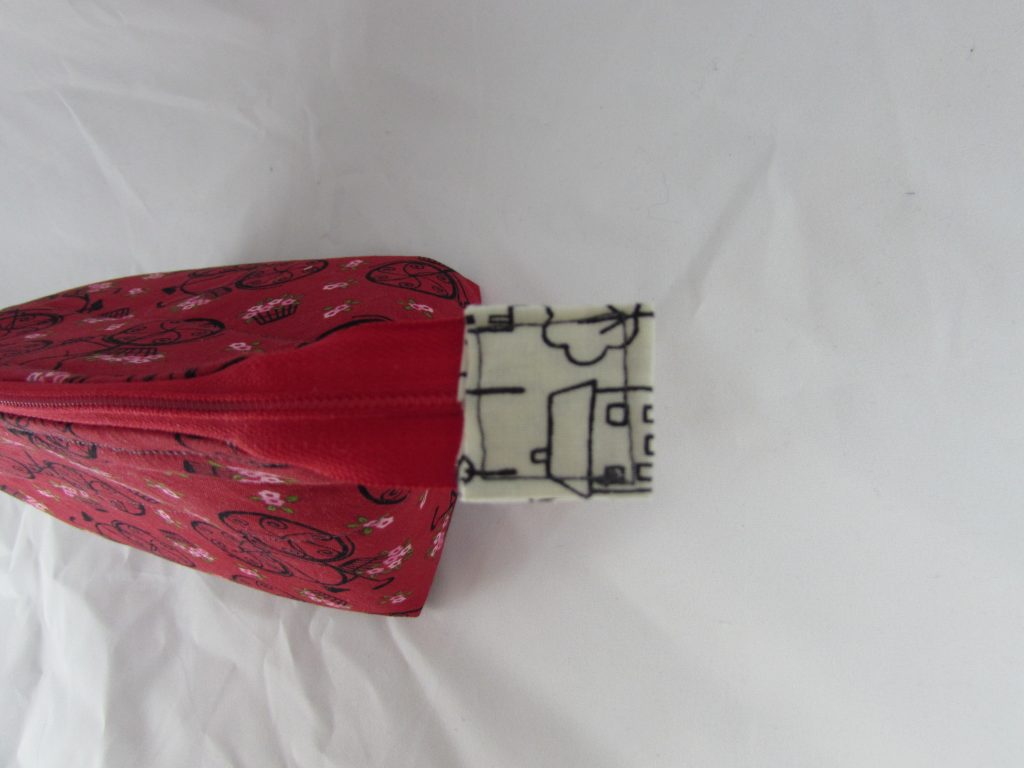
Here is the finished tab once the bag was assembled.

While it isn’t perfect, it is much better than the first two attempts. Yep, practice certainly makes better. I think three pouches is enough. I need to move on to something else now.

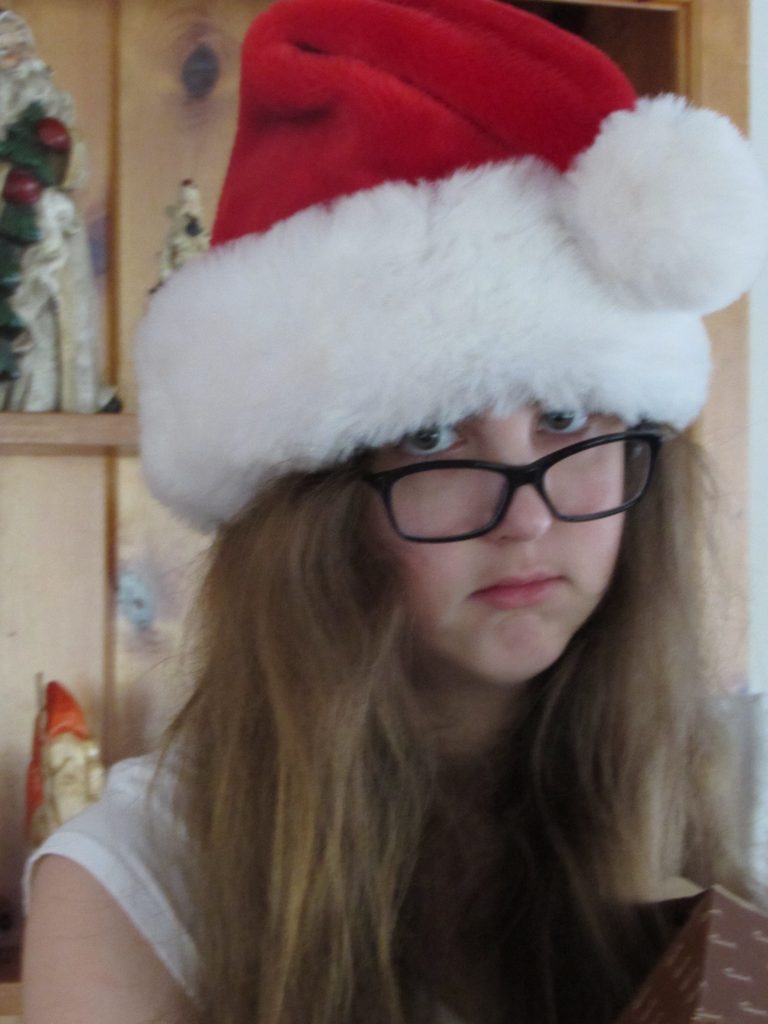
But I want to share two more things before I finish up.  First is this silly picture of Julia. I love this picture. I think is is reminiscent of a grumpy Mrs. Claus the way she is peering at me above her glasses and the Santa hat is pulled down so low.  I think I took this when we were decorating the house for the holidays a couple of years ago. It makes me smile every time.

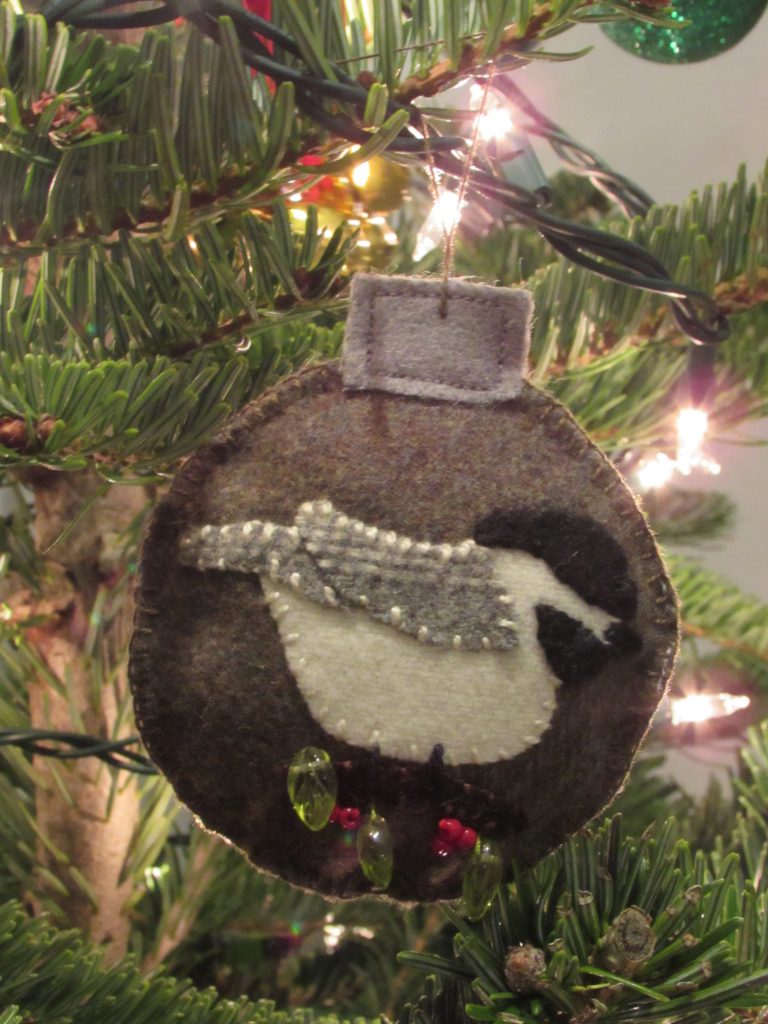
The next thing is the little wool Christmas ornament I made. I bought the kit when I was in Maine over the summer. It is really adorable. Nothing terribly difficult about it but I enjoyed making it. I like the little beads that were included with the kit. They are just the perfect amount of bling. 🙂

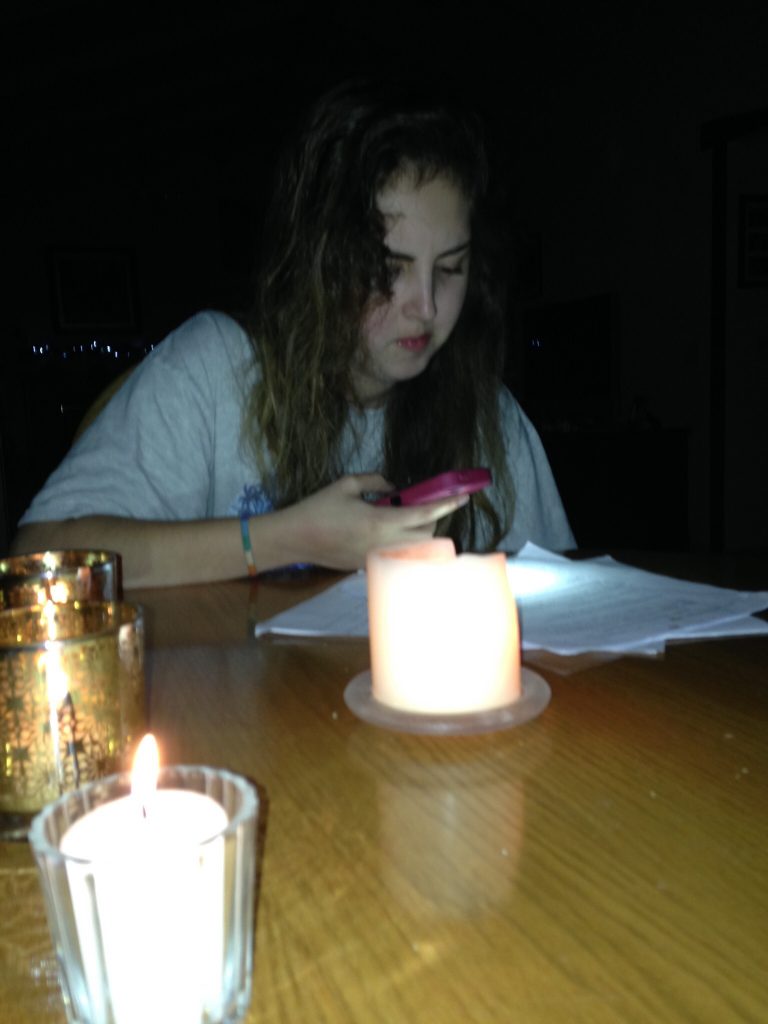
Ok, that’s enough for now! I have a pile of gifts to be wrapped so I had better get busy with them. Oh wait… I have one more thing.  Yesterday the power went out and it was a pain.  I had cookies in the oven baking, raw cookies on the counter waiting for their turn.  Julia ended up studying for her Chemistry final by candlelight and the flashlight on her phone.  It was only 4:30 in the afternoon but it was so gloomy out that the house was dark (and we have huge windows in this part of the house!)  Luckily it was only out for a couple of hours.

Julia finished her finals today (I am going to brag and tell you she got a 94% on that Chemistry final.) It is officially Christmas break. I am not sure if I will post much over the holidays but please know that I wish everyone a wonderful Holiday season, whichever way you and your family celebrates.

Linking to Crazy Mom Quilts.

Holiday Scrappy Project

Thanksgiving was a wonderful day for our family. I hope it was the same for yours.  There is much to be grateful for, not the least of which is our on-line quilting community.  Now there will be the transition into the Christmas holiday season. I am hoping I can convince Ray to put up our outdoor lights this weekend. I think, of all the holiday decorations, the outdoor lights are my favorite. I like to get them up as early as possible so we can enjoy them for as long as possible.

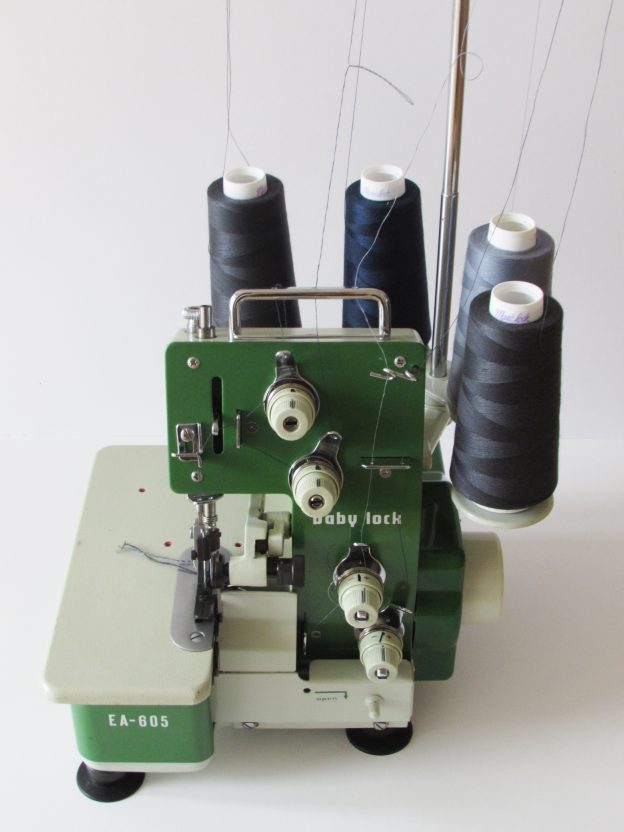
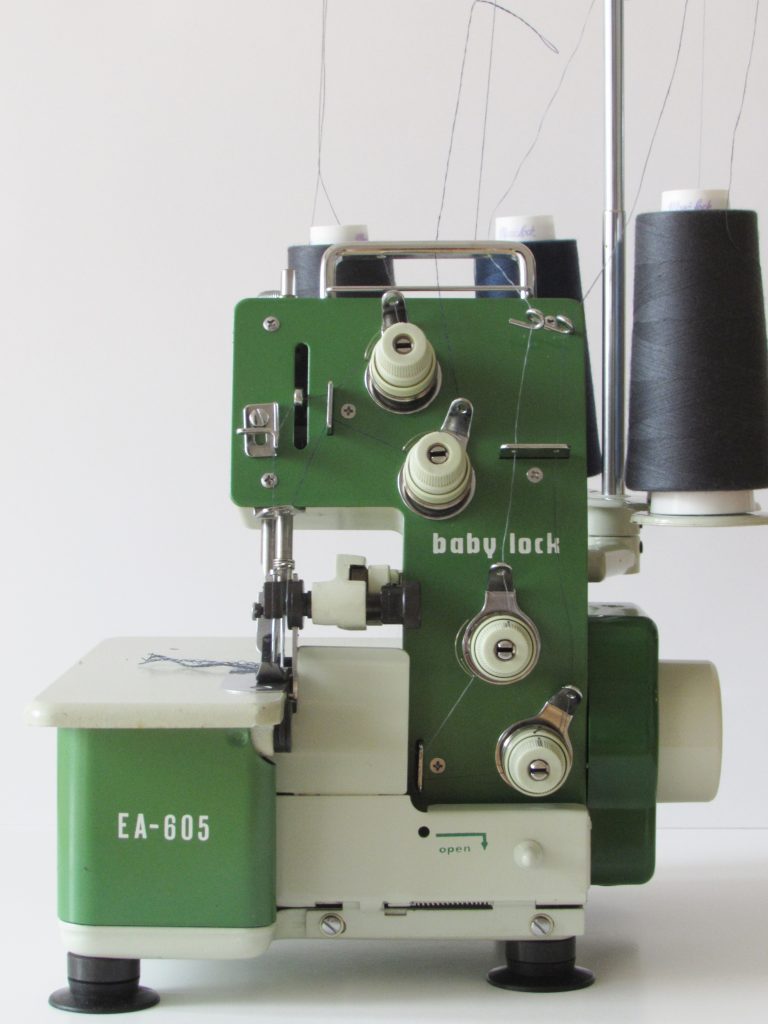
I have a new toy to share with you! The back story is that my father-in-law shares my love of thrift stores. We both enjoy the hunt as one never really knows what might be found on any given day. In October, my father-in-law called me and said he was at a thrift store and was looking at a sewing machine. He said he didn’t really know what it did but it looked interesting and was in great shape. I asked a few questions and figured out it was a vintage Baby Lock EA-605 serger. I think the model was made in the late 1970’s. It is a heavy little guy, being made of metal rather than plastic. When he said the machine was priced at $25, I asked him to grab it for me. He brought it over a few weeks ago when we were celebrating my birthday. (This was a mighty fine quilty birthday!)

img_8129

Actually, the serger won’t be used for quilting. In case you aren’t familiar, sergers are used to create a finished seam. There is a blade and four lines of thread. There are threads entering from above and below, though there is no bobbin. As the seam is created, the blade trims the excess fabric close to the finished edge. It is oh-so-cool! Having never used one, I signed up for a basic serger class at a little fabric shop in town. That helped me figure out some of the basics but there is still much to be learned. This particular machine is designed for woven fabrics, not knit fabrics. However my serger class instructor thinks I might be able to get a decent result with knits, so I will have to give it a try.

Because the machine needed a few adjustments I took it to our local sewing repair genius. Deby was able to clean and adjust everything and it runs so smoothly now.

img_8128

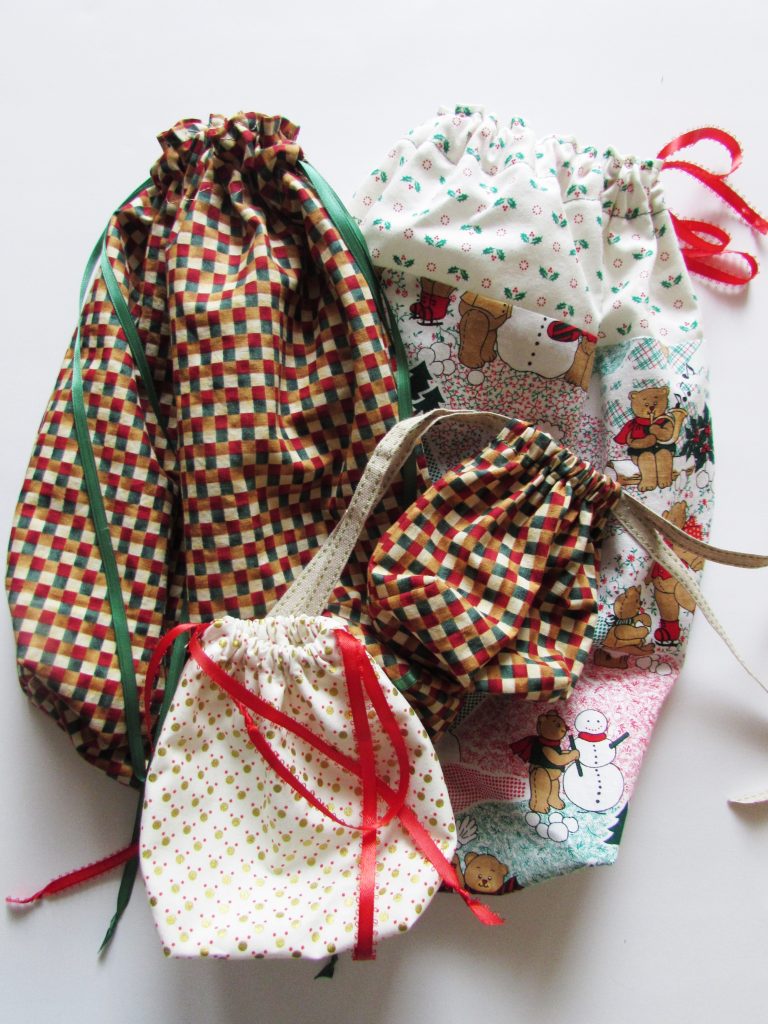
I wanted to practice on something simple so I made some Christmas themed drawstring bags. I have made a few each year for the past two years and have quite a collection now. I love not having as much paper to throw out come Christmas morning. I had a stack of vintage Christmas fabrics to use as well as loads of ribbon for the drawstrings.

img_8123

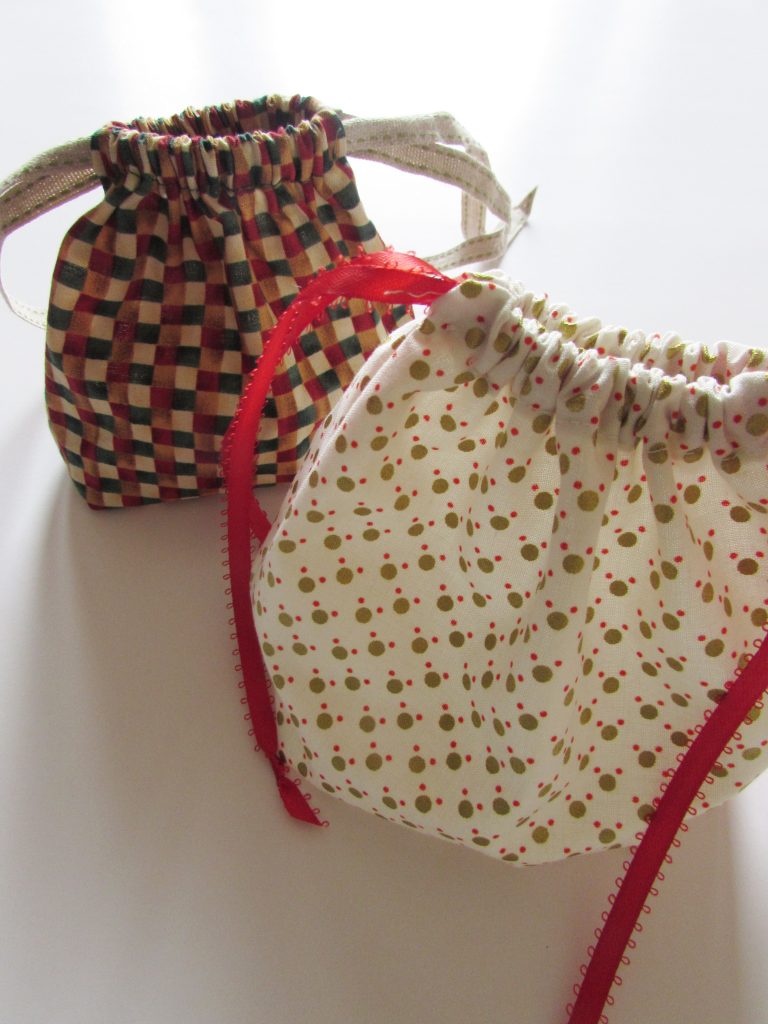
I think the tiny ones are just adorable.

img_8126

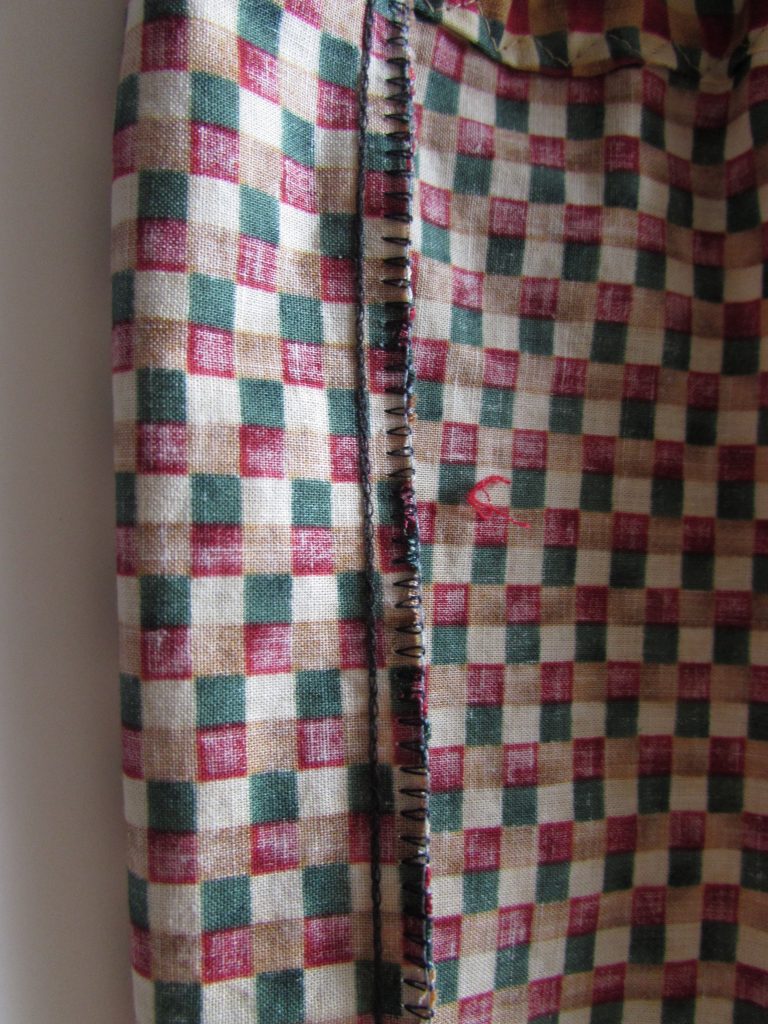
I turned this one inside out to show you the finished seam from the serger. I didn’t use the serger for the casing that the ribbons threads through. I switched over to the regular machine for that. Check out the clean finish on that seam. So great! I will practice a bit more and then try something simple like pajama pants.

If by chance you also have a serger, I would love to hear about any resources, blogs or uTube videos you might have found helpful for learning to use a serger.  Leave details in the comments.


craftsy-black-friday

Finally – Craftsy has gone all out for Black Friday this year. Beginning on Thursday, 11/24/16 classes are $17.99 each. Fabric and notions are all on sale as well. I am quite curious about the Boundless line of solids. I took a look and the prices are amazing. Solids, in a rainbow of thirty different colors, are available in pre-cuts such as layer cakes and jelly rolls, as well as yardage.

This is an affiliate link, meaning if you make a purchase after clicking over from my blog, I will receive a stipend.

I am linking up with a few favorites this week, including the Elm Street Quilts ‘Bag It’ event. Find out all about them at the top of the page, under Link Ups.

A Weekly Update

This week I have continued to work on the challenges set forth in Amanda Jean Nyberg’s lesson for the Mighty Lucky Quilting Club.  She suggested a few ideas for creating fabric pulls; not so much to create an actual project, rather just to go through the exercise of gathering fabrics for a certain element. This has been a lot of fun, not as easy as one would think, and a total mess making experience in the sewing room!

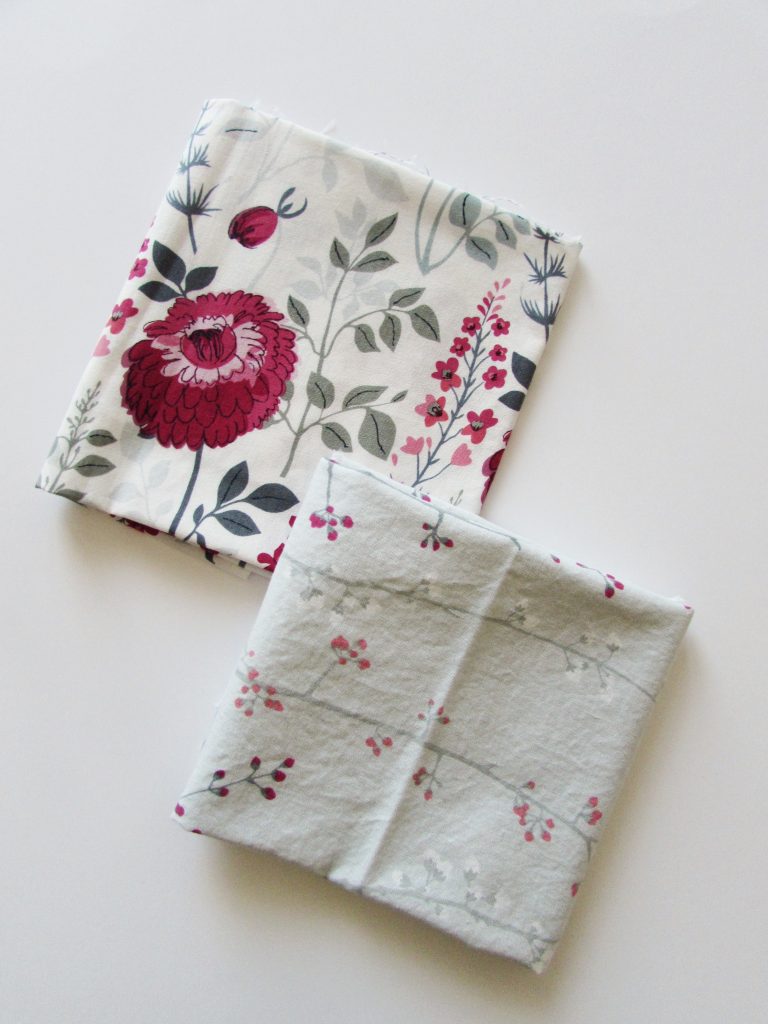
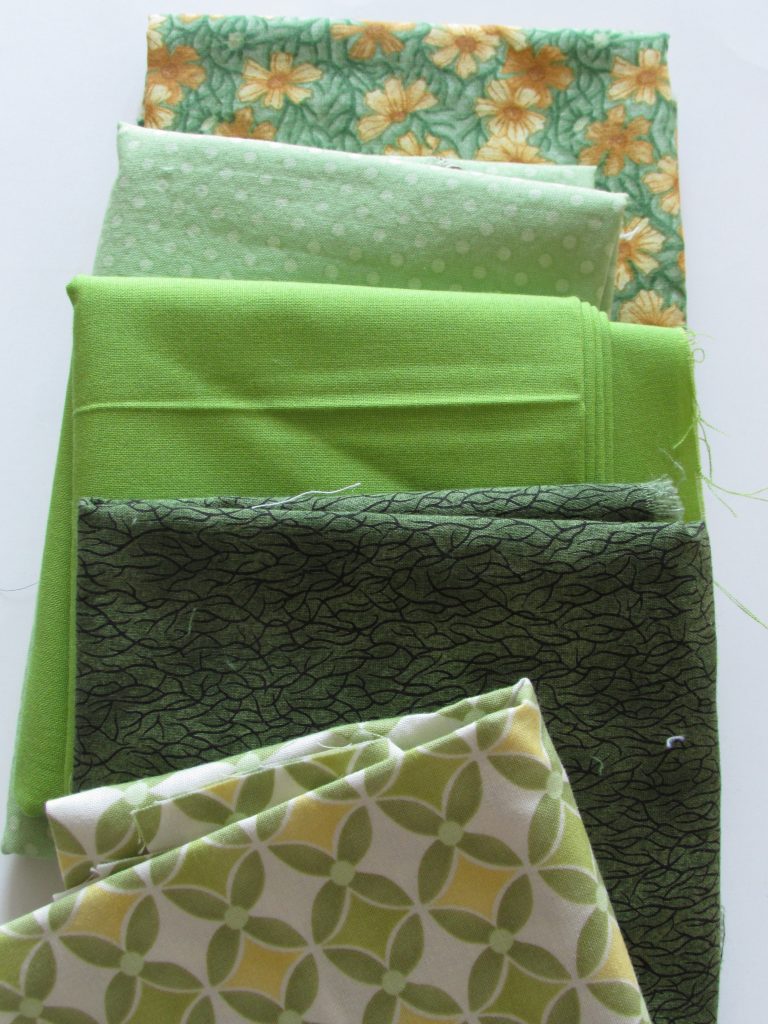
For one pull, I selected two pieces of fabric and pulled a selection that would work with them. This is the fabric I selected as the basis.

img_8038

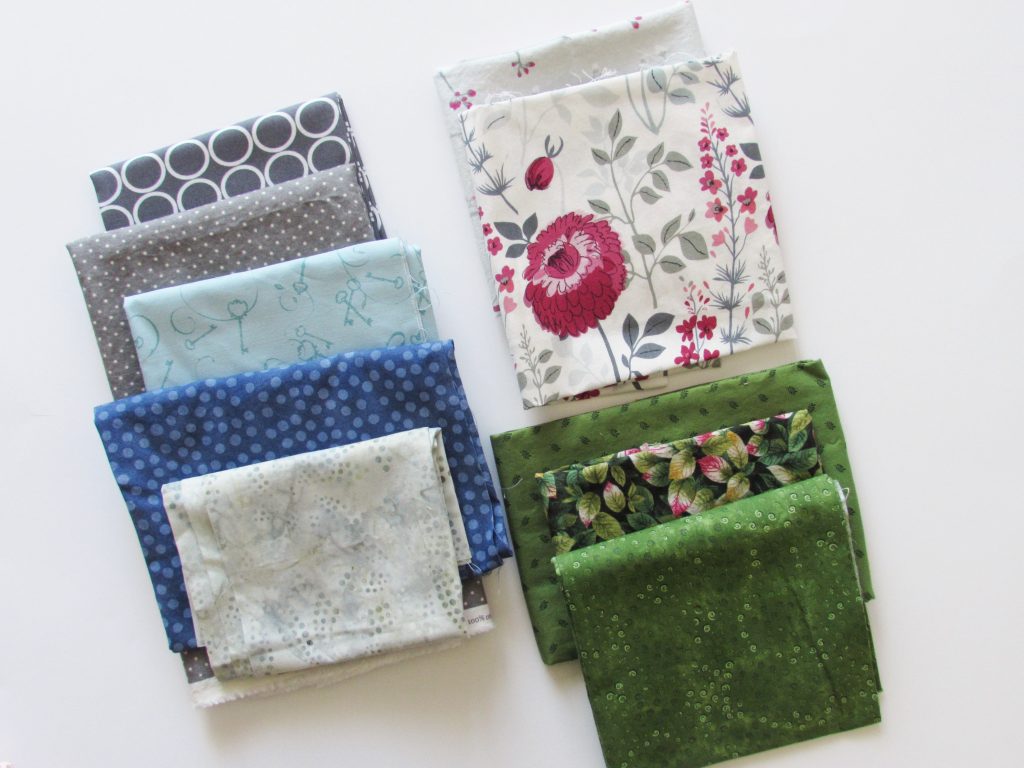
Both of these fat quarters are Dear Stella prints. I bought them a long while back and they sit, along with so many others, waiting to be used. For the initial pull, I just quickly selected pieces of yardage or larger scraps  in grays, blues and greens that might work with them.

img_8039

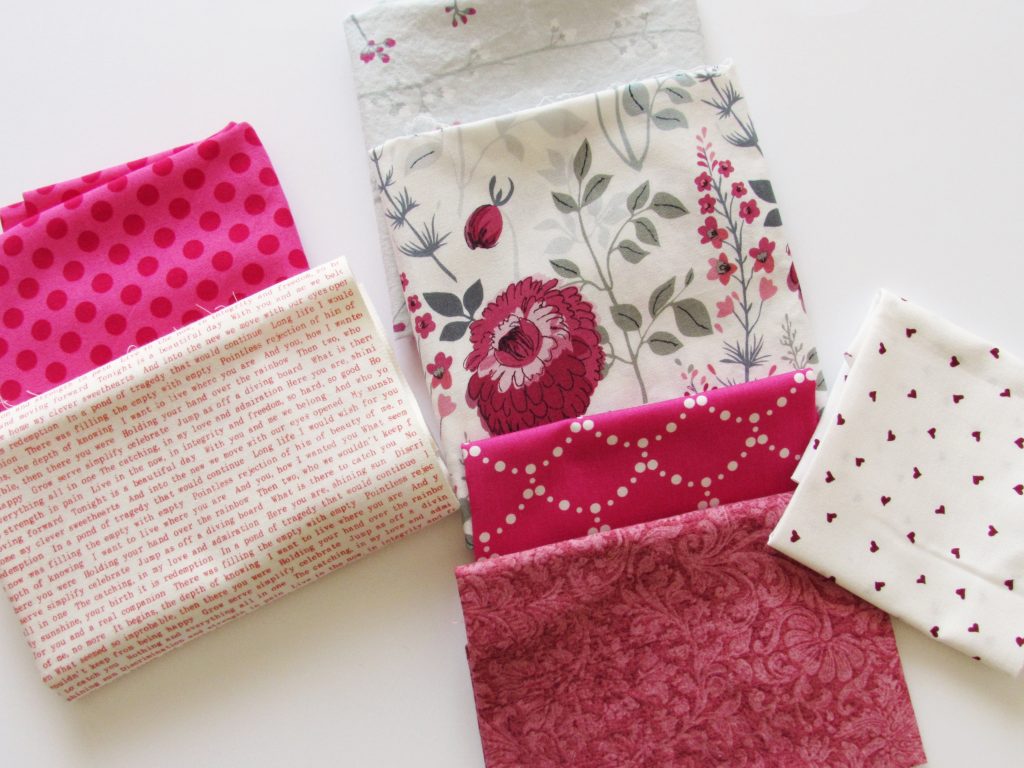
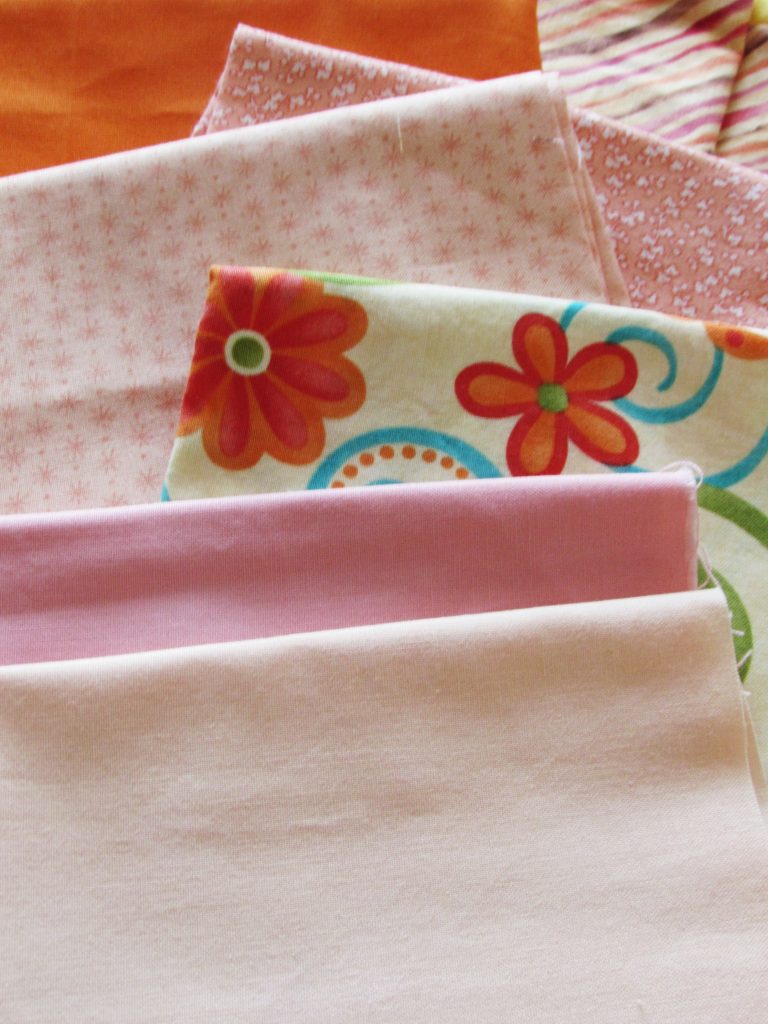
Next, I pulled some pinks and reds that complemented the fabric and added different scale and density to the mix.

img_8040

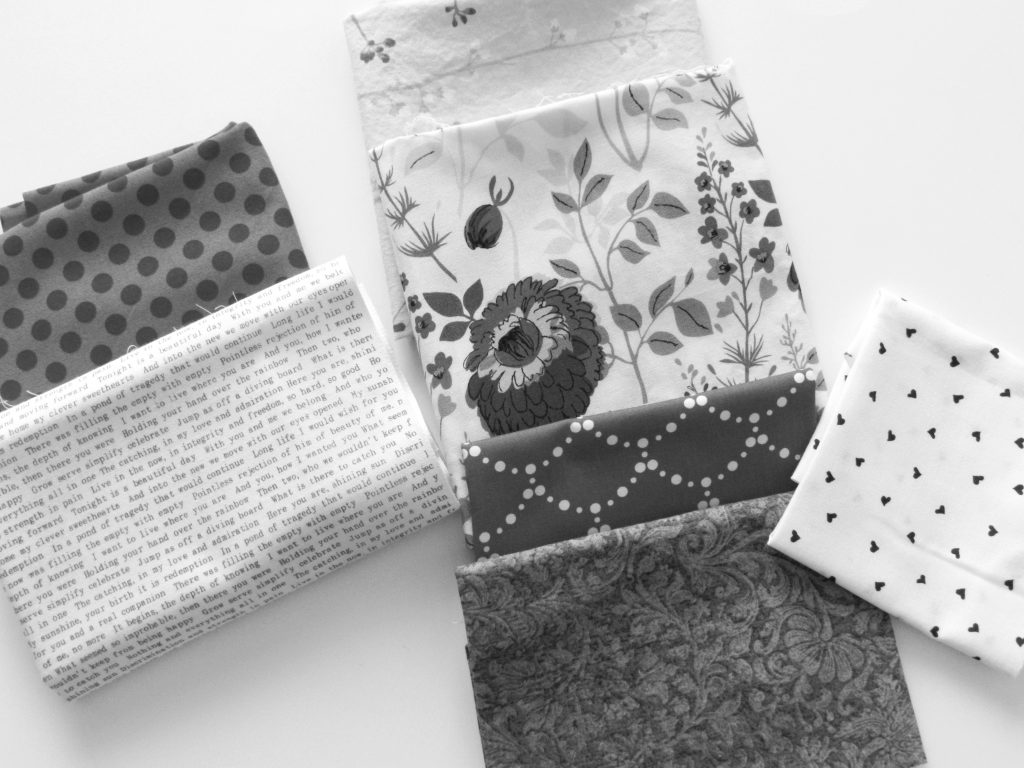
I also took a quick minute to put a grayscale filter on the pictures to check for value differences.

img_8040-grayscale

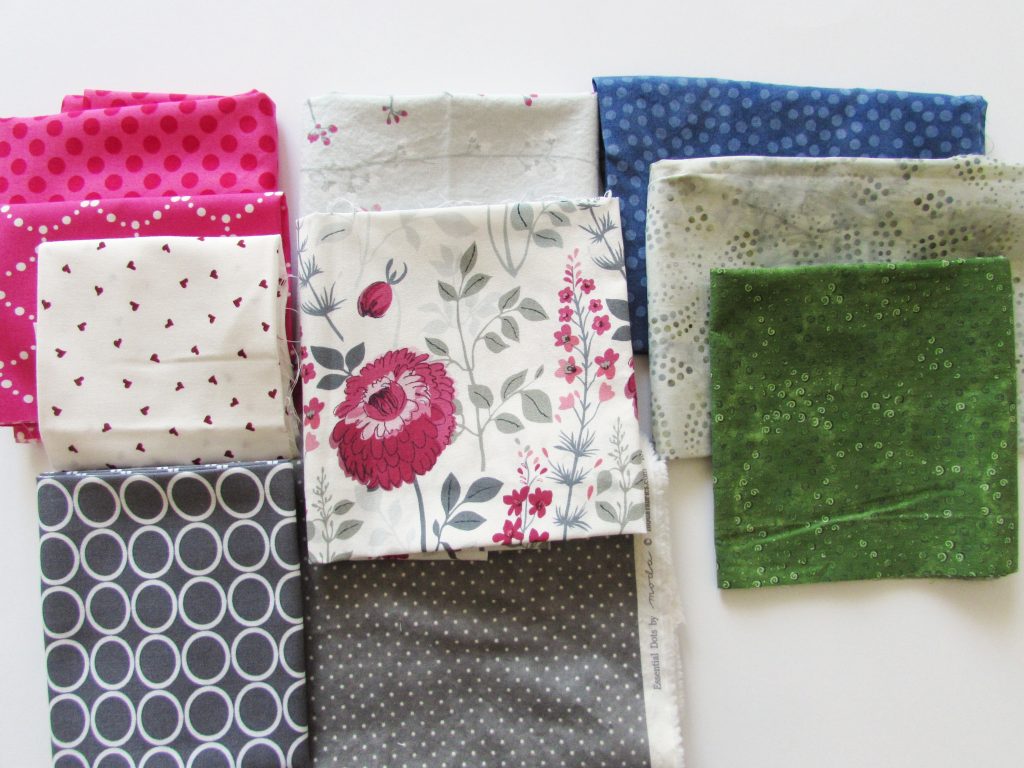
Finally I just put them all together and took out those that were misfits. The Allison Glass text print was a red that leaned to orange. I wanted reds that leaned to pink.  The green floral print looked weird and the Henry Glass light blue print (with the keys on it) was the wrong shade. Ultimately, I kept these in the group.

img_8041

This would be a fun pull for a project, right?

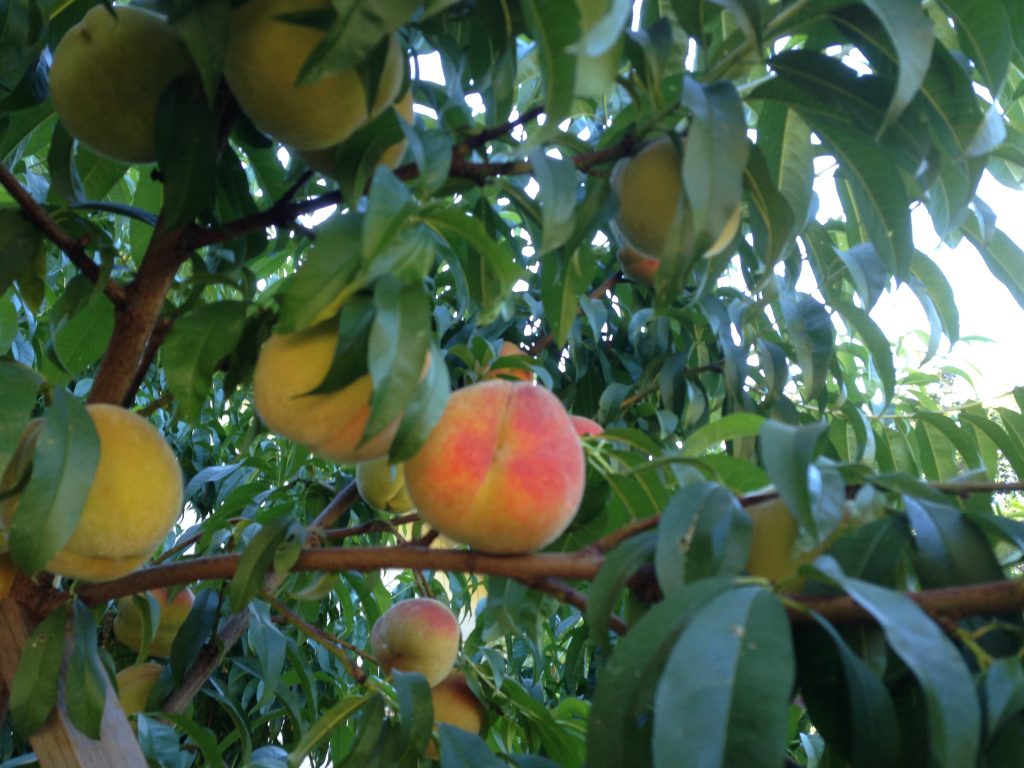
Another idea from Amanda was to take a pretty photograph and develop a pull around it. I chose this picture from our peach tree last summer because there are a limited number of colors in it.

img_3620

I thought it would be a good challenge to work out a grouping with greens and orange to peachy tones. Here is the first pull.

img_8082

Working quickly, so as not to overthink it, I removed both the brightest green and the green/yellow check – both shades were wrong. That left this set of five greens.

img_8086

Next I pulled the from the orange, yellow and peach grouping, leaving these.

img_8085

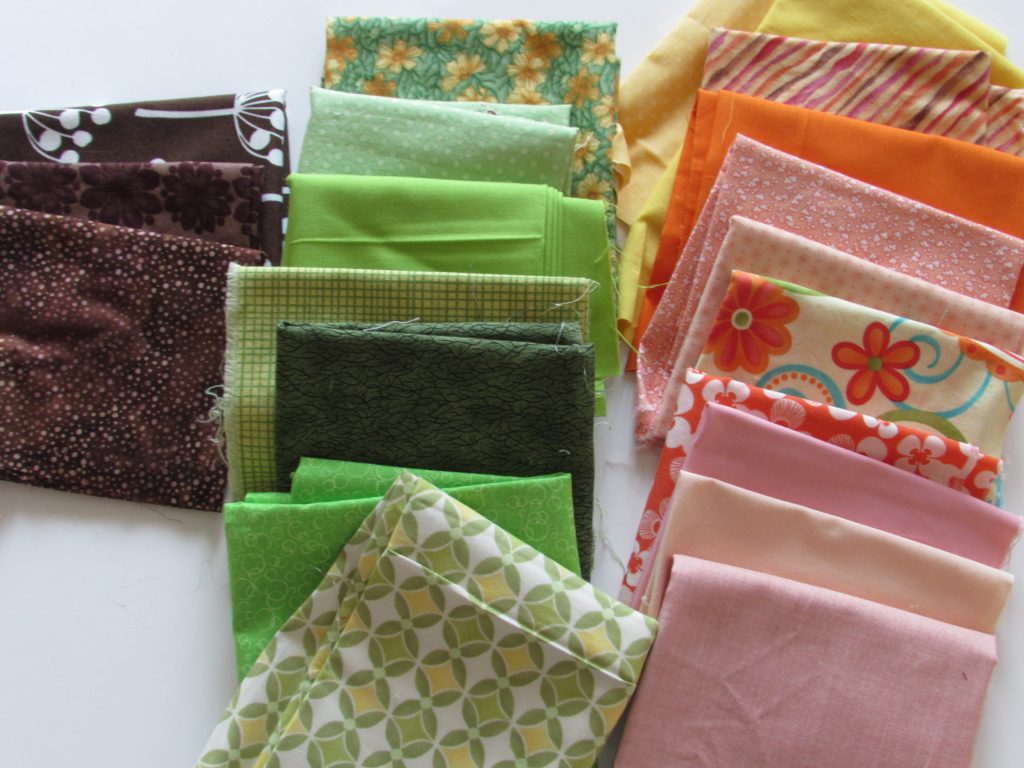
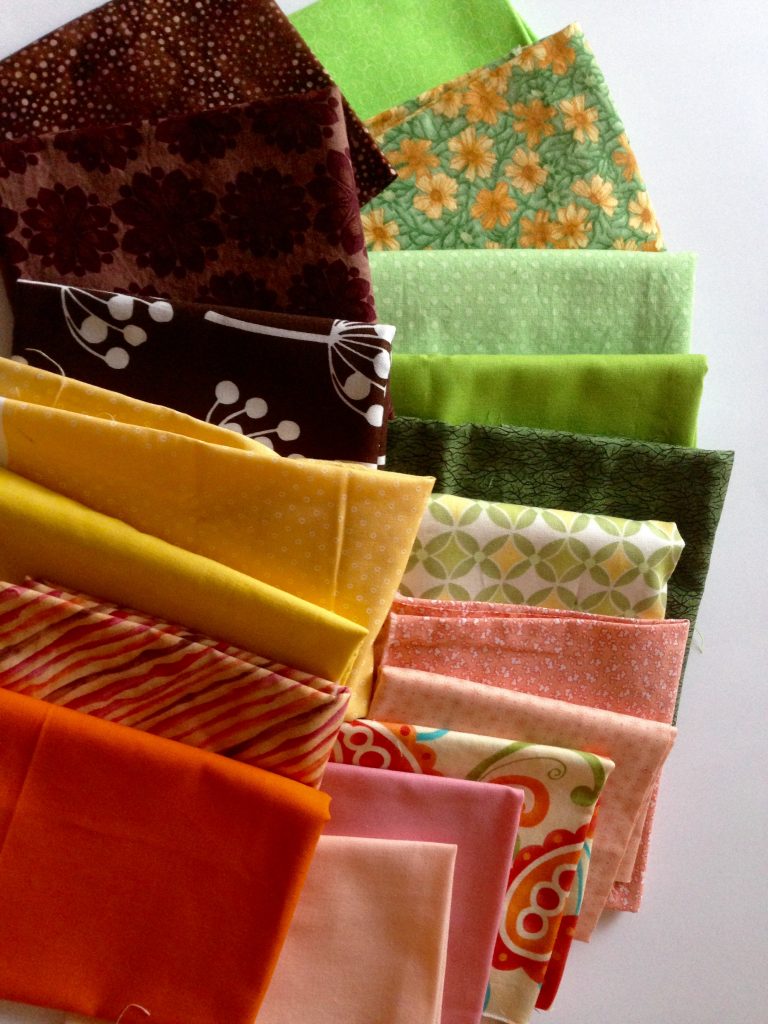
All three of the brown fabrics were kept, making this the final pull.

fullsizerender

This is a good pull of cohesive color, different values and large to small scale fabrics. It was very easy to sort through, leaving me convinced that it just takes practice. I doubt myself when I am putting colors together but these little exercises have really been helpful. I think the second pull is more interesting than the first. What could be added to the first one to make it more exciting??

Playtime is over and I forced myself to put all of these pieces back where they belong and get back to the sewing machine. It was fun though and an easy task to do while I endured a wicked cold that Julia so lovingly shared with her mama.

the-gratitude-sale

A few more quick things… I want to share what I think is a really cool event that is coming up next week. Mari, of Academic Quilter is holding a Gratitude Sale. She has decided to do a huge destash (after recently moving, she unpacked her quilting stash and realized there are lots of pieces of fabric that she doesn’t want or need, as well as quilting books and notions). Rather than do a destash sale on IG, she wants to hold a “sale” where the buyer selects the items they are interested in, contributes to a charity and once Mari sees the receipt, she will ship off the fabric. I think this is hugely generous on Mari’s part. She has a list of three very deserving charities for you to choose from. She asks that the buyer pay for the shipping which won’t be terribly expensive with the use of the flat rate envelopes that the post office offers. If you think about it, purchasing fabric in this fashion has now made it a tax deductible event. It’s absolutely a win-win. Mari’s sewing room will be less chaotic, your stash will grow, charities will be supported, and you have another tax deduction come April 15th. I can’t find a problem in any of it! Check out Mari’s sale, running for the duration of next week! See you there. 🙂
img_1529

If you want an idea for any book lover on your Christmas list, I just read the sweetest book.

Provided to me for review by Blogging for Books, I read through this book in an enjoyable afternoon. Light and interesting, this book takes approximately 50 sayings from various cultures and explains them to the reader. Ella Sanders, the author of the book, does an excellent job of tying the phrases to a similar phrasing used in the English language. It was entertaining to get this small glimpse into other culture’s idioms and colloquialisms and gave me a bit of insight into what that culture values as important. She chose a collection of phrases and proverbs that are sometimes humorous and always very descriptive. Where possible,Sanders gives a bit of history around how the saying came to be. I think this is an excellent book to gift to a lover of language and vernacular. The illustrations are adorable and the brevity of each page (there is a different colloquialism on each page) makes it a fun book for the coffee table.

Another book I just finished is The Girl on the Train, by Paula Hawkins.  I picked up a copy at the thrift store and it grabbed me from the very beginning. Have you read this? It was a thriller that is along the lines of Gone Girl. Crazy good and on the dark side, this was a gripping read. Just a suggestion if you are in need of a suspenseful, somewhat twisted, read. It has been made into a movie which was just released. I haven’t seen it yet though.

Linking to Lorna at Let’s Bee Social today as well as a few others. Find the URL’s at the top of the page, under Link Ups.

It’s All About Color

That’s the truth, right? If the colors don’t work, the quilt doesn’t work. This has happened to me more than I like to think about. Color doesn’t just happen. So, this month’s Might Lucky Quilting Club challenge resonated with me. Taught by Amanda Jean Nyberg of Crazy Mom Quilts (which I know you already knew!) the lesson is all about color, scale and value. At the risk of repeating myself, I have great admiration for Amanda’s sense of color, her use of every.single.scrap of fabric  and her down to earth style of communicating. Her blog is one of the first that sucked me into this awesome on-line community.

I joined the Might Lucky club in January and I will be honest with you. I am not thrilled with it. I was hoping the monthly lessons would speak to me – some did, but most? Not so much, until this month. This month Amanda explains selecting colors, working with value and scale, and making the quilt more interesting. It made sense to me. I am only beginning to play with her ideas.

I have a huge collection of charm squares. Some I have purchased, some were cut from my scraps, and some have been won in giveaways. One collection that I have been holding on to is the Michael Miller Gem Tones pack. I received this one for free from Alyssa at Pile O’ Fabric. Last year, over Thanksgiving weekend, Alyssa had a huge Black Friday sale. I ordered a number of basics from her. Somehow her inventory was off and there were a number of items I ordered that she couldn’t ship to me. (She was also hugely pregnant at the time and having a tough pregnancy – just to further explain.) She kindly refunded my money on the items that were not available and then threw in this charm pack – which was above and beyond, right? I liked the colors in it, mostly deep jewel tones with the addition of some orange and brown. It was quite bold. But there were thirty charms total and I had only one pack.
Reading Amanda’s lesson, I decided to start pulling from my other charm squares and build out the collection.

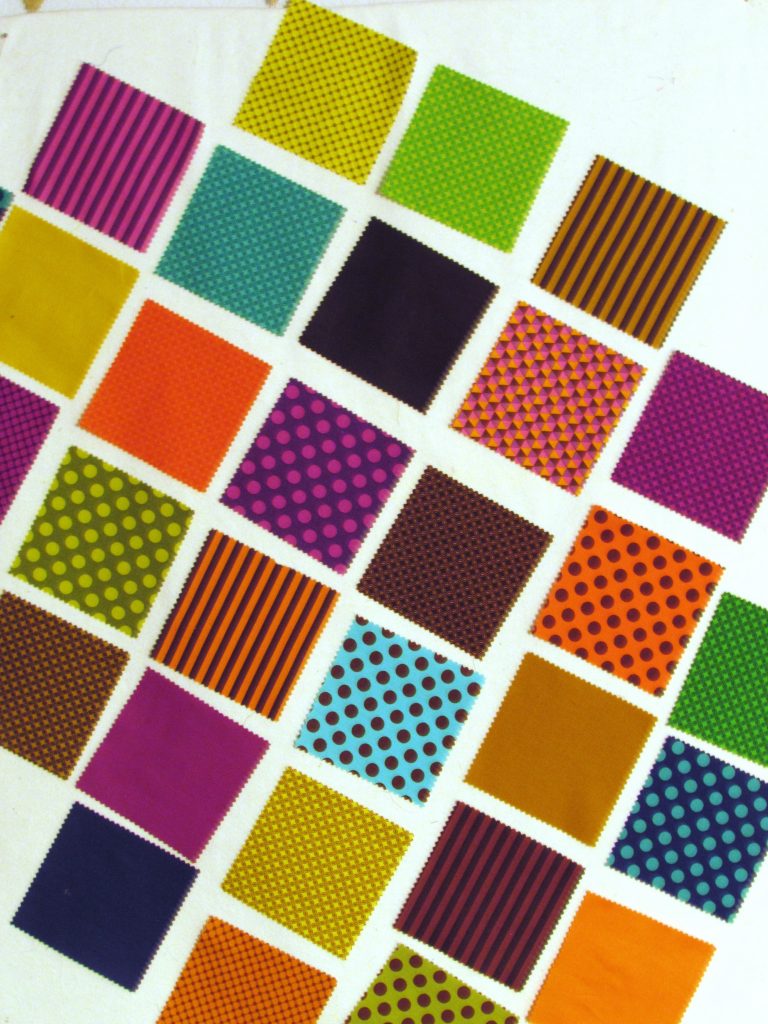
img_7992Above is the original set of charms. I apologize – this photo is blurred and I didn’t see that until it was too late. Whoops. It is a nice set – good colors, but all seem similar in value (light vs medium vs dark) I pulled all sorts of other charms to see what else I could add in.

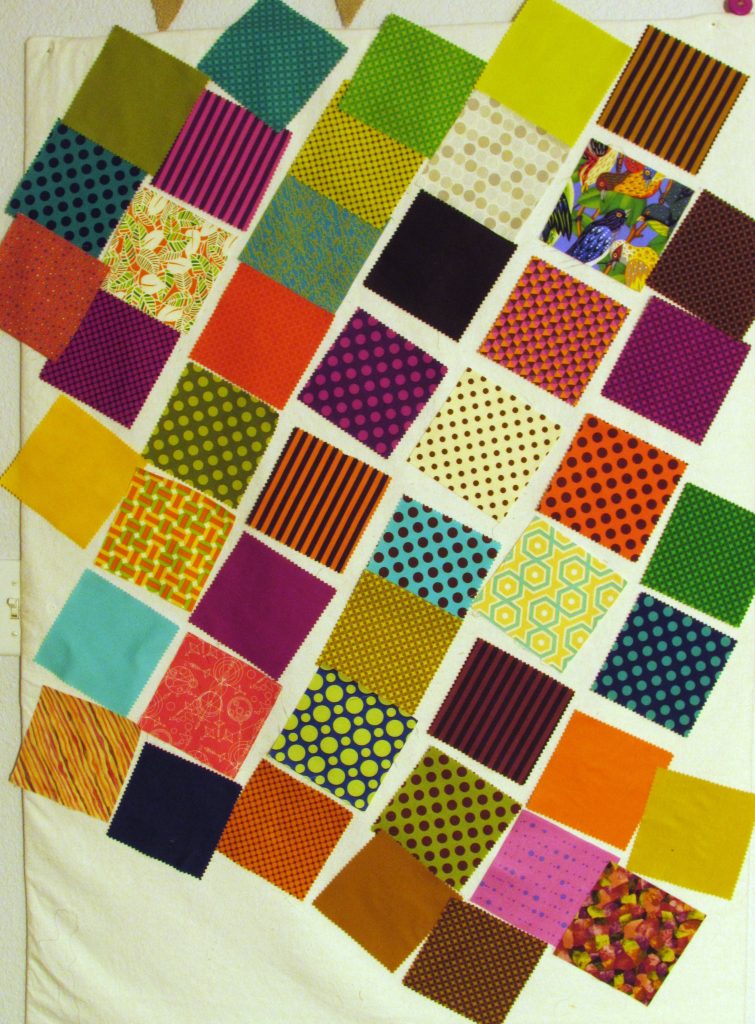
img_7993

Some of these worked and some (most) did not. But when I added the two lighter dotted fabrics (center and upper right) I saw that it would help to add a lighter set of charms to brighten the darker Gem Tones kit. I took out most of the squares I had tried, leaving some of the solids and just a few prints. Then I cut a pile of charms from a Kona cream color that I had leftover from my Harmony quilt top.


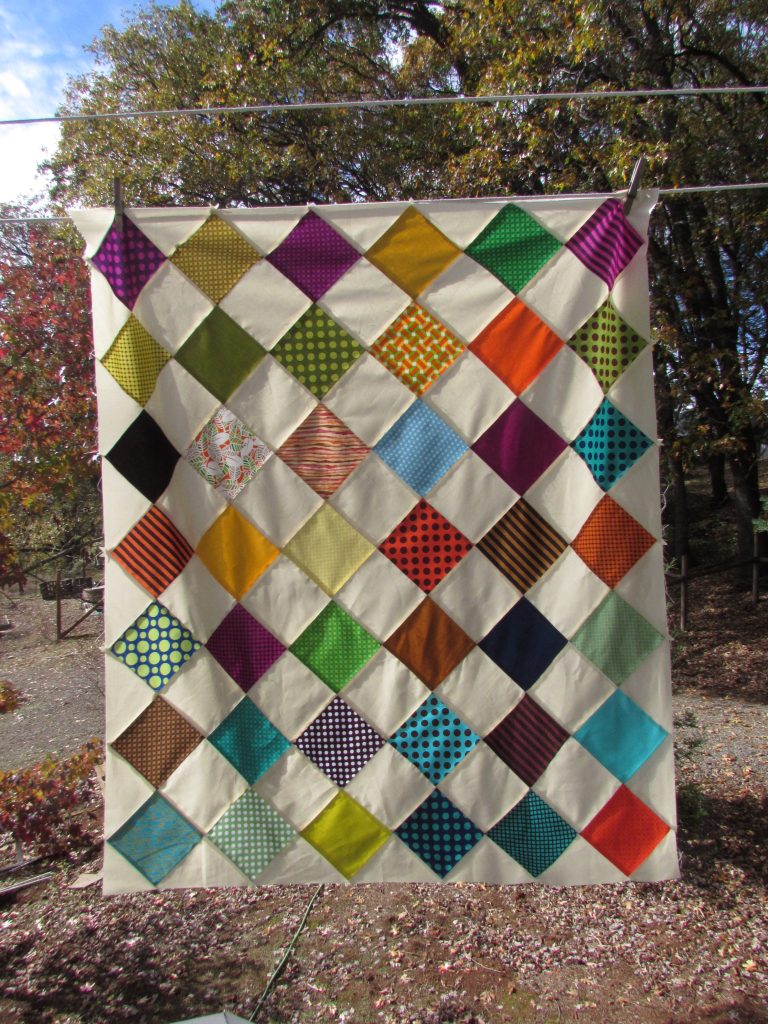
img_8013

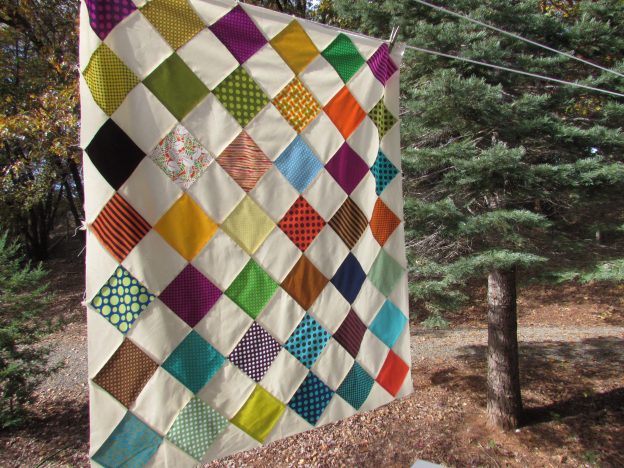
This worked well. It makes each of the charms stand on their own and the colors seem to become more vibrant when not adjacent to each other. I love the simplicity of patchwork but thought it made things a bit more interesting to put the blocks on point.

img_8014-1

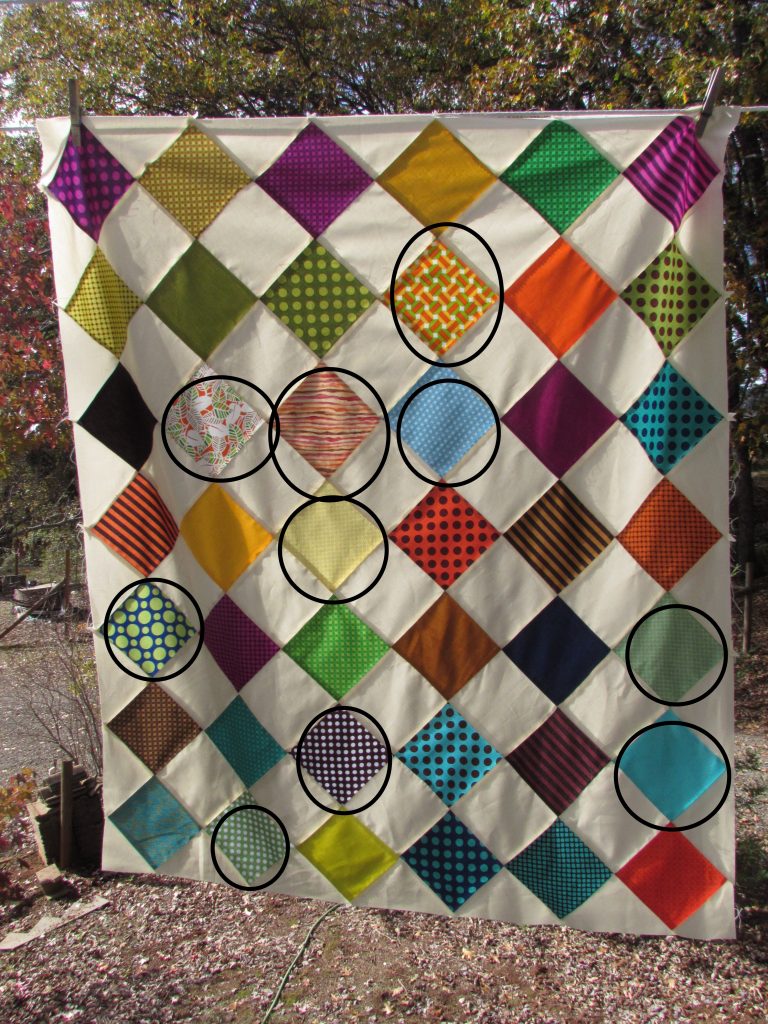
I circled some of the blocks that were added from my charms (that were not part of the original set. I think I succeeded in adding some lighter values and a few prints that changed the scale a bit. I love the look that resulted from playing with these charms. The quilt will be a gift for my niece who is expecting her third child in January. I want to get it finished up as I will see her over the Thanksgiving holiday.

This was a good exercise for me. Amanda’s lesson includes a few more ideas for curating fabric pulls. I would like to make some time to do those exercises (not necessarily even to create a quilt with – more for practice). It is a great way to learn and goodness knows, there is plenty of fabric in my sewing room to pull from. 🙂

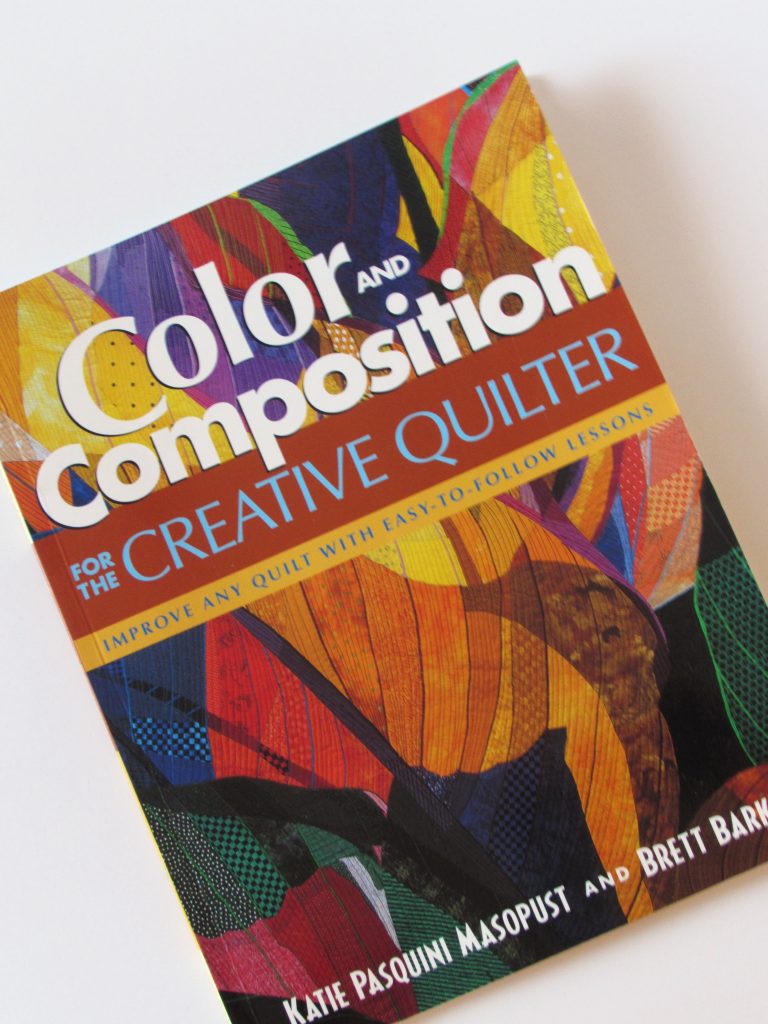
To the same end, I have been reading this book that I picked up for a dollar at the thrift store a couple of weeks ago. It is really an interesting explanation of right and left brain processing and how to encourage your artistic abilities.img_8026

Written in 2005, by Katie Pasquini Masopust and Brett Barker, this book has a series of lessons to help the reader understand color, perspective and value. The language they use is relatable (which so often isn’t the case for me). I think the right/left brain information is so interesting. They talk about the left brain being so controlling and the difficulty in turning off the negative self-talk that we constantly play in our minds as we quickly dismiss our abilities.  This is something we should all work on, right?

Color– it’s all about color for now. There is so much to learn and, thankfully, so many fun ways to put the learning into practice.

I am sharing this post by linking up with lots of fun places. Find them at the top of the page, under Link Ups.

Quilt Retreat and a Book Review

Remember two years ago when I went on a quilt retreat in Downieville and ended up buying a house? (You can read about that here.)  Well, this weekend was the Downieville quilt retreat for 2016. I had such a great time. When I was packing up and getting ready for the retreat, I was somewhat hesitant because I was not totally looking forward to the classes I signed up for. But that hesitance was all for naught. The weekend was wonderful and both classes so much fun.

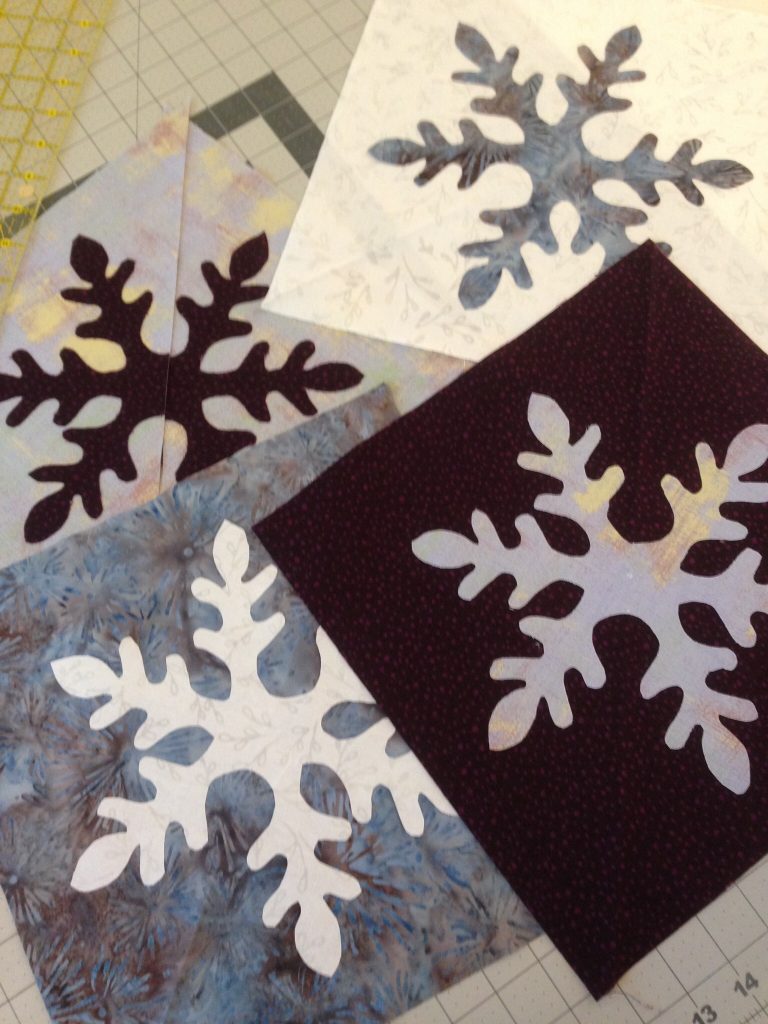
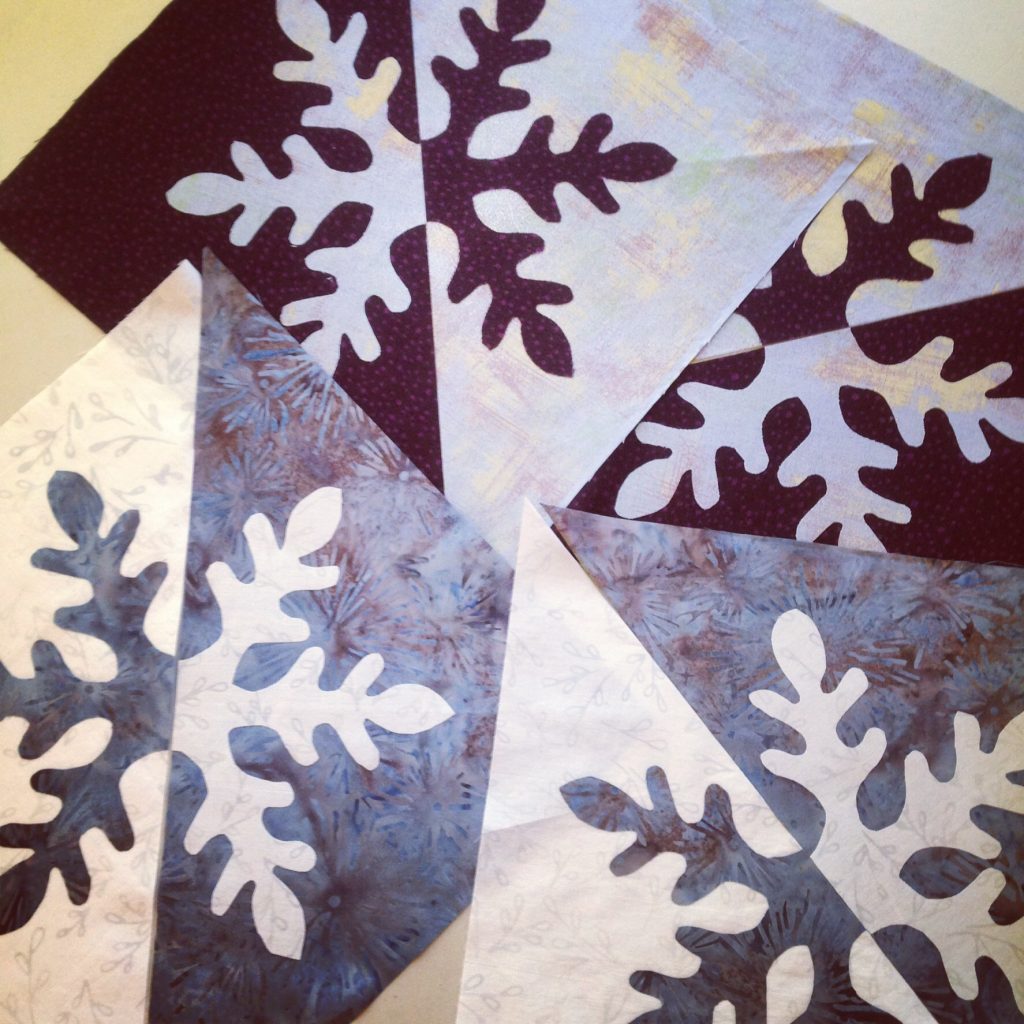
Friday I took a class called Reverse Applique. I thought that it was to be a class on traditional reverse applique where the shape is cut from the top fabric, edges are turned under and the second fabric applied underneath the first (showing through the shape that was cut.)  Nope, this class was really a basic applique class but the images were sliced up a bit and stitched back together to show a negative image against the positive. I chose to make a snowflake theme. (There were several to choose from.)  These are really pretty though.

img_1448

The process was the basic trace, fuse, and applique. However this was the first time I used a clear polymer thread. Yikes – that was a strange experience.  While my sewing machine was ok with it, my eyes were not!  It was so hard to see what I was doing. There were so many little curves to work around. Once I had them appliqued, we split each one in half and sewed the half triangle to its opposite.

img_1450

I am in the process of picking the stabilizer off the backs so I can square these and put them together. I think it will hang up at Downieville. The colors are nice for the living room.

img_1449

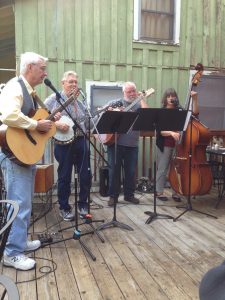
Friday night most of us met for dinner at the local Mexican restaurant. This is a tiny guild which makes for a small retreat. I like that though because it is easy to get to know the others. There was a string band playing music and we had dinner on the deck. Very relaxing.

Saturday’s class was a paper piecing project. This was the one I was nervous about. I have only paper pieced one block. While it wasn’t awful, it was tricky for me. Remember my lack of spatial perception? That comes heavily into play with paper piecing.

img_1451

But what luck. I had the best teacher! She was so patient and even offered to rip out my (numerous) mistakes for me. I didn’t let her do that of course, but it was sweet of her to offer. She patiently explained and explained the process to me and finally it clicked!

img_1452

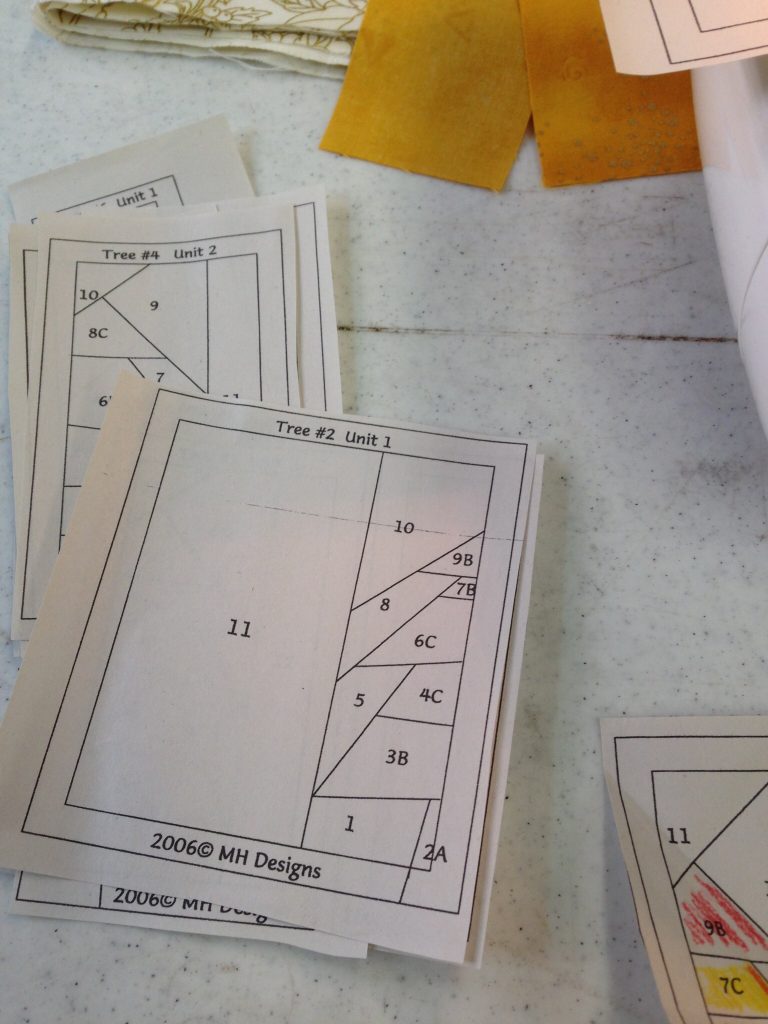
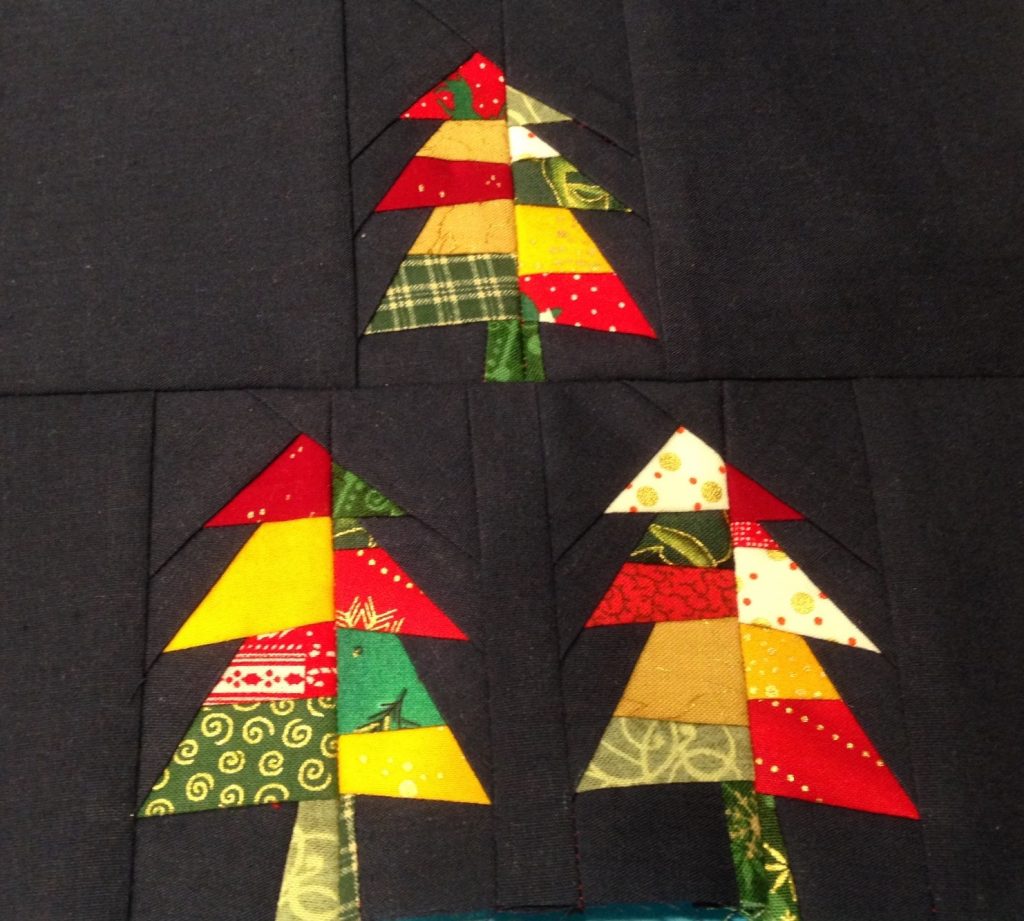
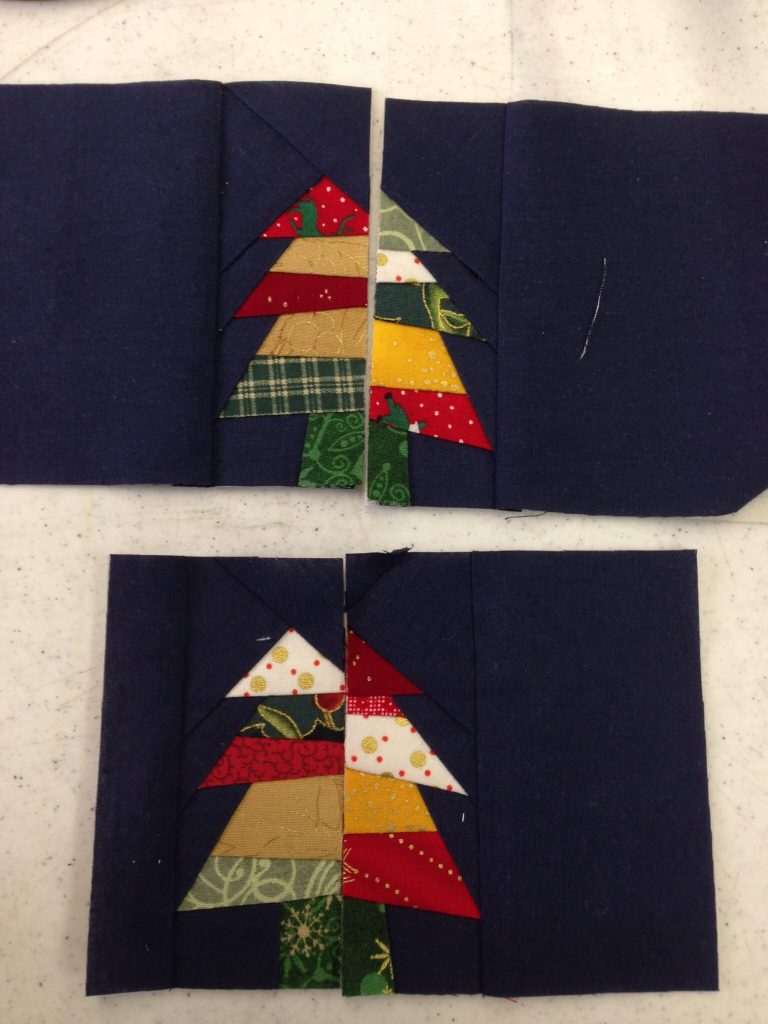
Everything about paper piecing is the polar opposite of how my mind works. Placing the fabric from behind, stitching above where you can’t really see the fabric, trimming up for the next piece – it is a trick for me to put that all together. But I think I’ve got it. At least I hope so. I was able to finish three of the six little Christmas trees for this project. (That took me a good five hours to accomplish.) It will be interesting to see if I can jump back in and get the other trees pieced without a whole lot of difficulty.

img_7721

I am excited to have learned this and hopefully with practice, it will become easier!

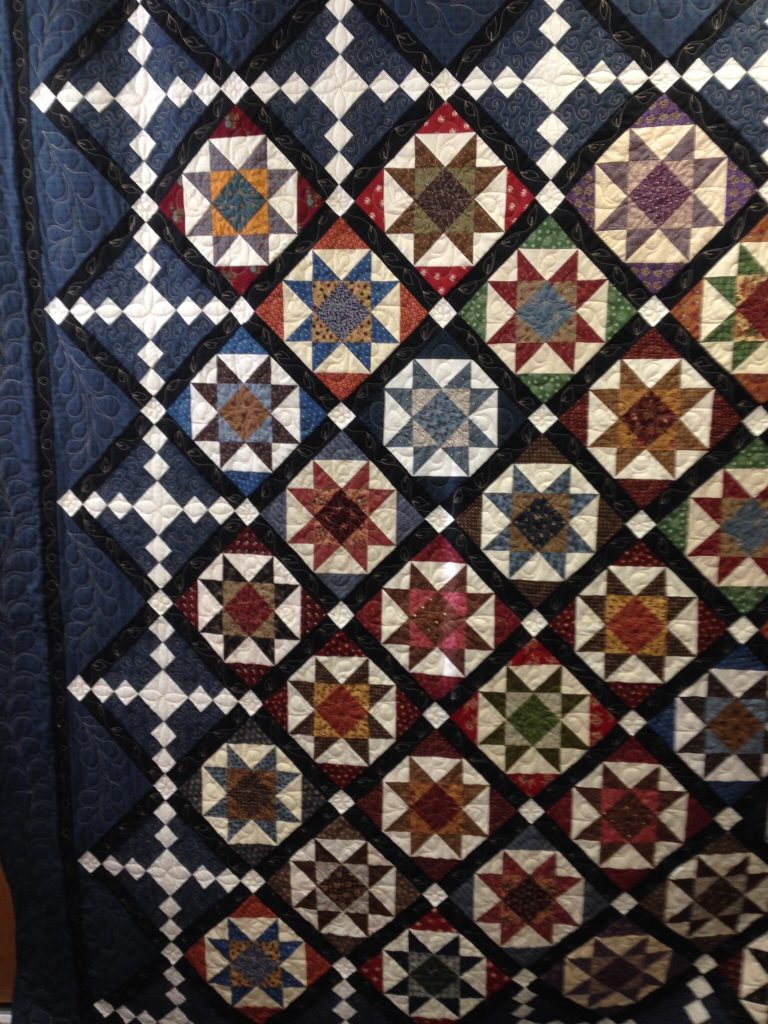
As with many quilt guilds, The Mountain Star Quilters do an Opportunity quilt each year. They tend to make somewhat traditional quilts and this year’s was just lovely. I actually joined in with the sewing and had fun making some of the blocks (I think they are Sawtooth Stars?) We raffled it off and the proceeds go to the scholarship fund for the local high school. I took a picture of just a portion because there were people visiting and it blocked part of the quilt but you get the idea. It is a queen size quilt though.

img_1453


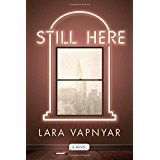
Finally, I wanted to share a bit about a book I recently read. Blogging for Books provided a copy of Still Here, by Lara Vapnyar to me for review. Honestly, I didn’t like the book.

still-here

I chose this book because I thought the plot was really relevant to today’s world. Now that people have such an online presence, there are decisions to be made about one’s on-line accounts, blogs, social media, photos etc once a person dies. For example, when people are writing wills and going through the estate planning process, it is now thought prudent to give someone authorization to deal with your on-line property. Who will close your Facebook account, deal with your blog site or Etsy shop? This is something to consider and (obviously) is something that hasn’t had to be dealt with before the last 15 years or so.  I read the description of the book and thought that was to be part of the story.
However, this was not really the case. The story is that of four friends who are all in their late thirties to early forties and have come from Russia to live and work in the US. Honestly, the story moved incredibly slow. I had to force myself to pick it up and continue to read it. The characters are all a bit morose and their attitudes are quite negative as a rule. Each of the four are going through struggles, with career, marriage, parenting, losing their aging parents. I think it would be difficult to move from one country to another and strive to assimilate into the culture. But the four friends in this book are somewhat shallow minded and self obsessed. I kept hoping something would happen to change this. The ending is mostly positive and leaves the reader feeling that maybe these people are going to make some positive changes and possibly mature a bit.
The author does a decent job portraying (almost satirizing) people who are really steeped in today’s social media frenzy. The story is weak and left me feeling almost depressed. Not a great read.

I do think the subject of one’s on-line property is an interesting one. Have you thought about how you would want your accounts to be dealt with should something awful happen? Kind of morbid and uncomfortable, I know, but with the technology that has become such a large part of our world, it is a subject that will be reckoned with.

Linking up with a few of my favorites. Check them out a the top of the page, under Link Ups.


Handmade Halloween Giveaway Winners

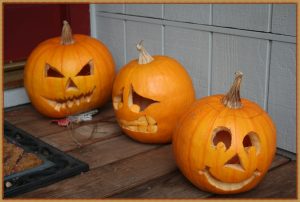
2012-halloween-with-frameGood morning everyone. First off, to all of you who linked posts up with my first ever linky party, thank you so much. I loved reading each one and seeing all of the cool projects, costumes, decorations, and tablescapes that you have done for the season of tricks and treats.

Julia and I, along with the help of her friend, drew names old school style for the giveaway prizes.  Here is a list of the winners.

Sew Fresh Quilts – $15.00 gift certificate (Thank you Lorna!!) – Lena of Quilt Art by Lena.

Craftsy – one free class each

  • Carole, of From My Carolina Home
  • Emily of Emily.Ann
  • Linda of The Road to Oklahoma
  • Wendy of Pieceful Thoughts
  • Sheri of Sunshine in the Attic

C&T Publishing/Stash Books – $20.00 certificate 

  • Mari of Academic Quilter
  • Sharon of Vrooman Quilts
  • Jeni of In Color Order
  • Lisa E who linked up via Flickr
  • Joan of MooseStash Quilting

Buntings (made by me)

  • Sarah of Sarah Goer Quilts
  • Diane of Lavender Dreamer

This was such a fun week and I really appreciate all of the participation, link ups and wonderful comments. It will be fun to do this again sometime with another theme. I love the idea of rejuvenating prior posts. We write so many and it is nice to bring an older one back to the front of the line. It gives others an opportunity to read and be inspired by something they may have missed earlier. If you need Halloween ideas, the links will remain there for you to check out.

The weekend has been wonderful. I went to a fun quilt retreat Friday and Saturday. I’ll post about that in a day or so once I get my thoughts gathered. Today will be spent cleaning up the yard a bit. Fall is here and there is much to be done out there! Happy Sunday!

Day Two at the Long Arm Shop

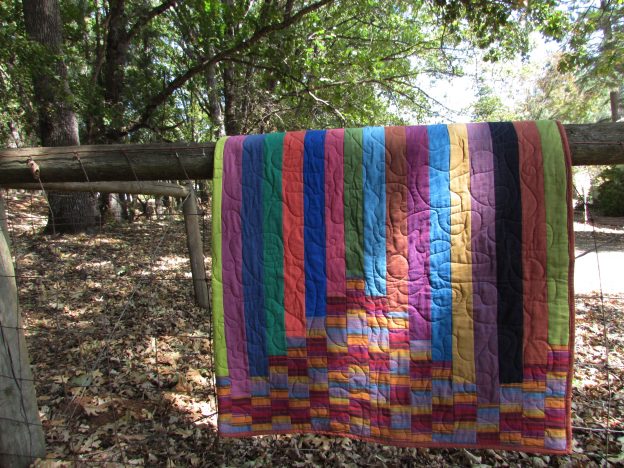
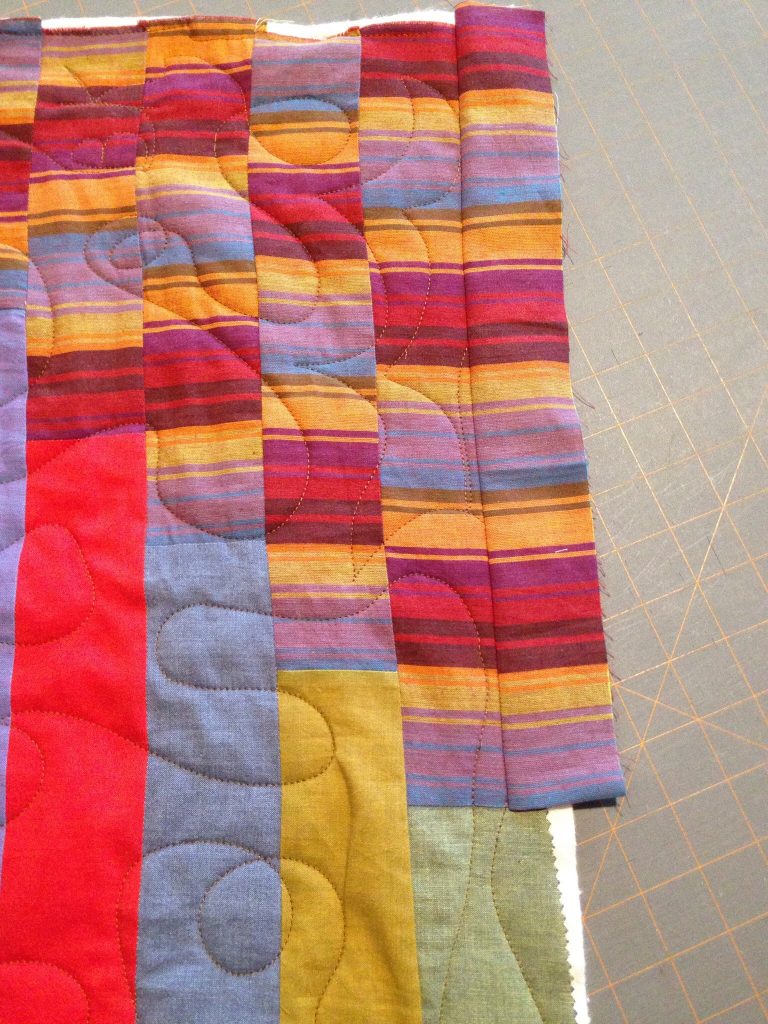
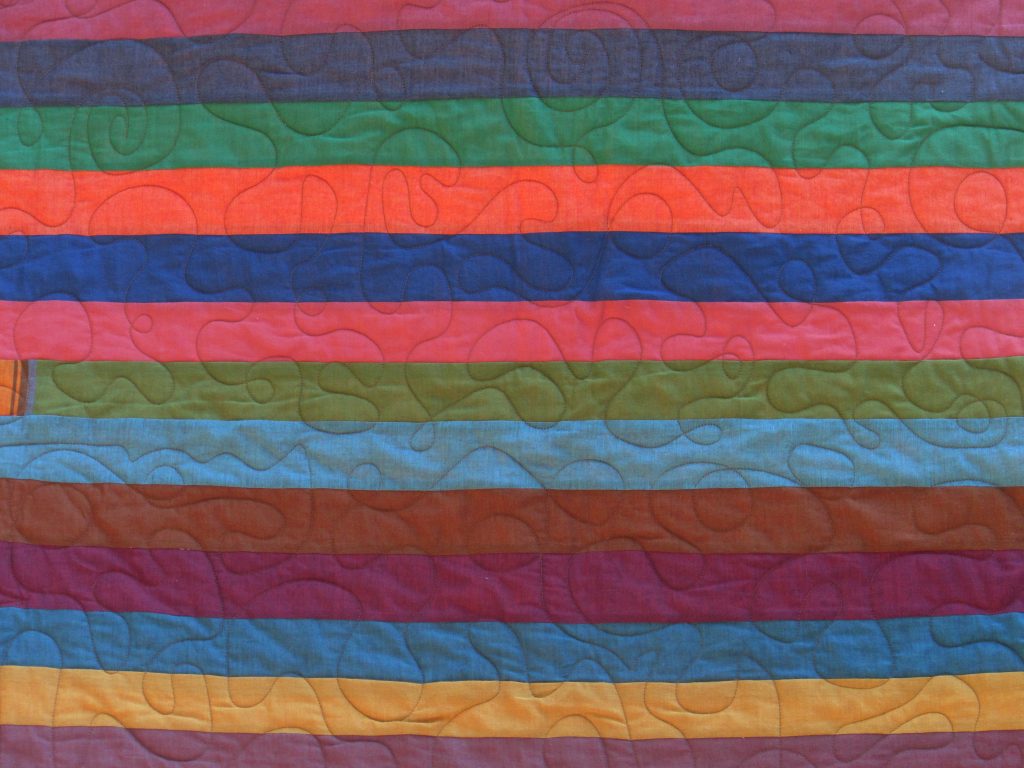
Last week I spent several hours practicing on a long arm machine. I decided to work on a quilt top that I made last fall. Using Kaffe Fassett stripes and solids, I made a strip quilt last fall. As often happens, it was put aside and left untouched for almost a year. By the time I finished this quilt top, it was distorted and nowhere near flats. Not sure if you remember this one, but here is the first post if you want the back story. In that post I mentioned that I had put some of the strips together incorrectly and had to do a bit of seam ripping to fix it. I think I handled the strips too much and they really stretched. If you haven’t handled Kaffe Fassett shot cottons, they are very soft. This makes for a cozy quilt but using a jelly roll of this was harder than I expected. Of all my quilts, I am sure this one has the most technical flaws. But it is also one of the prettiest because of all the color.

image

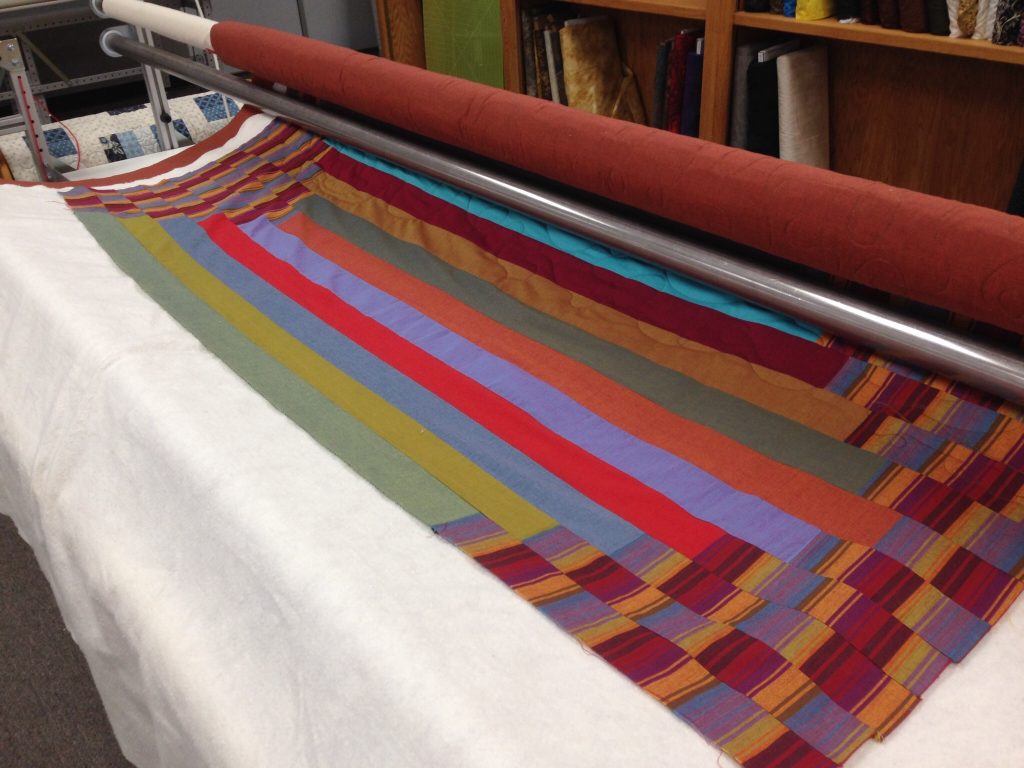
Fast forward eleven months, I decided to finally finish it. The colors are gorgeous and it deserves to be used. I knew it would never be a quilt to brag on but oh, it is so soft. Quilting it on my machine or the long arm was going to be problematic either way. I figured if I took it to the shop, they might be able to help me to make it as good as possible. When I showed it to the owner, he said I could choose to make it flat and out of square (by a long ways) or I could square it and there would be some big folds that I would just have to quilt down. Without much deliberation, I chose to smooth it and deal with squaring it up later. The larger goal was to practice with the long arm. He helped me load it and played with it to get it as flat as he could.

img_7420

I didn’t have much of a quilting ‘plan’ in my head with this. More important was learning to use the machine and get the feel of it. The speed picks up on the machine and it is difficult to get into a rhythm that isn’t too fast and allows me to have good control over moving the needle. I did a random stipple with a few loops here and there. It was so much fun. I loved the freedom of movement since I wasn’t dealing with the weight of the quilt. When I think back on how it felt when I was guiding the needle, I am certain I was going to fast. My concern was if I slowed down, my stitch length would shorten and be inconsistent. Plus I would just forget and my speed would increase!

img_7419

Speed was my primary problem. Second to that was judging how close I could quilt near the top and bottom bars. I found myself going too close and getting trapped in places. There is no reason to go that close; it is cleaner to stay a couple of inches away from the top bar and bottom. But I would get my speed going too fast and dang it, I would find myself trapped again!

Even laying it as flat as possible, there are a few significant puckers. It couldn’t be helped. I think using the long arm to quilt it was much more successful than my home machine would have been. I could look ahead and as I moved the quilt over the bars I gently finessed it as flat as possible.  Now, remember he said if I went for smooth and flat, it would be warped and out of square? Oh my, he was right. 🙂

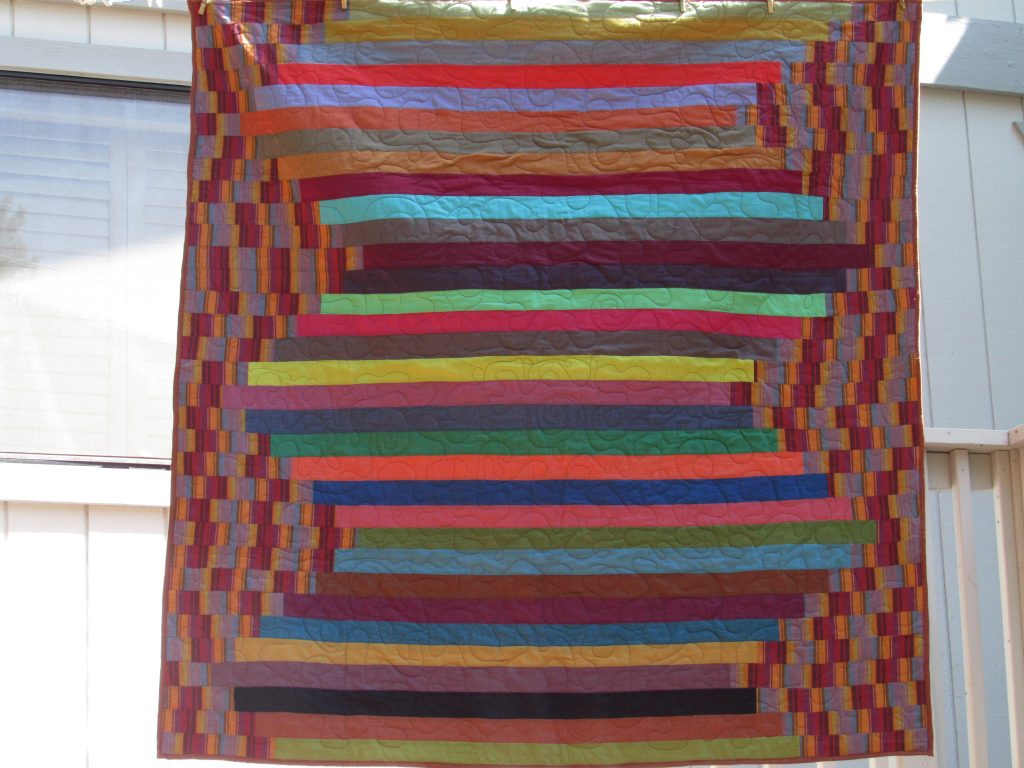
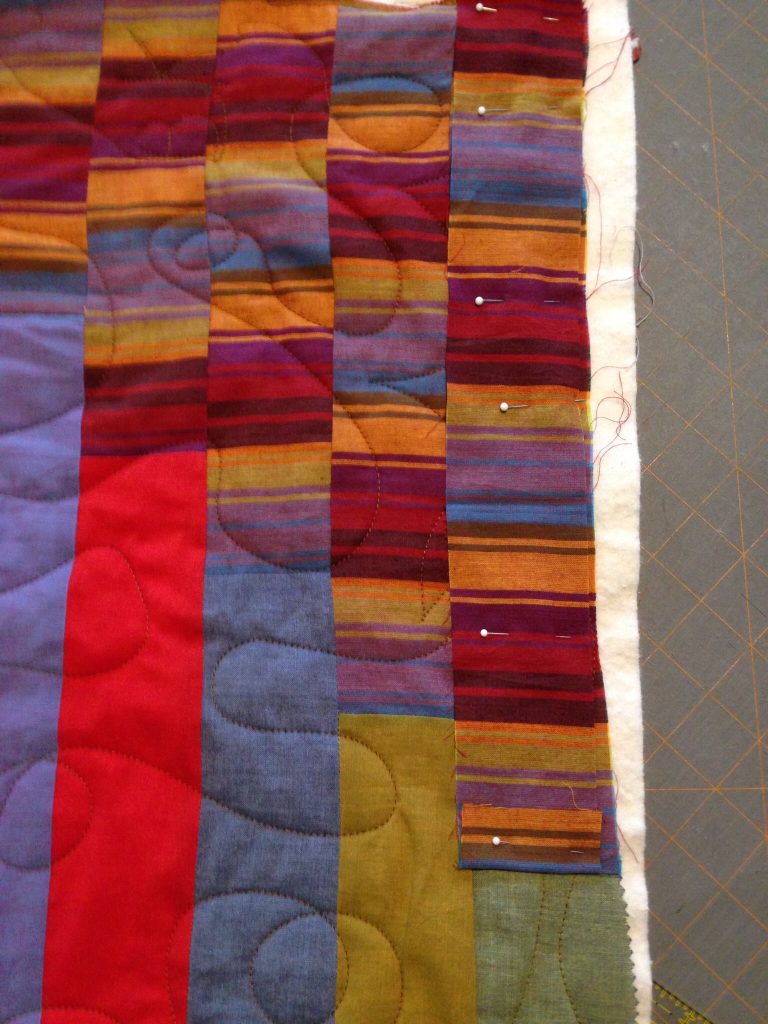
When I got it home I trimmed the excess batting and backing away with scissors, just to see what I was dealing with. Then I did a few dramatic, heavy sighs and asked Ray for help. I knew he would have a solution. The issue was that if I cut it square, it would be so obvious due to the linear pattern of the stripes. Both the top and bottom green stripes would have been sliced at strange angles. Ray suggested taking some of the striped fabric and enlarging the width at the bottom of the stripes. This would give a bit of an illusion of a straight line and I would be able to keep the full width of both green stripes. (I am married to a genius.) I never even thought of it. I have quite a bit of the striped fabric left over. There was no problem cutting a piece and matching the stripe up completely.

image

imageMost of the extra width is covered by the binding. It was a simple solution and I am so pleased with the result. As I said earlier, this quilt is filled with flaws. But when I look at it I am quite happy with it. The colors are lovely and the feel is so soft. Learning to use the long arm feels a bit like going backward. I am just getting some confidence with my free motion skills on my domestic machine and now I am back at square one, learning to quilt all over again!

On Thursday this week, I will be back in the shop. I am going to quilt my plus quilt.  Hopefully I will be able to control my speed a bit. I am going to try to be diligent about leaving myself space at the top and bottom bars. My plan is to do loose spirals in the negative space and straight line quilting within the pluses. I think (I hope?) that is a reasonable goal for me at this point. Any hints or tips on my long arm practice sessions are more than welcome!  Also, while I am thinking of it, do I do all of the straightline quilting and then go back and do the spirals or do I just do whatever shows up within the space of the bars and keep moving it in the one direction? Inquiring minds need to know!

Linking to all of the awesomeness that is listed at the top of the page, under Link Ups.

unnamed

This is a good weekend to shop Craftsy! They have some great discounts on kits and supplies for their End of Summer Clearance. Take a look. This sale begins Friday, 9/16/16 and runs through Sunday night, 9/18/16.

(I am a Craftsy affiliate.)

Long Arm Quilting Class

Earlier this week I mentioned I was taking a class on long arm quilting. Wow, it was so much fun. Not so much that I plan to shell out the kind of money required to buy a long arm machine but enough that I would definitely go and rent time on the machine. Probably on a regular basis.

I have wanted to take a class on long arm quilting for quite a while. The stars finally aligned and it happened this week! The shop that rents time on these amazing Innova machines is about an hours drive from my house. This is a good thing – if it was more convenient I would be in there all the time! This way, it takes a bit of thought and planning to get there, which might help me to control the spontaneous urge to go quilt something. The rate is $20 per hour which is high except when one considers how fast a project can be quilted on a long arm vs my domestic machine. Taking this class also enables me to quilt larger projects. As I mentioned before, I have only made two large quilts and this is because it is tough quilting them. I don’t really want to pay someone to quilt my projects because I like to do it from start to finish. Anyway, now I will be able to make larger quilts!

Here are some thoughts on my experience. First of all, as I expected, loading the machine is challenging. It does make the basting process less of a physical challenge in that I am not crawling all over the floor but it is quite a process to load the backing and then the batting and quilt top, making sure all is square and straight. Naturally, this process will be quicker after I do it a few times.  There is much to learn about stitch length and tension but for my first time, I thought it was relatively easy. There were three of us in the class and each of us had our own machine to load. We brought two pieces of fabric that were each about 1.5 yards and this is what we practiced with.

What wasn’t so easy was quiltiing a smooth circle. For whatever reason, when I tried to move in a circular pattern it was difficult and my curves had a distinctly rectangular look to them. It was surprisingly easy to get a nice straight line though. Looking at the bit of stitching at the top of the picture, the horizontal lines were stitched with channel  locks on and this made those lines very straight because the machine could only stitch in that one direction (no free motion, just straight).  But the vertical up and down lines that I did were done with everything open (no channel locks) and it was easy to create a nice, straight line. When I FMQ at home, I find straight lines to be very challenging if I FMQ so I normally use a walking foot and have to move the fabric with each line.

IMG_7323

As would happen, the more I stitched, the softer the circular motion became. I tried to do a bit of pebbling and that was difficult.

IMG_7324

But the circles got rounder as I went. To explain the mess you see above you, I first did a very large stipple or meandering stitch and I used up my practice piece of fabric too quickly. So I went back and started filling in the shapes. Messy yes, but so much fun to play with. Sort of like some very rough graffiti quilting.

IMG_7325

This photo shows stitching done toward the end of the afternoon. The shapes are looking better and the circles were easier. It doesn’t have the harsh flow of the quilting done earlier.

We also had a bit of time to practice using pantographs. This was far more difficult than I anticipated. Just in case you don’t know how they work, pantographs are designs that one can purchase. They are a length of design printed on a long strip of paper.  Once the quilt is loaded, the long strip of paper with the design is placed on a table which is between you and the quilt. Then the design is basically traced, or followed, with a tiny laser beam that emits from the machine. As you trace the design, the machine is stitching the lines that you trace. It was very hard for me to relax and the stitching reflects that,. Also, because I was staring at the design and not looking at the quilt top, I didn’t get to plan where the design would hit the print of the fabric or shape of the block. I didn’t like this. With FMQ one looks at the quilt as it is stitched and there is the ability to plan where to go next. These all over designs done with a pantograph don’t really allow for this. I am sure I would get used to it but it wasn’t as easy as it looks!

IMG_3795

You can see that the stitching is very awkward here. We did trace the panto without stitching a few times and that helped to get my brain to remember the flow of the movement. Practicing will certainly make this flow more easily. At this point though I think I prefer quilting without a panto so that I can look at the quilt and plan the stitching according to fabric and blocks. With simple quilt designs, a panto would certainly be fast and very attractive. Maybe the first time I actually use one, I will pick something with softer shapes?  Or maybe a broader design? Mostly, it is going to require practicing which means I’ll need to make more quilt tops so I have something to practice on. A girl’s gotta do what a girl’s gotta do.  😉

I am excited to go back and practice on something real. I have two quilt tops in the WIP pile and I plan to do both of them as practice on the long arm. Overall, the biggest benefit is this type of quilting didn’t strain my neck. Using my machine to quilt anything larger than a wall quilt creates a strain on my (often cranky) neck so I have to take lots of breaks, stopping every 15 minutes or so. I quilted for a couple of hours straight while practicing and my neck didn’t fatigue. Hurray!!! It was a blast to learn something new and to see what it felt to use a machine like this. I can’t wait to go back and try again.

Linking to several sites – take a look at the list at the top of the page, under Link Ups.