Category Archives: Sewing Projects

Treasure Bags

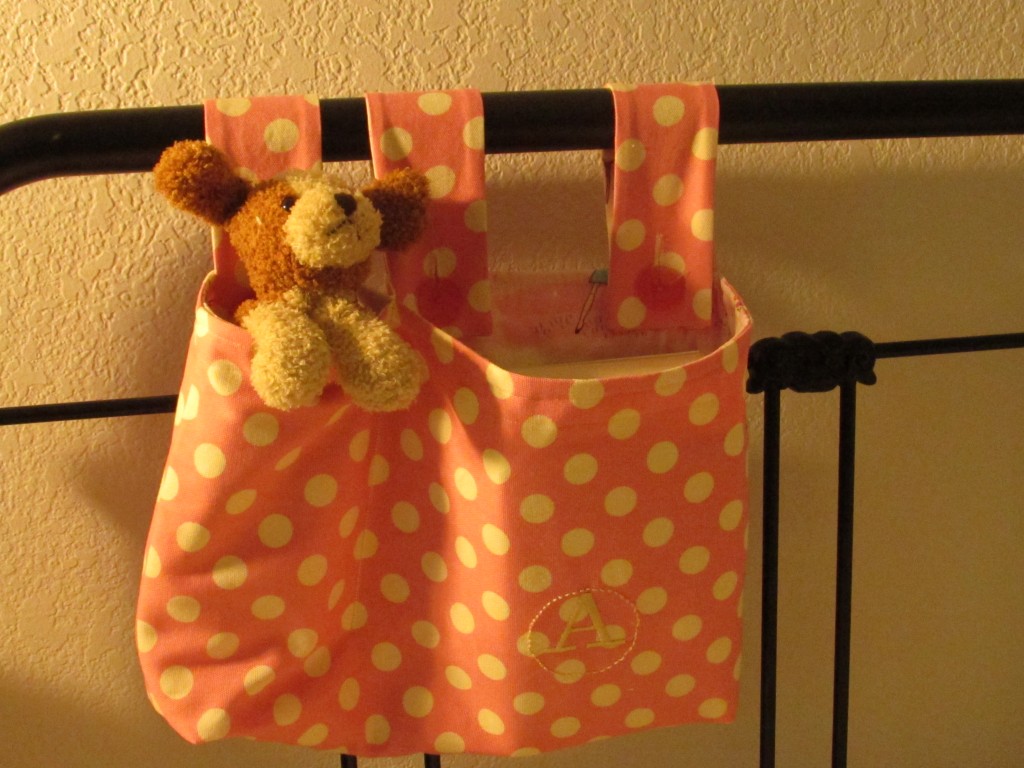
Several weeks ago, a friend asked me if I would do some custom work for her. She has two grand daughters and they frequently spend the night. They have bunk beds – actually I think it is like a loft bed since both girls sleep up on top. She wanted to be able to hang a bag on the railing of the bunk so they had a place to put their books, stuffed animals, or maybe a water bottle at night. Since they are up on top, they don’t have a nightstand available or the floor right there to put their books on. My friend, Joy, had seen the clothespin bags that I sell on Etsy and thought if I modified that idea, the girls could hang a bag from their bed. Her only request was that I use lots of pink and make some way for the girls to differentiate the bags; so they knew which one was “their bag”. Sounded fun!

For fabric, I went straight to Hawthorne Threads. I wanted to get a twill for the outside so the bags had some body. (For the clothespin bags, I generally use upcycled burlap or upcycled denim, which gives the bag some shape.)  I found a hot pink polka dot twill by Riley Blake. I knew what I wanted to use for the lining. Wee Wander’s “Wander Woods” in Petal.  The print is sweet and girly, perfect for these two sisters.

Sarah Jane - Wee Wander - Wander Woods in Petal  Riley Blake Designs - Home Decor Basics - Medium Dot in Hot Pink

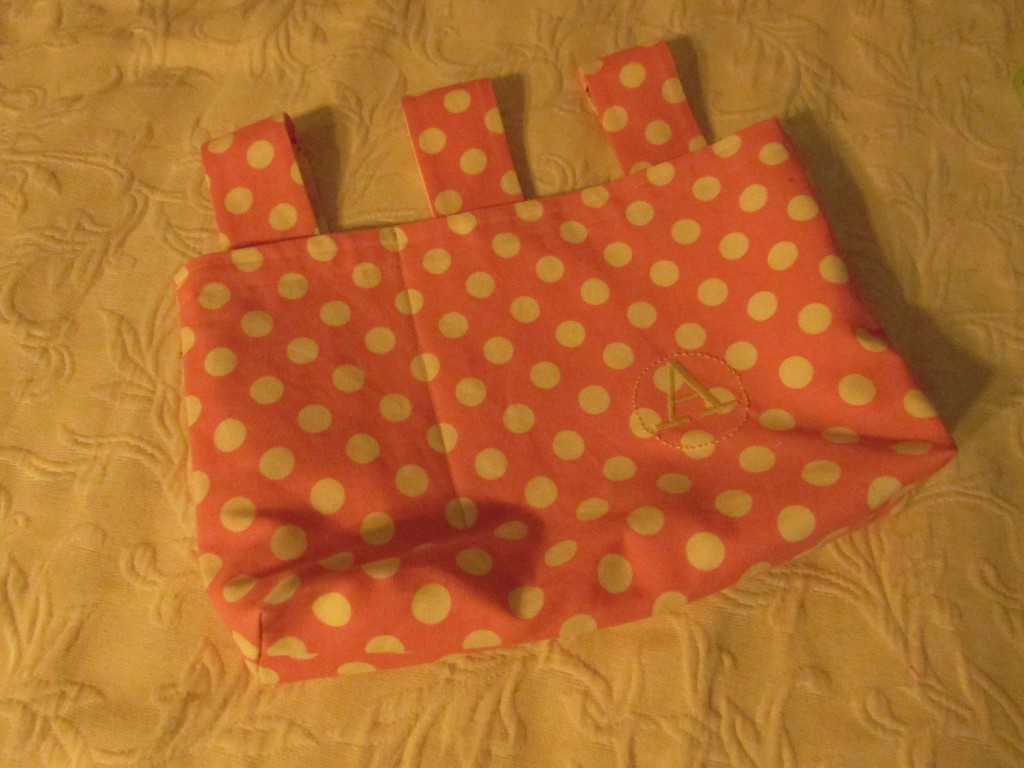
I made a mock up with some muslin scraps to figure out the size. I knew I wanted to put three straps across the top of the bag as the girls are likely to put some weight into their bags. After playing around with it a bit, I decided on the sizing. The bags finished out at 9″ tall, 14″ wide, and 3″ deep.

IMG_20150513_3312

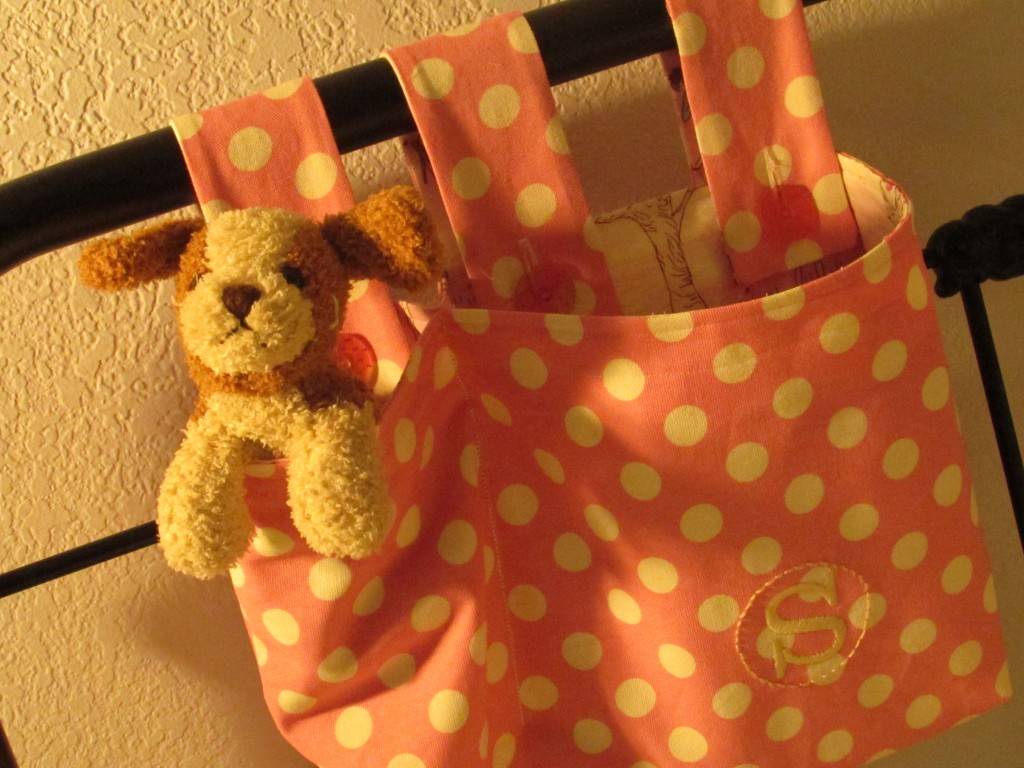
The three straps fold toward the inside of the bag so that the buttons are easily accessible from the railing of the bed.  I double stitched them to reinforce the straps. When I first made them, I didn’t have that stitching that is between the first two straps. The bag hung open too far so I ran a stitch vertically which created a compartment for the bag and kept it from gapping open.

IMG_20150513_3311

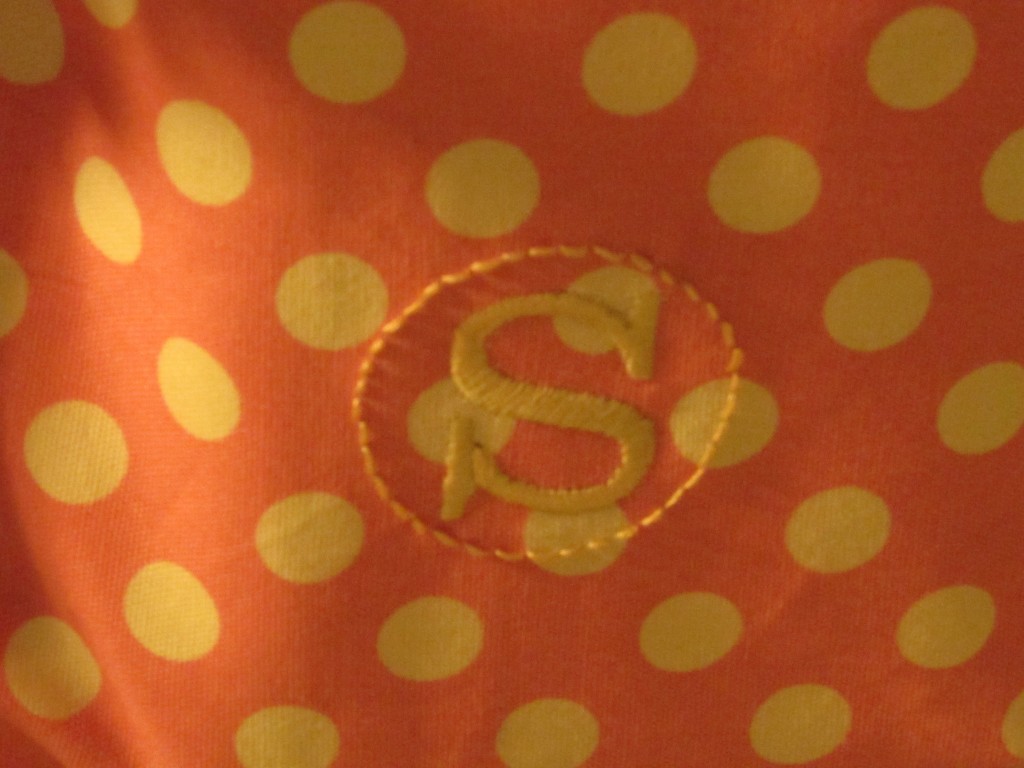
I boxed the corners at the bottom of the bag to create width in the bag.  Also, with the help of my quilting buddy, Sophia, I was able to add their initial to the front of the bag. Sophia has an embroidery machine which made quick work of this. I stitched a circle around the initial to set it off.

IMG_20150513_3309

I love how these turned out and hopefully, the girls will love them as well! Plenty of room for books, stuffies, and any other treasures they might want to have nearby at bedtime. I am debating offering these as a custom item in my Etsy shop. If I pre-make them, I won’t be able to add the monogram. Maybe I will make one or two up and see how they do in the shop.

IMG_20150513_3310

Linking to Sarah at Confessions of a Fabric Addict,  Amanda Jean at Crazy Mom Quilts as well as Lorna at Let’s Bee Social. Links to all to these wonderful sites are available at the top of the page, under Link Ups.

Putting myself out there

This weekend is the annual quilt show for our local guild. I love this event – wandering around and looking at everyone’s work is absolutely inspiring. It is also intimidating. Depending on my mood that day, I might come away thinking, “wow, I want to make something like that” or it might be, “dang, why can’t I quilt like that?” Hopefully I can refrain from comparing my abilities with that of others this weekend and just enjoy all of the gorgeous quilts that will be displayed.

I am pushing myself a bit and hanging two of my quilts. I didn’t enter them to be judged, they are just being shown. I don’t think it is a good idea to have a quilt judged unless that was the plan from the get go. There are so many little details that need to be done properly if a quilt is to be judged and since I didn’t make these two pieces with that in mind, I am only showing them. This is the first time I have shown my quilts at our local show (or any show, for that matter.)  It is a little scary and makes me feel kind of exposed. I have a quilting buddy that is also entering a couple of her pieces to show for the first time so at least we are in this together!

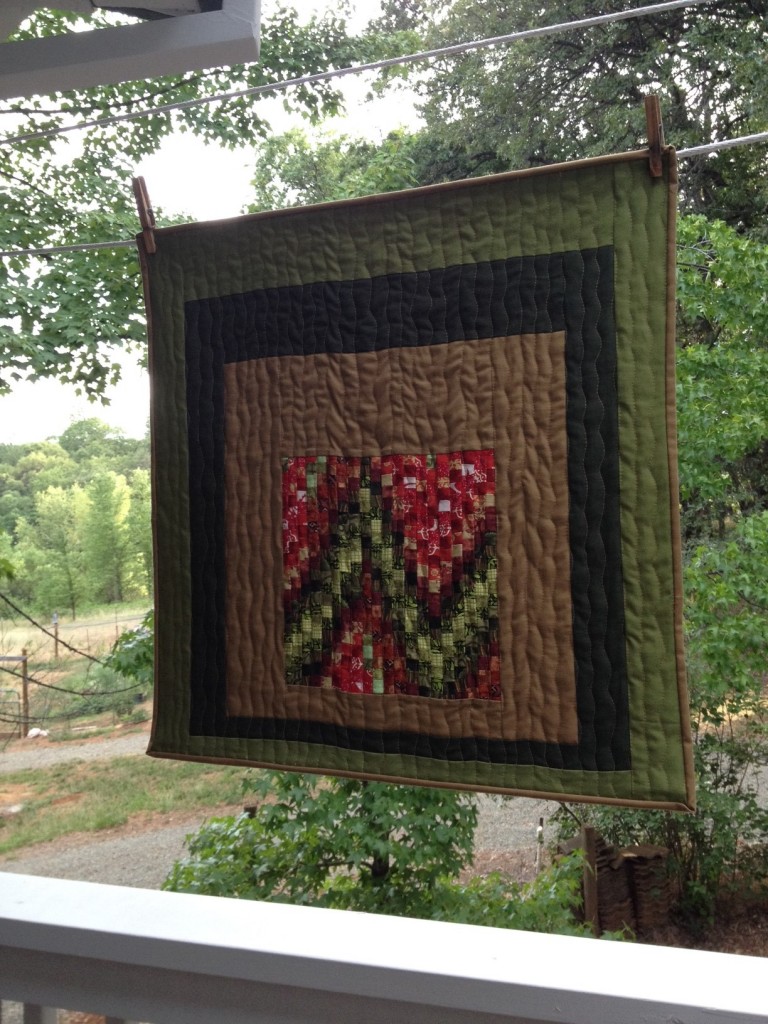
Today I made hanging sleeves and labels for them. I decided to show my modern quilt, Garden Patch, because I think it is unusual and I am very happy with it overall.

Garden Patch May, 2014

Garden Patch
May, 2014

The other quilt that I chose is the Aurifil BOM quilt that I finished in December. The colors are bold, vibrant and eye-catching. I love (most of) the blocks and the scrappy binding sets it off well.  I regret having washed this quilt as it is soft and crinkled now. Does that affect how it will show?  Not sure…. I will have a go at pressing it to see if that helps.

20150103_2663


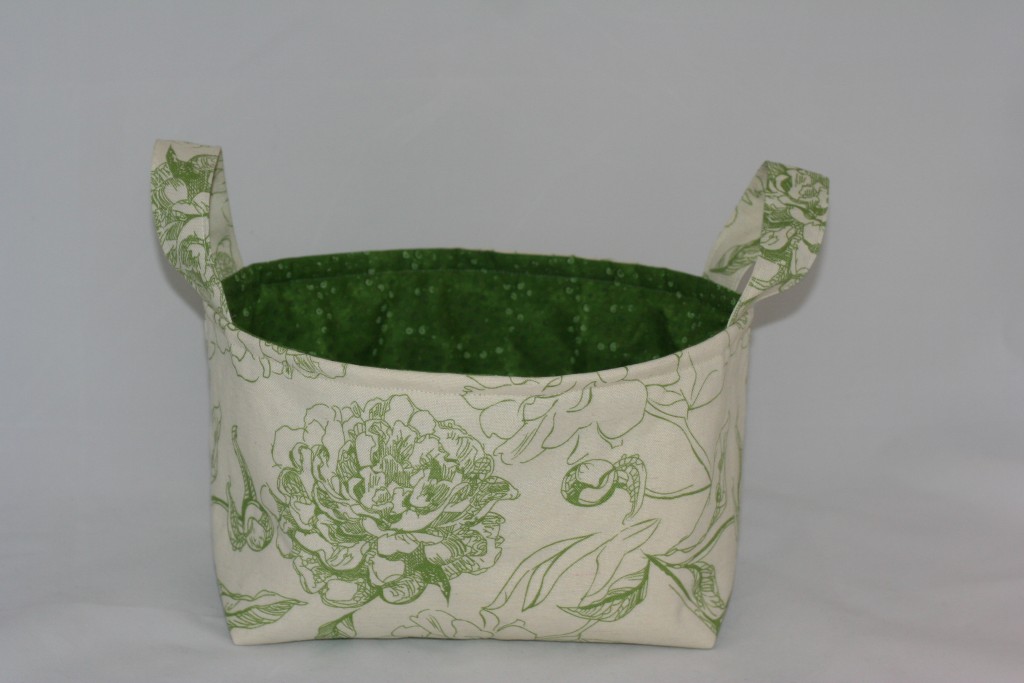
At the quilt show we always have a silent auction booth. I made a fabric basket using the “one  hour basket” pattern over at Kelby Sews. The fabric was actually a piece leftover from a tablecloth that I have. I accidentally bought the wrong size tablecloth so I had to cut a substantial length off of it. The fabric is heavy and strong so the shape of the basket holds nicely.

fabric basket Unfortunately, I forgot to take a picture of it when I filled it.  It was stuffed with five fat quarters, a new Easy Quilts Magazine, loads of chocolate, a sweet pair of embroidery scissors and some of those pins with the flat flower heads.  Hopefully it will bring in a few dollars for the guild.

I am looking forward to this weekend. Lots of friends, quilts, and of course, fabric vendors. Sounds good to me!

Linking to Sew Cute Tuesday, Freemotion by the River, and Let’s Bee Social.  Links to all three of these sites are listed at the top of the page, under Link Ups. One more link up – Show and Tell Tuesday.  Hope you’ll stop by some of these sites and peruse some of the projects that are shared on each.
 

Gratitude – Part 4

We’re home!  My husband and Julia and I spent a long weekend up at the Downieville house working. It was really productive and, consequently, tiring! We made so much progress though.

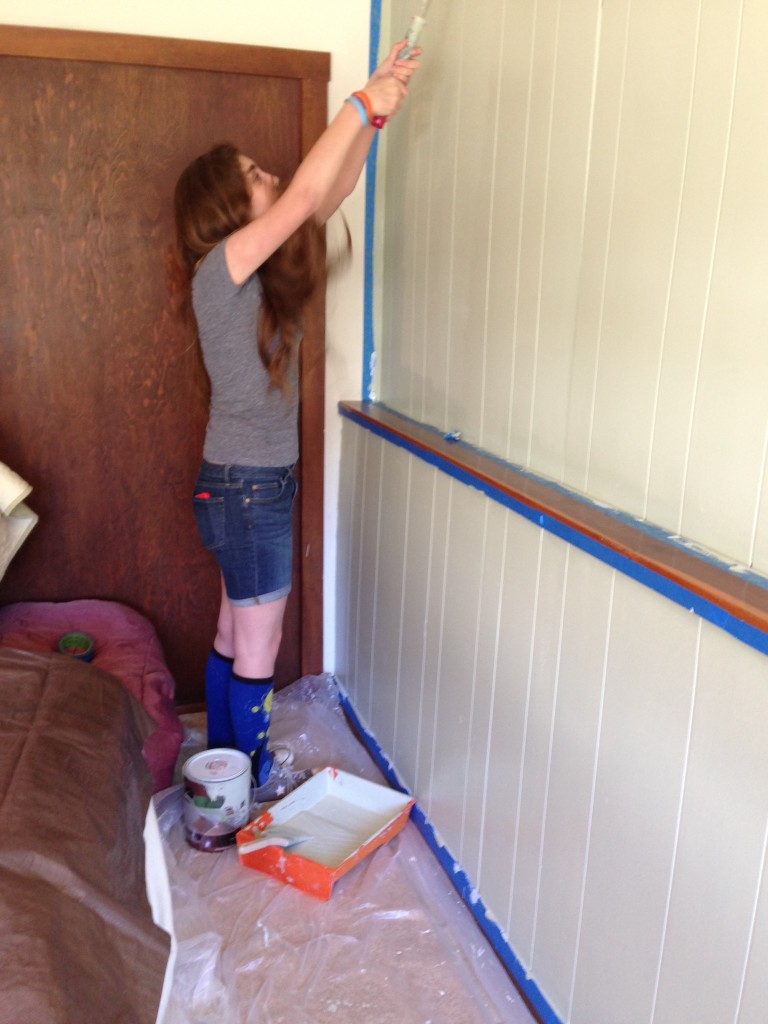
Over the weekend Julia and I painted the basement level bedroom. It had dark paneling on the walls – ick. It made it feel like a cave in there. We primed the paneling and then painted it a sage green. It looks wonderful. I forgot to take a finished picture but do have this (iPhone) picture which portrays the wonder of having a 13 year old that is already 5′ 7″ tall.  She did a great job rolling the top half of the walls. Made me jealous of her height.

IMG_3595 (2)


Also got the valances and pleated window shades installed in the kitchen.

IMG_20150328_3016

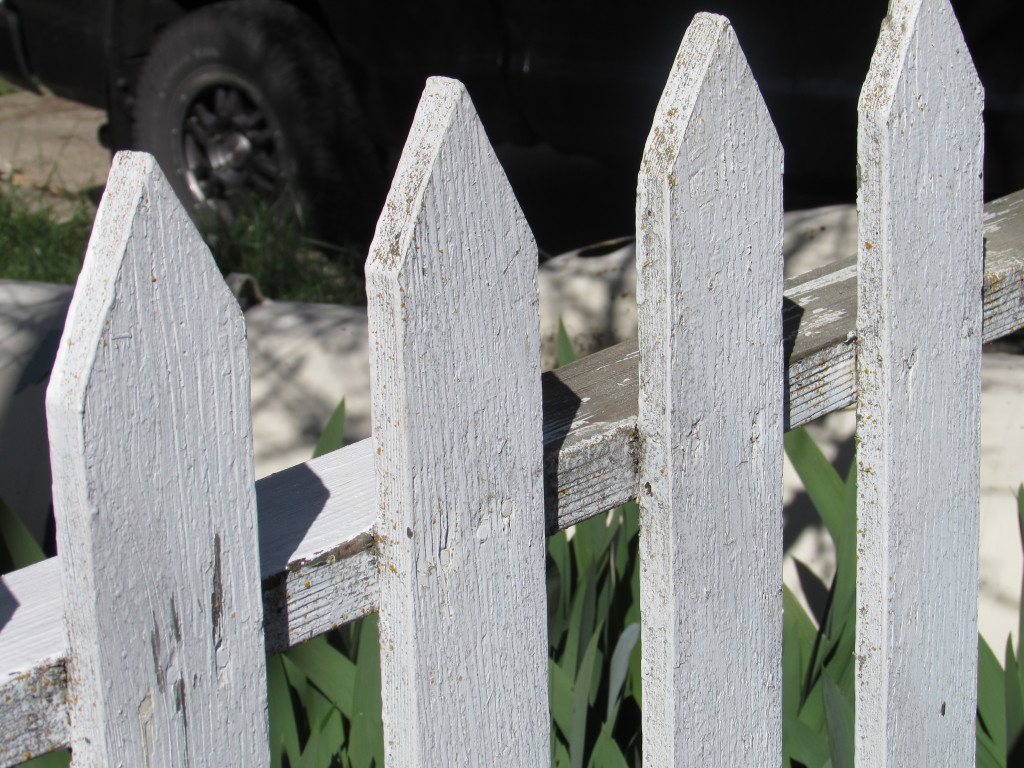
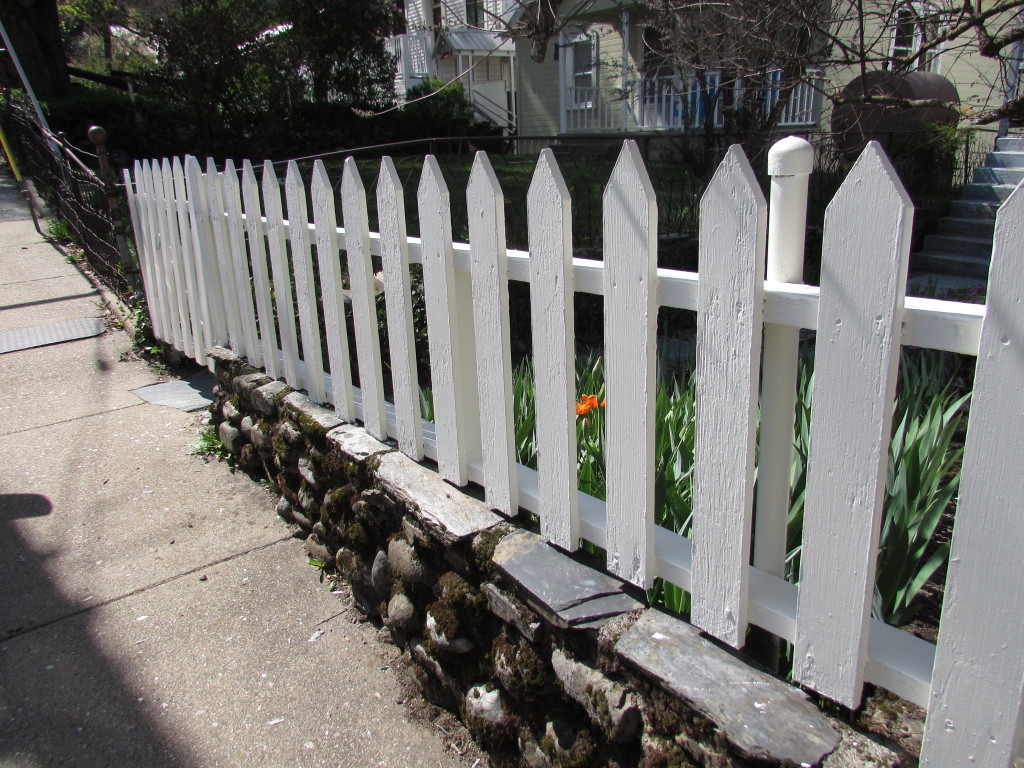
Another project that I tackled was painting the picket fence that runs along the front yard. (Yep, I felt like I belonged in a Mark Twain story.) It was in terrible shape. Most of the fence needed to be scraped paint and then primed and painted. This took up the better part of two afternoons but was well worth it. Here is a before picture.

IMG_20150330_3017And after:

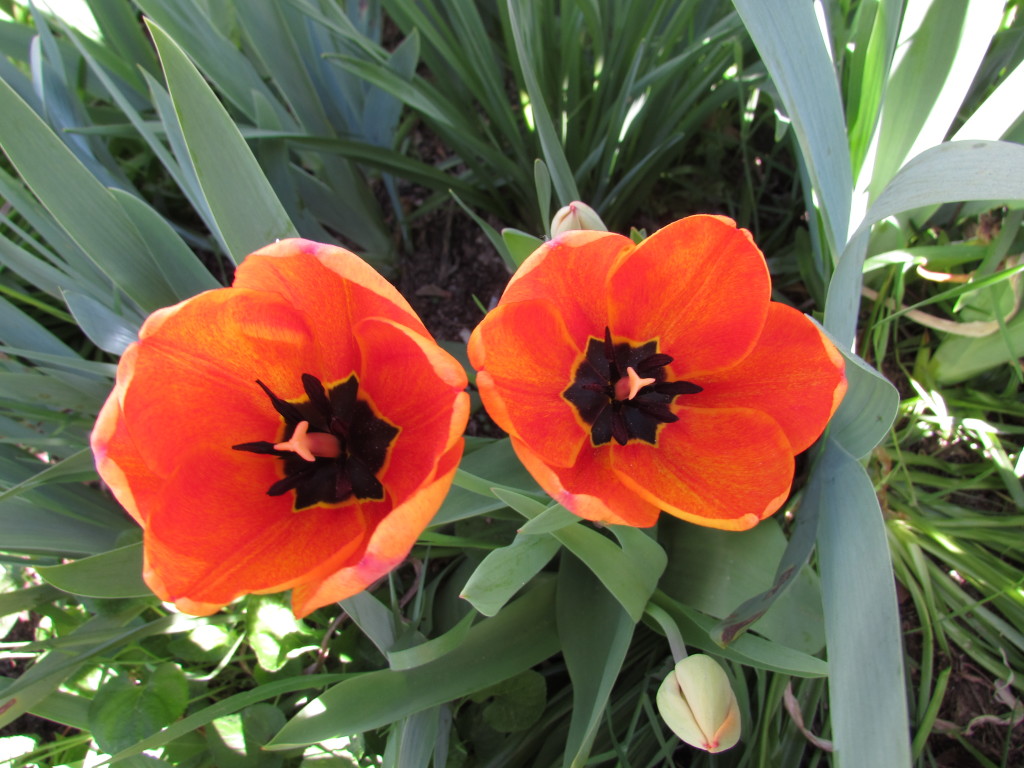
IMG_20150331_3031It looks so clean and fresh. We did a relatively good job of not getting paint all over the little rock wall.  See the little orange tulip peeking out? It is the only one in a sea of iris. Gorgeous though.

IMG_20150330_3036Photo credits to Julia for the three pictures shown above!

The best part of the weekend, and my gratitude focus for this week, was the new friends we met. You might remember that this is a tiny town. At it’s peak, during the California Gold Rush in the 1800’s, the population peaked at about 5,000 people. Now there are about 300 people that live there full time. From what I can tell, the school district there has about 50 students (grades K through 12). Pretty tiny. Spending the afternoons outside working on the fence gave me the opportunity to meet a few new people and everyone was kind and gracious. They seemed to truly appreciate that we were fixing up this little house.

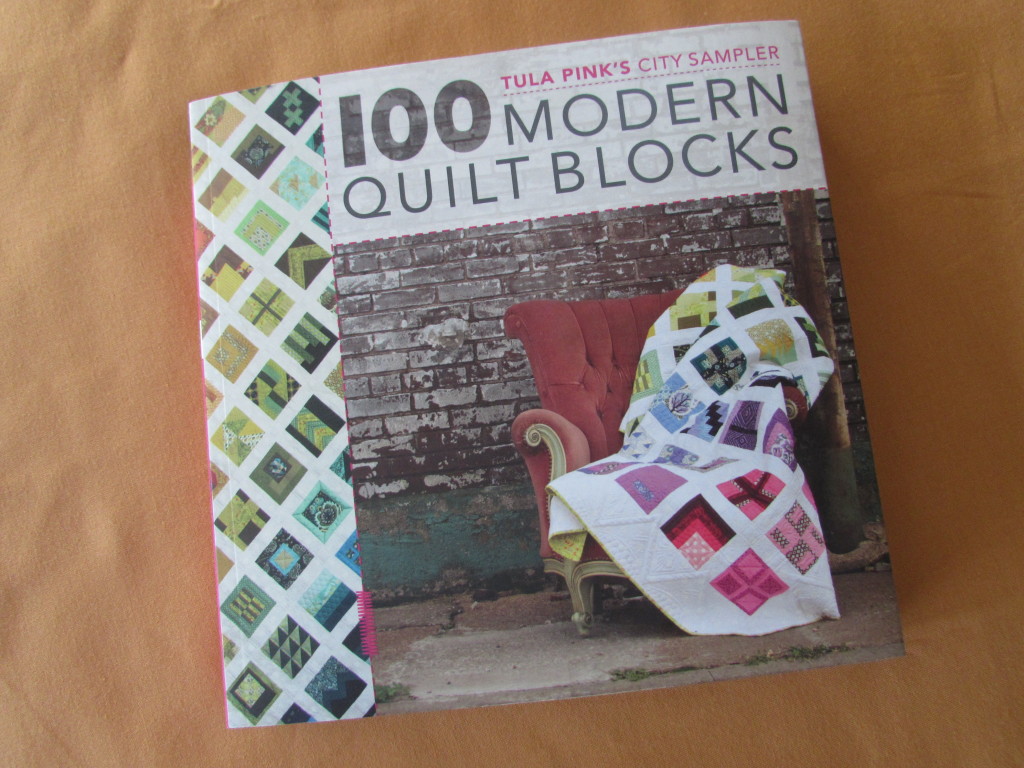
The day after painting the fence, Julia and I checked out the library. It is adorable. Tiny but with a reasonable selection of books and because it is part of a larger library system, the patrons have access to a much larger selection. People can “order” books from the larger library and they are delivered to the local library. But best of all was chatting with the librarian (Cheryl) and guess what? She is a long arm quilter. What do you know! Immediate connection there as we talked all about quilting. The local guild, the Mountain Star Quilters, keep a library of quilting books in the public library which is a fairly impressive collection considering the size of the guild. As we talked quilting (and bored Julia) another woman (Linda) came in. I remembered meeting her briefly when I attended the quilt retreat in Downieville last October. (I posted about that here.) The three of us visited for a bit and and Linda showed me a book she had brought in. It was Tula Pink’s City Sampler book. We talked about it and she said she had decided she didn’t want to use it, and would I like to have it? I love Tula Pink and have looked at her beautiful book numerous times, wondering if I would ever really make the blocks in it. Seems like fate, right? There was the book falling into my hands. Clearly I am meant to make these blocks.

IMG_20150402_3034This adds another project to the list. I will use the 1/2 yard collection of Floriography, a Riley Blake fabric that I won from Doe Street Fabrics a few months ago.

I need to add a few solids to it but no problem there. I think making a block or two a week will be a fun way to use the book and the fabric.

Back to the kindness of these women. It never ceases to amaze me what a friendly group quilters make. Meet a quilter in the store, instant rapport. Run into a few in the library, new friends. Both women talked about the local quilt guild. They have about 30 members and meet one afternoon each month. I am going to attend the April meeting and see if I can start participating in their guild. I belong to our local guild as well and it is a challenge to get myself to the meetings, so we shall see. Luckily the schedules of each of the guilds seem to be opposite of each other (quilt show dates, challenge quilts, etc) so that will help. For sure, joining this second guild will be a great way to meet new friends and for that I am thankful.

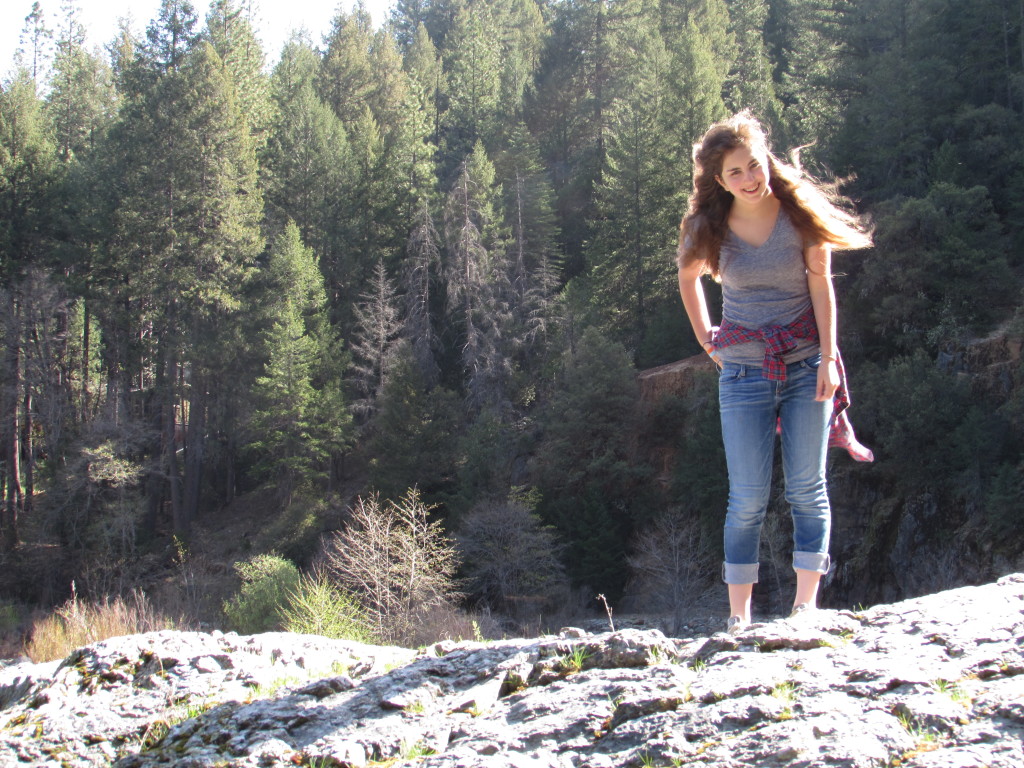
Finally, just so you don’t think the weekend was all work and no play, here are some pictures from a hike along the river that Julia and I took. It was a gorgeous morning.

IMG_20150331_3025

IMG_20150331_3028

We are fortunate to have found our place on the river. It is a treasure for which we are so grateful.

Linking to Quilting Jetgirl’s Thankful Thursday and Needle and Thread Thursday and Let’s Bee Social (links to these are at the top of the page under Link Ups.)


Not a lot of sewing going on

I haven’t spent a whole lot of time at the sewing machine this week. Lots of regular life going on and my neck was being sort of cranky. But that’s ok. I did get a few odds and ends done.

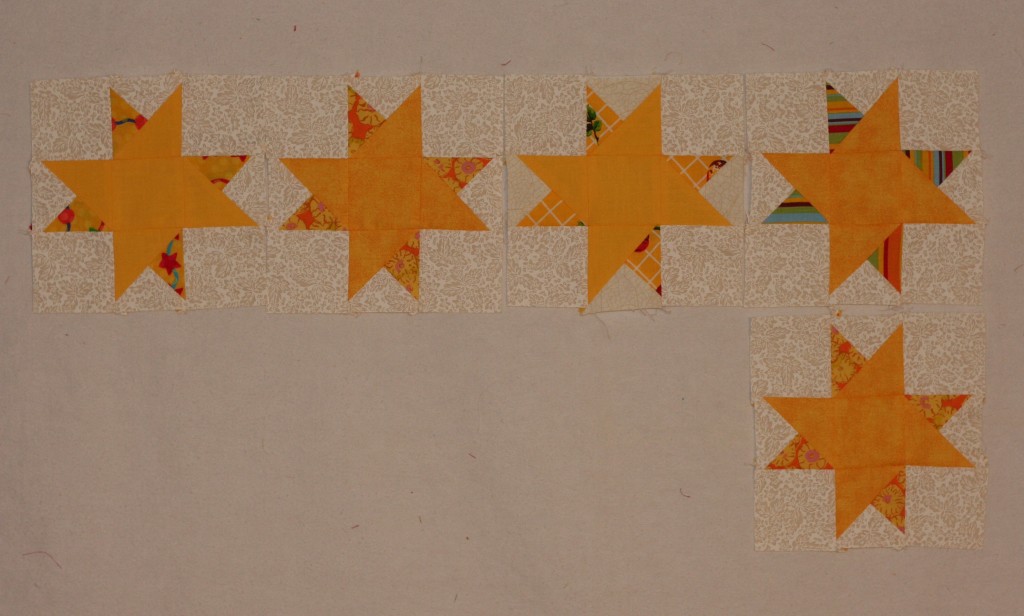
For RSC15 I am working on the March blocks from the Classic Stitches BOM over at Academic Quilter. I only finished five of the ten blocks but they are really fun.

image

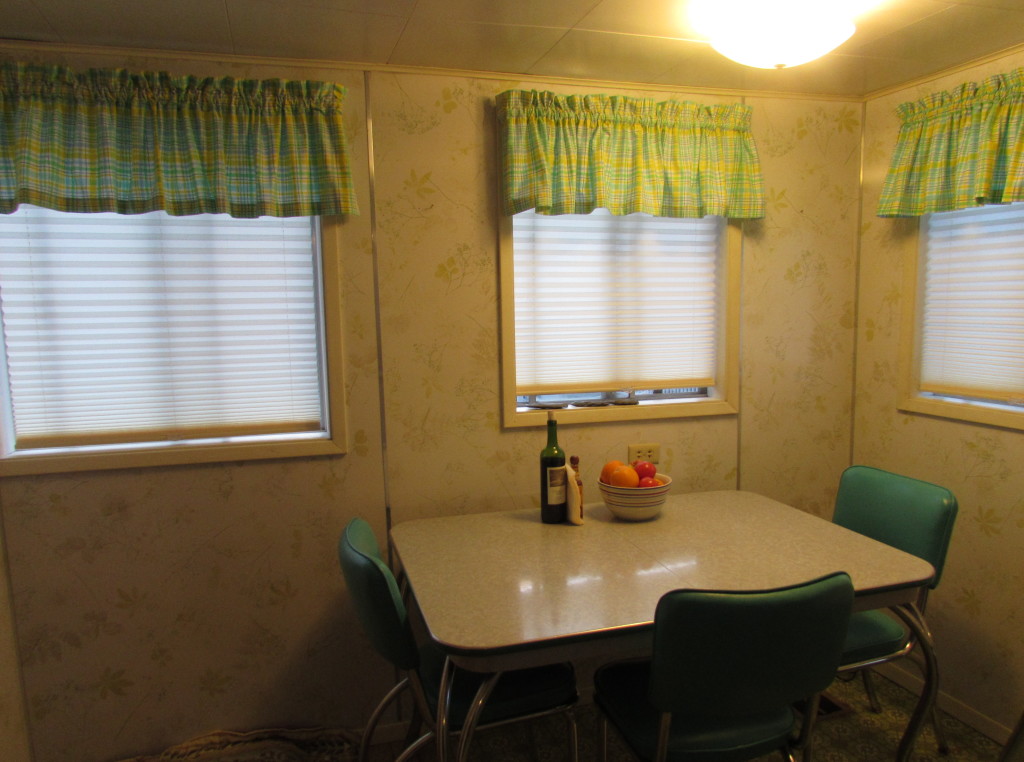
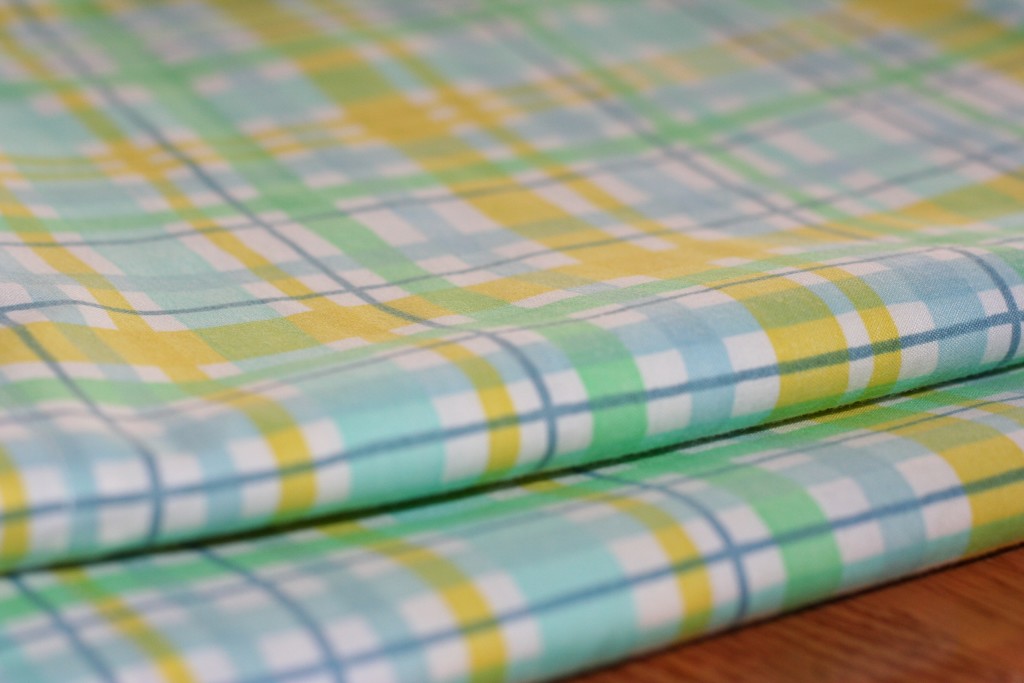
For the kitchen in our Downieville house we decided to put in pleated shades. In keeping with the vintage look of the kitchen, I ordered a Waverly plaid that was printed in yellow, blue and green to make valances. We have green and yellow on the walls and I just put a 1950’s formica table in the eating area. It is gray with turquoise trim and the chairs have turquoise vinyl on the seats. I love pulling all of the colors together with these valances. I made a valance for each of the four kitchen windows. Hopefully we will be up there working on the house over spring break so I can hang these soon.

image

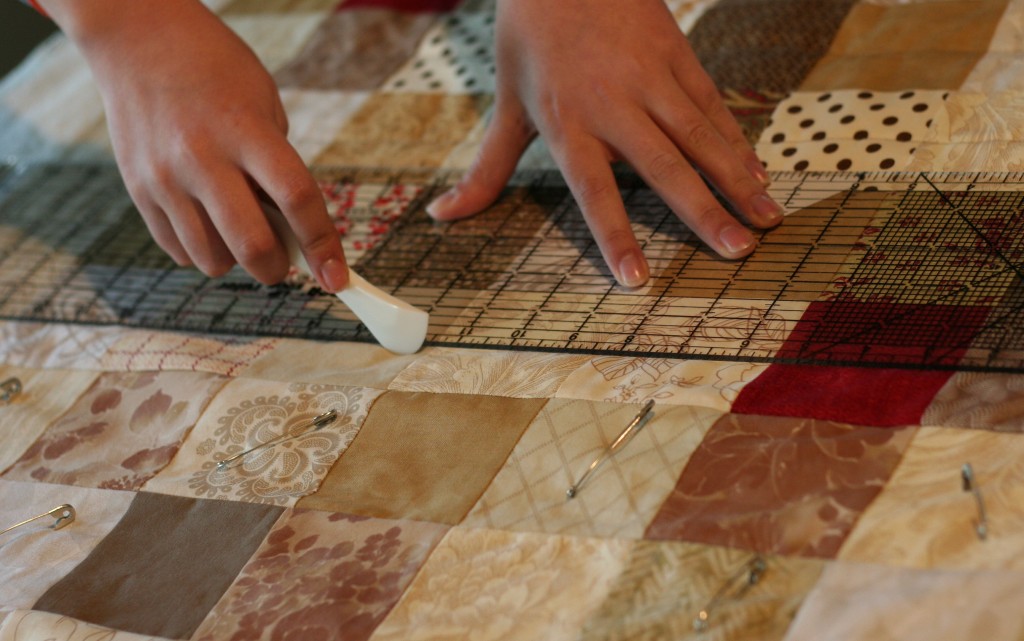
I’ve also worked a bit on the quilting for the neutrals quilt. I have a newfound appreciation with my Hera marker (which is made by Clover). I bought this (inexpensive) little tool months ago and each time I use it, I am so impressed by it. If you don’t have one, this tool is used to mark lines for quilting. No worry about removing ink or chalk after you sew. It is so cool. I have been marking the lines on the neutrals quilt with it.

image

The lines aren’t always easy to see. But the indentation left by the Hera marker is enough to guide me along. I don’t mark more than two lines at a time because the indentation doesn’t last very long. If you mark a line and don’t like what it looks like, a simple spritz of water (lightly sprayed) will remove the mark, as will smoothing the fabric with your hands. I don’t know that I would rely on this for intricate marking, but for straight lines it works great. If you want a quick tutorial on using a Hera marker here is a brief video – though it is so simple, not much instruction is needed.

image

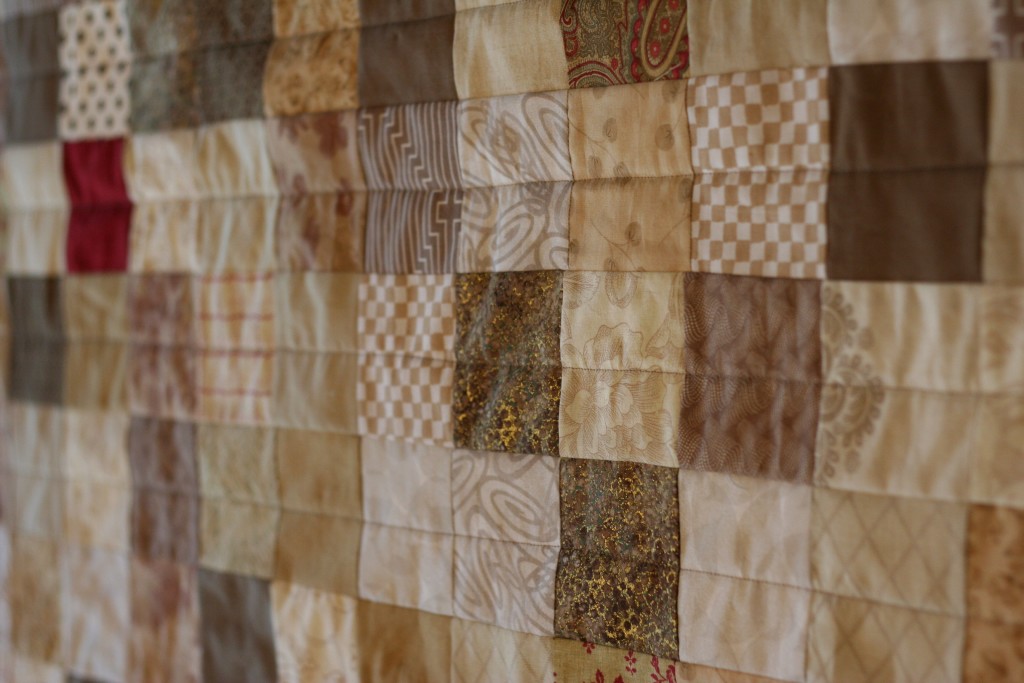
I am quilting down the center of each three inch square and when I finish this direction, I will quilt down the center, going the other way.

image

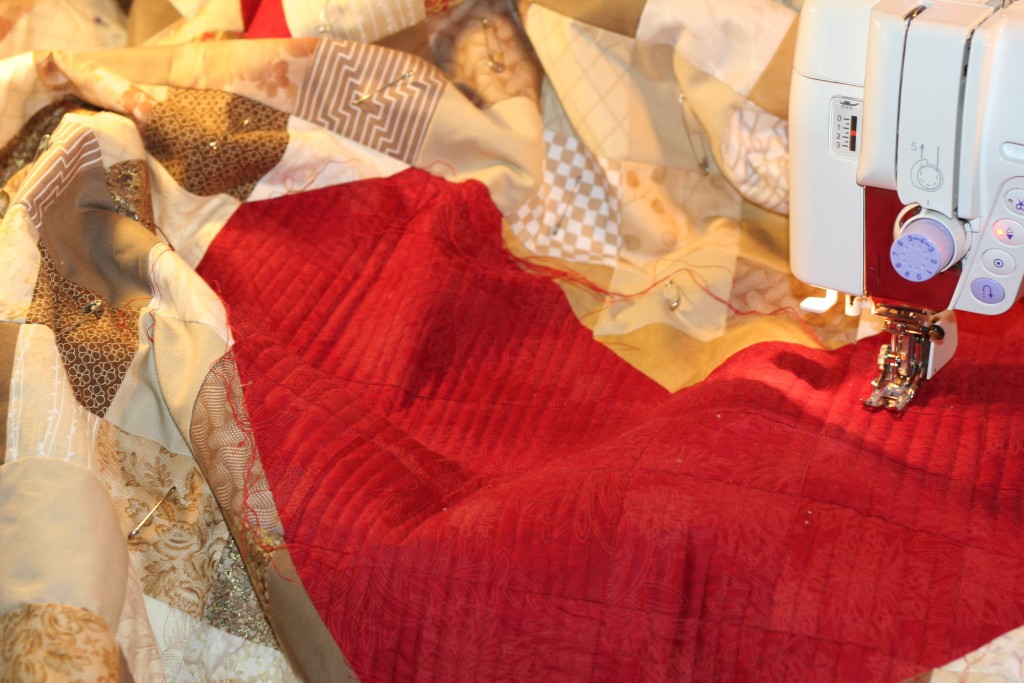
For the heart I used lines that were much closer together. I didn’t mark these, just used the edge of the walking foot to judge the distance. It seems to solidify the heart, almost removing the lines of the patchwork. Looking good so far. Should make my (ALYOF) goal of completing this quit in March. Yahoo!

I was lucky enough to have one of my sisters here for a couple of days to visit this week. What a treat. Even better, her son was also here briefly. My nephew and his wife live in Japan which means I don’t see him very often. We used to live next door to each other when the kids were growing up and I miss having them around all the time. Family visits are the best. That’s the update for the past week or so. Hope everyone is doing well and spending some time with at the sewing machine and some time hanging with family. Best of both worlds!

Linking to Freemotion by the River and Let’s Bee Social. As always, links to these sites are available at the top of the page, under Link Ups. This post is also linked to Stephanie and Michelle at Late Night Quilter for Tips and Tutorials Tuesday.
Relax

Yay for Fridays! I haven’t worked outside the home for the past three years but Fridays still feel good. Maybe not as much of a relief as when I was working but they still give me bit of a thrill knowing that the routine relaxes. No school for Julia, no work for Ray – family time. Hope you are all looking forward to the weekend.

Back when the new year started in January, there were posts flying around suggesting that people select a word to focus on as a way to give a theme to the year. After a brief internal debate over what incredibly important, intellectual and philosophical word would be good for me, I settled on “relax”.  If I could have had two words, it would have been “relax already”, as in get.over.it! I am fairly certain no one worries as much as I. If there is something to fret about, I will do so. Actually, even if there is nothing to fret about, I will do so. Enough already. I cannot count the number of times that I have freaked out over something only to experience it, or get through it, and think to myself, oh – that wasn’t as bad as I expected. So, my new motto – just relax. I have been telling this to myself on a fairly regular basis over the past couple of months. It seems to be helping. Plus it gave me an excuse to buy this cute panel with alphabet letters and create a little bunting.

imageIsn’t that great? I have it hanging on the headboard of the guest bed which is in my sewing room. In complete honesty, I took a close up shot of the bunting because there is such a mess piled all over the bed. I’ll be honest about it but that doesn’t mean I will post a picture of it for all of the internet world to see.  🙂 I like the bunting and it is a fun reminder of my 2015 word. Plus it makes sense to have it above the bed. Kind of inviting – or it would be if one could actually see the bed beneath those letters.

This week was mostly focused on Etsy product for my shop but I did make good progress on my neutrals/heart quilt. Now that I added the heart, I don’t know what to call it.  I should finish piecing it in a couple of days. Check this out though.

imageI am really liking it.

imageIt is going to be a gorgeous weekend. We will be working on the house on the river that we bought last fall. (I wrote about that here, in case you are curious.) New windows were put in today. Julia and I will work on the teeny tiny yard tomorrow. It is coming along nicely.

Hope everyone is well and happy and relaxed!

Linking to TGIFF, Confessions of a Fabric Addict, and WIDTW at SewStitchingCute.


Finish for the Week

This week seemed to just buzz by. Actually, time just seems to buzz by in general. Not much can be done to slow it down though. After a ridiculously dry January (.05″ of rain instead of our 11″ average) we are supposed to have a stormy weekend. I am looking forward to the rain, maybe as much as 4 inches will fall over the weekend.. The weather gurus on the news keep saying that this will not impact the drought and we are still in deep trouble for this coming summer. (This is mainly because it is too warm and we aren’t getting any snow. The snow pack is a huge source of our water later in the season.) Well, be that as it may, any rain is going to help. The news can be such a buzz kill….

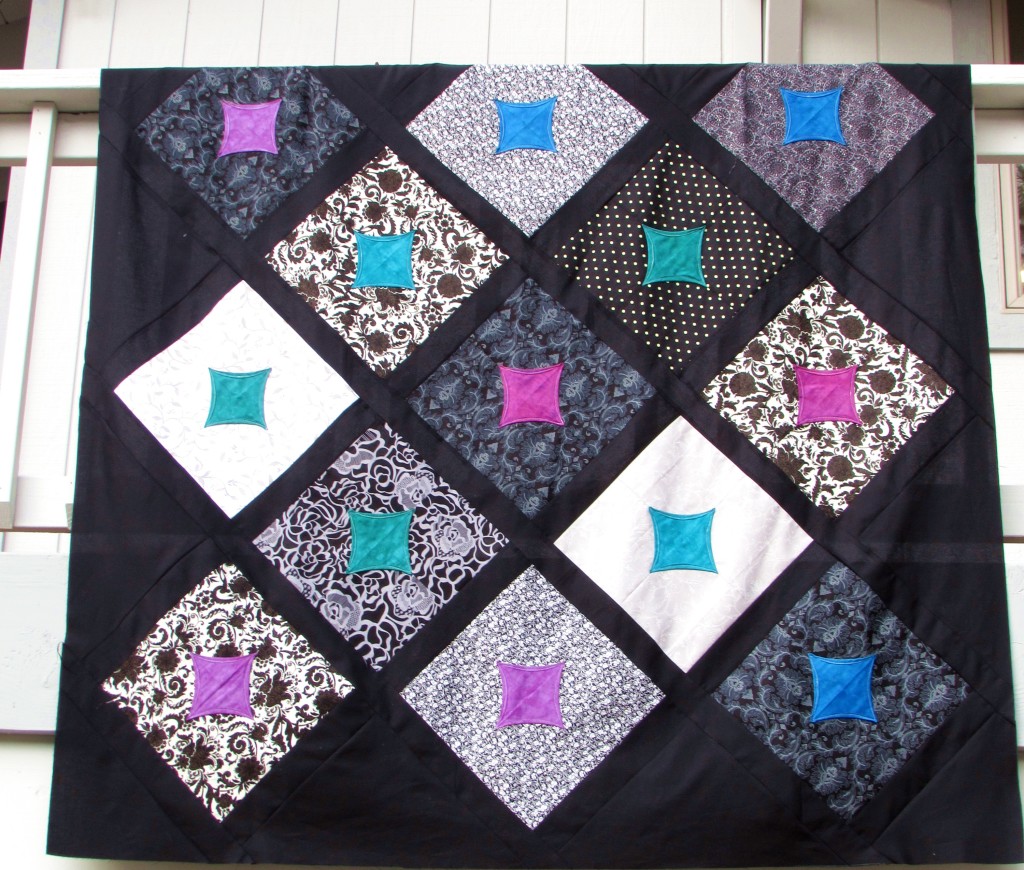
Had a few nice finishes this week. I am working on a quilt for a donation to my daughter’s middle school. Got the quilt top done!

IMG_20150205_2848


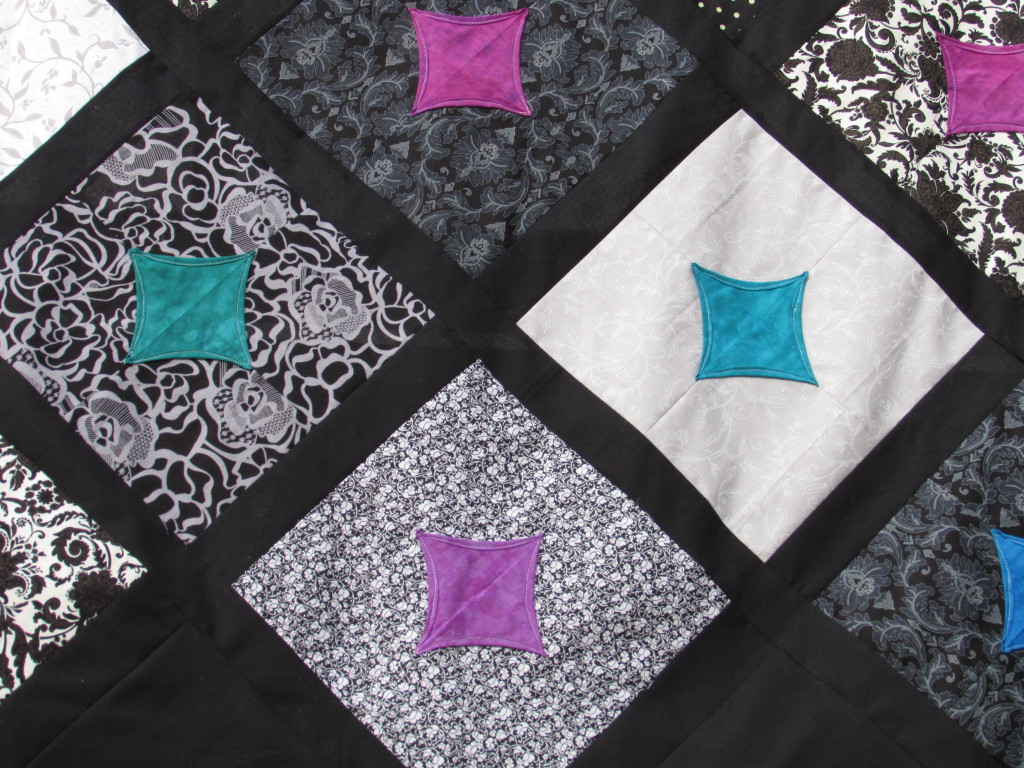
I was really not liking these blocks. They look better now that they are framed with the black and set on point. I made the sashing fairly wide to add some size to the quilt. It is a lap quilt and measures 58″ x 58″ now.

IMG_20150205_2850

Not sure that the process for making these blocks is all that special. It is called the “ten minute block”. The best part of making them was timing myself to see if I could do the block in ten minutes, which I could. (Gotta find the fun wherever possible!) However, the finished block is a bit boring. If using only one fabric for the background of the block (like I did) then couldn’t the same effect be achieved by cutting a 12 block of fabric and just using applique to put the center accent on? It would be less work than cutting the five pieces that it takes to may it as shown in the “ten minute” block tutorials. If you are using different colors to make the 12″ block then the “ten minute” system makes more sense. (It also makes the blocks more interesting. Probably should have mixed it up a bit on these.)

At any rate, the quilt top is done. I have backing fabric ready to go. A trip to my LQS is in order for the binding, which is always a good thing!

I am trying something new! I signed up for my first mini quilt swap on Instagram. I have been reticient to do this. When I see the pictures that people are posting for their mini quilt swaps, it is so intimidating. Some of these are just gorgeous. The ten year old me rears her head in fear that whatever I make just might not be “good enough”. Oh well, I smacked her down for once and signed up anyway. 🙂  I got my partner assignment this morning. I am really excited about this project. The quilt has be be between 16″ and 20″ in size and must be shipped to my partner in early June. At least I have some time to decide what I want to make.  It is an Alison Glass swap so the fabric used must come from one of Alison’s lines. She has such gorgeous fabric so that will be fun to choose.

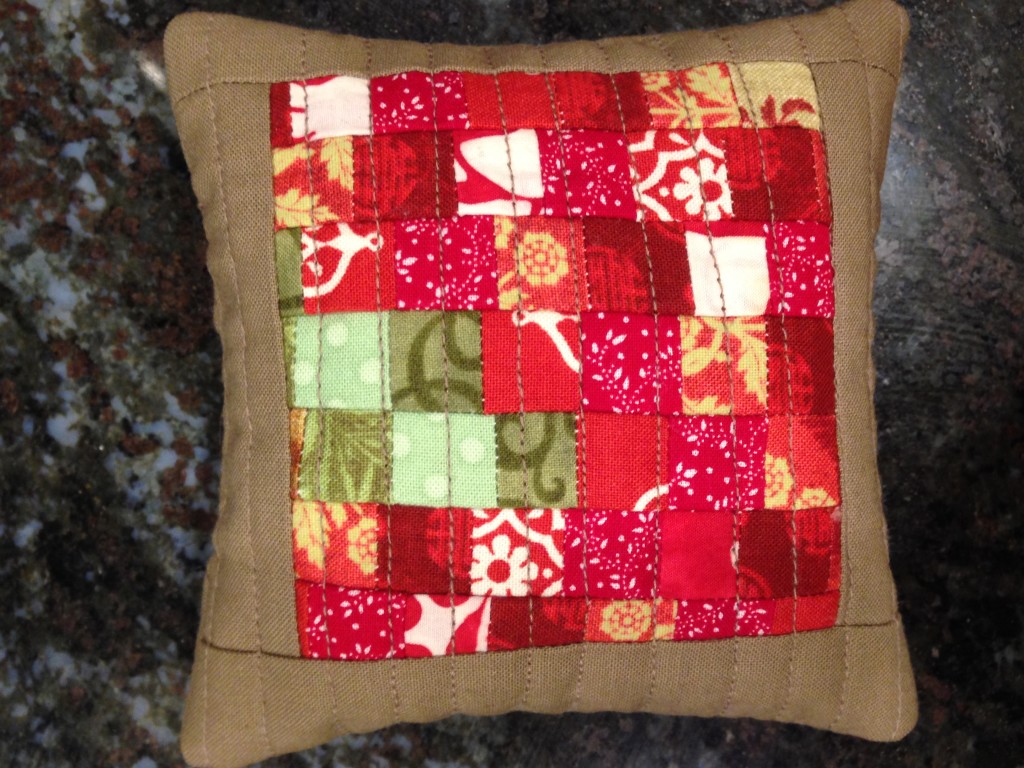
Finally, my heroine, Amanda Jean at Crazy Mom Quilts, posted some cute pictures of pincushions that she had made last week. I loved them and immediately started digging through scraps. I found a little piece that was leftover from the center of a mini quilt that I did last year, Garden Patch. It made a sweet center for the cushion. It is about 4″ square and I filled it with crushed walnut shells which gives it a nice heft. I love it!

IMG_1765


I will be using the donation quilt shown above as my ALOYF goal for February. It is the obvious choice since I have to give it to the silent auction committee by March 1st. Also linking to a new linky party, Show Off Saturday, at Sew Can She.  Be sure to check this party out along with the others!

Linking up with Connie at Freemotion By the River, Lorna at Let’s Bee Social, and Amanda Jean at Crazy Mom Quilts. The links to all of these quilting queens are listed at the top of this page, under Link Ups.

Happy Thanksgiving!

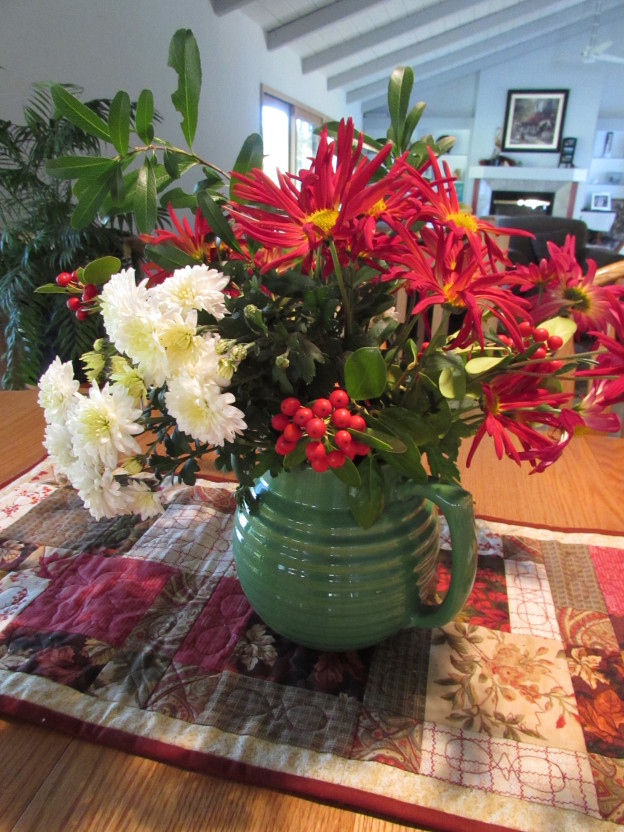
I just picked the last of my mums and have enough for the table. The flowers are now finished until the rhodies and azaleas come to life in about February. We are getting ready for Thanksgiving tomorrow.

Today is a baking day. Thanksgiving will be up at my mom and dad’s home this year. Two of my five sisters, their kids and grandkids are coming to celebrate. I love this holiday. It is probably my favorite of all of them. It is a day to enjoy family, eat wonderful food and visit, visit, visit! What better way to enjoy a holiday! I have been assigned dessert so Julia and I are making two kinds of fudge and a Chocolate Mousse Cheesecake (a layered deal that looks amazing.) I am also bringing the Cranberry Sauce and have a recipe that I love making each year. It is very simple.  Just in case you are looking for something new to try (could be for Thanksgiving or Christmas), here is the recipe. (I have had this clipping from a Bon Appetit magazine of years ago.)

Spiced Cranberry Sauce with Zinfandel

  • 1 3/4 c red Zinfandel (or any rather sweet red wine)
  • 1 cup white sugar
  • 1 cup packed brown sugar
  • 6 whole cloves
  • 6 whole allspice
  • 2 cinnamon sticks
  • 1 large strip of orange peel
  • 1 12-ounce bag of fresh cranberries

Combine all ingredients except cranberries in medium saucepan. Brting to boil over medium-high heat, stirring until sugar dissolves. Reduce heat and simmer until reduced to 1 3/4 cups, about 10 minutes. Strain syrup into larger saucepan. Add cranberries to syrup and cook over medium heat until berries burst and sauce slightly thickens, about 10-12 minutes. Transfer to bowl. Cover and refrigerate until cold. (Can be made up to 1 week ahead. Keep refrigerated.) This is soooo yummy plus your house smells delicious when it is cooking!


I have so much to be thankful for. All the simple things – my husband, kids and my amazing family, a home that I love in a community that I love, good health, good friends and, yes…. two sewing machines!! Not only that, I am also thankful for this quilting community that I so enjoy. 🙂 I am grateful! I hope all of you are feeling as fortunate. It feels good to remember how very much we have to be thankful for.

As far as sewing goes, this week was not entirely productive. We were gone last weekend and with the holiday, this is a short week. Also, there’s some procrasination going on here. I have not one or two, but three quilt tops that are finished and ready for quilting. I have to be in the mood for quilting – it takes a lot of focus for me. Probably because I don’t have tons of experience so it doesn’t just come automatically to me. Anyway, I haven’t been in the mood.

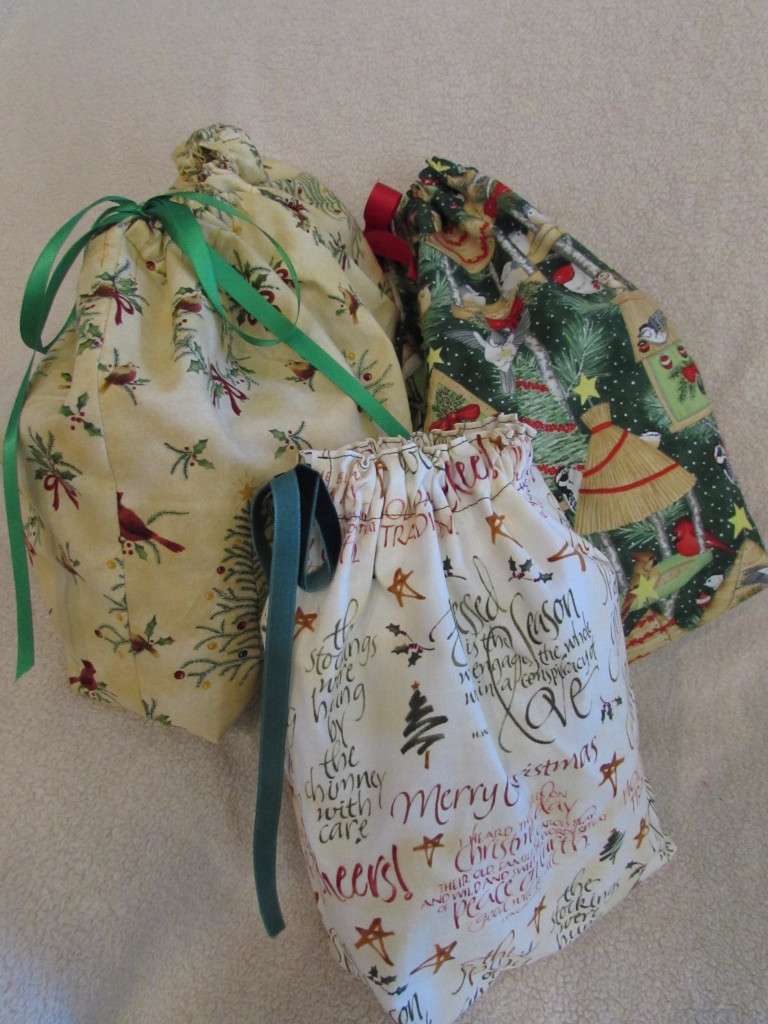
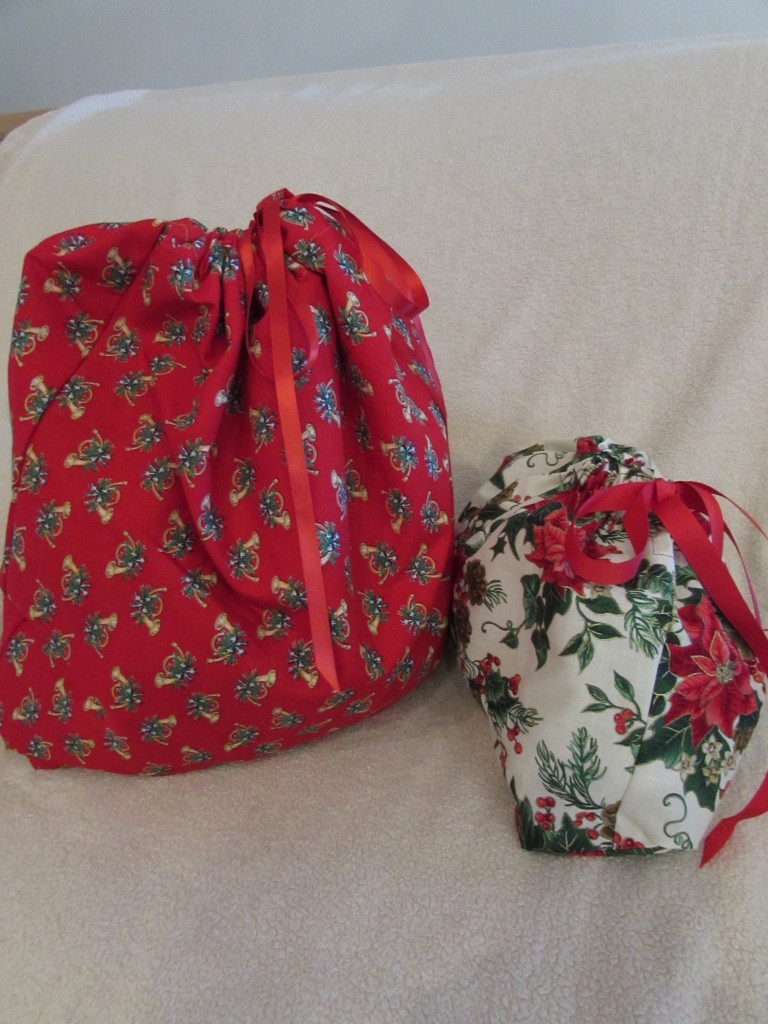
In the interest of avoiding all the quilting that needs to be done, I decided to make some drawstring bags to use for Christmas wrap. This will avoid some of the huge amount of paper waste that comes with Christmas morning. I can put them away and use them year on year.

I have a drawer full of Christmas fabric. All sorts and sizes of holiday scraps. I pulled out anything that was of decent size, ironed and squared them up. Sewing them into drawstring bags took no time at all. (If you haven’t made anything like this, there is a quick tutorial on www.diaryofaquilter.com. Amy Smart does it again!)

20141126_2090

Aren’t these cute? Fun to use up these scraps and a great way to put off quilting the three quilts that are staring me down.

20141126_2094

Wishing everyone a wonderful, safe holiday.

Linking to: Sew Cute Tuesday and Let’s Bee Social. As always, links to these sites are located at the top of the page, under Link Ups.
Mini Design Board

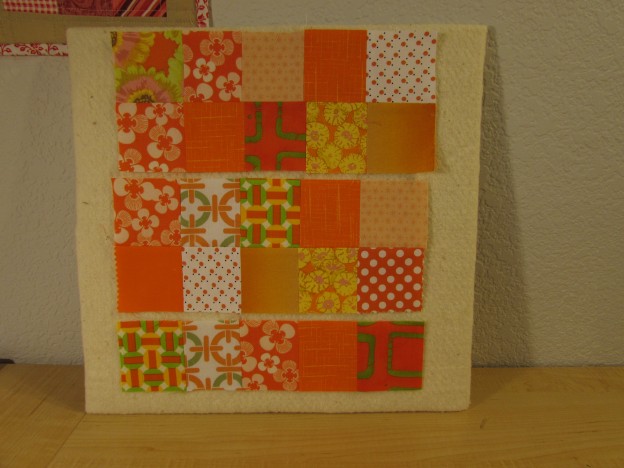
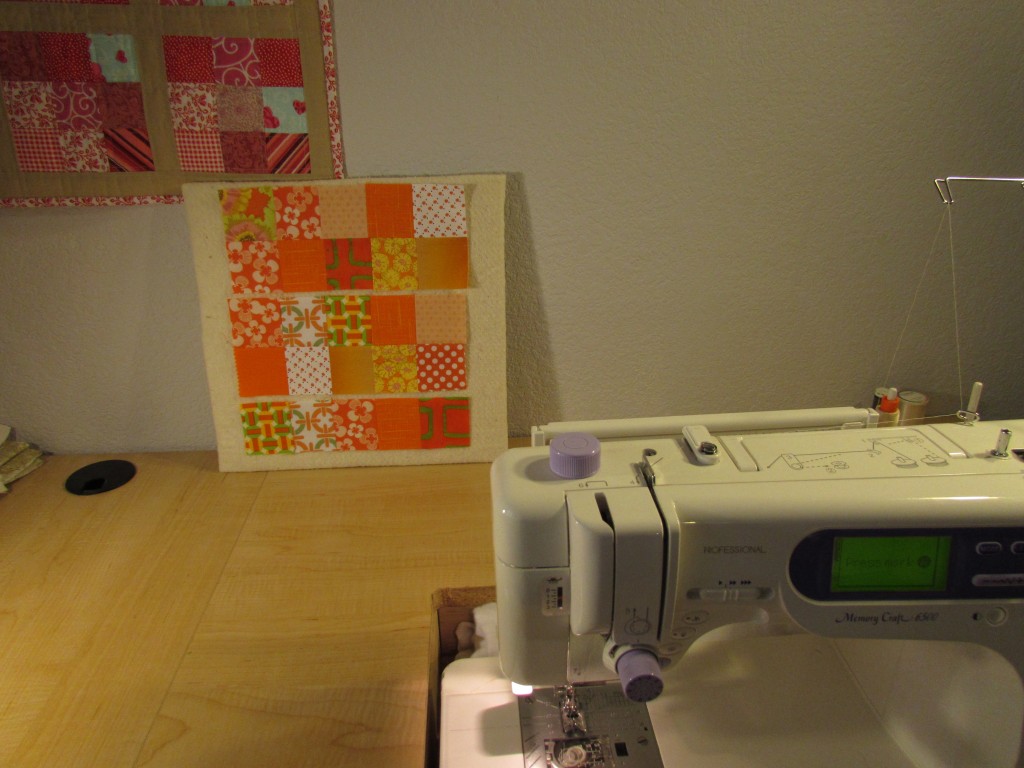
I currently have a very fancy, high tech design wall consisting of a large piece of thick cardboard covered in white flannel.  I then used high tech push pins to hang it on the wall.  It works great but is across the room from the sewing machine. There are times when I am playing with piecing a block and want to then carry the block to the sewing machine and piece it in the order. it is laid out. I haven’t always been very successful in stacking the pieces and then sewing them together. Better for me to have it laid out in front of me. So I made this little guy.

20141022_1970

To illustrate the ease of this little project, I assembled this while talkiing to one of my kids this morning. I love talking to my boys on the phone (none of them live at home or we would talk in person.)  🙂   Today my youngest called me to talk about his rotten day at work. He is working his first job out of college and quickly learning the joys of managing a large team.  During the 26 minute conversation I made this little design board.  I had to put him on speaker so I had my hands free. The pictures aren’t great but just in case they are of any help to you. This is how I did it.

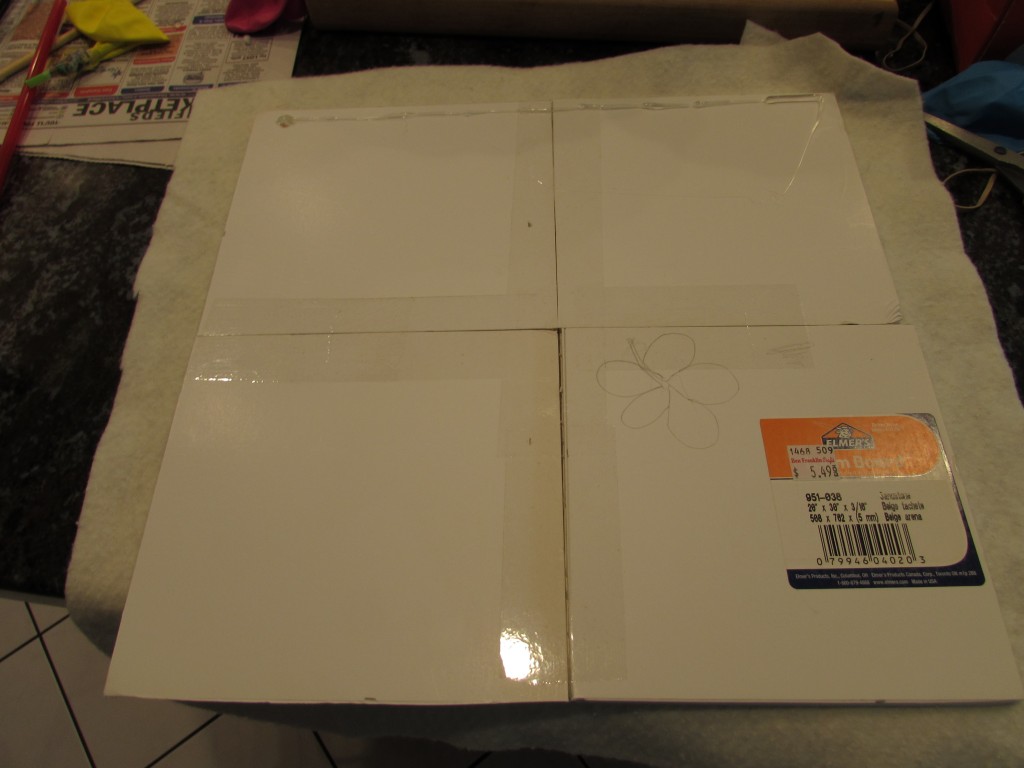
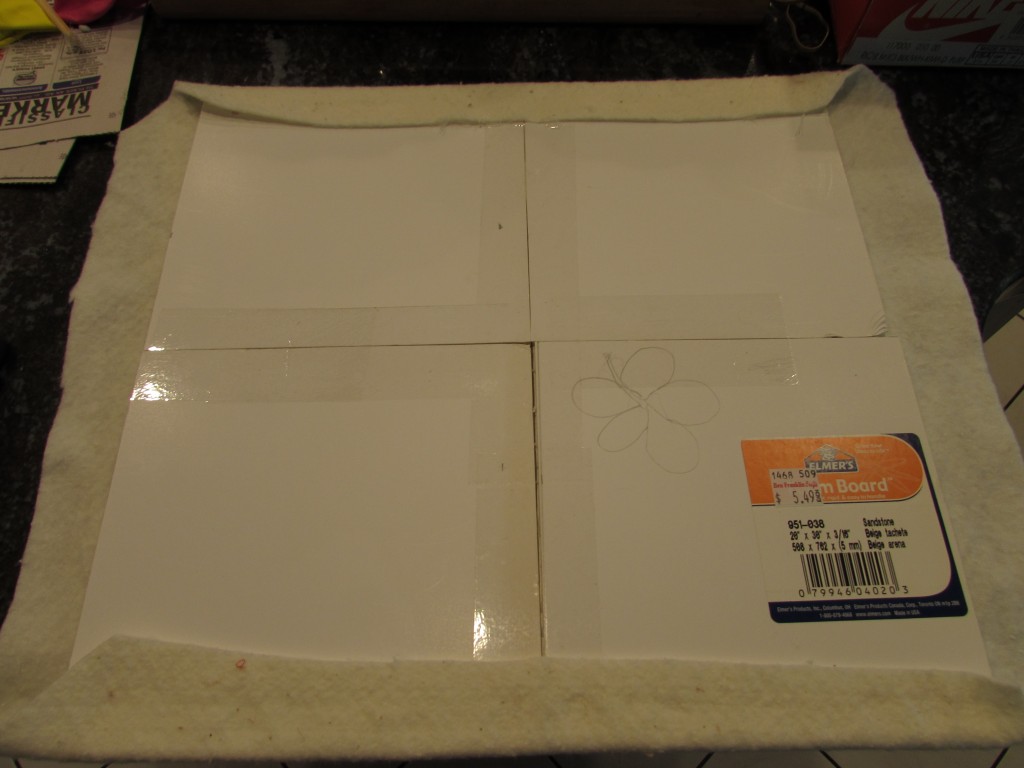
First took some scraps of foam core board (remember I recycle everything and have a bag of scraps from my daughter’s school projects) and taped them together.  It was roughly square which is good enough for non-perfectionist me.

20141022_1965

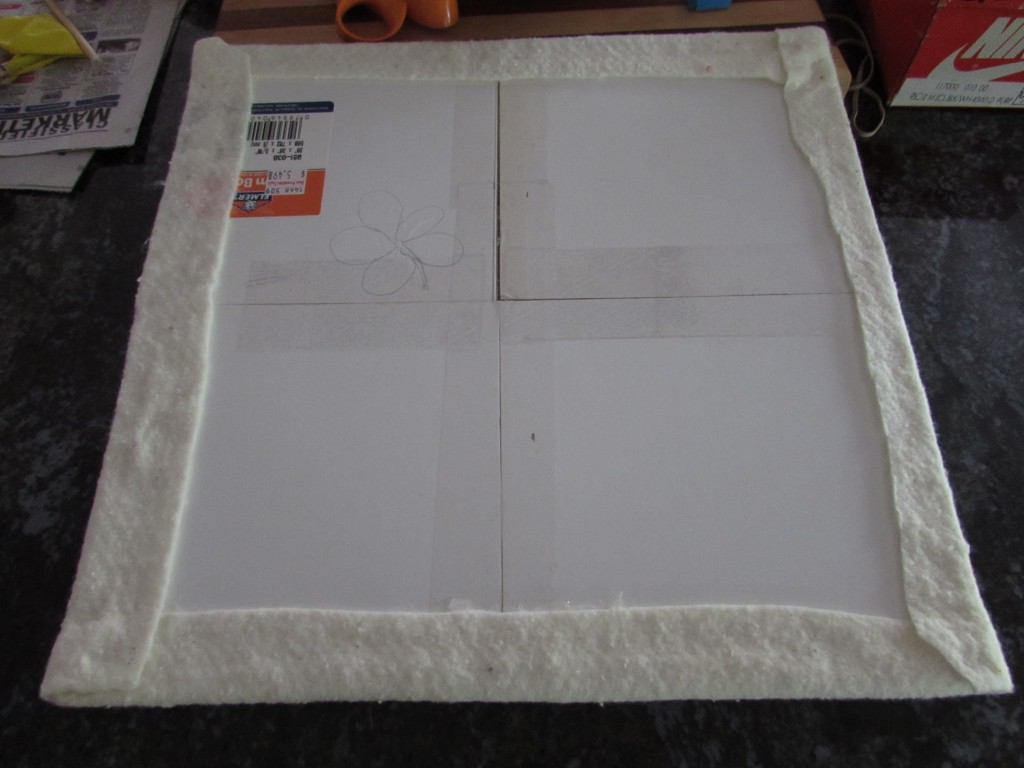
I found a piece of batting that was just a bit larger than the square. Using hot glue, I pulled the edges tightly to the back and glued them down. I did trim the bulk off of the corners to minimize the fabric in the corner fold.

20141022_1966Like I said, I am not a perfectionist so I didn’t trim the batting to be straight.  It doesn’t matter. Once all four edges are glued down you are done. Hmmm, if I get fancy, I might hot glue a square piece of fabric over the back, covering the raw edges and the taped board. Just thought of that!

20141022_1968Flip it over and you’re good to go.

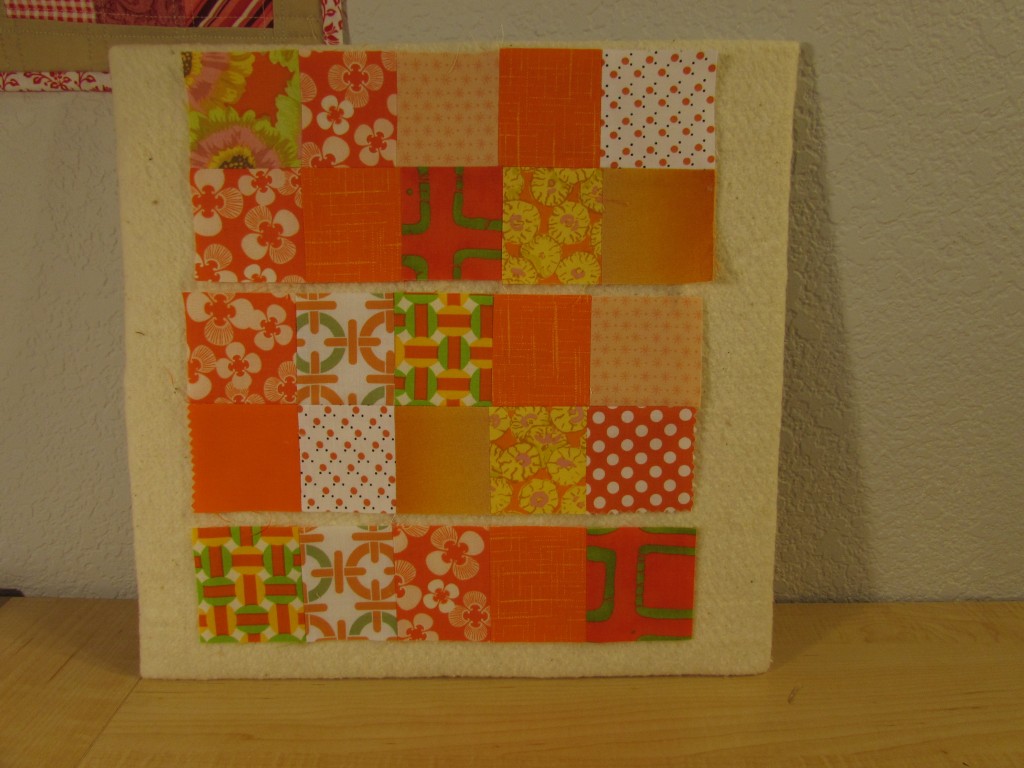
20141022_1969The board measures 14 x 14″. I can prop it up right by the machine to piece a block. Here is another orange block for the Rainbow Scrap Challenge I have been working on. Look closely.  See the error in this layout? You would think with my handy new board this wouldn’t have happened! Didn’t catch it till after I sewed it together.  Dang it.  I hate ripping a seam out.   😉

Linking to Lets Bee Social and Needle and Thread Thursday. Links to these sites are up at the top of the page under Link Ups.

A Very Quick Friday Finish

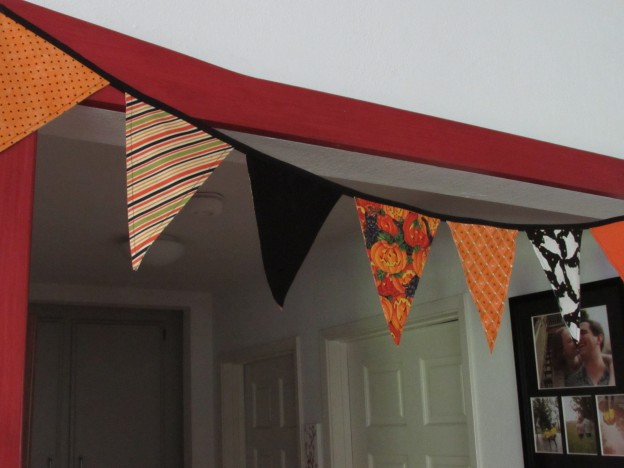
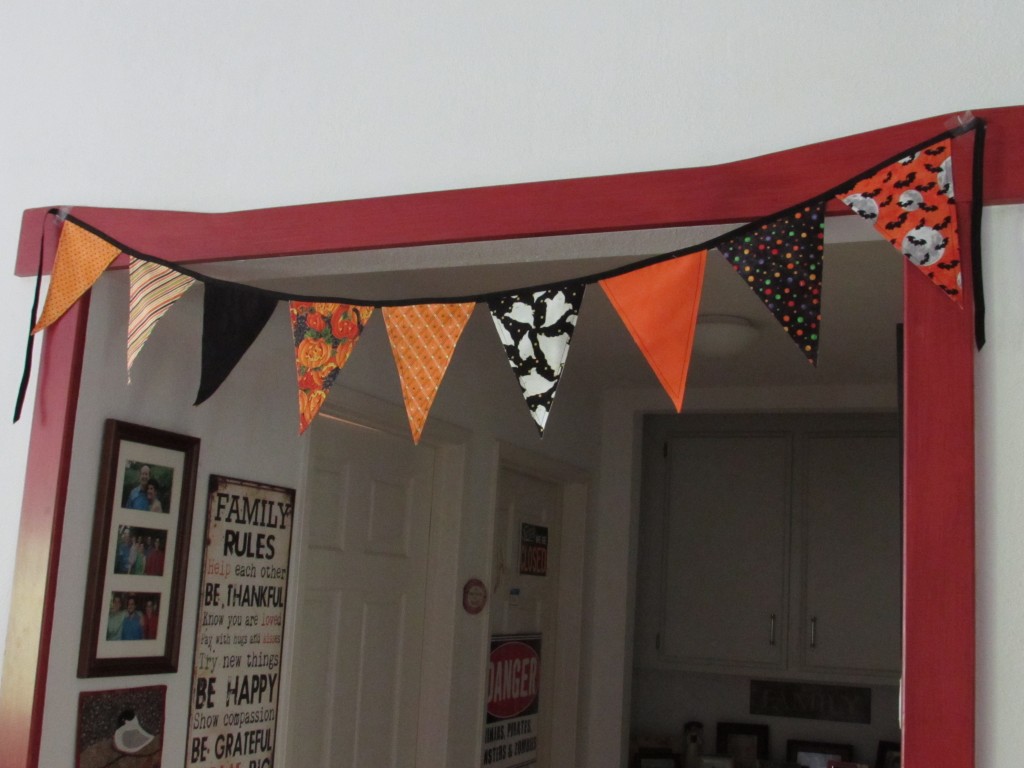
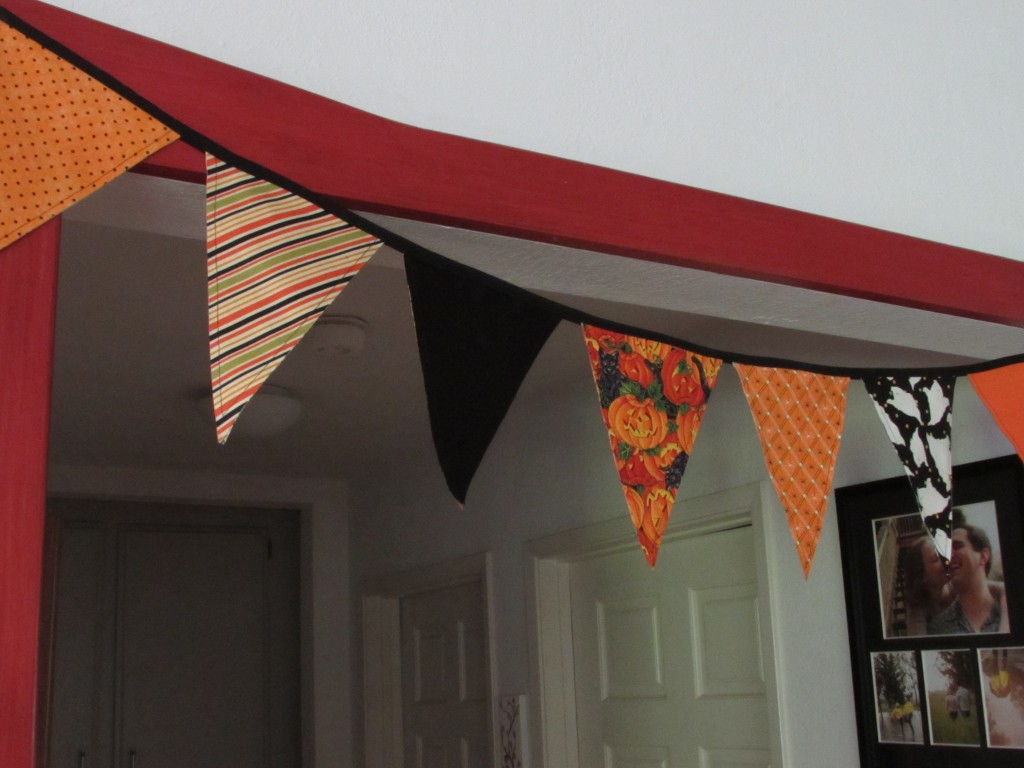
This afternoon I was checking out some of the blogs I follow.  One of which is Kati’s blog, www.fromthebluechair.com. Her latest post talks about making some autumn decorations for her house.  I liked the idea of the little Halloween bunting she made up.  It was so cute and clearly a quick project to whip up. I bought some Halloween fat quarters for 50% off last year after the holiday was over. (I will almost always grab some novelty fat quarters after each holiday. They are always a bargain at that point. That way I have some if I need – read want – them.) Already having a bunting template from the holiday banners I made, it was a breeze to cut these little flags out.

20141009_1801

I stitched the flags wrong sides together and then just encased them with a piece of double fold black seam binding that I had in the sewing junk drawer – where you will find a plethora of old ribbon, hem tape, seam binding and elastic.  Never know when it will come in handy, like today. (The door with the ‘DANGER’ sign and the ‘Sorry we’re CLOSED sign’ is my 13 year old daughter’s.  Need I say more?)

20141009_1802The points curled after I sewed the two sides together. I starched the heck out of them which helps a bit.

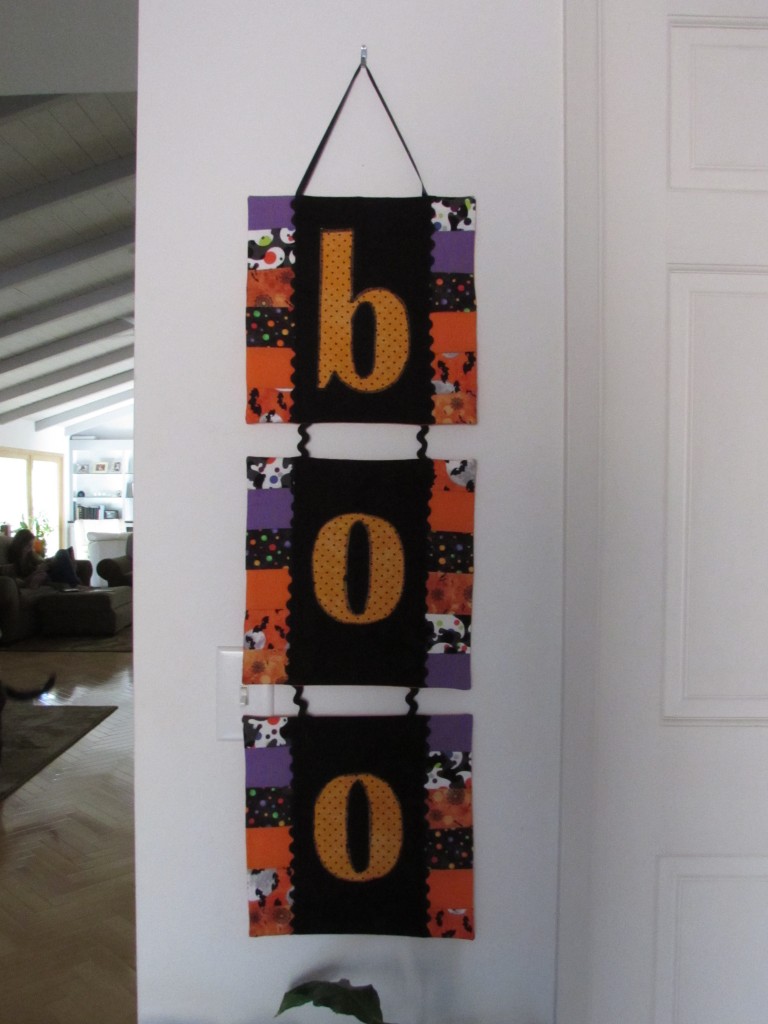
I am not big fan of orange but it’s October.  October is all about orange.  Last year I made this little flag.  I love it.  I intended to give credit to the website that I copied it from but I can’t remember where I found it. I know it was through Pinterest but somehow it is not on any of my boards any longer. So, whomever had this posted, you get the credit. I certainly didn’t make this one up. I like it though – even if the rick rack isn’t as straight as it could be between the two “o’s”. I had made this days before Halloween last year so it was only hung for a couple of days. Halloween decorations are usually taken down by about November 2nd.  They aren’t my favorites.  😉

20141009_1800

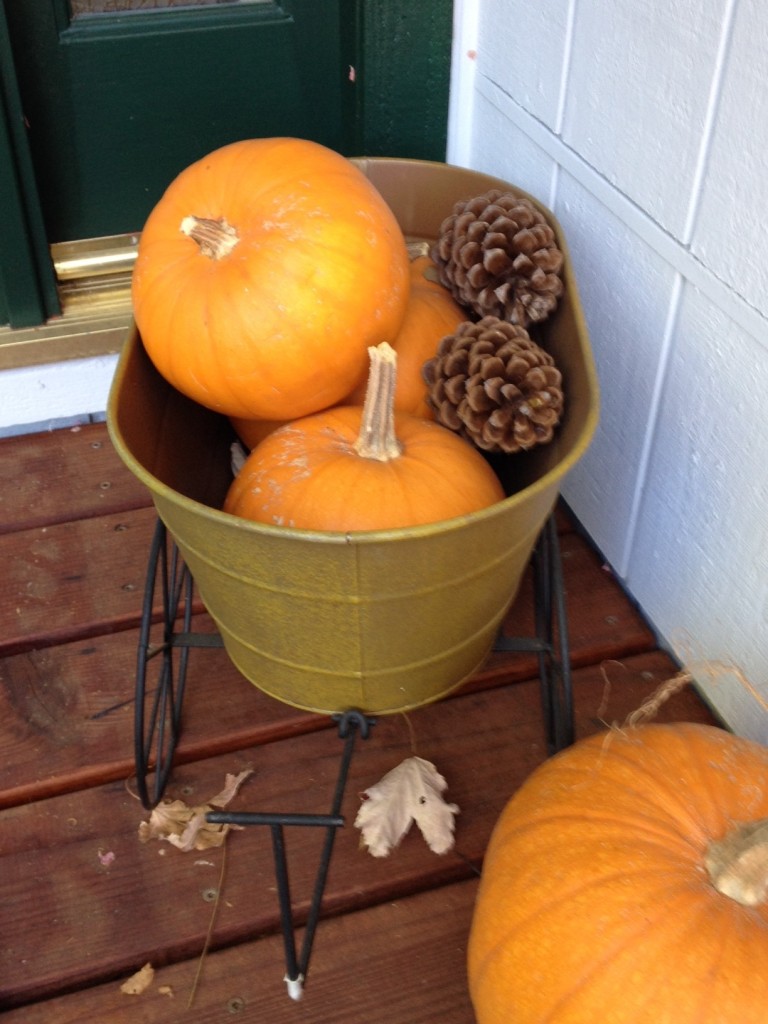
Except for the pumpkins.  I do love the pumpkins.  We grew these out in the garden this year.

photo (12)

Linking to:  Needle and Thread Thursday, TGIFF, Finish It Up Friday at Crazy Mom Quilts, Confessions of a Fabric Addict – all of these wonderful sites have links posted at the top of this page, under Link Ups.

Paying Homage to High School Home Ec

Growing up, I used to sew a lot of my clothes.  Even as an adult I made clothes for myself as well as my kids.  Since I have been spending so much time quilting over the past several years, I haven’t done any garment sewing for a long while.

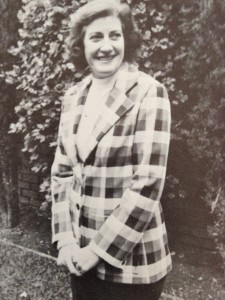
I mentioned in an earlier post that I started sewing when I was in 7th grade. My mom taught me to use the sewing machine and cut a pattern out. Because I went to a small parochial school through 8th grade I didn’t have any home economics classes during junior high school.  Once I got to high school we had all sorts of Home Ec options. I took them all. Let’s face it.  Home Ec was an easy elective. I loved to sew and this class beat Spanish, History, Math and English any day. My sewing teacher was fussy, really fussy (or at least she seemed like it to 15 year old me). She was forever making me rip seams out and fix my errors. The nerve!  I suppose she had to be tough on me. I was a lazy seamstress. I can remember, on multiple occasions, sewing the sleeves in the armholes backward.  The pattern companies try very, very hard to help the seamstress avoid doing this by clearly marking the sleeves with those small and large arrows.  Match the arrows and you are golden.  Sloppy cutting leads to a vague arrow and, hmmmm, which one matches to which?  More than once (probably more than five times!) I got it wrong,  resulting in my shirts having the cuffs on upside down so that the buttons were on top of my wrist.  This didn’t honestly bother me.  My go-to solution was to wear the shirt with the cuffs rolled up. I was going for kind of a casual, sporty look. My teacher, Mrs. H, was not ok with my sporty fashion.  It is really a pain to take the sleeves out.  Not a lot of fun. The lazy 15 year old that I was could usually circumvent this task by finishing the project without letting her see it in progress.  My grade was lowered but at least I didn’t have to rip the sleeves out. We usually had to turn in our projects along the way and it was so irritating to get something back with a veritable list of errors that needed to be fixed. Looking back, I will admit if it wasn’t for Mrs. H and her pickiness, I wouldn’t have learned to sew; or at the very least I would have been wearing lots of shirts with the sleeves rolled up. I found her picture in my yearbook from my sophmore year of high school.

mrs HI haven’t looked at a high school yearbook in many years – at least 20. I remembered Mrs. H as being old. When I was in high school I am sure I thought of her as old. Now that I look at her  picture, she doesn’t look all that old. She was probably in her 40’s? My perspective has changed some 38 years later. I bet anything she made her plaid blazer!

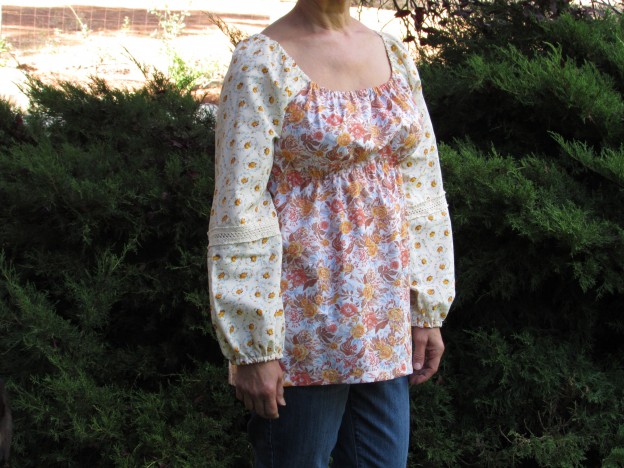
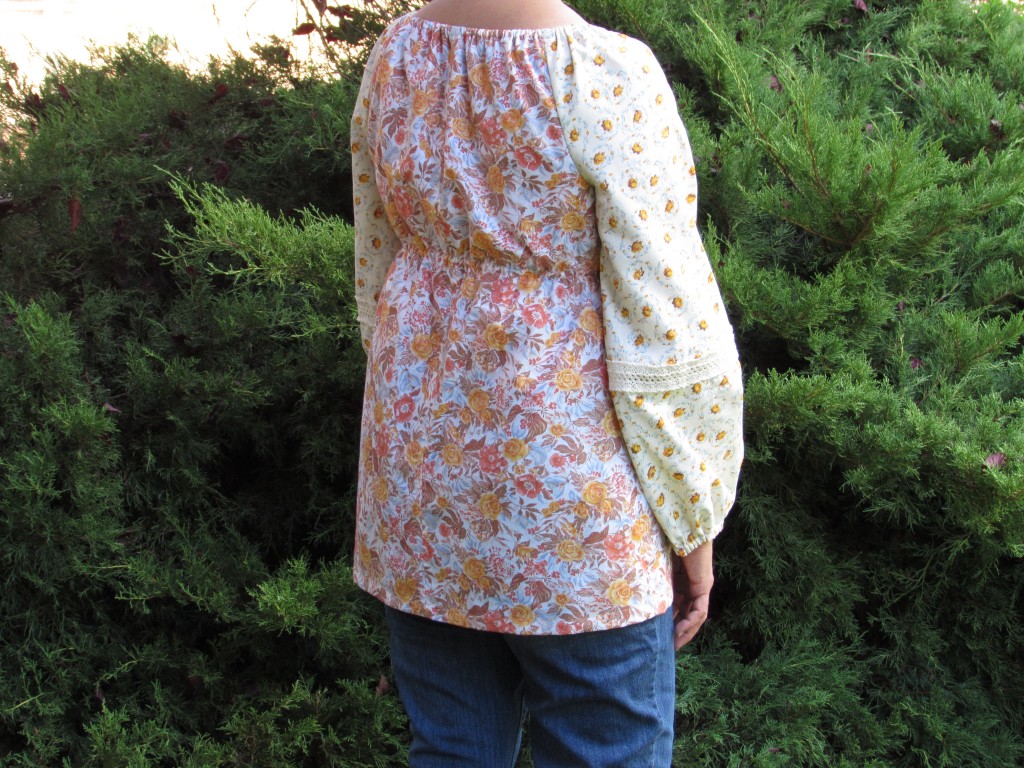
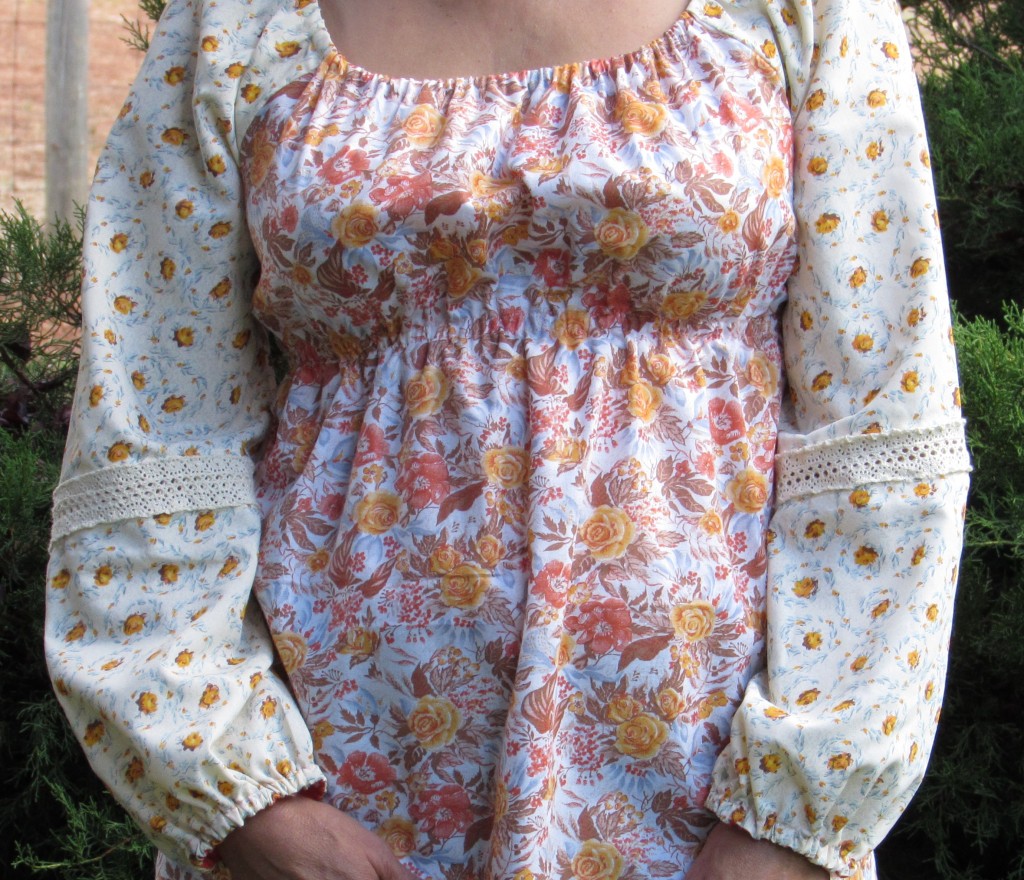
OK – moving on. I had a hankering to make something that was not-a-quilt.  Anything really.  I poked around the fabric in my sewing room and decided to use these two vintage pieces that I bought a while back. I played around with them and decided to make a blouse – my vision was something kind of bohemian or like a peasant blouse. The vintage prints made me think of peasant blouses, the 1970’s, high school and Mrs. H.  One thing led to another and the whole time I sewed this blouse I kept thinking of what Mrs. H would have changed, commented on or corrected.  Lots of nostalgia going on in my sewing room over the past couple of days! First, let’s  take a look at the blouse. It turned out pretty but definitely would not have earned me an “A”.

Here are a couple of things that would have brought the grade down.  First of all, the sleeves. I did a french seam on the first sleeve but then got distracted and did a regular seam on the other sleeve.  The 15 year old me decided this was just fine.  At least one sleeve has a nicely finished seam. Two french seams? Overkill.

20140925_1752Another definite mark-down is the hem.  I didn’t use any sort of hem tape or blind stitch for a nicely finished hem. I am so sorry Mrs. H but I just didn’t feel like it.  I did a quick roll of the fabric and machine stitched the hem.  I know, I know, it should have been hand sewn and she would have knocked my grade for that but I am ok with a machine stitched hem.  Honest, it is fine with me.

20140925_1759Then there is the sleeve length.  I had this idea to cut the sleeves and put a cotton lace trim on them. That worked out nicely except that I didn’t measure the sleeve length correctly and they ended up almost-too-short.  The 15 year old me was not at all concerned about this.  She found some bright orange, single fold bias tape (that was probably purchased back in the 1970’s) and made a casing for the elastic so as not o lose any length on the sleeves by making a casing for the elastic.  If you look closely you can see the orange peeking out of the bottom of the sleeves. I feel this was probably a wash – Mrs. H would have been impressed with the inset cotton lace and irritated with the bright orange bias tape.

This was a really fun, sweetly nostalgic project.  Just for kicks, here is 15 year old me.  I cannot explain the hair except to say that my hair was never my best feature!  Also cannot explain the halter top on picture day. Remember, this was 1975. We got to wear halter tops to school. Times have changed!

hs pic

Linking to TGIFF, Finish It Up Friday, Link a Finish Friday and Confessions of a Fabric Addict. All of these wonderful sites are listed at the top of my page, under Link Ups.  Take a minute and check out these blogs. I love them all!  Have a good weekend everyone!