Category Archives: Sewing Projects

The Birthday Girls

Last weekend was the best. I mentioned in a post last week that five of my (six) sisters were coming for the weekend. No spouses or grandkids were on the guest list so Ray and Julia took off for Downieville for a couple of nights.

A few of my sisters and I, plus my parents, were in cahoots, planning a surprise birthday party for two of my sisters. Tina turns 60 this year and Alicia, the youngest, turns 50. When I look at that sentence, it doesn’t seem at all possible that the youngest in our family is 50. In my head we are all still 30-something. The passage of time is crazy hard to wrap my head around. We have always celebrated the 50th in a big way and we needed to do this for Alicia too.  We told Tina about the surprise for Alicia but we also (secretly)  planned a party for her. The surprise party was perfect – neither suspected a thing.

Trying to figure out a theme for Alicia’s 50th party, I came up with a “50 Shades of Gray” party. Not having ever read the book, I was going for the number 50 and the kind of raunchy theme that the the title implies. We agreed that the five of us would each bring ten gifts, some silly and some not, that were either gray in color or wrapped in gray/silver paper. That way she would have 50 gifts to open. It was so much fun to pick things out. Everyone went crazy with it. Lots of silly things and some pretty gifts too.

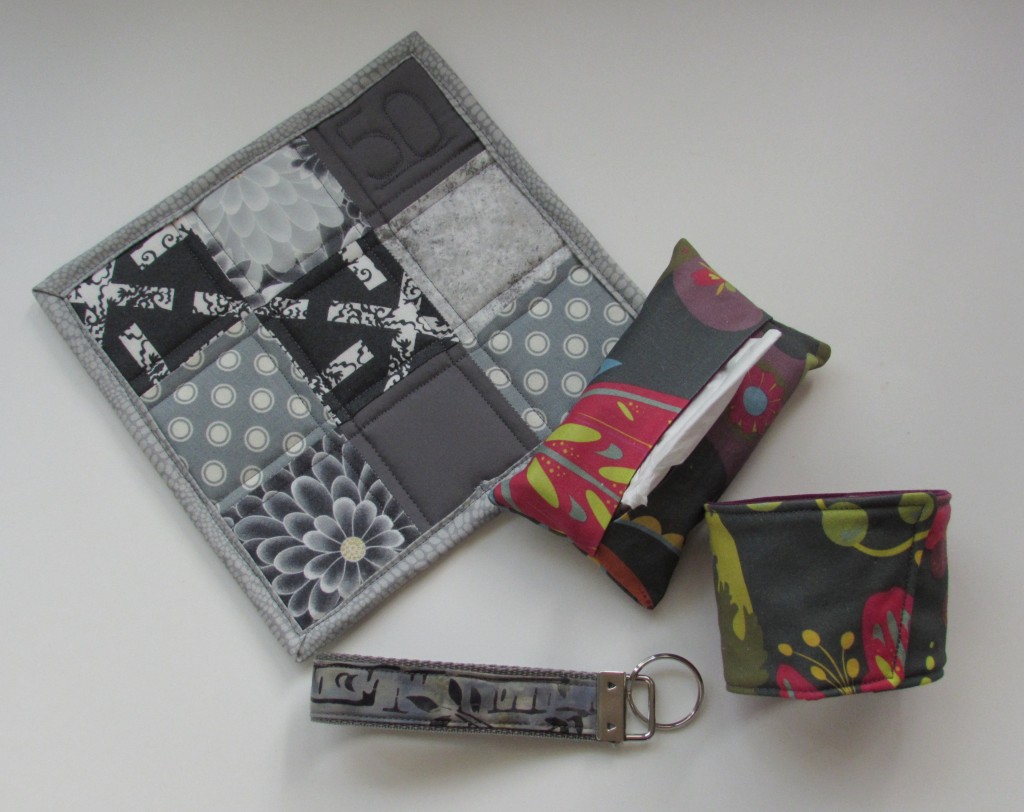
Being fabric obessesed, I headed for the sewing room and, digging through my gray scraps, made a few items.

IMG_20160302_4611

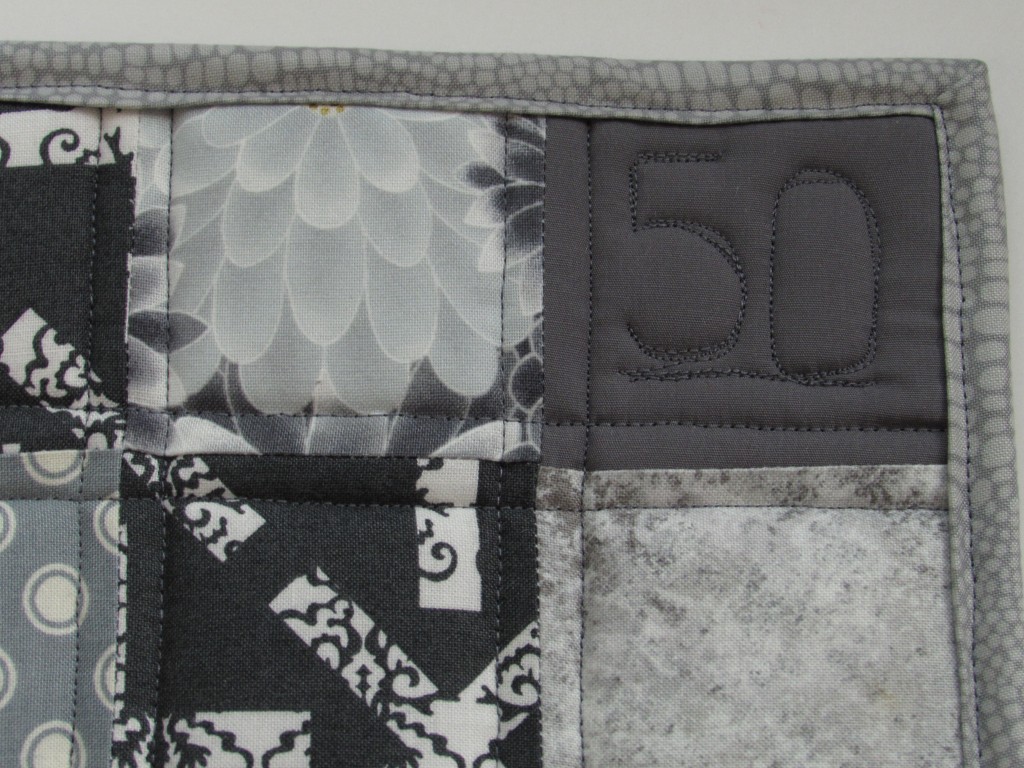
The potholder has a “50” FMQ’d into the upper right corner.

IMG_20160302_4613

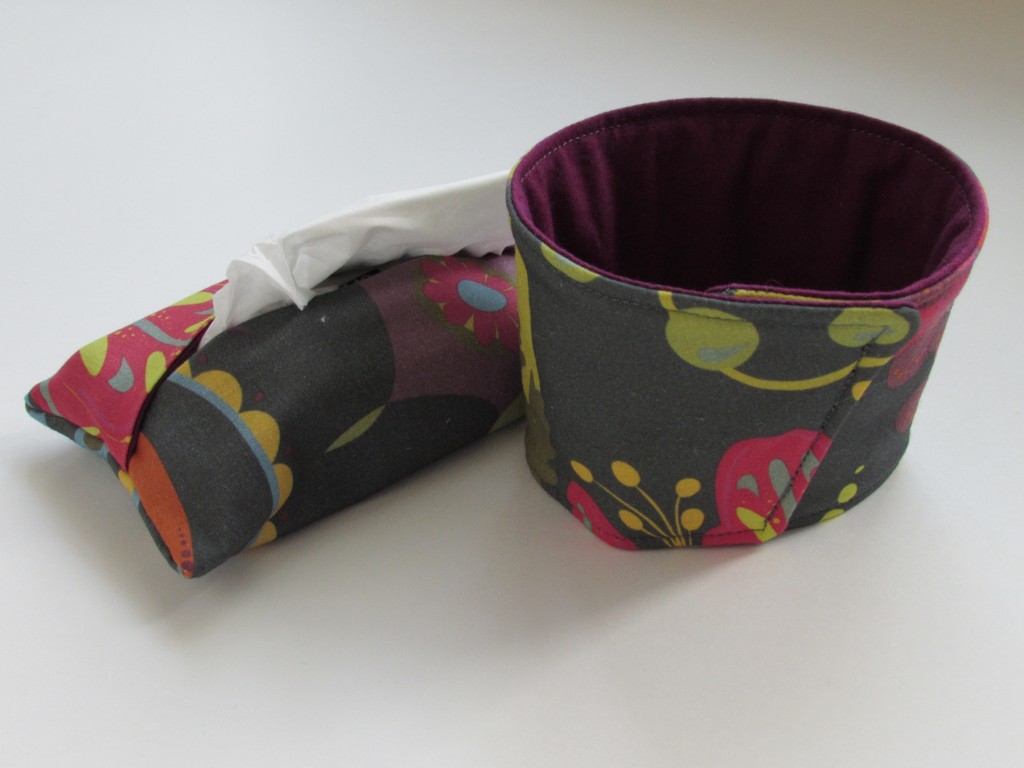
The key fob was fun to make. A few months ago I bought a bag of the hardware pieces and hadn’t done much with it until now. Also made a cozy for her coffee when she is out getting coffee, as well as a tissue holder for her purse.

IMG_20160302_4620

I did have to part with some of my Allison Glass scraps but Alicia is worth it. 🙂

IMG_20160305_4659

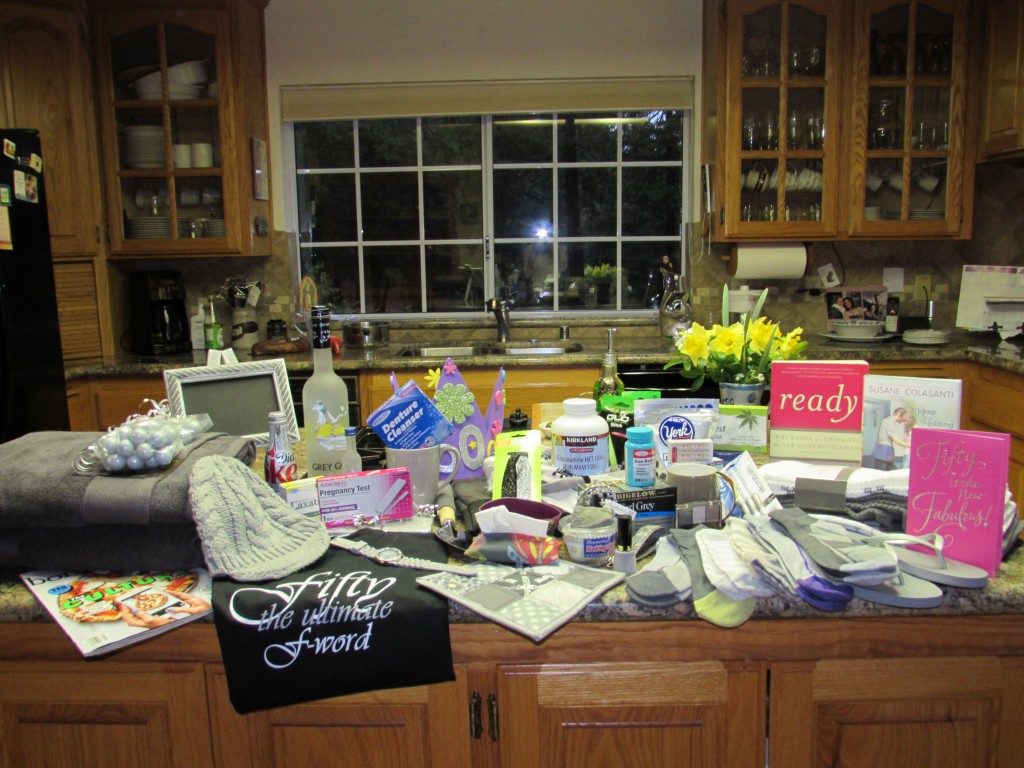
Here are the 50 items all together. Some of the highlights were: socks – lots of gray socks, Grey Goose vodka, two pretty gray mugs, bracelets, a knit beanie, flip flops, Earl Grey tea, denture cleaner, silly magnifier glasses, a book on becoming a mother later in life and a pregnancy test kit (apparently my mom is still hoping for more grandchildren??? Pretty sure that isn’t going to happen!), pretty gray towels, a picture frame and loads more. One of my favorite gifts was a plain, gray rock from my sister’s yard, all wrapped up. It cracked me up – look for it in the center on top of some cupcake liners (which were silver of course.) I also loved the tshirt in the front on the left. Awesome. It was so much fun.

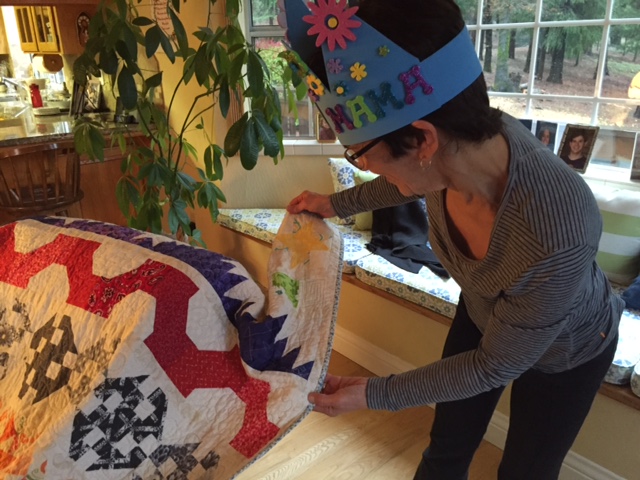
For my sister, Tina, we honored her 60th with more traditional gifts. I had been planning for quite a while to give her the Classic Stitches row quilt. She had commented several times that it was her favorite of the quilts I had made. When I quilted it, I even wrote a little note to her in one corner. (I didn’t ever post about that for obvious reasons.)
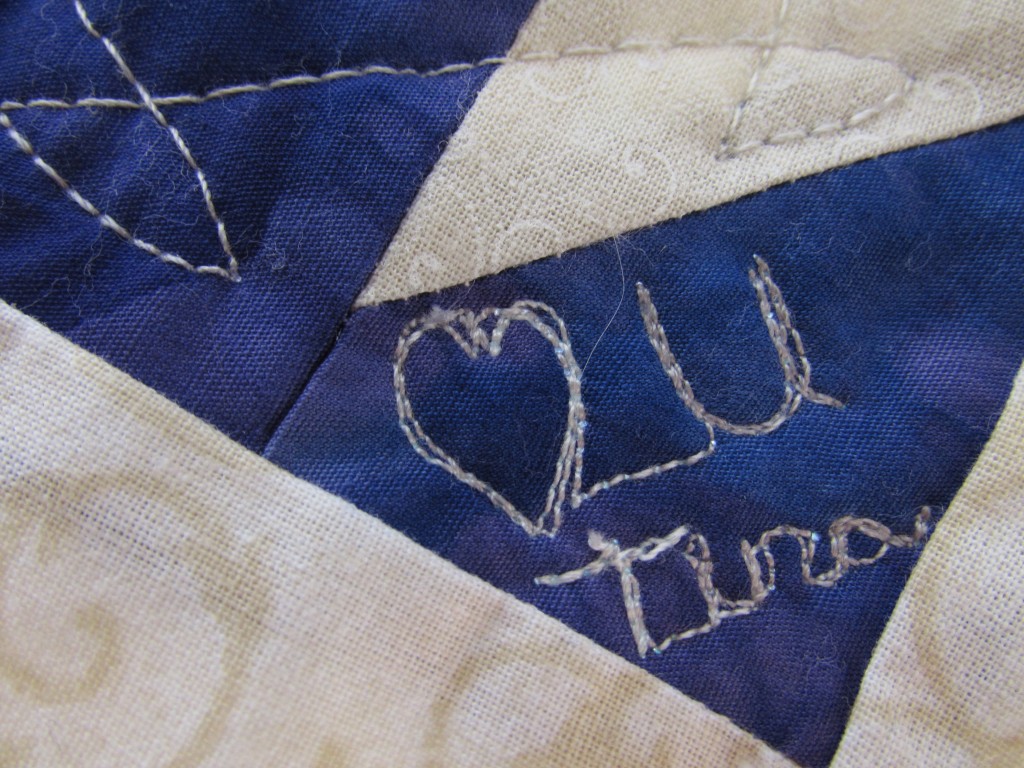
IMG_20160222_4580Receiving the quilt was a huge surprise for her and it made me so happy to see that she loved it.

tina and quilt

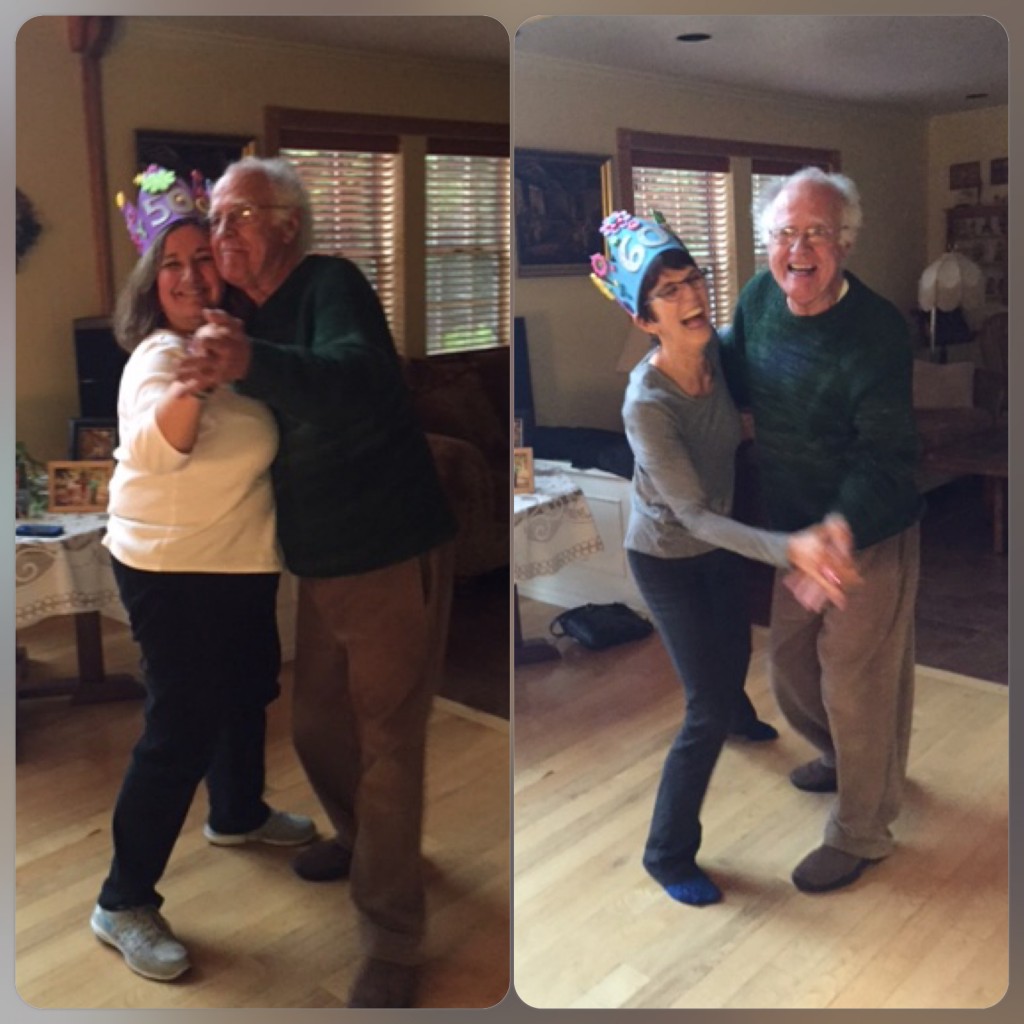
Note the gorgeous birthday crown she is wearing. My sisters and I got a little crazy with some glue and stickers and made these gorgeous birthday crowns for the girls.

IMG_20160305_4636

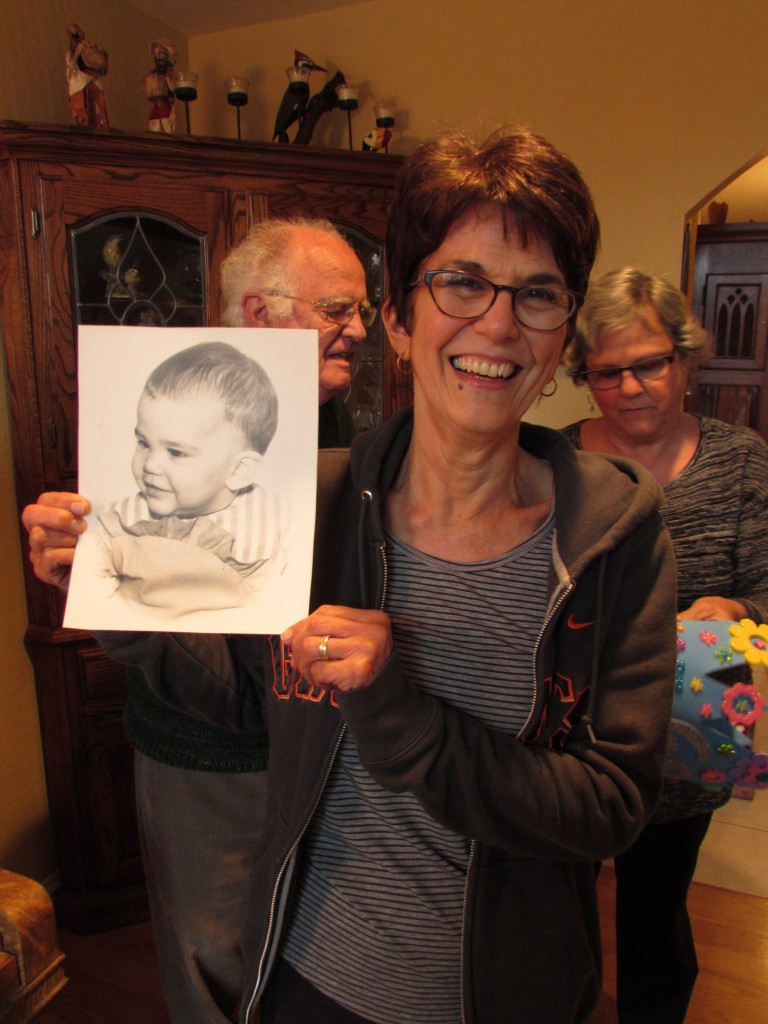
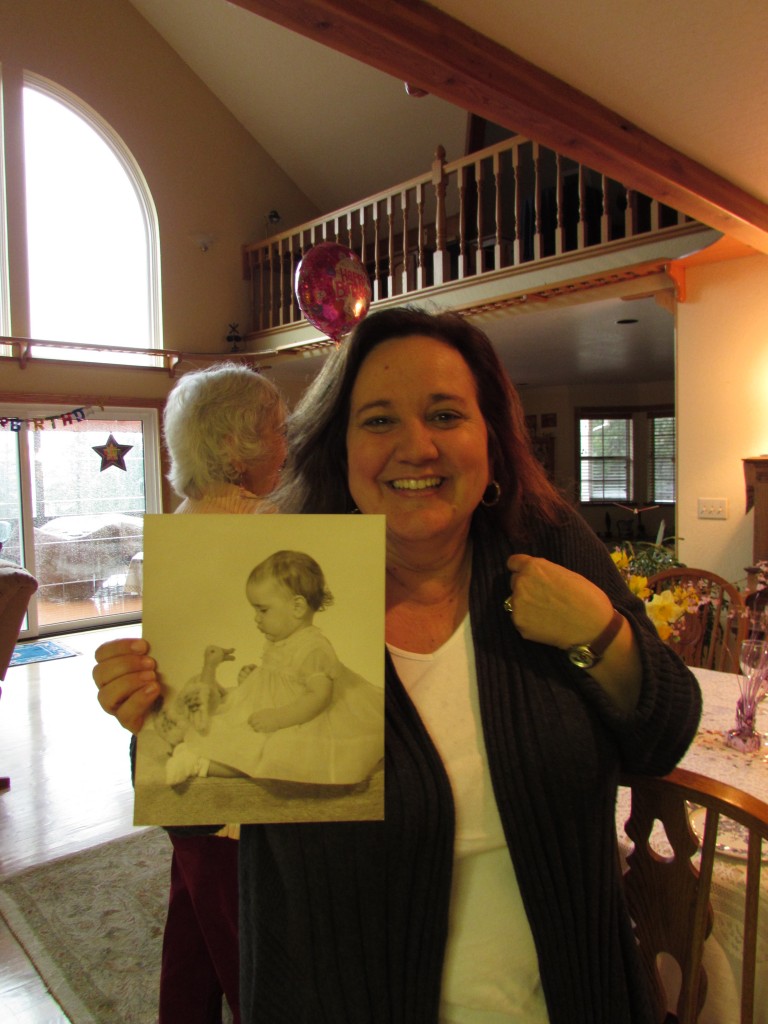
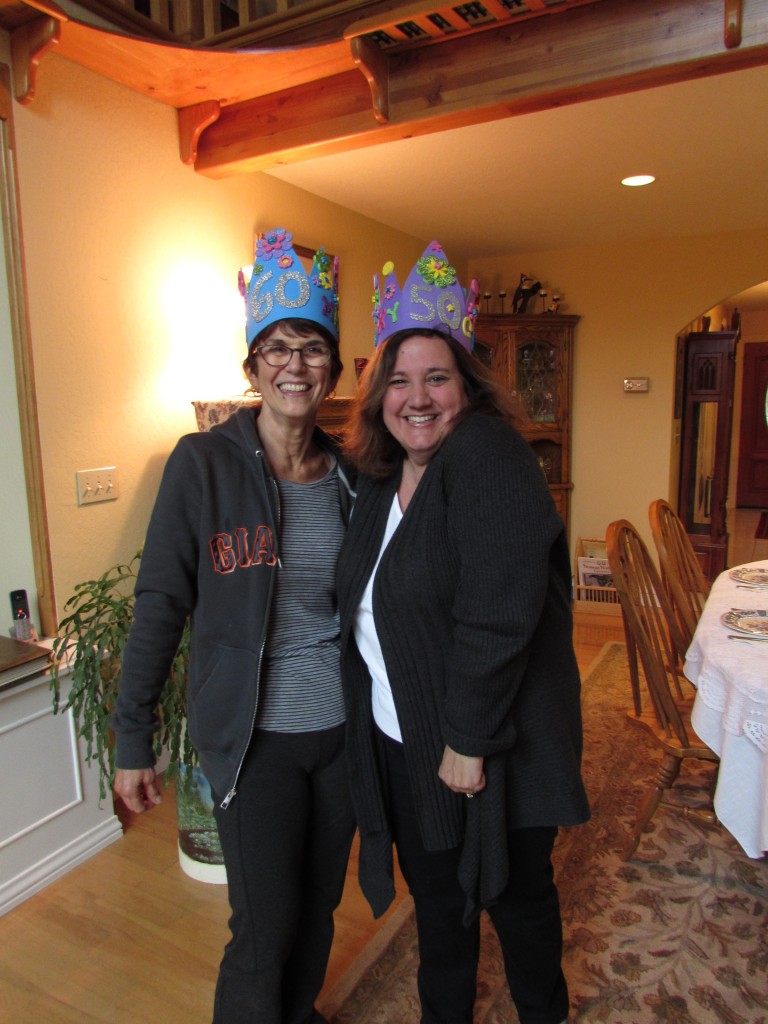
Mom and Dad did a great job setting up the party at their house with delicious food and festive decorations. Mom pulled out their baby pictures and I got a quick picture of each sister with her baby photo.

IMG_20160305_4634

IMG_20160305_4635

It was a perfect party that could only have been improved if the sixth sister were able to make it. We missed her. It is so hard to get everyone here at the same time.

dancing with dad

We also made a playlist of fun songs from our childhood in the 1960’s. Dad danced with each of the birthday girls.

We went back to my house on a stormy night and promptly lost power for the next 11 hours. Kind of a pain when you live in the country and rely on a well for water. At least it was later in the evening and we slept during most of the outage. The next family get together is one where I will be the missing cog on the wheel. There is a bridal shower for two grandchildren that are getting married. My family will be on vacation at the time though. Like I said, it’s always hard to find a time when the eight of us can be at the same place, at the same time. So it is important to revel in those times when we are (mostly) together.

Linking up with the usual suspects whose links are listed at the top of the page, under Link Ups.

Tiny Orphan Blocks

If you quilt and you read quilting blogs, it is a safe assumption to say that you are familiar with Amanda Jean Nyberg, queen of scrappy quilting. Amanda’s blog, Crazy Mom Quilts, is one of my favorites and has been since I discovered this community of bloggers. She uses every last bit of fabric and the things she creates are inspiring.

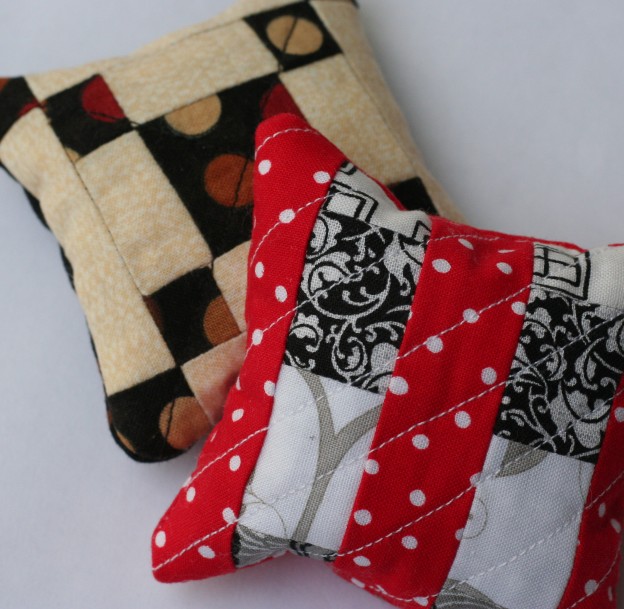
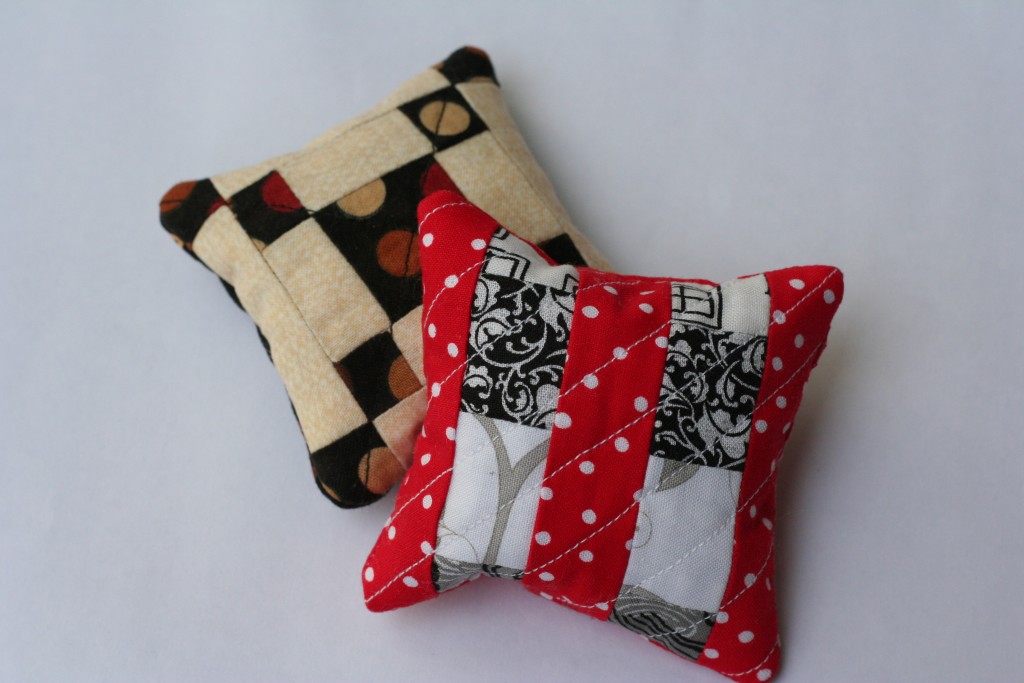
Among a million other projects, Amanda makes pin cushions. Lots and lots of them. They are adorable and to my knowledge, no two are alike.  Wanting a quick project to play with, I created a couple for myself.

image

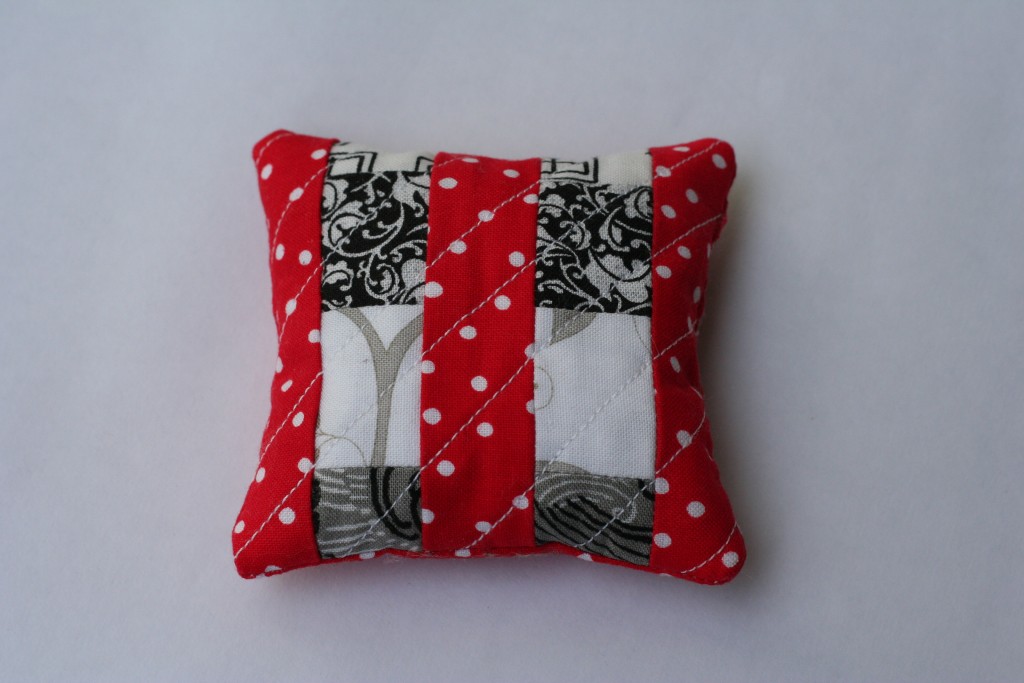
The red, black and white pincushion is a tiny one, measuring at 3″ square. The top of it was a piece of an orphan block that was languishing on the stack.

image I quilted a bit of batting to the top and stitched front to back, right sides together. It is filled with crushed walnut shells, which, along with everything else in the world, are available on Amazon. According to Amanda, they are also sold as lizard bedding at pet stores (and are likely a better deal than I got with Amazon.)

image

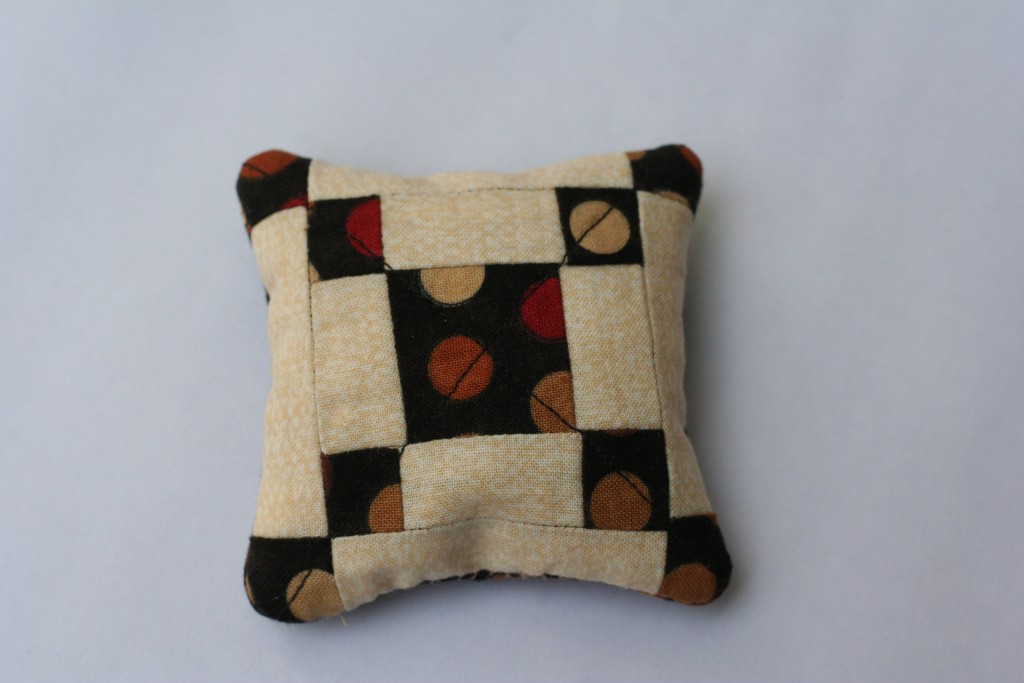
This little guy was also an orphan block from last year’s Classic Stitches project. I had planned to make twenty of these little three inch blocks for my row of Pennsylvania blocks. After making two of the twenty, my brain was no longer able to deal with the tiny pieces. The result of this sudden inability to cope with miniscule pieces was a row of lovely six inch Pennsylvania blocks. My two 3 inch blocks were relegated to the orphan block pile. This lucky one was recently rescued. I made this one the same as the red one. Quilt a bit of batting to the front, stich front and back, right sides together and fill  with crushed walnut shells. Easy peasy! Find an orphan block and turn it into something cute. Very satisfying!

Linking to Oh Scrap, Linky Tuesday and Sew Cute Tuesday. Links to these are available at the top of the page, under Link Ups.
Road Trip Tote Bag

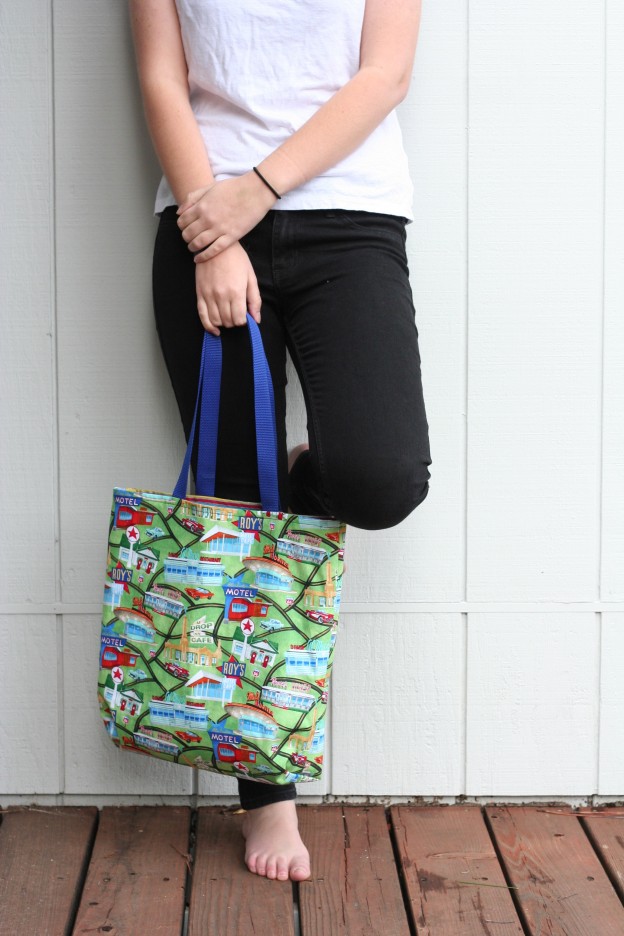
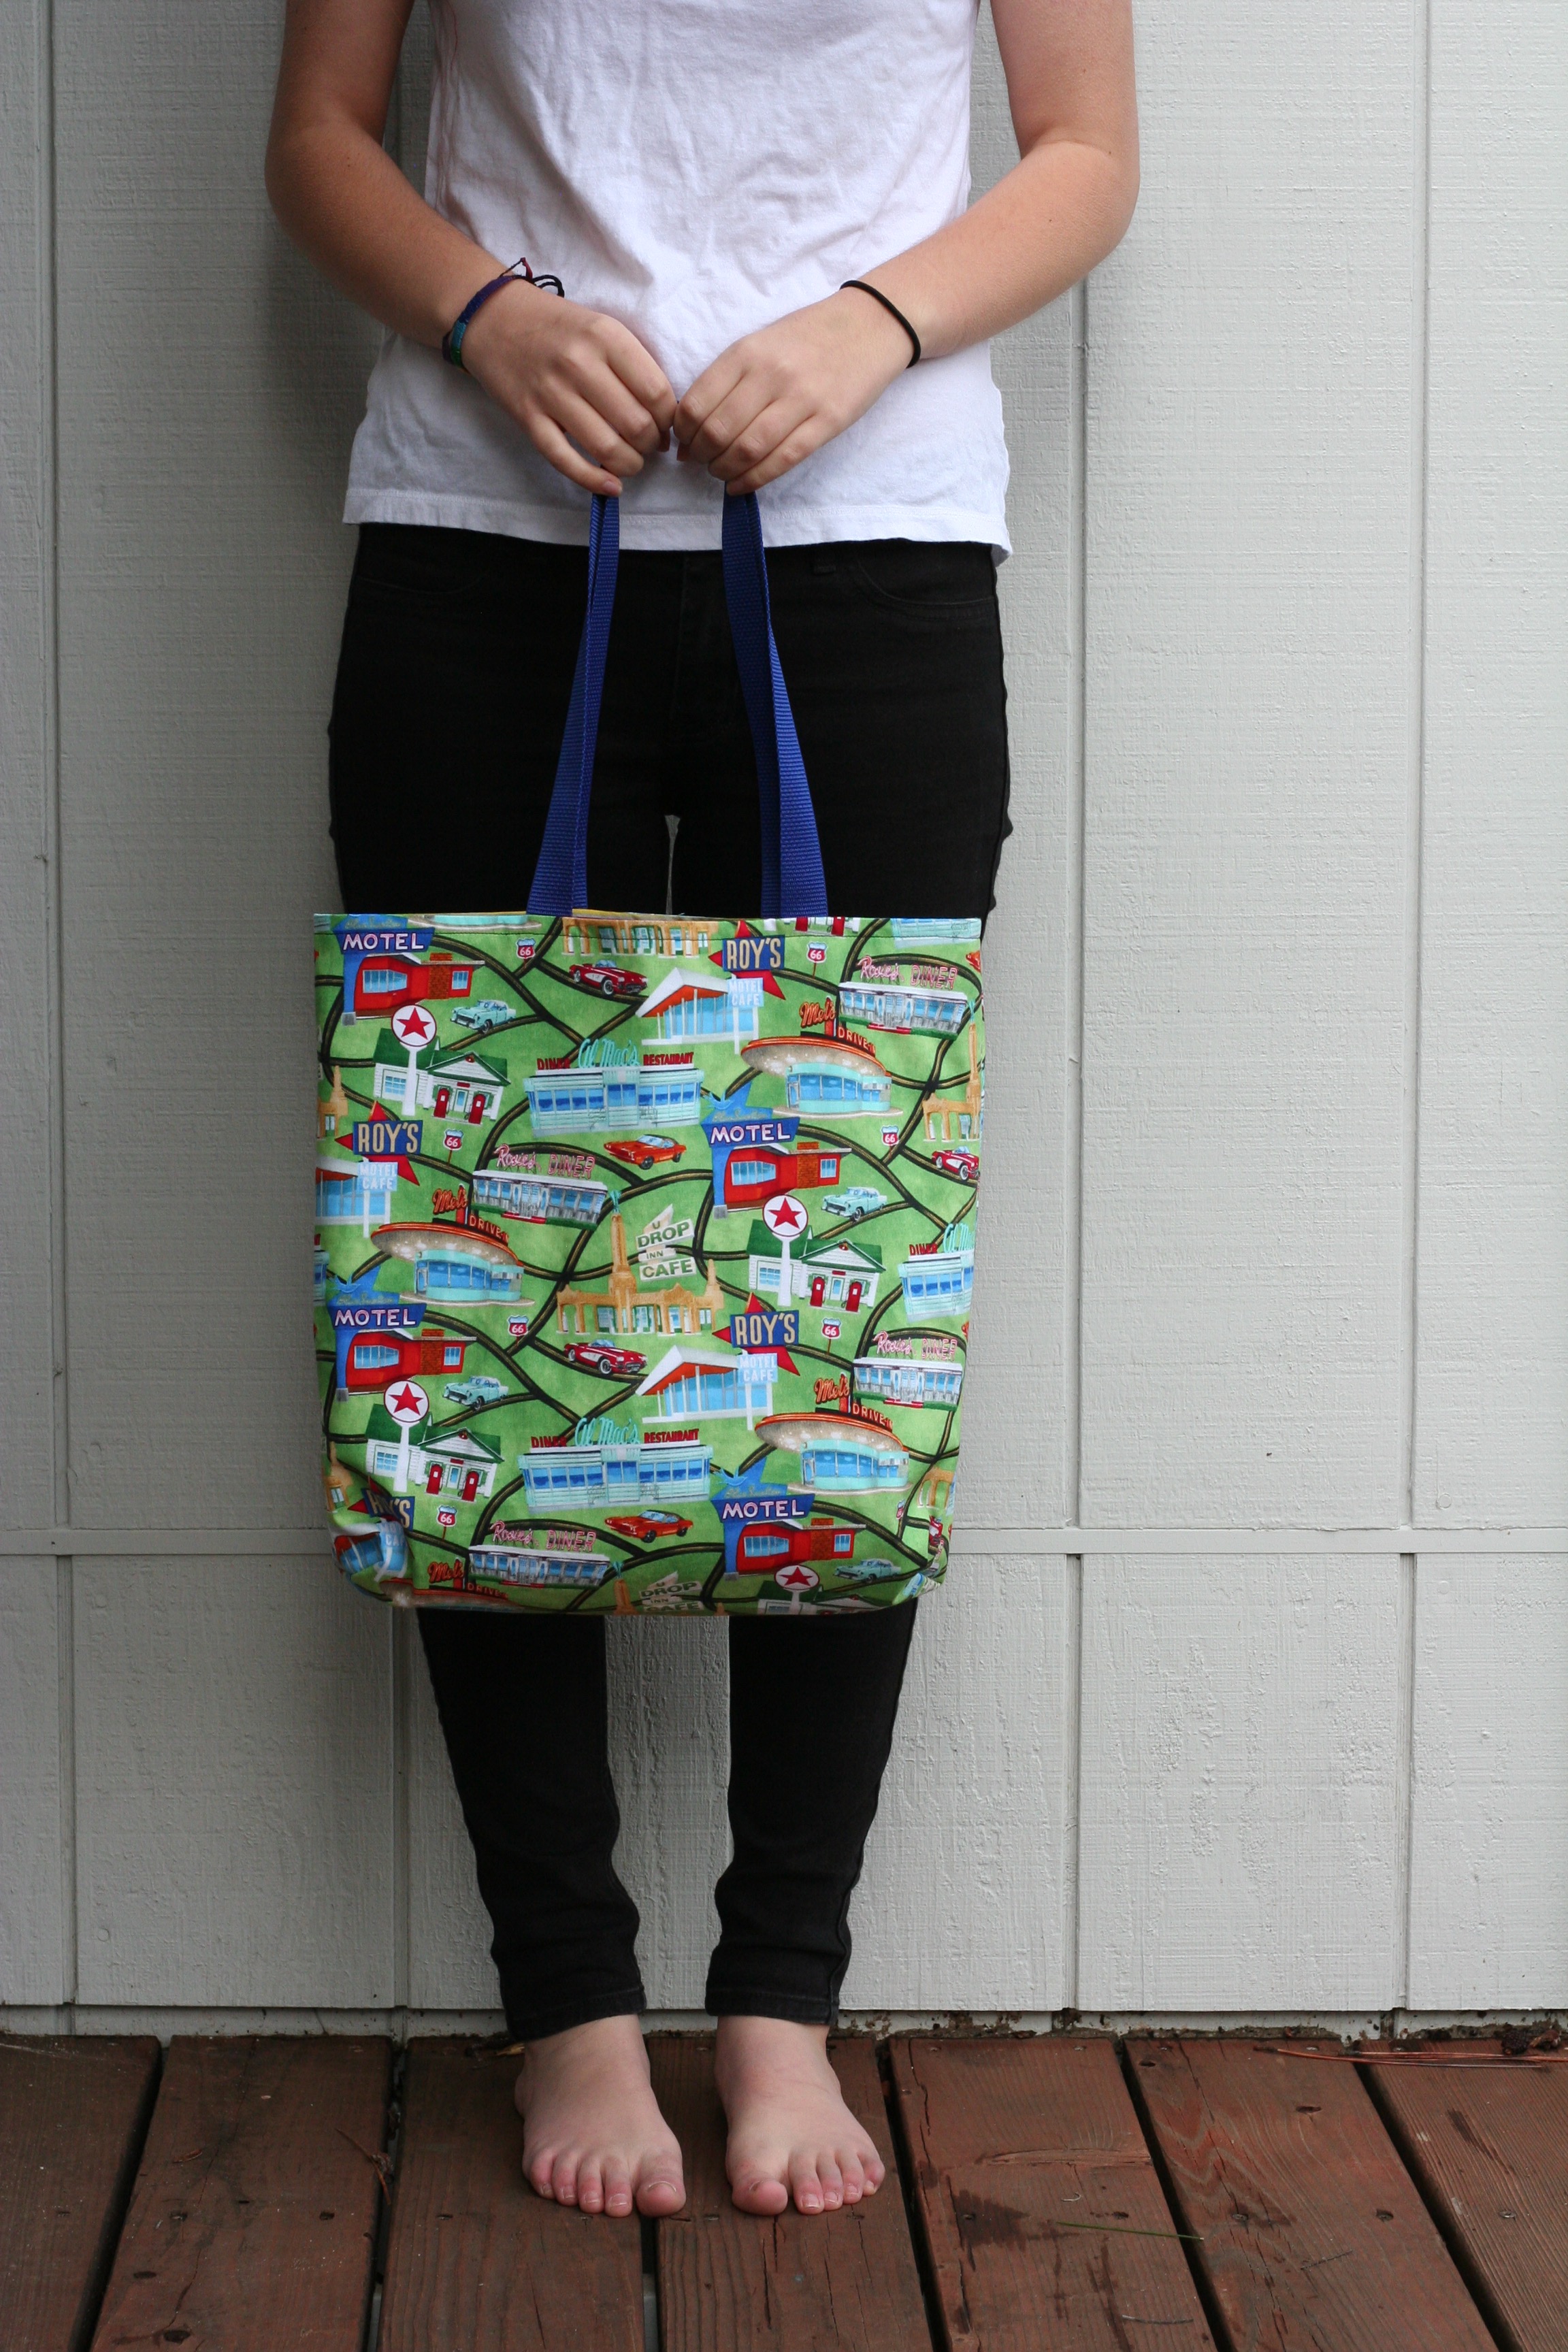
Last weekend we celebrated my mother-in-law’s birthday. Wanting to make her gift, I started browsing my pins on Pinterest. I have a board devoted to bags and totes and have long wanted a reason to play with those patterns.  I thought it might be fun to make a tote for her and chose the Madras Plaid Summer Tote pattern from Noodlehead.


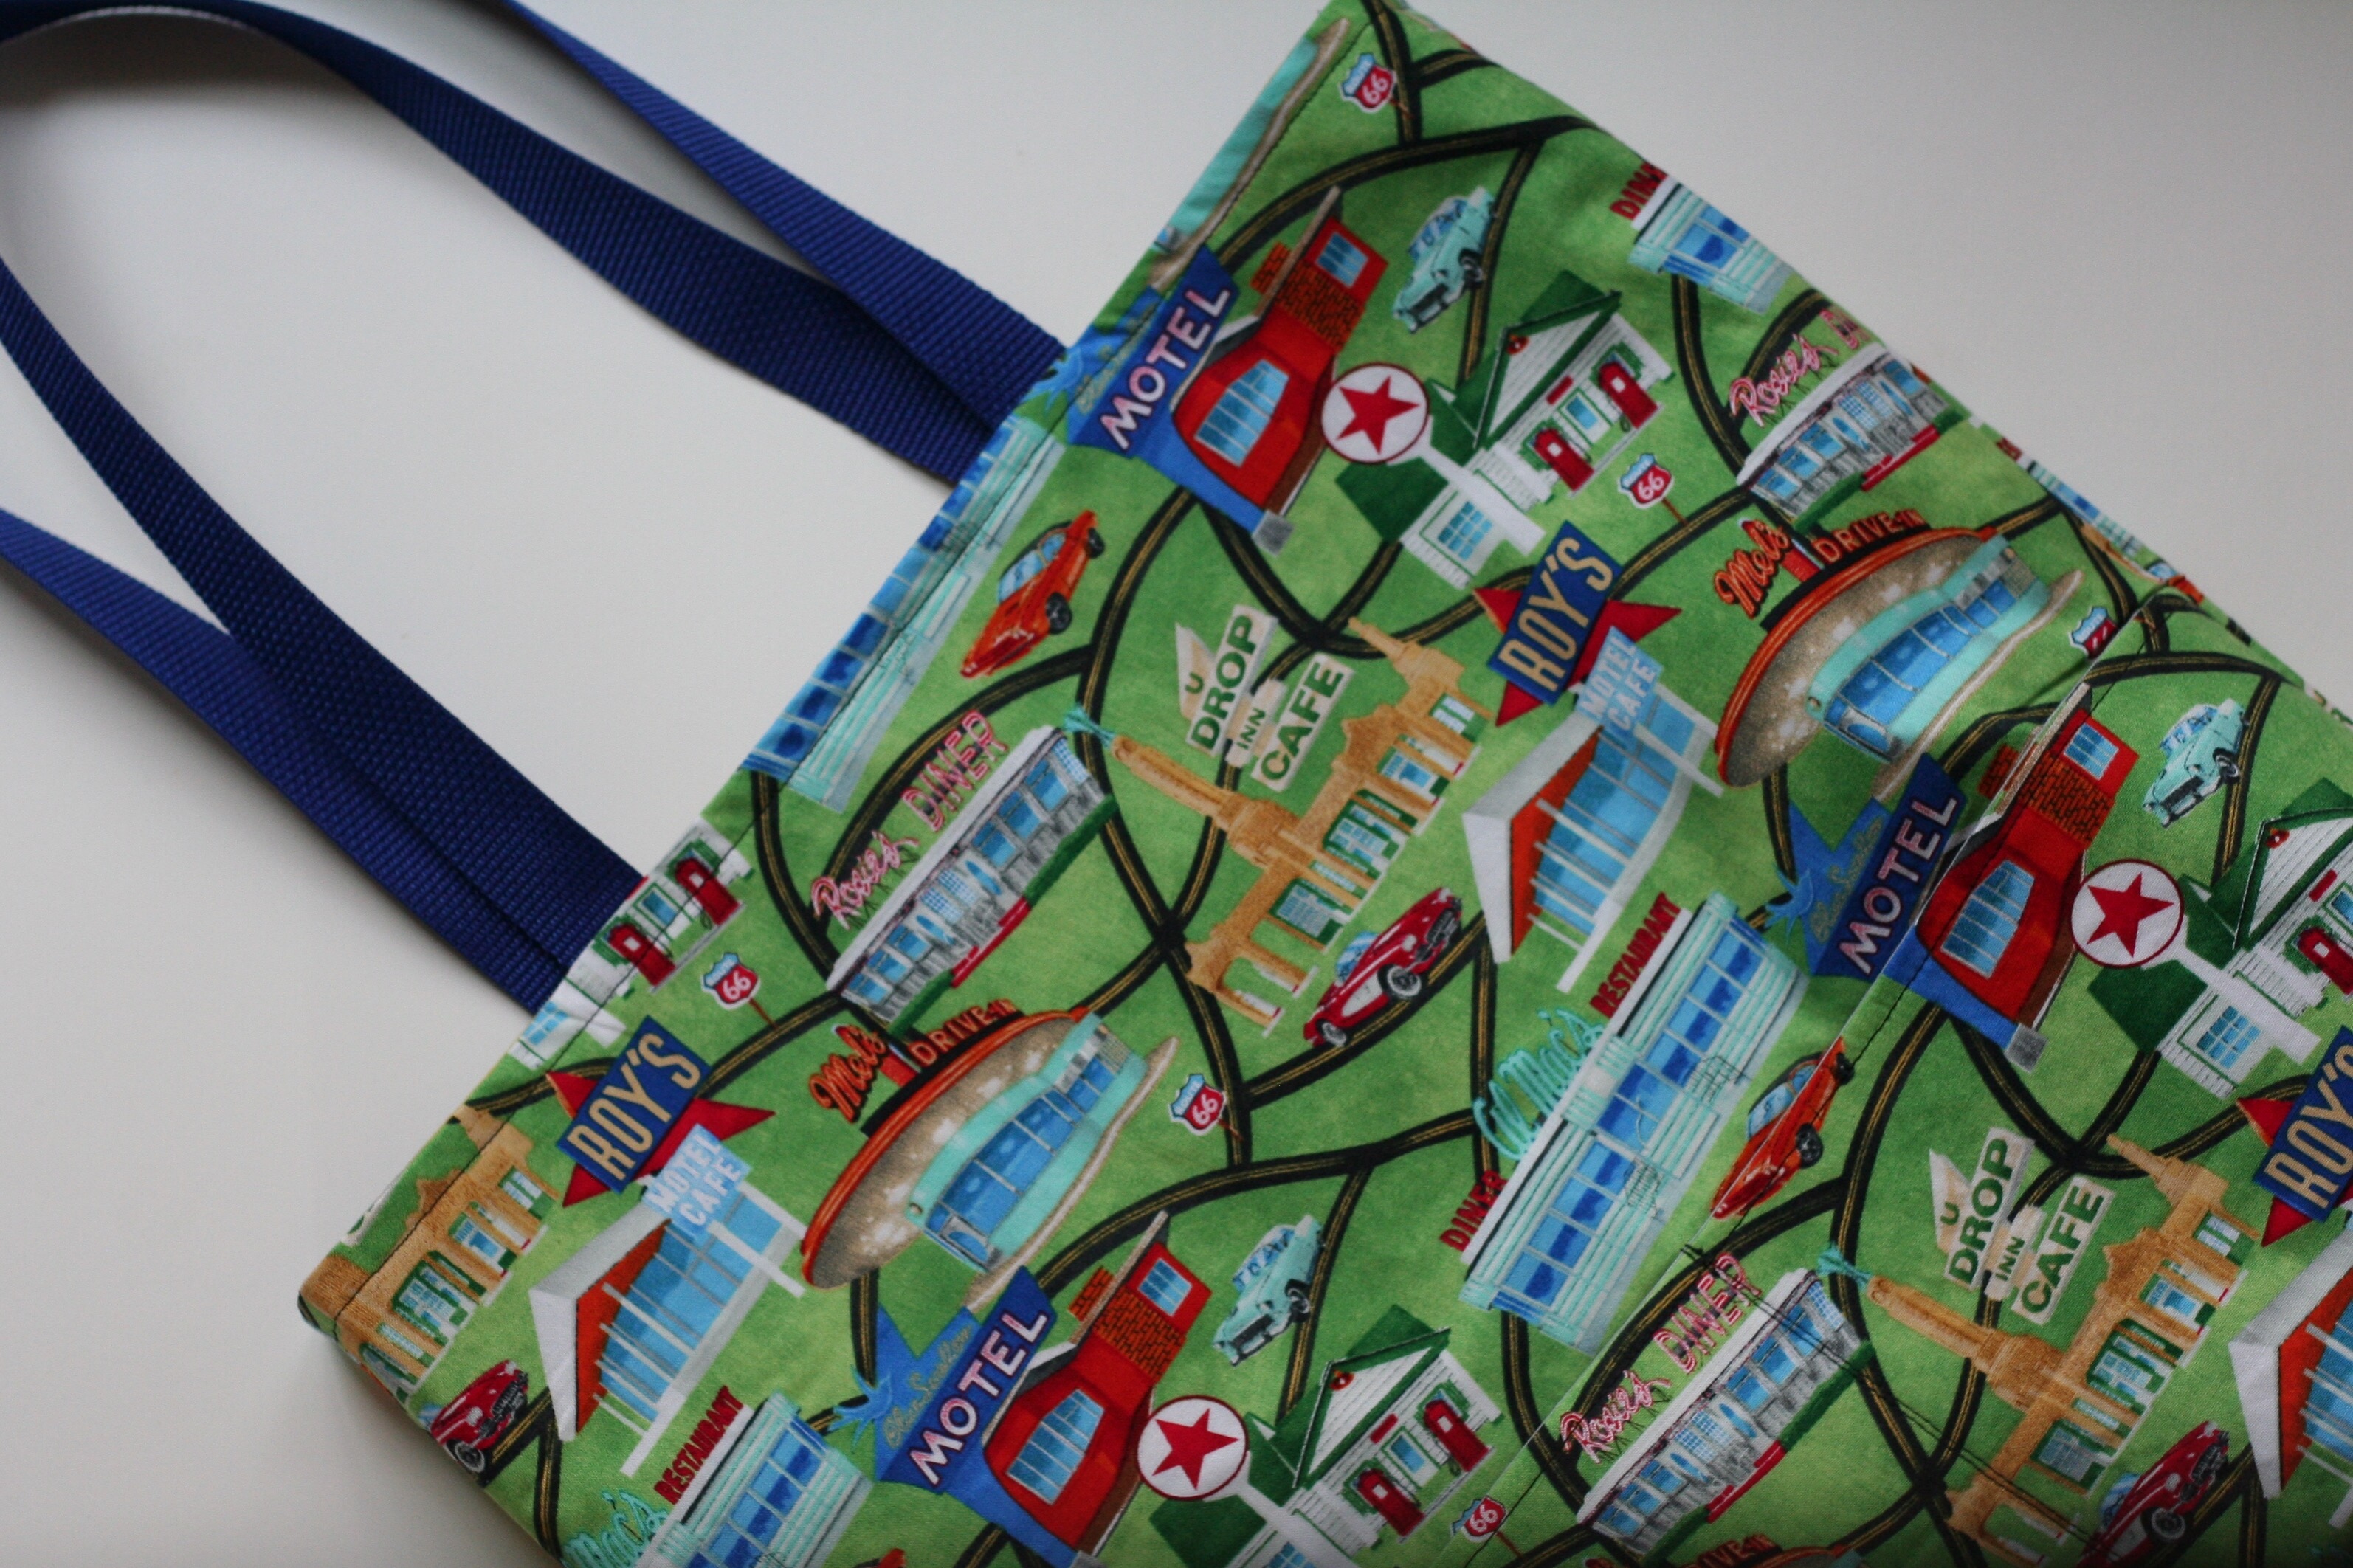
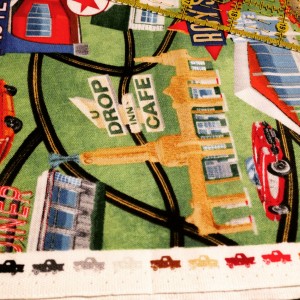
She and my father-in-law take lots of road trips throughout the year, sometimes camping and sometimes staying in hotels. When Julia and I were picking fabric and we saw this Route 66 novelty print and decided it was perfect!  It screams, take me on a road trip, please?

The Noodlehead pattern is simple. While I didn’t time myself, I am quite certain it took less than an hour to put together. I like the exterior pocket for slipping smaller items into. As luck would have it, the fabric totally matched up when I placed the pocket. On her pattern, Anna uses bias tape to trim the upper edge of the pocket. When I saw the perfect (accidental) match, I left the trim off. If you haven’t made many bags, this tutorial is a great one to try. Check it out!

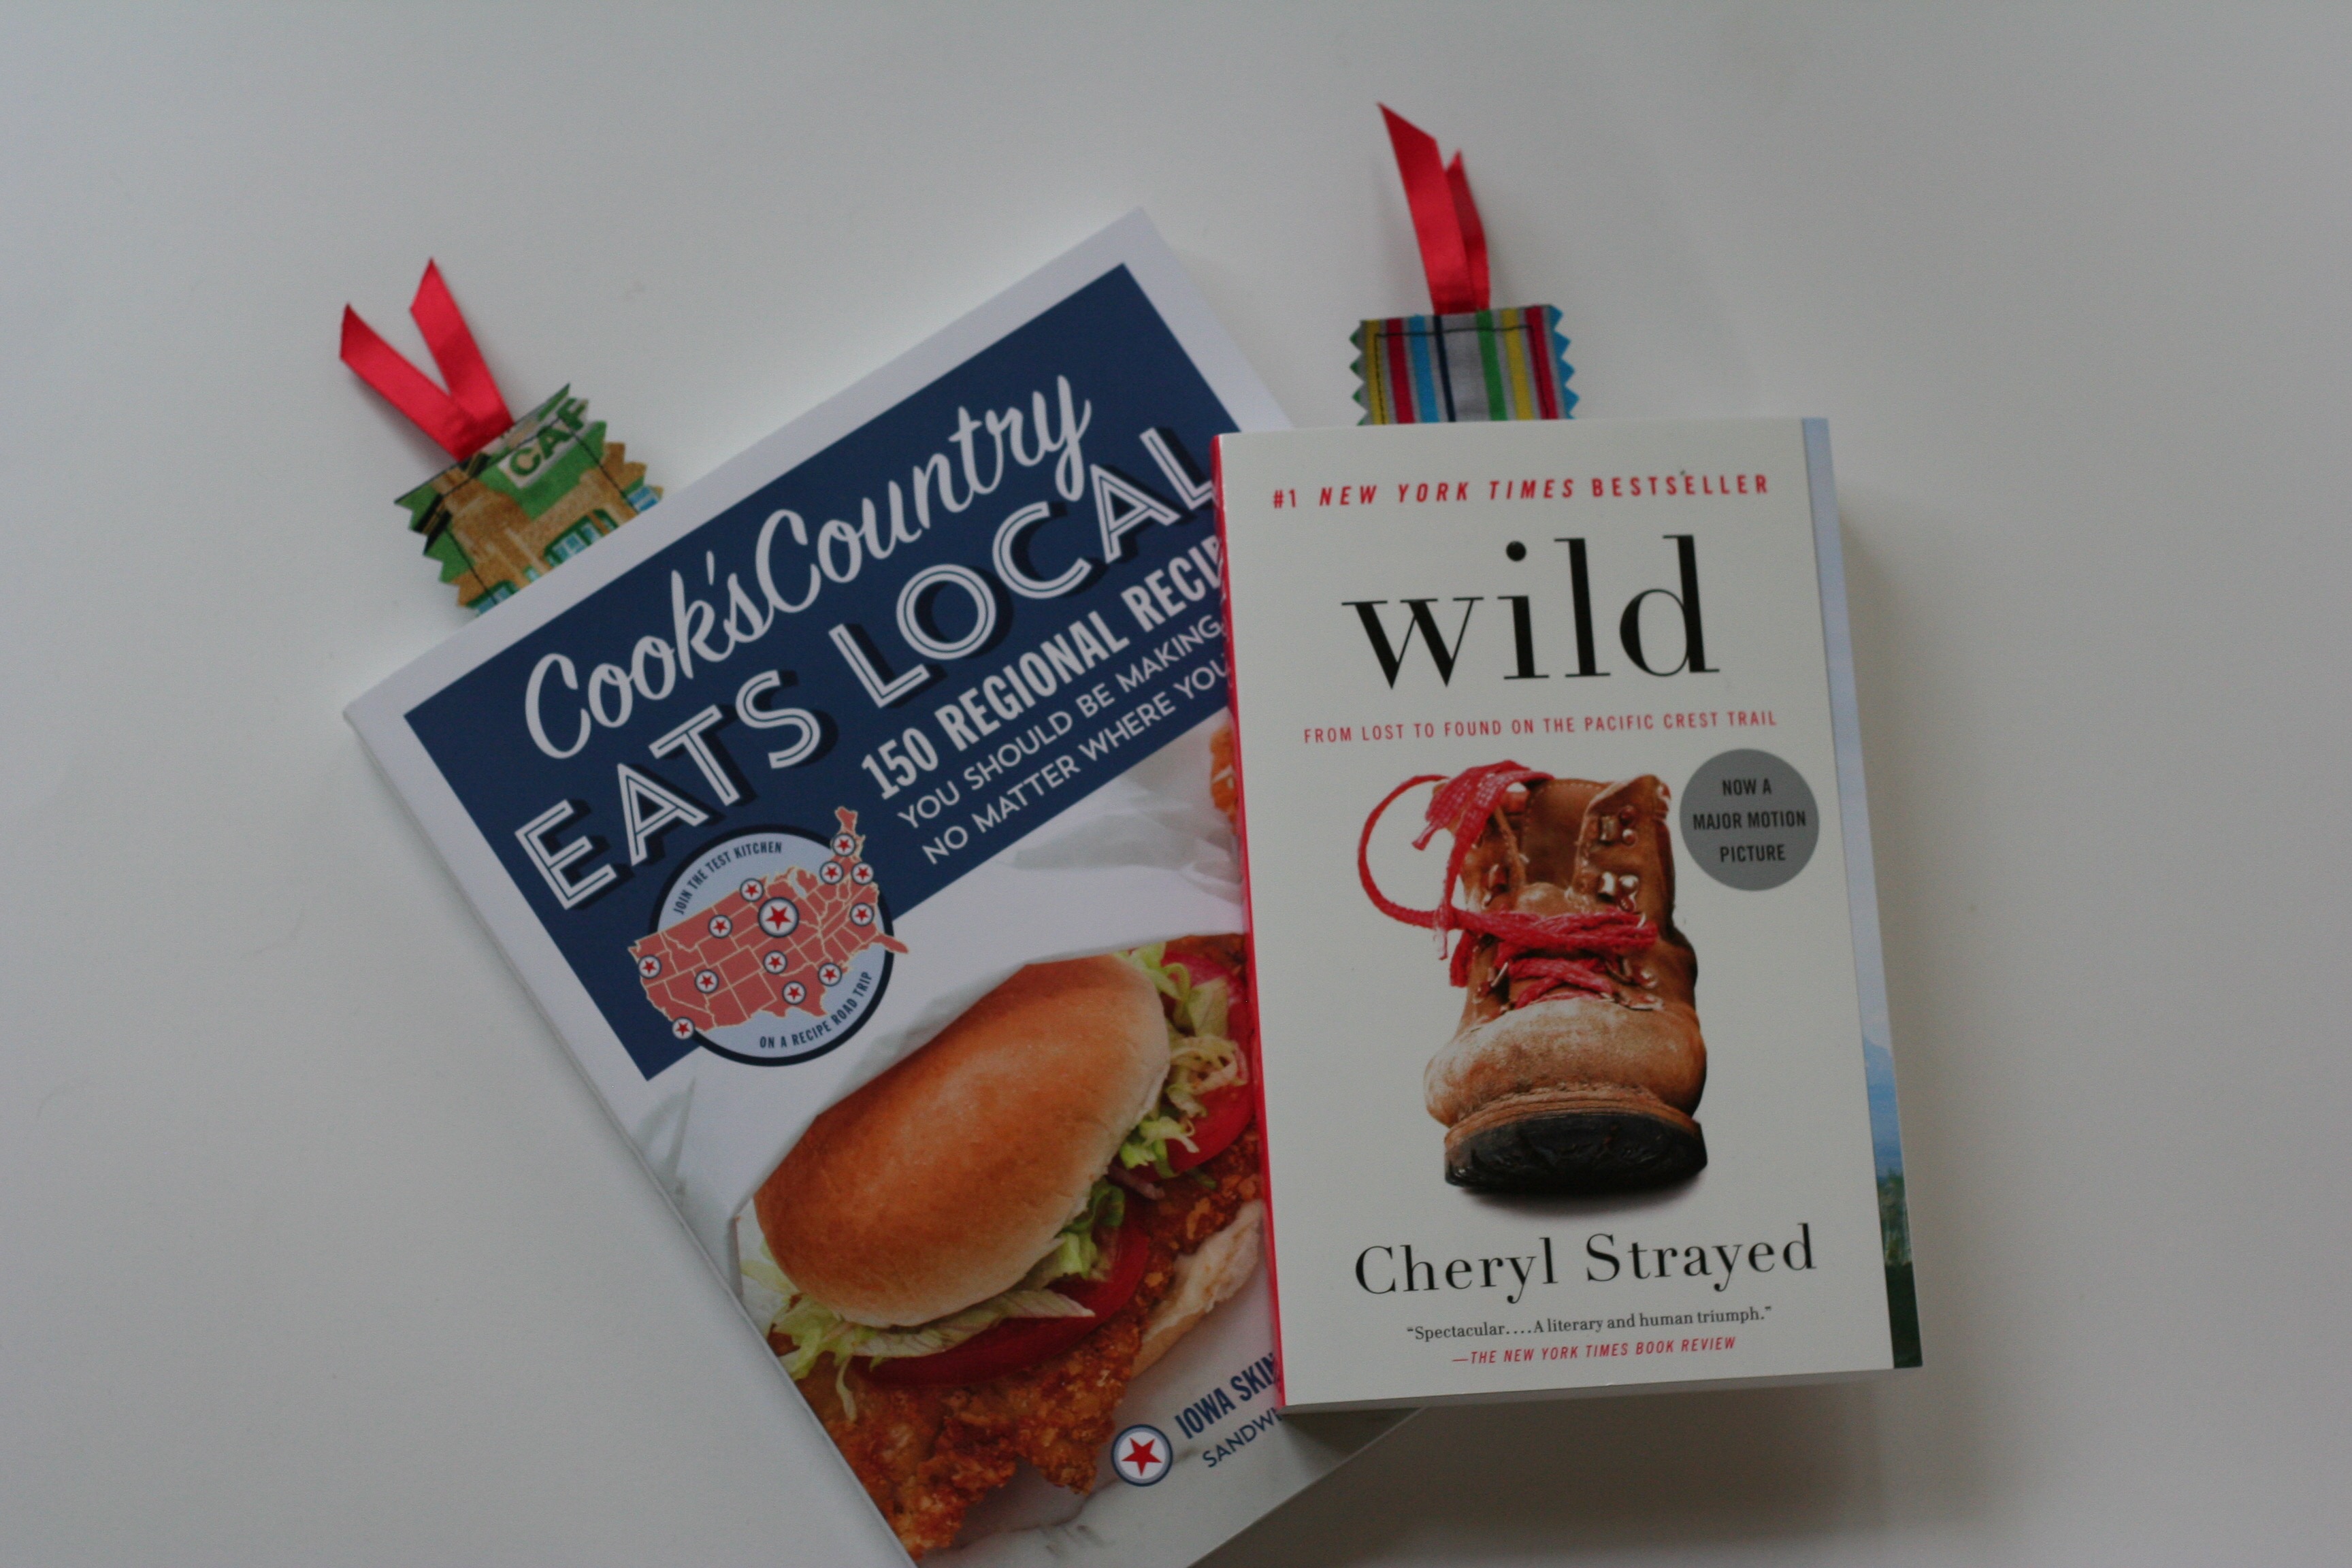
In keeping with our Road Trip theme for this birthday gift, I also chose a cookbook by America’s Test Kitchen titled, Cook’s Country Eats Local. My in-laws, my husband and I, are all huge fans of America’s Test Kitchen.  This cookbook features recipes from the four regions of the US, Northeast, Midwest, South, and the West. The recipes look wonderful and I suspect my mother in law will enjoy trying these out.  (Hopefully on occasions when we are over there for a meal!) I also selected the Cheryl Strayed book, Wild. An avid hiker, my MIL is sure to enjoy this.


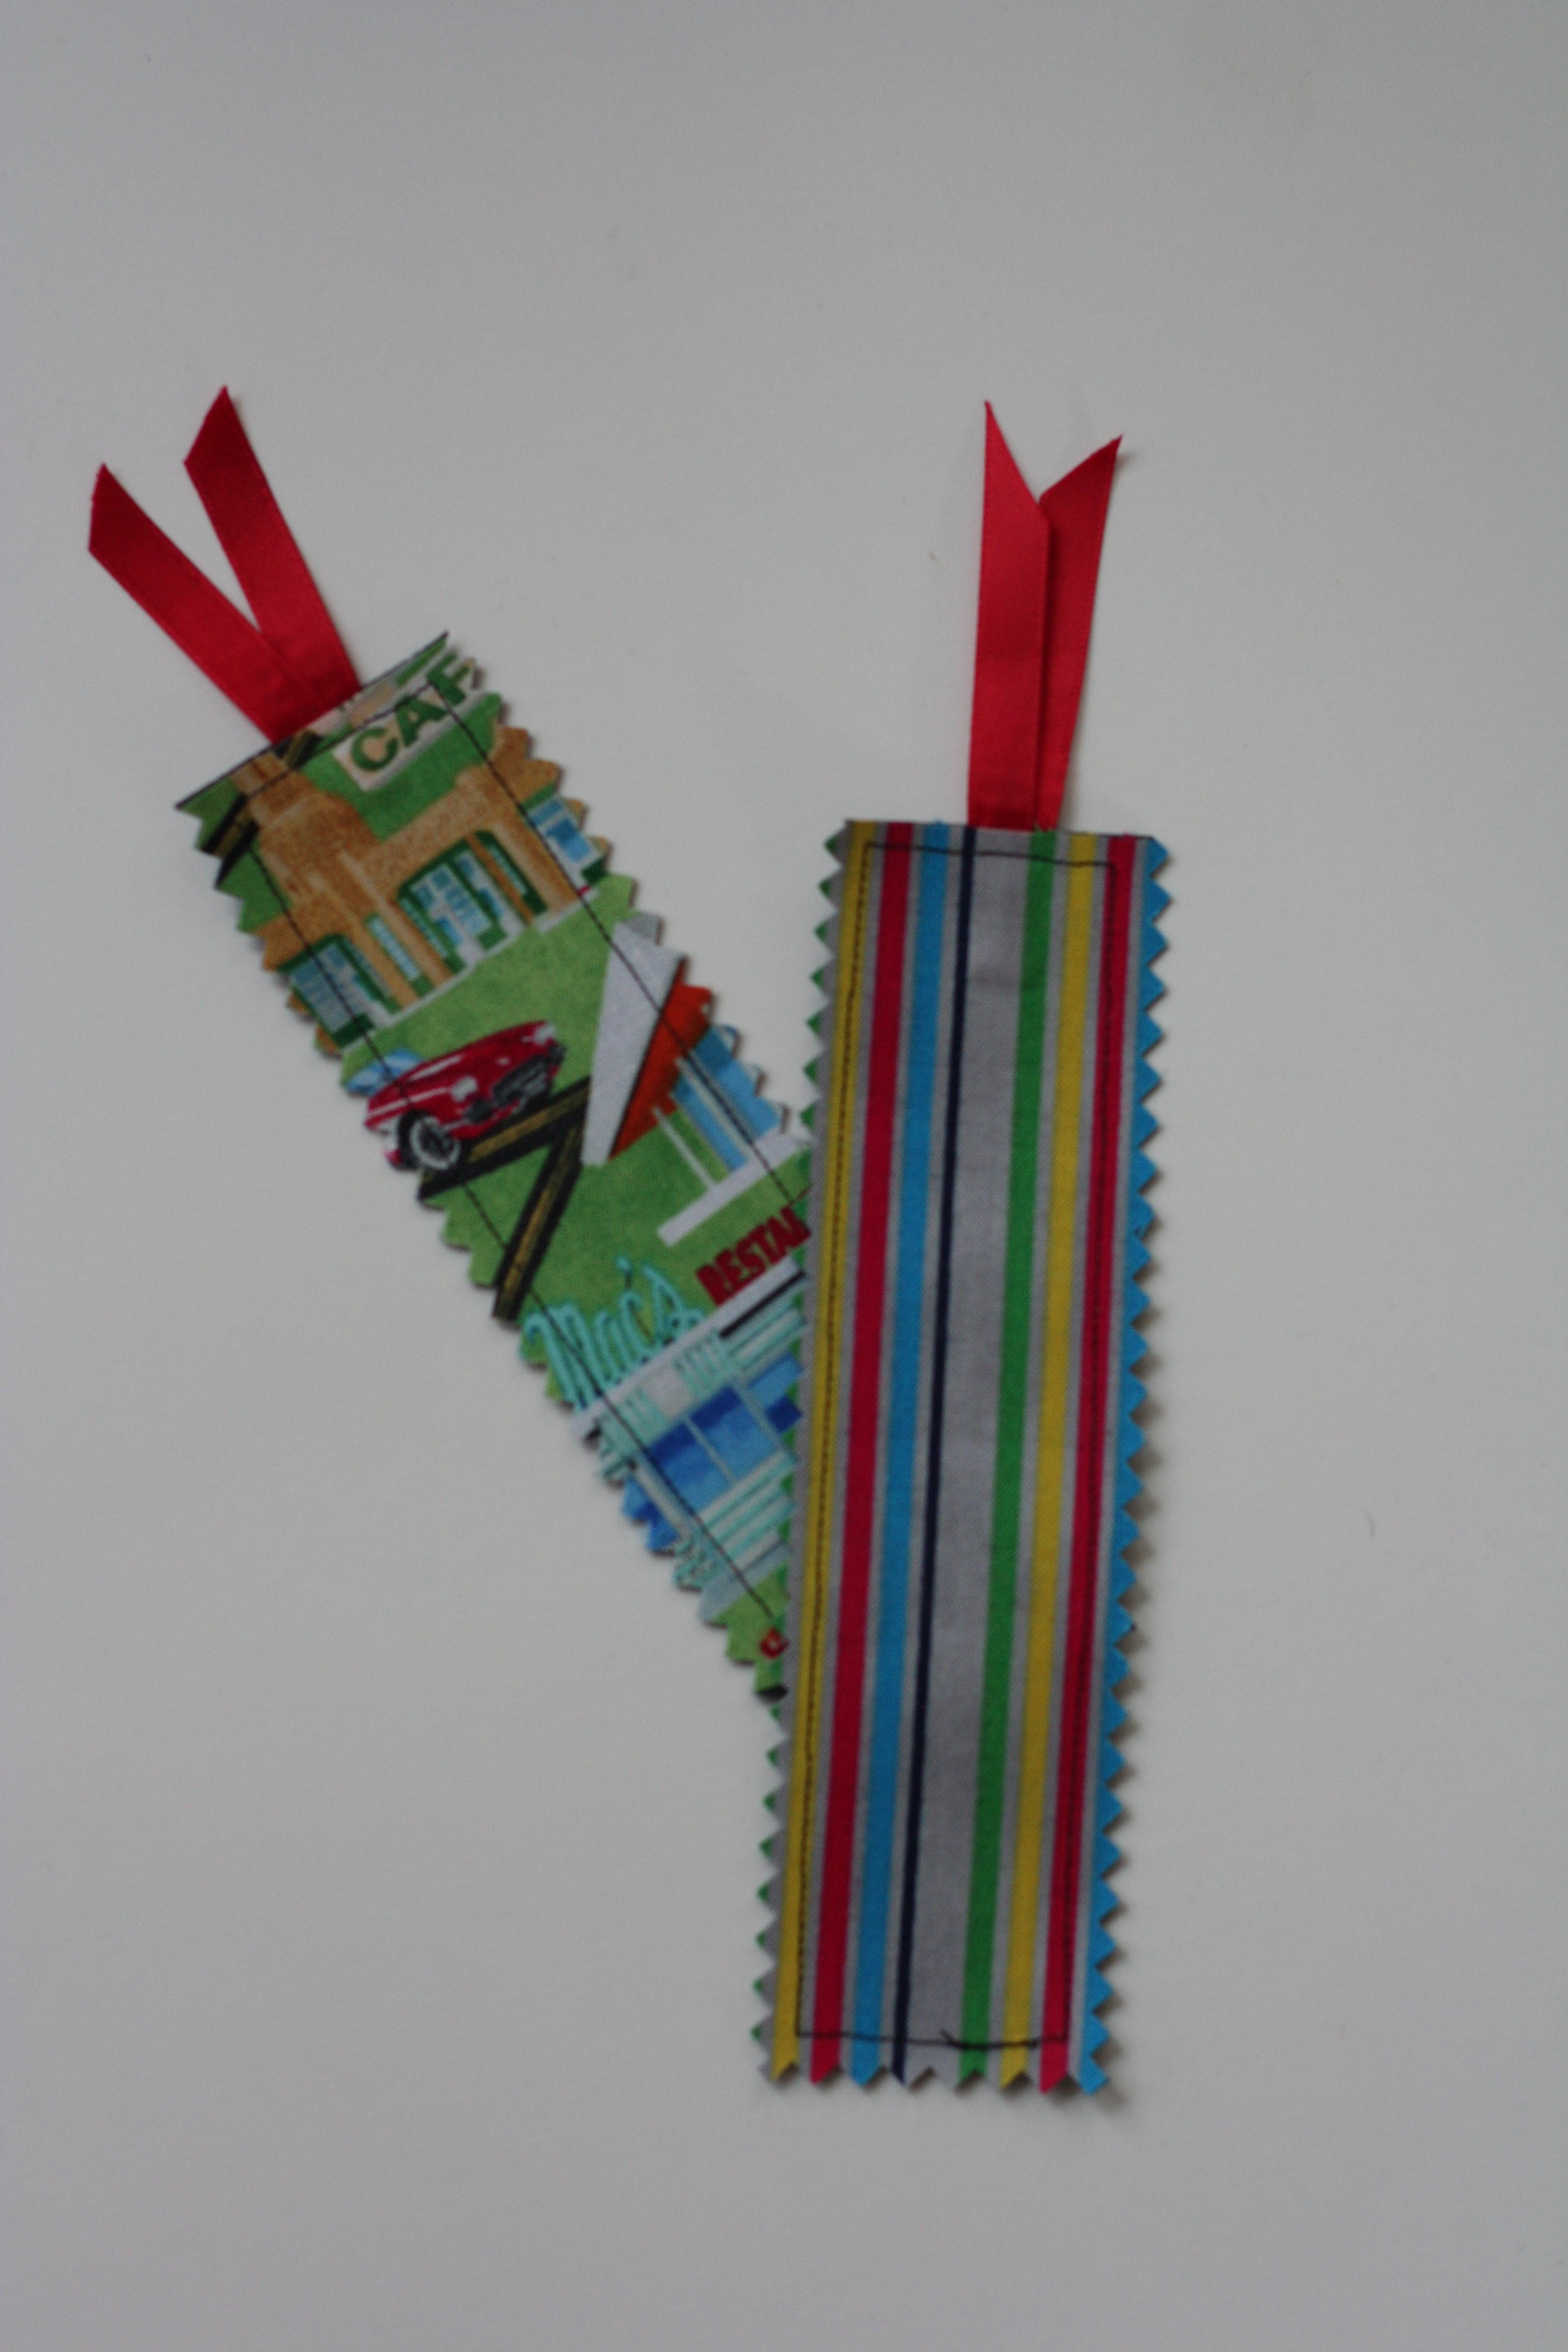
If you give someone a book bag and books, one needs to include bookmarks, right? These were very fun to make with some scraps from her bag. The striped fabric was used to line the tote.


It was a fun celebration with family. Ray smoked a trip tip and roasted potatoes and I made peach pie for dessert. When our peach tree was going crazy last summer, I froze bags of sliced peaches. It was lovely to have fresh fruit for pie in January.

By the way, look at the selvage from this fabric. It is adorable. I know lots of you keep unique selvages. If any of you would like to add this one to your collection, let me know in the comments. I will happily mail it to you. There are two strips that show the little cars.

IMG_2985

Linking to Freemotion by the River, Let’s Bee Social, and Finish it Up Friday. All links to these parties are listed at the top of the page, under Link Ups.
Tutorial – Heat Pack with Rice

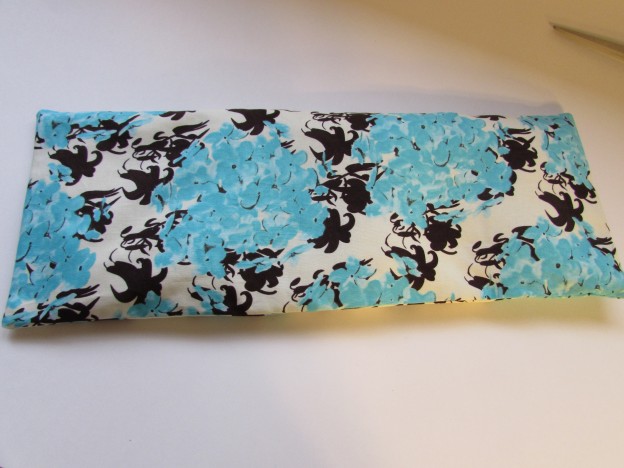
You might remember that I posted about making a few heat packs for Christmas gifts this year. I had initially made one for myself a long while back and it is used frequently by all three of us. They are very quick and easy to make so I thought I would share it here. It only requires a bit of fabric and some rice. The outer layer is removable for laundering. Here you go!

Supplies:

  • 1 Fat Quarter of fabric for the outside (or a scrap of equivalent size, 18 x 22″)
  • 1 piece of muslin or other inexpensive, plain fabric to contain the rice.
  • Dry rice, approximately 3 cups
  • Thread

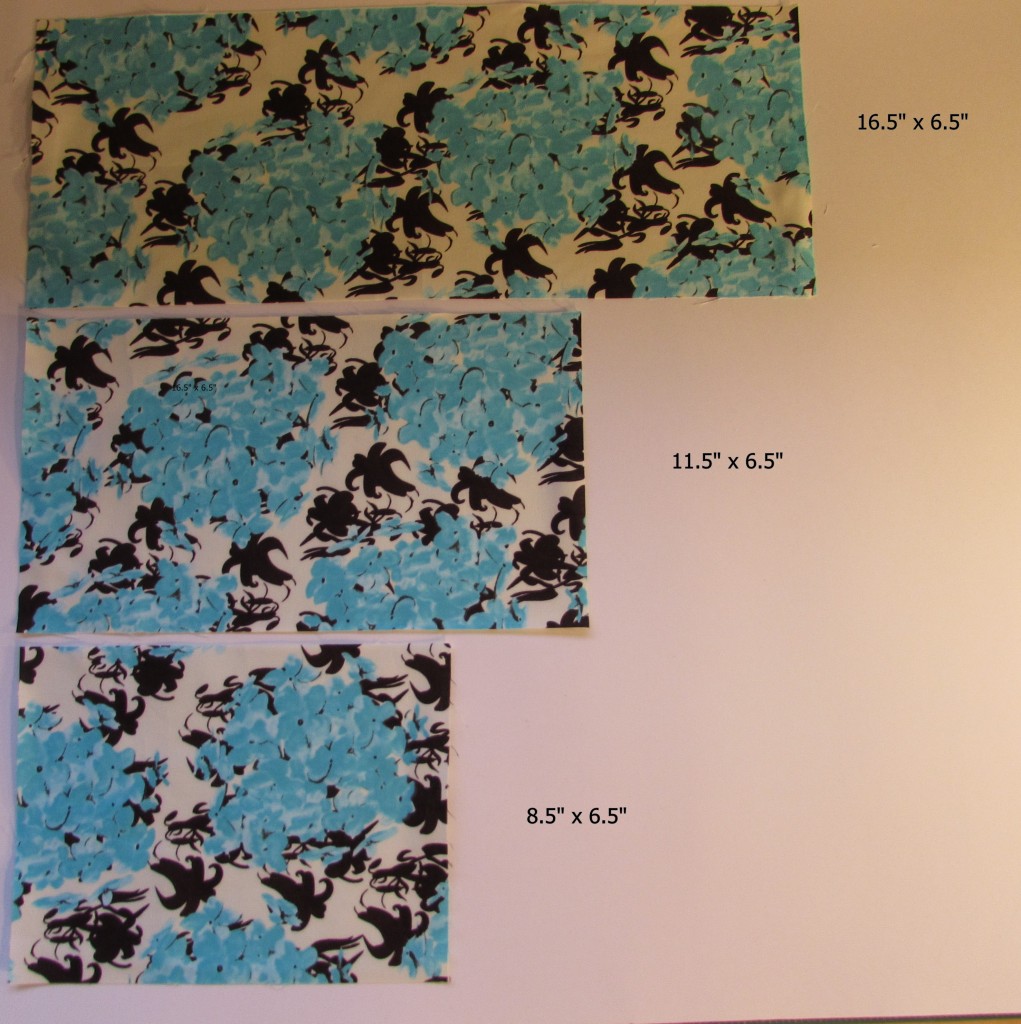
Cut the outer fabric as follows:

  • Rectangle, 16.5″x6.5″
  • Rectangle, 11.5″x6.5″
  • Rectangle, 8.5″x6.5″

IMG_20151230_4380

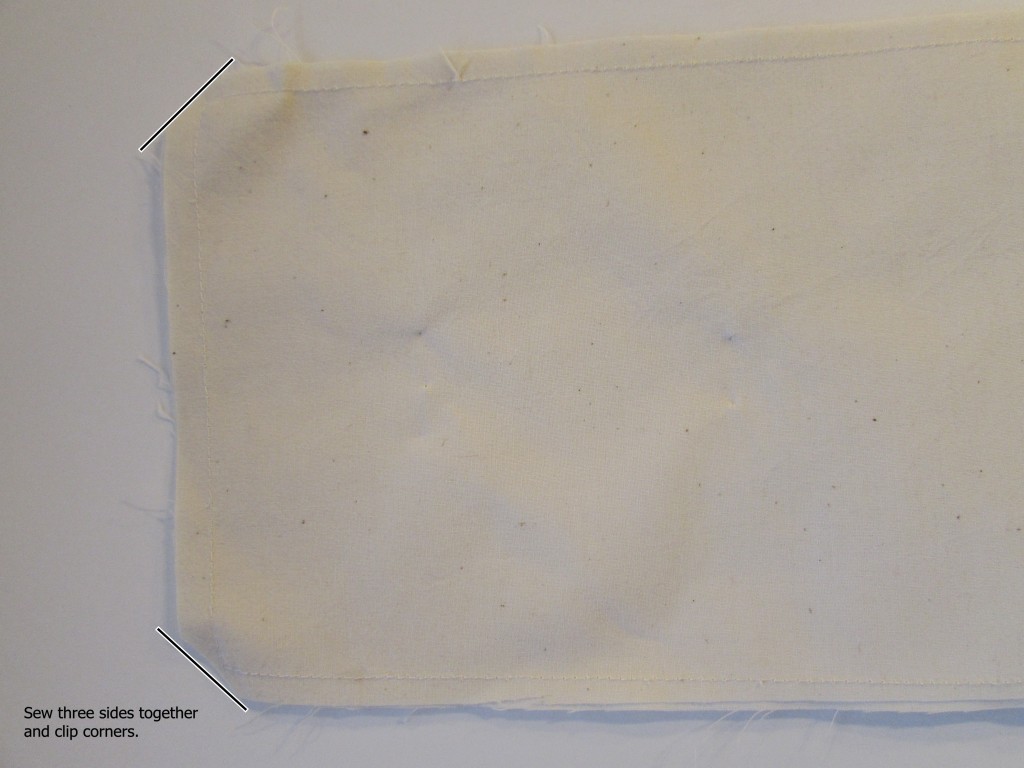
Cut the lining fabric, or muslin, into two rectangles, each measuring 16″x6″.

Let’s make the rice-filled lining first. Use a 1/4″ seam allowance throughout the project.

Pin the two rectangles of lining fabric, right sides together. Sew around three of the sides, leaving one end open. Be sure to sew the two long sides and one of the short sides. Before turning it right side out, carefully trim the corners, making sure not to clip your stitches. (I should have photographed the muslin against a color other than white!)


IMG_20151230_4384

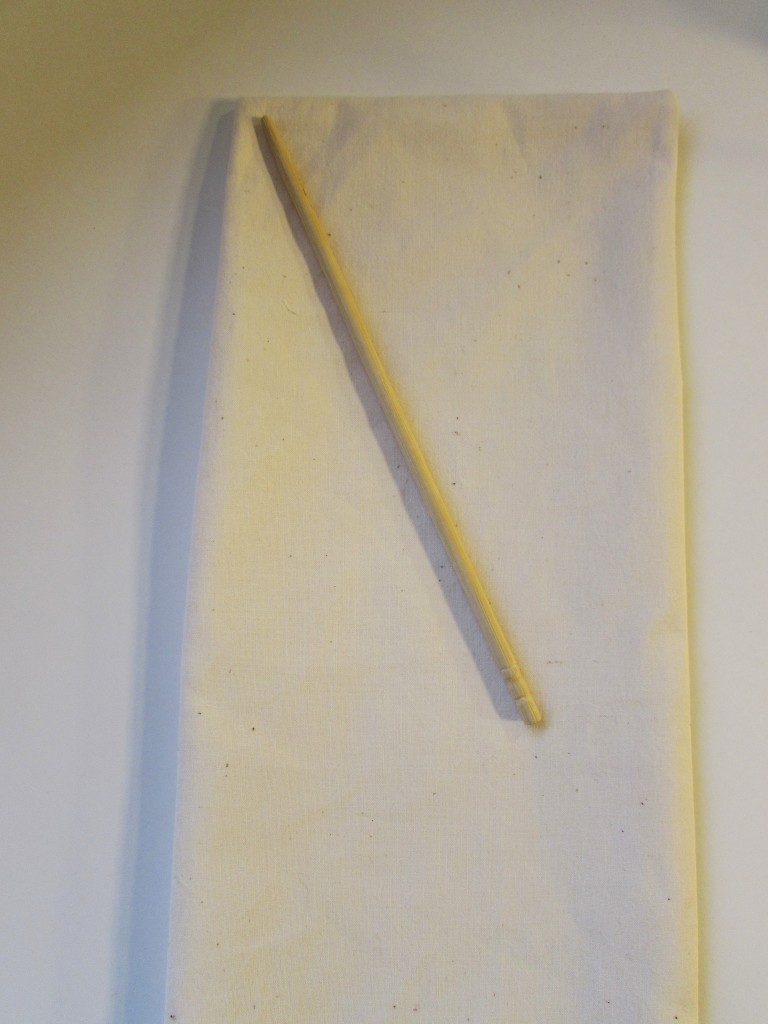
Turn the bag right side out and press. I use a chopstick to carefully poke the corners out from the inside.

IMG_20151230_4386

Now you will fill the bag with rice. I like to make three sections and fill each with about 3/4 cup of rice. You can do this with more sections or even no sections. If you choose to leave it undivided, with just one section, fill it with the rice at this point. I like the feel of the sections and think it lays nicely when divided.

For the first section, fold the top of the bag back and carefully pour in 3/4 cup of rice.

IMG_20151230_4388

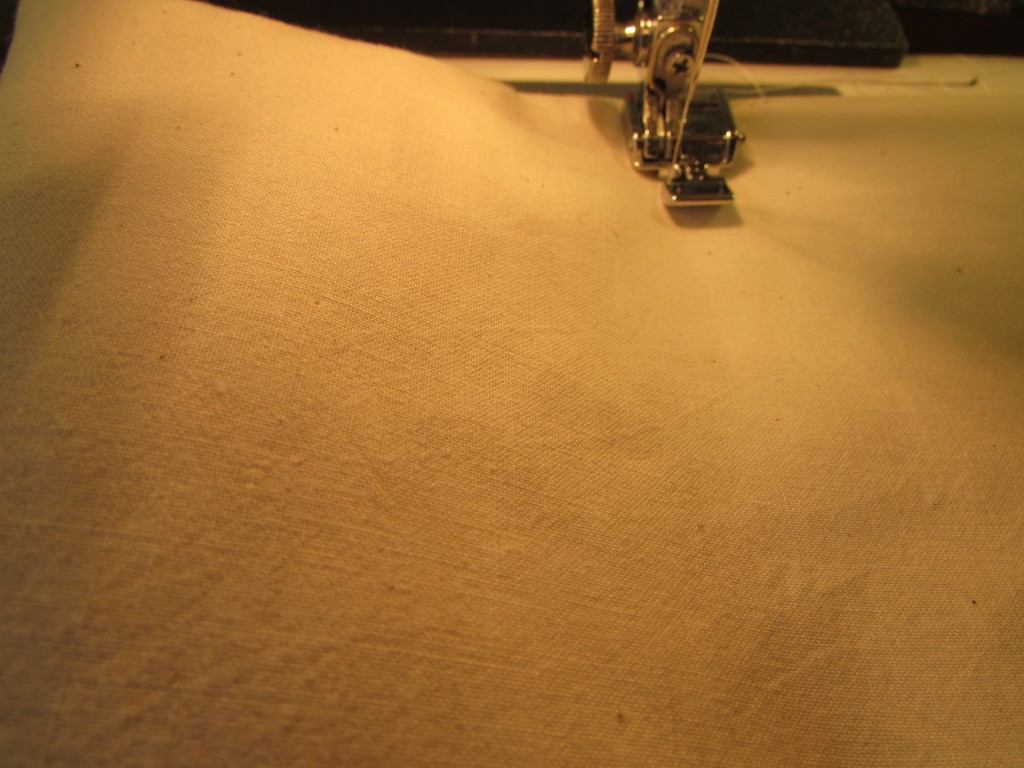
Smooth all the rice to the end and stitch across the width of the bag, close to where the rice is. I use a zipper foot to do this though it isn’t absolutely necessary.

IMG_20151230_4389Create a second section in the same manner and stitch it. (I don’t measure the three sections precisely. I just estimate it.)IMG_20151230_4390

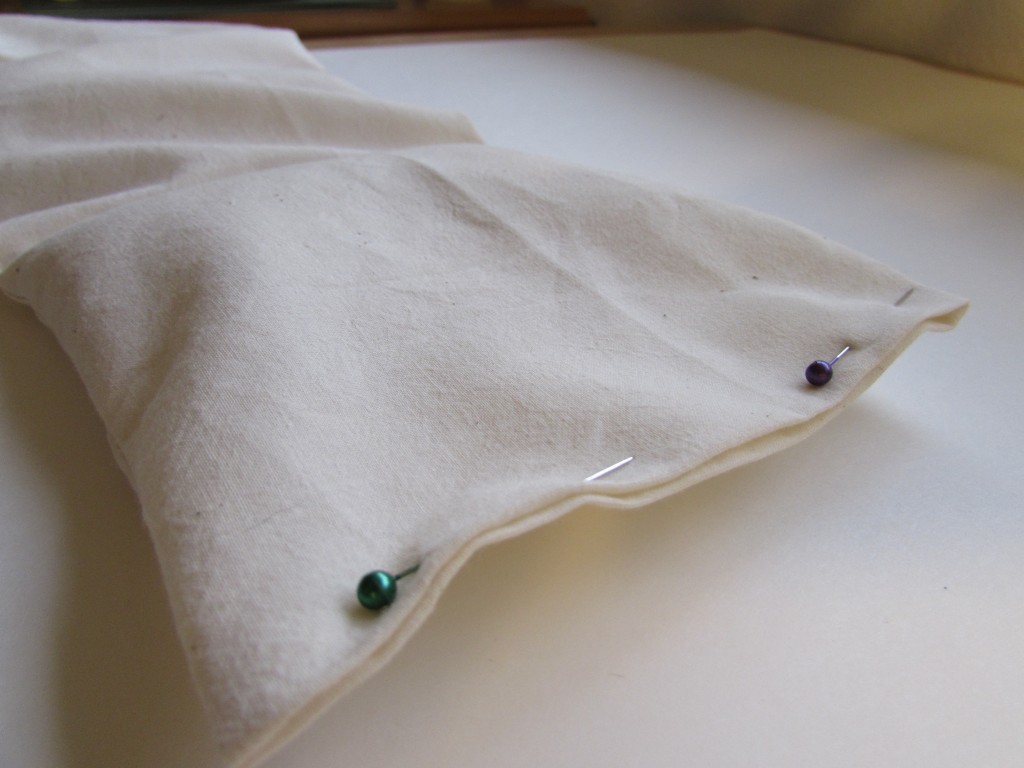
After putting in the last portion of rice, shake it to the bottom of the section and press the raw edges to the inside, taking care to make them relatively even. This isn’t going to show and certainly doesn’t need to be perfect.

IMG_20151230_4392

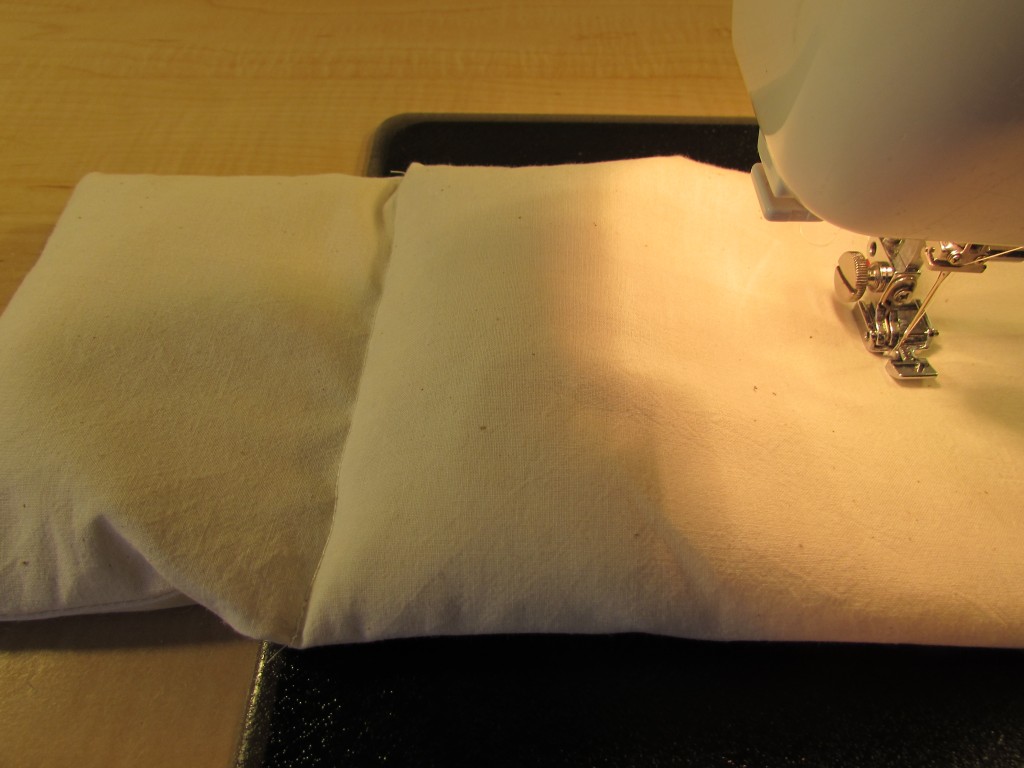
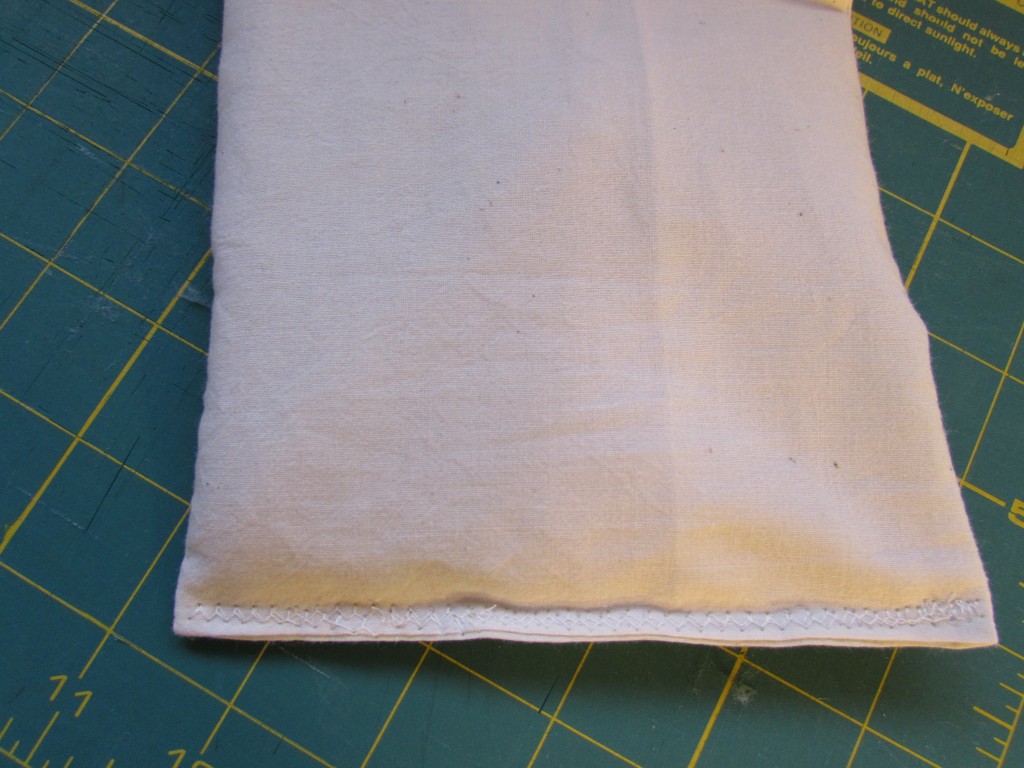
To close it up, I use a zig-zag stitch and run it over the end two times so the rice stays where it is supposed to!

IMG_20151230_4394

OK – the inner bag is done and now you just make the outer cover. It is basically like making a pillow cover with an envelope back. So easy.

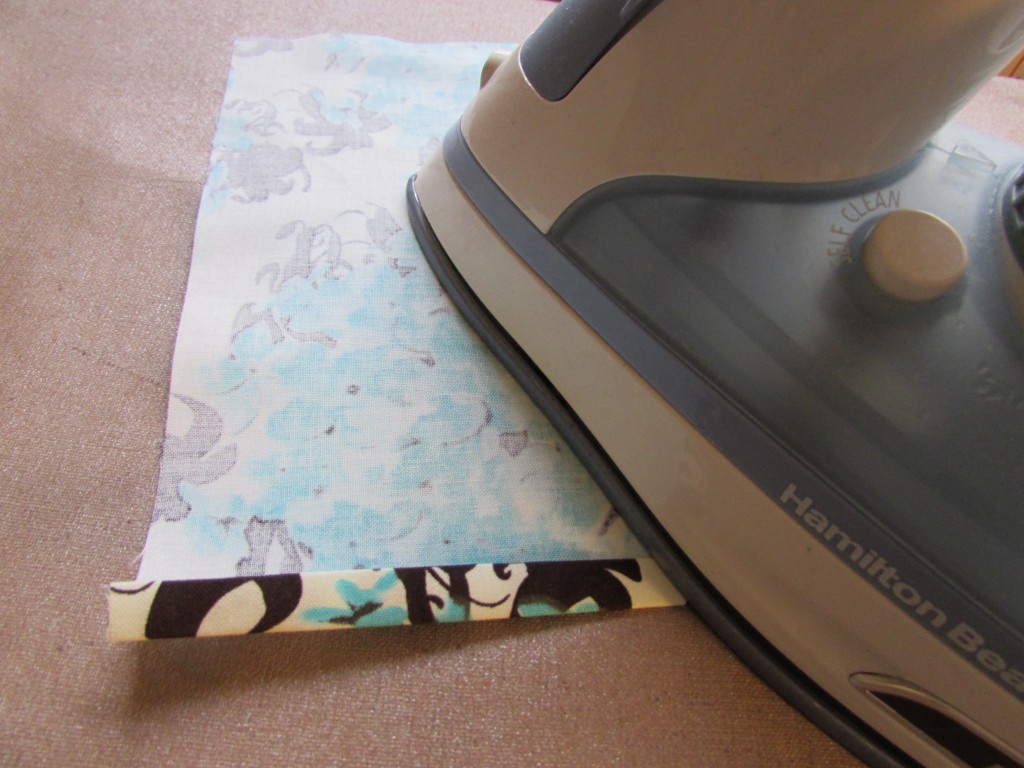
For the back side, take the two shorter pieces and finish one short edge of each. Turn 1/4″ over and finger press. Turn it again and press with the iron.

IMG_20151230_4397

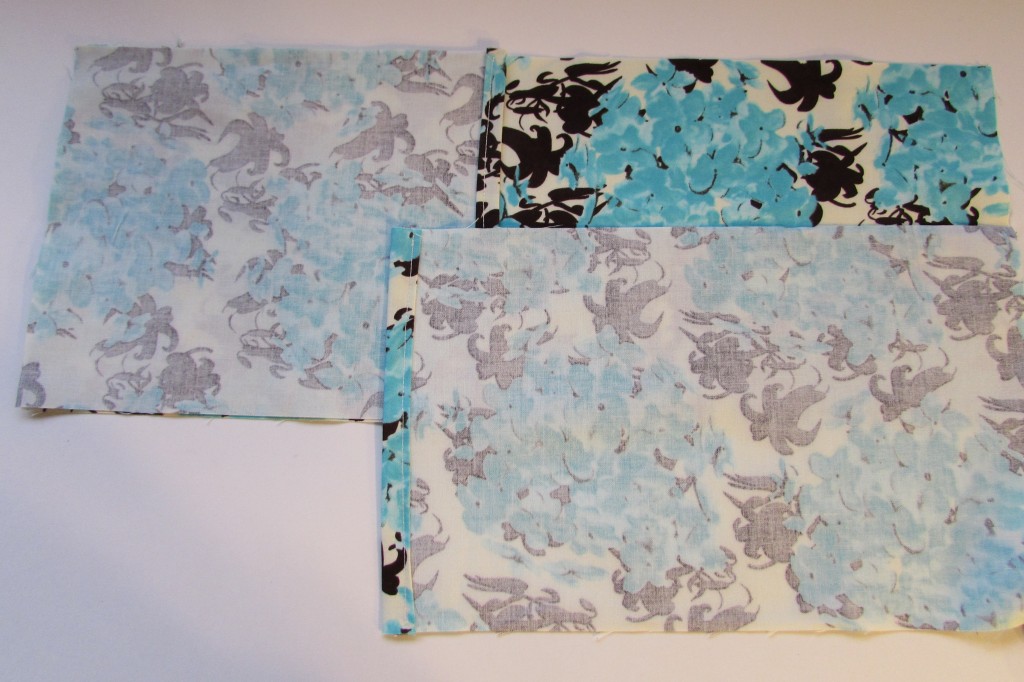
Layer the three pieces, right sides together, as follows. Long piece on the bottom, Short (8.5″x6.5″) piece next and on top of that the longer (11.5″x6.5″) piece. Pin securely, especially where the two shorter pieces overlap.

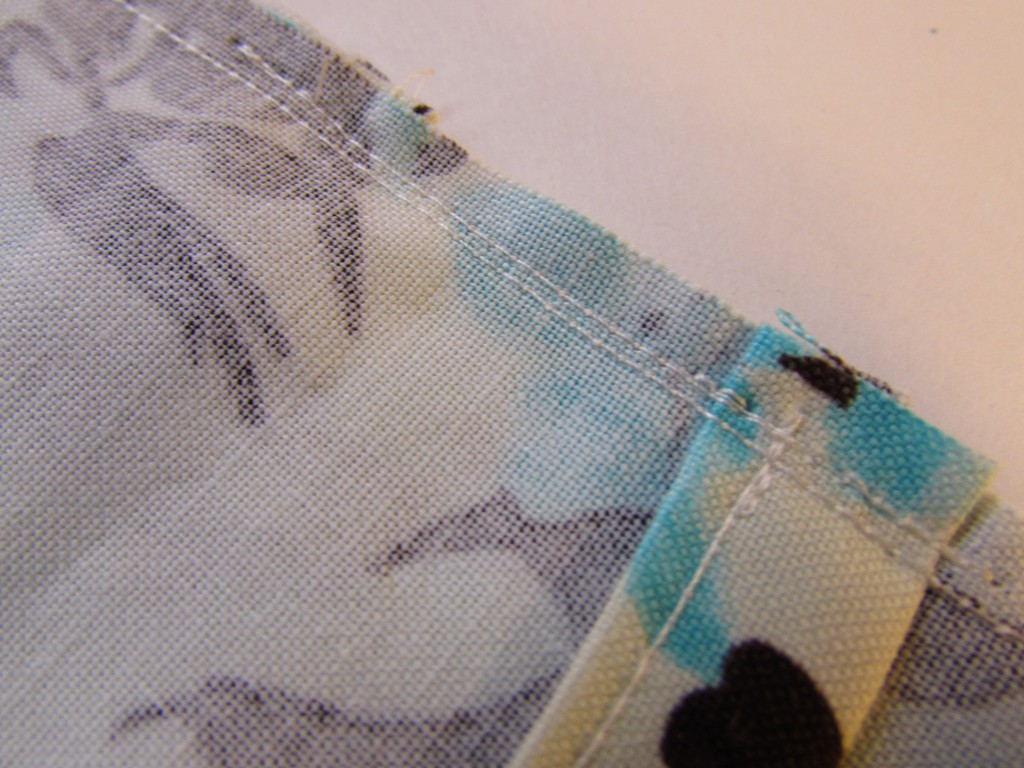
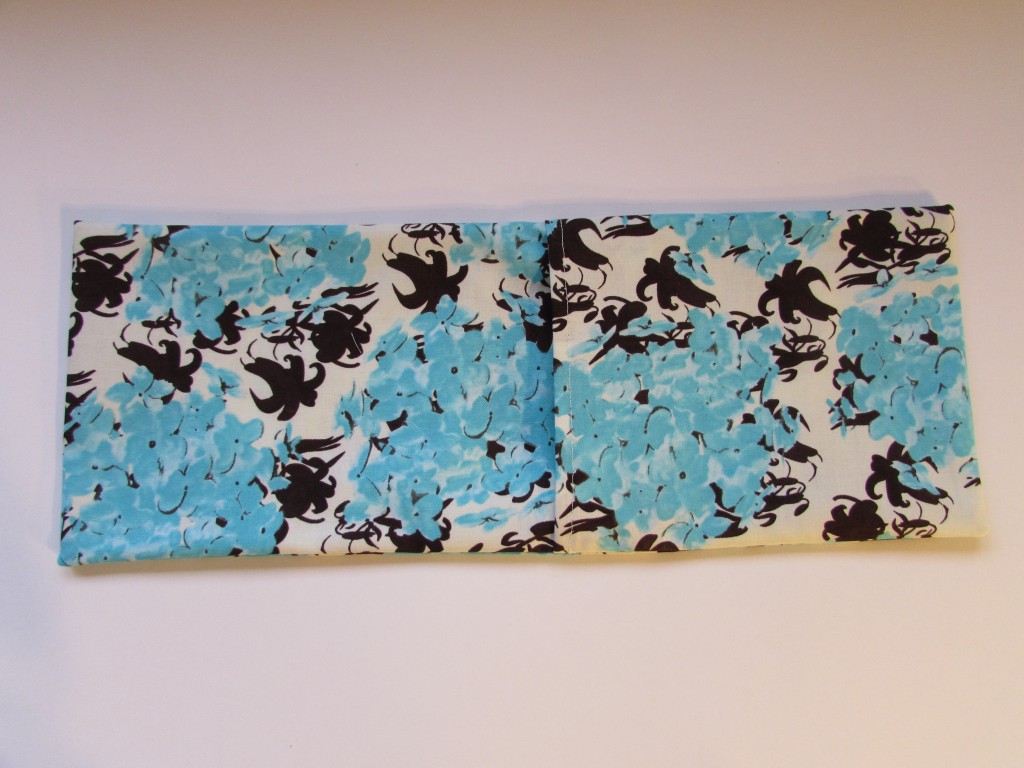
IMG_20151230_4399Sew the entire perimeter of the case. Take two passes over the sections where the backing pieces overlap so they are strong.  That is where the most stress is when you take the rice bag in and out. As with the lining, trim the corners carefully and turn right side out. Use the chopstick carefully to create nice corners.

IMG_20151230_4400

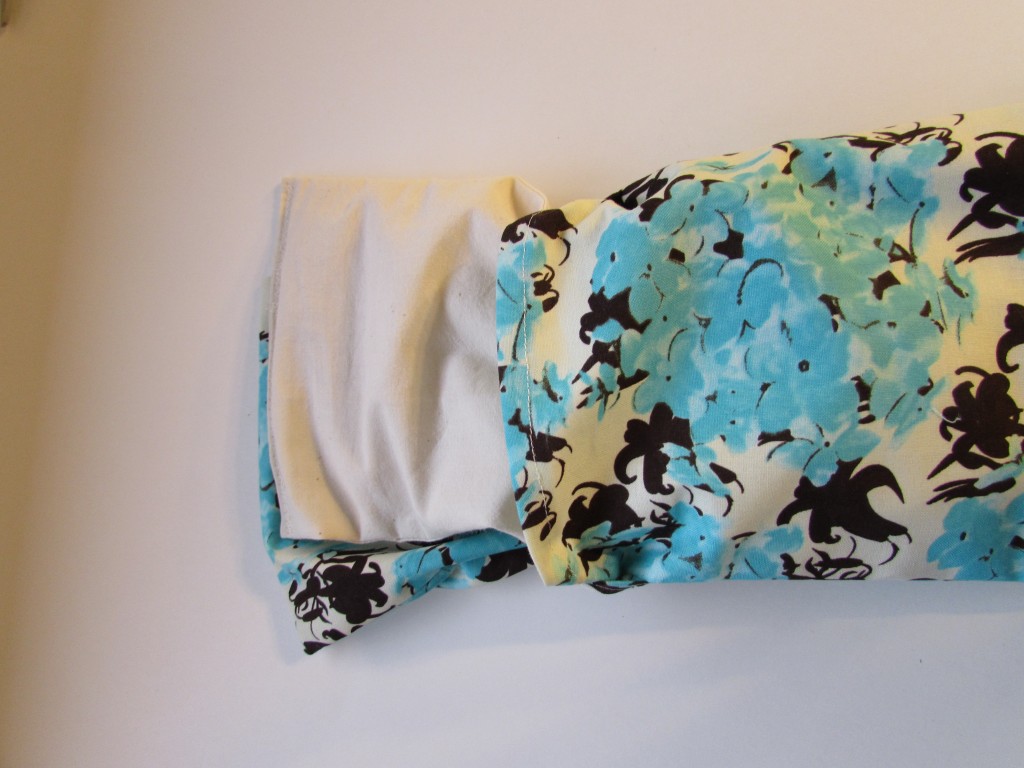
IMG_20151230_4403

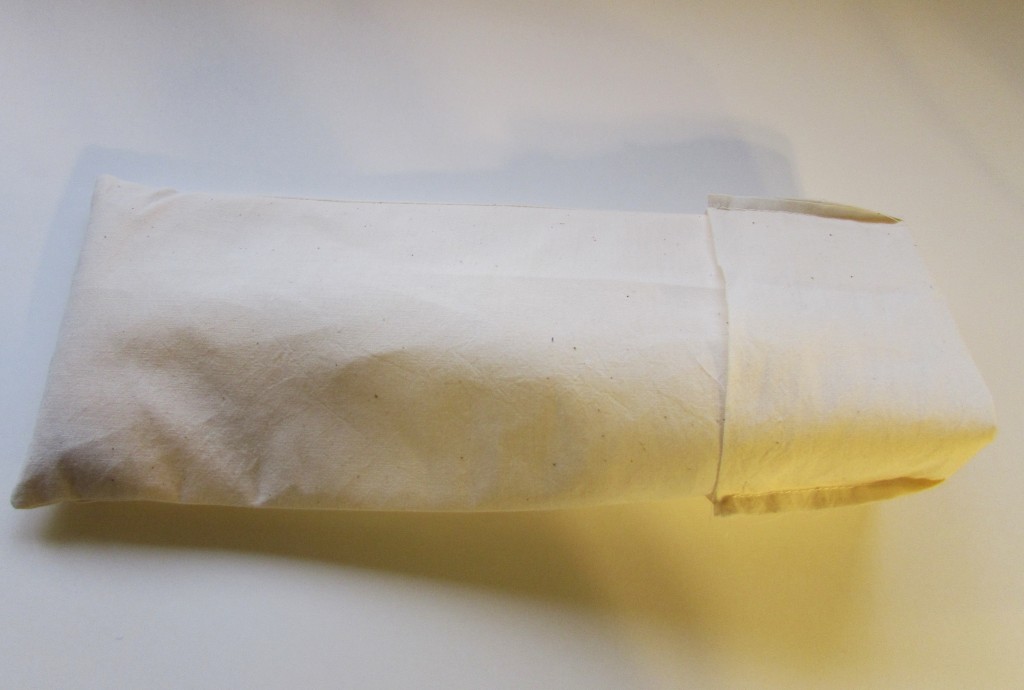
Take the rice pack and insert. It takes a bit of wiggling to get it all inside the cover.

IMG_20151230_4404

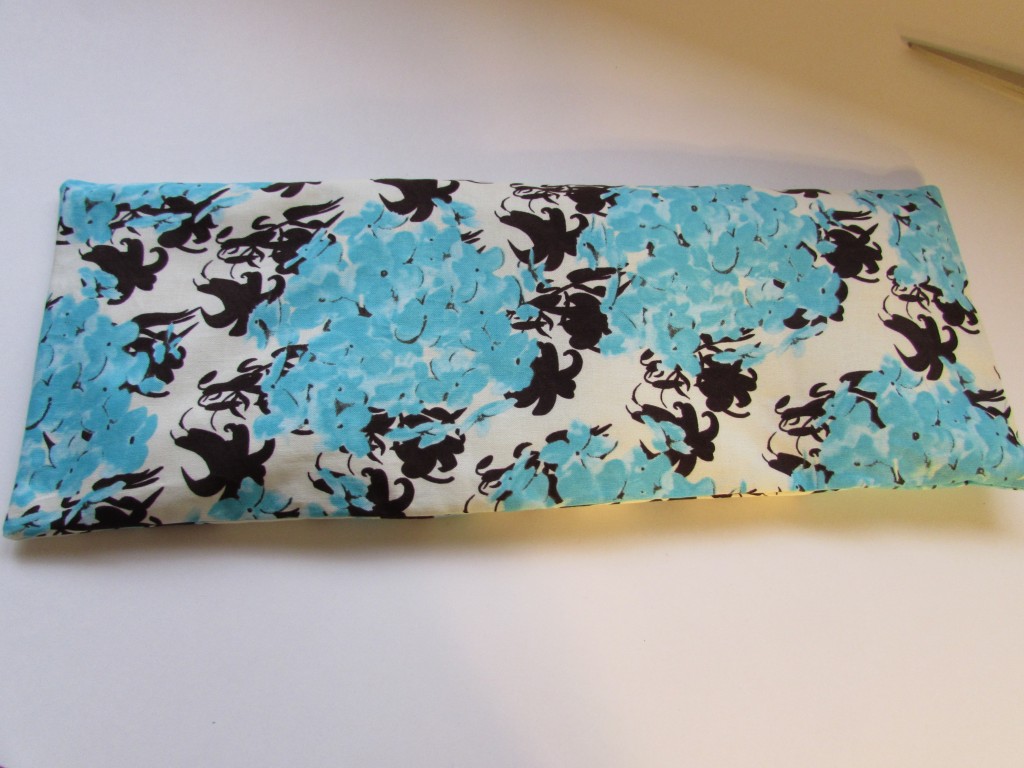
Ta Da! All done.


IMG_20151230_4405

The amount of rice that is put into the liner affects how malleable, or flexible, the rice pack is.  When I made the first one I put too much rice and it felt stiff and quite heavy. You can play around with it and see what feels best for you. To use, just put in the microwave and heat for a minute. Check to see if that is warm enough for you. Of course the timing will depend on your microwave, but it can get very hot so be careful. This bag can also be put in the freezer and used as a cold pack. These are great for icing or heating muscle aches, sprains, and warming cold toes in the winter.

Hope you’ll give it a try. Leave any questions in the comments or send an email and I will get back to you. I haven’t written very many tutorials, so if something is unclear, or I left out a step, please let me know so I can update this.

Linking to my usuals.  Freemotion by the River, Let’s Bee Social and Crazy Mom Quilts. T hese links are listed at the top of the page, under Link Ups.
Christmas Giving and Receiving

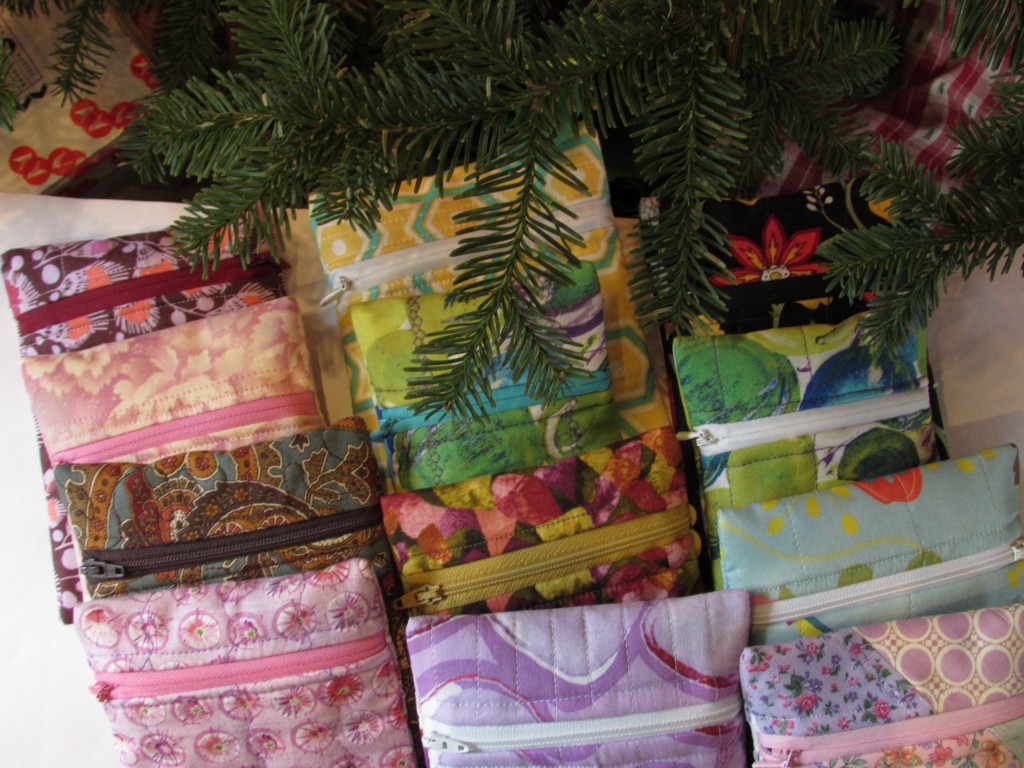
About a week before Christmas I decided I wanted to make a few gifts. My self-imposed parameters were no trips to the store, no spending money on fabric and something quick, easy and fun. I decided on the thirty minute zipper pouches that I found at Kelby Sews. They are a lot of fun to make and very satisfying.

IMG_20151219_4292

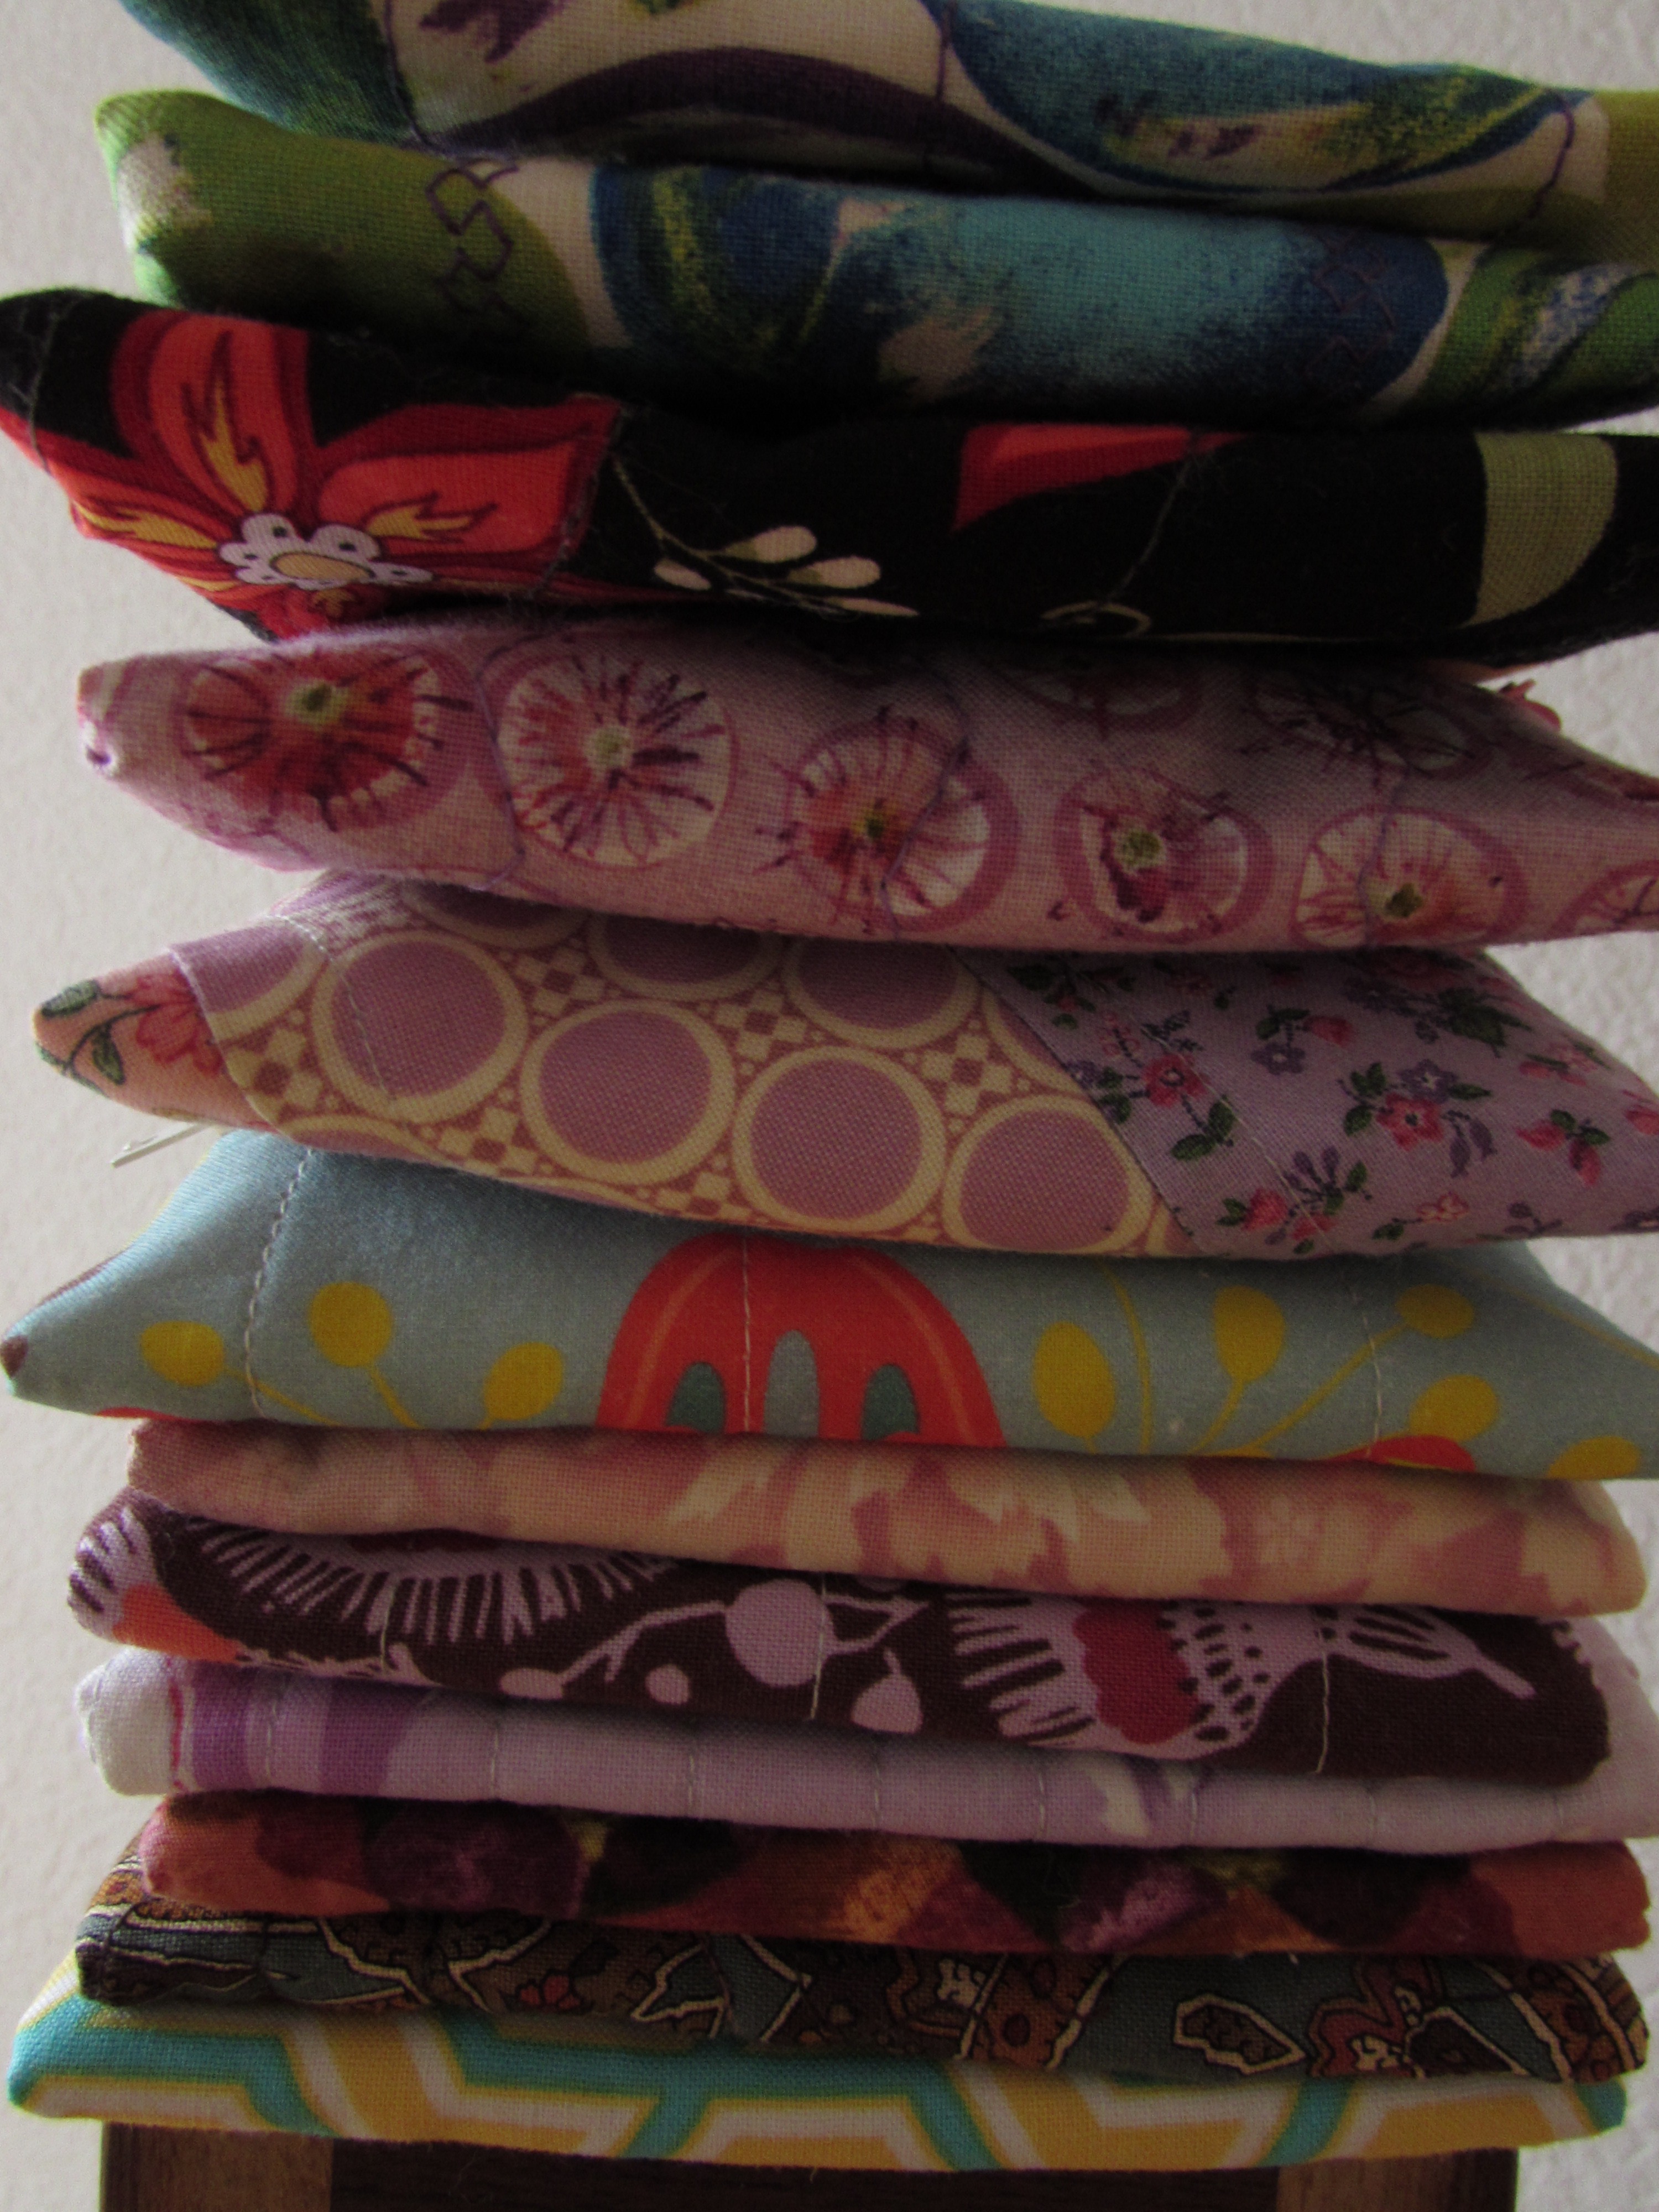
I do follow the basic tutorial that Kelby posted as her method of making these bags is wonderfully simple. However, I don’t strictly adhere to her dimensions. I have a large zip lok bag of zippers that I have collected from various thrift stores. Many, really most, of the zippers I have are very long, 16-22″ or so. It doesn’t matter as the ends are cut off once the bag is assembled. In addition I, like most quilters, have a large drawer full of batting scraps. The long pieces that are trimmed from the edges after quilting a project are stored there and are perfect for this project. With the zippers and batting on hand, I just had to pull large scraps that went well and coordinated with the zippers. That was probably the toughest part of the process, matching fabrics to whatever zippers I had.  Looking at the photo below, you will see fabrics from Kaffe Fassett, Henry Glass, Allison Glass, Amy Butler, and several by Kathy Davis.  A variety of wonderful colors, to be sure; it felt great to use up so many scraps! The tutorial tells the maker to use adhesive and glue the fabric to the batting. I chose to quilt them together instead. I think it adds an extra touch, and also…I don’t have any spray baste on hand!

If you look at the picture you will see the bag that is the fifth one down in the stack, is made of multiple fabrics. I used an orphan block for that one. It was a practice block I used when I was trying to make a herringbone block. Fortunately it was long enough to make a pouch with, I just had to cut the width down. I loved that pouch because it looked like I had pieced it.


I put some yummy Evelyn and Crabtree lotions in the pouches and mailed them off to my sisters and a quilty friend in Michigan. I also gave them to my mother, my mother-in-law, and sister in law. For my two nieces, I filled the pouch with chocolate and a gift card.
In addition to making these zipper pouches, I made a couple of heat packs for my kids. These are filled with rice and can be heated in the microwave to soothe a sore muscle.  (They can also be stored in the freezer and used for muscle aches and pains.) I made one for myself a long while back and love it.

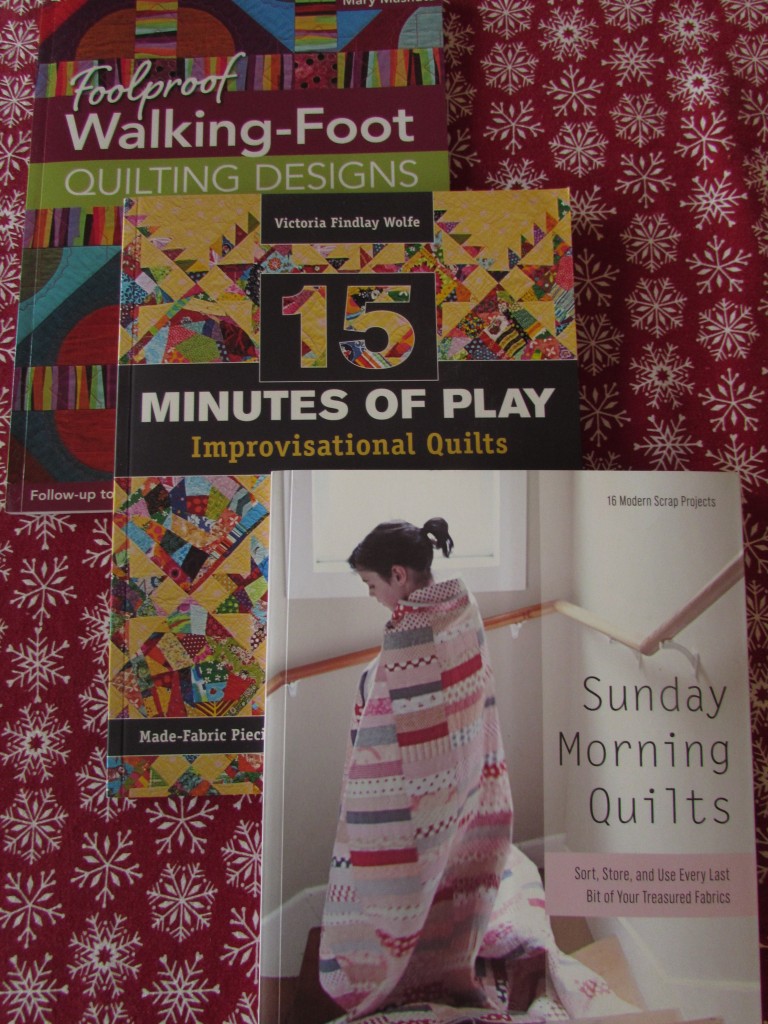
While it is fun to make, and give, gifts, it is also fun to receive a quilty gift. This year I received three quilting books. I have a list of books that I want to add to my library and received three of them.

IMG_20151227_4350

Since receiving it, I have already read Fifteen Minutes of Play, by Victoria Findlay-Wolfe, in its entirety. I love it and spent a few minutes yesterday creating ‘Made-fabric’. I am planning to incorporate her ideas into my projects for RSC16 and will post more on that later. Sunday Morning Quilts has some wonderful ideas for quilts using mostly scraps. Written by the quilt world’s scrappy quilting queens, Amanda Jean Nyberg and Cheryl Arkinson, it is filled with great ideas. Mary Mashuta’s recent book, Foolproof Walking-Foot Quilting Designs, is also wonderful. Mary has some great ideas for quilting designs other than straight lines with a walking foot. I have just taken a peek at that one and already learned a few new ideas that I will try soon. These three books will provide a great deal of inspiration and instruction for upcoming projects. If nothing else, just looking at the photos of the quilts made by these amazing women is so satisfying!

Happy New Year to all of you. May 2016 be a year of peace, good health, and many hours of stitching!

Linking to Crazy Mom Quilts, Freemotion by the River, and Let’s Bee Social.


Odds and Ends

The weekend is just about here. Julia is going to her first high school football game tonight and we are not a football family. It is rare that you’ll hear any talk of sports in our house. But I am fairly certain that 14 year olds don’t go to football games for the sport – it’s all about the friends. She will have a great time and I will wonder how she got to be this age so quickly.

It was a busy week here in Grass Valley, CA  (doesn’t that sound just like Garrison Keillor? I love him.) I decided I was tired of looking through filthy windows so I hired a couple of window cleaners to come and clean them. We have lots of windows (40 to be exact, I paid per window so I now know this number.) Turns out that having windows cleaned involves lots of prep on the part of the window owner. They asked me to clear any items near the windows so they could have access.  Yikes.  My sewing table, ironing station and cutting station are under a window. I am sure you can imagine. But after I got the house put back together, it was well worth it. Shiny clean windows. Just in time for fall colors… the maple trees near these windows turn a great shade of yellow-gold and now we will enjoy the changes that much more. (Well, that’s if fall ever comes, it is a balmy 98 degrees outside today.

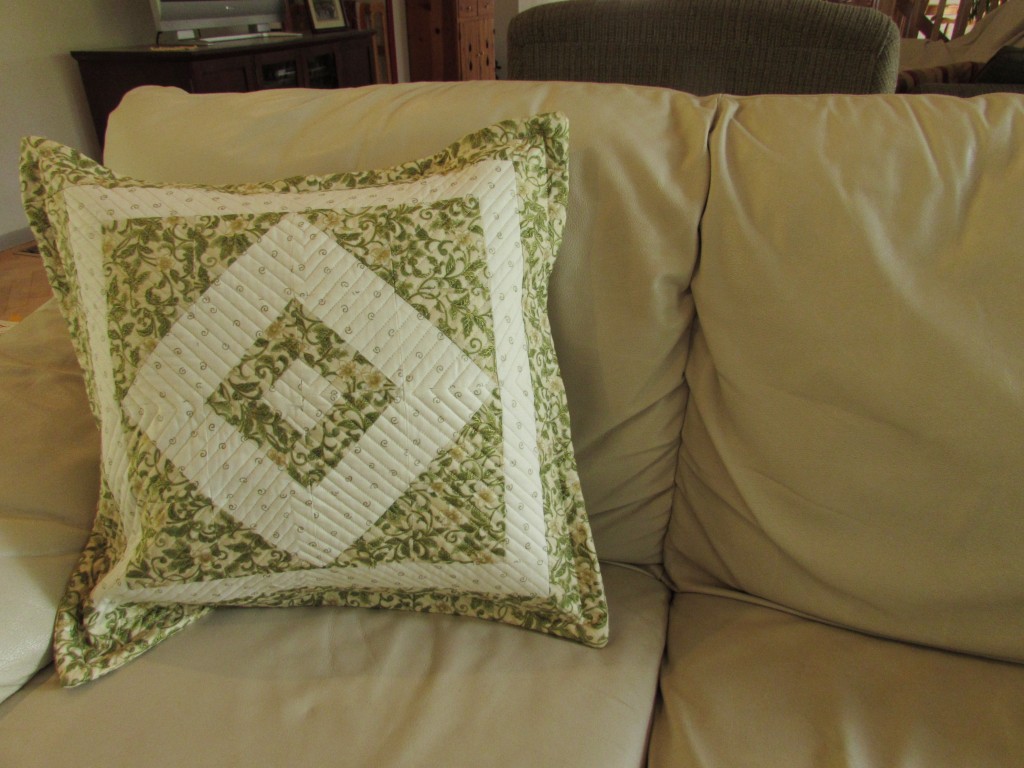
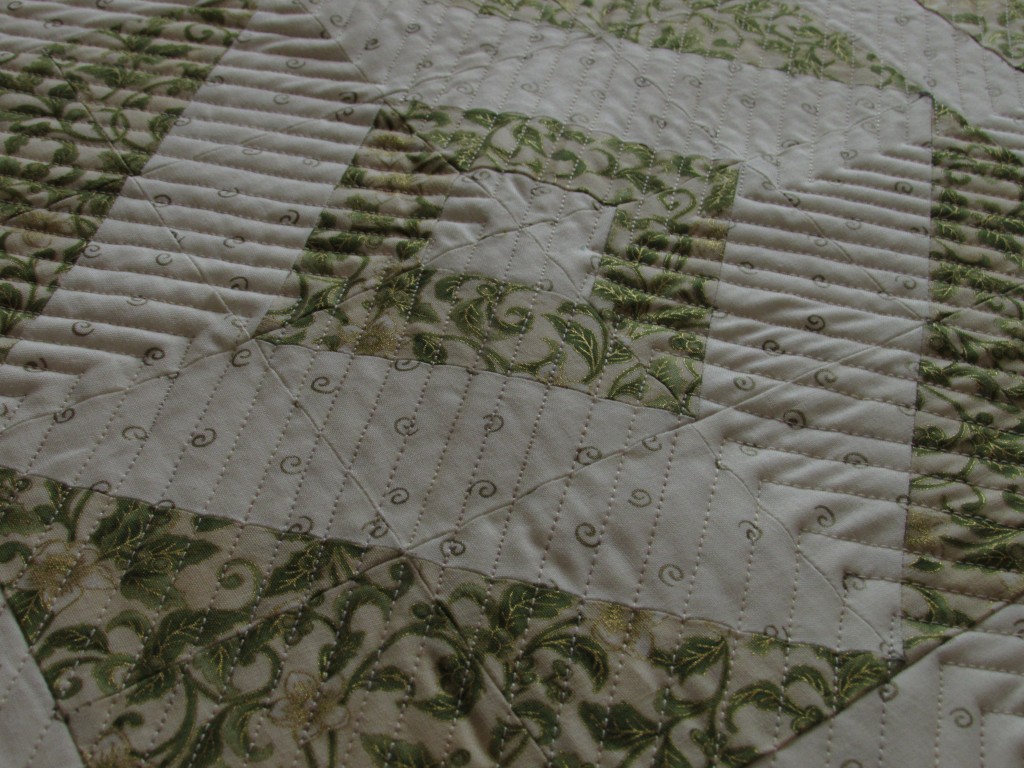
IMG_20150911_3796Time in the sewing room was not plentiful this week. I did finish up one quick project though. Remember the block-hop that I posted about last week? When I was playing with the design for that block, I did a mock up first. I used some holiday fabric that I had (mainly because it was right next to the cutting area and saved me the long walk to the closet across the room where my stash is stored.)  The block was pretty though and I wanted to use it for something.

IMG_20150911_3784I added two borders, one 2″ wide and the other is 3″ wide. With these borders I ended up with a pillow cover that is about 21″ square.

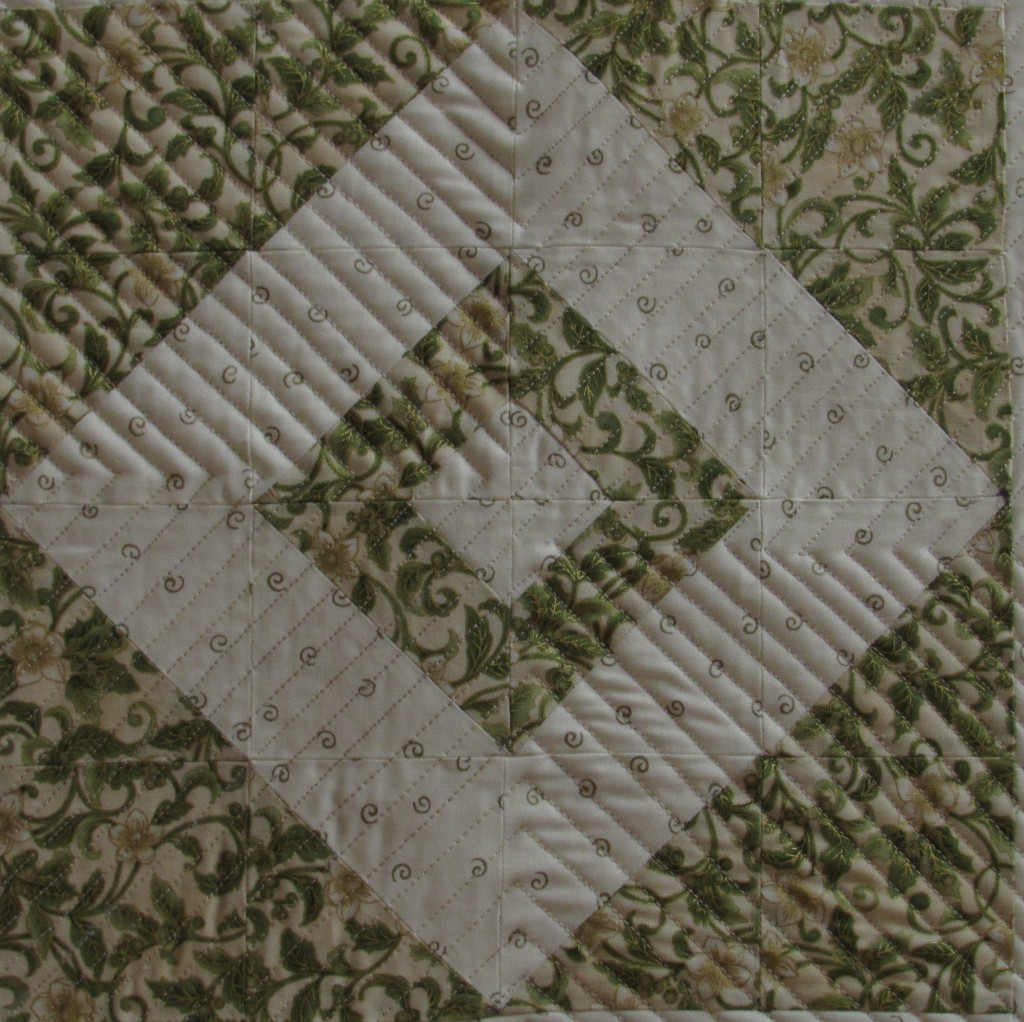
IMG_20150911_3788I used an envelope backing and stitched a seam 1″ in from the perimeter to make a flange.  Straight line quilting with a fairly narrow gauge was done on an angle, dividing the pillow into four quadrants.

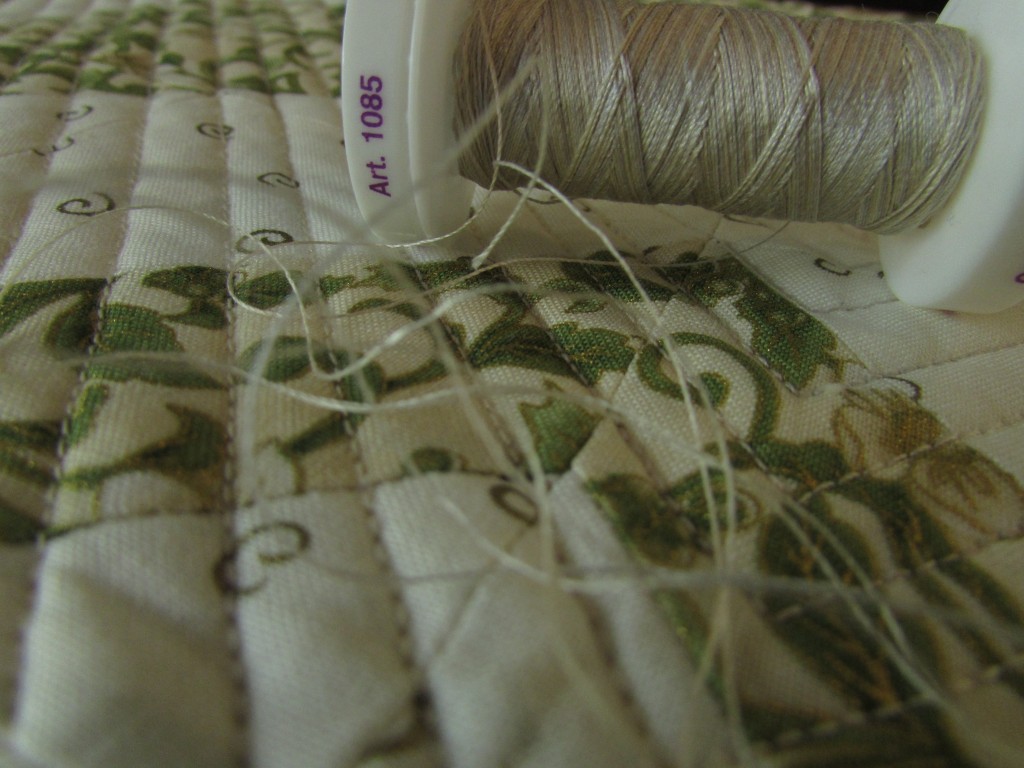
IMG_20150911_3785I used a Mettler variegated thread with shades of gold, silver and cream which I love with these fabrics.

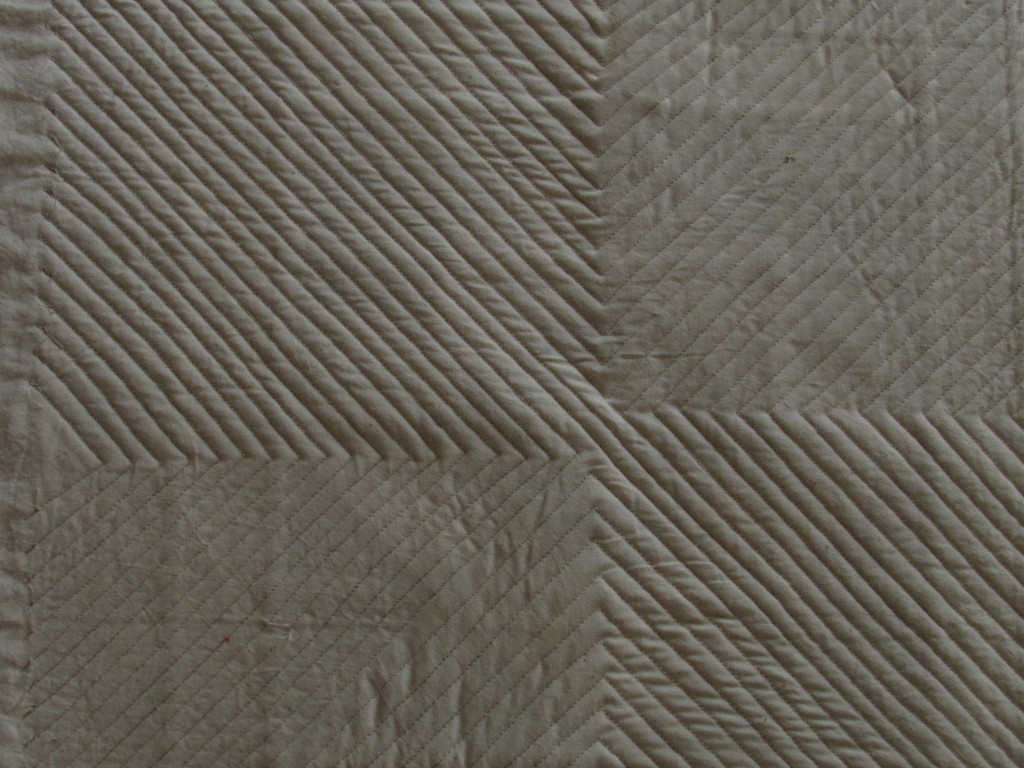
IMG_20150911_3793When I quilt a pillow, I sandwich the quilted portion with plain muslin and pieced batting scraps. The quilting looks kinda cool on the muslin side.

IMG_20150911_3783It makes me want to try some sort of whole cloth project to really emphasize the quilting. Another addition to the list….

It will be fun to pull this out in a few months when the time comes to decorate for the holidays. Hoping everyone has a great weekend. Seems like it is hot across the country right now. Maybe this is the last blast of heat before wonderful autumn starts.

Linking to Finish it up Friday at Crazy Mom Quilts, Confessions of a Fabric Addict as well as Freemotion Mavericks (even tho this is quilted with a walking foot, not my darning foot.) All links to these link parties are available at the top of the page, under Link Ups.


Basic and Practical

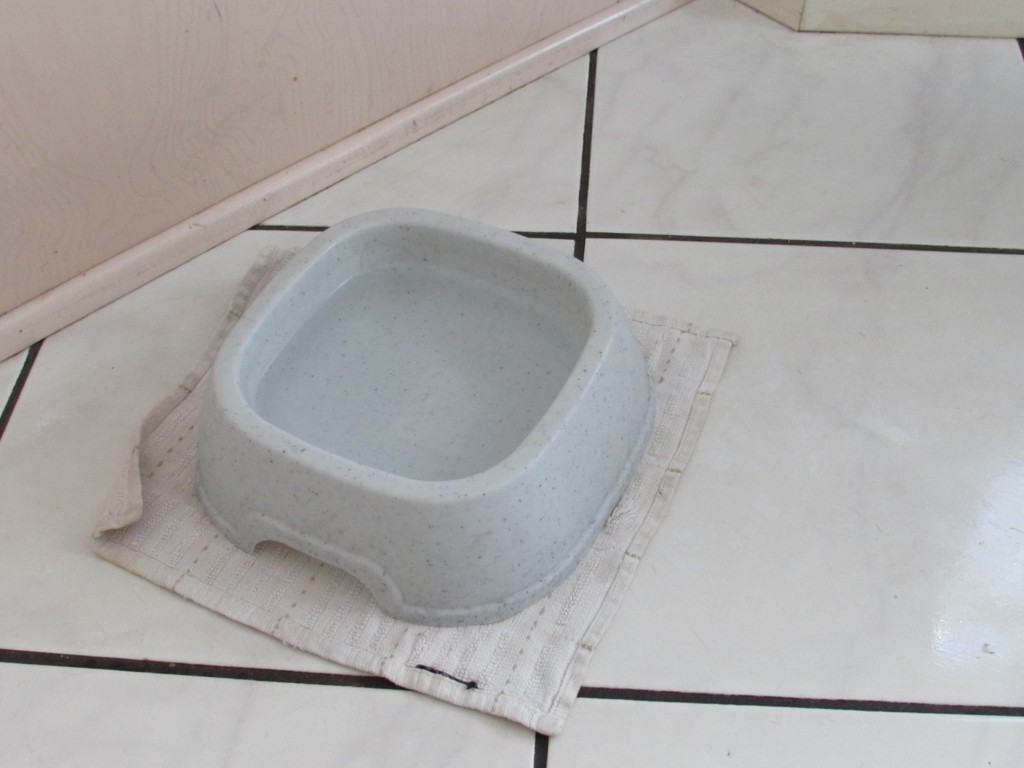
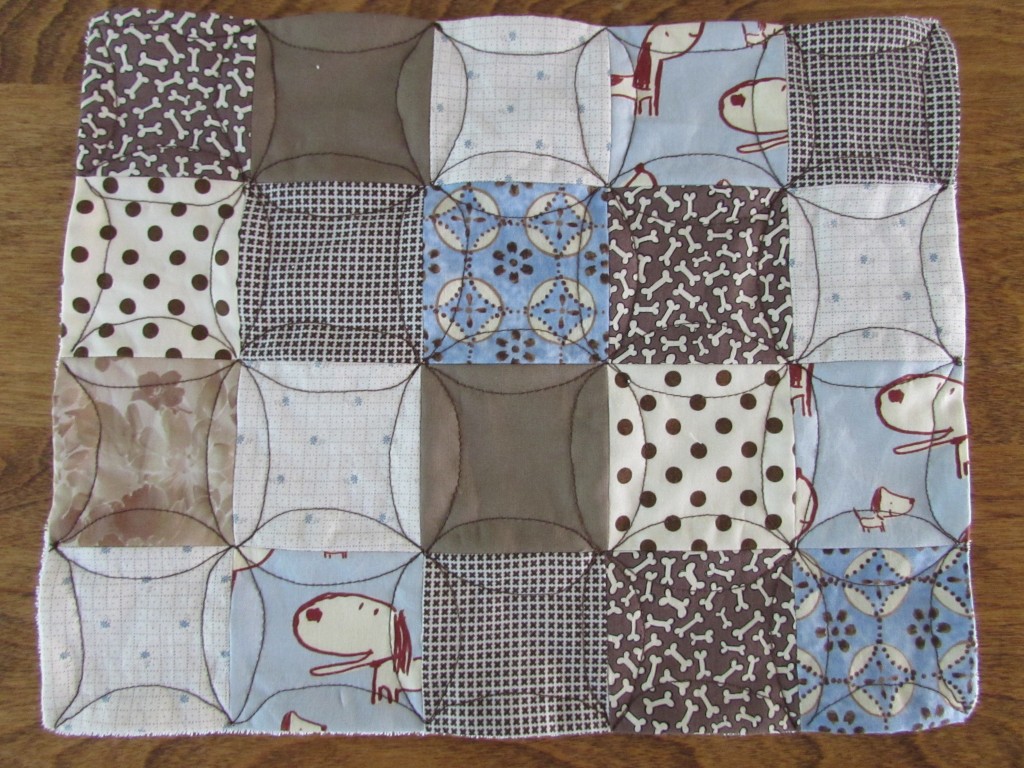
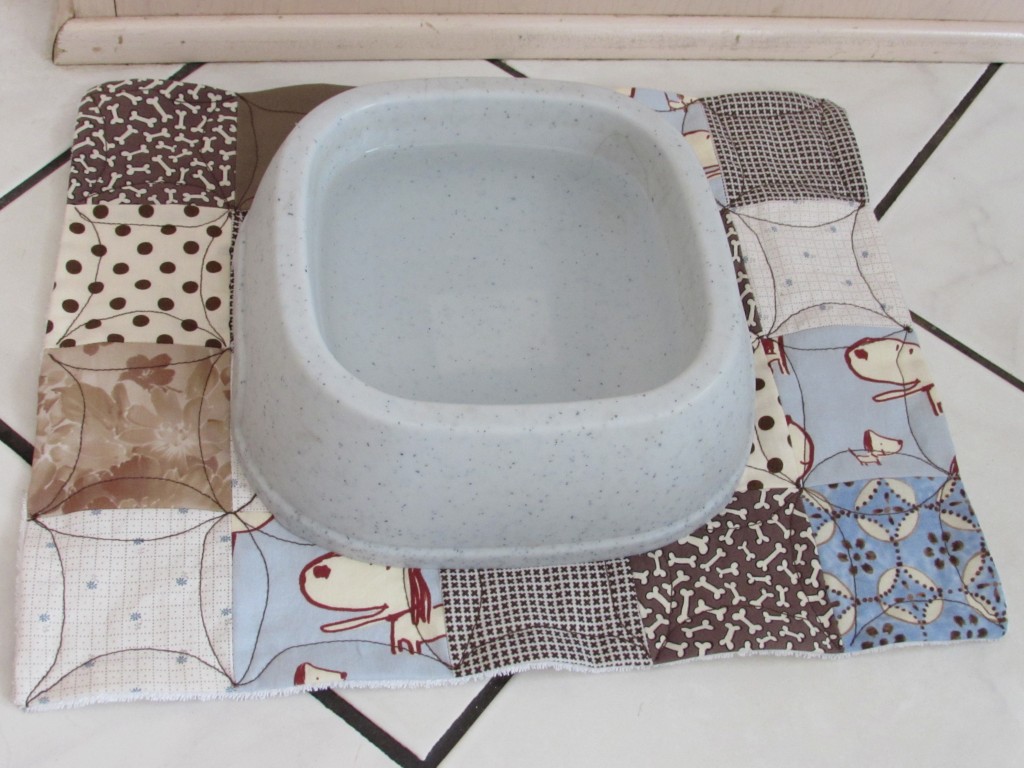
Here is a post about one of the least exciting things I have made thus far.  Today I made a little mat to place under my dog’s water dish. I hate the puddles that happen when she drinks (and more often than that, when I kick the dish as I walk by it – like every. single. day.)  It wasn’t that I didn’t try to control the issue. Look at this gorgeous set up I had going on.

IMG_20150831_3754Classy, right? (Please avert your eyes from the dirty floor. Thank you.)

My true goal was to learn to quilt a basic “orange peel” motif. It is one that I had not yet tried and seemed like a good one to add to my limited repetoire. I didn’t look for a tutorial and didn’t sketch any first.  It just seemed so easy. Silly, silly me.  Drawing first has huge benefits as will become clear in a sec.

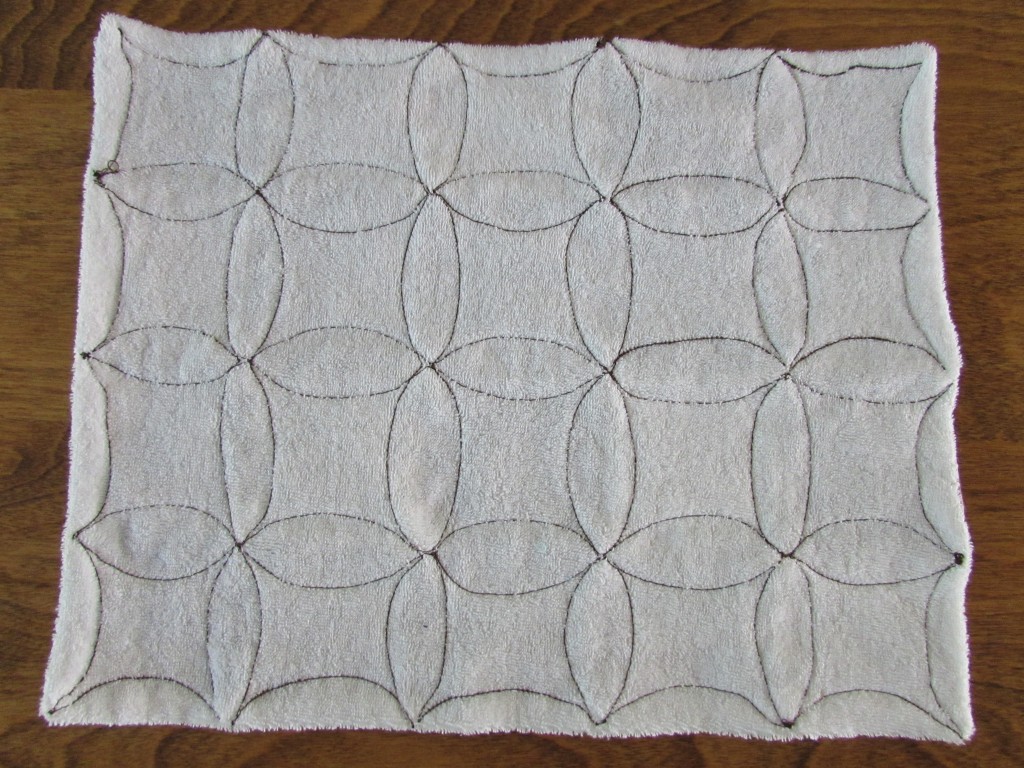
First I found a pile of 3 and 1/2″ squares that were left over from various projects. I added a few extra squares cut from puppy themed novelty fabric that was in my stash. I made a patchwork of five squares across and four down.  I found a scrap of french terry to back it with so it would have the absorbency to handle my constant kicking and splashing of the water. (One would think moving the bowl to another location would be much simpler!) I sewed the two pieces, right sides together, leaving a small opening to turn it right side out. After stitching the opening shut, I pressed it and pinned it.  Then I just dove in with the quilting process.

The problem was I didn’t really think about how to travel along with the orange peels. Mostly I was listening to music and not focusing on the exciting task at hand. I began by moving around the inside of each square. This doesn’t work and I was almost immediately stuck in the corner. Ahh… of course. The pattern is supposed to be stitched along the length of each row of squares and then again along the opposite edges of the squares (e.g. along the vertical rows and then the horizontal rows – or vice versa.) Very basic and had I sketched for just a few minutes first, this would have been apparent right away.  No big loss though. This was easily remedied and I finished up by stitching along the edges. Once I figured it out my curves looked (somewhat) better.

IMG_20150831_3751The quilting on this is mediocre at best.  Fortunately I have a rather undiscerning dog when it comes to quality of the FMQ on her water mat. It does look better from the back (because there isn’t the point of reference of the squares to look at next to my stitching.) Quilting along the perimeter was really tough because there was no edge to hold on to (since I had just made this “envelope style”.)

IMG_20150831_3752I really love how the orange peel motif looks (when done well!) and plan to practice it further. It would be very easy to quilt a larger project with this pattern. I would want to have a better handle on it first though. This little mat certainly improves the look of the water station in the kitchen though! Very classy. I am sure the dog is grateful.

IMG_20150831_3758

Have you been enjoying the Fabri-Quilt New Bloggers Block Hop so far this week? I have seen some amazing creativity out there. The hop continues through Thursday. The Tuesday group can be found over at Meadow Mist Designs with Cheryl leading the crew.

Linking to Freemotion Mavericks and Freemotion by the River.


Playing with Fabric this Week

We are almost to the weekend! Lots of sewing this week but not a lot of pictures to share.  I had three custom orders on Etsy which are always fun. I like when a customer just wants a certain color or size. It is easy to make what they want and they get just the right thing.

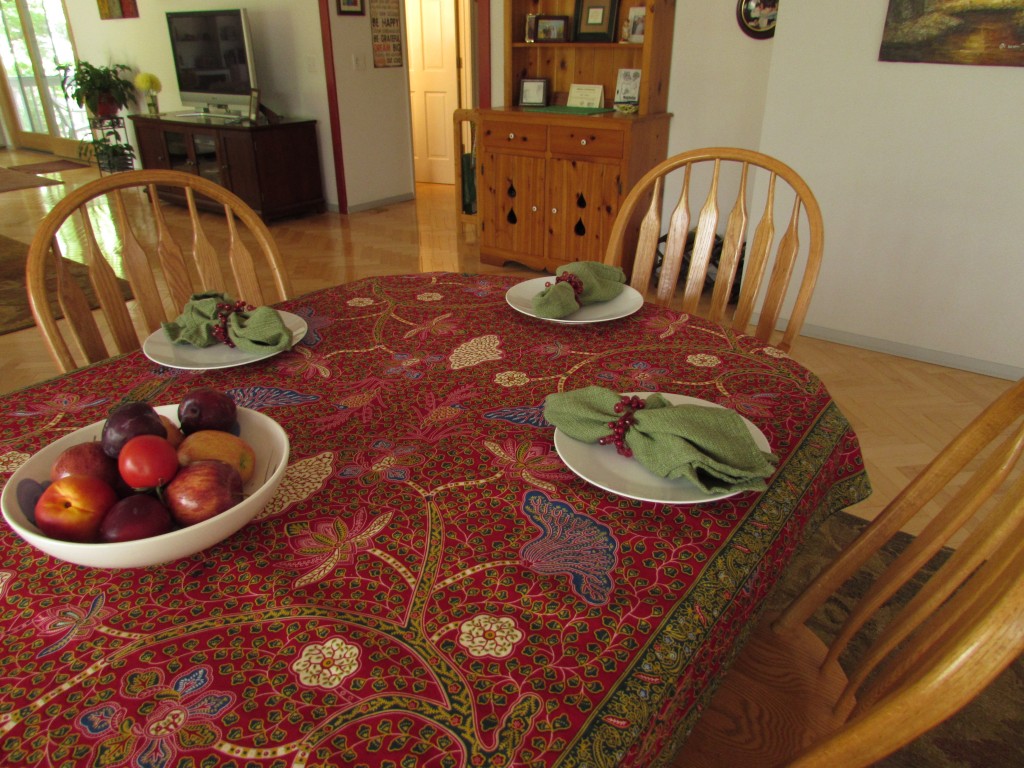
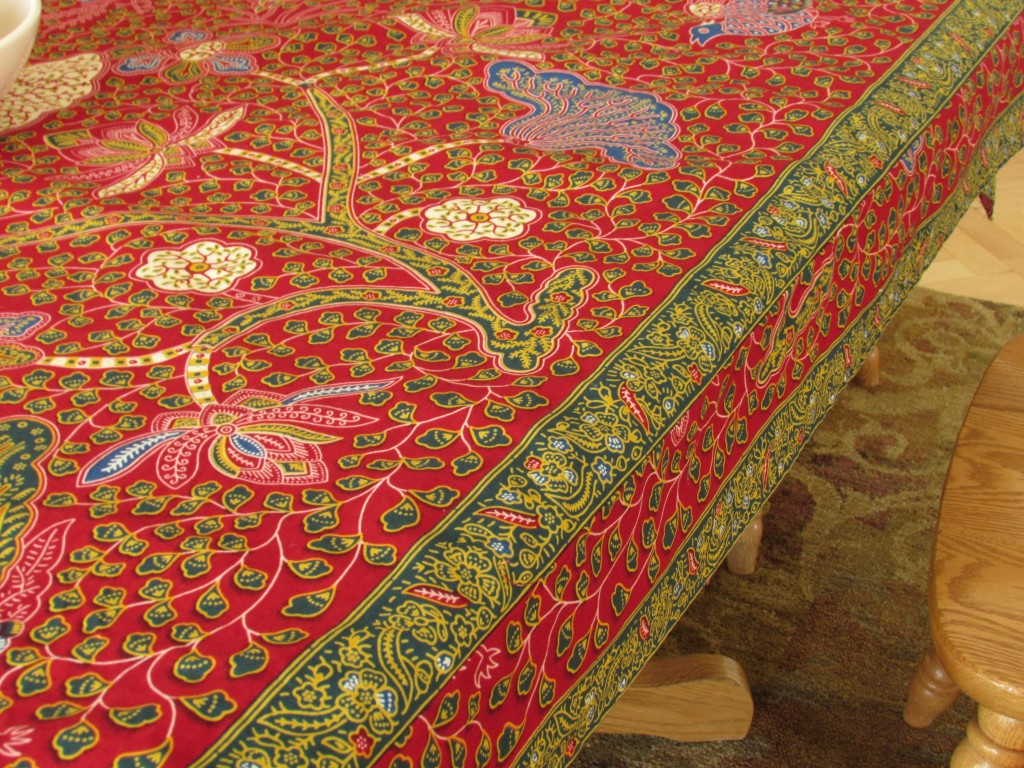
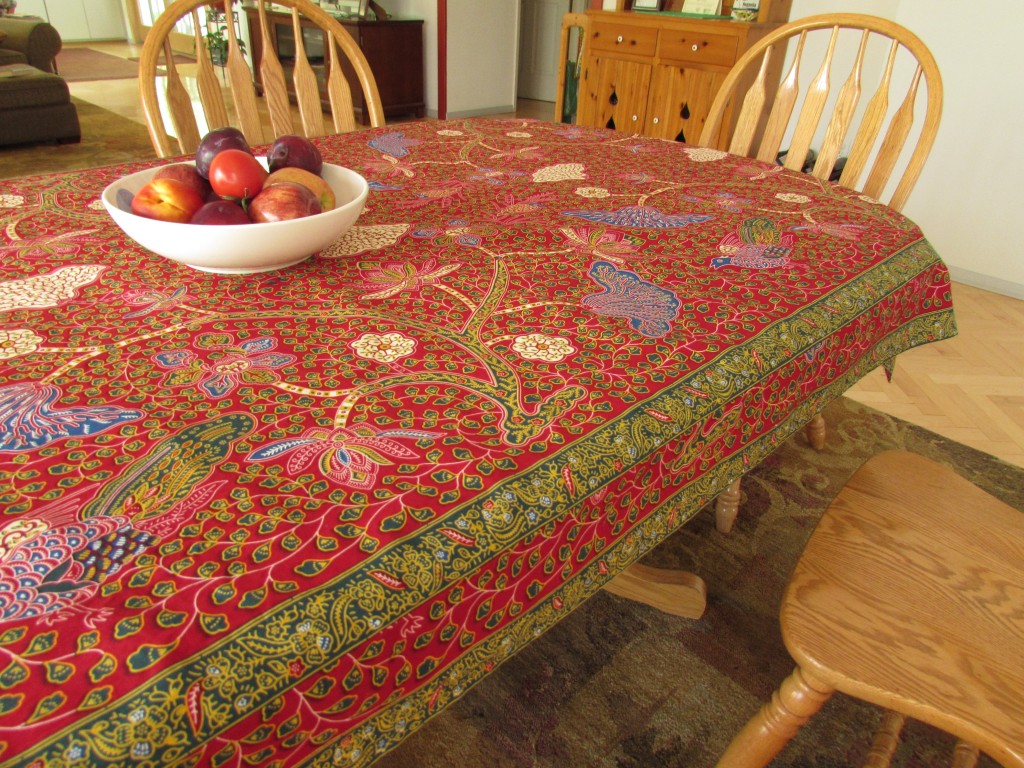
I did squeeze in a bit of selfish sewing time though. The red fabric that I posted about earlier this week was calling to me in the worst way. After a bit of thinking, I decided to make a tablecloth with it. The colors are perfect for my dining room. See what you think.

IMG_20150817_3684

The print on this piece is so bold and has great detail so I really hesitated cutting it up. Using it as a tablecloth is the perfect way to show off this fabric. However, the fabric was only 46″ wide which wasn’t nearly wide enough. Because there is a gorgeous green and gold border on the fabric, and because I had six yards of fabric, I decided to double up on the border to gain the width.

IMG_20150817_3682

First I cut the length of fabric in half. Following that, I cut the border off of both sides of one of the lengths. I included about five inches of the red when I cut the border. It took no time to sew each of those borders to the length of the fabric, giving me the length you see above. Then I only had to hem under all of the edges.

The only issue I had was that in my excitement to make the tablecloth, I didn’t prewash the fabric. I know, I know… silly mistake. Once it was all done, I threw it in the wash. Luckily, I didn’t put it in the dryer. Even on a cold water cycle, it shrunk a fair amount. If I had washed it first, I would have left a larger border on each side. It fits the table reasonably but it would be perfect were there two more inches hanging on either side. Ah, what can you do? It still looks lovely.

IMG_20150817_3680


Best part of this is that I still have three yards of the center of the fabric, right? This huge piece that I sliced the borders from is sitting in the sewing room, begging me to make something with it! Life is good.  🙂

Linking to Crazy Mom Quilts, Let’s Bee Social, and TGIFF.  Links to all of these are located at the top of the page, under Link Ups.
Post 100 – Wow!

Why do the numbers even matter? I get so excited. I remember hitting 5,000 page views and then 10,000 felt so good. I was so pleased that someone was actually finding this blog and clicking through to read something. This week the number is 100, as in that is how many posts I have written.  A nice round 100. Hurray!

The main finish for this week was Junior High! Last night Julia graduated from 8th grade and is now on her way to high school. She looked adorable.

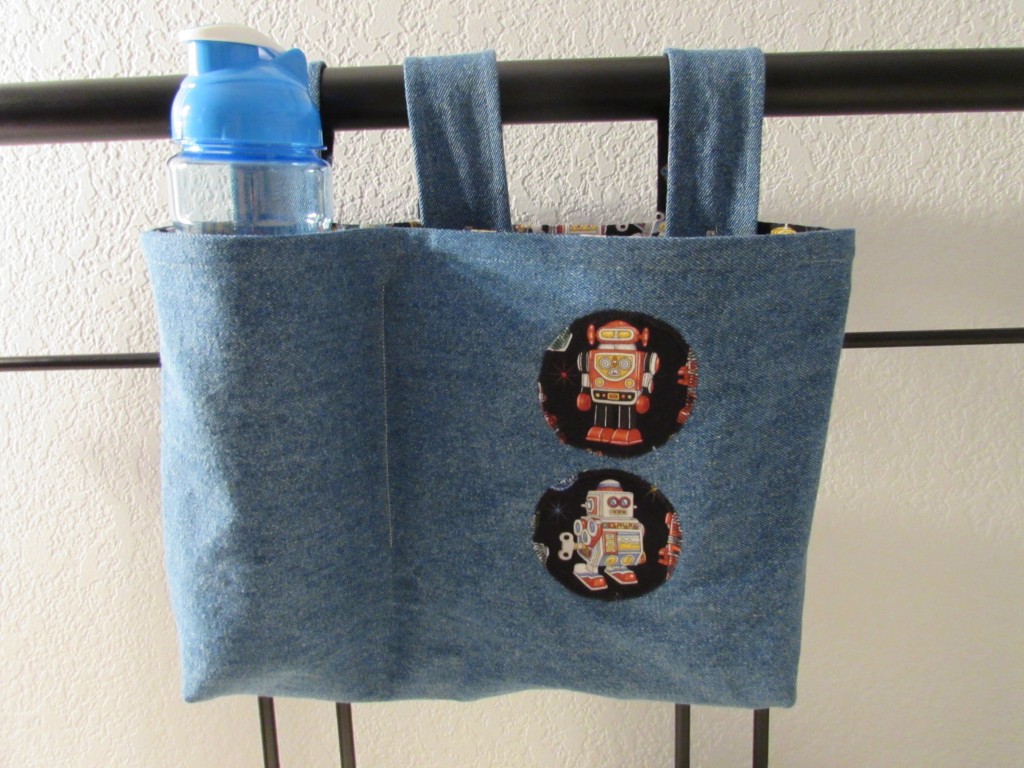
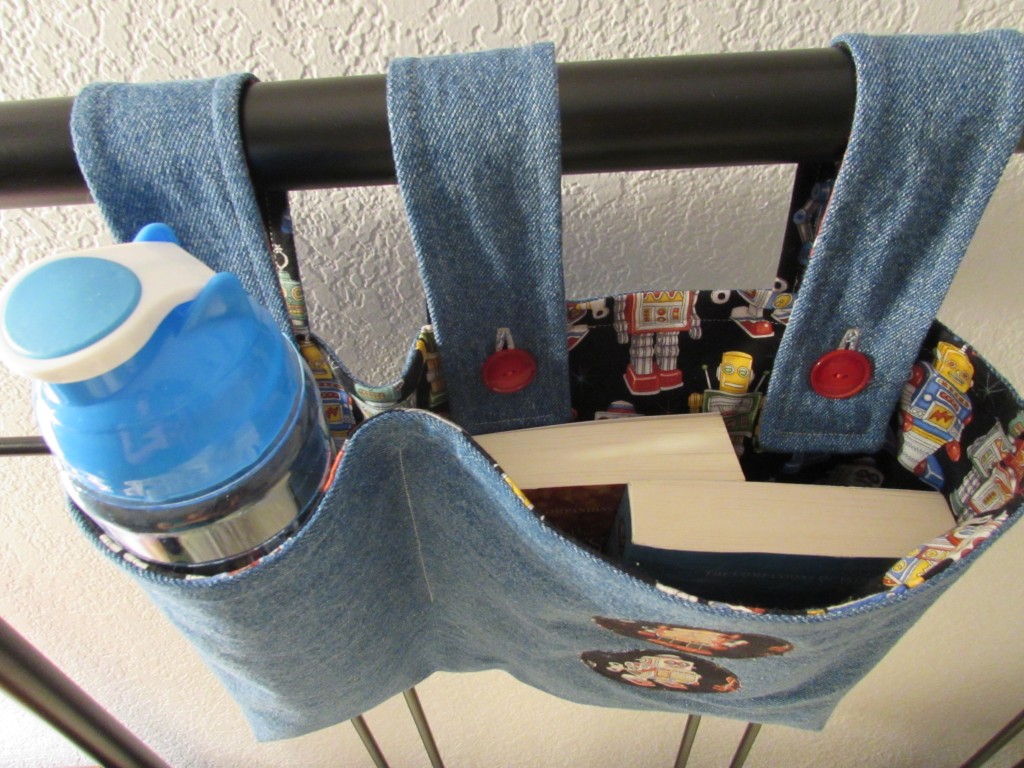
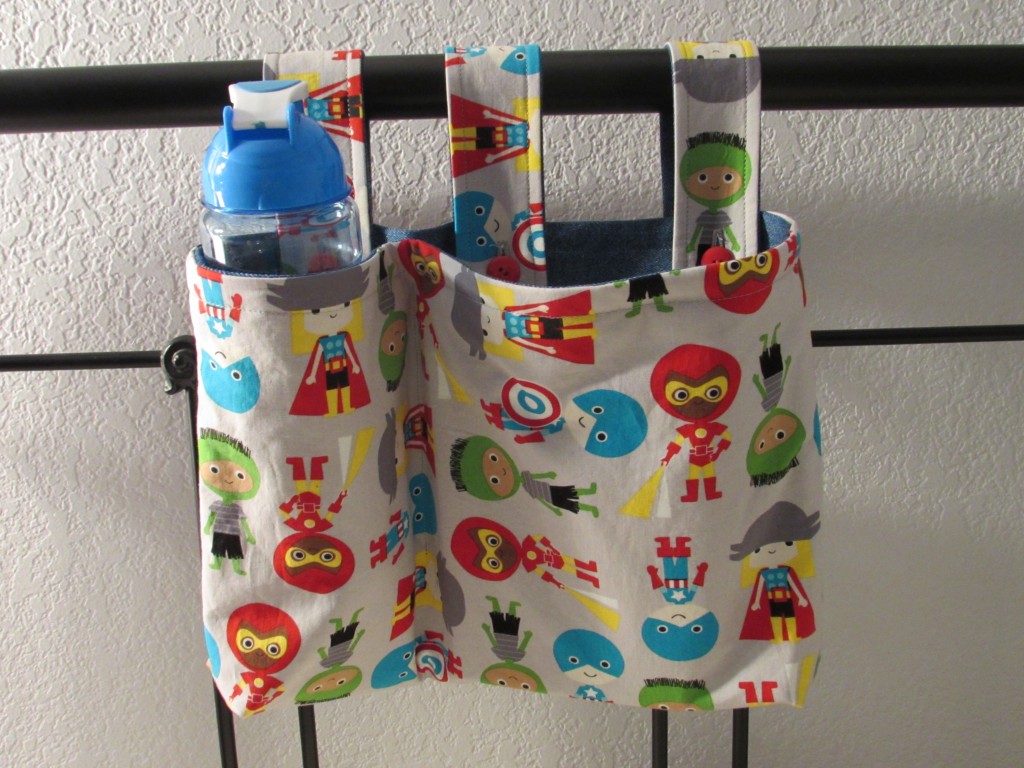
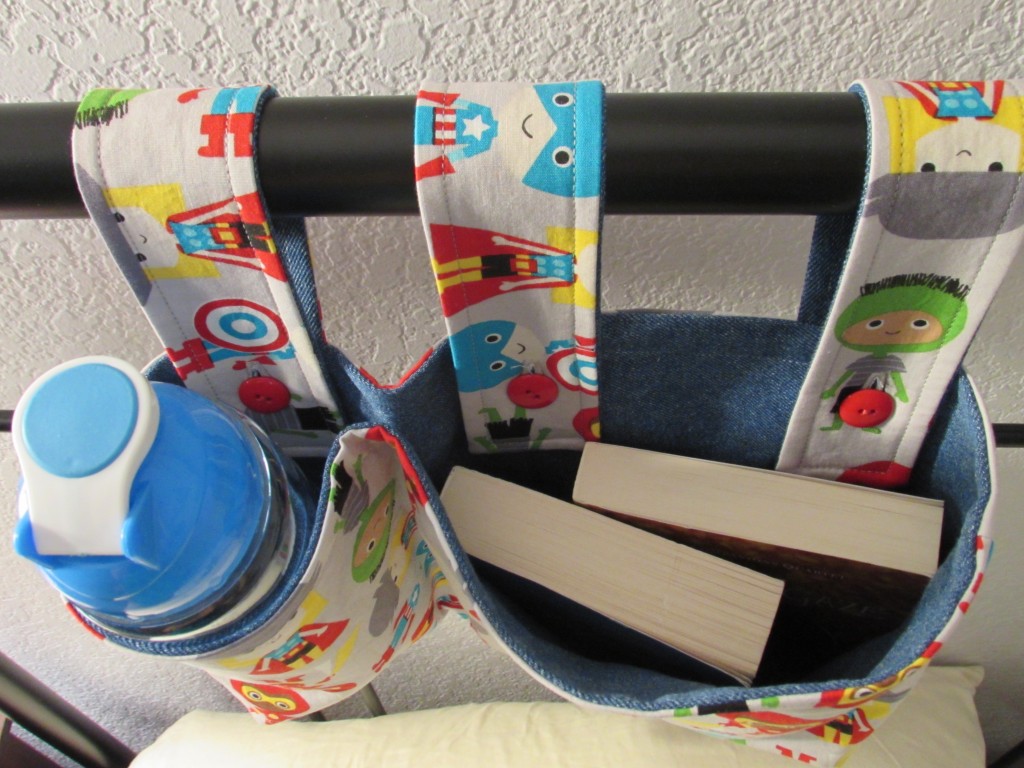
I did have a couple of finishes in the sewing room as well.  I made two more of the bunk bed bags that I posted about here. I really like these treasure bags that are made to hang from the rungs of the top bunk.  They are great for keeping books, stuffed animals, special blankies or water bottles up on the top bunk. This first one is made of denim and lined with an adorable robot fabric.

IMG_20150609_3386IMG_20150609_3388The second bag is also made with denim but I used that as the interior fabric. On the exterior there is a great fabric featuring super heroes (boy AND girl superheroes!)

IMG_20150609_3383

IMG_20150609_3384I am especially attached to these because both the superhero and the robot fabric were a gift to me. Last fall my three boys chose these, and many other, fabrics for me as by birthday present. You can check out the details here. I really enjoyed cutting into these pieces.
Both bags are listed in my Etsy shop!

Linking to Amanda Jean at Crazy Mom Quilts.
 

Sharing Ideas

OK- I feel like I made the greatest discovery. Not earth shattering or life changing (well, maybe a bit life changing for me) but so cool!

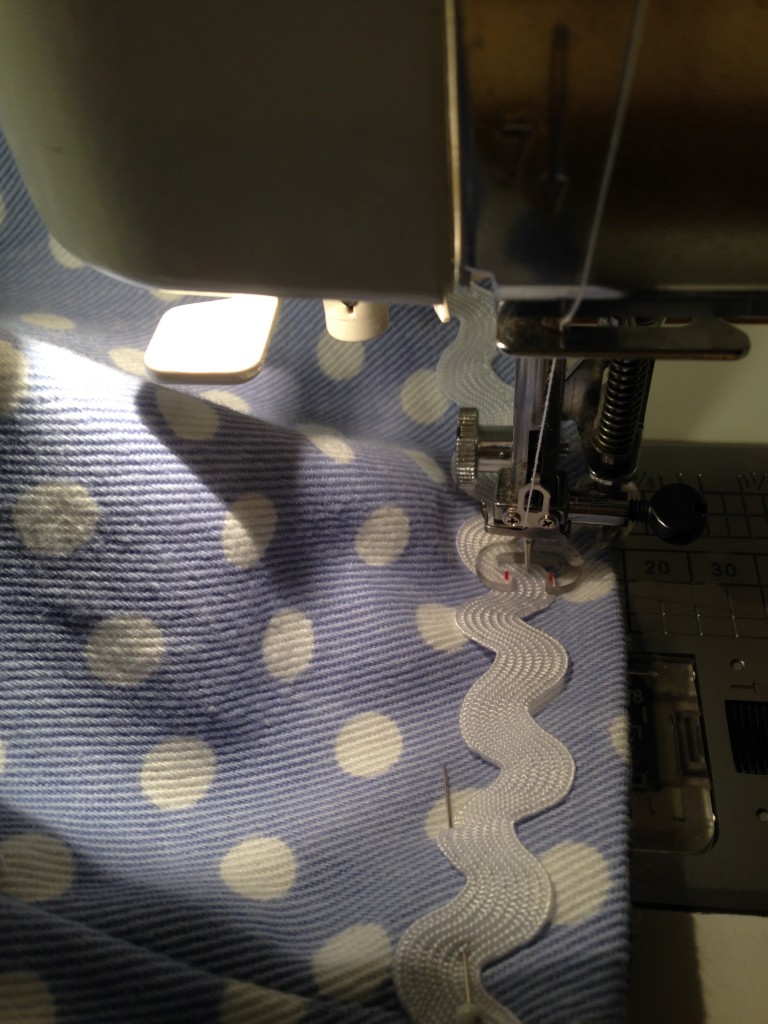
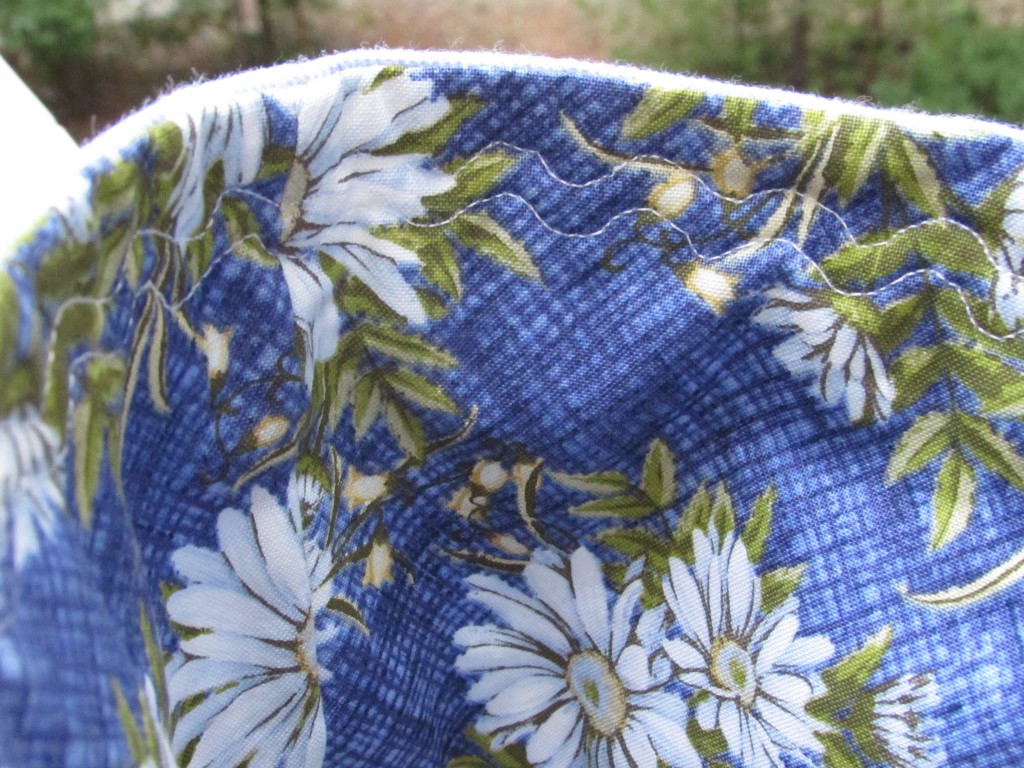
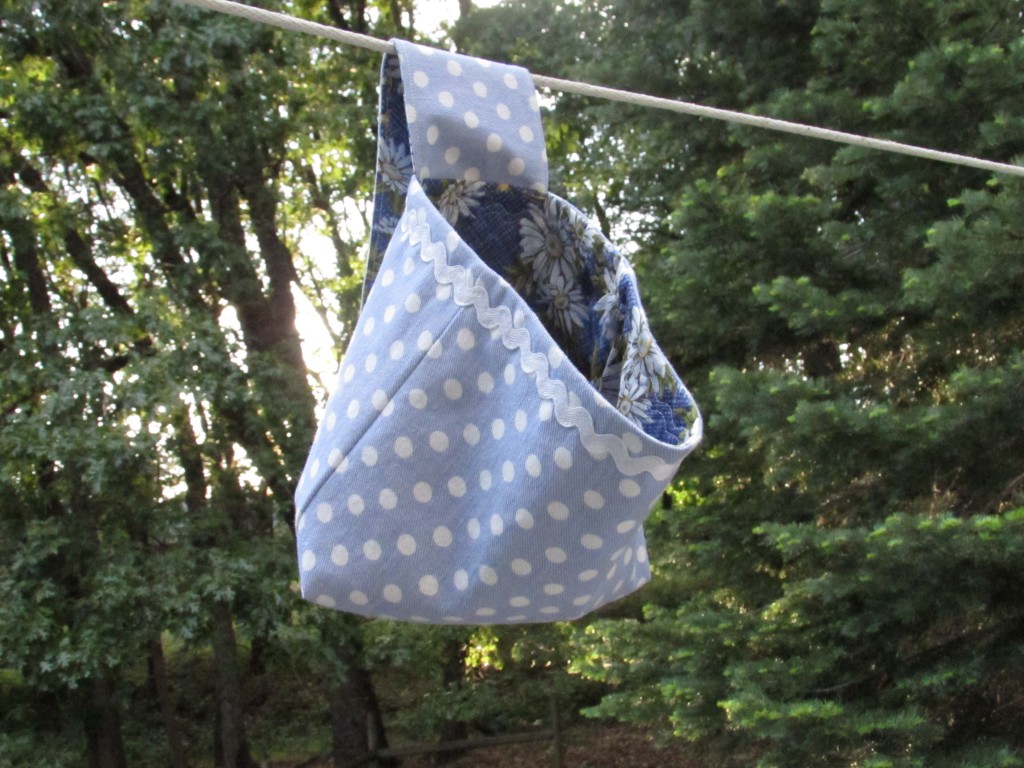
I have been making clothespin bags which I sell in my Etsy shop. They are fun to make and I have sold a number of them. Today I wanted to trim one out and decided to use rick rack. I love the cheerful look that rick rack gives to anything! It is such a classic trim. However, I don’t like the way it is usually attached. Often you will see it attached with a seam straight down the middle. However, this means that once it is washed, the edges of the trim will curl up around the seam. I debated sewing two straight seams down each edge to catch the edges but then you have stitching between each angle. This didn’t make me happy. I did what any self-respecting seamstress would do and turned to Pinterest. As one would expect, there are lots of ideas to be had. Many people are embroidering the trim down. This looks really cute but is too laborious. I can’t charge enough for these little bags to spend that kind of time stitching.  I came across a pin that linked back to Craft Nectar (which is the blog for Weeks and Bill over at Modern Quilt Studio). Weeks posted an idea about attaching rick rack by dropping the feed dogs and using your FMQ foot (aka darning foot).  Ah ha!!  Perfect. I never thought of that. It was so simple.

IMG_2159

I did reduce the stitch speed on my machine – it takes a bit of effort to keep the trim straight and stitch along the edges. Next time I think I will pull out the glue stick and use that to attach the trim first. That should make it even easier. The inside looks pretty good!

IMG_20150518_3333Here is the finished bag hanging from my clothesline.

IMG_20150518_3330On an unrelated note, I am so excited about the New Quilt Blogger bloghop event that is getting started. Hosted by Yvonne at Quilting Jetgirl, Stephanie at Late Night Quilter, Cheryl @ Meadow Mist Designs and Terri Ann at Childlike Fascination, this is a great opportunity to learn more about blogging and to interact with others in the community. I signed up this morning and thought I would put this out there in case any of you are interested.

2015 New Quilt Bloggers Button (300px)

The parameters they have set for joining are that you currently have a blog:

  1. mainly about modern quilting*,
  2. for less than 2 years,
  3. writing at least 4 posts a month,
  4. are willing to agree to be actively involved in the blog hop through visiting and commenting on the other blogger’s hop posts,
  5. and have or are willing to open a Facebook account to participate in the group discussions,

If you are interested, please visit and fill out the 2015 New Quilt Bloggers Blog Hop Sign Up Form.

(*Modern quilting to you is modern quilting to us.)

Note: They plan to accept 100 participants for the blog hop this year. The sign up form will be available until May 31, 2015, or until they reach 100 participants.

This looks like an amazing opportunity and I am really looking forward to learning from everyone involved. If you feel like it would be right for you, I encourage you to check it out.

That’s it for now! Hope you are all having a great week!

Linking to Connie at Freemotion by the River, and  Tips and Tutorials Tuesday.