Tag Archives: YLI Thread

Relief Quilting – Learning Something New

I have been remiss in posting lately. It has been really hectic and I haven’t had time to sit with my laptop. What little free time there was, I spent in front of the sewing machine. A girl’s got her priorities, right? As summer came to a close, Julia had the typical teenager desire to pack as much as she could into those last few days. That is fine – she will soon be a slave to homework and won’t have a lot of free time. There were movies to see, shopping to do, and friends to hang out with. School started Wednesday and so another year begins.

When it is busy I like to have a simple project to work on during those 15 minutes of sewing time that present themselves now and then. I have been wanting to try relief quilting for quite a while now. Over a year ago, I read a cute post over at Night Quilter where Kitty explained her process of relief quilting a name on a baby quilt. I love the look and have been planning to give it a try. I pulled out some graph paper and fabric scraps and got started.

image

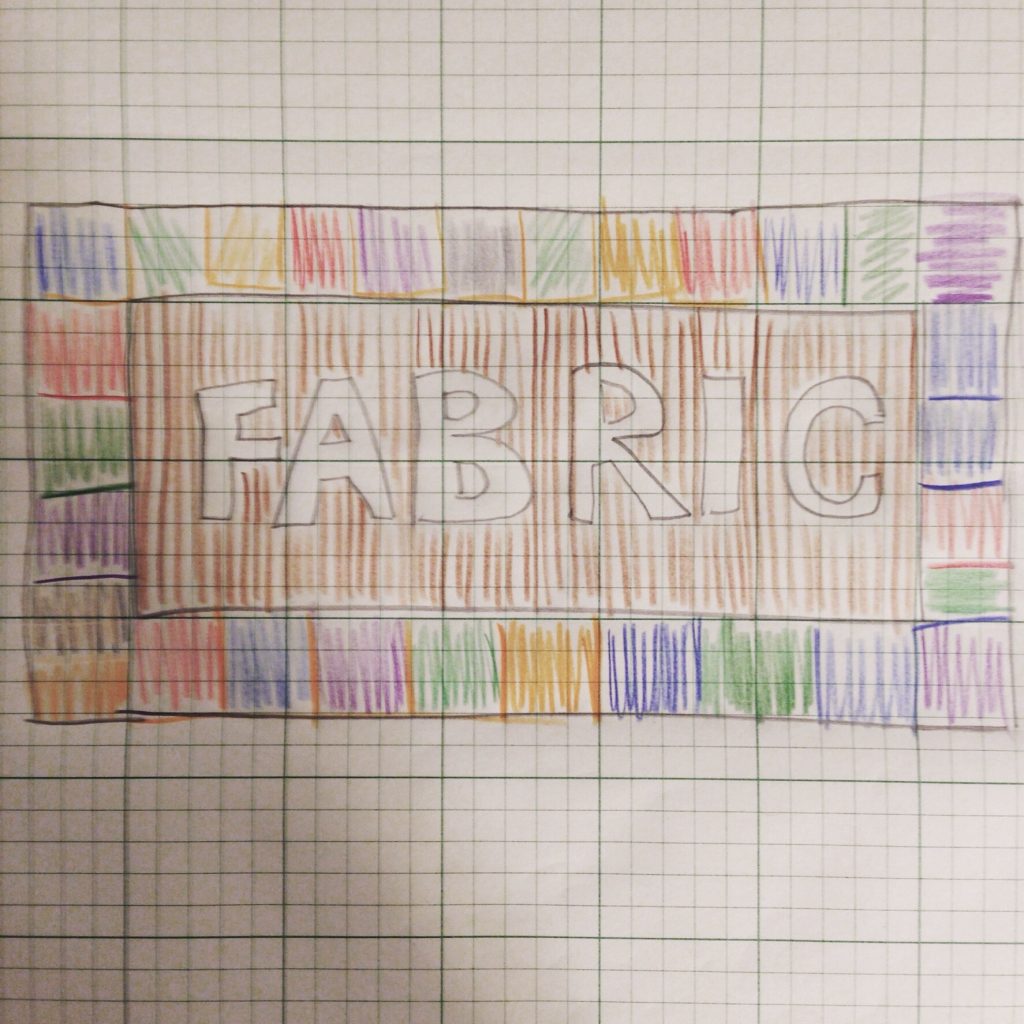
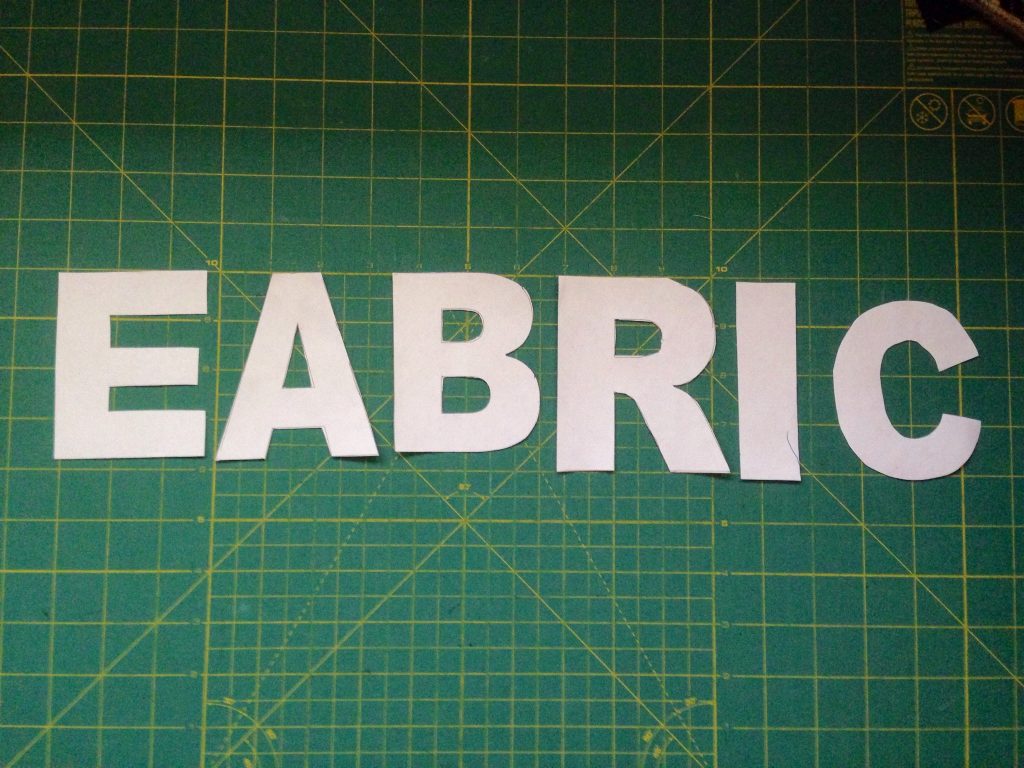
After creating this incredibly inspiring sketch of the project that was floating in my head, I brought out some alphabet stencils that I have. I don’t have the whole alphabet but it was enough to get going. I used the E in place of the F. For some reason, the R was a bit bigger than the rest. I think there are multiple sets in the zip-lok bag and these letters weren’t really from the same set.

image

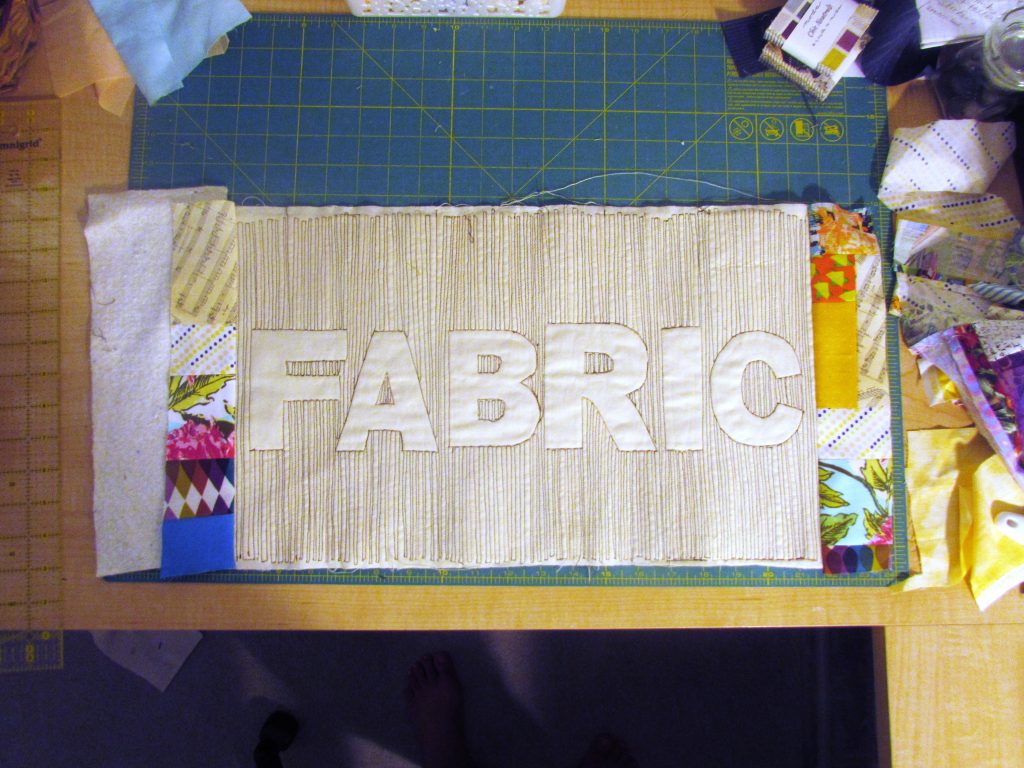
Next I found a rectangular scrap of some Kona cotton and traced the letters, centering them as best I could. I didn’t measure this at all. I used a Frixion pen to trace them. I am not a huge fan of Frixion pens for marking but I figured this was just a practice piece so I wasn’t too worried about the final result. Isn’t there something totally freeing about working on a practice piece? Knowing it isn’t going to be your best work and it doesn’t have to be spot on allows one to sit down and have fun. No pressure.

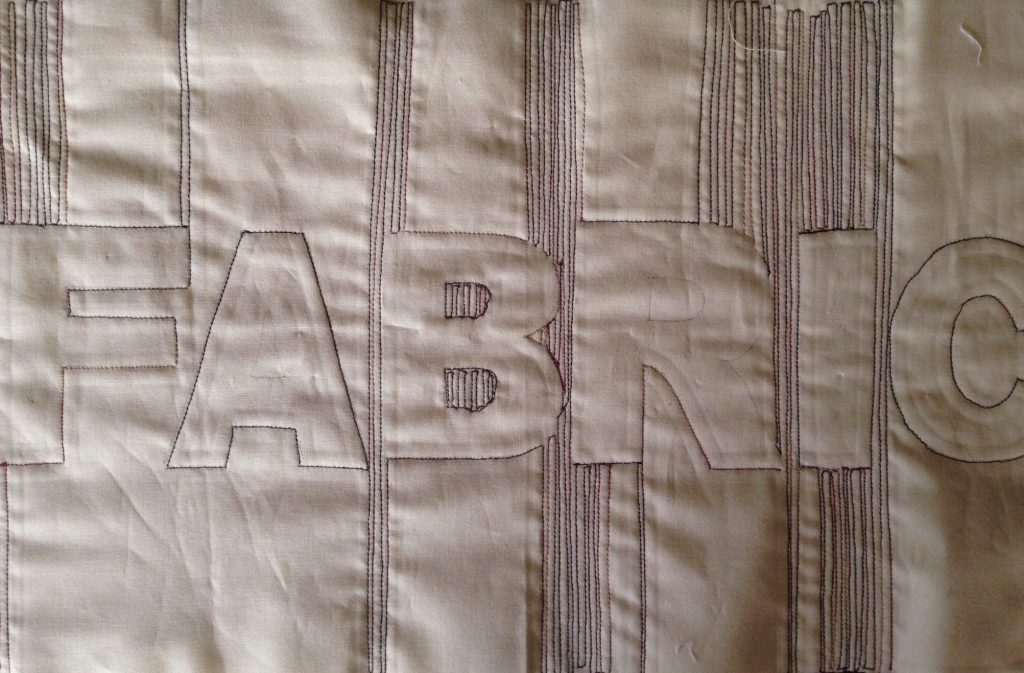
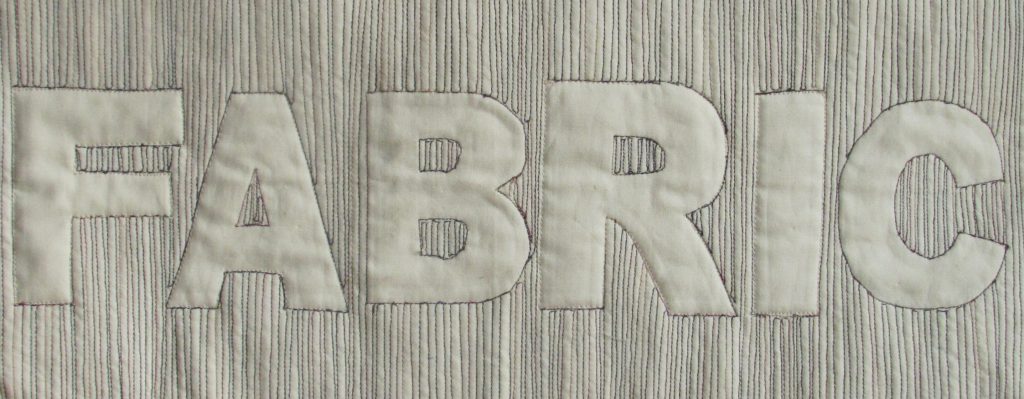
I placed the fabric on top of the batting (which was a large piece that I had created with batting scrap). Using a walking foot, I started to fill in the areas around the letters I had traced. I used tight, straight-line quilting. Without a real plan, I was sort of all over the place – just filling in areas.

image

In retrospect, I see that I didn’t need to stitch as wide a swath above and below the letters. With my next attempt, I will plan a bit further and decide how far I really need to stitch. I wasted quite a bit of thread with the extra quilting. I used a variegated YLI thread which provided a nice bold look. The more I use YLI thread, the more I love it. The texture is provides is just wonderful.

When the quilting was done I was just thrilled with the look, even with the slightly oversized R!  😉

IMG_7166

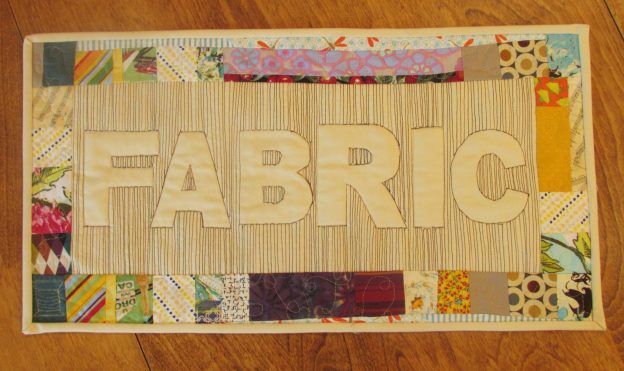
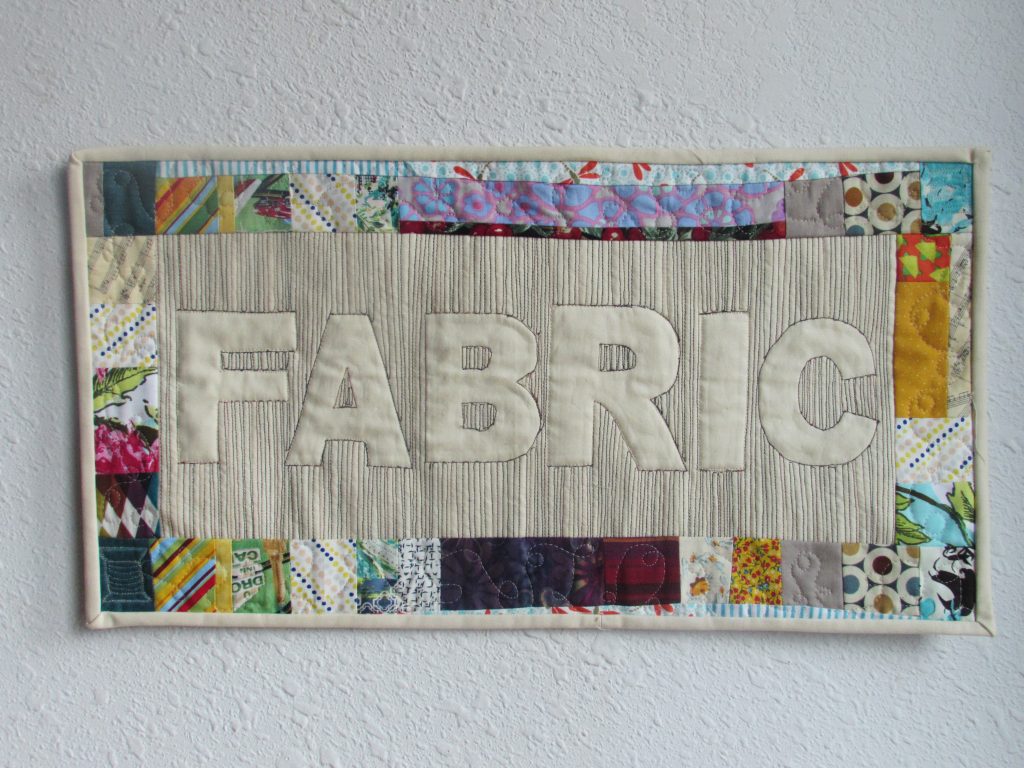
When I first sketched the project out, I planned to use a stack of 2 1/2″ squares that I have collected to make a border for this. Once I got to this point though, I changed my mind. This guy was calling out for a scrappy, improv border. With my bin of bright, multicolored scraps, I began piecing bits together with only a rough idea of what I wanted the result to be. For the borders I created two large improv pieces that were both more than five inches wide. Then I sliced each in half lengthwise, creating 4 strips measuring 2 1/2″ wide.

IMG_7155

I laid them, right sides together, on both sides and stitched the border on. It was a bit of a Quilt as You Go project, since I was just sewing right on top of the base fabric and the batting. The bottom borders were stitched a few inches below and above the lettering. (This is where it became very clear that I didn’t need to quilt as high and low as I had done.)

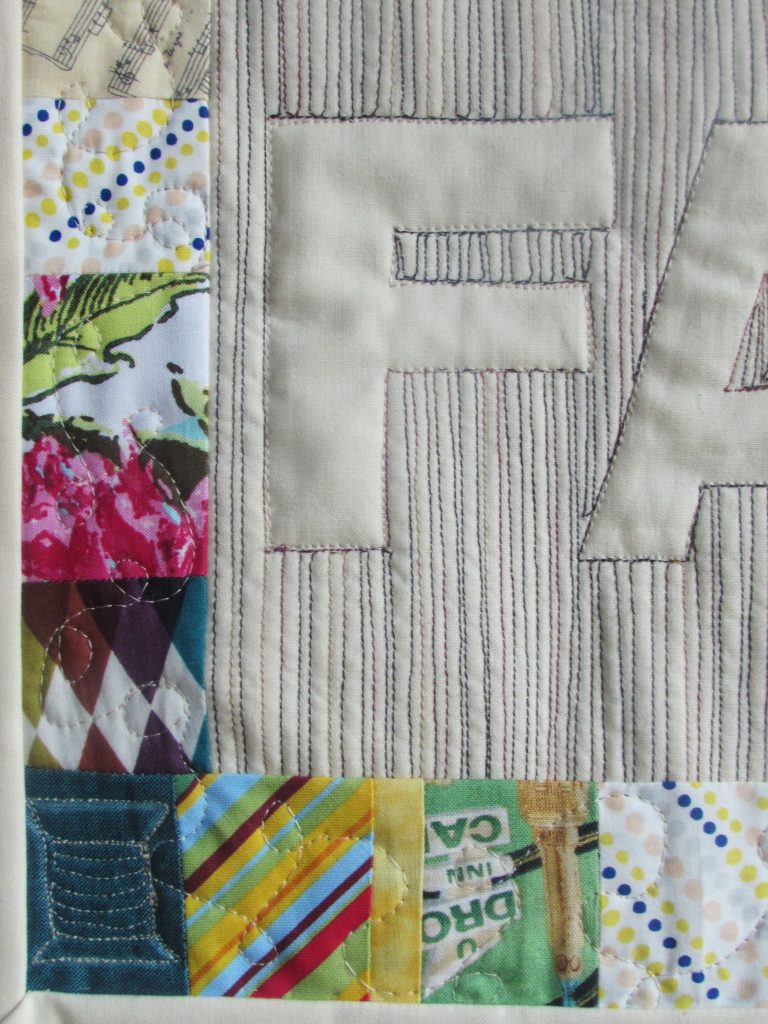
Borders on and pressed, all that was left was to make baste the top to a backing and quilt it. I thought it would be cute to FMQ a spool of thread in one corner and then have the “thread” spooling off of it, looping along the borders.

IMG_7167

After creating that little spool, I wished I had used a solid fabric on each corner so I could place spools on all four of them. I did put one on another corner but it doesn’t show up very well with the print fabric. The overall look is cute though, isn’t it?
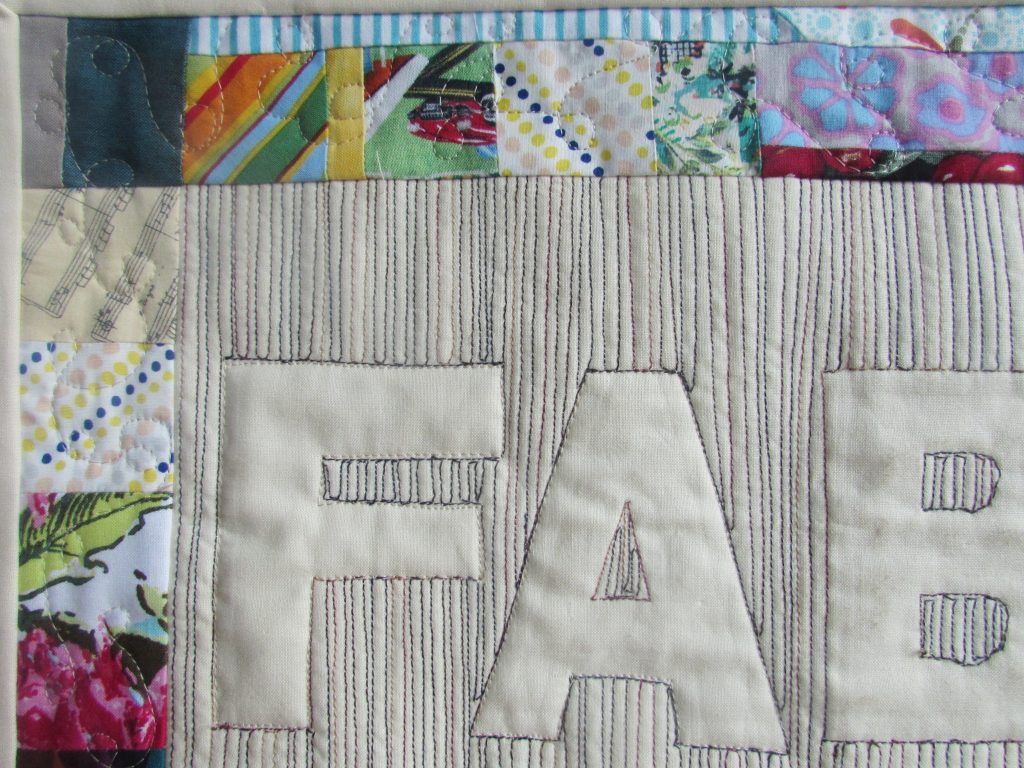
IMG_7169I love all the bits of different fabric that surround this piece. They bring back a little memory of whatever project they were originally used in. A piece of green dotted fabric was used for the backing (I think I got it out of the remnant bin at Jo-Ann’s) and I bound it with the same Kona that is in the center.

IMG_7165

As always, I would do a few things differently the next time I made this sort of project.  If I were doing this sort of thing as a part of a larger quilt, I would fuse stabilizer behind the solid fabric and do the relief quilting over just the fabric (sans batting). Then I would incorporate the block into the larger project. Once I was quilting the larger project, I would use a walking foot to outline the letters (to quilt the block down).

I need to make a sleeve for it and then I will hang it above my sewing machine. This was great fun and I am really pleased with the result. I encourage you to give it a try. Let me know if you have any questions or check out Kitty’s tutorial.

Linking up all over the place – for details, look at the top of the page, under Link Ups.

Copy of 1200x627_handmade-holiday_sew

Weekends are the time to shop Craftsy. This weekend they are having a Black Friday “When You Need It” sale on kits and supplies. If you are hoping to make handmade gifts in time for the holidays, it is a good time to make a plan and stock up. I love the kits at Craftsy – the fabric is often a huge bargain and no one will know if you use that fabric for a different purpose. I am loving this Benartex quilt kit – 100 charms and 3 yards of fabric?  Another one is the Eclipse kit,  which uses the Allison Glass Sunprints line. There are almost 18 yards of fabric included and the pattern is gorgeous.

blowout sale

If fabric isn’t your thing this weekend, there is also a great sale on books over at C&T. They are having a $5.00 Blowout Sale and many great quilting titles are on sale. I love C&T – they are the publishers of so many of our favorite quilty books. Check it out! Sale runs through the end of day on Sunday, August 21st.

(This post contains affiliate links.)

Lone Pine

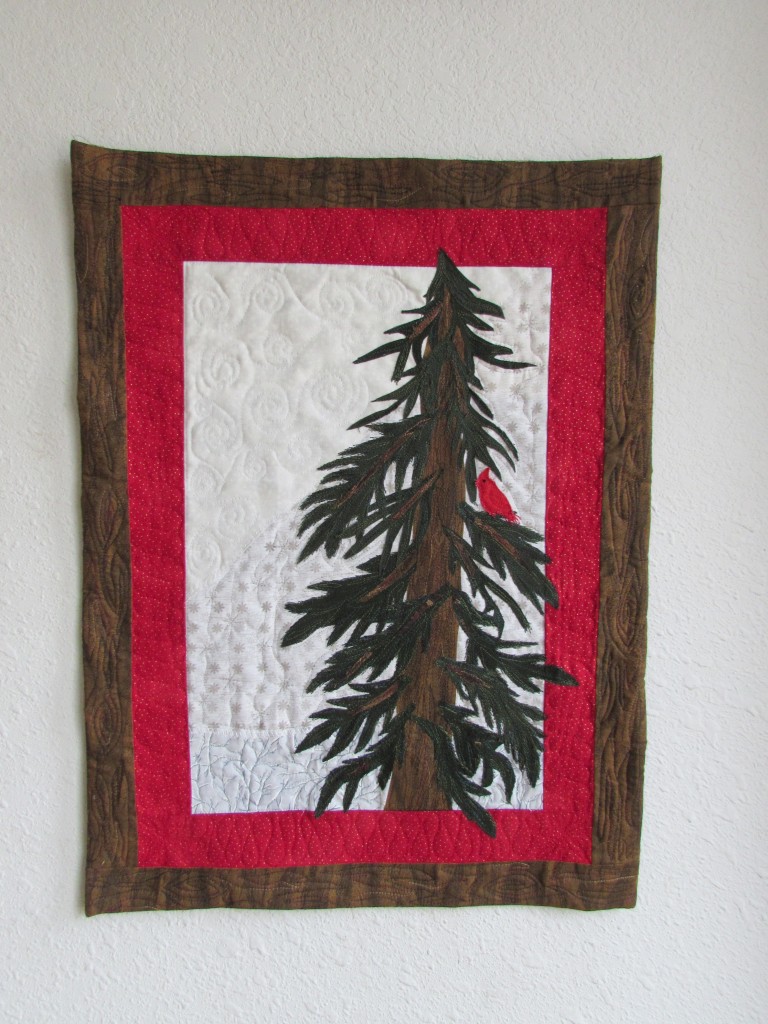
Last night I finished my Lone Pine art quilt. I am so glad I resurrected this UFO and finished it. Two years ago I pinned a lovely art quilt that is listed in an Etsy shop, Prairie Fiber Arts. I just loved it and I based my project on hers. Overall, I am very happy with the finish.

img_20160421_4886

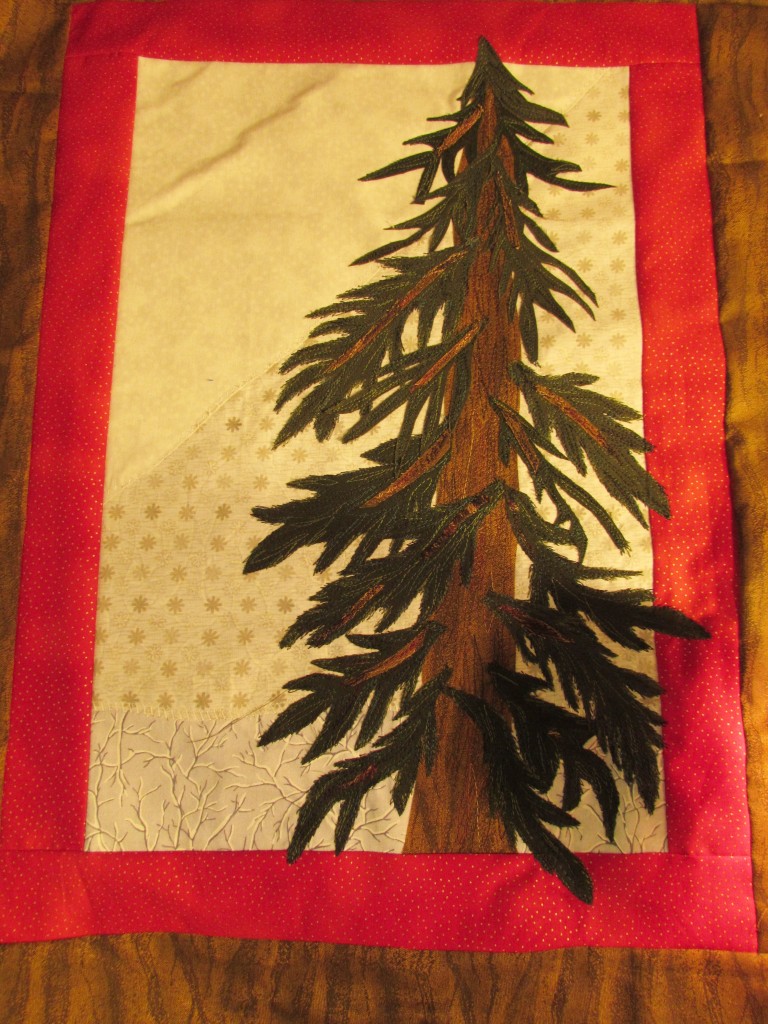
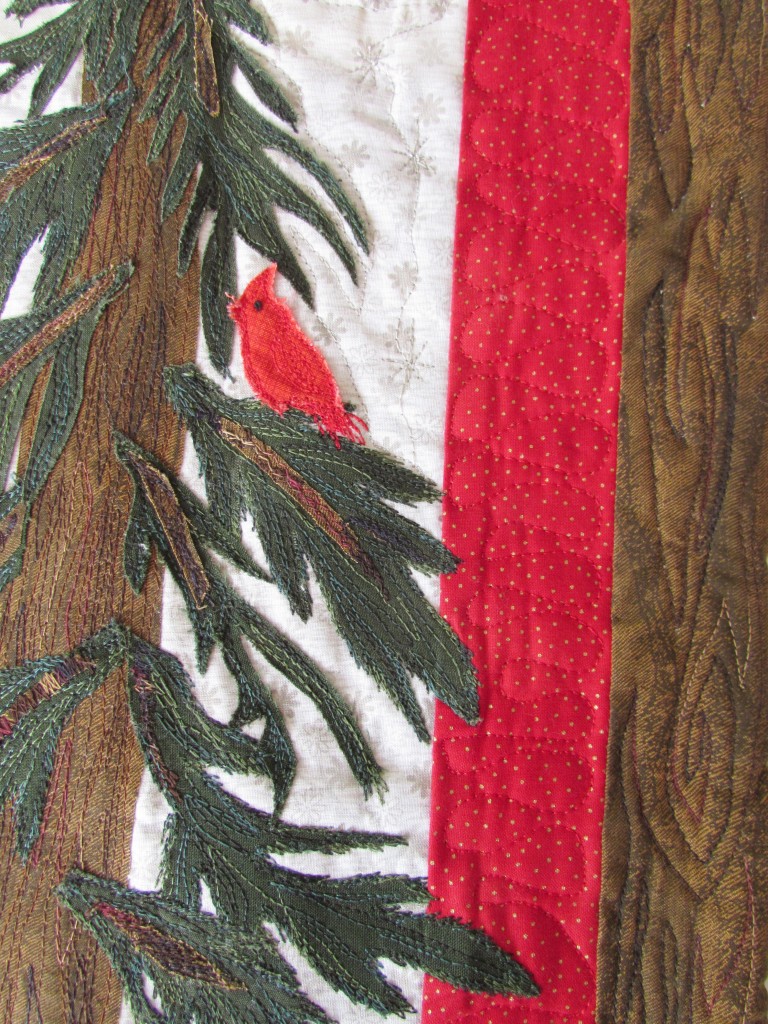
The background is pieced with three different low volume fabrics that exude winter. Once the background was pieced I added both the red and brown borders. I wanted to be able to let the boughs from the tree extend into the border. I fused some stabilizer to the back before I started any applique. Because I wasn’t exactly sure where I would be fusing the applique, I applied the stabilizer to the entire back side. You can see on the below picture that somehow I bubbled part of the background. Once I removed the stabilizer it all smoothed out.

img_20160415_4846

The stabilizer was problematic. It took quite a bit of time to remove it. I finally compromised and left a fair amount of it behind the tree. With the thread sketching, it was close to impossible to get all of the paper off.

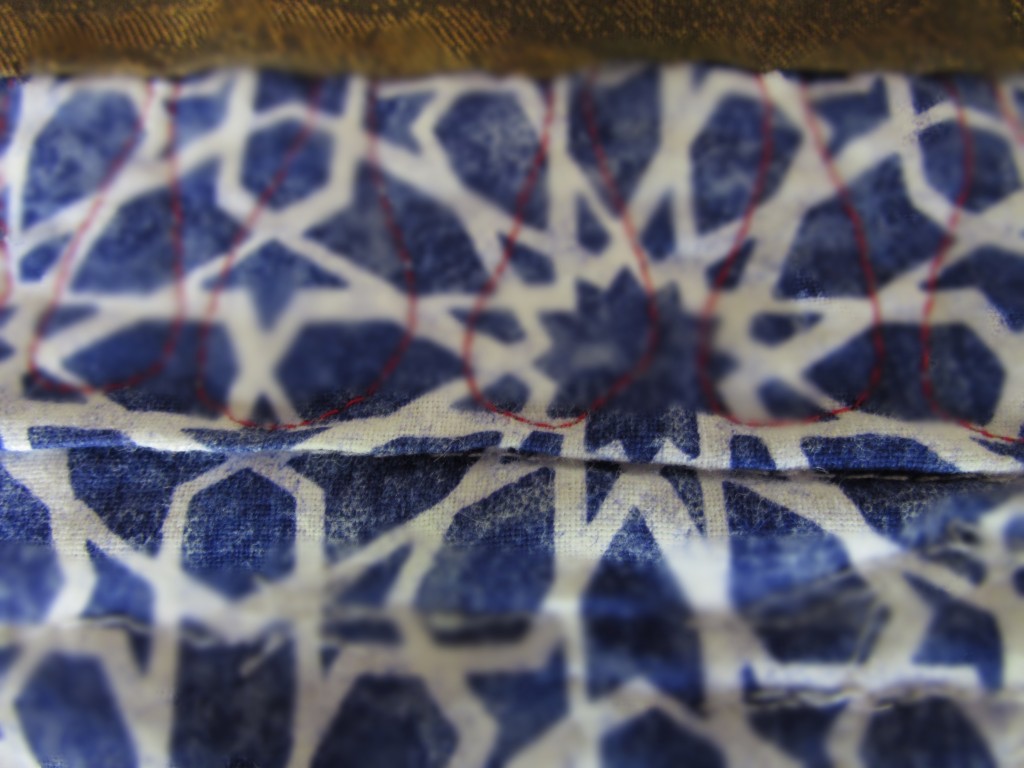
Once the tree and my little cardinal were complete, I sandwiched top, batting and backing and planned my quilting. For whatever reason, I quilted the red border first and then worked the inside. I ended up with a pesky fold on the backing. It must not have been pin basted tightly enough.

img_20160421_4891

By the way, what was I thinking when I used this blue and white fabric for the backing. I know it doesn’t really matter, but every time I see the backing I wonder at my choice. Honestly, I think it was that I was so excited to quilt it that I didn’t even stop and think about the back. Yikes!

I am not going to list the negatives here.  Rather, I will celebrate what I love most about this piece.

img_20160421_4884 - Copy

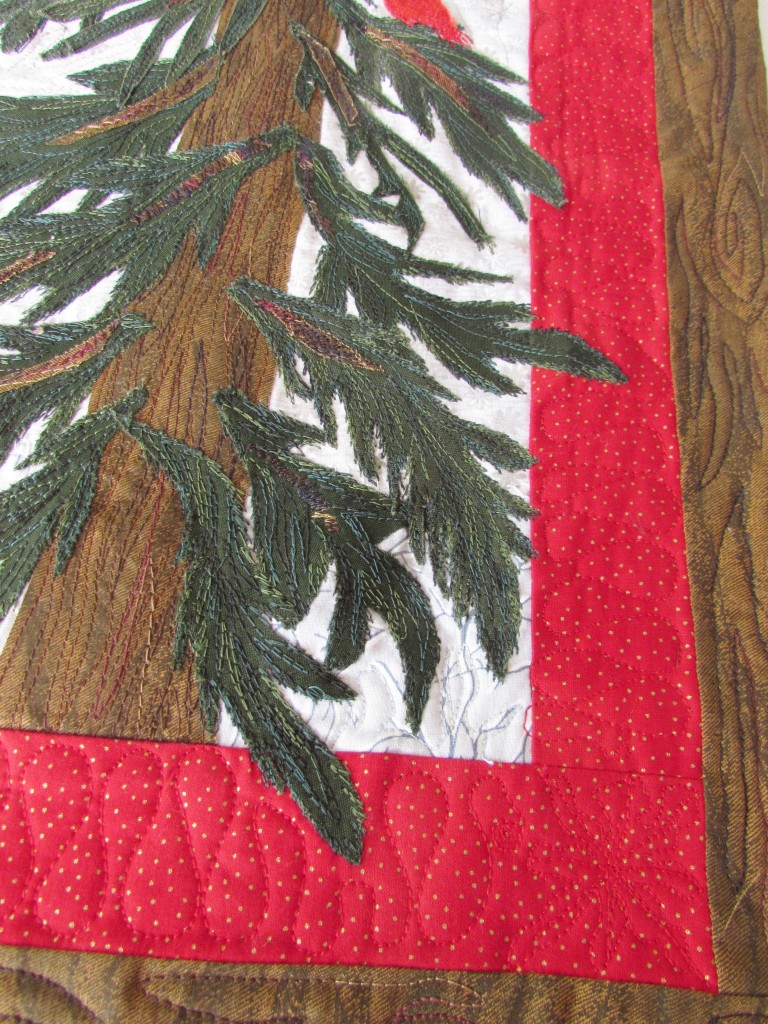
I love, love, love the thread sketching on the pine boughs. To give texture and color to the tree,  I used a variegated green YLI thread.  For the branch that makes up the core of the bough, I fused teeny tiny strips of bark and then thread sketched over it tightly. Again, I used a variegated brown YLI thread. I love the texture obtained with YLI threads. I also ran stitches up and down the main trunk of the tree. (I did most of that stitching prior to adding the boughs.I am also happy with the boughs that extend over into the red. I wasn’t exactly sure how to handle this when I was quilting the ribbons on the red. I made shorter waves where I had to. Rather than turn the corner with the ribbons on the red border, I stopped and made a little snowflake in each corner and then moved back into the ribbon motif. Hard to see with the red thread but I am pleased.

img_20160421_4882

I love cardinals and we don’t get them at my house.  When we lived in State College, PA, we had many that would visit the feeder in the winter. They are such a pretty suprise. My little bird would look like any sort of bird and only by making her red did she become a cardinal. (Drawing isn’t my forte!)  On the outer border, I quilted wavy lines and did some pointy spirals to imitate the knots in a piece of wood. (Tutorial is available here from The Inbox Jaunt.)

It was an easy call to use a facing rather than a traditional binding on this project.  For those who haven’t faced a quilt yet, here is an excellent tutorial by Terry Aske. If you have not had the opportunity to look at Terry’s art quilts, please do. She is very talented!

This was so much fun. It makes me look forward to another small and satisfying project like this. The weekend is nearly here. We are supposed to have cooler days and maybe a bit of rain. Hope you all have a wonderful weekend.

Linking to Free Motion Mavericks, Finish it Up Friday, Off the Wall Friday, and Can I Get a Whoop-Whoop. All links are listed at the top of the page under link ups.


Honeymoon Quilt Finish

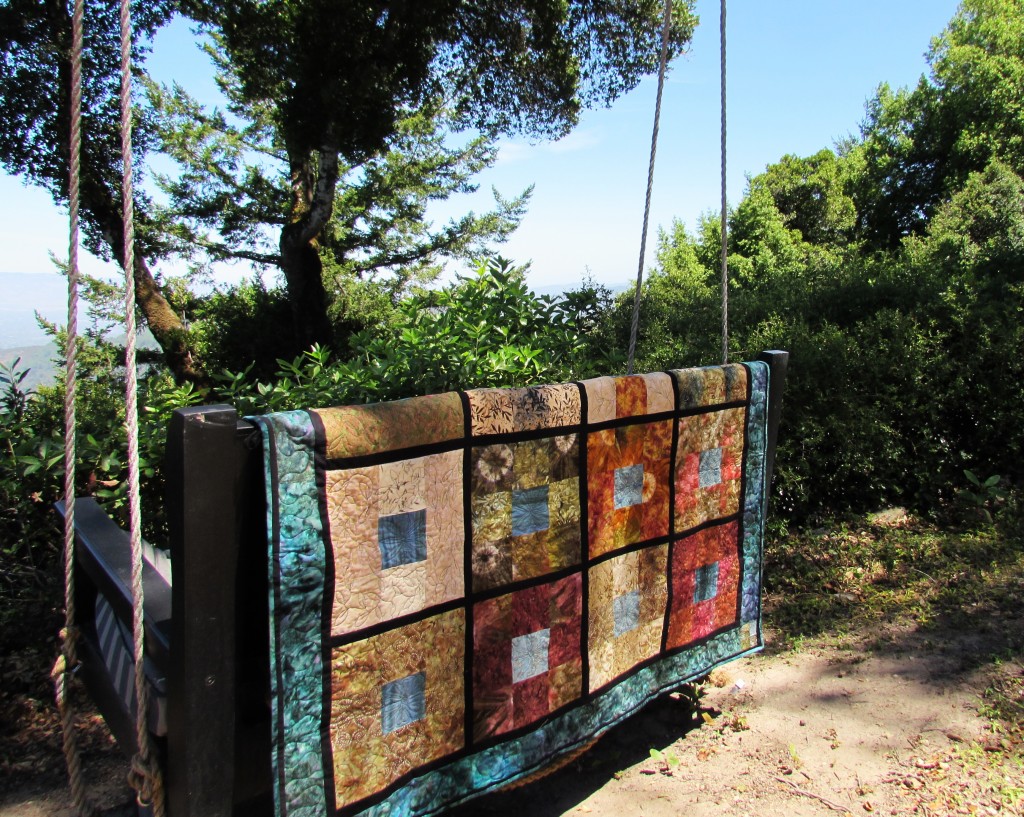
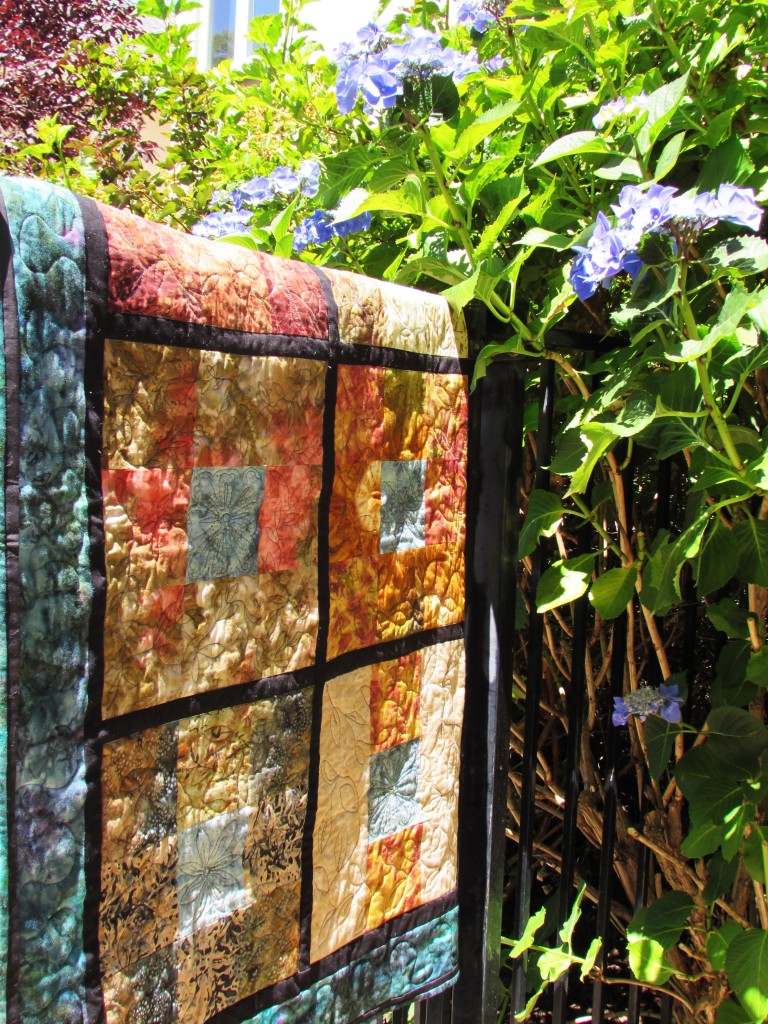
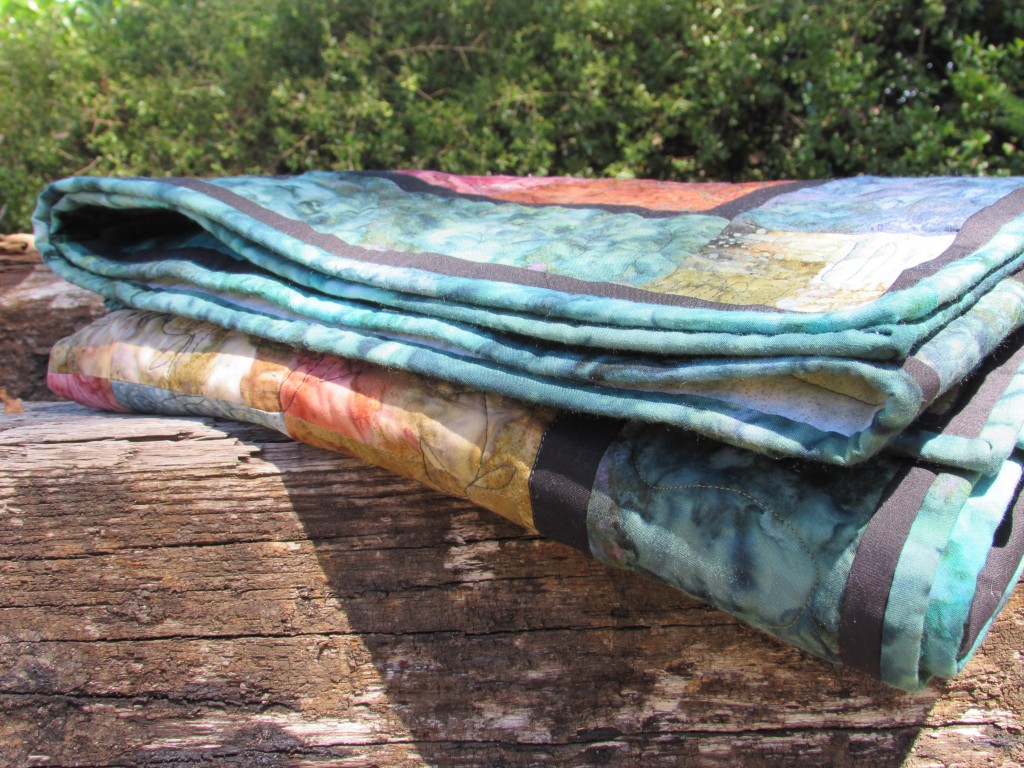
A couple of months ago my husband and I celebrated our 17th anniversary. This week I finished a quilt made with fabric purchased on our honeymoon on the island of St. John. It may have taken me 16 years to think of how I wanted to use the fabric but once I got going, it didn’t take too long to finish it up. I posted earlier about making the quilt top in August of last year. Because I wasn’t sure how I wanted to quilt it, I set it aside (for nearly a year!) Come January of 2015, I set a goal to finish this quilt up and I did it. This finish means that I do not have any unquilted tops lying around. Yahoo!

This project was fun to plan. I have been reading about whether to stitch in the ditch before starting to FMQ. Honestly, this sounded like a whole lot of extra work. I decided to compromise and I stitched the perimeter of each nine patch. I thought this would stabilize the quilt and hopefully, reduce and puckers on the backing. It is so irritating when you flip the quilt over to check on it and there is a fold. Between pin basting and ditch stitching I was hoping for a better back. Some quilters think it holds the quilt square and prevents distortion. Others say it makes the FMQ work look better. I do think it helped. My quilt stayed square and often, it doesn’t. I didn’t have a single pucker on the back. The only thing is that on the back of the quilt, the ditch stitching is very visible so one has to take that into account when planning the quilting. It doesn’t show much at all on the front. As for any benefit to the look of the quilting on each nine patch, I didn’t notice a huge difference. In fact, after I had quilted about 65% of the project, I noticed that I had skipped ditch stitching one block. That block really didn’t look noticeable different from the others. So, I think it is good forquilt stabilization and keeping square but doesn’t noticeably enhance the FMQ.

IMG_20150618_3476

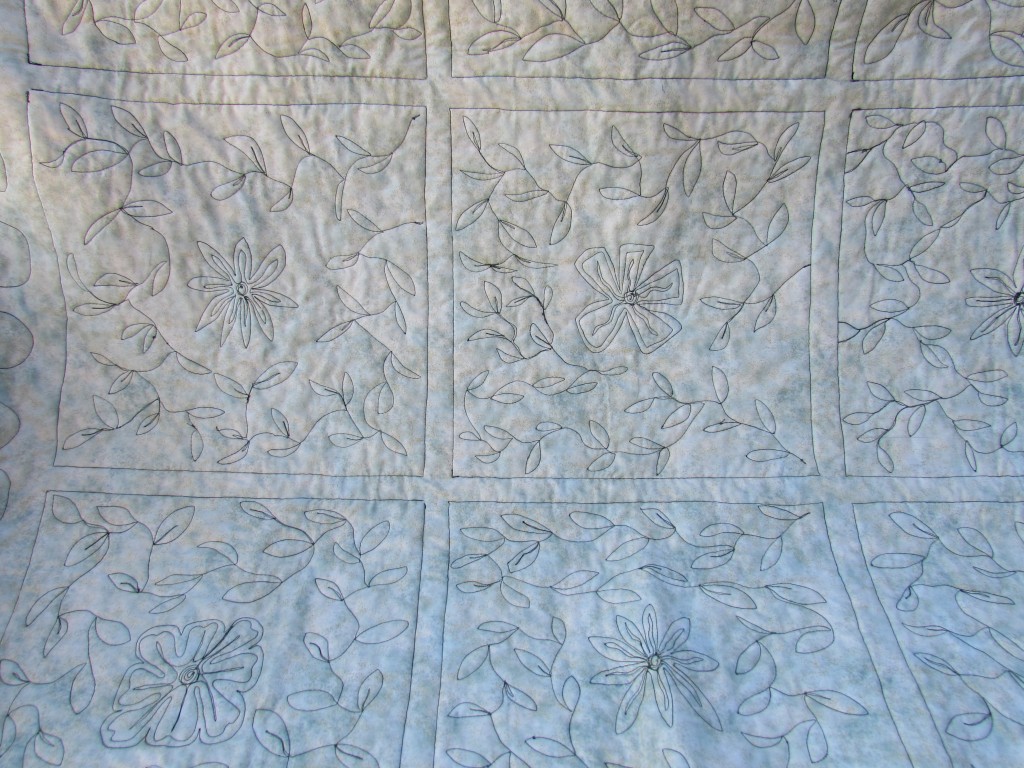
I took a look at some quilting sites (mainly Lori Kennedy’s site, The Inbox Jaunt) to get inspiration. I knew that I would do an all over FMQ pattern but wanted just a bit more detail than that. Each of the nine patch blocks have a blue center. Starting with that, I quilted a large flower in the center of each blue square.

IMG_20150618_3479

I decided that leafy fines would complement the flowers. Using a variegated green YLI quilting thread, I FMQ’d leaves of various sizes on each block. I left the black sashing plain.  Because the backing is a light green batik, the FMQ stitching really shows up on the back. Not sure if this is good or bad!  For the most part, I am happy with the stitching. Why is it that my eye goes to the little tension blips and the occasional jittery stitching instead of the overall look? For those of you that quilt on your domestic machine, how to you handle the starts and stops? Look closely at the squares that I ditch stitched, see the dark spots at one corner where I stopped and started? I chose to reverse a few stitches rather than knot and bury tons of threads. Not sure I like how this looks. What is the consensus? Do you back tack stitches or knot and bury threads? I know which is cleaner but yikes, burying all of those threads is time-consuming.

IMG_20150619_3486

The binding is, as usual, one of my favorite parts. I used the honeymoon batik for the border and also for the binding. To add some depth, I attached a black flange to the perimeter of the quilt before binding the quilt. I love the ‘something extra’ that this flange adds to the quilt.

IMG_20150618_3478

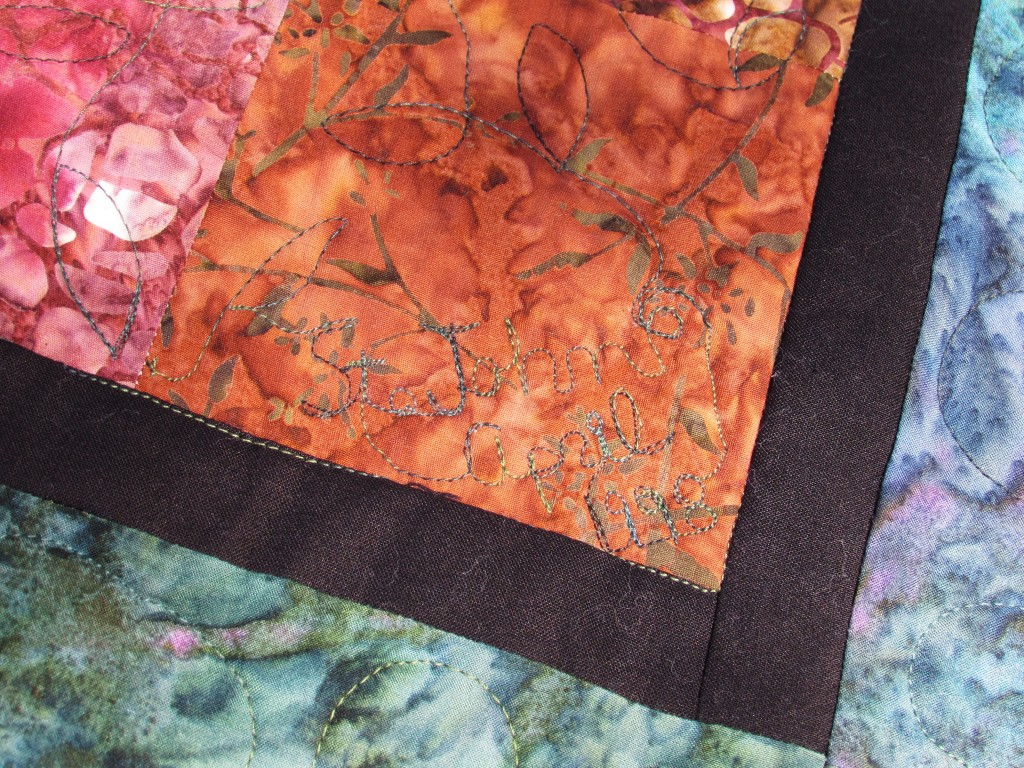
To honor our honeymoon, I tried stitching St. John as well as April, 1998 on a corner of the quilt. Kind of difficult to see but it was a good addition.

IMG_20150618_3477

When I was binding it, I came upon my two ends that needed to be joined and sighed my heavy, here-we-go sigh. I hate attaching the tails of the binding. This time I looked to Rita over at Red Pepper Quilts. On the off chance that there is someone who hasn’t heard of Rita, she is an amazing quilter who has the most amazing sense of color. Her quilts are bright, happy and so vivid. Truly amazing. If you haven’t looked at her work, now is the time. She has numerous tutorials, several of which talk about binding. This is the one that I used. The result was good so I will refer back to her measurements next time.

I can check this goal off of my 2015 list and move on to another one! I think the next goal I need to work on is some quilt restoration. I have two quilts to restore and I want to get one of them going soon.

Finally, remember the Allison Glass mini swap that I participated in? I blogged about the mini that I made here. There were a few comments asking me to post the mini that I received. Wow, I can’t wait to share it. It is gorgeous. I am so grateful to my partner for putting so much effort into this project!

IMG_20150616_3470

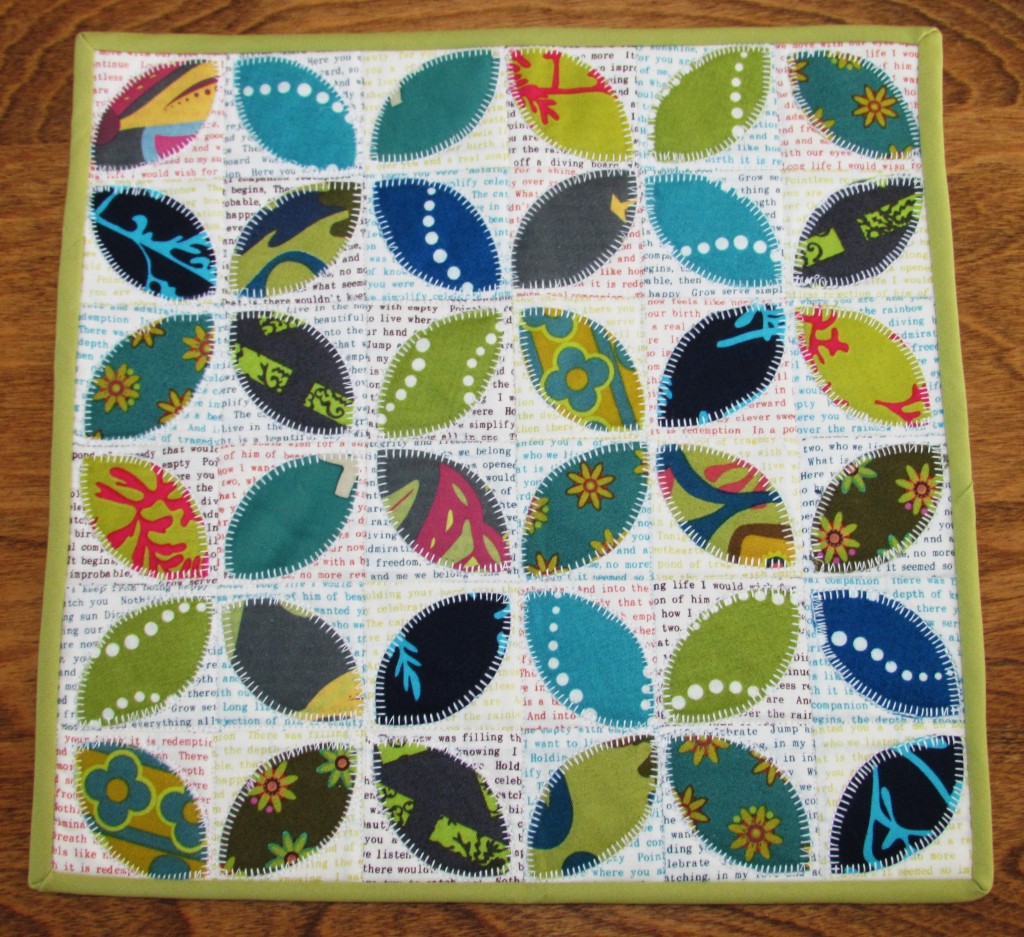
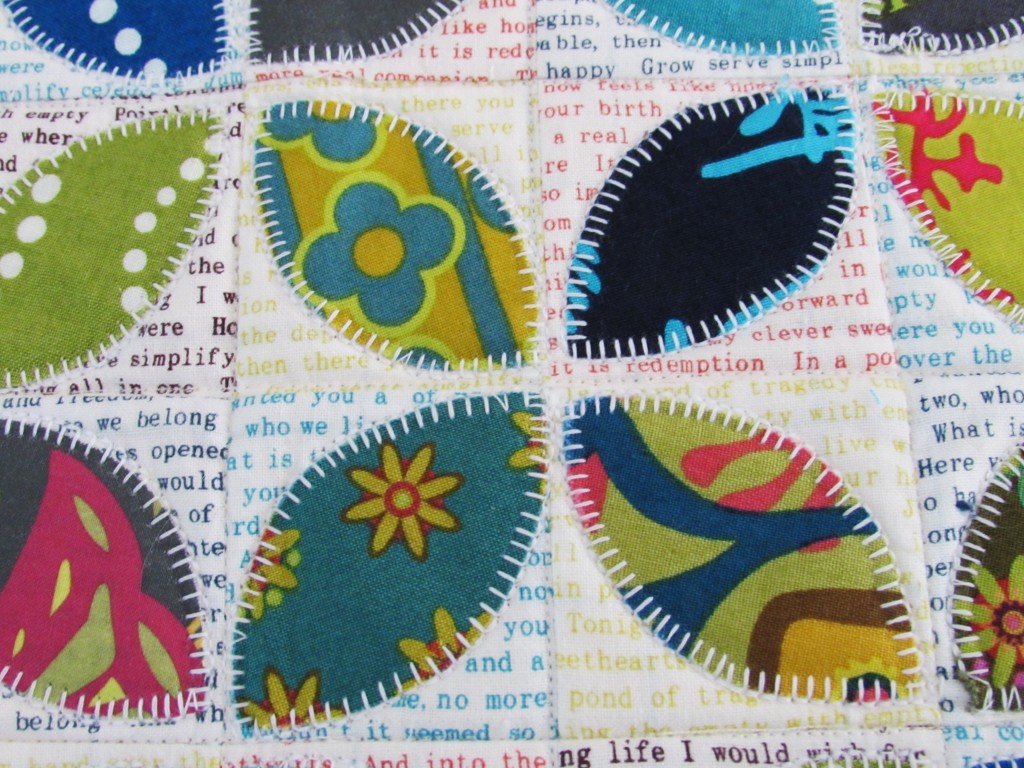
My partner outdid herself with this. I love the text print that was used as the background on each 2″ square. She appliqued the orange peels with a blanket stitch which was brilliant.

IMG_20150616_3471

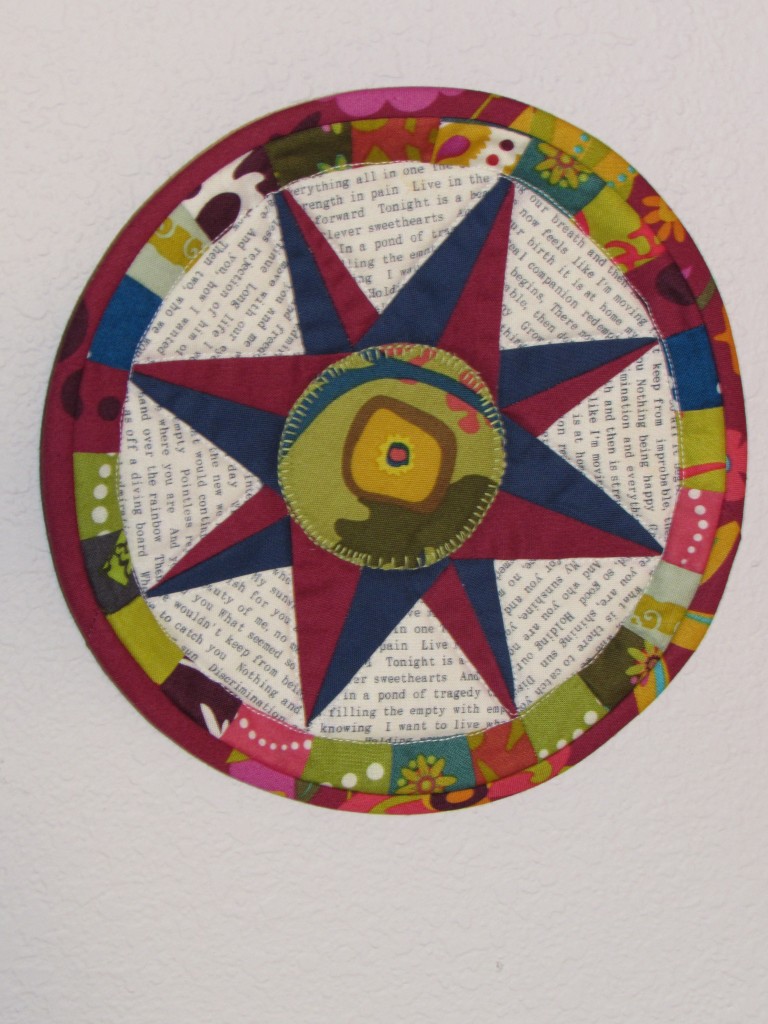
She also made this smaller mini. I think it is intended as a pot holder but I am hanging it on the wall. I don’t want it soaked with food splatter, which we all know would happen.

IMG_20150616_3469

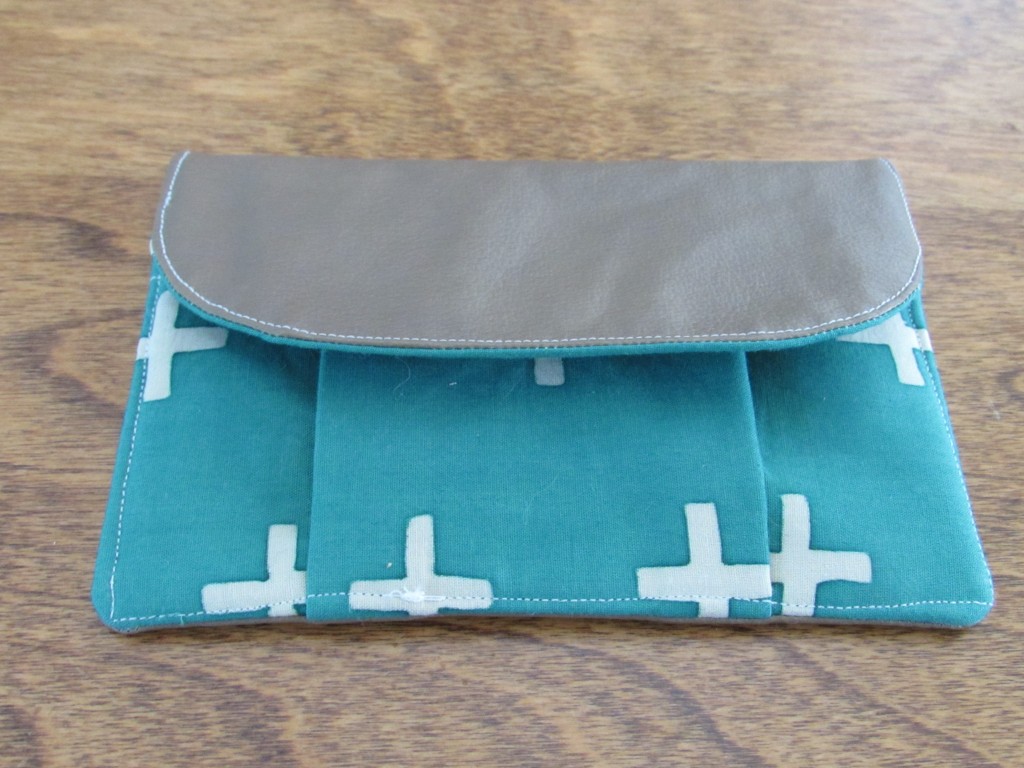
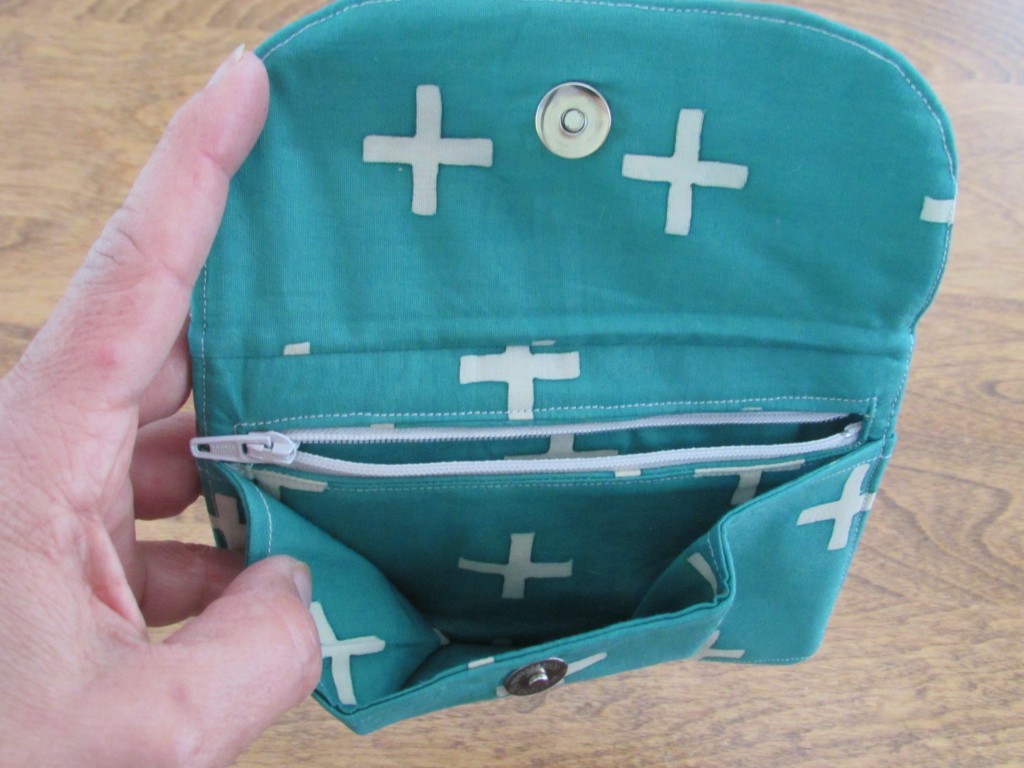
I also received this sweet wallet. Hand-made and so well done, it is lovely.

IMG_20150616_3472

IMG_20150616_3473

The swap was fun and I am thankful that I gave it a try as it pushed me quite far out of my comfort zone. Also, I am truly grateful for the work my partner put into the items I received.  That being said, I am not sure I will do another one for a while. I could see participating in one each year. They are quite time-consuming and it set my nerves on edge trying to think of what my partner would want, based on the few hints we are given. The process is a good way to get to know other makers though. It is really a big deal on Instagram and there is a swap for just about anything crafty.

Hope you all have something fun planned for the upcoming weektend.

Linking to Freemotion Mavericks, Quilting Jetgirl’s Thankful Thursday, Let’s Bee Social and Finish It Up Friday. Also with Sew Bittersweet Designs for the June ALYOF Link up.