Category Archives: baby quilt

Quilt Tops, Crochet, and Quilt Shops

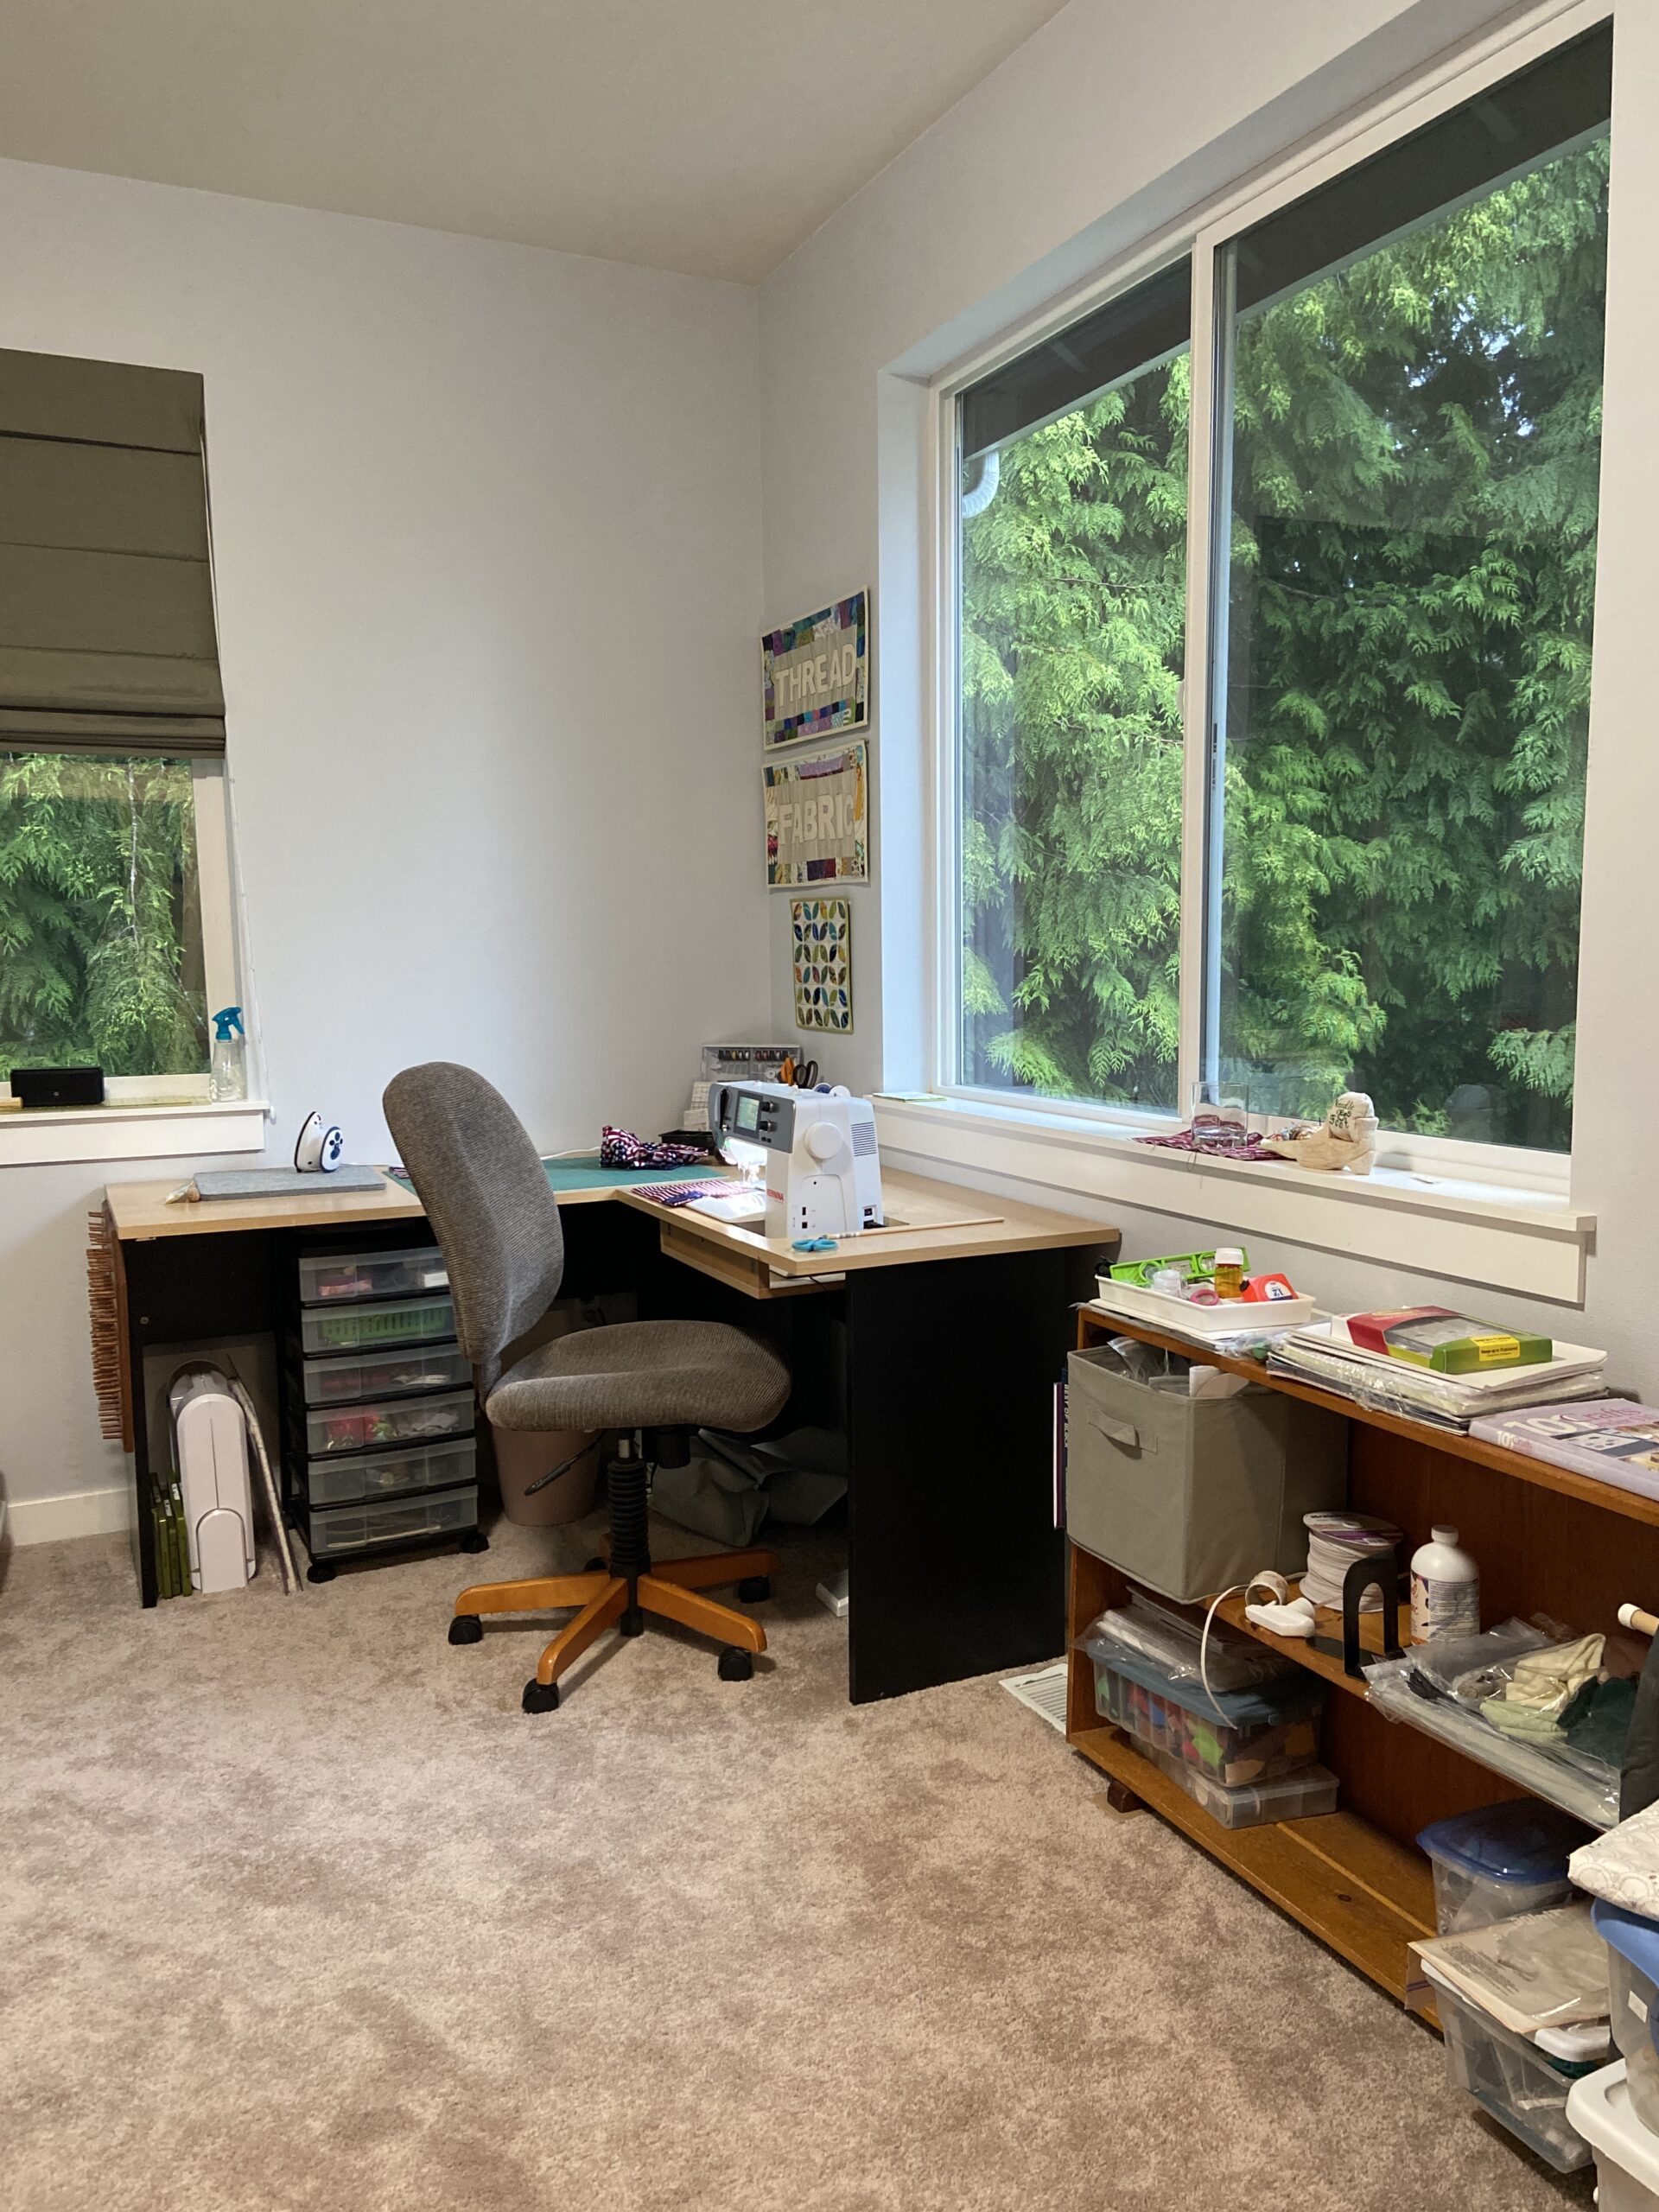
Other than running, walking, some post-holidays cleaning, and trying very hard to not read too much about the horrors of #47, I have enjoyed a fair amount of time in my sewing room. Not sure if this is true of you, but my interest comes and goes. Sometimes I just don’t feel like it and then other times, it is the best place to be!

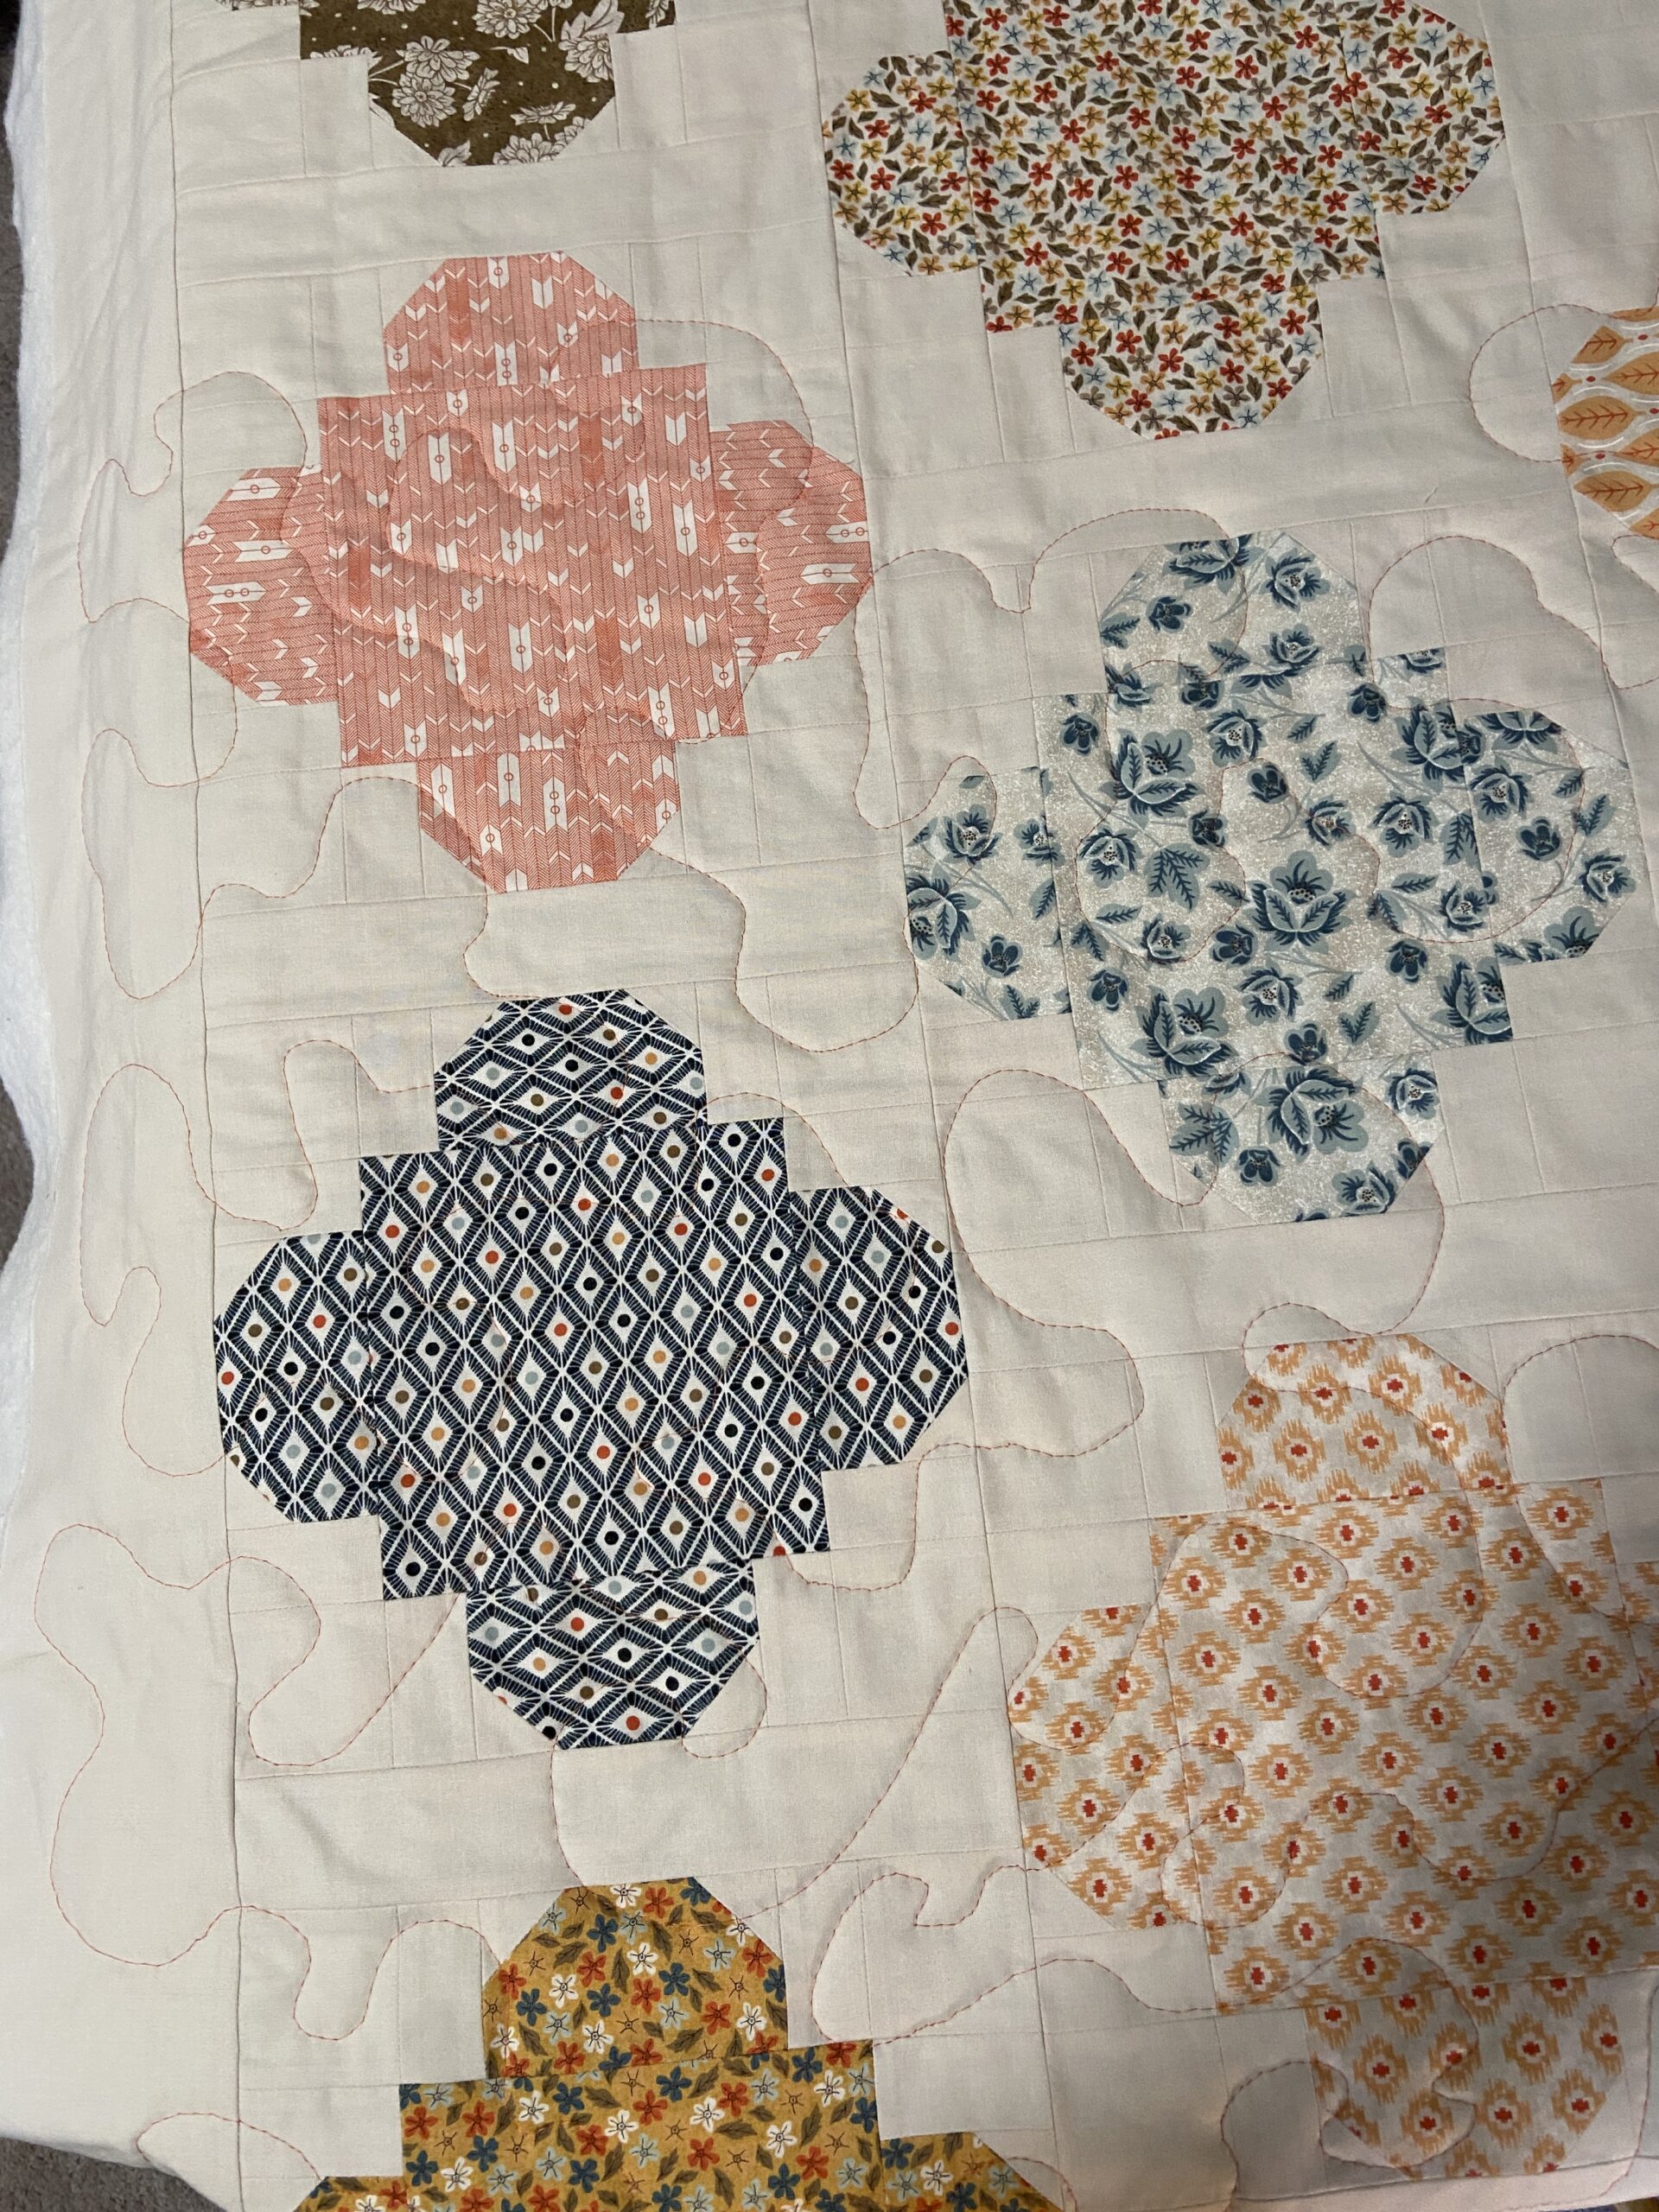
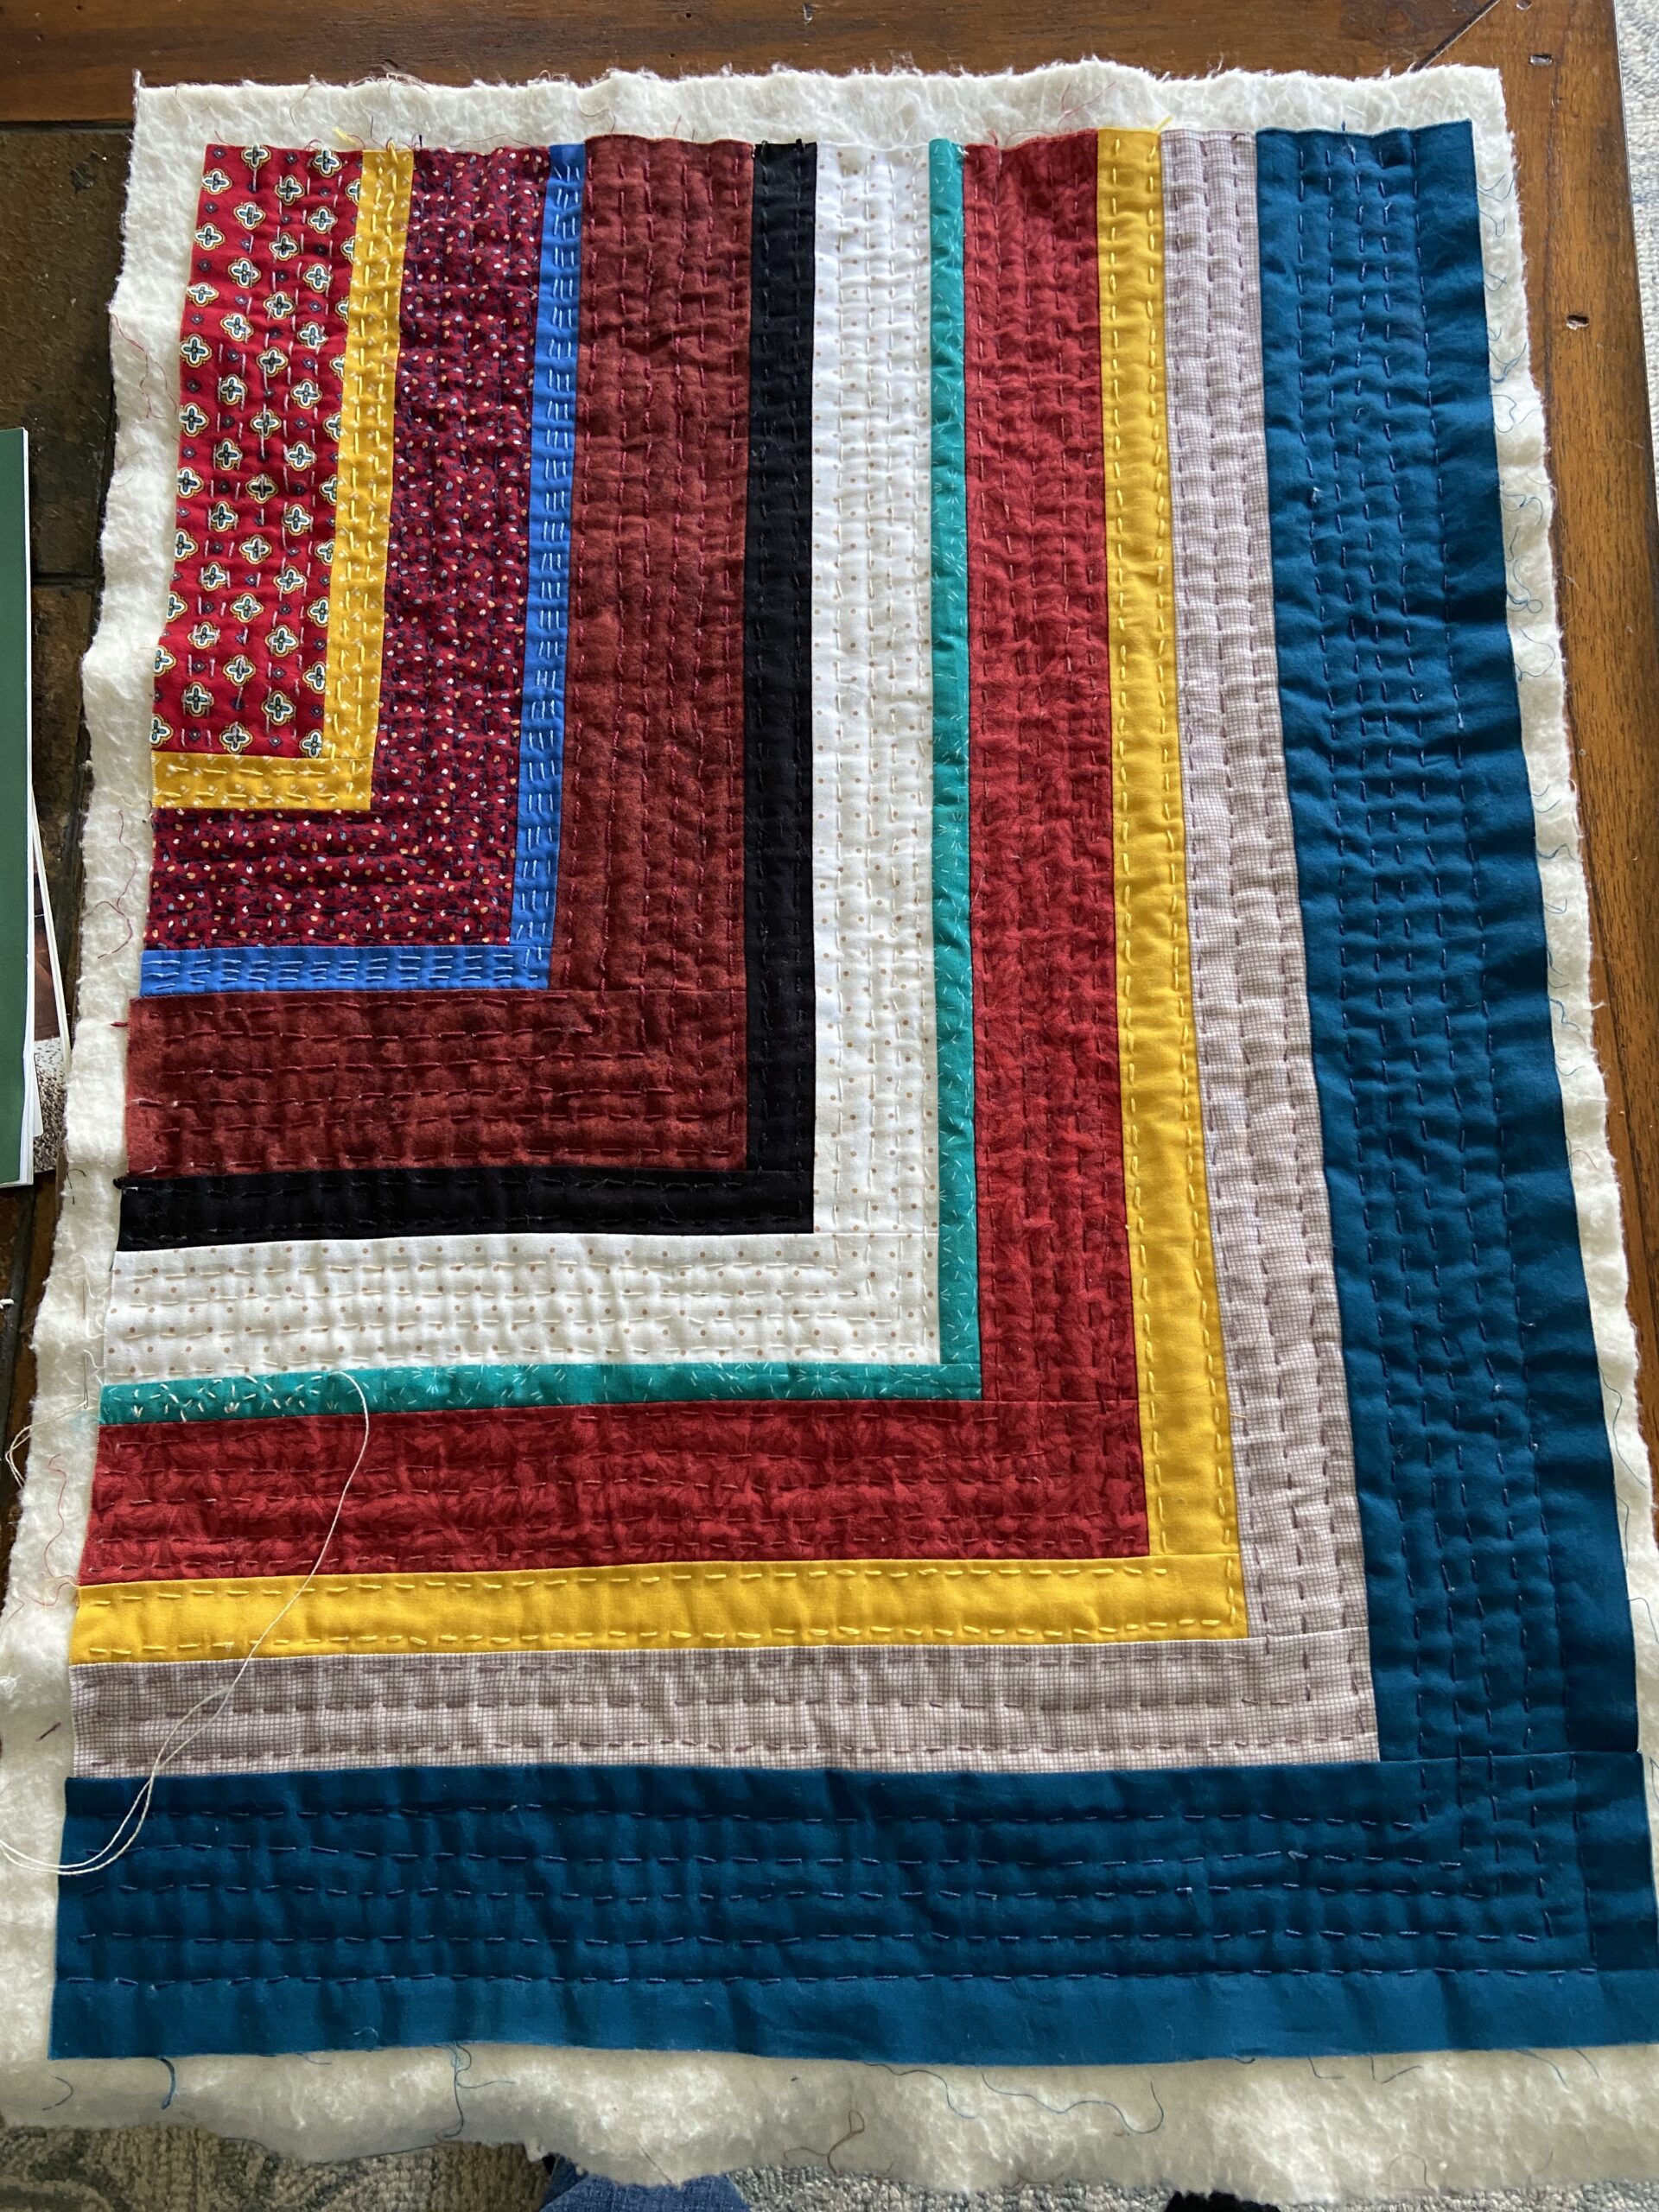
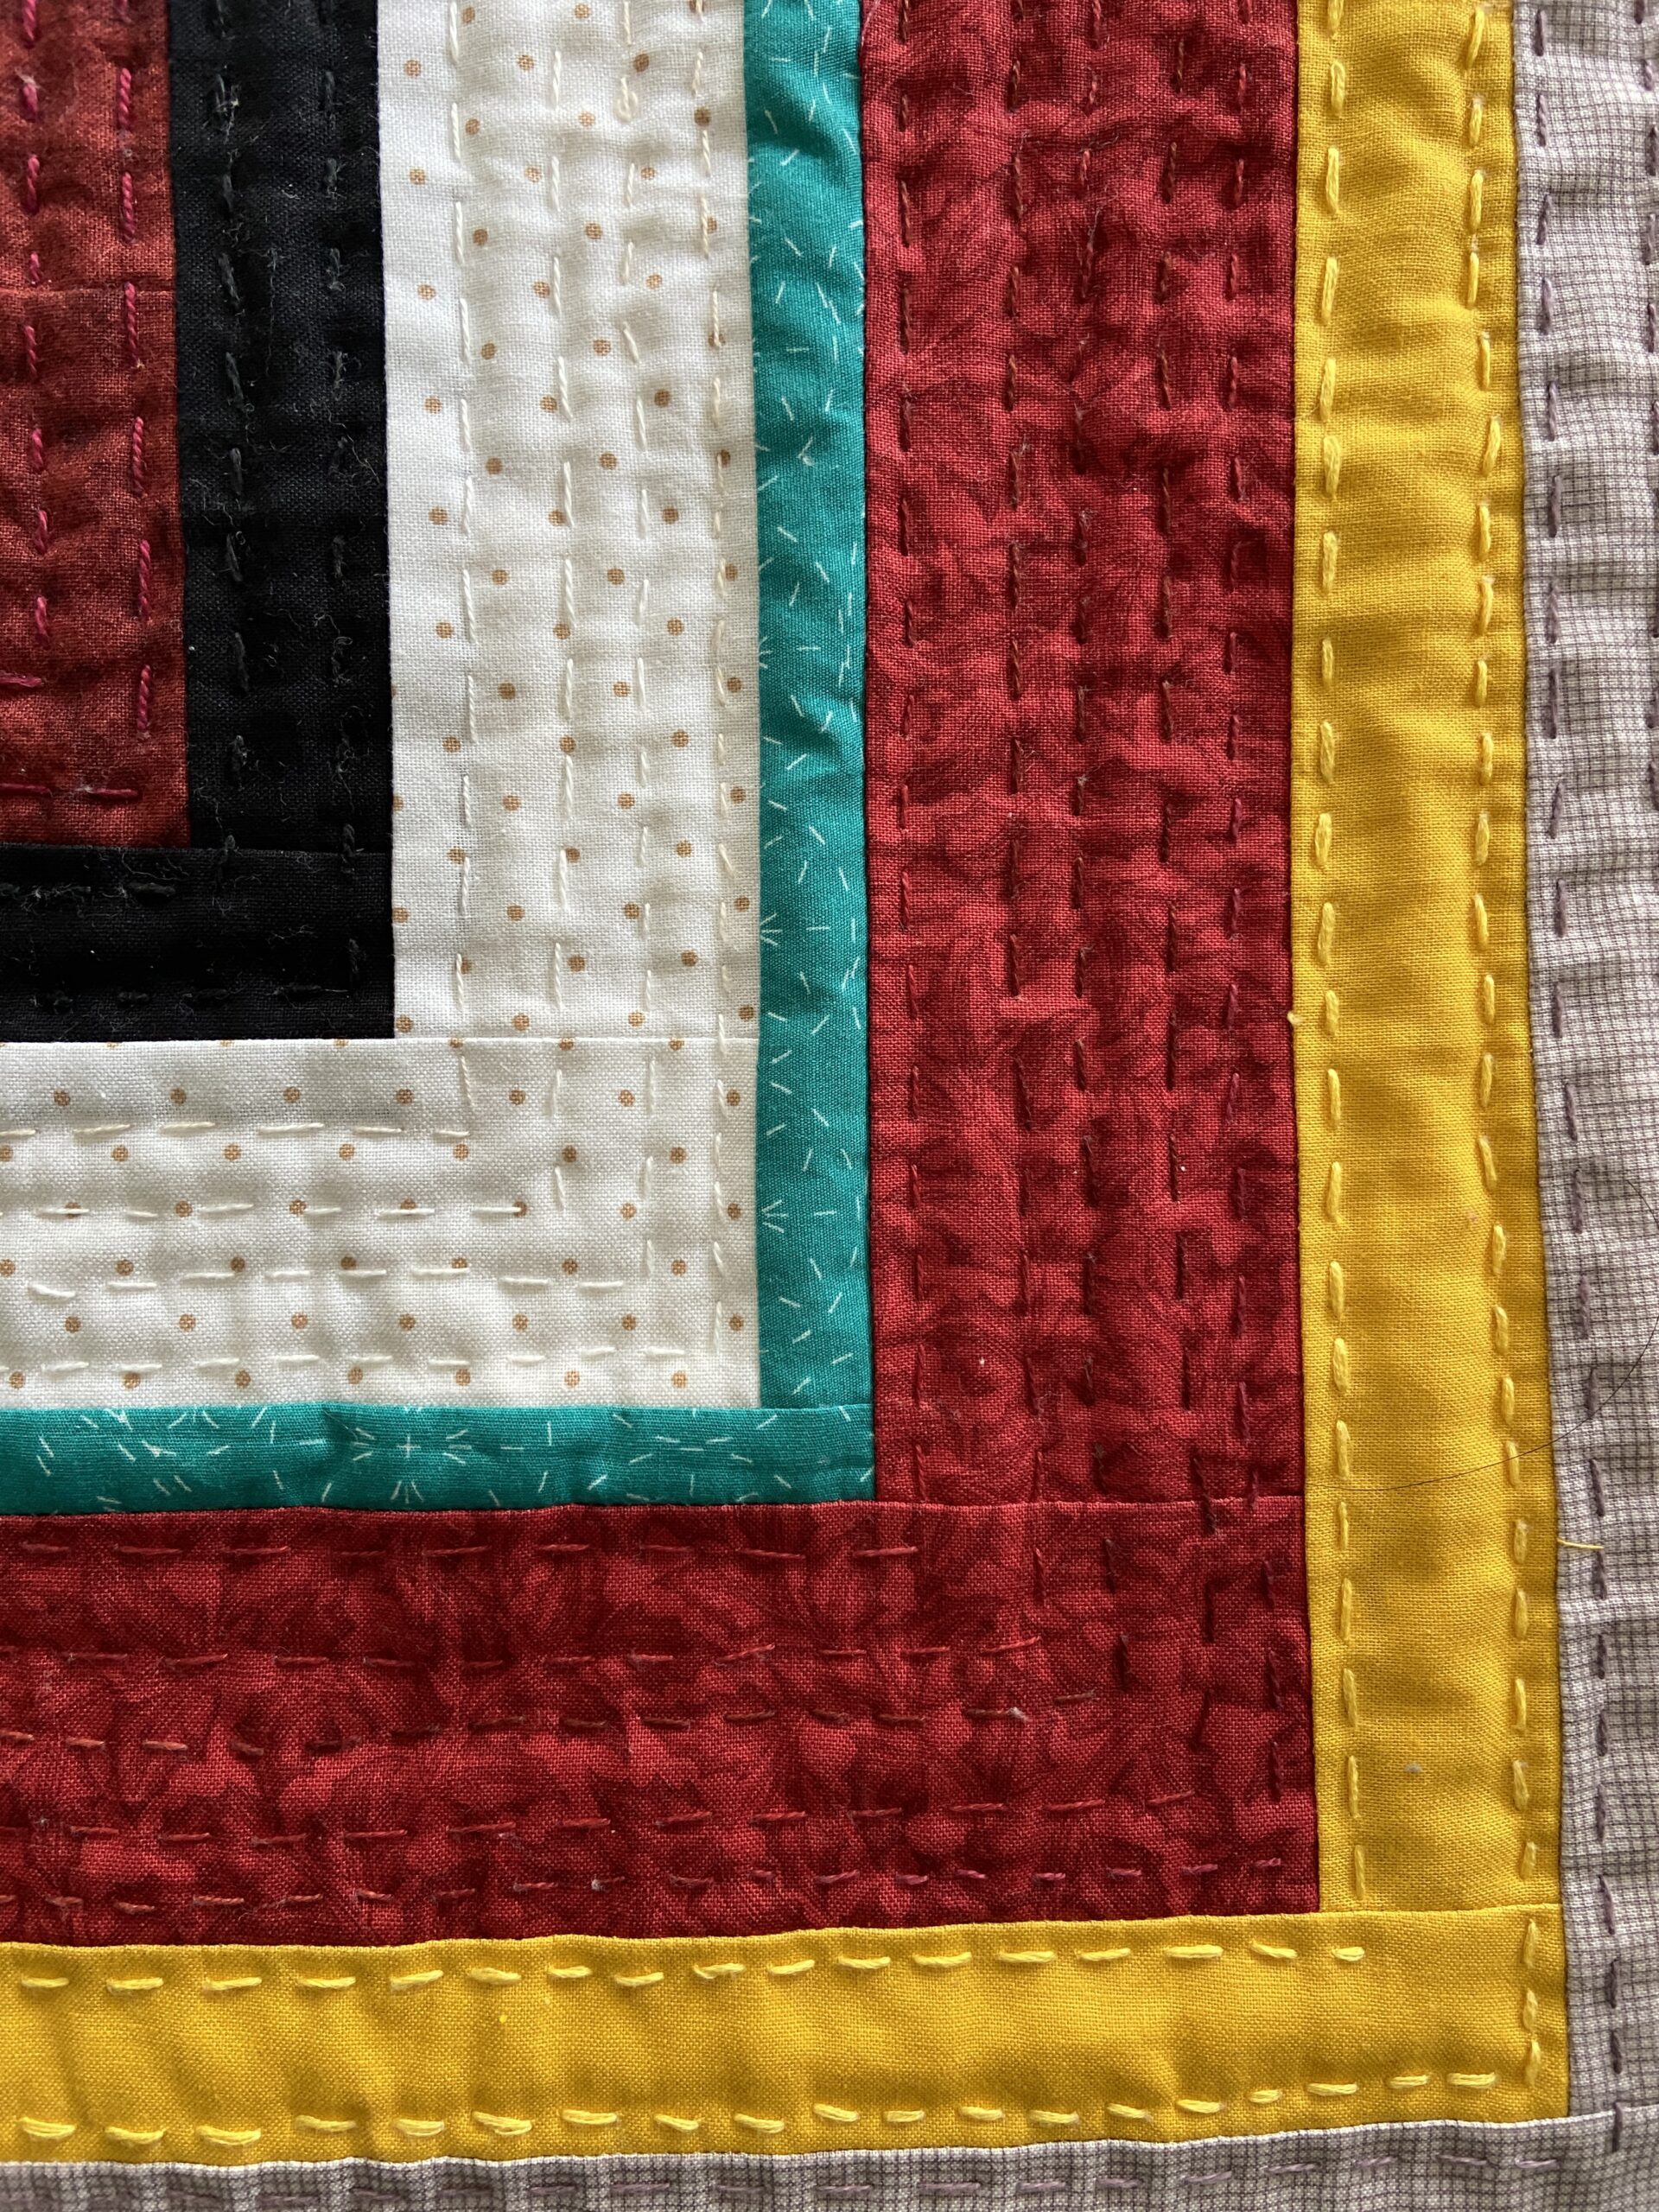
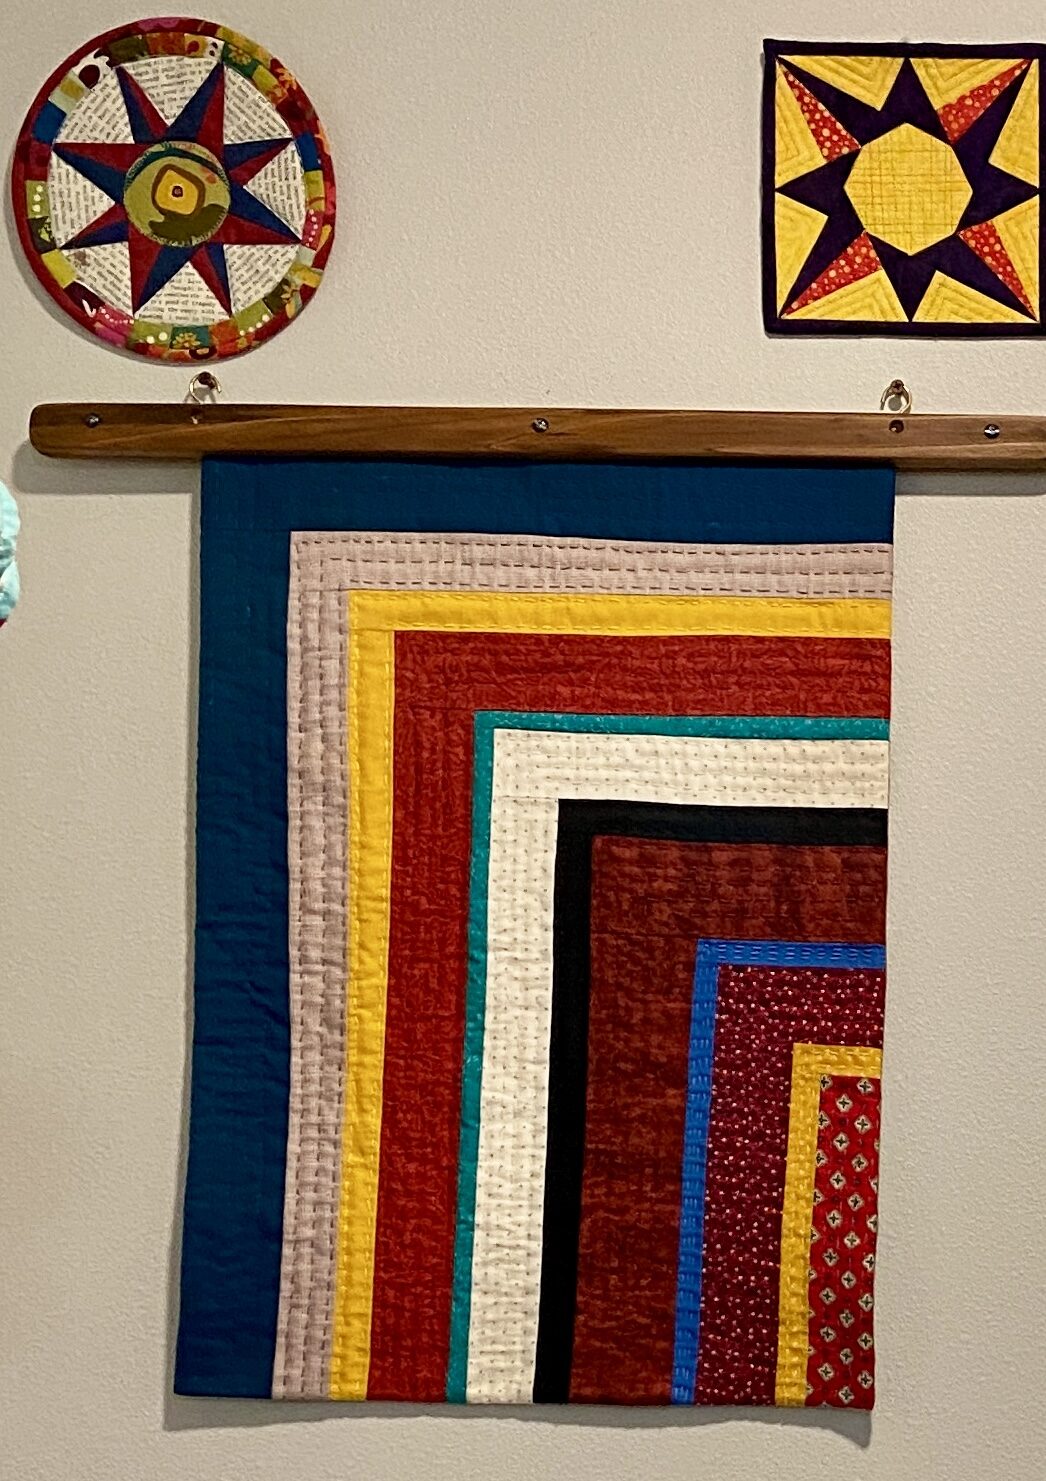
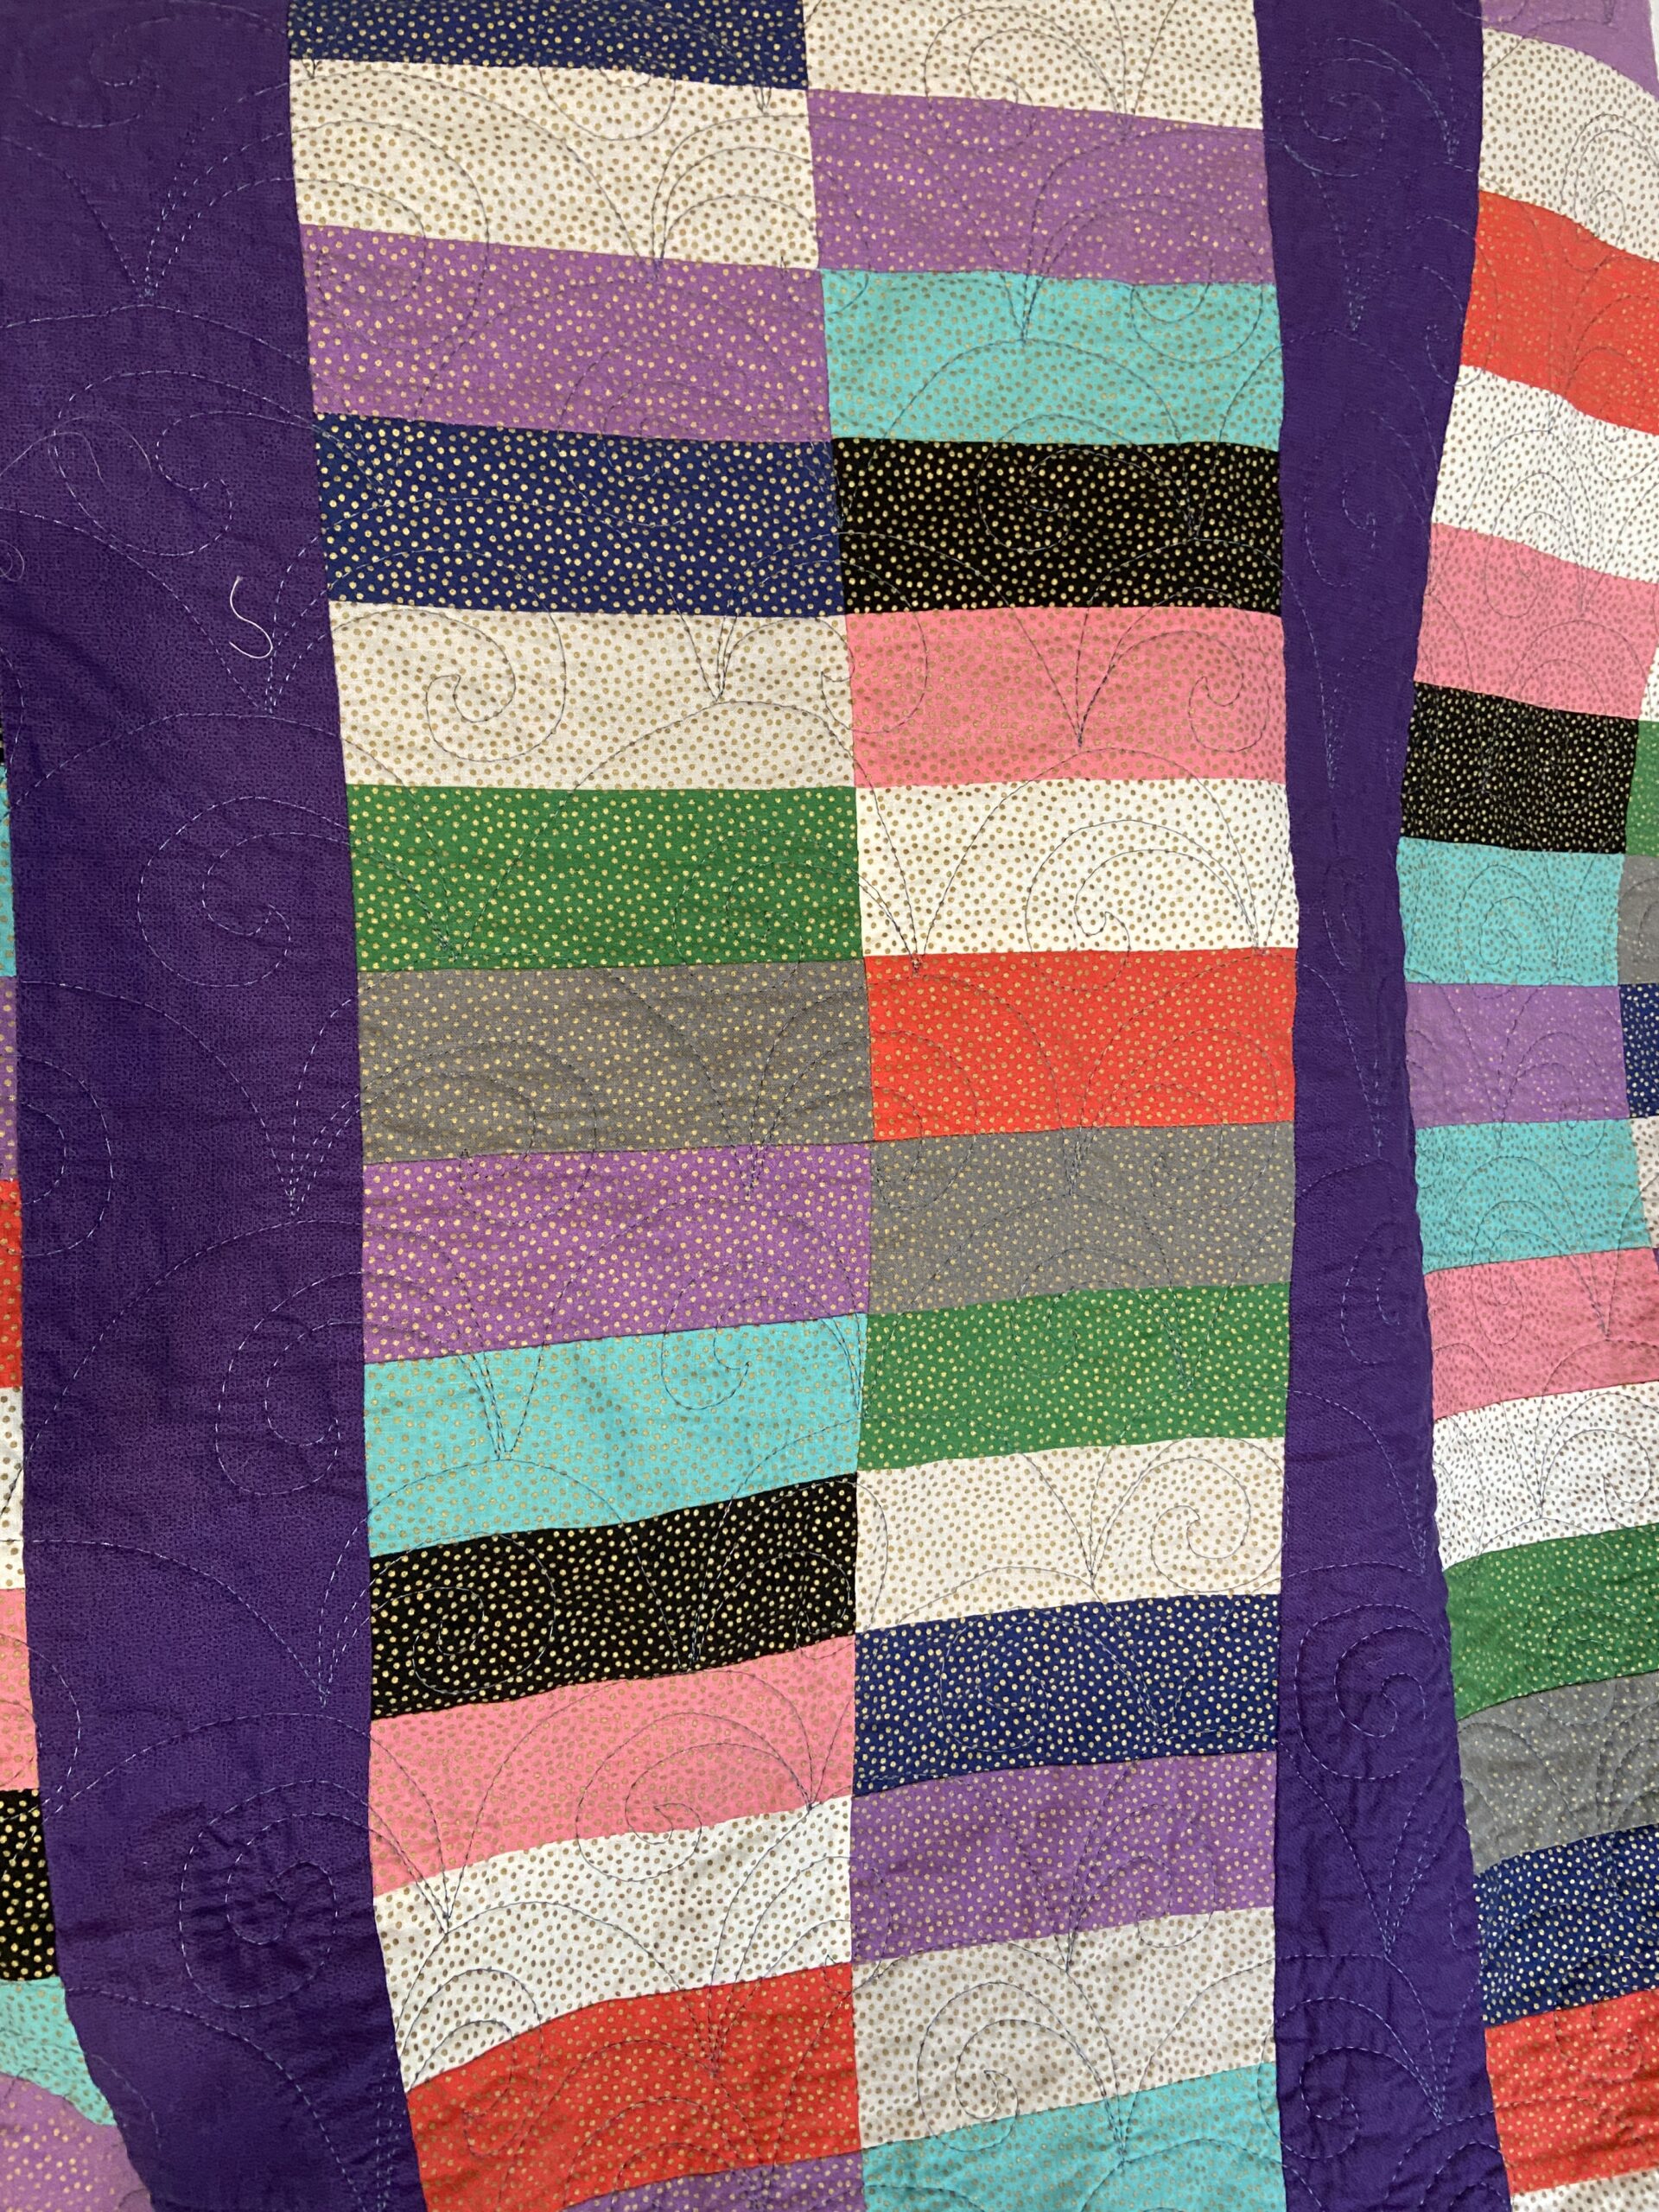
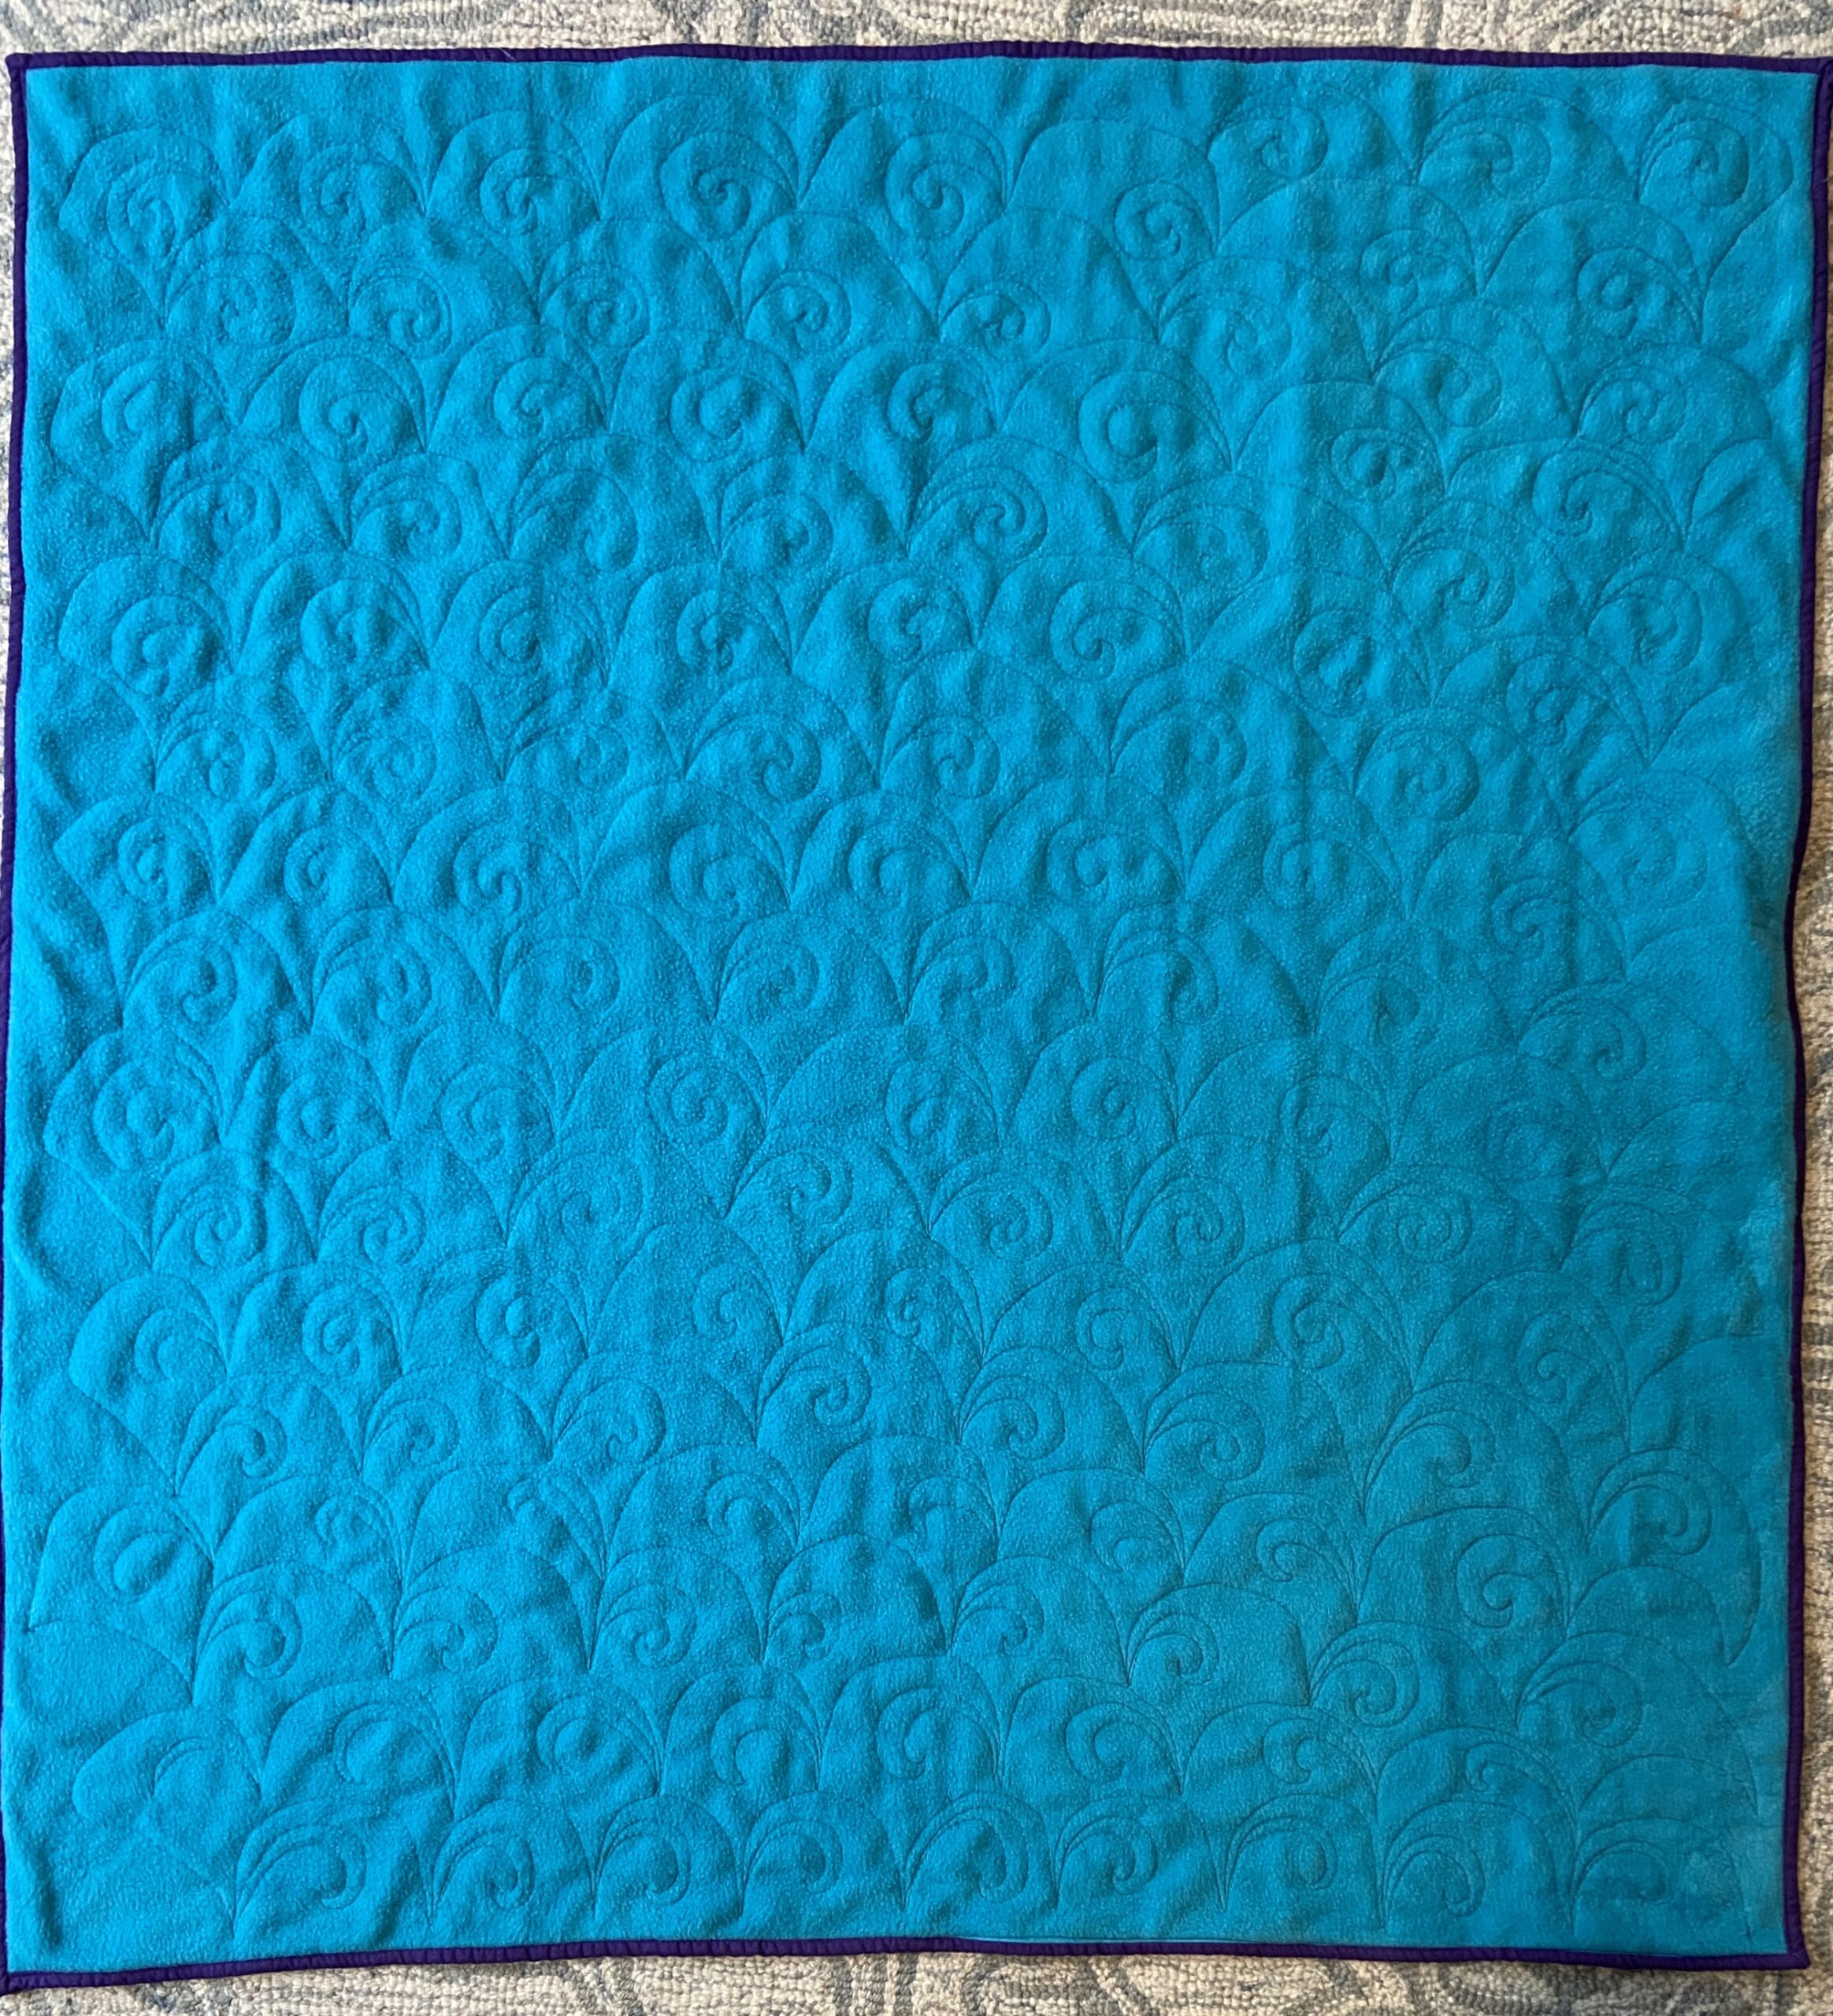
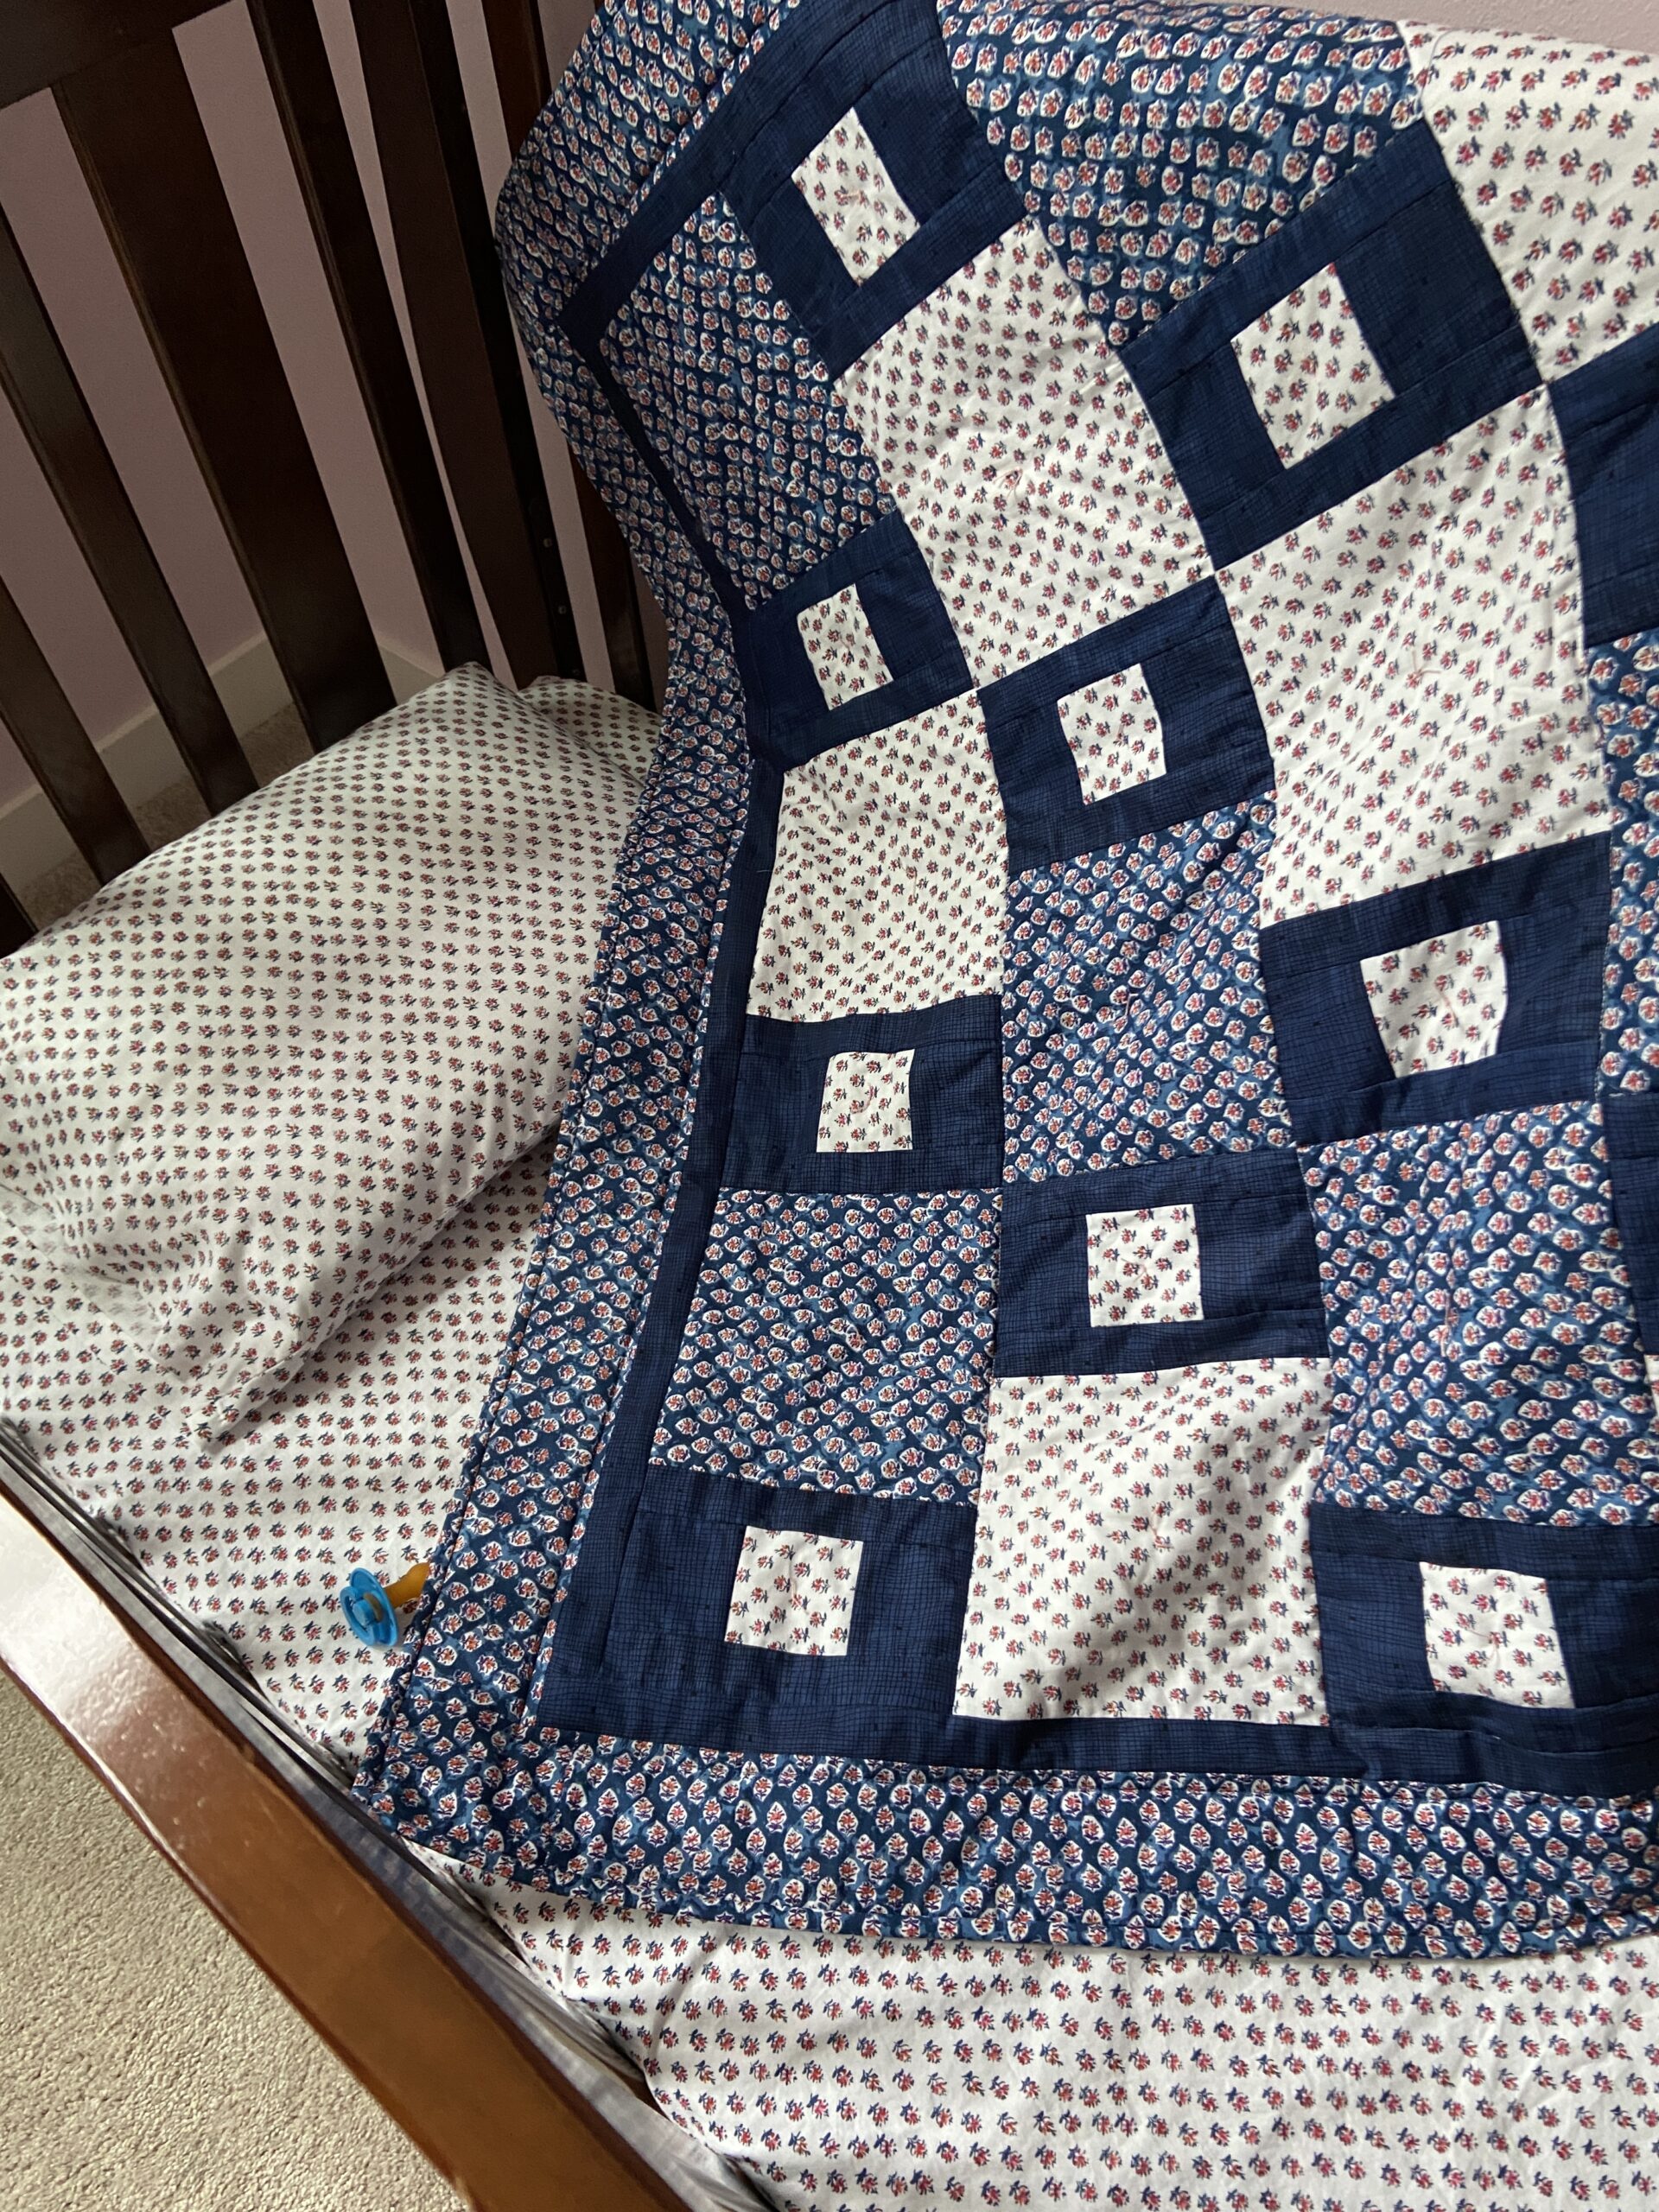
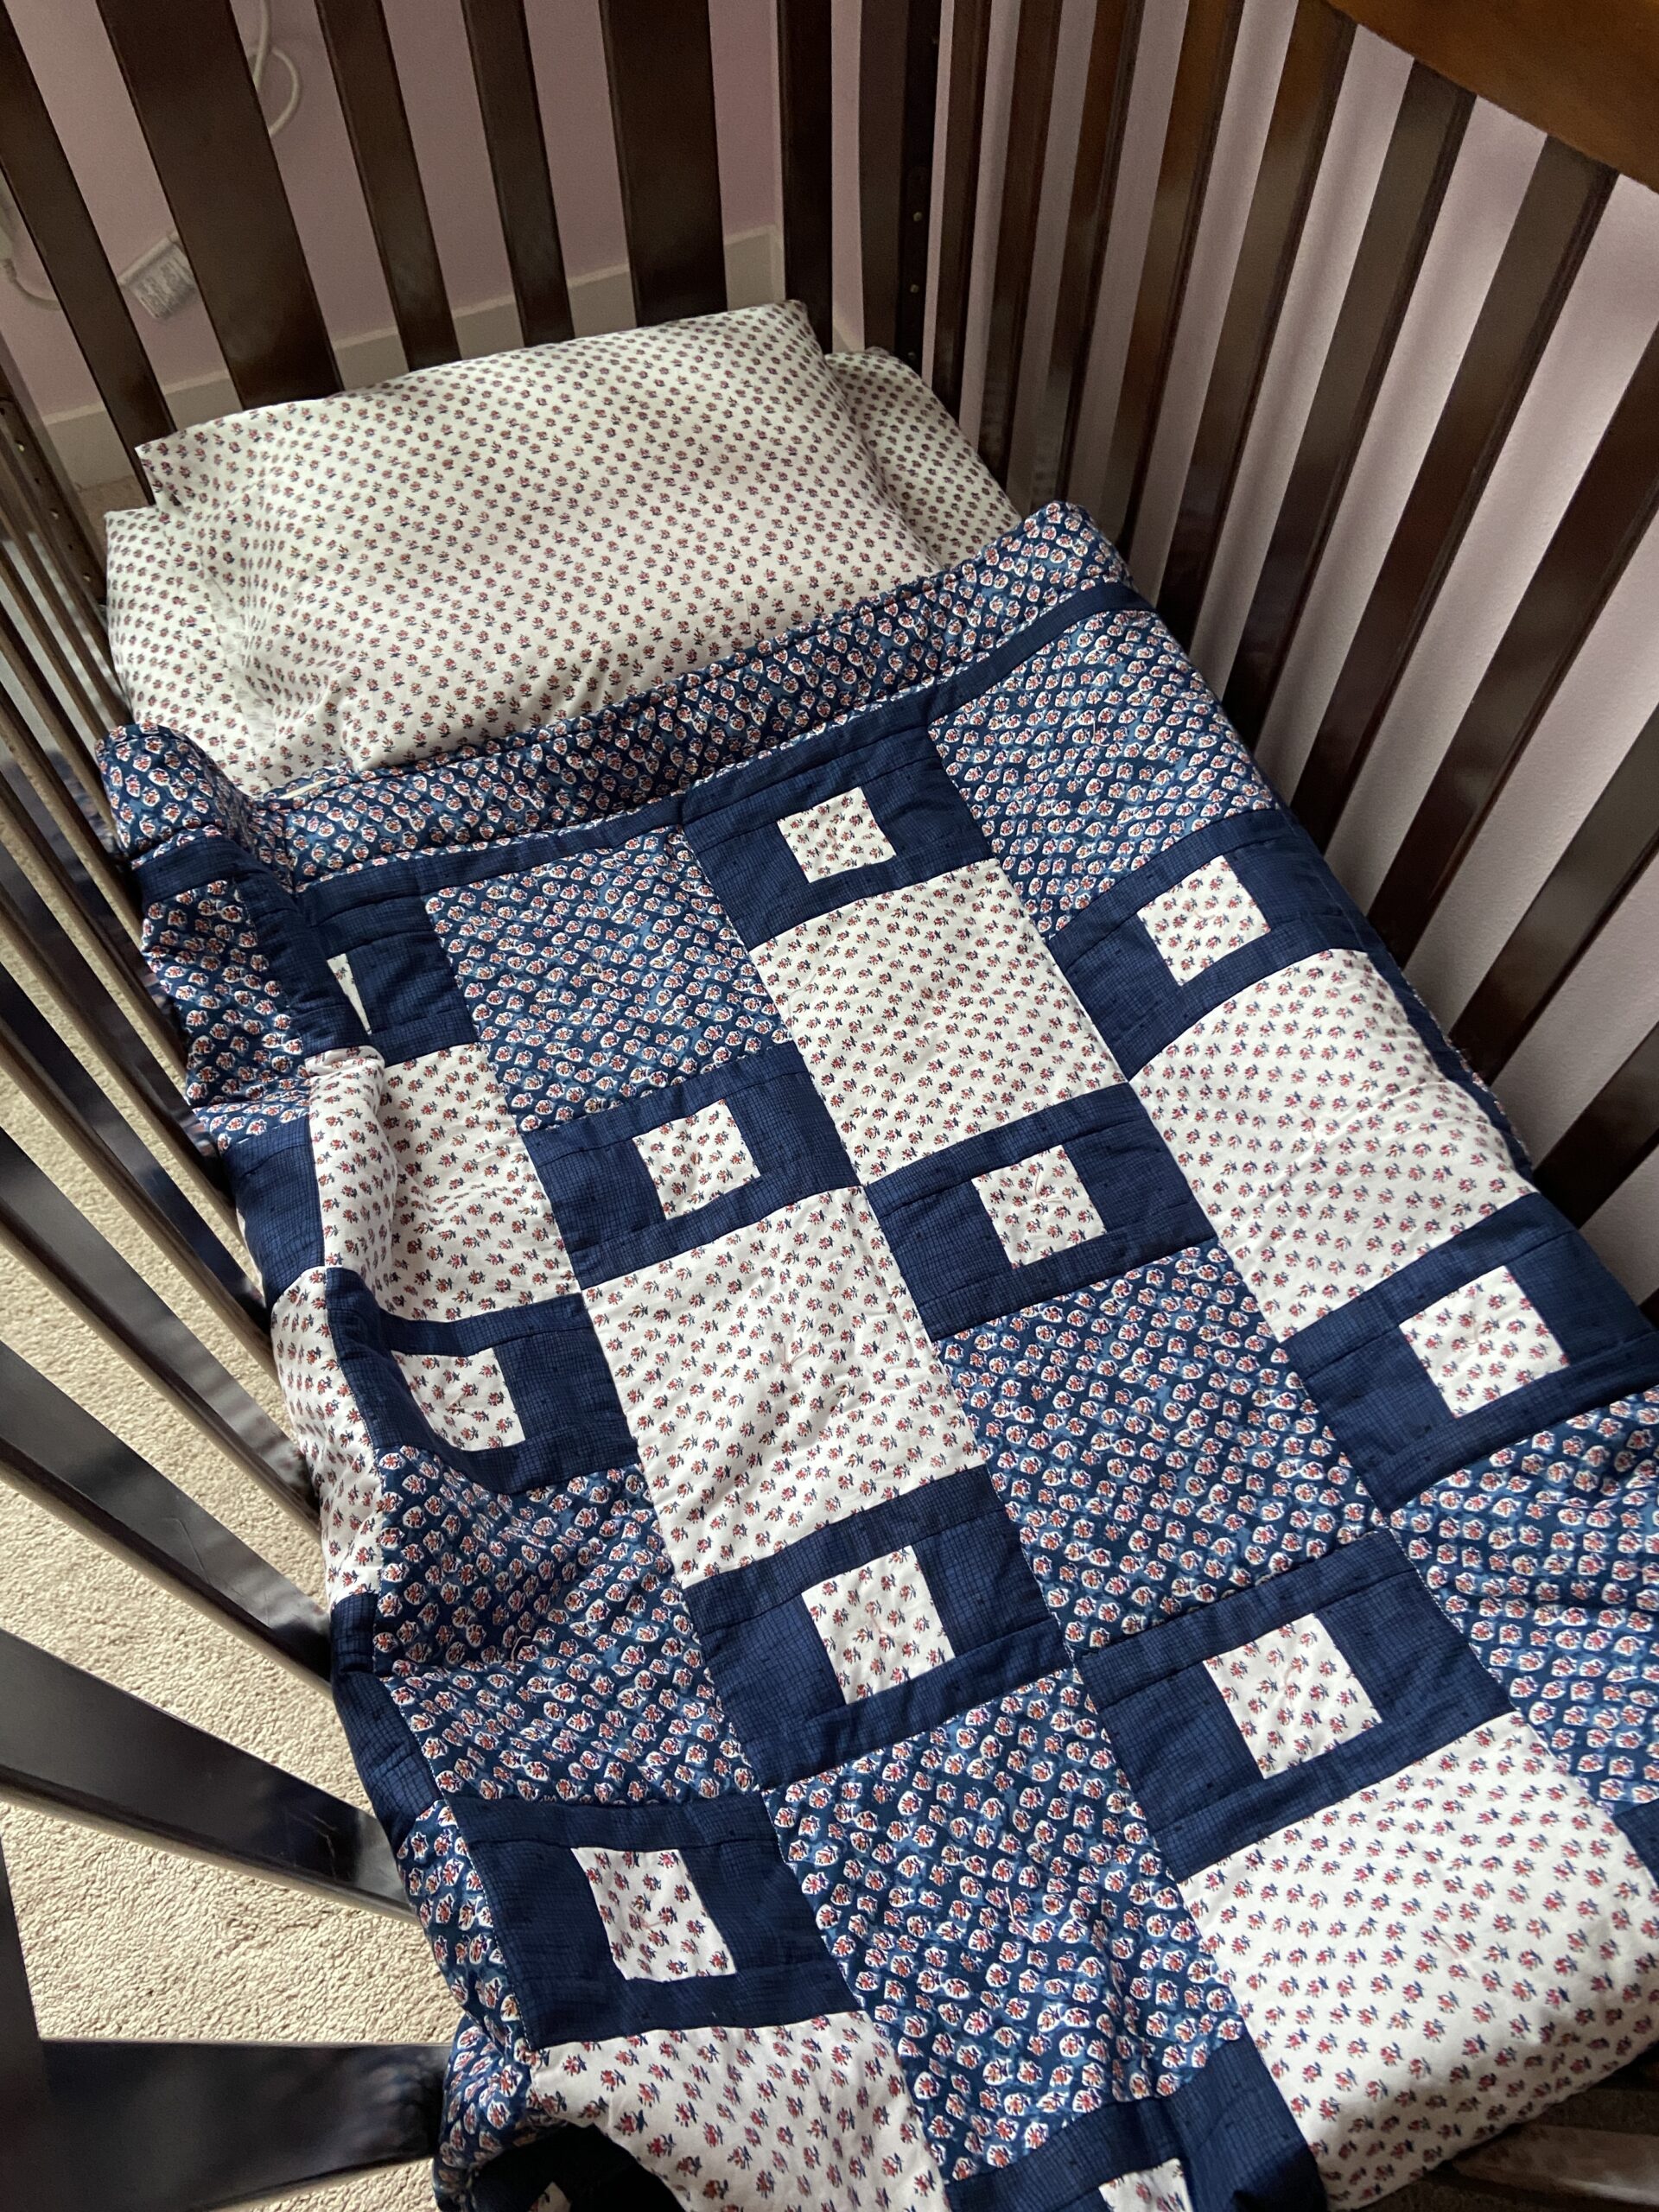
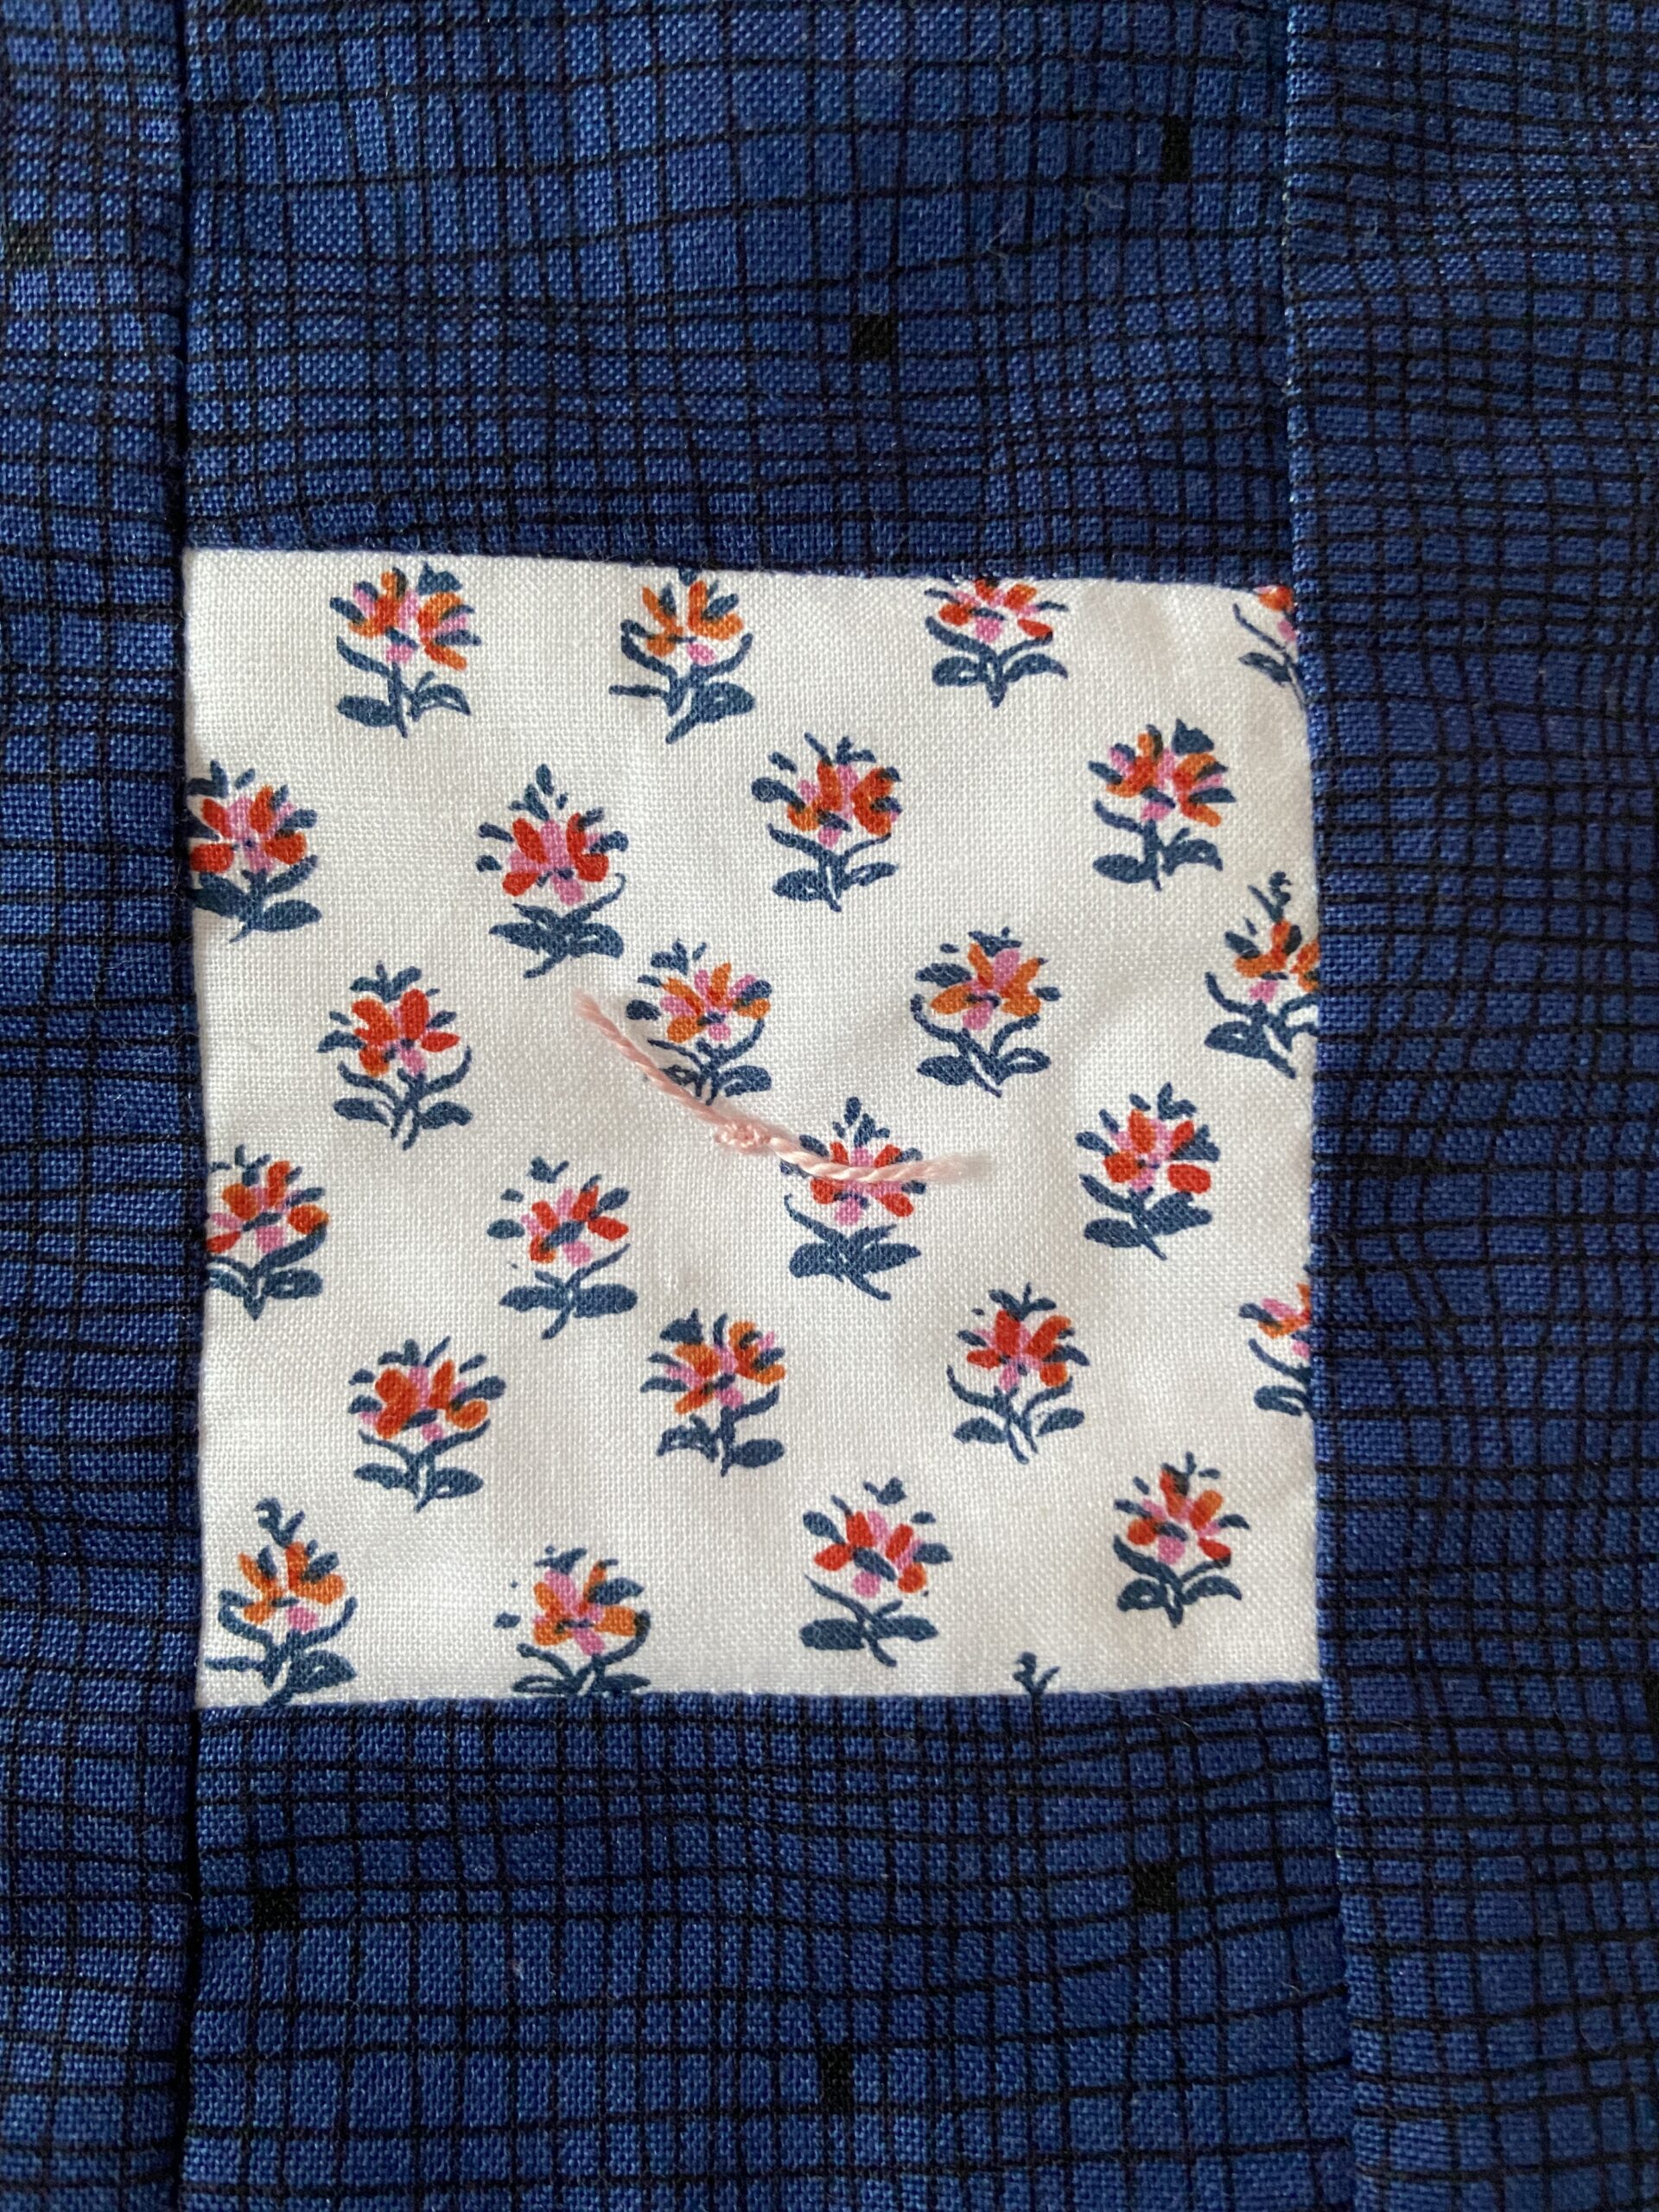
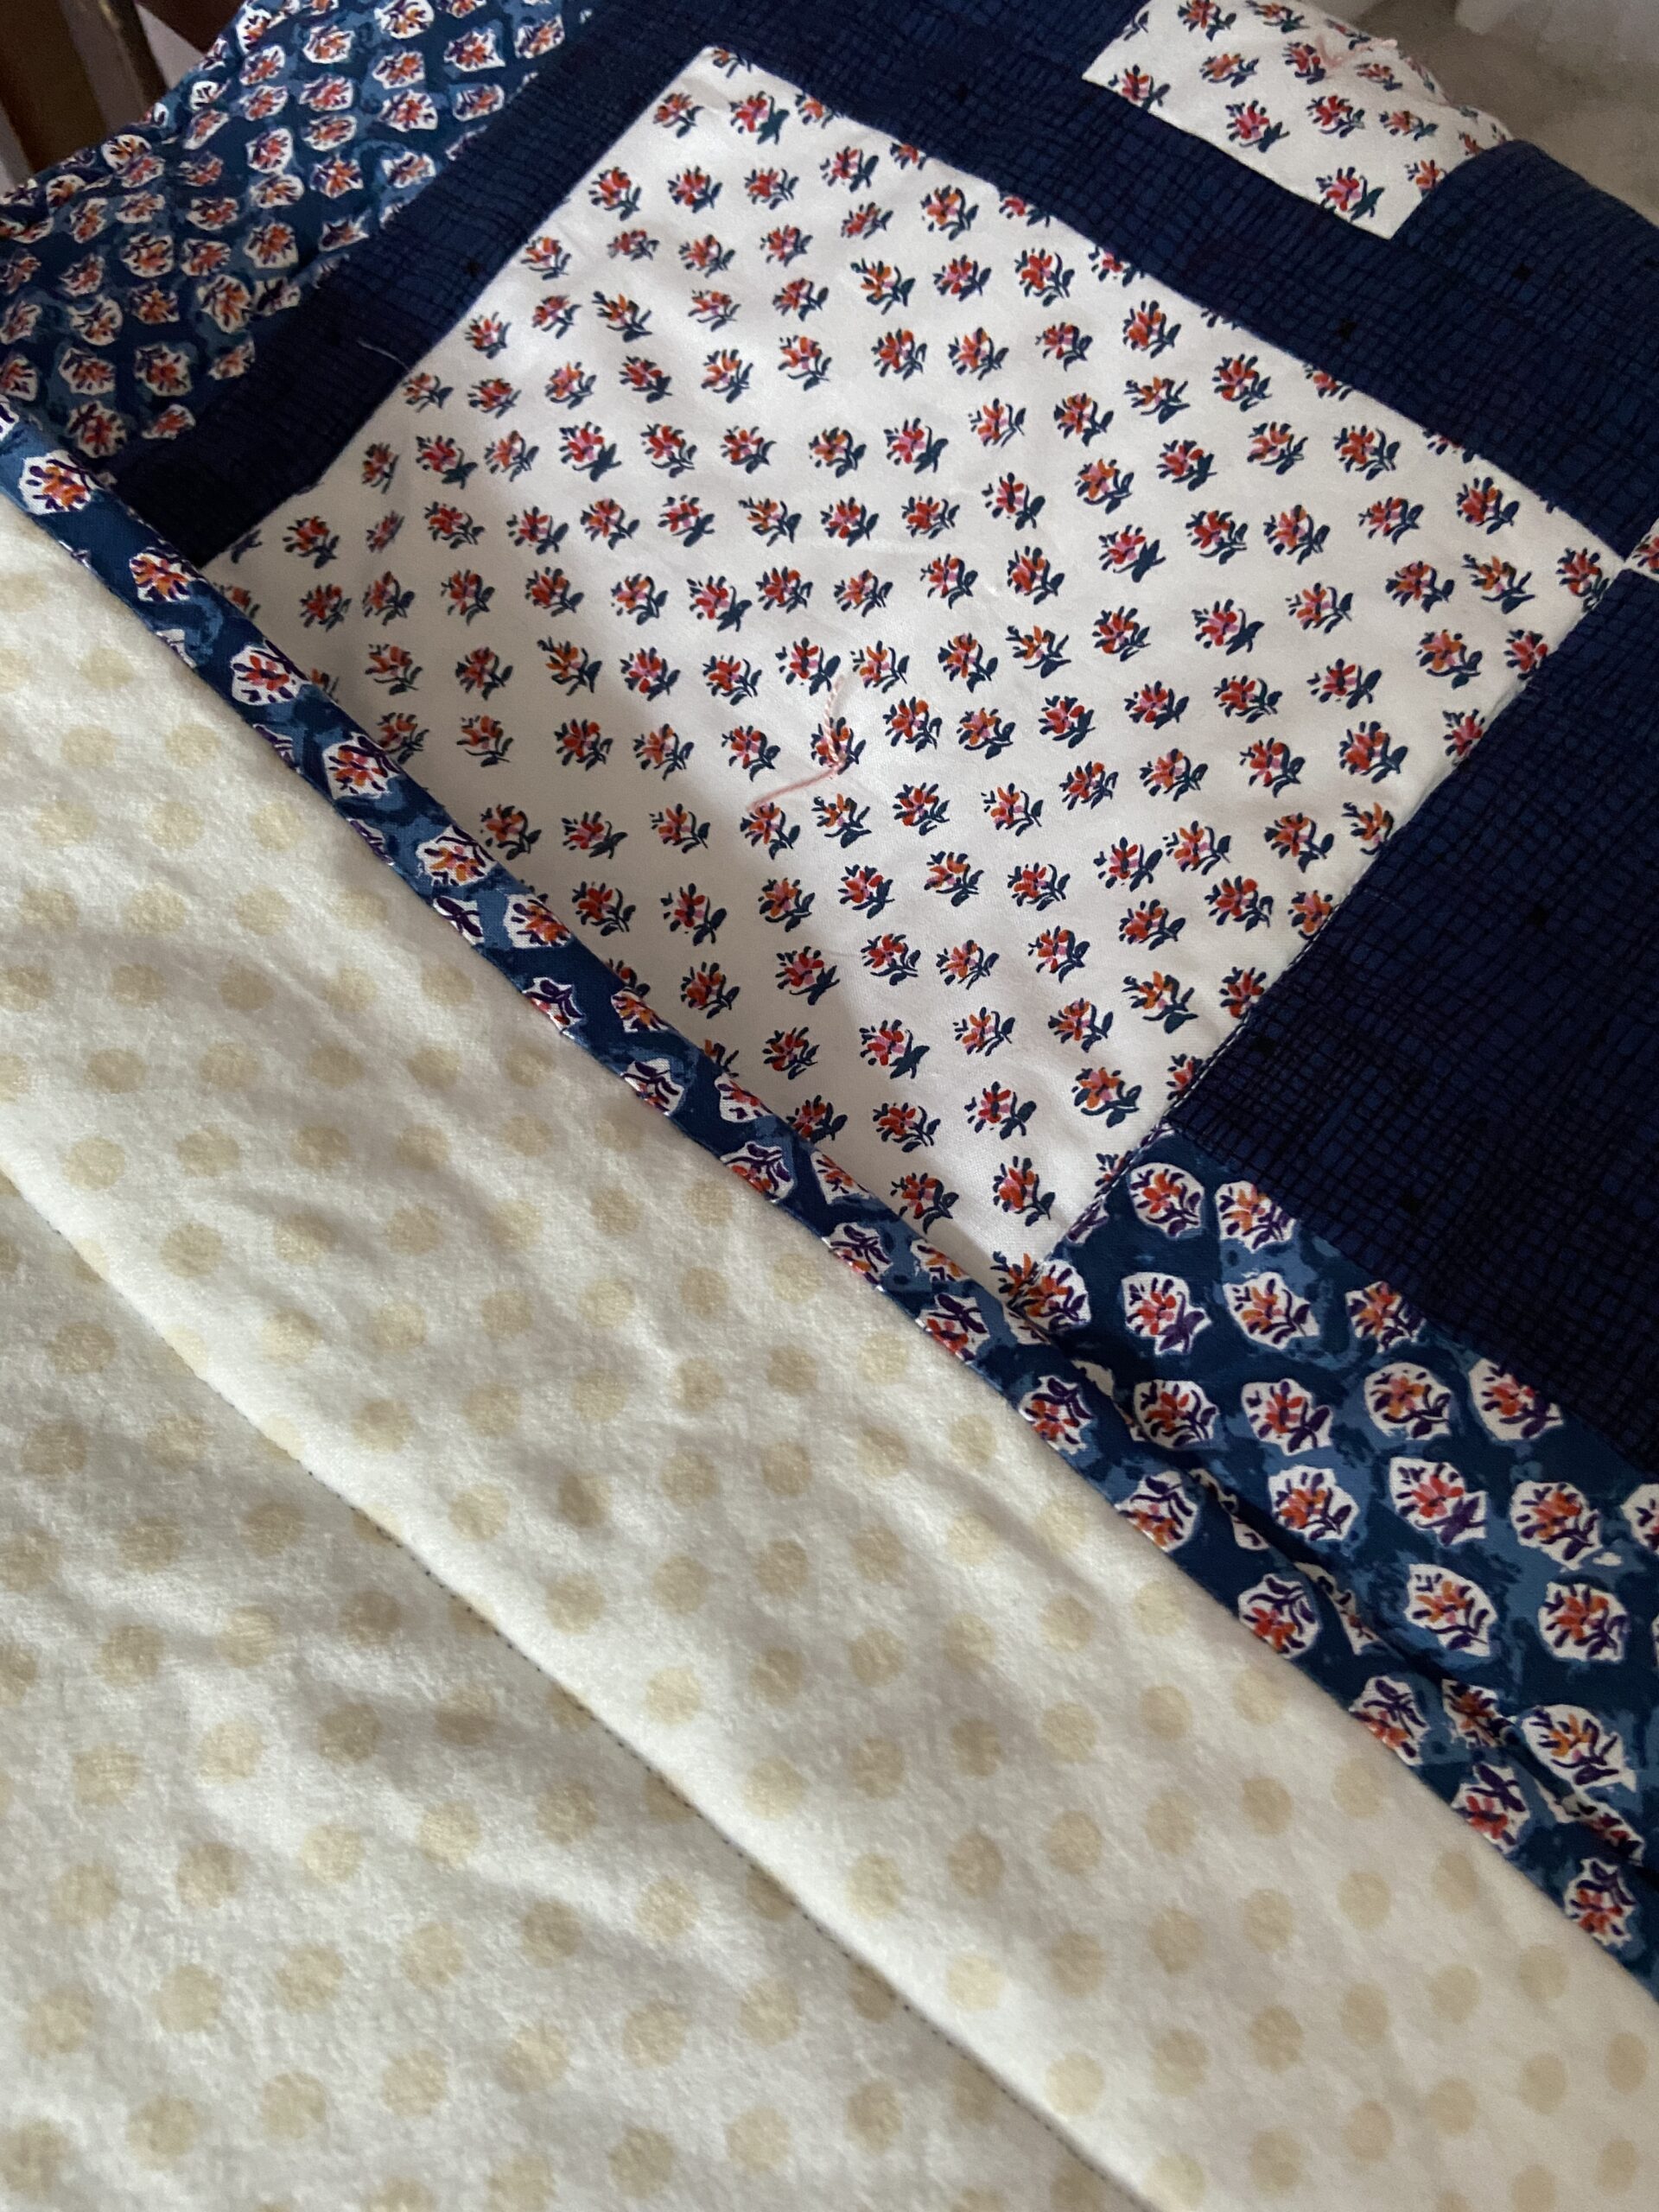
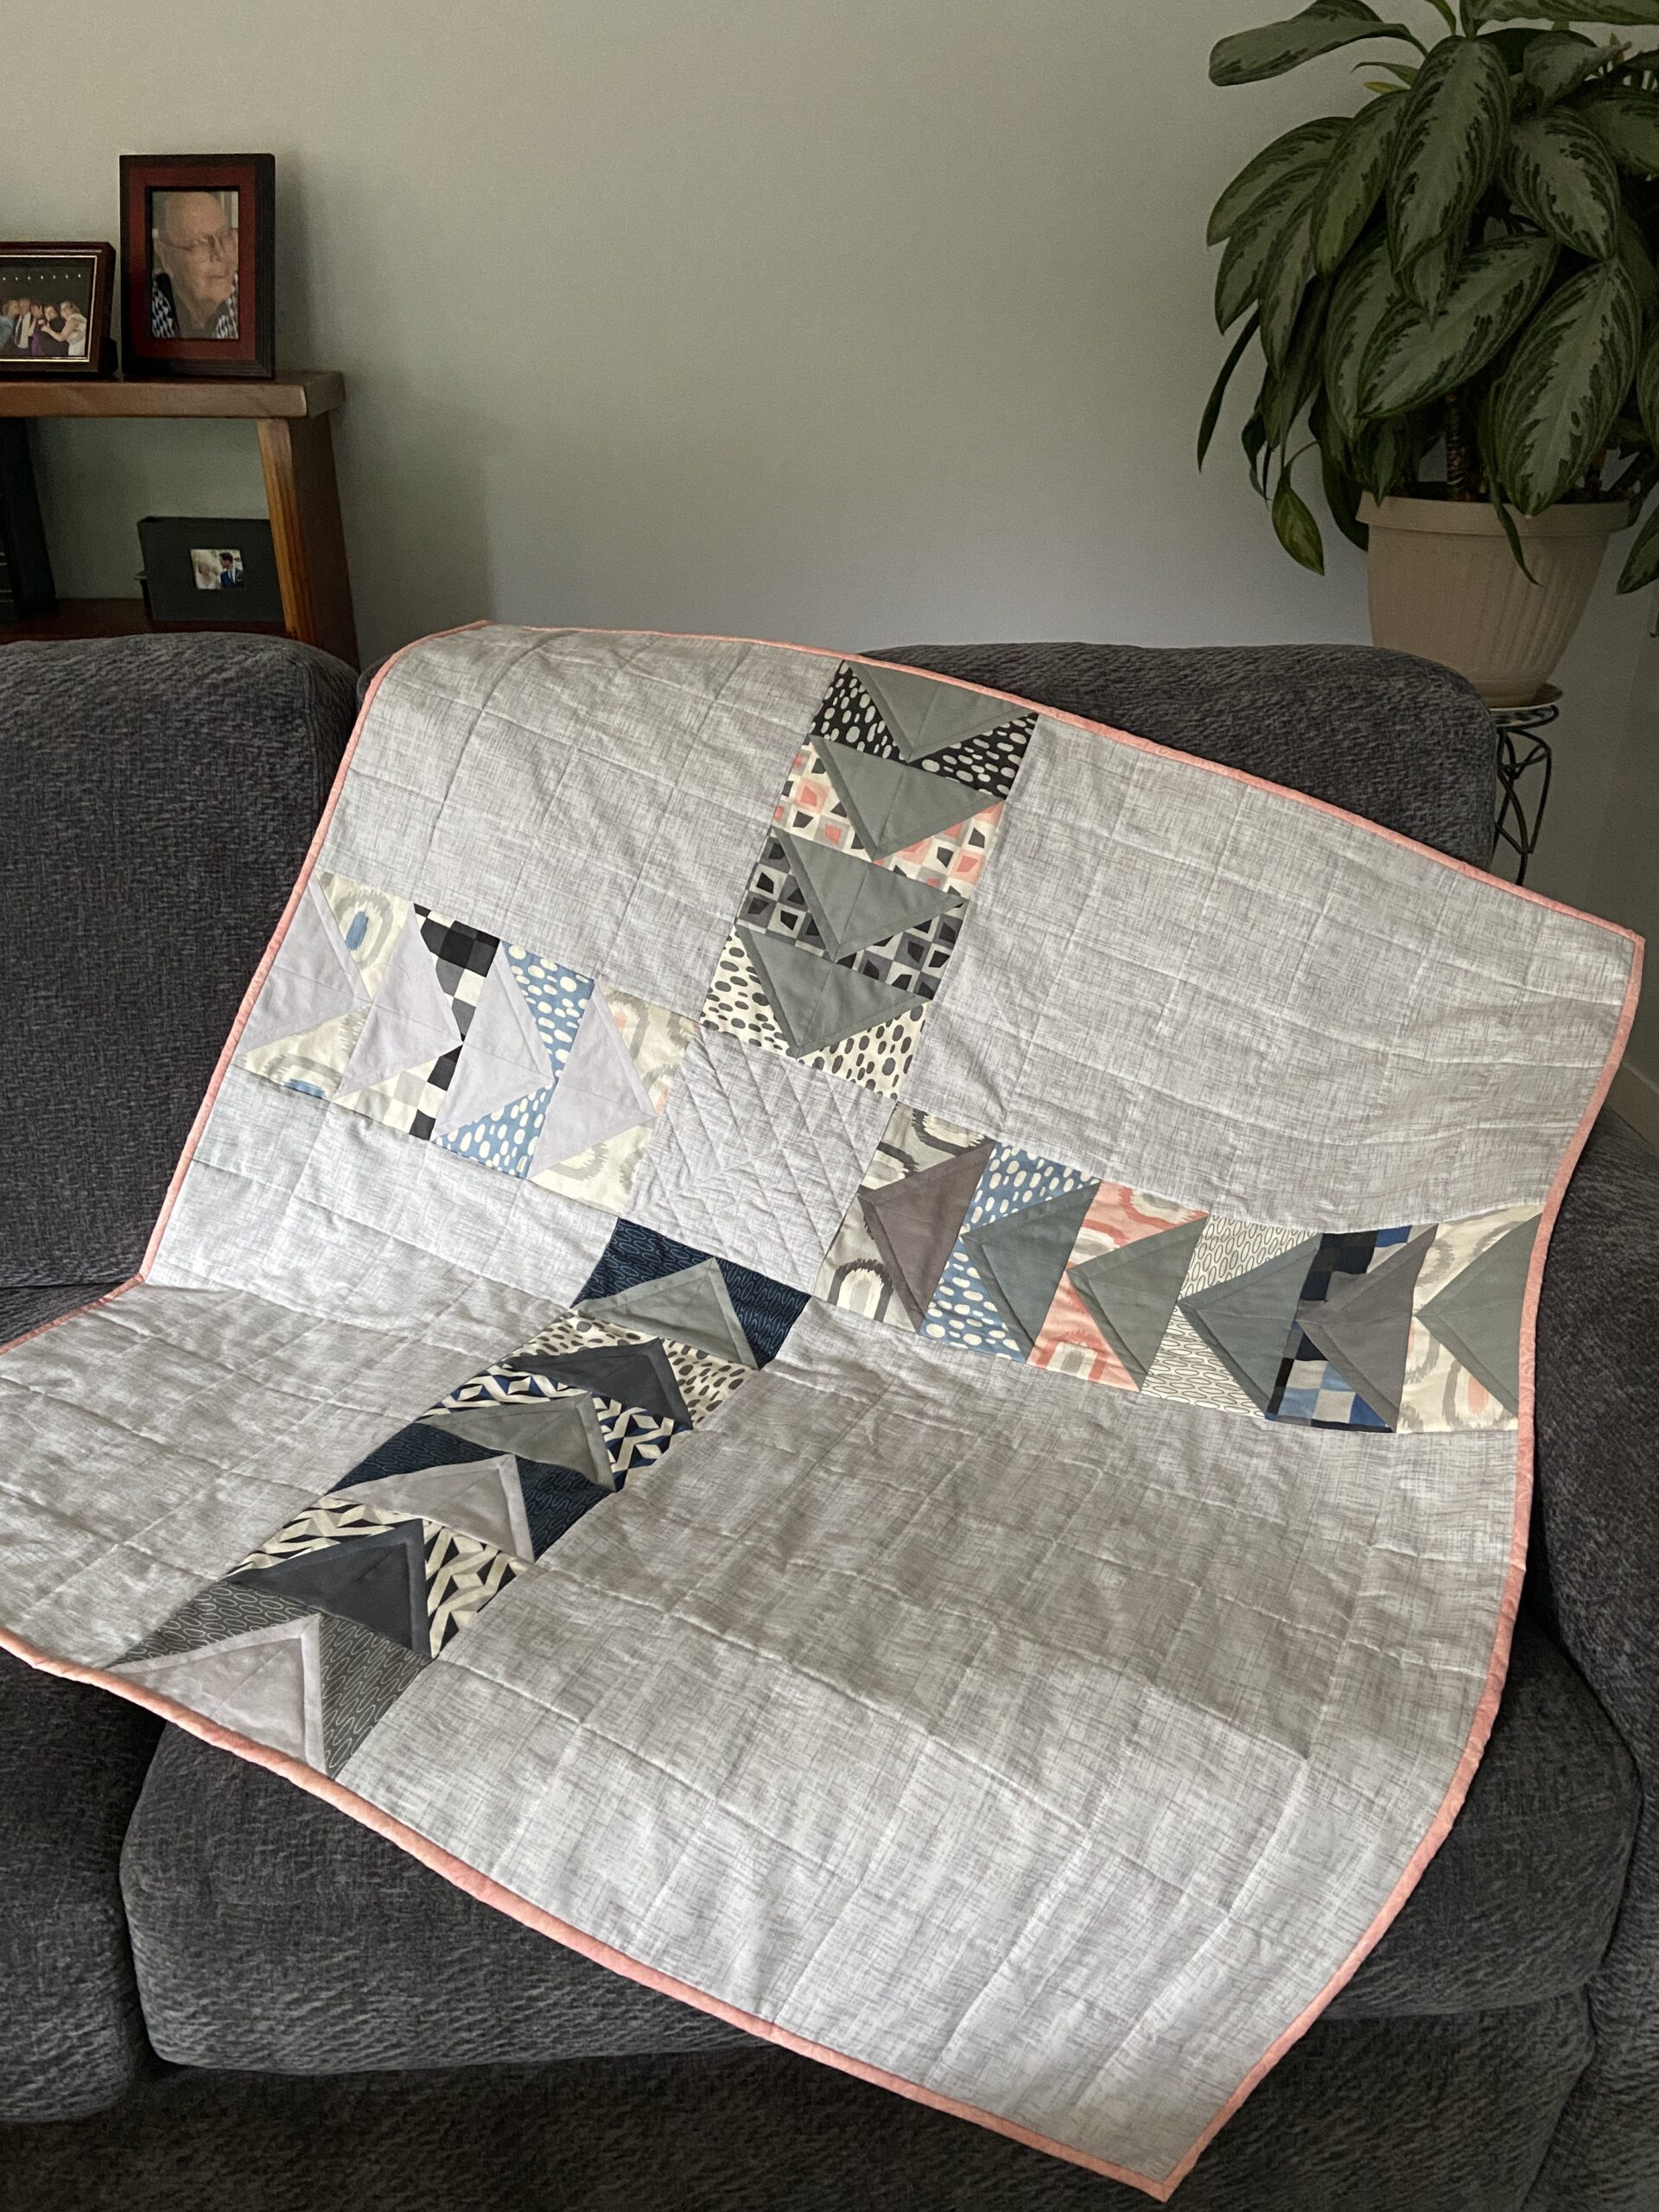
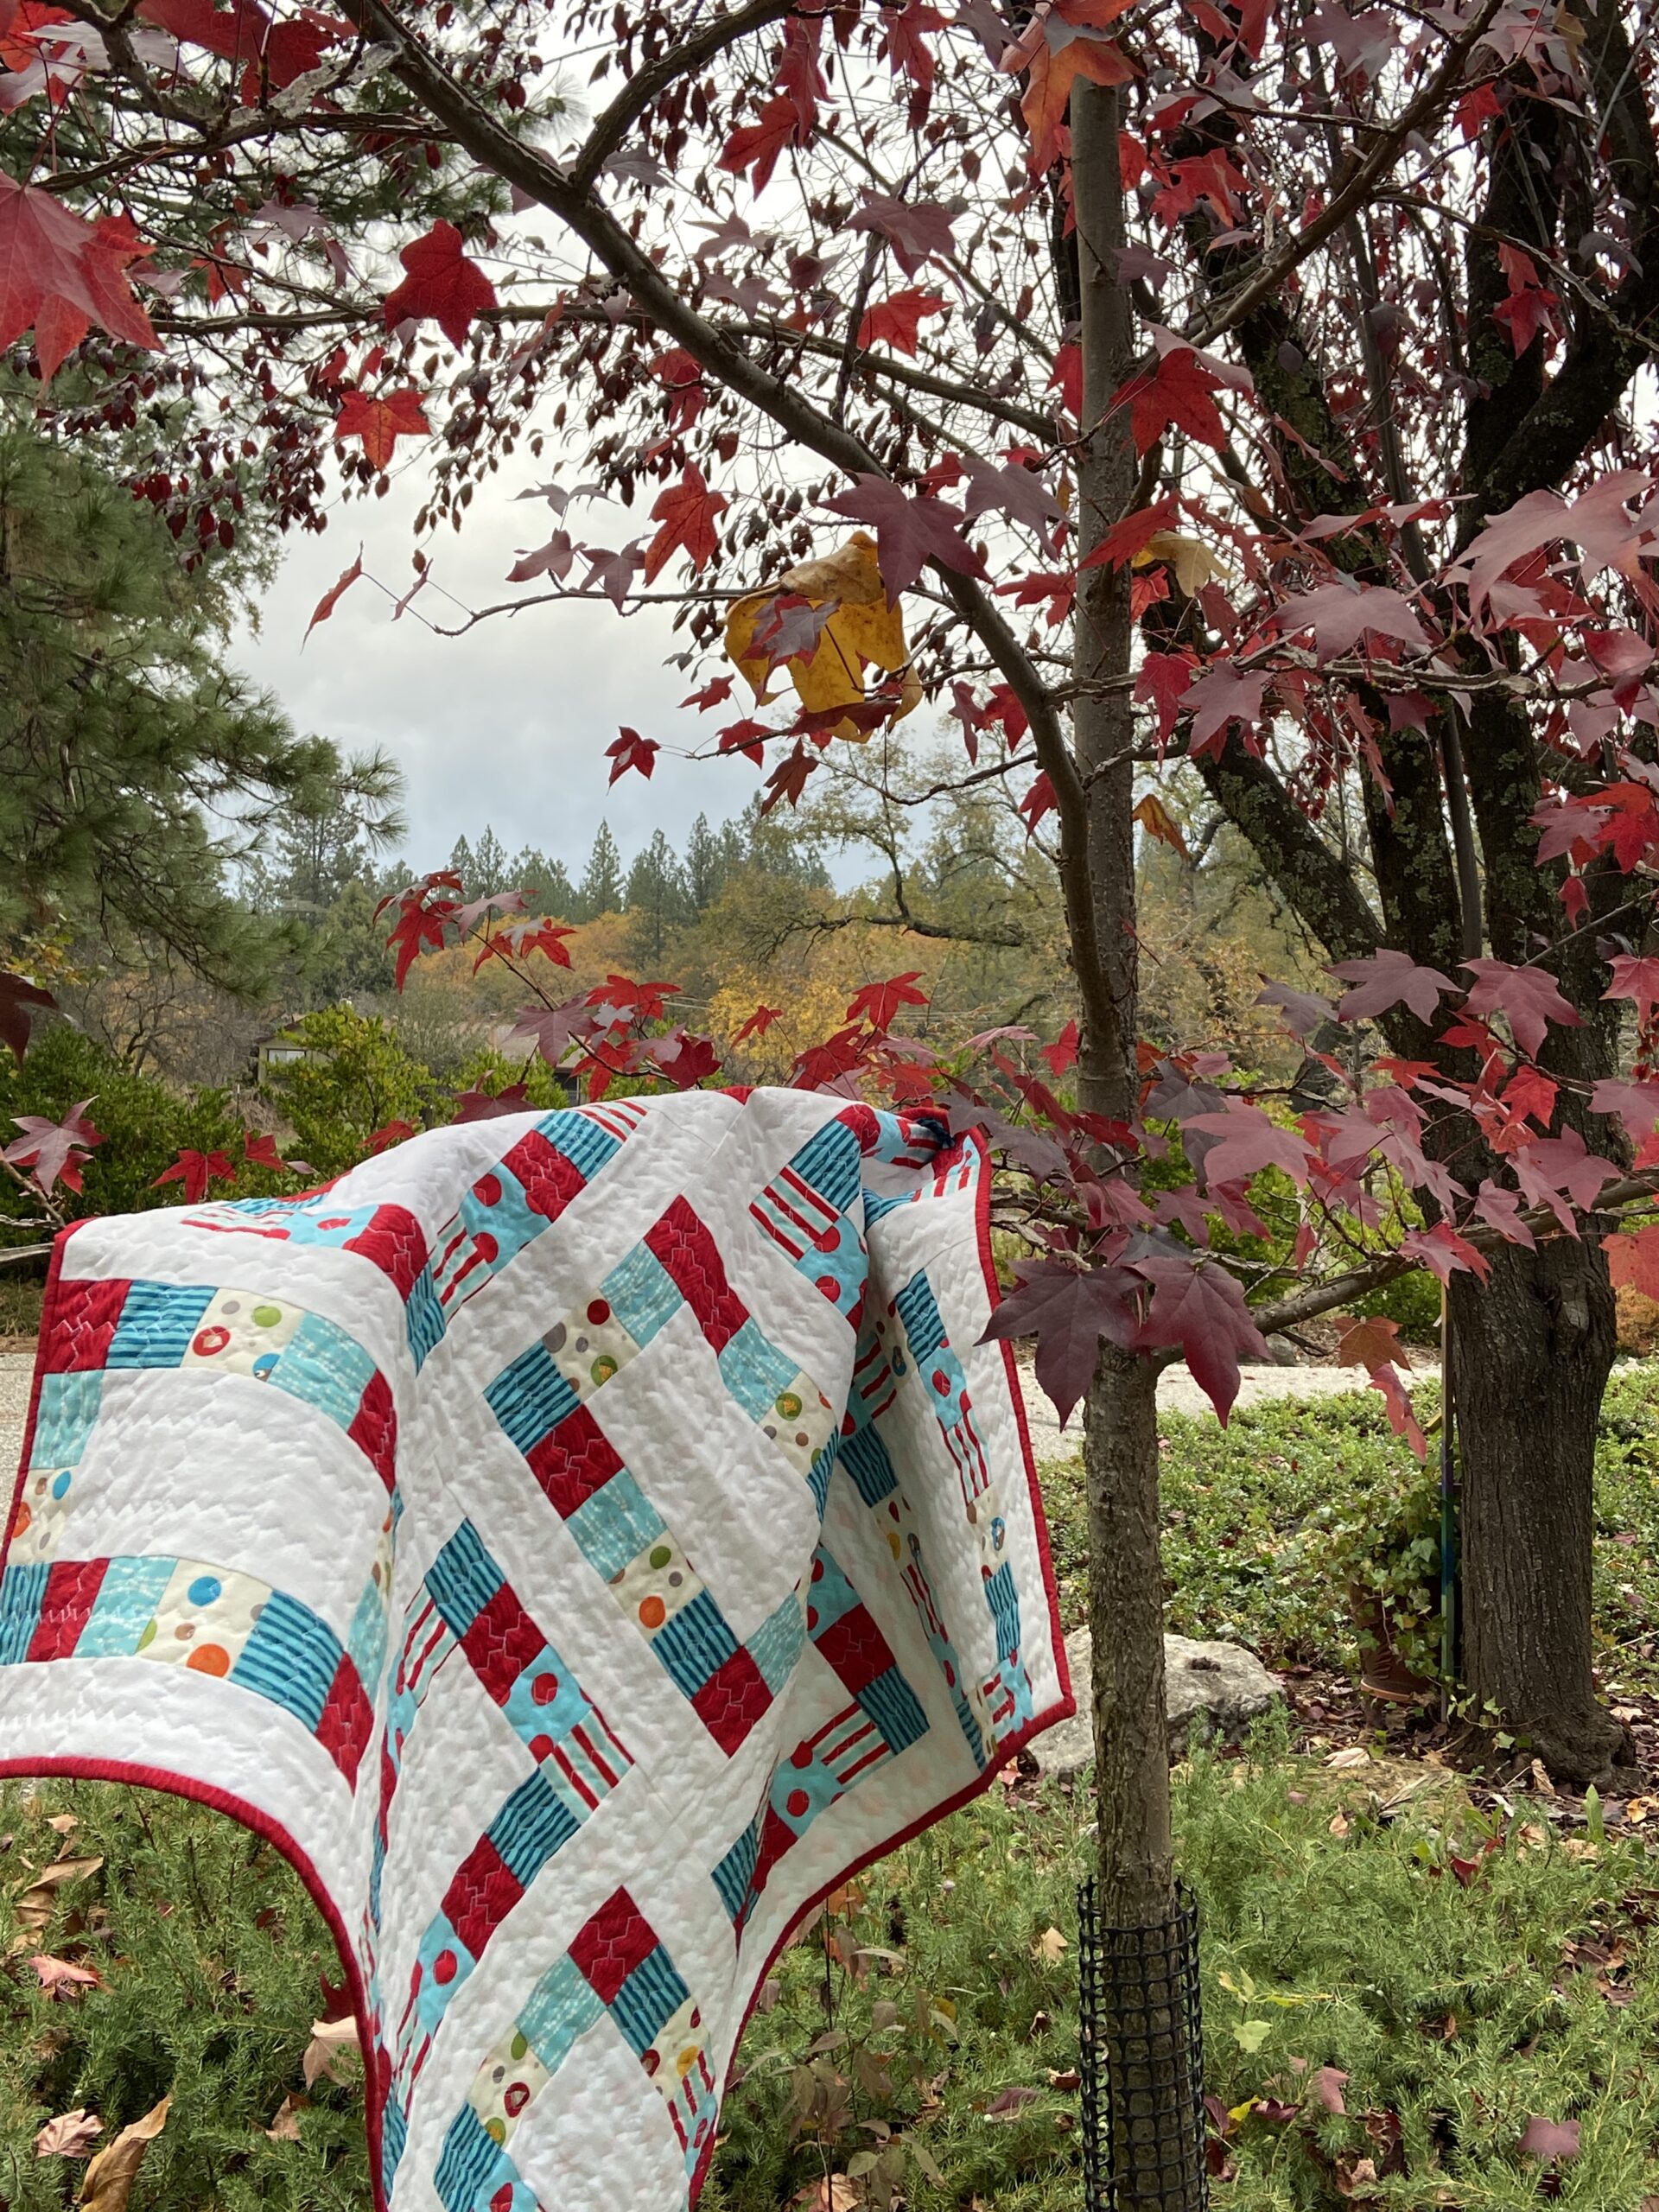
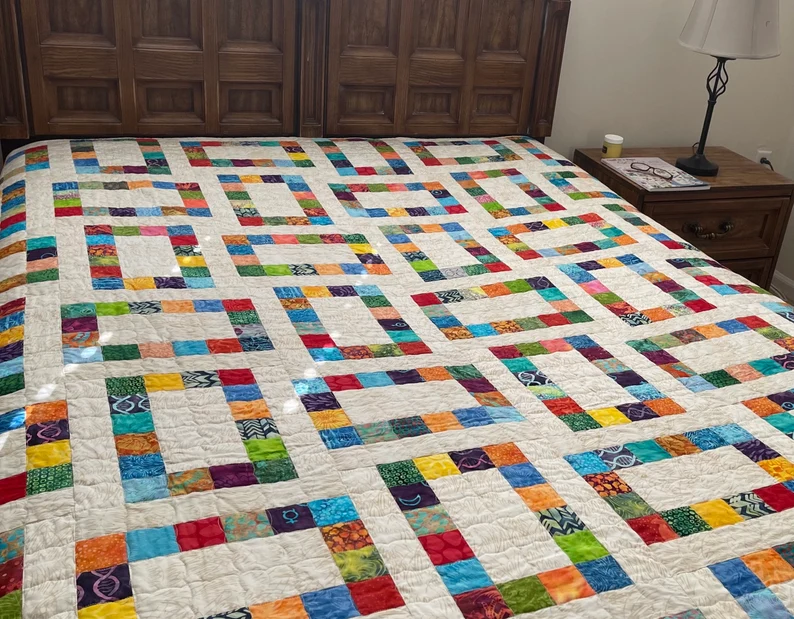
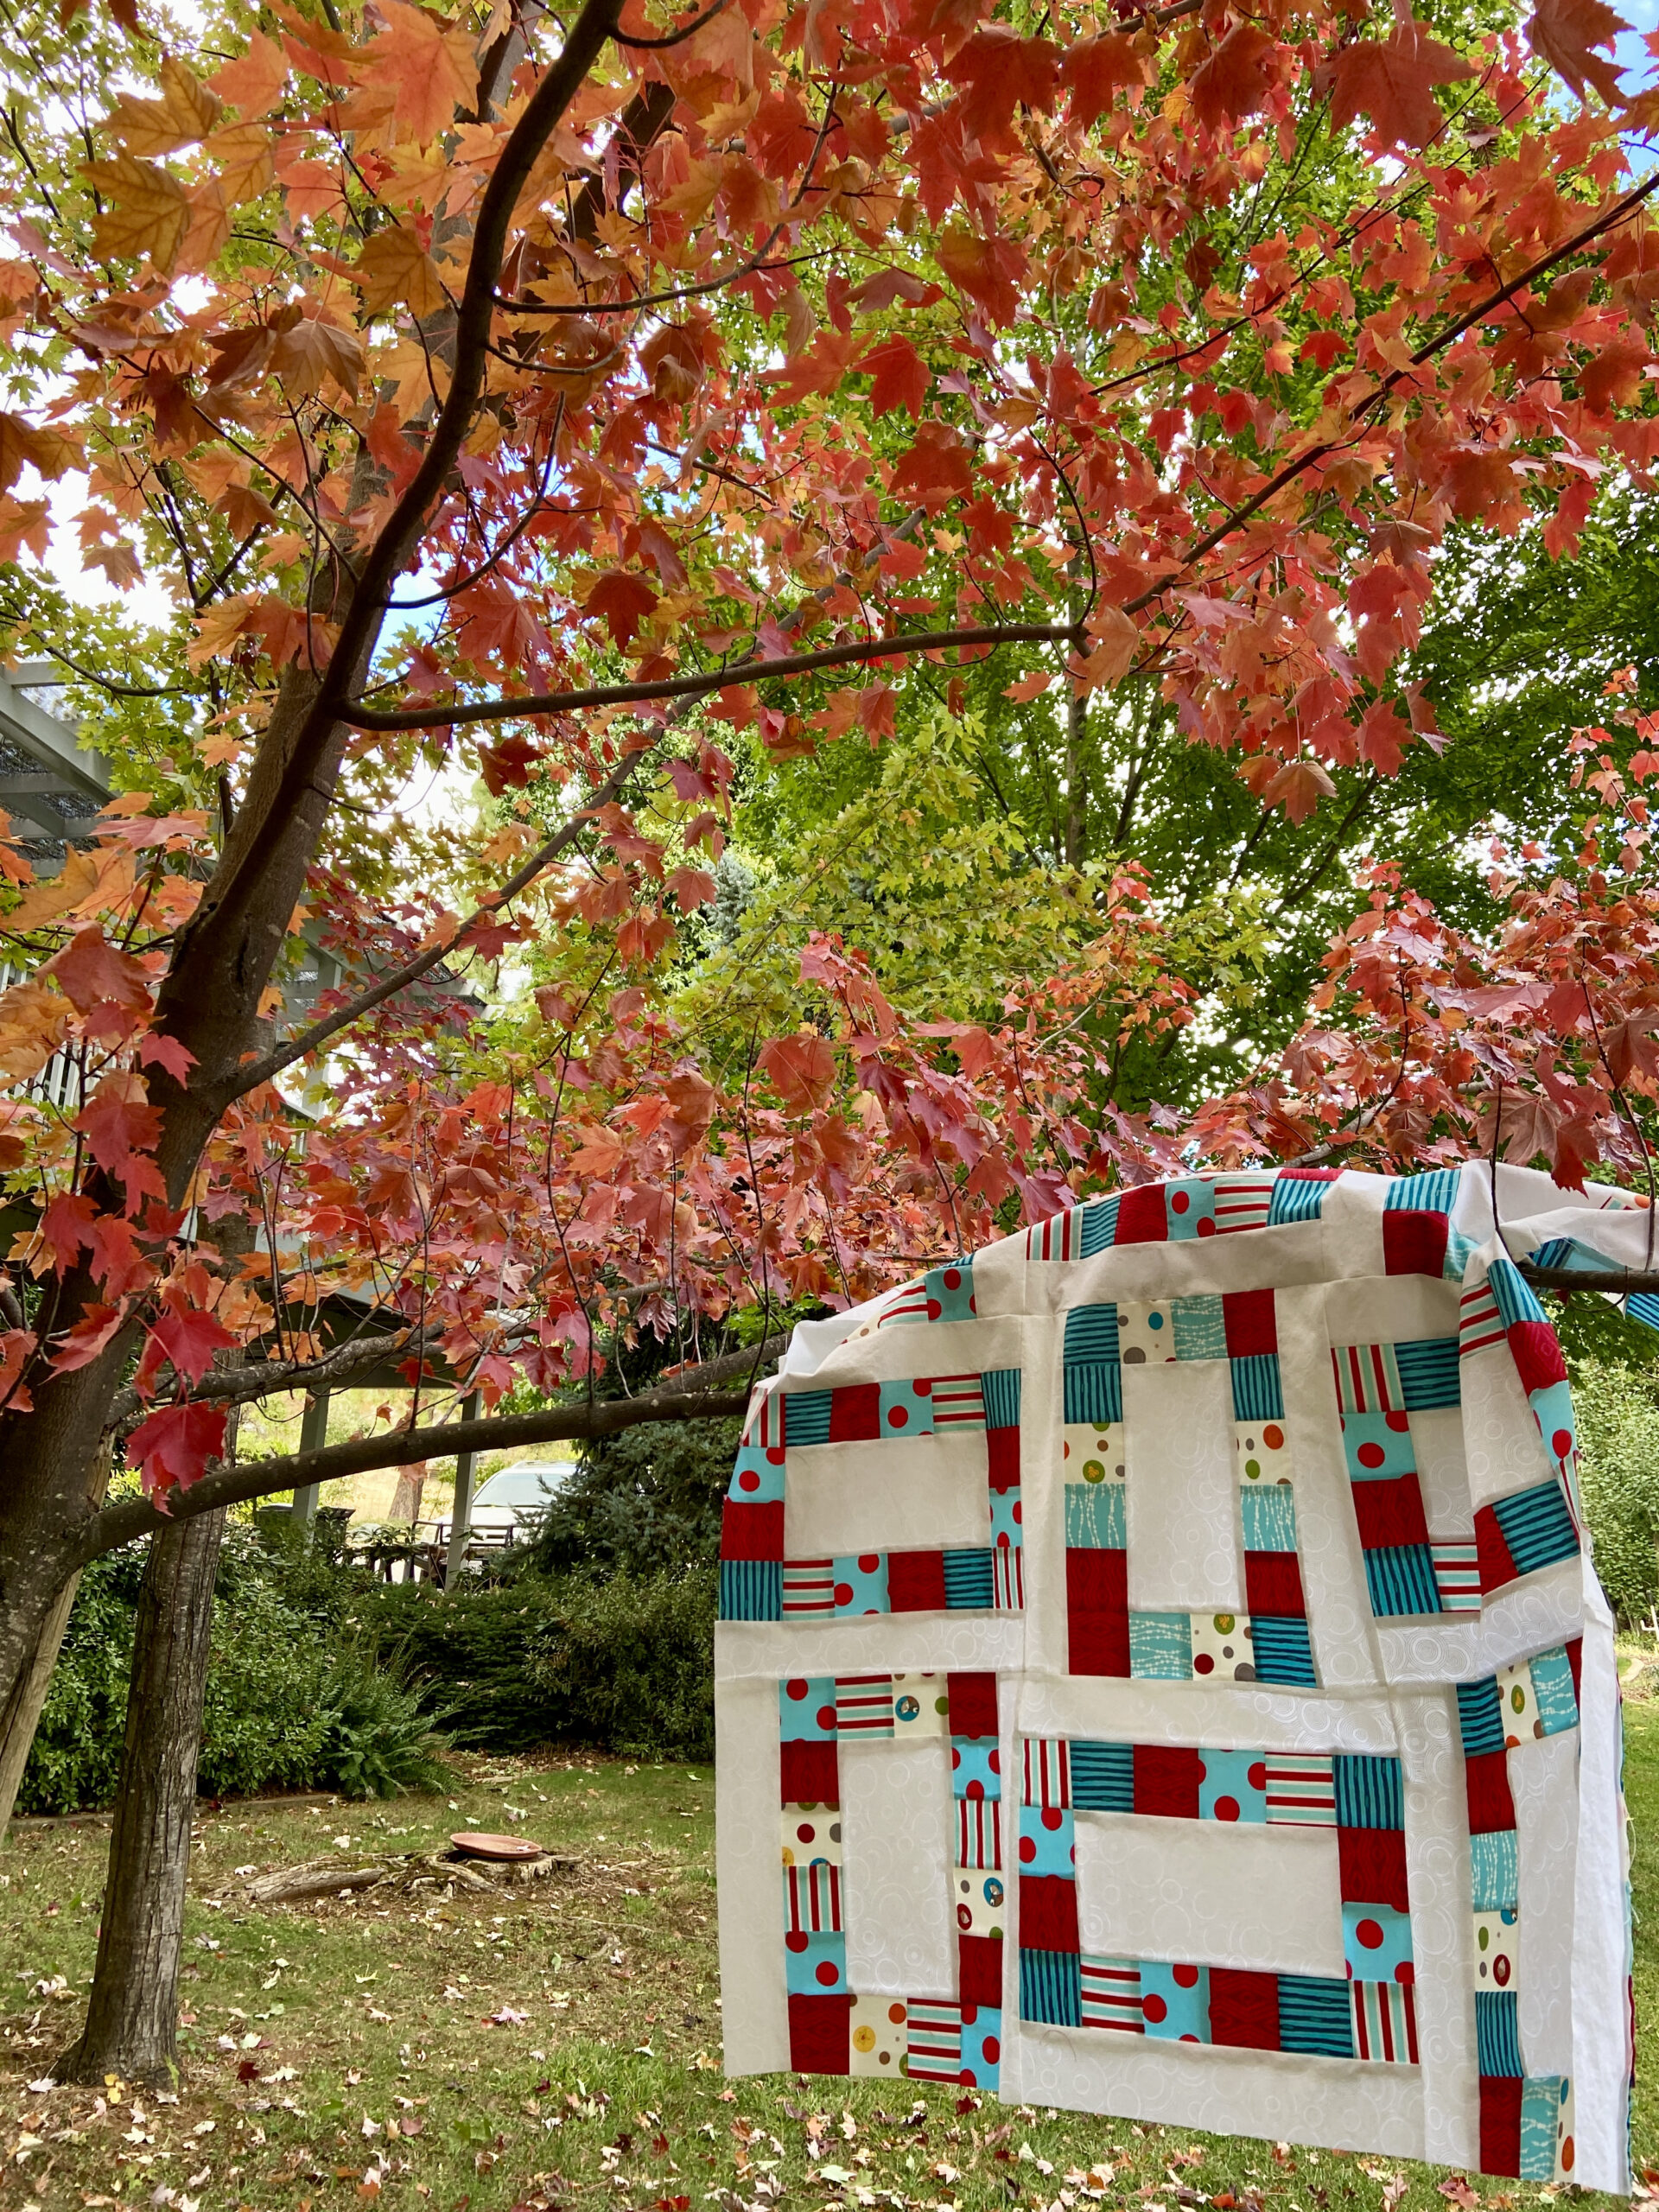
In an effort to finish up existing quilt tops, I got this one basted and started to quilt it with a super loose stipple. This quilt top was given to me by Erika whom I ‘met’ on Instagram. She had a number of tops and asked if I wanted to finish one for donation. She even included the backing. It is such a pretty quilt and I will share it once I finish the quilting and get the binding on. Erika is clearly an excellent quilter as this top laid perfectly flat when I basted it. Plus the back was so neatly trimmed and pressed. It is all in the details, right?

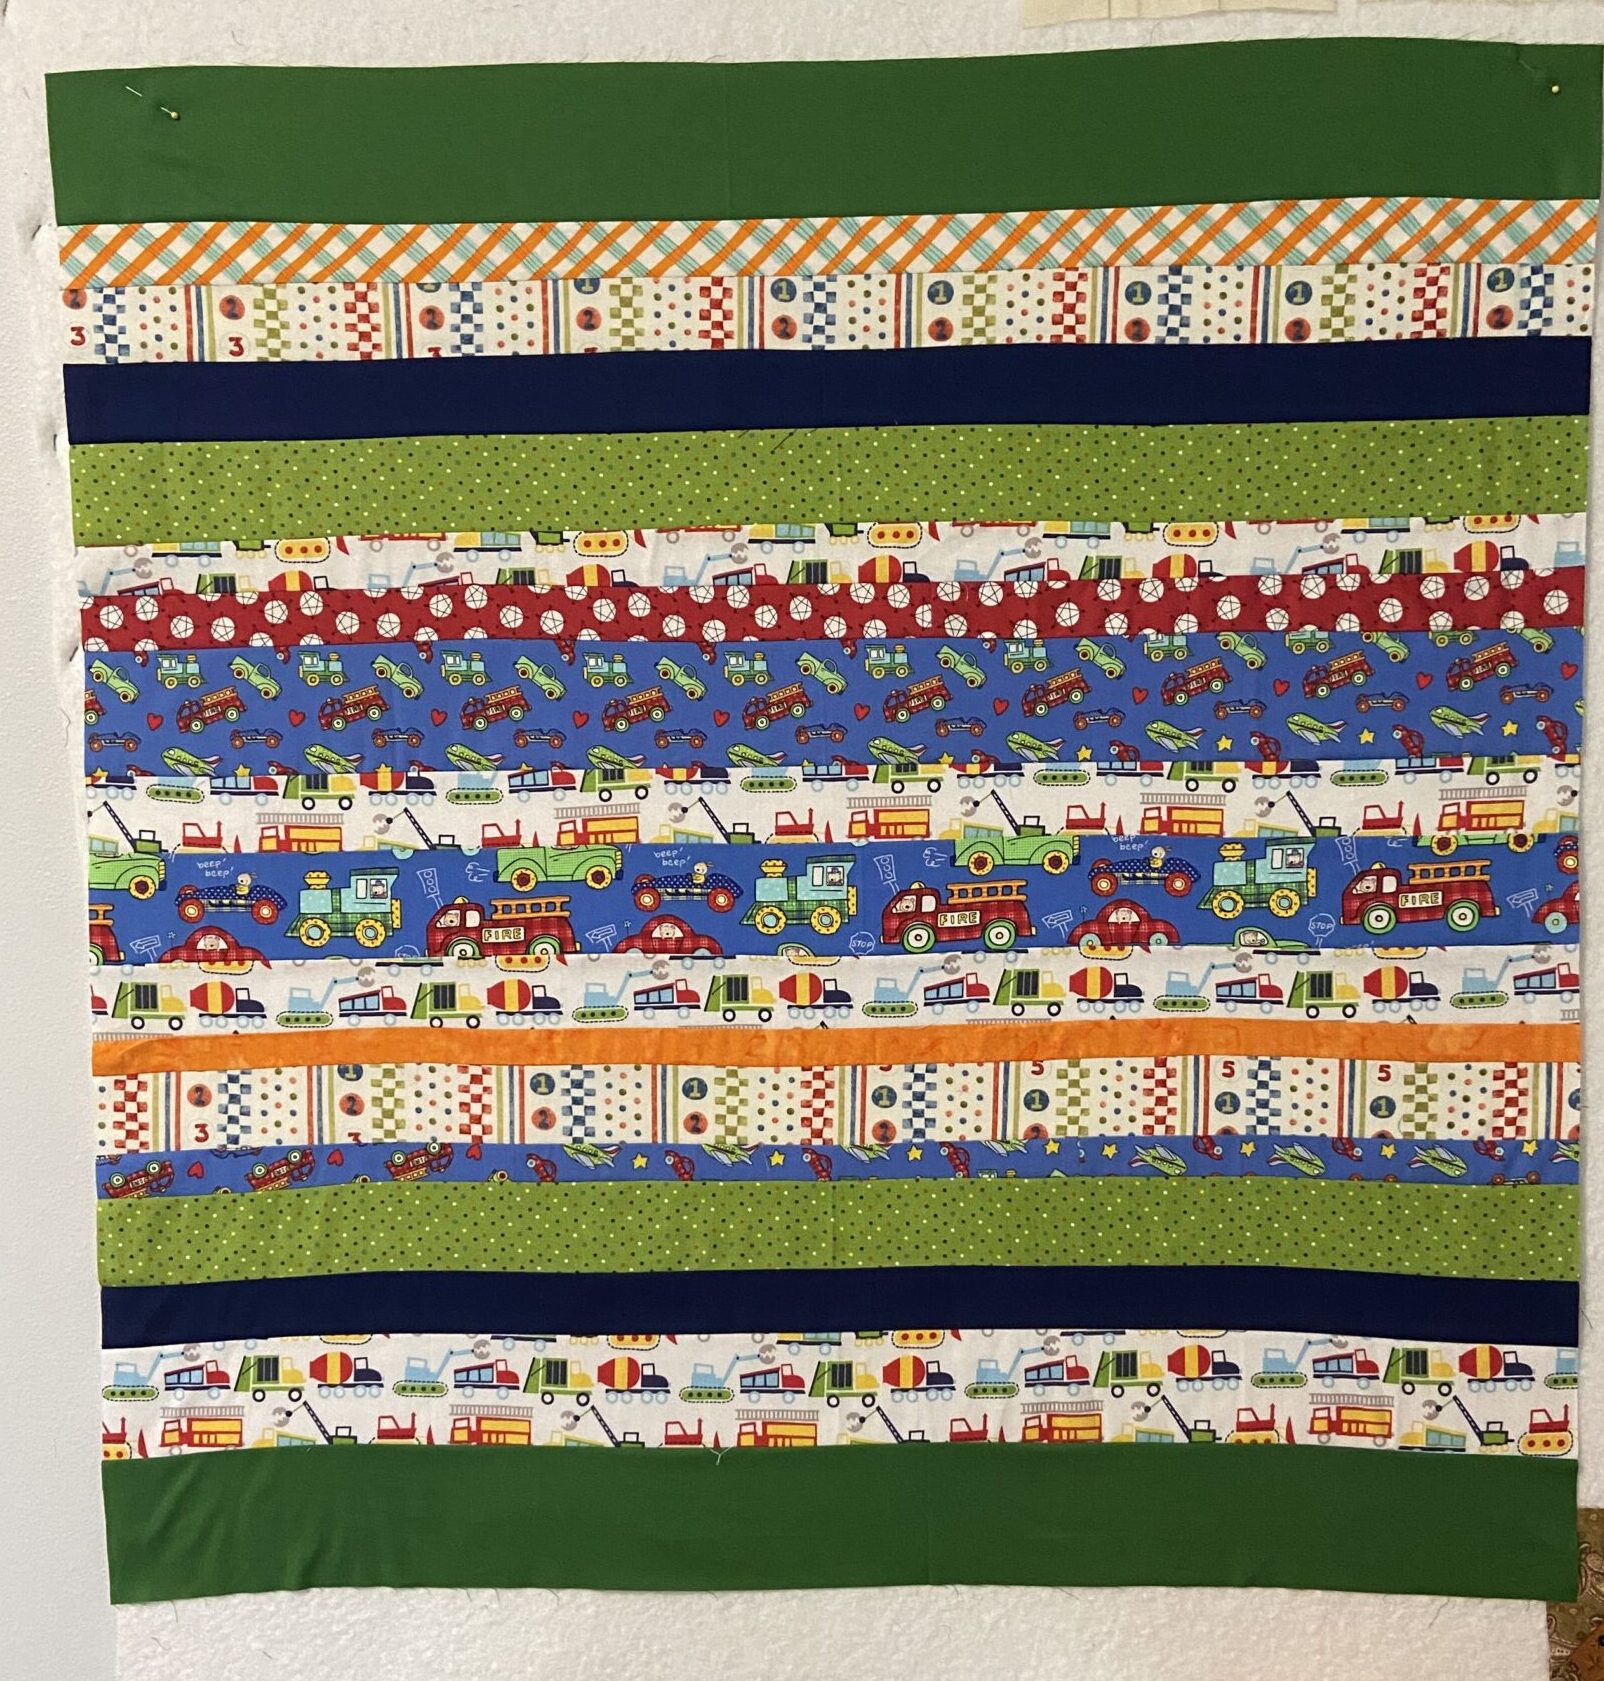
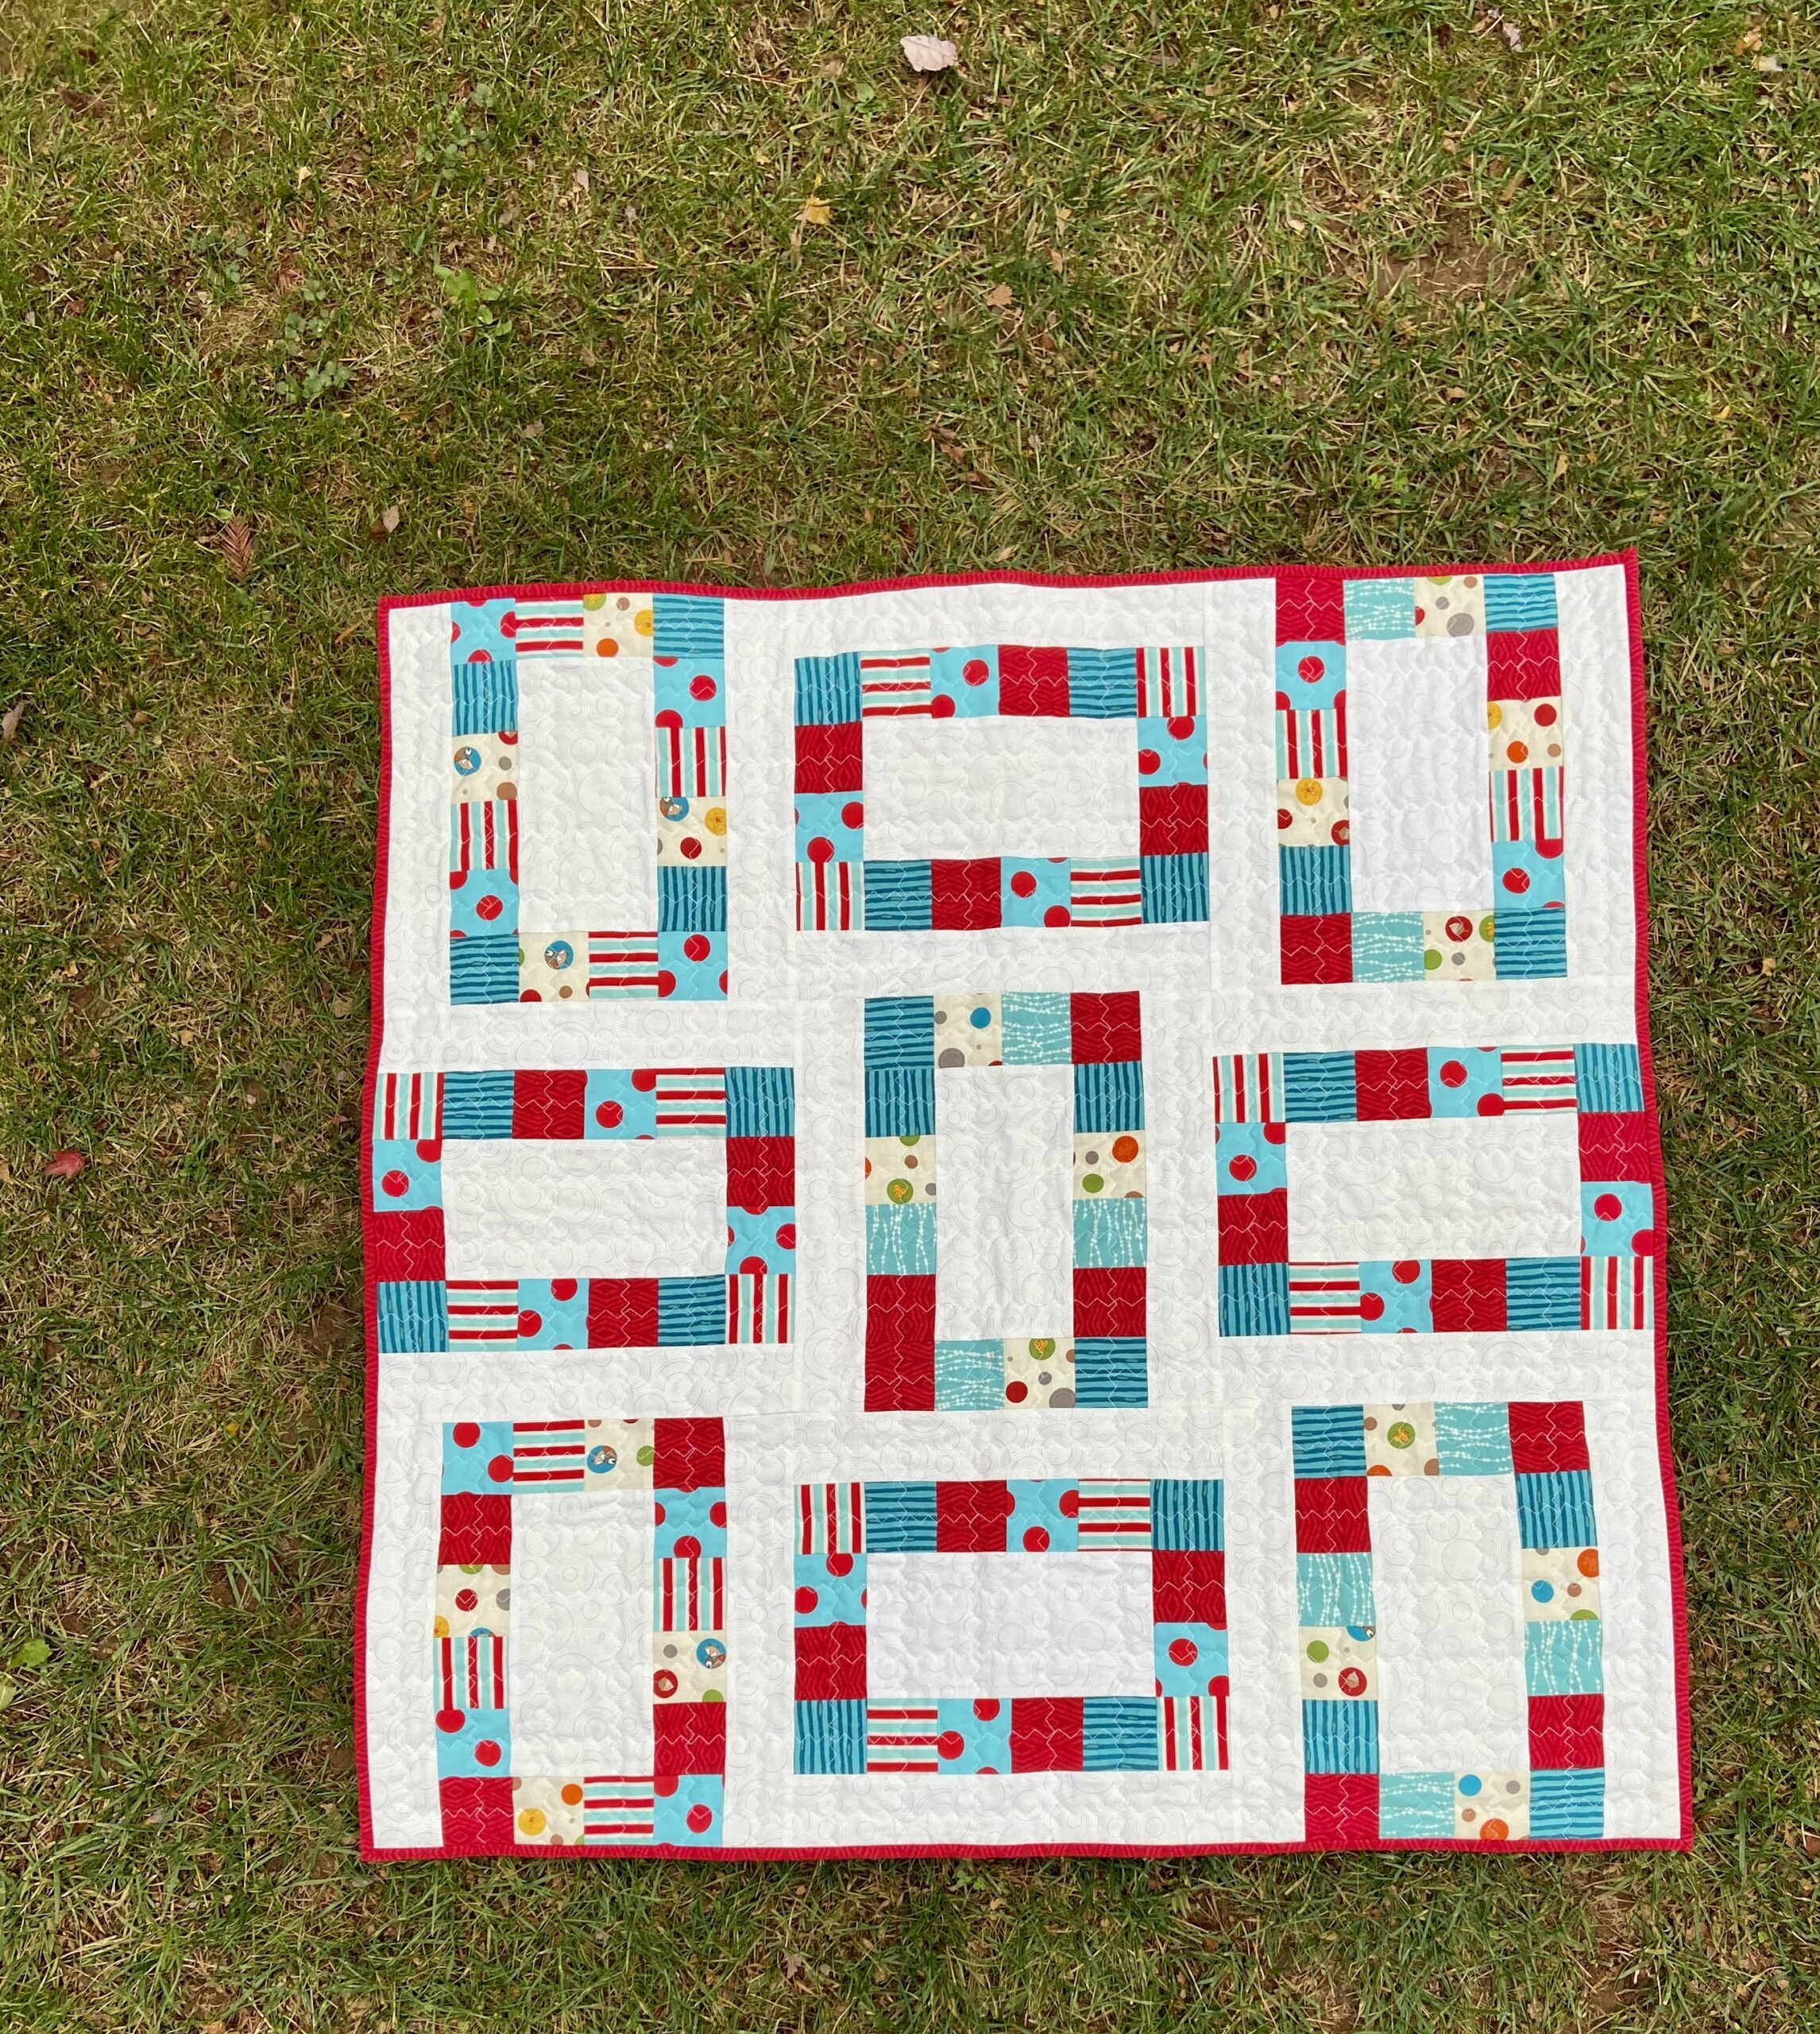
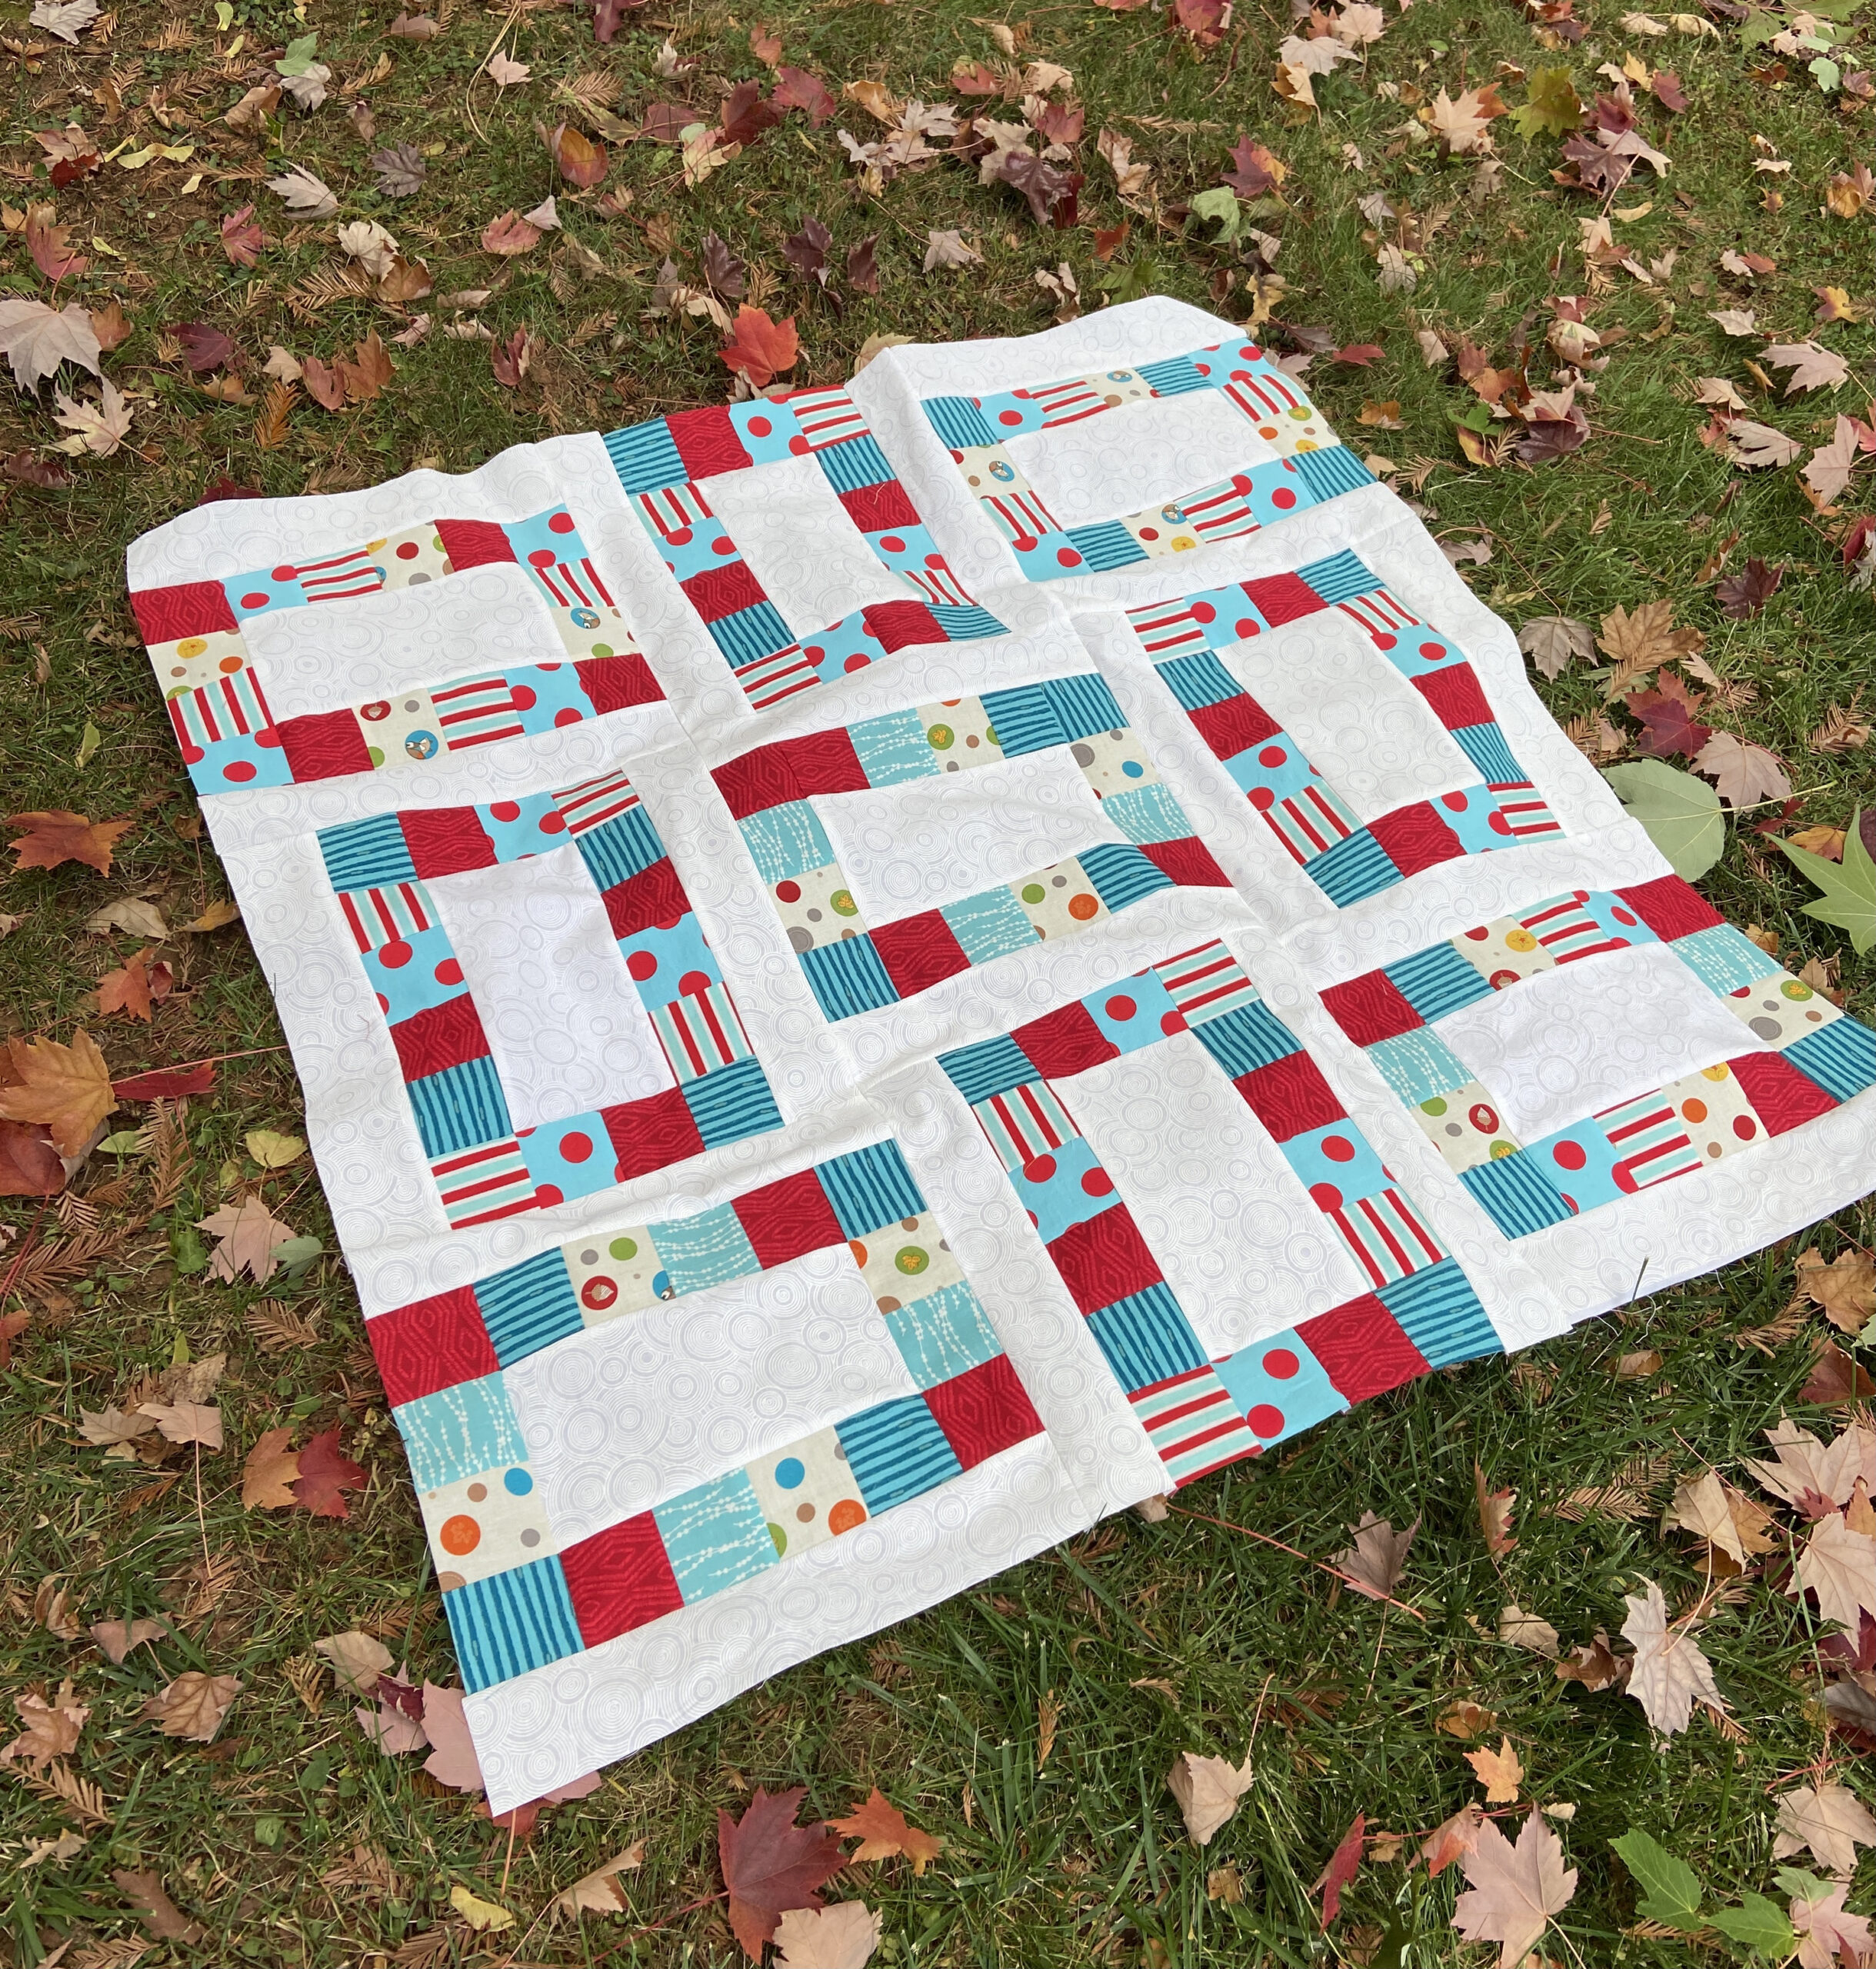
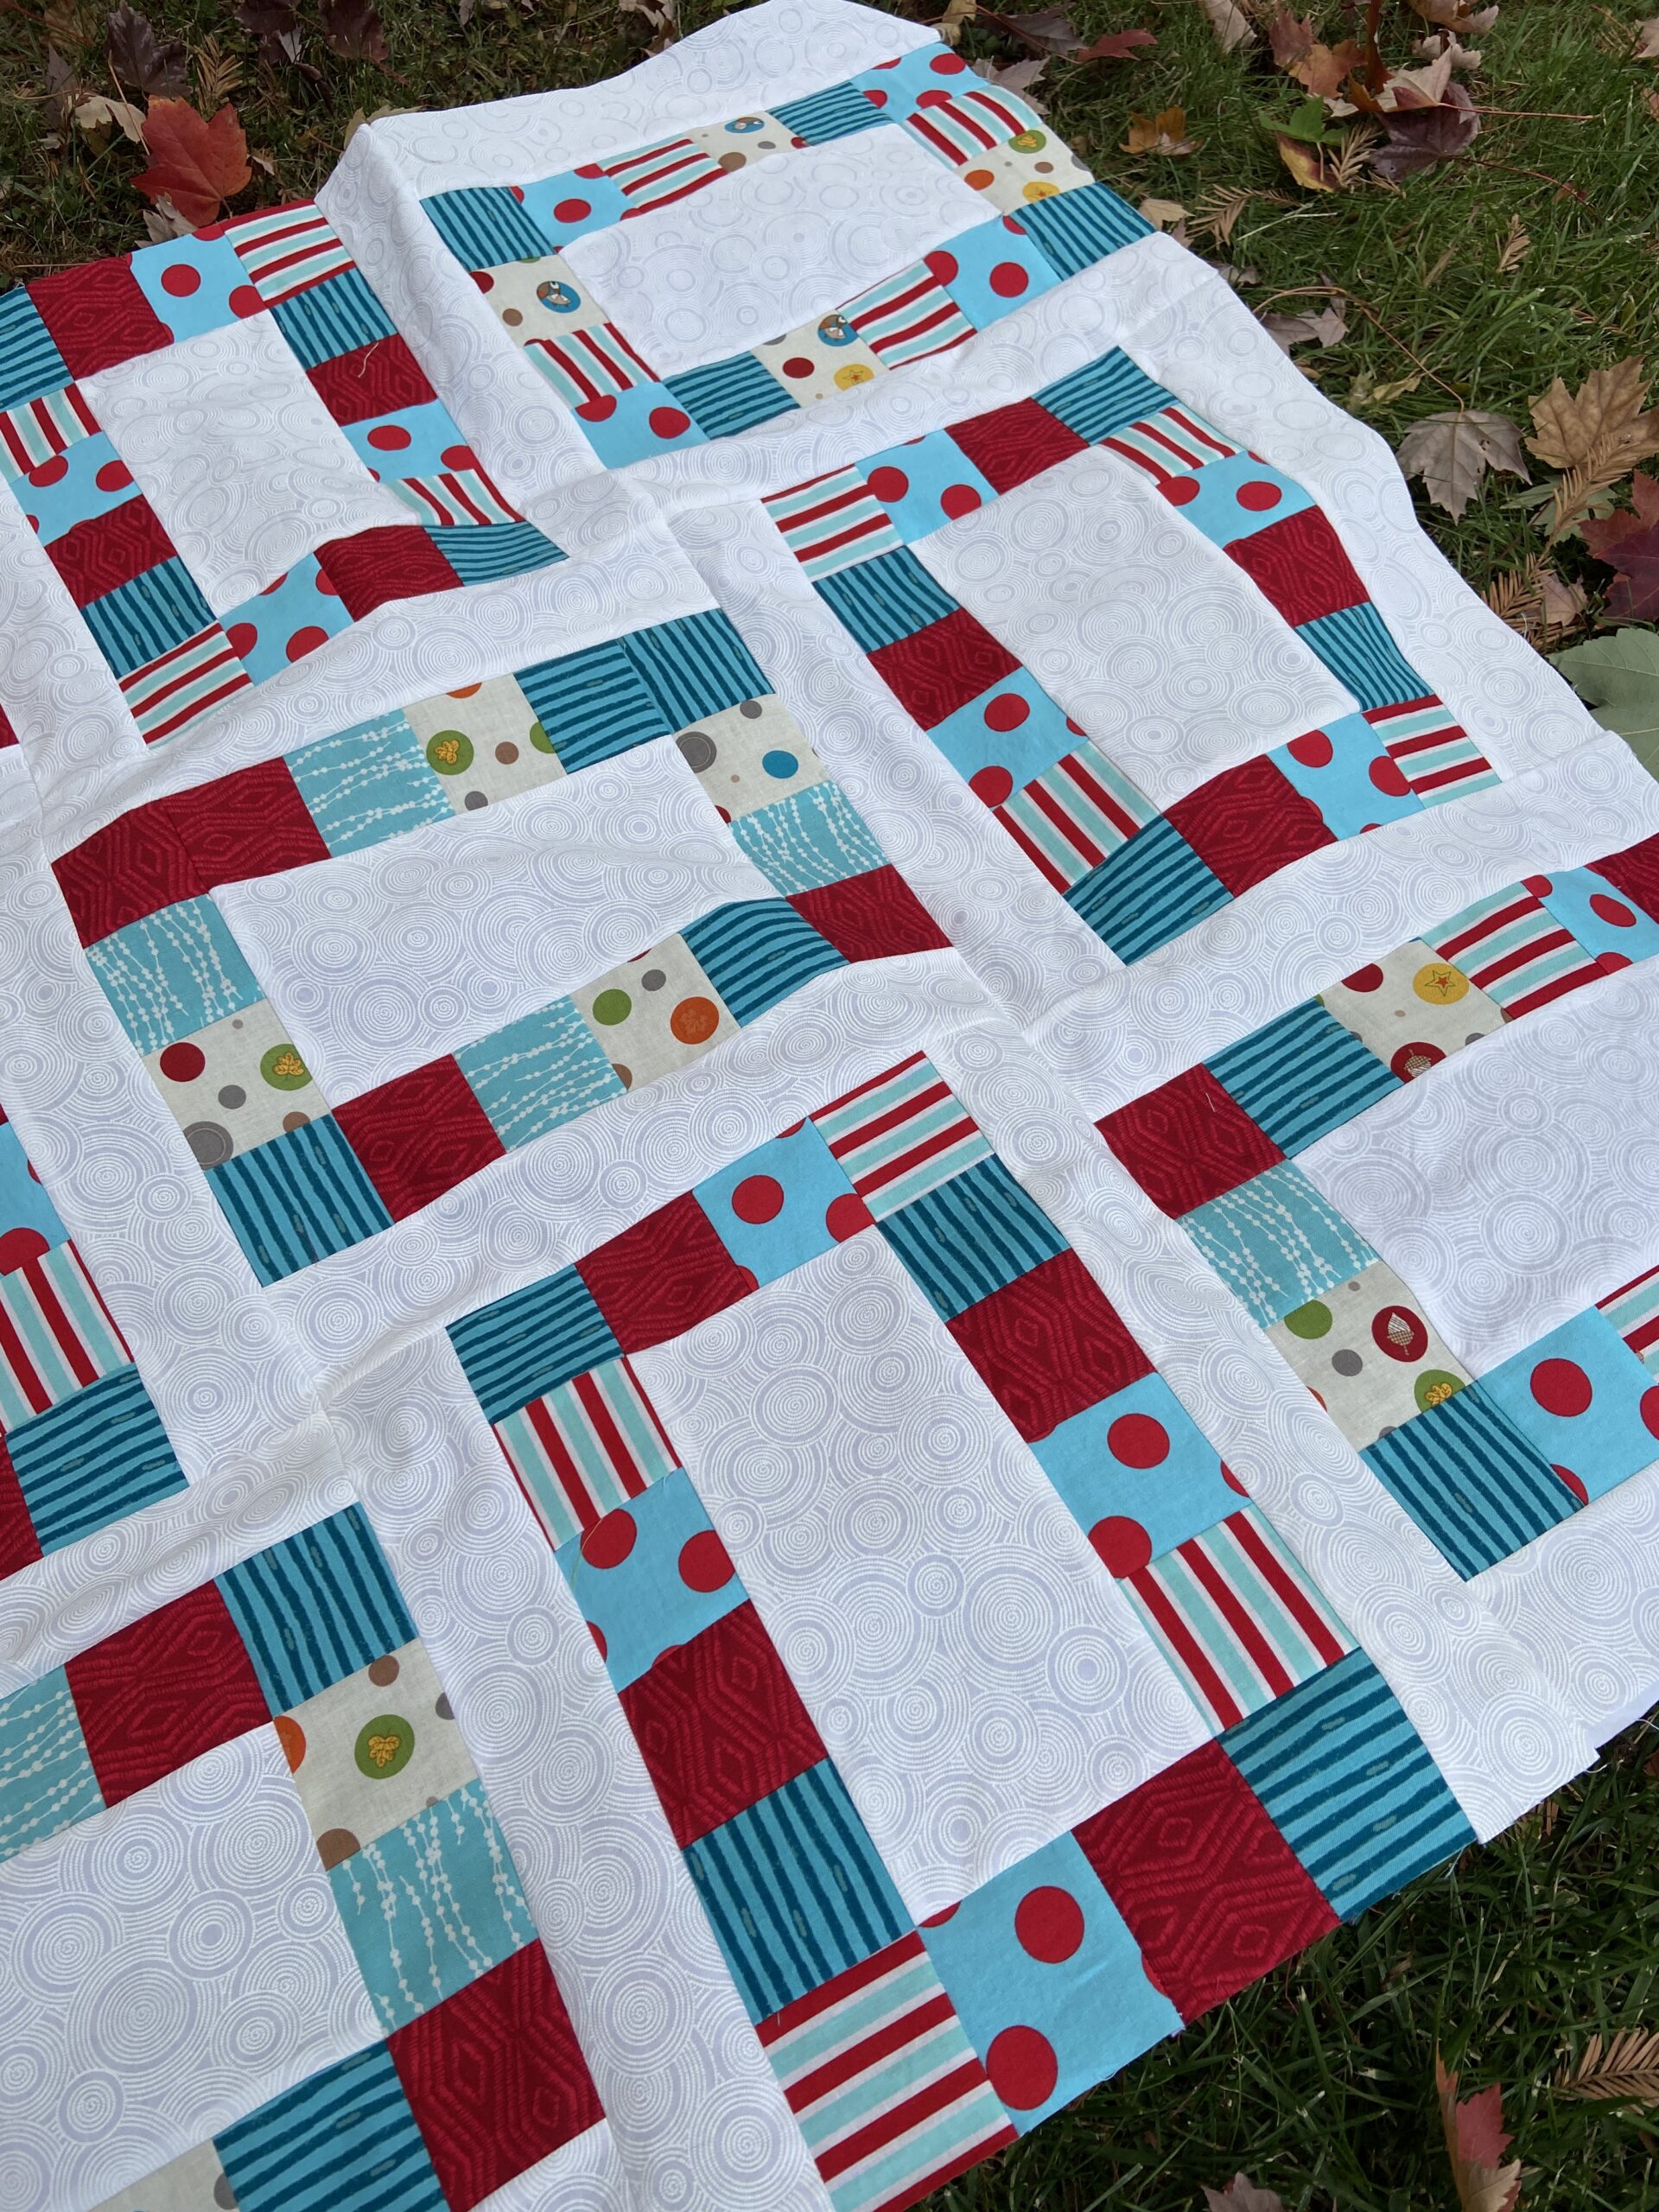
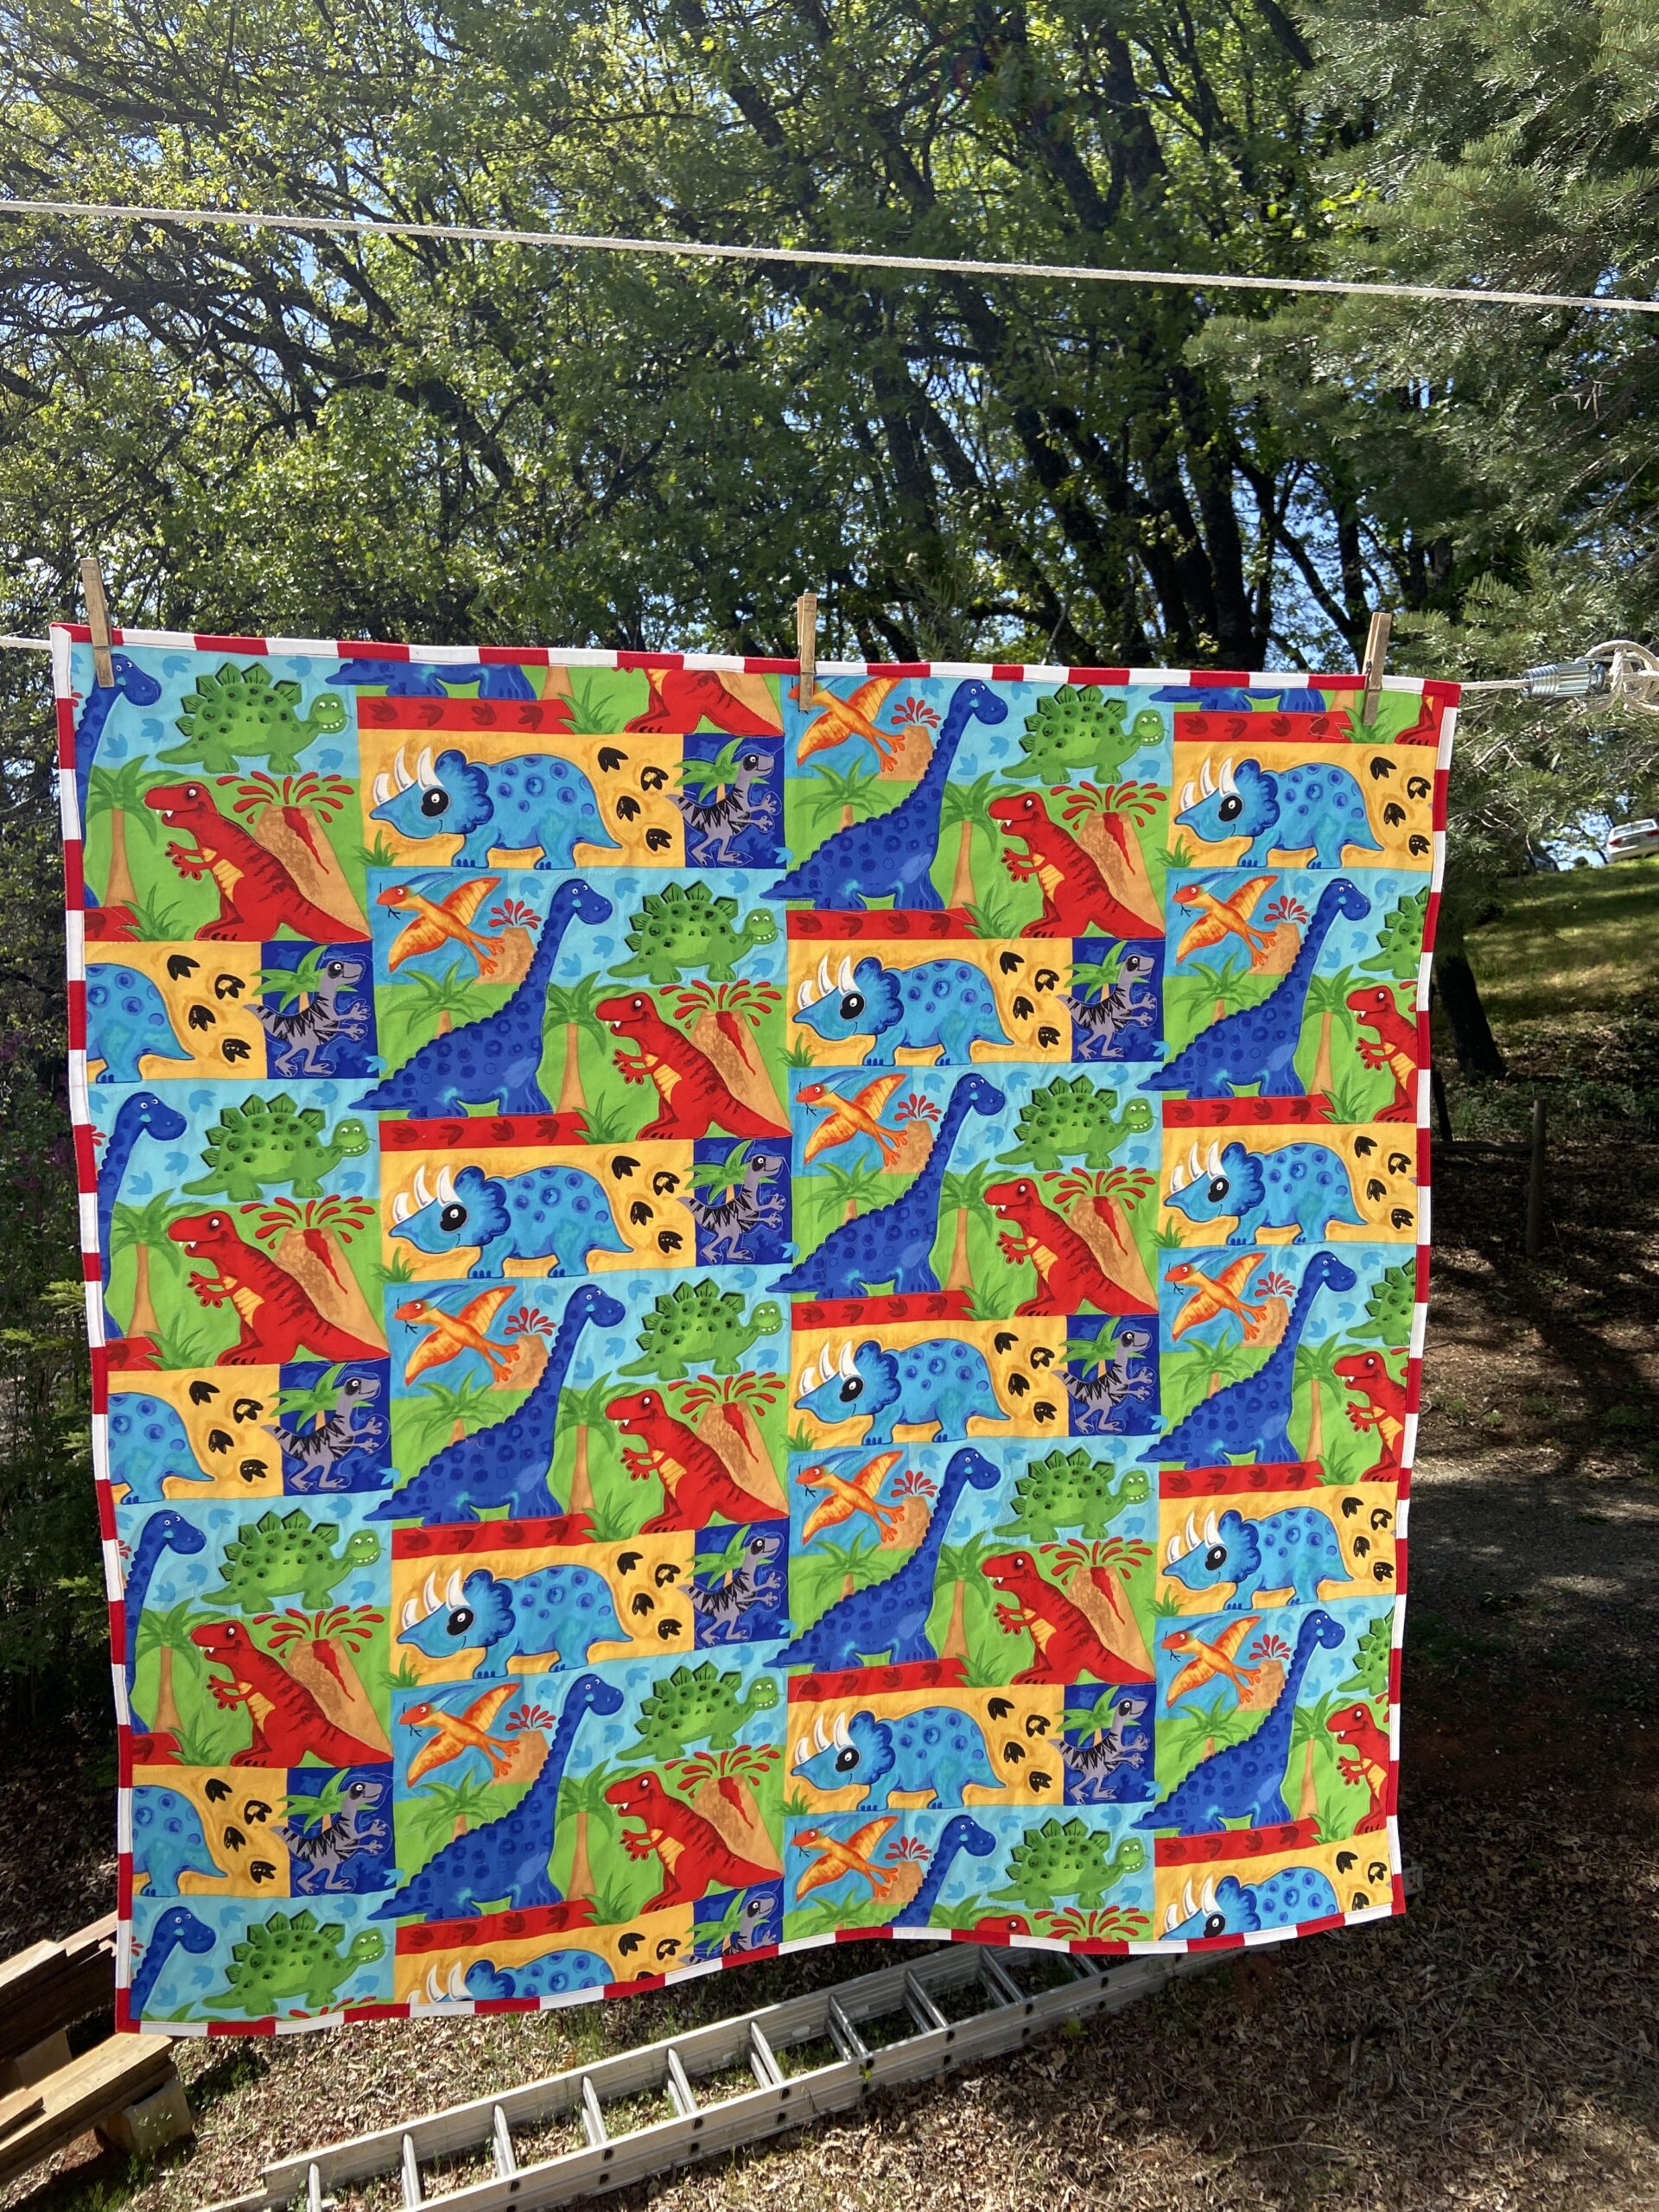
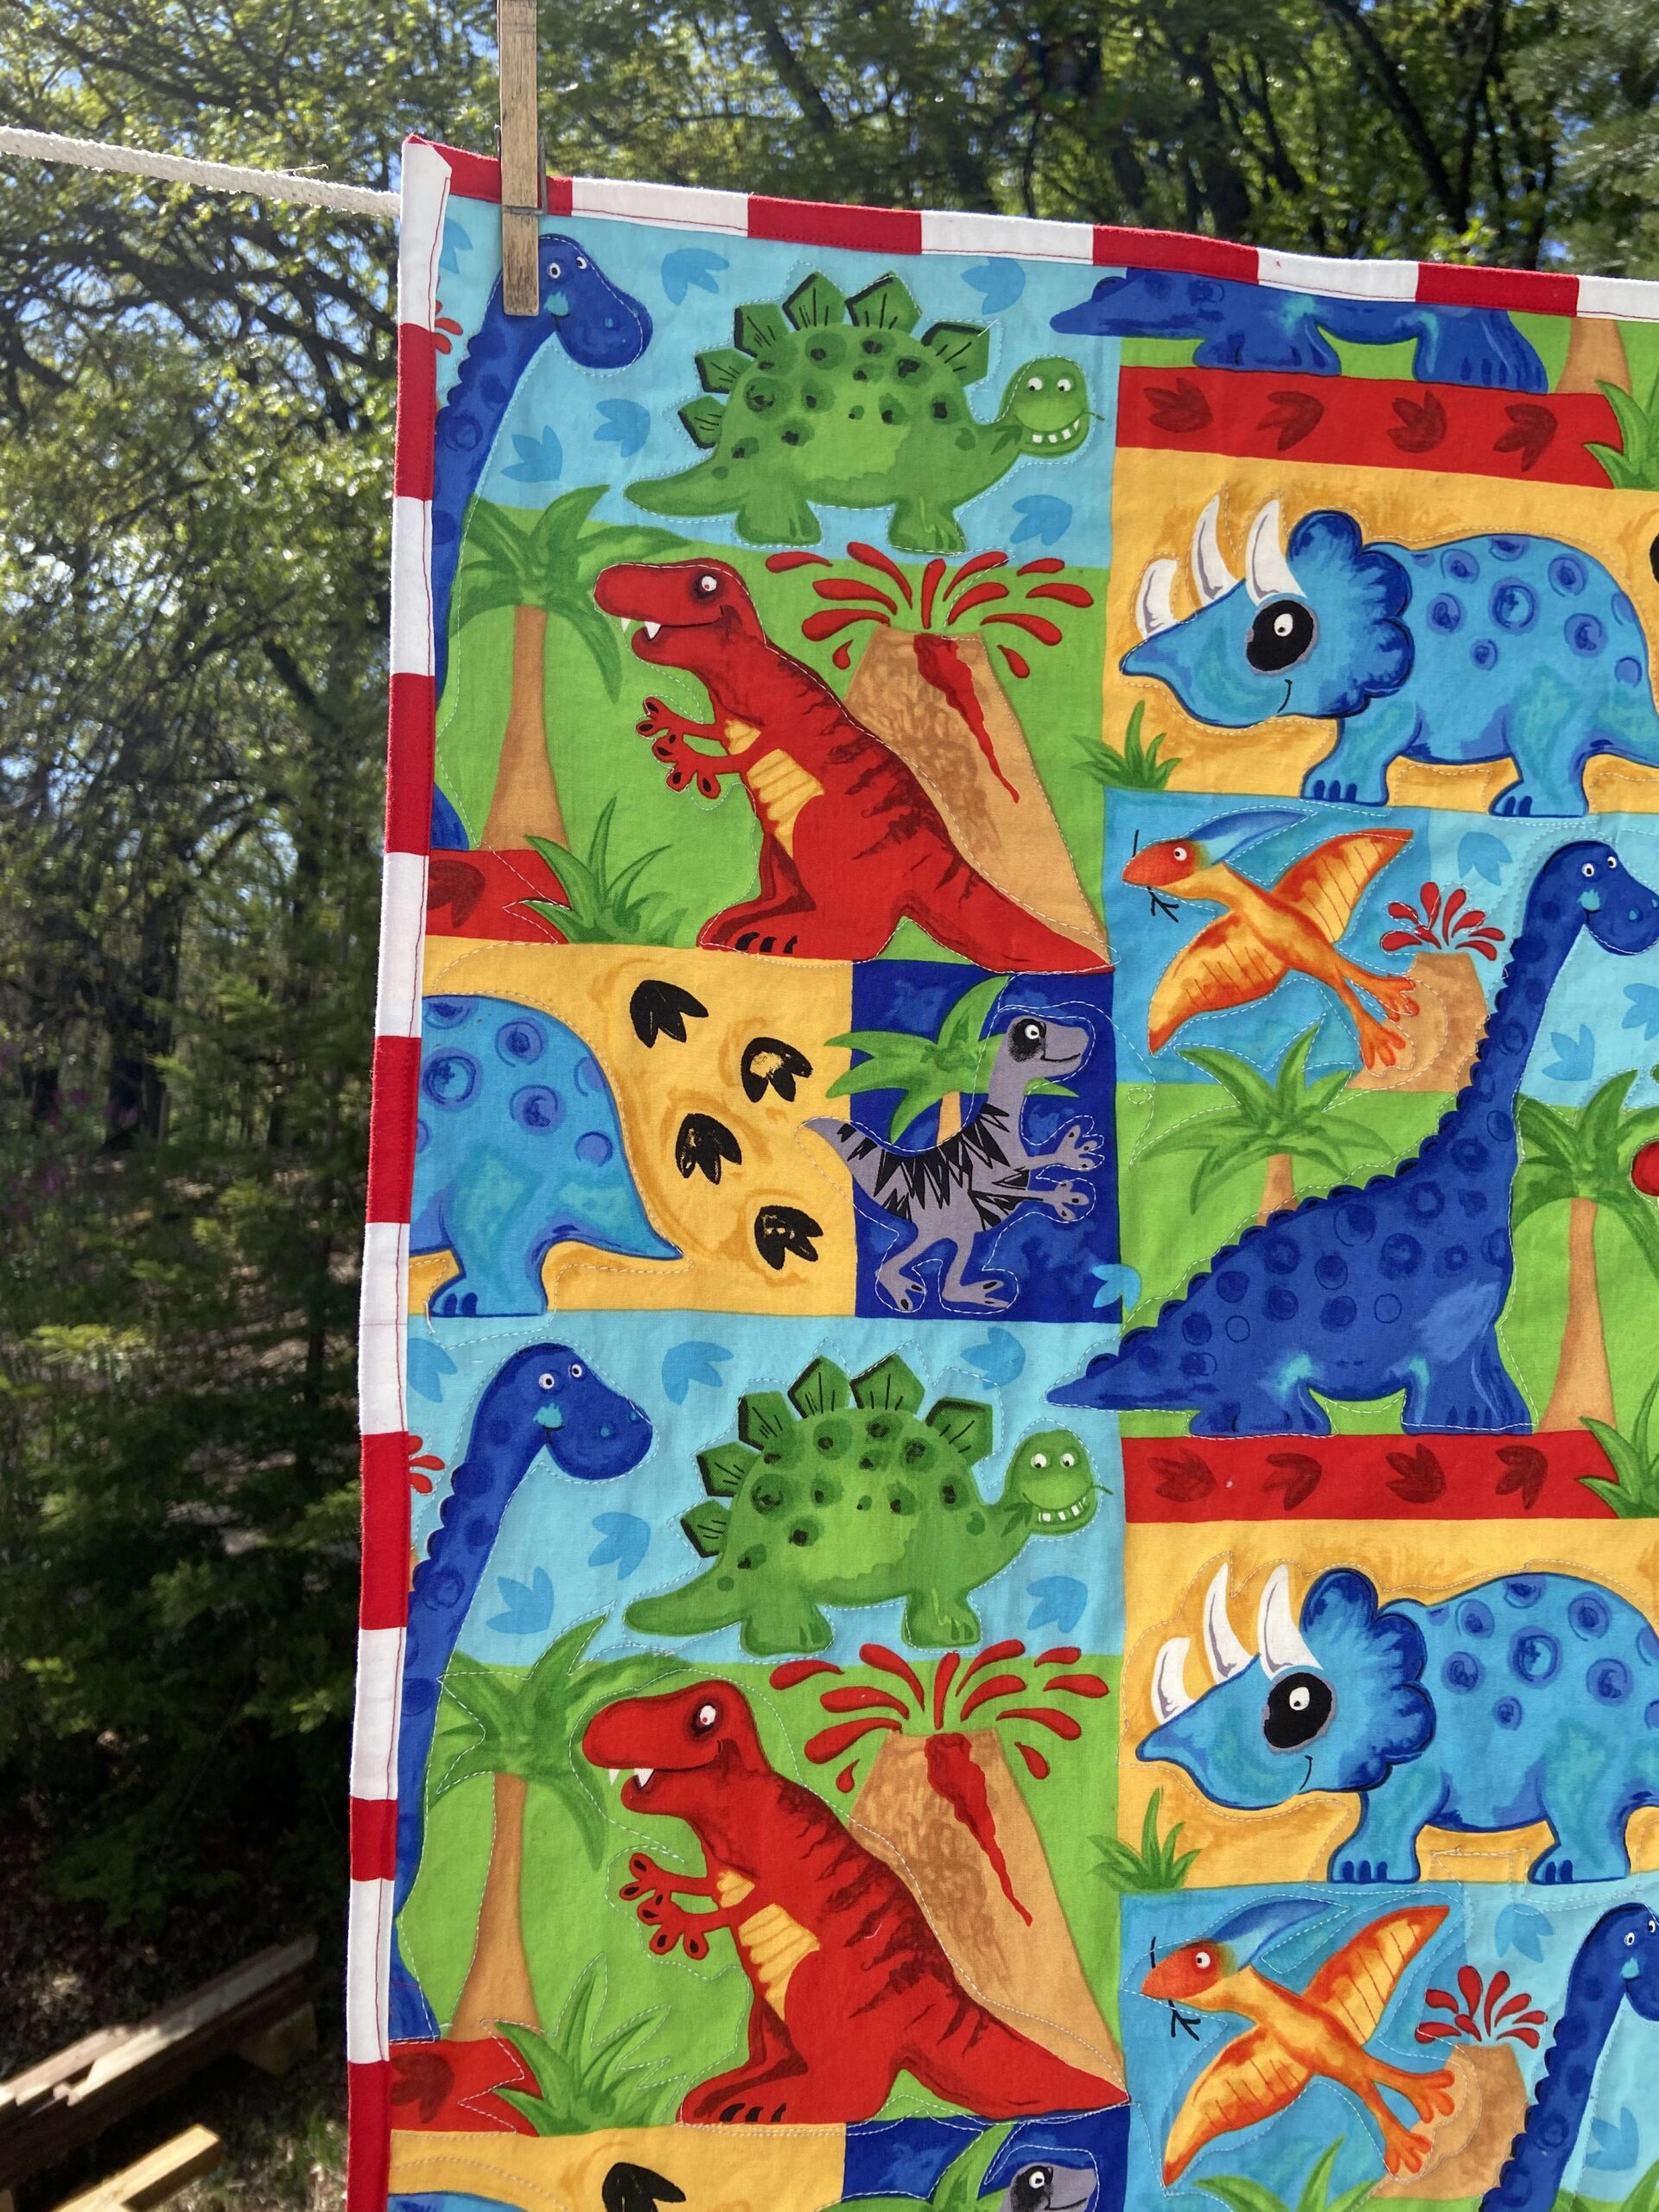
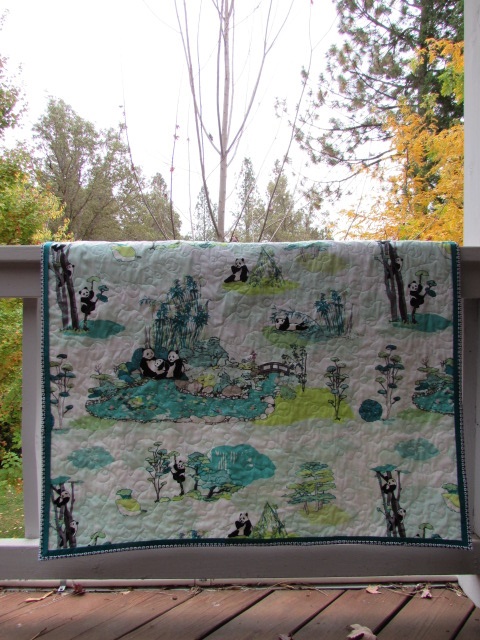
Here are a few more projects I finished up over the past week or so. As I mentioned in my last post, I am working diligently to use up my 5″ squares. To this end, I made two quilt tops for the Quilted Love organization in Texas. I used to follow them on Instagram and love the fact that they will take quilt tops and finish them up. Being able to mail just the top is not only easier, it is less expensive. So far, I have completed two top

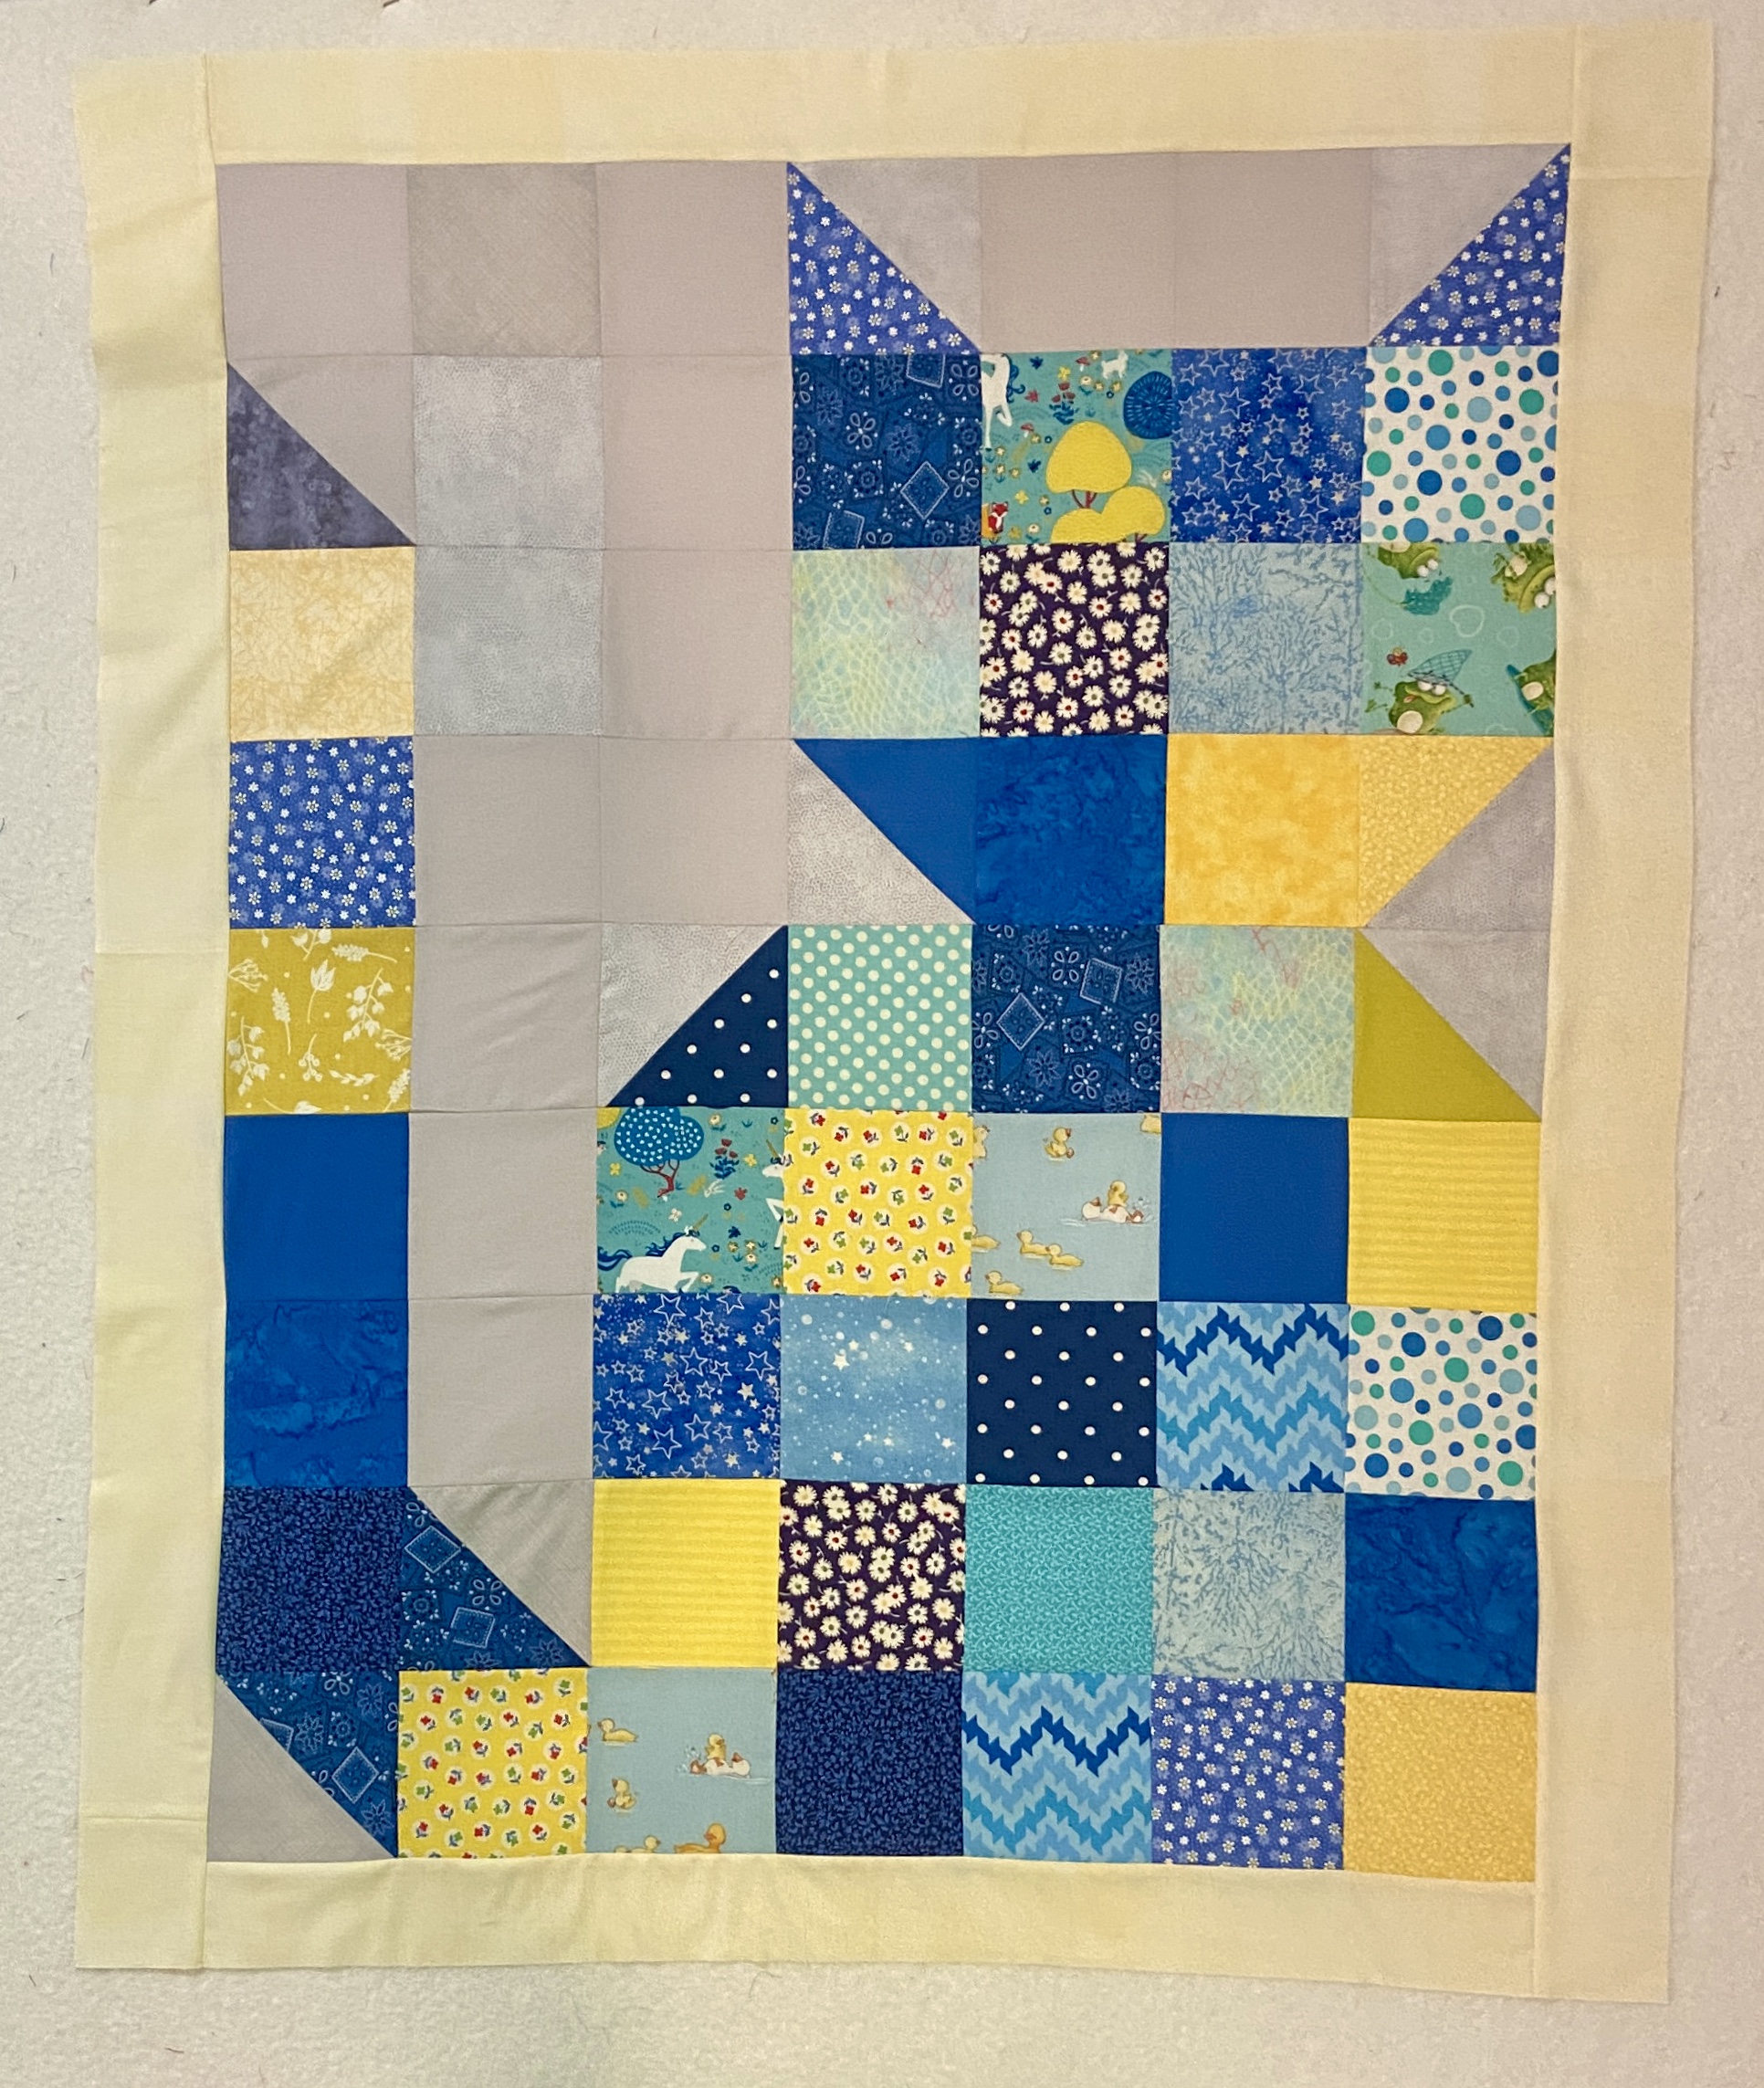
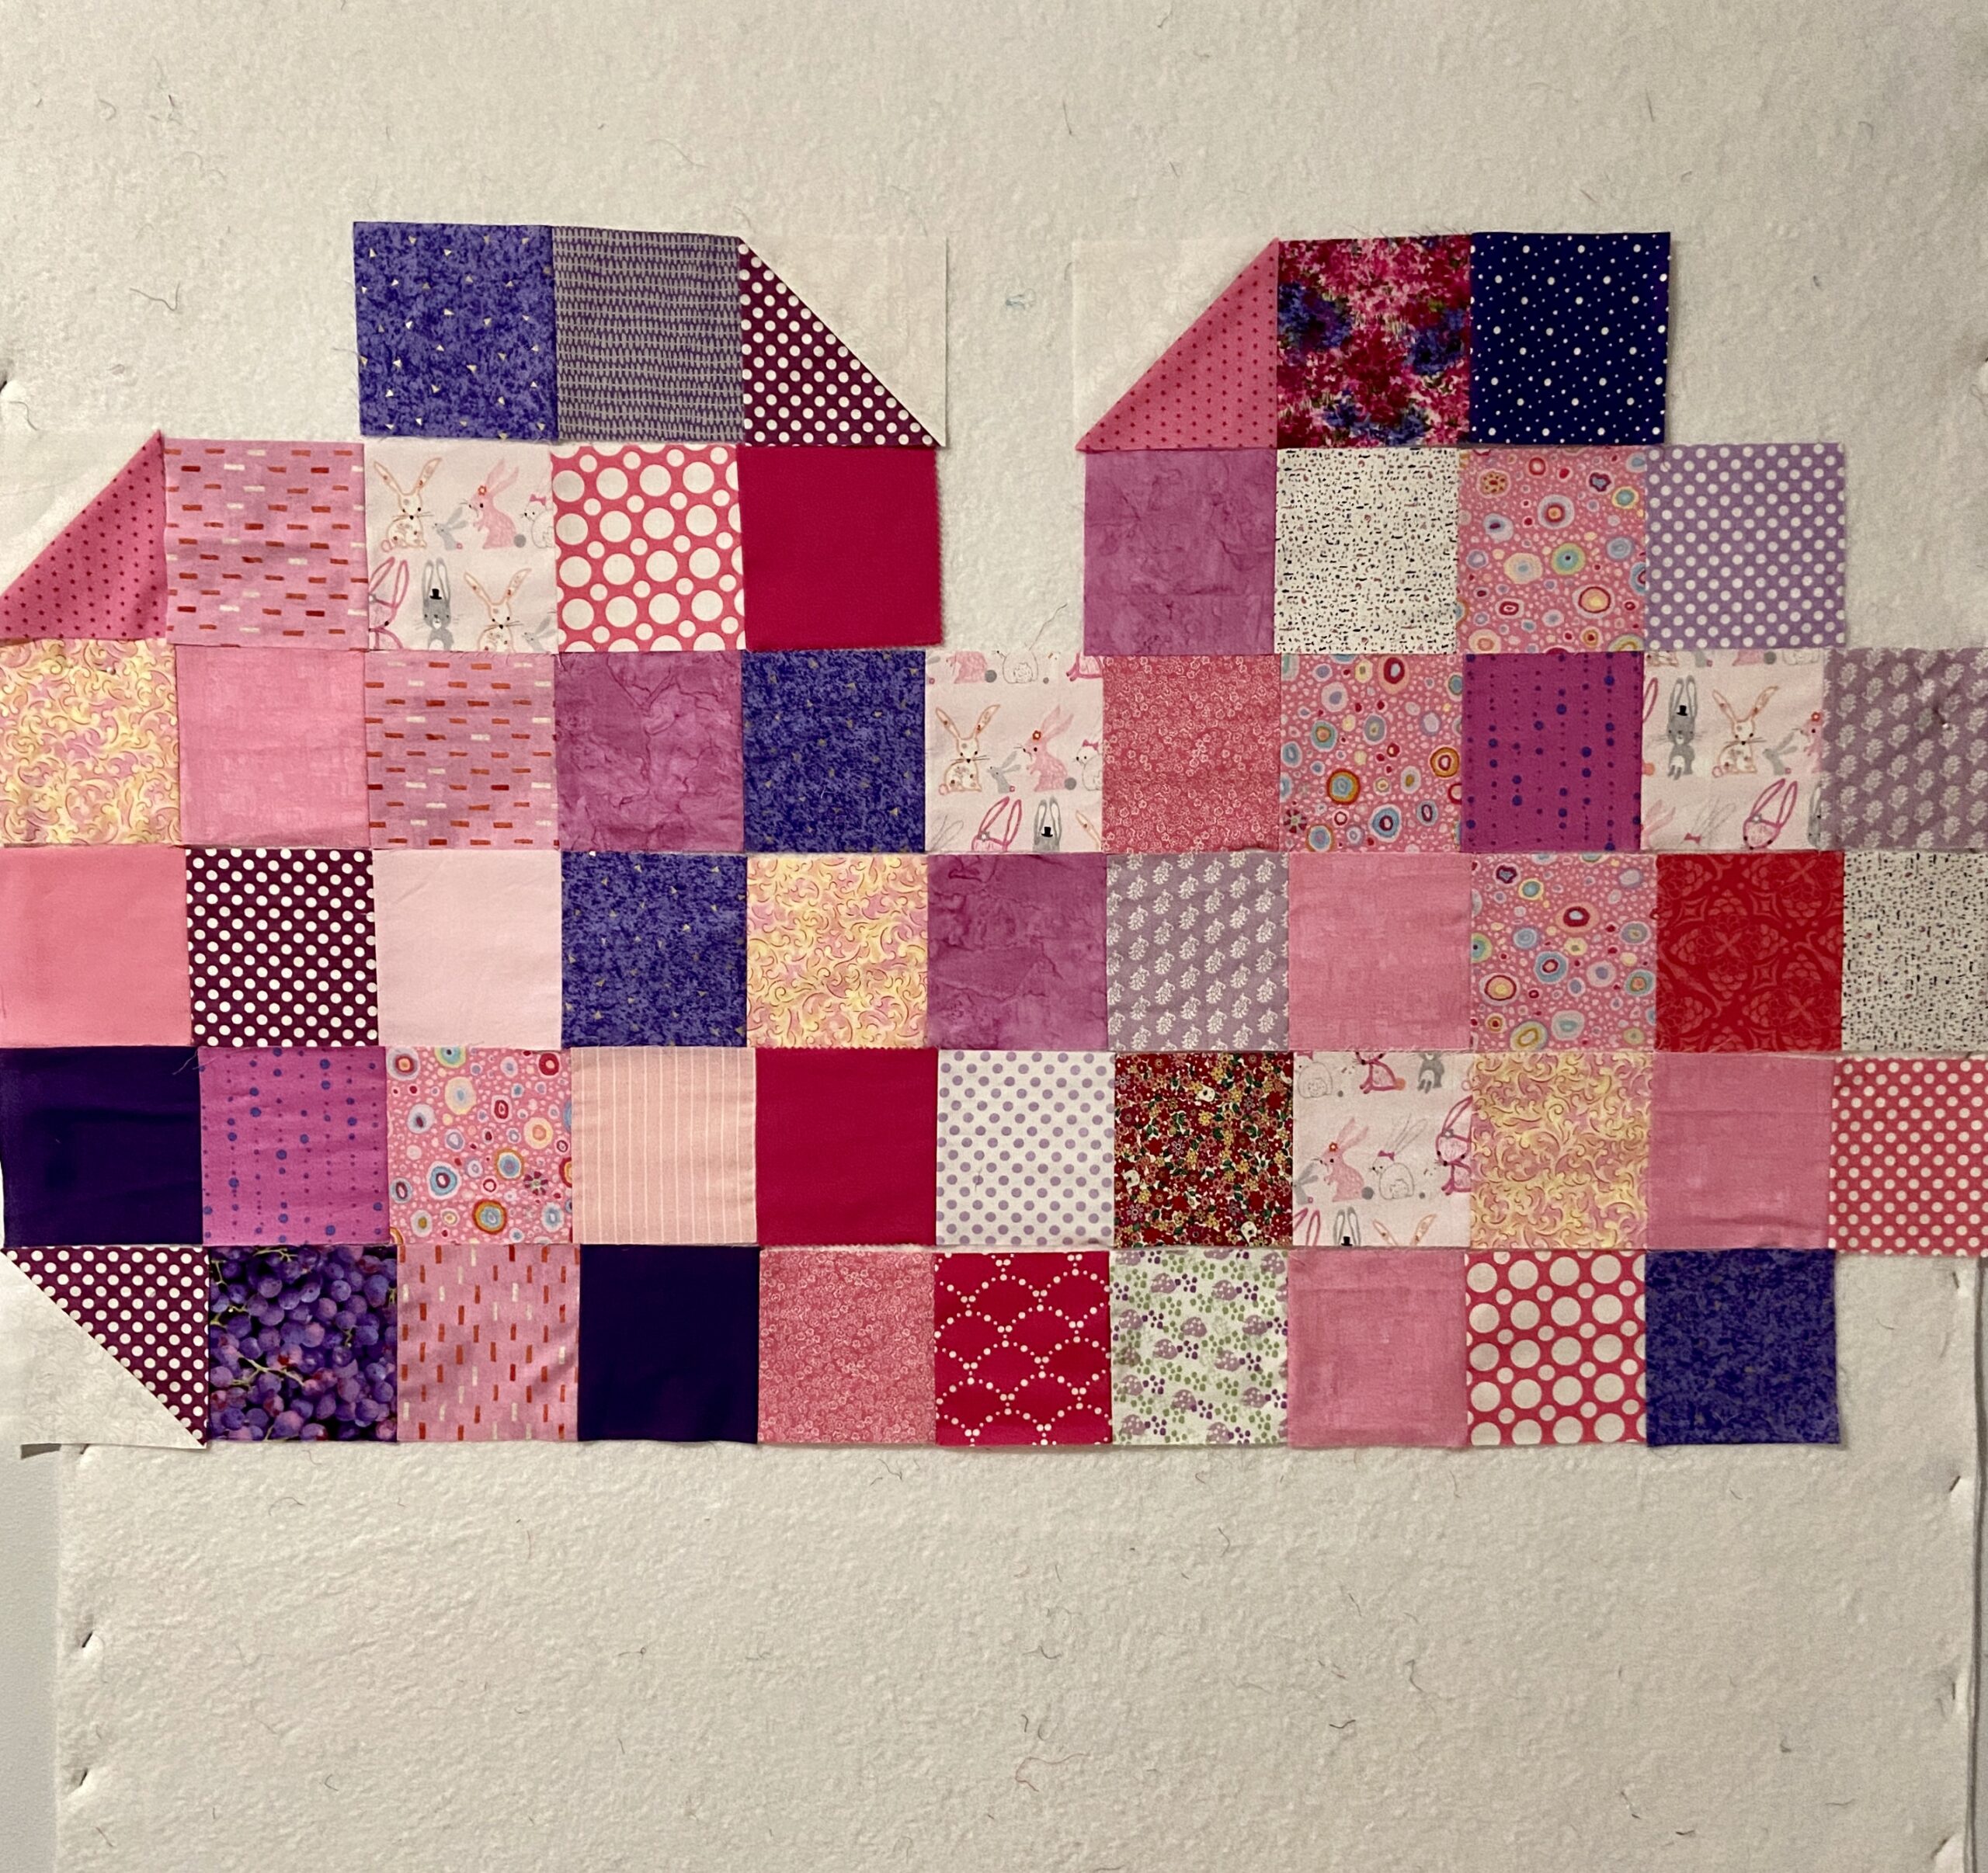
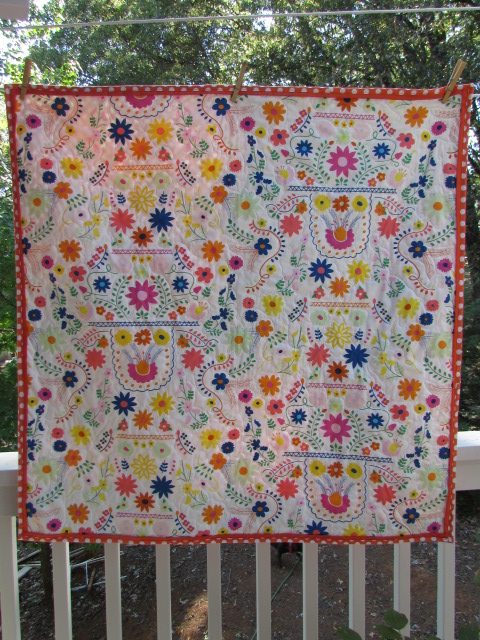
This little kitty was a breeze to make. The border on the left side has a wave to it so I need to unpick some stitches and fix that. I debated trying to do something to the bottom row of charm squares to make it look like a paw was showing. If anyone has any ideas how to do this, I am happy to unpick a few seams. I just couldn’t see how to do it.

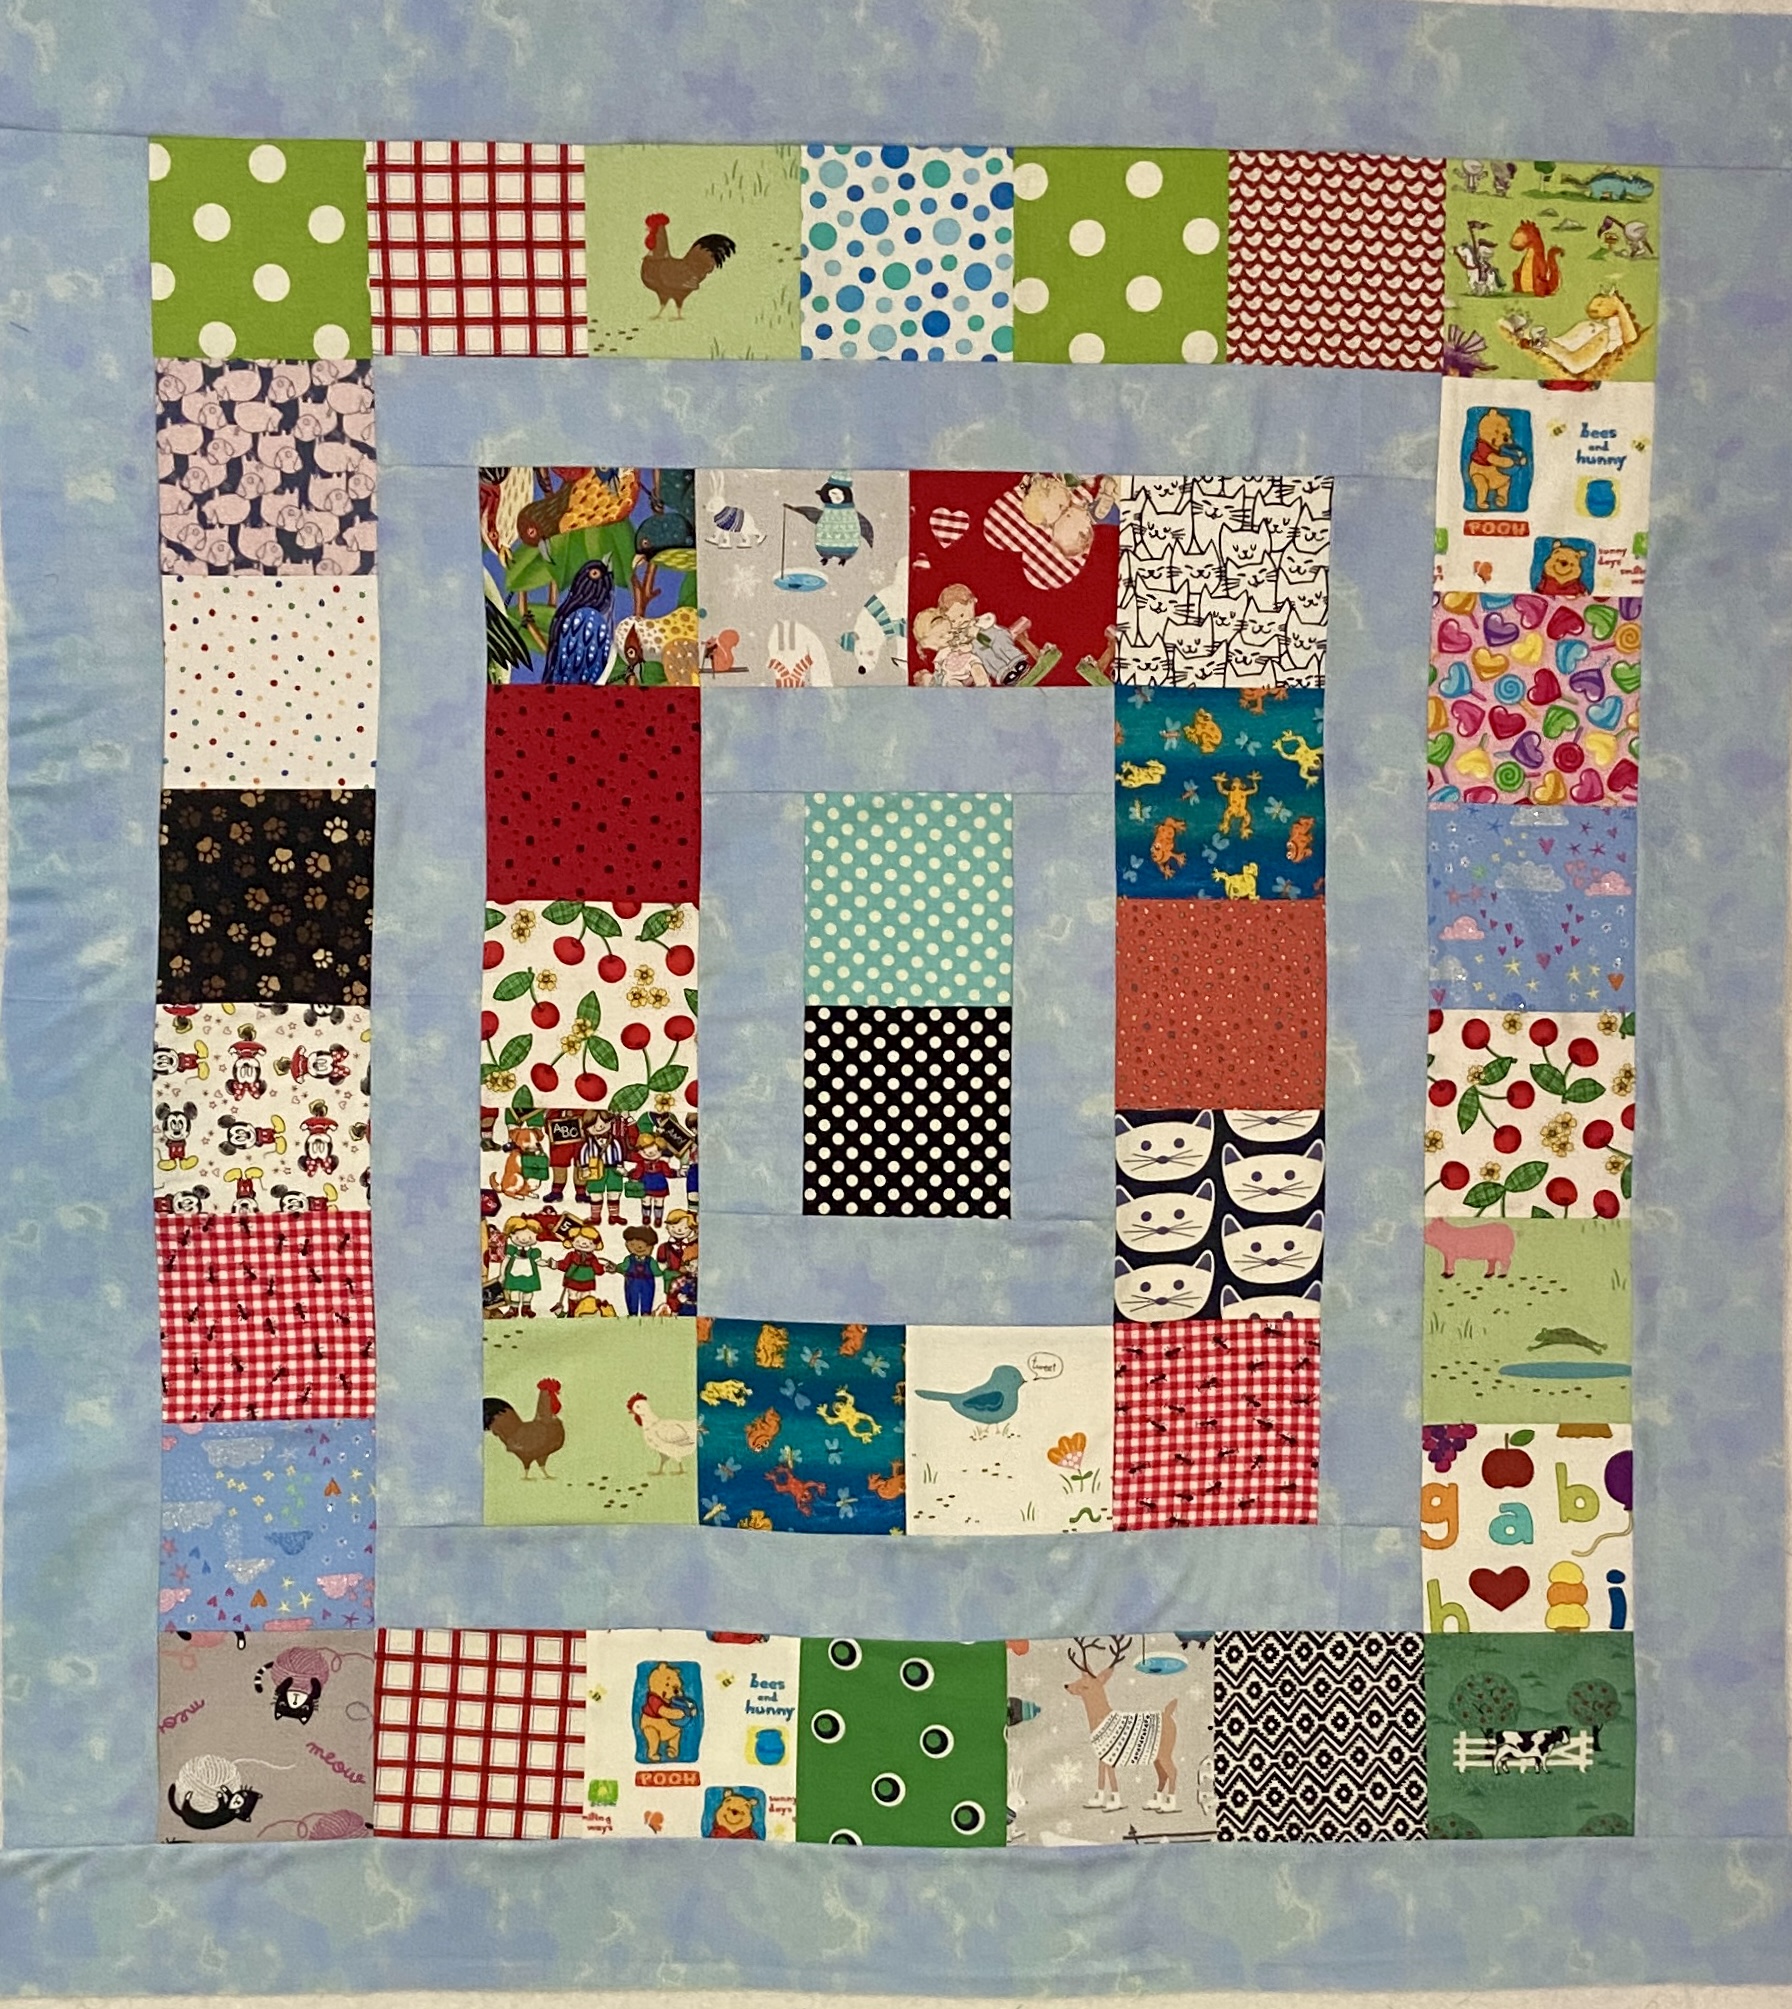
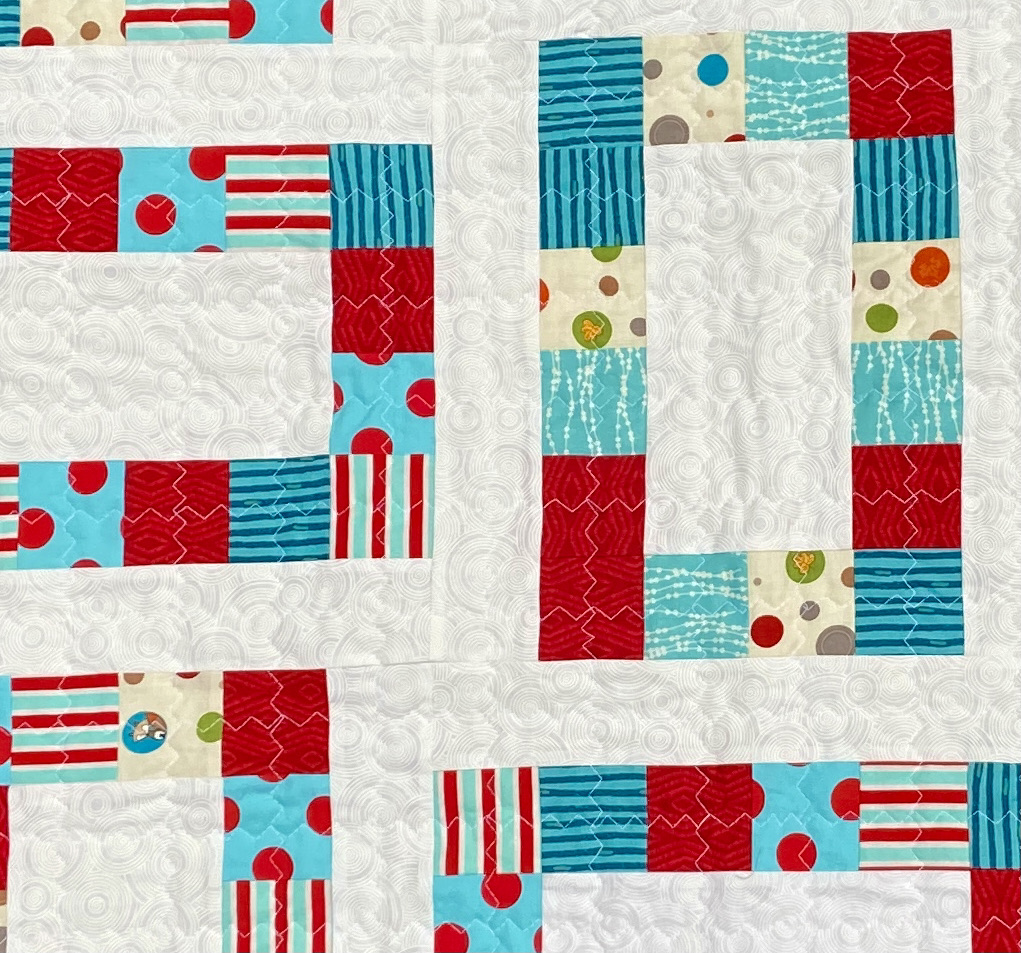
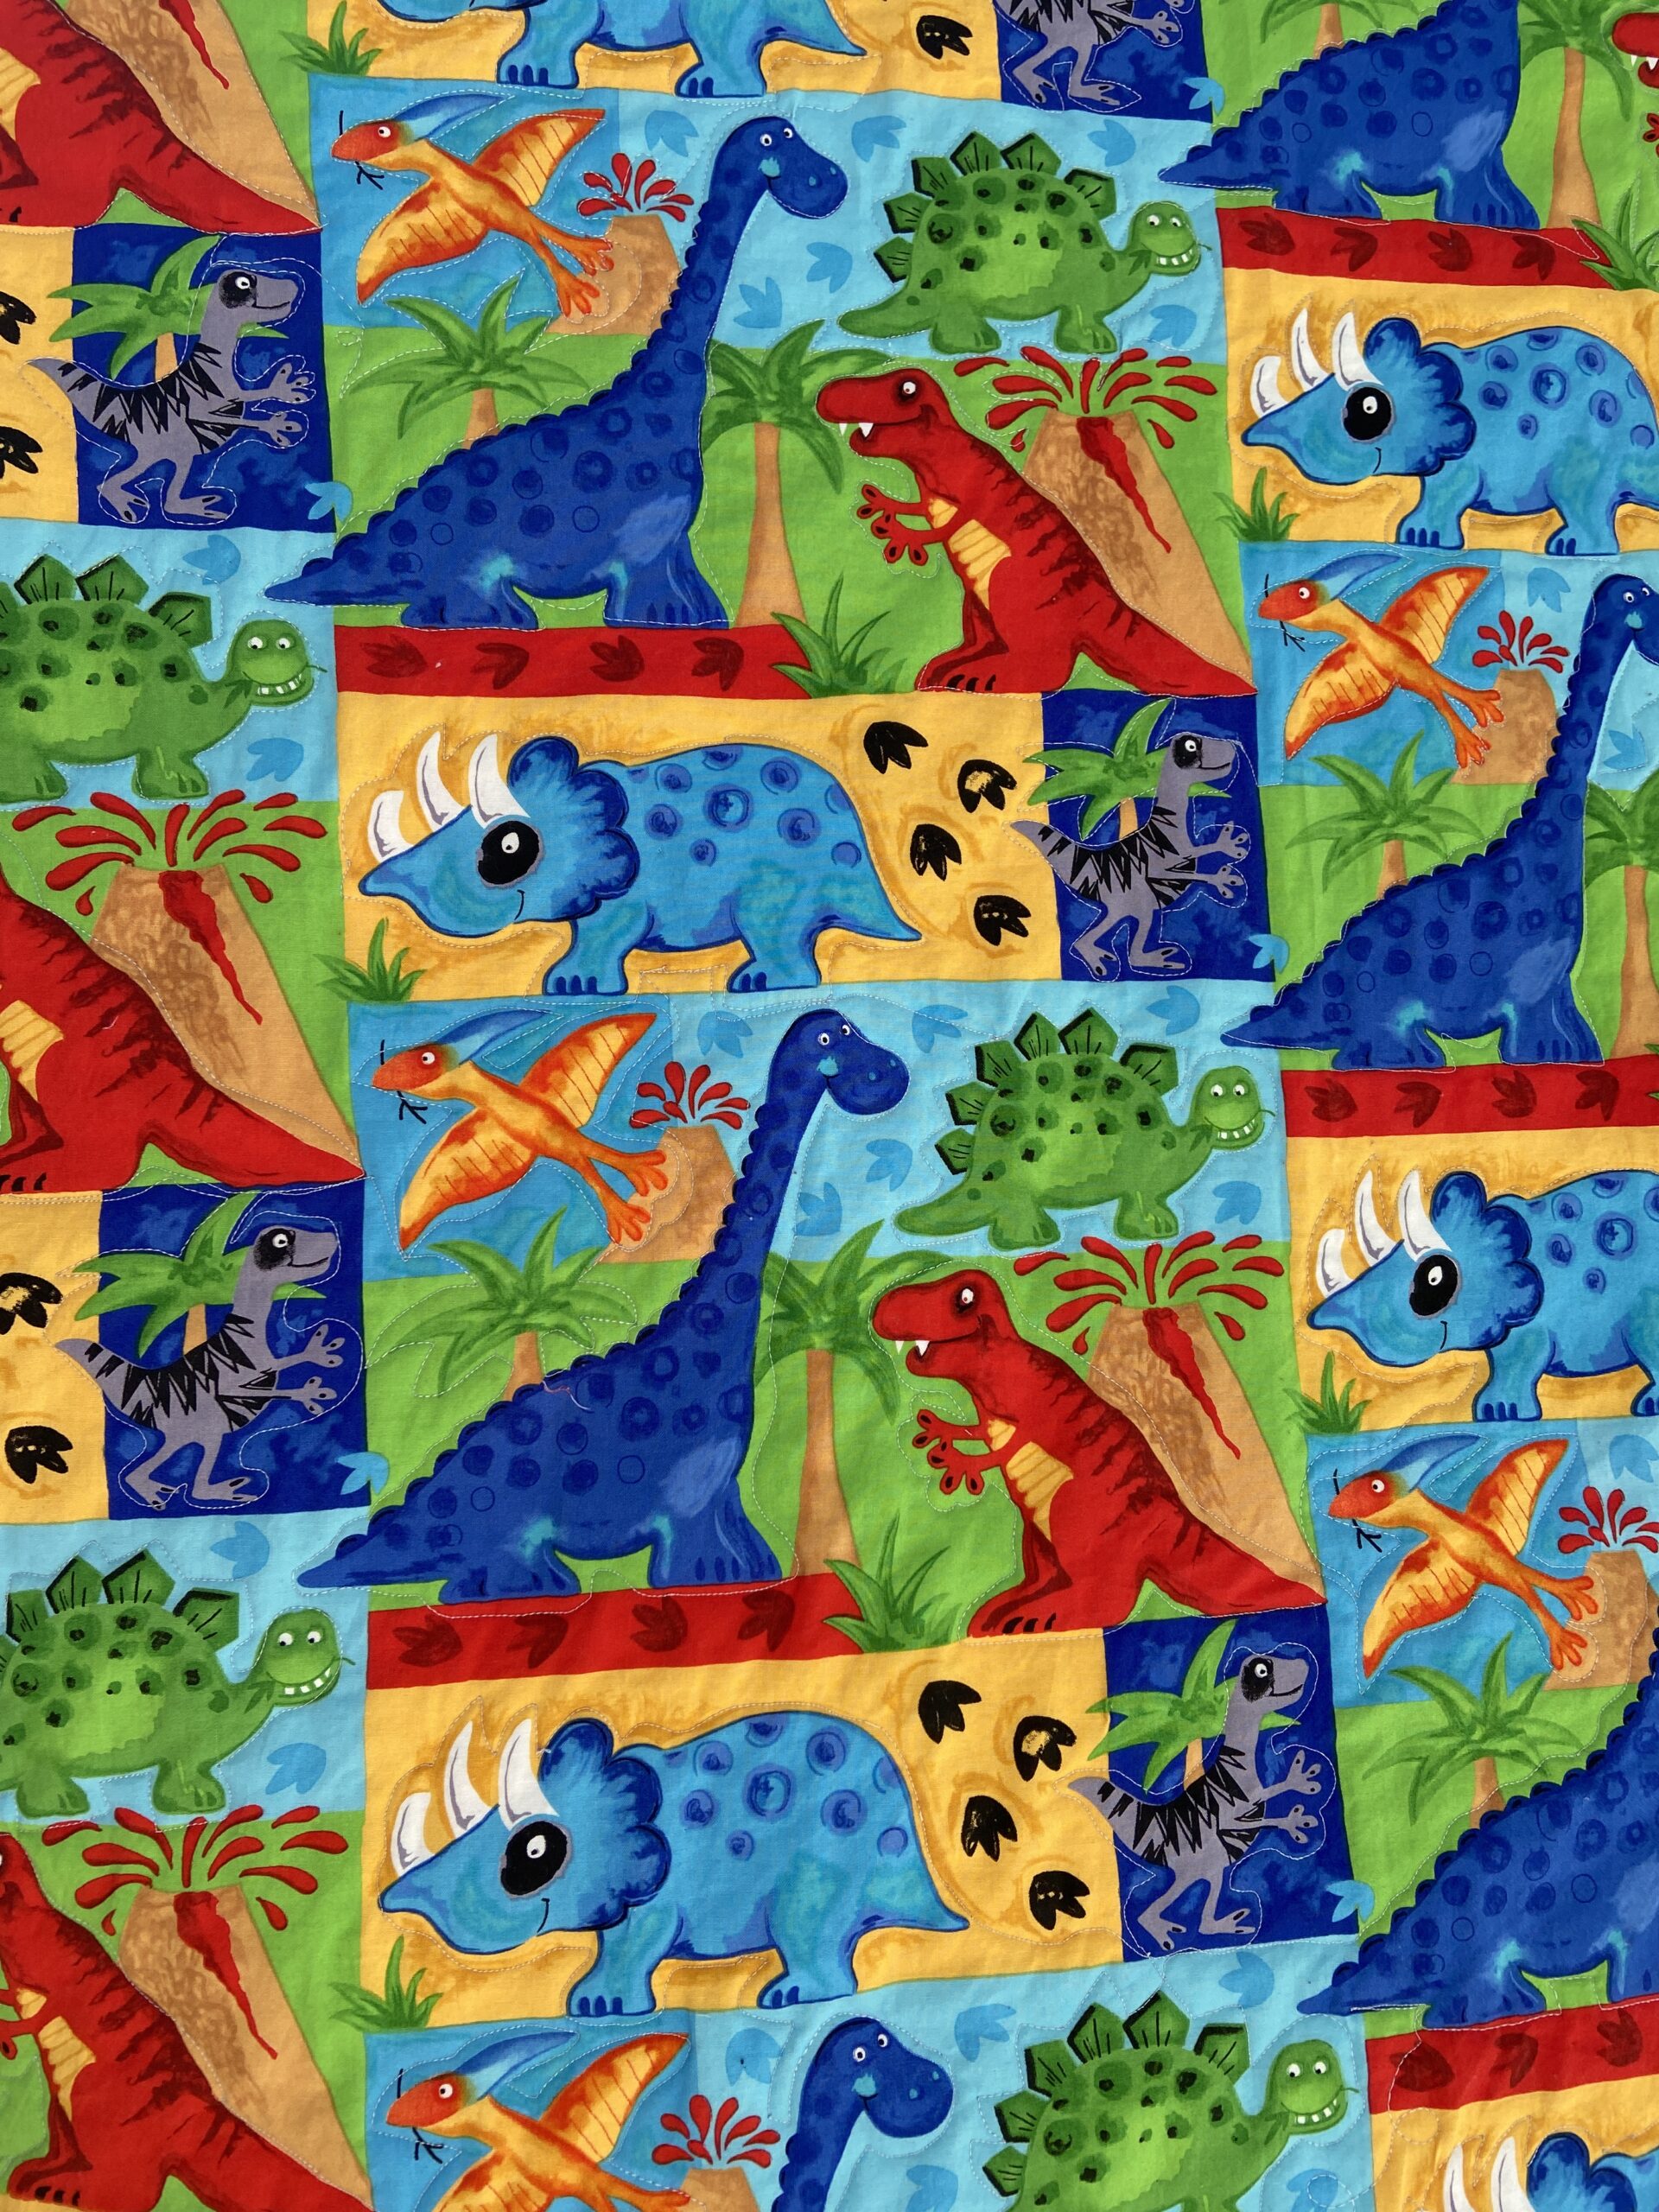
This simple quilt used a number of 5″ squares and feels like a fun I-Spy quilt. The child who received this might look for kitties, Winnie the Pooh, birds, cherries, ants, paw prints, a cow, a deer with ice skates, piggies and even a dragon.

Both quilts finish at (about) 39″ by 44″. The organization has instructions here for the sizes they will take for quilt tops. Quilted Love donates quilts, preemie/NICU blankets, and some larger lap quilts for adults. If you are looking for a place to share your talents, this is a great option.

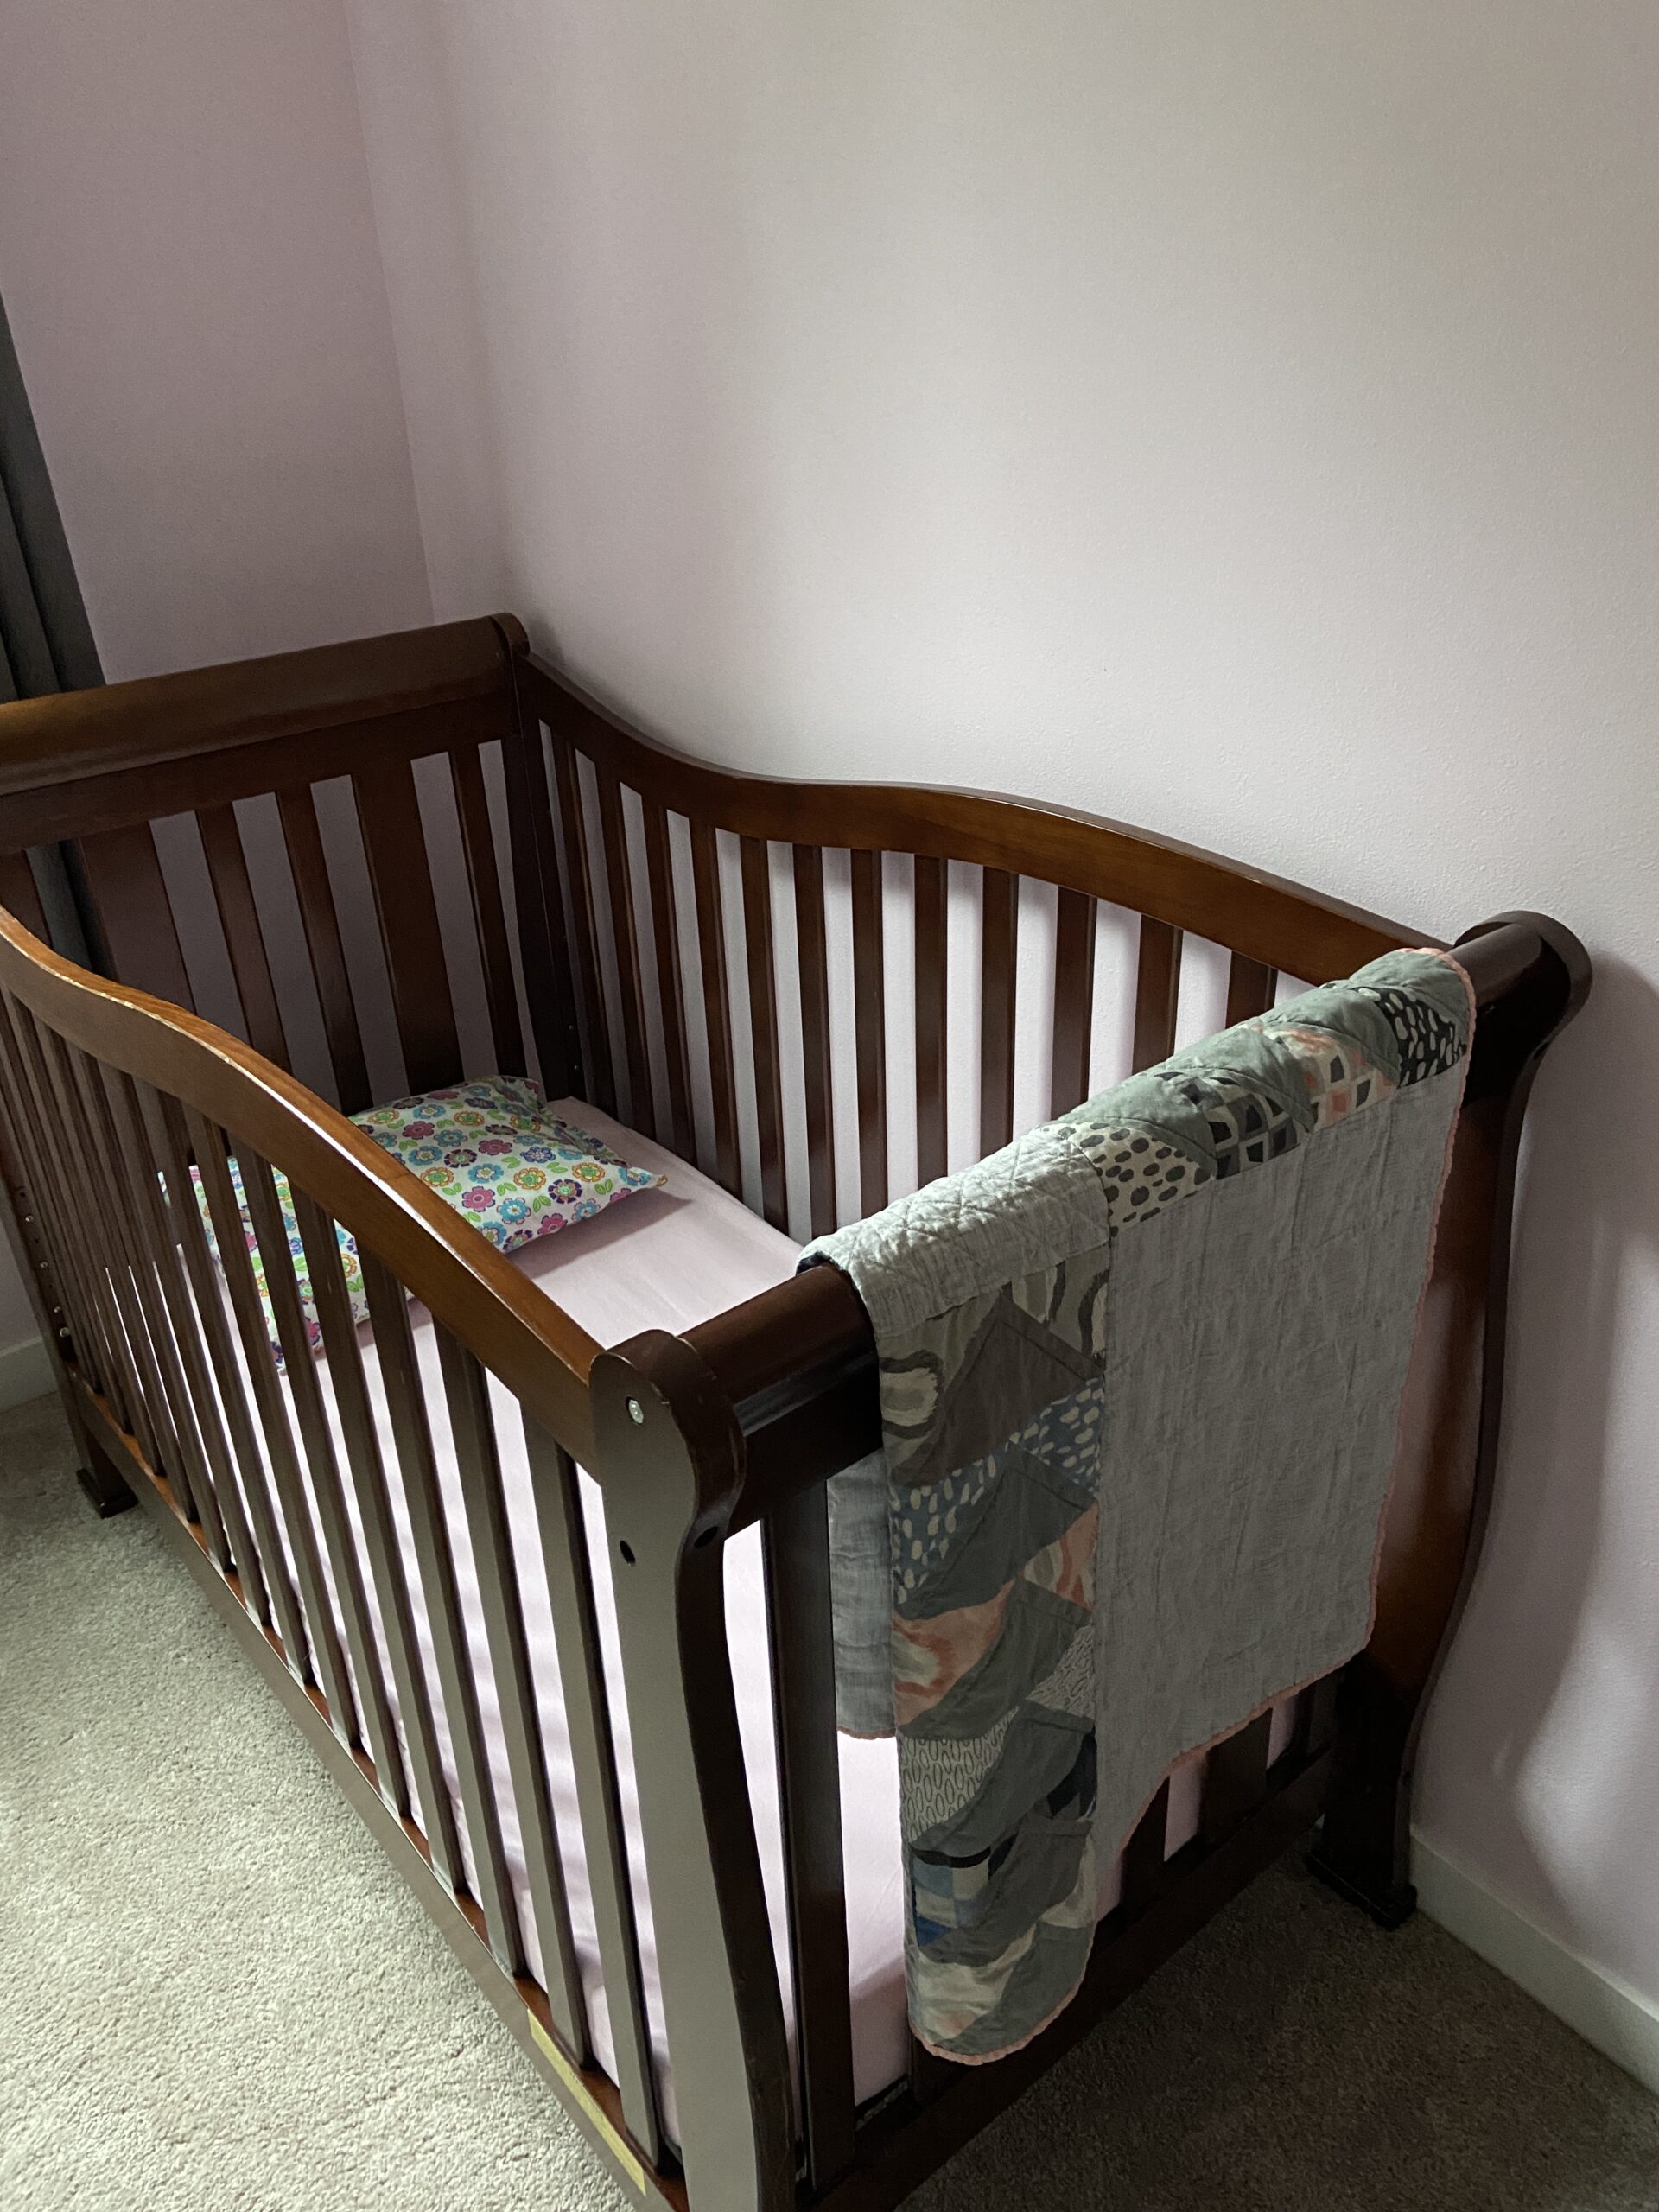
I have been working on my crochet skills. I would say I am still a beginner, maybe just more than that? I enjoy this sort of methodical, meditative hand work in the evening. This little baby blanket was so nice to make. While far from perfect, I am still happy with it. I bought both yarns at a thrift shop. The blanket is very soft and just the right size for a new baby. It will be donated along with the quilt tops.

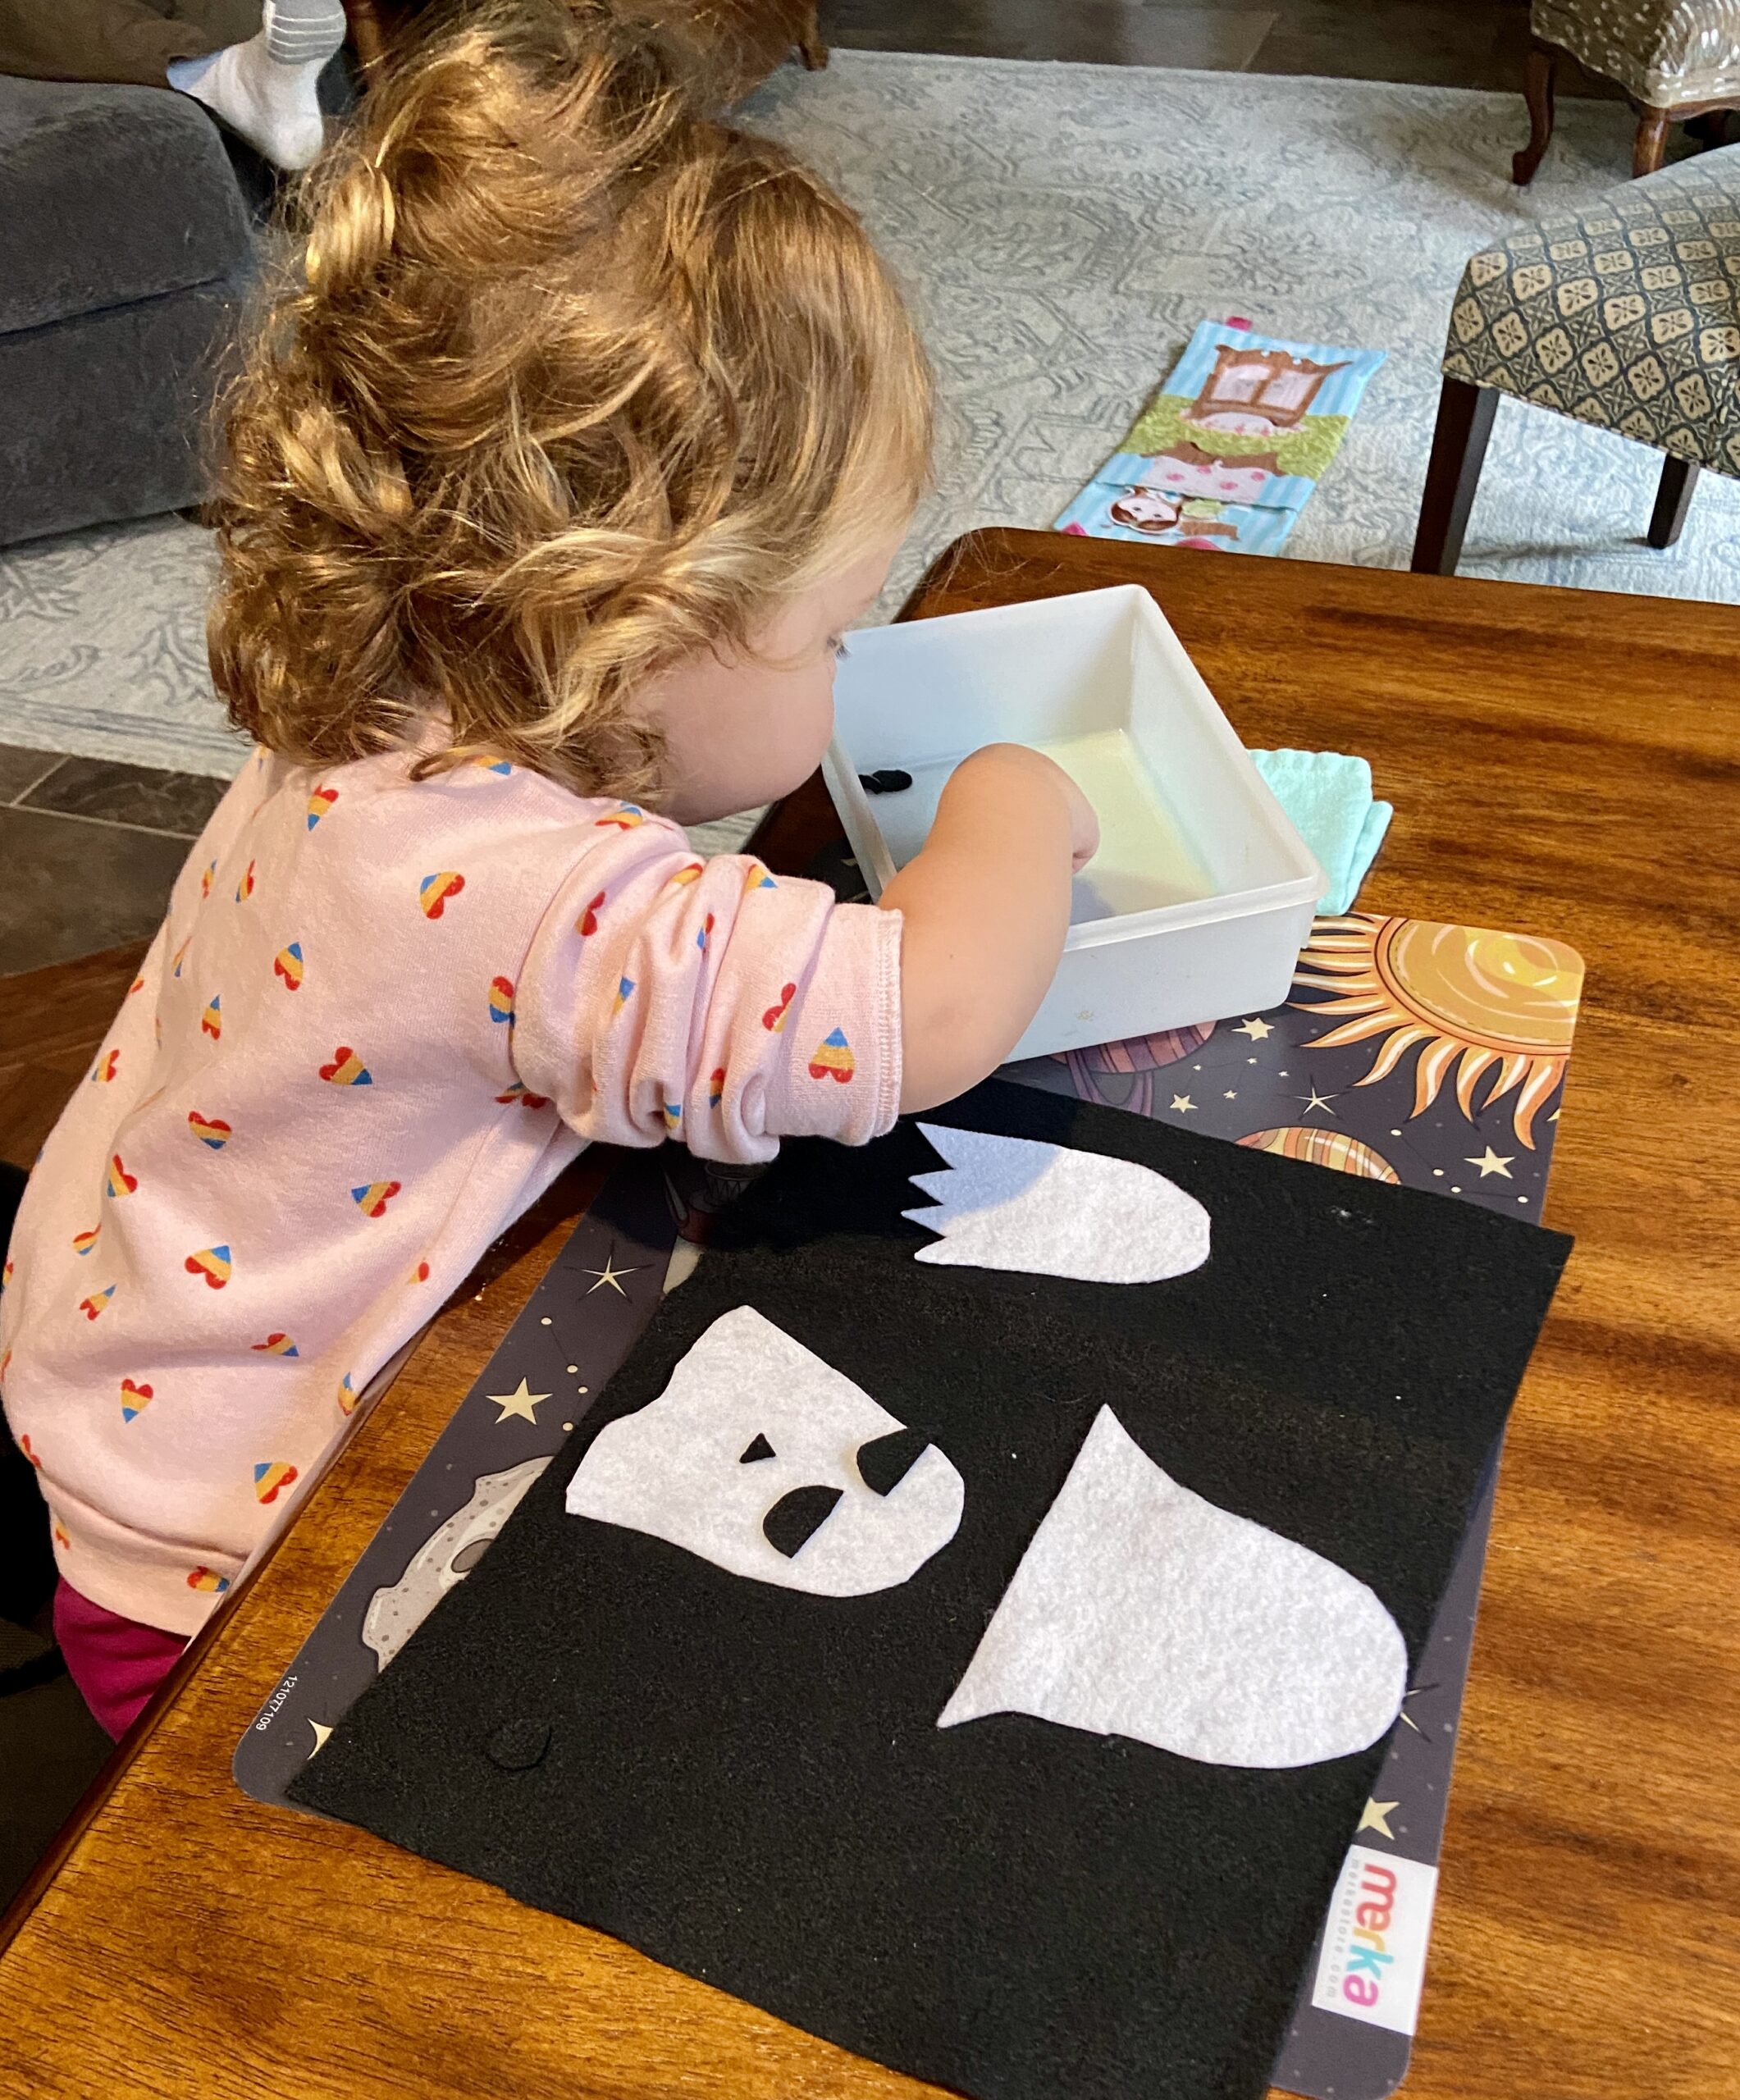
Moving on to quilt shops….. My friend Annette and I took a quick run over to Annie’s Quilt Shop in Shelton, WA. Annette has been there but it was a first for me. What a great shop. Annie stocks so much fabric with a large variety. Tons of Moda, lots of novelty fabric, batiks, good selection of solids and a reasonable selection of garment fabric (knits, rayons and pretty wovens with a linen-like feel). Most interesting about the shop is their policy to cut in full yard increments. They will not cut a stack of 1/2 yard cuts of fat quarters for the customer. Because of this policy, they reduced their price per yard substantially. Most of the fabrics (new lines) were about $9.00 per yard. Of course there are many quilters who do not want full yard cuts. To help with this, there is one rack of pre-cut 1/2 yard pieces and another rack of pre-cut fat quarters. Also, I noticed she carries a large number of prepared kits. All of these policies mean less labor for the shop and a very quick time for customers waiting at the cut counter. I was very impressed. Thinking back to my days of having a fabric shop, I remember the length of time spent cutting 1/2 yard pieces – it is laborious. People seem fine with Annie’s business model judging by the number of shoppers who were in the store. Smart quilters could easily split one yard cuts between themselves just to take advantage of the price. As for me, I bought a cute panel for a cloth toddler book (they had an enormous selection), two cuts I plan to use to make a dress for my grand daughter, and a piece of woven fabric – I wish I could remember what it was.

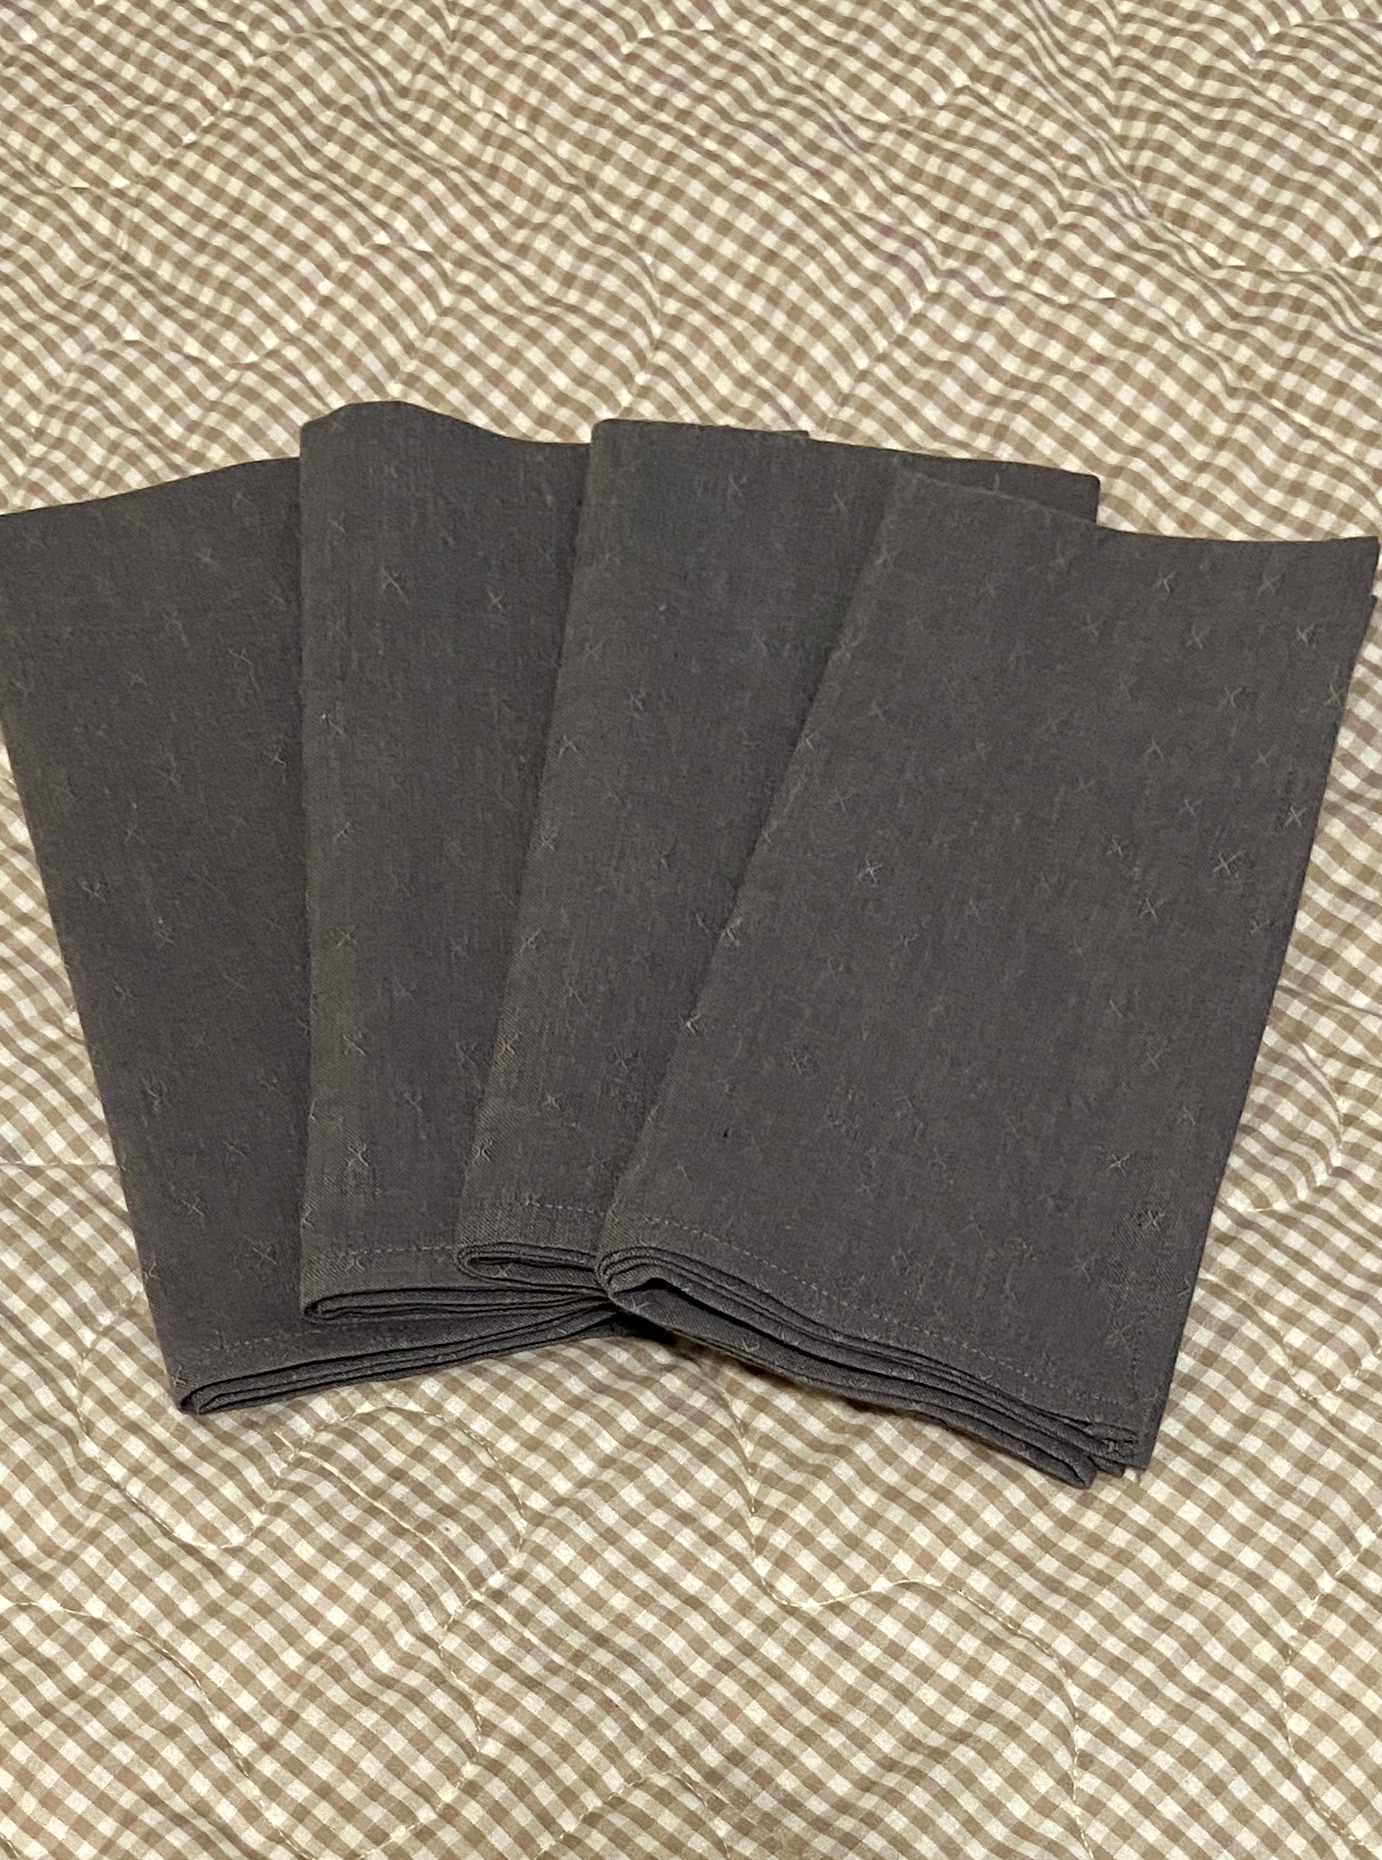
I used it to make cloth napkins because it felt so nice and I think it will be absorbent. (I have made napkins from regular quilt cottons and the weave isn’t great for this use – just my opinion though.) I just finished these up and am curious to see how they wash. There were about four other colors I really liked so I just may need to head back to Annie’s if these work out well.

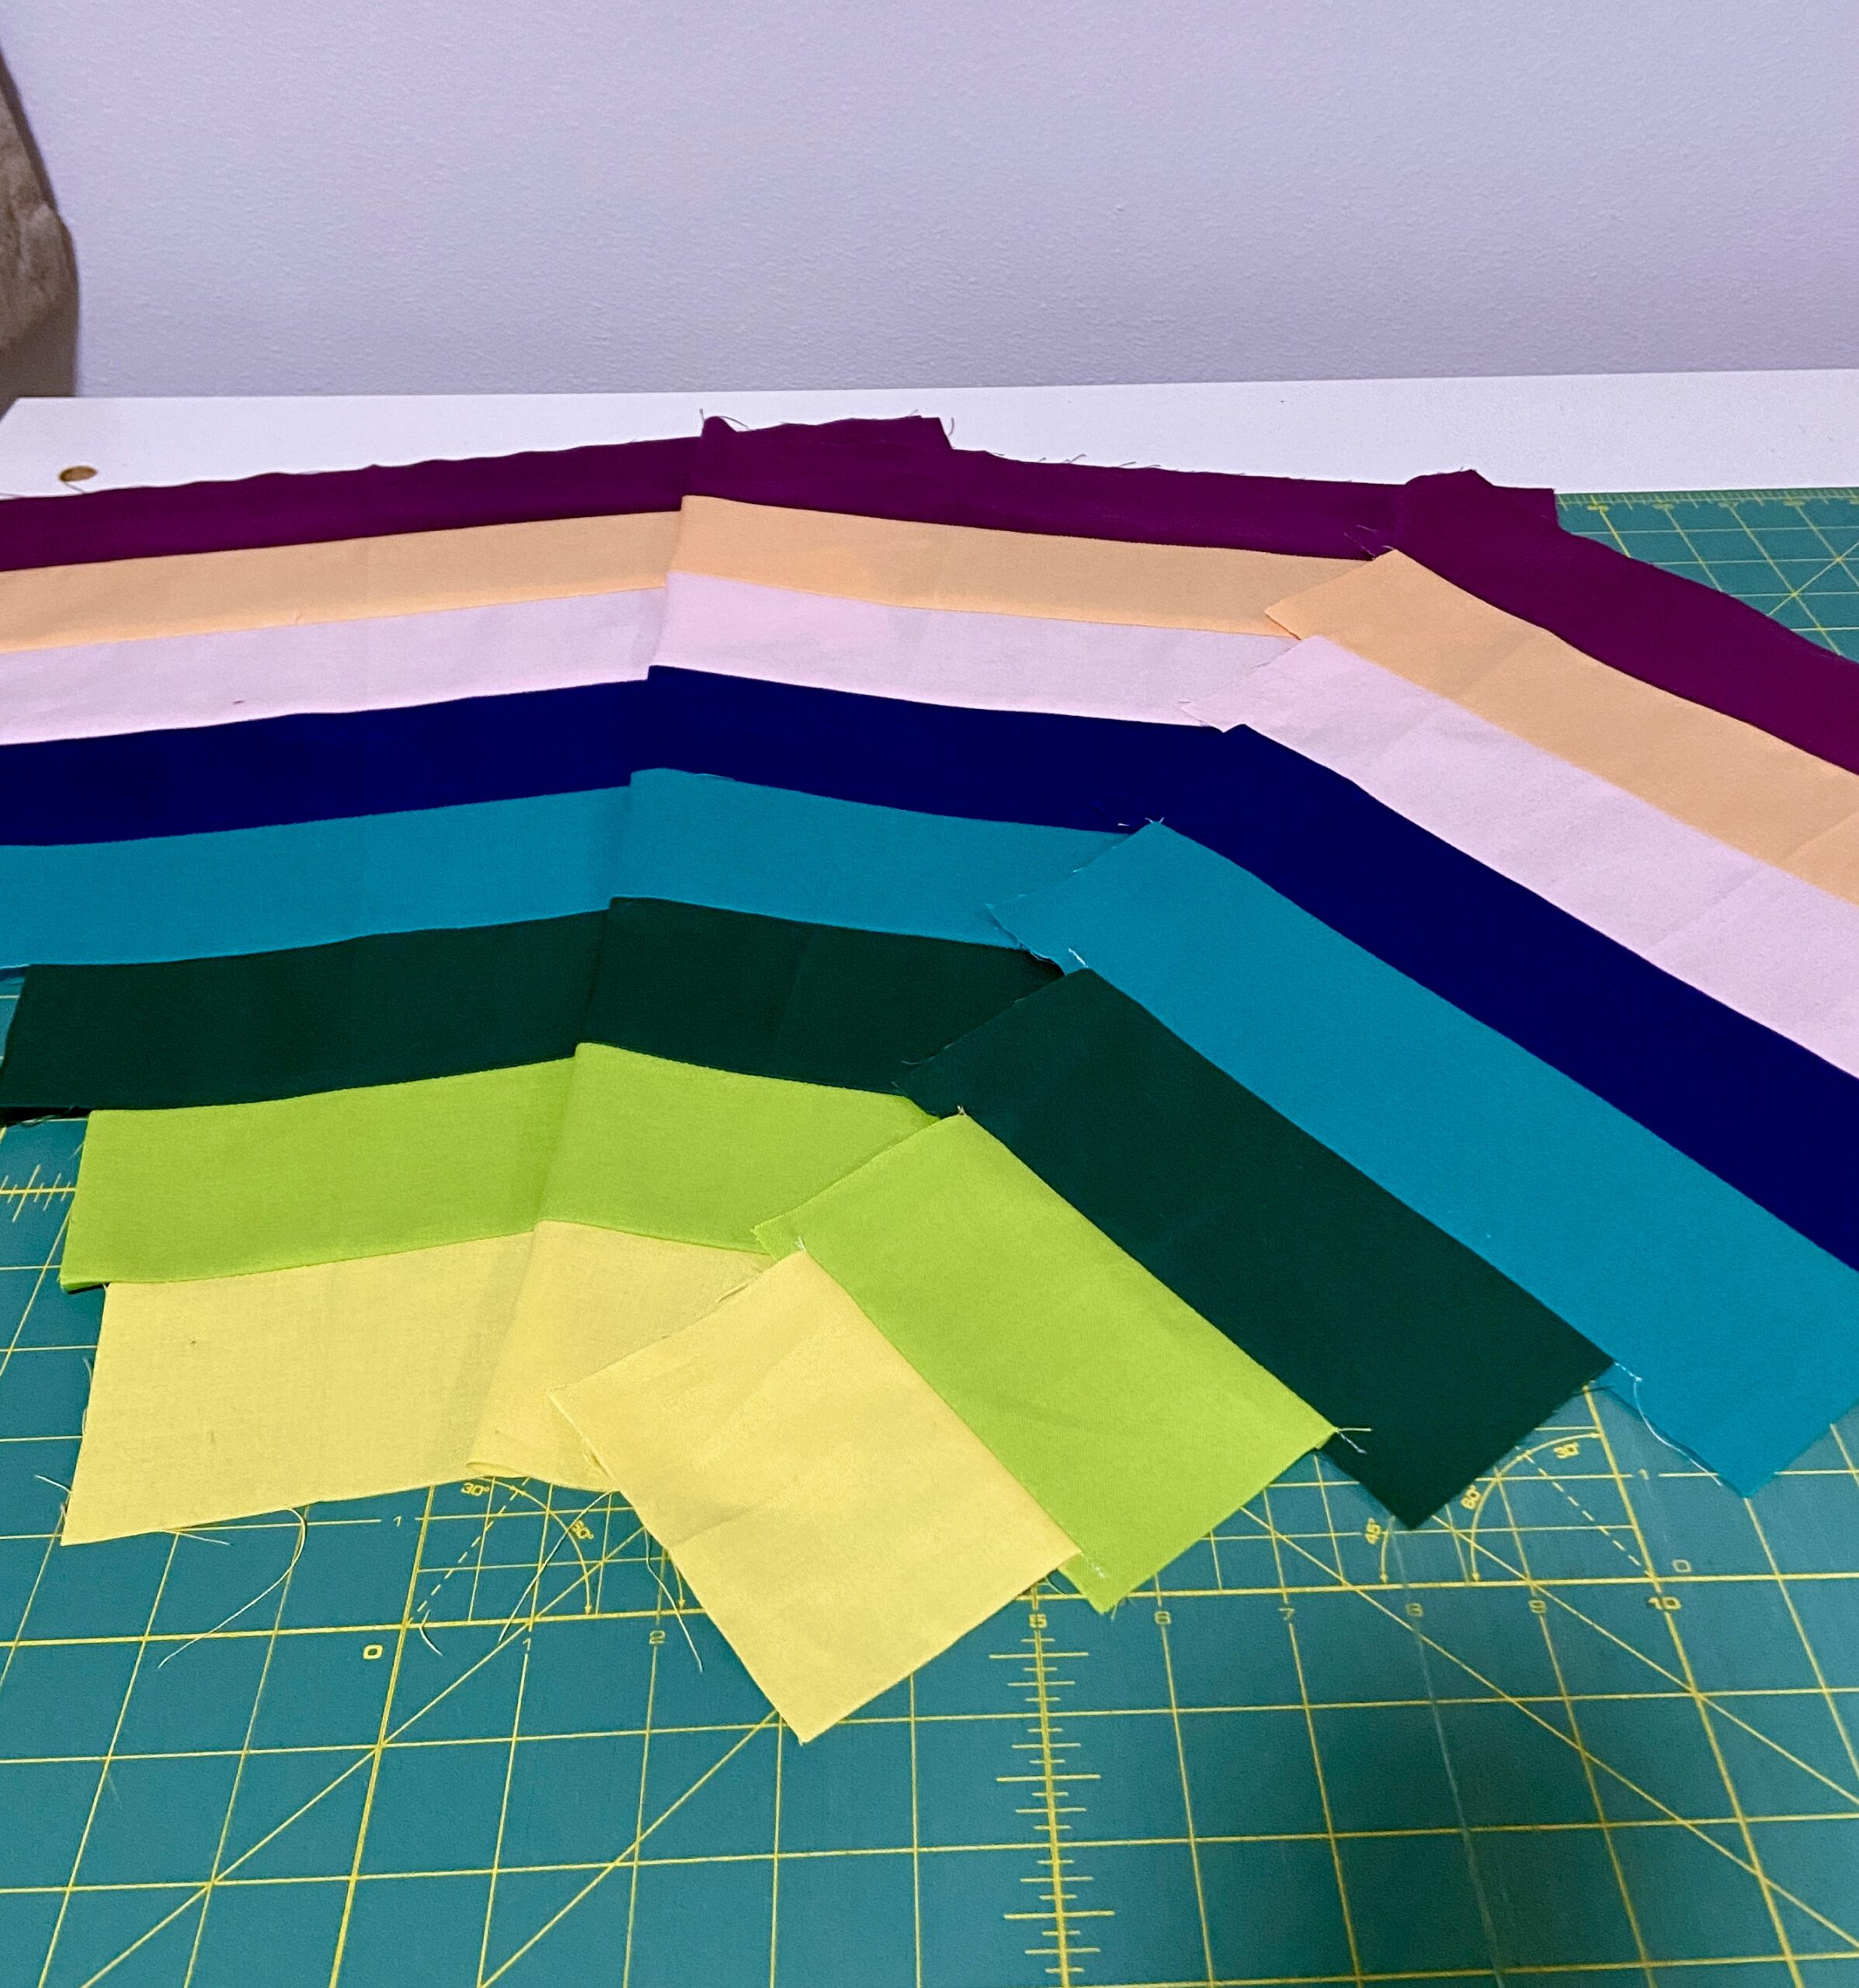
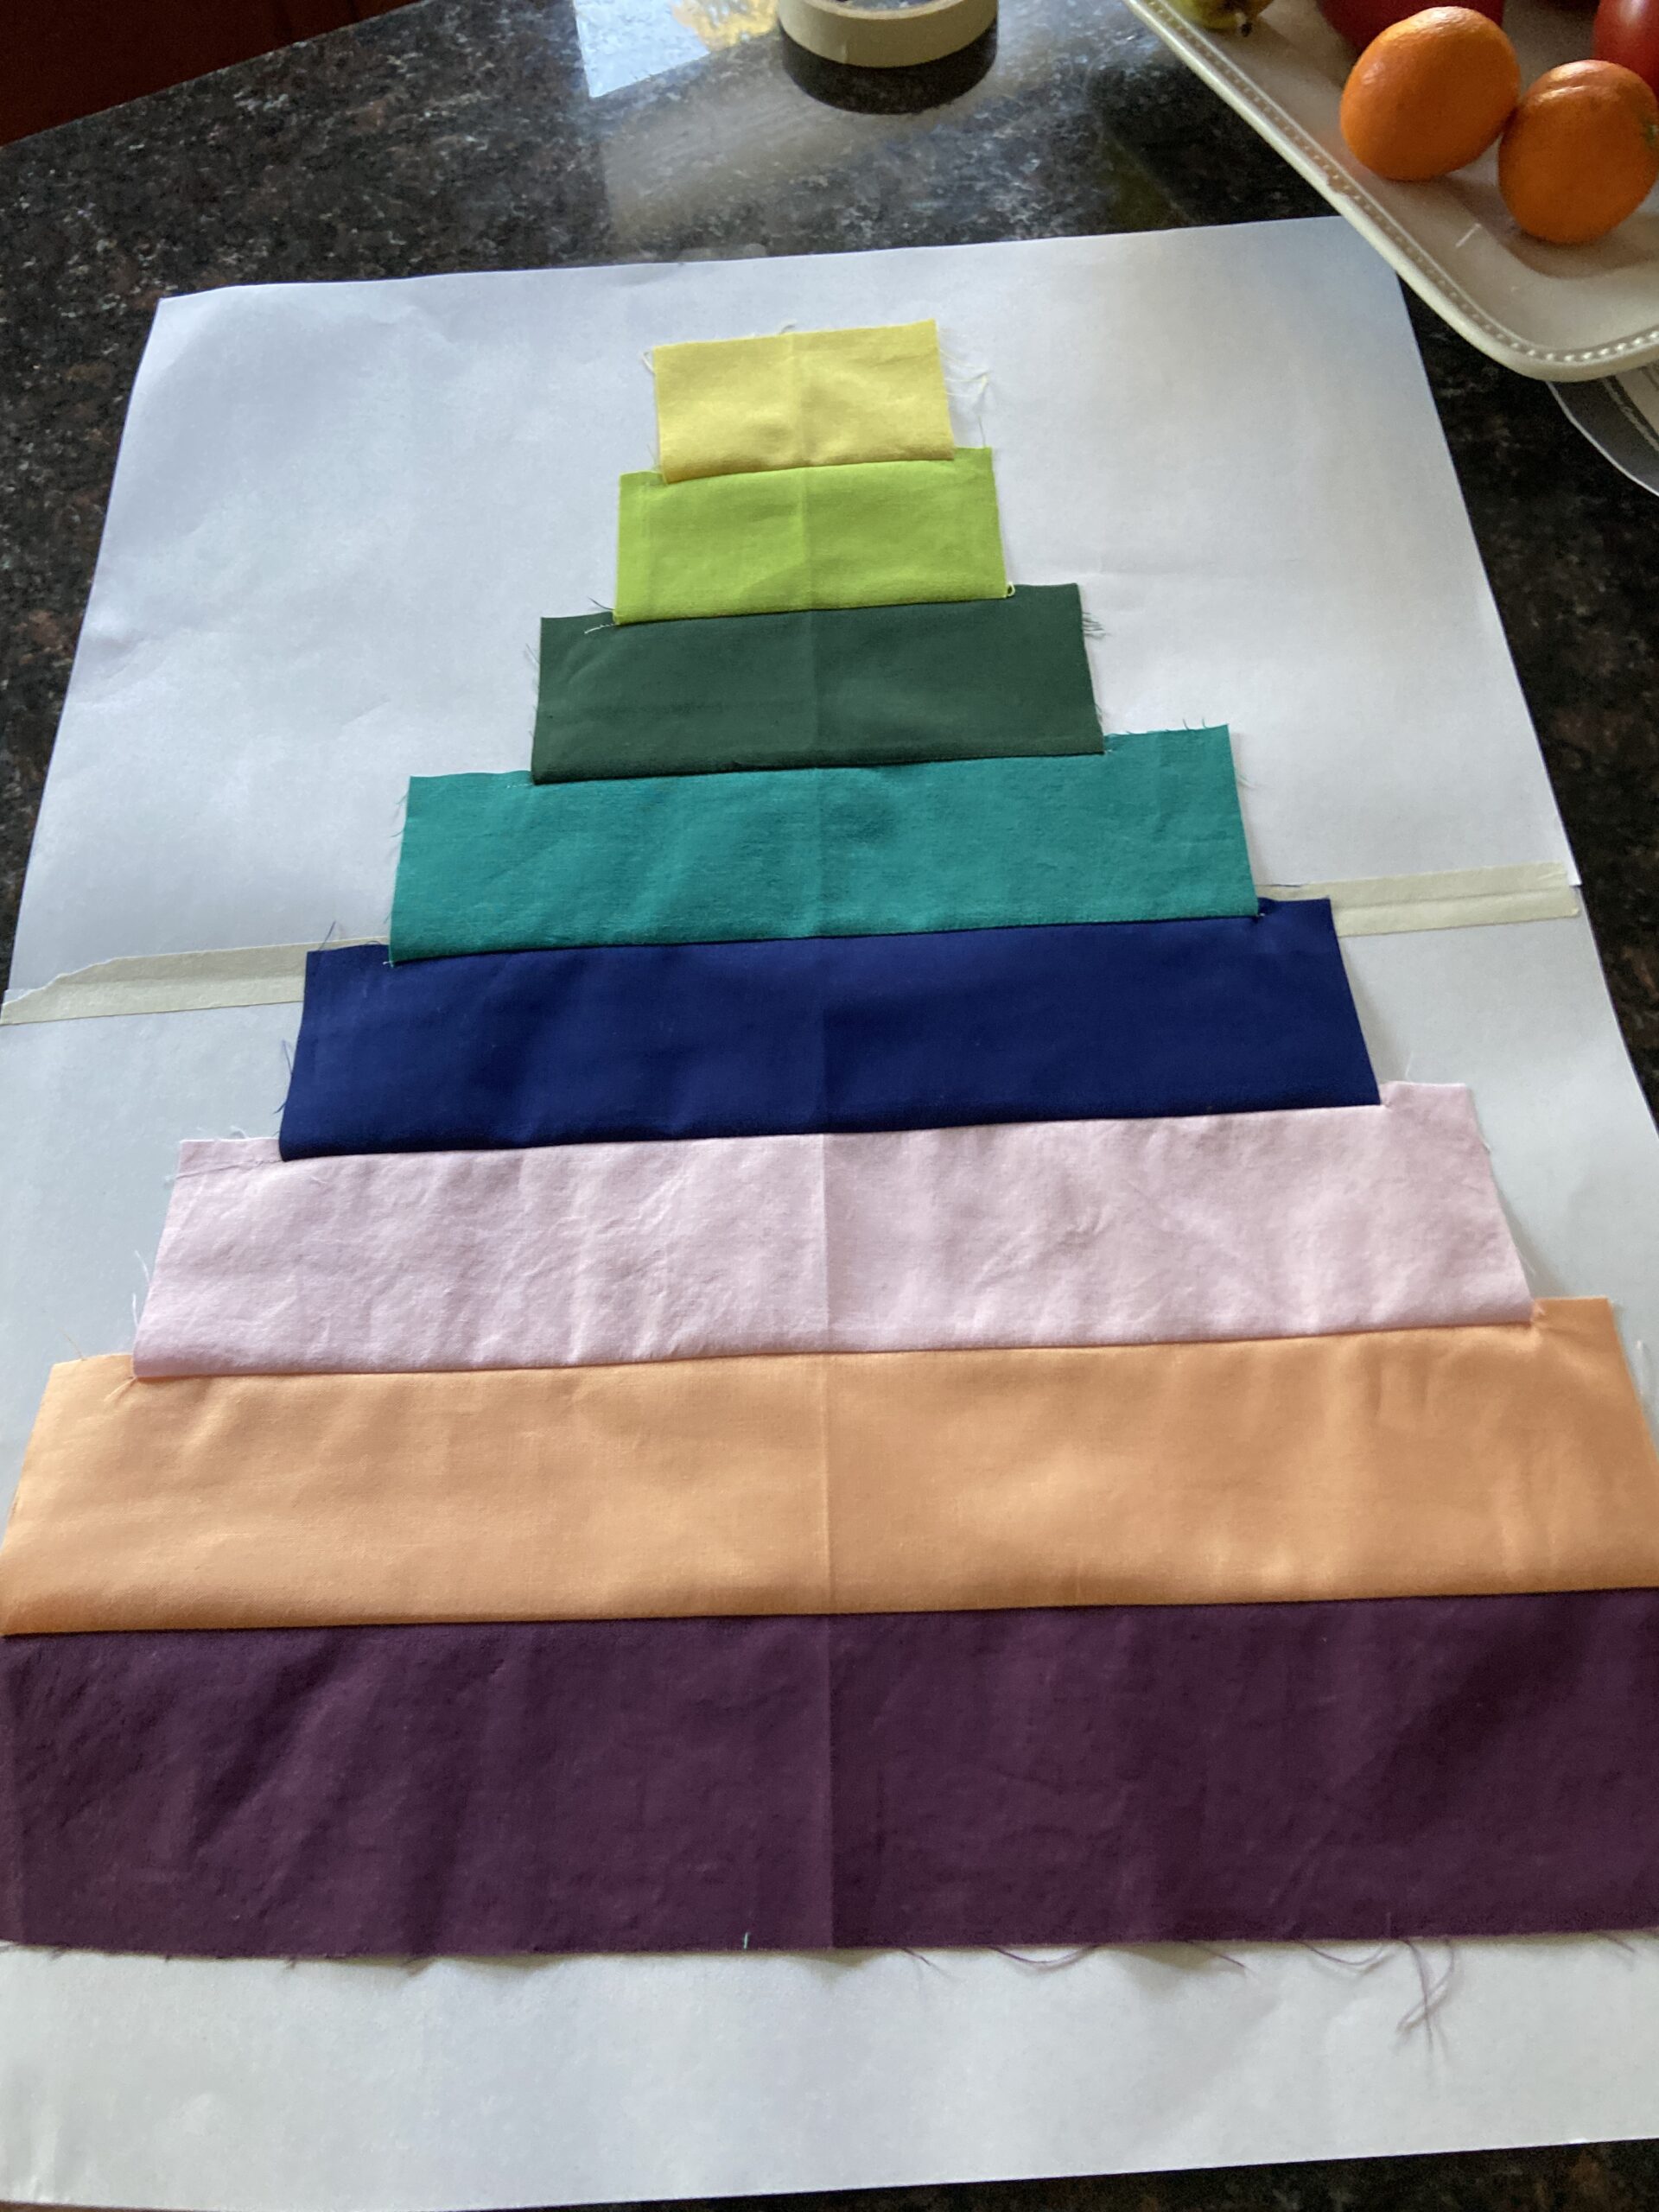
The next quilt shop visit happened to be a ways north of my home. Gossypium had a reputation for carrying a great selection of fabric and I wanted to check them out. We did some house/pet sitting for my son while he and his family were on vacation. This was a great opportunity to go for a quick run over to the shop. Much to my surprise, there were huge going out of business signs all over the building. It is so sad to see another brick and mortar shop closing up. Talking to the woman who was working, she shared how sad she was as she had worked there for several years and really enjoyed it. There are no other quilt shops in the immediate area. Clearly the sale had been going on for some time. They had several shelves of Kaffe Fassett fabrics at 50% off. These prints were the large scale florals in the less popular colors, sort of the leftovers. There really were not many prints that interested me. However the solids were 25% off. My solids are a bit low and what I do have are more the darker colors now.

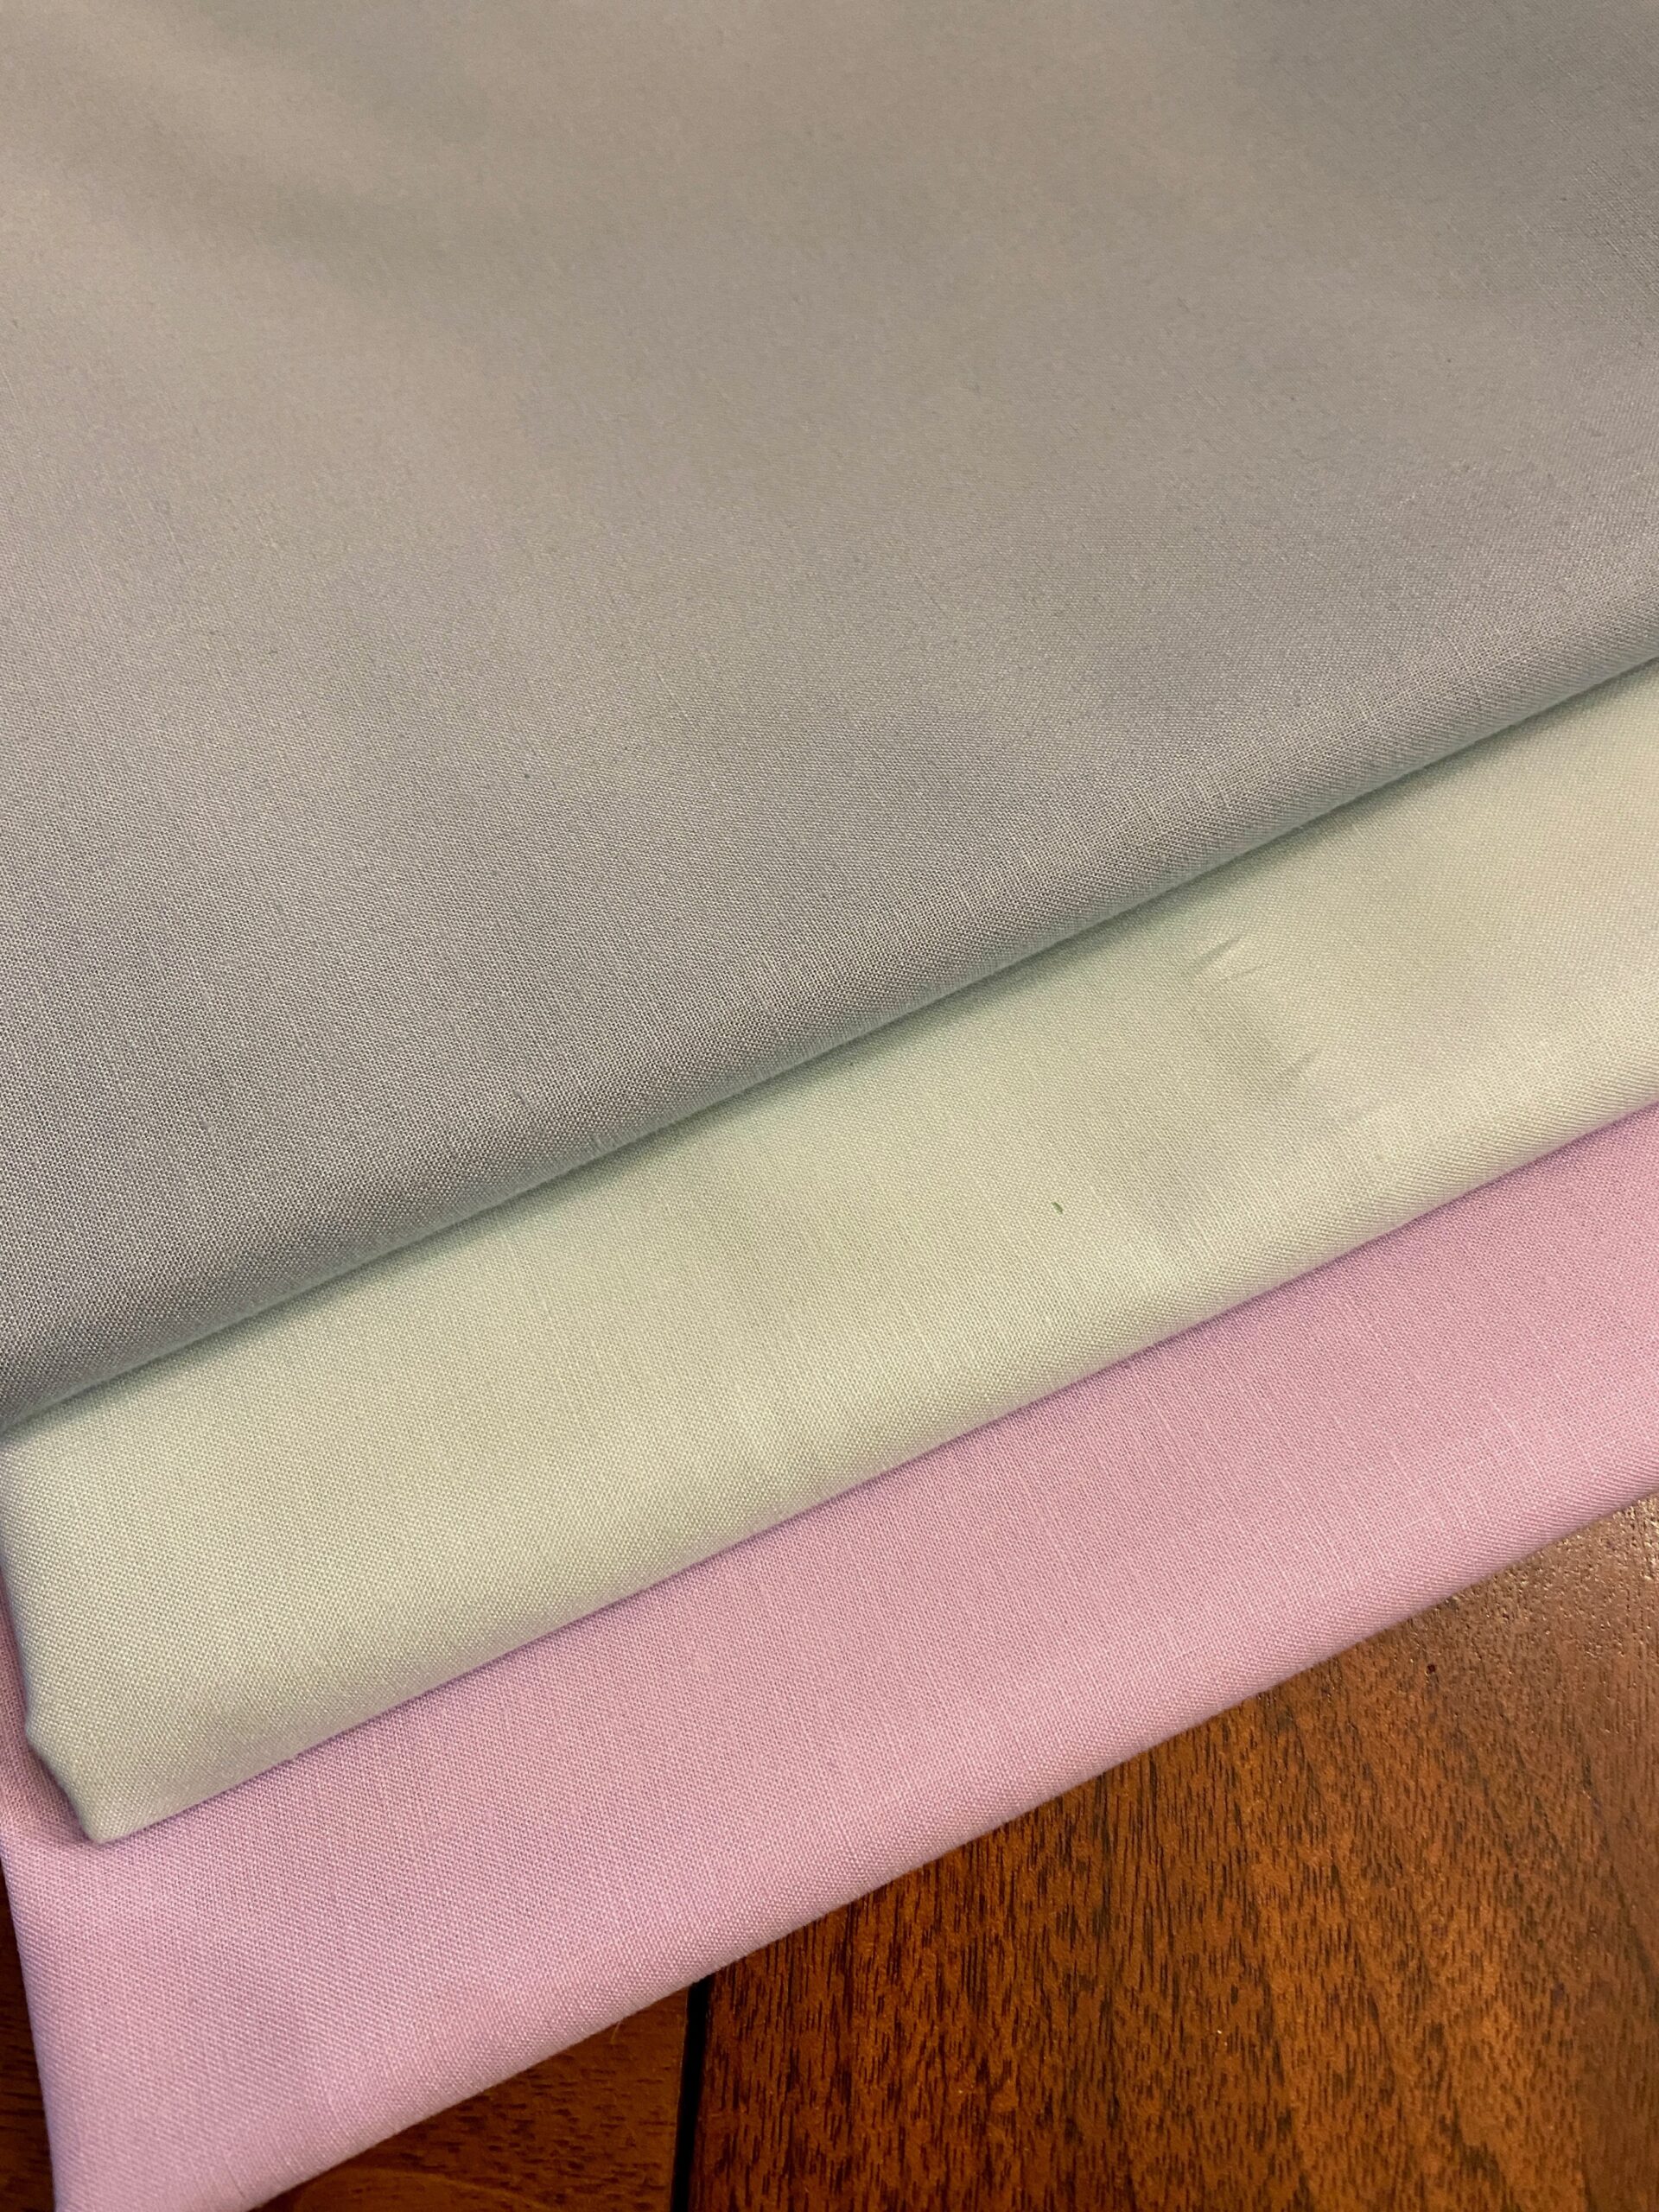
The piece in the middle is a pretty pastel green which was a trick to photograph. These will be good colors to have on the shelf.

Can’t wrap it up without a few cute pictures, right?

Is there anything sweeter than tiny toes?

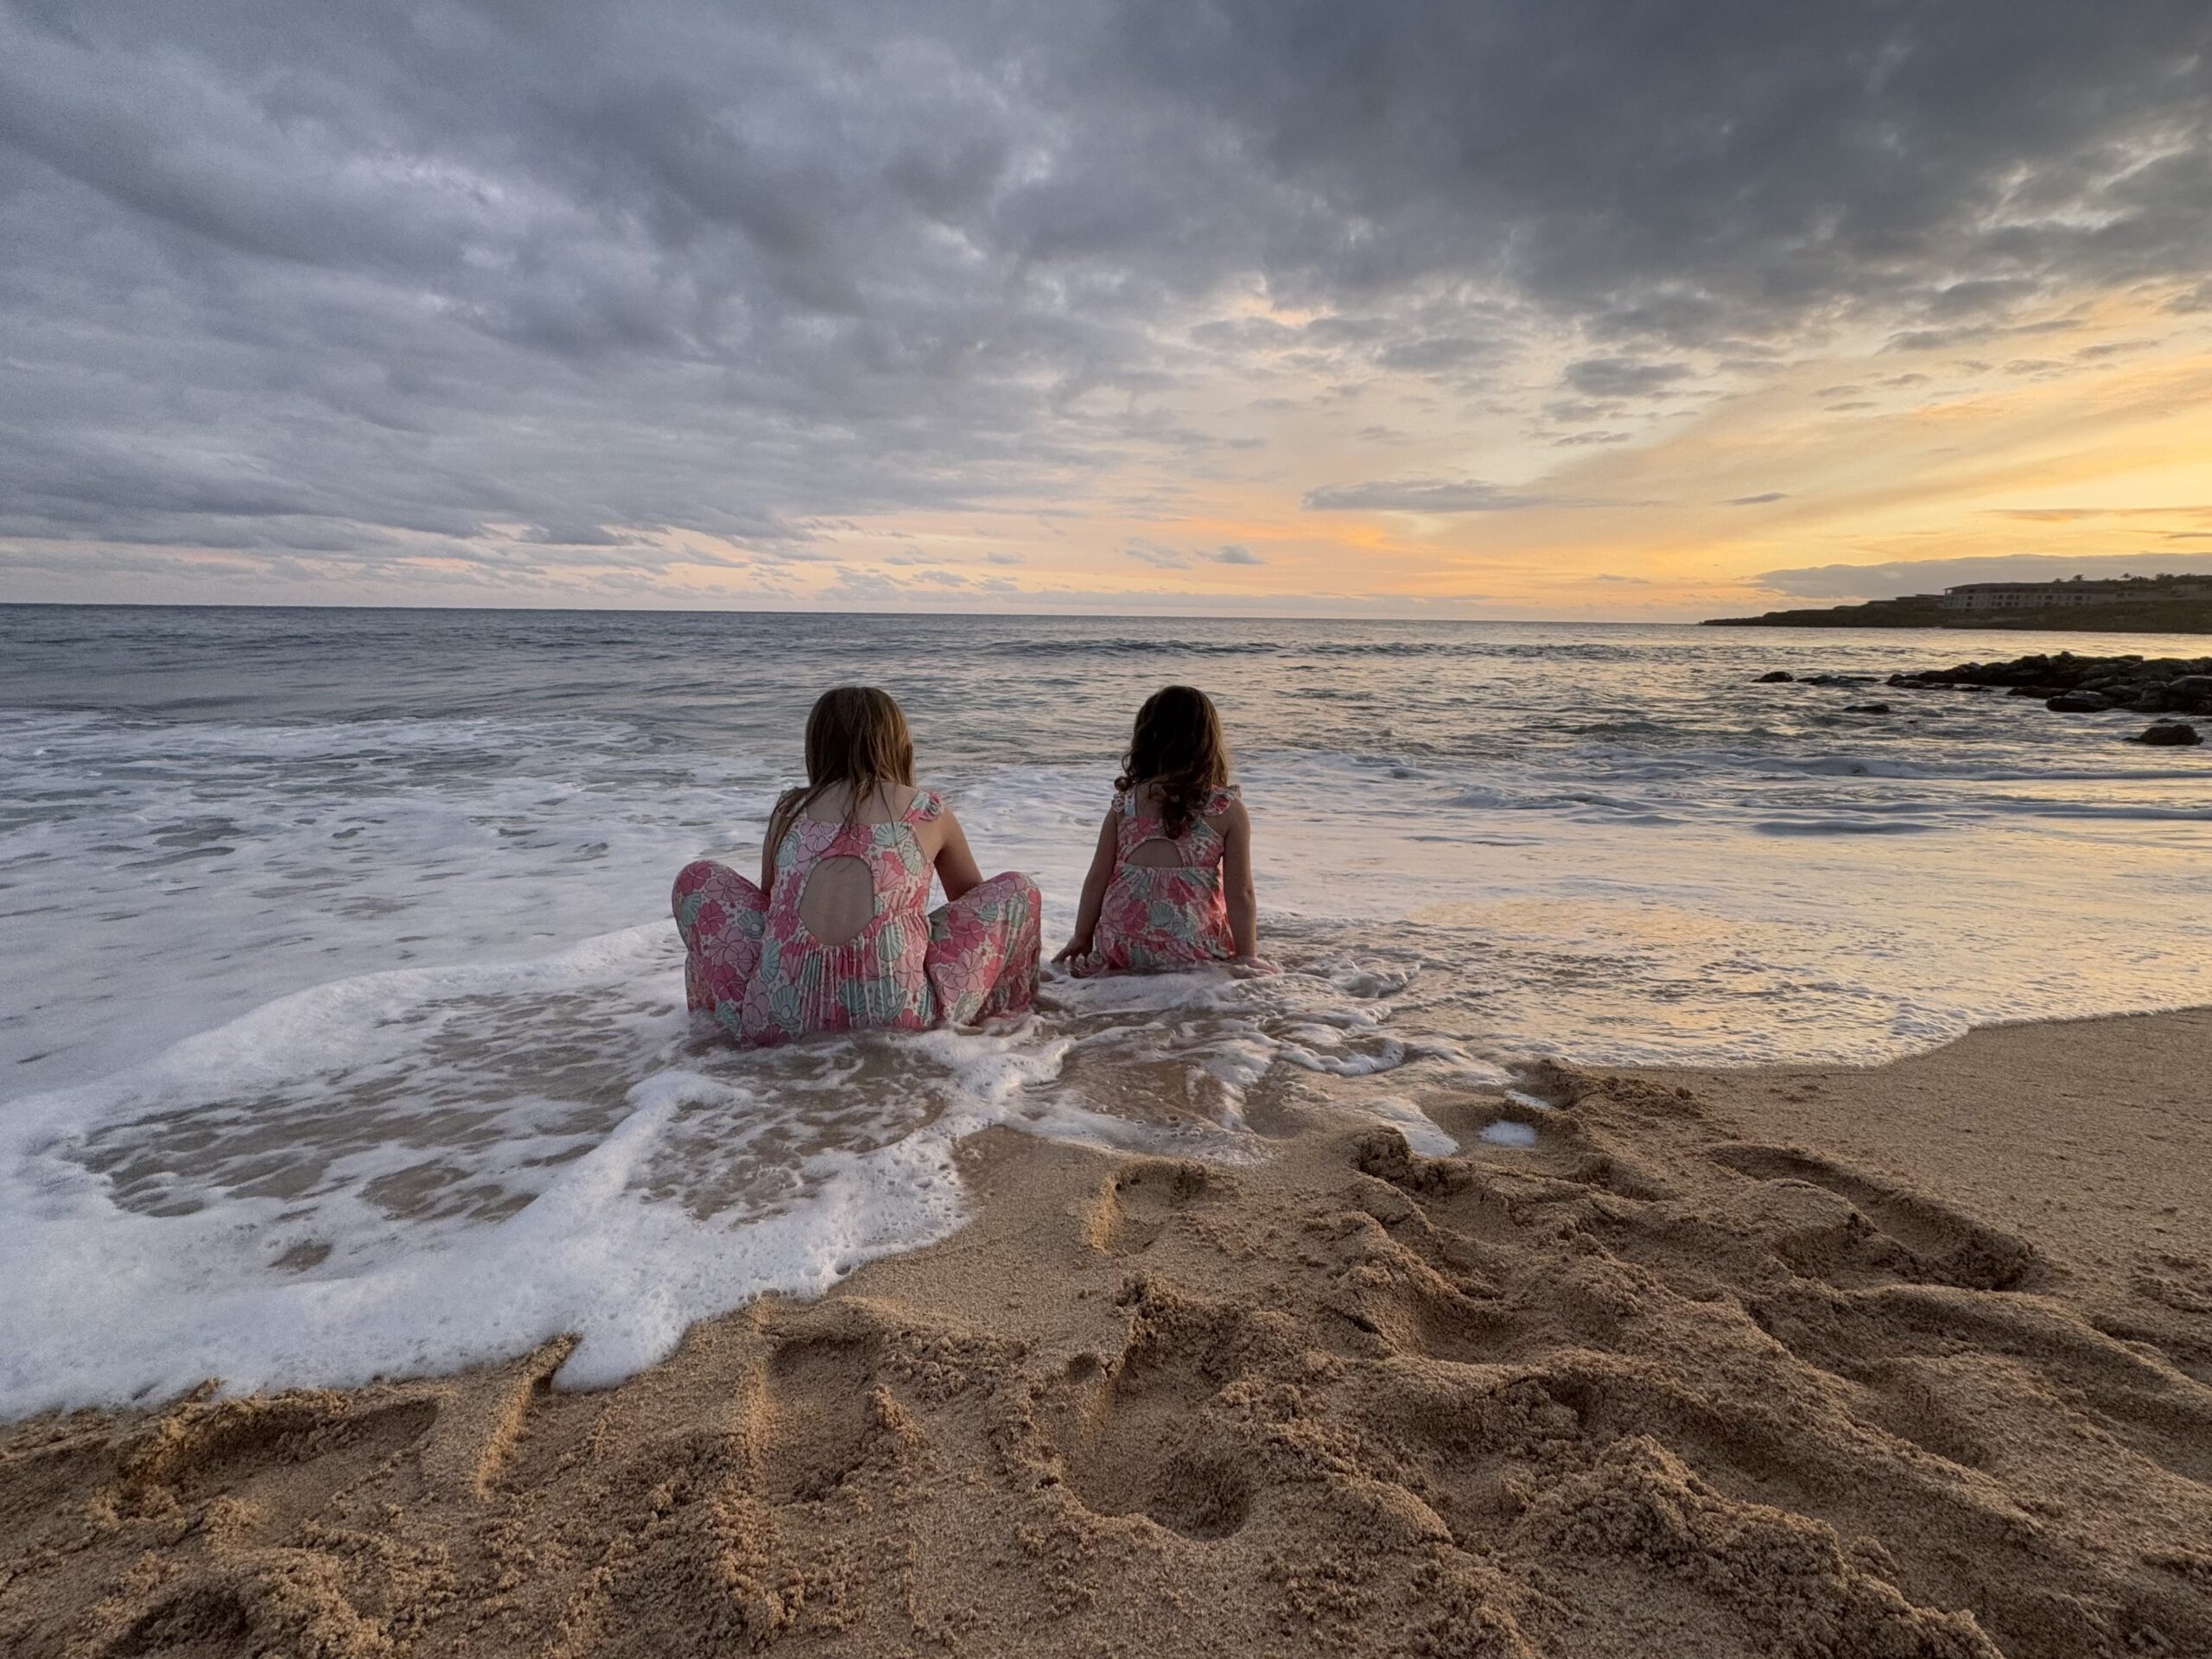
My older grand daughters were on a trip to Hawaii (hence the house sitting gig) and their parents scheduled a photographer to do a set of family portraits on the beach. They had sweet matching dresses and, from what I hear, were well behaved for the session. Afterward the water called to them, the dresses got a little wet, than maybe a bit soaked and finally, here they are! This makes me think of how I parented when my children were little. I know I would not have let this happen. I would have interfered and stopped them. But look at them. I suspect is a memory they will treasure. Will they talk to each other and remember when they were all dressed up and ended playing together in the waves at sunset. The dresses will wash out and no harm was done. When I look back on myself as a mom, there are a few things I would change. Of course it is always easy to look back, right? To think of how one would do things differently.

I am linking up with a few of my favorites.

Wednesday Wait Loss

Finished or Not Friday

Oh Scrap!

Big Stitches and Strip Quilts

Somehow a month passed by and I wasn’t struck with the urge to write. Not for lack of projects to share however. I have found quite a bit of time to be in the sewing room. Let’s take a look at a few projects.

Quite a number of weeks ago, I decided I wanted to make something that I could hand quilt with big stitches. I love the look of hand quilting and have not done a whole lot of it. I wish I could remember where I saw the inspiration for this but I didn’t write it down. It isn’t terribly unique but I did use someone else’s idea.

It took me no time to stitch these strips together. The most time was spent on choosing the fabrics. All came from the scrap bin though!

The first fabric I selected was the red print in the upper left corner (actually, this picture shows the project upside down). Not that anyone would know that but in my mind, this is upside down.

After assembling the top and basting it, I began to quilt it by hand. I didn’t use a hoop and maybe I should have. By the time I was done quilting it, it was somewhat distorted and this made it a challenge to square up for binding.

I love the stitching, even with all of the wobbles and wiggles.

Currently I have it hanging on a wall in my sewing room. I like this little hanger (made by my friend’s husband). I switch quilts here fairly often because it can be done easily. You can see this is crooked on the right side. Well, I should clarify, it is actually cut squarely but the strips are distorted. It is quirky but I like it. The colors are right up my alley. This little quilt provided many evenings of hand sewing which I enjoyed greatly.

In between times, I have been sorting and cutting a bag of fabric scraps for Project Linus. I was able to cut a large stack of charm squares and 3 1/2″ squares for future projects. In the scrap bag there were loads of strips. Rather than sort and cut them, I decided to just trim them up and make a quick quilt top.

I think I will add another strip or two to both the bottom and top to make it a bit larger. Then it will be finished up. The meetings are the last Sunday of each month so I have time to get this done by the next session. It is cute, kind of busy but it has a lot of fun things to look at. I’ll share it again when it is finished.

In between sewing, we have had lots of good family time. We had my son and his wife out from New York for about 5 days which was so nice. I miss them all the time and treasure when I do get to be with them. We also celebrated Easter with lots of family, including my sister and her husband who came up from Colorado.

I have been waiting for the rain to stop and it looks like it has. Time to get some time outdoors! Hope you will leave me a comment and tell me how you are doing. It has been a long time since we’ve chatted!

First Finish of 2024

Have to say, I am on a tear lately. Lots of sewing has been happening up in my sewing room! Sometimes the mood hits just right and everything lines up – inspiration, enough time, wintry weather which encourages staying inside, plus fun projects to work on.

Toward the end of December, I found myself wanting to practice some free motion quilting. I pulled out a small set of 2 1/2″ strips I bought at the thrift store a while back. There were only 20 strips so I decided to make a small quilt. This makes the FMQ practice easier to do. They were odd strips – someone had cut them by hand and each one was off at one point or another. I had to trim all of them – but you get what you pay for and I paid three bucks for these!

I have no idea what fabric this is but the set has tiny gold metallic dots on a variety of colors. For the most part I keep the red and black strips to a minimum. Otherwise I used the whole set. Simple columns of rectangles with a solid purple strip between them made for a quick quilt top. I strip pieced the strips in sets of six and then cut those into blocks, six inches wide. Rather than sew columns, I chose to sew two of the sets together, making blocks. Then I made the columns.

I took a look through my FMQ book by Christina Cameli to find a design to use. I wanted to quilt edge to edge so I would not have to worry about movement, getting stuck in corners, etc. As is my usual, once I settled on a design, I practiced it by drawing it on a large whiteboard I keep in the sewing room. Once it was comfortable, I started the quilting. This was such a pleasant process. Just going back and forth, back and forth – it was finished in no time!

Here is a closer picture of the quilting – it was sort of a clam shell shape with a swirl inside. The motif is super easy. I started at the bottom of the quilt and moved upward. About half way through the stitching becomes so much smoother; proof to me that practice really helps. The repetitive motif gets easier and easier as my brain learns the pattern.

The quilt is backed with fleece, making it really cozy. When our grand daughters are here they tend to use one small quilt I have because it is backed with flannel. They prefer the soft feeling of the flannel. Now we have two soft ones for them. I like seeing the quilting from the back. Sure – I need to continue to practice but seems like with each one I improve just a bit. I spray basted this project but there are some bubbles on the back side. Maybe I needed to use more spray or it could be because it was fleece? I am not sure. There is always something to learn.

I have already moved onto, and made a lot of progress with, the next quilt. Younger grand daughter has outgrown the toddler bed and we are putting another twin bed in the guest room. The other twin bed (where her big sister sleeps) has a quilt with a huge heart made of charm squares in the middle with white all around it. This quilt was given to me when I moved from California by a wonderful friend. I am replicating the design and making another heart quilt using pink and purple scraps.

Here is a progress shot (with weird color because I took the photo in the evening) . I have some of the rows stitched together but I am still moving things around for color placement. Surely it won’t take long to finish the quilt top. One thing I am pondering though – the quilt made by my friend has a white background which she pieced with white charm squares. I will be using white yardage. Rather than cut the five inch squares it seems to make sense to cut five inch strips. The piecing would certainly take less time. Do you know of any reason not to do it this way? Let me know your thoughts!

OK – that’s it for now. Hope you all have something fun to work on this weekend!

Linking to Free Motion Mavericks and a few others. (Check out the Link Up tab at the top of the page for lots of fun places to check out.)

Round Robin, a Comfort Quilt, Princesses & Goats

Well, where to start with this post? How about with the SAHRR? It is coming together nicely with two more rounds to add on. (Remember this is the Stay at Home Round Robin hosted by Quilting Gail. This year marks the third year of the event but the first time I have participated.

Hourglass blocks were the choice for this round. Chris @ Chrisknitssews took us through making these symmetrical blocks. Of course it is up to each quilter how to use them. I made tiny hourglass blocks to utilize the HST’s that I already had. Then I bordered them with strips of batik to get them to finish at 4.5″. At first I was going to put them on the darker blue batik because the colors are so vibrant on the dark background.

However, when looking at the quilt top I decided not to put two dark blue rounds side by side. Instead, I placed the hourglass blocks with the turquoise blue batik. Maybe I will continue to alternate the shades of blue.

16 patch blocks on point

On to the next project. Sometime before we moved I saw a post on Instagram from a woman who wanted to give up some blocks to anyone who would make a comfort quilt with them. I offered and she sent me two sets of blocks. The blue and light brown 16 patch blocks were one of the sets. These blocks had been made quite some time ago but after trimming them and reinforcing seams here and there, I put them together in this simple setting. They look sweet and with the added border, the top is just large enough to be a cozy lap size quilt. I need to look through my yardage and find something for the backing but the rest of this will go together quickly.

Spring has arrived in central California. Julia is happily working with mama goats and their babies. She is having a really busy term and the time she gets with these little guys make such a nice break in her day. Those rolling hills in the background are so pretty!

Soaking up some sun.

My son and his wife took the girls to Disneyland for the first time. It was princess heaven.

I thought the variety of expressions on A’s little face were so funny.

Posing with a princess and holding their dresses just so.

Little sister decided she needed a full hug.

The girls had a quick cuddle while riding the monorail into the park. I love this picture!

OK – that is enough for now. Feels like I have lots to work on this week. Hopefully you are all involved in a project that is causing those creative juices to flow! Linking up with a few favorites. Check the out at the top of the page, under Link Ups.

Make sure to check out the Quilter’s Color Mixer event coming on March 30th. It is going to be a great opportunity to learn all about color and placement from some really talented instructors. For more details on the event, click here to read my previous post.

Modern Wall Quilt

Isn’t that a boring title for a post? I don’t know what to call this quilt. Maybe after you look at the photos and read the post you’ll come up with a clever name for it.

Love this quilt book!

I bought a book for making baby quilts a couple of years ago. There are a few quilts in it that I thought would be very fun to make. There are ten projects, each one by a different designer. C&T Pubs just happens to have the book on sale right now. Make Baby Quilts includes designs by Camille Roskelley, Allison Harris, and Latifah Saafir – among others.

The Sweet as Pi pattern really drew me in though. Sure, it would be wonderful as a floor mat for a baby. Designed by Malka Dubrawsky, it is a strong graphic pattern and the colors could be changed as needed. But I decided to make it as a wall quilt.

Cutting the strips was easy. Choosing the colors – not so easy! I knew I wanted the colors to be bold and to have a strong presence in the quilt I had just made for our bed. After some back and forth with a stack of solids, these are the fabrics I selected. Assembling the wedges was a breeze. This all happened in early fall. With the holidays and all those silly viruses we all had, it was shelved until recently.

One wedge of the circle

Ignore the wrinkled appearance of this wedge! I was taking pictures to communicate my project to my son in Brooklyn NY. There are instructions for creating the template to cut the strip pieced wedges but I wasn’t getting it. Thank you FaceTime! Kyle was able to take a look and tell me what I needed to know!

Too long!

Somehow I made the template slightly longer than it should be. My sweet husband was able to trim it just a smidge and it was perfect.

Thread decisions

Once it was put together and basted, it was time to select threads. I normally quilt with a neutral thread and if this was to be a floor mat for a baby, that is what I would have done. However using gray or off white just didn’t cut it for these colors. Each stripe was quilted with a matching thread. I quilted a spiral in the yellow section (center). Then I switched to straight line quilting for the other stripes. No marking was done. It seemed if this was going to be on the wall, above the bed, no one would be face to face with it. (Unless the viewer chose to stand on the bed to get a closer look – haha). Viewing from a fair distance, the placement of the quilting lines wasn’t a huge deal. I basically set the width by using the outermost part of the walking foot as my guide.

It is done!!

Total honesty here – all the while I was working on this quilt, I never once considered the how heck it would be hung on the wall. It is quite large (approx 40″ across) and with a hanging sleeve on the back, it wouldn’t have laid flat on the wall. I was at a loss for a while. Then I thought about making some sort of circular frame with wire. I had florist wire but it was fairly light weight. So I measured out four (very long) lengths and twisted them into one piece to give it more strength. Then I pinned it around the circumference of the quilt. I wish I had taken pictures of this but I totally forgot. I sewed the wire to the back – butting it up as close as possible to the binding, being careful not to go all the way through to the front of the quilt. This kept the quilt flat and held it’s shape perfectly.

Hanging it was a bit of a chore. Ray was standing on the bed with level, screws and screw gun. He had to put screws all the way around because I really wanted it flat on the wall. Success!

I love it! The wall hanging contains many of the colors of the rather bohemian quilt I made for the bed so it just works.

I love looking at the quilt and the wall hanging together. Makes me happy!

It was my goal to finish this wall quilt in January and it is down! I checked it off the list of unfinished projects which is always a good feeling before moving on to the next thing! Now that you have seen it, what do I call it? Many of you are so clever at thinking of names for your finished quilts. This is not my strength. Help a girl out?

Linking to my favorites – check them out at the top of the page, under link ups!

(Note – this post contains affiliate links. Should you purchase something via the link, I will receive a small compensation at no cost to you.)

Grandparenting

The last couple of days were such a blast. We have been wanting to have just one of our grand daughters over for a couple of days. Ray and I thought it would be fun to see what it would be like to have just one all to ourselves. Because H has kindergarten it worked best to have A over. I went and spent a night at their house and then brought her home with me the following day. (H will have her turn over one of the holiday breaks in November or December.)

We weren’t sure how this would go, having A over without big sister or her parents. What a pleasant surprise! She was so happy and content. Slept great, played and played, and enjoyed a few adventures with us.

A new set of crib linens and quilt

Before she came over, I made a new quilt for the crib. It is getting colder and the quilt she was using is very lightweight. For this one, I filled it with two layers of 80/20 batting and backed it with flannel. It is super cozy.

Very little quilting gave a lot of loft.

I used a Fabric Cafe pattern called Dash for the quilt. It is very simple and requires three, one yard, pieces of fabric. I have a lot of yardage of both of the prints in this quilt and had just enough of the textured blue piece.

Simple yarn ties

For the quilting, I stitched in the ditch around most of the pieces. Also, I tied simple knots in the center of each square with Perle cotton.

Soft flannel backing

The backing isn’t a fantastic match but I had this piece of flannel in my box and it was big enough. In the interest of using up what I have, I called it good enough. The piece is super soft so it feels very cuddly.

Matching sheet and pillowcase

While I was at it, I made a matching crib sheet and pillowcase. Like I said, I have a lot of this fabric on the shelf!! But it looks so sweet to have it all coordinated. This girl was very excited to see her bed with the ‘strawberry’ blankets. She thought the little flowers were strawberries and who am I to argue??

Playing trains with PePaw.

A is in the midst of potty training so she spent lots of time in her panties – I thought it was easier to skip the pants over them in case we had to get to the bathroom quickly. She didn’t have any accidents though so I think she is on her way to success! She and her grandpa played with this wooden train set I found at a thrift shop for $5.99. Great deal and she had a lot of fun setting it up and (mostly) crashing the train so it would derail. Hahaha.

Finding seashells at the beach

I love this picture! We took A to the beach and hunted for shells. She was really immersed in this whole process. When we set the bag down for a bit to climb on some rocks, a couple of seagulls came over and pecked at the corner of the bag, trying to pick it up. Oh my gosh, she went nuts – clapping and shooing the birds away from her bag. It was really funny. Serious stuff for this two year old.

Playing with her princess.

Remember this fabric doll kit I posted about earlier? It was a hit. She understood right away to use the velcro bits to dress her up. It was so sweet – she played with the princess quite a bit.

Simple play with flannel pieces

One afternoon I gave her some flannel pieces I had cut out ahead of time. She made Halloween ghosts and was able to use the little bits to create different faces. It is so satisfying to watch her enjoy these simple games and toys. She made happy ghosts, angry ghosts and spooky ghosts; each one’s mood dictated by the shape of the mouth she gave it.

Our time went by quickly. Both Ray and I were thrilled that she was so content to be here. We look forward to having her back soon – well, maybe after we take a couple of naps to recover!

It has been a while since I shared any updates on Julia. She is doing great at school this year. She works at the swine unit on campus and spends a lot of time helping the sows when they farrow. This photo is from the middle of the night when she spent a long while with a mama sow who was struggling to deliver her piglets because they were so darn big. They kept getting stuck and Julia ended up having to manually help them deliver (by reaching in and pulling the piglet out). These little guys are just enormous compared to the newly birthed piglets she usually sees. It is such a great picture because the piglets look so happy to be out in the world and Julia is clearly happy with the outcome of the experience.

That is it for now. I hope all of you have a lovely weekend!!

What??? An Actual Finish?

Can it be? A quilt? Yes, I actually finished a quilt!! It was in December, 2021 that I last finished a quilt. Crazy times around our house the last six months!

A couple of weeks ago I saw this crib on Facebook Marketplace for $50. It seemed like a good deal as it transitions to a toddler bed as well. My two year old grand daughter is still in a crib but I suspect she will soon be changing over to a toddler bed. This should work for sleepovers for quite sometime.

The room that the girls sleep in is pink, like Pepto Bismol pink. If I didn’t dislike painting so much I would repaint it. But the girls like the pink and I don’t like painting so it will stay this way for a bit. I had some pink solid from Art Gallery Fabric and quickly made a fitted sheet for the mattress. This was both a super easy and fun project that I made with this tutorial by See Kate Sew.

I also had a quilt top ready to go that I made wayyy back in May of 2020. I used a pattern by Meadow Mist Designs called Pike’s Peak.

My version looks very different from the example on the pattern cover. But that is the joy of each interpretation of a pattern. The fabric choices often make it completely unique.

The quilting is very simple. Small cross hatch done on the diagonal completes the center block. Then a straight line every two inches for the open gray spaces. These lines were marked with a Hera marker and took no time at all to stitch. Easy peasy. I figured if this was to be used by a toddler, nothing fancier then that was warranted.

It is backed with a piece of Alison Glass fabric and bound with a tonal fabric from Art Gallery Fabric.

It looks great in the girls’ room. When I showed A her new bed at Grammy’s house she was quite happy and said “cozy, cozy bed”. She loves her bed at home and I think she will be happy in this one too.

We set up Julia’s old twin bed from years ago. My husband made the headboard and footboard so we stored it for the last 12 years or so. I am happy to have it set up for H now. She chose the quilt for her bed. (This quilt was gifted to me from a friend when we moved. It is a pretty quilt with all Kaffe Fassett fabrics and backed in soft minky.) When H saw it, she was taken with it and asked if it could be on her bed. So now we have beds set up for both girls!

My sewing room continues to improve. Last week Ray spent a day helping me organize it. He got the sewing desk put together for me.

He also got a bed set up in the room for guests. Of course as soon as the bed was set up, I was laying projects on it and now it is covered 1/2 way with my projects. He laughed when he saw how fast that happened! But at least we have a queen bed for guests if needed.

I am working on binding another quilt today. Hard to believe but I have another finish and will share it soon. Back soon with pictures – this one is really looking nice.

Sharing to my favorite link ups. Please take a look at the top of the page for details!

Masala Box is a Finish

I have finished very few quilts this year so I am excited to share this with everyone. It is a cheerful quilt and a fun pattern to make. As you likely remember, I tested this pattern for Sew Preeti Quilts. Preeti writes delightful patterns and has several listed in her Etsy Shop.

Masala Box Baby Quilt

I did make an internal compromise with this project. I really wanted to spend some time and quilt the center of each block with a picture of sorts. I had them all planned out. However, life is so crazy right now and I decided the free motion quilting would have to wait for another project. Instead I did a version of a zig zag/serpentine stitch going both vertically and horizontally which was a very quick way to finish this little quilt.

Difficult to photograph the white stitching on white!

The zig zag adds some fun texture and will probably be enhanced even more after being washed.

Polka dots for the backing.

I have quite a large piece of this polka dot fabric which made the backing choice a simple one. Binding was done with the same red fabric as used on the front.

The end of the fall leaves in our yard.

Our fall colors were extraordinary this year – most of the trees have dropped their leaves at this point.

Moving on to non-quilting topics, I have exciting news! Ray and I have decided to move from California up to Washington. I am sure you can guess the main reason. Yes, you got it. There are two sweet girls up there we are wanting to see more often. Between the pull of being near the grand children and the drawbacks to California life (mainly very hot summers and the dangerous fire seasons), we decided to go for it.

We have talked to a realtor and made a list of projects to do in order to have the house ready to list in early Spring. To that end, we both have been very busy. Ray bears the brunt of the really hard work but I have a fairly long list as well.

The sewing/guest room

Here is one project – you’ll surely relate to. I moved my sewing supplies downstair to the family room in order to create a guest room.

After the massive clean out

In the twelve years we have lived in this house, this room has never been so clean. After the holidays I will have all the carpets cleaned and the guest room will be staged for showing. For now, I am just reveling in its tidy state.

Julia’s room was in need of sprucing up as well. When she was about 10 years old, she asked if she could have a blue and lavender room. Time took its toll on this room so Ray and I painted it a very pale gray.

As with the guest room, I cannot believe how tidy Julia’s room is. This room will also be rearranged for showing but the hard part is done.

I can’t show you the new sewing space just yet – mainly because I haven’t taken a photo for you. (Let’s be honest, it is a hot mess!)

Another project is underway.

Finally, here is another project I am working on. I am a huge fan of photographs and have so many albums. But they do take up space. Rather than move them all, I decided to pull pictures out and organize them by year in photo boxes. One might think this is a quick and easy task, and it should be. But with each album I get pulled into the nostalgia and memories they contain. So while this is really enjoyable, it is not quick!! Evenings have been spent poring over the books and sharing pictures with my kids via text. It will get done all in good time. I have emptied about eight albums and they fit into two boxes which saves a lot of space.

That is enough for today. I need to get going to the grocery store for a few things. Julia comes home tomorrow for the whole Thanksgiving week. I am so excited! I haven’t seen her for eight weeks which is the longest ever! Have a wonderful day everyone.

Linking up to my favorites since I miraculously have a finish!! You can find them at the top of the page under Link Ups.

Masala Box – The Quilt Top

Last week I mentioned I had been asked by Preeti of Sew Preeti Quilts to test a pattern of hers. She recently released her newest design, Masala Box. The pattern is really adorable. Here is Preeti’s version.

This is the sort of pattern that is right up my alley. I love patchwork and also simplicity. Fussy patterns are not my favorite. This pattern is set up for strip piecing (which is quick and efficient) or if you have a box of 2 1/2″ squares, you could make a scrappy version and use those bits up!

Baby Quilt Size Masala Box

Hoping to finish this quickly so I could share Preeti’s new pattern, I made a baby quilt. It finishes at 36″ square which is the perfect size for Jack’s Basket. I love donating to them and will send this off when it is finished. Looking through my stash, I wanted to put together some bold colors. When I saw the red polka dots on turquoise I decided I would build off that piece. Luckily, I had plenty of red and aqua in the stash and I added a bright polka dot on off-white to break things up a bit.

The pattern features a large rectangle within each set of 2 1/2″ squares. Preeti did a wonderful job writing this pattern up. Her instructions and illustrations are clear and very easy to follow. There are so many ways the rectangle within each block could be used. How about placing appliqué on that center, or featuring a large scale fabric, maybe notes or signatures could be written here in permanent fabric markers – I think it is a creative space with a lot of potential.

I plan to back my quilt with the red and aqua polka dot fabric. As for a quilting plan, I don’t have one just yet. I want to do something special with those white rectangles and am waiting to figure that part out.

If you would like to see another version of the Masala quilt, hop over to The Academic Quilter. Mari made her quilt in tones of blue, green and yellow with an earthy background. It is so pretty and totally different from my version. Isn’t it fun to see the same pattern made with different fabrics?

Congrats to Preeti for the release of this fun pattern. Be sure to go to her shop and add a copy to your quilt pattern collection!

Linking up to my usual favorites – check them out at the top of the page, under Link Ups.

Dinosaur Quilt Finished & Delivered

It took very little time to finish up the whole cloth dinosaur quilt I made for our local Community Service group. It is great to have quilts available for children in crises and I think this one is perfect. Cute dinosaurs on the fronts and snuggly, soft flannel on the back.

A not so artsy photo – complete with ladders and scrap wood in the background!

The binding is a bold red and white stripe, leftover yardage gifted by my sister some time ago.

I quilted around each dinosaur and if needed (to travel to the next creature) I echoed some of the trees or volcanoes. Simple and fun!

It finished at approximately 40″ square, a good size for a toddler needing a quilted hug.

Whole cloth quilts are a lot of fun and provide such easy FMQ practice. Here are a few I made in the past.

Panda Garden Recess Whole Cloth Quilt

I couldn’t bear to cut up this fabric. The little panda bear scenes deserved to stay whole. I had made this as a sample to use in my quilt show vendor booths some years back.

Commissioned baby quilt using Fiesta Fun.

This was a commission done for a customer. It was, again, a great chance to practice FMQ as I quilted around the flowers.

Who
Whole Cloth Quilt using Valori Wells’ Marikech fabric

Some years back, my niece asked me to make a quilt for her best friend’s first baby. She really wanted this boho elephant fabric which was no longer available. But you know how it goes – I put it out there that I needed a piece of this and was able to buy it from someone who had it on her shelf. Just enough to make the quilt.

Sometimes, a fabric is just so pretty as it is, I feel like I don’t need (or want) to cut it up. What do you think? Have you made a whole cloth quilt? If not, I bet you have a perfect large scale fabric in your stash to give it a try! Plus, it is easy to quilt and a nice way to get some practice. Quilting around shapes that are already there helps those shapes to pop a bit and is a great way to improve your FMQ skills.

Sharing with my usual link ups. Please take a look at the top of the page, under Link Ups.