My niece just had her first baby! She was due on January 25th and this little tiny girl decided to join the family on January 8th. She must have been in quite a hurry to meet her mama and daddy.
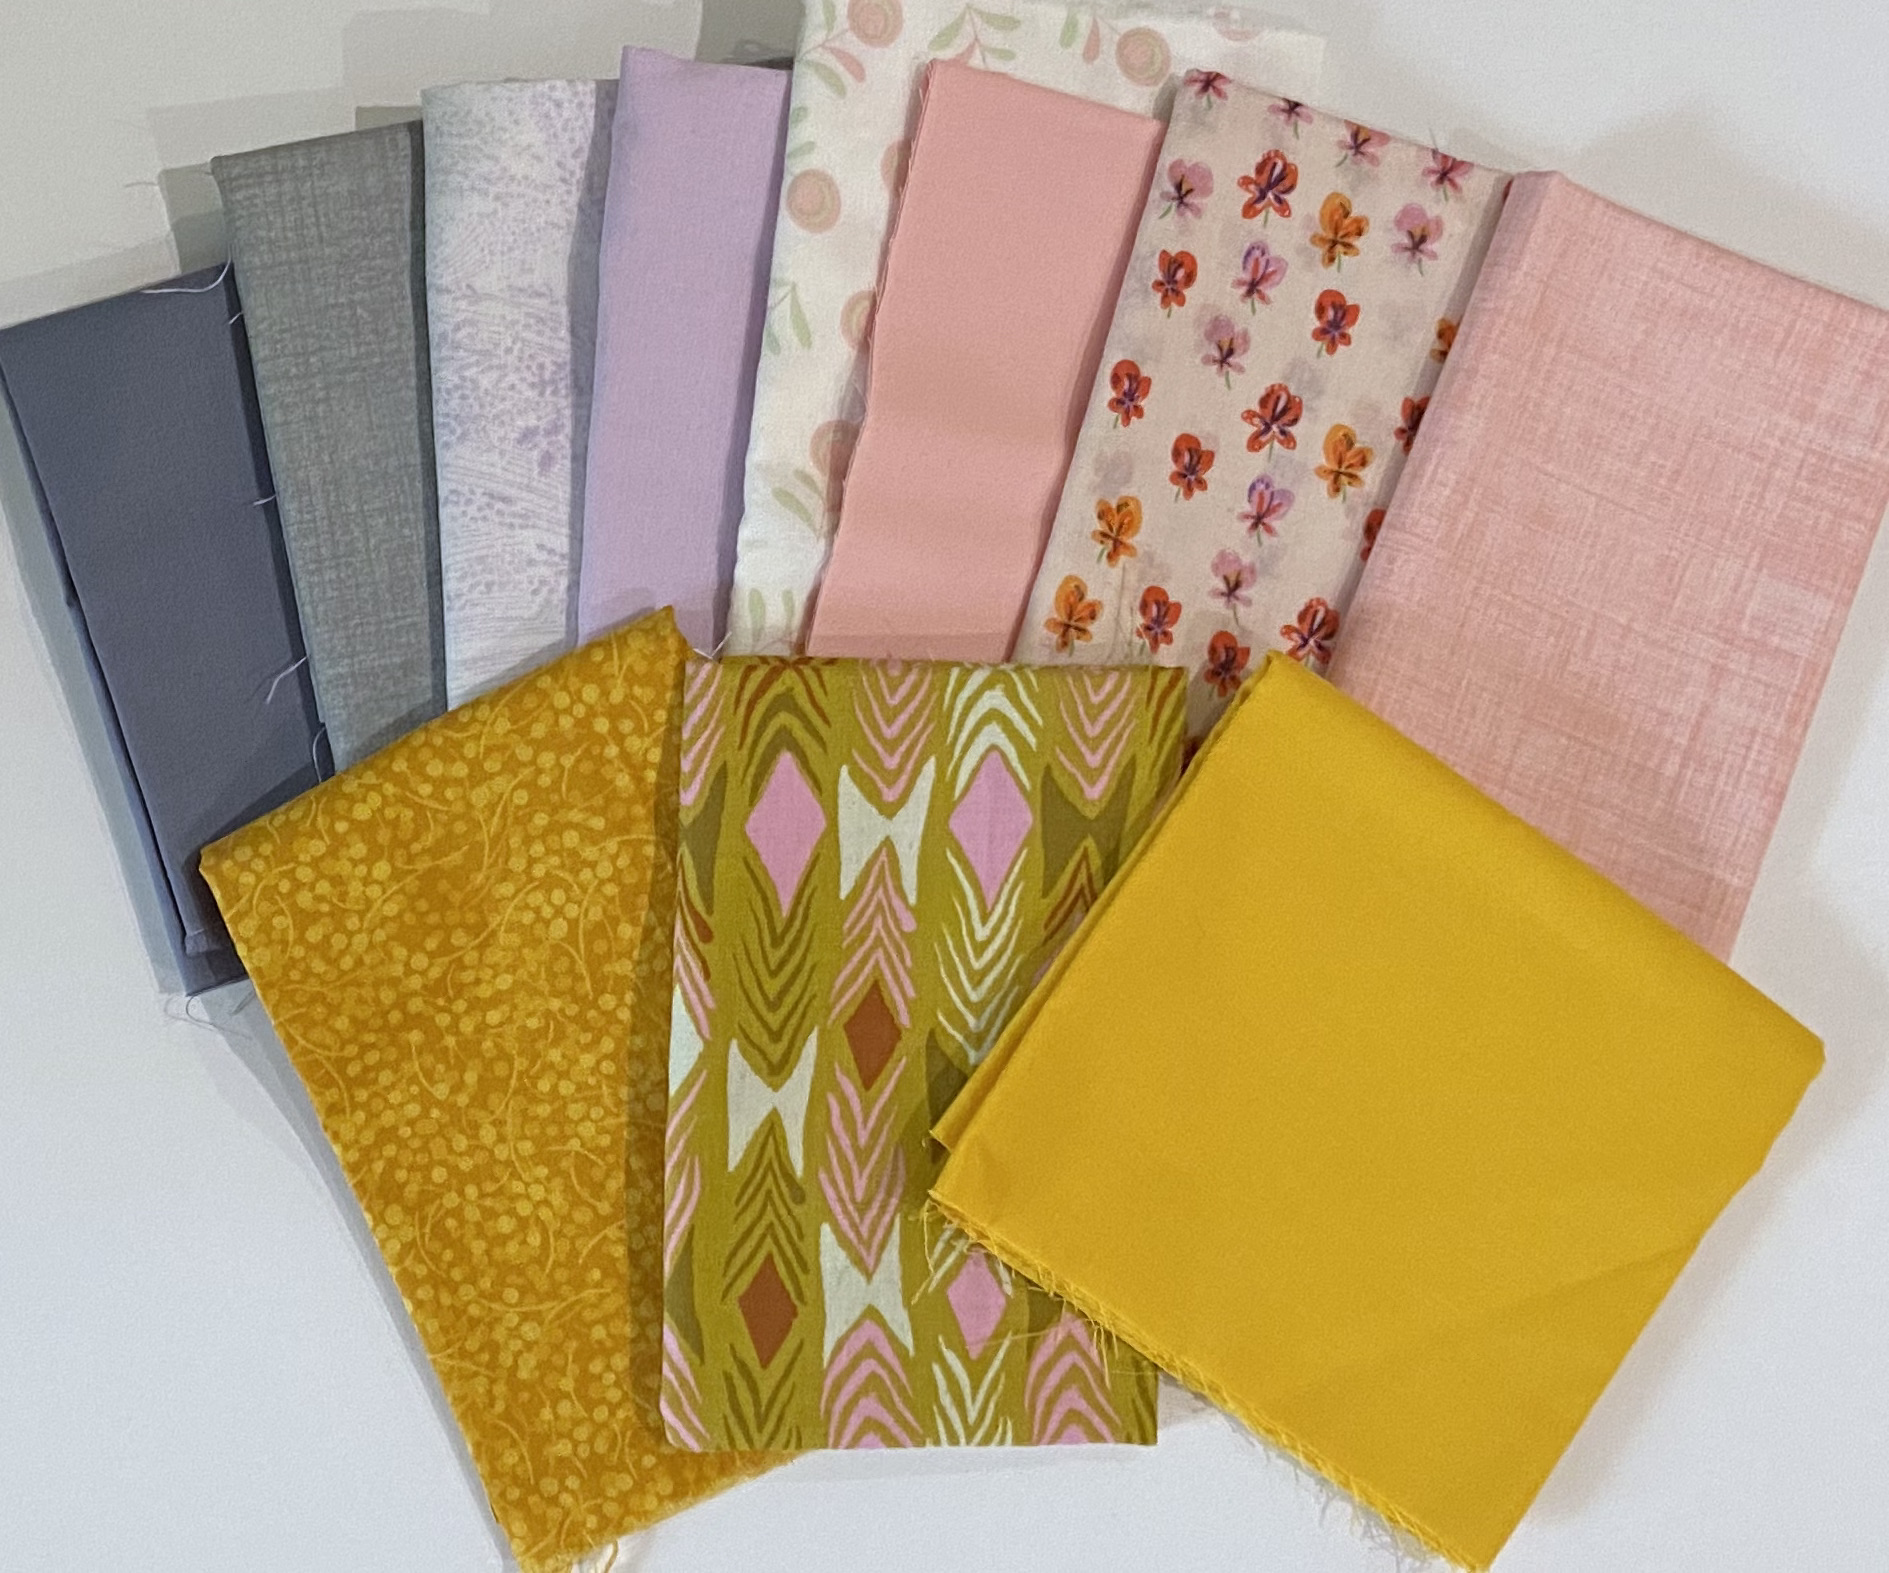
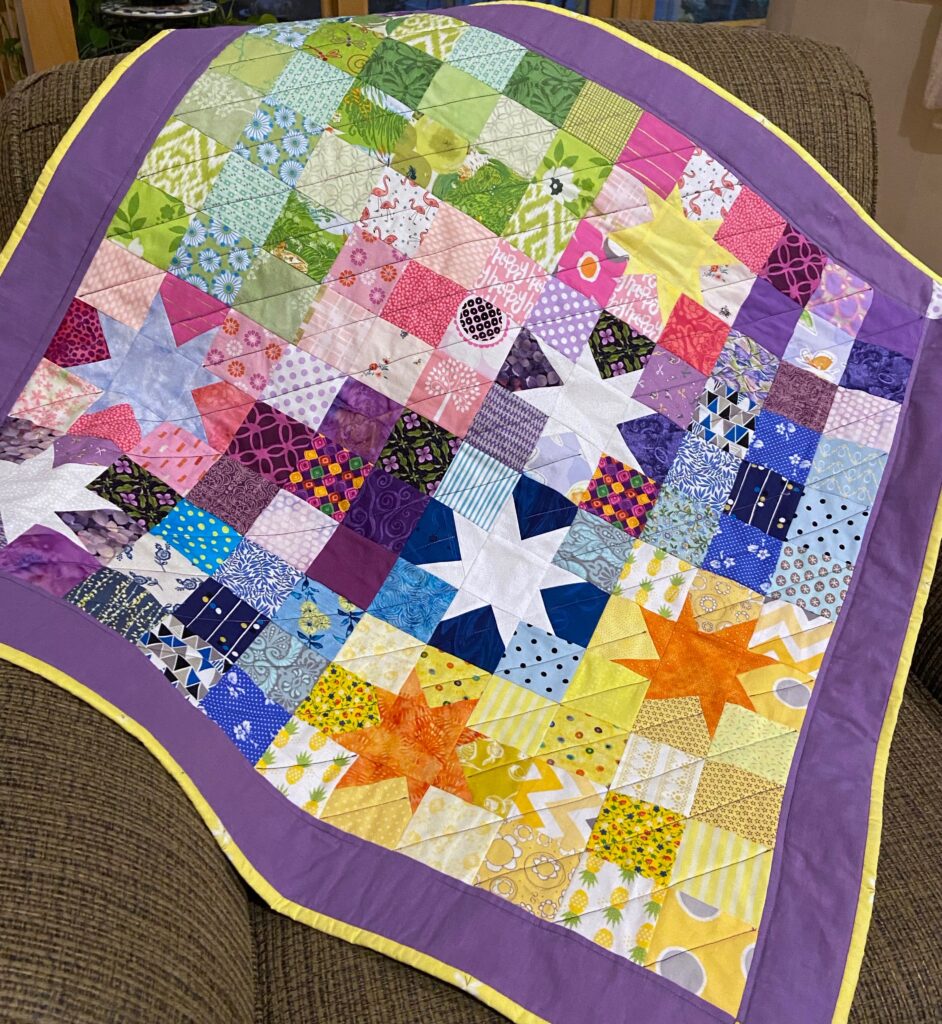
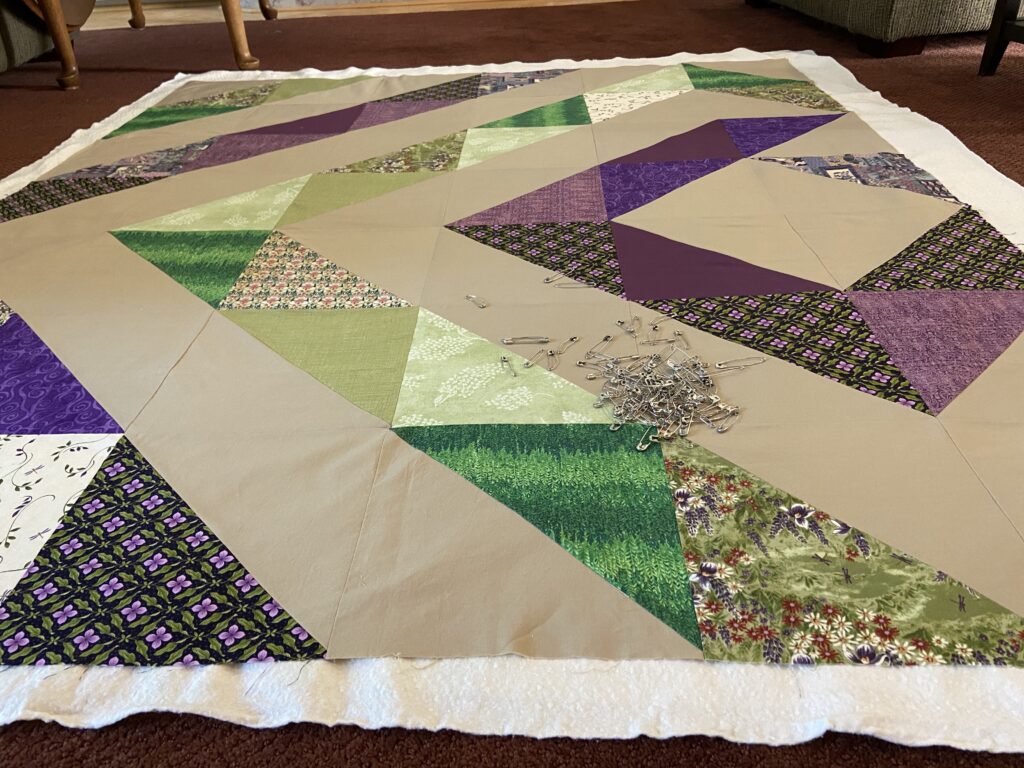
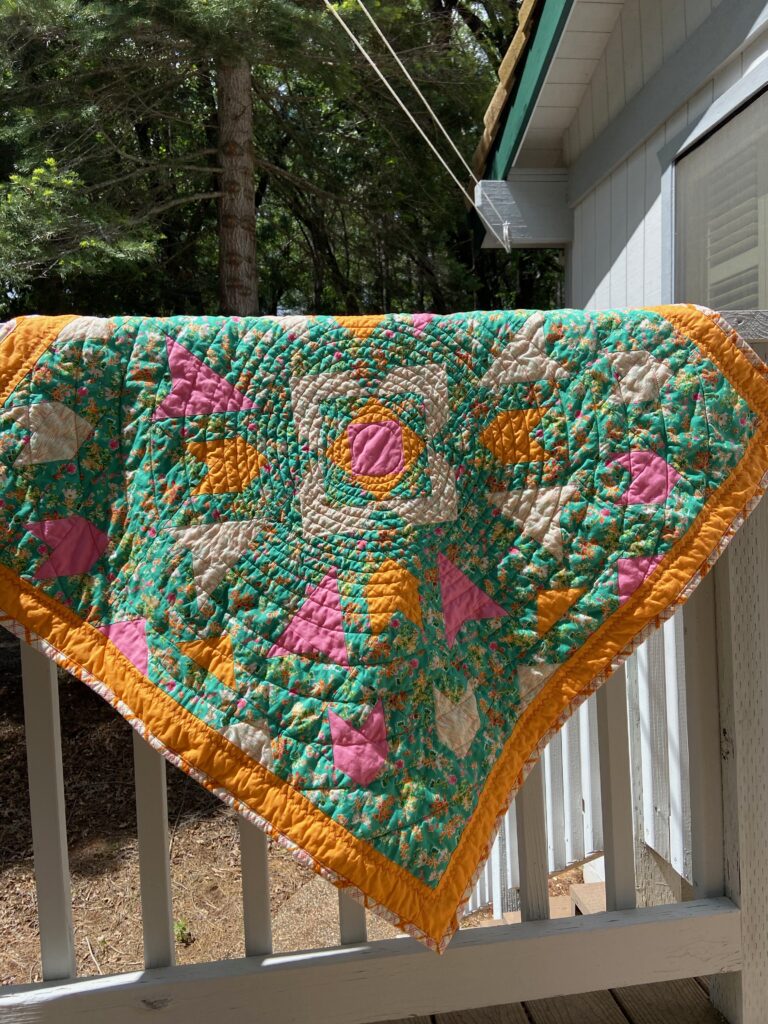
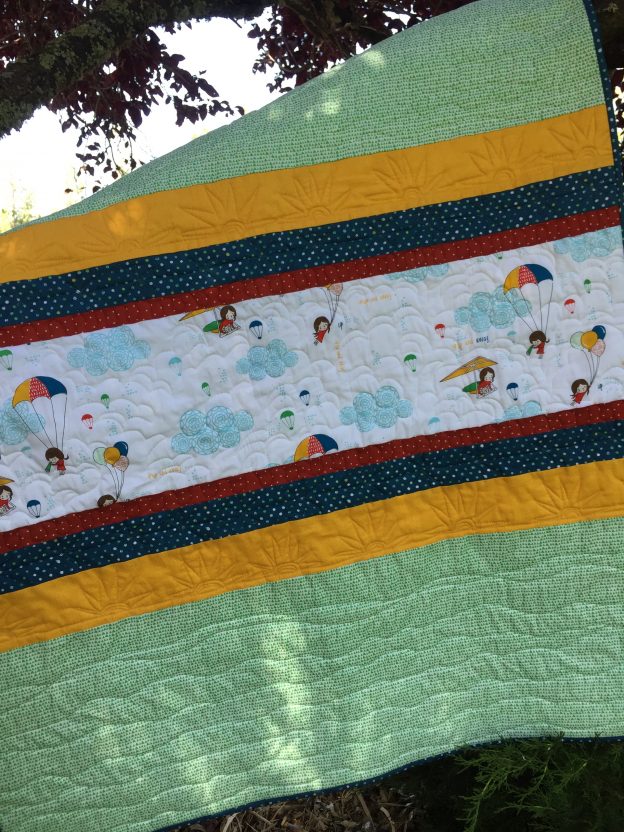
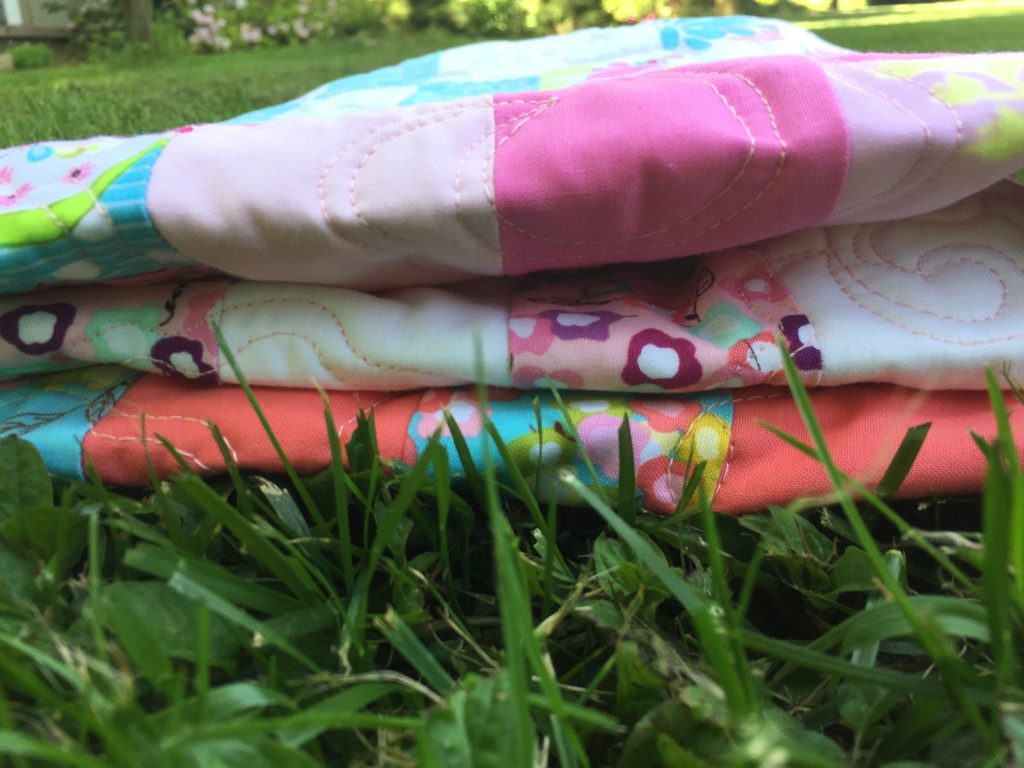
Some months ago (in September I believe) I was talking to my sister and she helped me to choose colors for a baby quilt. After some back and forth, I had a stack of fabric in shades of pink, lavender, gray and cheddar yellow. Really unusual colors but I loved them together.
I went back and forth on patterns and finally decided to make a triangle quilt. I have never made one and it seemed like a fun thing to do. My crafty husband cut an acrylic template for me to use to cut pieces. It went really fast and soon enough I had a stack of triangles.

Once I had these rows stitched together I realized it was too narrow. So I sent of this photo to one of my many quilty advisors, Wendy, of Pieceful Thoughts to ask for ideas. She suggested an outer border with segments of triangles within the border. Genius! I loved the idea.
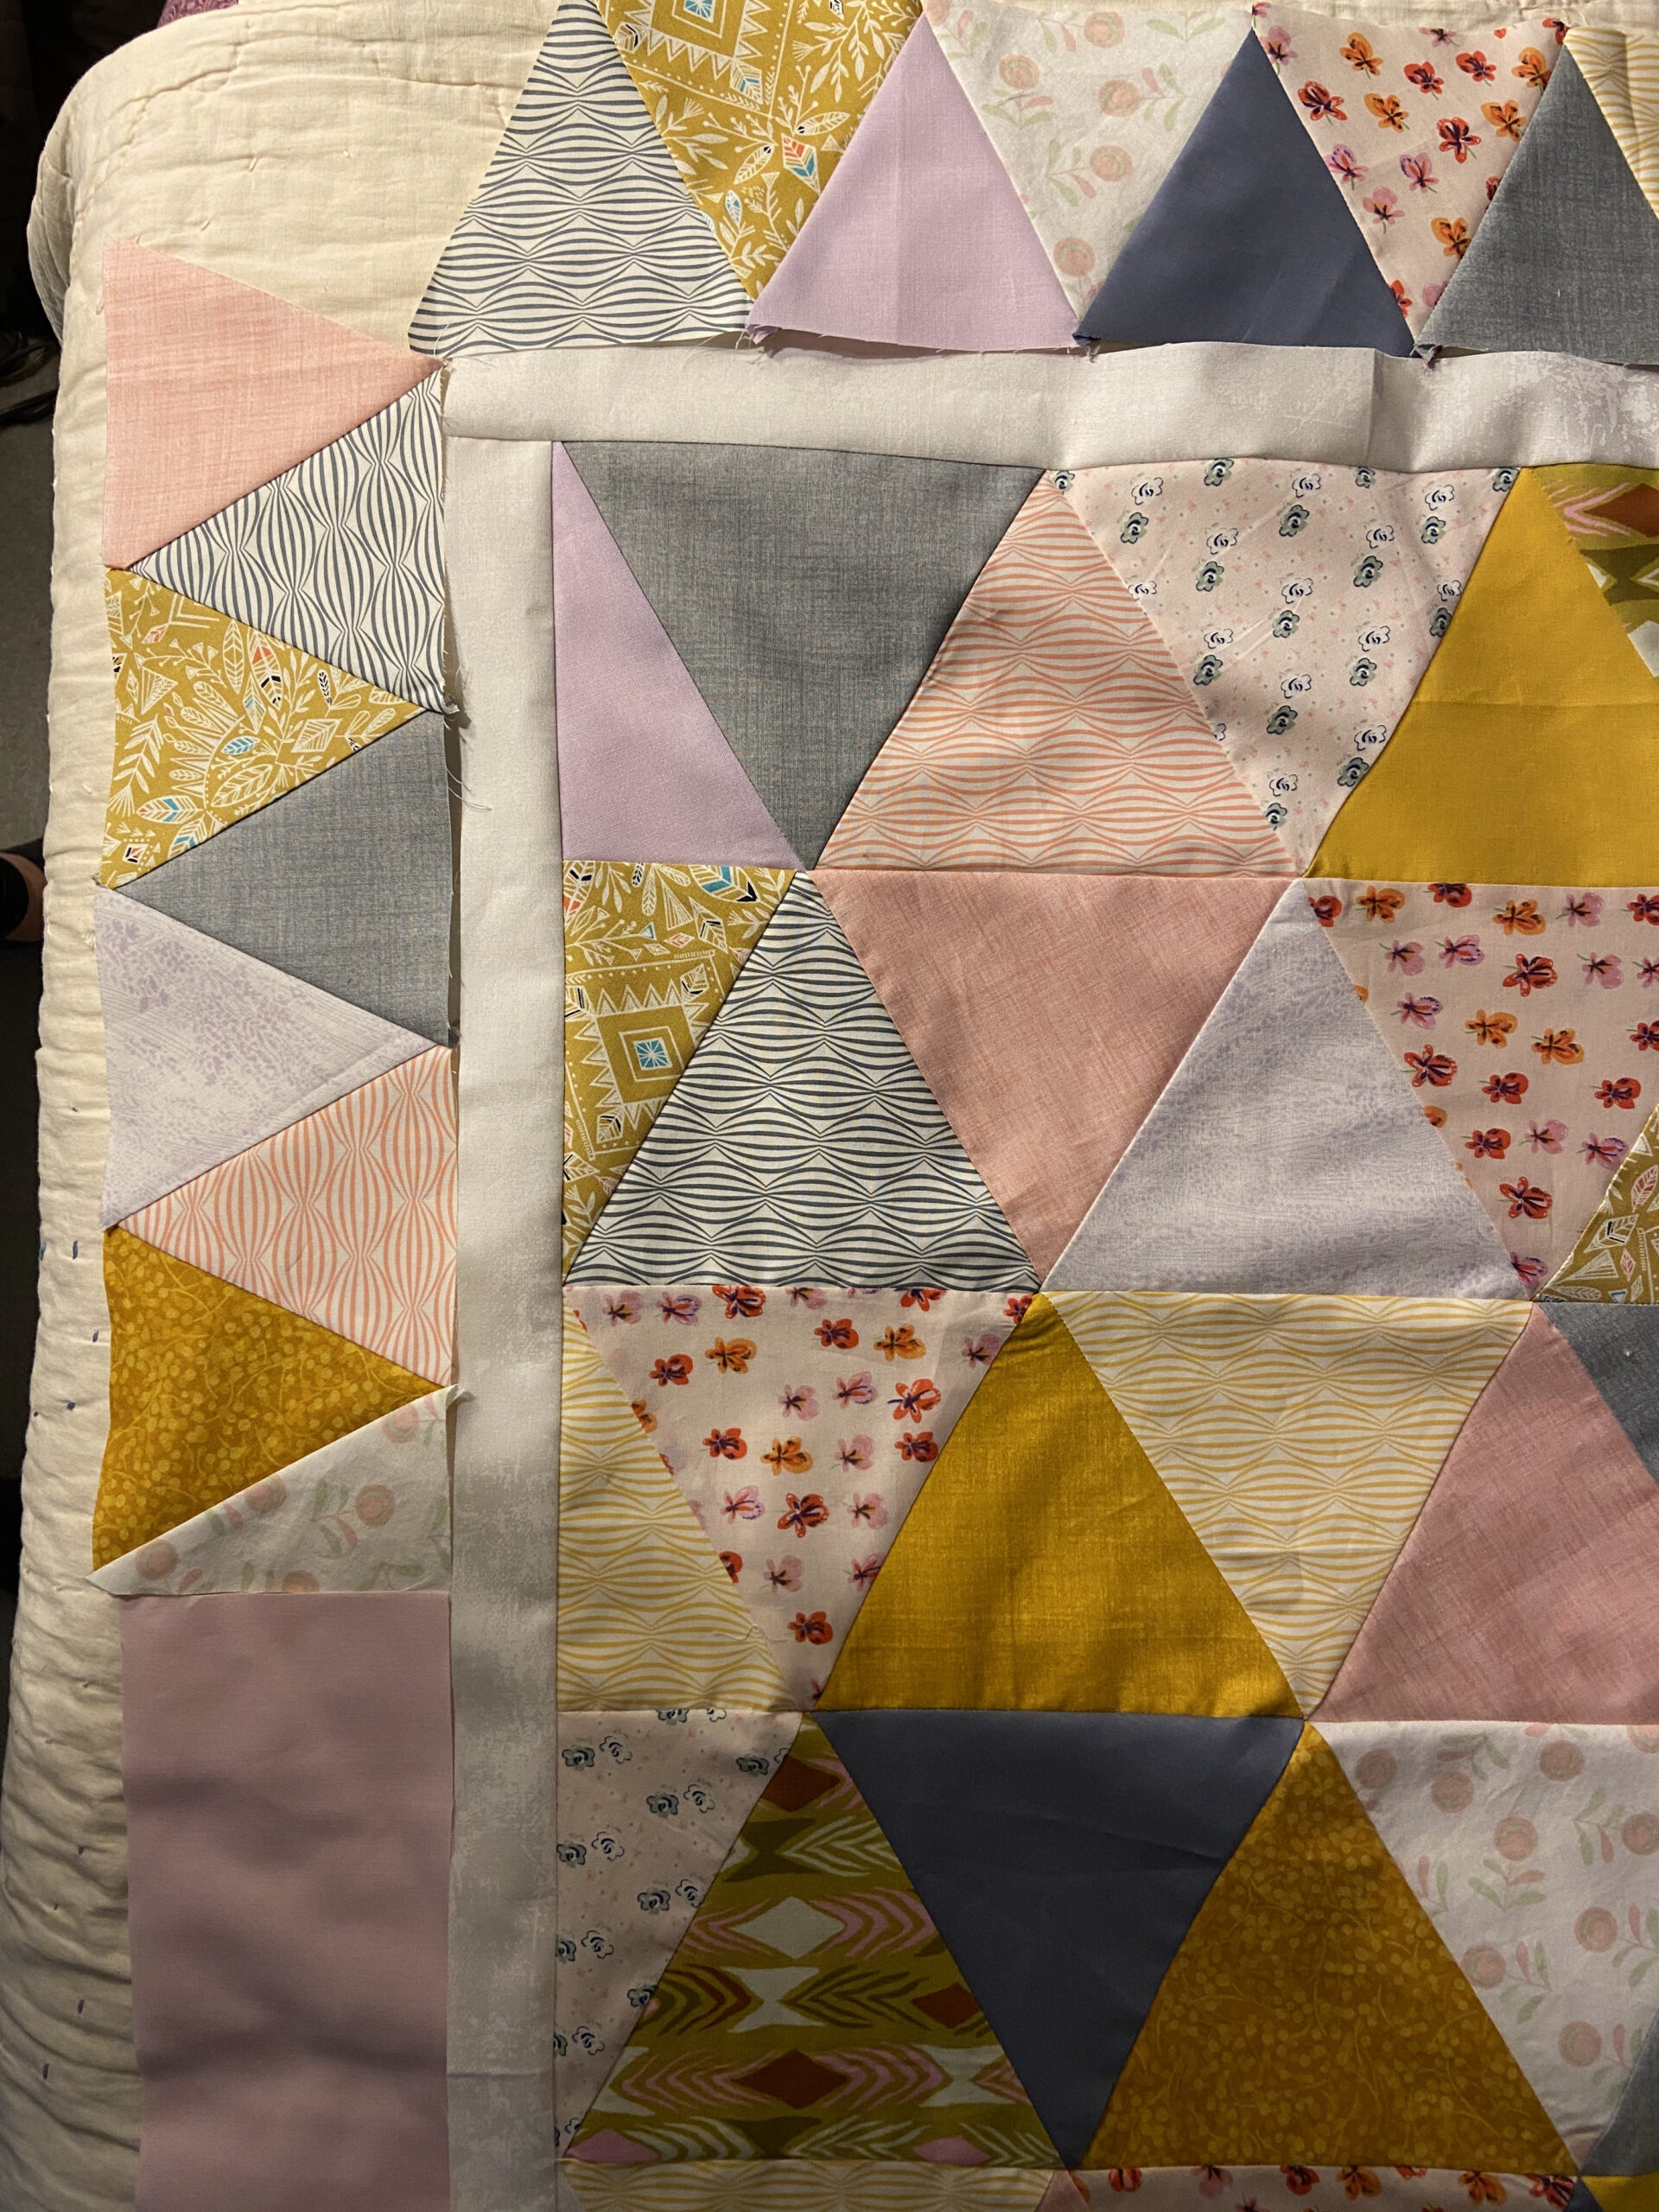
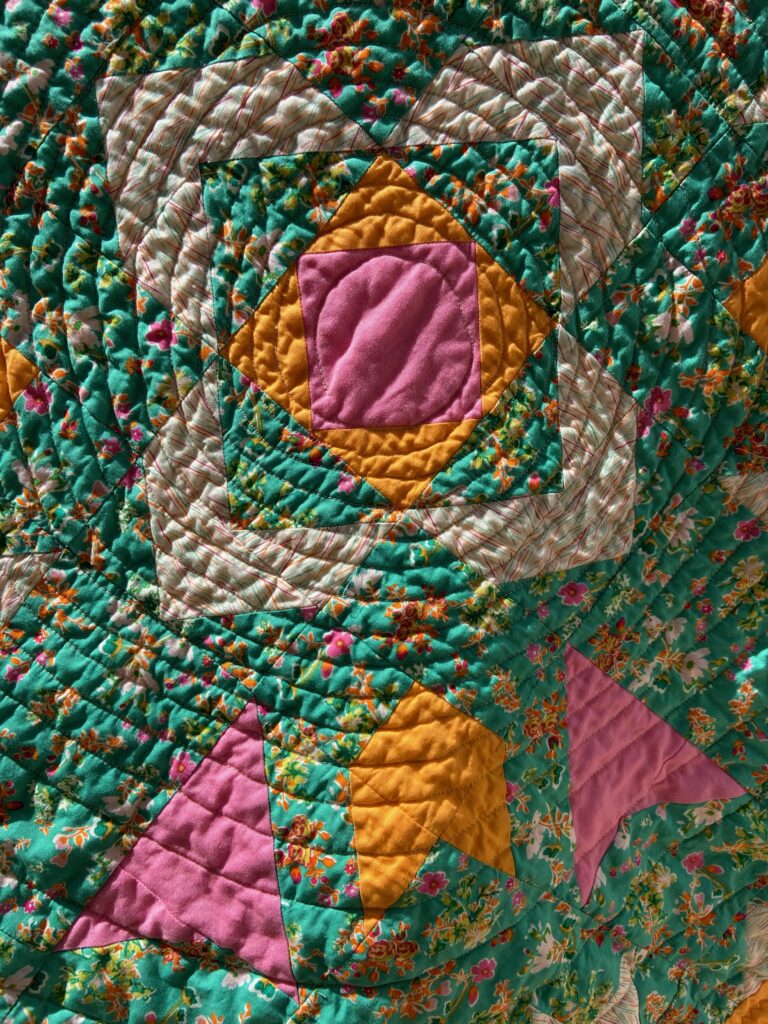
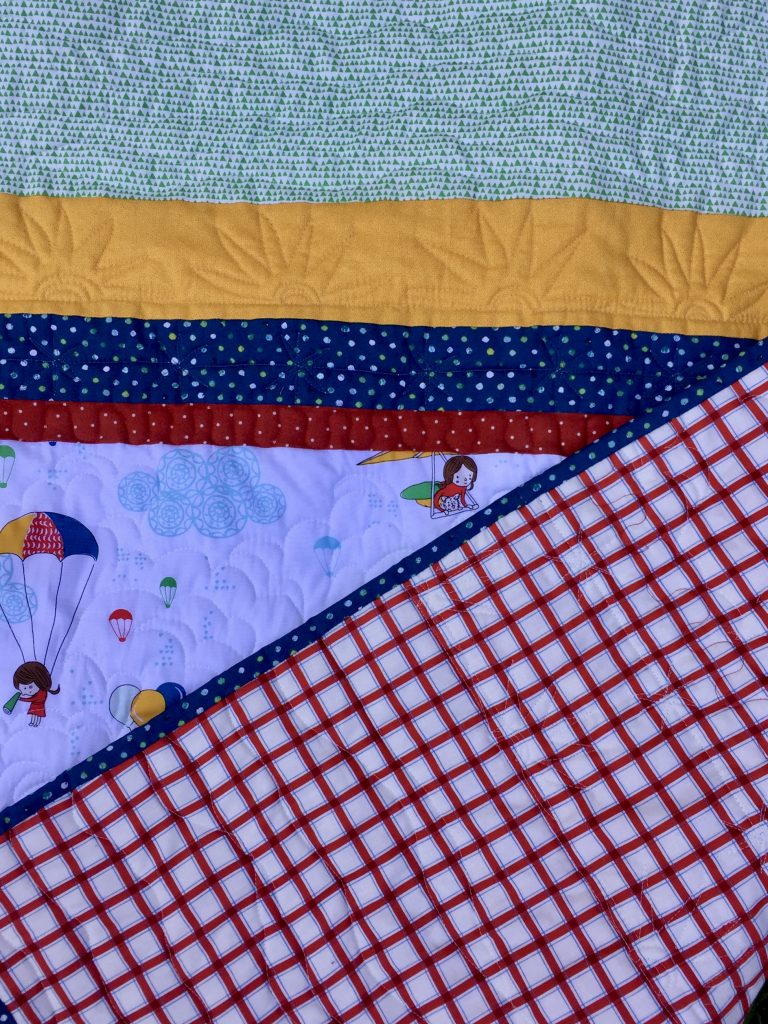
I added a narrow (one inch finished) border to break between the two sets of triangles. Luckily I had another triangle stencil that was smaller and worked well for the border. On opposite corners I put the smaller triangles and then used a pink solid (Ballet from Free Spirit) for the rest of the border.
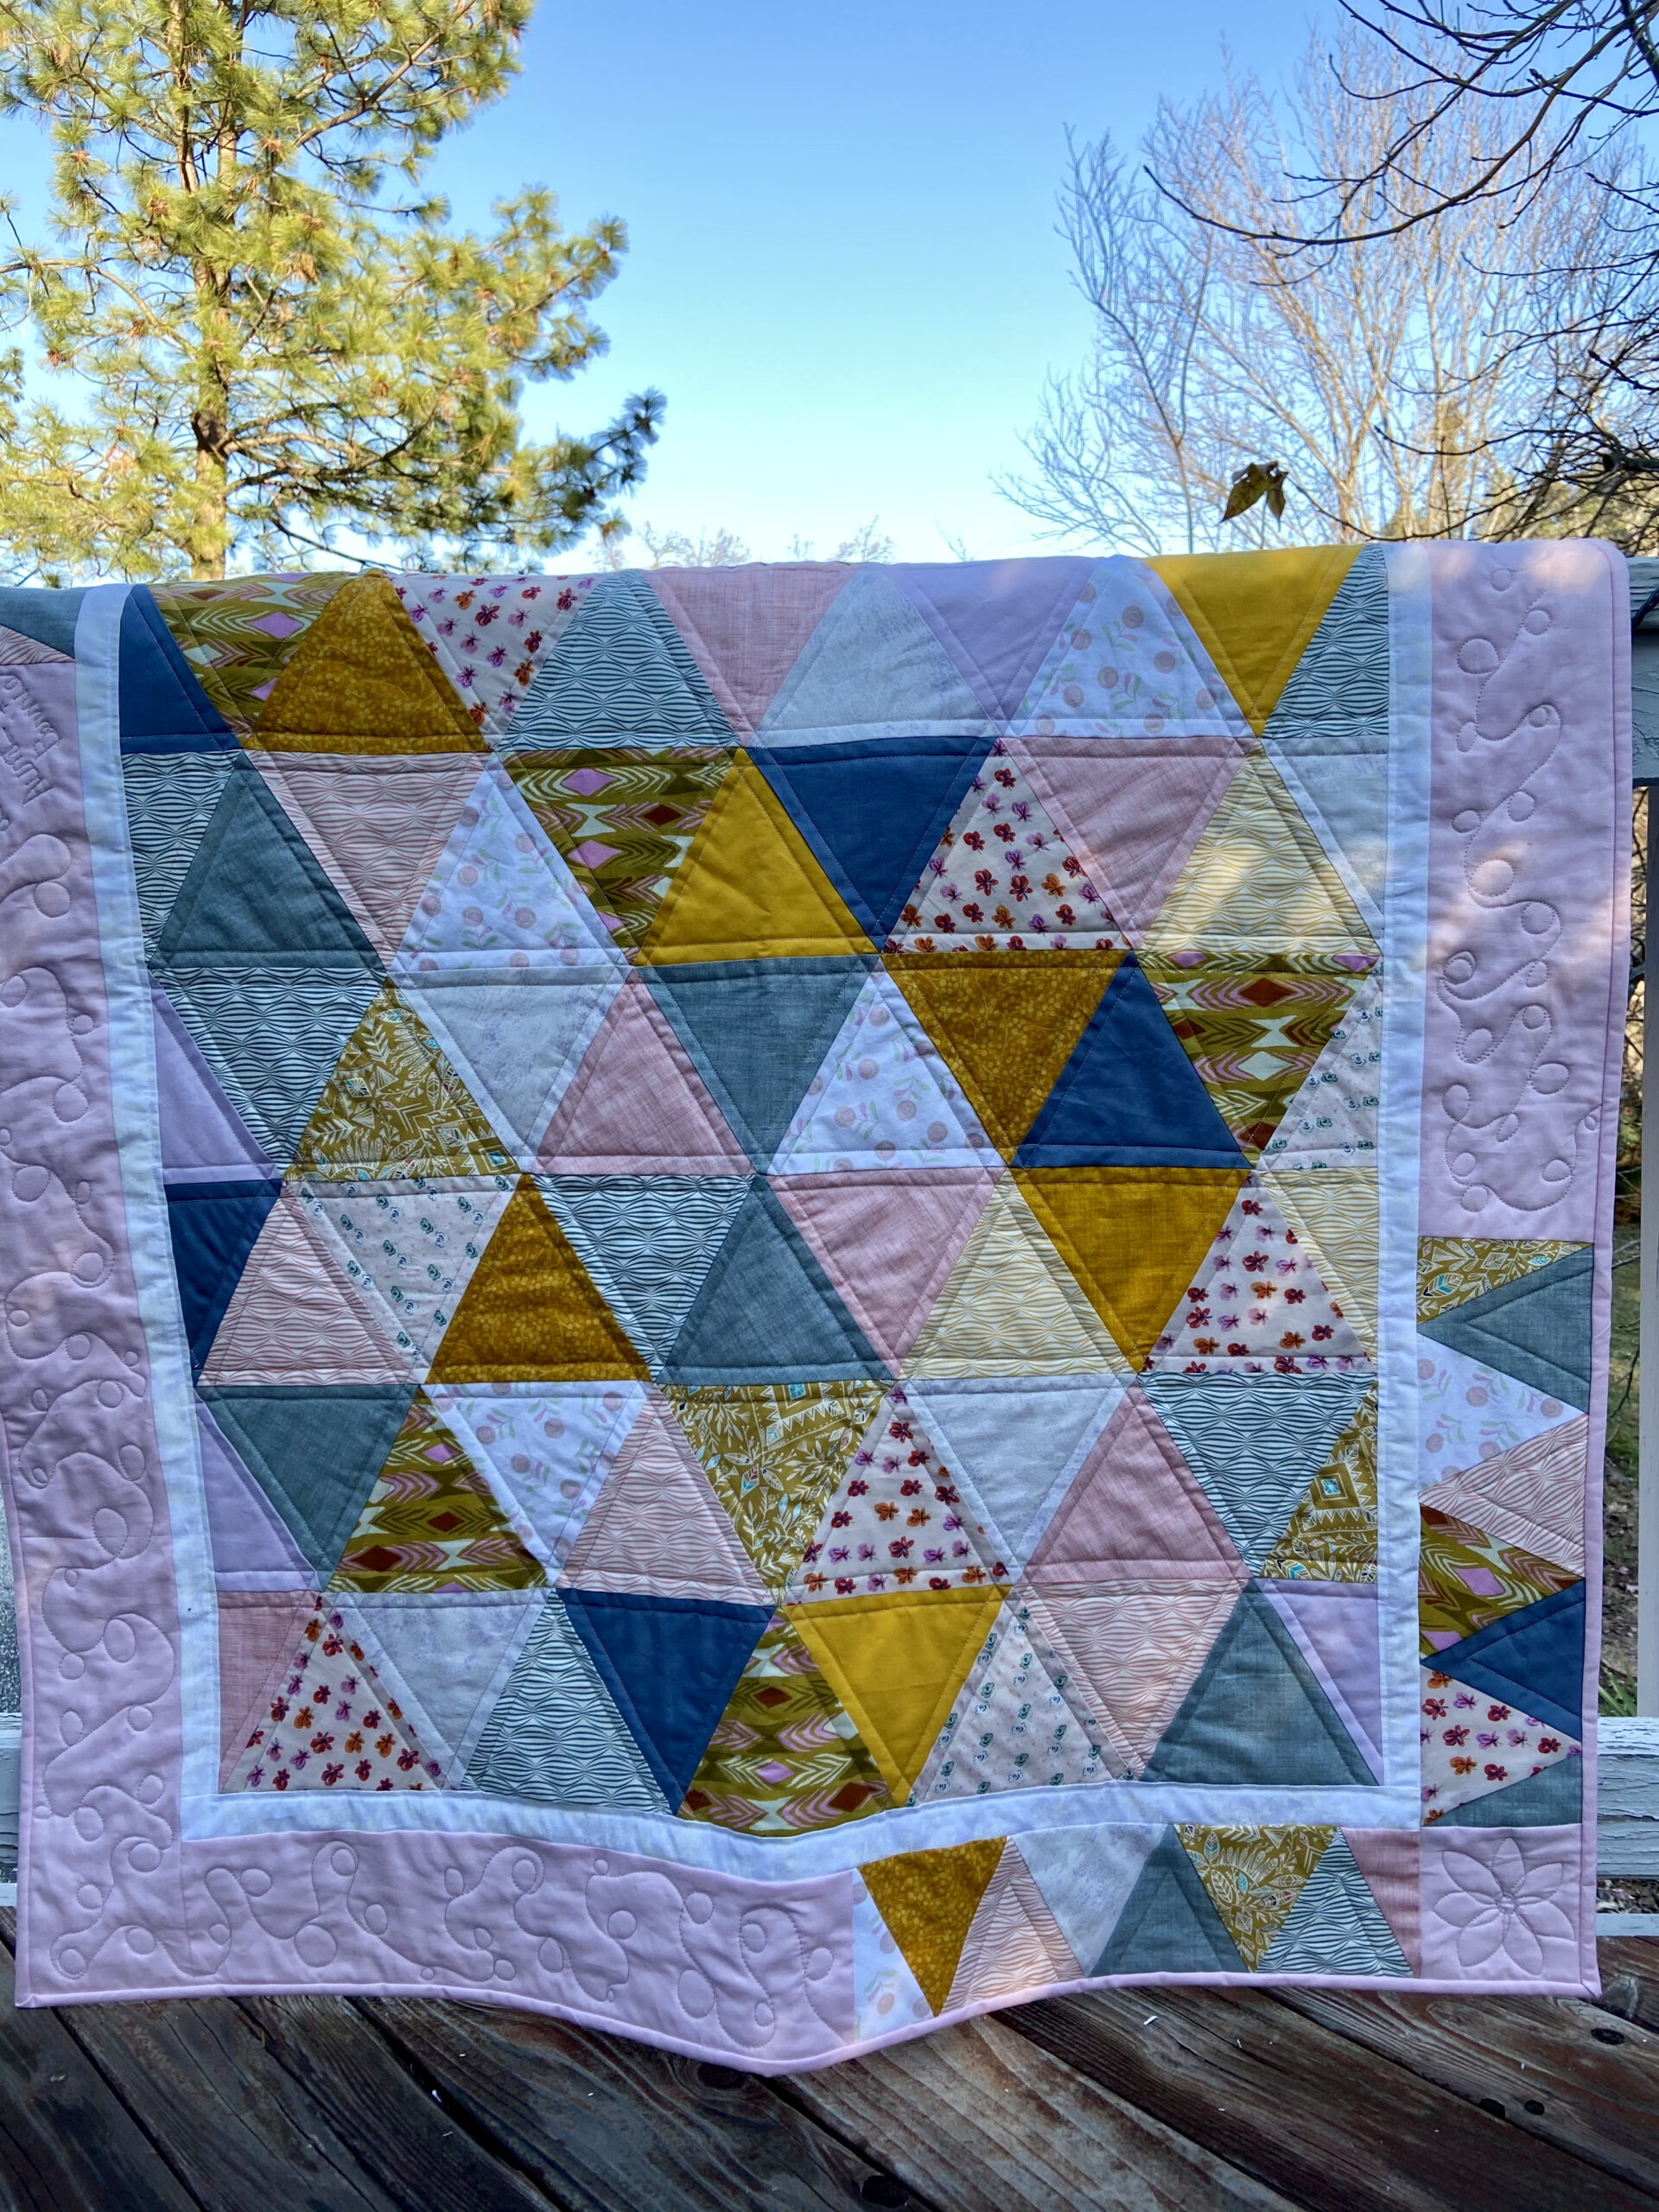
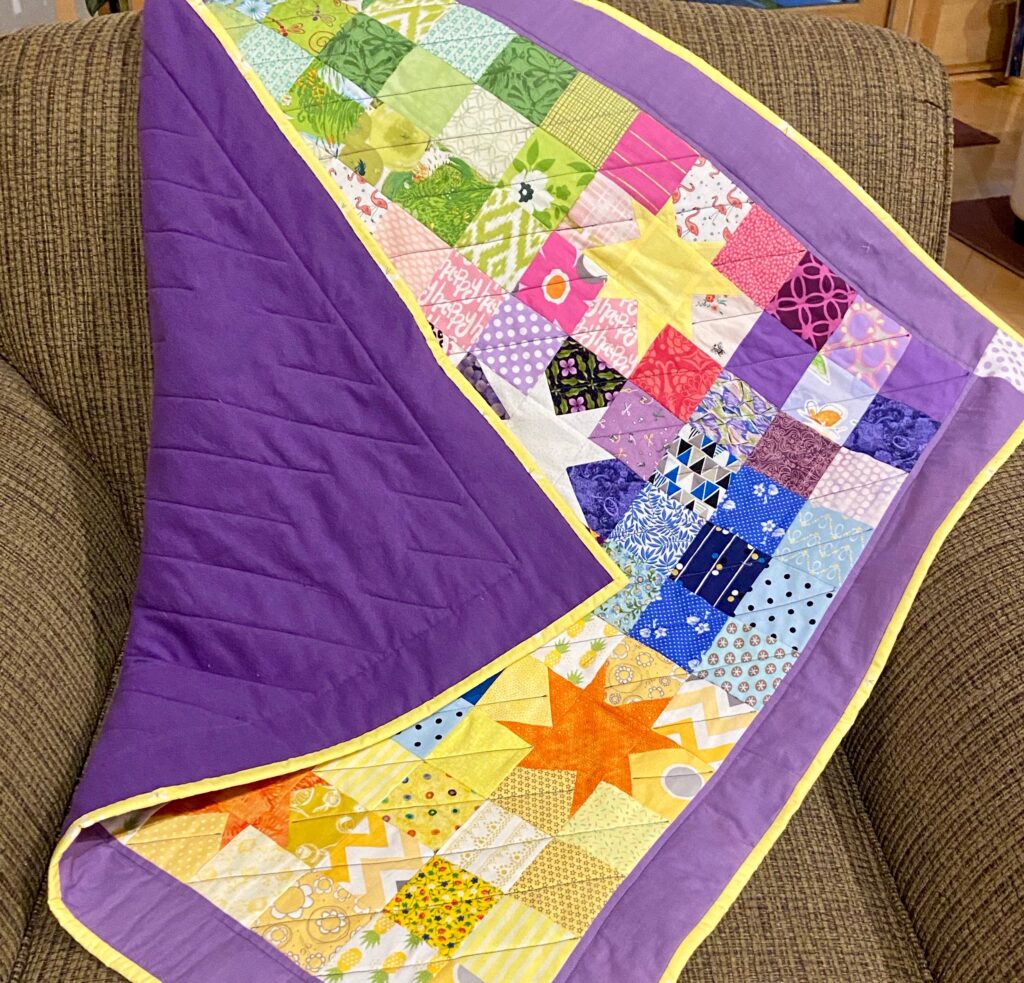
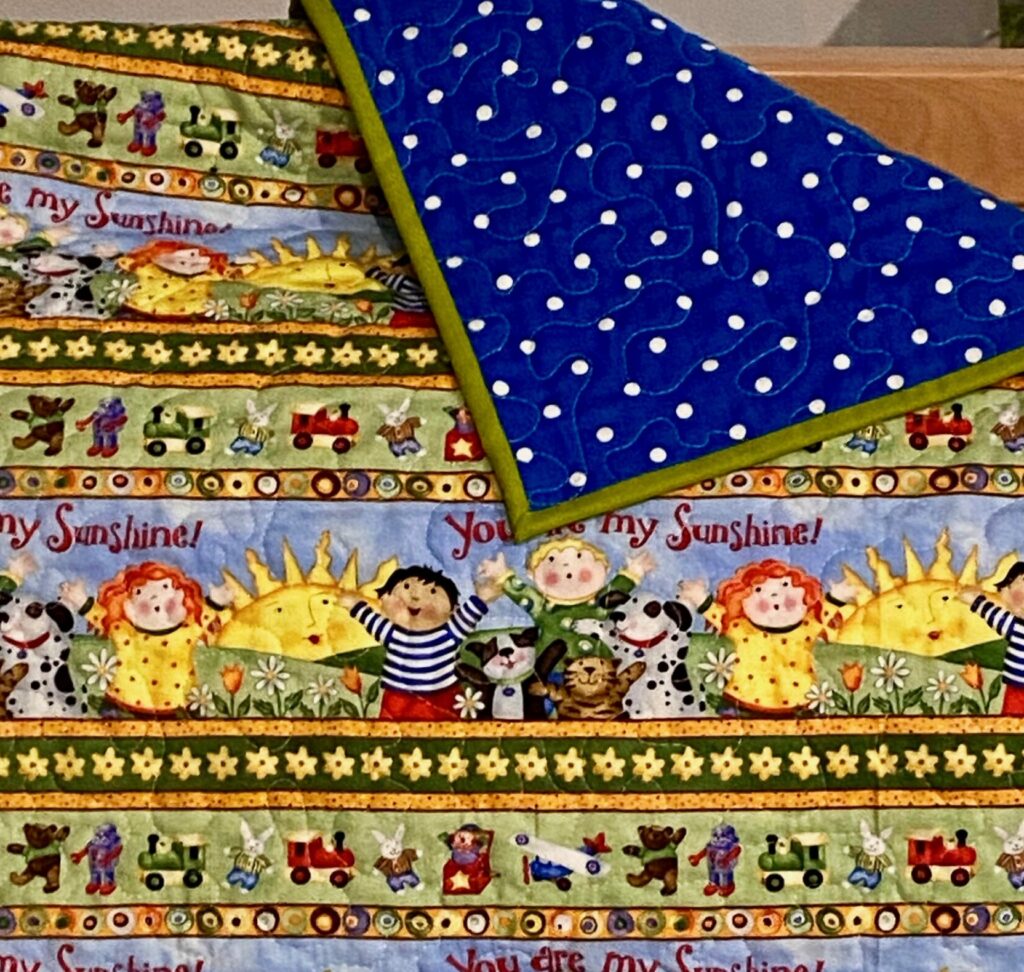
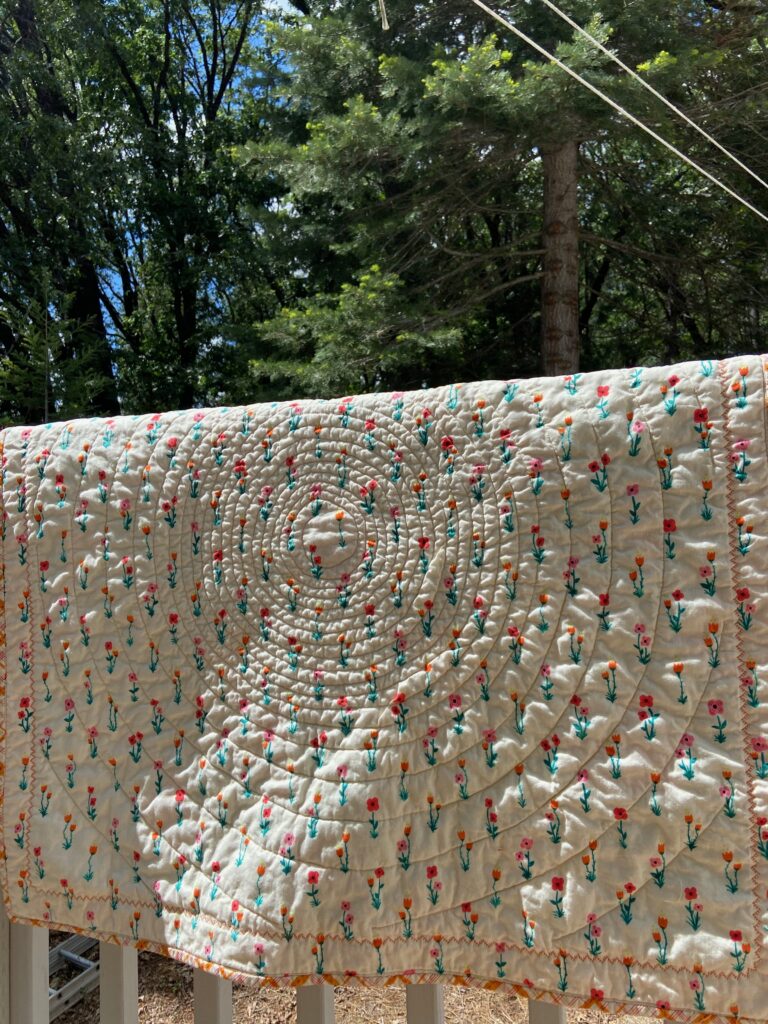
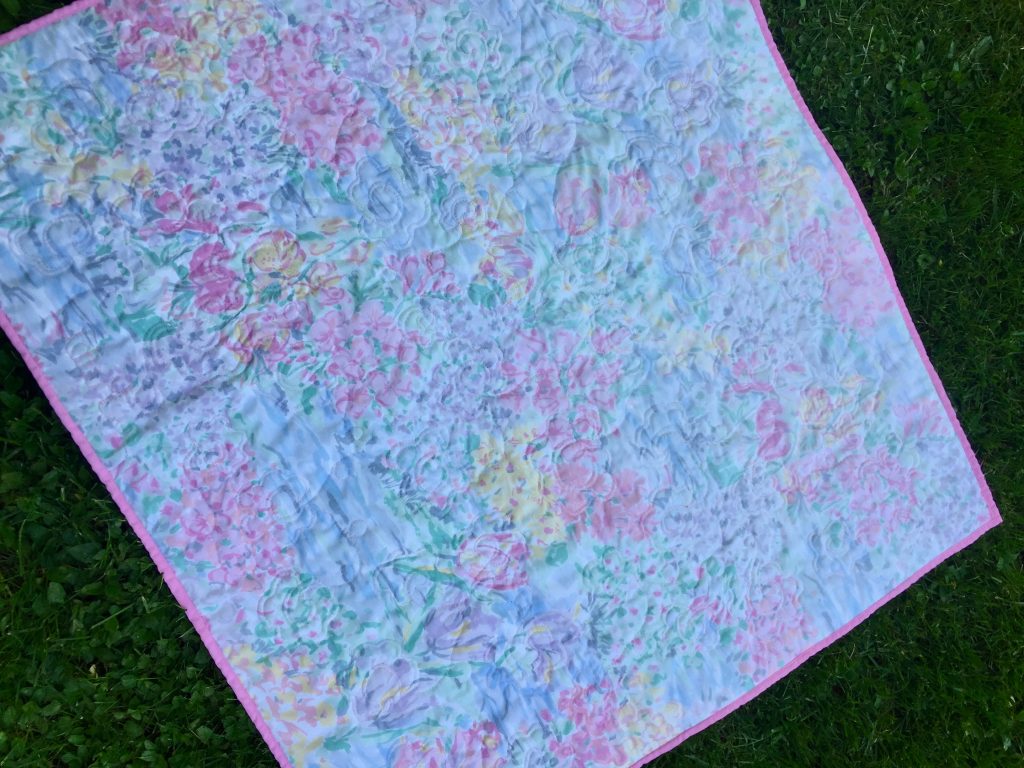
The biggest hurdle for me was where the points all joined – it became so thick and I knew it would be hard to quilt over that spot. To avoid this, I echoed the lines of the triangles which meant I never had to go through that spot. The quilt is backed with lavender flannel which makes in soft and drapey (I don’t think that is a real word but you know what I mean.)
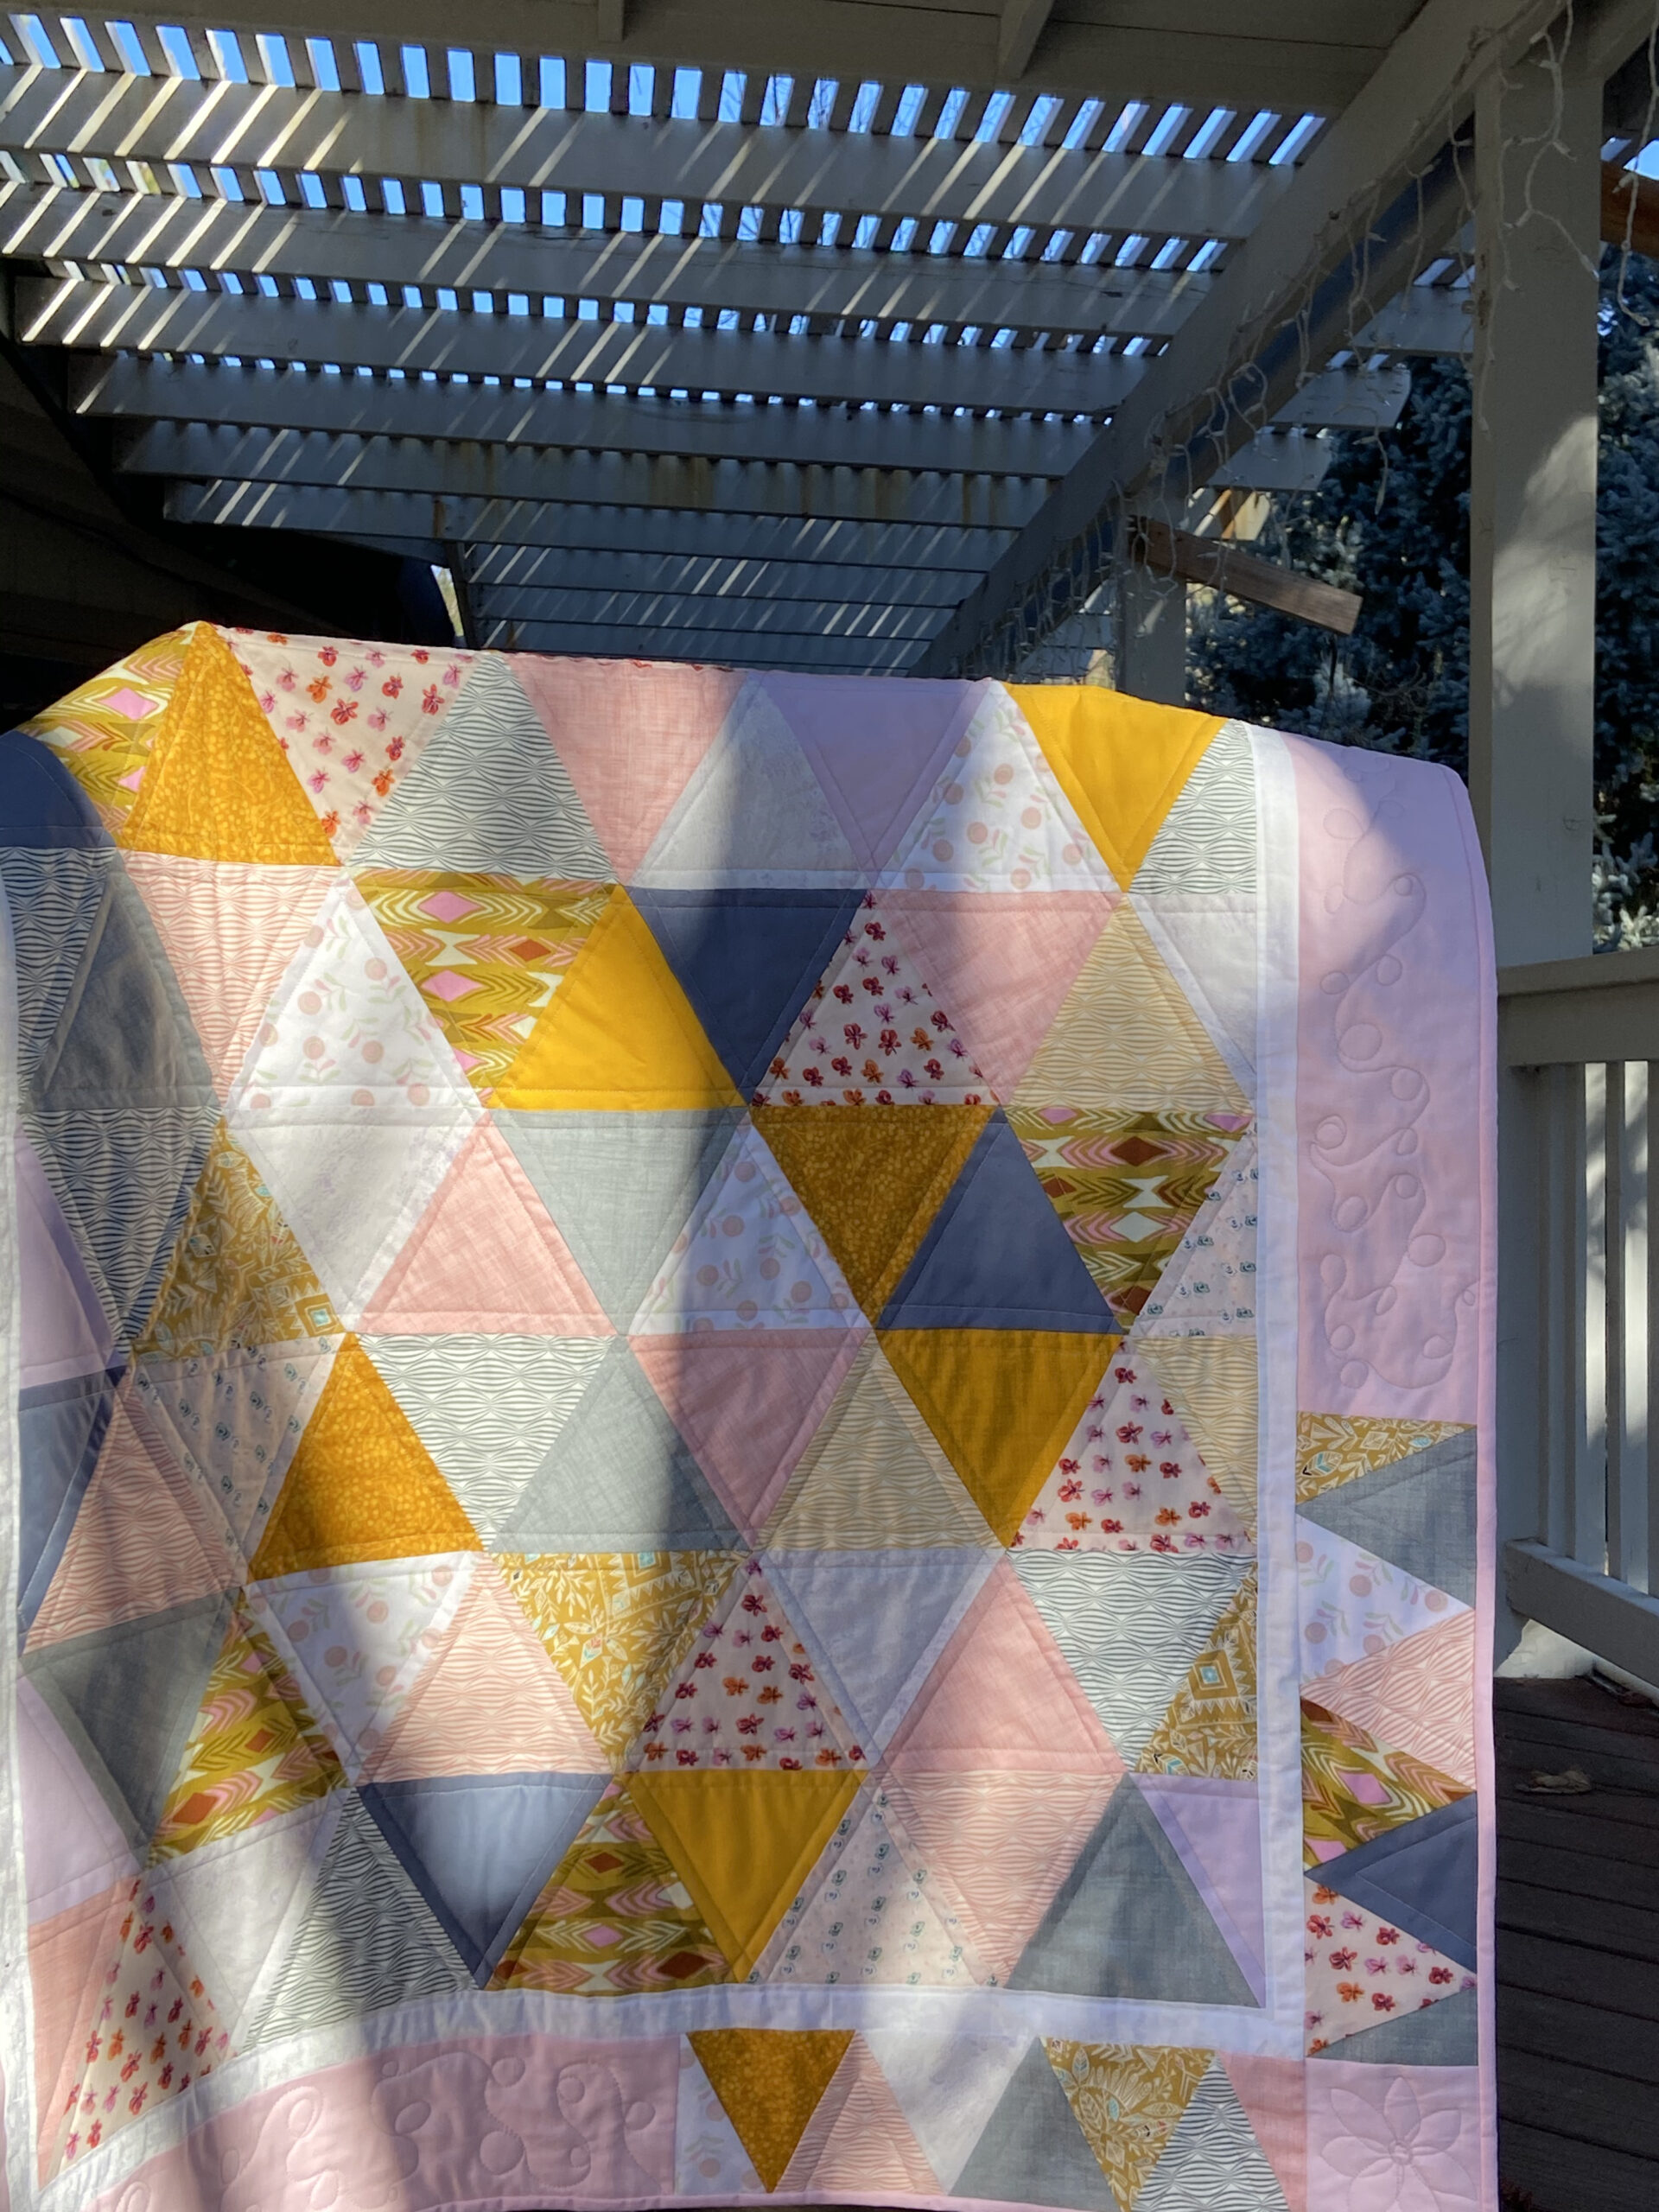
The two cornerstones between the triangles have flowers quilted on them and the pink sections of the border have loops meandering along.

I quilted the baby’s name in one section of the border and in another section I signed my name to it.
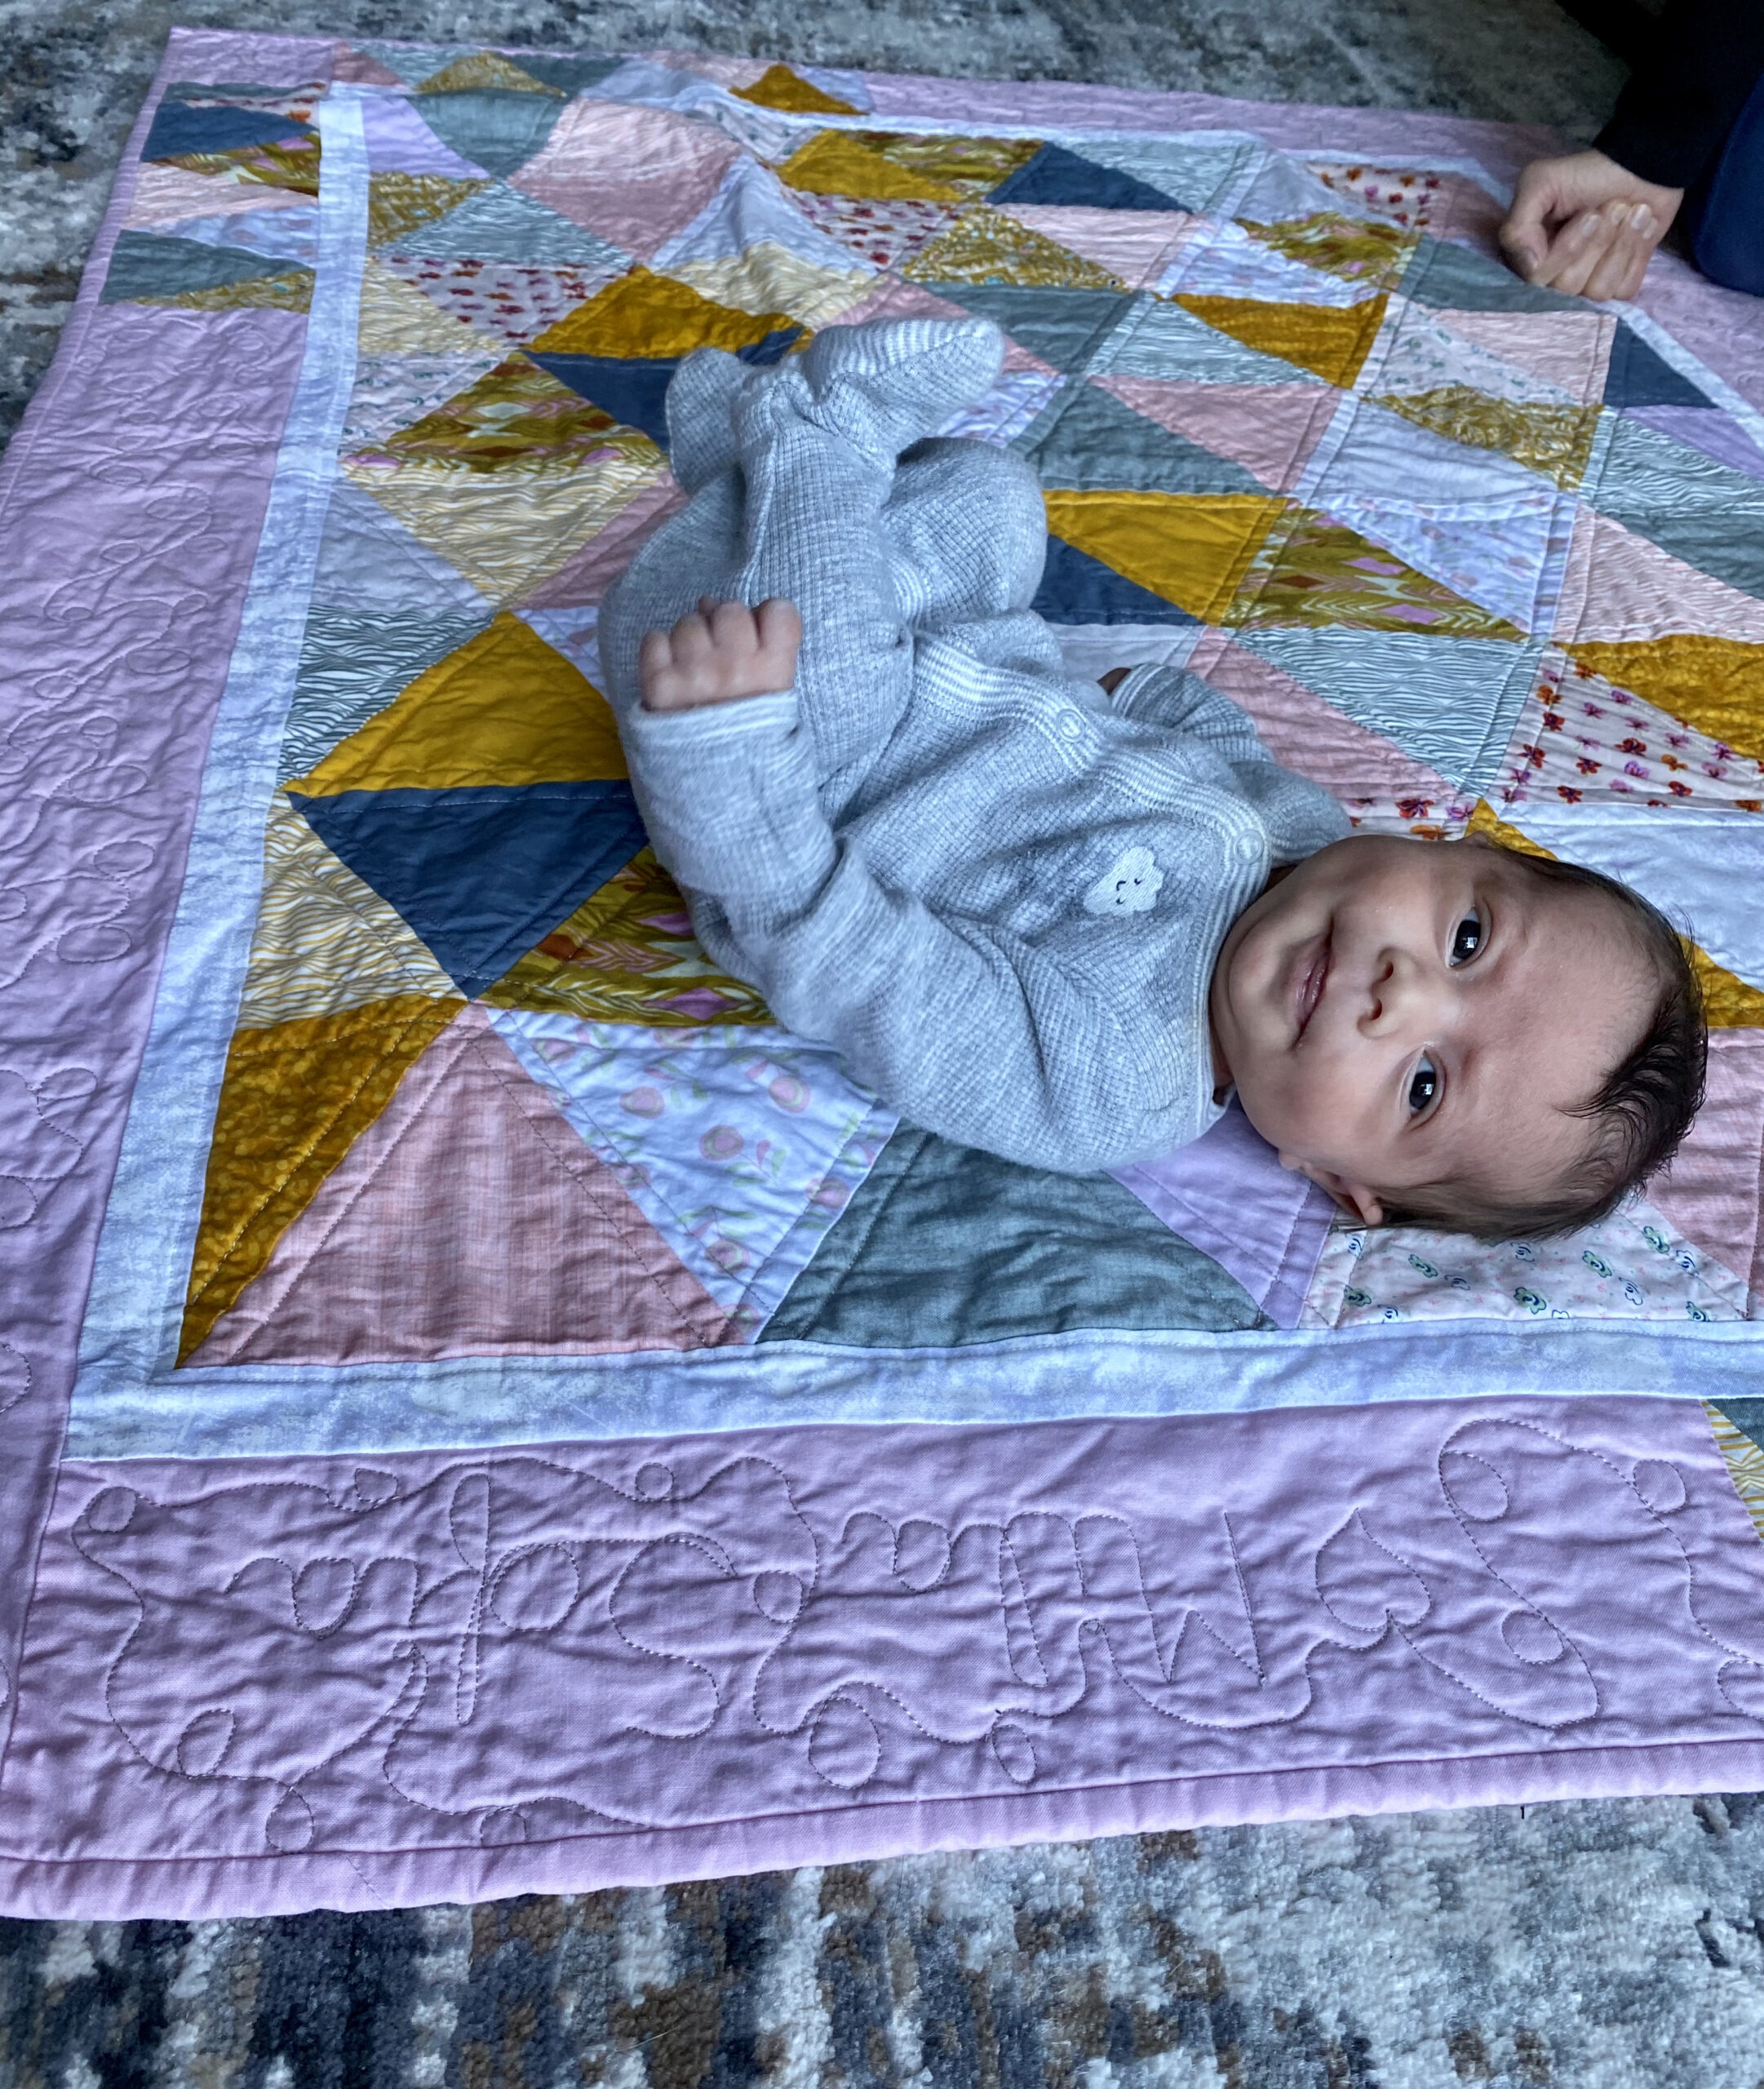
Just look at this tiny peanut! She was just over five pounds when she was born and as often happens, she lost a bit of weight. She is now three weeks old and is over 5 1/2 pounds. I think she is just gorgeous. She is giving her parents a run for it and not sleeping a whole lot unless it is mid-day. Remember that feeling? Sleep deprivation at it’s finest.
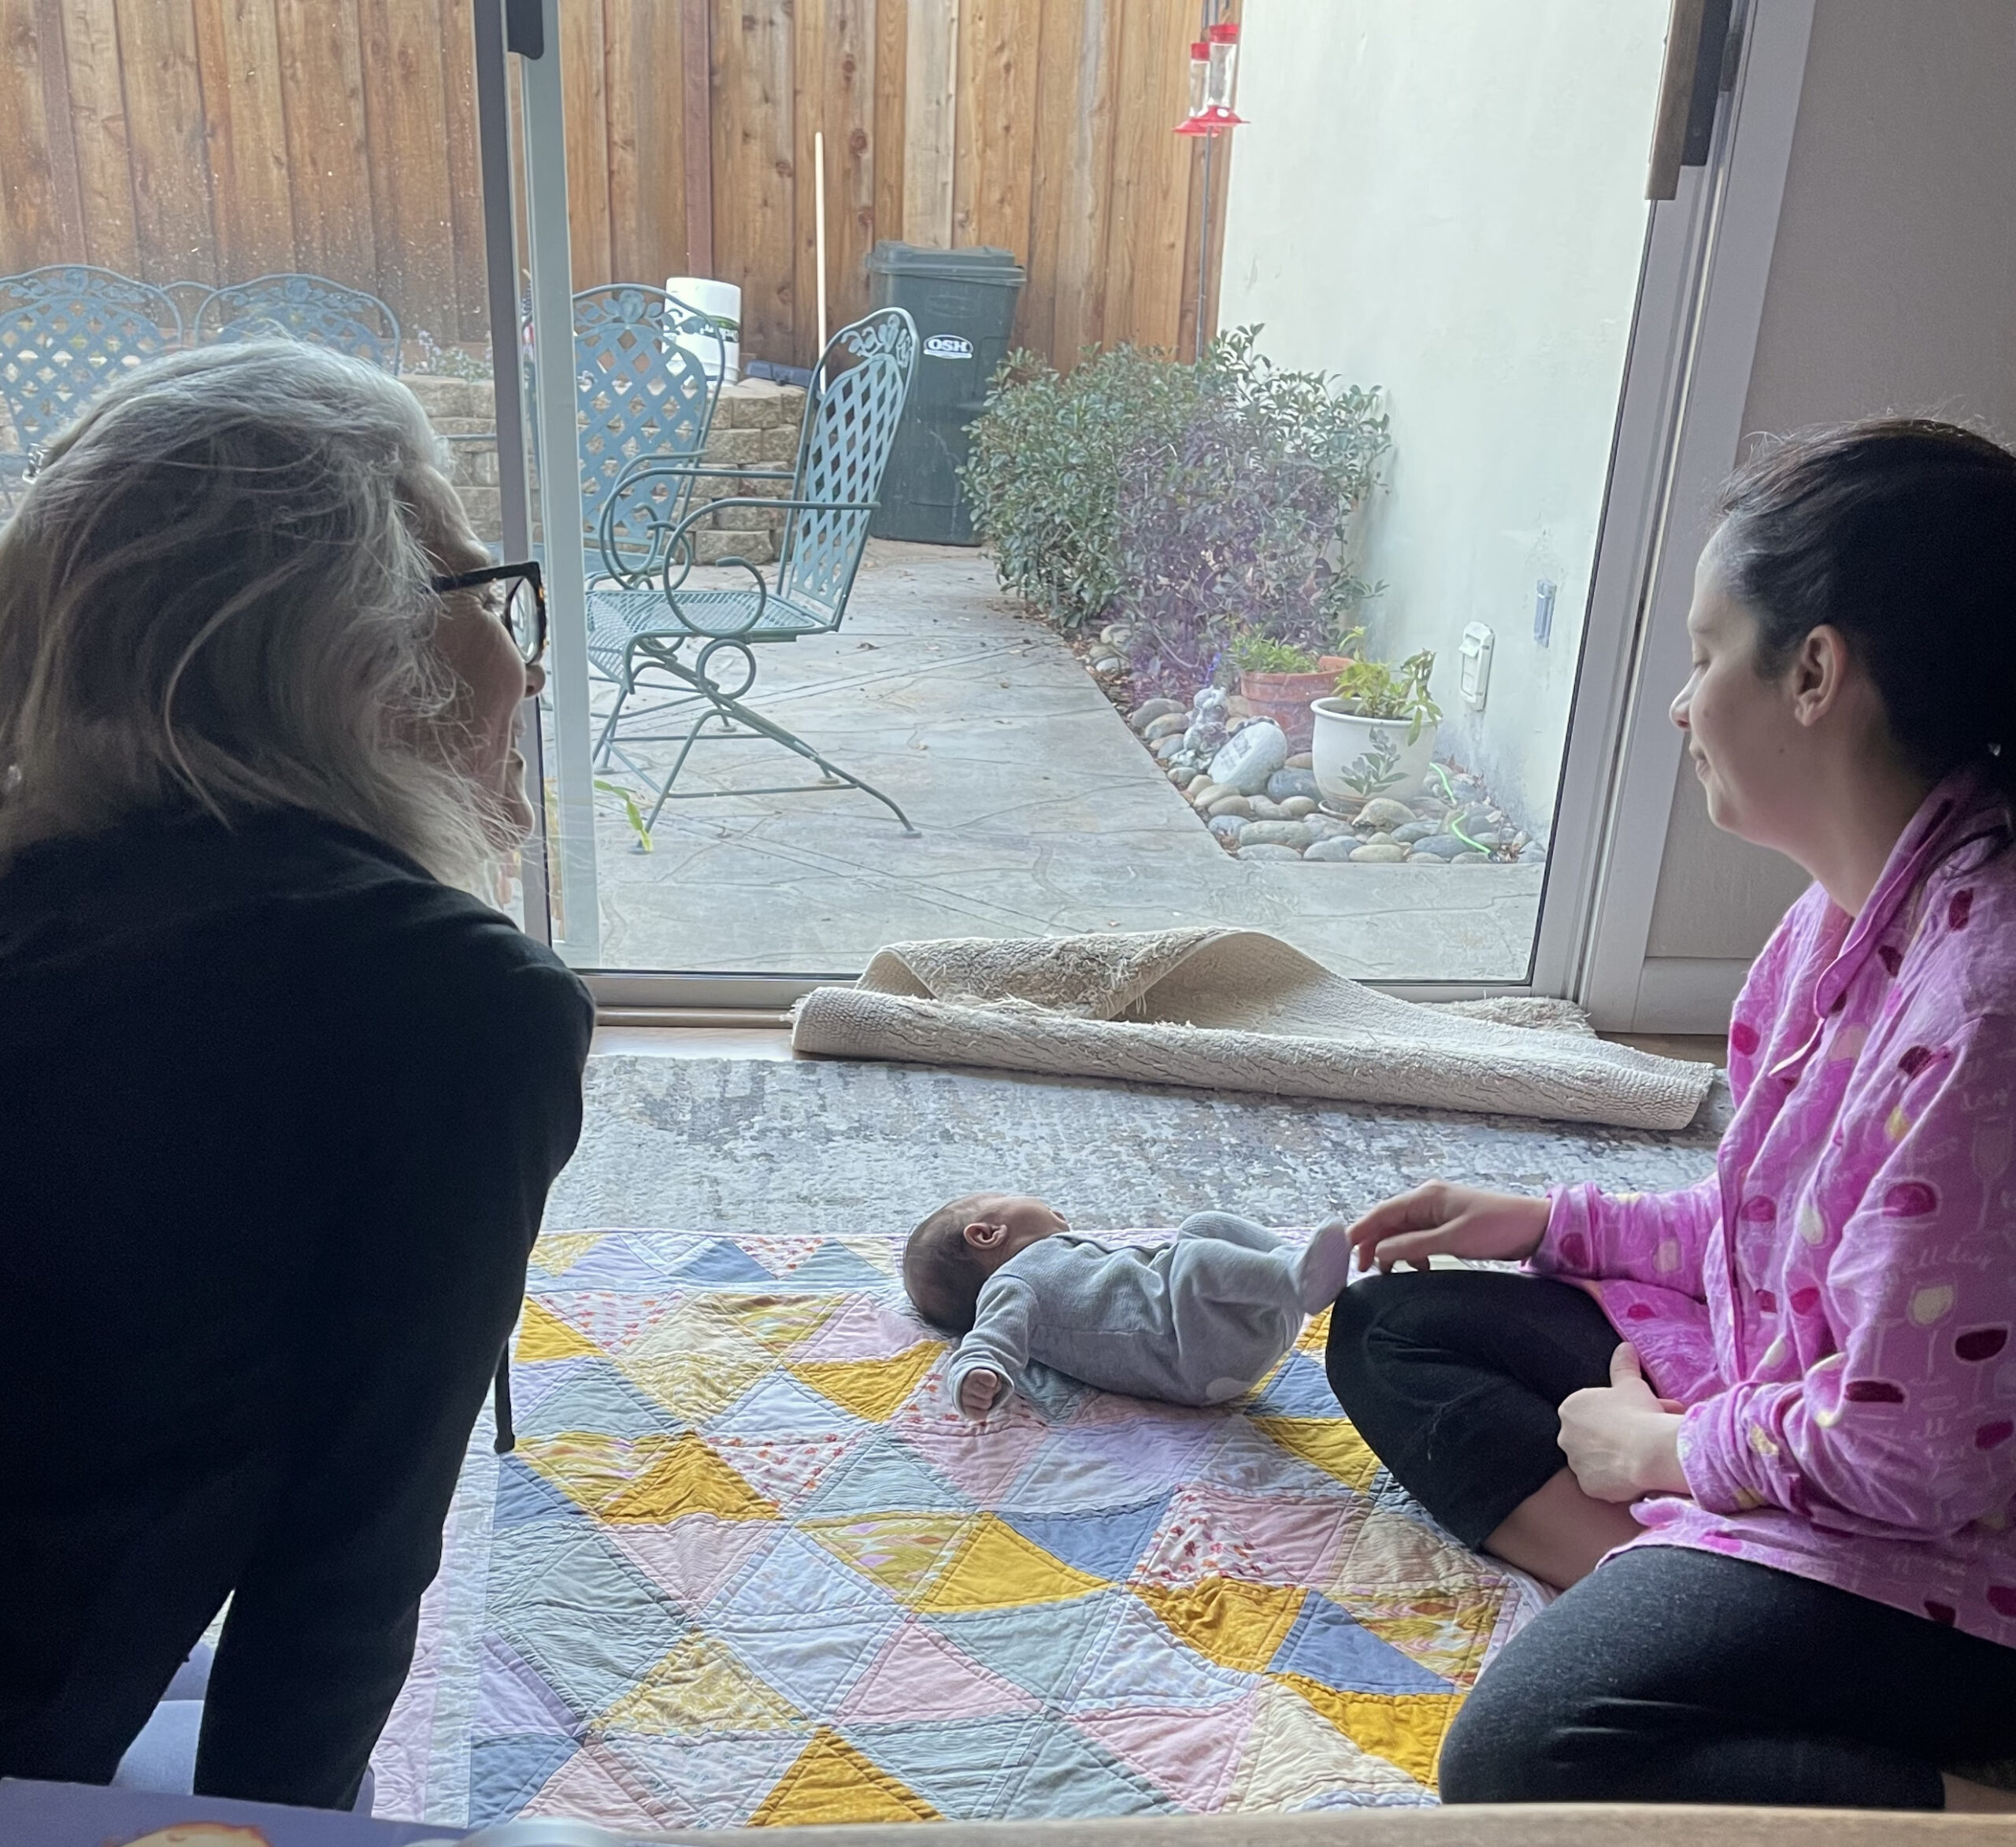
I love this photo. For one, it shows how very tiny this little one is. Those are six inch triangles and she is barely covering three of them. It also reminds me of the times when I had new babies and there was nothing better than to just sit and watch them. A new baby is nothing short of miraculous and sitting with them, soaking it all in, is just the best. My sister is on the left (this is her fifth grand daughter!) and my sleep deprived niece is on the right.
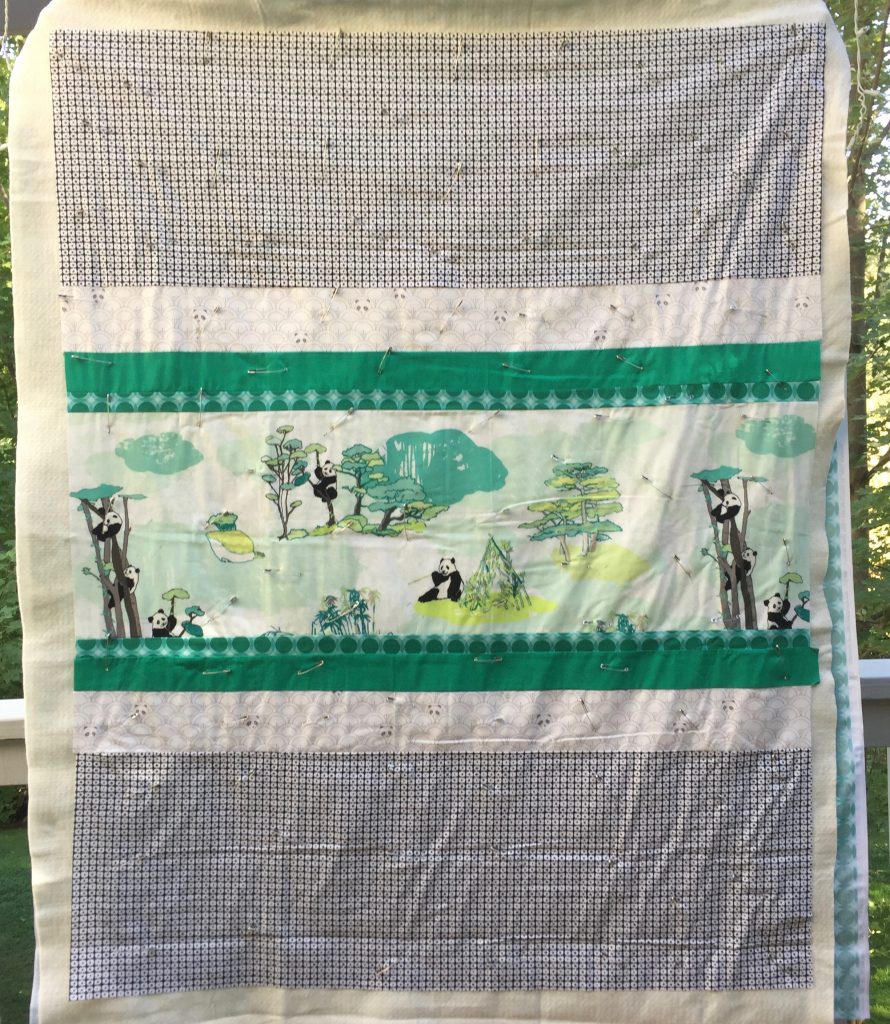
That is it for now. I started quilting the Bloom with Grace quilt and it is coming along nicely. Yesterday I went to drop off the placemats for Meals on Wheels but left the placemats at home. Because that is just how I am. So I guess I will drop them off another day. Silly silly me.
Linking up this post with my favorites. Check them out at the top of the page, under Link Ups.