Author Archives: Bernie

SAHRR Round 6

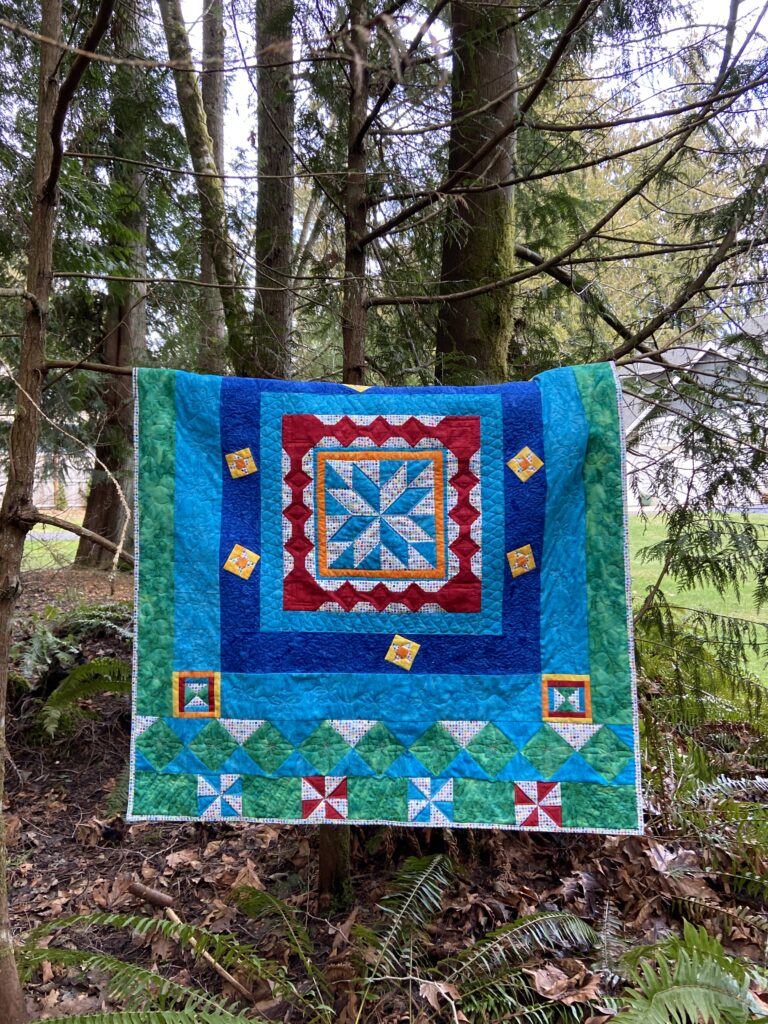
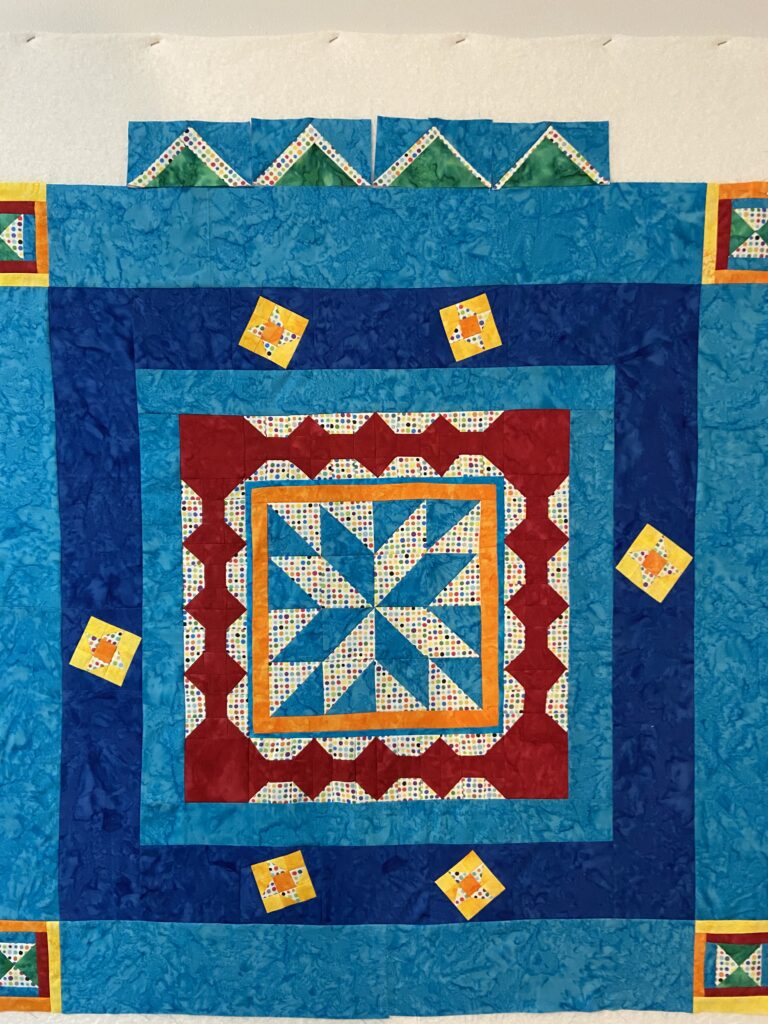
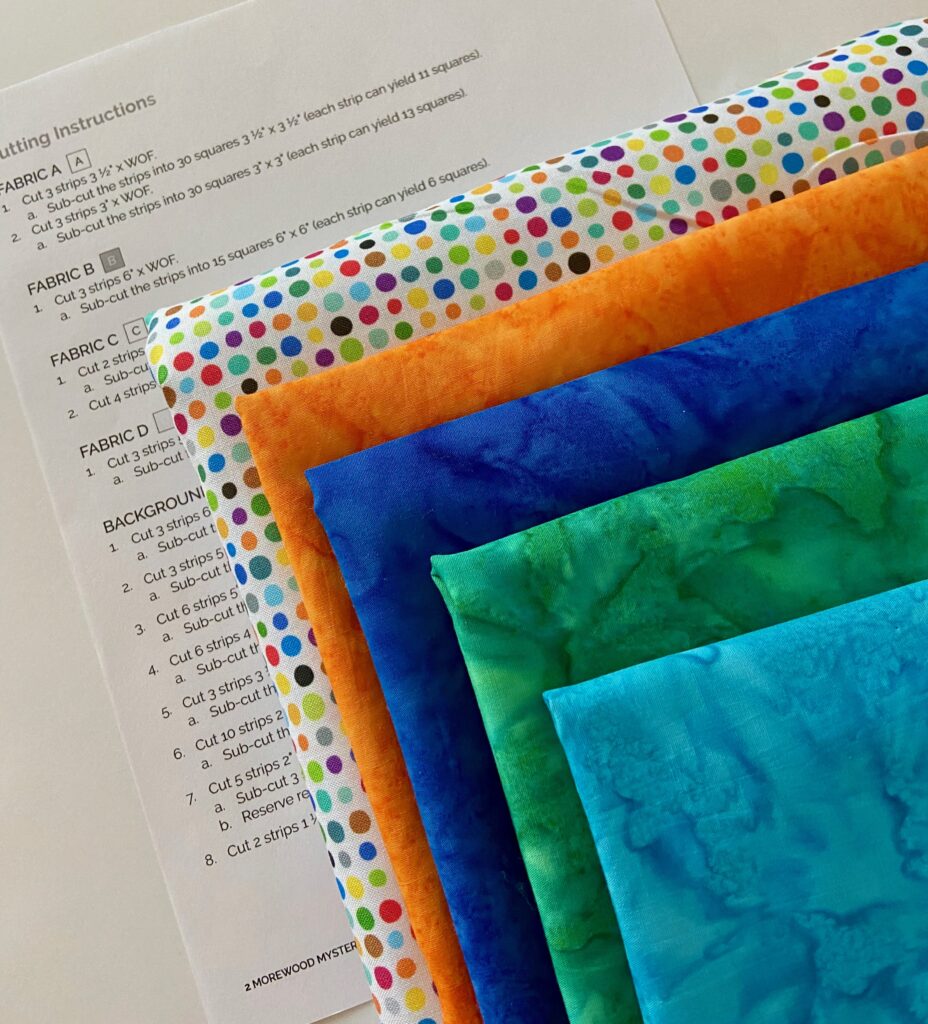
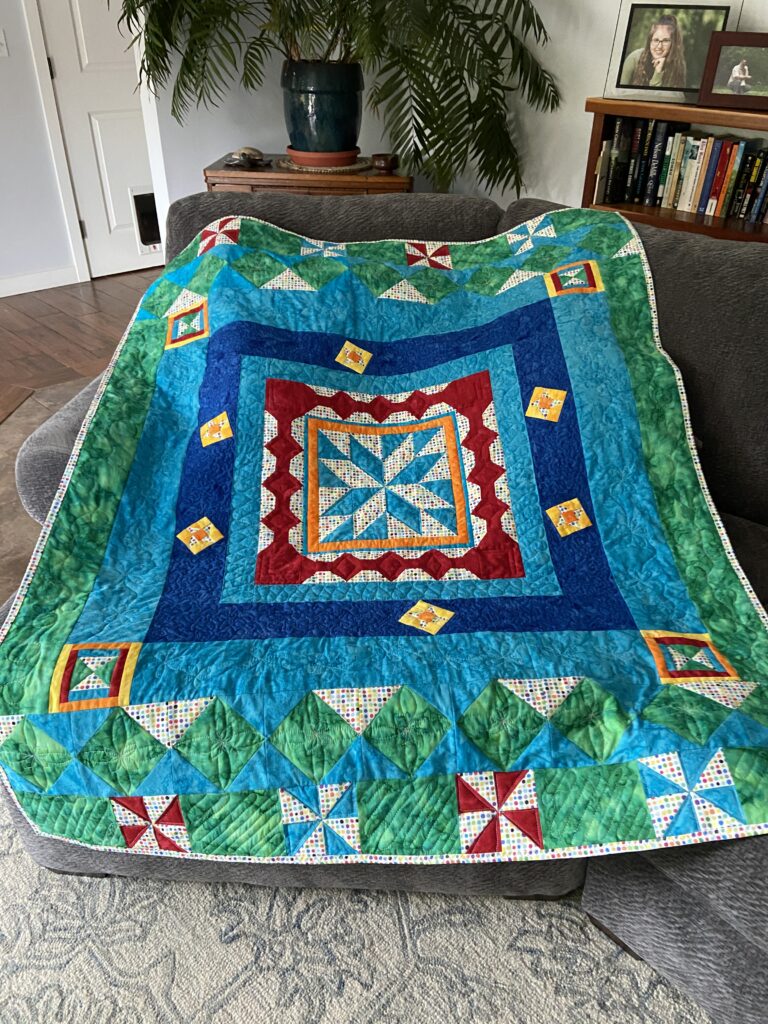
Woohoo – The final round of the Stay at Home Round Robin is finished and I have a quilt top! This was a super fun event for me and I am so happy Gail thought of this during early Covid days and continued it with a growing popularity.

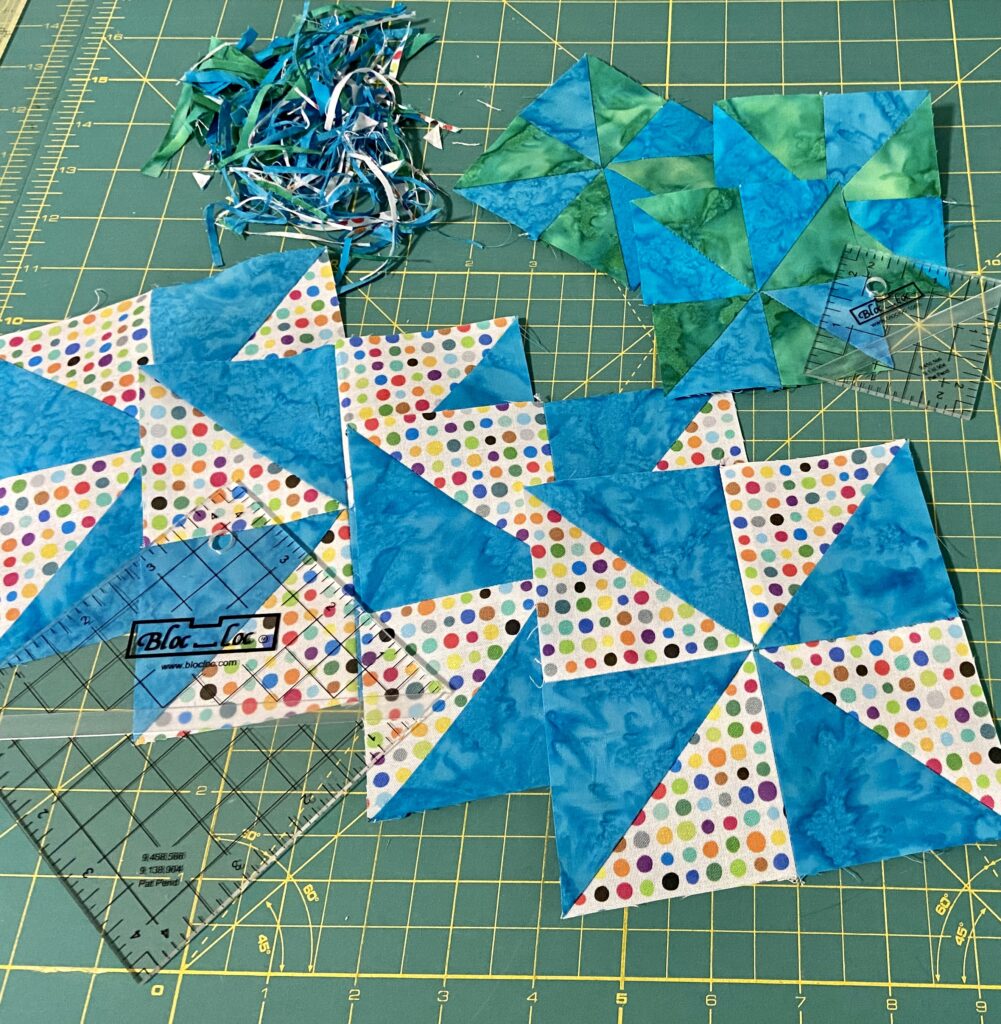
Gail chose the block for the last round and it is pinwheels. Without any sort of plan, I separated any remaining HST’s from that stack of old prepared bits I have been trying to use up. Then I made pinwheels with them.

After this set of pinwheels I also made some with red/polka dot HST’s. Each set of pinwheel blocks finished at different sizes. I decided the green and blue pinwheels were too small, the blue and polka dot were too big but, of course, the red and polka dot were……………… Just Right! Next I set aside the tiny green/blue version – they will be used elsewhere because they are super cute. The blue pinwheels were trimmed down to 4 1/2″ to match the red version. While I do have quite a bit of the batiks remaining from that previous project, I used each and every HST I had already made. That is a big win for me!

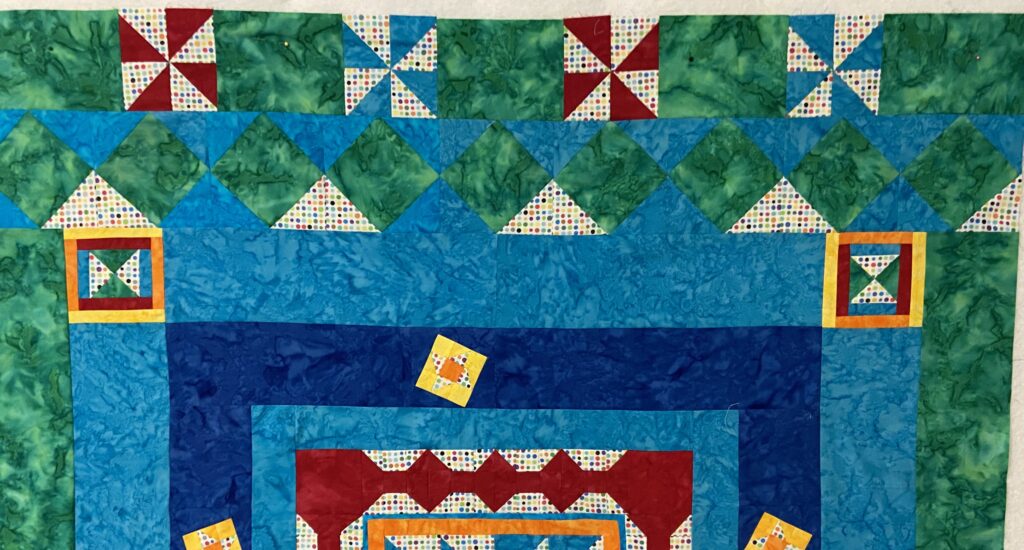
To add length, but not width, I made a top and bottom border with the pinwheels.

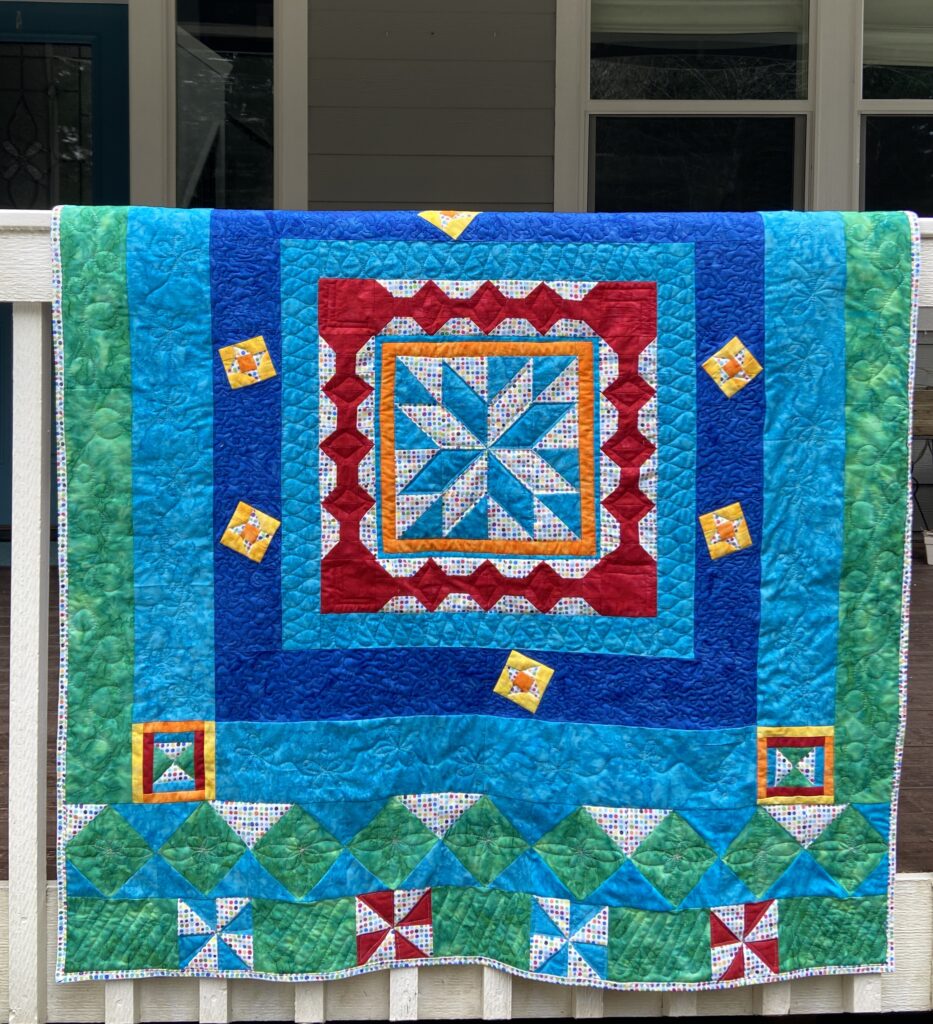
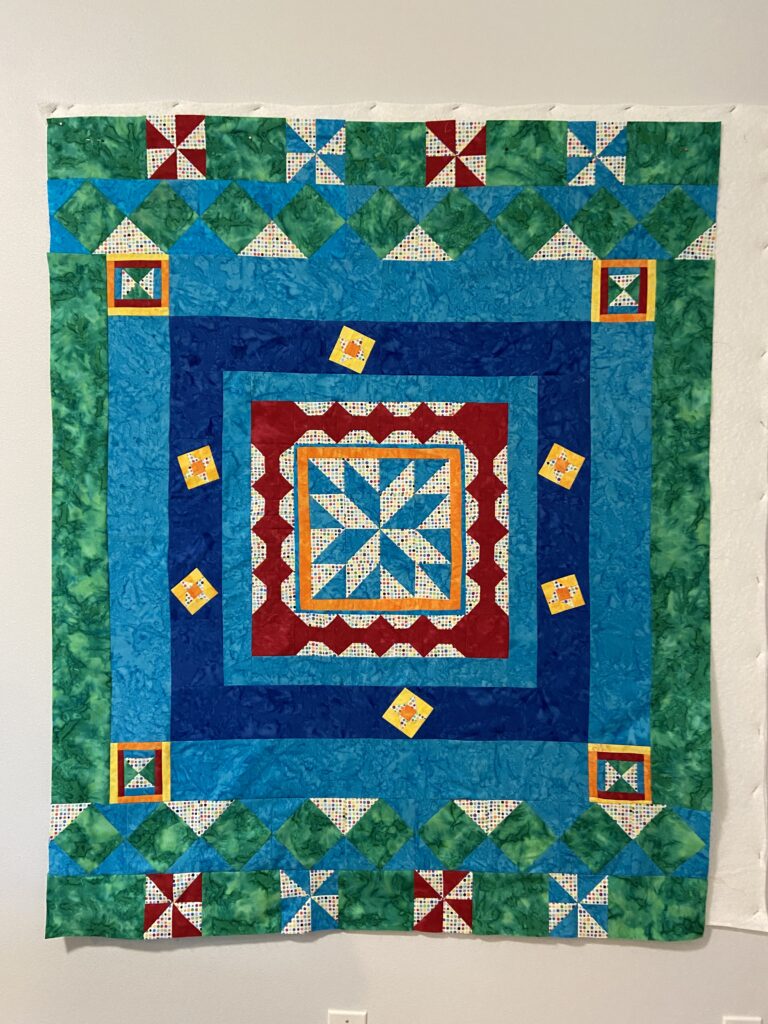
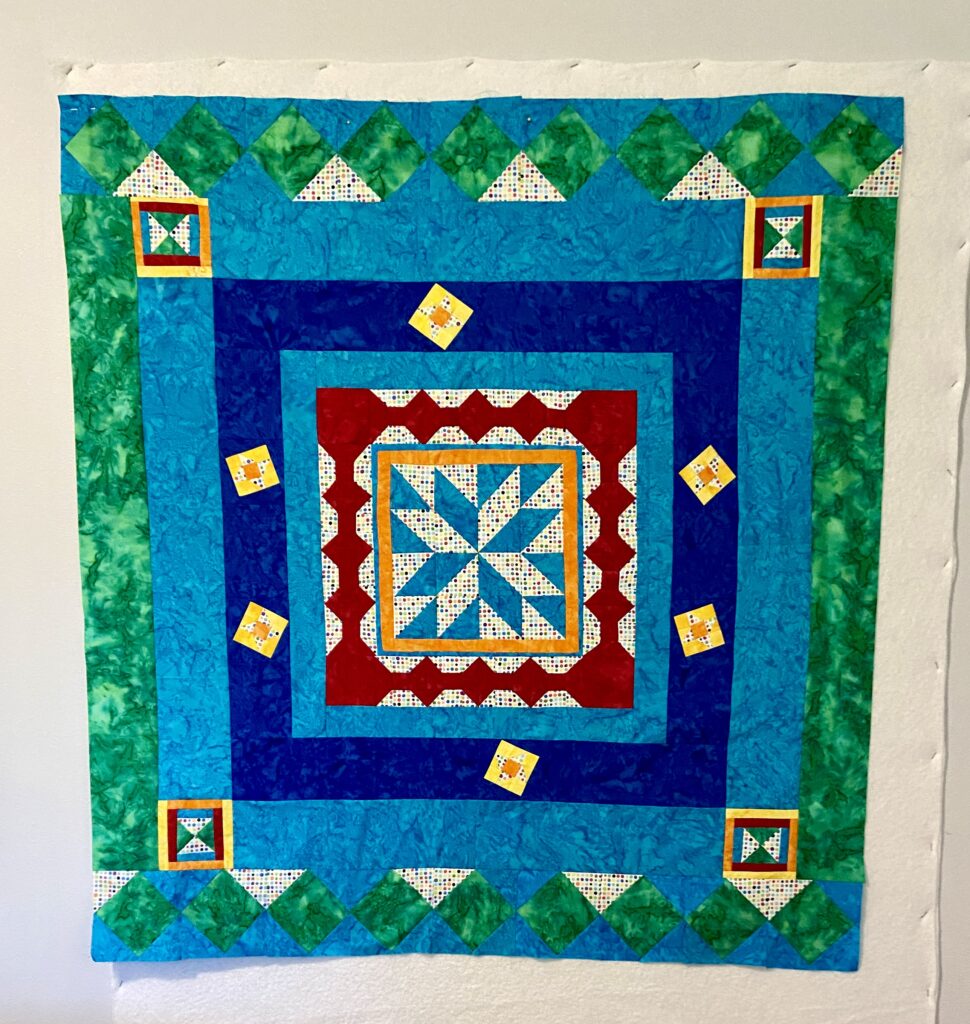
The finished top! Next up for this project is to give it a solid pressing and baste it. I prepared the backing already. The width is 46″ so I had to add two narrow strips to my backing to have a wide enough piece.

This was a very fun project – one I learned a lot from. I will be back before the March 13th deadline with a finished quilt!!

For now, linking up with Oh Scrap and Quilting Gail.

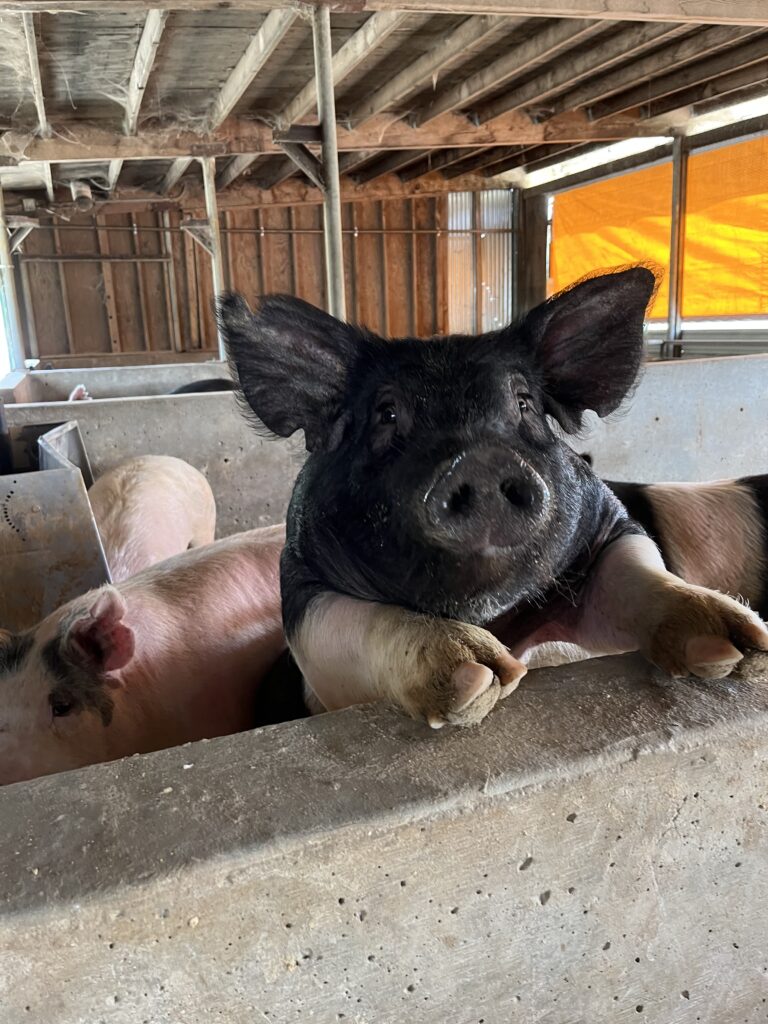
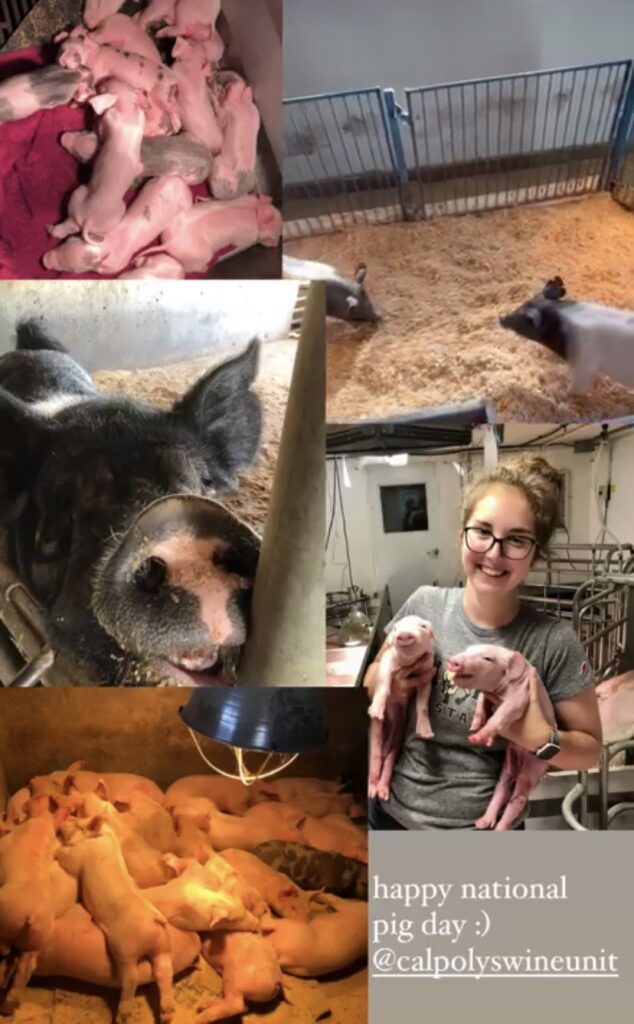
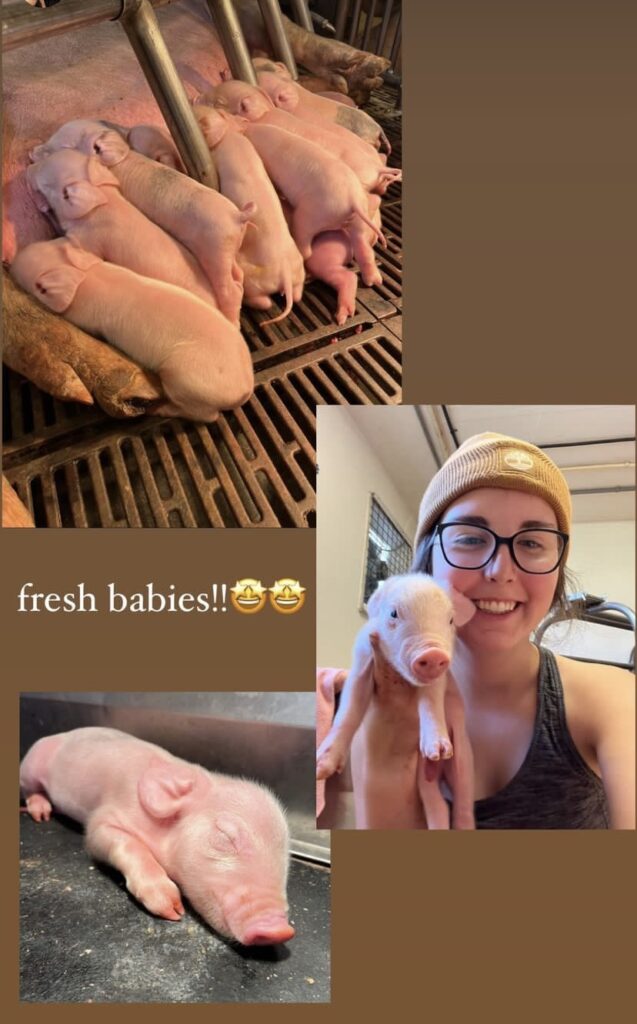
Just in case you didn’t know, March 1st was National Pig Day (don’t worry, I didn’t know either). But you can bet Julia knew. 🙂

Comfort Quilts – Who Really Benefits?

It is no secret I enjoy making quilts for other people. I have given them as birthday, wedding, baby and “just because” gifts. But my favorite thing is making comfort quilts. Making a quilt for a person who is going through a rough time for whatever reason is the most rewarding sort of quilting. I love the idea of imagining this person who is sad or feeling blue receiving a handmade gift. The person then knows there is a another person, somewhere out in the universe who felt the desire to lessen their pain even the tiniest bit by spending time making something for them.

Who knows whether this person would understand the time it takes to make a quilt? Or if this person knows there is expense put out to make this gift? That isn’t the issue. For me it is all about wanting this person to have a positive experience in the midst of a negative time in their life.

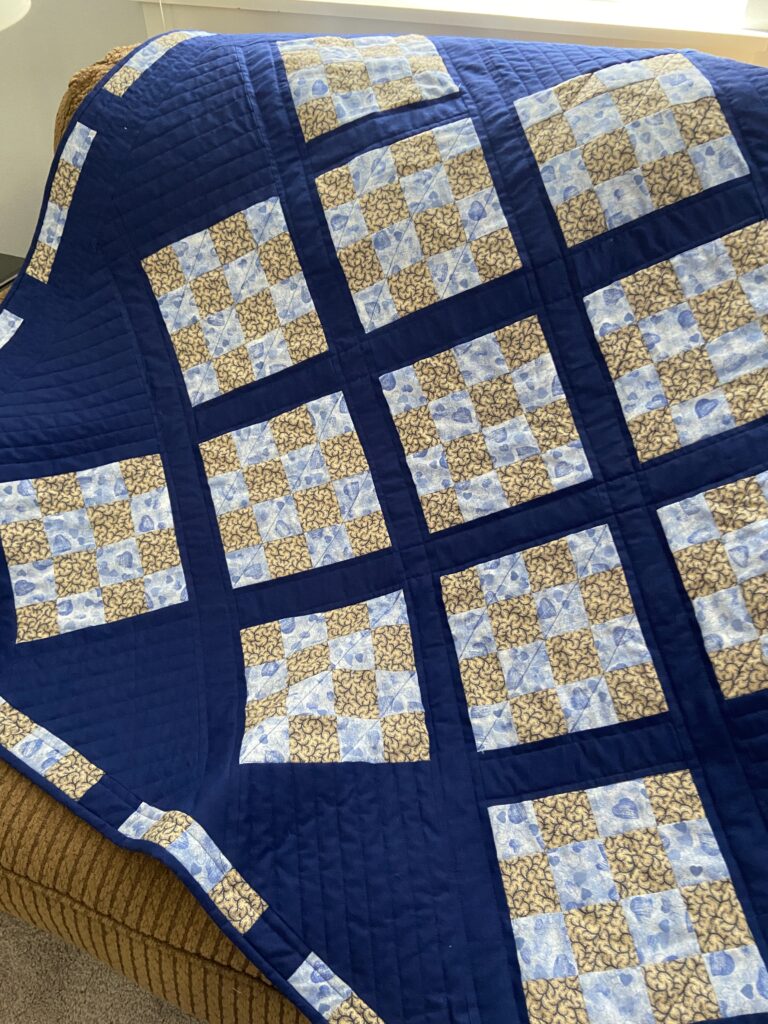
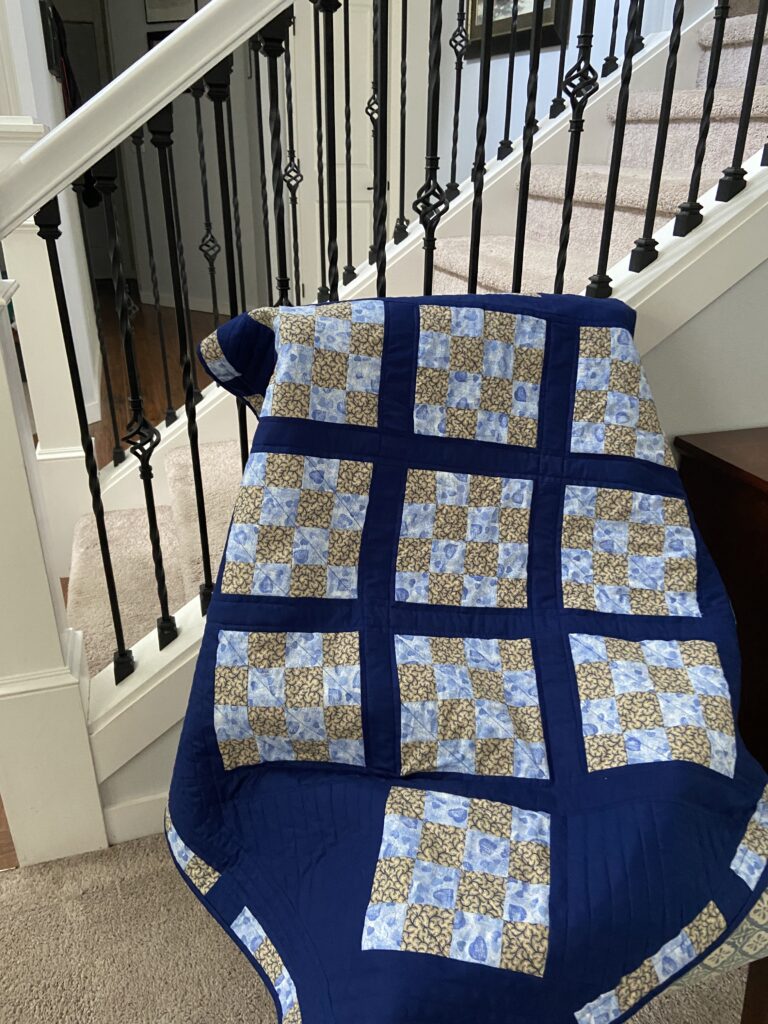
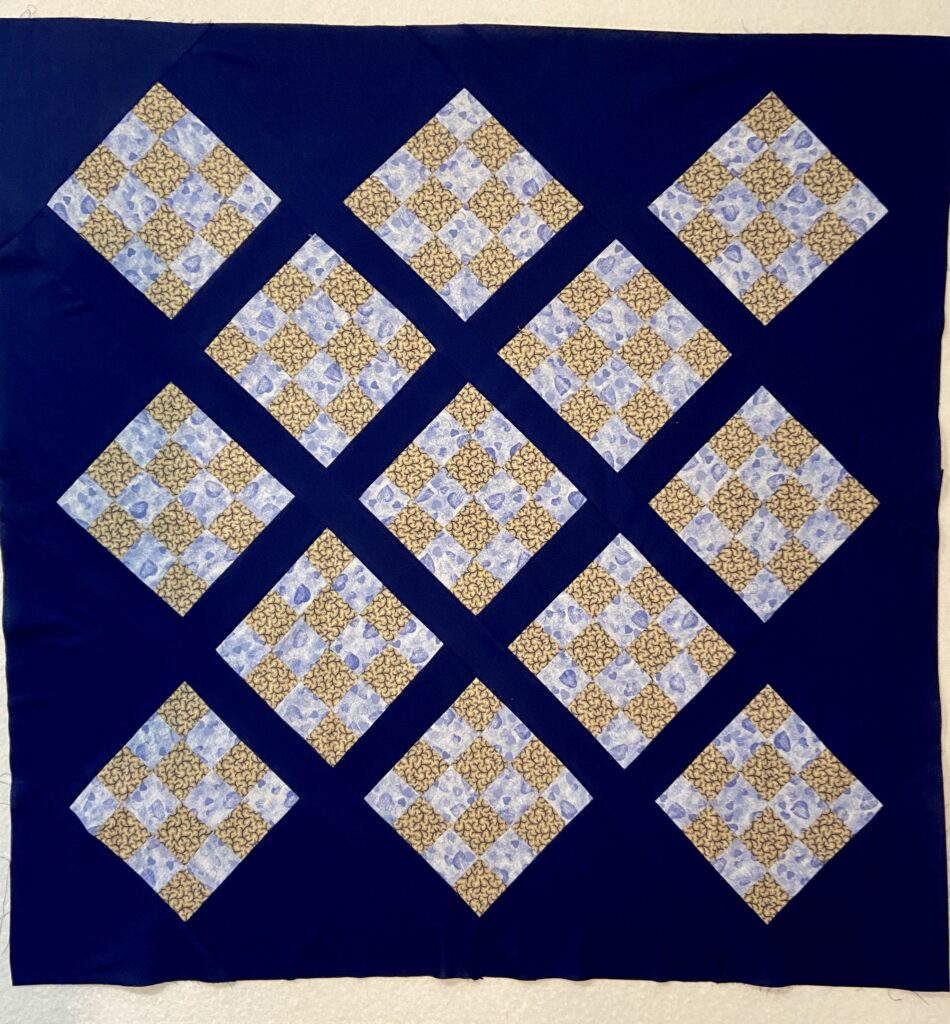
The quilt I am sharing today happened due to some crazy team work. Somewhere a quilter made the 16 patch blocks. I can tell these blocks were made quite some time ago. They were frayed at the edges and a wrinkled mess. Along the way, the first quilter decided they couldn’t finish the quilt for whatever reason. The blocks were then passed along to another quilter who promised to make a comfort quilt with them. Then these poor blocks languished for a long while, making the second quilter feel a bit guilty for not getting it done. She posted on Instagram that she would send them to anyone who would promise to finish up her promised task. I raised my hand quickly (on Instagram of course) and she mailed the blocks to me. (She actually mailed two sets of unfinished blocks and I have the second set out and ready to work on).

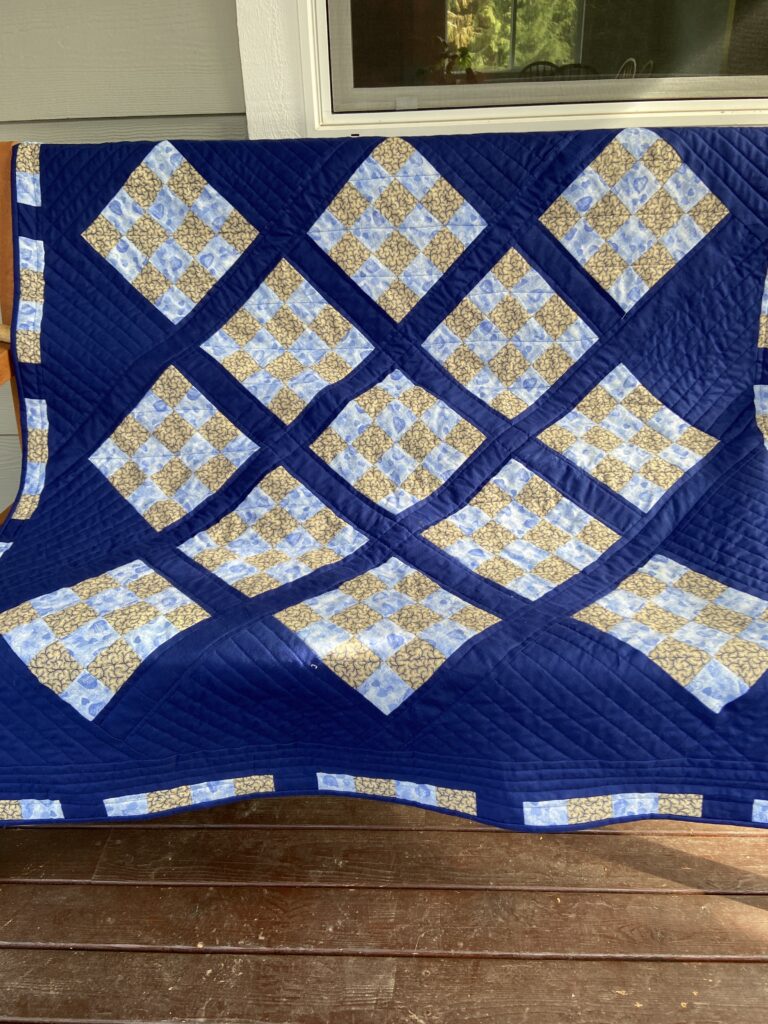
Due to my move up to Washington last spring, it took me some time to get to these blocks but I finally did. Looking at the blocks closely I saw they needed some work. I squared them and reinforced many seams that were coming apart. Next, I set them on point with a solid navy blue background. After laying them out, I realized I would have a few blocks left over. I used them as the border. The fabric was already fraying so I didn’t want to unpick the seams. Instead, I just stitched the blocks in a column and then sliced long strips. (Does that make sense)?? That made a nice border for the quilt.

Straight line quilting makes things easy.

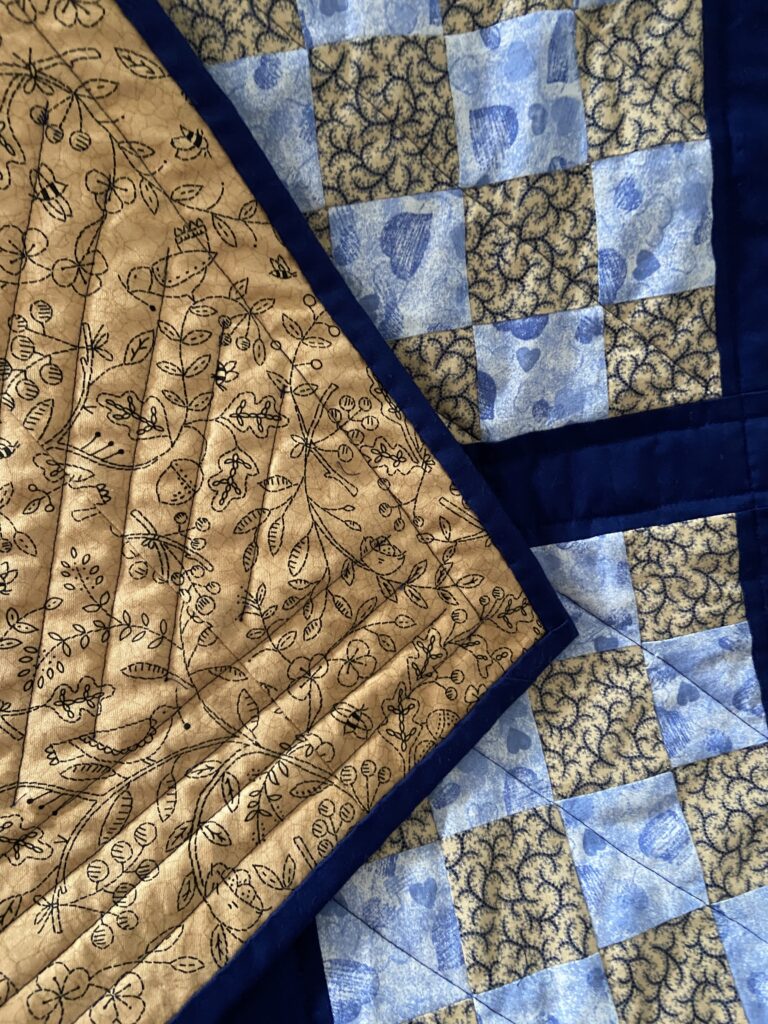
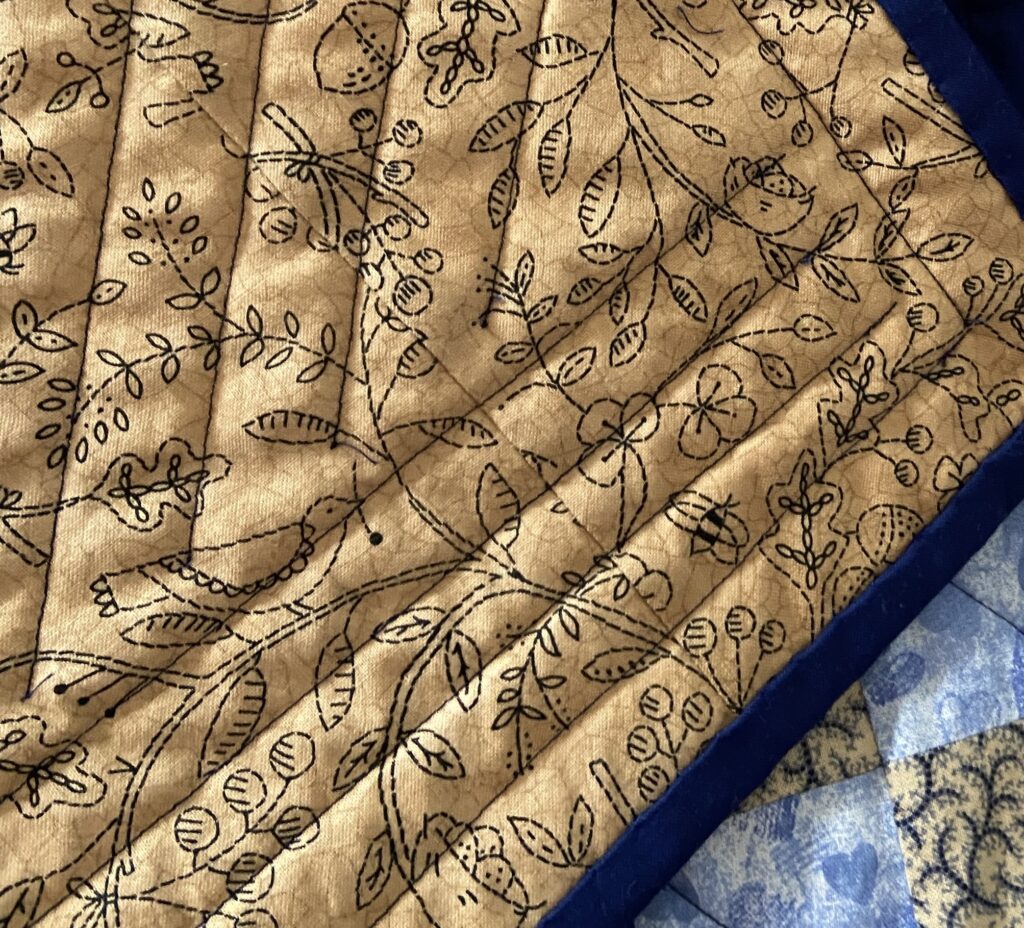
I used this super cute print (I think it was a Moda fabric?). I remember buying it last fall when I was at a fabric sale for a local sewing group. I had gone to that sale looking for pieces large enough to use as backings and this was one of the pieces I picked up.

Zooming in on the backing so you can see it better, check out the cute birds, oak leaves and acorns. I really like this piece and used just over half of it for the backing.

As a result of three quilters working together another quilt will be donated soon. First I want my daughter in law to see this one and the quilt I recently made as part of the Villa Rosa Designs blog hop. Unfortunately, a woman my DIL works with just went out on leave because her husband has terminal cancer and is now under hospice care. My DIL asked me for a quilt for them and I am very pleased to give her one of these.

How about you? Do you get a strong positive feeling making quilts for a person unknown to you? It sends much needed kindness out into the universe. There are many organizations who want quilts such as these for their clients or patients. It makes me happy to participate and do what I can to fill that need. Working with two other anonymous quilters, together we made one more quilt.

Linking up with my favorites – check them out at the top of the page, under Link Ups.

SAHRR Round 5 – Square in a Square

Square in a square quilt block – that is my kind of block. Easy peasy. It is also the block of choice for round 5 of the stay at home round robin event. Emily at The Darling Dogwood chose this round. Her example of the block is extra adorable because she appliquéd flowers to the center of each block. I strongly suggest you take a look if you haven’t seen them yet. She is so creative!

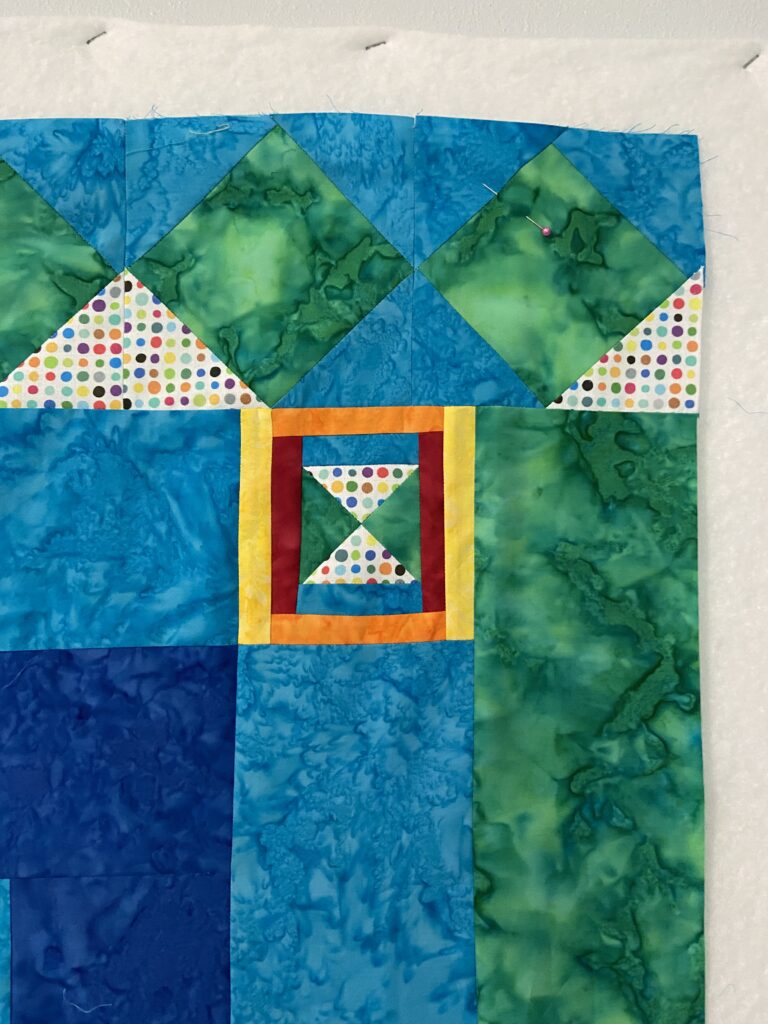
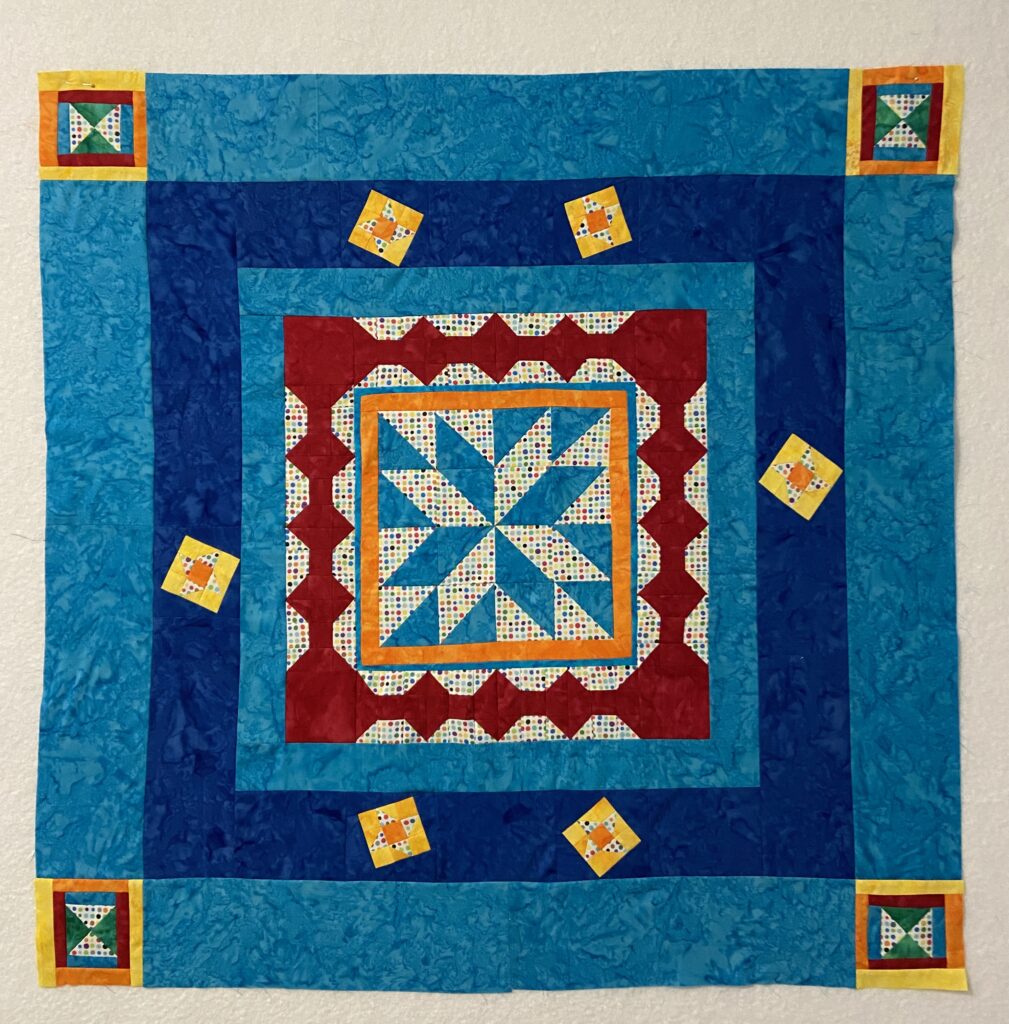
This is where my quilt is so far. It is kind of wild but I am enjoying it. It has been a long while since I have used any batiks and I forgot how much I like them. For this week, I did two plain 4 1/2″ strips up each side. Then I attached a row of square in square blocks to the top and bottom.

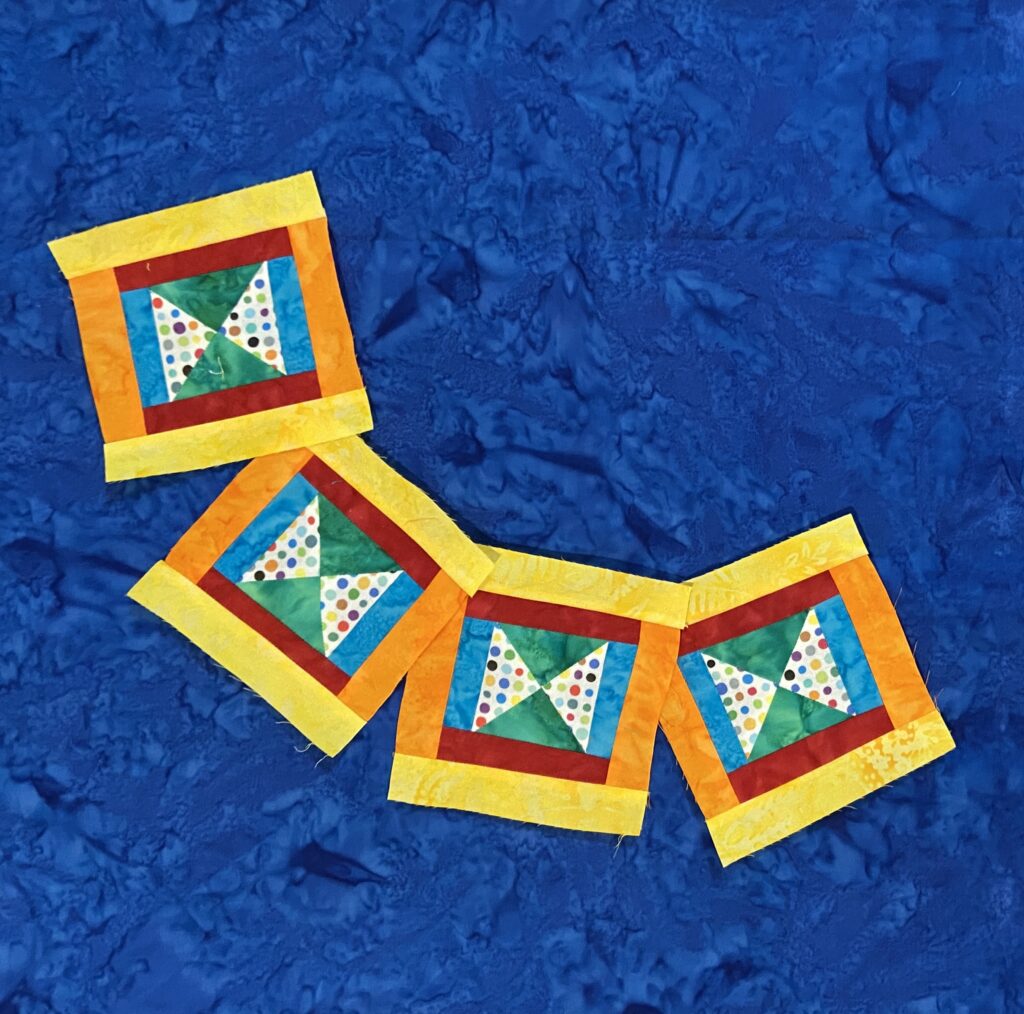
When I made the S in S blocks I chose to use a green center (because they were already cut in the stack of fabrics I am using up). Then I used blue smaller squares for the corners (because, guess what – they were already cut)! I did have to trim the polka dot squares for the fourth corner – they were cut but were a 1/2″ too big. These came together so quickly since I didn’t have to cut fabric.

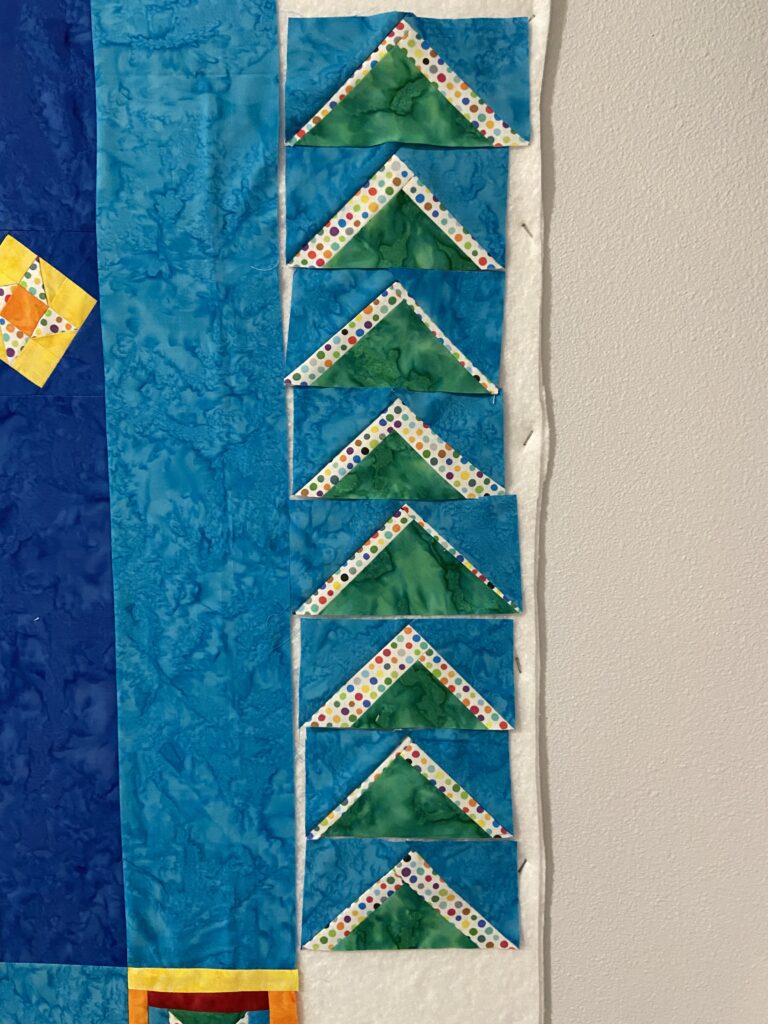
Wonky Flying Geese

You might notice I haven’t yet incorporated the flying geese blocks. They are a little bit weird looking and I can’t decide if I want to use them or now. For now, they can sit and wait. Maybe it will happen, maybe it won’t???

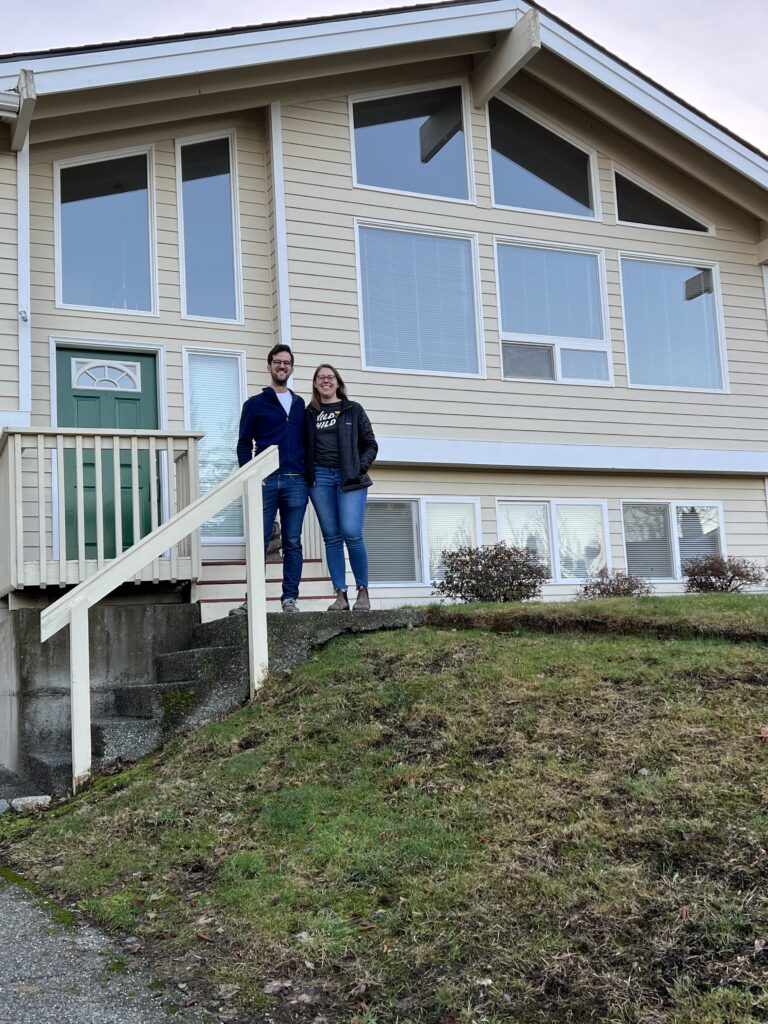
We had a lot of fun helping our son and his wife move into their new house last weekend. It is so exciting to see them settling into the house. Still lots to unpack and organize but they made huge progress last weekend.

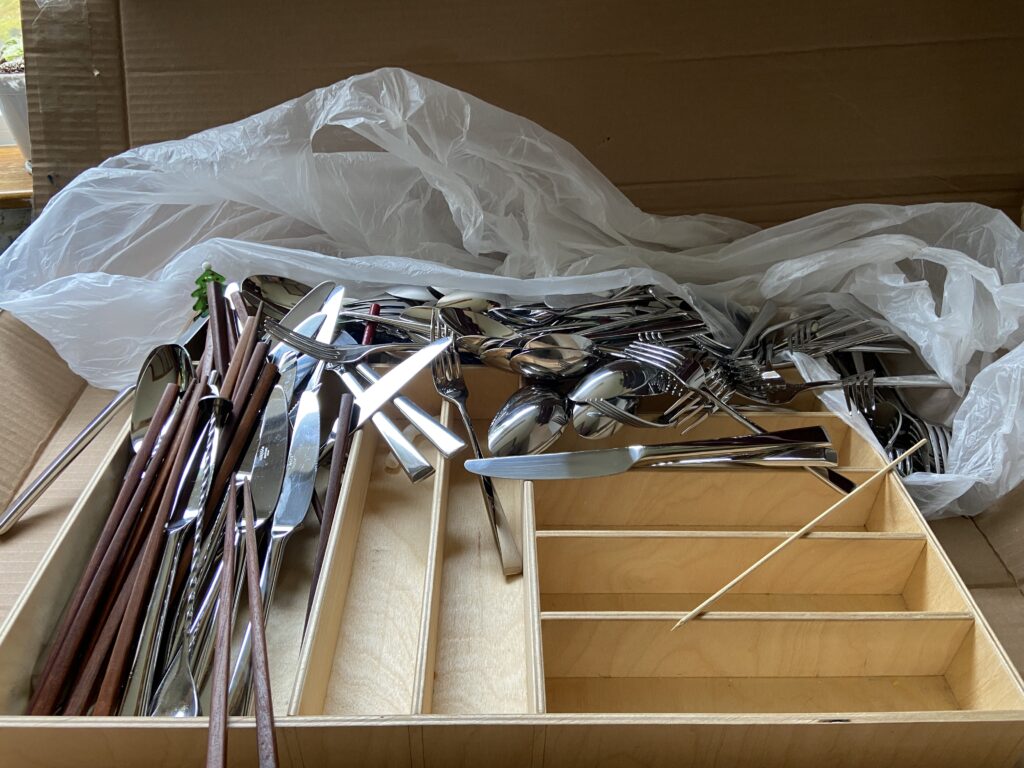
Of note is the quality packing job I did with their tray of flatware. Haha.

We had hoped to see the girls this week but the never-ending virus has descended upon their house once again. Big sister had a fever Saturday through Tuesday. We thought it was one and done but little sister decided to join in and spiked a fever today. Ugh. I remember those days of seemingly endless viruses, fevers and runny noses. I feel for the girls (and for their parents).

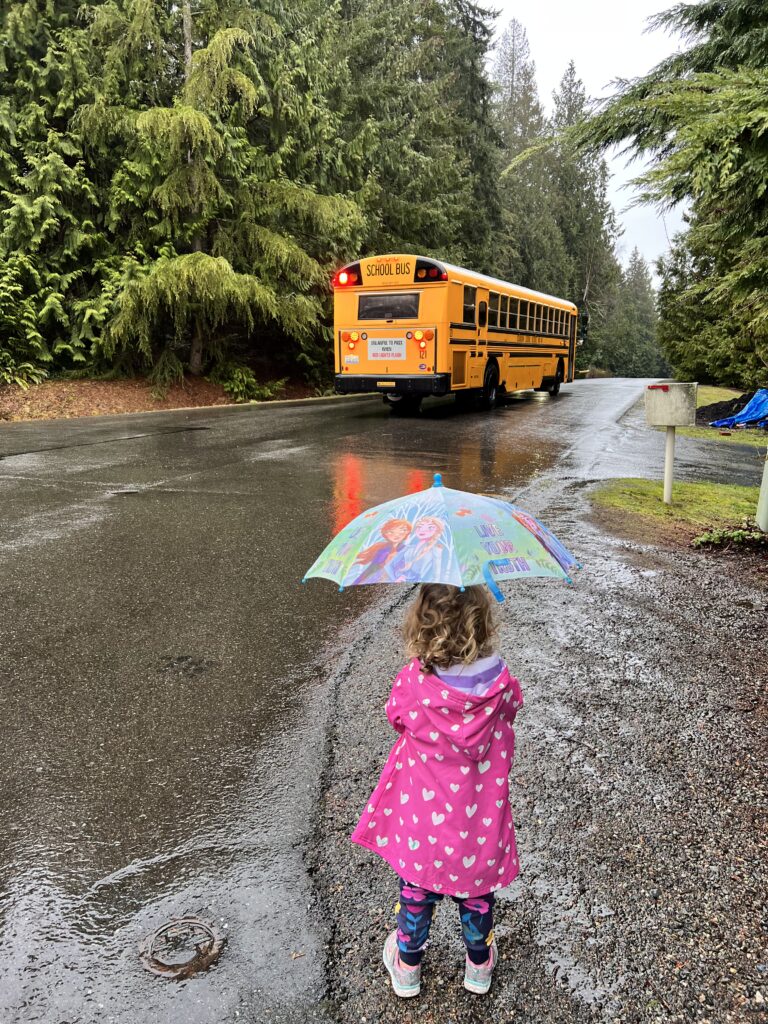
Rather than close on that dreary note, I will instead share this cutie pie. Little sister has it in her head she must get out of the car and watch the bus take her big sister off to school. This slays me. She truly loves her big sister.

OK – back to the sewing room. I am going to baste a comfort quilt and get it finished up. I will share it soon.

Happy Sewing everyone!!


Linking up with the usuals – check them out at the top of the page, under Link Ups.

Flying Geese, Mountain of Mulch, Woodland Gardens and Baby Gifts

This has been a fun week. I like when there is a little of this and a little of that. Maybe I just have a short attention span. Actually, I don’t have a super long attention span so it is likely that is why these sort of weeks appeal to me.

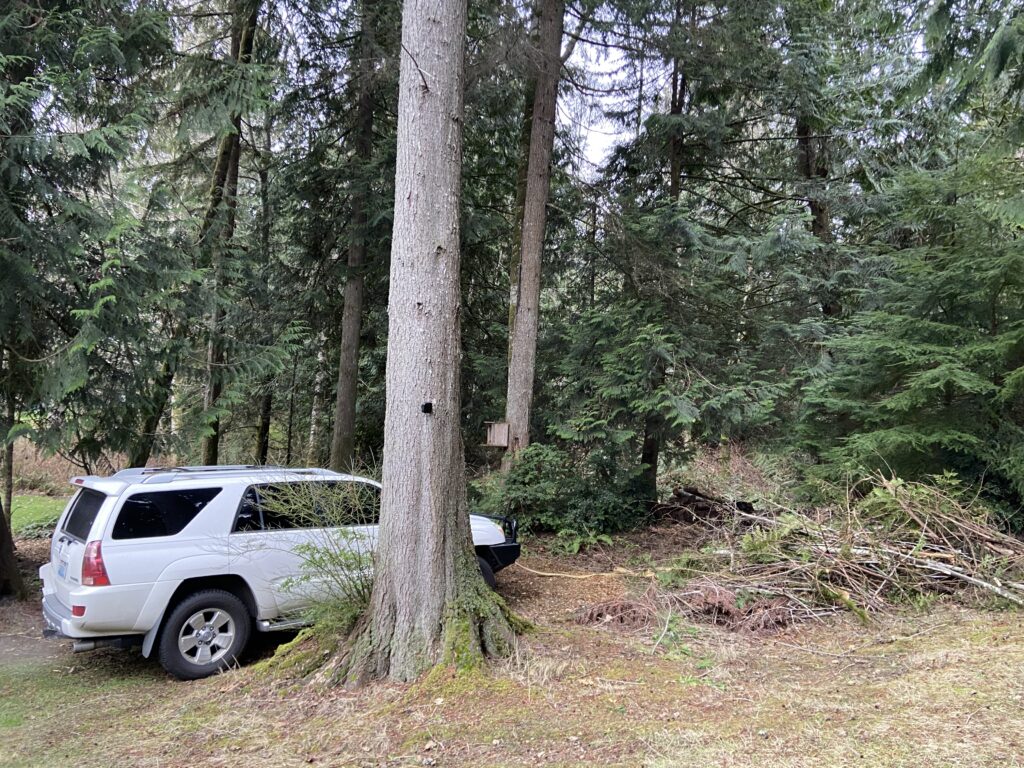
We had dry (but cold) weather this week so Ray and I did a lot of work outside. My muscles are feeling it but that is a good thing. The perimeter of our property is surrounded by wooded land. The previous owner went with the ‘au natural’ look which is fine to a certain extent. But we wanted to clean up the many, many trees that were down and left to rot. That way we could have some walking paths through the trees. To that end, Ray did loads of chain saw work and even pulled a dead tree down using his car. (That was a bit unnerving!)

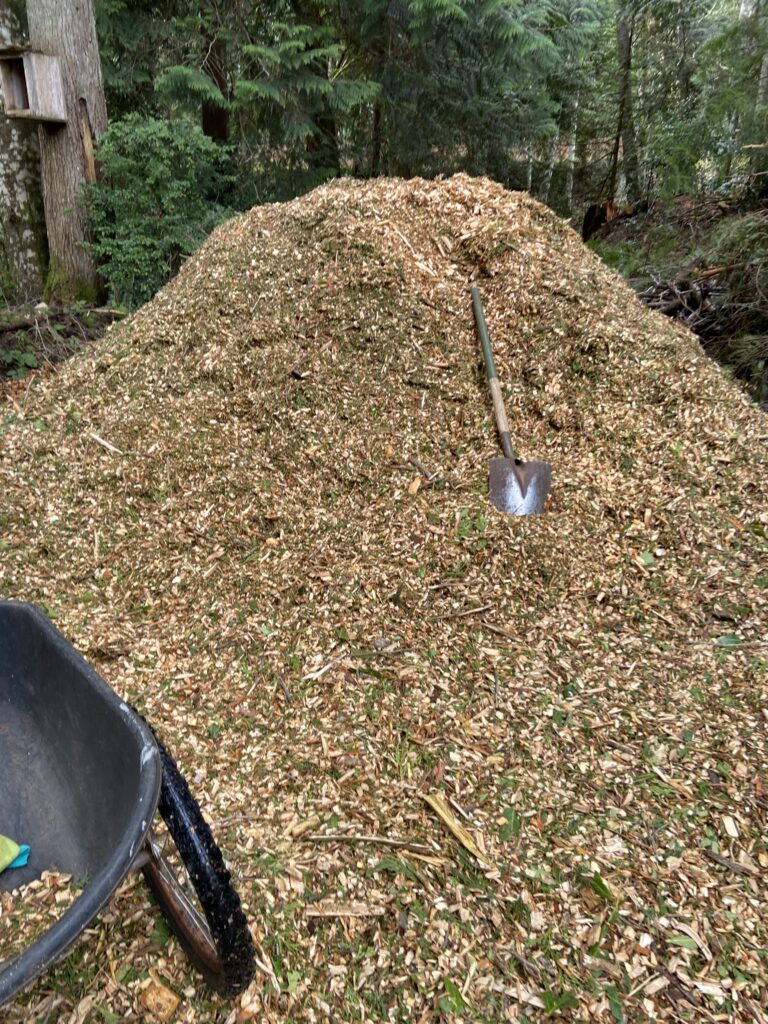
We have had an arborist out to take out some larger trees and to clean dead limbs off of others. He and Ray struck it off well and now we have a source of free mulch when we need it. This week the arborist dropped off another load for us. This is so useful when there is lots of property to be maintained.

This mountain of mulch won’t last too long around here!

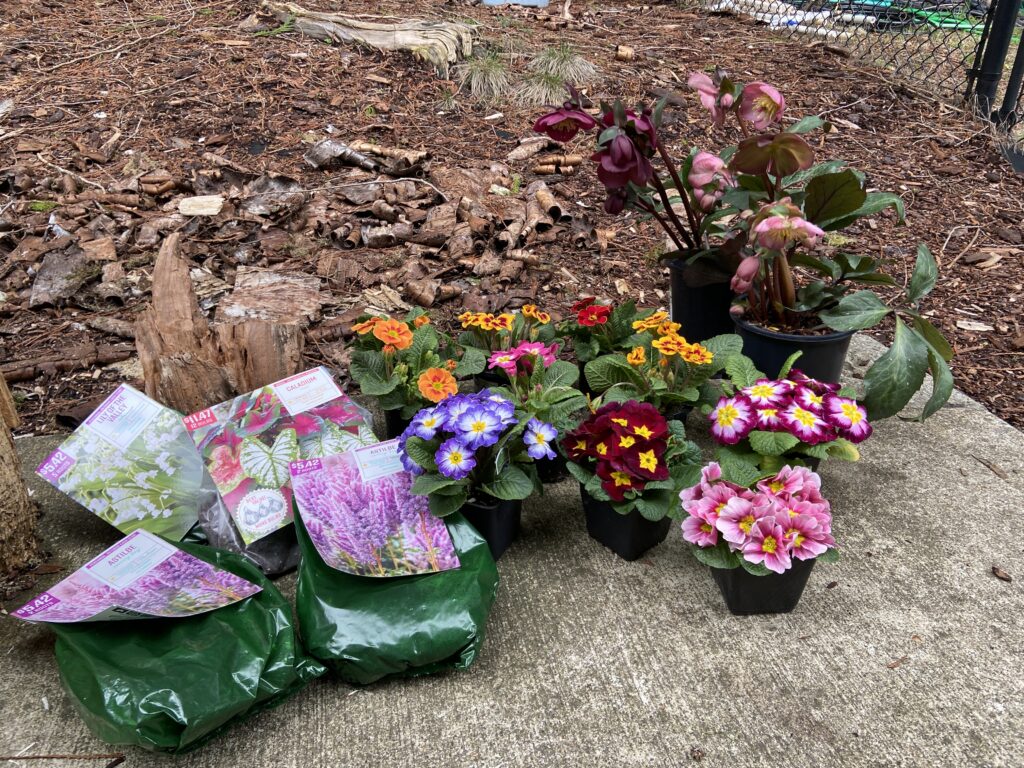
Lenten Rose, Primrose, Astilbe, Caladium and Snowdrops

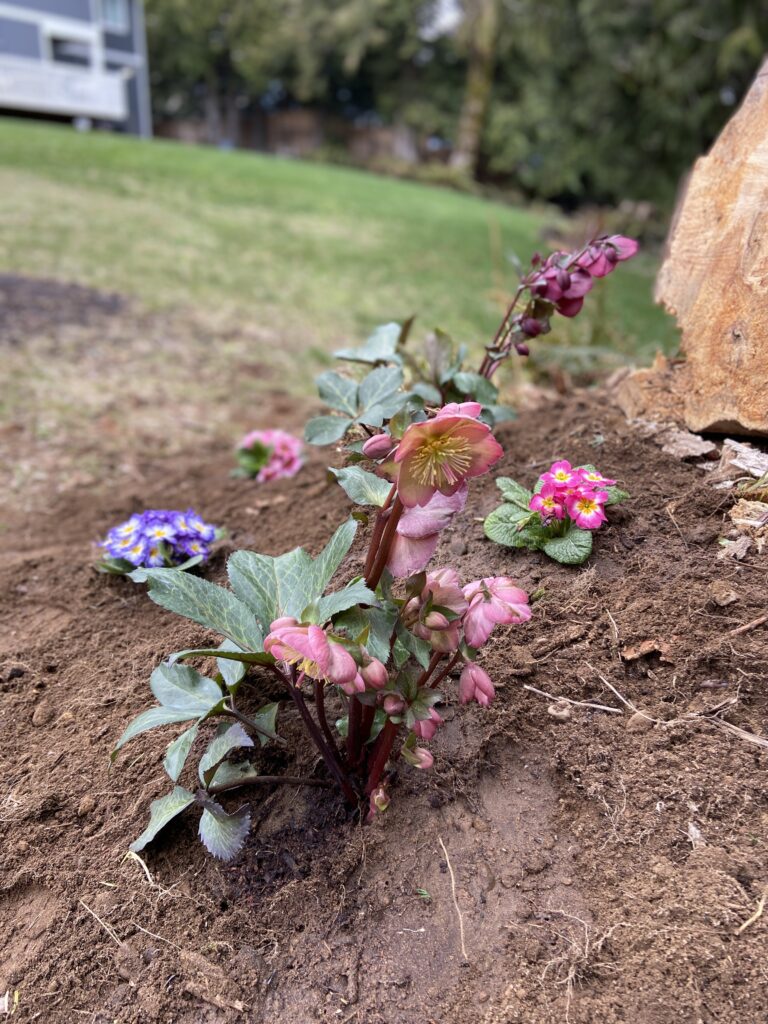
Here is the start of my woodland gardens! Not pictured are a bare root rose, two hydrangeas and a rhododendron. All of this was planted except the caladium which will be started in small pots and transplanted when the weather warms up. I am so excited to see some blooms come spring time.

For now, the primroses give me a little burst of color.

SAHRR 2023, round 4

This week’s round for the Round Robin event was decided by Anja (AnjaQuilts). She has declared it to be the week of flying geese blocks. I decided to get all fancy schmancy and try making the Stroked Flying Geese that I saw on a tutorial at Art Gallery Fabrics. They are super cute but the middle stripe is uneven which is a bit bothersome. So…… this is my plan. Today I will try making them again today and if I can get that stripe to be more even, great. If not, I will declare this was on purpose and these are improv geese. More on that as I make some progress. Either way, I am not going to sew this border on. Instead, I’ll wait to see what next week’s round is and decide if I want to combine the rounds.

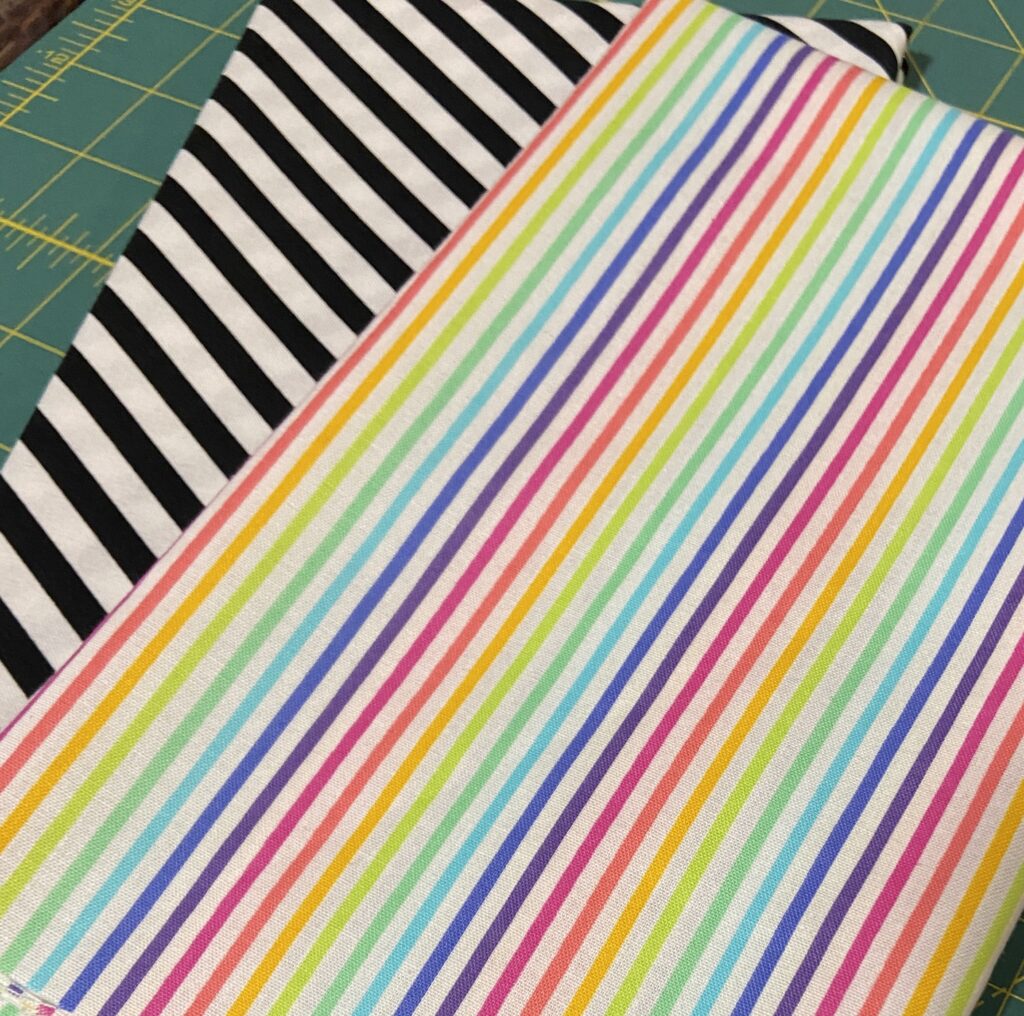
Who likes a striped binding??

I am sticking to my plan of sewing my stash but come on…. I am out of stripes and who doesn’t love a striped binding? I ordered a 1/2 yard of each of these and they are set aside for use as binding.

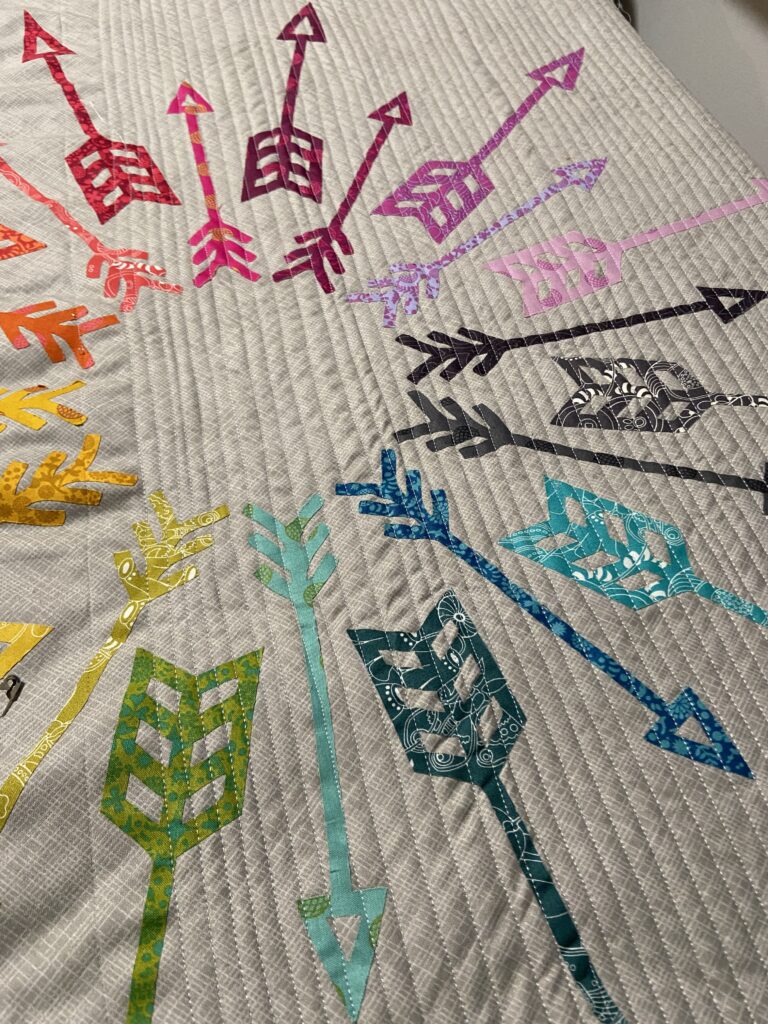
On a recent Instagram post I asked everyone if this wall quilt should be finished with a circular quilting design or matchstick quilting. Most people called for circular and I was going that way as well. However when I looked closely at the fused arrows, it seemed like the fuse was not super tight. Matchstick to the rescue. This quilting will reinforce the fused arrows and it looks cool too! The quilt won’t be handled or laundered so this should be great. (Not sure if you remember but I bought this Alison Glass kit of laser cut, fusible pieces at a quilt show last fall – for a buck!!)

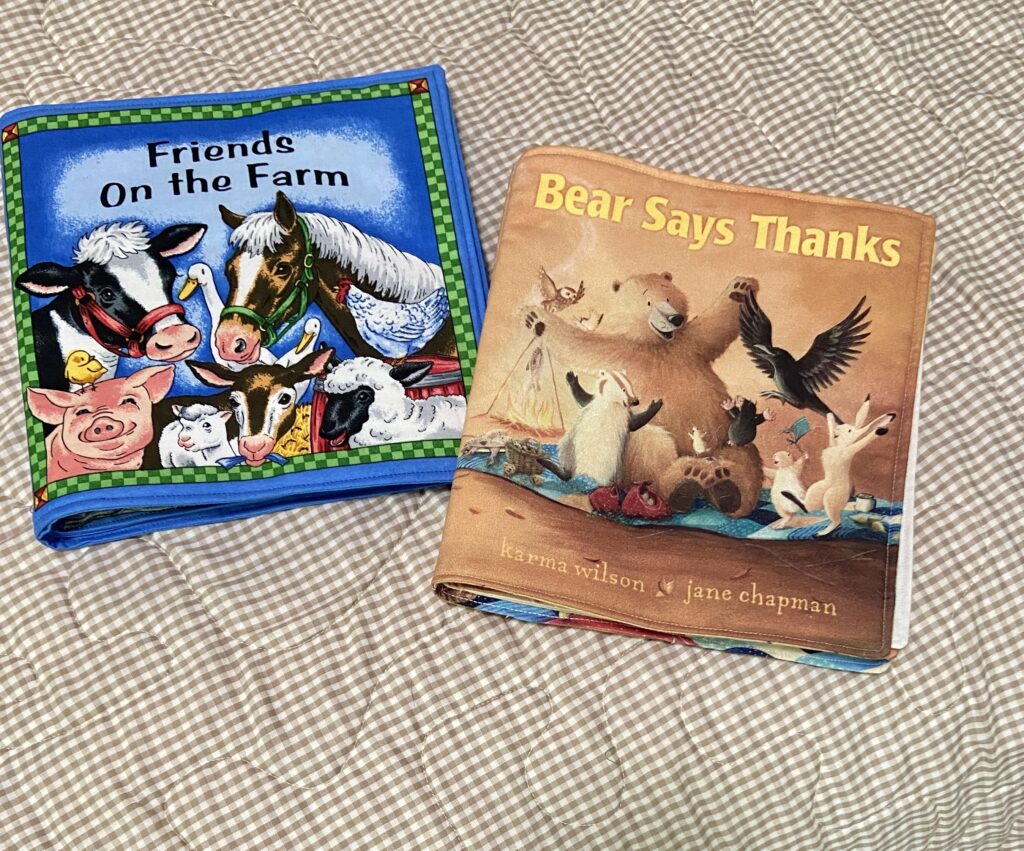
Another project that happened was stitching and assembling two cloth books. My niece is having her first baby this spring and I plan to send these off to her. I love these soft books for babies. The colors are bright, the pages won’t tear, and the story is simple. I had the pieces all cut out so this was super quick.

Well that was my week in a nutshell, or a blog post. This weekend my husband and I are heading north a bit to help my son and daughter in law move into their first house. I am so excited for them – home ownership is a huge step in life.

Have a great weekend everyone!!

Linking to my favs – check them out at the top of the page, under Link Ups.
Round Robin, a Comfort Quilt, Princesses & Goats

Well, where to start with this post? How about with the SAHRR? It is coming together nicely with two more rounds to add on. (Remember this is the Stay at Home Round Robin hosted by Quilting Gail. This year marks the third year of the event but the first time I have participated.

Hourglass blocks were the choice for this round. Chris @ Chrisknitssews took us through making these symmetrical blocks. Of course it is up to each quilter how to use them. I made tiny hourglass blocks to utilize the HST’s that I already had. Then I bordered them with strips of batik to get them to finish at 4.5″. At first I was going to put them on the darker blue batik because the colors are so vibrant on the dark background.

However, when looking at the quilt top I decided not to put two dark blue rounds side by side. Instead, I placed the hourglass blocks with the turquoise blue batik. Maybe I will continue to alternate the shades of blue.

16 patch blocks on point

On to the next project. Sometime before we moved I saw a post on Instagram from a woman who wanted to give up some blocks to anyone who would make a comfort quilt with them. I offered and she sent me two sets of blocks. The blue and light brown 16 patch blocks were one of the sets. These blocks had been made quite some time ago but after trimming them and reinforcing seams here and there, I put them together in this simple setting. They look sweet and with the added border, the top is just large enough to be a cozy lap size quilt. I need to look through my yardage and find something for the backing but the rest of this will go together quickly.

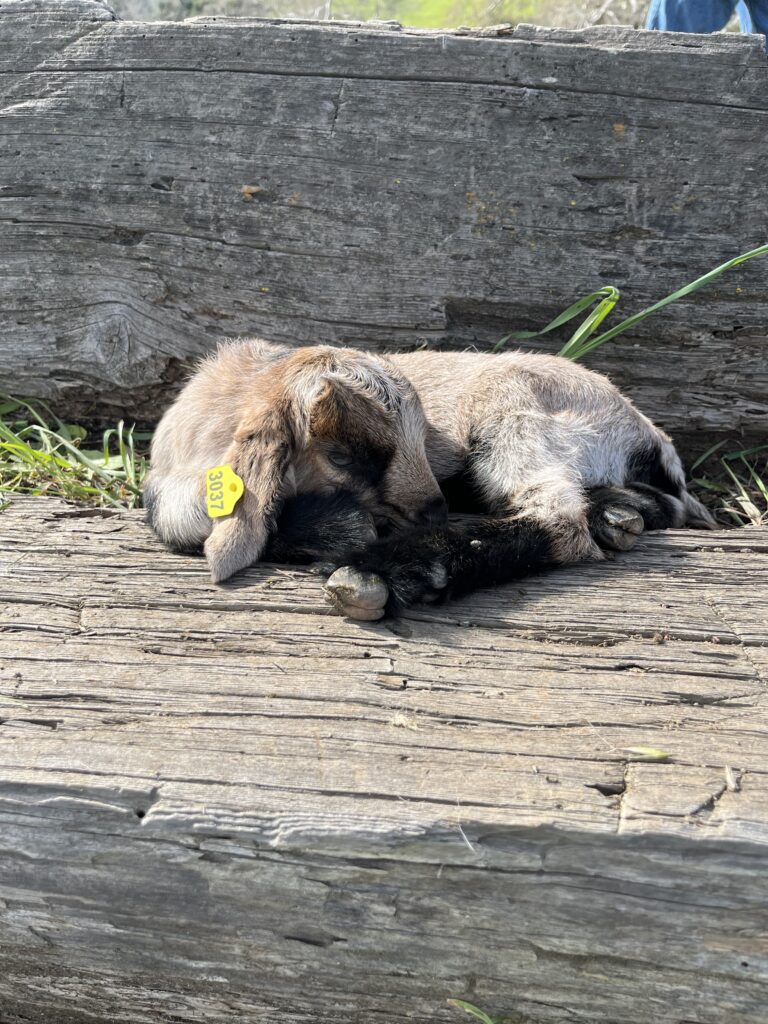
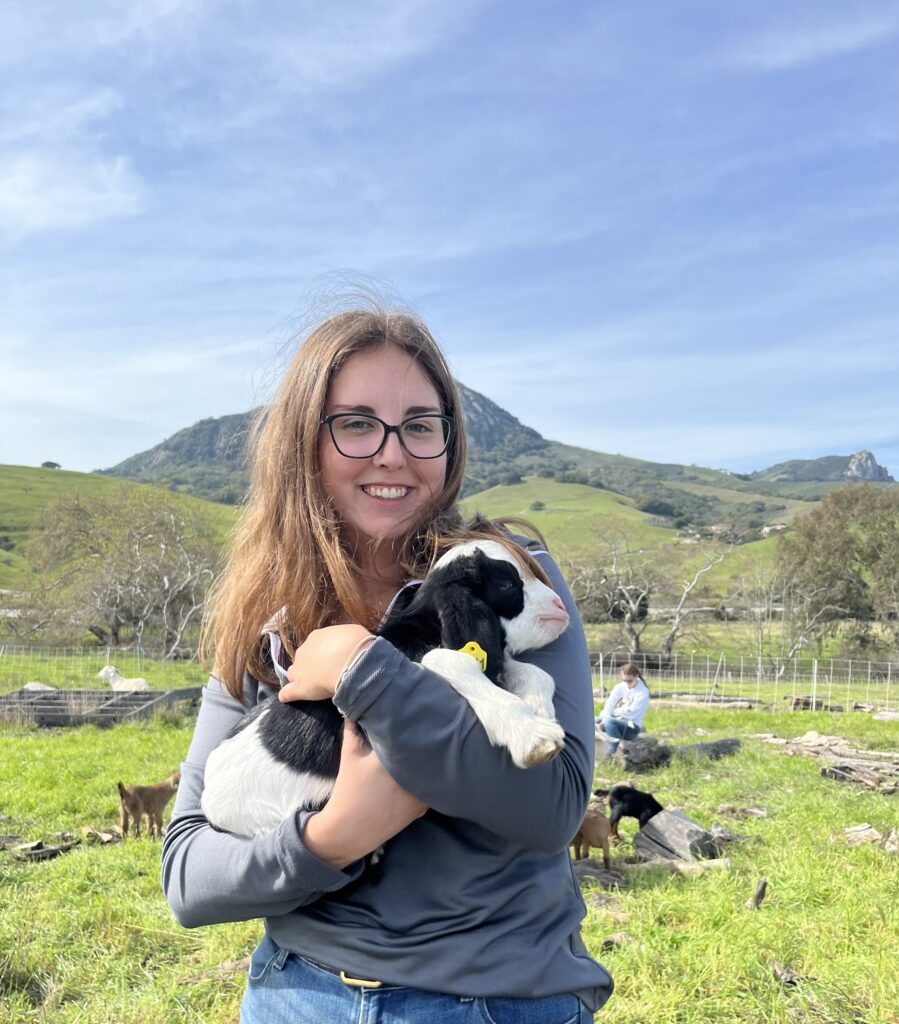
Spring has arrived in central California. Julia is happily working with mama goats and their babies. She is having a really busy term and the time she gets with these little guys make such a nice break in her day. Those rolling hills in the background are so pretty!

Soaking up some sun.

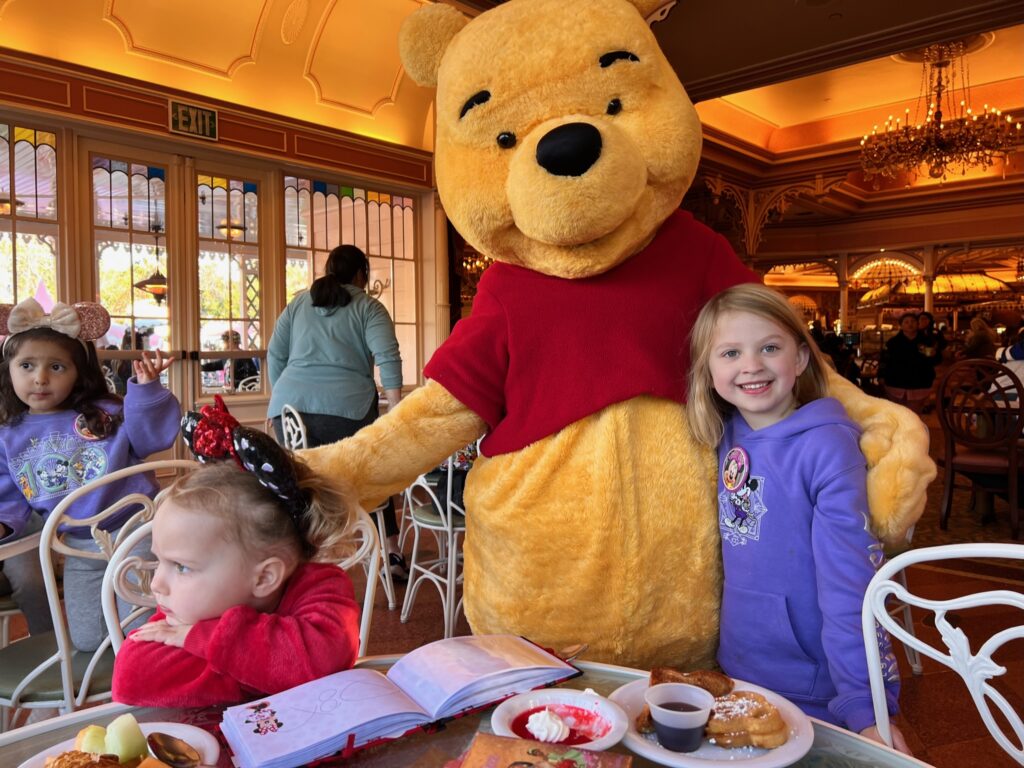
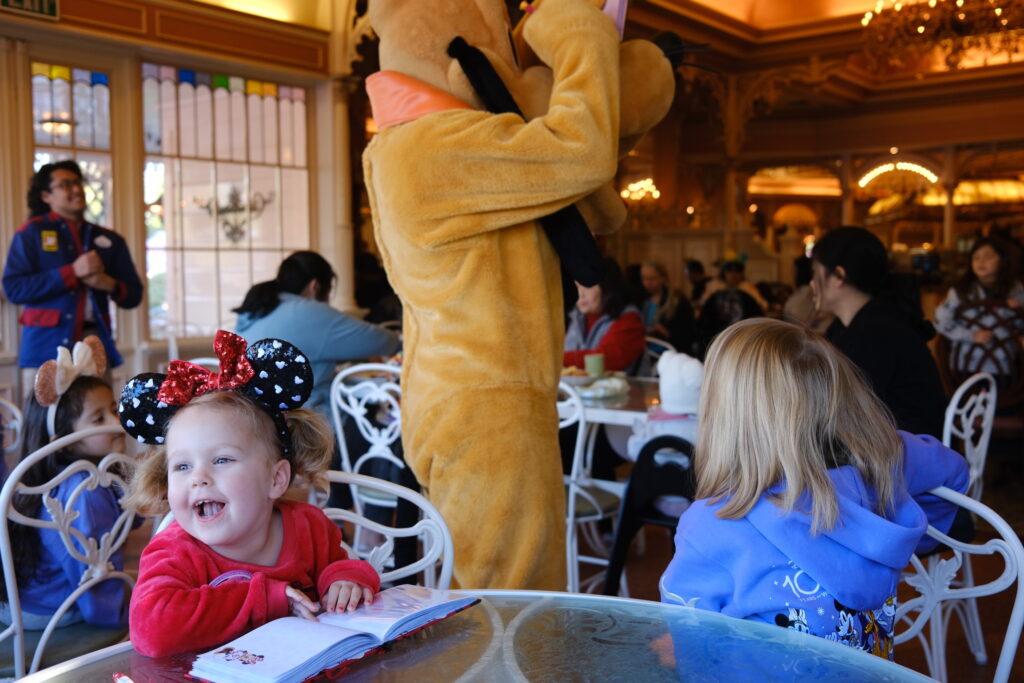
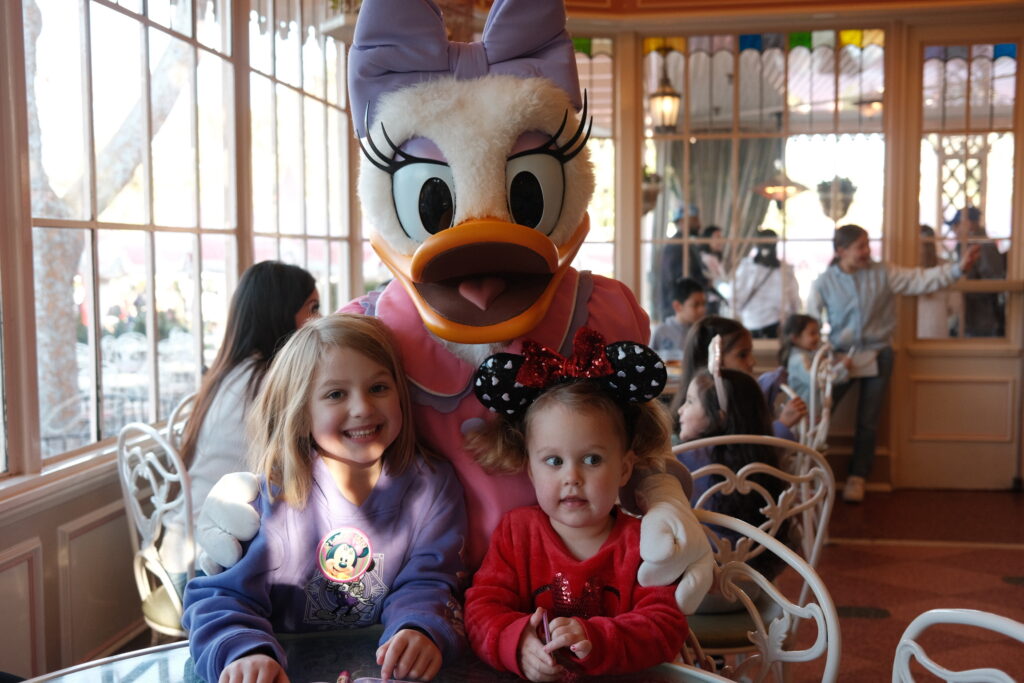
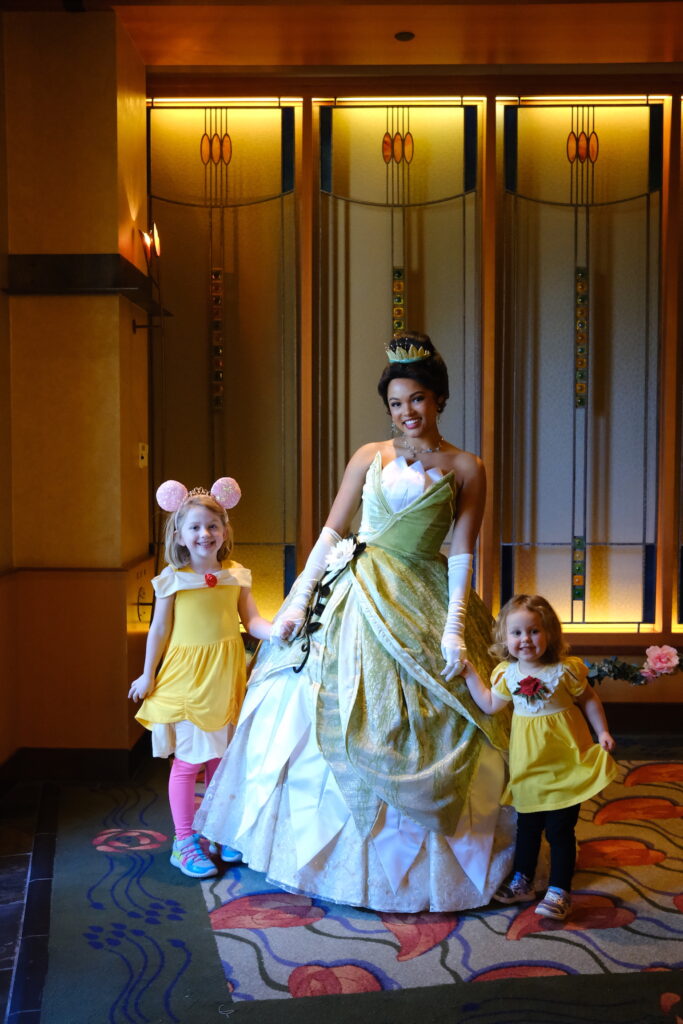
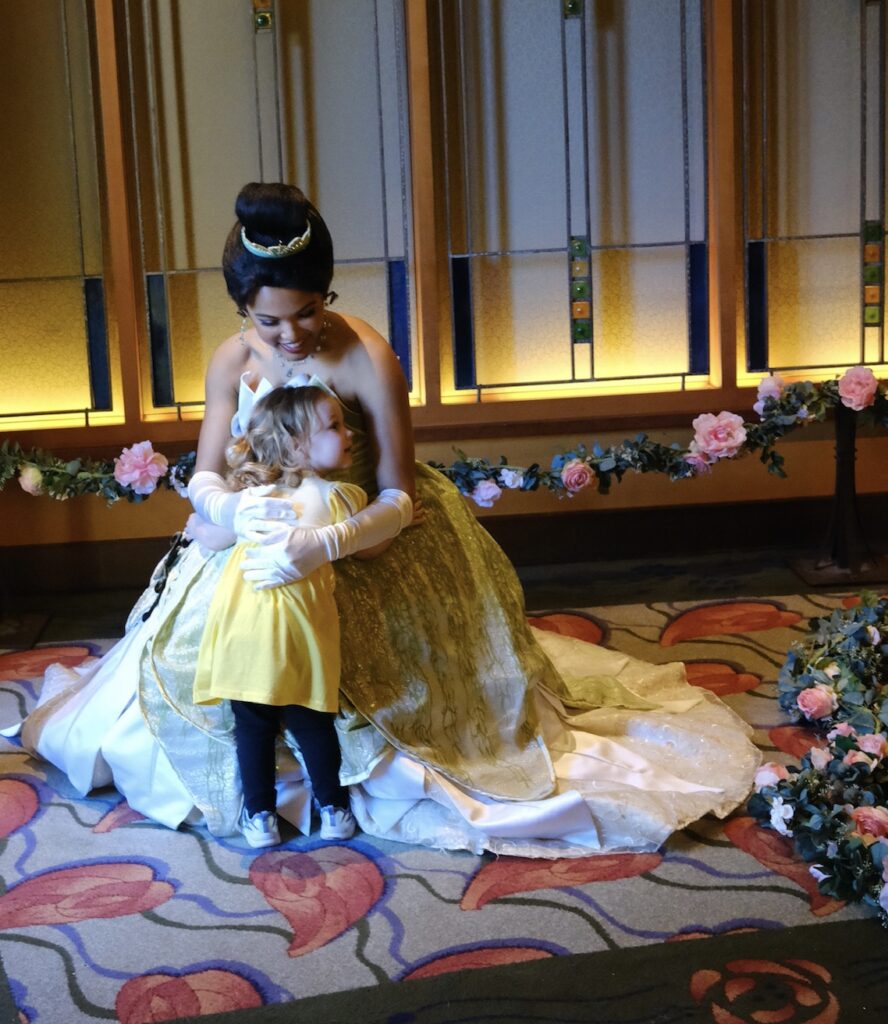
My son and his wife took the girls to Disneyland for the first time. It was princess heaven.

I thought the variety of expressions on A’s little face were so funny.

Posing with a princess and holding their dresses just so.

Little sister decided she needed a full hug.

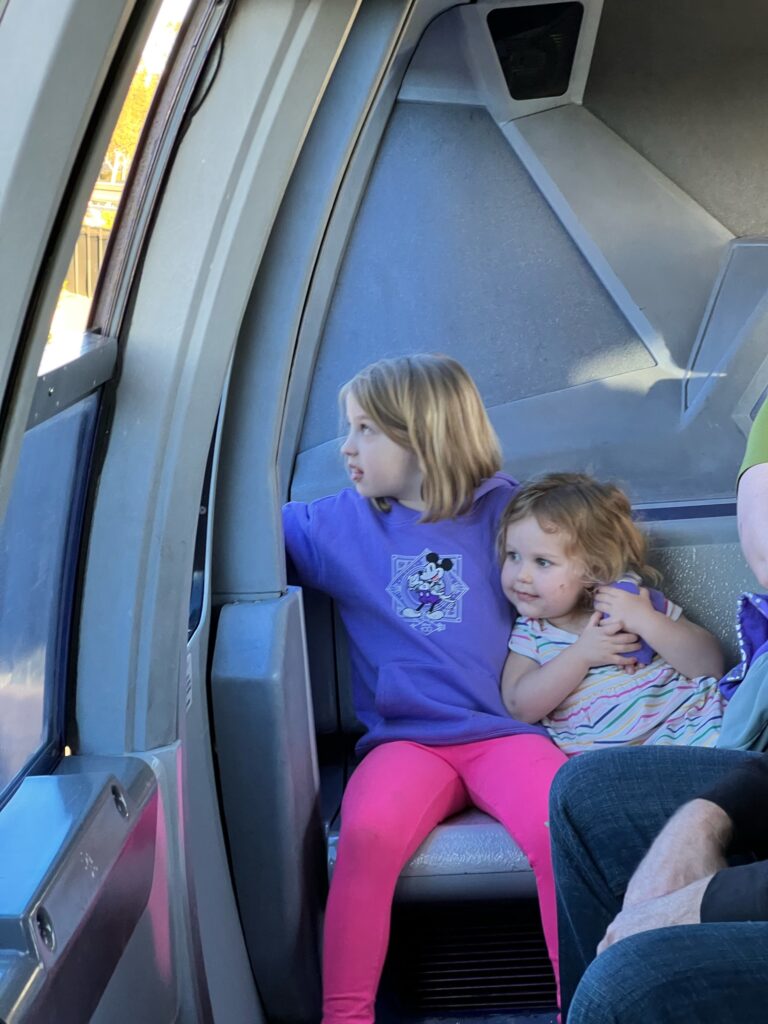
The girls had a quick cuddle while riding the monorail into the park. I love this picture!

OK – that is enough for now. Feels like I have lots to work on this week. Hopefully you are all involved in a project that is causing those creative juices to flow! Linking up with a few favorites. Check the out at the top of the page, under Link Ups.
Make sure to check out the Quilter’s Color Mixer event coming on March 30th. It is going to be a great opportunity to learn all about color and placement from some really talented instructors. For more details on the event, click here to read my previous post.

Color Mixer; Learning More About Color & Fabric

The topic of today’s post is so exciting to me! I have mentioned many times before my difficulties with selecting color, choosing fabric pulls, and understanding the values of various colors. Over the last five years, I believe I have improved. When I look at quilts from some years back and those I have made recently, I see a larger variety in scale and value. But could I learn more or improve? You know it. Fabric selection and especially color palettes, make or break the quilt (in my opinion). It seems like this knowledge knowledge of color and placement is intuitive with many quilters but it isn’t for me.

In order to improve my abilities, I have just purchased the upcoming Color Mixer class being put on by Creative Spark. When I saw this opportunity pop up in my email it seemed so perfect for me. The live event is on March 30, 2023. After the event, recordings of each talk will be available online for quilters and sewists who purchased a spot at the event. This means if you are unable to attend on the 30th, or cannot watch the entire event that day, it is forever available to you beginning April 2nd.

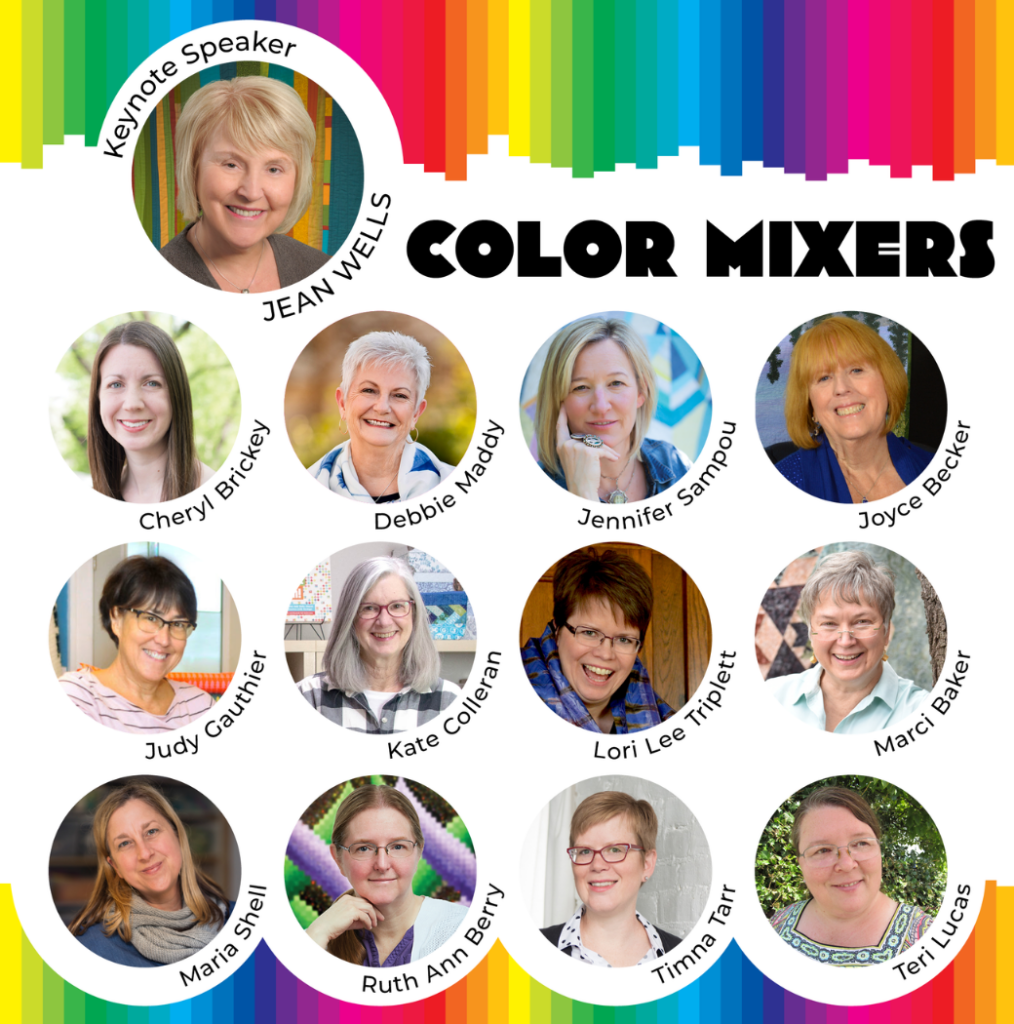
The keynote speaker for Color Mixer is Jean Wells, founder of the super popular Sister’s Outdoor Quilt Show in Oregon each summer. Jean has written many books and is an extremely talented quilter. Honestly, hearing her speak was one of the main draws for me in buying a ticket for this event. Here is the panel of talented quilters who will be giving talks on various subject revolving around color. The collective wealth of talent here is amazing.

There is a tremendous amount of knowledge to be gained by listening to classes given by the quilters on this panel. If you would like to read the specifics about the talk each of these quilters will be giving, click here.

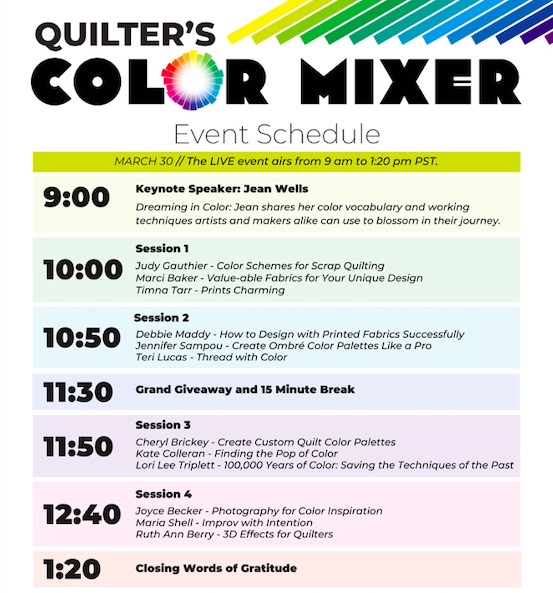
To explain the event a bit further, the live event lasts four hours on the 30th. There will be break out sessions with several talks scheduled for each time. You’ll choose those you want to listen to on the 30th and then when the recorded event is uploaded on or after April 2nd, you can catch up and listen to the rest of the talks. For me, I am most looking forward to listening to Marci Baker, Debbie Maddy, Jennifer Sampou, Cheryl Brickey and Maria Shell. But each of the speakers offers something interesting and helpful. If taking an online class is unfamiliar to you, I wouldn’t worry too much. Creative Spark has great support throughout the event and will be helping attendees get to the class they want.

Here is the schedule of events –

Quilt classes are a lot of fun and I have taken some that I really enjoy. But I am not one to go to any of the really big quilt shows (think QuiltCon) due to the cost of these events and the fact that I truly dislike crowds. This is our chance to hear some of the same designers and teachers who teach at the bigger shows for a really reasonable price and from the comfort of your home. This is my kind of event!!

No event is complete without a swag bag and prizes. There is a grand prize which each student is entered into the drawing for. Also a (virtual) swag bag is provided to each attendant. Fun stuff!

Hope you will join me in attending these classes! If you click here or on the color wheel above, you will receive a discounted price of $29.99 for the event. Are you as excited as I am? Let me know which instructor you would most enjoy learning from in the comments below!

**************************************************

(Likely, you already know this but I am an affiliate and thus will receive a small payment for each person signing up through my post. This happens at no expense to you.)

SAHRR Round 3

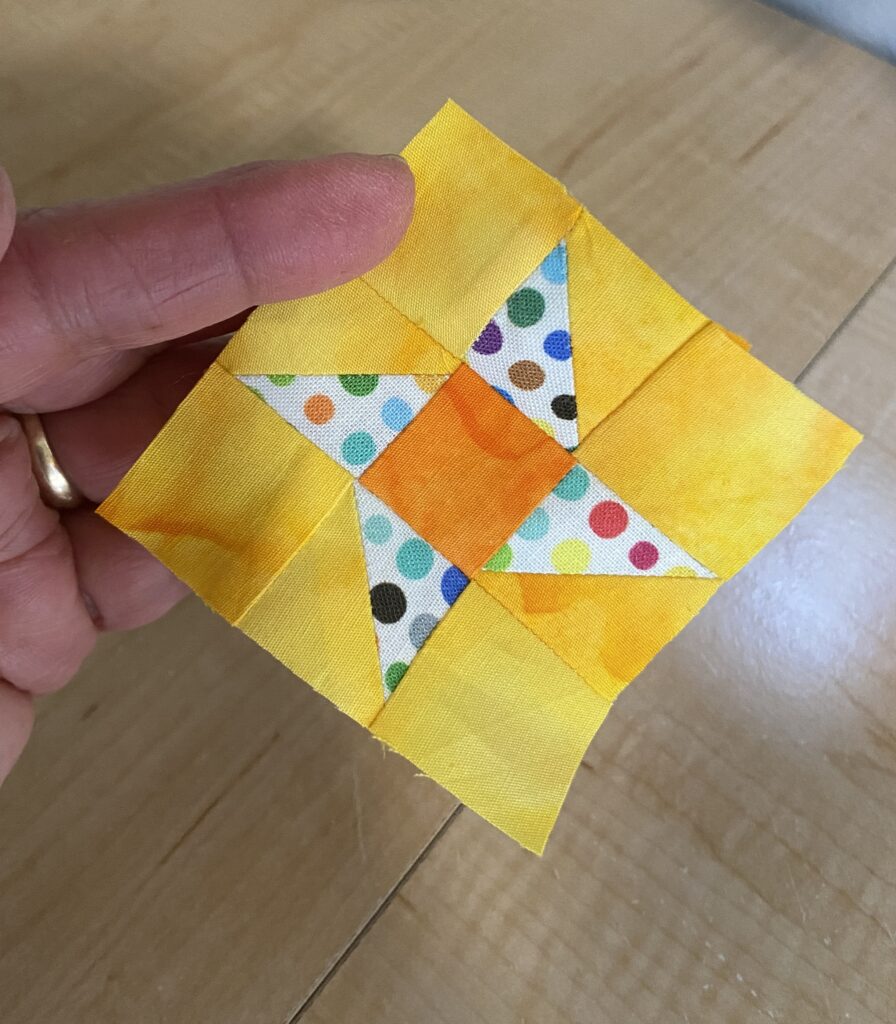
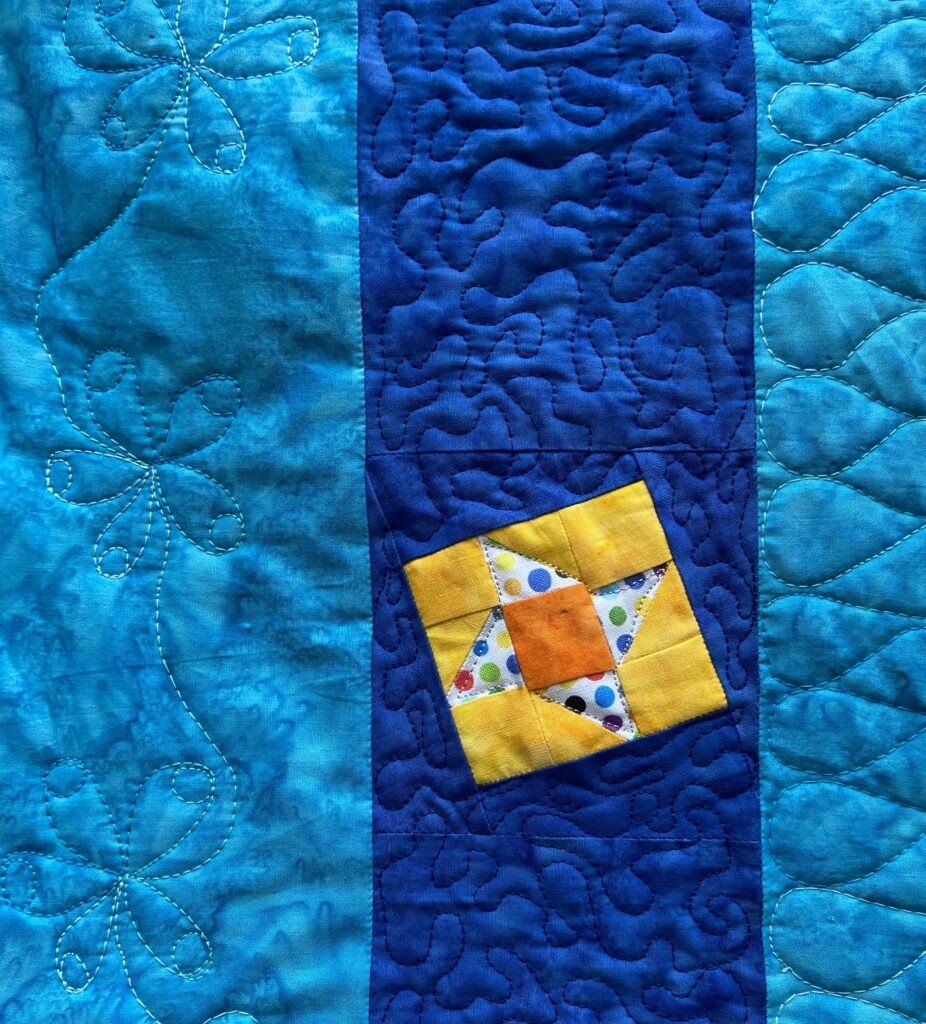
I was happy to see that Wendy (Pieceful Thoughts) chose stars (of any sort) for round three. Her example was the friendship star and I decided to go with that block. Friendship stars are sweet and very simple to make.

Isn’t this adorable?

Remember I am using blocks from a tossed aside project. Have to say, I am enjoying having these forgotten HST’s to work with. It is so much easier to cut tiny HST’s from oversized blocks. The bits for this block were cut at 1 1/4″ so they finish at 3/4″. For me, that is very tiny! The finished friendship star measures 2 1/4″.

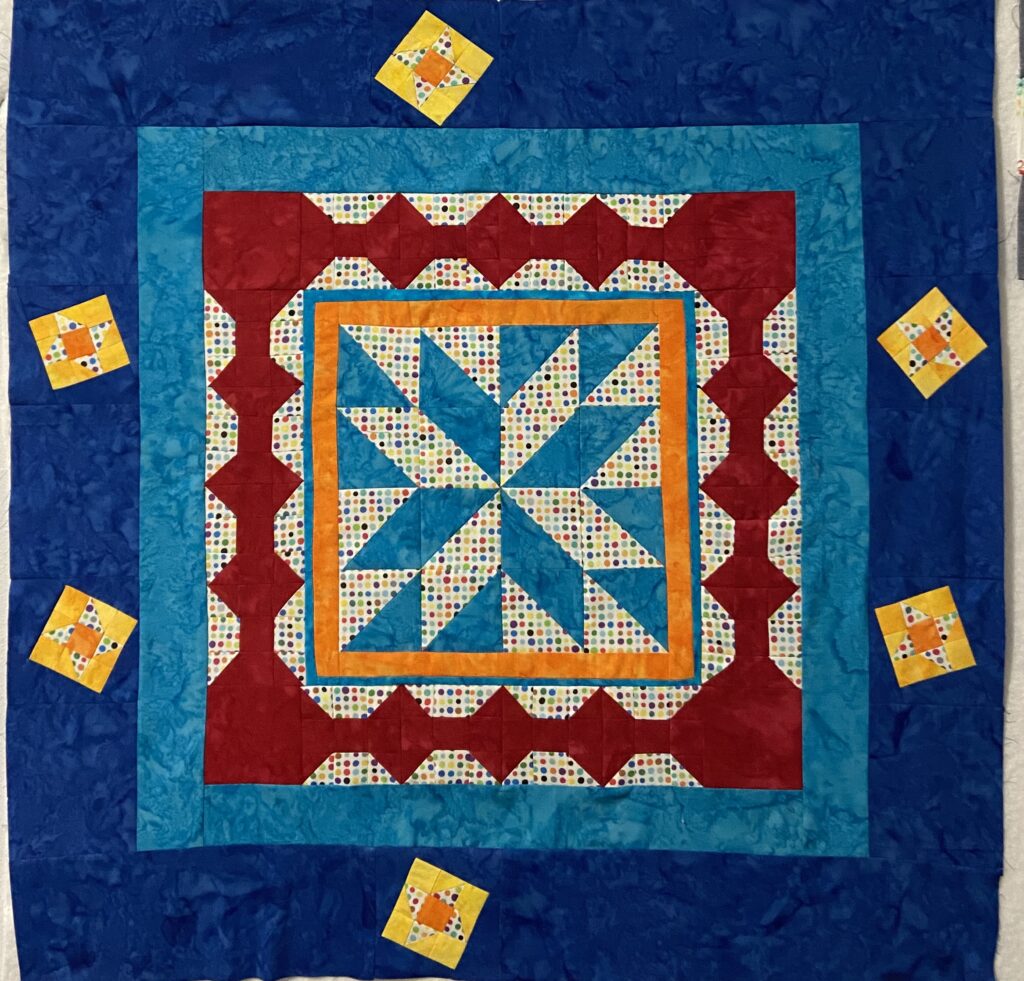
Before adding the round of stars, I first stitched a border of turquoise to the quilt. I am trying to grow this quilt and will (probably?) keep putting borders on between the pieced borders. With this round of stars the quilt measures 30″ square. There are four more rounds to go.

I wanted the stars to be set into a darker blue. I also decided not to put very many on with this round. The quilt needed to be calmed down a bit. The navy blue border with just a few stars was the ticket. So this round is actually done with a couple of days to spare! Now to wait until Monday to see what comes next.

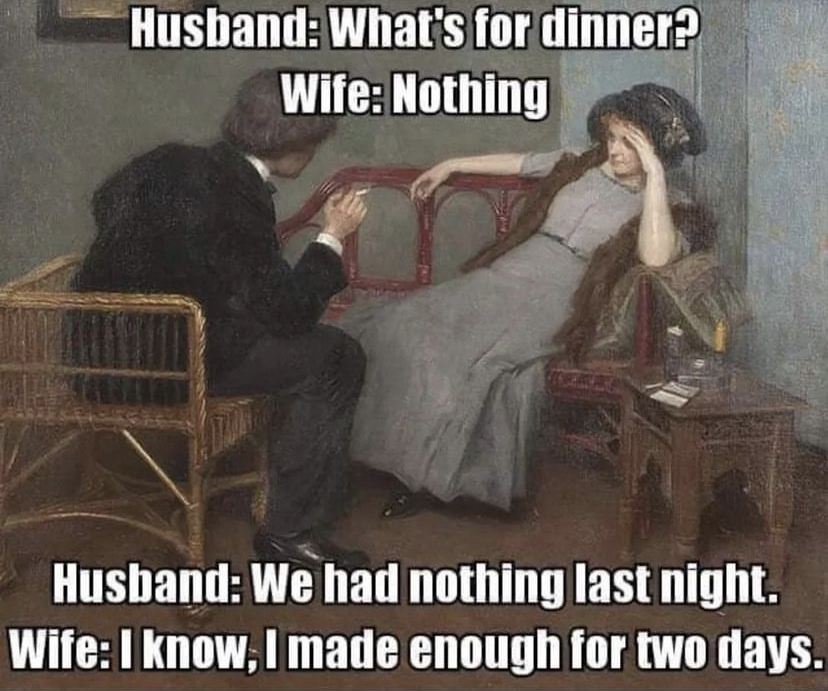
This popped up on Instagram a few days ago and it sure made me laugh. Likely more than a few of you can relate, right?

Linking up with Pieceful Thoughts today. Hop over there and see lots of interpretations of the SAHRR quilts. Enjoy your weekend everyone.

Modern Wall Quilt

Isn’t that a boring title for a post? I don’t know what to call this quilt. Maybe after you look at the photos and read the post you’ll come up with a clever name for it.

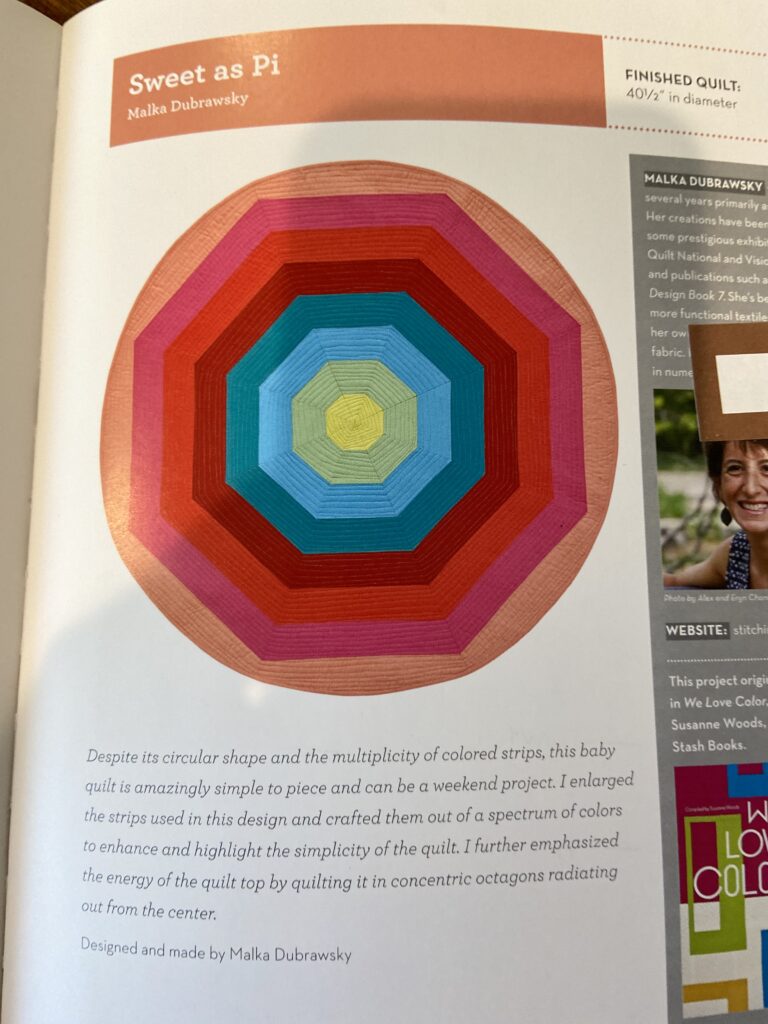
Love this quilt book!

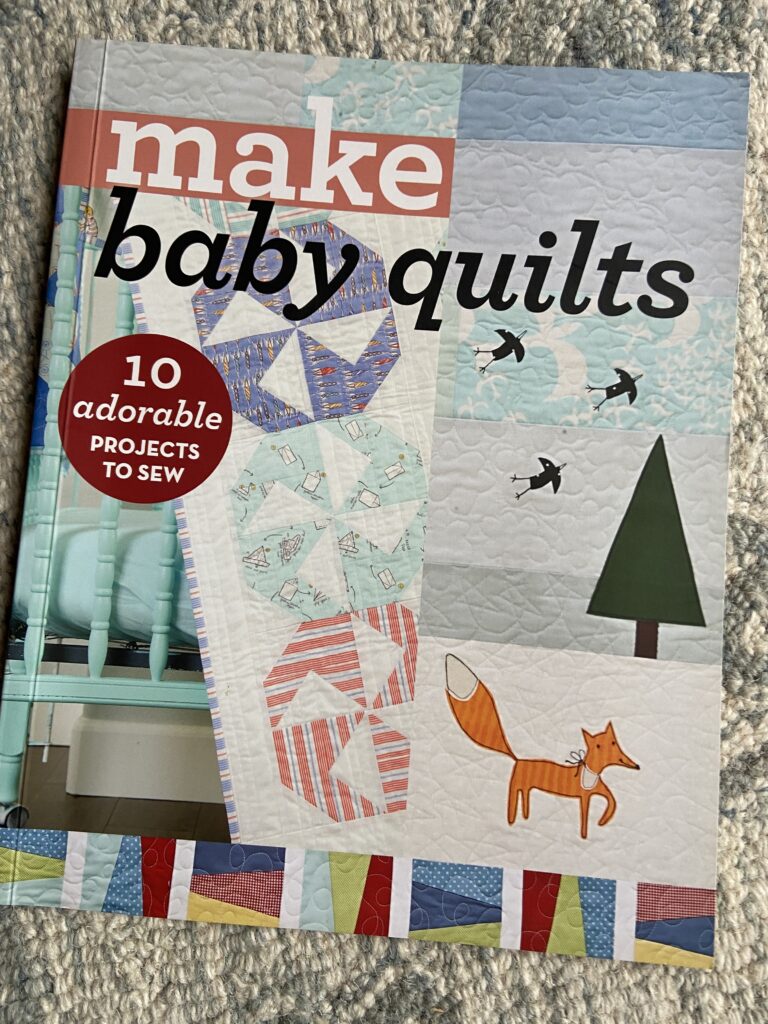
I bought a book for making baby quilts a couple of years ago. There are a few quilts in it that I thought would be very fun to make. There are ten projects, each one by a different designer. C&T Pubs just happens to have the book on sale right now. Make Baby Quilts includes designs by Camille Roskelley, Allison Harris, and Latifah Saafir – among others.

The Sweet as Pi pattern really drew me in though. Sure, it would be wonderful as a floor mat for a baby. Designed by Malka Dubrawsky, it is a strong graphic pattern and the colors could be changed as needed. But I decided to make it as a wall quilt.

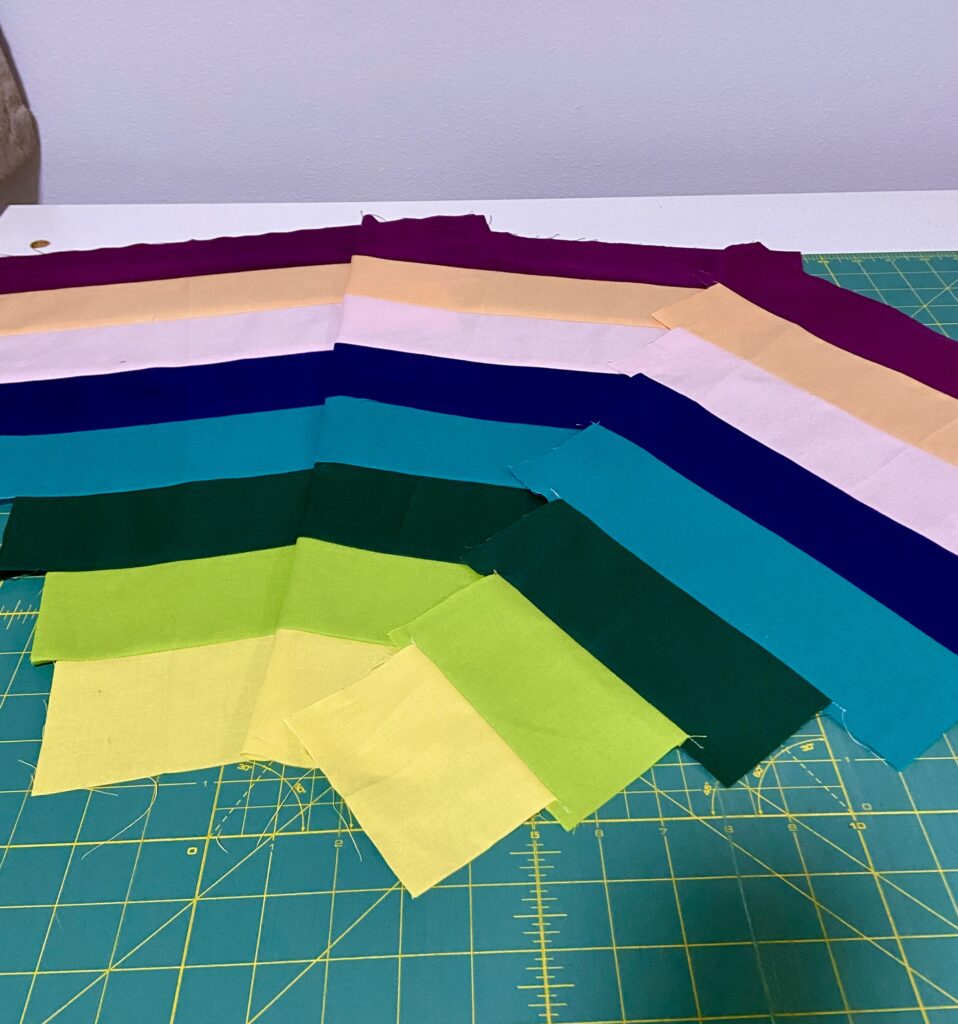
Cutting the strips was easy. Choosing the colors – not so easy! I knew I wanted the colors to be bold and to have a strong presence in the quilt I had just made for our bed. After some back and forth with a stack of solids, these are the fabrics I selected. Assembling the wedges was a breeze. This all happened in early fall. With the holidays and all those silly viruses we all had, it was shelved until recently.

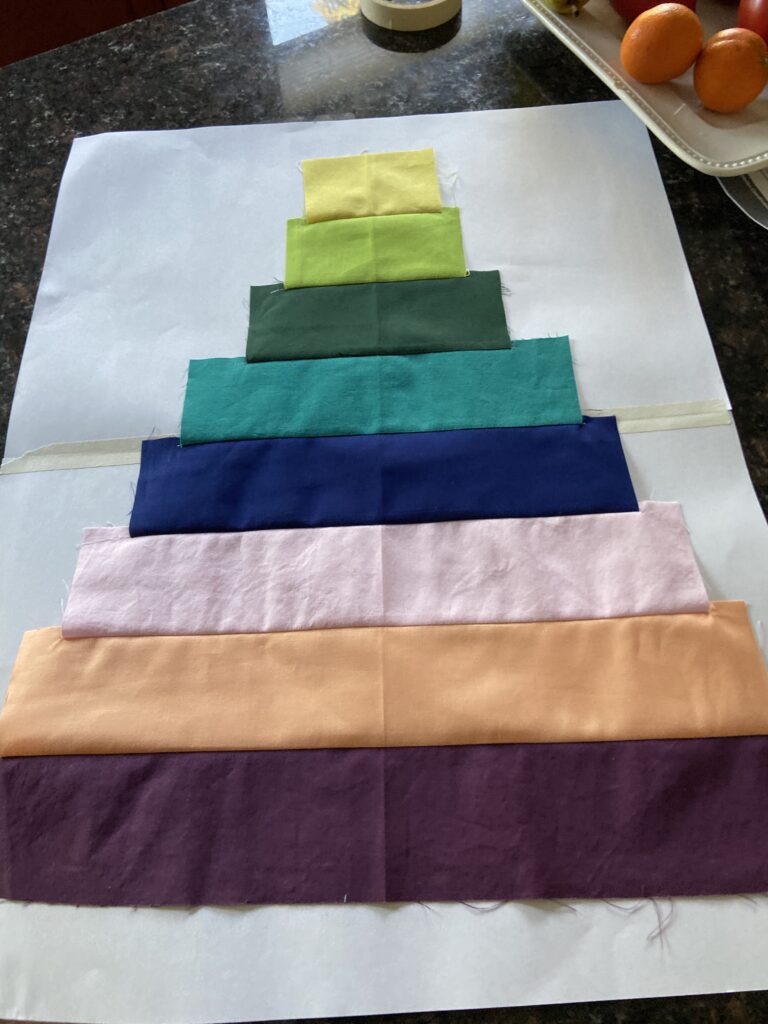
One wedge of the circle

Ignore the wrinkled appearance of this wedge! I was taking pictures to communicate my project to my son in Brooklyn NY. There are instructions for creating the template to cut the strip pieced wedges but I wasn’t getting it. Thank you FaceTime! Kyle was able to take a look and tell me what I needed to know!

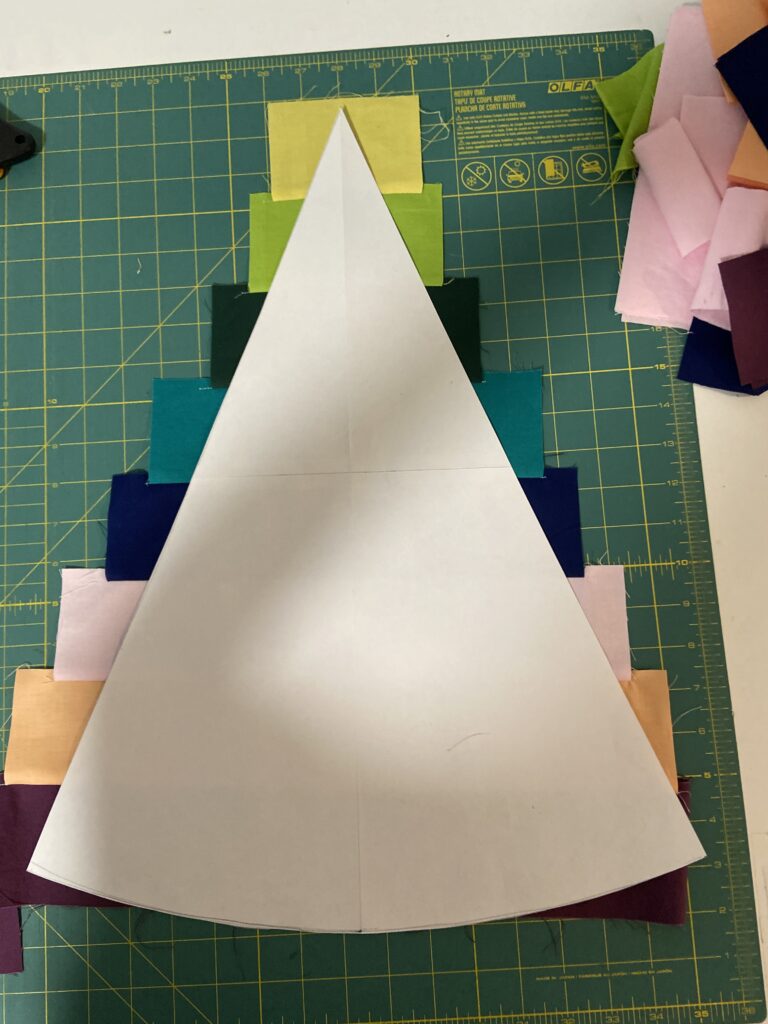
Too long!

Somehow I made the template slightly longer than it should be. My sweet husband was able to trim it just a smidge and it was perfect.

Thread decisions

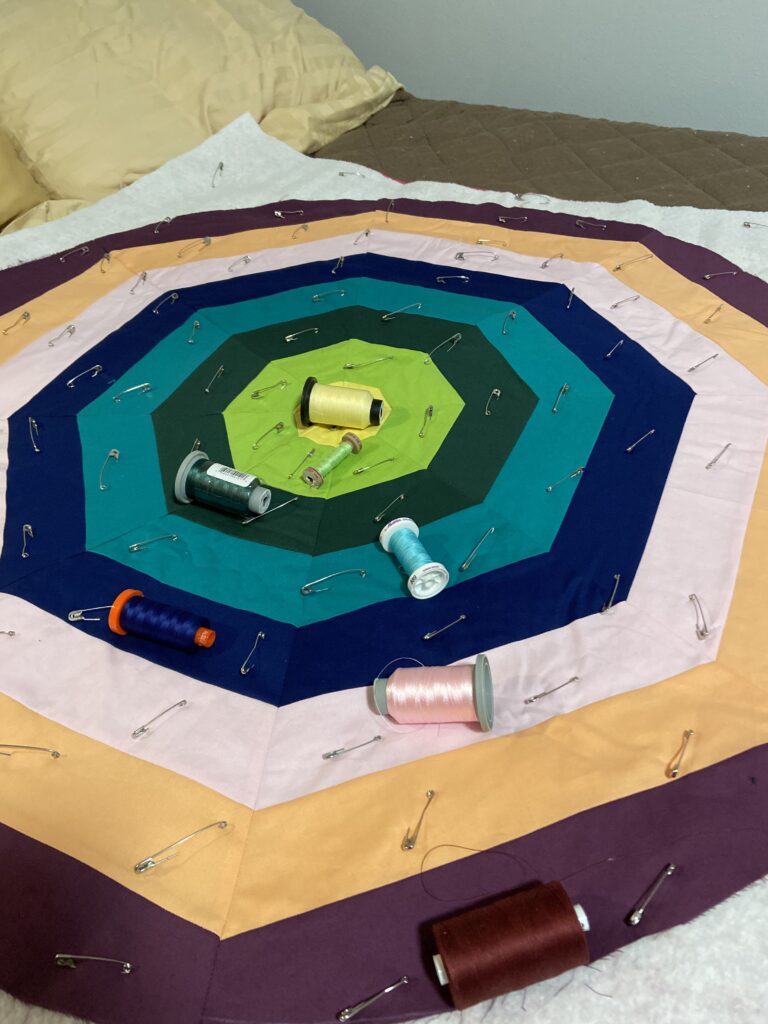
Once it was put together and basted, it was time to select threads. I normally quilt with a neutral thread and if this was to be a floor mat for a baby, that is what I would have done. However using gray or off white just didn’t cut it for these colors. Each stripe was quilted with a matching thread. I quilted a spiral in the yellow section (center). Then I switched to straight line quilting for the other stripes. No marking was done. It seemed if this was going to be on the wall, above the bed, no one would be face to face with it. (Unless the viewer chose to stand on the bed to get a closer look – haha). Viewing from a fair distance, the placement of the quilting lines wasn’t a huge deal. I basically set the width by using the outermost part of the walking foot as my guide.

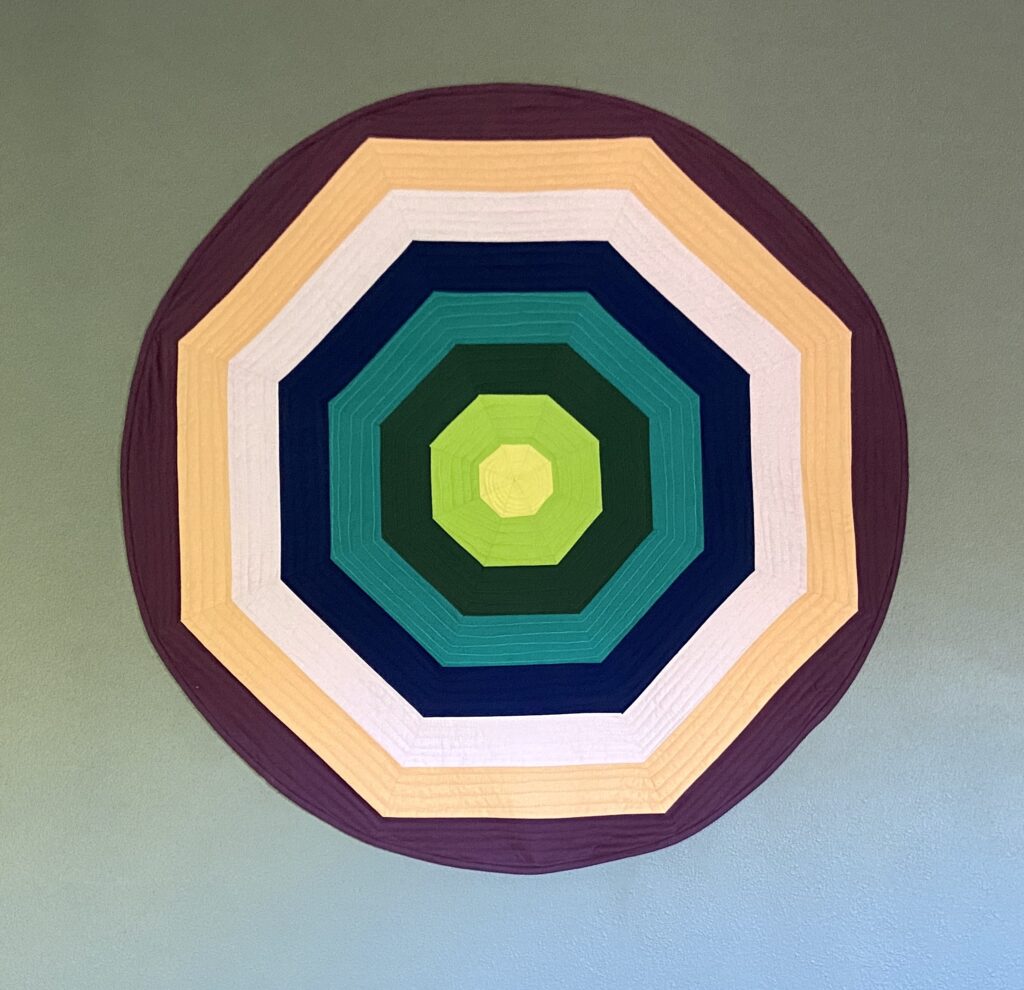
It is done!!

Total honesty here – all the while I was working on this quilt, I never once considered the how heck it would be hung on the wall. It is quite large (approx 40″ across) and with a hanging sleeve on the back, it wouldn’t have laid flat on the wall. I was at a loss for a while. Then I thought about making some sort of circular frame with wire. I had florist wire but it was fairly light weight. So I measured out four (very long) lengths and twisted them into one piece to give it more strength. Then I pinned it around the circumference of the quilt. I wish I had taken pictures of this but I totally forgot. I sewed the wire to the back – butting it up as close as possible to the binding, being careful not to go all the way through to the front of the quilt. This kept the quilt flat and held it’s shape perfectly.

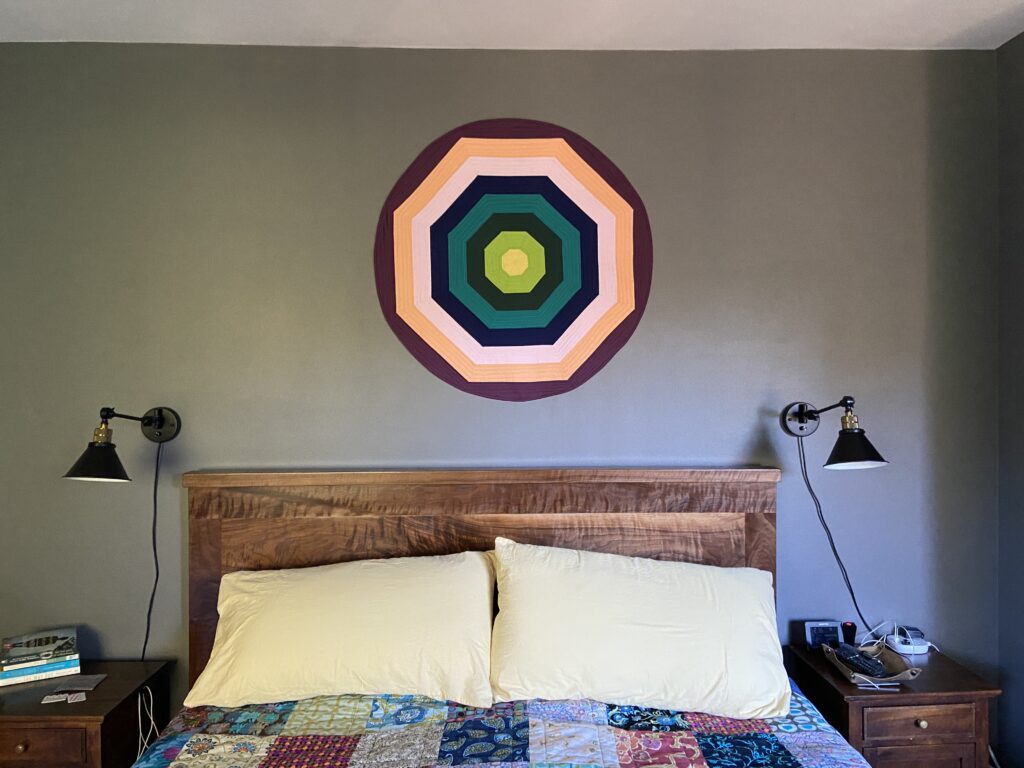
Hanging it was a bit of a chore. Ray was standing on the bed with level, screws and screw gun. He had to put screws all the way around because I really wanted it flat on the wall. Success!

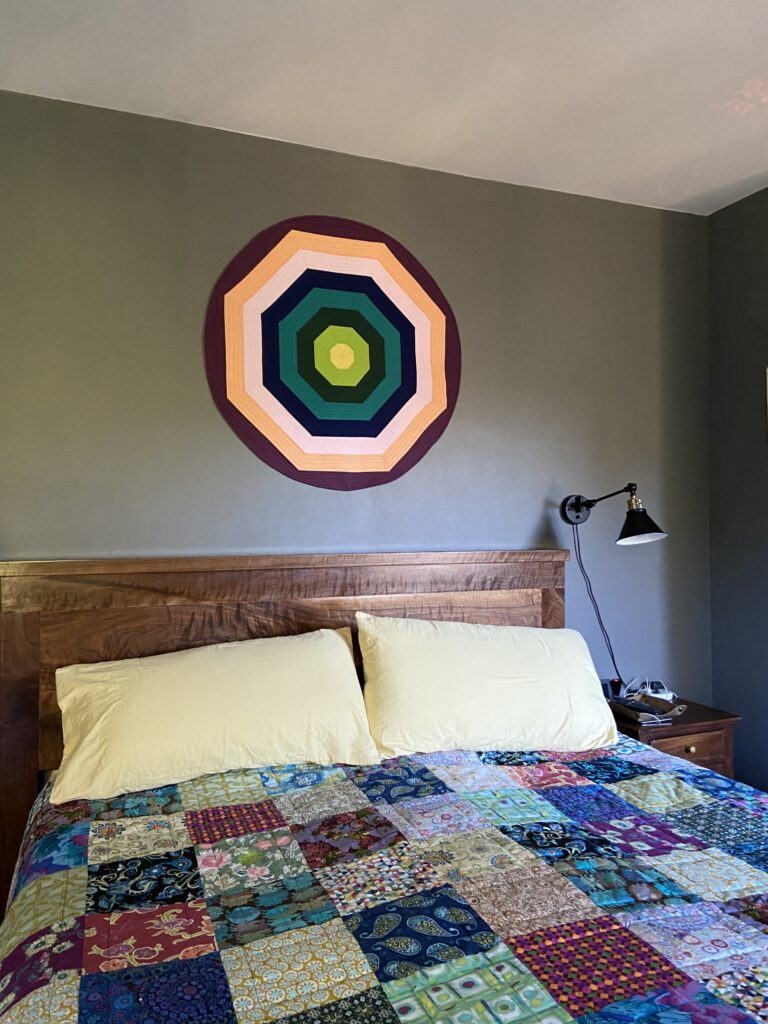
I love it! The wall hanging contains many of the colors of the rather bohemian quilt I made for the bed so it just works.

I love looking at the quilt and the wall hanging together. Makes me happy!

It was my goal to finish this wall quilt in January and it is down! I checked it off the list of unfinished projects which is always a good feeling before moving on to the next thing! Now that you have seen it, what do I call it? Many of you are so clever at thinking of names for your finished quilts. This is not my strength. Help a girl out?

Linking to my favorites – check them out at the top of the page, under link ups!

(Note – this post contains affiliate links. Should you purchase something via the link, I will receive a small compensation at no cost to you.)

SAHRR – Border 2

Last night I finished up the bow tie border for my round robin project. As I mentioned before, I am trying to use up pieces I had cut for a previous quilt that never came to be.

This week, I used a stack of HST’s that had finished at five inches. Using these worked our really well. I was able to cut three 1.5 hst’s from each one (much much easier than sewing new ones!!!) plus all of the 1.5″ squares needed for the rest of the block.

Before attaching the border, I added two narrow borders which brought the center to 12.5″. Then I played around with the orientation of the 3.5″ bow tie blocks. I like the way they look when placed end to end. However, I couldn’t decide how to orient the corner blocks. This led me to using a plain square on the corners. Fortunately, I was able to unpick some uncut HST blocks and use the red portion for these corners.


I finally decided to use red squares at the corners. The solid fabric looks much better than the dots.

For this week, Wendy at Pieceful Thoughts has declared stars to be the choice of blocks for the next round. I am going to somehow fashion tiny stars within a mostly solid border. I need to calm this down a bit. I love the polka dots but if they continue to be heavily used, the quilt will be a bit chaotic for my taste. I also need to decide how big I want this to be. If I want a crib quilt, I need to grow it a bit with some larger spacing rows. Decisions, decisions…. Currently, it measures 18.5 inches square. So, I need to figure out the goal and work backwards from there!

Hope you are all enjoying this fun QAL. It is a surprise to me to see how many quilters are participating! Each quilter’s interpretation of the prompts is unique which makes it so cool to look through the link ups. I missed the link at Roseanne’s but will link this up elsewhere. See my favorites at the top of the page, under Link Ups.
Villa Rosa Designs Fast & Fun Blog Hop

Welcome to Needle and Foot! If you are visiting everyone in the VRD Fast & Fun hop and are new to my site, thanks for popping in. Feel free to take a look around. Like what I am writing about? Maybe you’d like to subscribe (remember I never share emails with anyone else). Today it is my turn to share what I made with a Villa Rosa pattern card for the VRD blog hop.

You are likely already familiar with this company, owned by Pat Fryer, but just in case here is a bit of background information taken from the VRD website.

“Villa Rosa Designs (VRD) was created by Pat Fryer, Owner and Rose Queen, with the idea to provide quick and easy affordable quality fun-to-make quilt patterns for quilters featuring popular quilting fabric cuts.
Since its launch in 2010, VRD has become much more than a handful of quilt patterns. Rose Cards, Villa Rosa’s signature postcard-sized patterns, combine great design with simple packaging and an attractive price, making Rose Cards one of the best-selling pattern brands in the country”.
The fun part for me in all of this is to promote a business located in my old home town of Grass Valley, California. Pat has a fabric store there and also travels to shows all over the country promoting Villa Rosa’s quick and easy patterns. She has several designers working for her and over 500 patterns in the Villa Rosa collection. (You can see them here). Her website also features lots and lots of gorgeous fabric.

This is the packet of five patterns used in the blog hop. When I looked at the selection of patterns we were to choose from, I decided to make S’Witched. Recently I have been focusing on using up fabric I have and this pattern works well for larger squares of bold fabric. Some years ago, I had cut into a collection of fabric called Garden Bright, by Sue Penn. Life happened and these squares were put into a project bag and shelved. I really like this collection and wanted to use some of it for my S’Witched quilt. The pattern calls for 10″ squares (a layer cake) but my squares were already cut at nine inches. VRD patterns are super flexible though so it worked just fine to change things up a bit.

Because shades of green are my all time favorite, I am super happy with this finish! The lighter backgrounds are from my stash. The really pale background is left over from a wide back I used on a different quilt. Wide back fabric is such a great deal – no piecing the back and there is (almost) always a nice chunk left over for another project. The light green is a cute polka dot from who knows where? I certainly don’t remember! Because my squares were smaller than the pattern called for, I added a border to add some size to the quilt.

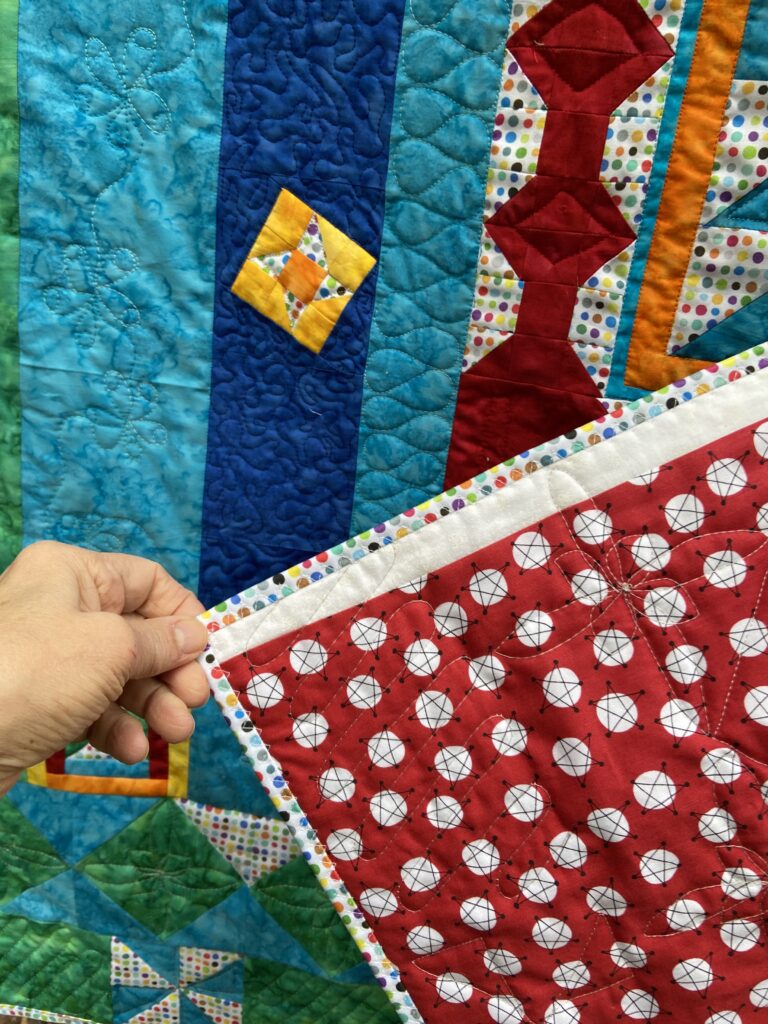
The backing.

I did end up piecing this backing. This has been mentioned many times lately, but I am really trying to use what I have. No matter how much I take from the shelves and bins, there is more to be used! I can happily say that every bit of this quilt came from my stash. This includes the batting which I joined from several large leftover pieces in my tub.

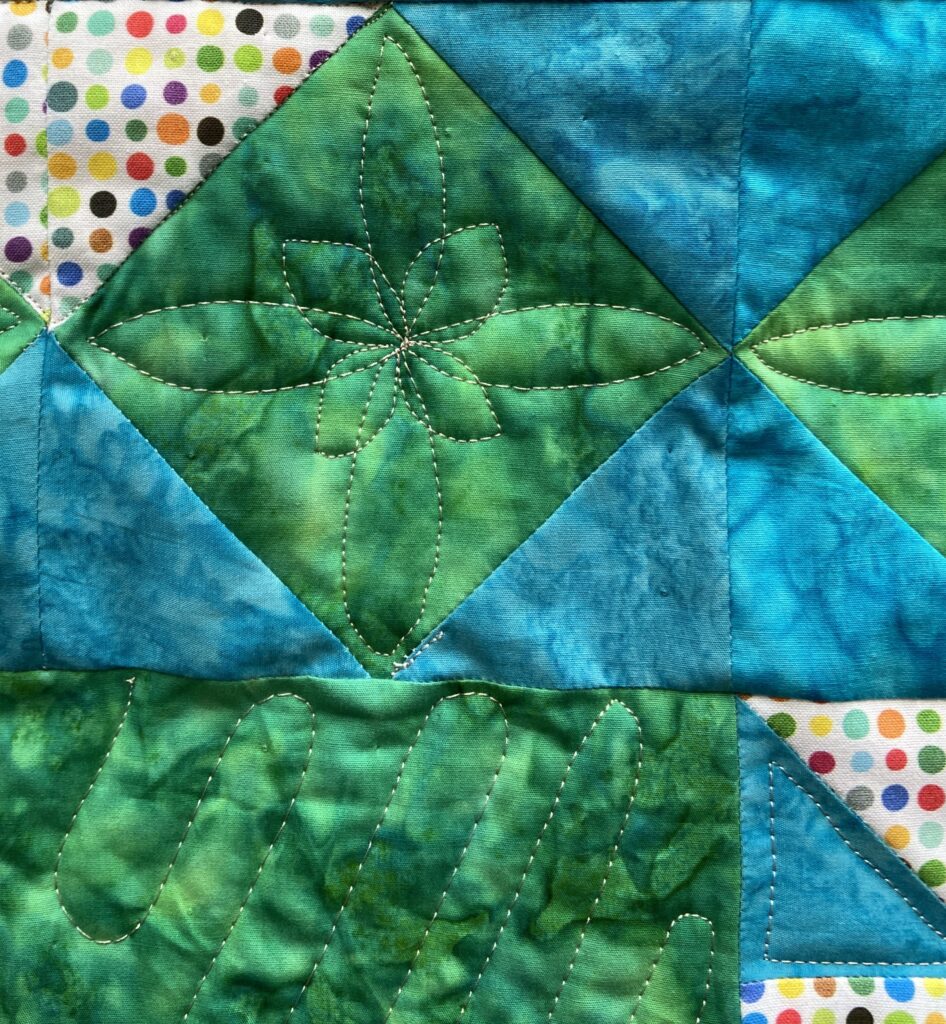
I quilted a lazy run of daisies along the border. For the bigger squares, I tried quilting curves, sort of like orange peels. They look ok but the blocks I quilted with these are actually rectangular and stretching that curve was sort of awkward for some reason. So while I am reasonably happy with it, I don’t love it. Know what I mean?

Labeling didn’t really happen. I have a fat quarter of Made with Love fabric and hand stitched a bit of it to the back. If it is donated, that will be enough. If it is given as a gift, I can add a bigger label or replace this little bit.

This pattern is very quick to come together. It is a four patch block which is cut into three pieces. Then stitched back together with the opposite portion next to the narrow center stripe. It would actually be fun to make with charm squares too.

Fabulous Prizes!!

When this hop was put together I was told there would be a giveaway. To me, this meant sets of the pattern cards or something similar. But Tricia, the marketing manager for Villa Rosa, went nuts and procured tons of fun prizes from some very generous sponsors! We invite everyone to enter to win. If your name is selected and you are from outside the US, you will receive a PDF collection of the pattern cards.

  1. Villa Rosa Designs is giving away a 2023 Blog Hop Rose Card pattern collection on each participating blog.
  2. Sponsor prizes have been donated by our lovely sponsors, and even from some of the bloggers, too! These prizes are divided into 2 different categories —
    • Grand Prize Boxes (of which there are 2) are filled with tons of quilting goodies including books, fabric, precuts, notions, patterns, and more.
    • Individual Prizes (each blogger will select 3 winners on their blog) which may be books, patterns, fat quarter bundles, 5″ squares, 2 1/2″ strips, 10″ squares, notions, and more.

There are many ways to enter to win. Visit all of the bloggers (see list below) in the hop and follow along with us. To enter here at Needle & Foot, please leave a comment sharing your favorite pre-cut. All of the VRD patterns start with a pre-cut. Of course you can always cut your own if you don’t have the right size. Or you could adjust the size of your blocks as I did with my quilt. Comments on this post will close on January 29, 2023. Prize winners will be announced soon after! (Usually I respond to comments but I am betting there will be lots of them. So this time I am just going to thank you now instead of responding to each one. I hope you understand.)

01/19/23 ThursdayVilla Rosa Quilts — Where it all begins
01/20/23 FridayFrom Bolt to Beauty 
Kathleen McMusing 
Jaftex Companies
01/21/23 SaturdayPieceful Thoughts  
Little Penguin Quilts
01/22/23 SundayQuilt with a View
MMM Quilts
01/23/23 MondayCheryl’s Teapots 2 Quilting
Devoted Quilter  
Quilts of Valor Foundation
01/24/23 TuesdayNeedle and Foot – That’s me!!!!
Am I Shouting Yet?
Electric Quilt
01/25/23 WednesdayThe Crafty Quilter
Jo’s Country Junction
Keepsake Quilting 
Stitchin At Home
01/26/23 ThursdayVilla Rosa Quilts — Blog Hop Wrap Up

Thank you so much for coming by – I hope you will try out some of the Villa Rosa patterns. They are inexpensive and super fun to sew. Also, if you head over to VRD’s website, there is a great selection of kits to be purchased as well as a fantastic group of sale fabrics! Hope you will enjoy the rest of the hop.

Update – Comments are now closed. Thank you for participating in the hop!