Monthly Archives: January 2016

A Few Favorites

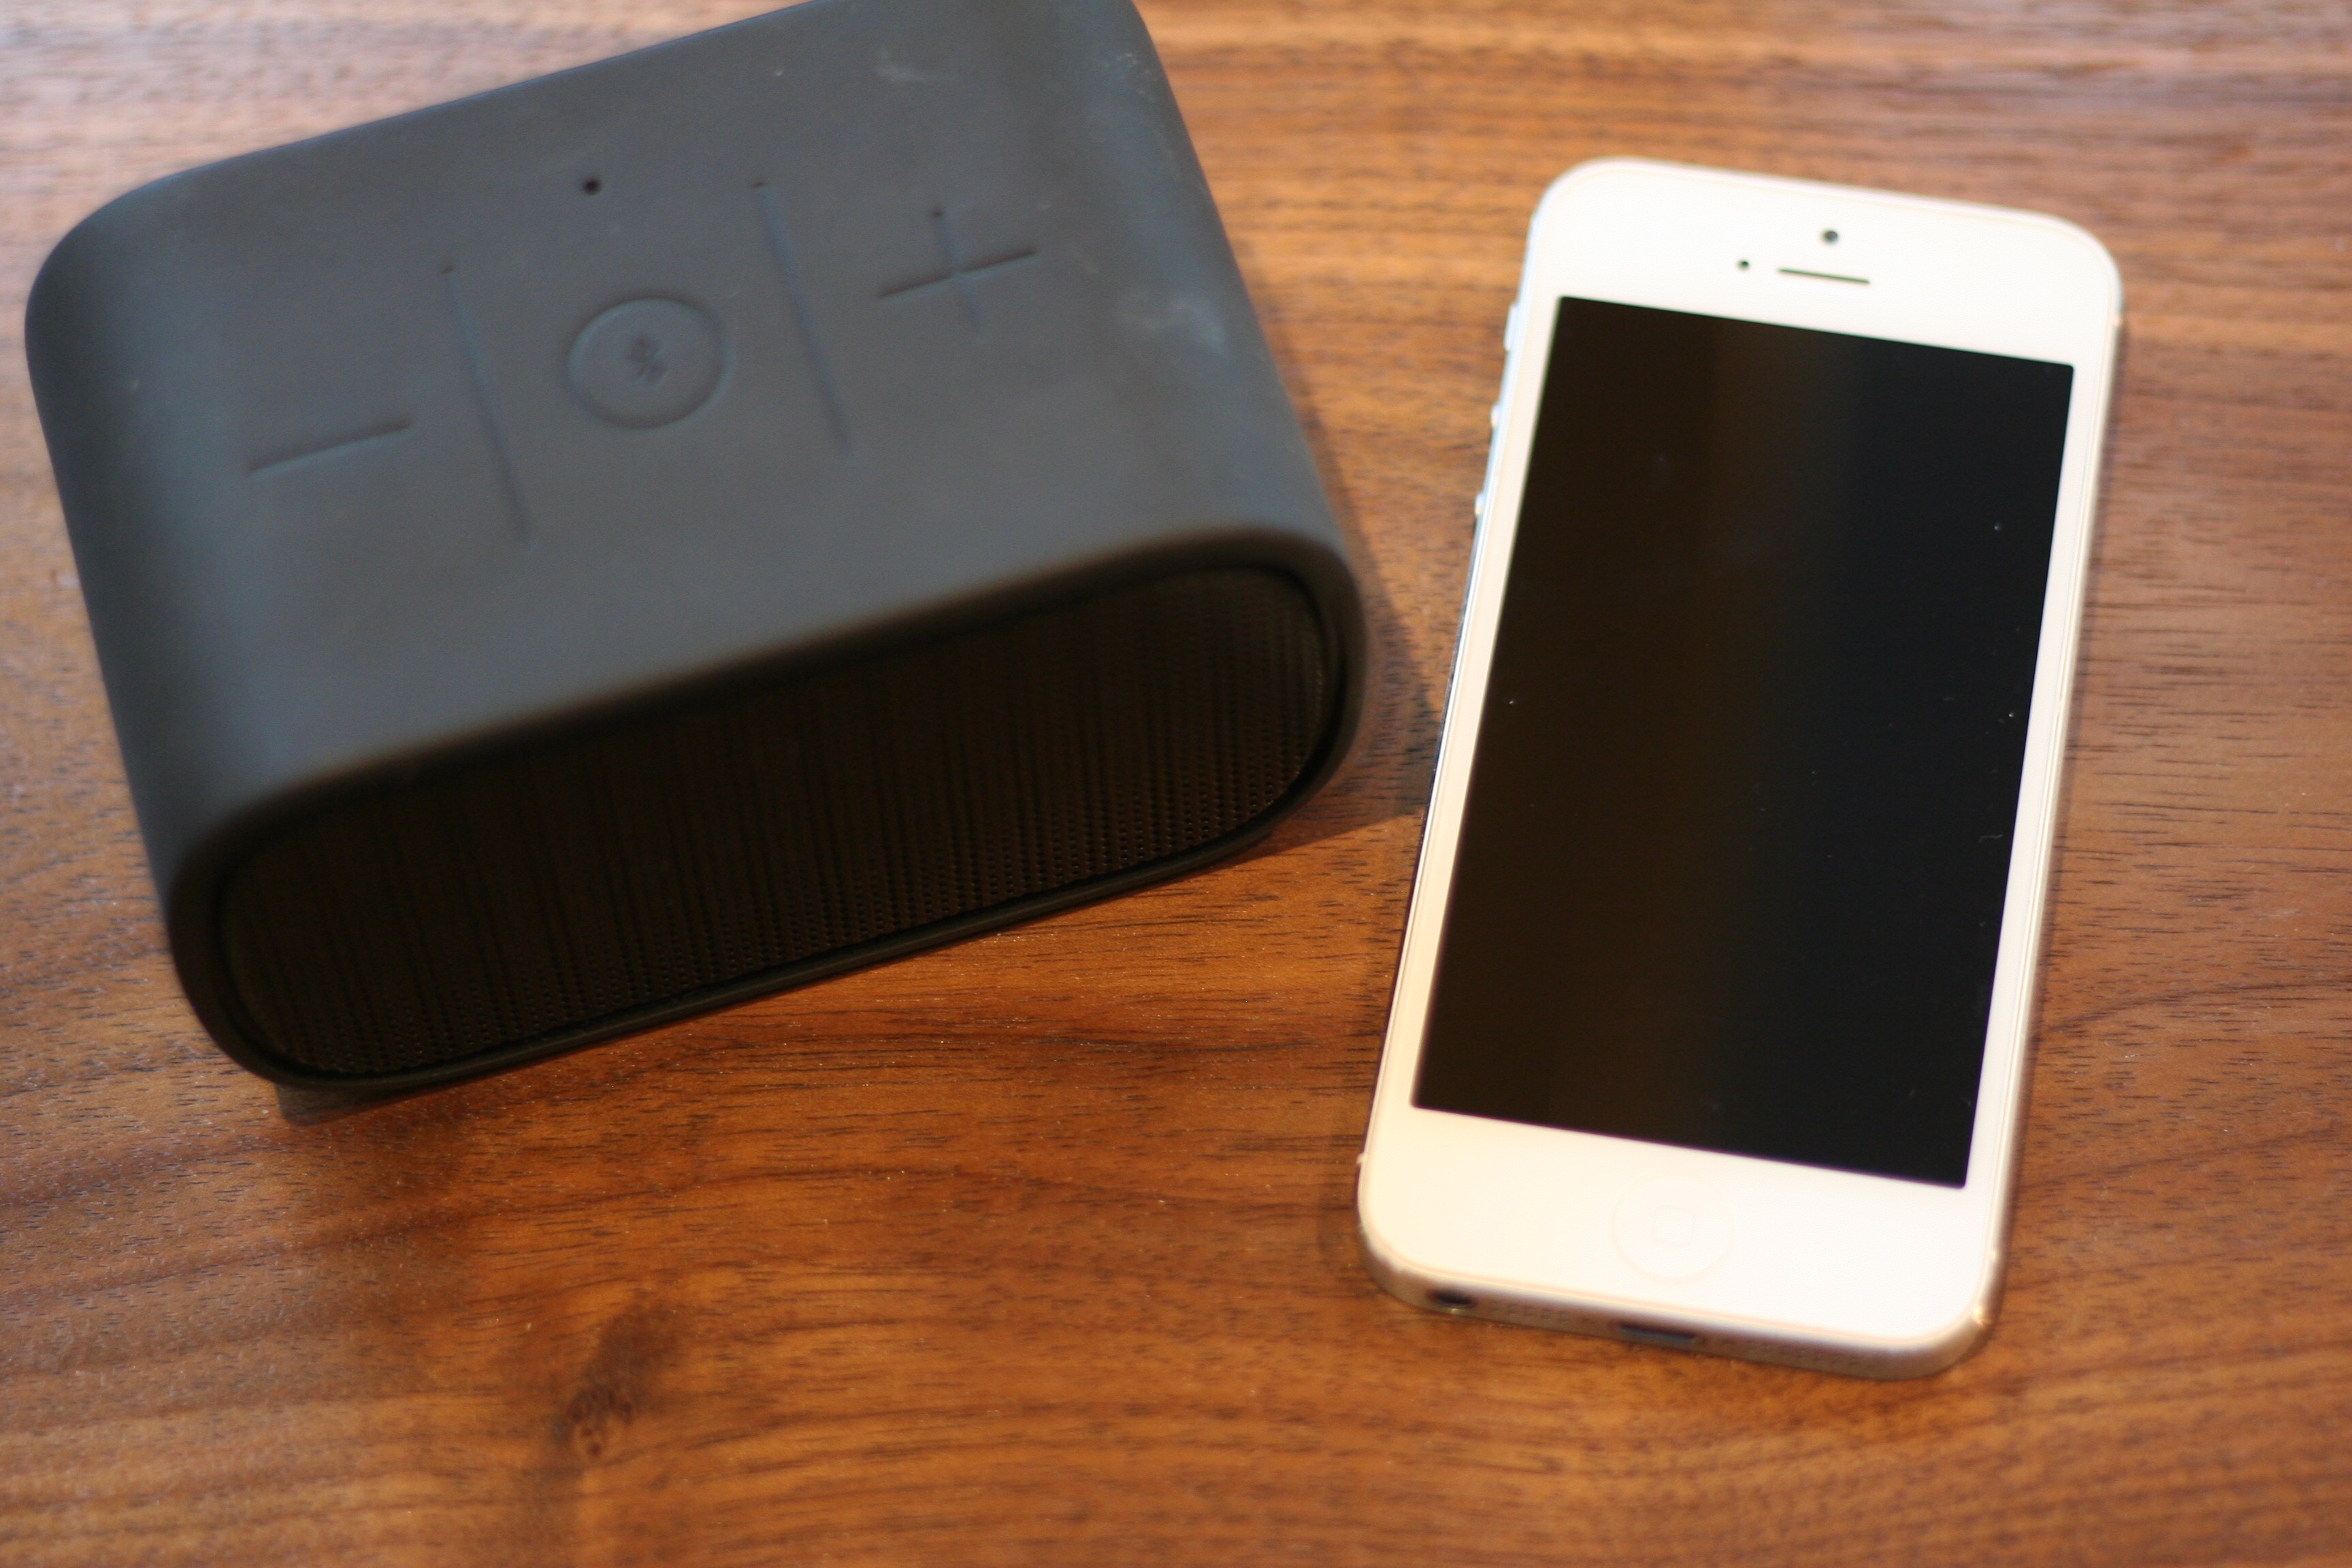
 I am pretty crazy about listening to either music or podcasts. There are various times during each day that I turn on one or the other. Weather permitting, I try to walk most days and love to listen while I walk (honestly, it helps distract me so that I walk a bit longer!) When I am working on a project that doesn’t require a lot of focus or when I am cooking, I will turn on a podcast. These bits of my day add up to lots of opportunity to listen during the day. Fortunately for me, there are about a billion amazing podcasts available.

While there are many amazing podcasts that are related to crafting, sewing or quilting, these are (surprisingly) not ones that I listen to regularly. Most likely, this is due to the fact that I read blogs on those subjects rather obssessively. I love the blogs I read and think that the visual media normally included with a blog post is perfect for those topics. Instead, I subscribe to a variety of non-sewing related podcasts. I wanted to share a few of my favorites. Maybe you’ll try one and love it. Or, possibly you are already listening to some of these and can share your favorite episodes in the comments.

My all time favorite is This American Life. This well known podcast is hosted by Ira Glass and subscribed to by millions of listeners. For years, TAL has been recording essays on various topics that are part of life in America.  Some of the episodes are politically based, some are hilarious bits of humor, many are just based on day to day life. They are creative and highly entertaining.  Essays have been done on compulsive gambling, summer time, Santa, holiday traditions, the process involved in selling cars, the abuse of the disability insurance system, what is a sociopath, siblings, babysitting, inner city high schools in Chicago; the list is both endless and fascinating.

It has only been a couple of months since I began subscribing to 99% Invisible. This fantastic podcast is hosted by Roman Mars. The podcast explains the origins of things that you never really think about and are then surprised to hear how they came to be. Examples of recent podcasts are the origin of consumer credit and credit cards, the origin of the Monopoly game, how fortune cookies came to be (and why they are standard fare in American Chinese restaurants but you won’t find them in China), and what the ‘use by’ and ‘sell by’ dates really mean on our food. I love listening to Roman talk about such ordinary parts of life, explaining how they came to be. It is fascinating. Remember back in the 1980’s when pictures of kidnapped and missing children were printed on our milk cartons? There is an excellent podcast on how that bgane and whether or not it was effective. So very interesting.

OK – here is another one. I love listening to Note to Self, hosted by Manoush Zomorodi.  Topics that Manoush covers are related in one way or another to technology. While I am not one to buy the latest and greatest gadgets and devices (case in point, my laptop weighs a ton. It is huge and several years old, but it basically works – so why replace it?) I do like knowing what is going on and how things work. Recent favorite episodes discussed how much is too much with regard to social media, whether multi tasking is actually helping us (it doesn’t help me – I tend to flit around and accomplish less if I don’t stay focused on a task), teens and sexting (that was a crazy good episode), video games and how they are developed and what the developers are trying to achieve (this one reminded me of the original behavioral psychology experiments with Pavlov’s dogs.) Another current episode talked to the people that coined the acronyms FOMO and JOMO. I had never heard of these and found it interesting to listen to them talking about the Fear of Missing Out (FOMO) vs the Joy of Missing Out (JOMO). I won’t go into detail here; it is better to listen to them. Are these acronyms that you have heard of? Am I totally off my game here? Anyway, all of the episodes are relatable, current, and important.

Just one more – I also like the podcast, Death Sex and Money.  The title clearly describes the subject matter covered by Anna Sale on this podcast; important topics that aren’t always easy to discuss. I like this podcast and listen regularly though there have been a very few episodes that I skipped over. I am not into raunchy language and there are (just a few) episodes that were a little bit crass. Most of the topics are really interesting though. Some of my favorites include an episode about growing up and working as an undertaker in the family mortuary business, the story of a very young woman who adopted her sister’s six children, a heartwrenching interview with Jonathan Clark who lost his wife, Laurel, in the 2003 Columbia space shuttle explosion, and an interview with a ‘sex worker’ where they talk about why she does this sort of work, what it all means, and how it makes her feel.

There are many more podcasts out there but these are at the top of my list lately. They both enlighten and entertain me.It is the perfect way to balance my sewing time and listening time. Watching TV or movies while in the sewing room doesn’t really work for me; I find it too distracting. Listening to podcasts is perfect. There are lots of ways to access them and instructions are on each of the websites. I use a podcast app on my phone which makes it easy to access them when I want.

I would love suggestions for other podcasts. Be sure to let me know if you already listen to any of these and which episodes you’ve enjoyed!

Simple Patchwork

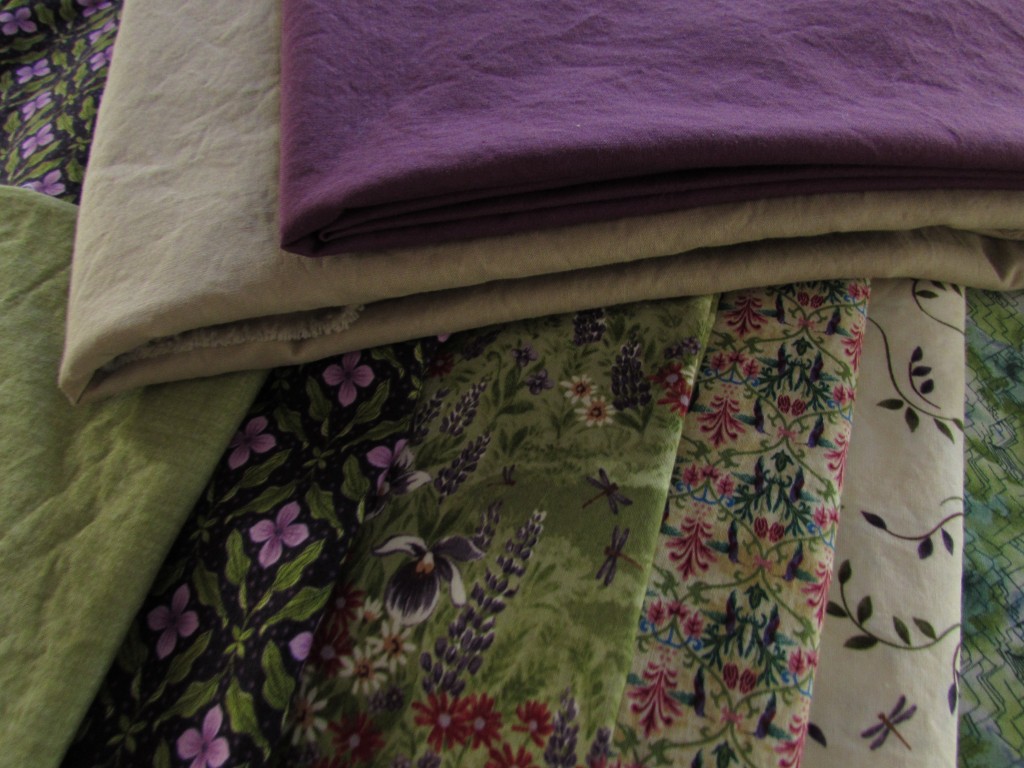
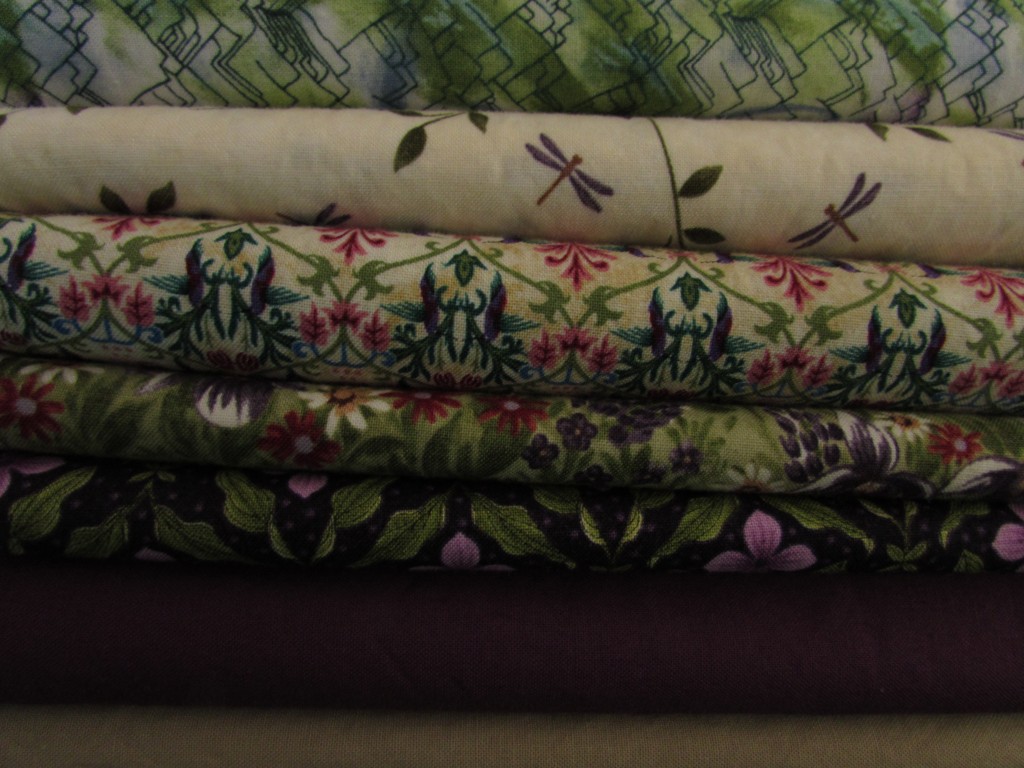
Some months ago, I bought yardage to make two quilts for the twin beds up at the Downieville house. Currently those beds are just lovely, piled high with old blankets and sleeping bags. Ugh. I had been sketching and playing with different ideas for these quilts until I realized that I wanted the quilts to be finished.  Done, not sketched. Usable, not being planned.  Know what I mean?

I pulled the fabric and washed it all.

IMG_20160115_4470

Then I added a few more scraps from my purples and greens.

IMG_20160115_4468

Working swiftly, I cut piles of 10.5″ blocks.  Here is where some planning would have come in handy! The fabrics are all 42″ wide so once I squared the fabric, I was able to cut three blocks and then ended up with a nine-inch piece. I should have made the blocks an inch smaller and I would have utilized the yardage far more efficiently. I now have a stack of 9″ scraps. My plan is to make the second quilt with smaller squares or to frame those 9″ blocks and bring them up to 10.5″.  Not sure yet.

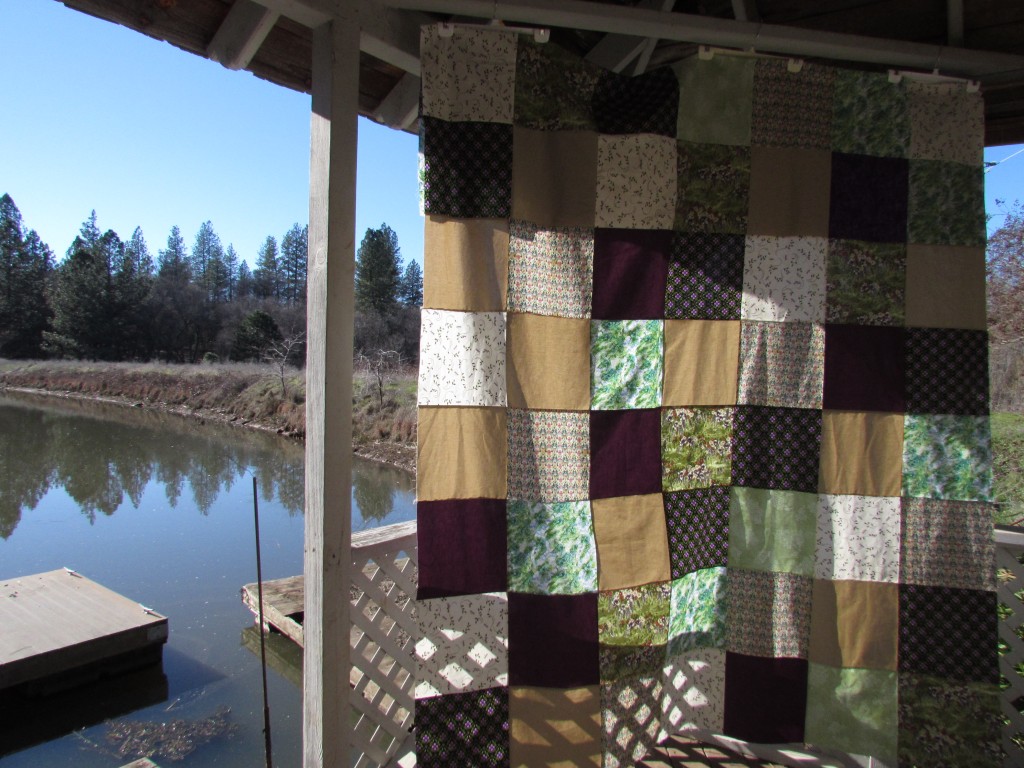
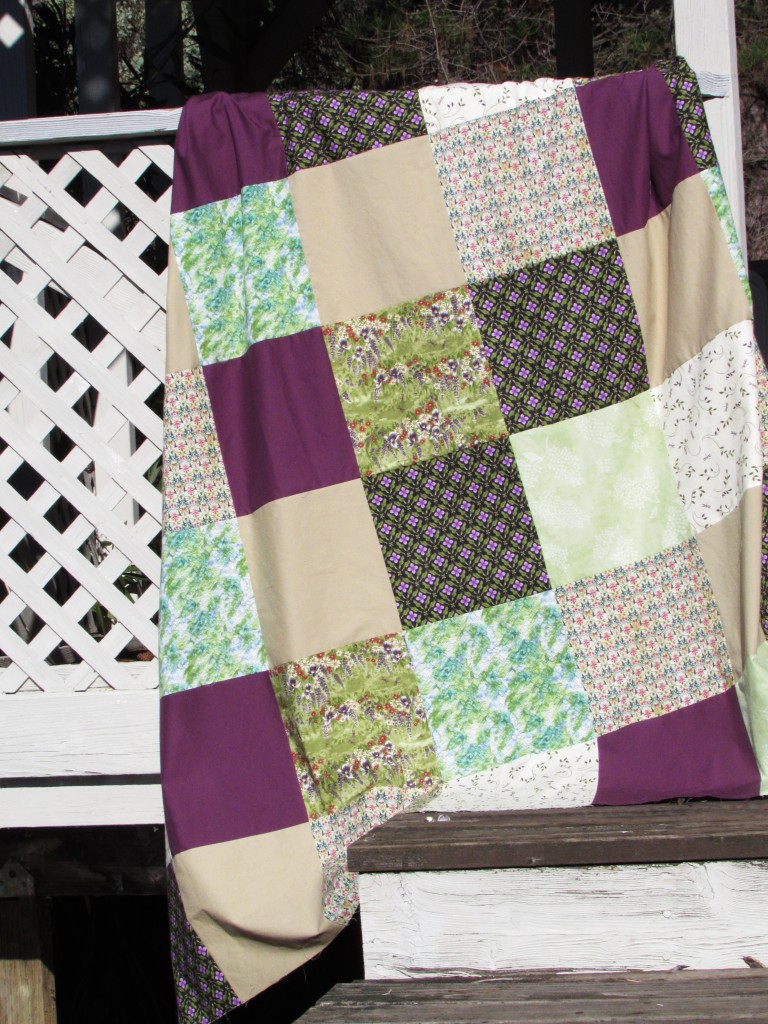
I laid them out on the spare bed and started sewing. I put very little thought into which square went where, obviously trying to not put any of the same side by side. It is seven blocks wide by 10 blocks high, so measures 70×100″. It is oversized because the beds are extra long twins and Julia said she wanted the quilts to be really big. (She must be pretty cold, sleeping downstairs!)

IMG_20160127_4514

The colors look a bit washed out as the sun was so bright. I took this out at our gazebo on the pond. We have this pond on the edge of our property. The water level is steadily increasing with all of the welcome rain we have had. Winter is harsh and the berm along the edge is not very green at this time of year.

IMG_20160127_4517I have a simple purple print for the backing and binding. But first, I need to wash and prepare it. My plan is to get it sandwiched, quilted and bound in the next week.  Then I will start the second one. At least one bed will look decent!

There is something to be said for a simple, get-it-done project.

Linking to Crazy Mom Quilts and Let’s Bee Social this week!

Another Pink Castle Shipment

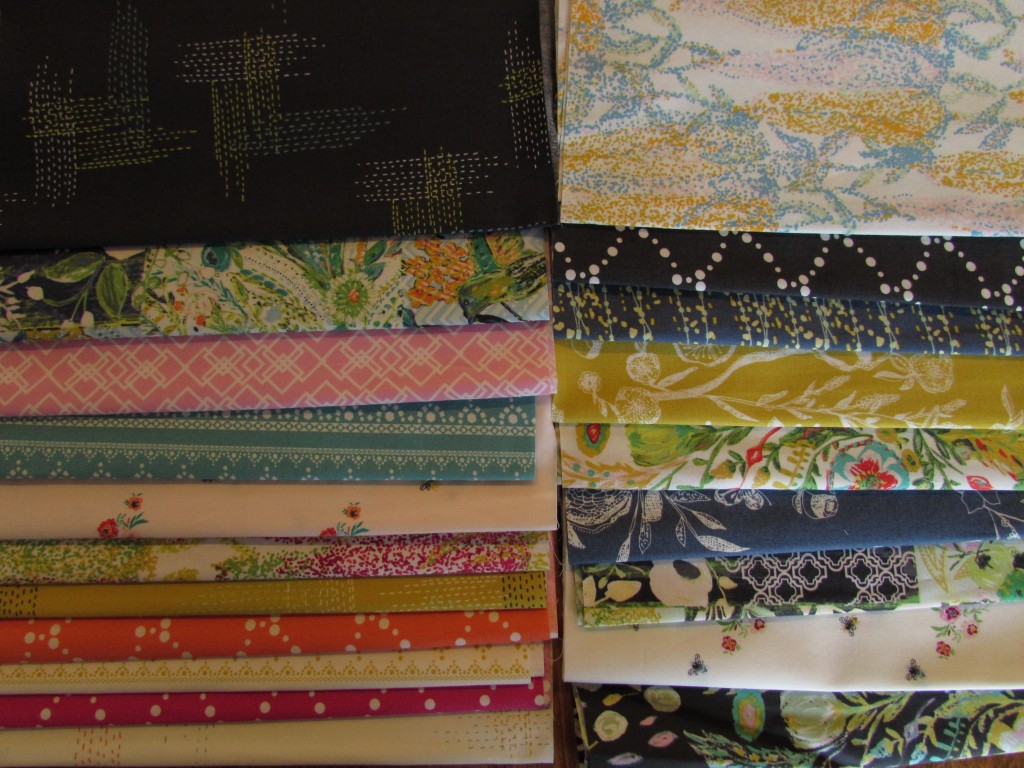
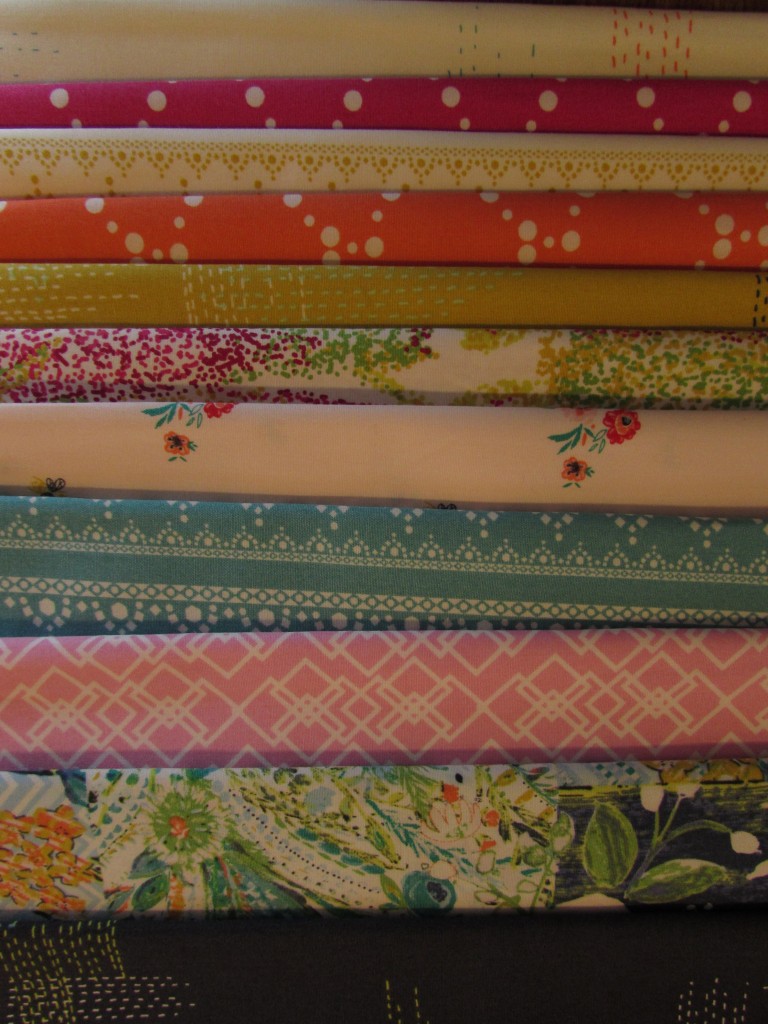
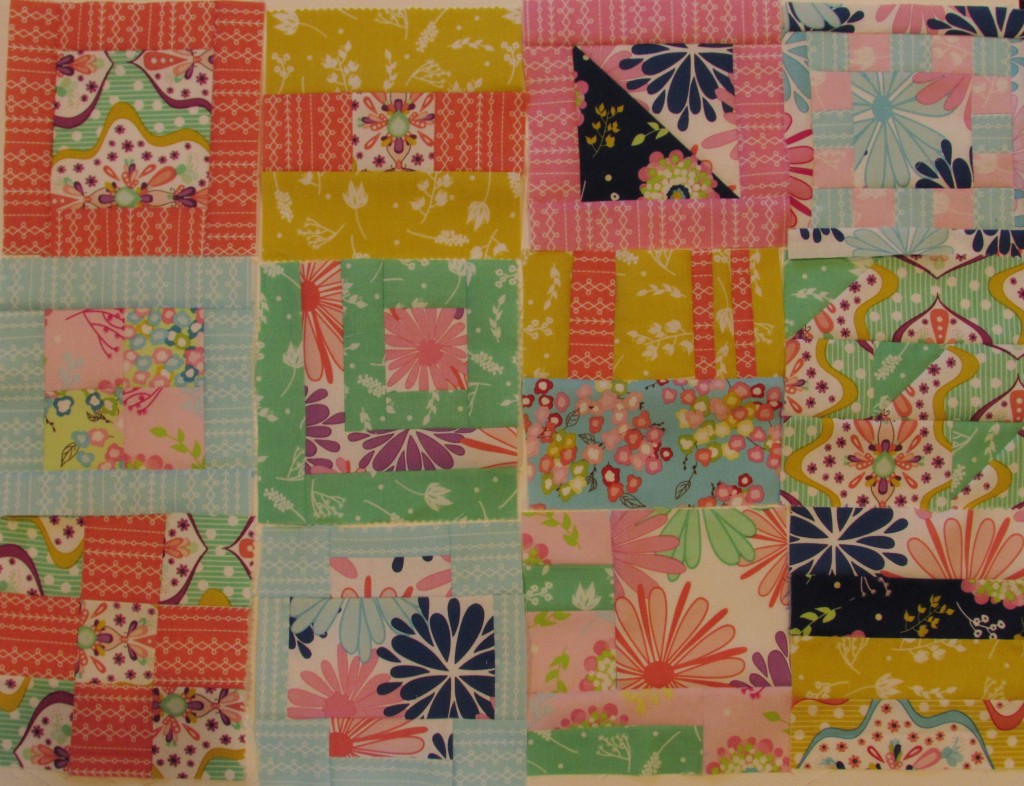
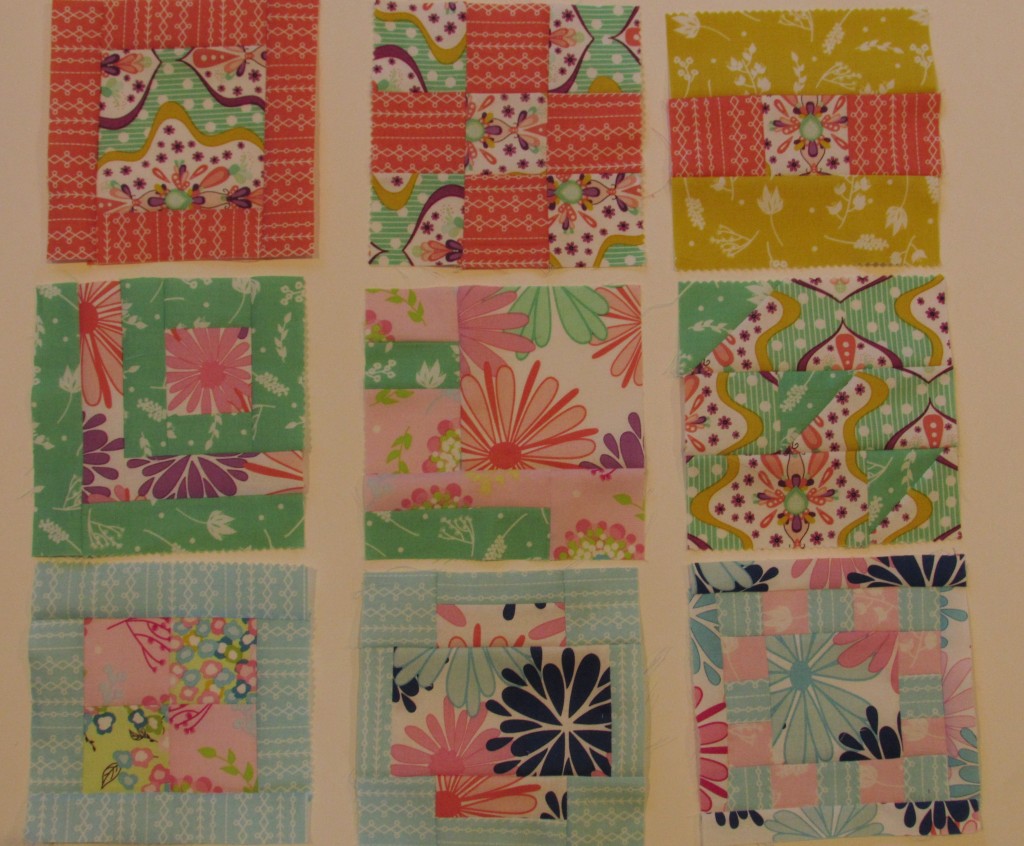
I just have to say that I am loving these monthly Pink Castle shipments of Art Gallery Fabrics! I recently received my second of a three month subscription that two of my boys gave me for my birthday. This collection is just as gorgeous as the first was.

IMG_20151219_4298

This collection is called Millie Fleur and was designed by by Bari J.  It is a very soft, feminine line with a gorgeous range of color.

IMG_20151219_4300

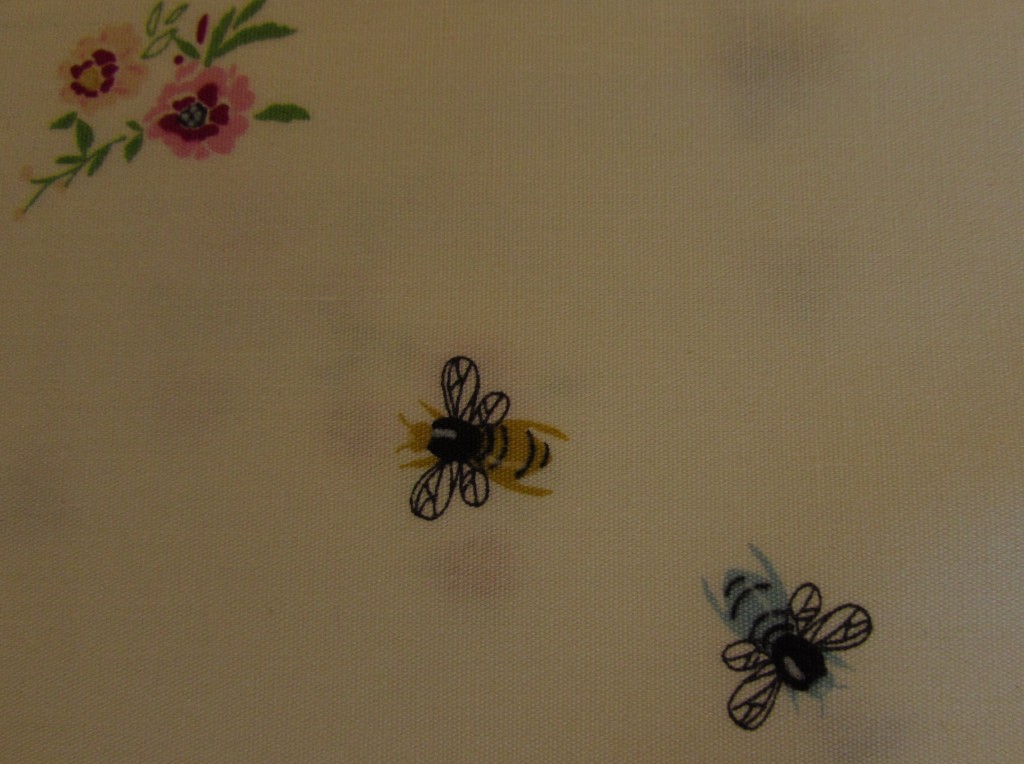
My favorite of the whole line is this sweet print. I love the bees.

IMG_20151219_4301

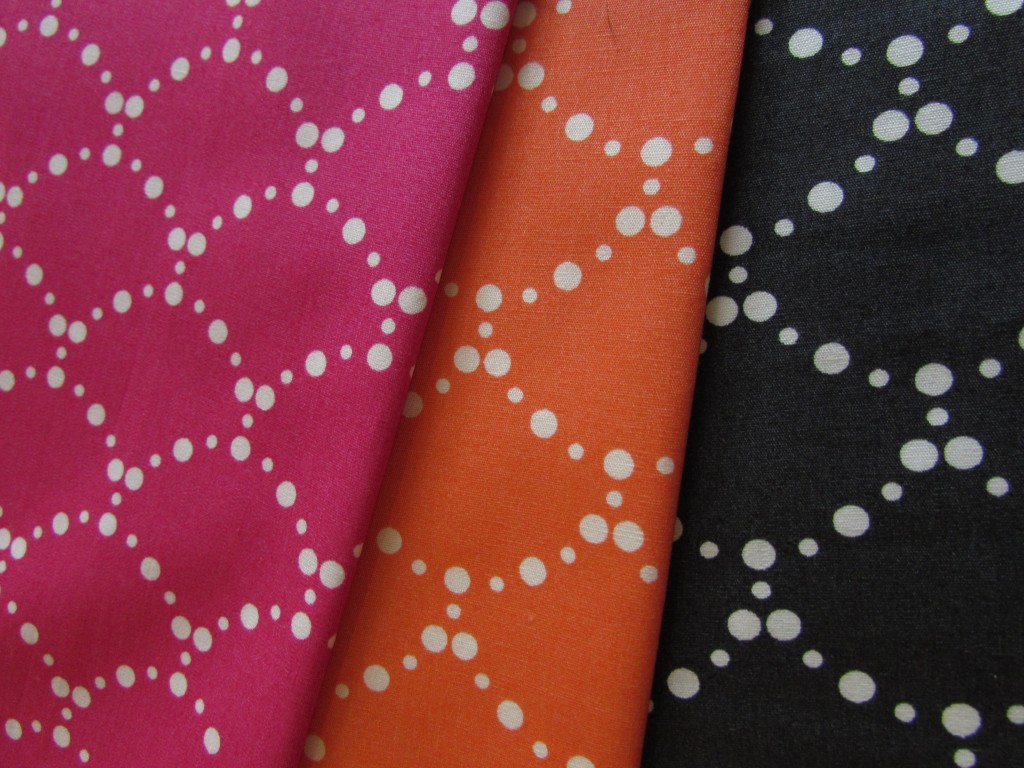
Second to the bees, I love these ripples. They remind me of the Lizzie House Pearl Bracelets line that is so popular.

IMG_20151219_4304

At this point, I am going to have to finish a few projects before I even think about what I want to do with this bundle of lovely.  While I absolutely love receiving these shipments, I still think that three months is plenty.  I have numerous projects stacked up now. It wouldn’t make sense for me to receive these every month. I do still have one month to come and that is something to look forward to!

I am quiilting my row quilt this week. I started it over the weekend and had some issues with my top thread shredding. It made me so frustrated!! I set it aside and sent a frantic SOS to Janine at Quilts From the Little House. She sent me some tips and I will gently, cautiously approach my machine this afternoon. Please cross your fingers that my machine is much more cooperative.

Linking to Molli Sparkle’s Sunday Stash.

Icy Blue Finish

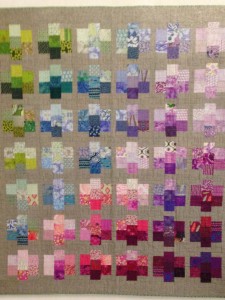
I have just a small finish to share this morning. For RSC16, I am making two projects. The first is the pattern, Pretty Gemstones, created by Cynthia Brunz and recently published in the McCall’s Quilting magazine. The second project is still a bit undefined. However, I know that it will be based on “made fabric” as taught by Victoria Findlay Wolfe in her book, “Fifteen Minutes of Play”.

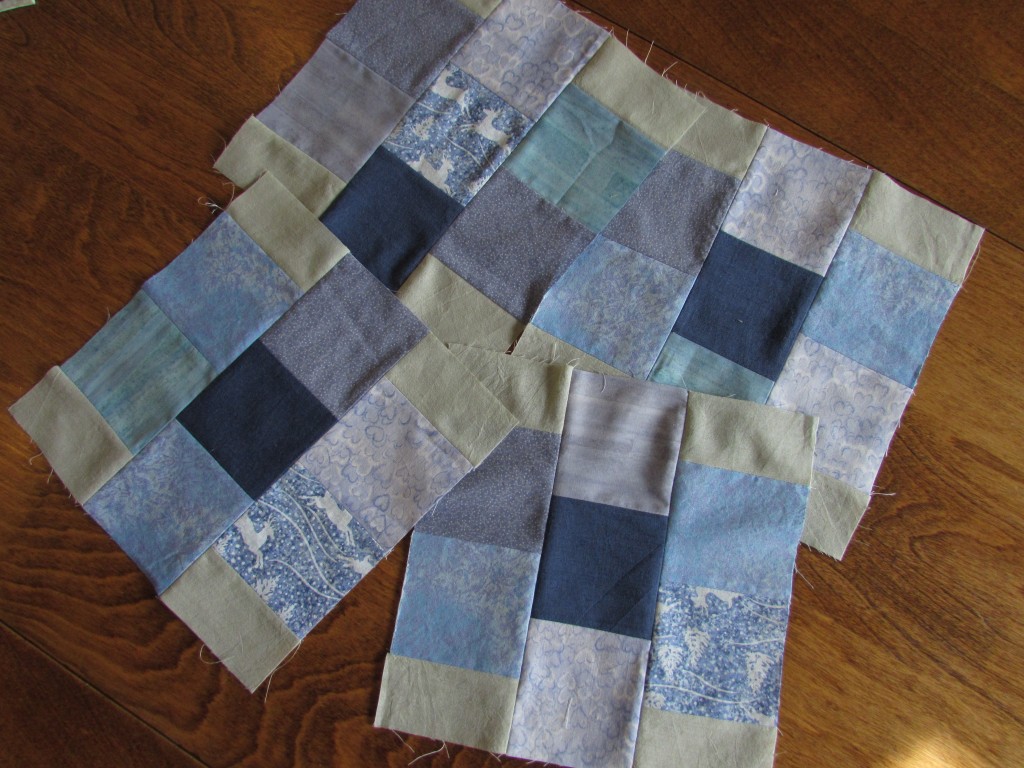
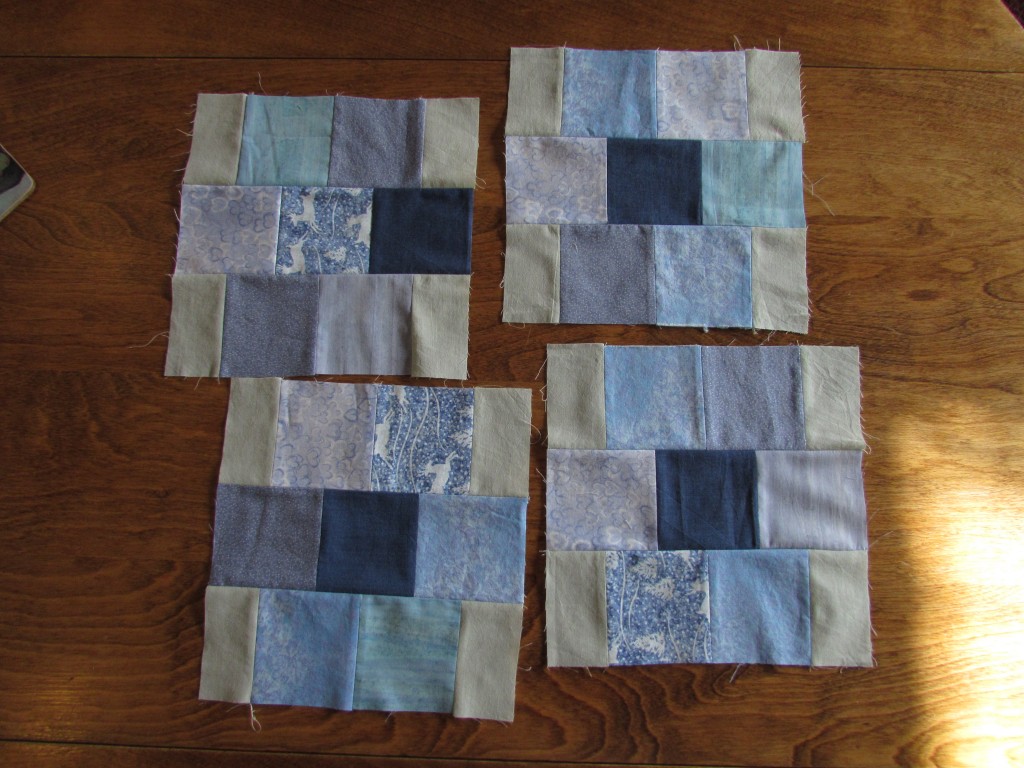
At this point, I am making four squares of each color for the Pretty Gemstones quilt. I completed the Icy Blue color for January.

IMG_20160118_4471

On each corner you’ll notice a very pale green rectangle. That green is a Kaffe Fassett cotton, called Ecru. I totally don’t get the name because Ecru makes me think of an off white color. At any rate, it will be the background fabric. I bought the end of the bolt at my local LQS, which always gives me a sense of satisfaction. She gets rid of a small amount and I get 15% off.  Win Win!  I defintely have enough to complete the project throughout the year and not be in fear of being unable to match it. These blocks take no time at all to stitch up and the effect will be fun at the end of the year.

IMG_20160118_4472

With the exception of the one darker blue block, I tried for pale blues with gray and light purple tones to them. I want this quilt to have a cool tone to it which means I may skip some of the colors during the year. Definitely orange and brown, as they are such a warm color. I will make four of each and then may have to go back and augment certain colors to complete the quilt.

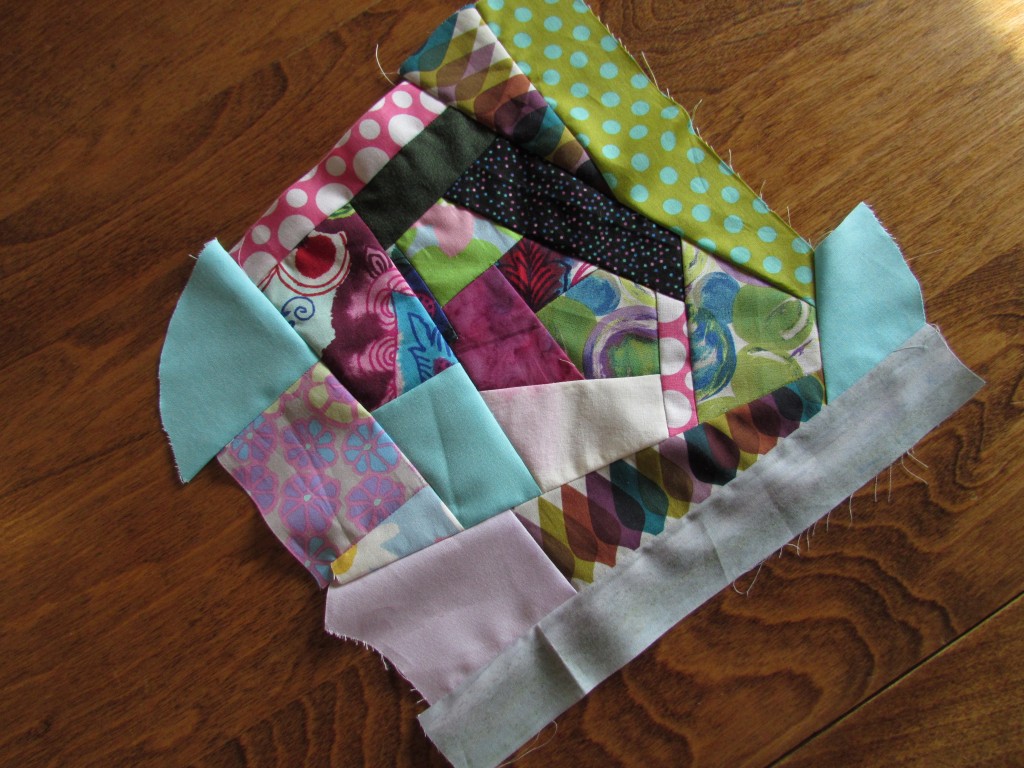
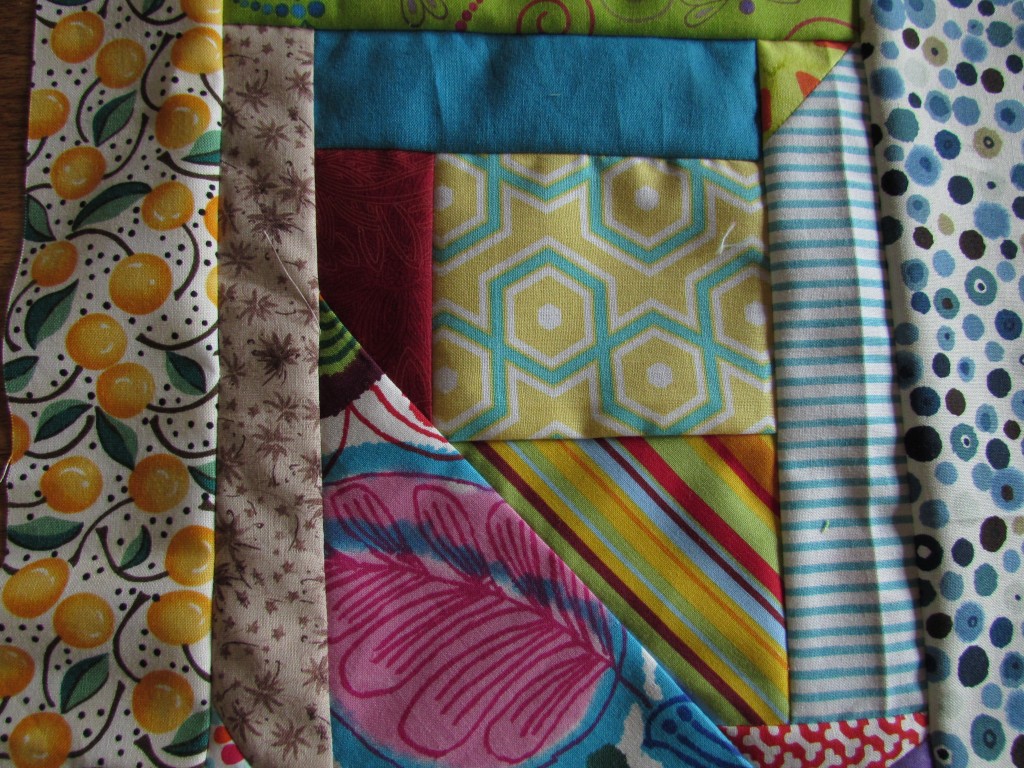
The next project, using made fabric, needs a bit more definition. I have really enjoyed reading the Fifteen Minutes book. So much so that I have been through it twice already. I have done almost no improv work but she makes it so simple. I have been sewing scraps together like crazy.

IMG_20160118_4476

The biggest hurdle for me is to make everything lay flat. She talks about this in the book and basically says to chop of the parts that ripple and reattach them elsewhere.  I am getting better at it though.

IMG_20160118_4479

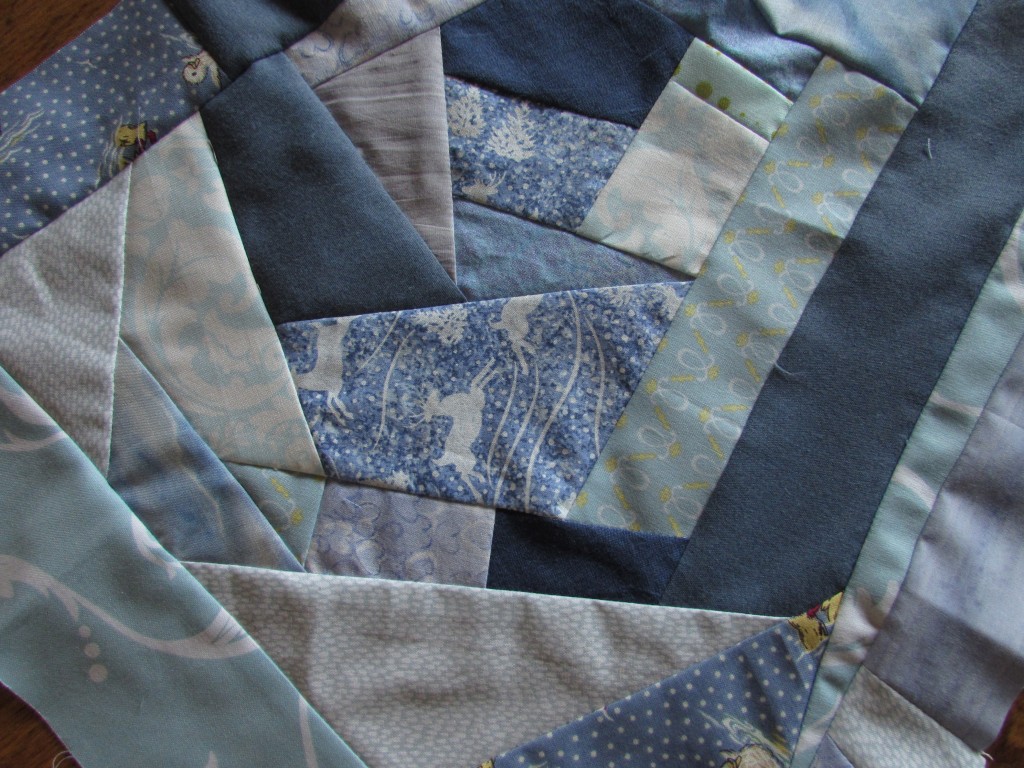
I want this quilt to be really bold. I am thinking of creating fabric in the color of the month and then squaring it to about 13 or 14″. Maybe I will make HST’s with the improv pieces, using the same color for the other side of each one. I think using big, blocky HST’s might make a fun quilt, and there are endless ways to lay it out. I am still not quite sure though. So, I made two pieces of scrappy, icy blue fabric and will leave them be until I have a few more colors created.

IMG_20160118_4474

In the next picture you can see a bit of rippling. I will slice it up a bit and reattach it so the piece calms down a bit.

IMG_20160118_4475

Both of these RSC quilts are great fill in projects. I can pull out the bin and sew for a while without having to think too hard. Neither take lots of time and the results from both will be a lot of fun, with the added bonus of using up scrap.

One more thing – remember the baby bird quilt I made using orphan blocks that I had thrifted? I linked that post over to Muv’s Freemotion Mavericks linky party and this week she featured my project.I am flattered! Thanks Muv! I brought the quilt over to a local organization in our town, called Kare Crisis. Kare Crisis is a house that is open 24/7 and they will take care of any child ages 0-5 years if the parent is in need. They do not define the crises, rather it is up to the  parent to decide. Sometimes it is just a matter of having a sick baby and the mom needs to go to work. Sometimes it is something far more serious.  They also provide a safe place for supervised visitations. It is an awesome resource and the director, Lynne, was thrilled to have the quilt for babies to use.
Happy weekend everyone. It is raining hard this morning. After I run Julia over to school, I will spend some time in the sewing room.  Hope you are doing the same, wherever you are.  🙂

Linking with Angela at So Scrappy and Amanda Jean at Crazy Mom Quilts.

Progress – Tula Pink 100 Modern Blocks

I don’t have very many unfinished projects. Right now the count stands at four.  There are two quilt tops that need basting, quilting and binding. Plus two WIP’s – my Tula Pink project using her 100 Modern Quilt Blocks book and a quilt that I am piecing with (mostly) American Jane fabrics. While this is quite reasonable compared to what I have read about quilters with lots of quilty UFO’s, I want to work toward finishing them all up. There are always projects swirling around in my head but I don’t want to start too many at once.

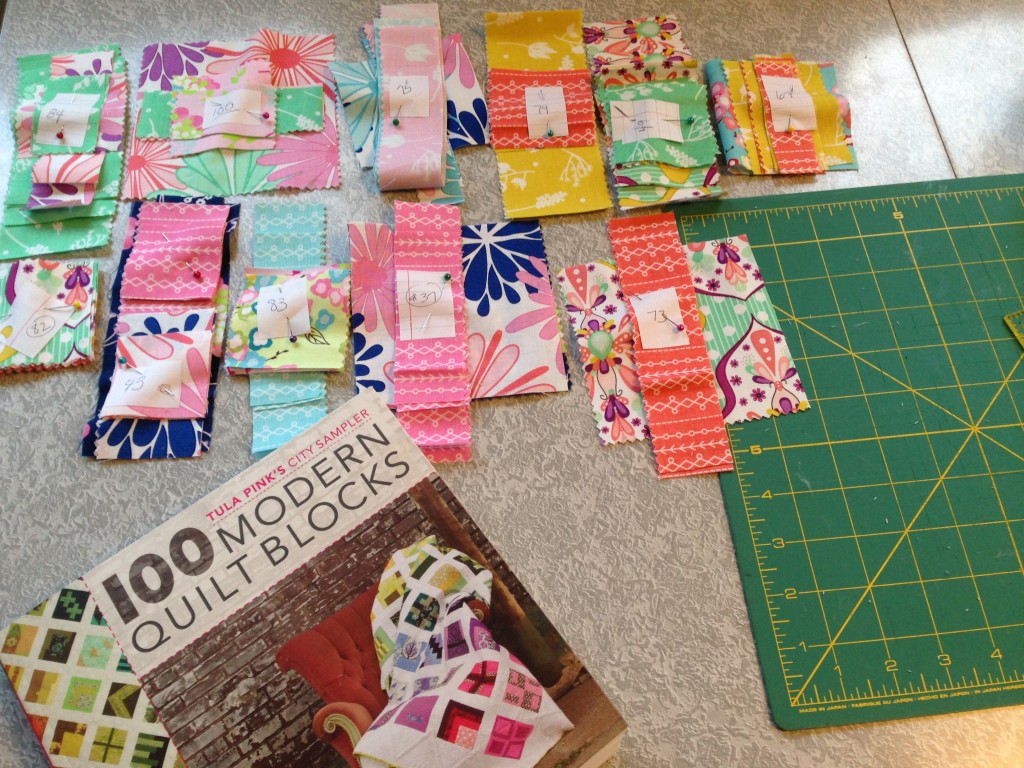
This week was derailed with a series of migraines but I was able to spend a little time sewing and I got several  blocks done for the Tula Pink City Sampler quilt.  I am using Floriography fabric for this project. Last year I won a gift certificate to Doe Street Fabrics and spent it on some 1/2 yard cuts of Floriography. I started to cut it up for the City Sampler project. The blocks finish out at 6″ so you can imagine that many of the pieces are small (1″ to 6″). Because each block is different from the next, it isn’t a project where I can cut a stack of anything ahead of time. I am cutting each block independent of the next. I soon found that I didn’t have enough variety in the 1/2 yard cuts that I bought.

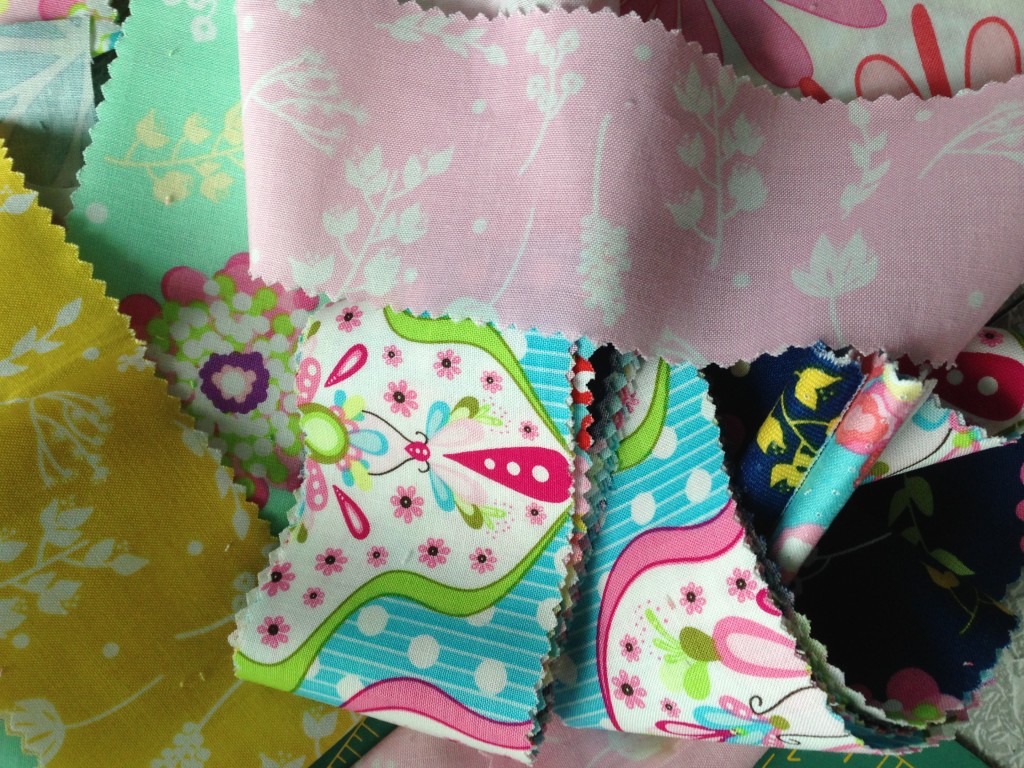
As luck would have it, last November I found a jelly roll and charm pack of Floriography on sale at The Clever Quilt Shoppe. I bought them right away as it would give me small pieces of the full line and would be so much easier to cut from.

IMG_2933 (2)

While spending last weekend up in Downieville, I was able to cut the pieces for eleven blocks. I’m not sure it even matters but I have been doing blocks from each section in no particular order. The book is organized with the blocks divided into sections such as triangles, squares, rectangles, etc.

tula pink floriography

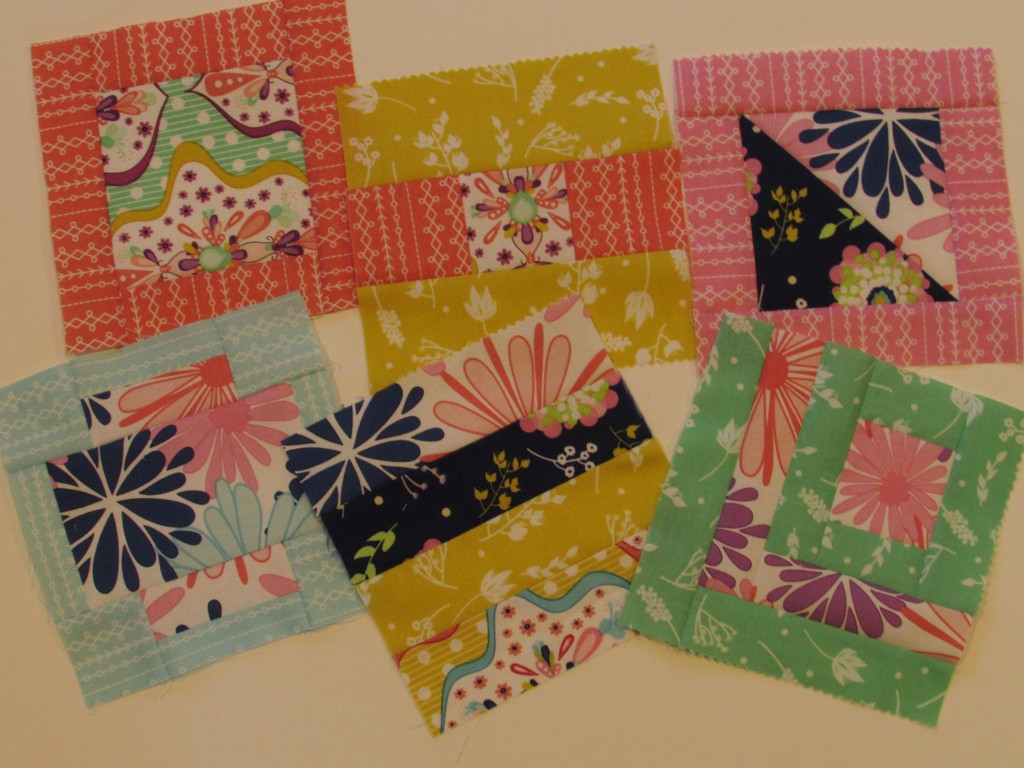
I have stitched ten of the eleven prepared blocks so far. I love having a stack of blocks cut and ready to piece.  Each block is actually quite simple to piece. More time is spent on planning which colors to use in the block and cutting the pieces. I made several errors with fabric choice when cutting the blocks and it wasn’t until they were up on the design wall that I could really see it. Not enough difference in value which causes the design to be lost. This fabric is busy and many of the prints are the same value. Even though I plan to sash the blocks when I make the quilt top, I need to start adding in a couple of solid fabrics to tone things down a bit and increase the change in value. After I take Julia to school today, I will make a quick stop at the store for some solids. When I cut the next set of blocks, I will incorporate the new fabrics in the mix. There are a few blocks that I will take apart and replace pieces with solids.

IMG_20160115_4458

Overall, I am very happy with the blocks this far into the project. I am not sure I will do the full 100 blocks. I need to decide how big this quilt will be and how I plan to sash it. The blocks will be arranged in color groupings or it won’t “make sense” to me. The colors are what will define the layout. Look at the difference.

IMG_20160115_4459

And with sashing and organization by color:

IMG_20160115_4460

For an example of a horrible fabric choice with values in the same range, look at the green block, middle line on the far right. The flying geese are lost in a fog on that block. For that one, I probably won’t rip it apart – it will be quicker to just make a second one and ditch the first. Quilting is always a learning experience, and this quilt is all about color.

The weekend promises to be a fun one. My sister and her two girls are coming along with their husbands and boyfriends. We are going to dinner at a fundraiser for my parents’ church. Yay for family time.  🙂  I hope all of you have a nice weekend with family or friends and at least a little time to sew.

Linking to Sarah at Confessions of a Fabric Addict.


Fastest Quilt in the West

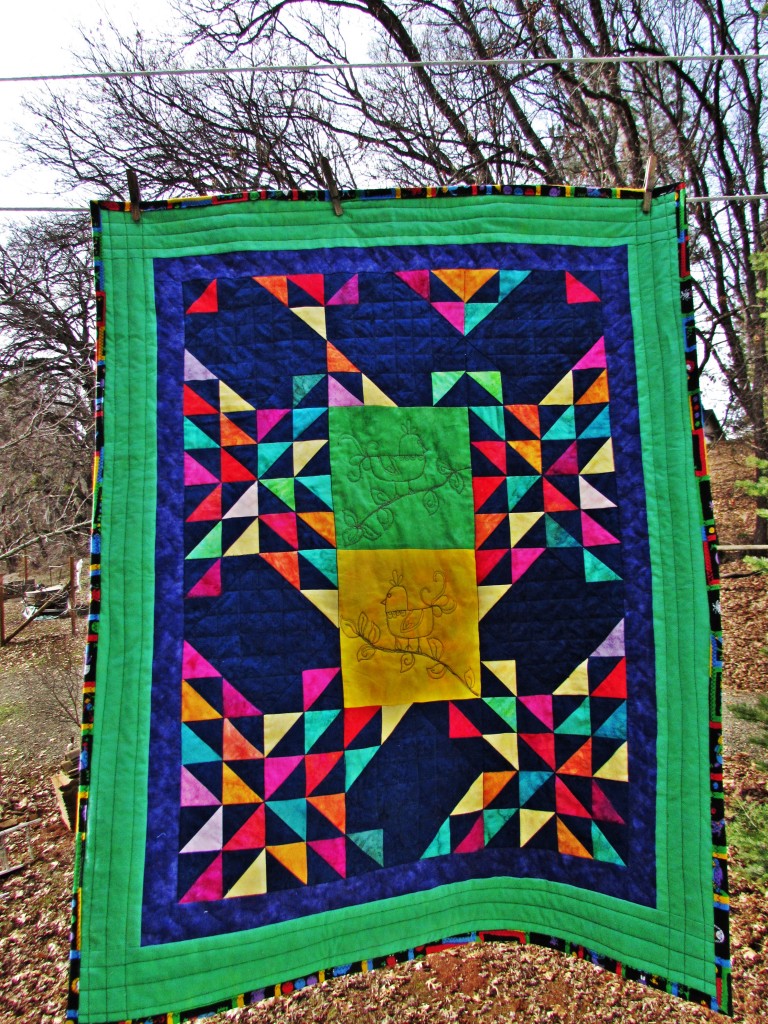
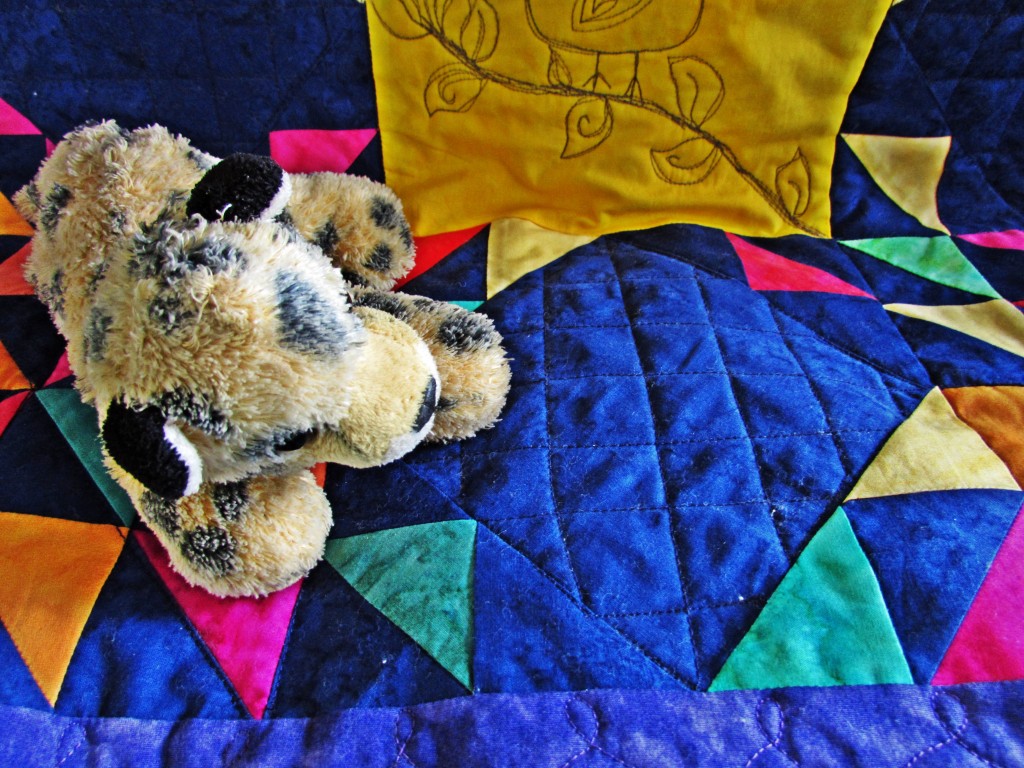
A few weeks before Christmas I wrote a post about this baby quilt top that I made using orphan blocks purchased at a little  shop in town. I added some solid blocks and borders and created it in a matter of a couple of hours. This week it is a finish; a satisfying, bright, cheerful finish!  It was a joy to put someone’s blocks to good use.

IMG_20160112_4444

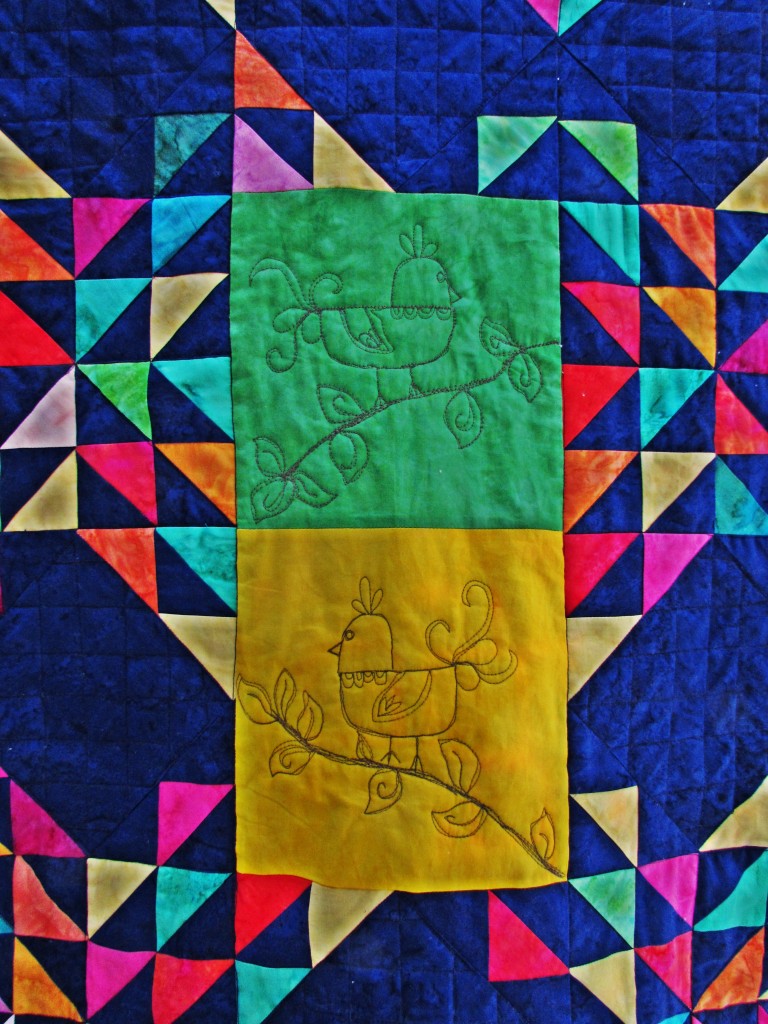
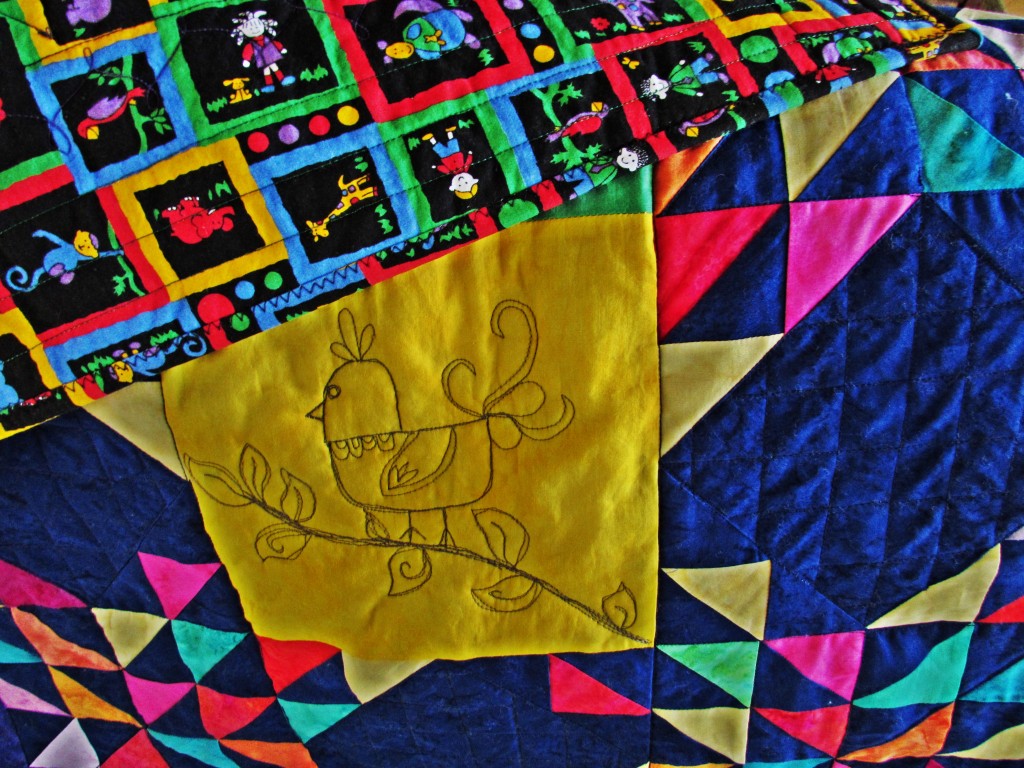
I spent quite a bit of time deciding how I wanted to quilt this. It was a perfect slate for practicing but I wanted to stay with a theme that a child would enjoy. As I tend to do, I turned to Lori Kennedy’s site, The Inbox Jaunt, for inspiration. Her site overflows with inspiration and tutorials for all sorts of motifs. Please take a look if you haven’t yet seen her site. You will surely find something that motivates you to play with some FMQ. At first I stitched turtles. Lots of turtles. They were cute but mine didn’t have enough personality. I tried kitties. Same thing. I liked them but I didn’t love them. A little more time spent found me stitching dragonflies and bumblebees, again, very cute but not what I wanted. Then I found her birds. I combined two tutorials. This one called Baby Birds and this one called Spring is in the Air. These were so much fun to stitch. Lori’s quilting is near perfection and as such, very precise. Mine… not so much. I like to sketch the design and go back and forth, filling in as I like.

IMG_20160112_4446

I love them. I drew a wavy line for the branch and from there I just stitched. I think they are sweet simplicity.

This quilt is a busy one. There is a lot of color and movement with the layout of the HST blocks. Because I just had this incomplete set of blocks, it was difficult to piece it in a fashion that made sense. In an effort to keep it relatively calm and avoid having any child that plays with this quilt being overcome with dizziness, I kept the quilting simple on the main body of the quilt. I think this allows the baby birds to be a calming point of focus and the multicolored part of the quilt is less overwhelming. Before I started to  quilt it I stitched in the ditch along the length and width of the rows of blocks. I wanted to be sure that the quilt was solid before I worked on the birds, especially since they are front and center on the quilt. After thread sketching the two birds and the branches, I worked on the plain blue squares. At first I was going to do simpler birds but it seemed like too much. Instead, a simple cross hatch worked out wonderfully.

IMG_20160112_4454

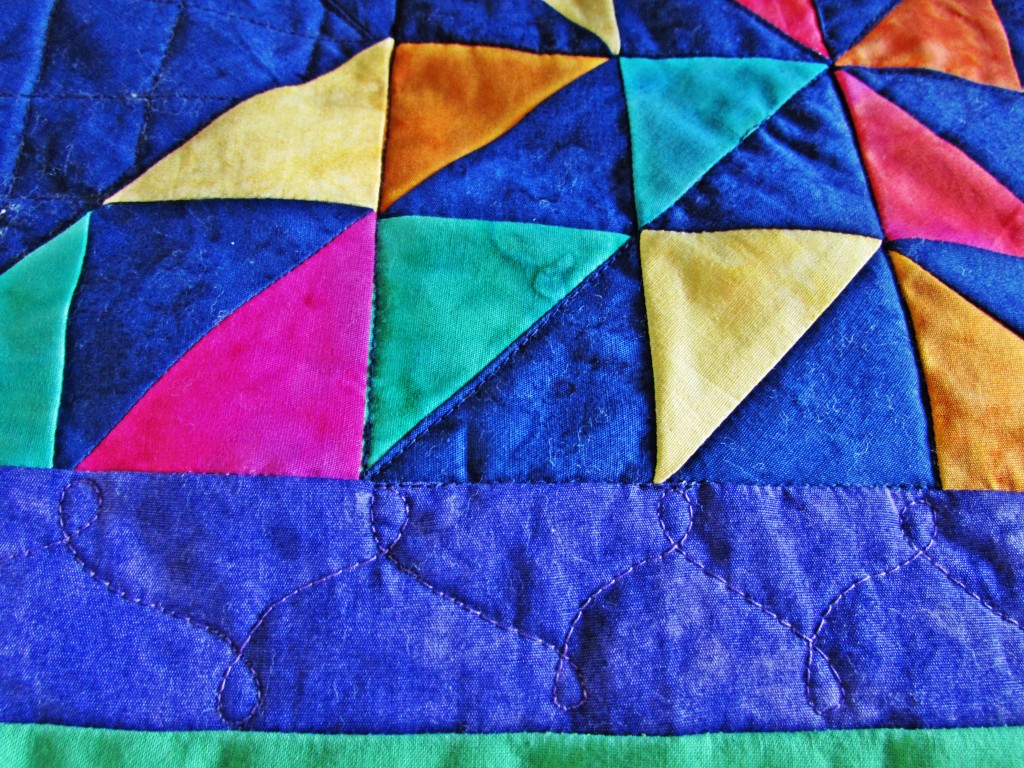
I quilted the HST blocks along the seam lines. The purple border was fun. I played with Lori’s tutorial, Do the Twist and came up with this. My twist is elongated and filled the border quickly.IMG_20160112_4455

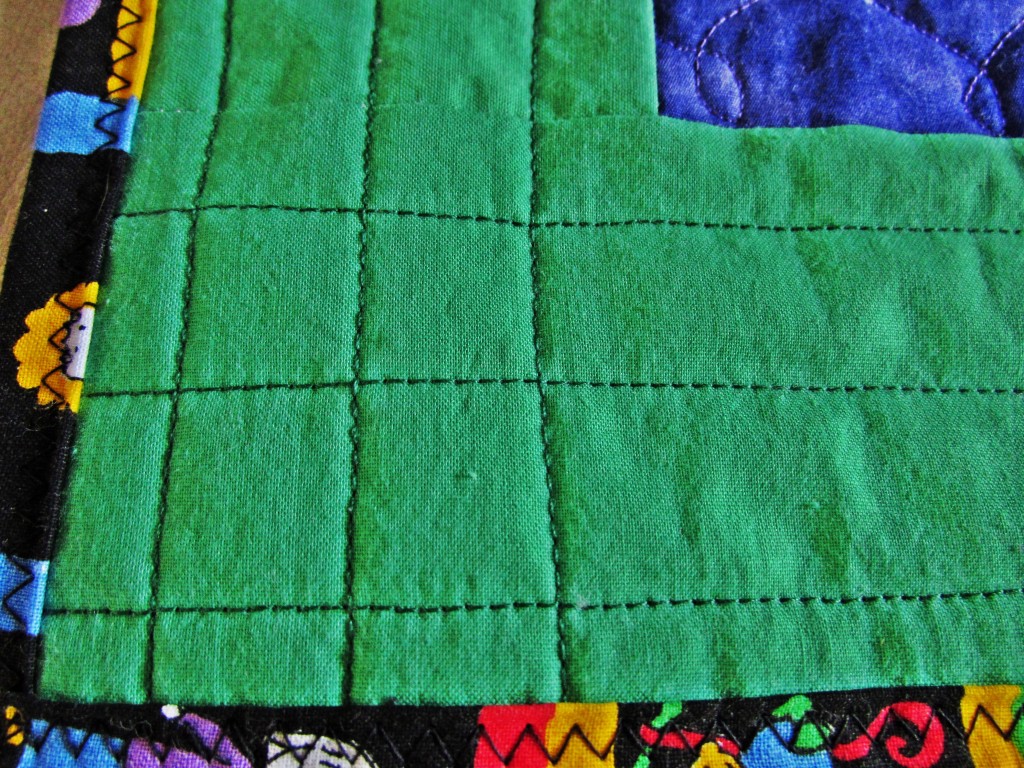
The green border was quilted with simple straight lines that I allowed to cross in each corner. No marking needed – nice and simple.

IMG_20160112_4457

The backing and binding were from a piece of yardage I have had in my stash for over twenty years! I remember buying it at a WalMart when we lived in Pennsylvania so that dates it to anywhere between 1992-1994. It was in a clearance bin and I probably paid a few bucks for several yards. I love that I finally found a use for it and it looks perfect with this quilt. The quilting doesn’t really show on the busy print but the colors (particularly the shade of green) couldn’t be better.

IMG_20160112_4450

The binding is machine stitched on both front and back so it should hold up for lots of laundering. I have not yet washed it and with the bright batiks used for the HST’s, I will put a lot of Color Catchers in with the wash. Crossing my fingers that nothing bleeds.

I am actually a bit sad to give this one away because of the birds but really, it will be better to have it loved by a child than sitting in my sewing room.

Linking to Freemotion by the River, Let’s Bee Social, Freemotion Mavericks, Confessions of a Fabric Addict and Finish it up Friday. All links can be found at the top of the page, under Link Ups.

Row Quilt Top Finished

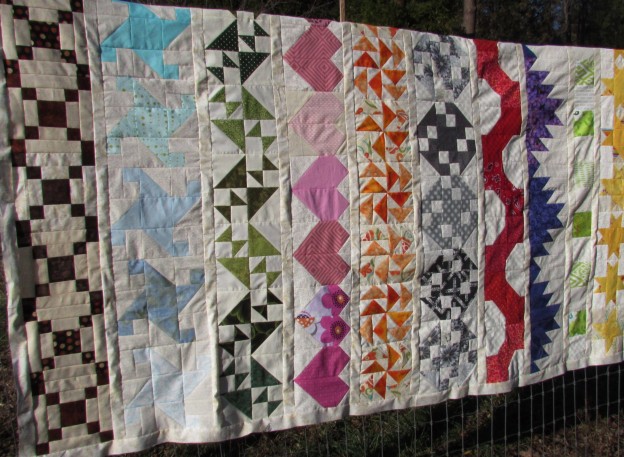
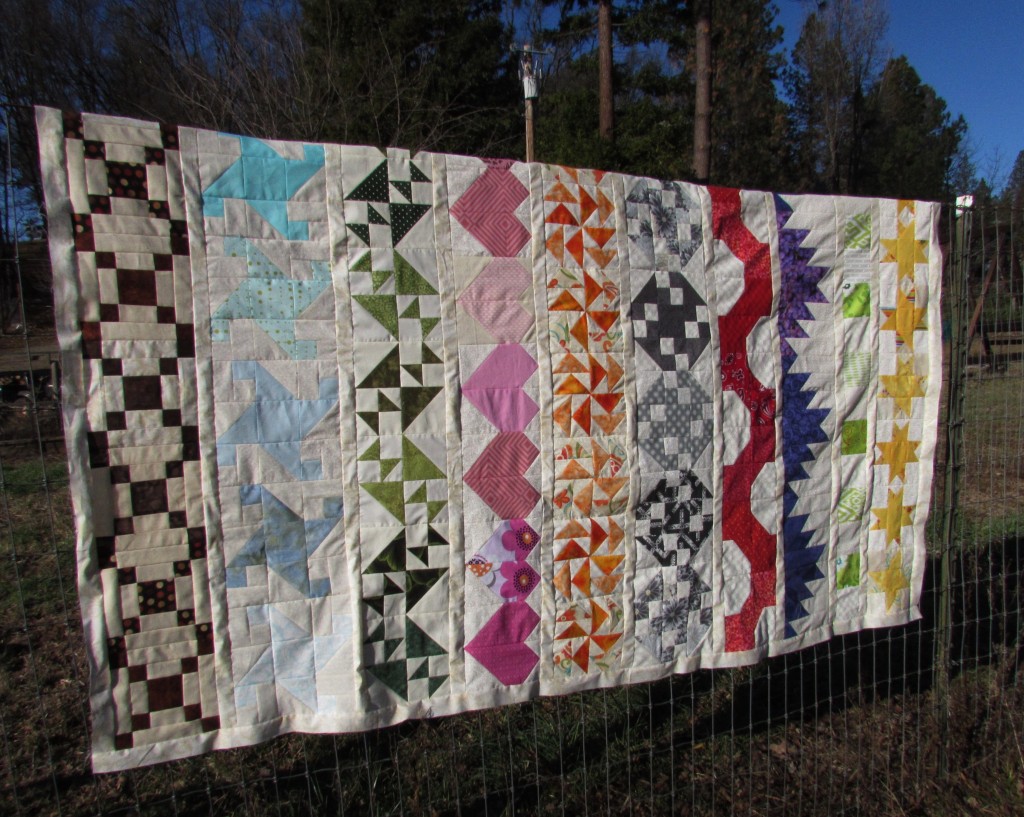
I am so excited to show you the top and backing for my Classic Stitches Row Quilt.  It was (just over) a year in the making and it looks great. Thank you again to Mari over at Academic Quilter for hosting this BOM throughout 2015 and posting 11 awesome tutorials.

IMG_20160101_4411

I sashed it with 1″ (finished) strips of a plain cream fabric that I had in my stash. I had planned to do a colorful border after the sashing but it is already 60″ x 70″ and since I plan to quilt it at home, I decided that was big enough. (It was quite windy when I took these photos so they aren’t the best.)

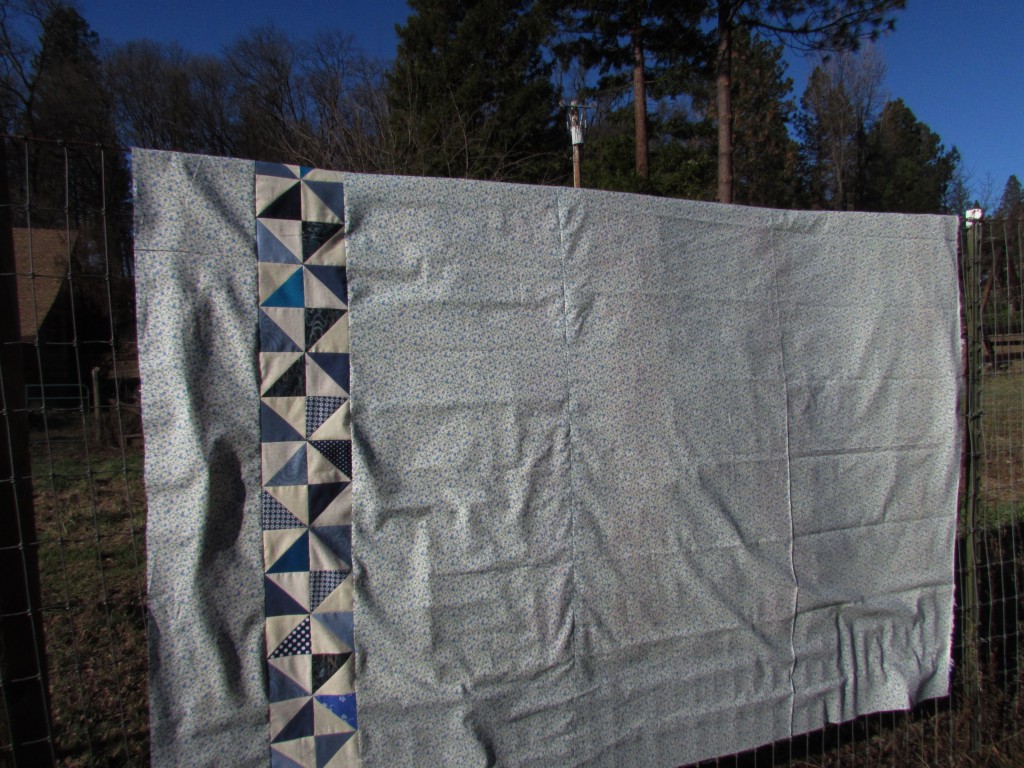
For the backing, I found a cute blue floral print on a clearance table for a great price. I held my blue ‘Broken Dishes’ row back (to control the length of the quilt overall) and pieced it into the backing.

I am very happy with the way the back looks. I definitely learned my lesson with this Broken Dishes row. It was the first row in the project and I mixed too many scraps within each block. I didn’t realize that mixing the prints and values this way would cause the block to lose the pattern. I feel like it doesn’t even look like the traditional Broken Dishes pattern, but rather like a Pinwheel block instead. This was a good lesson to learn and I didn’t mix the scraps as much in the later rows.

IMG_20160101_4414

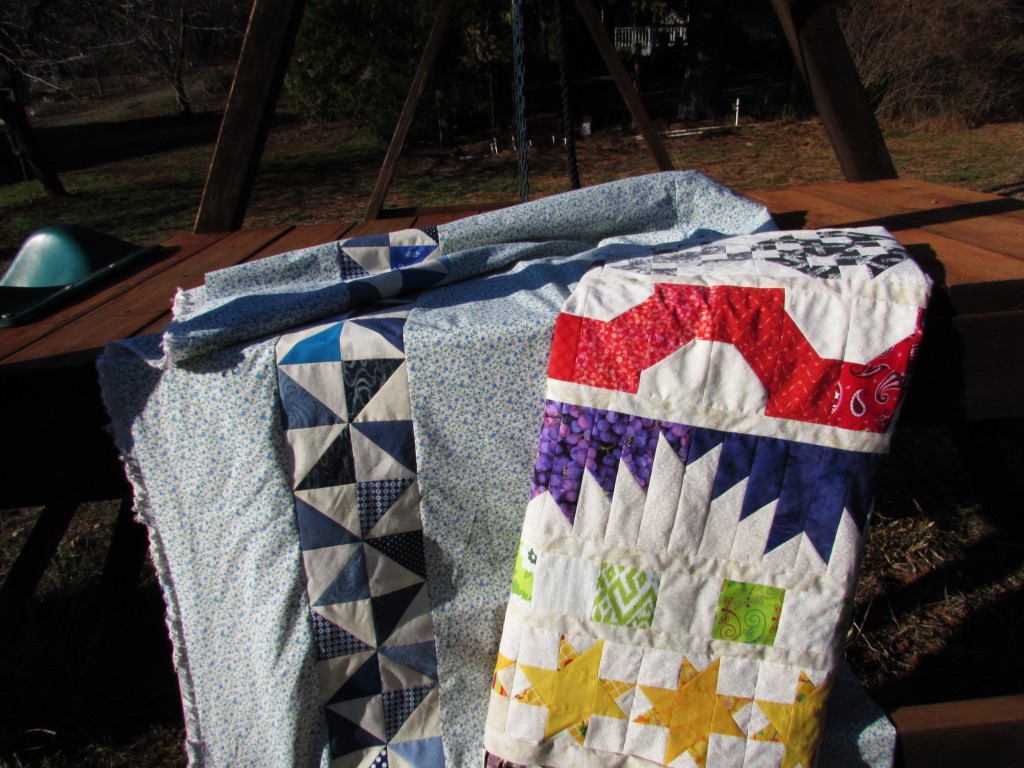
Overall, I call this project a success and will be basting and quilting it soon.  I have just about finished quilting the brightly colored baby quilt (made from those blocks I found at the thrift store). But once that is done, I will move on to finishing up this row quilt.

IMG_20160101_4421

This project is my second quilt made while following along Angela’s Rainbow Scrap Challenge. You can see the first one here. My RSC challenges for 2016 will be two projects that have a modern slant. For one, I be using a pattern called Pretty Gemstones, designed by Cynthia Brunz and published in the latest McCall’s Quilting magazine. I just bought the background fabric so I canstart piecing it soon.

Pretty Gemstones

Isn’t this a pretty quilt? I look forward to working on it. I have a second project in mind using improv fabric made from my scraps. There are all sorts of ways to do this and I haven’t quite decided what to do. At this point, I am making the fabric slabs and will wait to see what sort of quilt evolves from them.  The color for January is Icy Blue and I have some perfect scraps for it!

Wishing you all a great weekend! We have enjoyed  (lots of) rain and snow all week long in much of California. Some flooding is occurring in Southern California but up in the northern end of the state, we are all fine – just really appreciating the rain.
Linking to Crazy Mom Quilts and Confessions of a Fabric Addict this week. Both links are available at the top of the page, under “Link Ups”.

Tutorial – Heat Pack with Rice

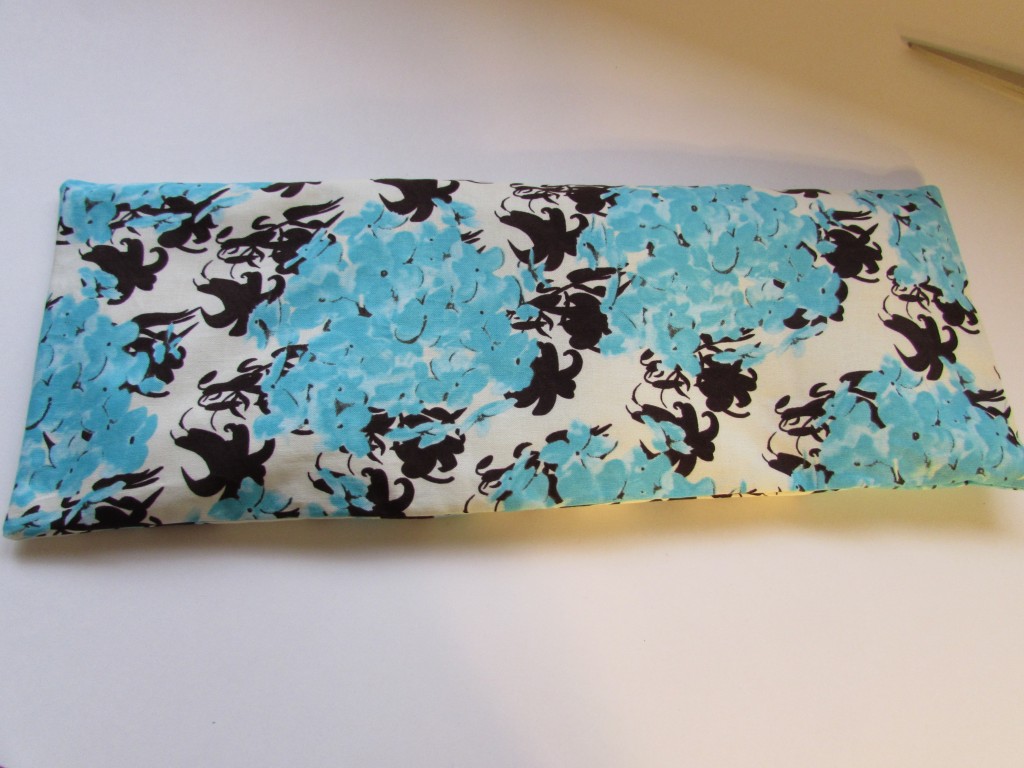
You might remember that I posted about making a few heat packs for Christmas gifts this year. I had initially made one for myself a long while back and it is used frequently by all three of us. They are very quick and easy to make so I thought I would share it here. It only requires a bit of fabric and some rice. The outer layer is removable for laundering. Here you go!
Supplies:

  • 1 Fat Quarter of fabric for the outside (or a scrap of equivalent size, 18 x 22″)
  • 1 piece of muslin or other inexpensive, plain fabric to contain the rice.
  • Dry rice, approximately 3 cups
  • Thread

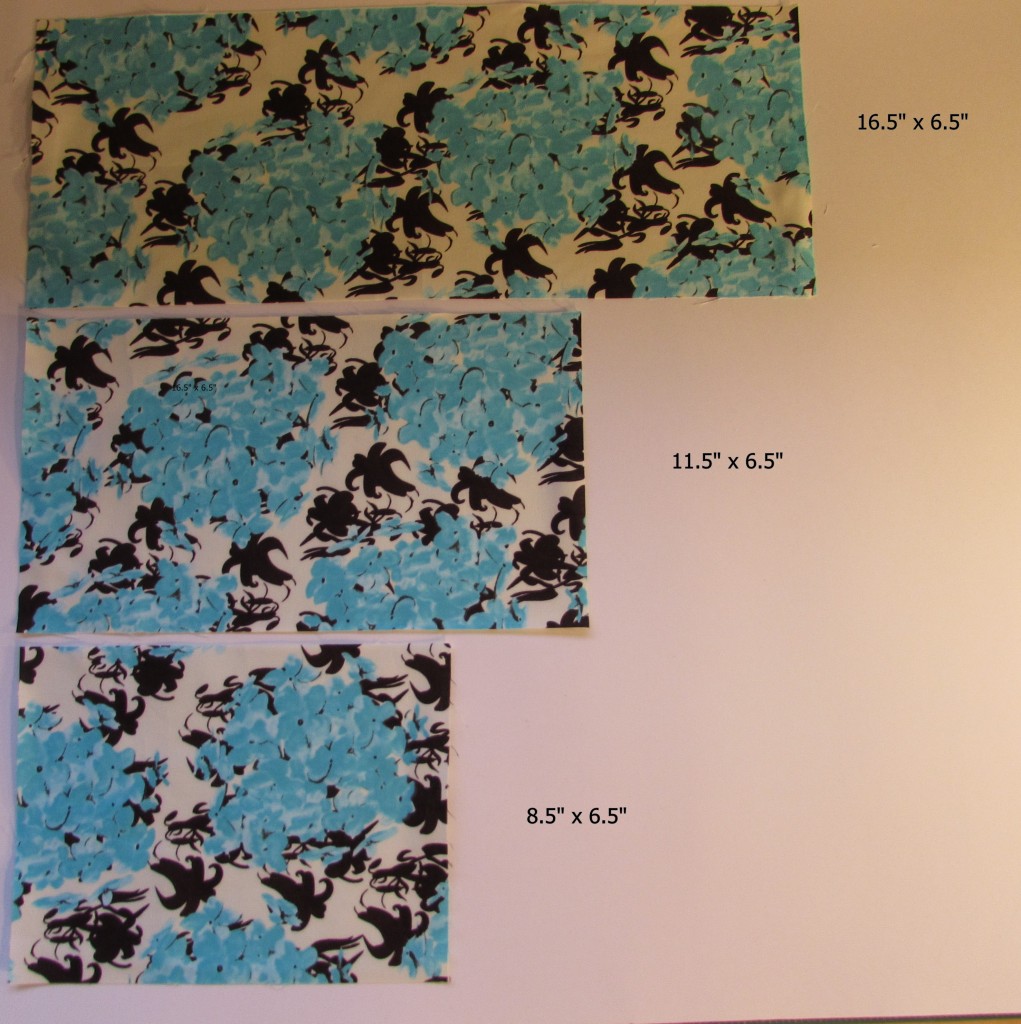
Cut the outer fabric as follows:

  • Rectangle, 16.5″x6.5″
  • Rectangle, 11.5″x6.5″
  • Rectangle, 8.5″x6.5″

IMG_20151230_4380

Cut the lining fabric, or muslin, into two rectangles, each measuring 16″x6″.

Let’s make the rice-filled lining first. Use a 1/4″ seam allowance throughout the project.

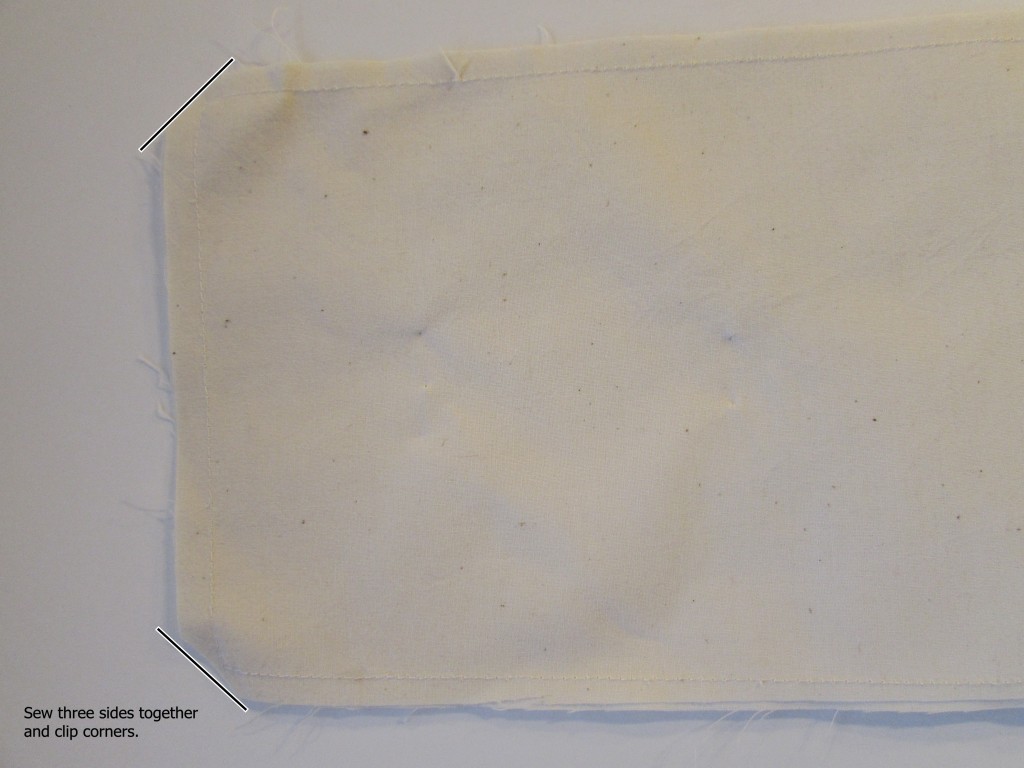
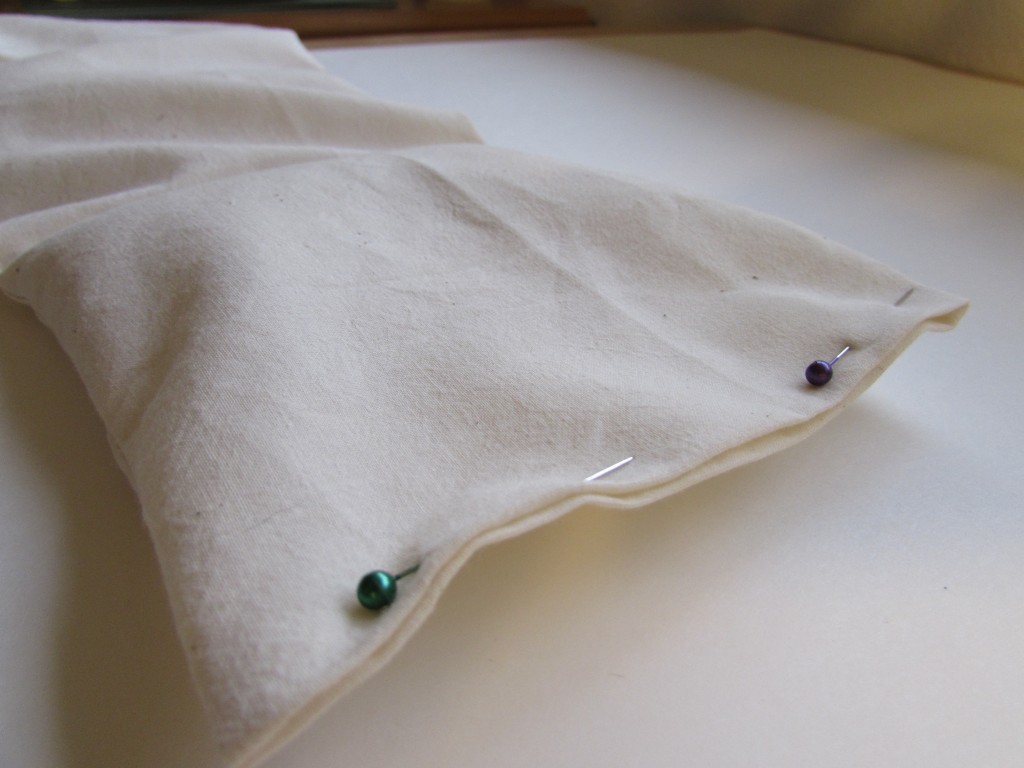
Pin the two rectangles of lining fabric, right sides together. Sew around three of the sides, leaving one end open. Be sure to sew the two long sides and one of the short sides. Before turning it right side out, carefully trim the corners, making sure not to clip your stitches. (I should have photographed the muslin against a color other than white!)


IMG_20151230_4384

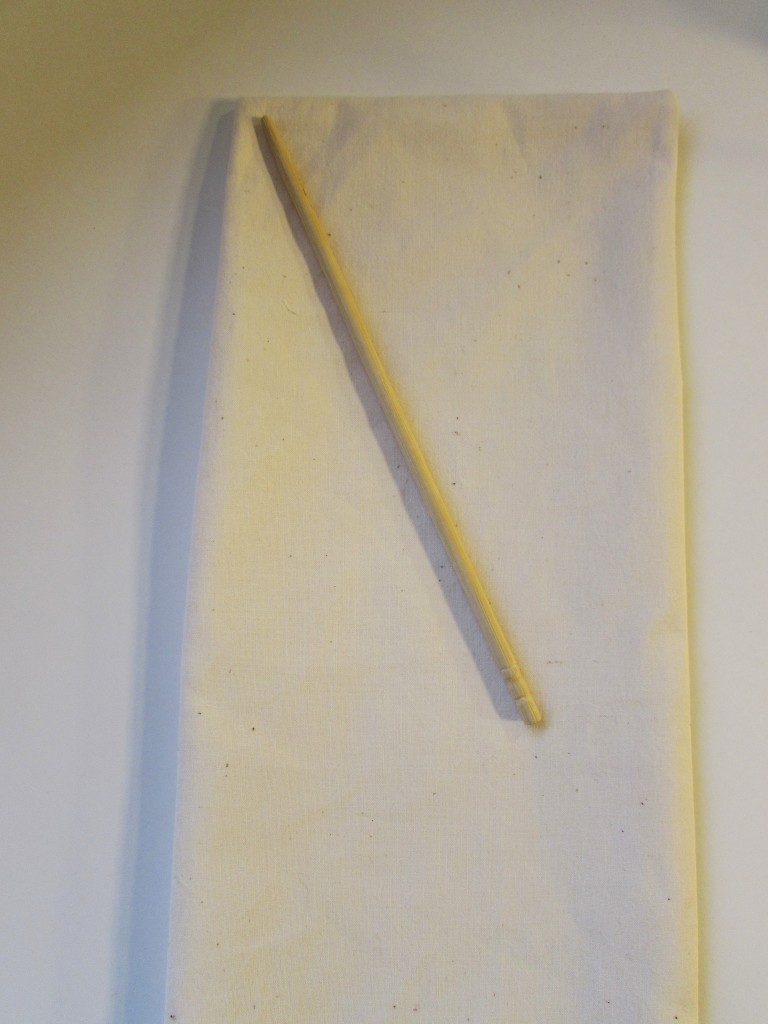
Turn the bag right side out and press. I use a chopstick to carefully poke the corners out from the inside.

IMG_20151230_4386

Now you will fill the bag with rice. I like to make three sections and fill each with about 3/4 cup of rice. You can do this with more sections or even no sections. If you choose to leave it undivided, with just one section, fill it with the rice at this point. I like the feel of the sections and think it lays nicely when divided.

For the first section, fold the top of the bag back and carefully pour in 3/4 cup of rice.

IMG_20151230_4388

Smooth all the rice to the end and stitch across the width of the bag, close to where the rice is. I use a zipper foot to do this though it isn’t absolutely necessary.

IMG_20151230_4389Create a second section in the same manner and stitch it. (I don’t measure the three sections precisely. I just estimate it.)IMG_20151230_4390

After putting in the last portion of rice, shake it to the bottom of the section and press the raw edges to the inside, taking care to make them relatively even. This isn’t going to show and certainly doesn’t need to be perfect.

IMG_20151230_4392

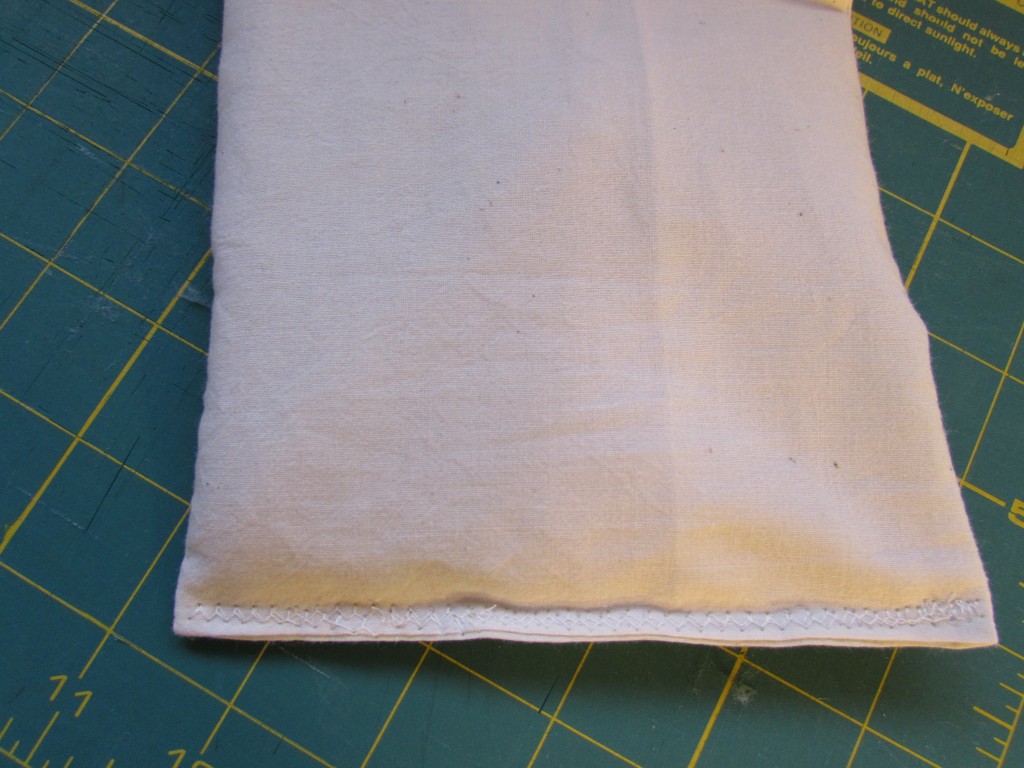
To close it up, I use a zig-zag stitch and run it over the end two times so the rice stays where it is supposed to!

IMG_20151230_4394

OK – the inner bag is done and now you just make the outer cover. It is basically like making a pillow cover with an envelope back. So easy.

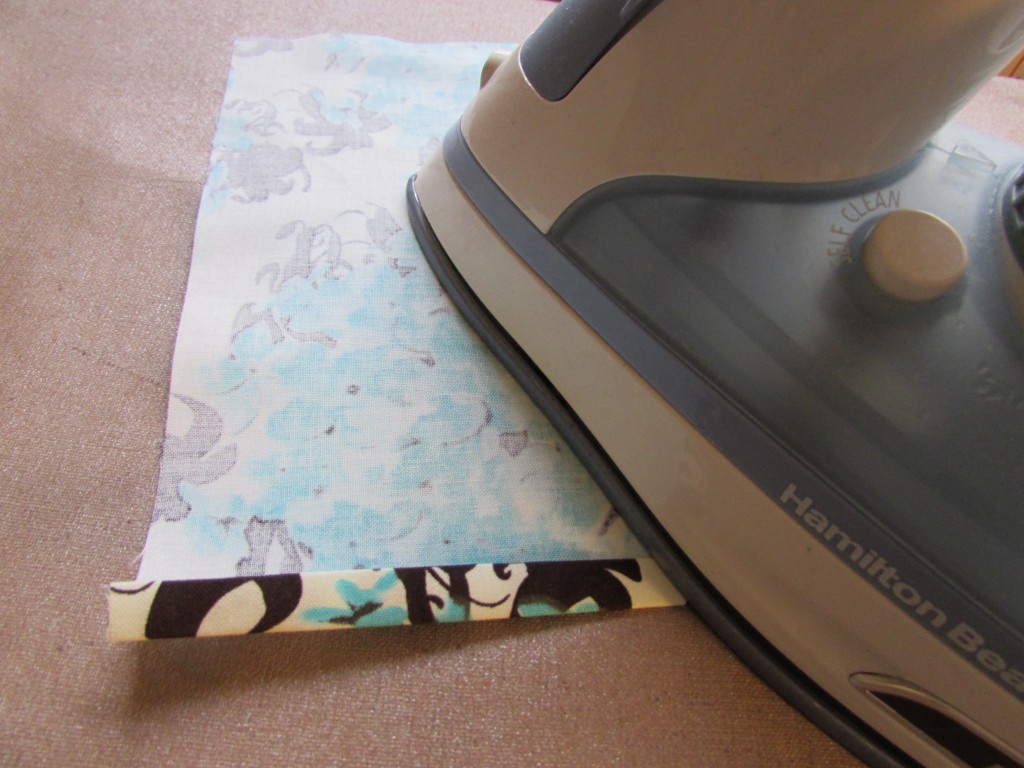
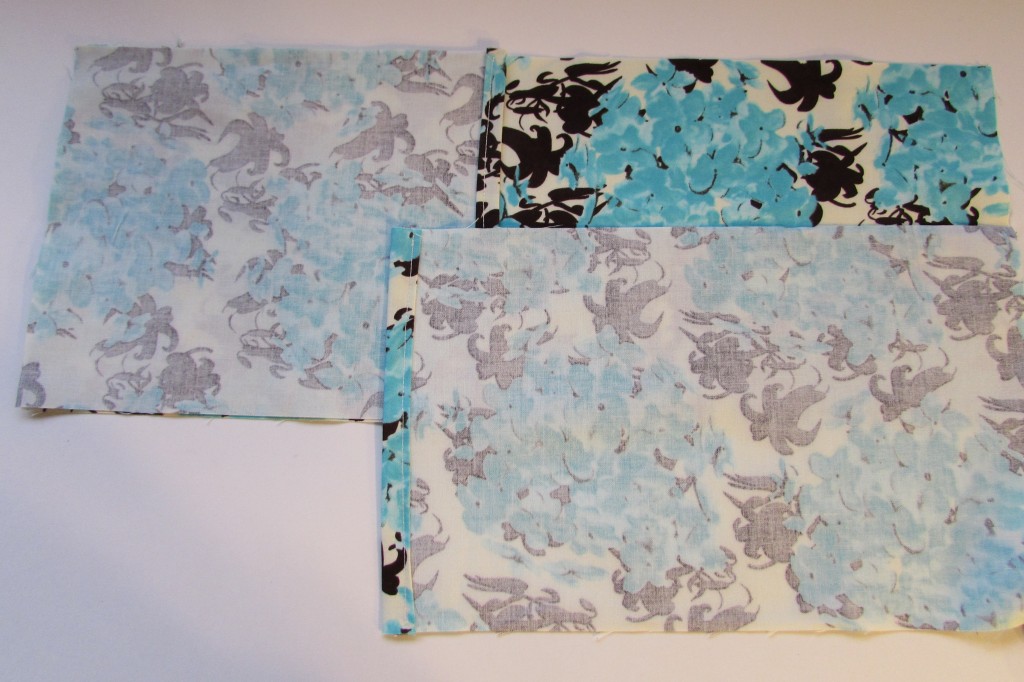
For the back side, take the two shorter pieces and finish one short edge of each. Turn 1/4″ over and finger press. Turn it again and press with the iron.

IMG_20151230_4397

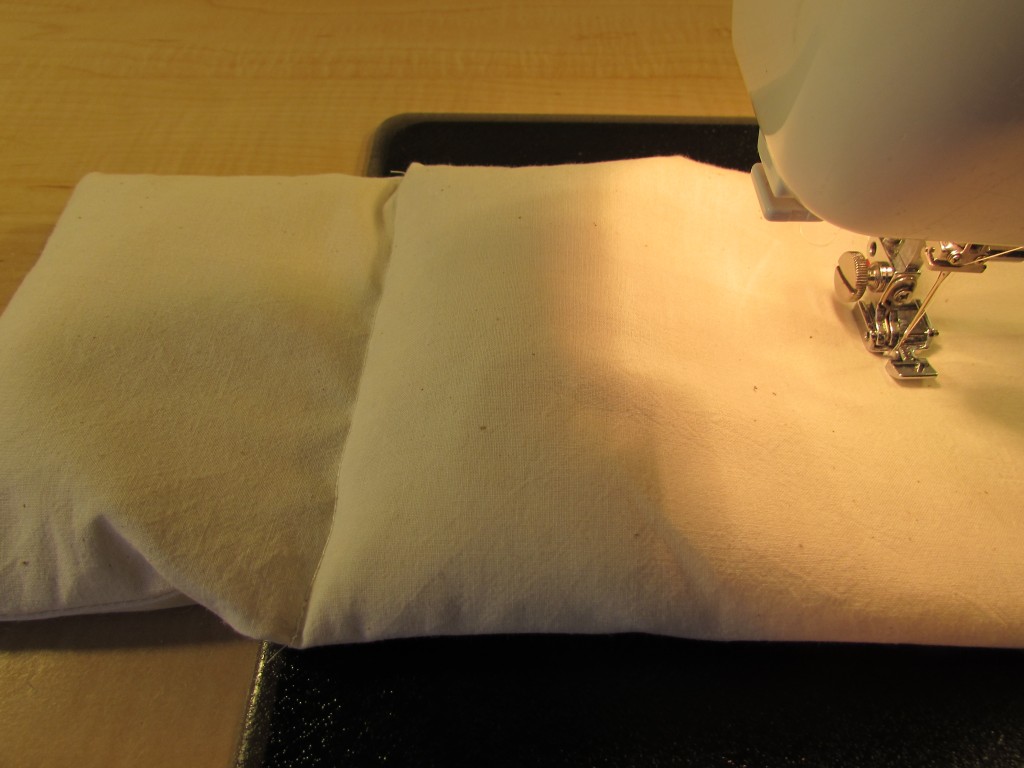
Layer the three pieces, right sides together, as follows. Long piece on the bottom, Short (8.5″x6.5″) piece next and on top of that the longer (11.5″x6.5″) piece. Pin securely, especially where the two shorter pieces overlap.

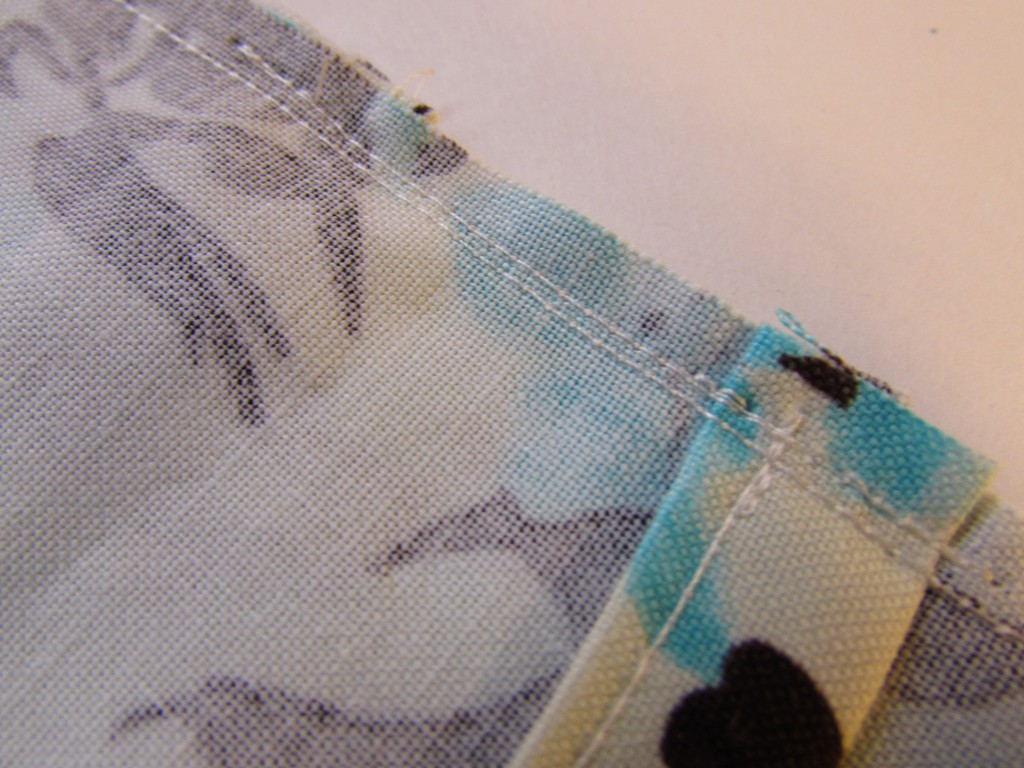
IMG_20151230_4399Sew the entire perimeter of the case. Take two passes over the sections where the backing pieces overlap so they are strong.  That is where the most stress is when you take the rice bag in and out. As with the lining, trim the corners carefully and turn right side out. Use the chopstick carefully to create nice corners.

IMG_20151230_4400

IMG_20151230_4403

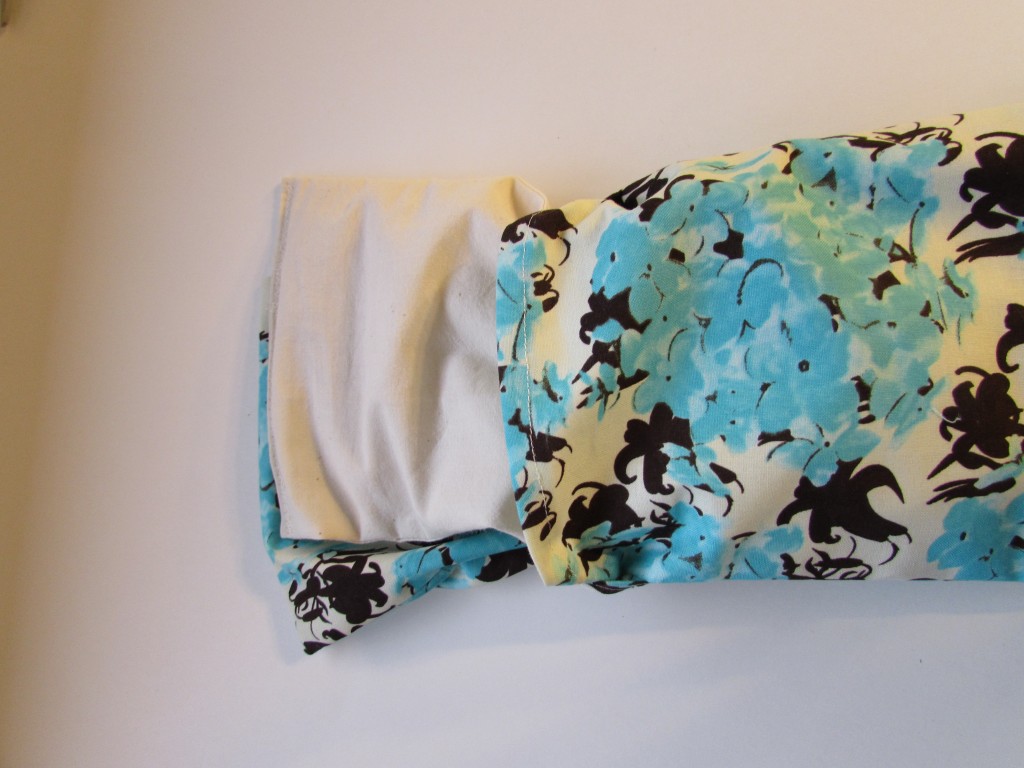
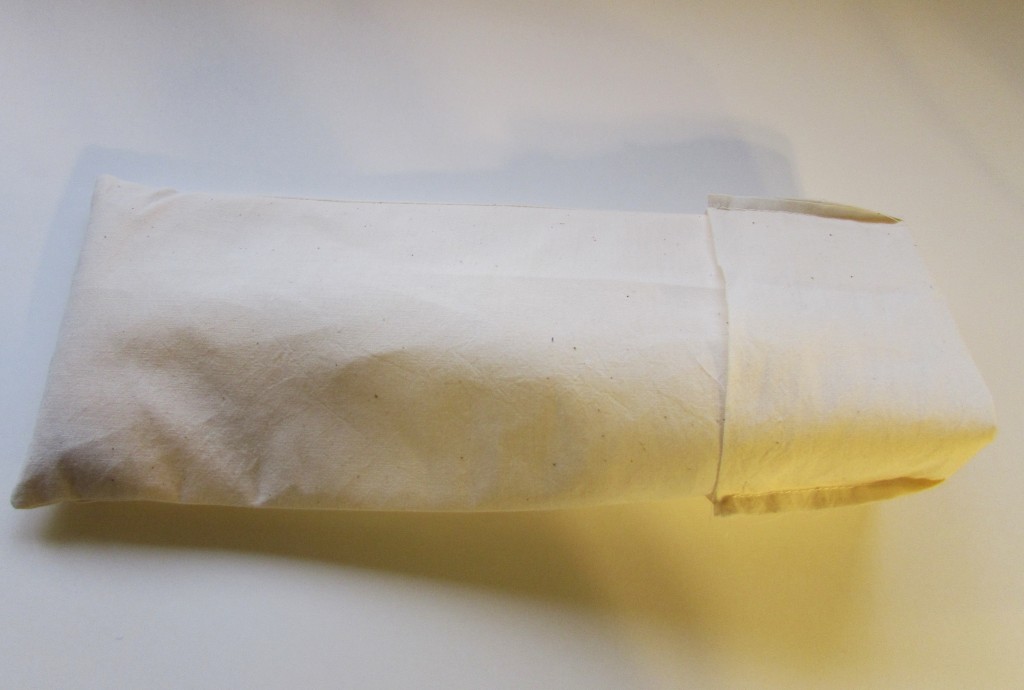
Take the rice pack and insert. It takes a bit of wiggling to get it all inside the cover.

IMG_20151230_4404

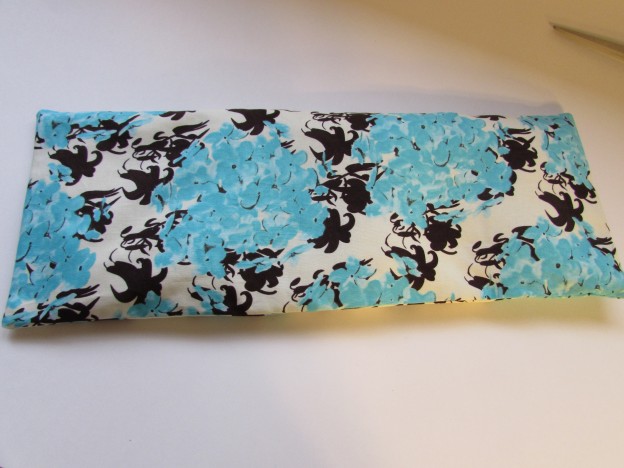
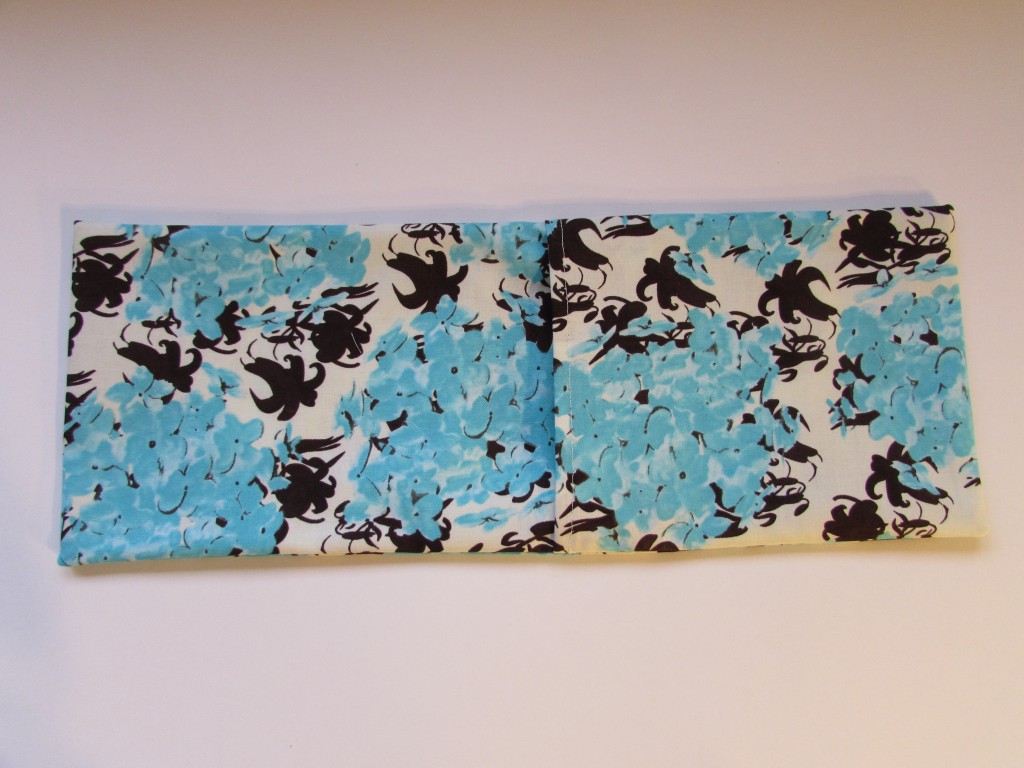
Ta Da! All done.


IMG_20151230_4405

The amount of rice that is put into the liner affects how malleable, or flexible, the rice pack is.  When I made the first one I put too much rice and it felt stiff and quite heavy. You can play around with it and see what feels best for you. To use, just put in the microwave and heat for a minute. Check to see if that is warm enough for you. Of course the timing will depend on your microwave, but it can get very hot so be careful. This bag can also be put in the freezer and used as a cold pack. These are great for icing or heating muscle aches, sprains, and warming cold toes in the winter.

Hope you’ll give it a try. Leave any questions in the comments or send an email and I will get back to you. I haven’t written very many tutorials, so if something is unclear, or I left out a step, please let me know so I can update this.

Linking to my usuals.  Freemotion by the River, Let’s Bee Social and Crazy Mom Quilts. T hese links are listed at the top of the page, under Link Ups.

Looking Forward to 2016!

Happy New Year everyone!!! We enjoyed a very quiet New Year’s Eve with just the three of us at home, a big pot of French Onion Soup and some lazy movie time. The perfect way to end 2015. Between my mom’s heart surgery and my sister defeating breast cancer, our family looks forward to a year of peace and good health.

Last year I wrote a post to set some goals for myself in 2015. I want to take a quick look at those and then set up a few for 2016. Here is what I had hoped to accomplish in 2015:

  1. Finish my three UFO’s
  2. Sew only from my stash
  3. Improve my piecing by slowing myself down while sewing
  4. Improve my photography skills
  5. Study up on quilt restoration

Here is what actually happened.

I did finish all three UFO’s, check! Sewing from my stash was a miserable fail. I was only kidding myself with that one. I think I lasted about ten days before I purchased fabric!  I believe I made huge improvements on my piecing – partially through slowing down, which made the process much more enjoyable. But even more than that, through joining up with Mari’s BOM, Classic Stitches. She chose blocks that had lots of pieces which forced me to really practice a lot. I used a lot of chain piecing with her tutorials and overall, my corners and points are improved. Thank you Mari!! I worked on photography by using a light box at times (mostly for product photos for my Etsy shop), taking a class with a friend who is a photographer and buying a 50mm lens which I absolutely love. The last goal, quilt restoration? Nope, never happened. Not once did I work on this, read about it or even look at the two quilts I want to restore.

The year seemed to fly by.  Here we are again with a fresh new year just ahead. I have a few simple goals, several of which build on last year’s goals.

  1.  UFOs – I have three quilts that are nearly done.  My Kaffe Fassett strip quilt top is finished. I need to sandwich, quilt and bind it.  The baby quilt that I made from the thrifted blocks needs the same; sandwich, quilt and bind it and then send it off to Project Linus. Finally, my Classic Stitches row quilt. The quilt top is not yet done but I have it nearly sashed. Then it needs to be finished as well.  So these three projects are at the top of the list.
  2. Improving my quilting skills. This will be done via a great group that I just subscribed to. It is called The Mighty Lucky Quilting Club. So named because the subscription is sold through Lucky Spool. This is a one year subscription where I will receive a new lesson and project, based on a certain skill, with support and inspiration from a different quilter each month. Some of the twelve awesome teachers are Amanda Jean Nyberg (Crazy Mom Quilts), Allison Glass (fabric designer/pattern writer), Angela Walters (Quilting is My Therapy), and Jacqui Gehring (Tall Grass Prairie Studio). These teachers and the rest of the group are sure to provide some really great instruction and should help me to really advance in my quilting. The cost is very reasonable at $5.00 per lesson or $50 for the whole year.
  3. Write some tutorials. I have only written two and would like to practice this skill. It is also a way of giving back to this community. I have learned so much from other’s and want to contribute.
  4. I will carry over the quilt restoration goal and hope that I will take the time to learn about this so I can work on the two quilts of mine that need restoration.

These goals seem reasonable, thus attainable.  I am especially looking forward to the monthly lesson from the Quilting Club. I have a feeling this is going to be a great way to learn and have fun in this community of ours!  What are you looking forward to in the new year? Whether you are one to set goals or not, I wish you all the best in 2016.