Category Archives: Tote Bags & Purses

Holiday Scrappy Project

Thanksgiving was a wonderful day for our family. I hope it was the same for yours.  There is much to be grateful for, not the least of which is our on-line quilting community.  Now there will be the transition into the Christmas holiday season. I am hoping I can convince Ray to put up our outdoor lights this weekend. I think, of all the holiday decorations, the outdoor lights are my favorite. I like to get them up as early as possible so we can enjoy them for as long as possible.

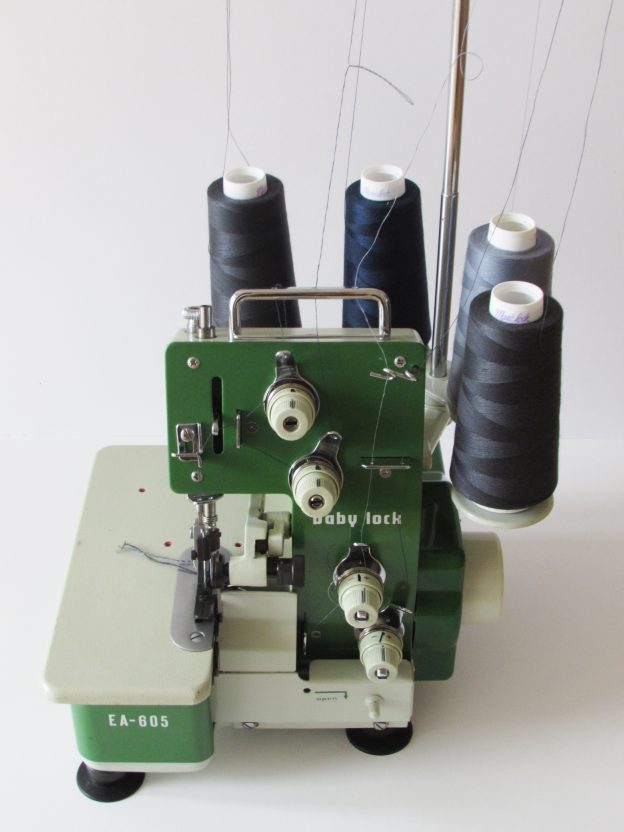
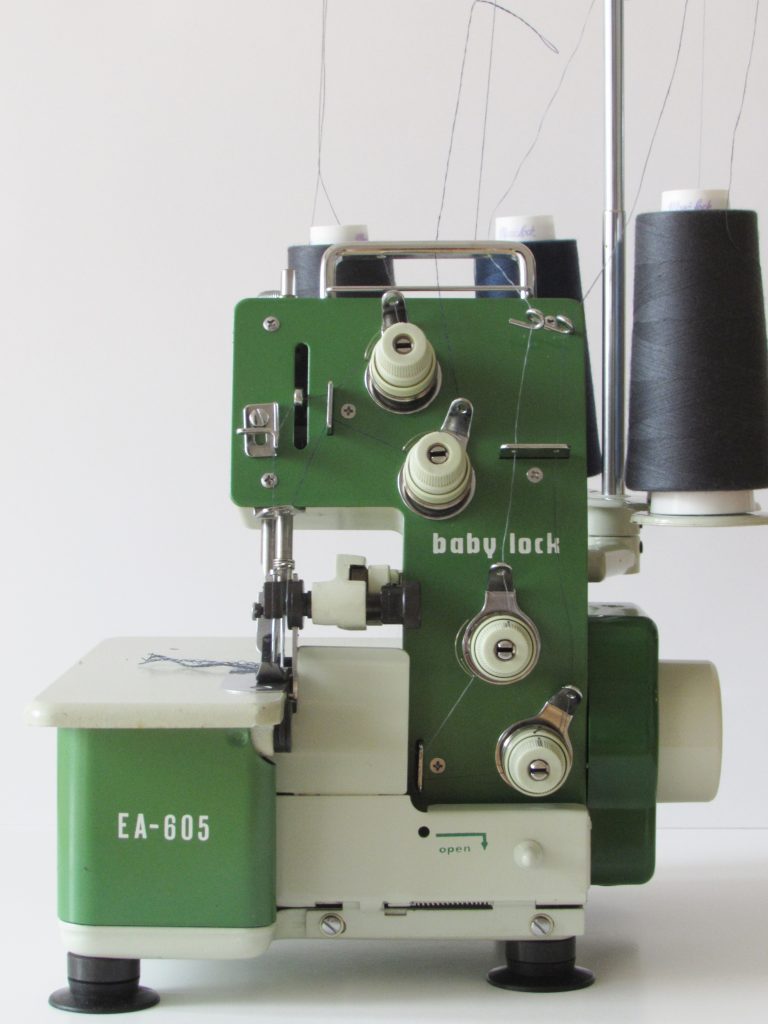
I have a new toy to share with you! The back story is that my father-in-law shares my love of thrift stores. We both enjoy the hunt as one never really knows what might be found on any given day. In October, my father-in-law called me and said he was at a thrift store and was looking at a sewing machine. He said he didn’t really know what it did but it looked interesting and was in great shape. I asked a few questions and figured out it was a vintage Baby Lock EA-605 serger. I think the model was made in the late 1970’s. It is a heavy little guy, being made of metal rather than plastic. When he said the machine was priced at $25, I asked him to grab it for me. He brought it over a few weeks ago when we were celebrating my birthday. (This was a mighty fine quilty birthday!)

img_8129

Actually, the serger won’t be used for quilting. In case you aren’t familiar, sergers are used to create a finished seam. There is a blade and four lines of thread. There are threads entering from above and below, though there is no bobbin. As the seam is created, the blade trims the excess fabric close to the finished edge. It is oh-so-cool! Having never used one, I signed up for a basic serger class at a little fabric shop in town. That helped me figure out some of the basics but there is still much to be learned. This particular machine is designed for woven fabrics, not knit fabrics. However my serger class instructor thinks I might be able to get a decent result with knits, so I will have to give it a try.

Because the machine needed a few adjustments I took it to our local sewing repair genius. Deby was able to clean and adjust everything and it runs so smoothly now.

img_8128

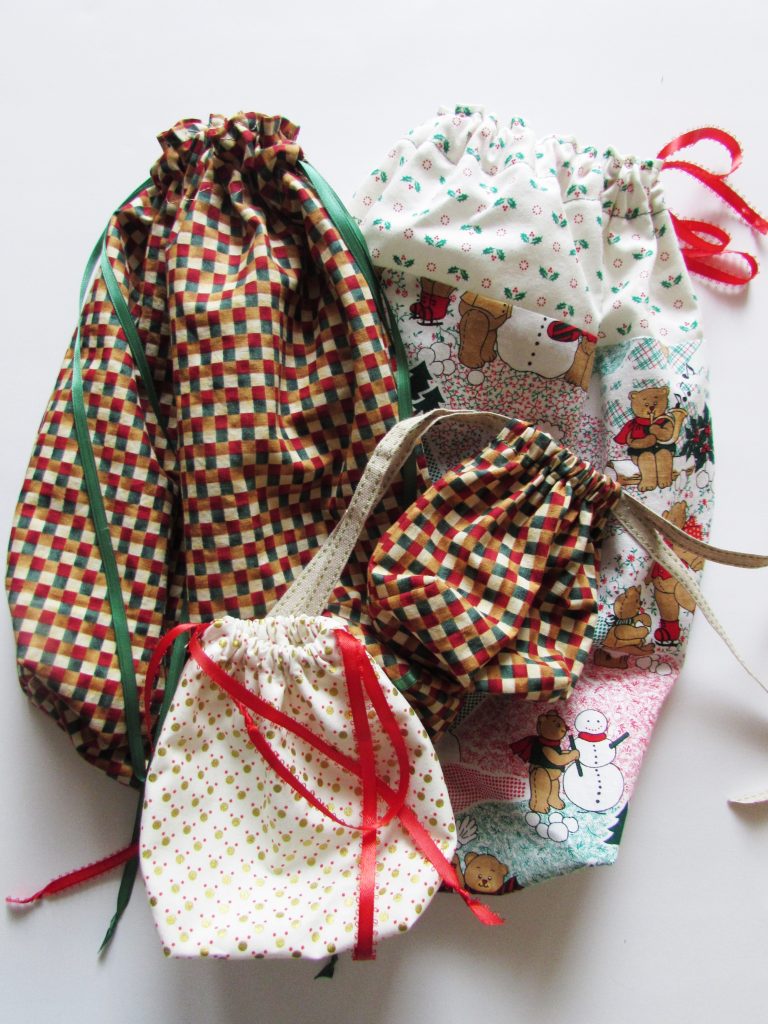
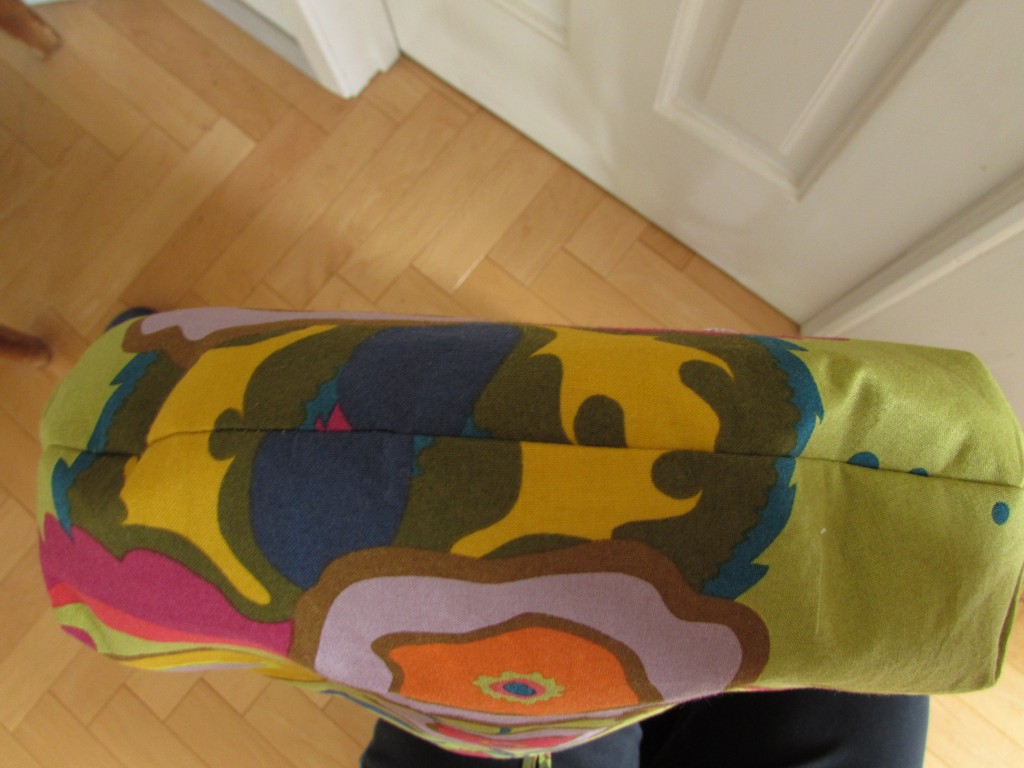
I wanted to practice on something simple so I made some Christmas themed drawstring bags. I have made a few each year for the past two years and have quite a collection now. I love not having as much paper to throw out come Christmas morning. I had a stack of vintage Christmas fabrics to use as well as loads of ribbon for the drawstrings.

img_8123

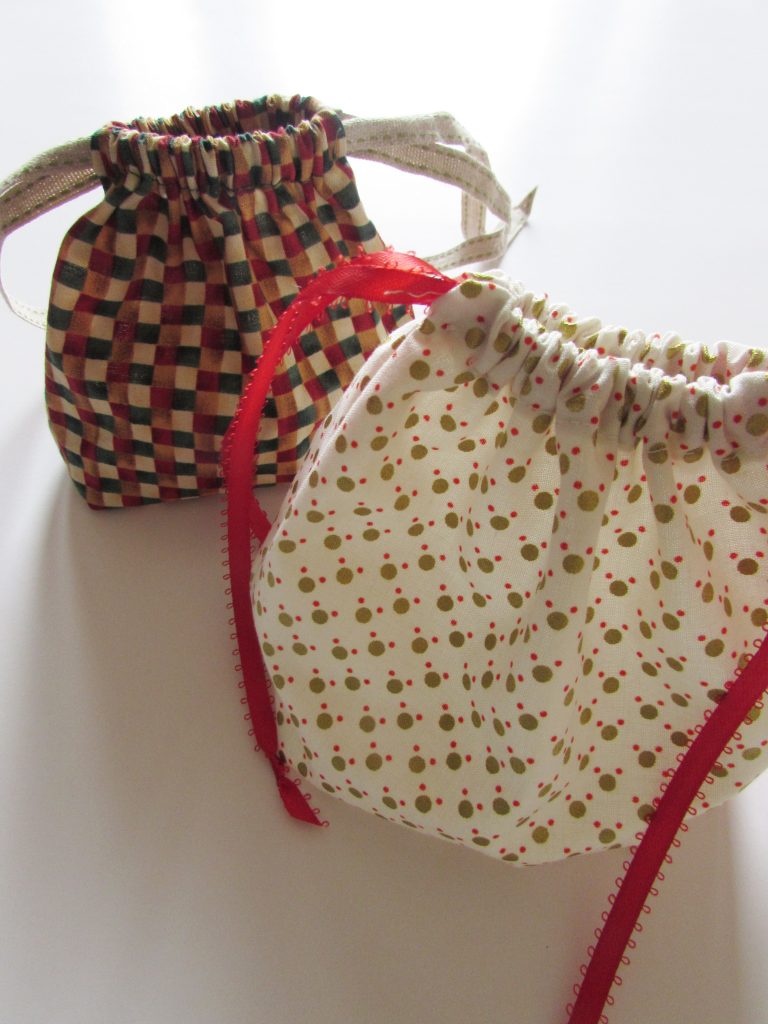
I think the tiny ones are just adorable.

img_8126

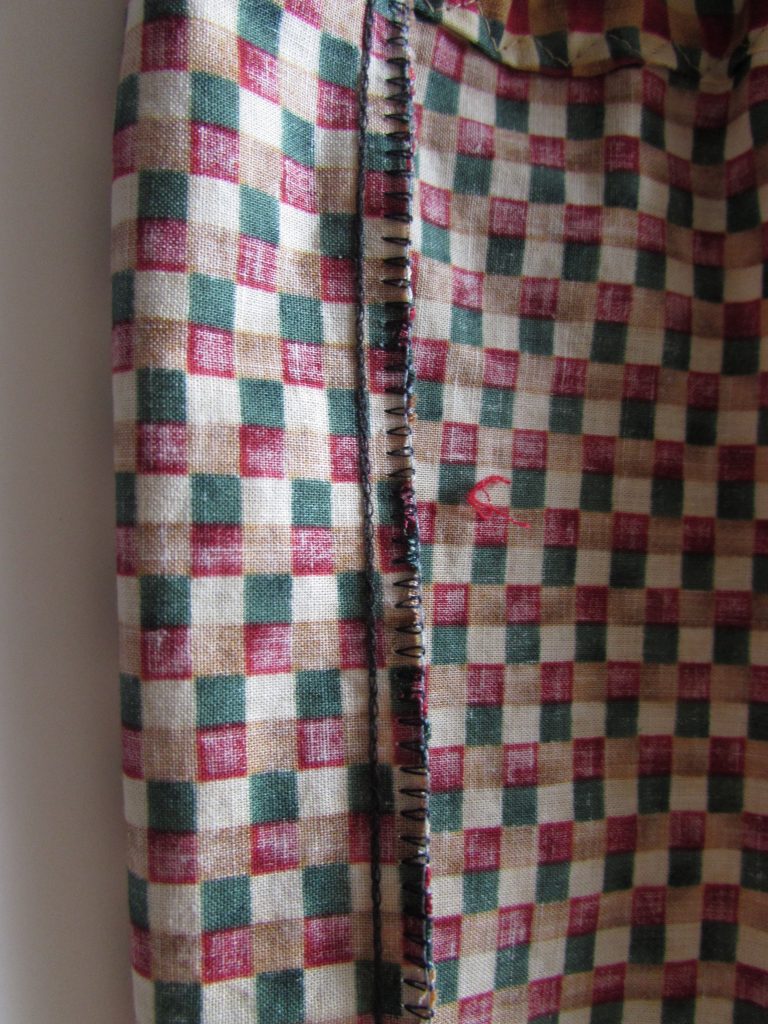
I turned this one inside out to show you the finished seam from the serger. I didn’t use the serger for the casing that the ribbons threads through. I switched over to the regular machine for that. Check out the clean finish on that seam. So great! I will practice a bit more and then try something simple like pajama pants.

If by chance you also have a serger, I would love to hear about any resources, blogs or uTube videos you might have found helpful for learning to use a serger.  Leave details in the comments.


craftsy-black-friday

Finally – Craftsy has gone all out for Black Friday this year. Beginning on Thursday, 11/24/16 classes are $17.99 each. Fabric and notions are all on sale as well. I am quite curious about the Boundless line of solids. I took a look and the prices are amazing. Solids, in a rainbow of thirty different colors, are available in pre-cuts such as layer cakes and jelly rolls, as well as yardage.

This is an affiliate link, meaning if you make a purchase after clicking over from my blog, I will receive a stipend.

I am linking up with a few favorites this week, including the Elm Street Quilts ‘Bag It’ event. Find out all about them at the top of the page, under Link Ups.

241 Tote, Version 3

Recently a friend of mine had a birthday. We used to work together for the same company. Since I retired (maybe five years ago?) we try to get together every so often for lunch or coffee. Sometimes we are good about it and set a time each month or so. Other times, we get busy and months pass. But we always find time when either of us celebrates a birthday.

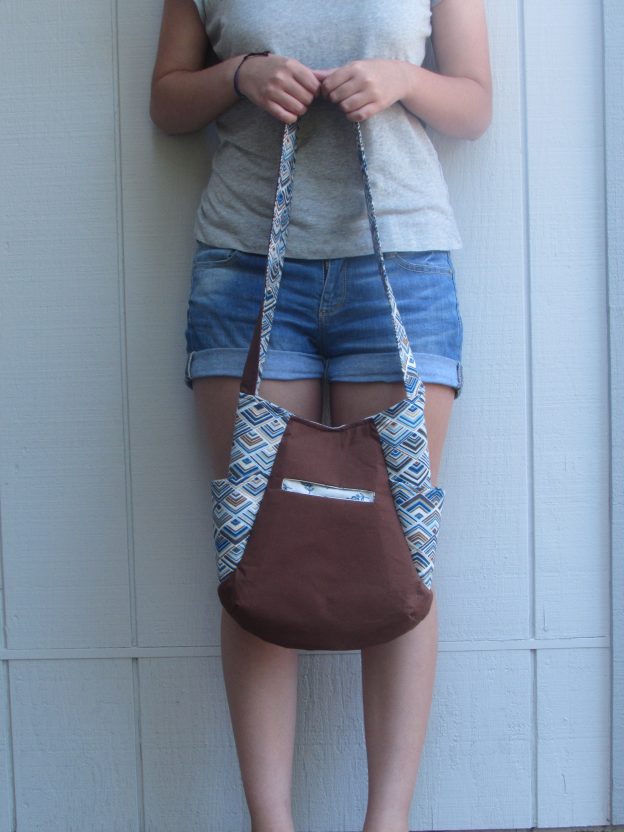
I wanted to make something for her this year. Having recently made two versions of Noodlehead’s 241 Tote, I decided to go a third round with the pattern. You might want to read about the first two bags I made – to do so, click here or here. Making this tote a third time was quite easy. I decided to use a basic palette of mocha and denim blue.

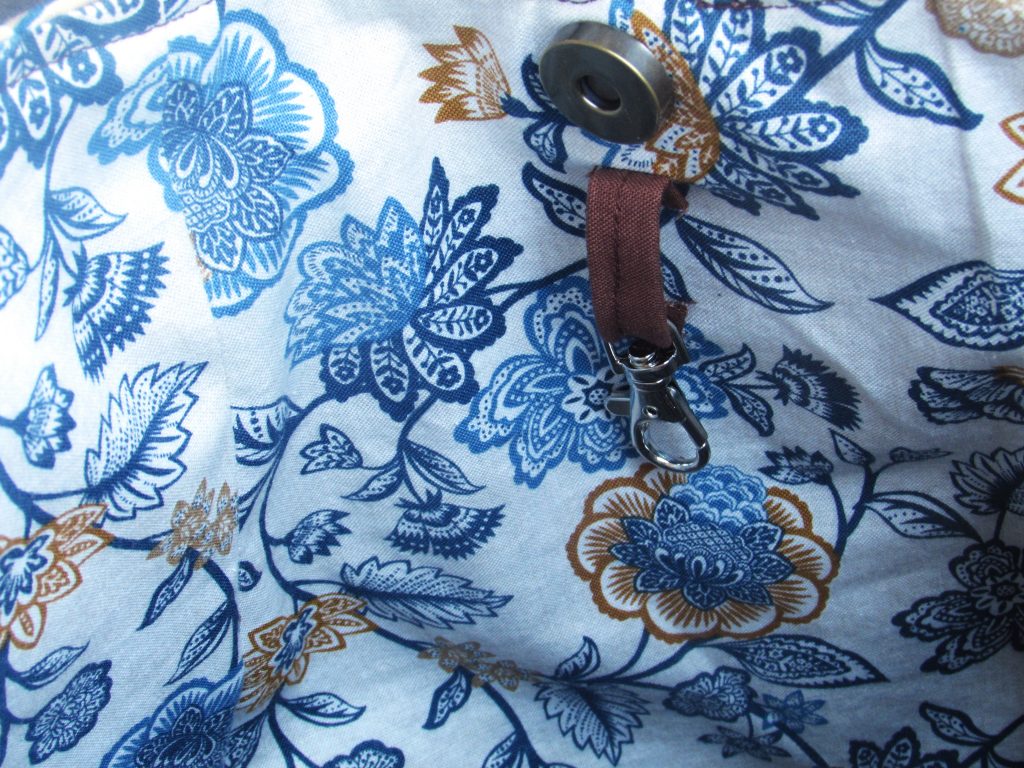
To change things up a tiny bit, I bought a magnetic closure for the bag. Prior to this one, I used a toggle button and a loop of fabric. The magnetic snaps are a breeze to install. (If you have not done this before, here is a great tutorial from Craftsy.)  While the snap installed without issue, I did have a bit of a hiccup. I didn’t think two steps ahead when I placed the snaps. They were a tad too high and this made it really difficult to topstitch around the opening of the bag. When I realized what I had done, I tried using a zipper foot to enable me to stitch close to the snap. It helped but the stitching was a little bit herky jerky. It wasn’t nearly as smooth as I would have liked. Thankfully, my friend is tolerant of my less than perfect topstitching!

IMG_7163

As I did before, I added a loop for a keychain clasp so she won’t have to dig at the bottom of her purse for her keys. I love this little feature.

IMG_7164

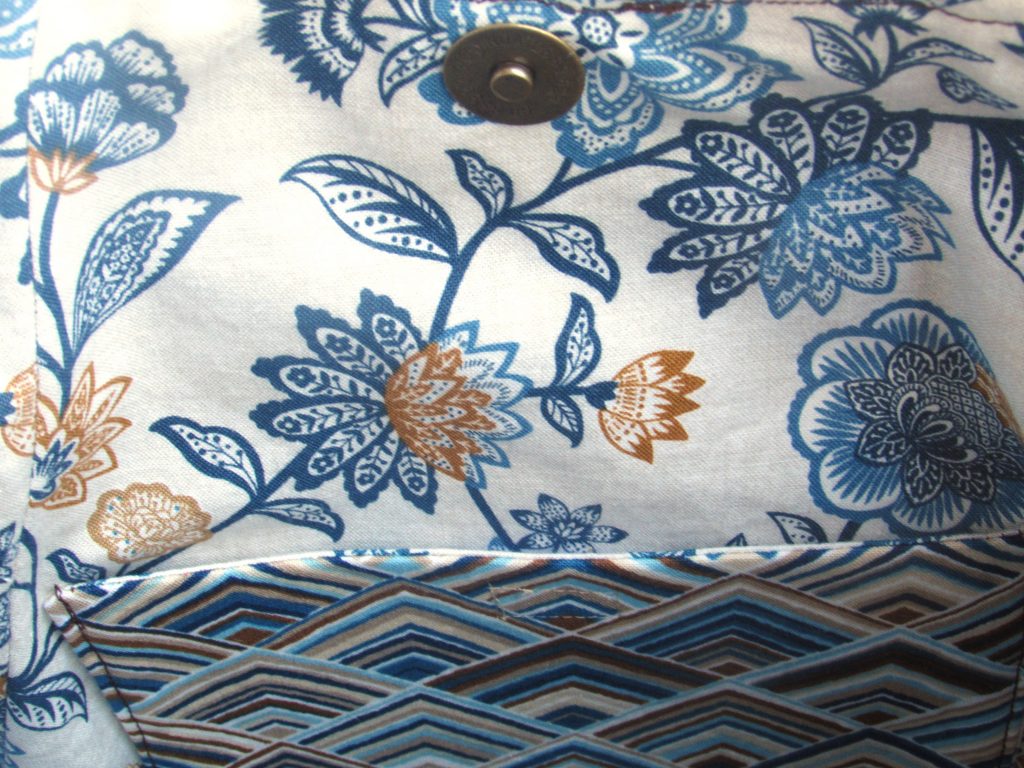
On the opposite side is a patch pocket with a velcro closure.

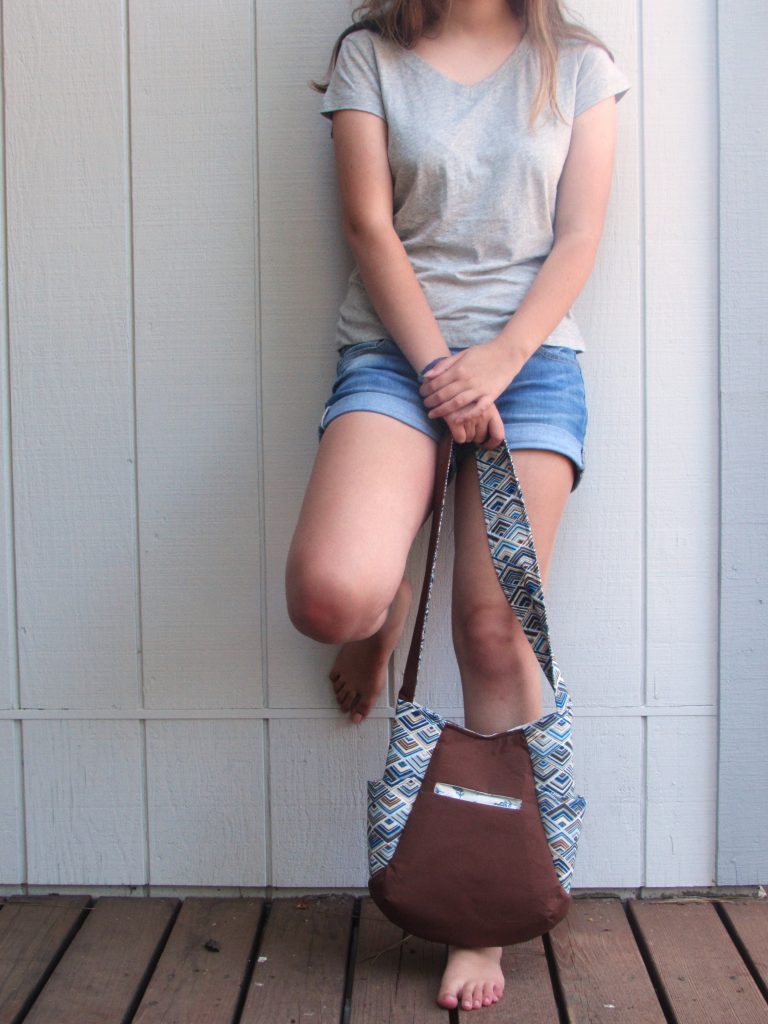
On the exterior I placed a pocket as well.  It was supposed to be a zip pocket but somehow when I cut the opening for it I made it way too wide and I couldn’t install the zipper. This was so irritating. Try as I might, I couldn’t find a solution. Rather than a zipper, there is just a pouch type of pocket. Dang it. You’ll see in the picture below how wide that opening is. On the upside, it shows a peek of the fabric used for the pocket and I think that is sort of sweet.

IMG_7158

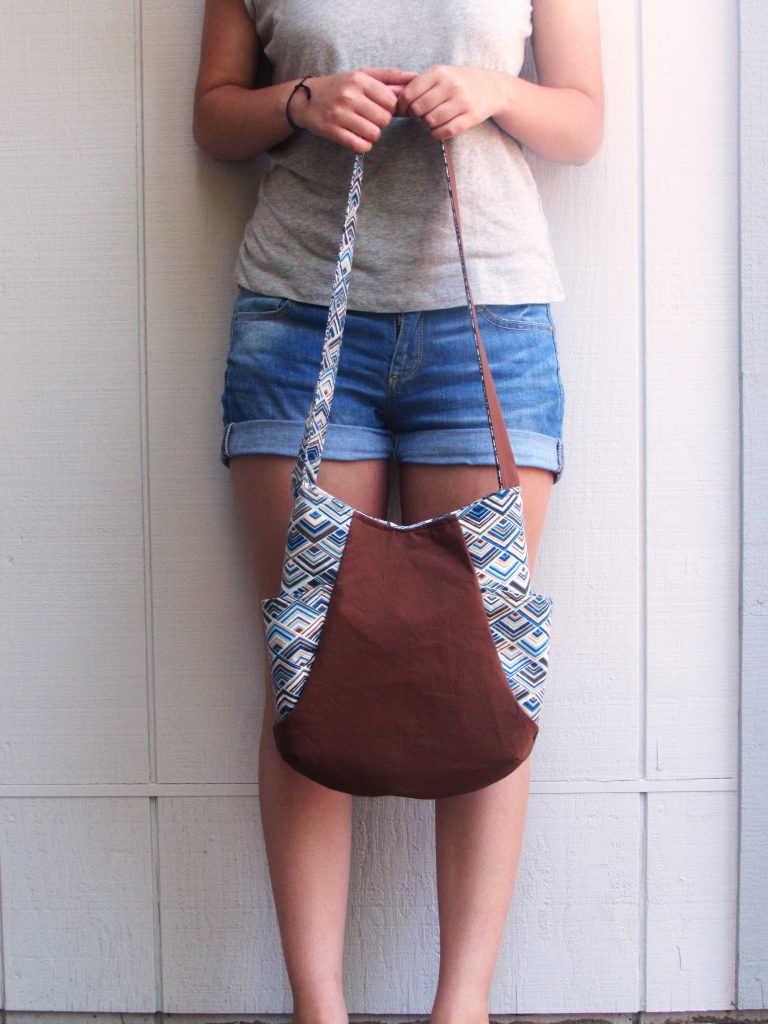
And for a shot of the back side of the purse.

IMG_7161

It is really pretty and the brown fabric should be great for hiding dirt that seems to appear after setting the purse on the ground or the floor of the car. Hopefully my sweet friend will enjoy the tote for a long time to come!

I will link this post to all sorts of fun places. For more info, click on the Link Ups tab at the top of the page.

241 Bag, Version 2

Prologue:

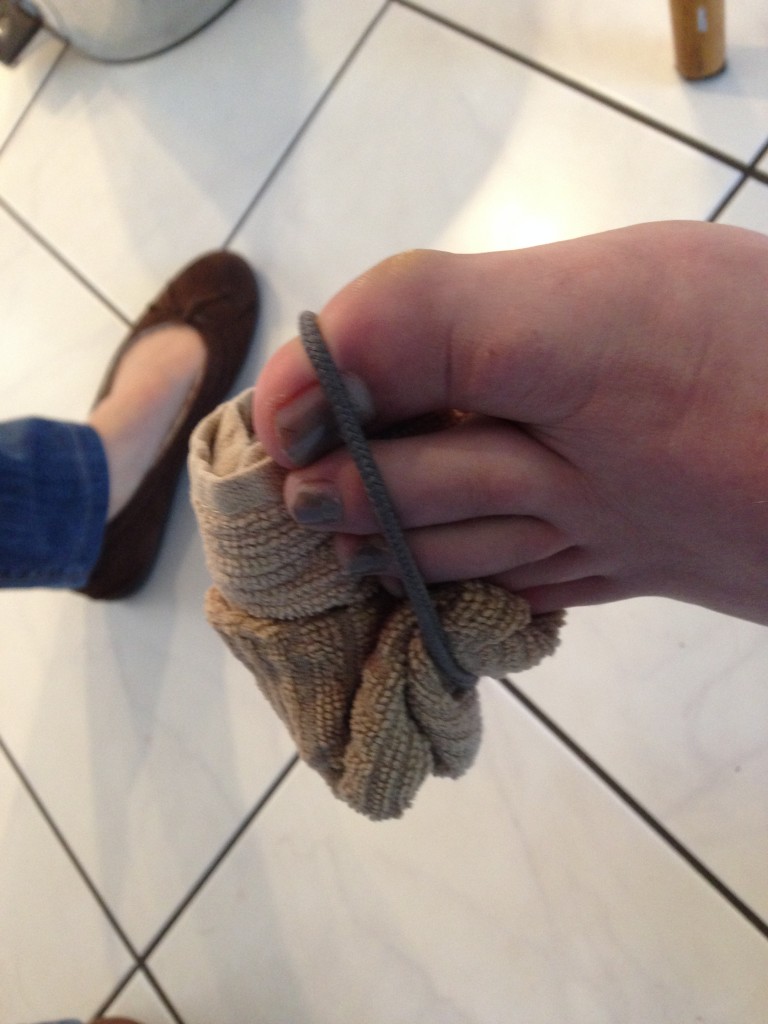
This morning I was feeling highly productive. Before 9:00 am I had taken photos of this great 241 totebag (with the help of my totebag model) and written this  post for you. In the middle of reviewing the post, checking for typos, etc, Julia walked up to me and said, “I stubbed my toe”.  I looked down and saw this horrific baby toe that was bleeding far more than I was comfortable with. I got a (clean) kitchen dishrag and did some high-quality first aid.

image1

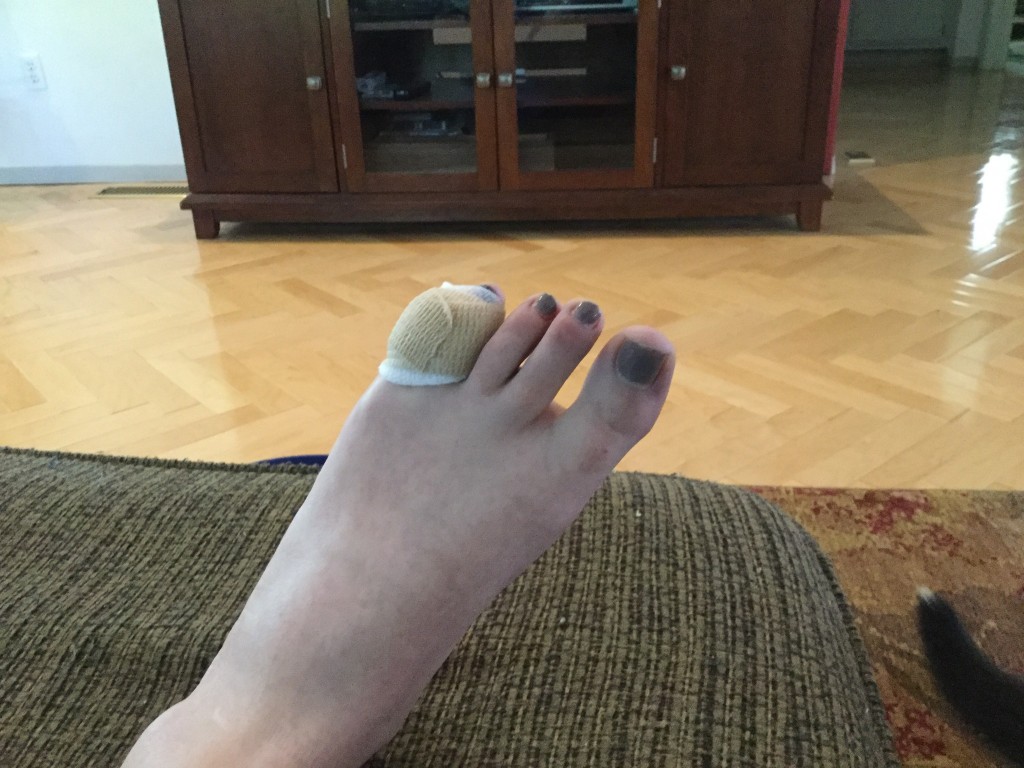
Once we had the first aid under wraps (ha ha ha!), I scurried around collecting a ton of fruits and veggies that I was supposed to plate and serve to the senior class at 12:30 today, while they were taking turns presenting their senior projects. (I had a deep suspicion that I wouldn’t be there to serve them). Once the food was in a cooler and one shoe on Julia’s good foot, we got her in the car and headed to urgent care.

They were great. Got her right in (probably out of concern for the gross looking dishrag her foot was wrapped in. When the nurse took it off to clean her toe, he looks at me and says, “uhh, do you want this back??” I declined it.) A couple of hours and three stitches later, we are back home and she is on the couch (where she spent Saturday, Sunday and Monday for illness) doing homework. Poor thing is spending quite a bit of time on the couch and missing a whole lot of school this week. It really hasn’t been a great couple of days for this girl!

IMG_6484


And now that this is all taken care of, we can talk about my second 241 totebag!!

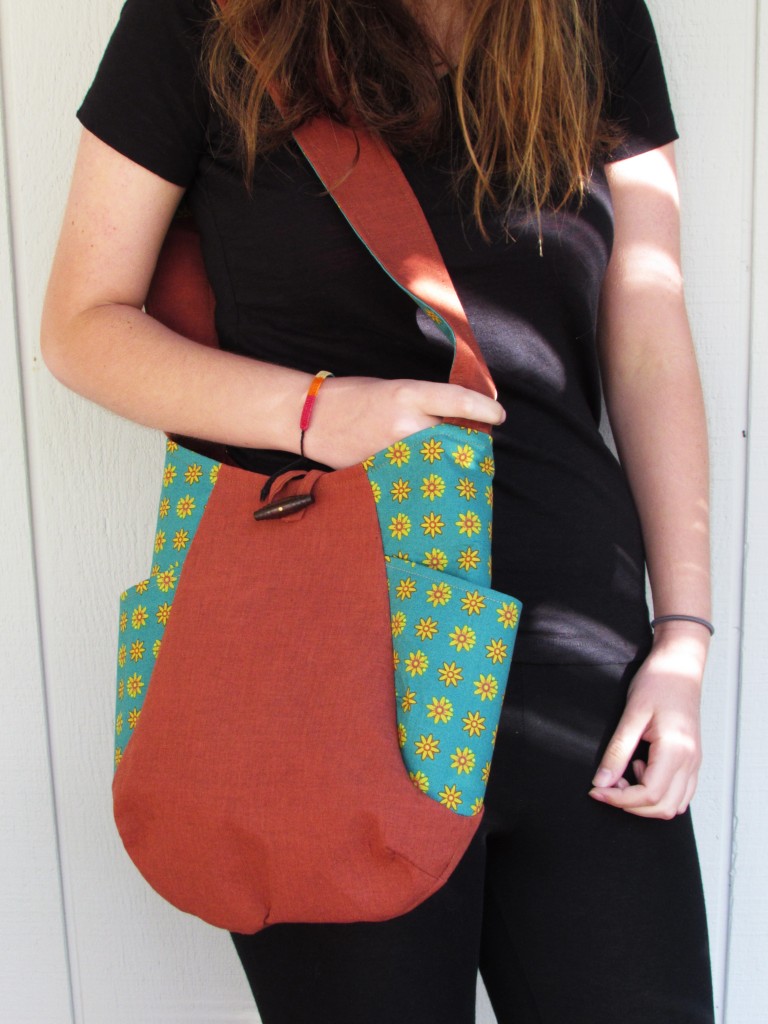
Let me tell you, the second time using a pattern is so much easier than the first! I made another 241 totebag this week and it came together incredibly quickly. I had the process down from the first time I made the bag. (You can check the first one out here.) This one is a keeper – a little selfish sewing for me!

img_20160525_5249

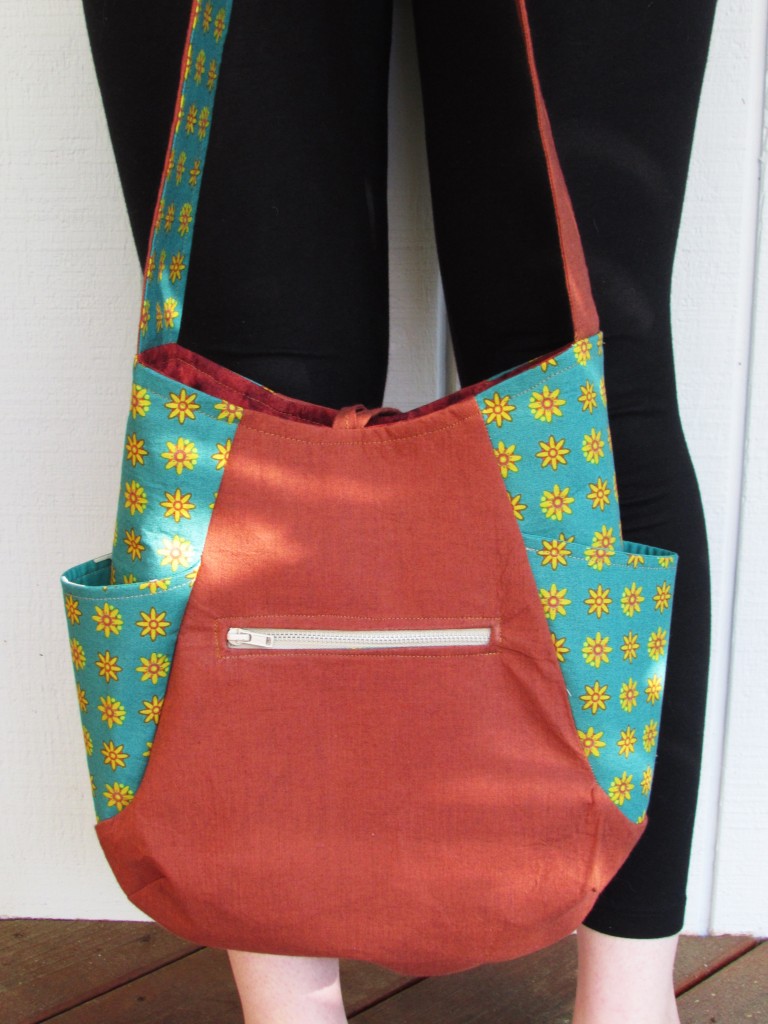
For this bag, I used more of my Allison Glass Field Day collection (the daisy print) and I had a big piece of Kaffe Fassett shot cotton (the solid rust piece). They look great together.

I was bold enough to put in a zipper pocket for this bag. I had a seven inch zipper in my collection of thrifted zippers ( I love finding these in thrift stores and can usually get zippers for 25-50 cents each.) The pattern calls for two zip pockets with them both installed on angles, vertically. I decided I only wanted to tackle one zipper and put it in horizontally. It wasn’t hard to put in this pocket though I am not completely satisfied with the corners – it was difficult to get them to lay flat enough. This is most likely because I didn’t clip the corners close enough. It’s hard to decide how close to clip toward the stitching.

img_20160525_5251

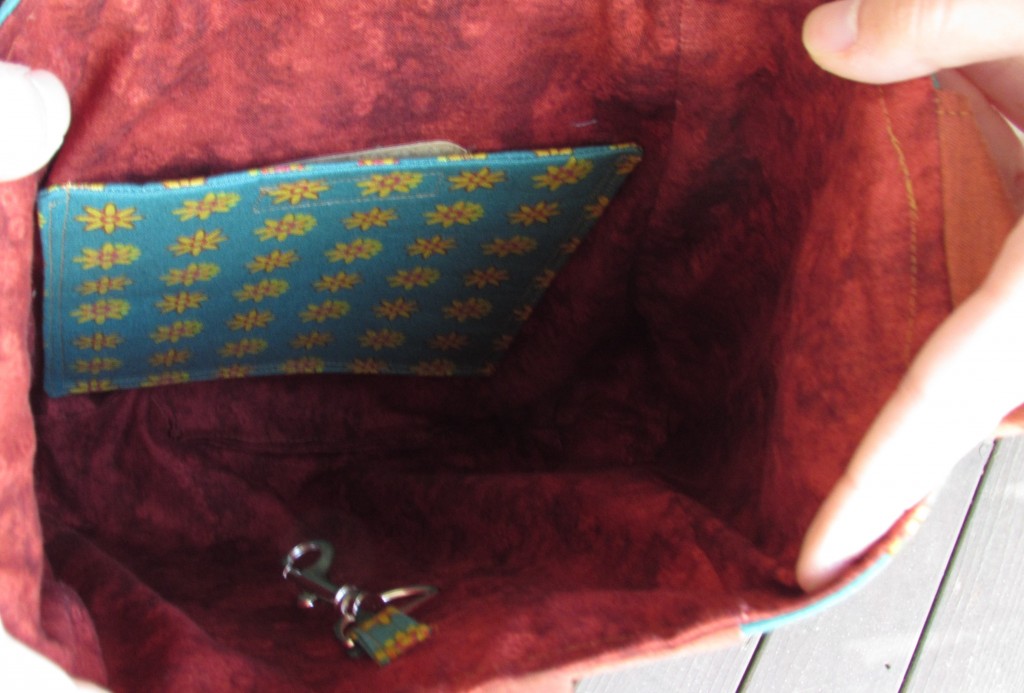
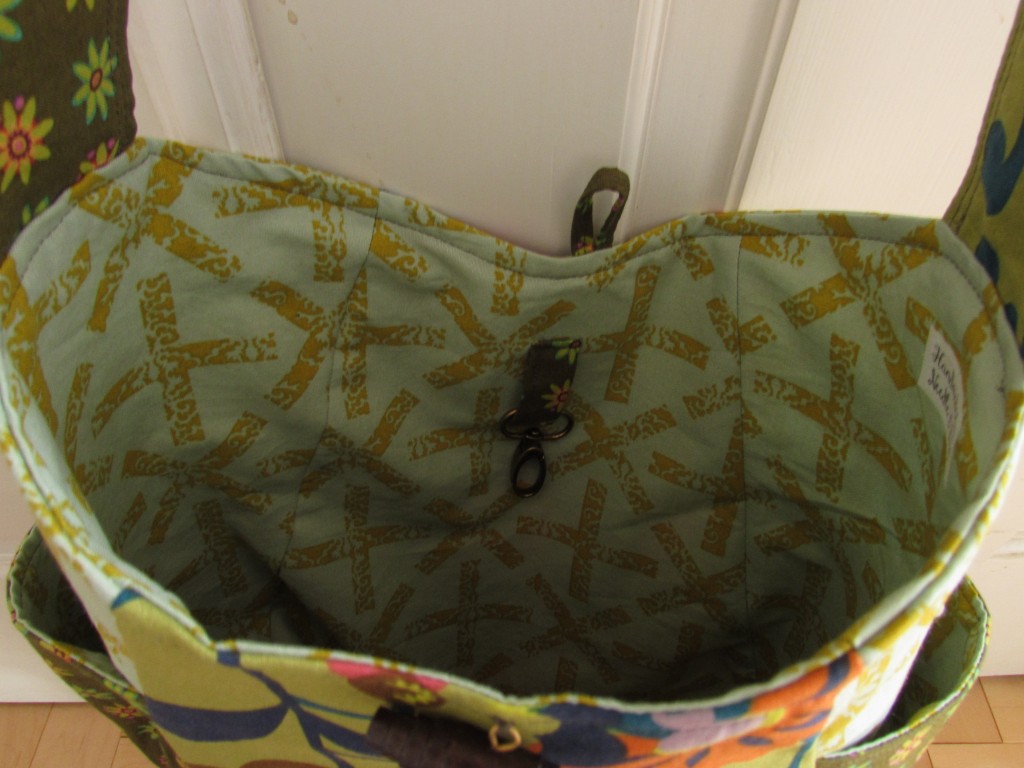
As before, I put in a clip to hold my keys and a slip pocket with velcro closure on the inside of the bag.

img_20160525_5252

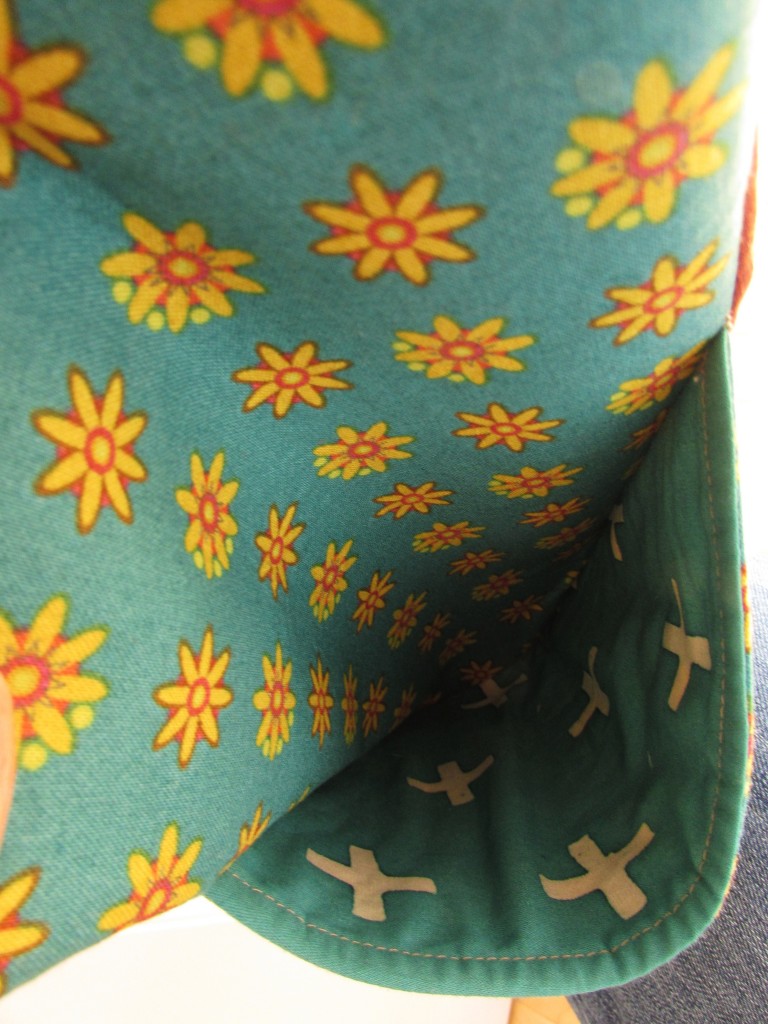
I had two scraps of Allison Glass that worked for the lining of the exterior pockets and even though no one will see it, it makes me happy! Love it when the small scraps are usable and it adds a bit of interest to the purse.

img_20160525_5253

I have a bit of a purse addiction and this is going to be a perfect addition to my collection!

Linking to the usuals which can be found at the top of the page, under Link Ups.
If you are looking for classes or patterns to get you going on making a tote bag, check out Craftsy. Loads of classes and patterns to learn from!

craftsy pic

(This is an affiliate link, meaning if you click through and make a purchase, I will be paid a small amount in return.)

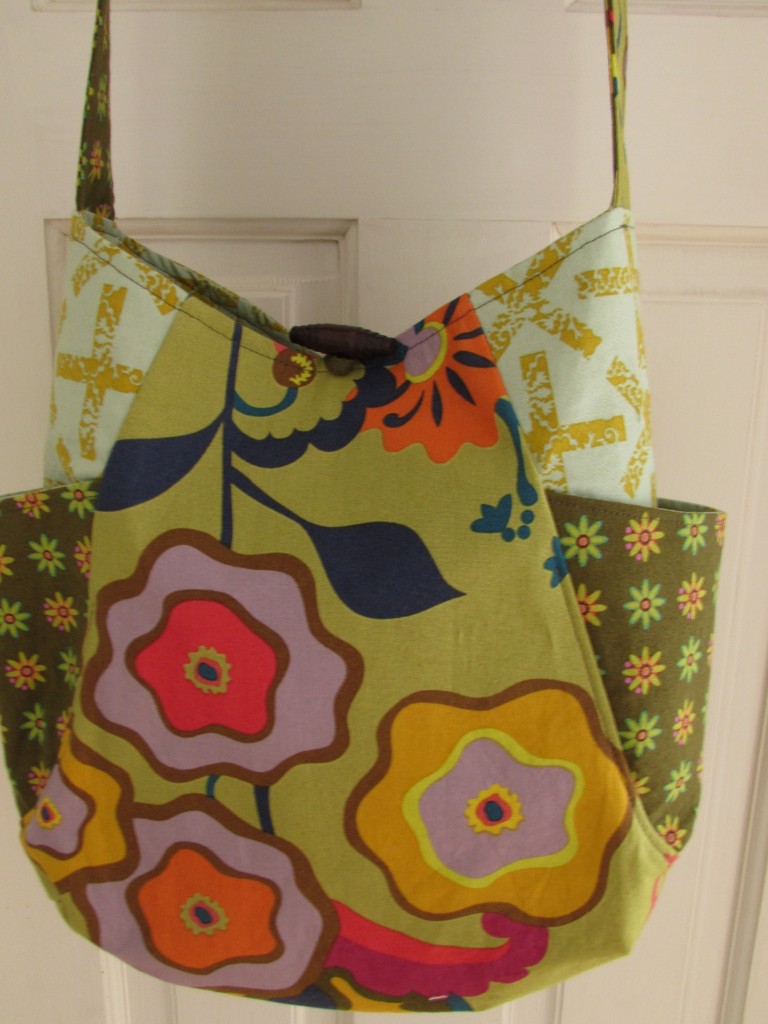
Cutest 241 Totebag Ever

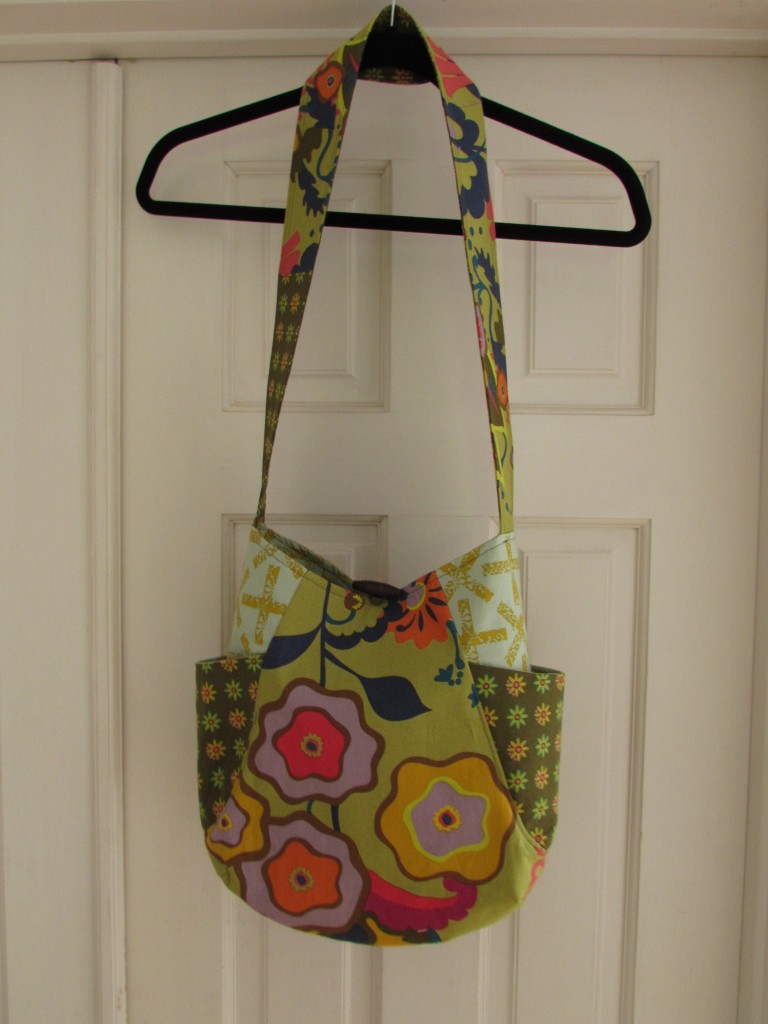
Last weekend I finished up the 241 bag that I have been working on. The bag was made as a gift to my niece for her eighteenth birthday. Somehow I forgot to get a photo of Maddie with the bag at the party last week. She loved it though which made me very happy!

Making this bag in tandem with Tami from Sew Much for Free Time was really fun. Neither of us has seen the final project for the other yet and I look forward to popping over to her site to see her bag. I hope you will take a peek as well.

As is usual for Noodlehead patterns, this one was easy to follow and the result is exactly what I had hoped for.

img_20160509_5102 - Copy

This is the second bag I made using a tutorial or pattern of Anna Graham’s. The first was a tote for my mother-in-law. You can read about that here. Anna’s patterns are filled with small details that make for a stylish bag. For instance, I love that the side pockets have a fullness to them. They are fused with interfacing and cut so that they extend a bit from the side of the bag, making them really roomy.

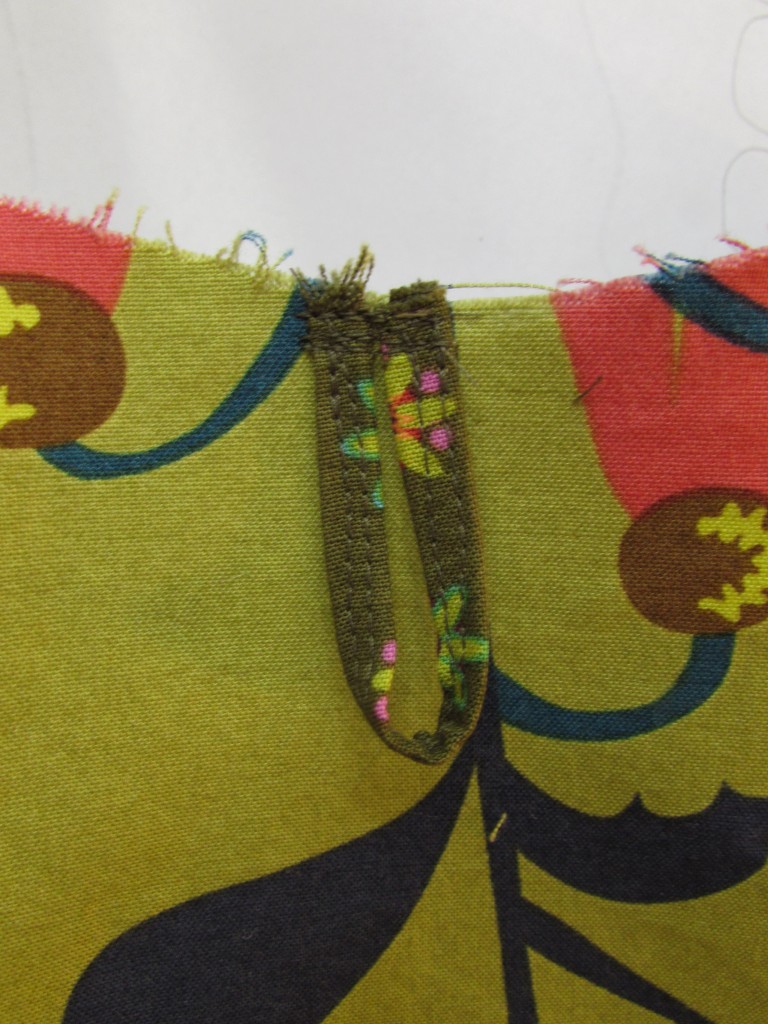
img_20160509_5101 - CopyThe pattern calls for a magnetic closure but I didn’t have one. Fearing I would (yet again) lose my self-control if I returned to Ben Franklin, I searched through my buttons and found a cute wooden toggle button. Using a small rectangle of the contrast fabric, I made a loop and stitched it to the top of the bag.

img_20160509_5104I sewed the button to the other side and it works like a charm. Remember I also added a key chain link to the inside so that Maddie can hook her keys to it and find them again easily. I forgot to take a photo of the key fob that I made but it was made with webbing and the small floral print used on the side pockets. (It was just like the one I made for my sister and talked about in this post.)

img_20160509_5106Anna’s pattern calls for the handle strap to be made from a six-inch wide strip that is interfaced and folded. I wanted to make the handle with two different fabrics so I modified that and used two 3″ strips. Then I fused the interfacing to one side and sewed them, right sides together. After turning the strap right side out, I pressed and topstitched the edges. Another slight modification was to extend the length of the straps. My niece is about 5′ 7″ and the strap seemed too short. I didn’t notice this until after I had cut the straps so I just cut a few more three-inch strips and added on to the length. Just because I thought it looked fun, I used the opposite fabric on each end. If you look at the top picture, you can see the different fabrics. The inner strap on the left is floral and on the right is the big print. On the outside it is just the opposite. The handle looked so fun like this and I would definitely do that again. (These little changes are one of the best parts of making things rather than buying ready-made. Each project is uniquely its own!)

As luck would have it, since I certainly didn’t try for this, the outer seam on the bottom matched up almost perfectly.

img_20160509_5108

I love when this happens! If I actually try to match it up, I usually meet with less success. At any rate, this bag was a huge success. I highly recommend the pattern for anyone with at least some sewing knowledge. It could be a bit of a challenge for a person who is new to sewing.

I hope Tami and I will think of another project to sew together. We had a lot of fun with this one!

Linking to all the usuals. Find them at the top of the page under Link Ups.
Craftsy’s birthday celebration continues through Sunday, May 22nd. Classes are on sale for 50% off! Buying a class enables you to watch each lesson as many times as you like, when it is convenient for you! The newest class taught by Amy Smart, of Diary of a Quilter, is released and on sale.

unnamed (1)

(Because I am a Craftsy affiliate, I will receive a small payment for purchases made by clicking through from my blog.)