Category Archives: Lap Quilts

Donation Quilts

I have been a volunteer with our local food ministry (www.interfaithfoodministry.org) for a long while now. As with any non-profit, we are constantly fund raising to keep the ministry going.  We have had several fund raising dinners at local restaurants and along with the dinner we usually hold a raffle or silent auction.  I have donated three quilts over the past 18 months for these events.  It has been great practice for me and the quilts are popular items that have raised money for a cause that is near and dear to my heart.

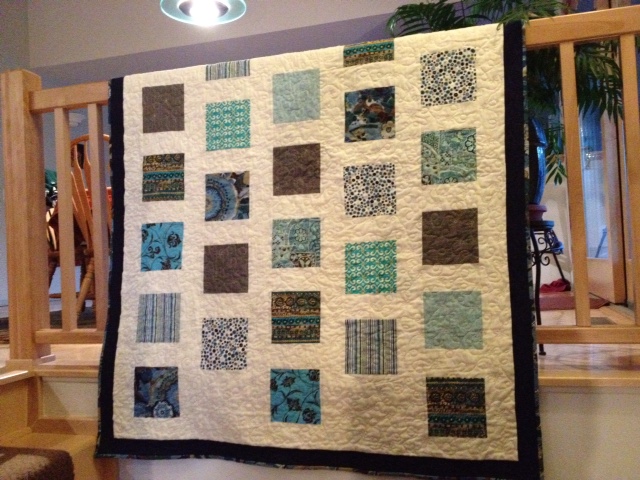
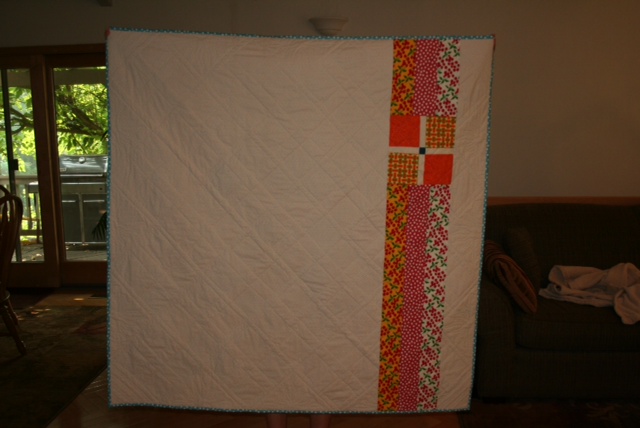
The first quilt I made was a simple one that was based on a tutorial at Crazy Mom Quilts called “Fair and Square”. The pattern was very easy to use, which was a good thing since this was one of my first quilts! It was made using scraps I had on-hand with the exception of the sashing and the backing. This was the first quilt that I free motion quilted and I did it with random loops.  It turned out decent, considering it was the first one!

The front:

ifm donor quilt front
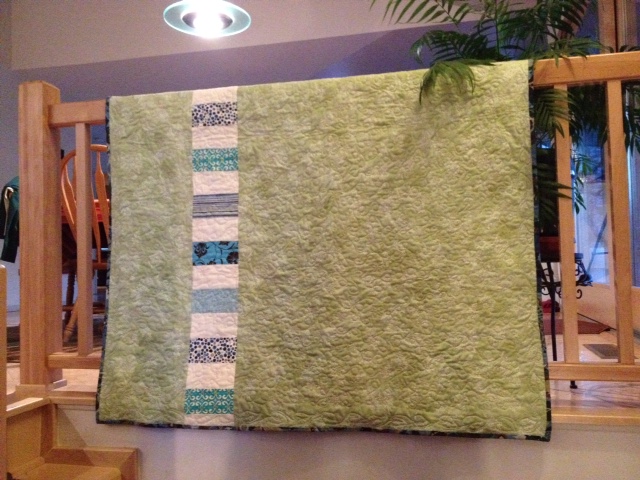
I pieced the back with fabric I had left over.


ifm quilt back

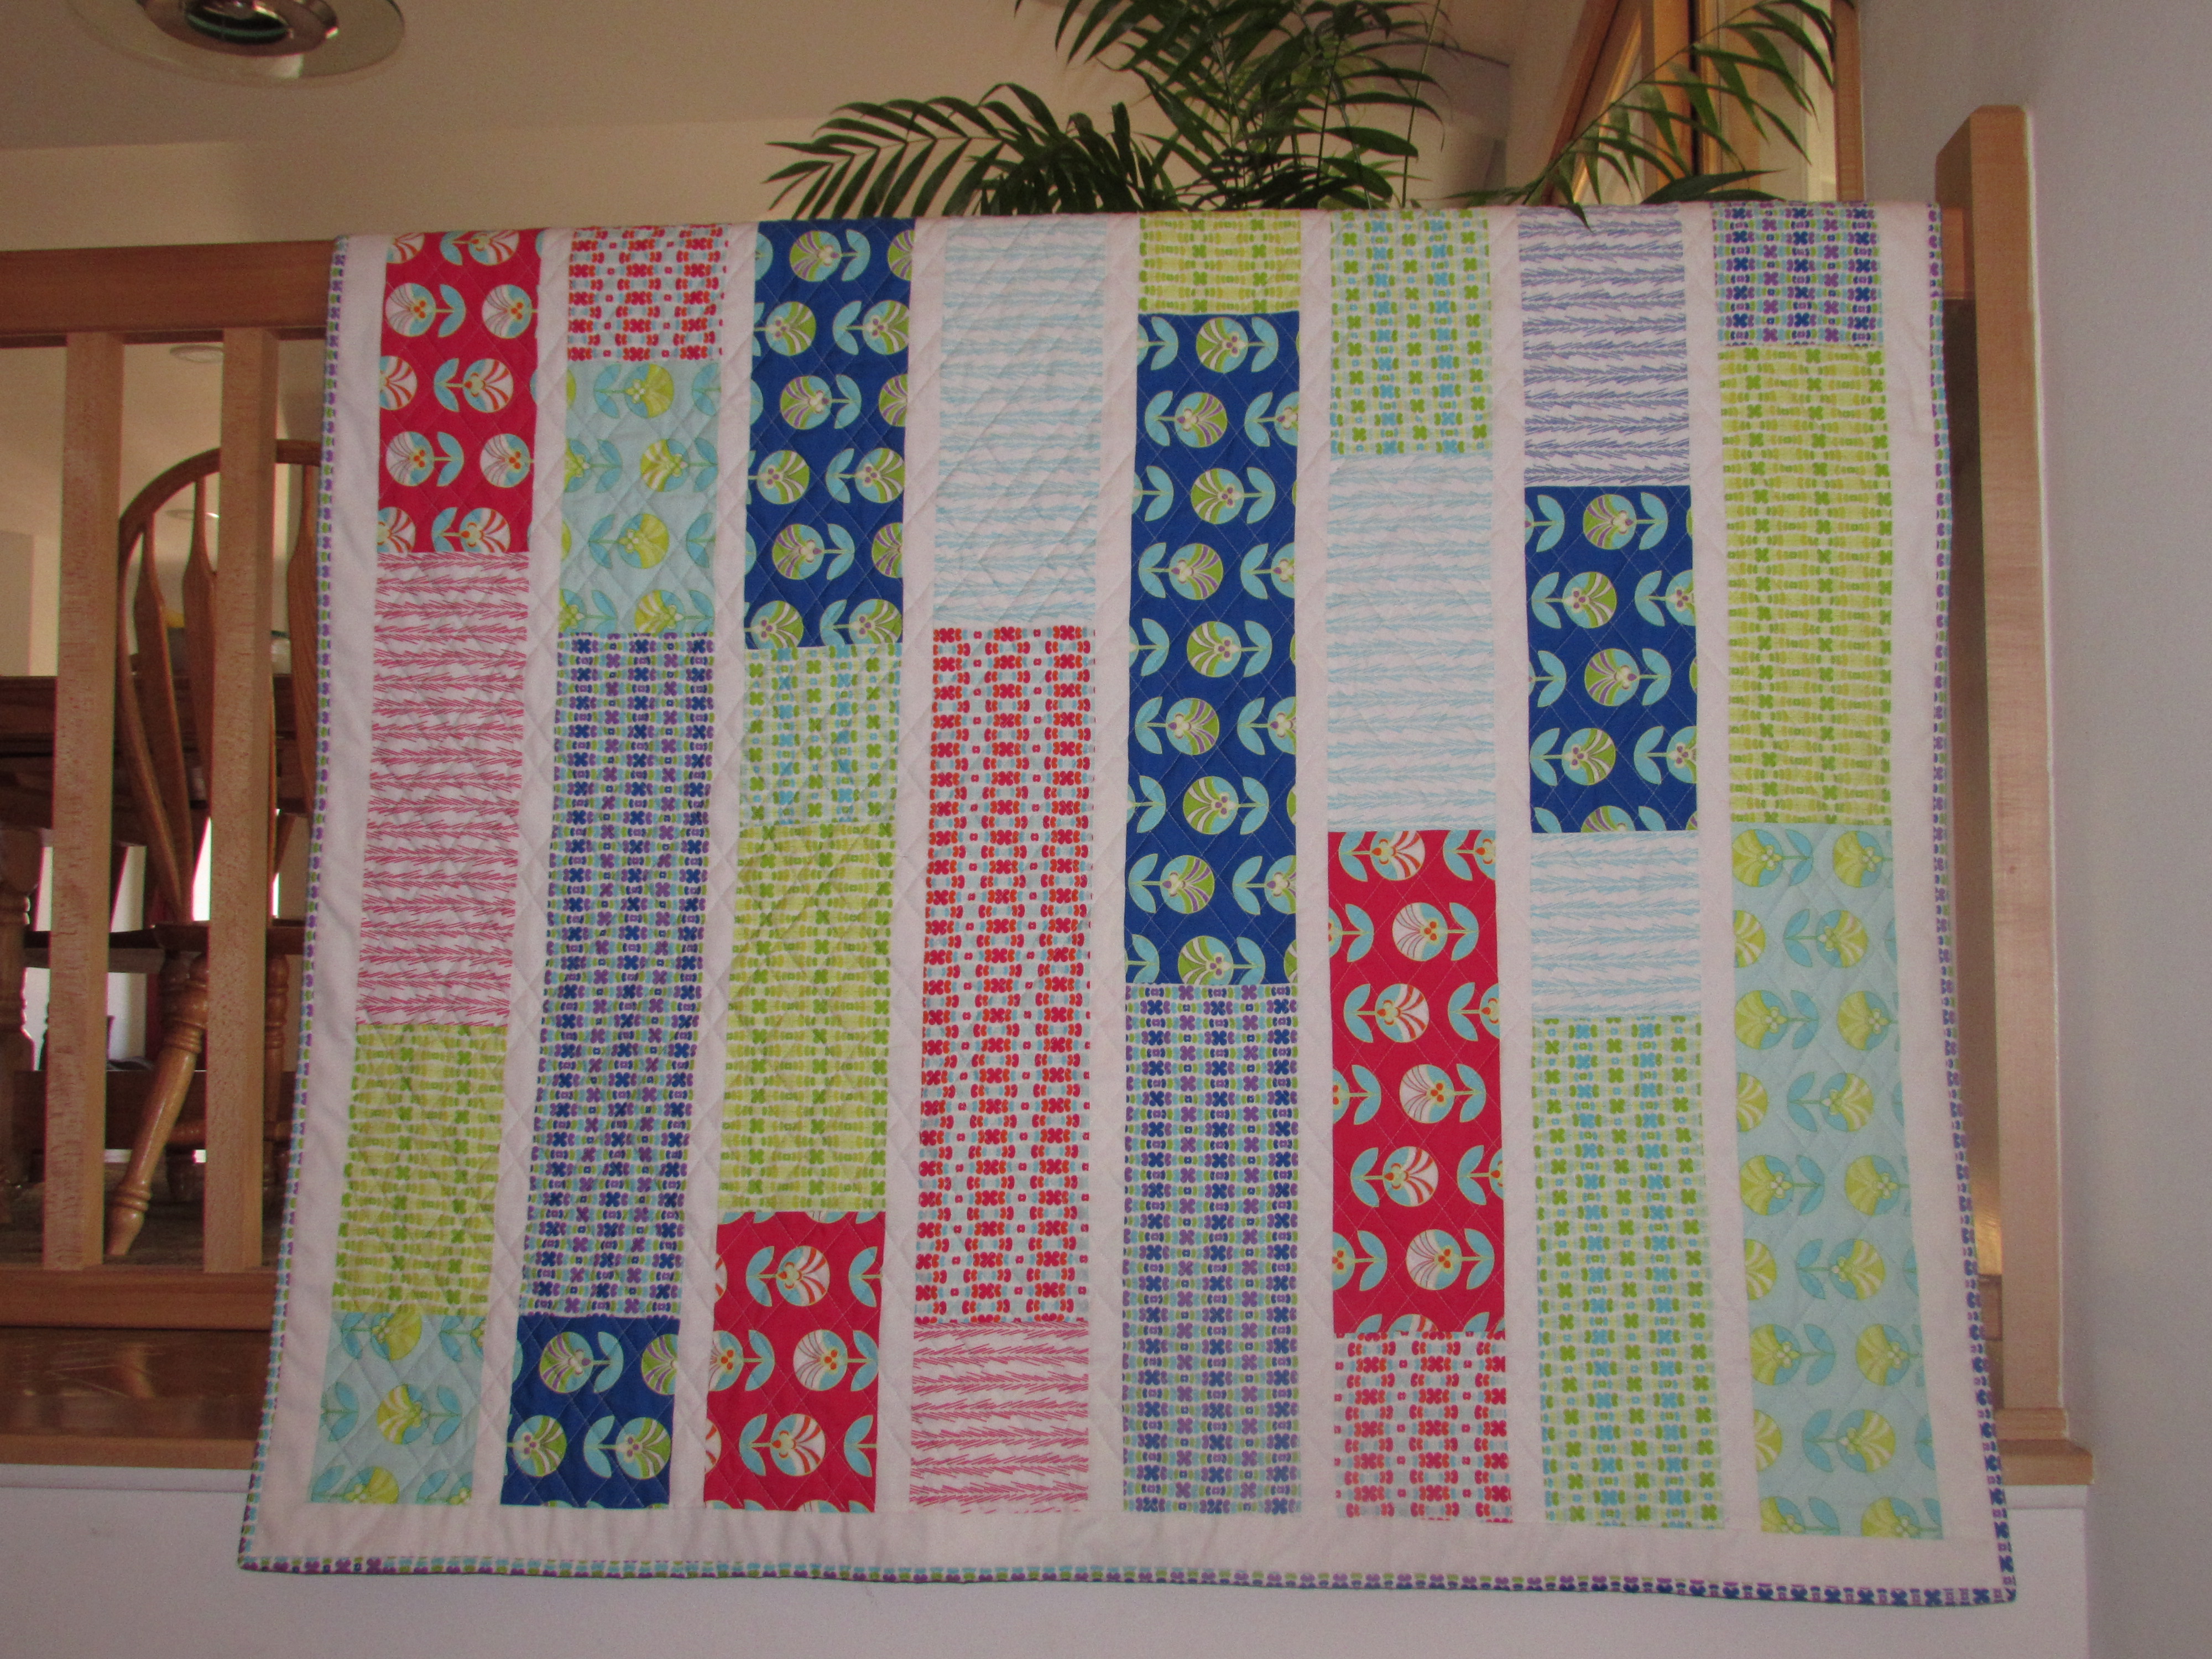
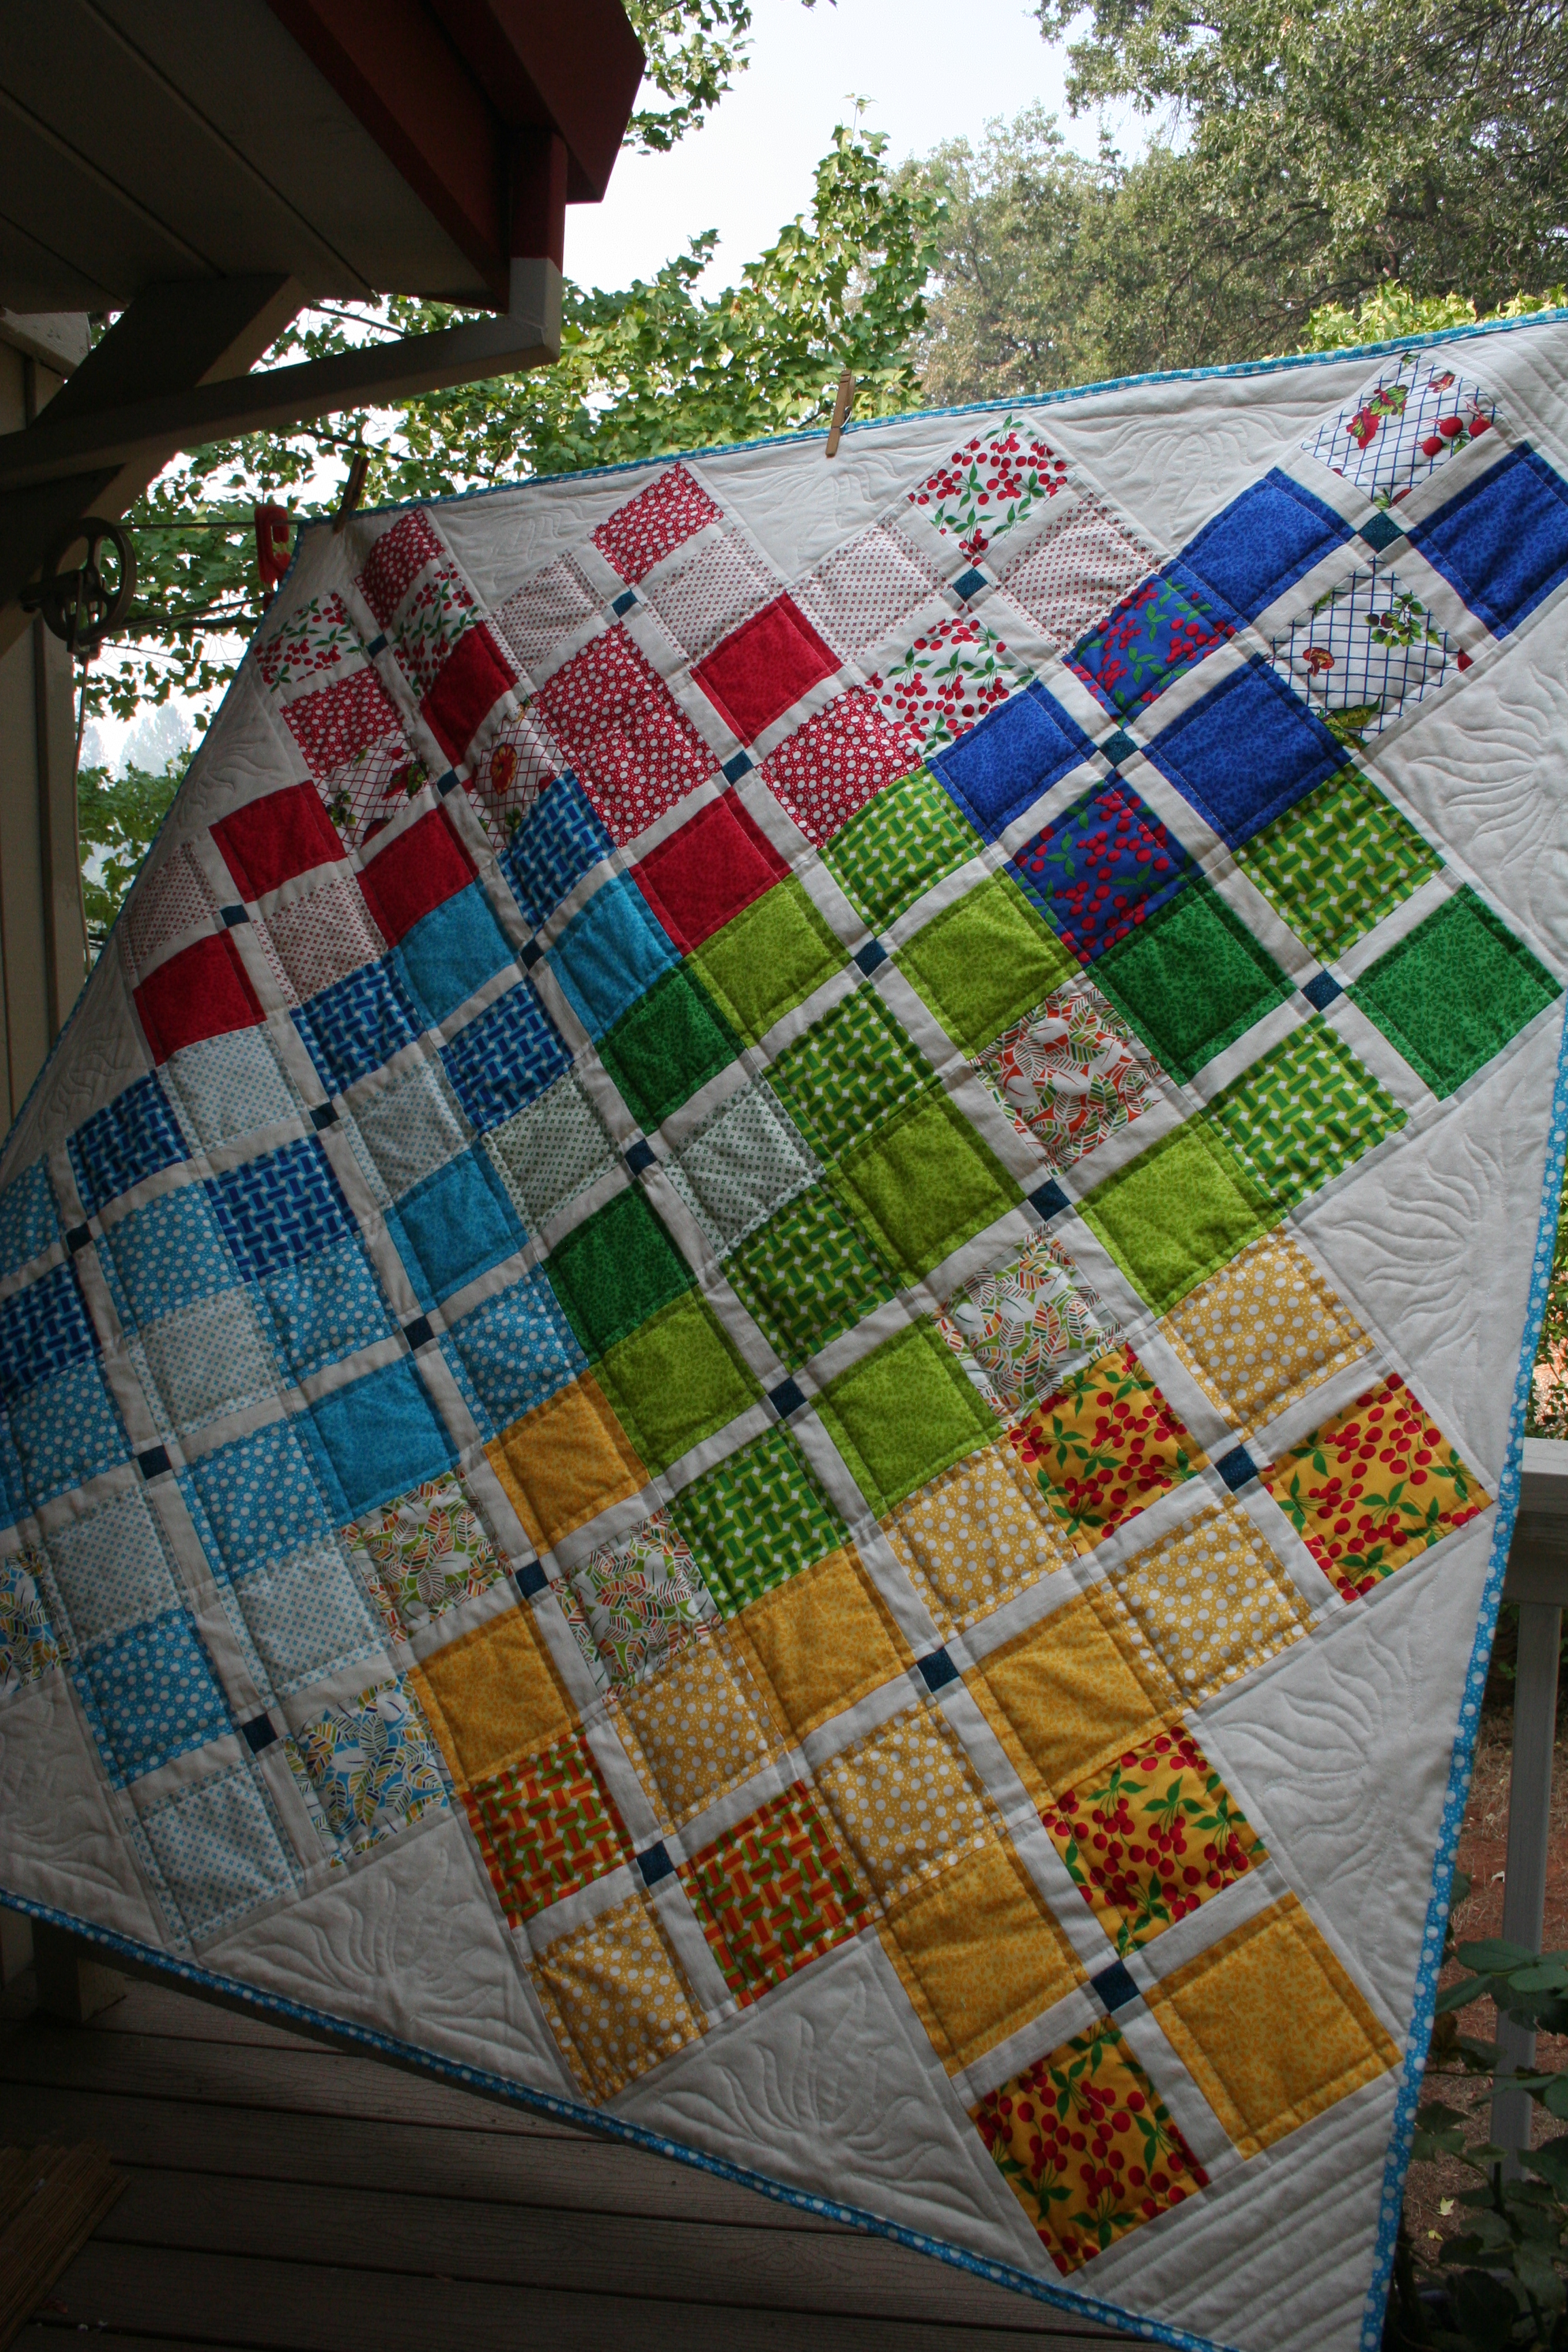
Quilt number two was one of my favorites.  I love both the pattern and fabric. The pattern is called Doubly Charming and was provided by Teresa at Sewn Up By Teresa Down Under. I love this pattern. It came together easily. It uses three charm packs. I chose “Eat Your Fruits and Veggies” by Pat Sloan for Moda. The colors were so bright and cheerful. I quilted it with straight diagonal lines which basically outlined the squares.  I also tried tracing a sunrise and quilting that design on the setting triangles. That worked really well. I machine quilted the binding.
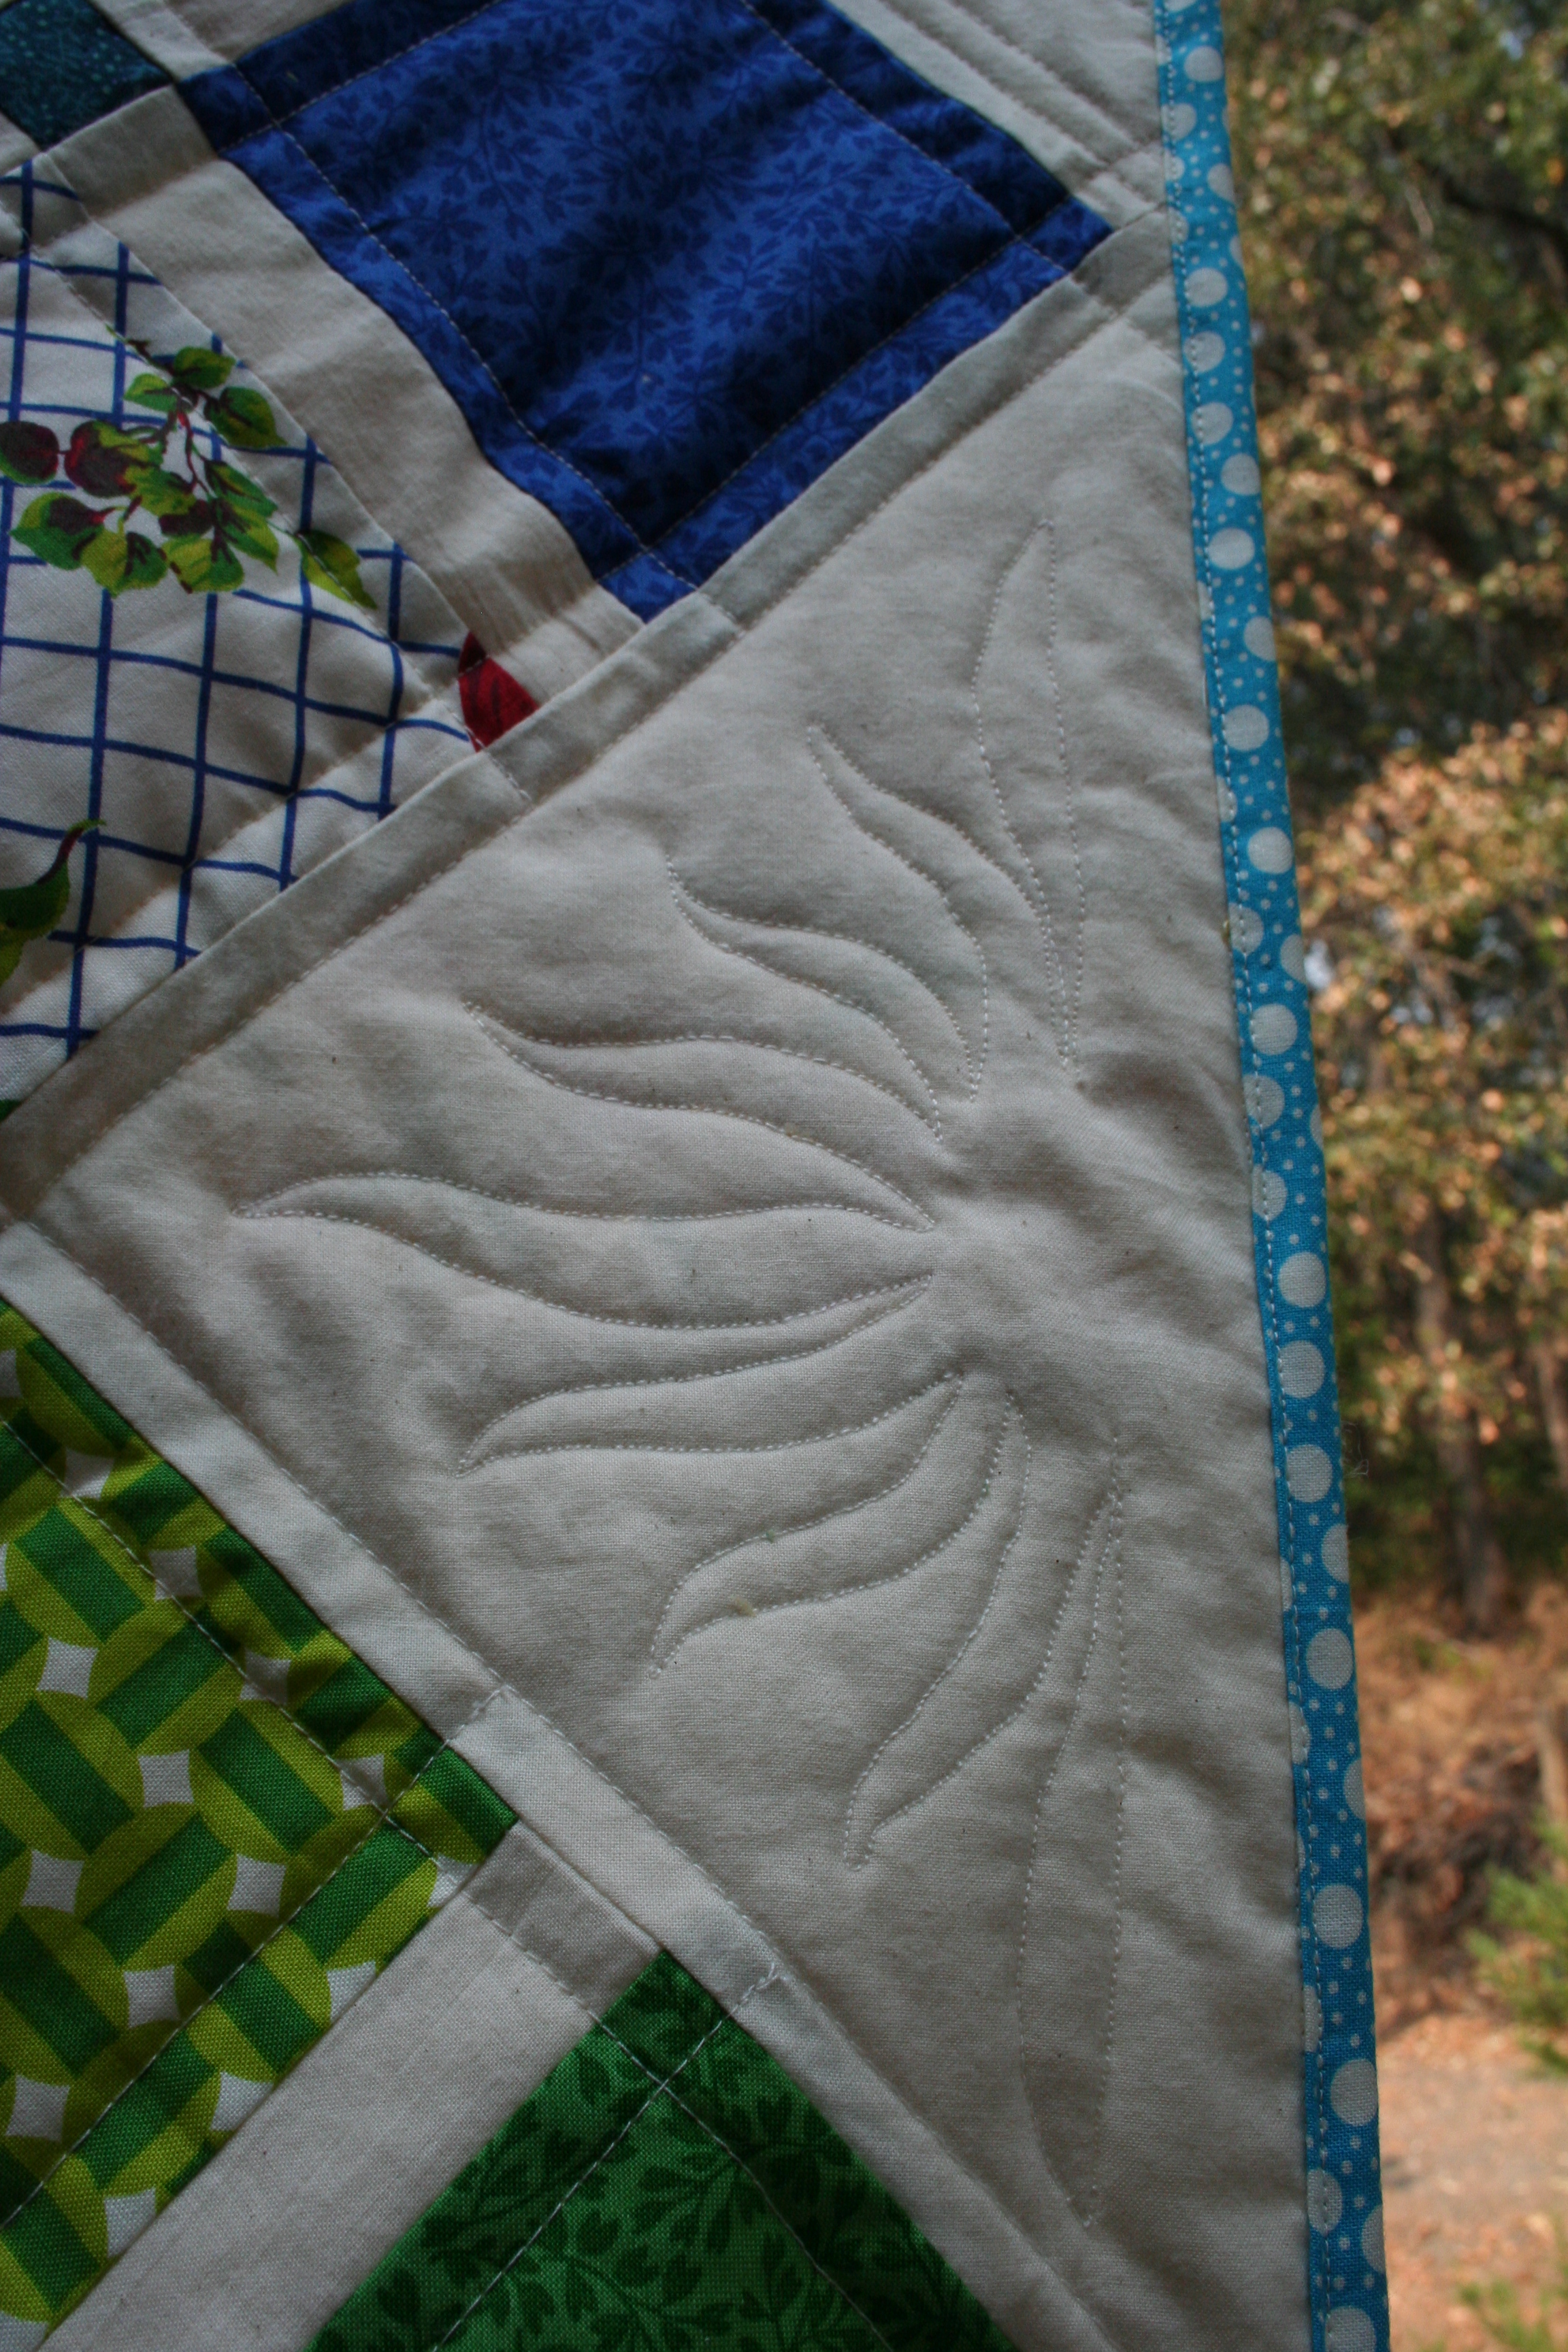
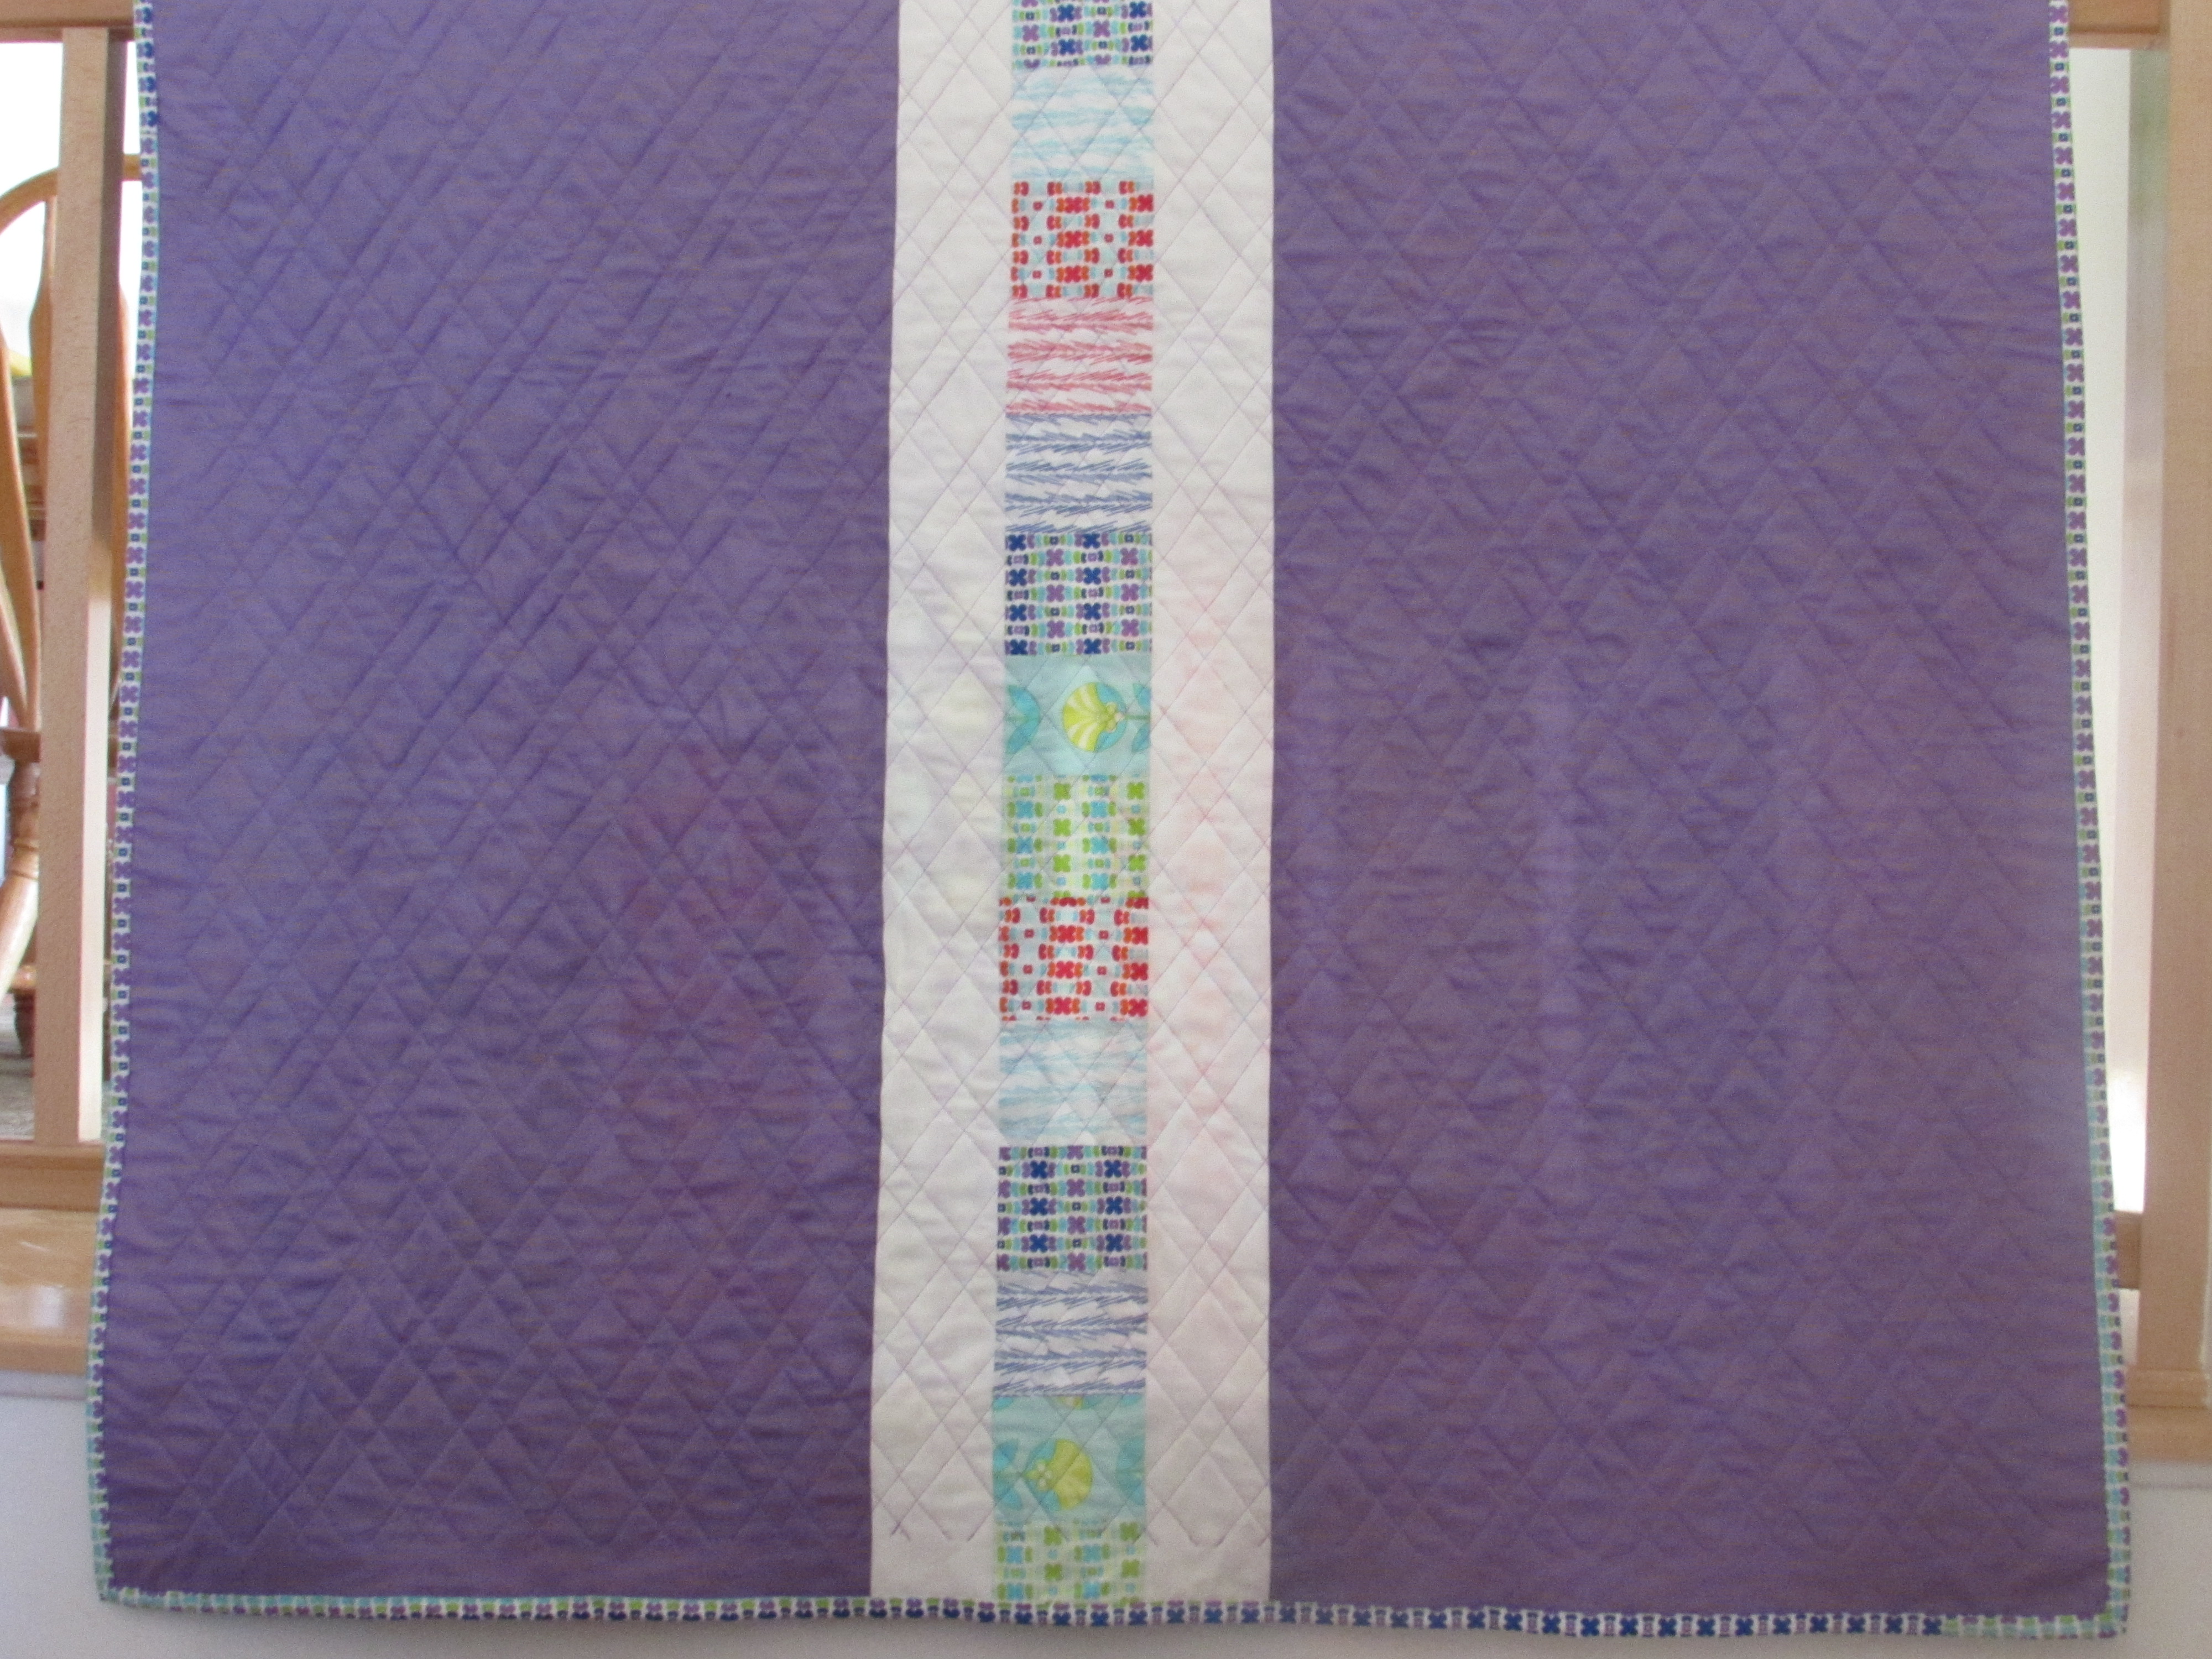


Oh So Charming Donation Quilt September, 2013

Sept 2013 002

Here is the back:

ifm quilt 2 back


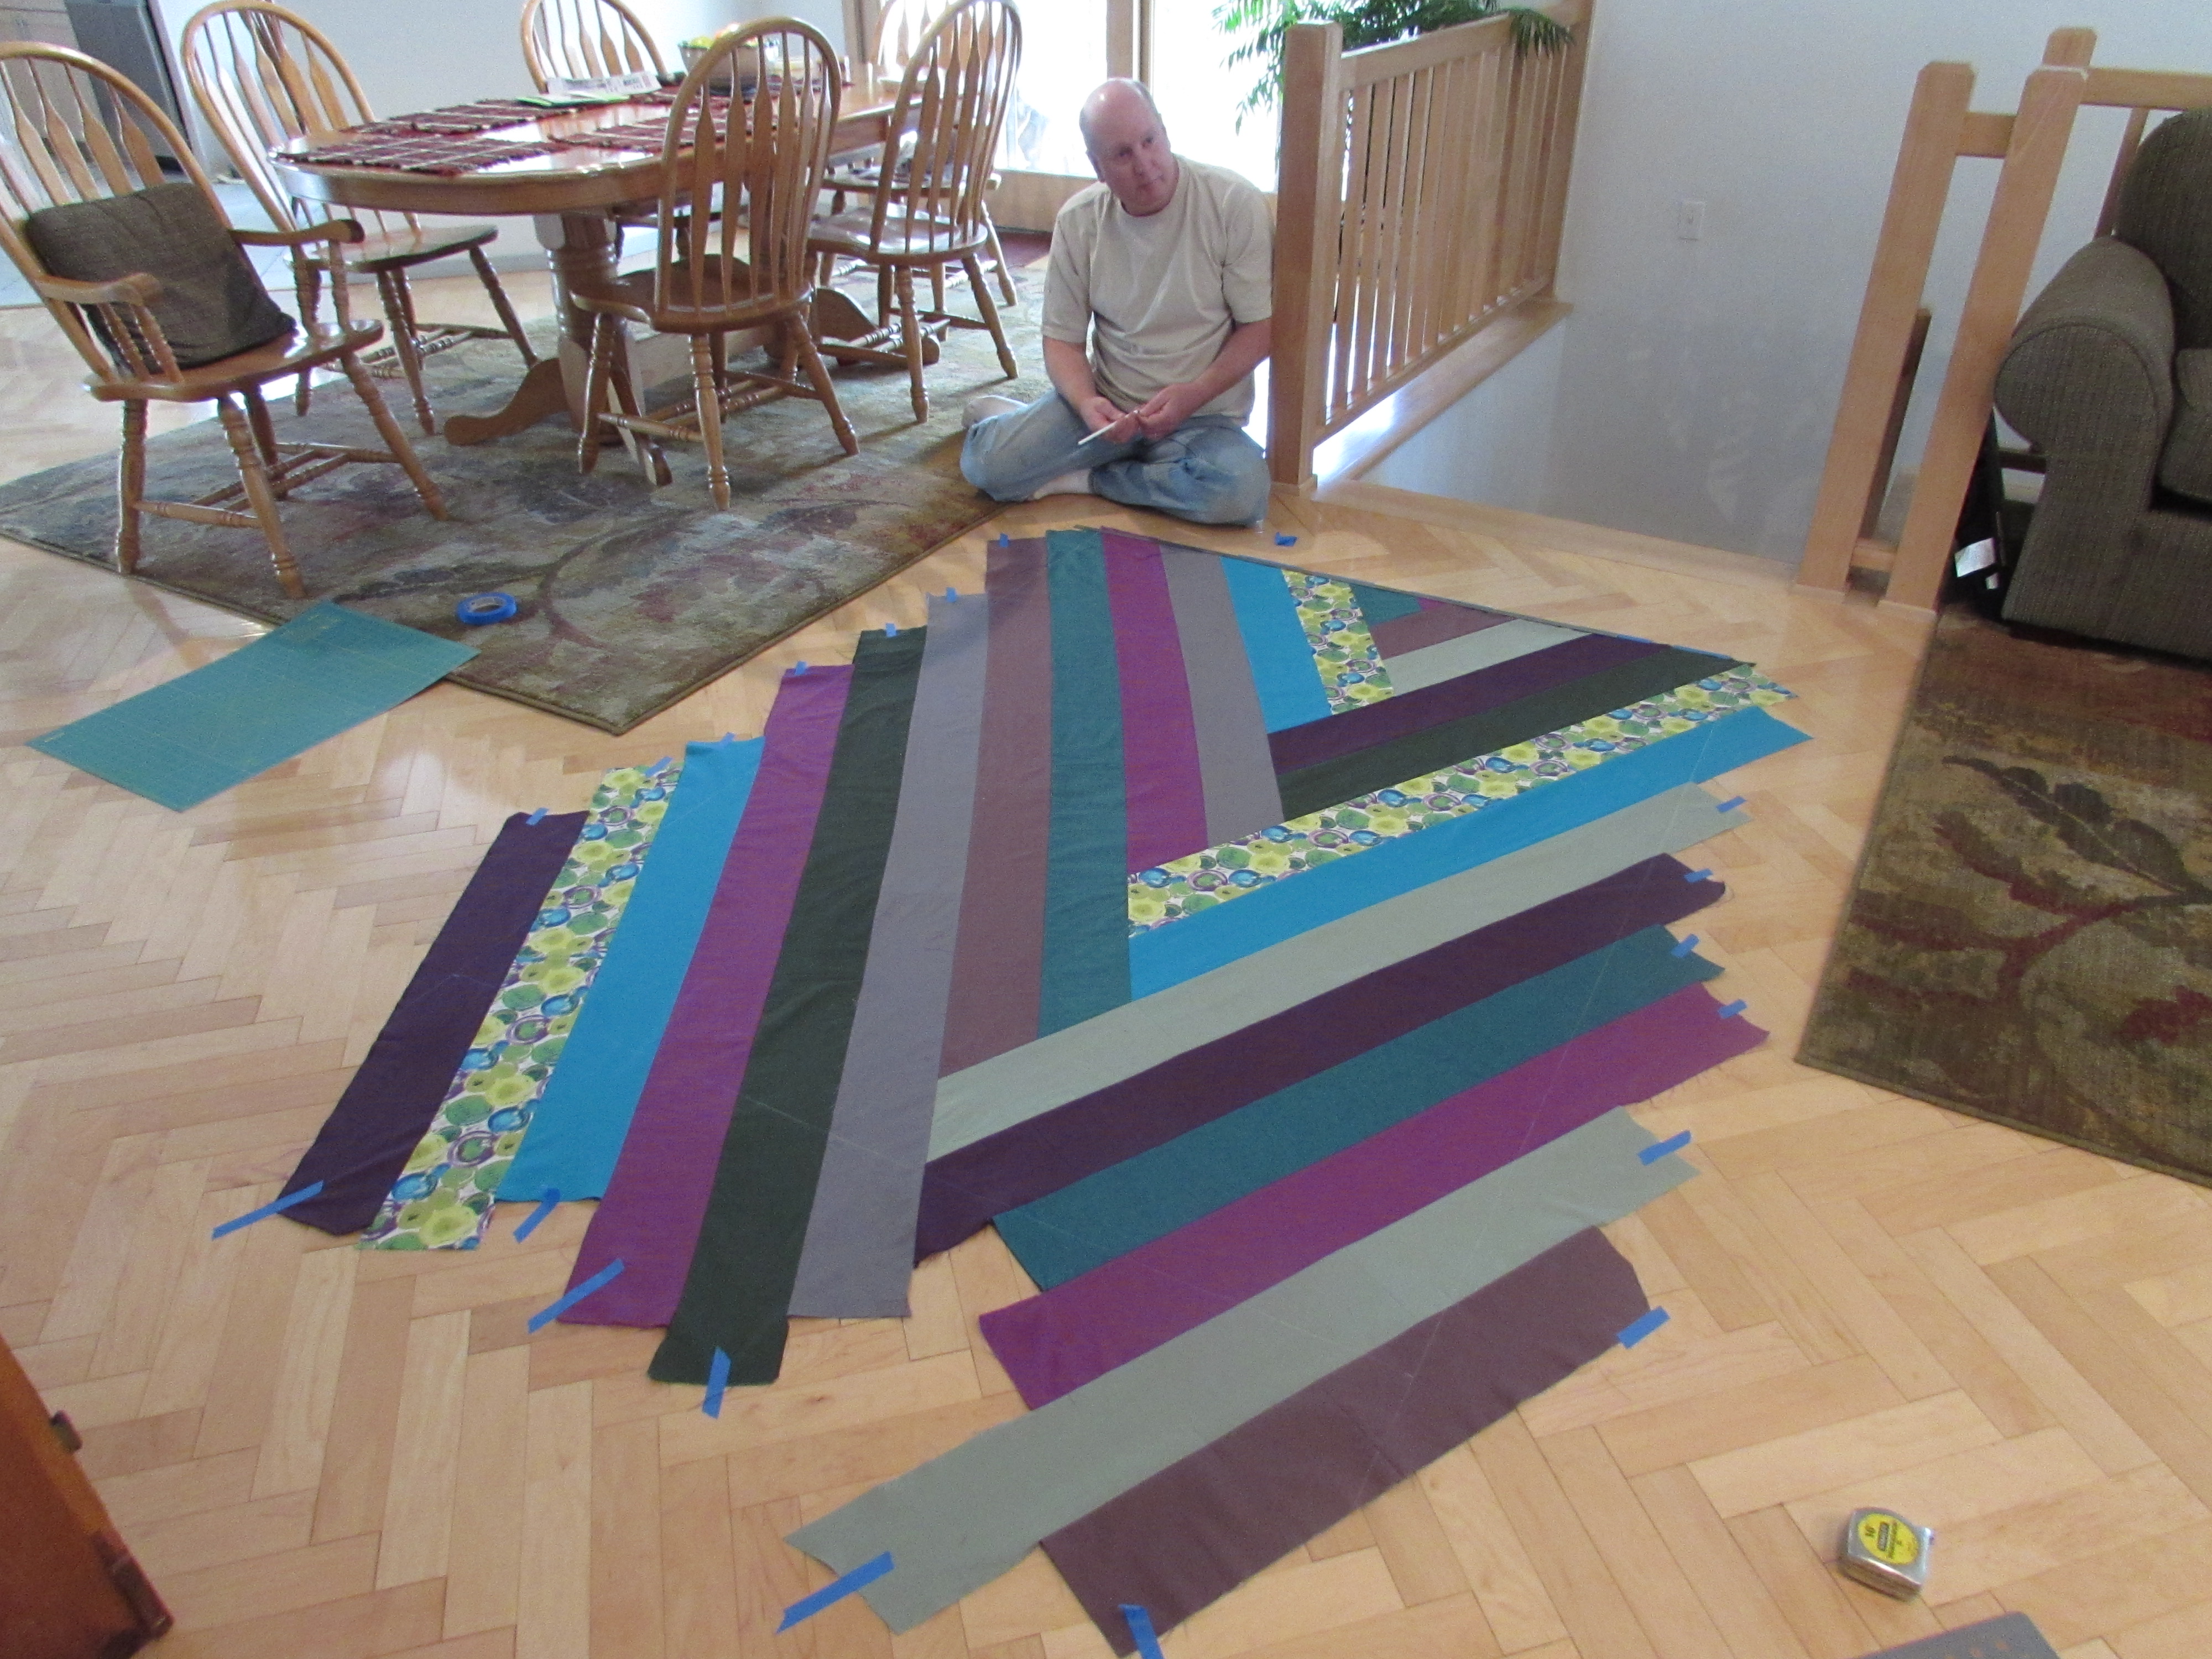
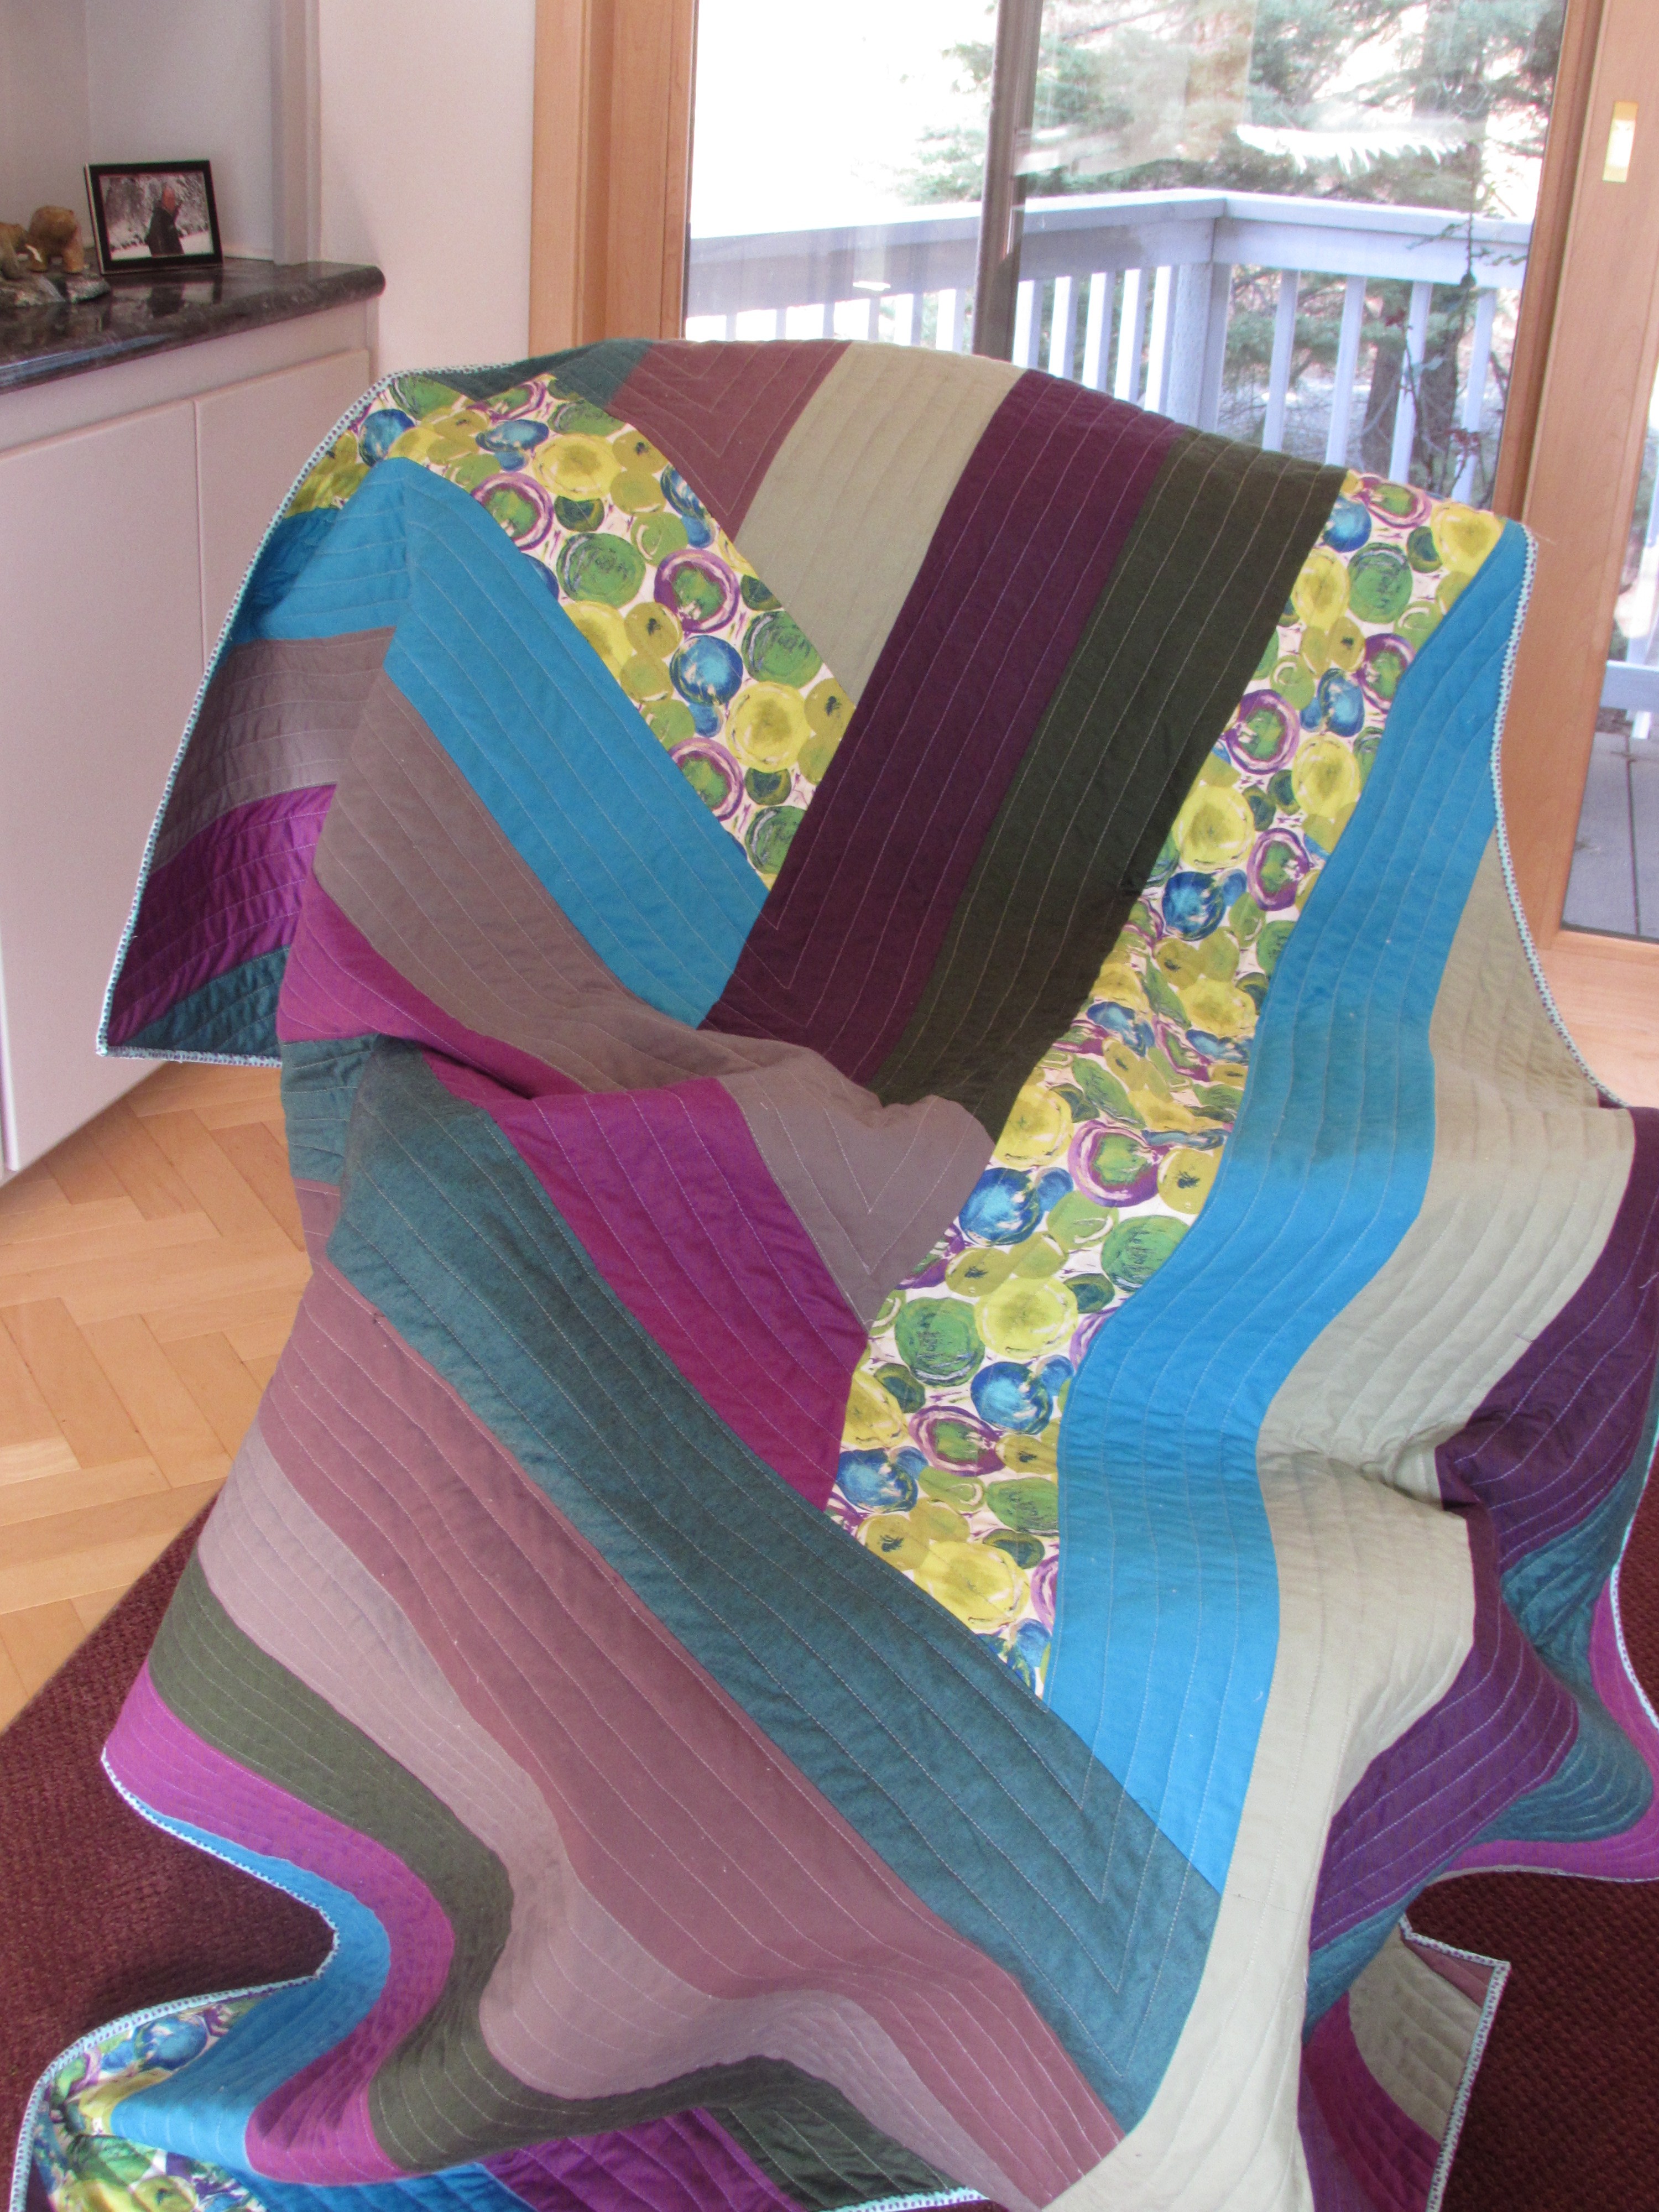
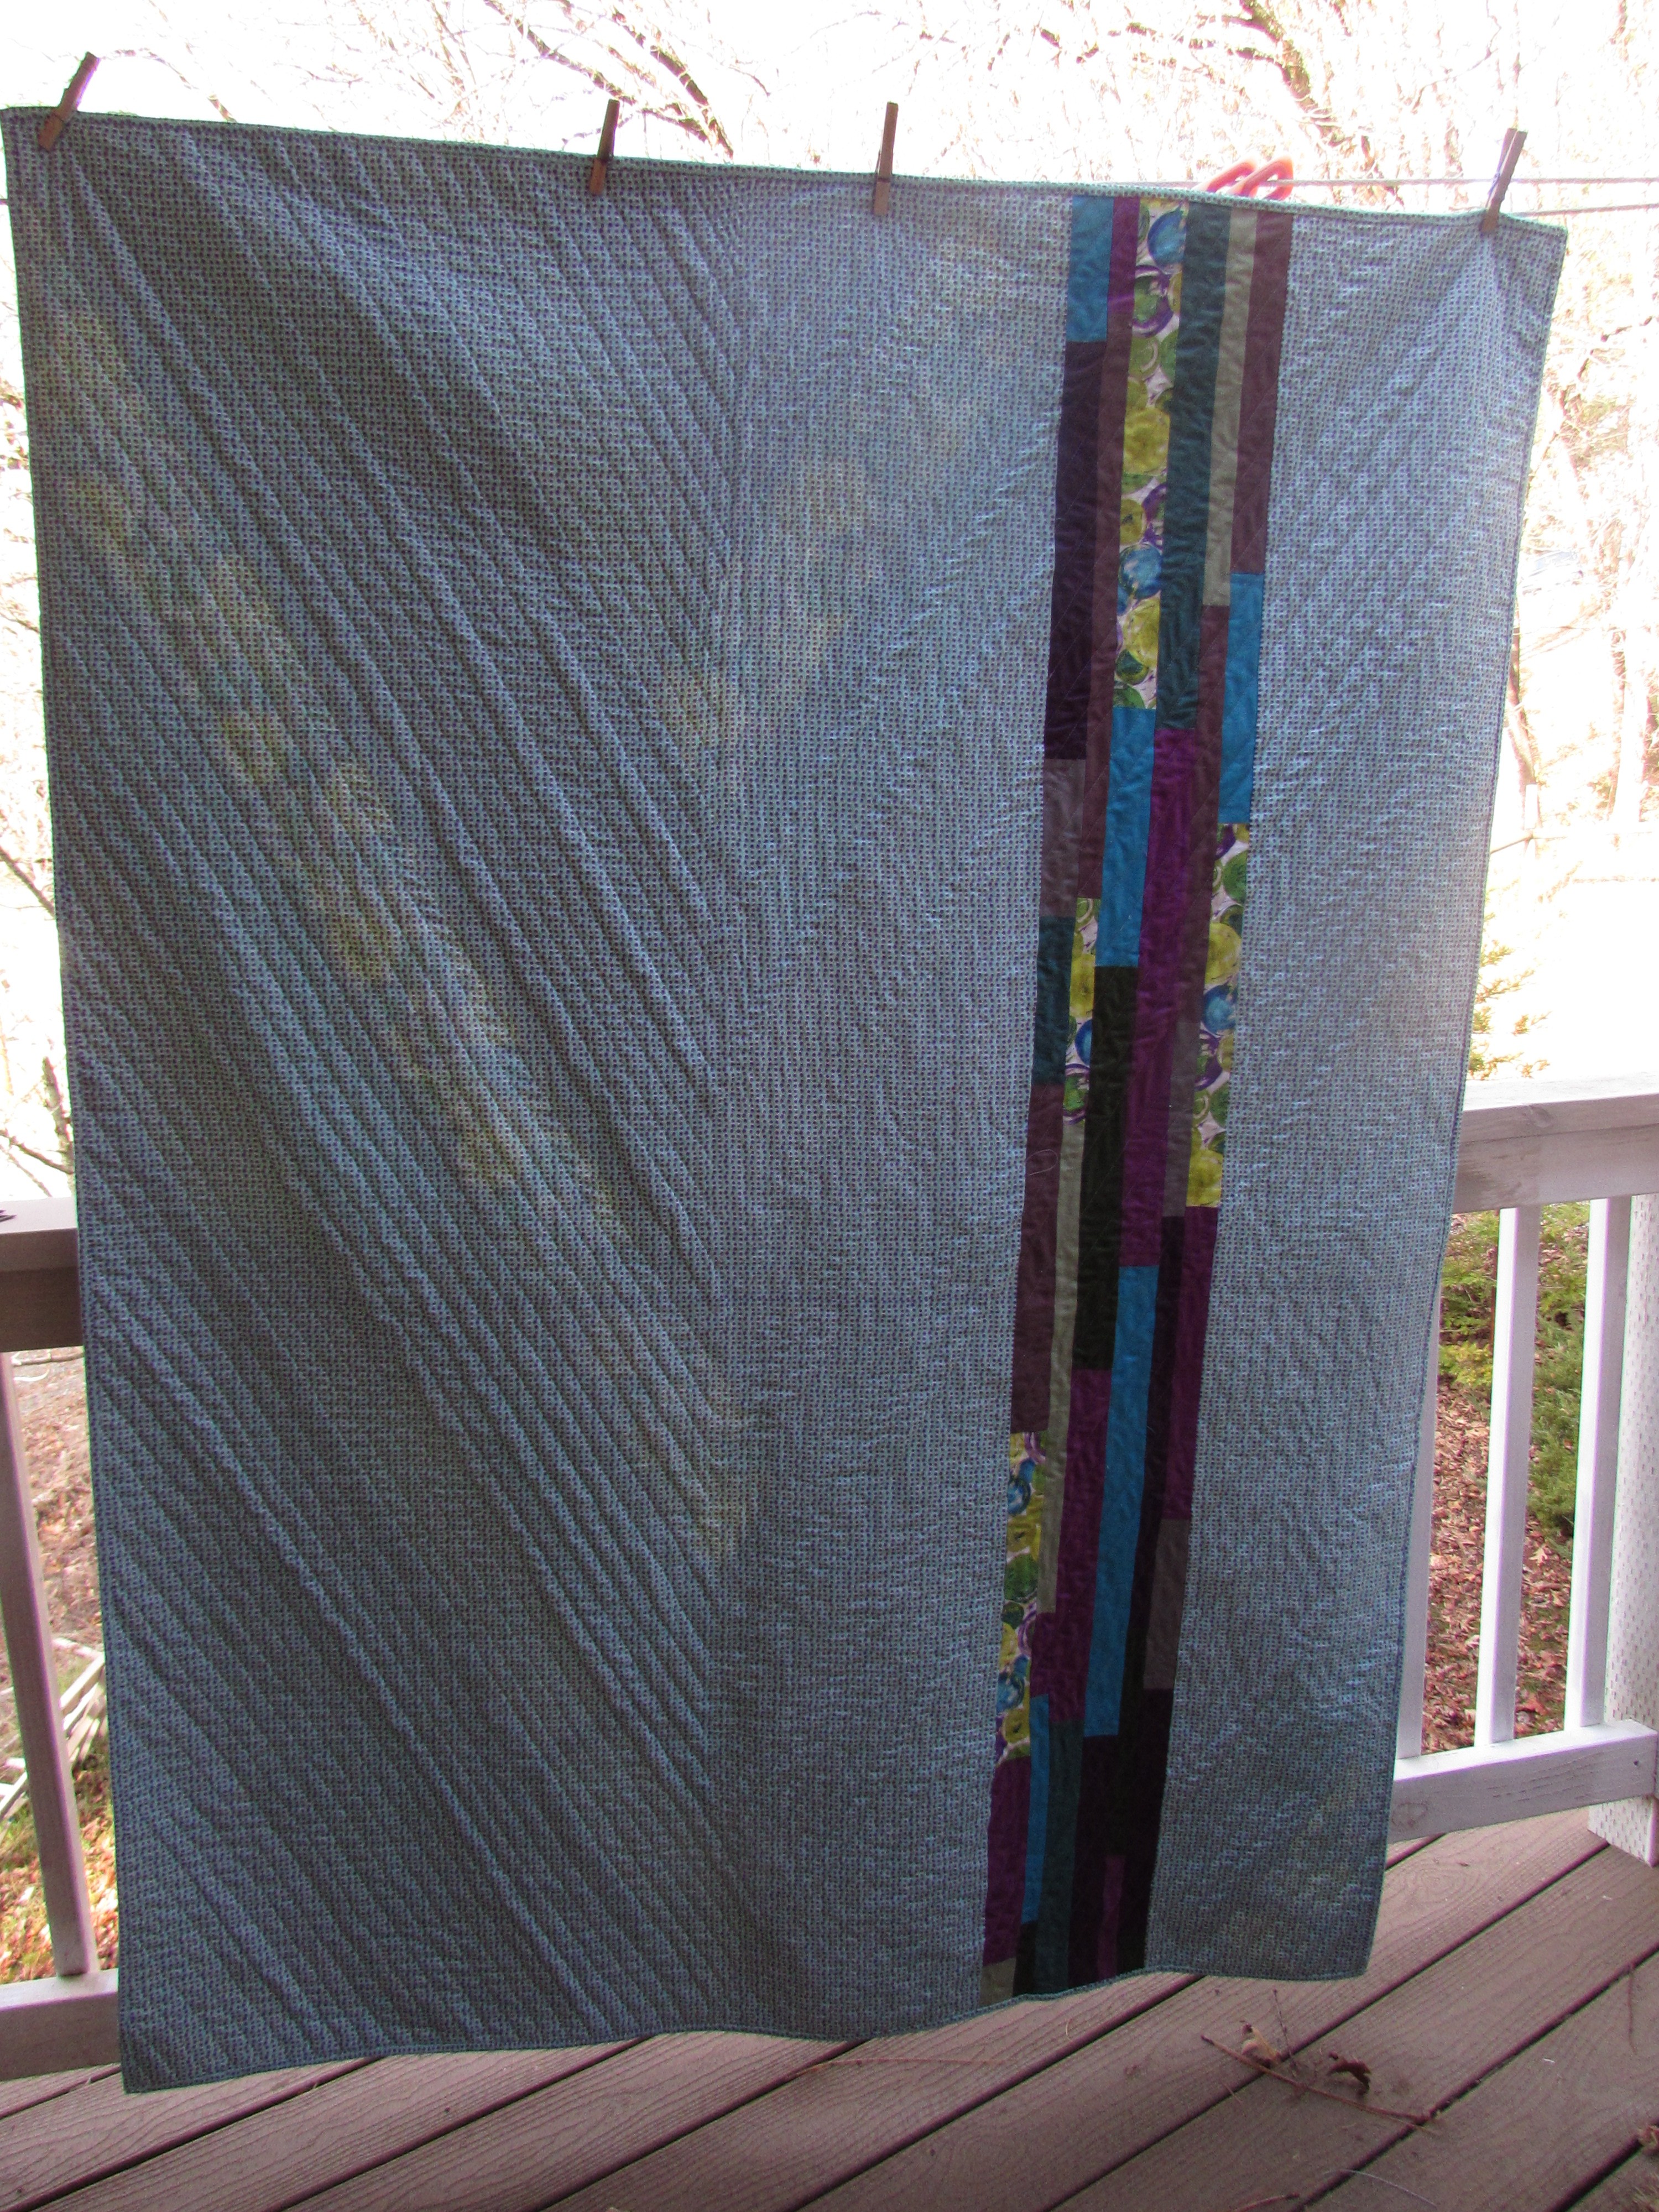
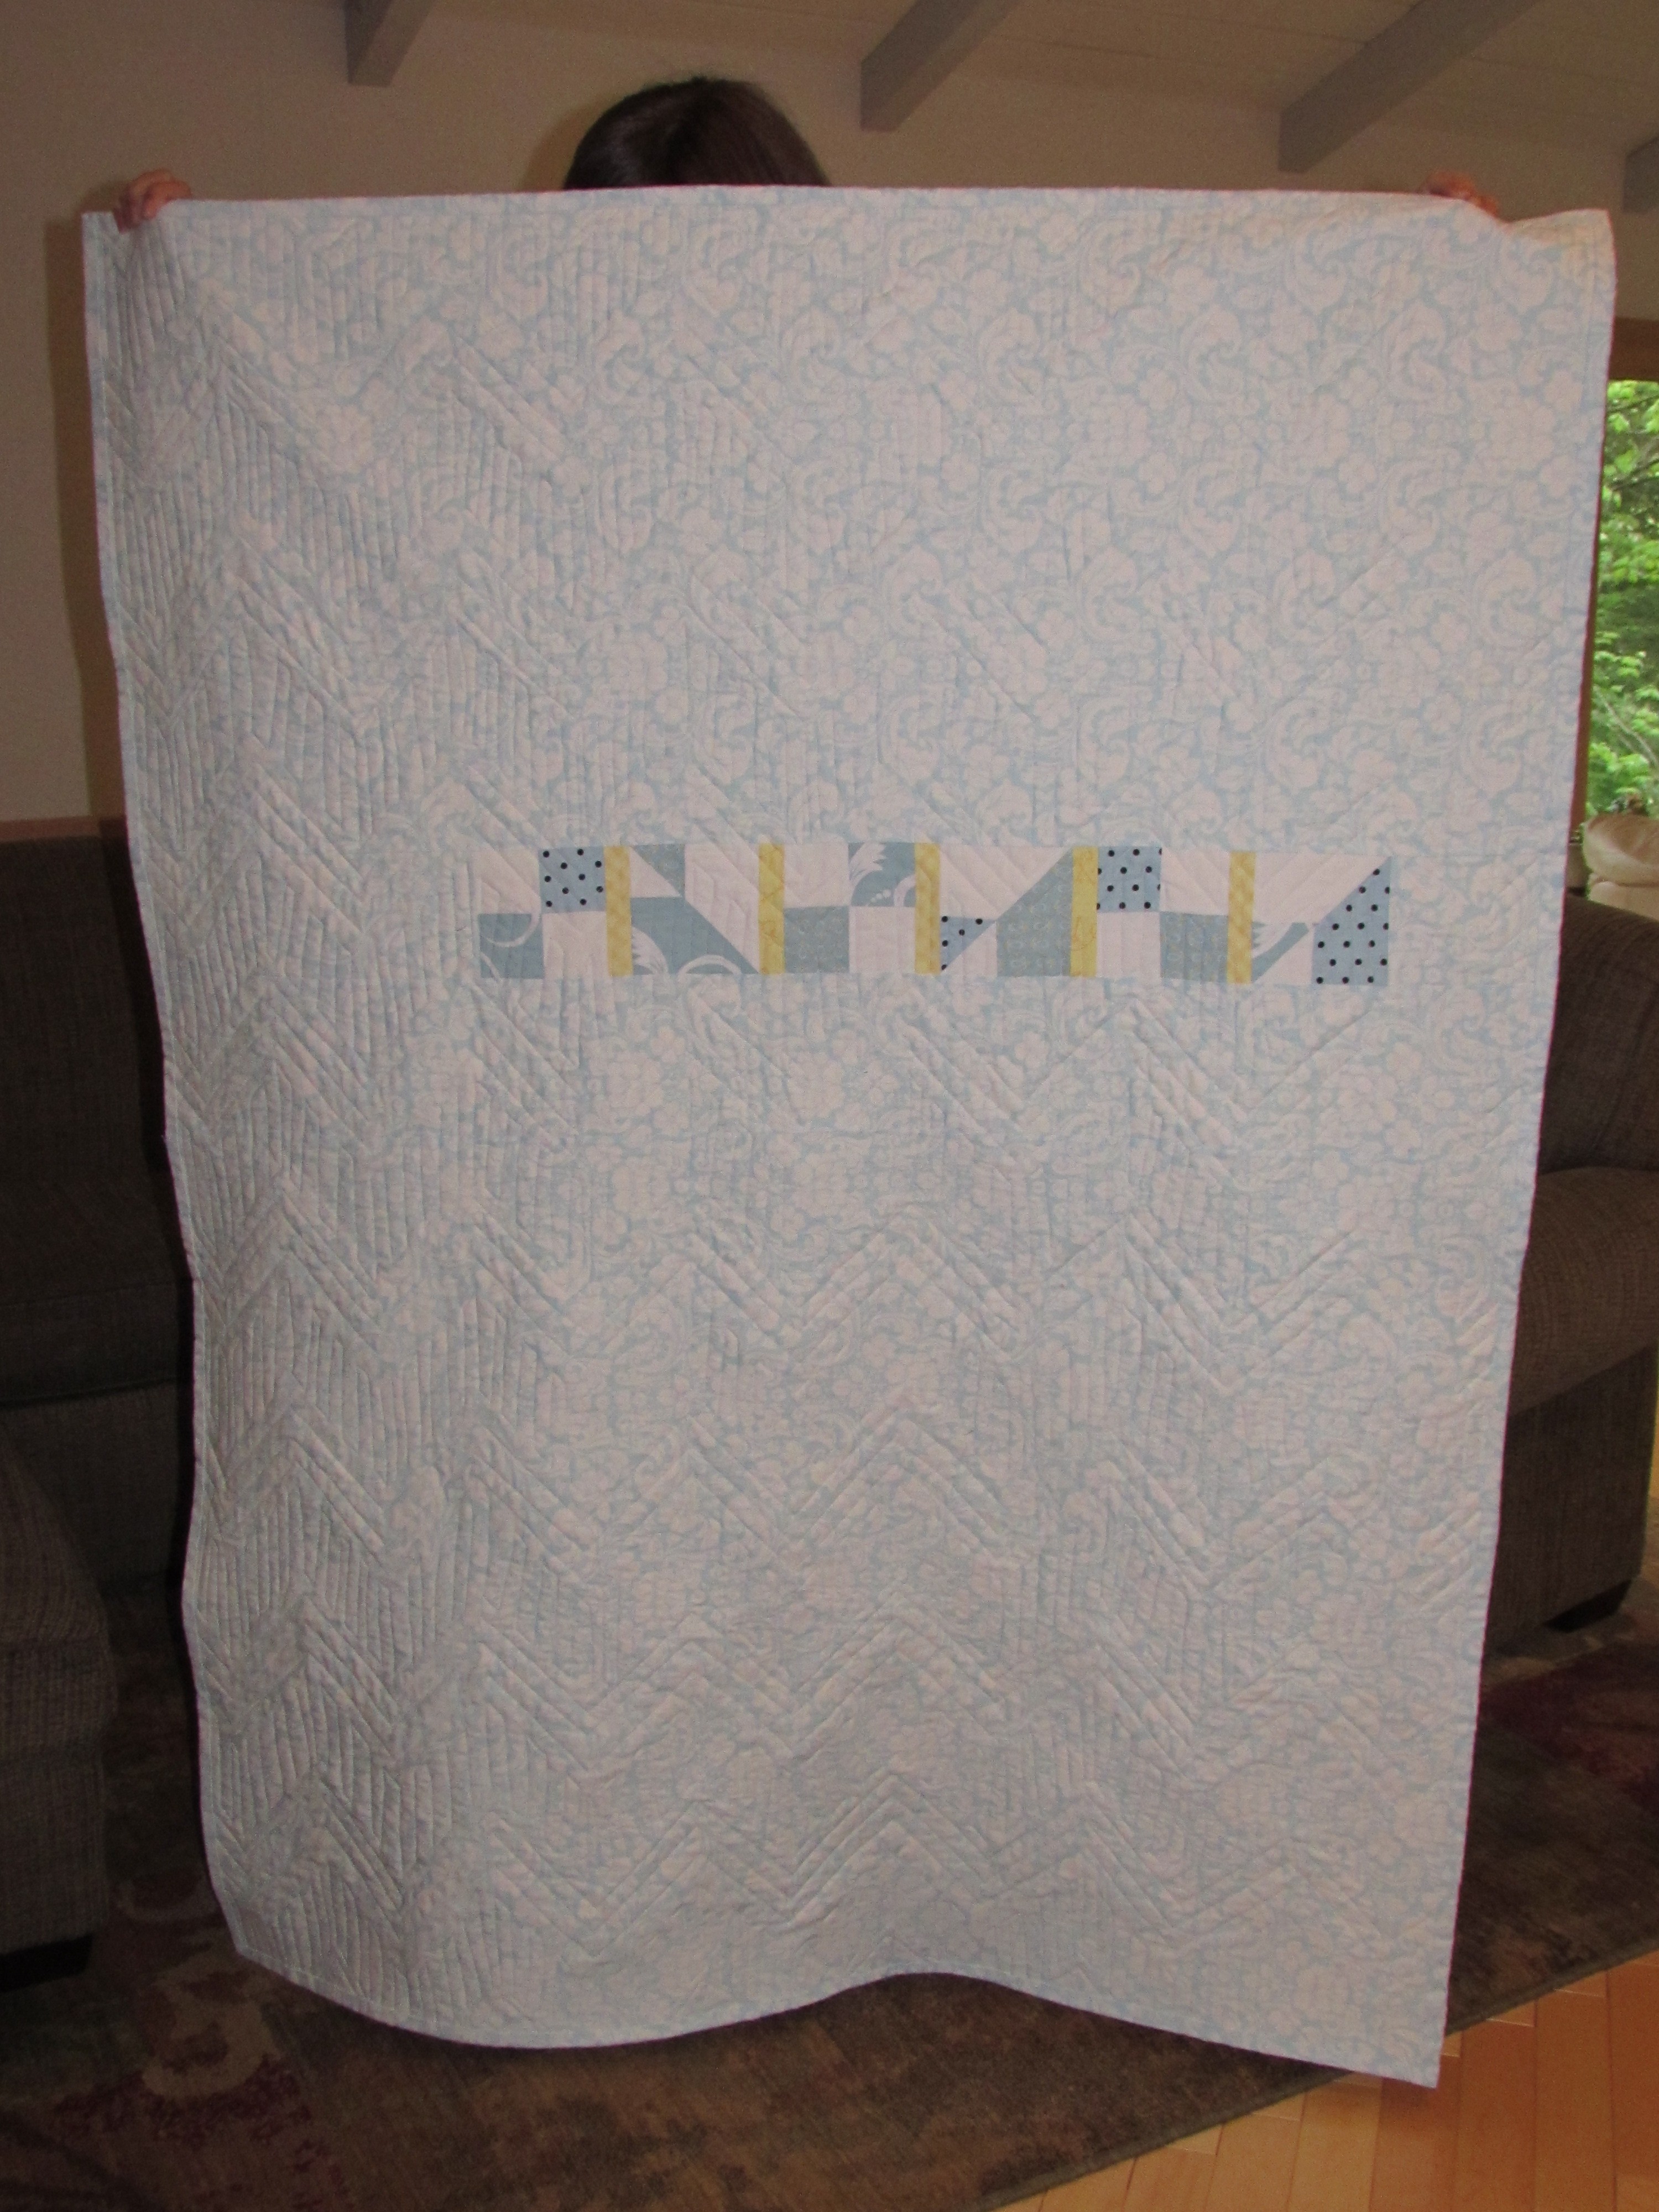
FInally, the third quilt.  For this one I used a tutorial at Crazy Mom Quilts (she has the best tutorials!!) called Zig Zag Quilt. I love this pattern for it’s chevron look but no piecing of triangles needed! So simple.  The fabric line was called Beyond the Gate by Jill Finley for Henry Glass & Co. This was such a fun project. I love the look of this quilt – it’s very soothing. I quilted the colored rows with gray thread and used white on the white rows. The gray looked fine with the green and blue rows but stood out a bit too much against the yellow rows.

20140422_0637


20140429_0655


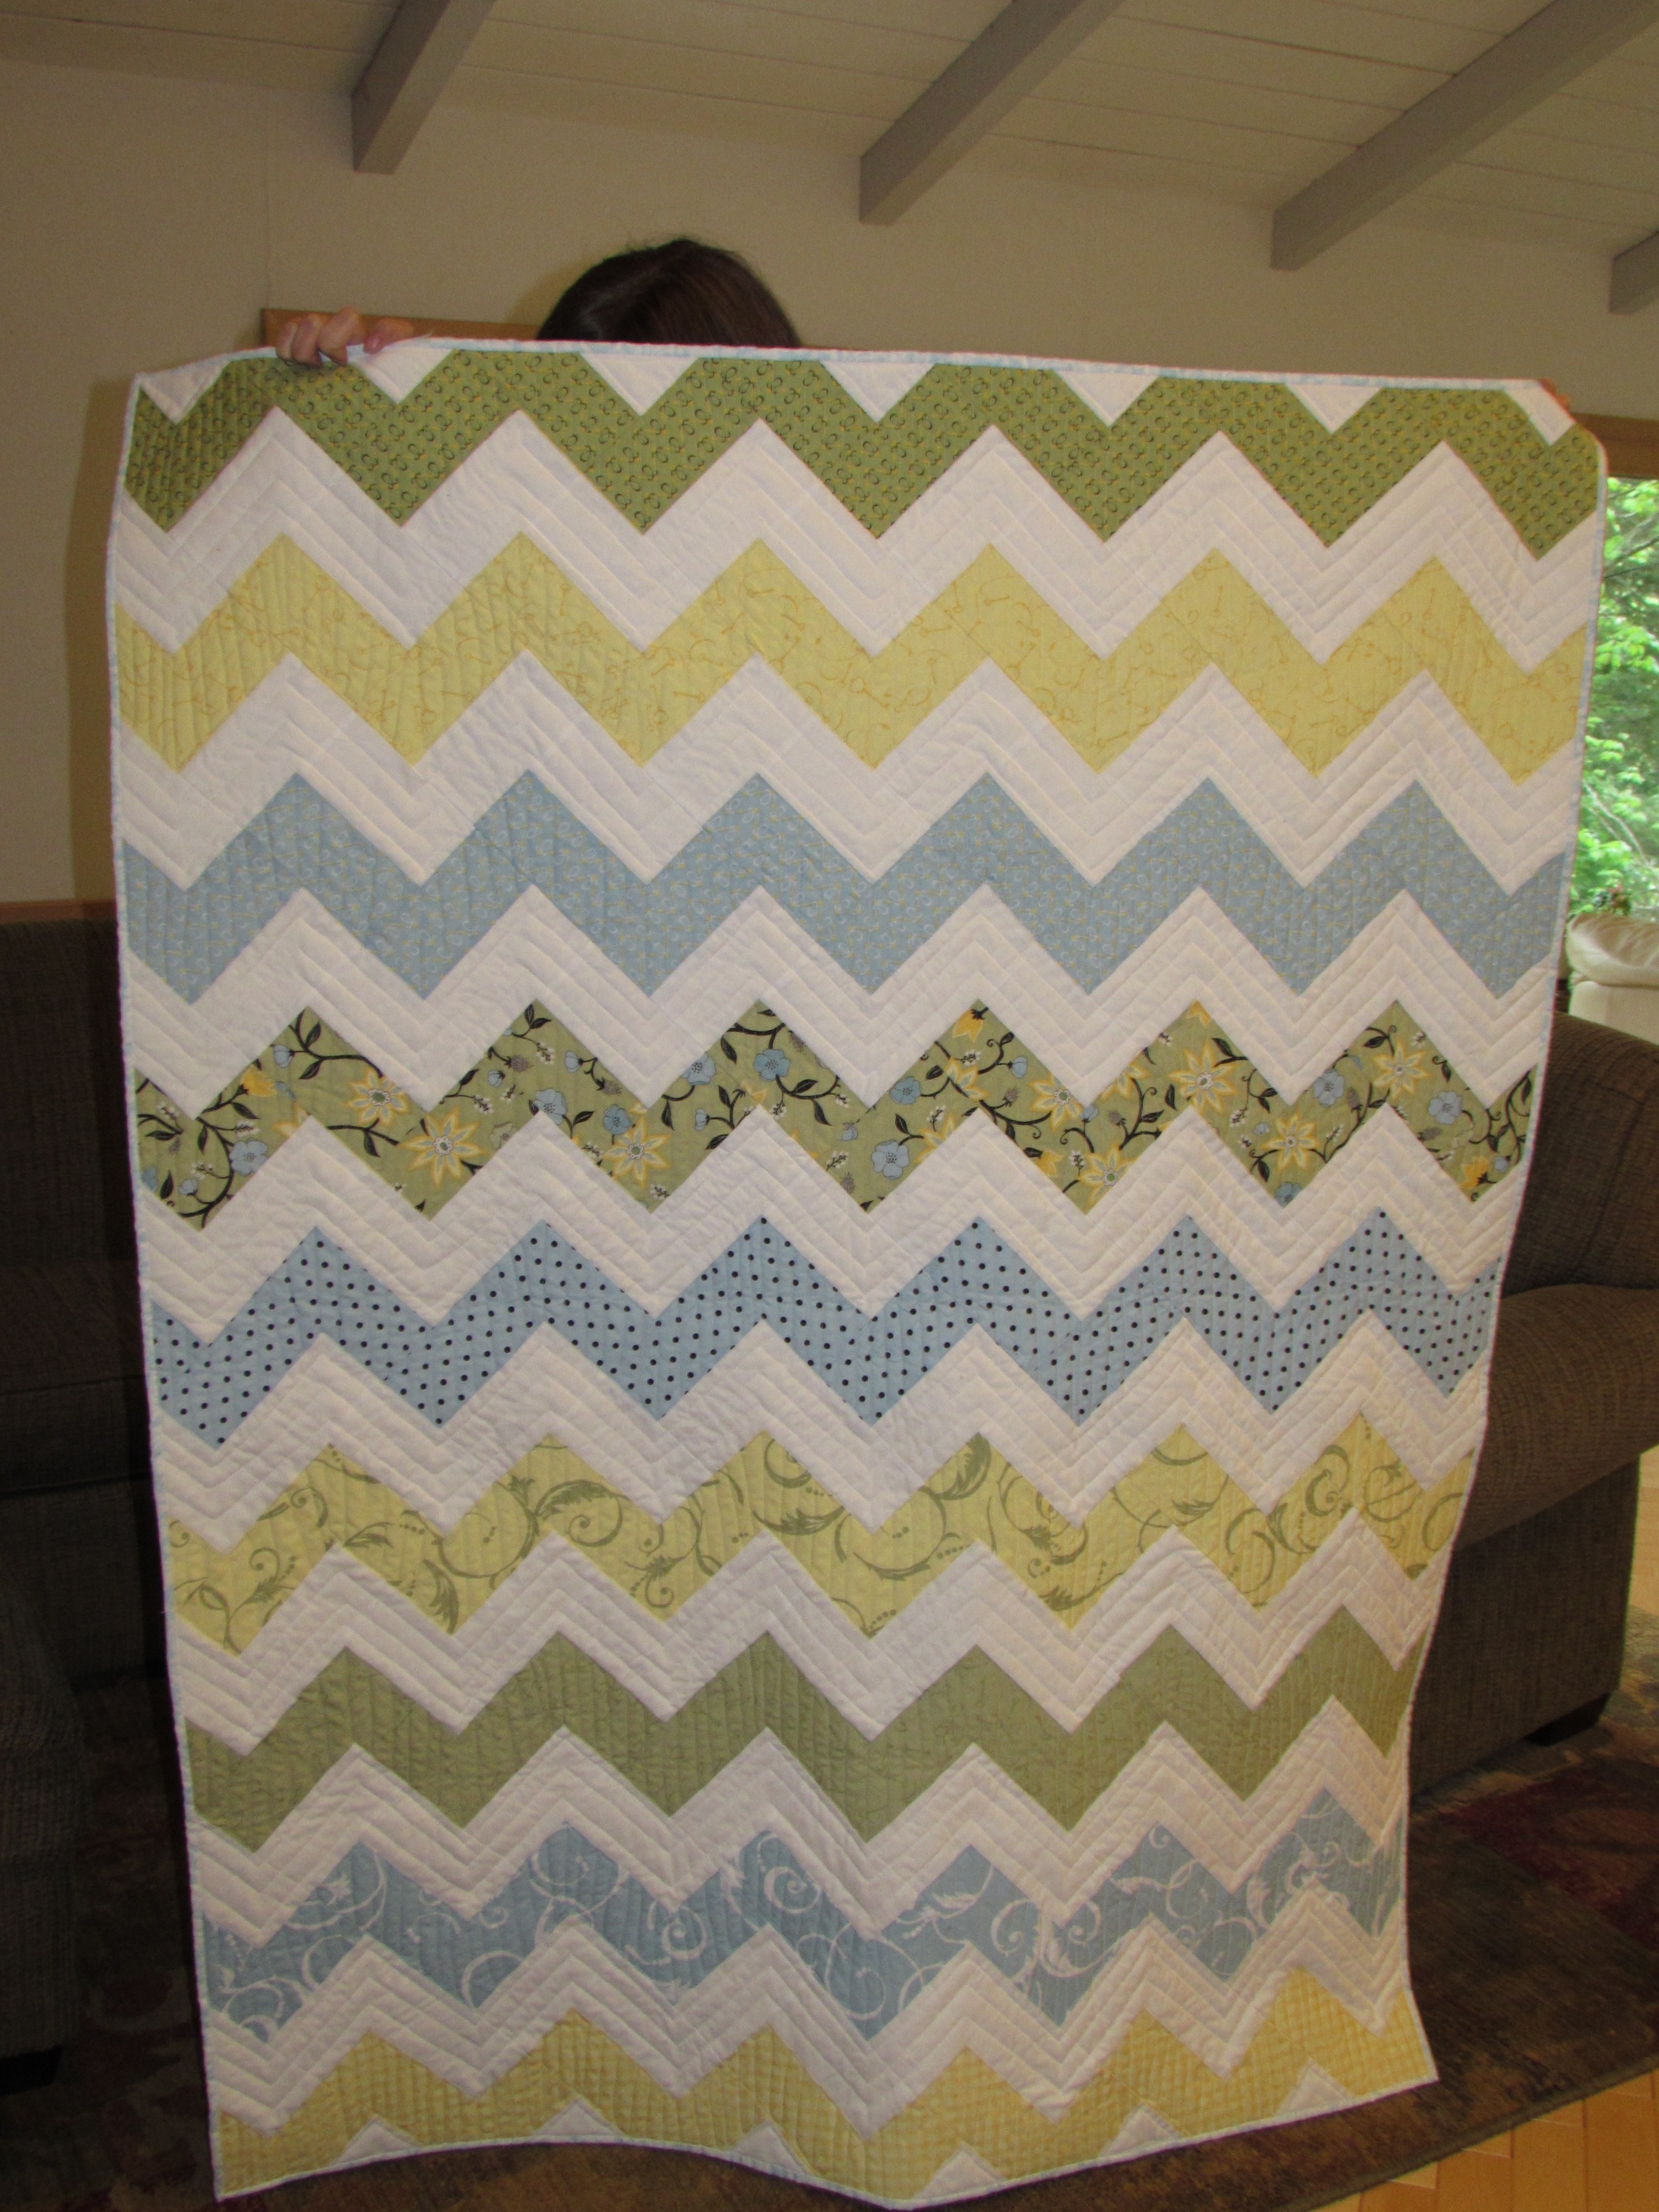
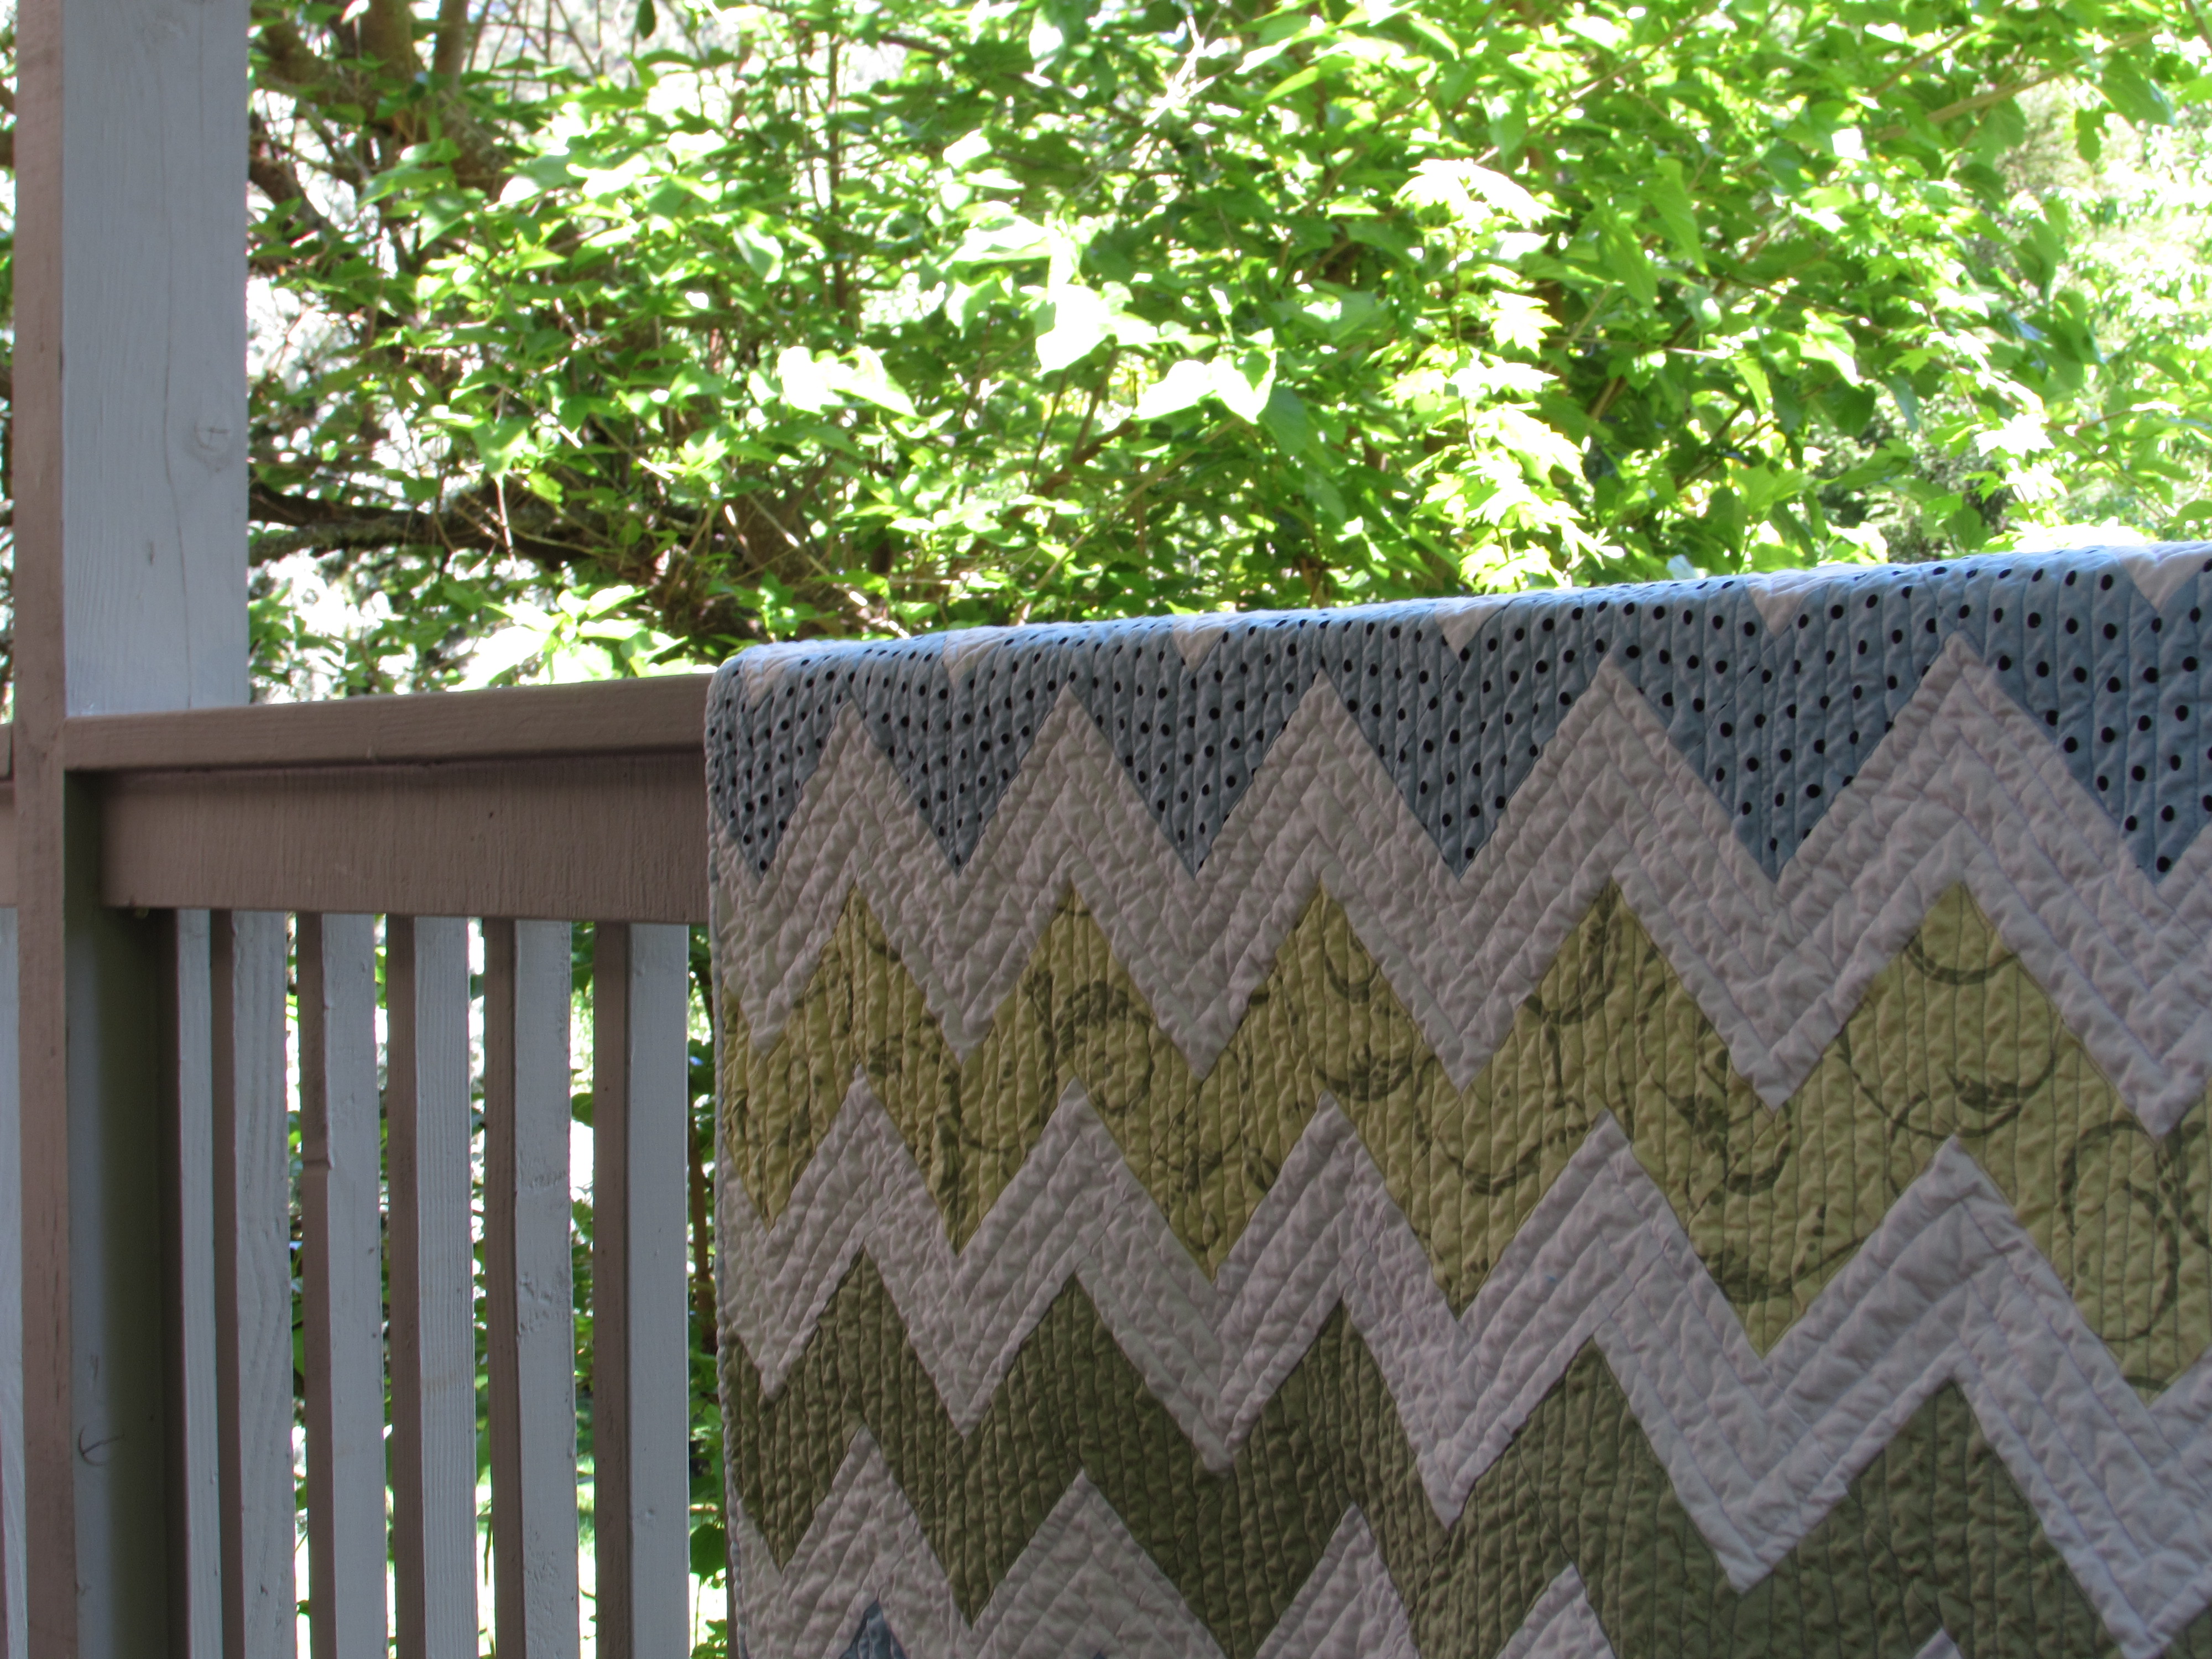
and now the back side……….

20140422_0638

Love putting this quilty hobby of mine to good use for a good cause!! Anyone else making donation quilts? Comment with some links so I can see them!

Linking up to Anything Goes Monday at Stitch by Stitch, Linky Tuesday at Freemotion by the River, Show and Tell Tuesday at Fresh Squeezed Fabrics, and Sew Cute Tuesday at Blossom Heart Quilts.


Birthday Quilts

Around December of last year I was (like most of you) planning some quilting goals for the upcoming new year. I wanted to be sure that I made some progress and improved my skills this year.  How better than by making quilts!? My thought was that I would make birthday quilts for three certain woman. I have three sons and each one has a significant other.  One has been married four years now.  The middle son has been partnered with his girlfriend for almost four years. My youngest son has been in a relationship with his girlfriend for about seven years now (since they were 15 or 16 years old!)  These women are such a part of our family and I thought it would be fun to make each of them a quilt for their birthday.

The first birthday, Kelly’s, was in mid-January. I started to work on hers just before Christmas.  Because I had such a short timeframe, I chose a simple pattern.  I used a stash fat quarters from Jeni Baker’s Color Me Retro line. I loved this fabric and thought it suited Kelly perfectly.  After consulting with my son, he agreed! (I won this fabric from a giveaway at Diaryofaquilter.com quite a while back.  It was the first giveaway I had EVER entered and I couldn’t believe it when I got an email from Amy Smart that I won.  Of course I have entered a billion giveaways since then and never won again! But this was quite a prize.) For the pattern I chose to use “Tifton Tiles”. It was a tutorial at SewLuxFabric.com. I didn’t follow it exactly but the tutorial was really helpful in that it provided the basic measurements that I needed for the piecing.  I added white sashing between the rows to add a bit of definition to the quilt. I think the quilt turned out very pretty.  I made a pieced backing, which I love to do – it adds character to the quilt. I quilted it with an argyle, or cross hatch, pattern of straight lines. I think this was the first larger project on which I used straight line quilting.  I was so thrilled when I happened upon Jacquie Gehring’s tutorial that talks about using painter’s tape for your guide.  It changed my world – no more trying to draw lines or eyeball it and being so disappointed with the result! If you haven’t tried this, give it a go.  It is a fantastic method.

Here is the front:

20140115_0583

Here is the back.20140115_0579


And a close up of the argyle quilting pattern.

20140115_0587


The second birthday was slated for the end of February.  Once I finished Kelly’s I had to get right to work on Naomi’s (my daughter-in-law.)  I wanted to try making a quilt with solids.  I hadn’t done this yet.  Working with Andrew, I chose Naomi’s color palette.  Once I picked the colors I wanted, I decided it did need one print to add some interest.  I can’t remember what line the piece was from.

I used a tutorial for a braided, striped pattern at www.anneandwill.com. I love the end result that I got but this was tough for me. As I mentioned in an earlier post, I have difficulty with spatial relationships and when I was working on this quilt this whole issue reared its ugly head. The premise of the tutorial is that you keep building the quilt by adding rows at an angle and making each successive strip long enough to be able to cut a square perimeter when you are finished. Here is a picture of the quilt top before I squared it off for making the quilt sandwich. (My devoted husband is there in the corner – he is a great help with things like squaring the quilt tops. In this shot I think he was distracted by something on tv! Really, he is so good about helping with this process. 🙂

20140126_0589


You can probably see that I cut the bottom strips way too long. I just can’t always visualize this stuff – so I had a lot of waste with this quilt.  No, not waste – usable scraps!! I used a great deal of it when piecing the back.

Here is the  (finished) front:

20140220_0605


I quilted this one with straight line quilting echoing the V in each stripe.  Again, I used Jacquie’s painters tape method.  So much easier! I used a gray thread which blended well with each stripe. I love that about the color gray – it sort of mimics the color of the fabric that I quilt with it.

And, finally, the back:

20140220_0606The sun wasn’t in the best position for this picture so you can sort of see through the backing.

Once I washed this it softened and became beautifully crinkled.  I wanted to wash it (using Color Catchers) to be sure the vibrant colors wouldn’t run.

So, two of the three birthday quilts are finished.  I am not going to post anything about the third quilt as I have yet to give it to the recipient.  (Actually I have yet to make it!  I cut the pieces this week though so I am ready to start it.) It will be ready for a certain someone’s July birthday!!

Linking up with Kelly’s Needle and Thread Thursday at www.myquiltinfatuation.com. Also over at TGIFF.

Also linking up with Amanda Jean at CrazyMomQuilts.com.