Category Archives: Garment Sewing

Five Reasons to Repeat a Pattern

I don’t know that I have ever made the same quilt twice. Wait, maybe that isn’t entirely true. I have definitely made the same quilty gifts in multiples. Like the Christmas table runners I made for my family one year. Or the zip pouches I made for gifts last year.  But not full quilts. Those have always been different. There are so many amazing quilt designs out there and I haven’t yet repeated one.

Clothing patterns? Those I will repeat. Time after time after time. When my kiddos were tiny I would make flannel pj’s for them, using the same pattern until the pieces were so pin marked I would have to tape them together. My Washi dress? Just repeated that one and I am so glad I did. Here are my thoughts on why.

  1. The first time I use a pattern I have to learn the pattern. Even though I have been sewing for so many years (44-ish years?) it takes a minute to just look at the pieces, read the directions and figure out the process.  Using the pattern a second (or third, or fourth) time that process is complete and doesn’t need to happen again.
  2. Of course, the cost of the pattern. I think I paid about $12 for the Washi pattern, I am not sure. So why not distribute that across a few garments? Kind of like dollar cost averaging in the stock market. 😉 Make it once and you have spent $12 plus the cost of fabric and notions for the one garment. Make it three times and you are at $4 plus fabric and notions for each garment. Might as well get as much bang for your buck as possible.
  3. My confidence level increases with each garment. Going in the second time, I knew where the problem areas might be and already had solutions for those. For instance, in the first Washi dress, I found that the elastic bobbin used while shirring the back would need to be reloaded with each stripe of shirring. I still don’t understand why but at least, this time, I didn’t have to fool around to figure out a solution. It makes for a more peaceful sewing experience.
  4.  With the extra confidence in the pattern, I can challenge myself in other ways. For this dress, I chose a knit fabric. I wasn’t sure what it would mean to make a pattern designed for woven fabrics with a knit but I felt good about trying it because I was already familiar with the pattern and how it fit me. I would not have done this the first time using the pattern because I wouldn’t have felt confident in the result.
  5. There are so many variations to be had. For the second dress, I chose not to cut the dip in the neckline. I was concerned that with a heavier fabric (knit vs cotton) the neckline would not lie flat with that cut out. I used the scoop neck version instead. Also, I tried it without the sleeve cap, didn’t like it and put the little sleeve on in the end.

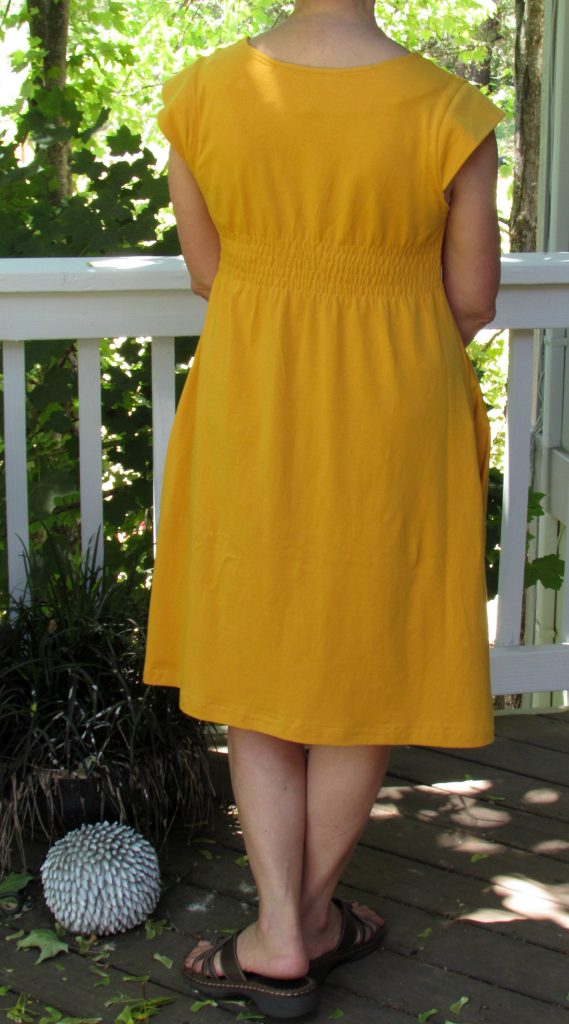
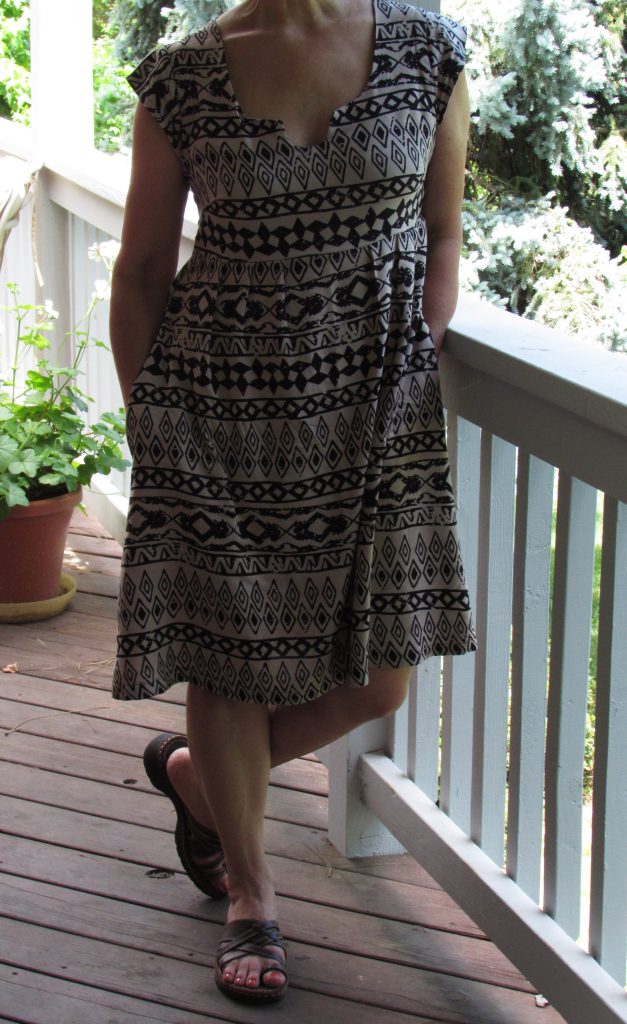
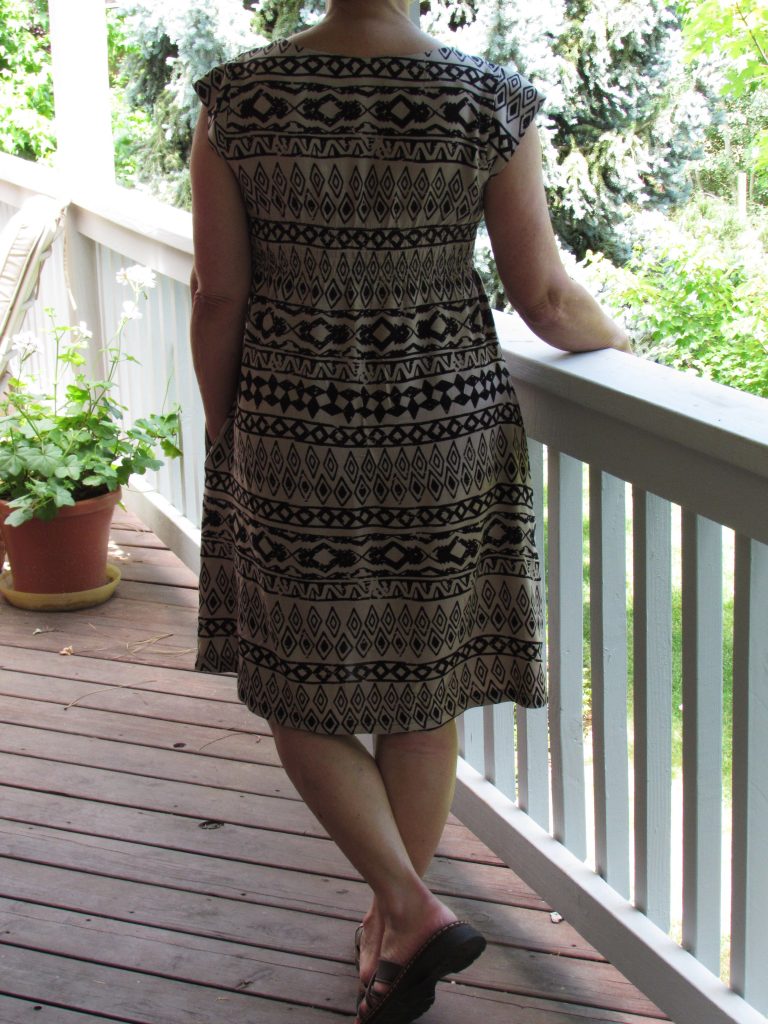
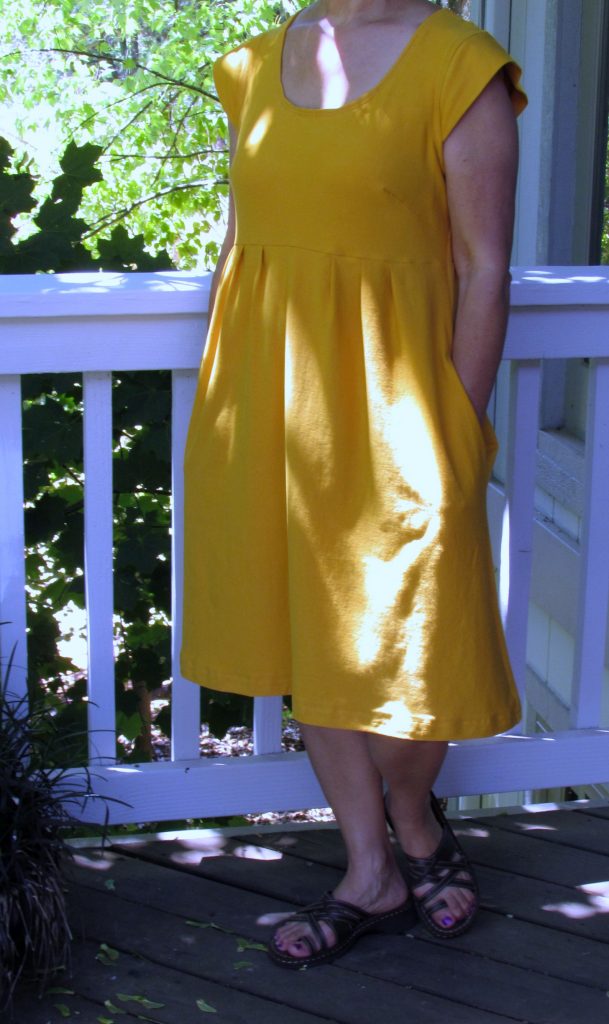
Here is the finished Washi, version two!

IMG_6823

Just as I hoped, it is very comfortable. (For me the goal is almost always comfort.) The knit washes well. (I did prewash it as knits have a strong tendency to shrink.)

IMG_6834

The drape is very soft. After washing and drying it, there was no issue with wrinkling.

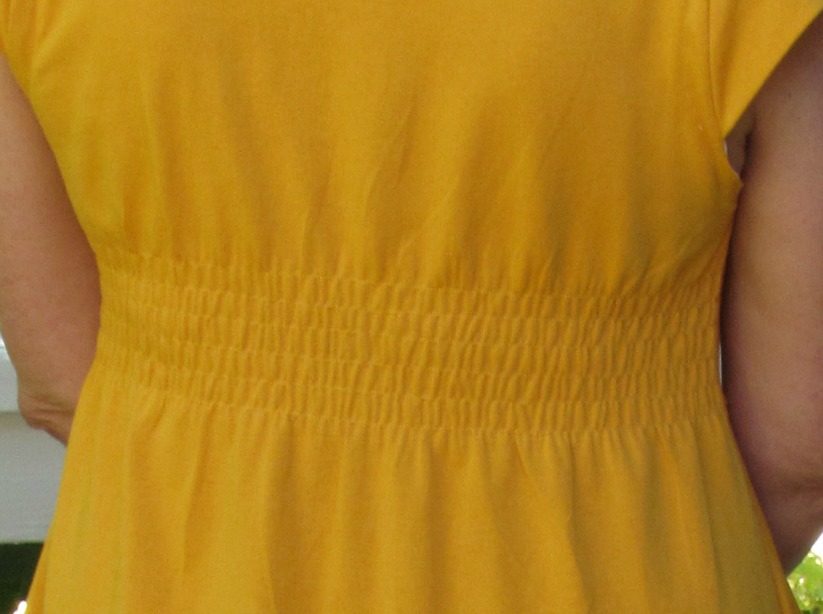
IMG_6834.2

The shirring wasn’t as tight with this version. I suppose that has to do with the knit vs cotton issue but I am not sure? If I make it again with a knit, I would play with the stitch size a bit while shirring it. Also, with the stretchiness of the knit it feels a bit too big. So if I do a repeat, I will cut it down a bit, especially in the bodice.

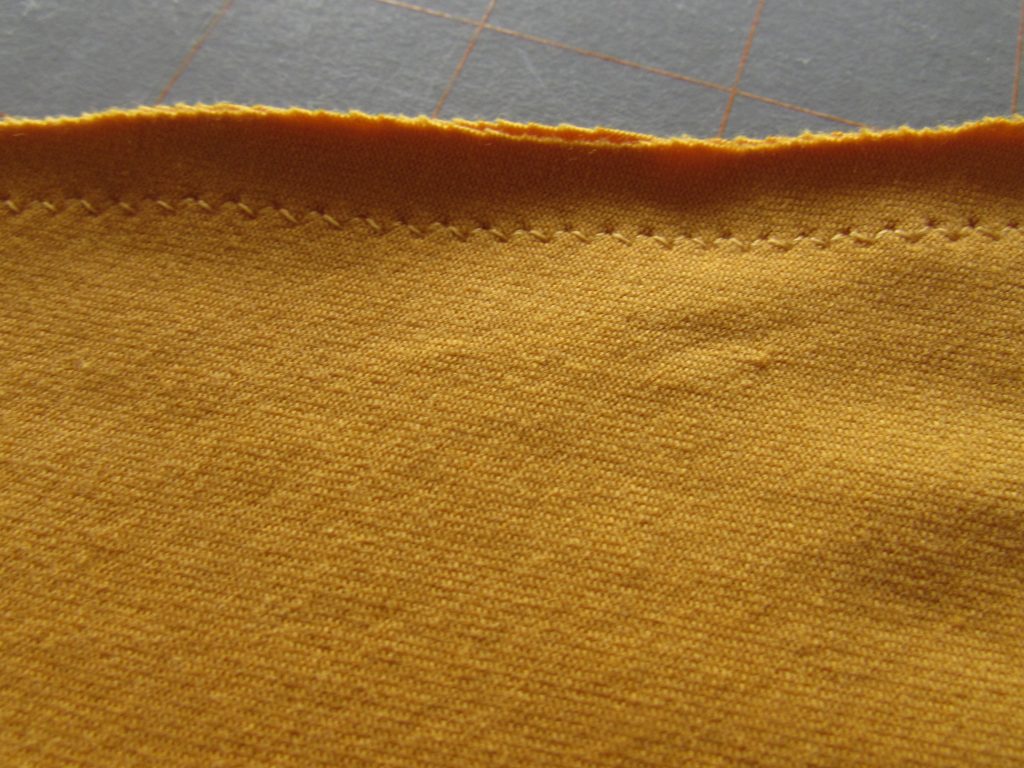
I also learned a bit more about sewing with knits. I wasn’t sure how to finish the seams since I don’t have a serger machine. Looking through some great garment sewing websites, I found one that instructed me to use a tiny zigzag stitch on all of the straight seams (like the side seams.) This sort of intimidated me but it worked out wonderfully.

IMG_6800

This tiny zigzag stitch made a big difference in how the dress hung. The seams didn’t get wavy because the zigzag stitch allows for some movement with the stretch of the knit. Also, I sprayed the hemline with starch before hemming it. Adding that extra structure made for a nice flat hem.

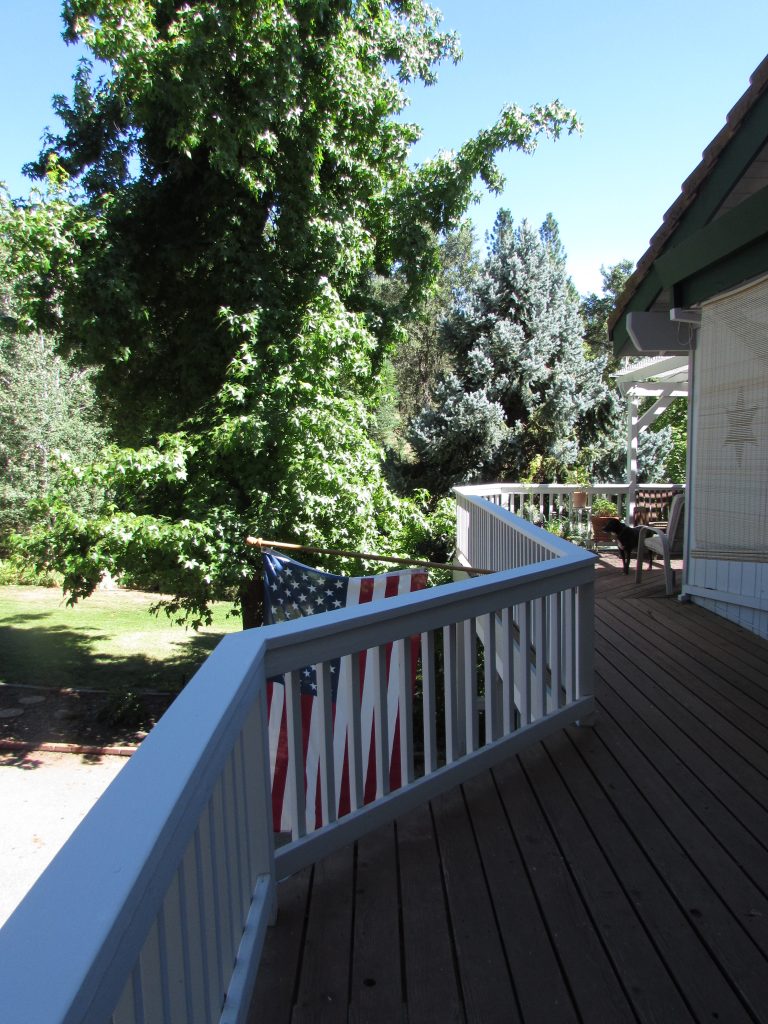
Besides finishing up the dress, I also finished painting the caps of the deck railings. I am so happy because it is supposed to really heat up over the next week or so.

IMG_6841

Lots and lots of painting!

IMG_6840

For now, the painting project is a finish and it looks so much better. Don’t you love checking something off the list? Especially something you really didn’t want to do in the first place?? Me too.

Have a good weekend everyone. Stay cool during this oh-so-hot part of July.

Linking up all over the place. See the links at the top of the page, under Link Ups.

christmas-in-july

In case you are wondering what is going on at Craftsy this weekend, here is the latest. It is Christmas in July at Craftsy and they are offering great deals (up to 60% off!) on kits and supplies so you are able to start working on holiday gift items ahead of schedule. You’ll be ready when the season rolls around. Sale begins today, 7/22/16 and runs through Sunday, July 24th. Check it out!

I am a Craftsy affiliate! Thank you for any purchases made via my blog as I will receive a small commission.

 

How to Create a Simple Pattern from a Garment

I want to share a quick project that I did last week. It isn’t a full-fledged tutorial, but I did take some pictures to give you an idea of how I went about making a new nightgown by tracing my old one.

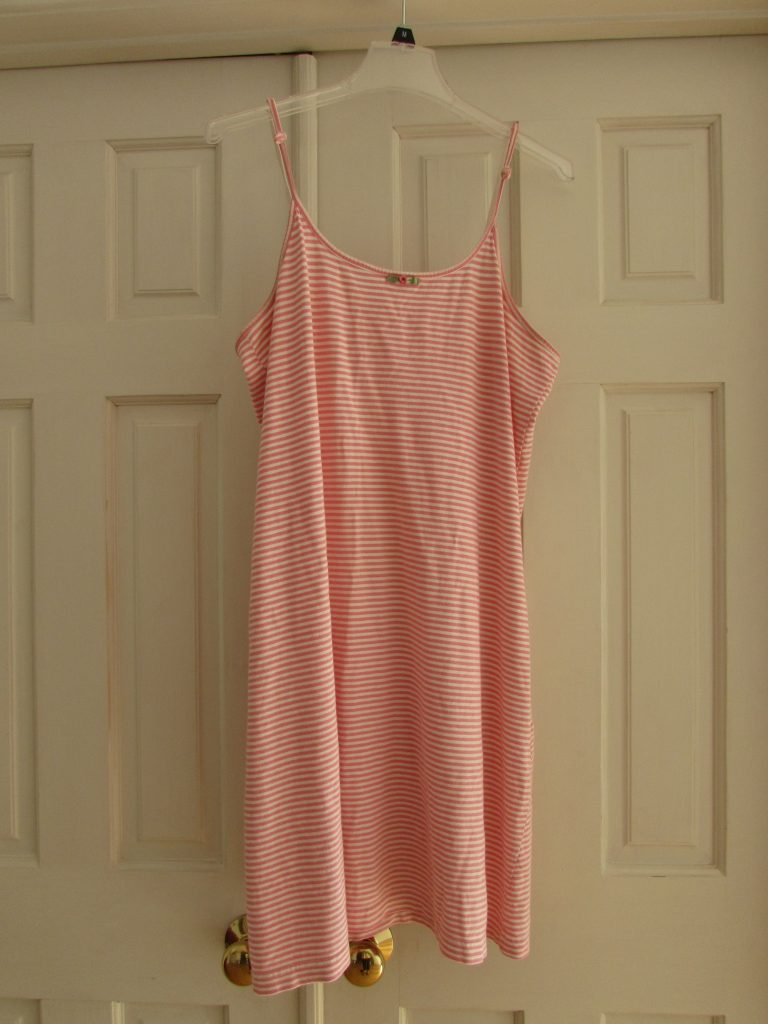
I have a favorite nightgown that I bought some time ago at a very, very expensive store. You might have heard of it, Target?? I have worn it for at least four or five summers and it is worse than ragged. It is the kind of nightgown that I would be afraid to wear in a hotel because if there was a fire in the middle of the night and I had to run to the parking lot in my pajamas, it would be a very embarrassing experience.  See…. it is awful.

IMG_6266

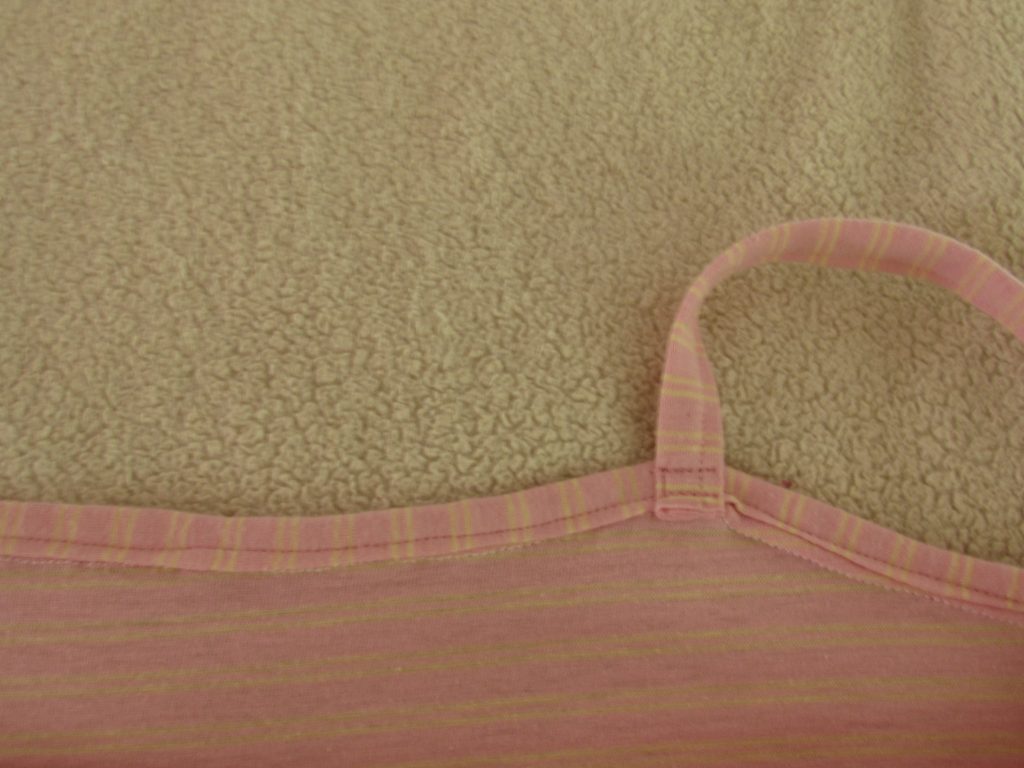
If you look carefully, you can see that I had to tie little knots in the straps because they were so stretched out that it became a bit indecent. (I kind of can’t believe I am showing my worn out pj’s but it’s all for the greater good, right?) Anyway, I really liked this nightgown because it was so comfy.

Several weeks ago, I found a piece of lightweight knit at the fabric/thrift store in our town. It was a bargain. Maybe 2.5 yards long and 60″ wide so I knew I could get a nightgown out of it and, if I screwed up the pattern, I would probably have enough to try again.

What I did was basically fold the existing nightgown and trace the front and back sections on to the new fabric. The hardest part of this was that the new fabric is basically the same as the original and it was kind of hard to see (and worse to photograph) what I was doing. Also, the old nightgown was worn and the fabric stretched, making it difficult to work with.

IMG_6267

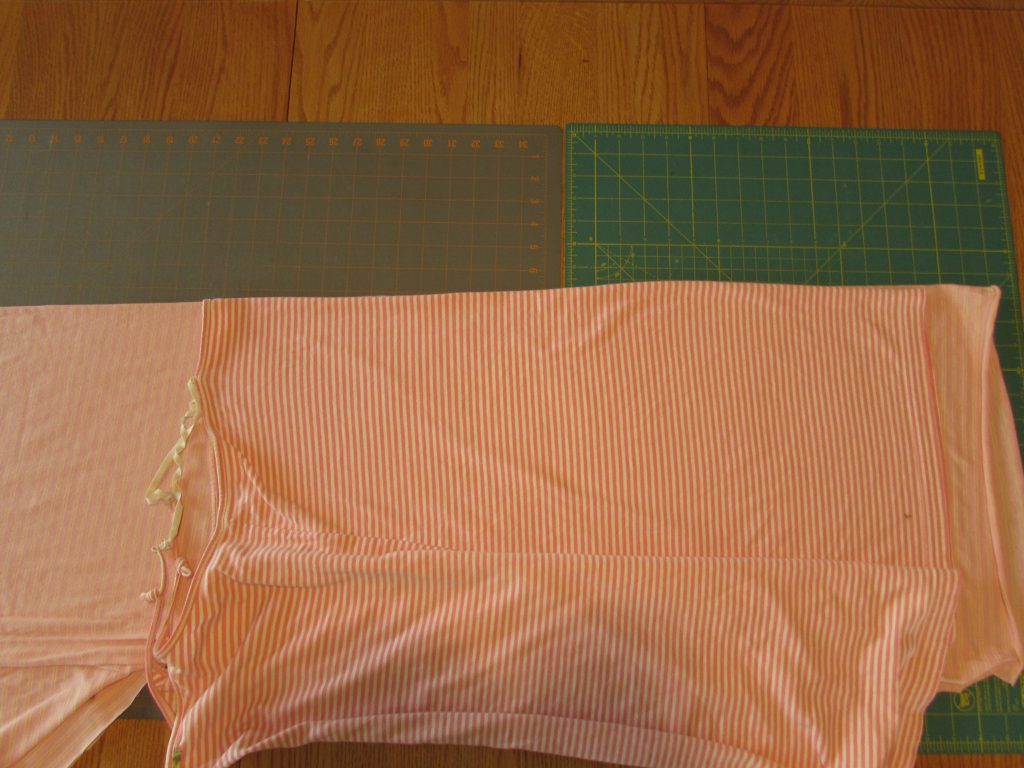
For the front piece, I folded the front of the nightgown, wrong sides together, exactly in half (as close to exact as one can fold an old, stretched out piece of knit fabric.)

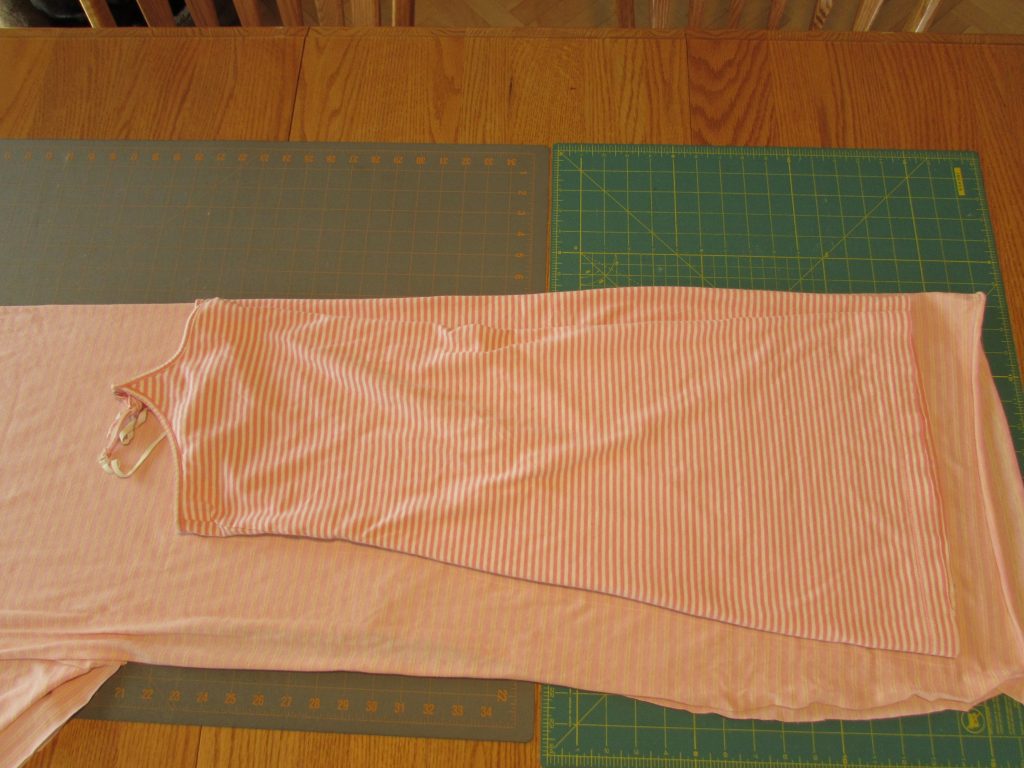
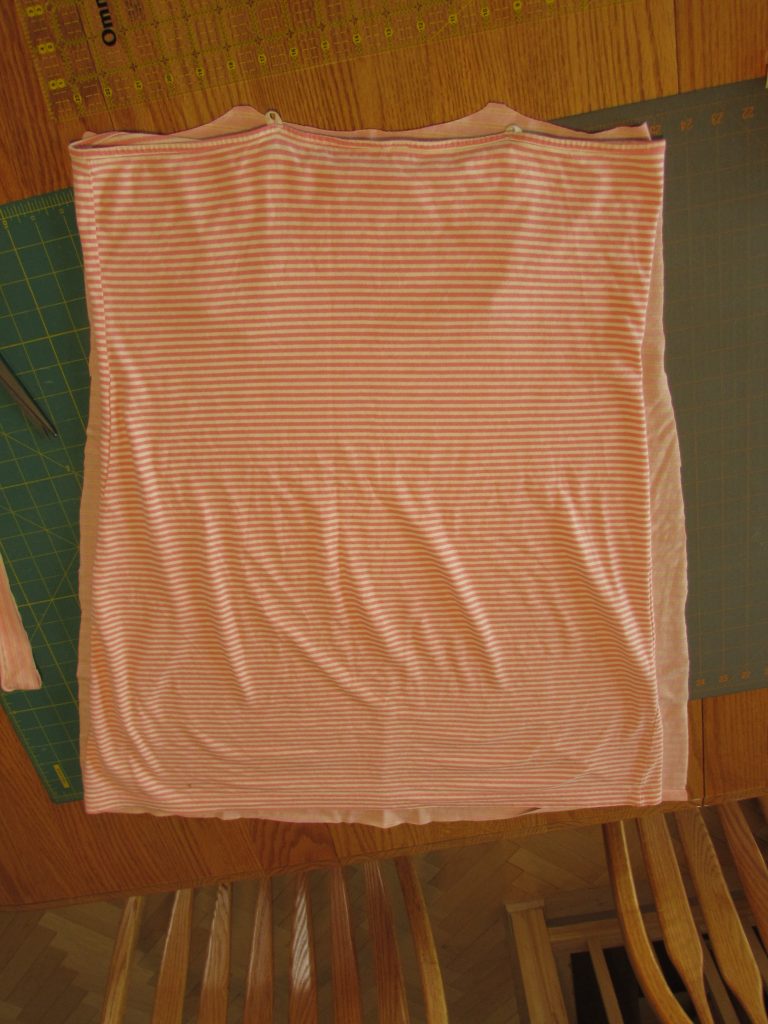
IMG_6268Then I laid out the new fabric. (See how close the colors are?) A quick aside to explain something; when I cut lengths fabric, I use the dining room table. I put my largest cutting mats down end to end first, so I don’t scratch anything. It also gives me the choice of using scissors or a rotary cutter.  Ok – next, I placed the folded nightgown along the folded edge of the fabric and I traced it with a Clover Chaco-Liner pen. It was tricky because I only have white chalk markers and it was very hard to see on the pale pink. Once I traced it, I used scissors to cut it out.

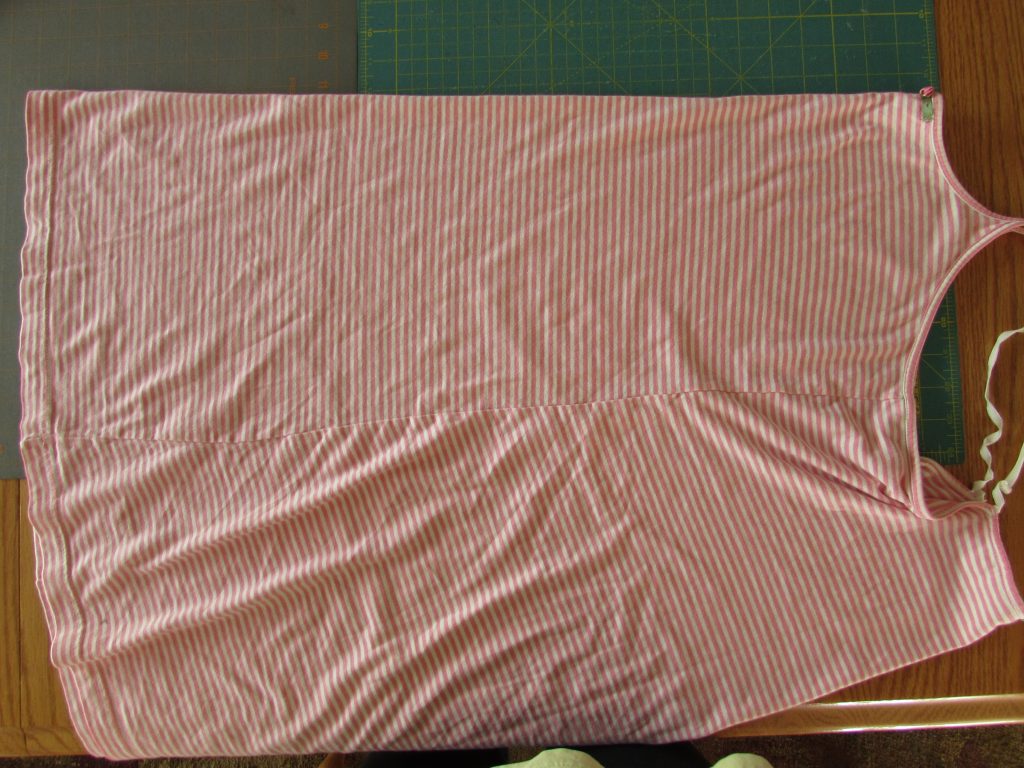
IMG_6269I repeated the same steps for the back of the nightgown. Once it was cut out, I opened the pieces and placed them on top of the existing nightgown to see if they were cut to the right shape and size.

IMG_6270

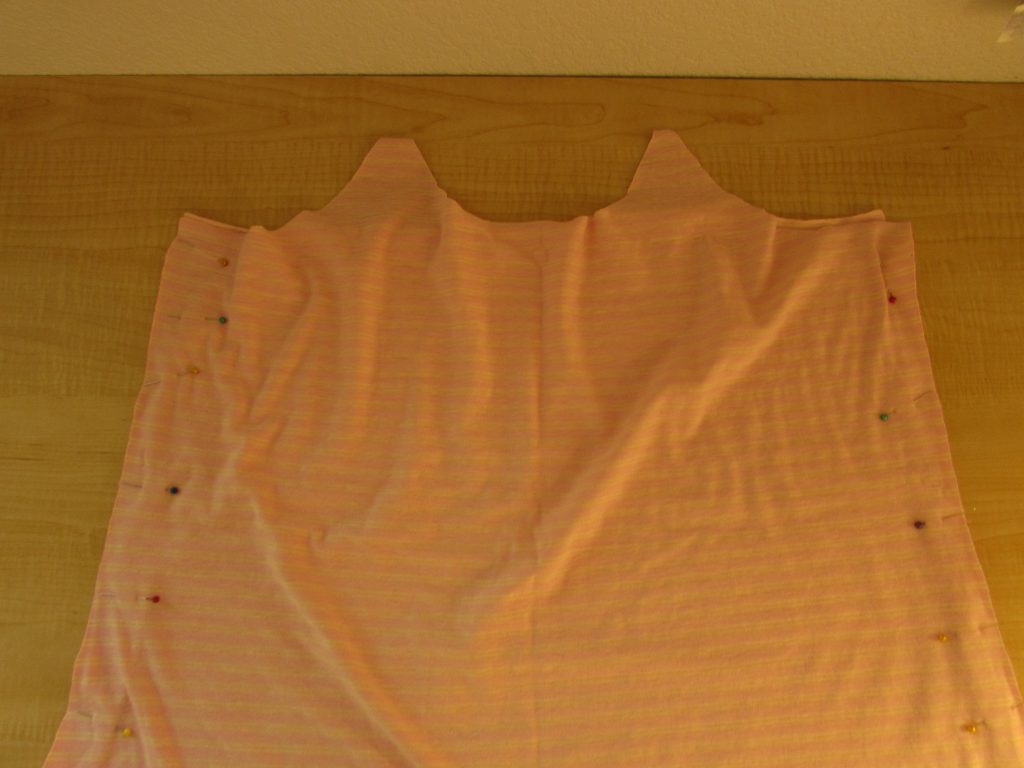
I know it is hard to see but if you look, you’ll notice that the new piece (underneath the old nightgown) is too wide. So I had to do some trimming. After that it was so quick. I pinned front to back, right sides together, and matching the stripes as best I could.

IMG_6274

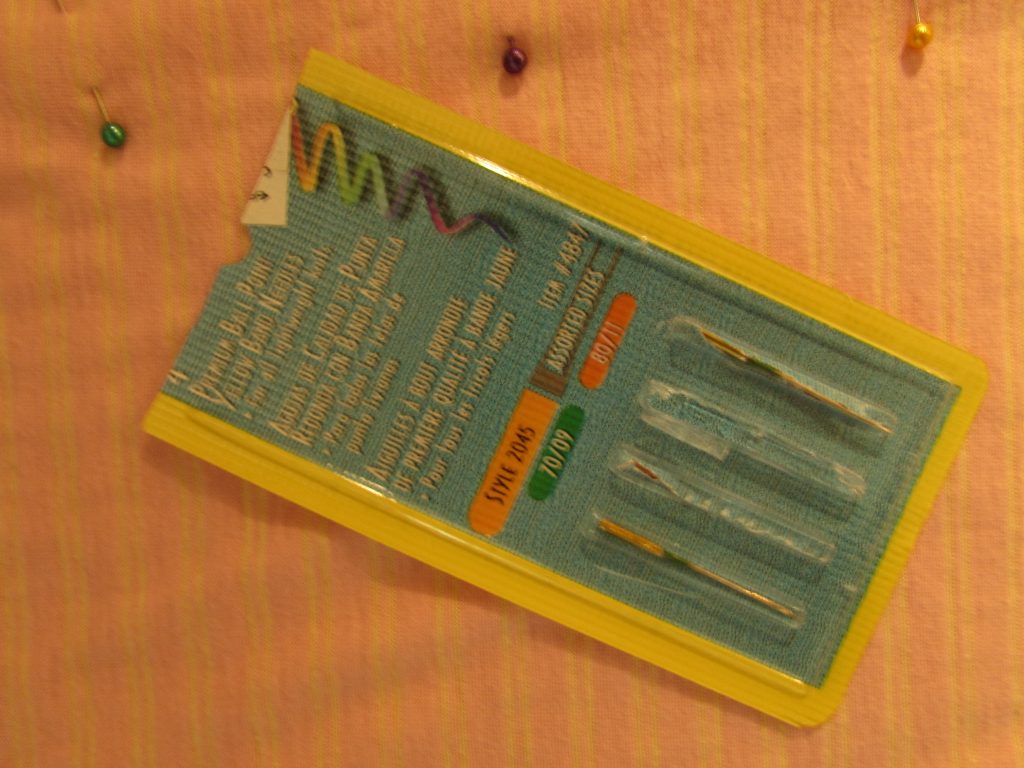
If you aren’t experienced with knit fabrics, you need to know that sewing on knits requires a ballpoint needle. They work best with knits and you won’t experience those annoying skipped stitches that often happen if you sew knits with sharps.

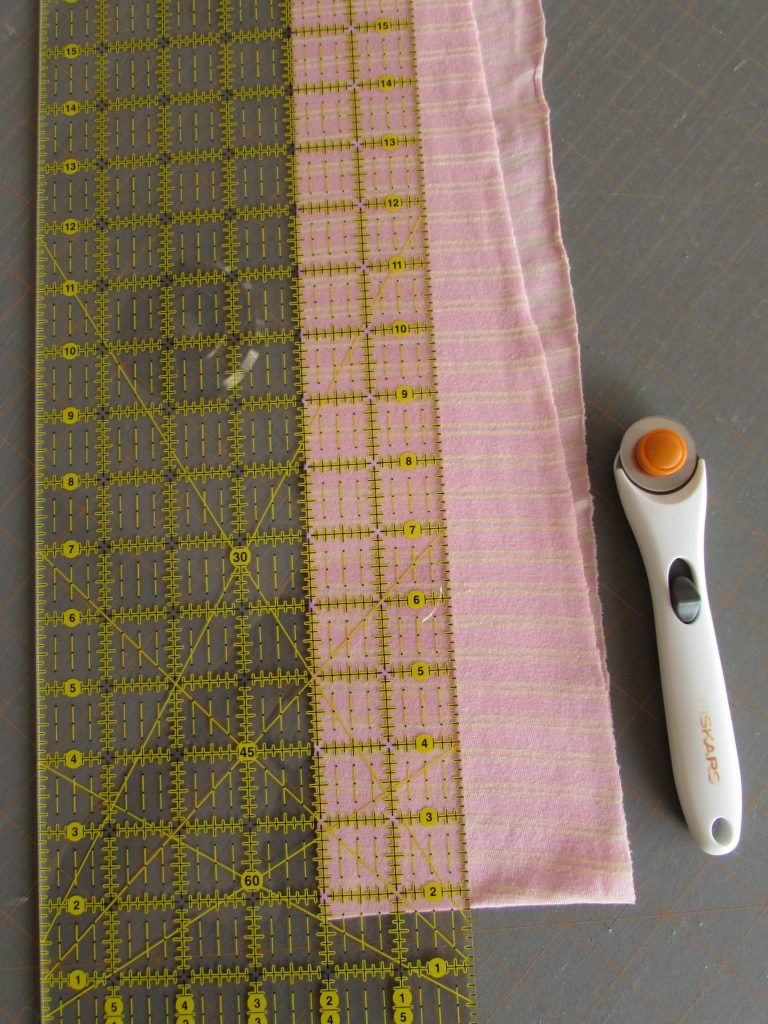
IMG_6275Once the front and back were sewn together, I cut some strips to use to finish the neckline and armhole edges and create straps. Knit fabrics when cut, curl at the edges but a quick spray with some spray starch and a little pressing took care of that. I cut two inch strips. Then I folded one long edge over 1/2″ and pressed it.

IMG_6276

Stitching the facing strips (right sides together) to the neckline was quick. I started at the outer edge on the front, continued along the underarm edge, across the back and along the other underarm, stopping at the other edge of the front of the neckline. (This means I finished both armholes and the back of the neckline.) After pressing the seam, I folded it over, to the inside, and pressed under the raw edge. Finally, I top-stitched the whole length. For whatever reason, I failed to take any pictures of this part of the process. The straps were formed by taking a long piece and pressing it like I did the first piece. It was used to face the front neckline and it continued beyond the neckline to make straps.

IMG_6295

Once that was all top-stitched, I stitched the straps to the outer edges of the neckline on the back. Does that even make sense?? It would if I had taken pictures, darn it.

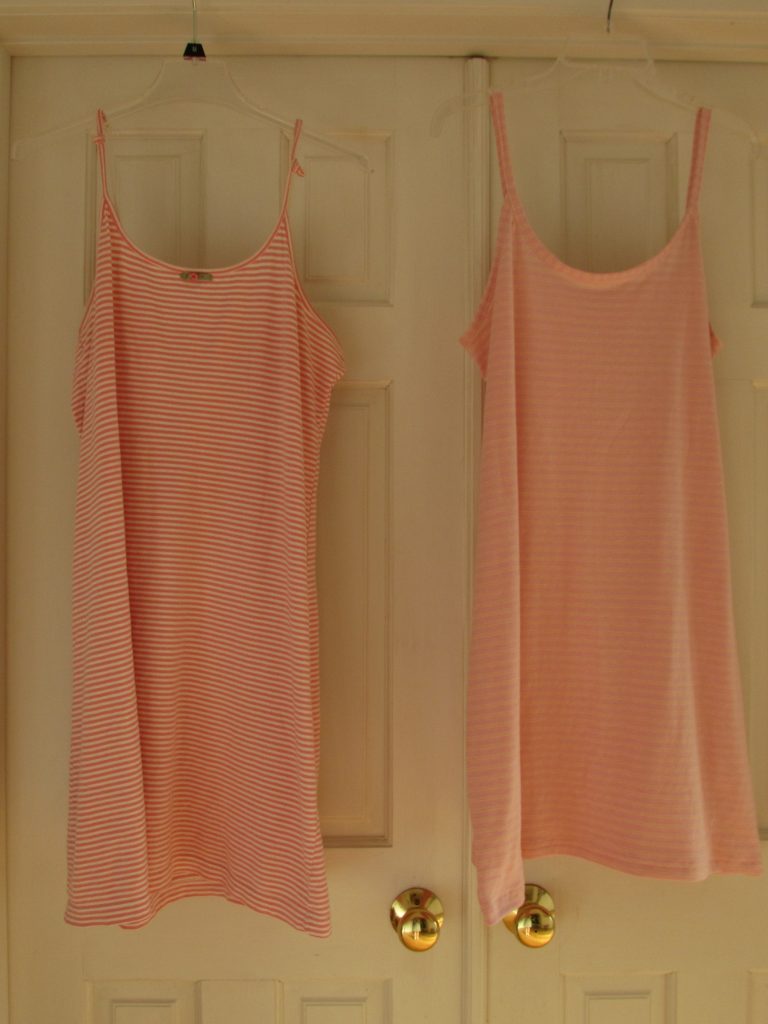
Here is the final result alongside the original. Not bad, right?

IMG_6285

I think it is kind of funny that the fabrics are so similar. That wasn’t intended but the fabric was a great price and the knit felt really nice.
This is the first time I have attempted to use an existing garment as a pattern. It worked well but as always, I learned a few things. The next time I do this I will:

  1. Trace the garment on paper for use as a pattern. That way, I will be able to check the size and proportion before I have cut any fabric. As an added bonus, if the results are good, I have the paper pattern to use again and again.
  2. For this garment, I would have made the bias strips for facing it a bit narrower. The resulting  neckline finish is a bit wider than I like.

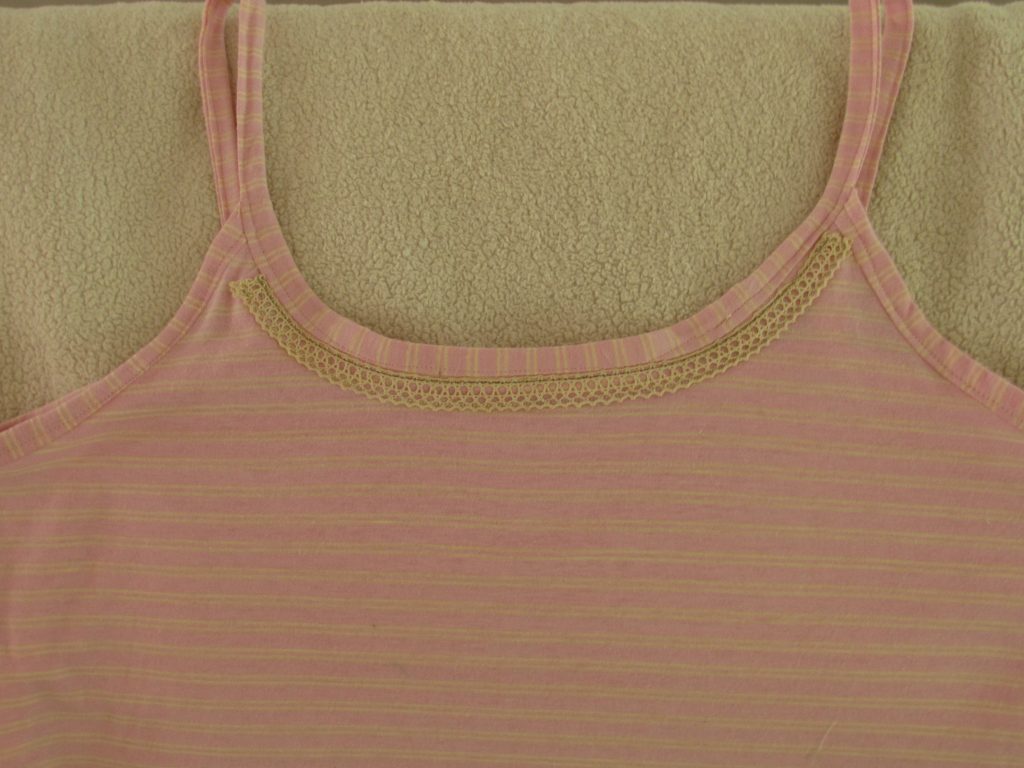
Update:  Once I had the nightgown finished, I decided to add a bit of trim to the neckline to give it some shape. The cotton lace  trim is not a knit so it acts to prevent any stretch at the neck. I like the look of it but of course, if I had added it before facing the neck, it would have a more finished look.

IMG_6293

Another source of instruction on cutting a pattern from a garment is this video produced by Muv at Lizzielenard-vintagesewing.com.  It is really helpful and gave me a good start. I look forward to giving this another try!


Linking to lots of fun places. Check them out at the top of the page, under Link Ups.

Wearing Washi

As part of May is for Makers, I bought the pattern for the Washi dress. Designed by Rae over at Made by Rae, this dress pattern has been around now for several years. For no particular reason, I haven’t made clothing for myself in a very long time. When Julia was younger, I made her lots of dresses, shorts, pj’s and halloween costumes. Same with the boys when they were younger (well, except for the dresses.) I decided it is time to refresh my memory on garment sewing.

IMG_6233

This dress was a breeze to make. The pattern is very simple (read no zippers or buttonholes to deal with.) There are a few design elements that add style to the dress. First of all, the scooped cut in the neckline (which is totally optional) is very cute. There were hints included with the pattern instructions that I found very helpful. An example of this was the suggestion to add some fusible interfacing behind the front of the neckline so the scooped cut would lie flat.  It worked like a charm.

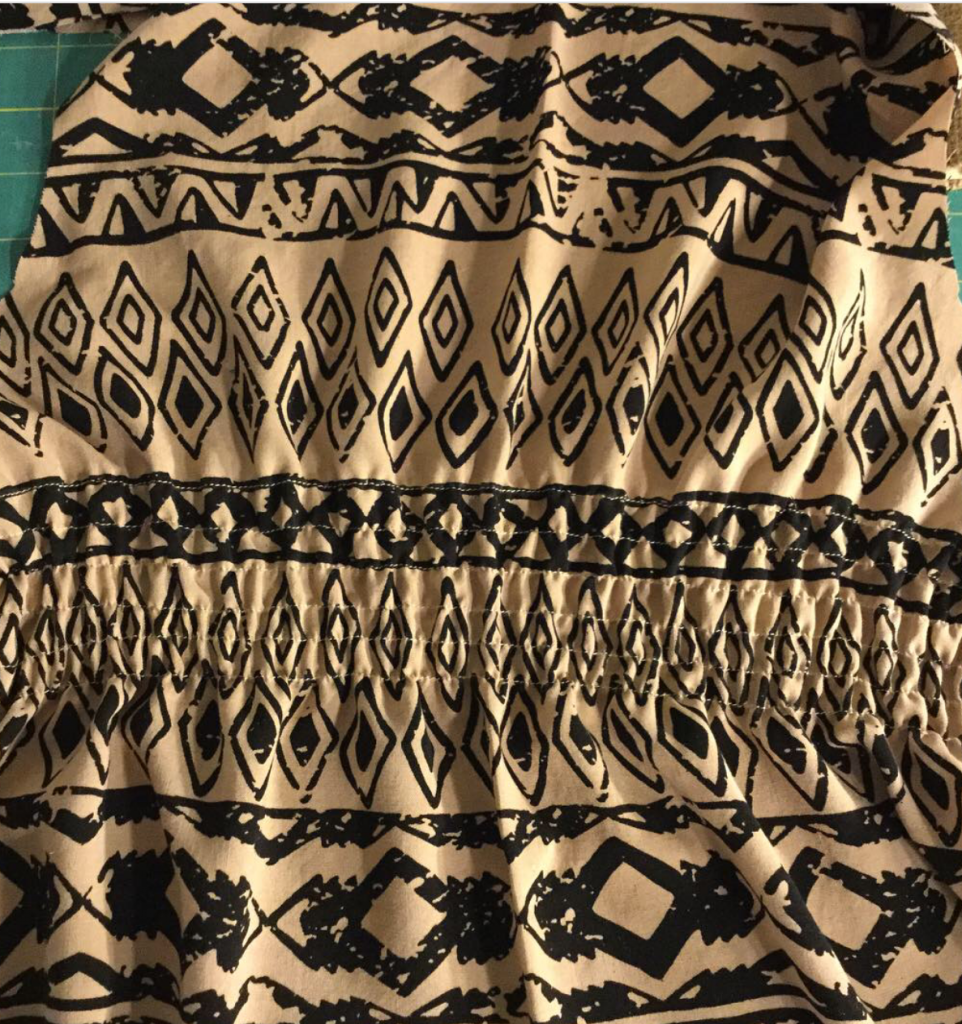
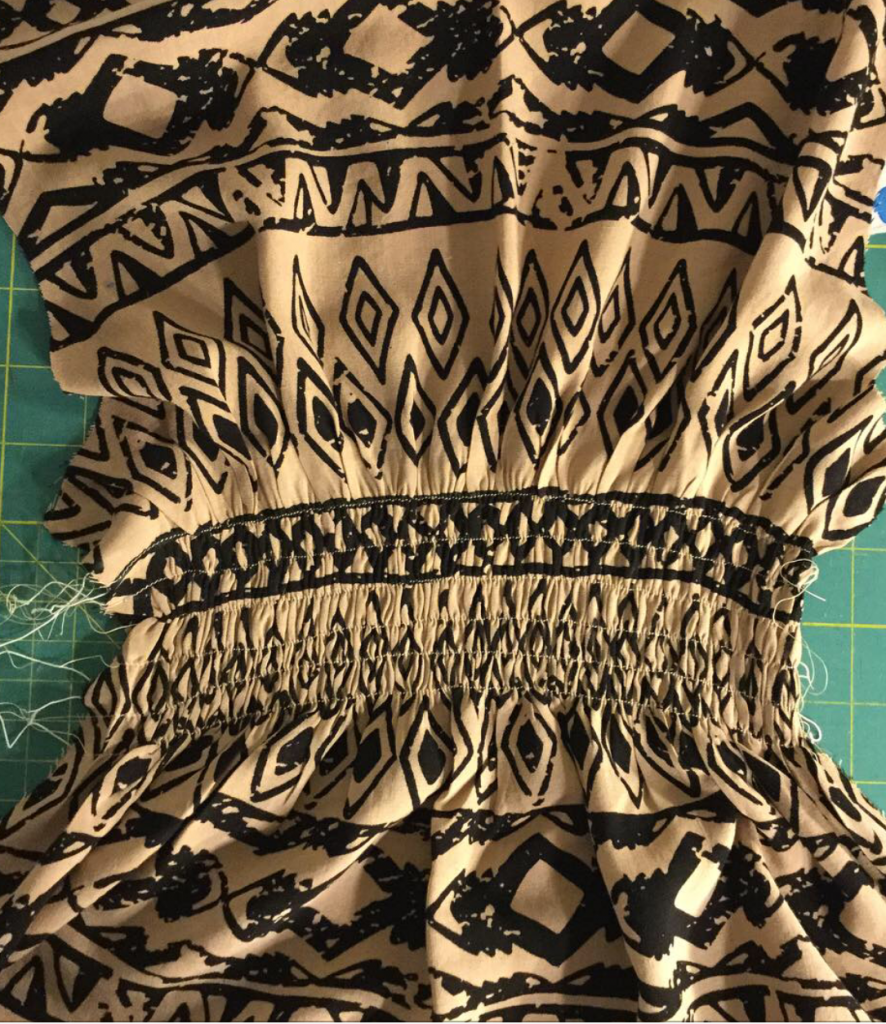
Another feature that I really like is the shirred back on the dress. Never in my long (40 years or so) sewing career have I done any shirring. It was fun. First I practiced a bit on a scrap of the dress fabric to see how it would behave.  I used a rayon fabric which feels wonderful and has a very nice drape. But being somewhat slippery, it was a pain to sew with. If the print on the fabric had not been so linear, it would have been less of a problem but I had to work hard to keep the lines straight and the print matching at the seams. I’m off track here, let’s get back to the shirring. To gather the fabric, normal thread is used on the top and elastic thread is used in the bobbin. The thread must be wound by hand on the bobbin. After marking the lines on the fabric, you just stitch along the line. I tied off the threads by hand, rather than backtacking the stitches at the start and end of each row. The first row looks like it will be too loose but as more rows are stitched, it gathers up a bit tighter. My machine didn’t have a problem with the elastic thread except, for some odd reason, after the end of each row, I had to take the bobbin out and reseat it. I have no idea why but I couldn’t just start the next row. If I lifted the bobbin and reseated it, I had no problem. This was only a minor inconvenience. The fun part of shirring (and I didn’t know this would happen) was the magical shrinkage after pressing the shirred portion. Take a look. Here is the shirring just after I finished the six rows. It looked fine but was quite loose.
IMG_1104

The instructions said to press it so it would shrink up. Yikes, it was magical.

IMG_1103

Pretty interesting, right? Once the shirring was done, everything came together quickly. I think the dress was easily completed in an afternoon.
IMG_6236

I am going to buy a knit fabric and make a second dress. This one is so comfortable and I think it would be even more so in a knit. There are some pleats in the front and I don’t want them to be ‘poochy’ – no 55 year old tummy needs that – so I will look for a thin knit to minimize any potential issues! The sizing was spot on. I made a medium and it fits great. While I wouldn’t say this is a pattern for a someone just learning to sew, it is a fun one if you have a little sewing time under your belt.
Finally, tomorrow is the two year blogaversary for Needle and Foot! I want to celebrate with a giveaway. I hope you will come back and join in!

Linking to Can I Get a Whoop Whoop and Finish it Up Friday – you’ll find links to both of these at the top of the page, under Link Ups.

Taming the Yellow Beast

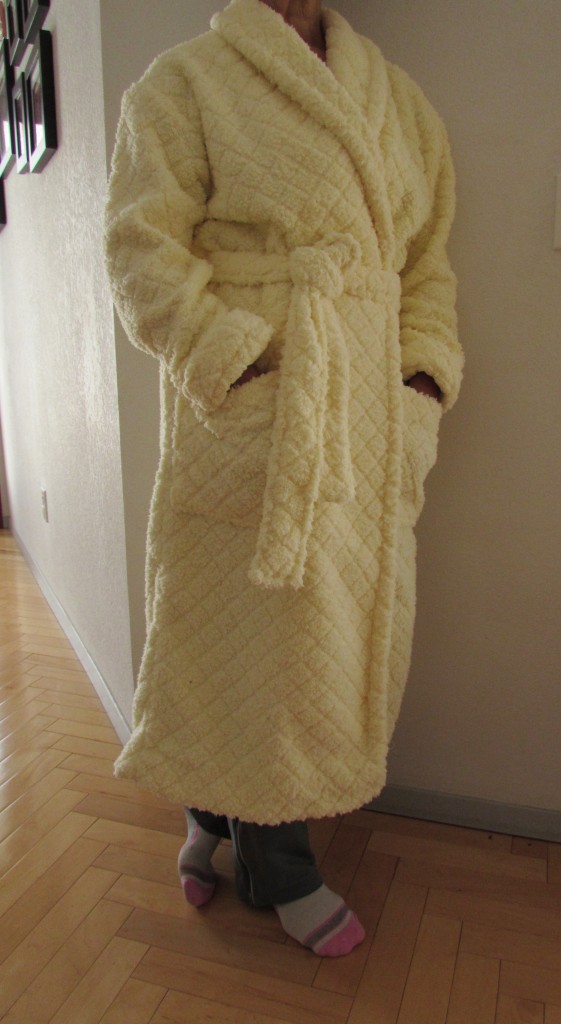
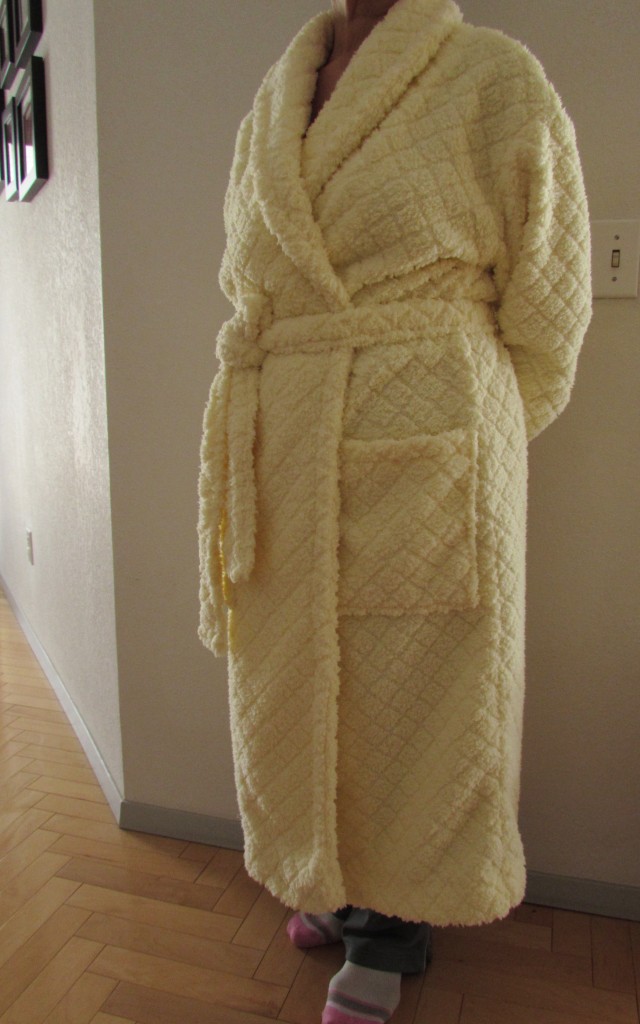
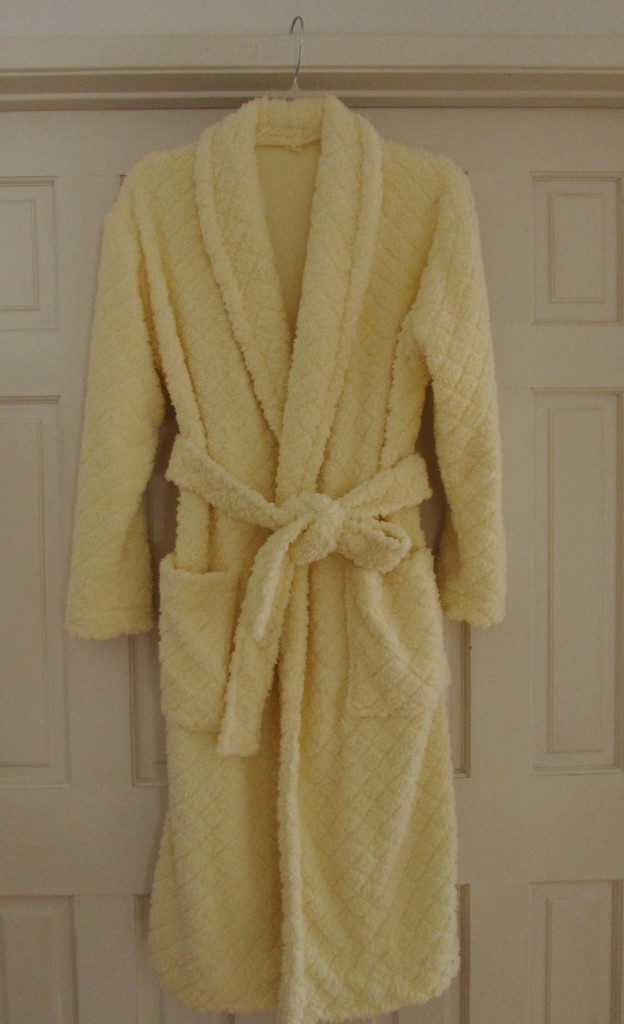
The beast has been tamed. The pile of oversized yellow fluff has been transformed into a cozy bathrobe at last.  I received so much encouragement after that last post that I decided to dive back in and take control of that yellow monster.

It was easy!

First I took a bit of time with the seam ripper and picked out the hem on both sleeves. Turning it inside out, I laid it on the floor and carefully smoothed it out. I pinned two inches or so along the inside of the length of the side seams and the seam of the sleeve. Then I just cut – cut off the two inches along each side.

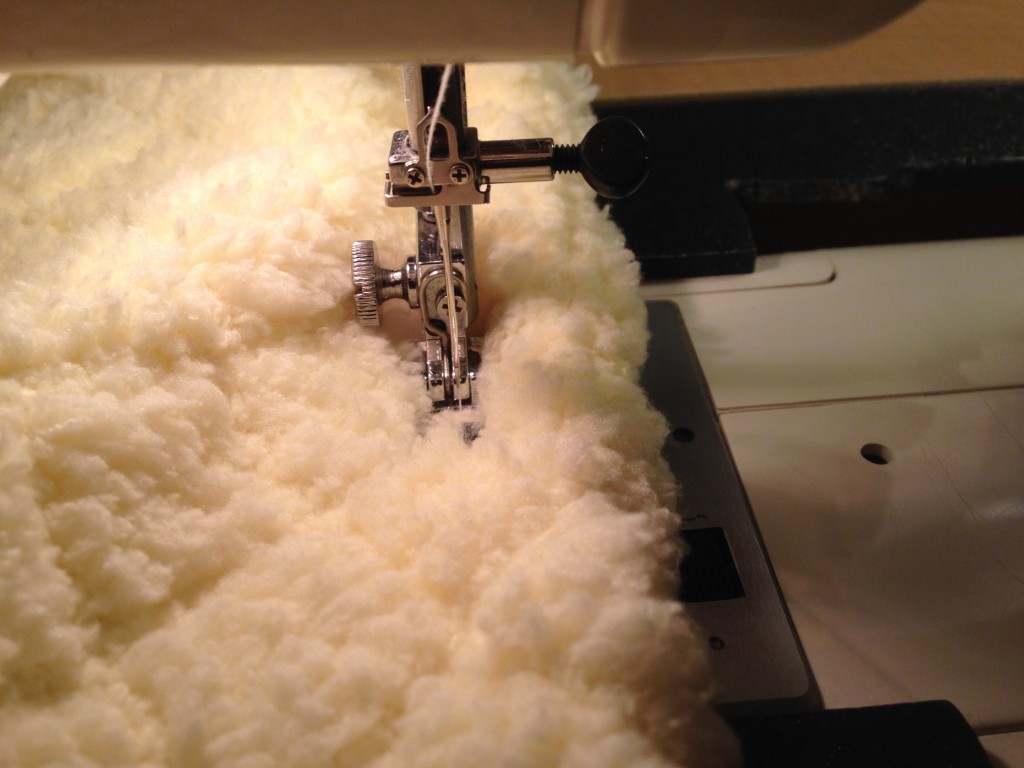
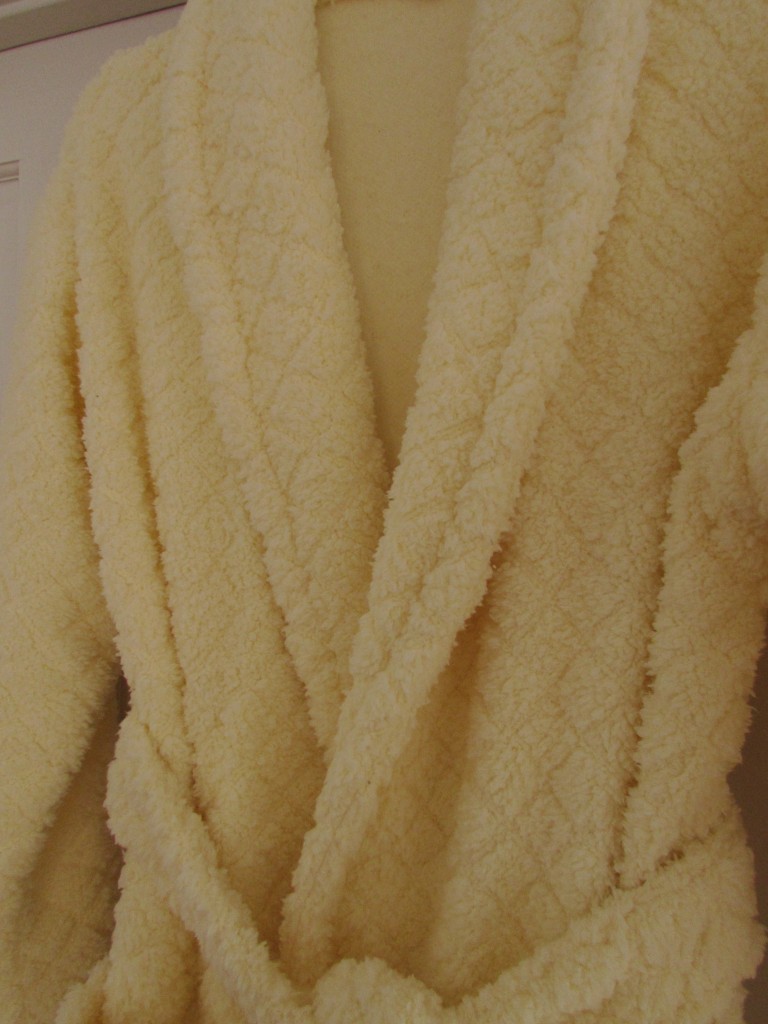
The nice thing about this robe is the fluff. Conversely, the worst thing about this robe is the fluff!  Once everything was stitched back together I tried it on. Amazing how this helped! ( If only I would have thought to do this the first time around!)   It fit much better but was still too puffy. Topstitching around the entire collar and all the way down the front of the robe, on both sides, really helped to tame it. Because of the fluff, it was hard to sew accurate straight seams. When I was sewing on the “wrong” side of the fabric, there was no issue. However sewing on top of the fabric was really tough. My presser foot would get lost in all that fluff! There was a lot of drag on the fabric and my top thread shredded over and over. (I tried my walking foot but that seemed to make it even worse.)IMG_2862

Like I was saying before, the fluff was also a positive attribute in that it didn’t truly matter how straight my seams were. The depth of the fabric made it difficult to see the actual seam, you only see the impression the seam leaves.

Here is my first attempt at modeling the robe (in my sweats and socks!)

IMG_20151218_4286Photo credits to my kind husband for these modeling shots. I may send them into a bathrobe modeling agency. I feel a new career beginning.

IMG_20151218_4287Looking at these amazing photos, I noticed that the pattern on the fabric almost matches where I put the patch pockets on. I cannot take credit for this – it certainly was not planned! I found that hand stitching was much faster than top stitching so I sewed the hem by hand while watching some TV last night.

IMG_20151218_4288

At this point my only remaining concern is that this is one very warm robe. Maybe too much so for this post menopausal model.

IMG_20151218_4290

Linking to Crazy Mom Quilts and Confessions of a Fabric Addict. Also with Sew Bittersweet Designs, once the December ALYOF link up is posted.  Because, with 13 days to spare, I just completed my December goal!  Woot woot!

Both links are found at the top of the page under Link Ups.


Mid-Week Update

First of all, I really want to thank everyone that entered the giveaway last week. I loved reading about all of the Christmas memories. So many really sweet stories were told; I encourage you to take a peek at the comments and read them.  It was very heartwarming. Julia drew two winners. My gifts were sent off to Kelly (she won the bunting) and Sarah (she won the tablerunner). Interestingly, both winners hailed from Pennsylvania!  Congrats to both!

I have been busy in my sewing room over the past week. Working on my row quilt, Christmas gifts (which I will share after the holidays), a very frustratingly fluffy yellow bathrobe and a gift for my dad for his upcoming birthday. Where to start? Let’s go with the frustrating stories and end up on a more pleasant note, shall we?

Oh, this bathrobe! The fur and fluff that flies when I work on it is truly amazing. I had NO idea what I was getting into and never will I buy such a fluffy fabric again! I have the robe basically assembled – I sneezed my way through it only to find that it will fit nicely once I gain about 75 pounds. I don’t know how to account for this. I made it a size small (8-10) but honestly, I could wrap it around me twice over.  When I re-read the post about planning to make this, I can hear a very cocky tone in retrospect. I said that garment sewing came naturally to me because I had done it so often. In some ways that is true. I knew how to put it together, didn’t need to ponder the directions, just dove in and sewed. But what about trying the thing on? At least holding it up to me in front of a mirror at some point?? Nope, as I was getting ready to hem it, I thought,  ‘hmmm, this looks a tad large’. I put it on and my jaw dropped. It frustrated me because I can only imagine the fluff that will fly if I try to take a seam ripper to it.

I tossed it on the bed in the sewing room where it landed in a cloud of yellow. There it sits, waiting until I calm down and decide how to fix it.

Next project update:  My Classic Stitches project that I have been working on all year. You probably remember that I have been doing a BOM project led by Mari over at Academic Quilter. All I had left was to complete the green row of ‘Peace and Plenty” blocks. Well,  I can honestly say these blocks gave me no peace. Not a moment, in fact.  It started out well enough. When I was up in Downieville over Thanksgiving weekend I got all of the green pieces cut and I felt so proud. All organized and ready to go.  I came home and assembled the first block. It was adorable and I even shot an email with a picture of it to Mari. (What is it they say about pride????)

green row 1

With that one done, I quickly made another.  So far, so good.

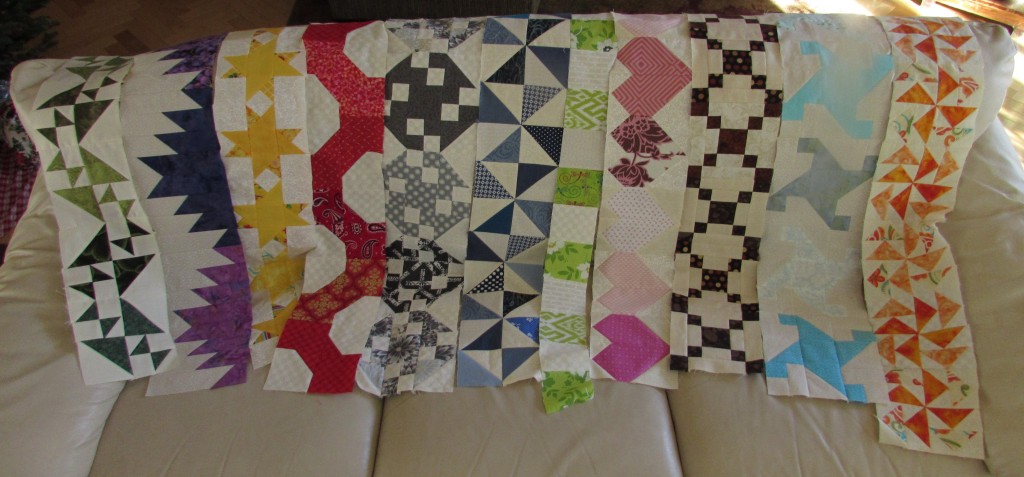
green square 2After those two, everything hit the fan. For some unknown reason (though it may have to do with that whole pride thing) I couldn’t assemble block number three. COULD. NOT.  I sewed it and picked it apart and sewed it again and picked it apart. After the third time using my seam ripper (you know when the edges of the fabric are frayed and you know that the integrity of the block is nill?)  I gave up. Luckily, I had just read Mari’s post about finishing her row quilt (which is spectacular – take a look here!) I saw that she had issues with the brown row and decided to just make a checkered row of simple squares. Since I had my green blocks cut, I just trimmed them down to 3 and 1/2″ and called it good. I figured I was really just taking my cue from the master. So my green row is now a simple row of blocks. (See it to the left of the pink hearts?) I actually like that it is a small row. I wanted a change in the height but couldn’t see myself really making any of these blocks in a three or four inch size. At least not without a considerable amount of pain. 😉IMG_20151214_4274

Right now I have all the rows hanging over the back of the couch (luckily we have two!) I am at the stage where I am moving rows around, trying to decide what order to put them together with. I need to get sashing fabric too. I don’t have any stash that is long enough and I don’t want to piece the sashing. I do love how this is coming together and hopefully I will get it assembled in the next few days.

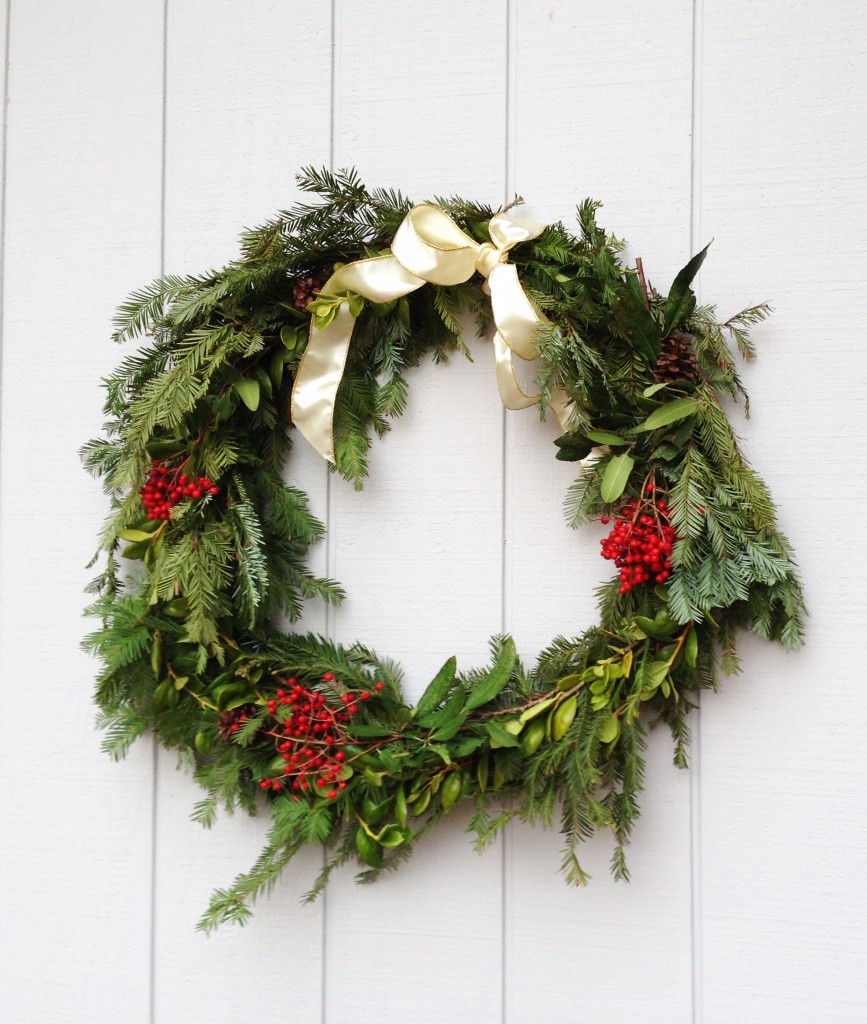
Finally – to leave you on a good note… I went to the monthly meeting of a gardening club that I belong to. Since there really isn’t much gardening to be accomplished right now, we made wreaths for the holidays. I decided to make a really big one so i could hang it on the front of the house. All of the boughs were cut from trees in out yard, which is a nice thing.  It turned out so pretty and was incredibly easy to put together. (I really needed a win at this point!)

wreath


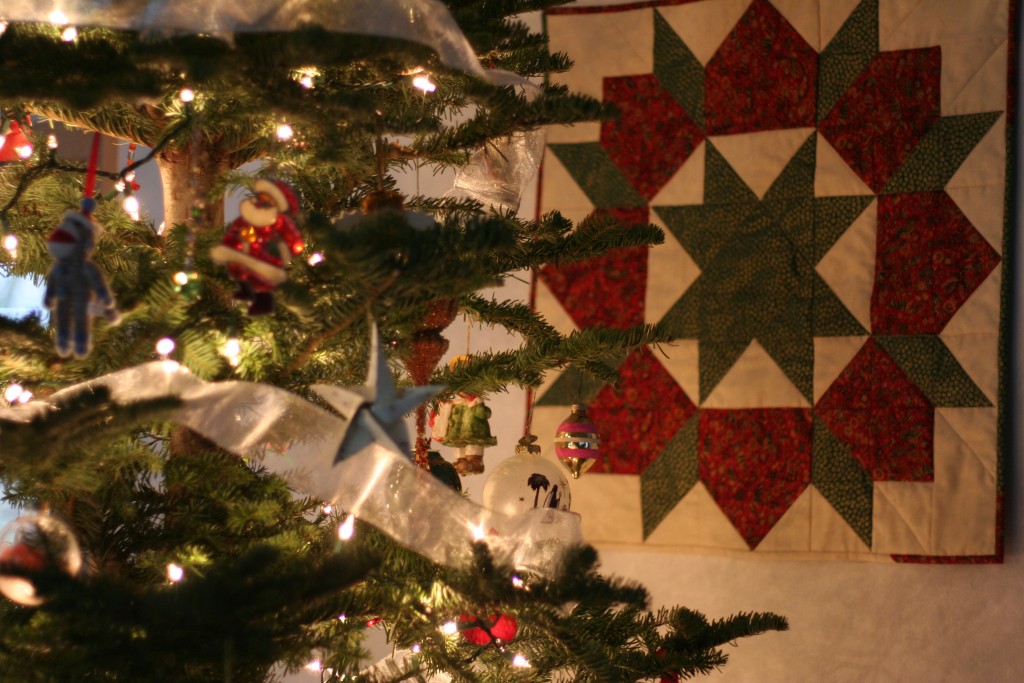
I also wanted to show you how pretty the Swoon Mini looks. I hung it on the wall behind the Christmas tree and the lights just make it glow. I just love it. I need to make another one that doesn’t have a holiday theme.

swoon quilt with tree

I hope your recent sewing efforts are a bit more successful than mine have been. I feel I am turning the corner though. Ready for success.

Linking to Freemotion by the River and Let’s Bee Social.  Links to these two lovely blogs are at the top of the page, under Link Ups.

Long weekend with the family

I hope all of you that celebrated Thanksgiving had a wonderful holiday. We had a small group for dinner and it was a very nice day. The Wednesday prior was a snow day for the local schools so Julia’s weekend was even longer than expected. We didn’t get as much snow as was forecast but what a treat it was.

Ray, Julia, and I went up to Downieville for the rest of the long weekend. Julia brought a friend up too.  On that Saturday we got a text from my middle son, Kyle. Big news! He proposed to his girfriend of five years and she accepted. They are perfect for each other and we couldn’t be happier to have Marisa join our family. The gorgeous picture at the top of the page was taken by Ian (my youngest son) on a recent vacation he had with Kyle and Marisa. In this picture they were at Niagra Falls.

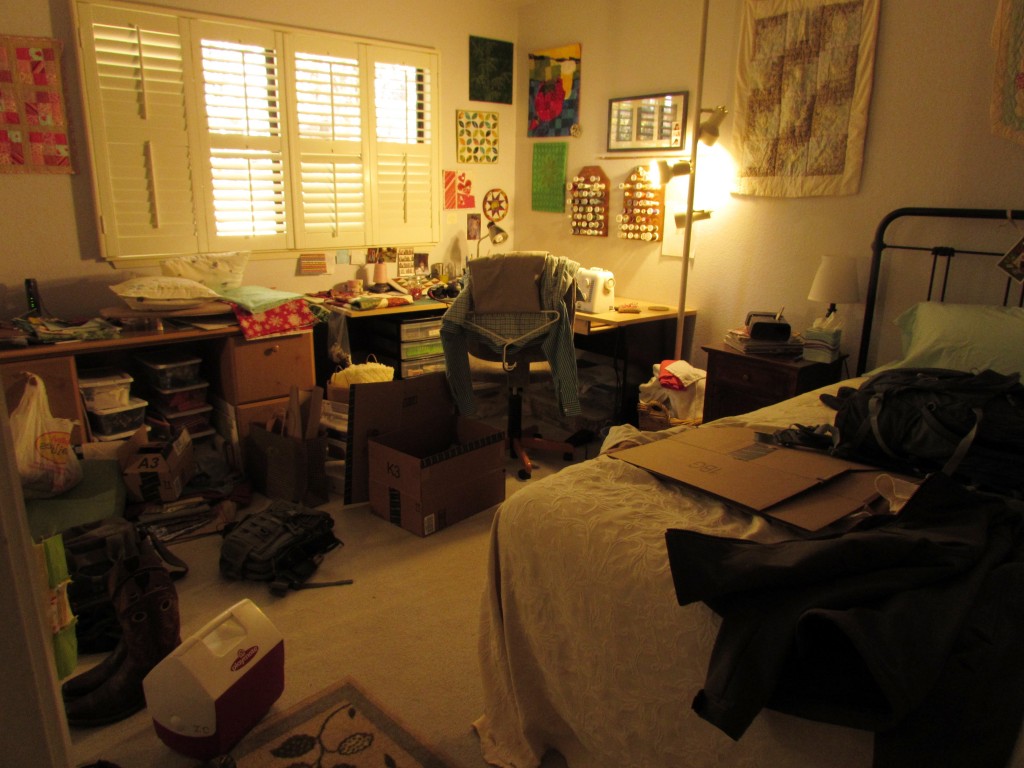
With all that was going on, I didn’t have a whole lot of time to sew. Also, it was a physical impossibility. When Ian is home, he uses the sewing room as his bedroom and this happens:

IMG_20151126_4215

To his credit, he did ask me on multiple occasions if I wanted him to clear a path to the sewing machine. There wasn’t time for it anyway so it was not a big deal.

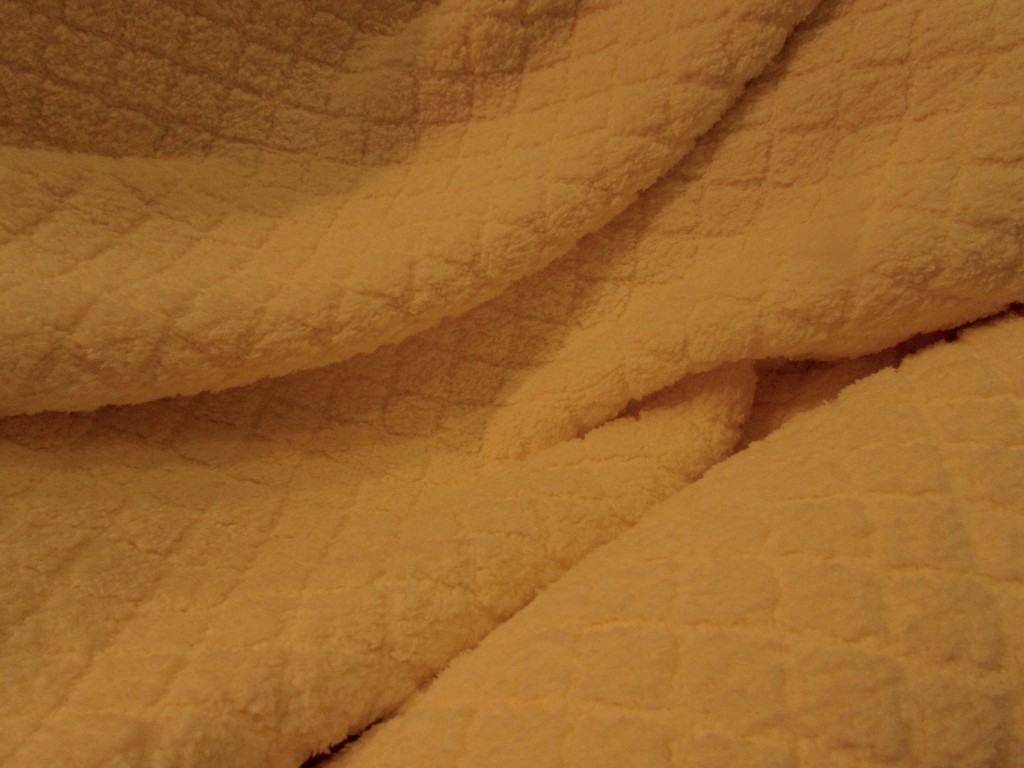
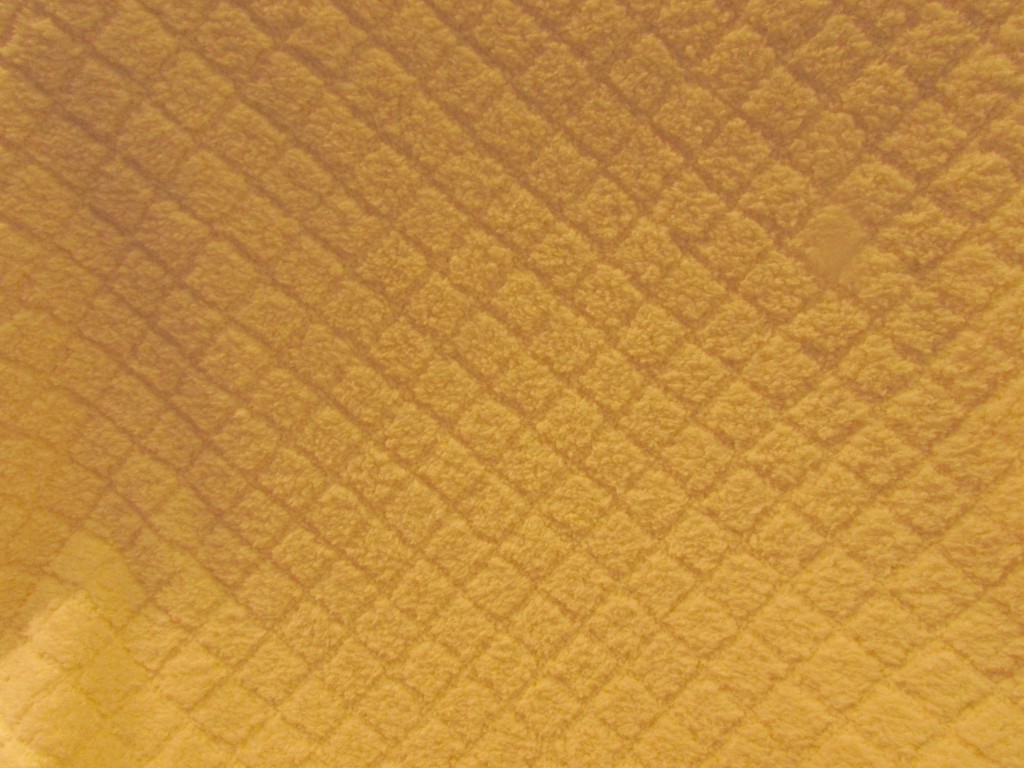
Last night when we got home from Downieville I decided to cut into a piece of fabric I bought last week. I was at Jo-Ann Fabric and had one of their always-welcome “20% off entire purchase” coupons. Those make me a little crazy. I bought some practical items that I needed for my Etsy shop and then decided I wanted to make a new bathrobe. Prior to my current quilting obssession, I used to sew clothing fairly often. A long while back, I wrote a post about this. Like quilting, garment sewing is a fairly expensive hobby. More often than not, I can buy the ready-made garment for less than I can sew it. But again like quilting, it is more fun to make it. I found this wonderful, soft buttery yellow fabric. With my coveted coupon and the fact that it was already on sale, the expense for the fabric went from $55 to $33. Not too shabby.

image

It is a very pale yellow and so snuggly. The texture is perfect and there isn’t a nap to worry about when cutting the piecesimage

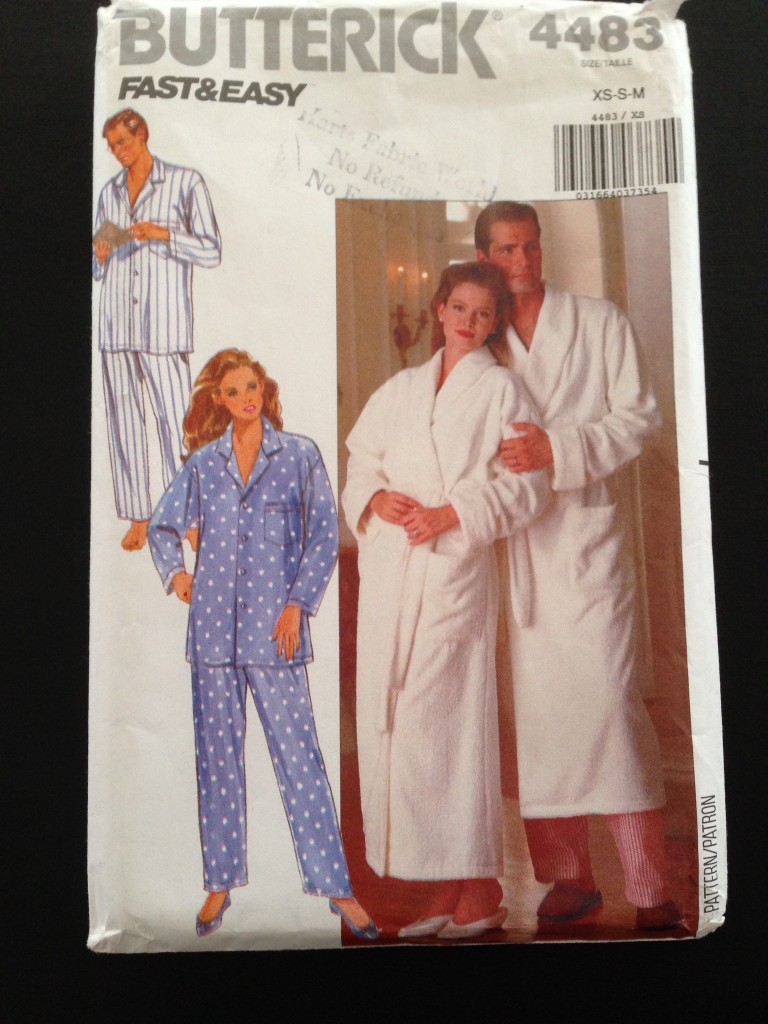
I knew I would be able to find a pattern to use in my pile of old patterns. This one was missing the pieces to the PJ pants but still had all of the pieces to the robe. It is date stamped 1989 so yep, I have had it around for a while!

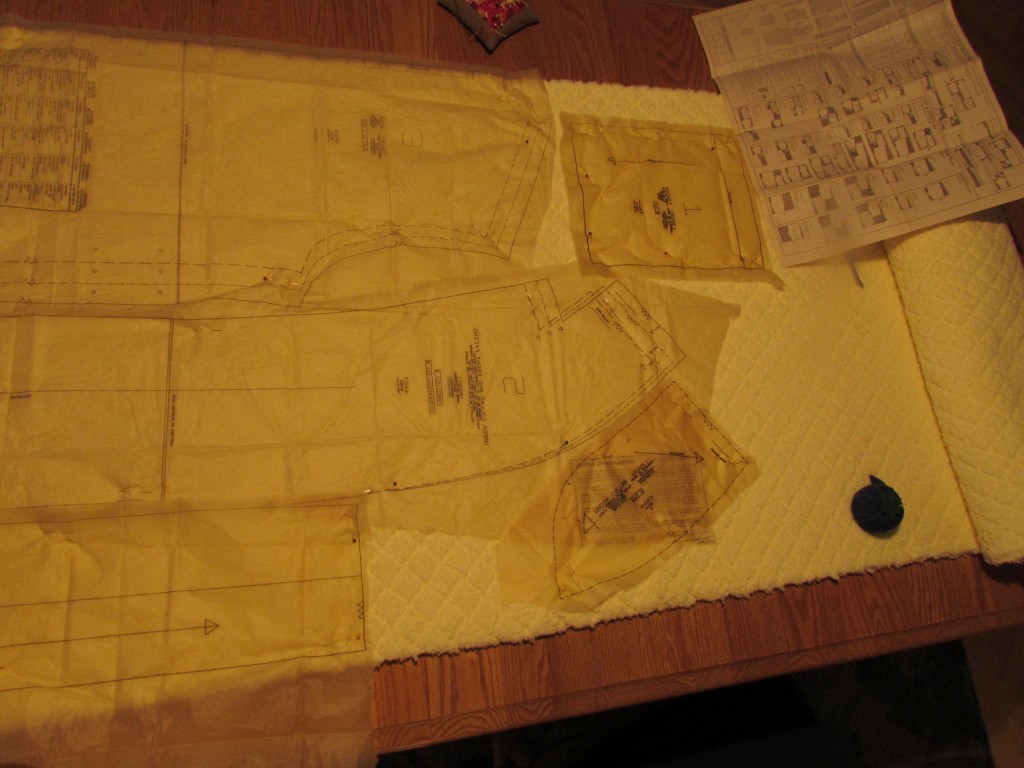
imageIsn’t that couple just dreamy in their matching robes?  Too bad I didn’t think to buy enough of the yellow fabric to make Ray a matching robe……  😉 I got the pieces laid out and cut last night so I am ready to go.  (Well, maybe I should vacuum first. I cut the pieces in my dining room because I was working with a four yard length of fabric. There is yellow fuzz floating around throughout the house now.) This bathrobe consists of a few long seams and putting two pockets on the front so it will come together quickly.  I’m looking forward to working on it. Sewing from a pattern is something that I have done for so long that I don’t really have to think about it. It is mindless sewing – as compared to quilting where I have to watch myself all along the way. In fact, this will come together fast enough that I will call it my December goal for ALYOF. I didn’t set a goal at all in November and didn’t meet my goal for October so it is time to get back on track!

IMG_20151129_4201

Happy Monday everyone!

Linking to Molli Sparkle’s Sunday Stash, ALYOF at Sew Bittersweet Designs as well as Sew Cute Tuesday over at Blossom Heart Quilts.