Category Archives: Crafts

Covid Crafting

Between the Covid safety measures and the wildfires out here, our family is basically stuck inside and at home. The smoke continues to pollute the air and our Air Quality Index has ranged from 175 to 352 (the highest I have seen it) over the last month. (As a point of reference, 0-50 is considered healthy, clean air). In our area, the fire that started this mess began on August 14th. Fortunately, that fire has been dealt with but there are myriad other fires up and down the whole west coast, keeping the air very unhealthy.

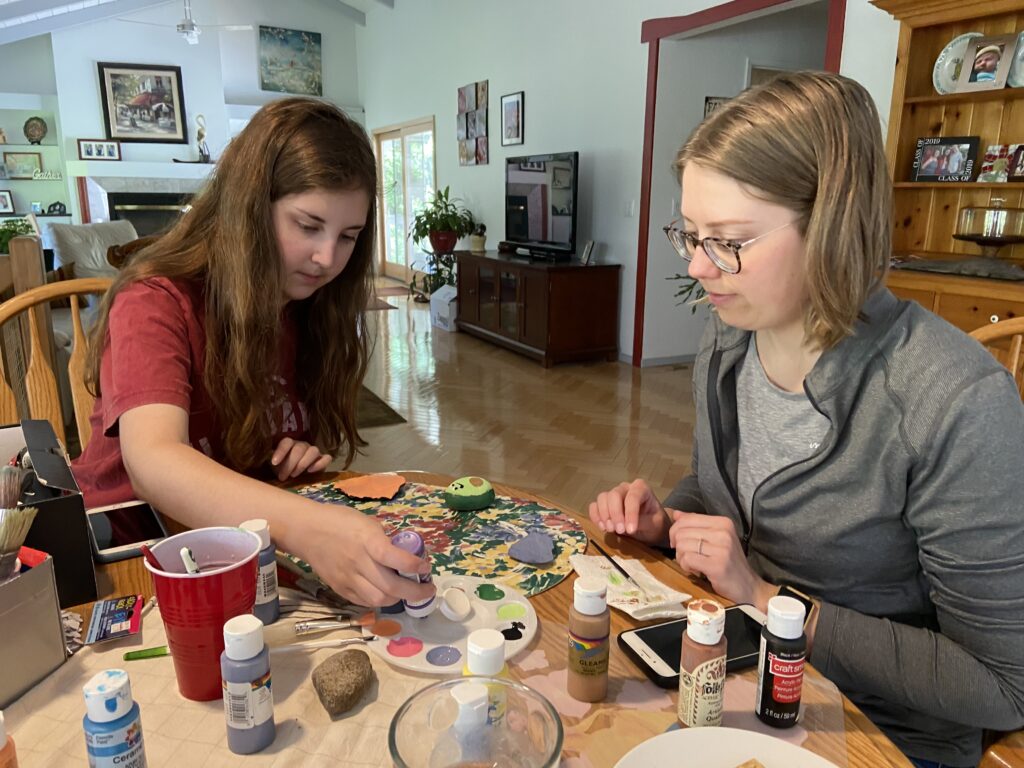
Having to stay inside so much gets boring and the three of us get antsy. We have been trying to do projects, read a lot, watch tv and play an occasional card game to pass the time. Over the weekend we got crafty! Want to see what we made?

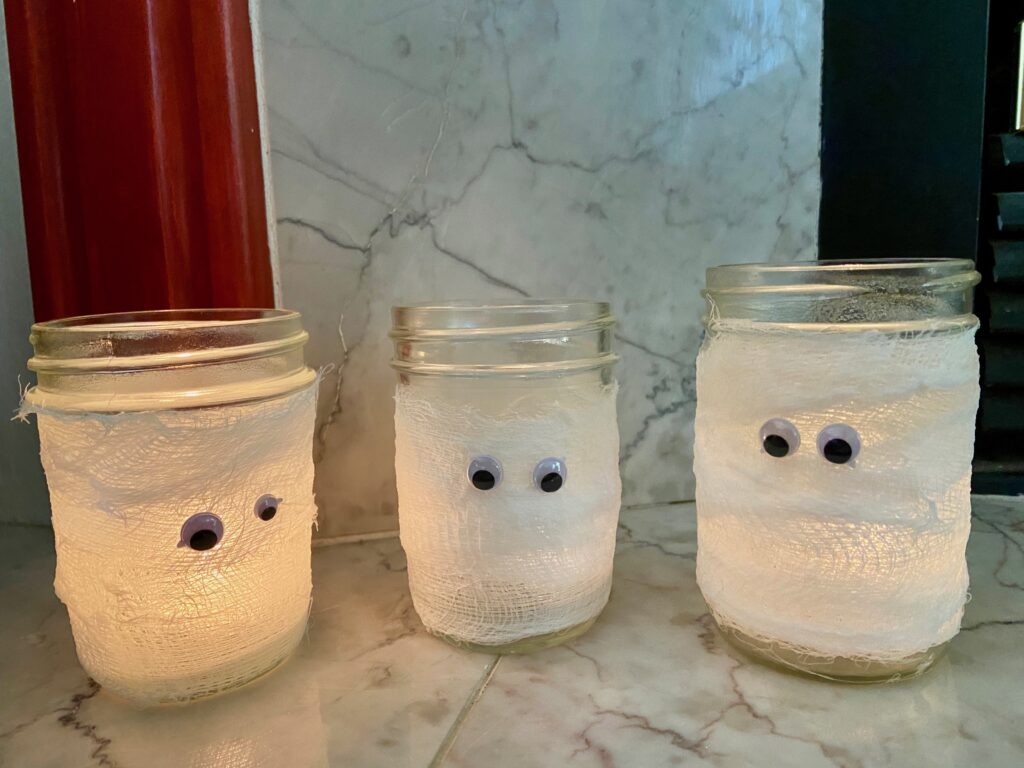
The first project were these silly mummy jars. Julia and I thought they would be fun to have out for Halloween. The project is so simple and if you have small children, it is perfect for them. You only need a few clean jars, some Mod Podge, cheesecloth, and wiggly eyes.

Cut the cheesecloth into strips approximately 1 1/2″ wide. Maybe two strips per jar? Paint the outside of the jar with a coat of Mod Podge. Wrap the strips around the jar as you might wrap a mummy. Haha – like I would know how to wrap a mummy. Then paint another coat of Mod Podge over the wrapped jar. Let dry. The next day we used a hot glue gun and attached the wiggly eyes. Julia’s boyfriend decided one of our mummies needed to have crazy eyes so he used two different size wiggly eyes.

They are quite cute when lit up.

Moving on, and in keeping with the Mod Podge crafting, Julia and I colored two jars. I really love these!

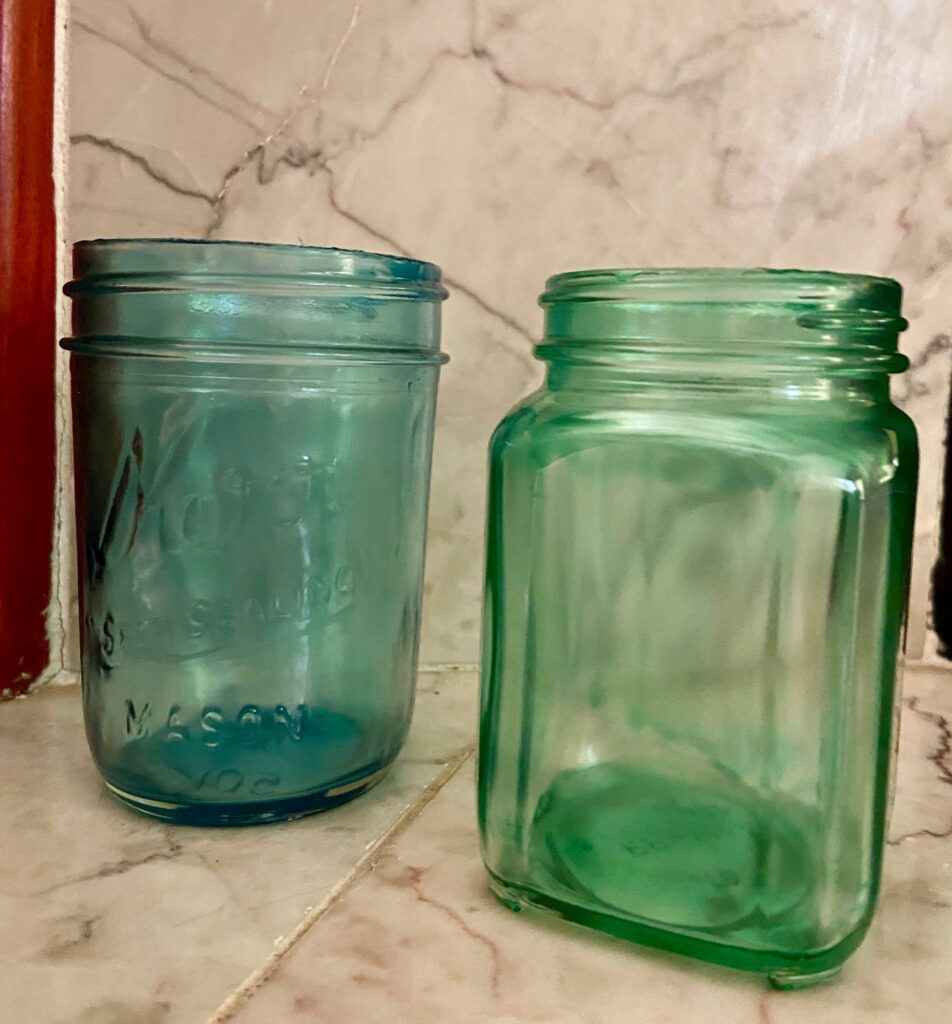
Another simple project, you only need two clean jars, Mod Podge, and some food coloring. For these jars, pour about 2 tablespoons of Mod Podge into a little bowl. Add the color you want (remembering not to add too much!) and about a teaspoon of water. Mix until the color is distributed – we used a toothpick to mix ours. Pour the colored glue into the jar and start to rotate your jar slowly, letting the glue run over all sides of the jar. Once the inside of the jar is well coated, drain the Mod Podge out. If you are going to make more jars, drain back into your bowl. Since we didn’t want to make more than one each, we drained the jars over the kitchen trash. Hold it upside down for a minute or so to let it drain. Then invert it on to a tray with waxed paper on it. Let the jars stand upside down for an hour. After that hour passes, bake the jars – standing right side up – for an hour at 225 degrees. They dried clear and hard.

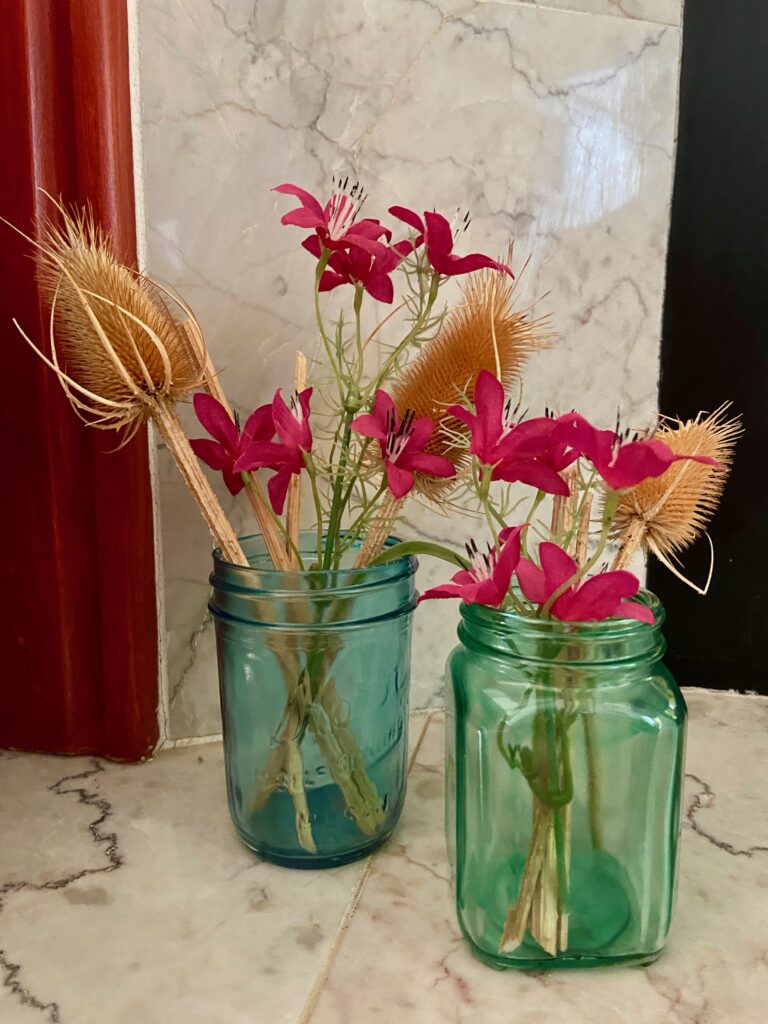
I don’t know that I would put water in them as I am uncertain if that would eventually wash out the finish we made. But they look cute with dried flowers.

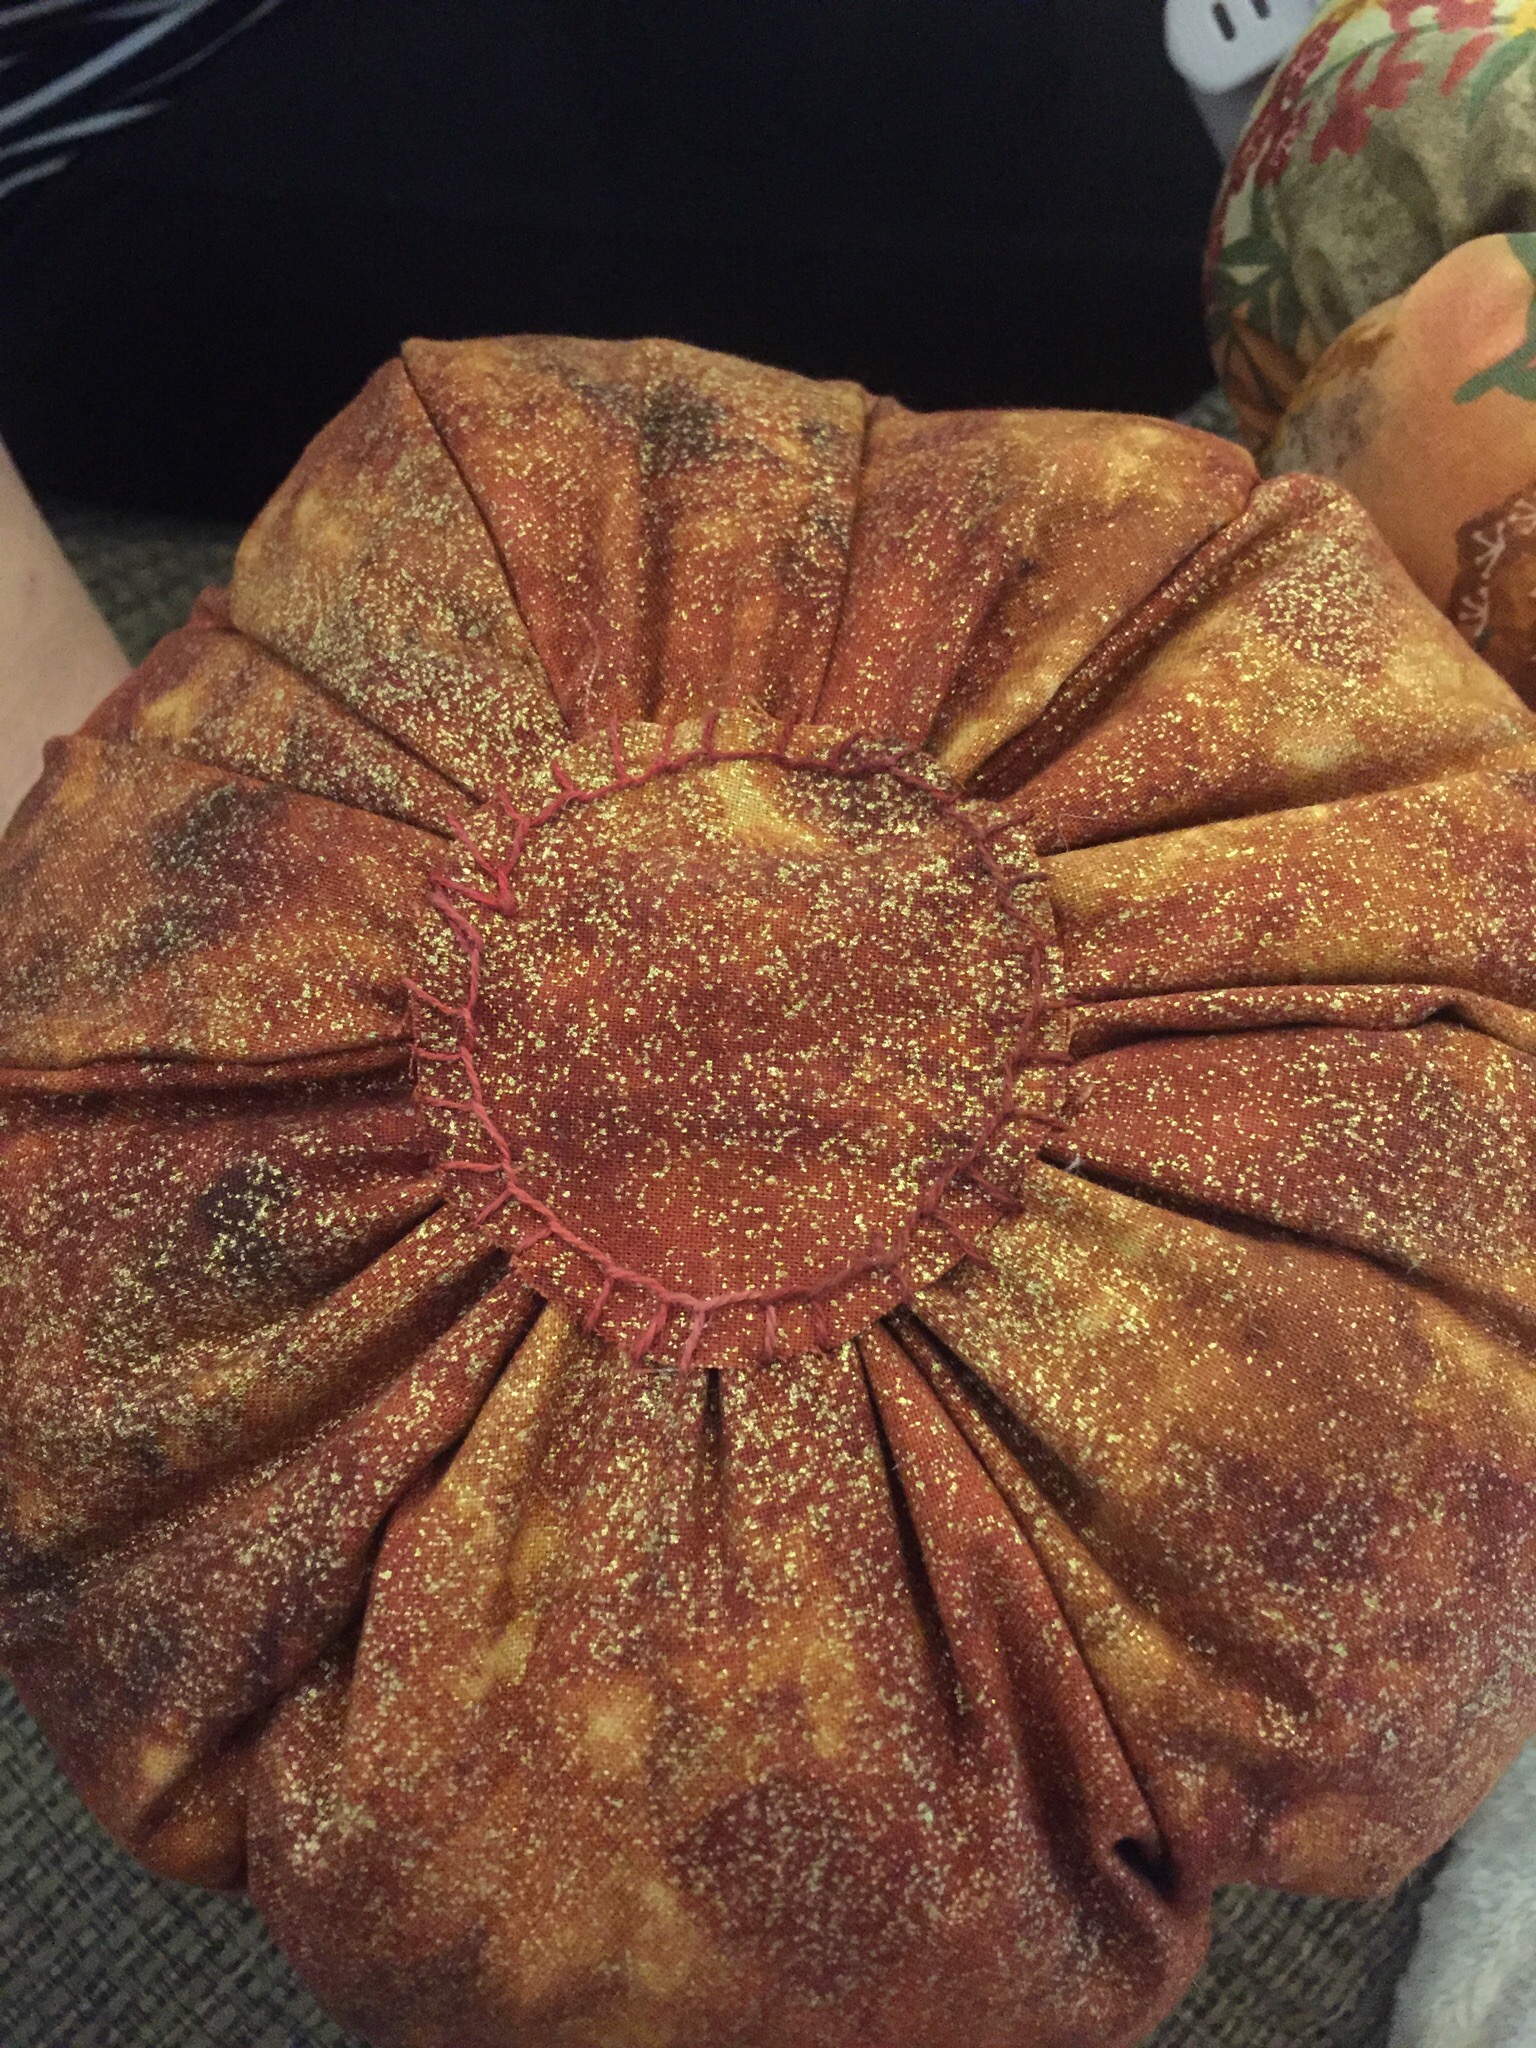
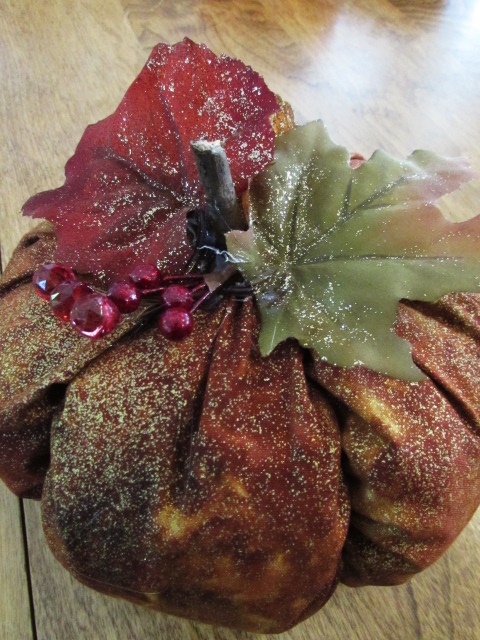
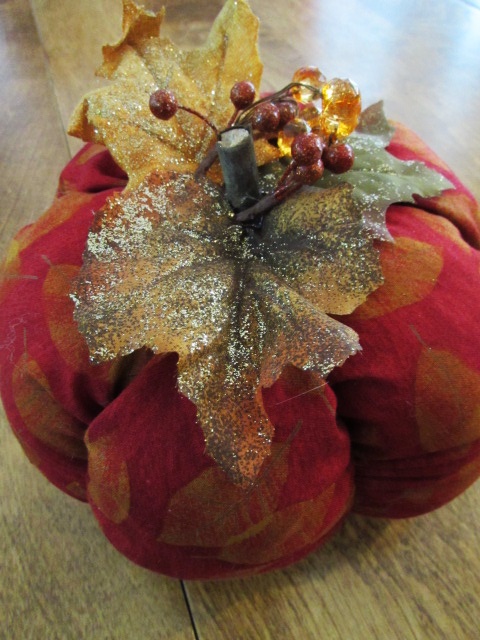
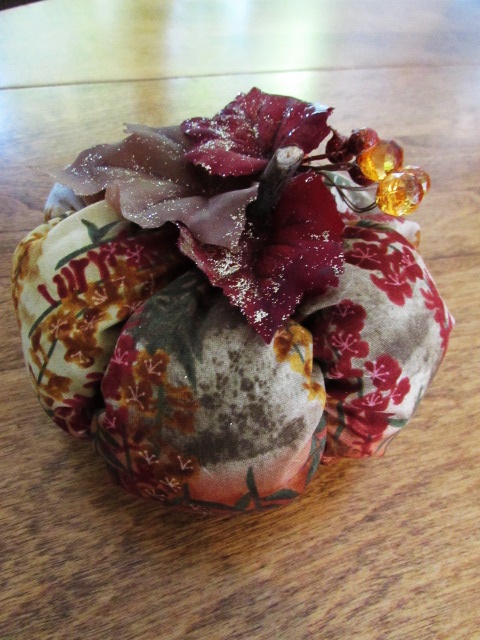
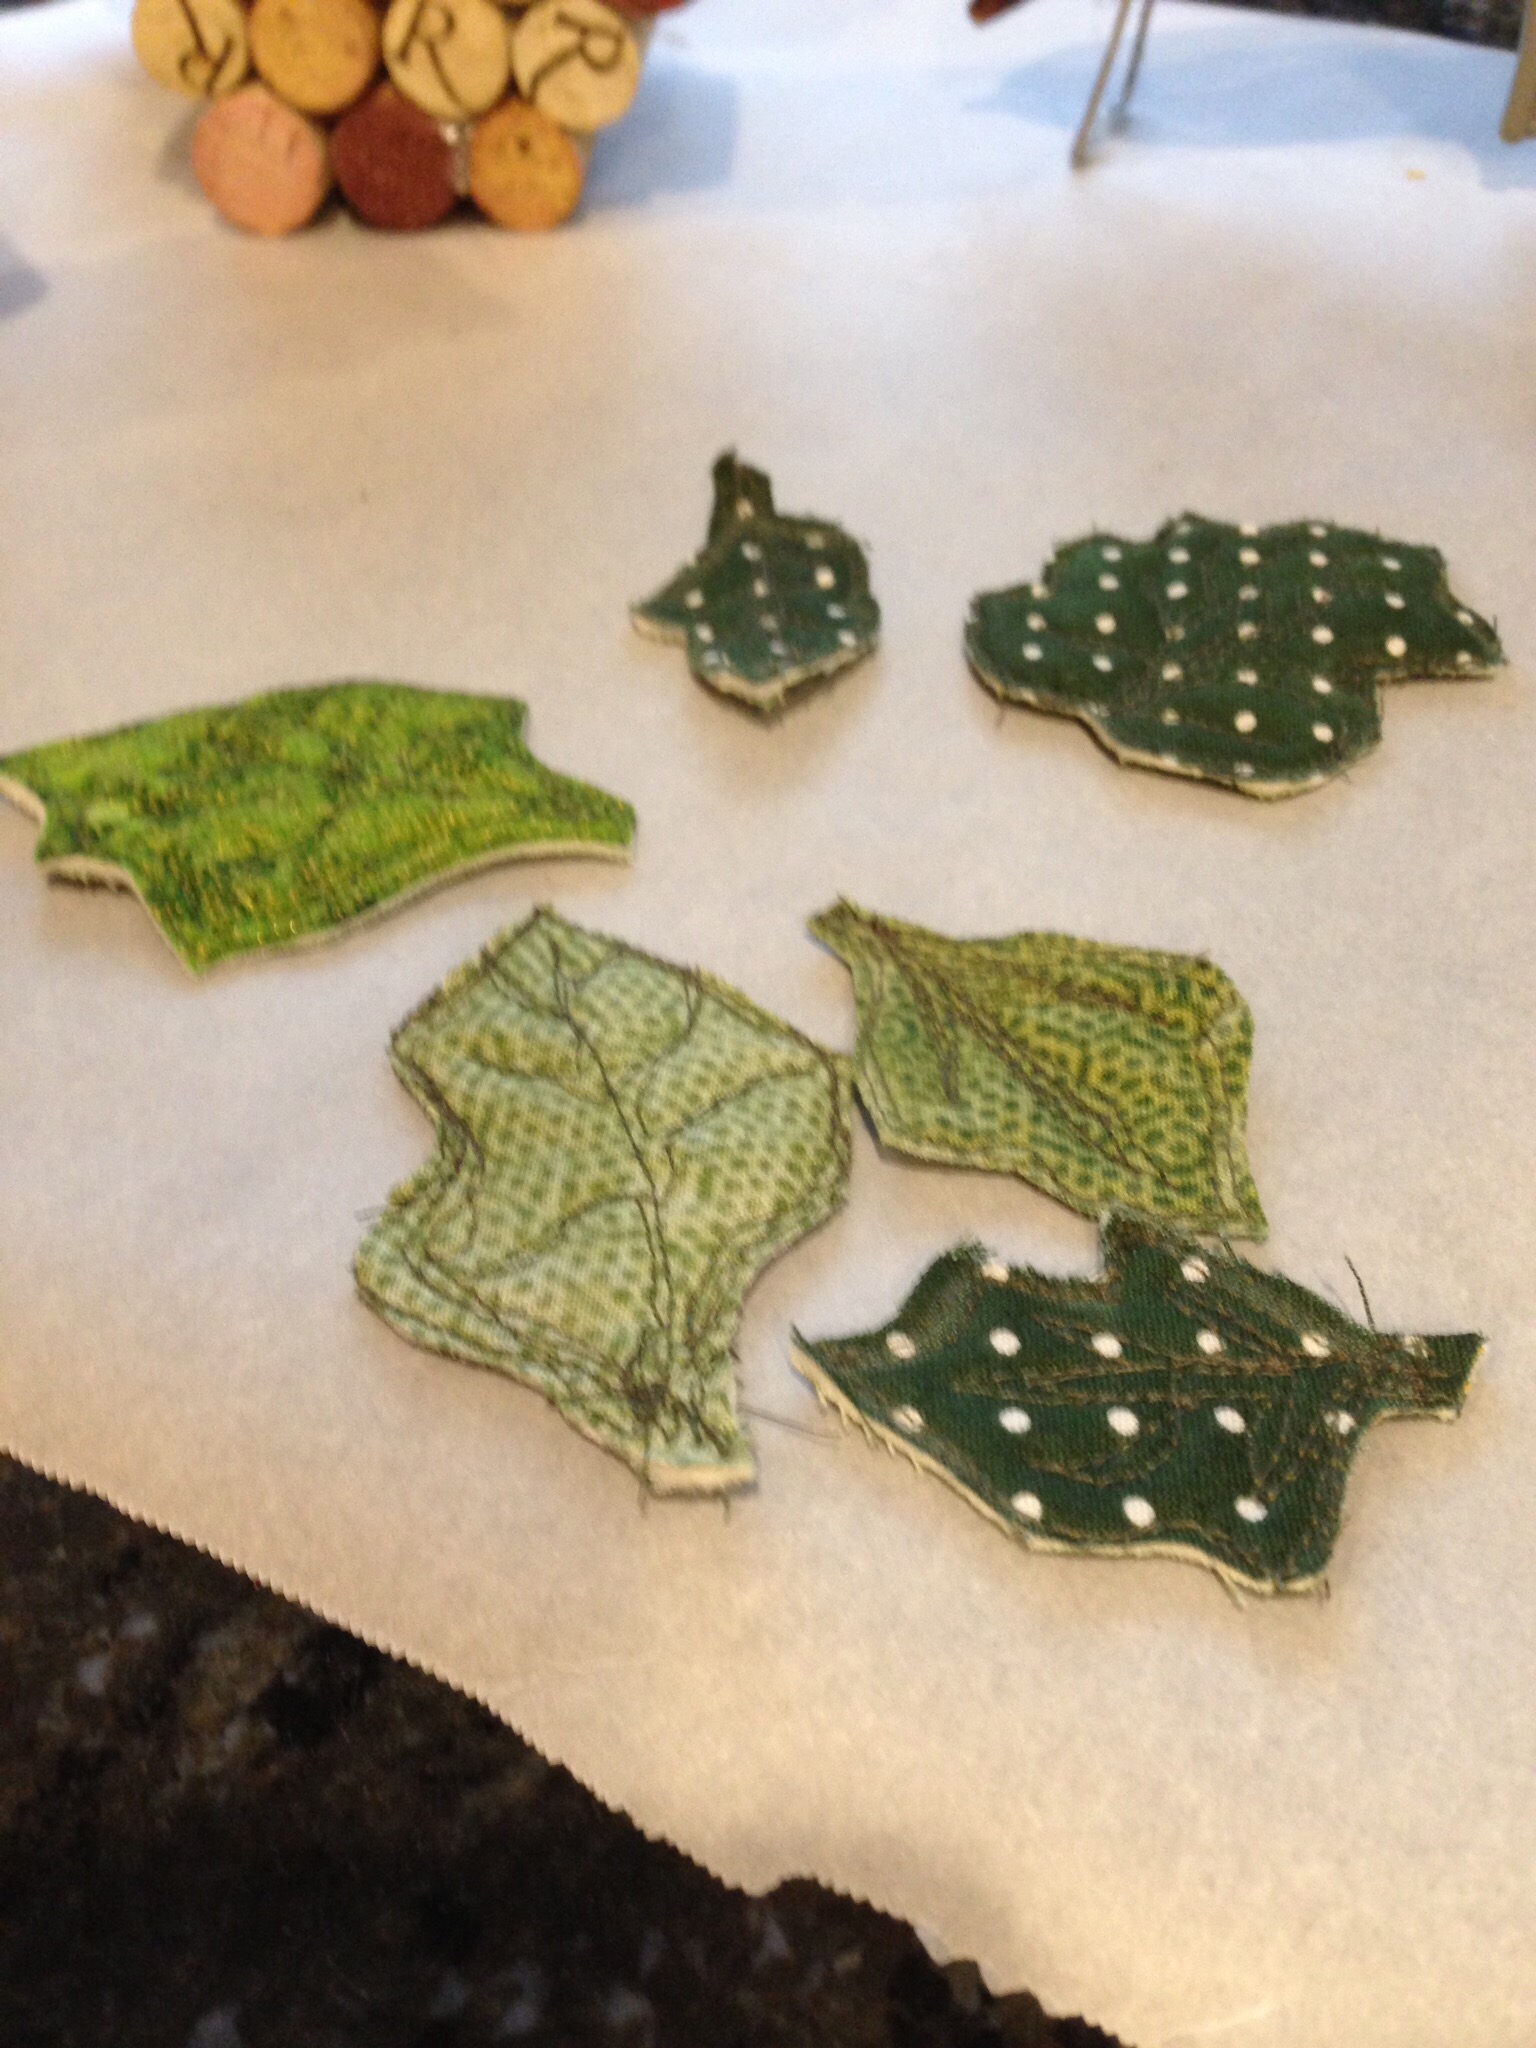
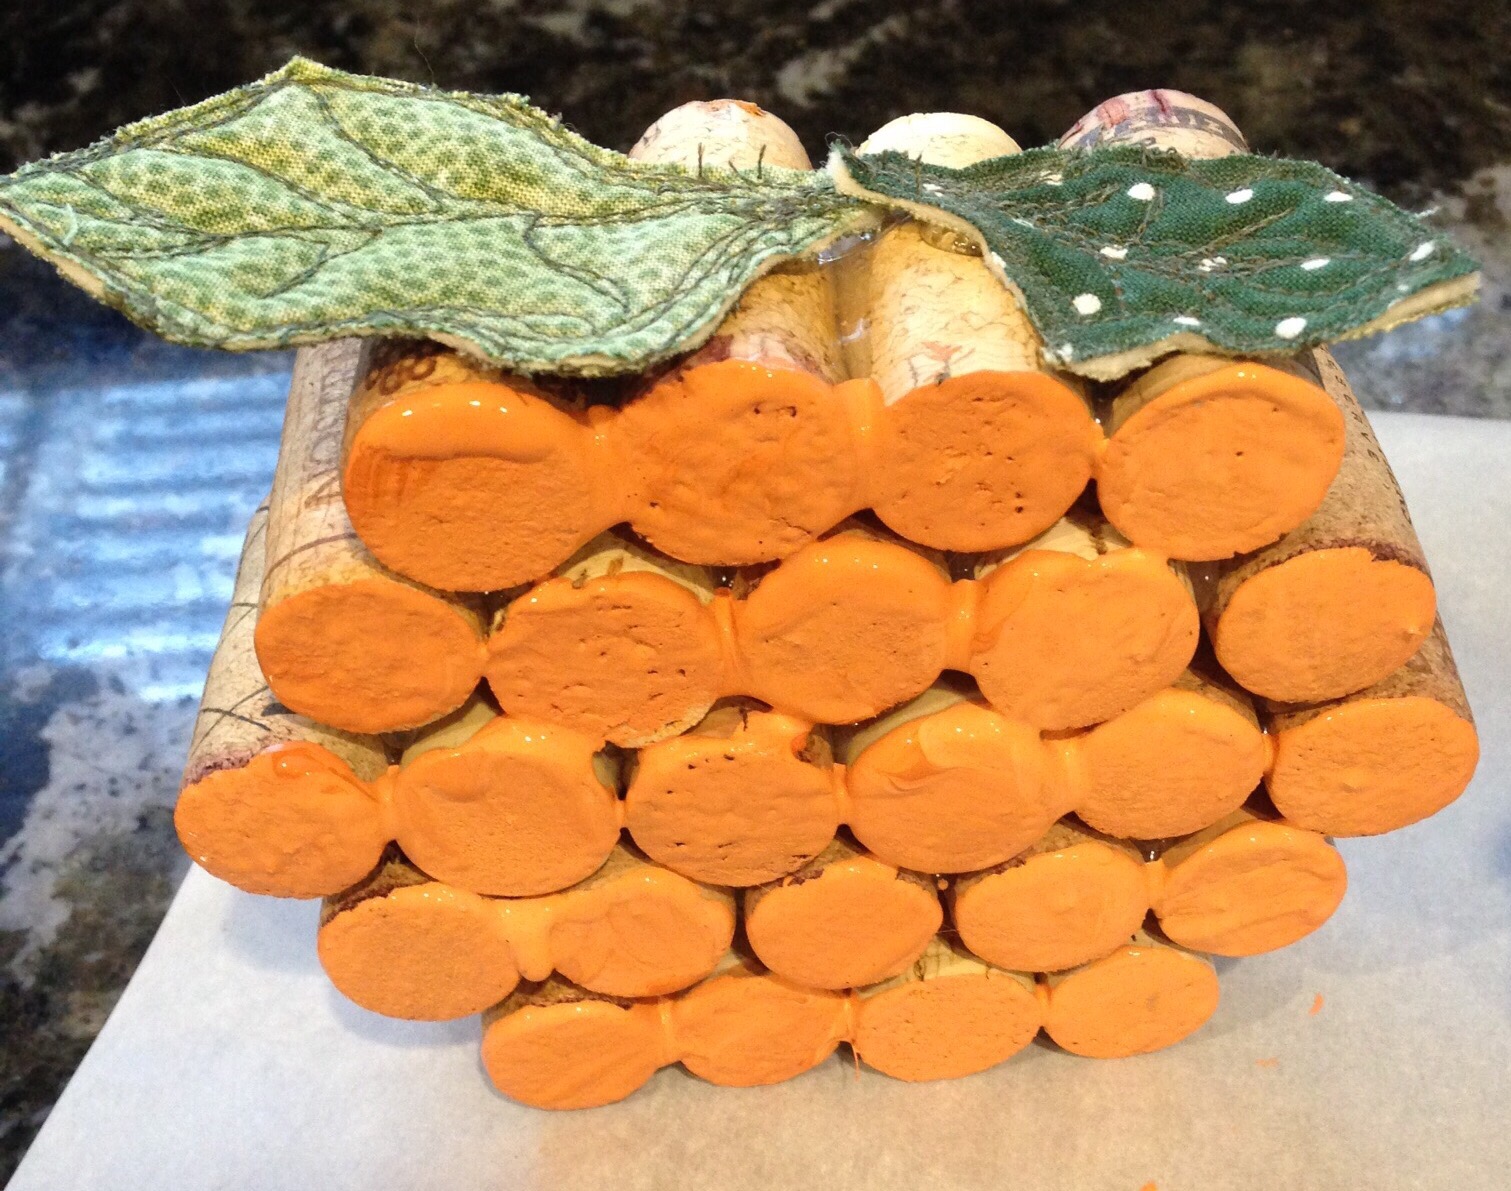
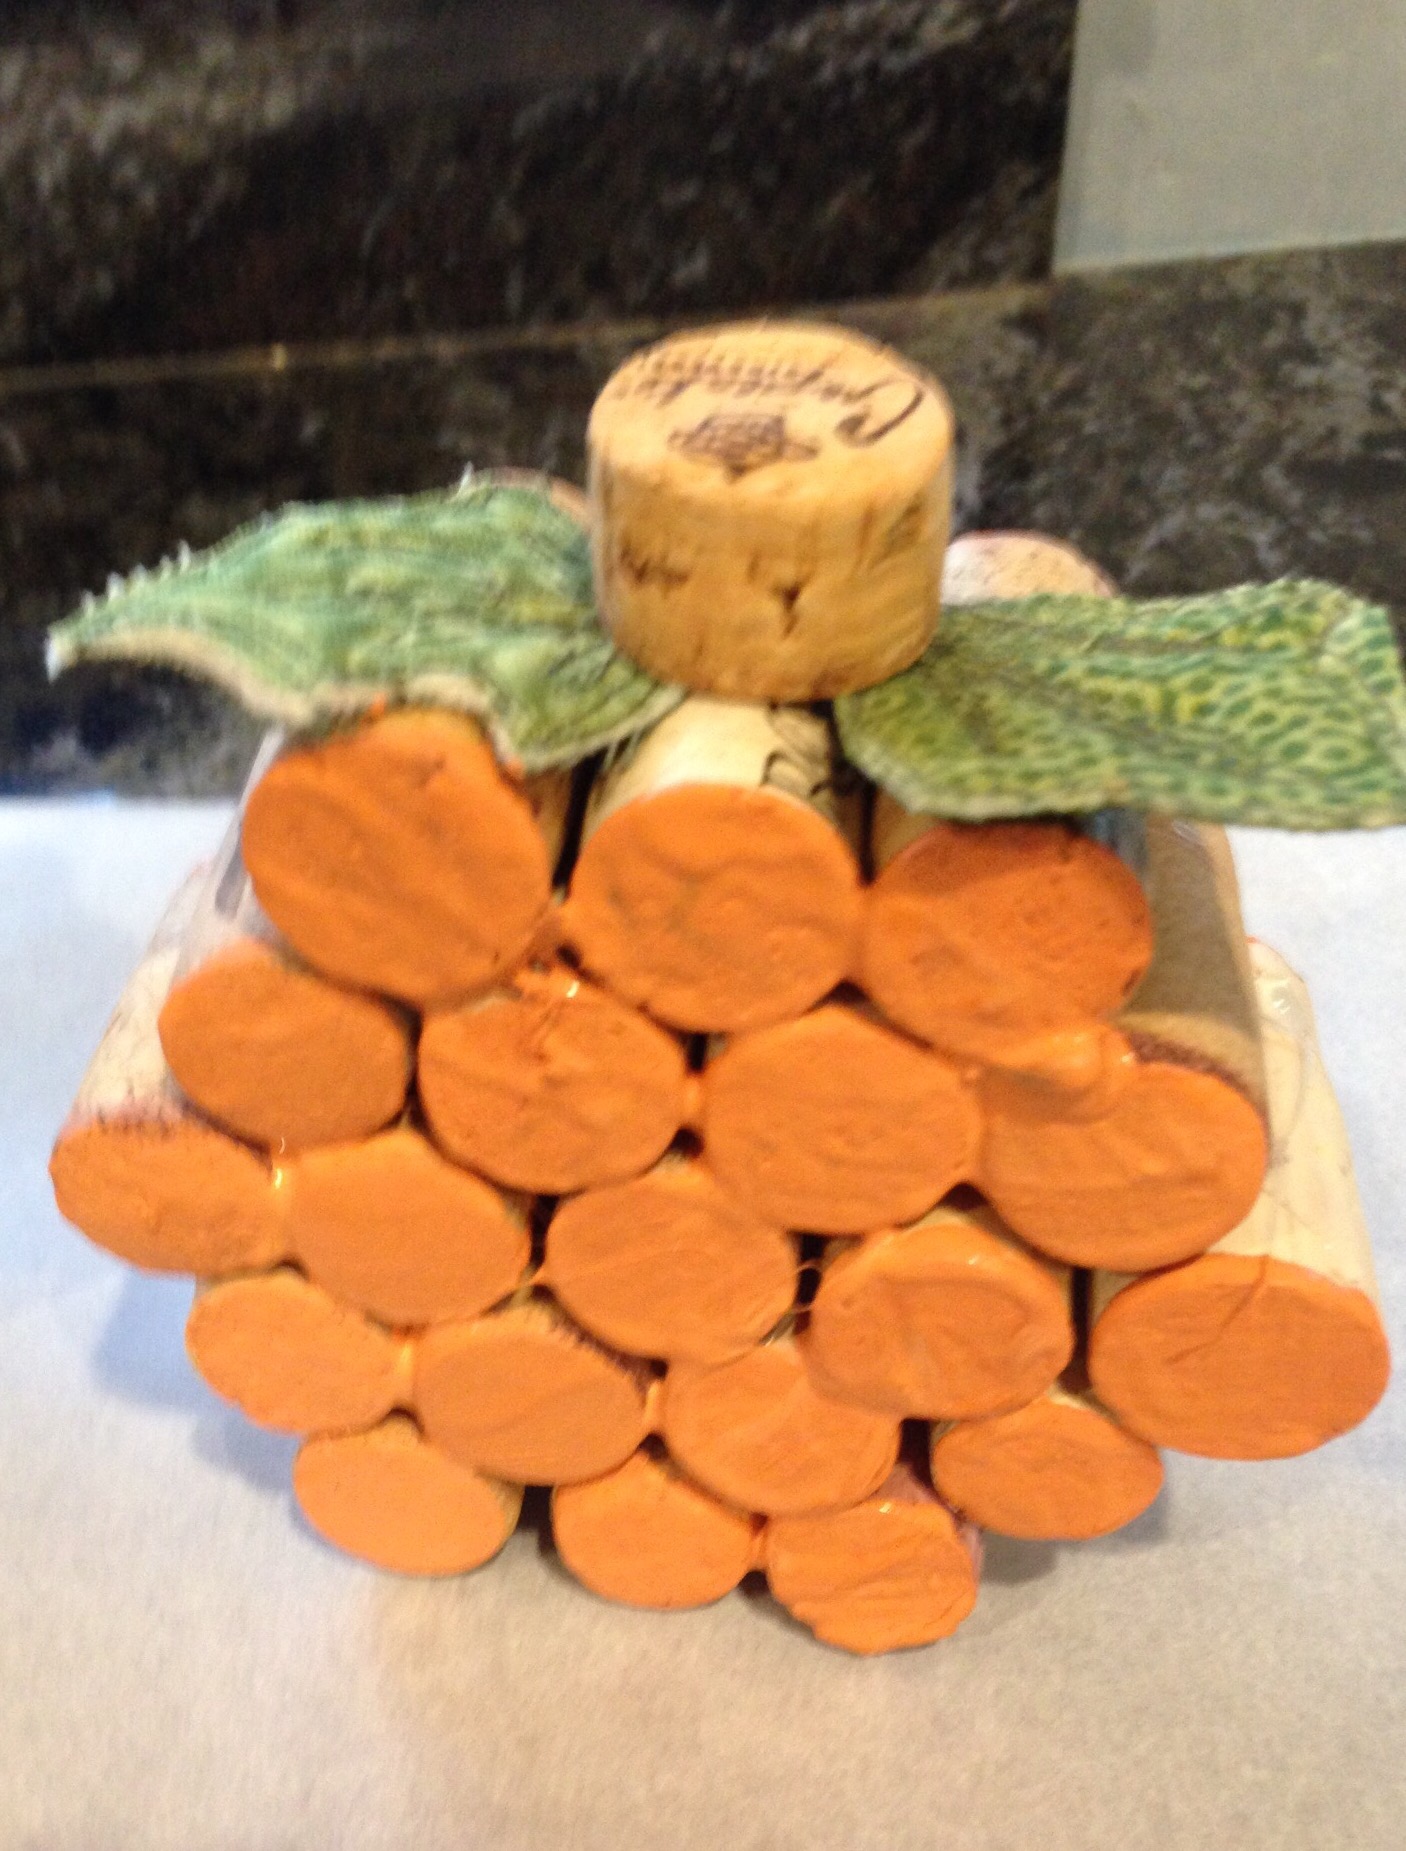
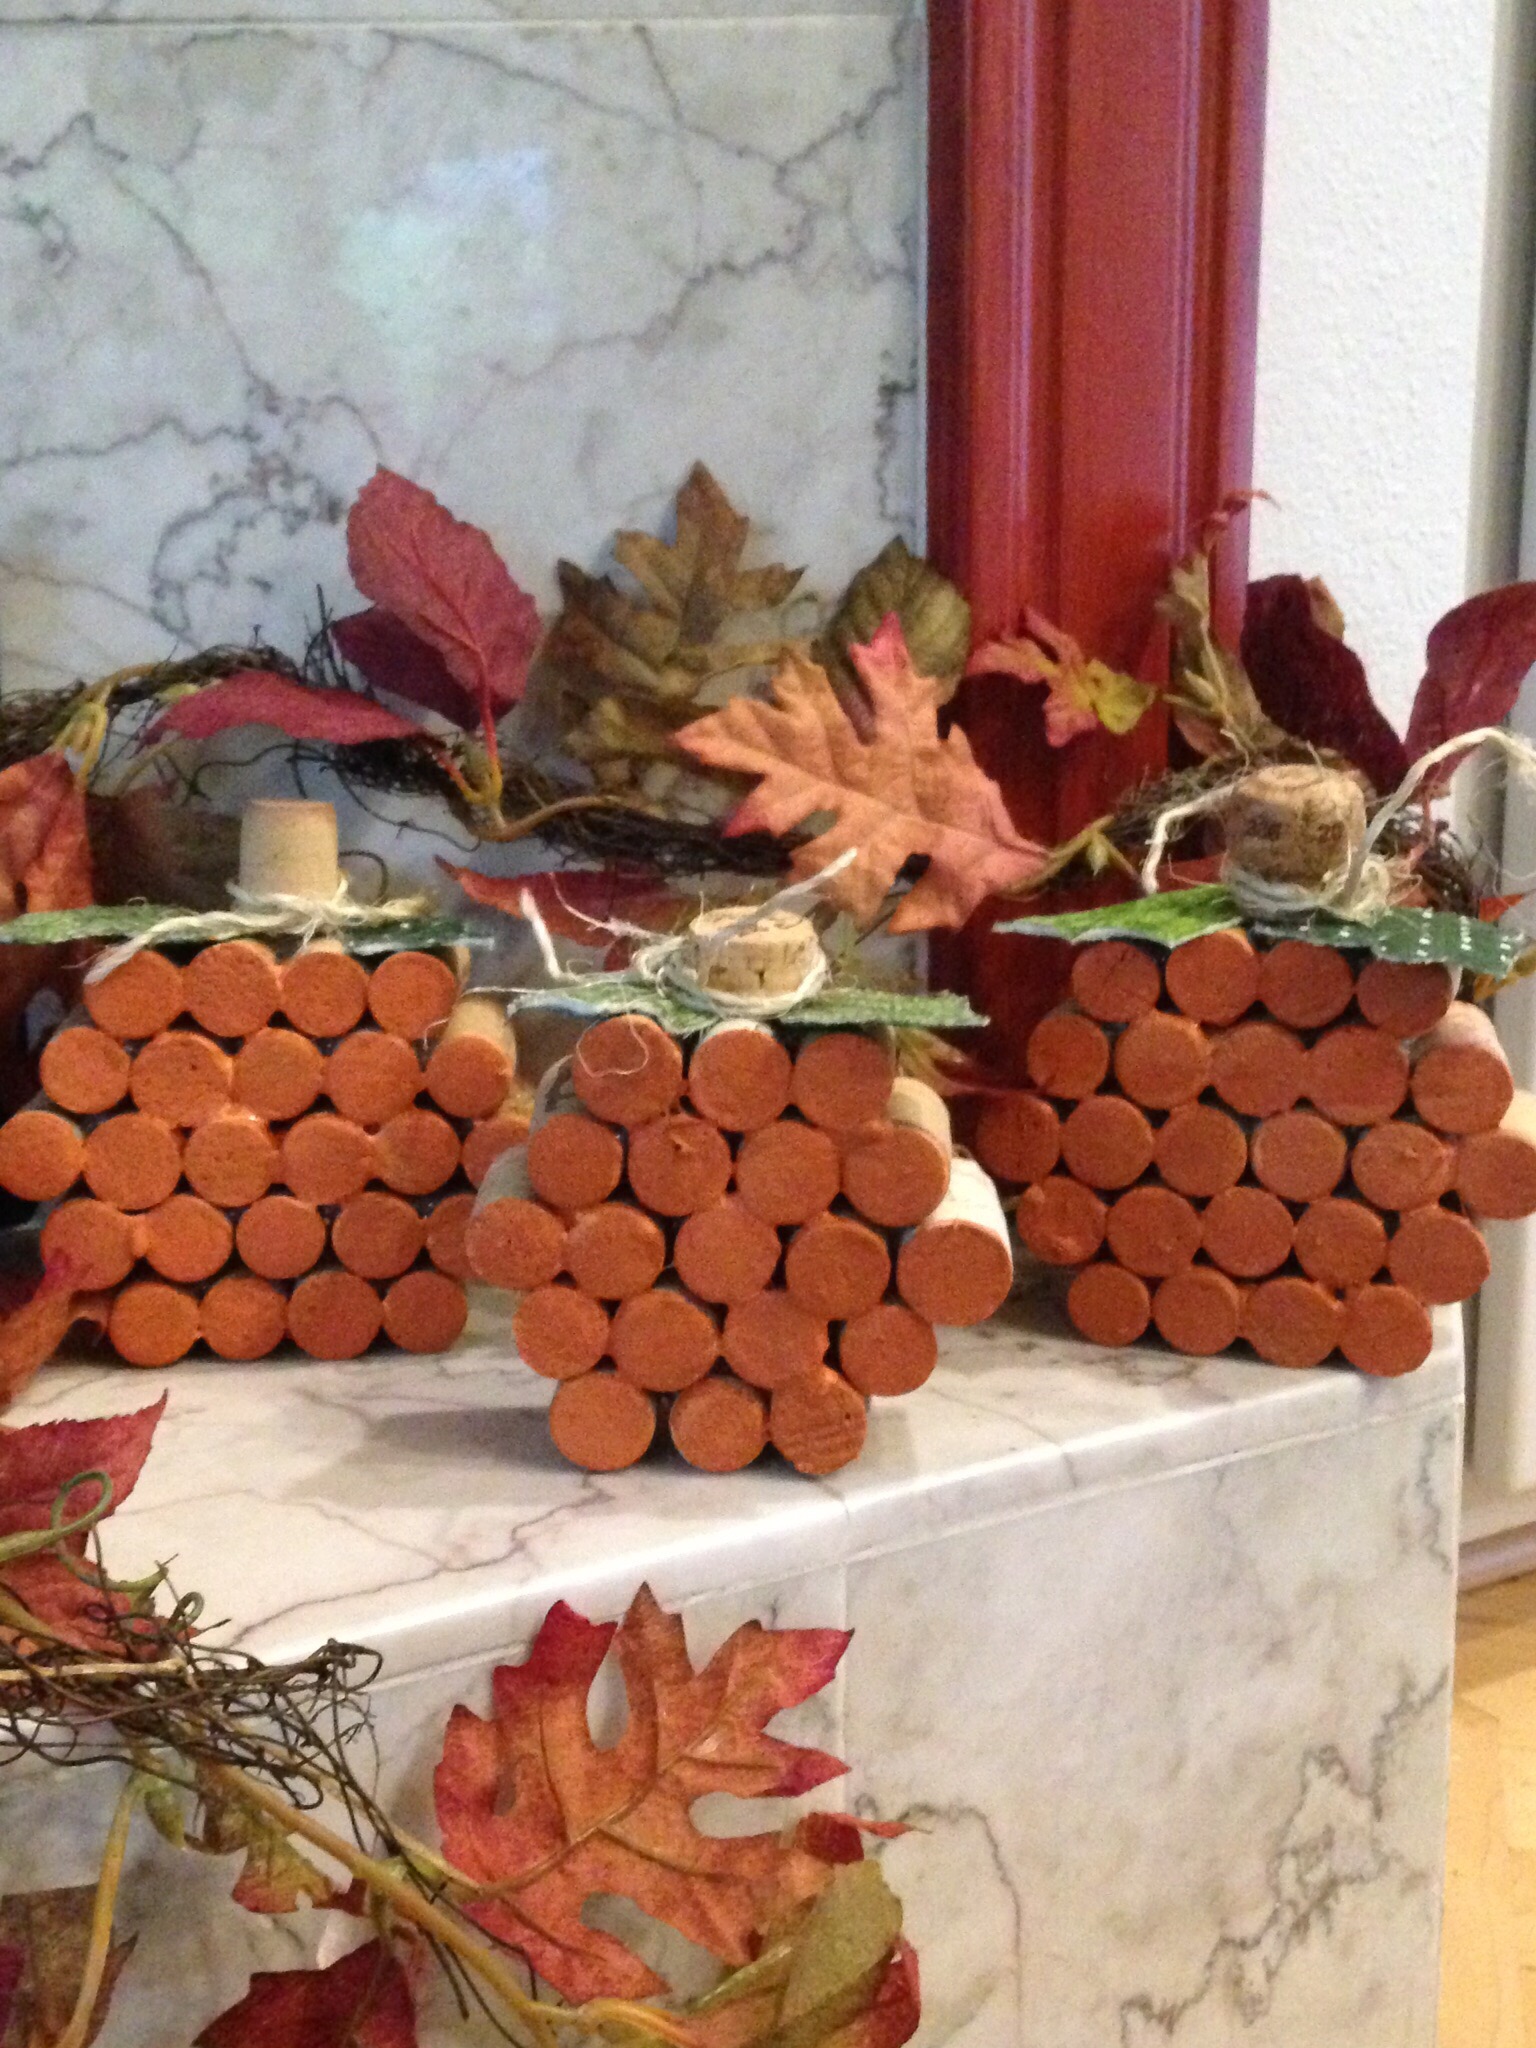
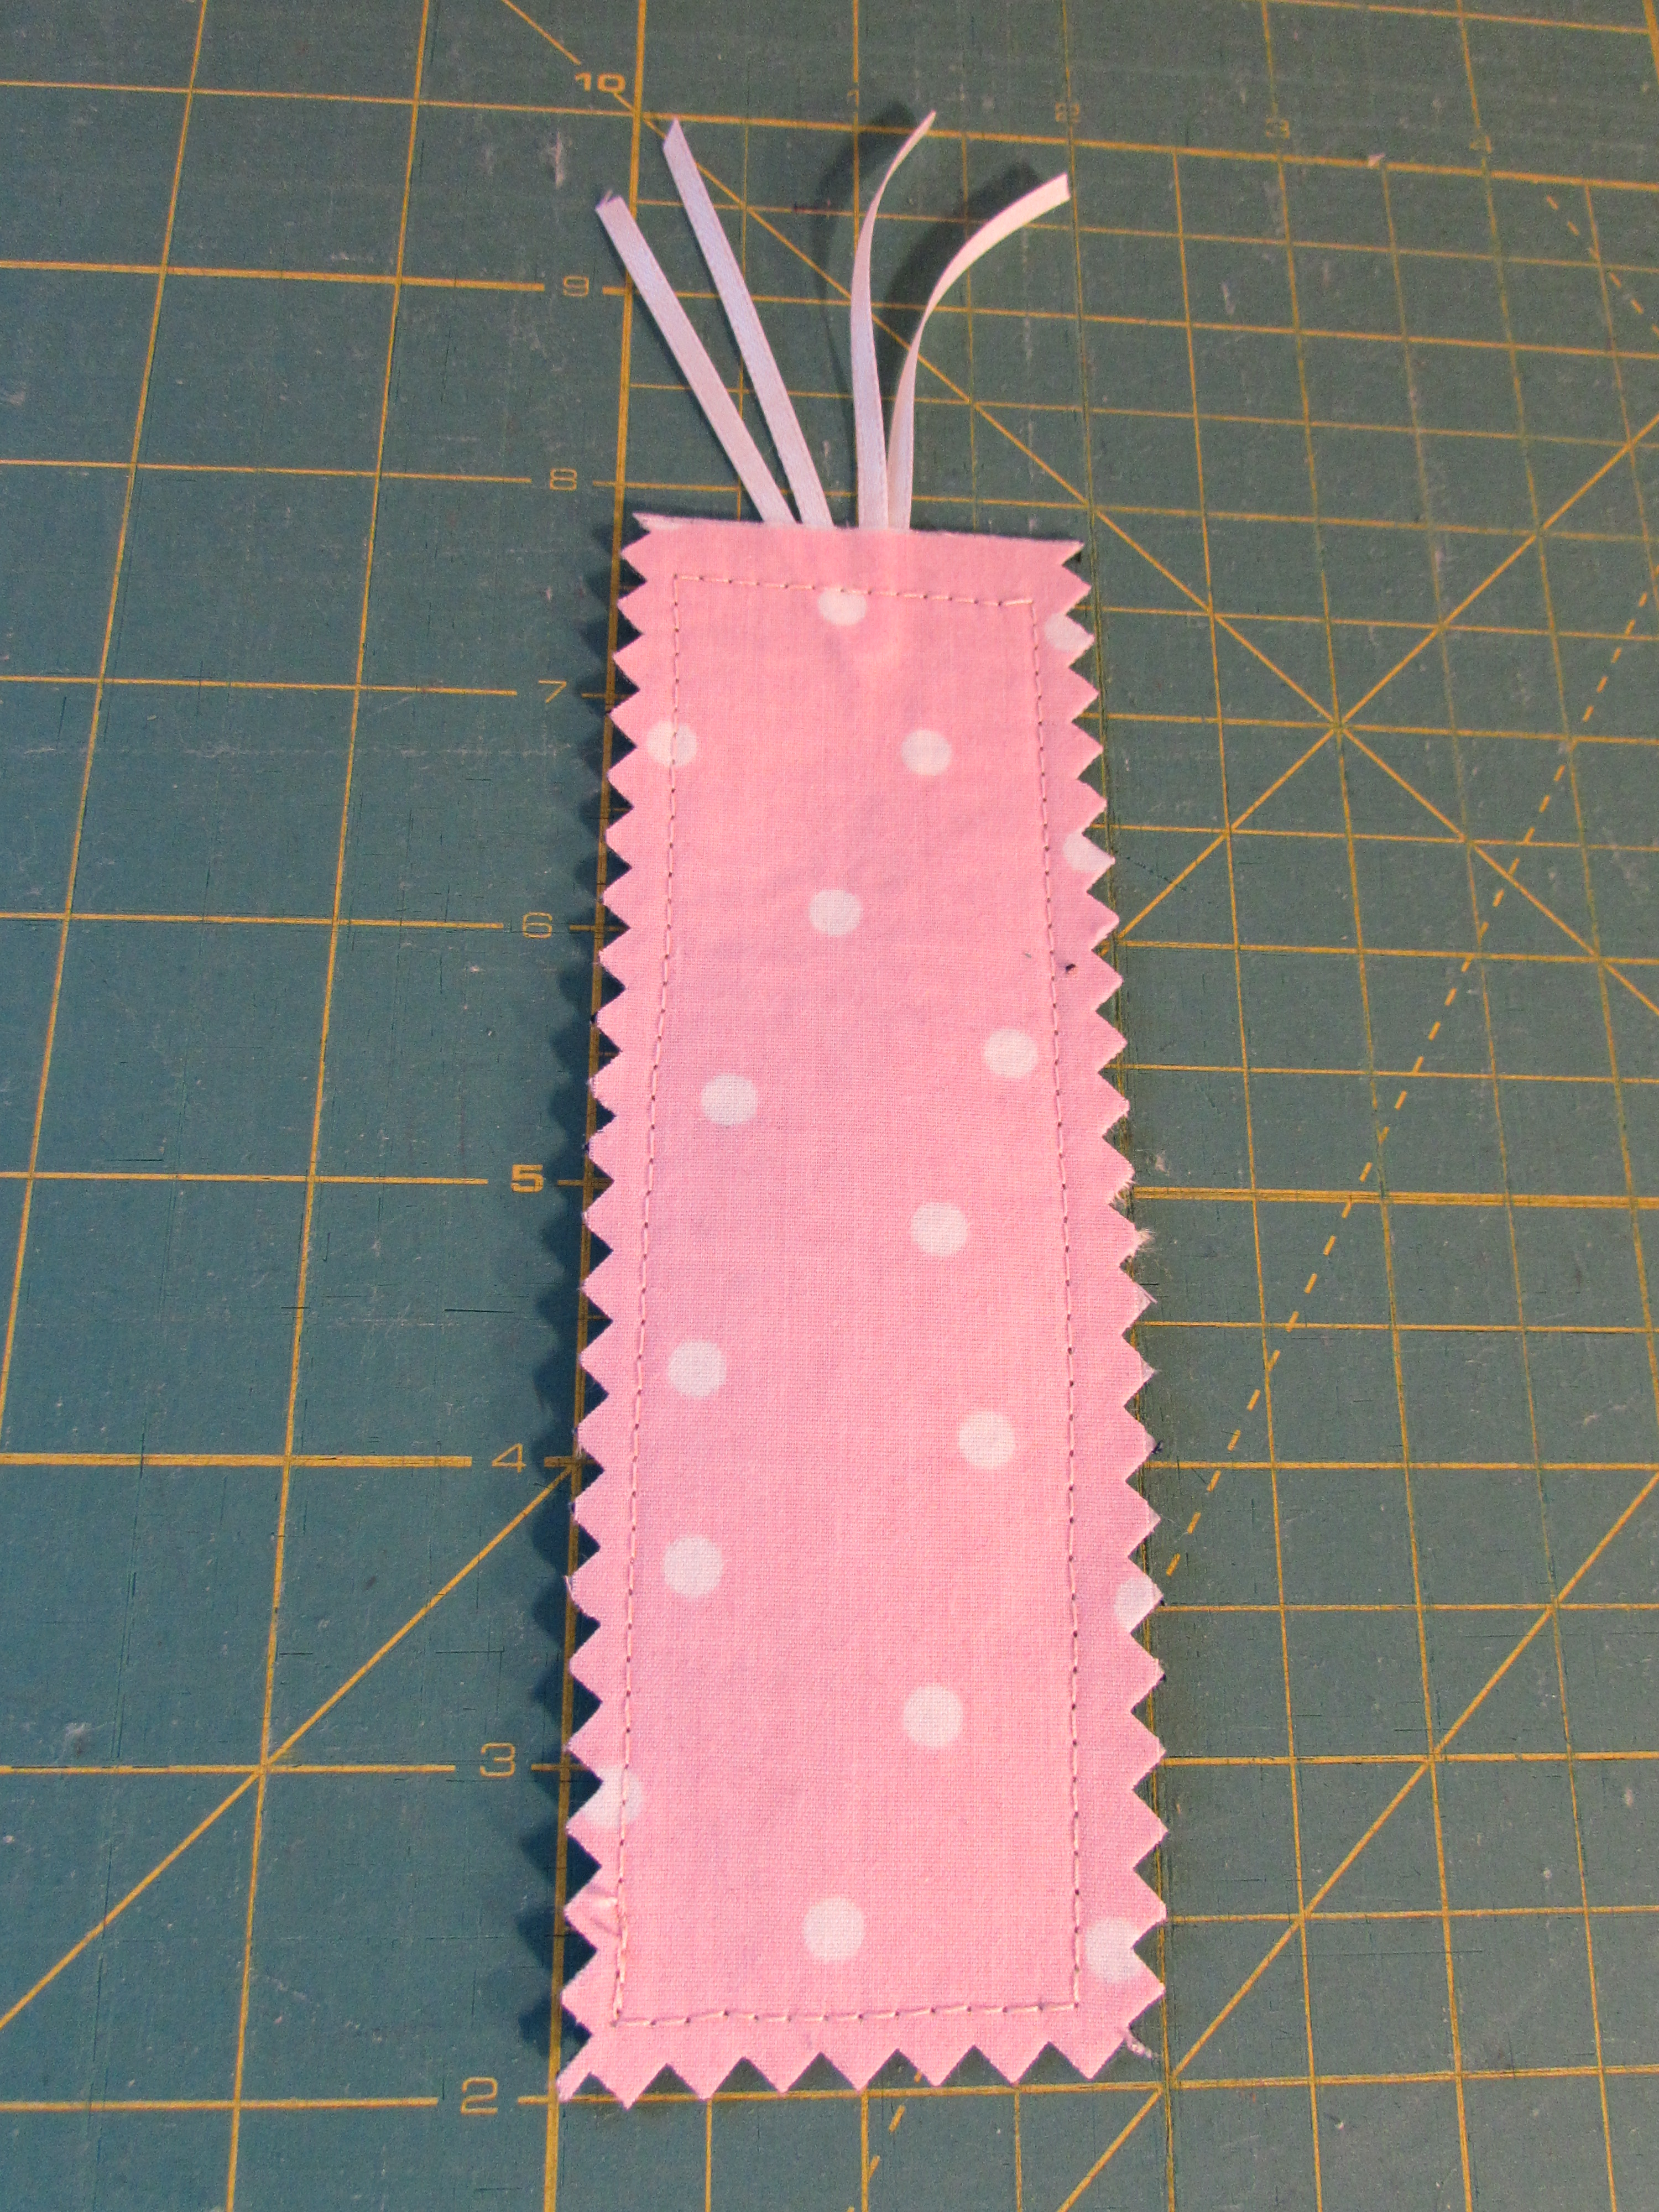
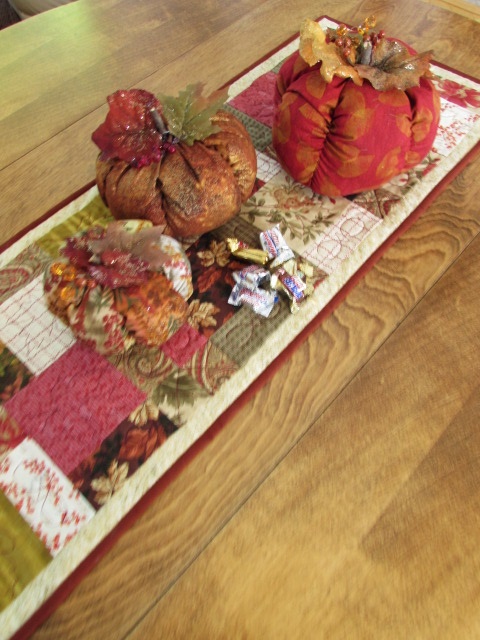
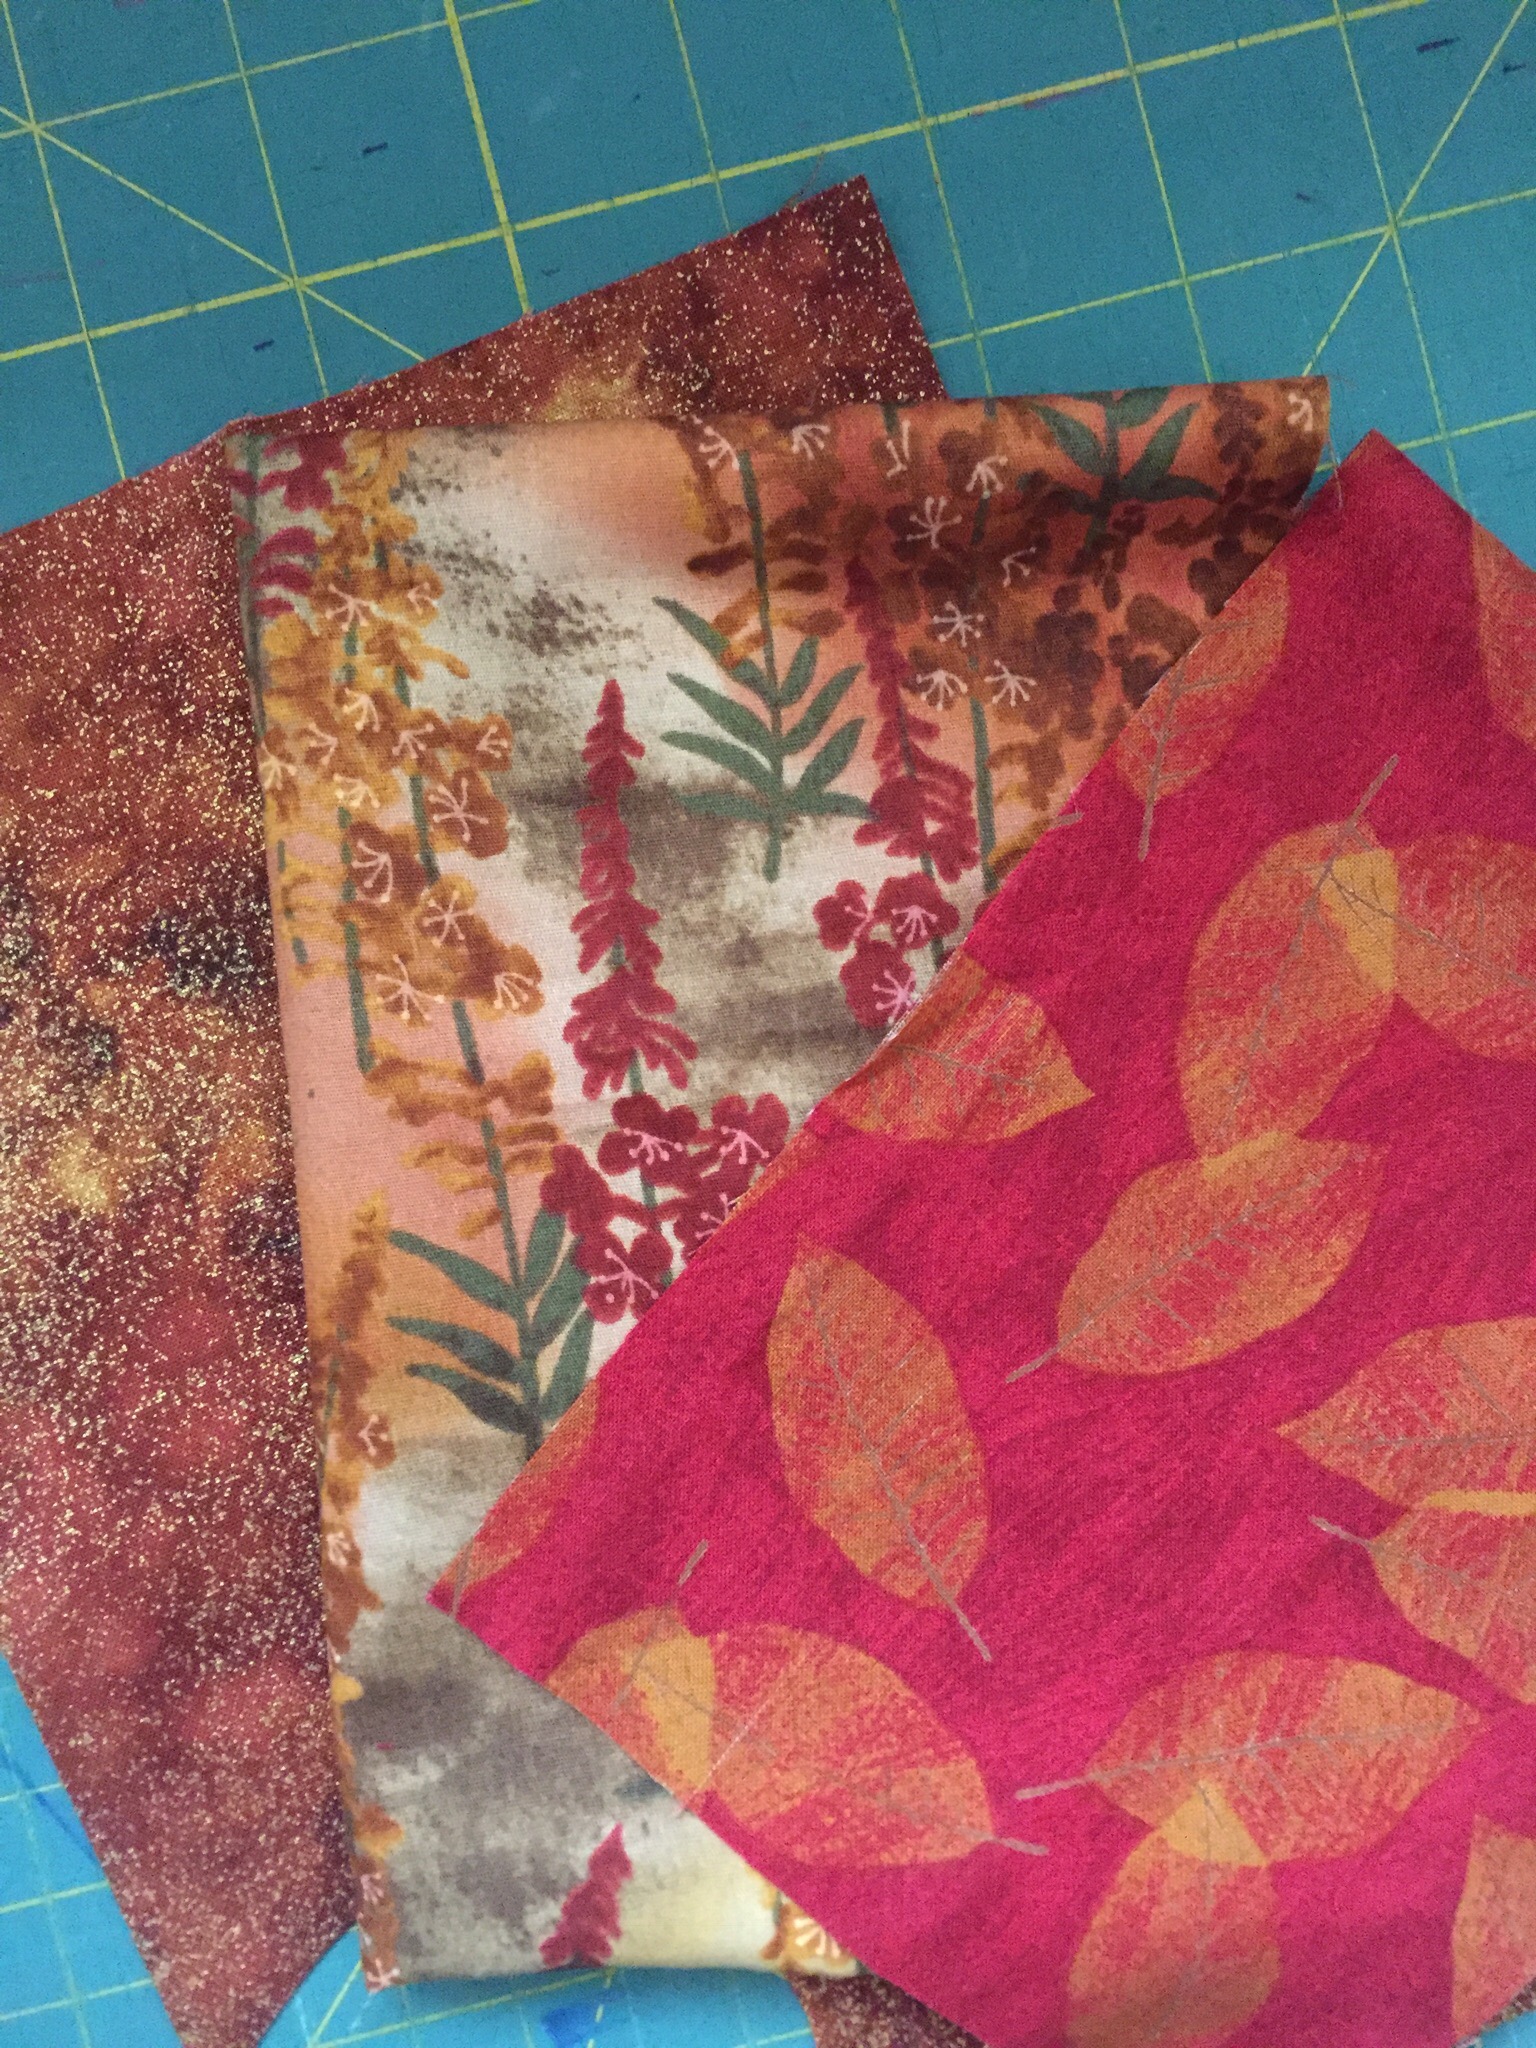
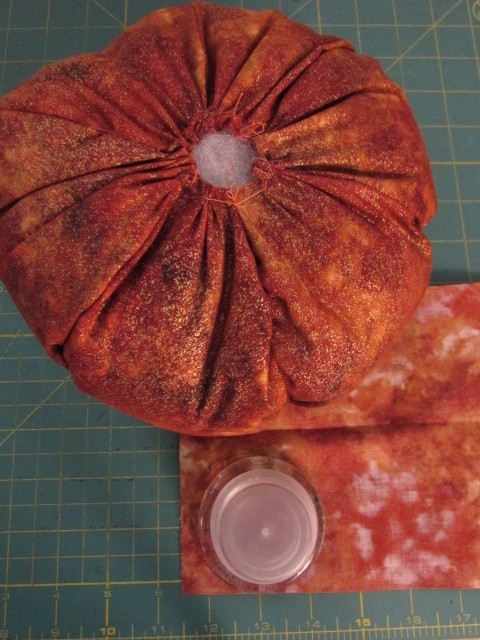
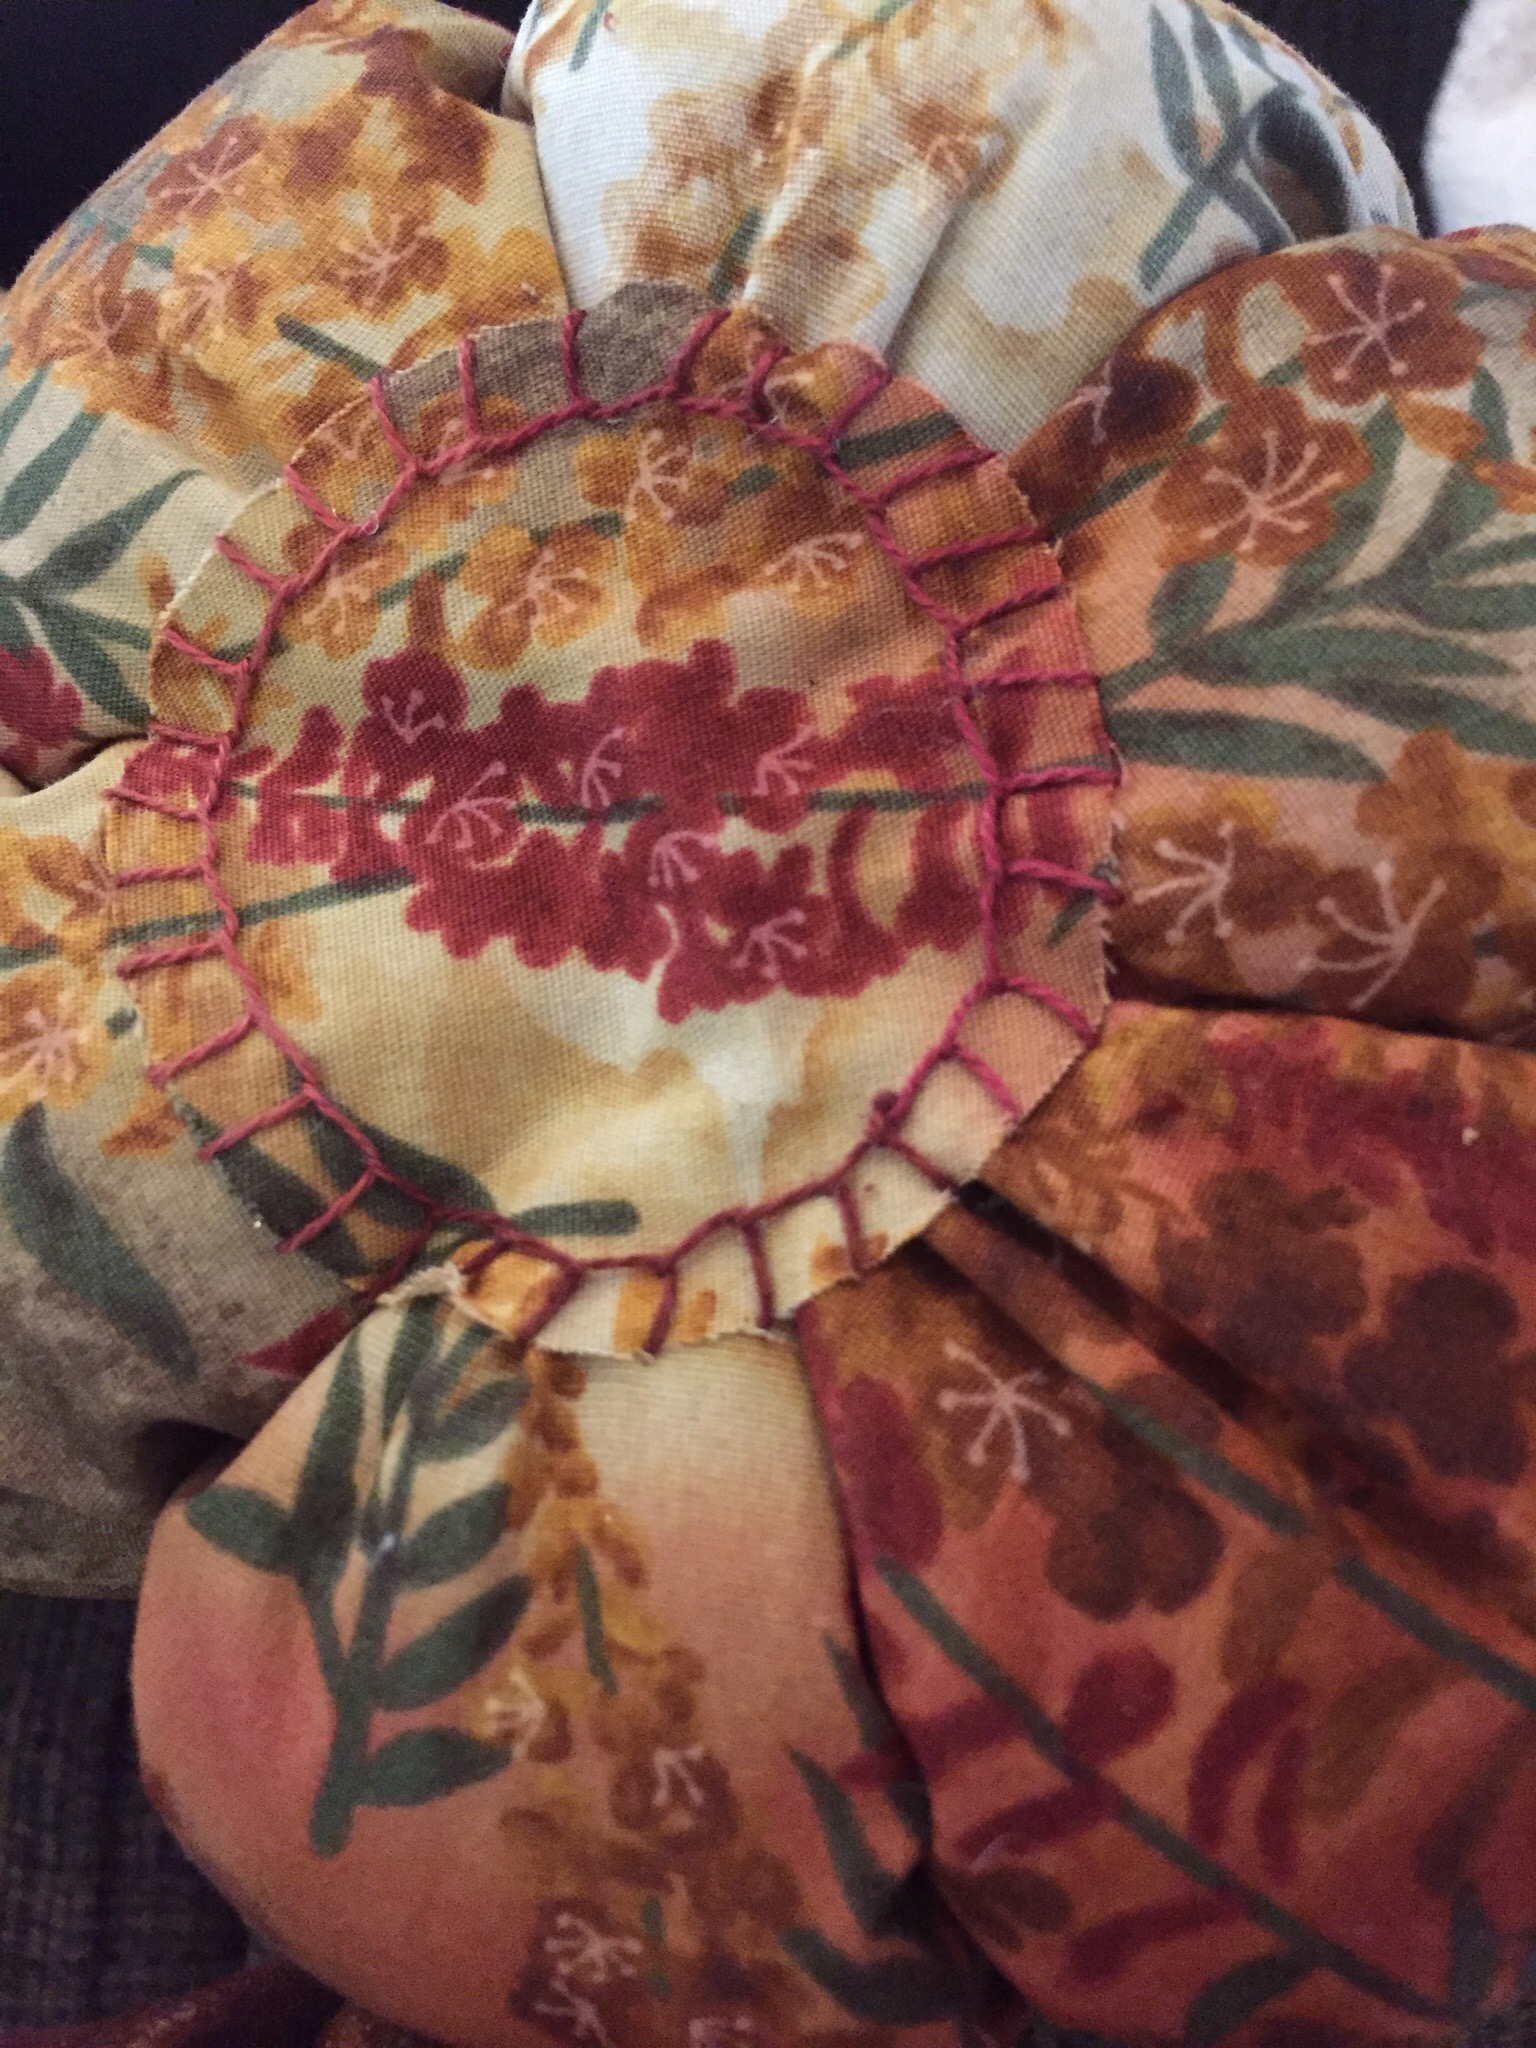
Moving on Julia wanted to make some soft pumpkins. We had everything we needed though the only appropriate socks we found were from Ray’s drawer. I am not a fan of the darker colored pumpkin. I do like the lighter colors though.

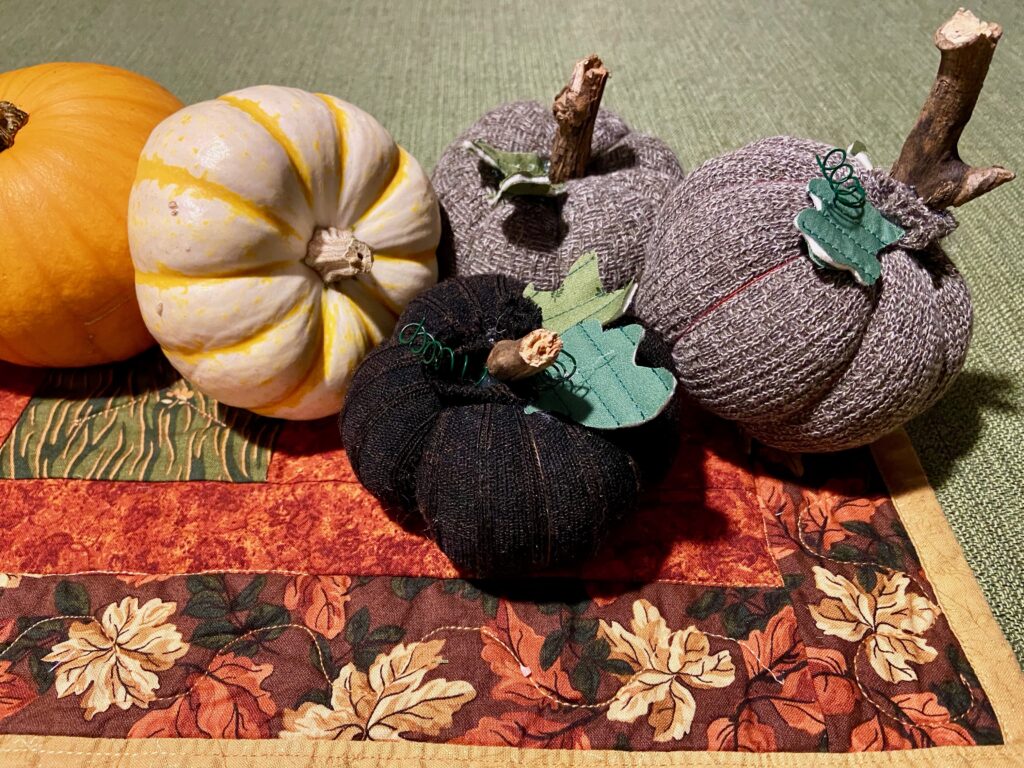
To make these we used a tutorial found at A Well Purposed Woman. I won’t go into the details since we really followed her instructions completely. This was a lot of fun to do together. Julia had the great idea to wrap floral wire around a pencil to make the little curlicue ‘vines’ we glued at the top near the stems. I like the fact that the instructions told us to put 1/4 cup of dry rice in first and then the polyfil stuffing. This weight at the bottom really makes the pumpkins sit nicely. If I were to do this again, and thrift stores were a feasible option, I would look for some socks with better colors or a knit sweater that could be upcycled. However, considering we were only using what we had at home, I call this a success.

One more fun thing to share – my sister, Juanita, is a yoga instructor who lives in Texas. With all of the travel restrictions in place, my family (like yours I am sure) is unable to be together. To allow family members to be able to spend time together, my sister has been teaching a yoga class via Zoom on Sunday afternoons. The link goes out to everyone in the family and whomever is available joins in. I took a screen shot over the weekend to share with you.

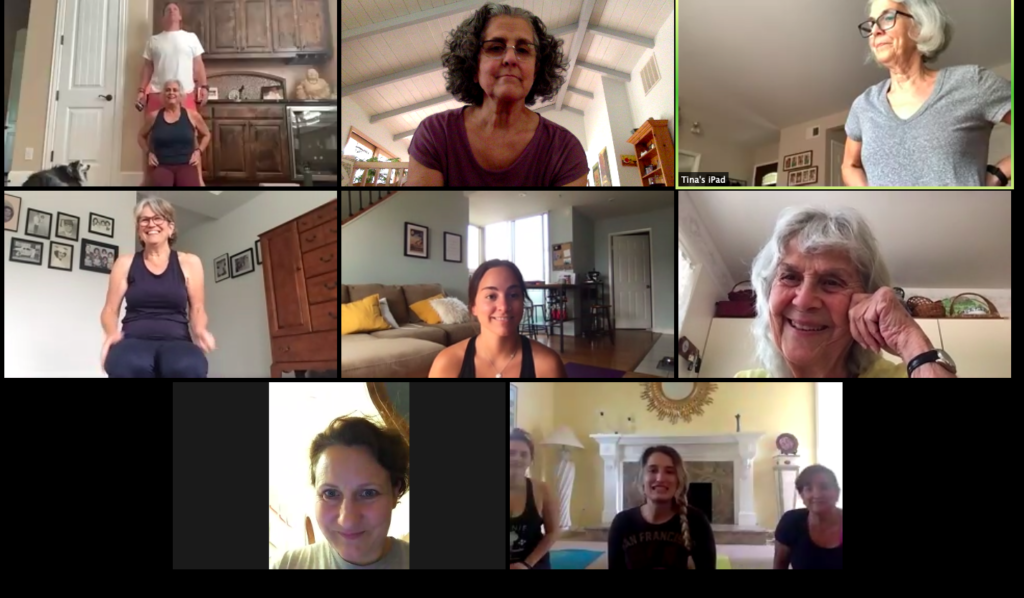
This doesn’t even show all of the family that participated. I couldn’t fit everyone on my screen. But it is such a great way to spend an hour together. Do a little yoga and then we all visit for a few minutes. It is just real life connected virtually. During family yoga this past Sunday, my sister in the upper right corner had her 16 month old grand daughter in and out of the room and my niece, bottom row, far left had to stop to help her three year old put her pants back on. It all makes us laugh and we (sort of) get to be together.

It takes some effort and a bit of creativity but I am glad we can find ways to stay connected. I hope you are able to as well!

Keeping Busy

June is winding down. Not sure how that is possible but really, it is best not to question things these days. Time passes, some days fly by and others feel so incredibly repetitive. Such is life during a pandemic.

I haven’t shared much lately so I need to get caught up! First off – a little crafting. Julia and I have been trying to spend some time together making projects. A few weeks ago, my son and his wife were here for a weekend (the first time we had seen them since Christmas!!). We spent some time painting small rocks Julia had collected outside. The goal was to place them here and there along a local trail so others could spot them as they walked. We pulled out some (really old) acrylic paints and started painting. It was a fun way to spend an afternoon and we made quite an assortment.

Flowers, an avocado, a monster and some sweet daisies

A few days ago we lucked into a nice cool morning so Julia and I walked the local trail and tucked the rocks here and there as we went. Love the monster with the googly eyes and the avocado (my DIL painted). Pretty creative!

Clouds, Gnome, Ladybug, Flag and the scariest Shark EVER!

More fun! They look really cute out there. The shark is probably my favorite of this bunch. Plus he is sitting on the branch of a Manzanita tree and that curly bark is always fun to see. Julia and I will head back to the trail later this week. We want to see whether people leave the rocks there for others to see or if they pick them up.

A play fort

About half way through the loop, there is this huge old oak tree. I have pictures of Julia sitting in it from years back. This time, there was this play fort built around the base of the tree. So many branches were collected and assembled teepee-style around the base. We went and peeked in. So cute!! There were a few bits and pieces of construction paper with flowers drawn on them hanging on the inside with string. At the opening to the fort there was a bit of red glitter sprinkled on the ground. I just love thinking of the kids who made this. I hope it stays in place as it must have taken quite a while to gather the branches and assemble this. There is nothing like pretending in a fort like this. I know my kids would have loved this when they were young.

Vintage Simplicity Pattern

About a week or so back, I posted this picture on Instagram and Facebook. I decided to make a summer dress. I have had this vintage Simplicity pattern for a long time now. It was printed in 1966. I thought this would be perfect for lounging around. The fabric is a voile by Art Gallery Fabric. I love their voiles because they hang nicely and don’t wrinkle after washing. Super soft and comfortable too. The voiles have been quite popular in the shop lately so I am running low. I just placed an order for more and cannot wait until they arrive (maybe another ten days or so?)

The dress took no time to put together. Four pieces to cut out and since it ties at the shoulder, no zipper to fuss with.

French seams to prevent fraying

I used French seams on the two side seams to prevent any fraying. These are super simple when dealing with simple, straight seams.

While it is certainly nothing fancy, it is just what I wanted. Cool and loose and comfy which is just my style. Whether it be 1966 or 2020, the pattern works just fine. Be warned though – sewing with vintage patterns is a little bit tricky. The sizing is very different. Don’t assume you are the same size with older patterns as with current. Rely on the measurements listed on the pattern – that will tell you what size you need to use. It was a fun dress to make.

The kick off for this year’s Mystery Quilt Along happens this week! I am really excited. Probably due to the lack of local quilt guild activity and community quilting (with everyone staying home during the pandemic), the sign ups for this years QAL increased greatly. If you have not participated before, I encourage you to give it a try. I love working with Cheryl of Meadow Mist Designs, the host of this event and her patterns are always a hit. Without divulging anything I will tell you Cheryl described this year’s pattern as beginner friendly and it does not require any paper piecing or difficult techniques (eg the dreaded Y seams or curved blocks.)

Here are a few of the kits available. Pop over if you want to see the rest of them!

There are kits available in the shop if you prefer working from a kit rather than picking fabric yourself. Take a peek. They are selling like crazy and I have been cutting yard after yard of fabric this week!

Covid numbers continue to climb. Life is filled with this strange feeling of uncertainty even as we live in quarantine, doing the same things over and over with one day melting into the next. Hang in there, support each other and above all, sew something!

Autumn Fabric Pumpkins

Hi Everyone!  As part of the Sew Much Fun Halloween Blog Hop hosted by Jen at Faith and Fabrics, I decided to make some autumnal fabric pumpkins. I wanted to make something new for the house but decided to forgo the Halloween novelty fabric and use fall fabric so I could leave them out through Thanksgiving.

These pumpkins are such a breeze to make. I poked around Pinterest for a while and found this easy tutorial from HGTV. Mainly I was looking for suggestions on the size of the individual rectangles that make up each puff on the pumpkin. This tutorial had three sizes worked out which was just perfect.

To  make the sections of one pumpkin, I cut six rectangles of equal size. I stacked the rectangles and trimmed off each corner, making a slightly curved shape.  Next I sewed the long side of the rectangles together from top curve to bottom, using a large, basting stitch.  (My Janome machine stitch length was set to four.)  Use the threads on either end of the seams to gather the pumpkin sides to your liking.

Then you hand sew a loose, running stitch around the bottom opening and draw the opening to a close.  Stuff with pillow stuffing (you might be able to use batting scraps?) and then sew a loose running stitch around the top to close the opening.  When closing the top and bottom openings, it doesn’t have to look perfect because both areas are covered.

To cover the bottom, I traced a round object (the top to my little button jar) and cut a circle of matching fabric.  I used raw edge applique to attach it, hiding the bottom stitches. I thought the blanket stitching looked really nice for this.

Here is another one.

I found a sprig of fall leaves at Ben Franklin and decided to cut it apart, using the leaves to decorate the tops of the pumpkins.  I also took apart two beaded napkin rings I had to use the little vines with red and gold beads on them. They look really cute.


The smallest one, below, is my favorite. Probably because I really like the fabric used for this one.

Nothing here that can’t be accomplished with a bit of hot glue and some leftover bits found around the house! I was glad to have a bag of stuffing that was nearly full (leftover from making these stuffed blocks for my grand baby).  It took the remainder of that bag to stuff the three pumpkins. I found twigs in the yard for the main pumpkin stem. The only thing I purchased specifically for this project was the fall leaf sprig for a whopping $2.99!

I hope you will give these a try.  If you get stuck or have questions, don’t hesitate to comment or shoot me an email. I am happy to help.

For more Halloween inspiration, be sure to check these posts out too.  Have fun!!

Faith and Fabric

The Cloth Parcel

Daydreams of Quilts

Slice of Pi Quilts

I Have Purple Hair

Patterns by Jen

Adventurous Applique and Quilting

Sew and Tell Project

Crafty Saturday- Wine Cork Pumpkin

We are so lucky to have Ian (number 3 son) and his girlfriend, Sharlyn, here for the weekend. They are here to attend a friend’s wedding. Ian loves photography and he is doing the photos for the wedding. Additionally, today is Ian’s birthday. So, there’s a lot going on for these two today.  Earlier this morning, over coffee, I discovered Sharlyn shares my love of Pinterest.  Looking at her boards was a lot of fun.  I found all sorts of ideas to pin to my own boards.

One of those ideas was cute pumpkin made with wine corks. She pinned it from this site. It was only one of several crafty ideas using wine corks that Sharlyn had pinned. This comes as no surprise because she works as an enologist, or winemaker, for one of California’s largest wineries. She comes across more than one or two wine corks in the course of a day at work.

After Ian and Shar left for the wedding, Julia and I got to feeling a little crafty. Luckily, I had everything we needed to make a few of these pumpkins. I have been tossing wine corks into a zip lok bag for a while now, thinking there might be something fun to do with them. (In case you are concerned, don’t be. It took a good long while to save up these 75 or so, wine corks.) Counting the corks we had, there were just enough to make three pumpkins. With the help of a whole lot of hot glue, we got started.


It is such a simple project. We glued rows of corks together and then glued and stacked them one on top of the next. To get a round shape, we glued a row of four, then five, then six. Those were glued together, in that order. Then two more rows, one with five corks and the next with four were made and glued to the first three rows. So you end up with a row of four, then five, then six, then five and finally four.  We also made a slightly smaller version, eliminating the row of six. (Meaning making a row of three, then four, then five, then four and finally three.) Wherever possible, we tried to make the ends of the corks as even as possible so hat the pumpkin was mostly flat on the front side. The back side is uneven but really, who is looking back there?


When the hot glue felt somewhat solid, we painted the face of the pumpkin, meaning the ends of the corks, with some orange acrylic paint and left it all to dry. While the paint was drying I made some simple leaves. I didn’t aim for precision with the leaves. I took green scraps and tiny bits of batting, made a sandwich, and quilted the basic outline of a leaf. I added some veins to define the center of the leaf. I went around the outer edge several times and then cut the leaf out.


As I was making them, if they looked to big, round, or otherwise not quite right, it was very easy to just keep trimming them and stitching until I liked the shape. They looked rough but I wanted a rustic feel. The stem of the leaf looks messy with the stitching backtracking over and over, but that part was hidden by the pumpkin stem.


By the time the leaves were made, the paint was dry enough to handle the pumpkins again. Actually, I was being impatient…. the paint was barely set. 😉 We glued the leaves down, two per pumpkin.


Following the leaves, we glued the cork/stem. I did cut the cork down a bit to use for the stem, the full size cork was a tad too tall.


Once they were truly dry, I decided the shade of orange was too light. I gave each of them another very light coat with another orange paint that was a touch darker than the first. The final touch was adding a bit of twine.

What do you think? The darker orange is better, right? Yep, they are adorable. A fun, easy project for this very rainy day. Save up those wine corks and give it a try!


It’s the season for more making! The changing colors call for new projects, and Craftsy wants to help you start the season with all the supplies you need.  Lots of the basics are on sale, including batting, Aurifil threads, and Kona cottons. For all of you Cotton and Steele fans, there is a fat quarter assortment on sale for an amazing price.This promotion ends Sunday, October 16, at 11:59 pm MT.

(Note-I am a Craftsy affiliate.)

Easy Valentine’s Day Project

Two weeks ago I made some bookmarks to go with a tote and books that we gave to my mother-in-law for her birthday.  The bookmarks go together in a matter of minutes and are a great project if you have children that are feeling crafty. They would make a sweet Valentine for a friend. I made them with 2″ wide strips of scrap fabric, ribbon and iron-on denim.

I have four children, three are boy.  When they were little, their clothes were basically held together with iron-on denim patches. We lived on a vineyard and the boys (often) lived in the dirt.

muddy ian

This stuff came in handy over and over again.IMG_20160202_4540

Now that I don’t have any grubby boys wearing out their jeans at the knee, I can use it for crafts instead.

To make the bookmarks, cut a few 2 inch strips of fabric and as many 2 inch strips of the denim. Mine were six inches long but they could be whatever length or width you choose, as long as they are the same.

IMG_20160202_4543

The iron-on denim will give the bookmark plenty of body. However, this pink strip was fairly thin, so I applied a scrap of iron-on interfacing to the back. (As an alternative, if you have denim scraps laying around, you could use the denim scraps and adhere them to the other fabric with Wonder Under.)

Once the interfacing was applied, I used a glue stick to adhere a piece of ribbon to the top of the strip. The ribbon could be any length or width you happen to have. Whatever looks nice, works fine.

IMG_20160202_4548

Preheat your iron so it is good and hot and do not use steam. After you have the ribbon glued down, place the iron-on denim and the outer fabric with the ribbon together, wrong sides touching. With a very hot iron, press them together, applying light pressure to your iron.

IMG_20160202_4550At this point, you might choose to call it good. If it isn’t going to be washed, the adhesive on the denim will probably be enough to hold them together. I like to run a stitch around the perimeter just to be sure. Sometimes I will use a zig-zag stitch or a decorative stitch on my machine. Other times, I just use a straight stitch.

IMG_20160202_4554If you have pinking shears, it is cute to pink the edges too.

After making several of these, my needle did collect some of the sticky adhesive residue. Just a little warning. I used an old needle to make these and then tossed it.

  
This is a fun activity for kids. This idea might come in handy for a scouts project too. Hope you will enjoy making a few!

Linking to Connie at Freemotion by the River, Stephanie at Late Night Quilter, and Alyce at  Blossom Heart Quilts.