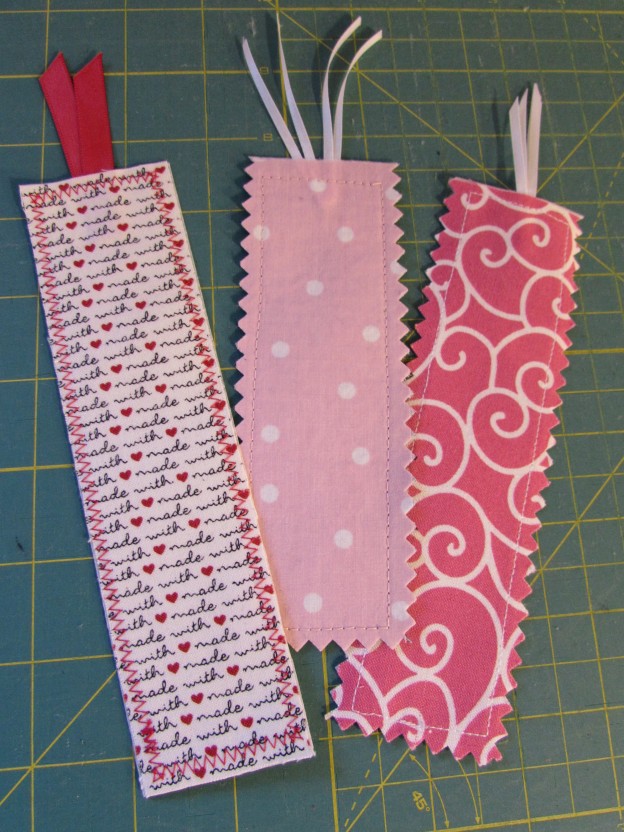
Two weeks ago I made some bookmarks to go with a tote and books that we gave to my mother-in-law for her birthday. The bookmarks go together in a matter of minutes and are a great project if you have children that are feeling crafty. They would make a sweet Valentine for a friend. I made them with 2″ wide strips of scrap fabric, ribbon and iron-on denim.
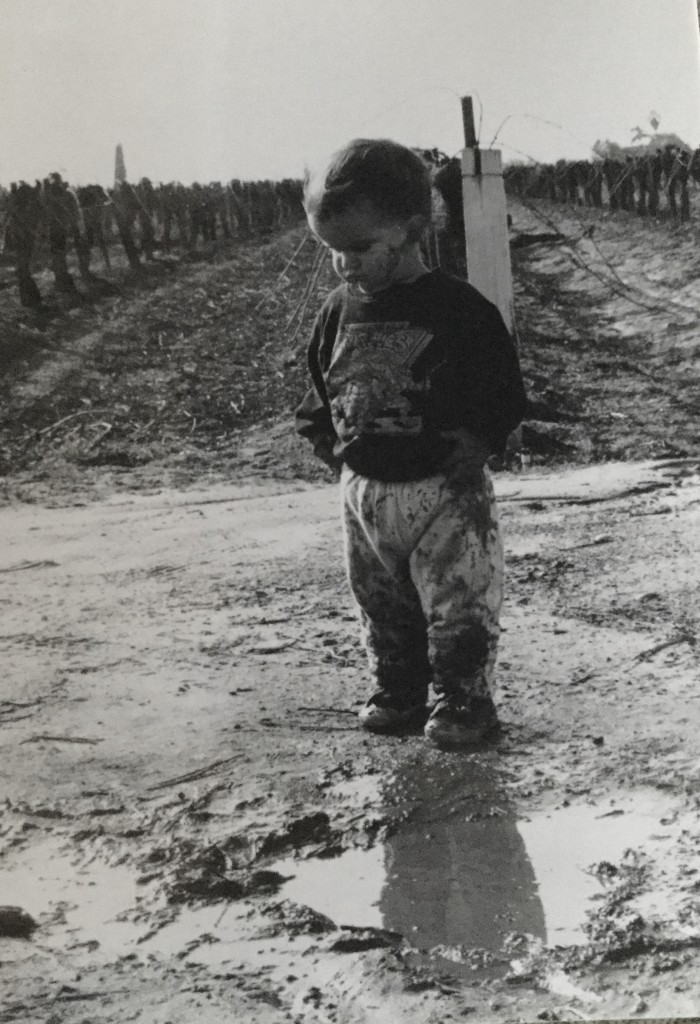
I have four children, three are boy. When they were little, their clothes were basically held together with iron-on denim patches. We lived on a vineyard and the boys (often) lived in the dirt.
This stuff came in handy over and over again.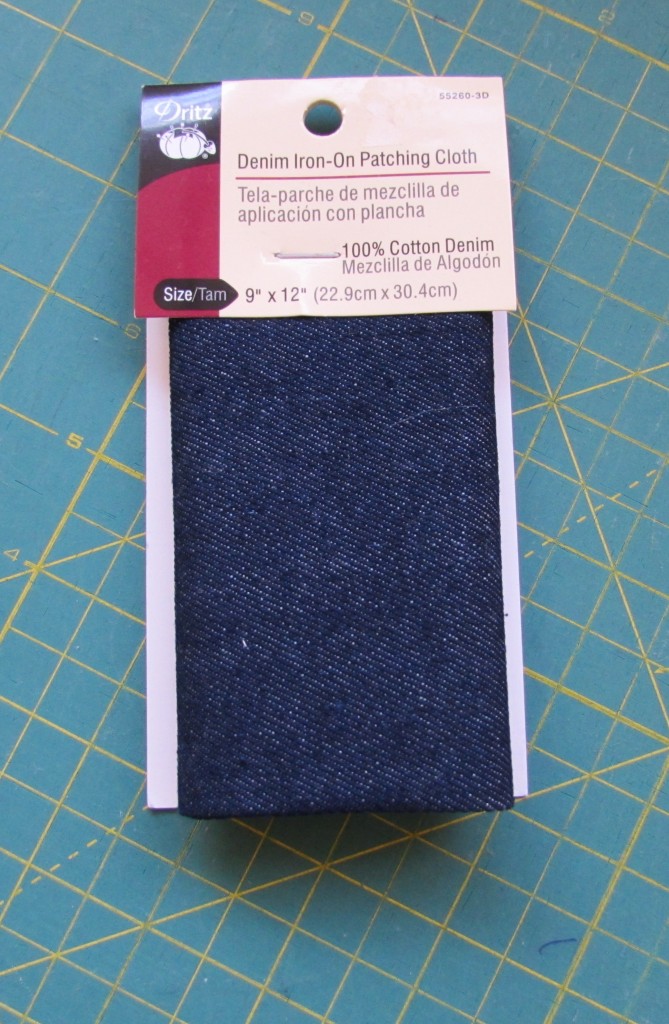
Now that I don’t have any grubby boys wearing out their jeans at the knee, I can use it for crafts instead.
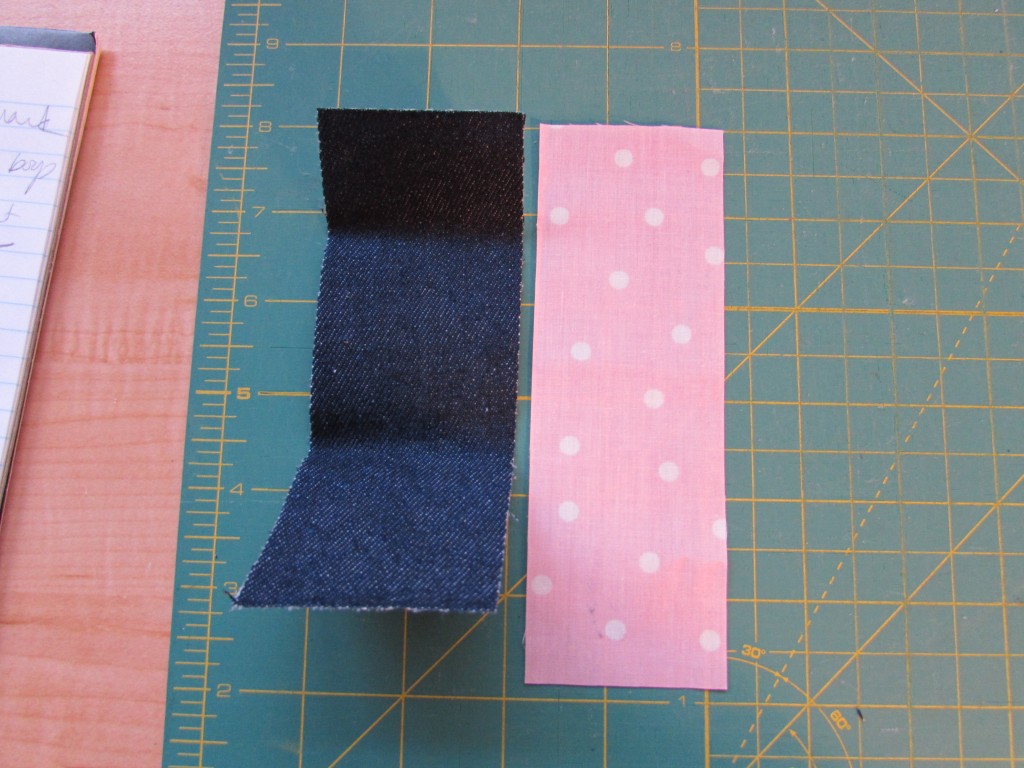
To make the bookmarks, cut a few 2 inch strips of fabric and as many 2 inch strips of the denim. Mine were six inches long but they could be whatever length or width you choose, as long as they are the same.
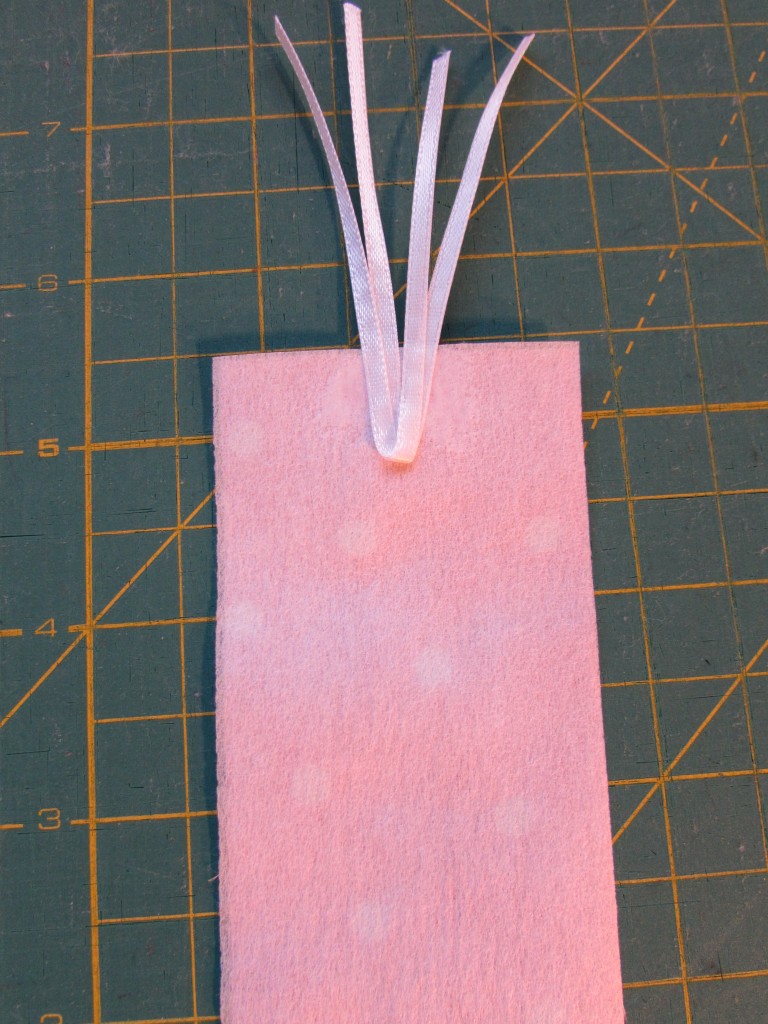
The iron-on denim will give the bookmark plenty of body. However, this pink strip was fairly thin, so I applied a scrap of iron-on interfacing to the back. (As an alternative, if you have denim scraps laying around, you could use the denim scraps and adhere them to the other fabric with Wonder Under.)
Once the interfacing was applied, I used a glue stick to adhere a piece of ribbon to the top of the strip. The ribbon could be any length or width you happen to have. Whatever looks nice, works fine.
Preheat your iron so it is good and hot and do not use steam. After you have the ribbon glued down, place the iron-on denim and the outer fabric with the ribbon together, wrong sides touching. With a very hot iron, press them together, applying light pressure to your iron.
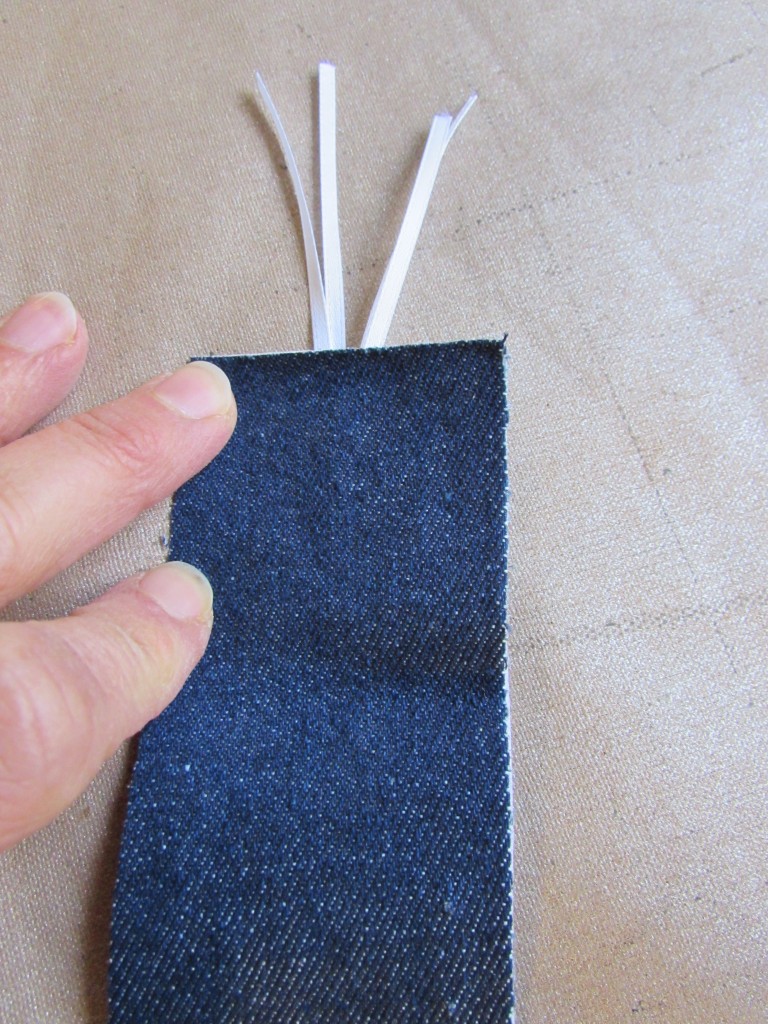 At this point, you might choose to call it good. If it isn’t going to be washed, the adhesive on the denim will probably be enough to hold them together. I like to run a stitch around the perimeter just to be sure. Sometimes I will use a zig-zag stitch or a decorative stitch on my machine. Other times, I just use a straight stitch.
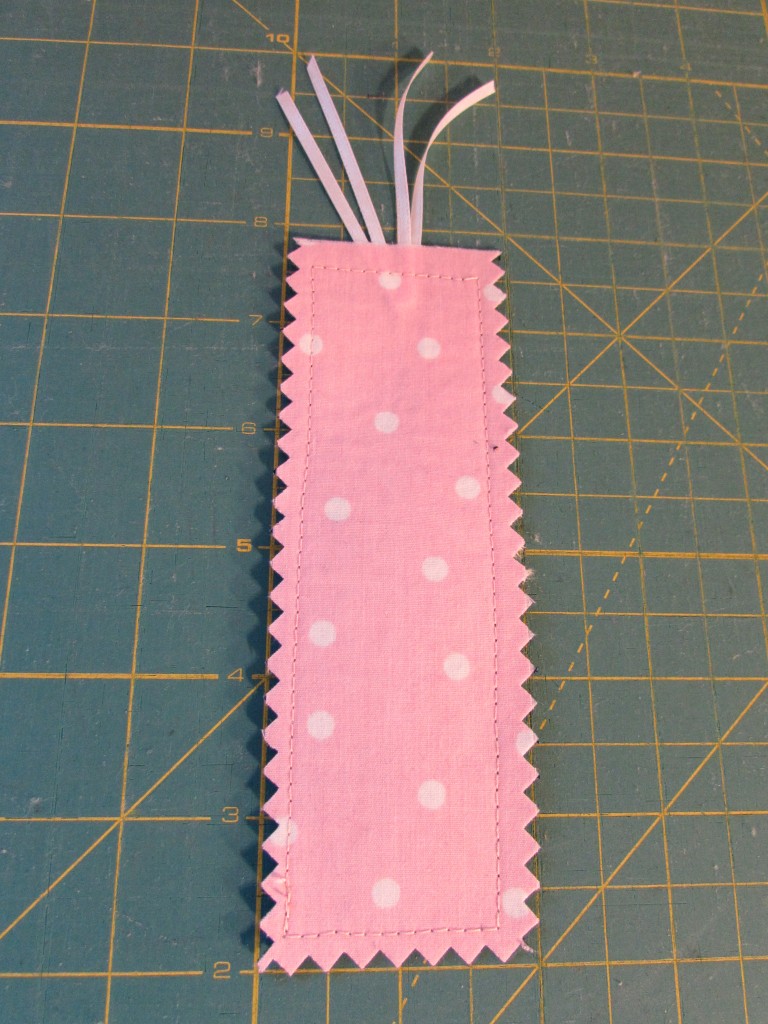 If you have pinking shears, it is cute to pink the edges too.
After making several of these, my needle did collect some of the sticky adhesive residue. Just a little warning. I used an old needle to make these and then tossed it.
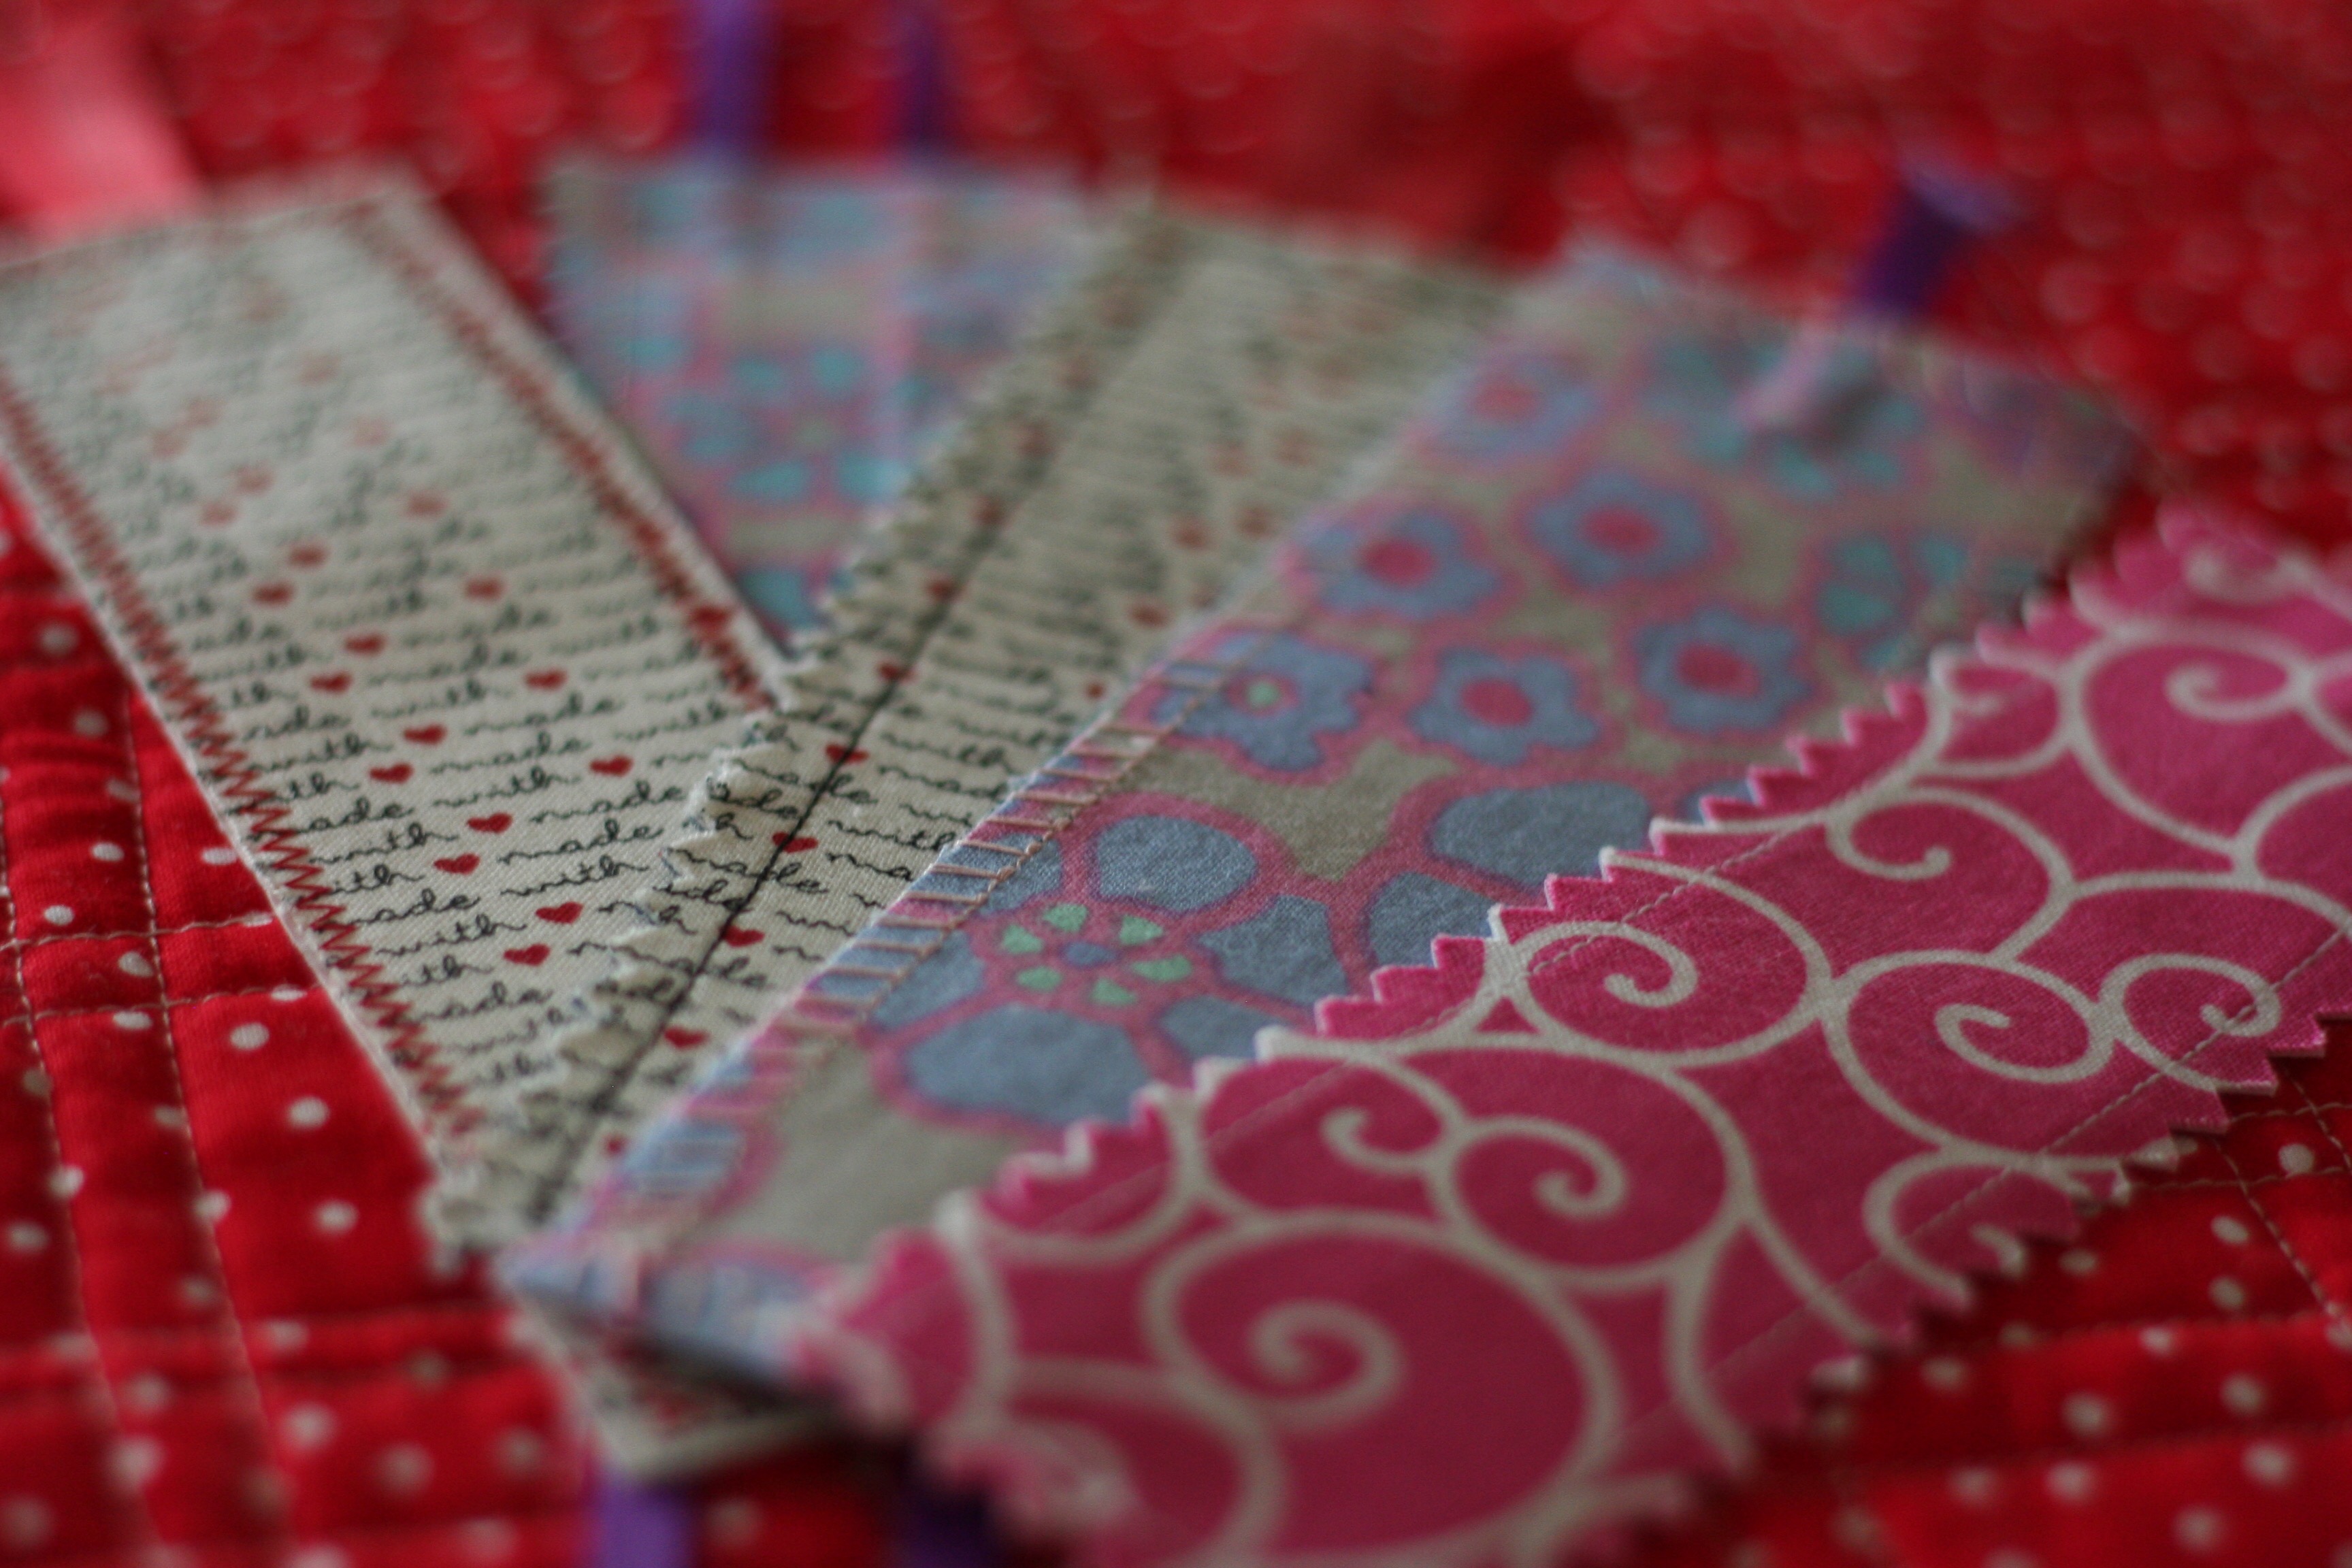
This is a fun activity for kids. This idea might come in handy for a scouts project too. Hope you will enjoy making a few!
Linking to Connie at Freemotion by the River, Stephanie at Late Night Quilter, and Alyce at Blossom Heart Quilts.

Cute! These would make neat valentines for kids to hand out to their classmates! (Or teachers to hand out to the kids to encourage reading.)
Of course- I didn’t think of teachers handing them out to the kids. Julia used to receive a bookmark each week from the school librarian.
She has a shoebox full of them! ?
These are adorable! I love the way they showcase the fabric. Thanks for the tutorial, the suggestion of denim for backing (genius), and the tip about the needle! The photo of your boy is priceless.
These are a fun, quick little project.
I love this picture of Ian. He was covered in mud. So sweet.
Very nice project for a quick gift add-on. Visiting from Sew Cute Tuesday.
Thank you Carole. It is nice to have an idea in your pocket for a quick, easy project1
What a great little project. Thanks for the idea!
Glad you like the idea. I thought it was a fun project – another way to use up some scraps!
This couldn’t be any easier! Very cute idea. Love, love the photo of your son in the mud. So adorable.
Definitely – this is a very simple project. One that would be fun to have on hand for kids to make too.
Glad that you liked the picture. Hard to believe that he is 25 years old now!
Very cute project, and so simple! Thanks for sharing!
You’re very welcome. I hope you get a chance to make a few!