Monthly Archives: June 2016

Clothespin Bag Tutorial & Giveaway


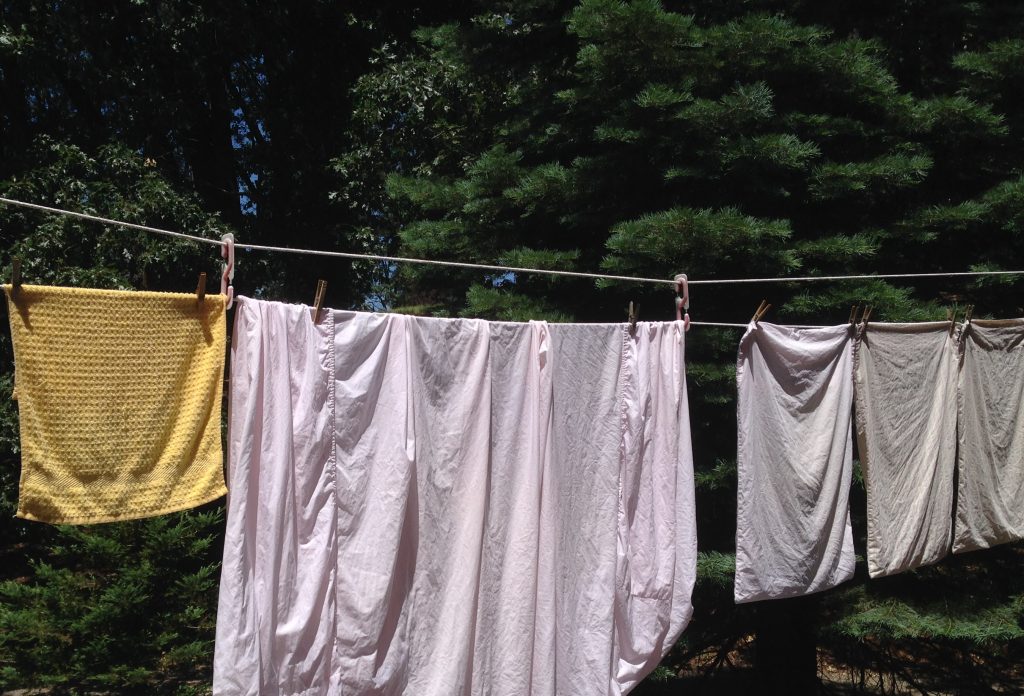
I am so excited to tell you that I have a tutorial posted over at Sew Mama Sew today! I hope you will go over and check it out. This tutorial is so timely – at least for the West Coast. We are sweltering this week with temps ranging in the high 90’s. This is the season where I wash clothes in the early morning and hang them on the line. Running the drier only heats up the house and it is hot enough as it is.

IMG_3454 (1)

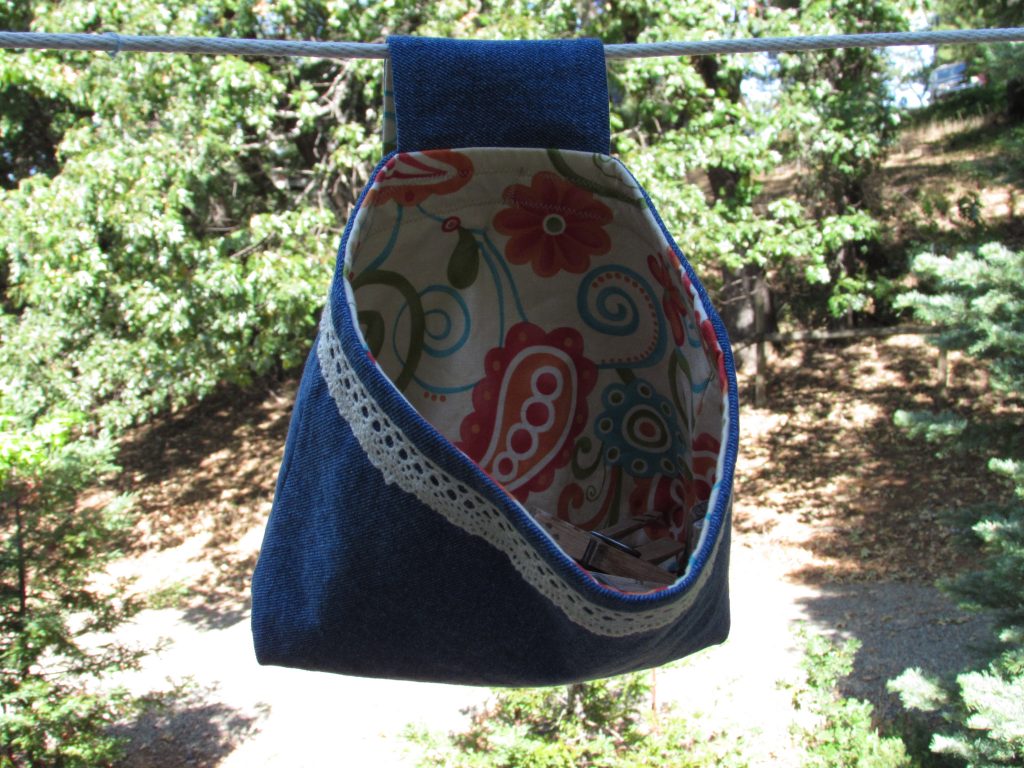
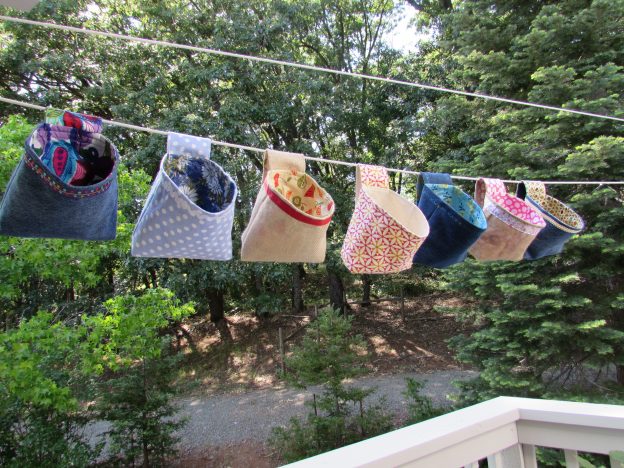
I have made a number of these bags and they come together quickly. I love using upcycled denim with a bright summery fabric for the lining.

IMG_20150722_3568

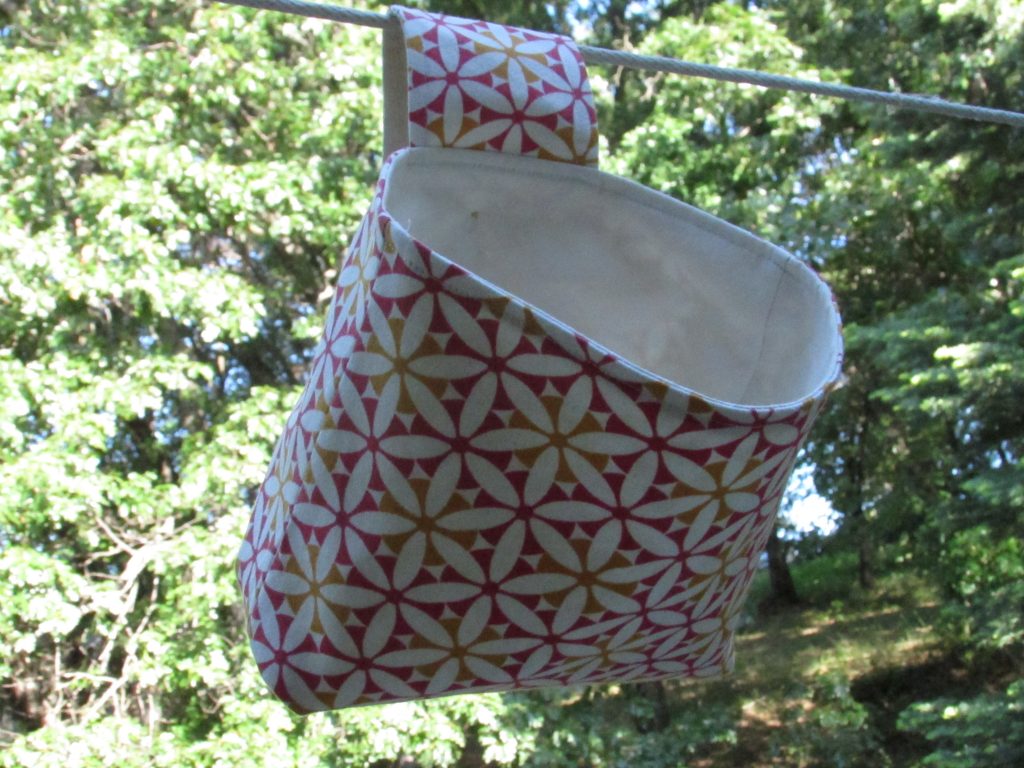
There are tons of printed twills that work well too.

IMG_20150525_3345

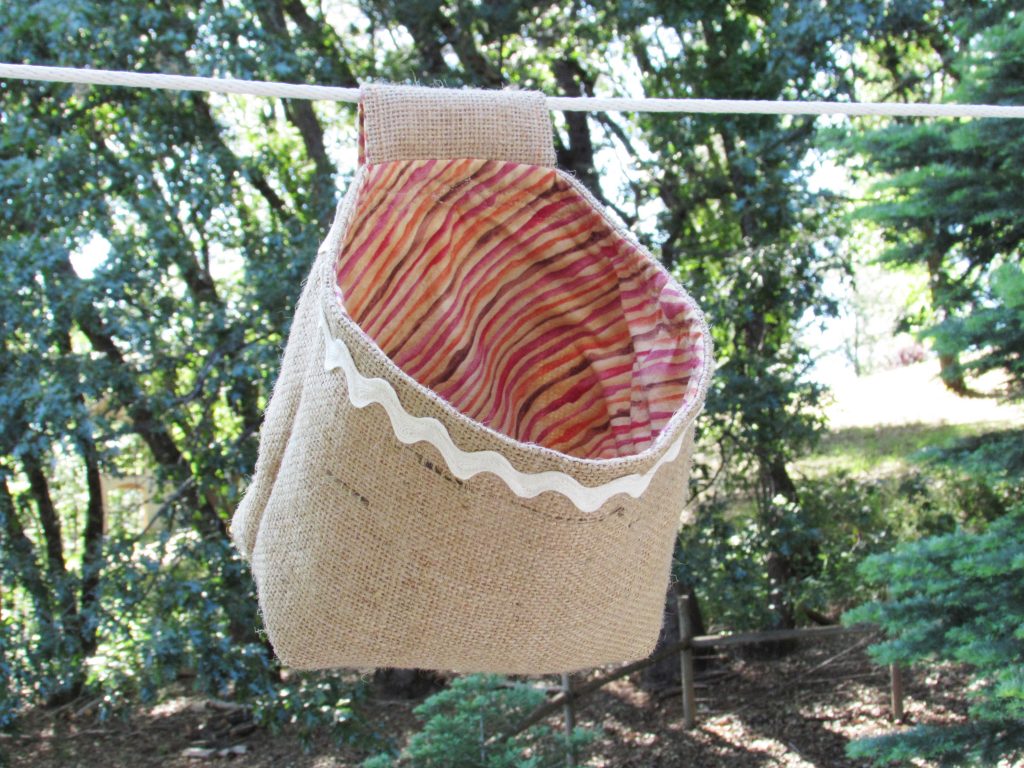
Upcycled burlap, lined with a fun print and embellished with trim, is adorable as well.
img_20160517_5168 I hope you take a look at the tutorial and give this a try. In celebration of summer and this tutorial, I have a giveaway for you today. I know, I know – two giveaways within the week! If you haven’t yet entered, check the first one out here!

Today’s giveaway is a generous one provided by Sheryl, my sponsor at Brewstitched. Enter the giveaway and you could win a $20.00 gift certificate to her Etsy shop.

brewstitched button

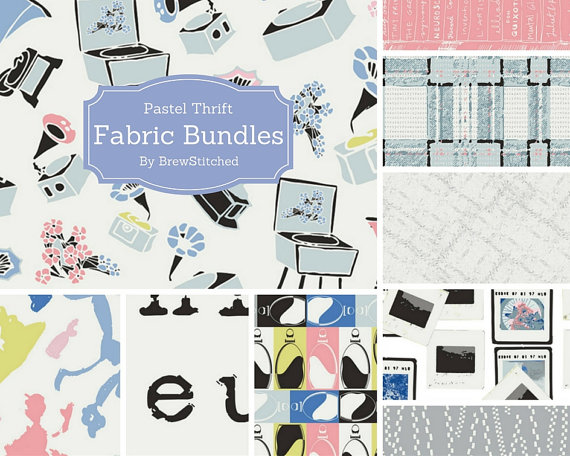
I have written about my partnership with Brewstitched before – you might check out an earlier post here. Sheryl has done some fabric shopping lately and stocked her shop with some gorgeous new fabrics, such as this Art Gallery collection, Pastel Thrift.

pastel thrift

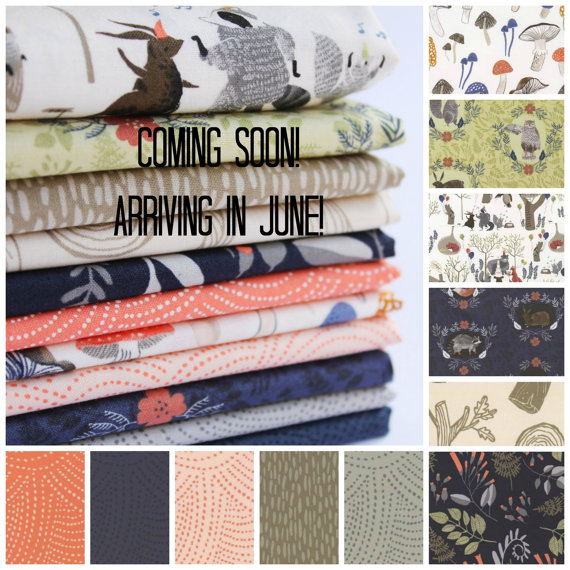
Soon, Brewstitched will also have the Dear Stella line, Foxtail Forest in stock. It is just gorgeous -but then you already know that I have a Dear Stella addiction. You can preorder yours now and Sheryl will ship it asap when the fabric arrives!

foxtail collection


OK – here is how you enter, leave me a comment and tell me what you do to keep your house cool this time of year. For a second entry, let me know how you follow Needle and Foot (Bloglovin, Instagram, Facebook).  Want a third try? Just follow Brewstitched on Instagram and let me know that you did. The giveaway will stay open until Saturday, June 11th with the winner announced on Sunday, June 12th. Good luck!!  Giveaway is now closed.


june-giveaway

All through the month of June Craftsy is having a Mystery Box Giveaway – one for you and one for a friend! Go and enter to win. Good luck!!

(Note: I am a Craftsy affiliate and if purchases are made by clicking on the link I provide, I will be paid a small commission.)

Needle and Foot – 2nd Blogiversary

Two years ago, when I started this blog, I was so nervous. Like most people that start out, I was afraid I would host this party and no one would show up. But guess what? People read my posts, and not all of these readers were related to me! Hard to believe that it has been two  years but it has.

I am so grateful for the friends I have made so far and all that I have learned. When I was starting out, my son, Andrew, showed me how to track how many views I was getting and where they were coming from. Both of us were so surprised to see that this community of quilters was spread out all over the world. I love that. I have made friends all over the United States, Canada and Europe as well as Israel, Russia, Switzerland, Sweden and Mexico. How exciting is that! Our world is spread so far yet we are all able to share this common interest.

I am also thankful for all that I have learned via this blog and our community. Over the past year, I participated more and grew my blog. I joined the 2015 New Blogger event, wrote a few tutorials, was brave enough to hang my quilts in a local show, entered a challenge for QuiltCon and worked ever so hard to further my FMQ skills. All of this was because of the quilting community I am a part of. This amazing group of people that so generously shares knowledge, ideas and feedback is a huge source of information and friendship.

As thanks to all of you, I would like to host my second annual Charitable Giveaway. I am feeling ever so fortunate but there are many out there that need our support. Like last year, I want to donate to one of your favorite non-profits. It can be any cause that you hold near and dear to your heart. Leave me a comment telling me what charity you would like to be the recipient if you win. I will draw one lucky winner and make a donation of $25 to the charity of their choosing. Because I don’t have to pay crazy shipping fees, this giveaway is open world-wide. I hope all of you will enter. The giveaway will stay open until Thursday, June 9th and the winner announced on Friday the 10th. Here’s to another awesome year!

Wearing Washi

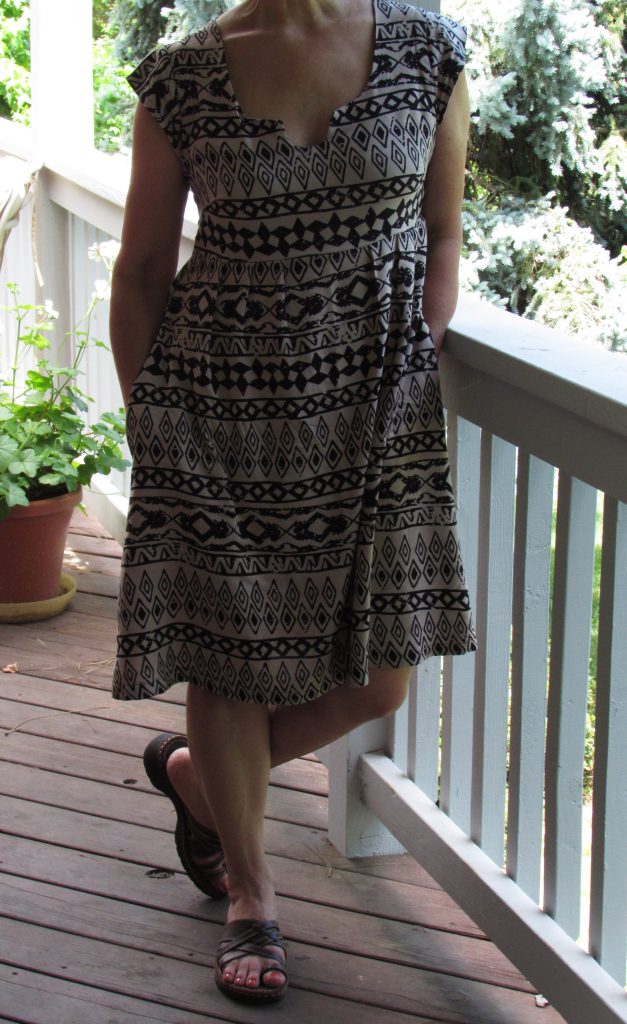
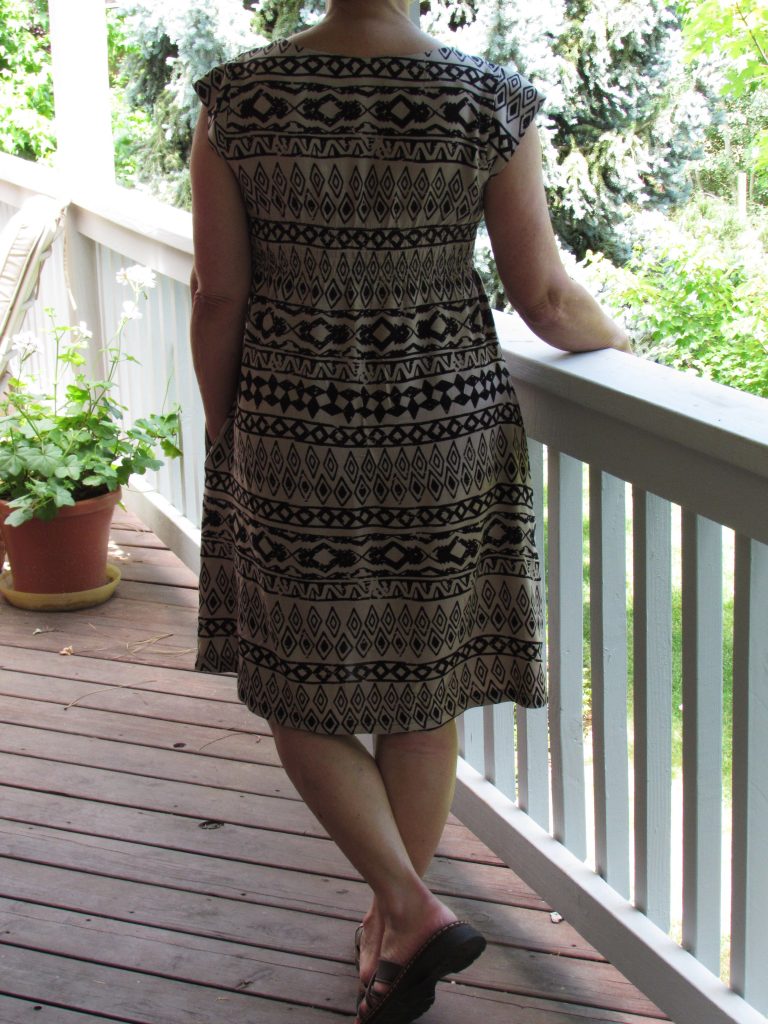
As part of May is for Makers, I bought the pattern for the Washi dress. Designed by Rae over at Made by Rae, this dress pattern has been around now for several years. For no particular reason, I haven’t made clothing for myself in a very long time. When Julia was younger, I made her lots of dresses, shorts, pj’s and halloween costumes. Same with the boys when they were younger (well, except for the dresses.) I decided it is time to refresh my memory on garment sewing.

IMG_6233

This dress was a breeze to make. The pattern is very simple (read no zippers or buttonholes to deal with.) There are a few design elements that add style to the dress. First of all, the scooped cut in the neckline (which is totally optional) is very cute. There were hints included with the pattern instructions that I found very helpful. An example of this was the suggestion to add some fusible interfacing behind the front of the neckline so the scooped cut would lie flat.  It worked like a charm.

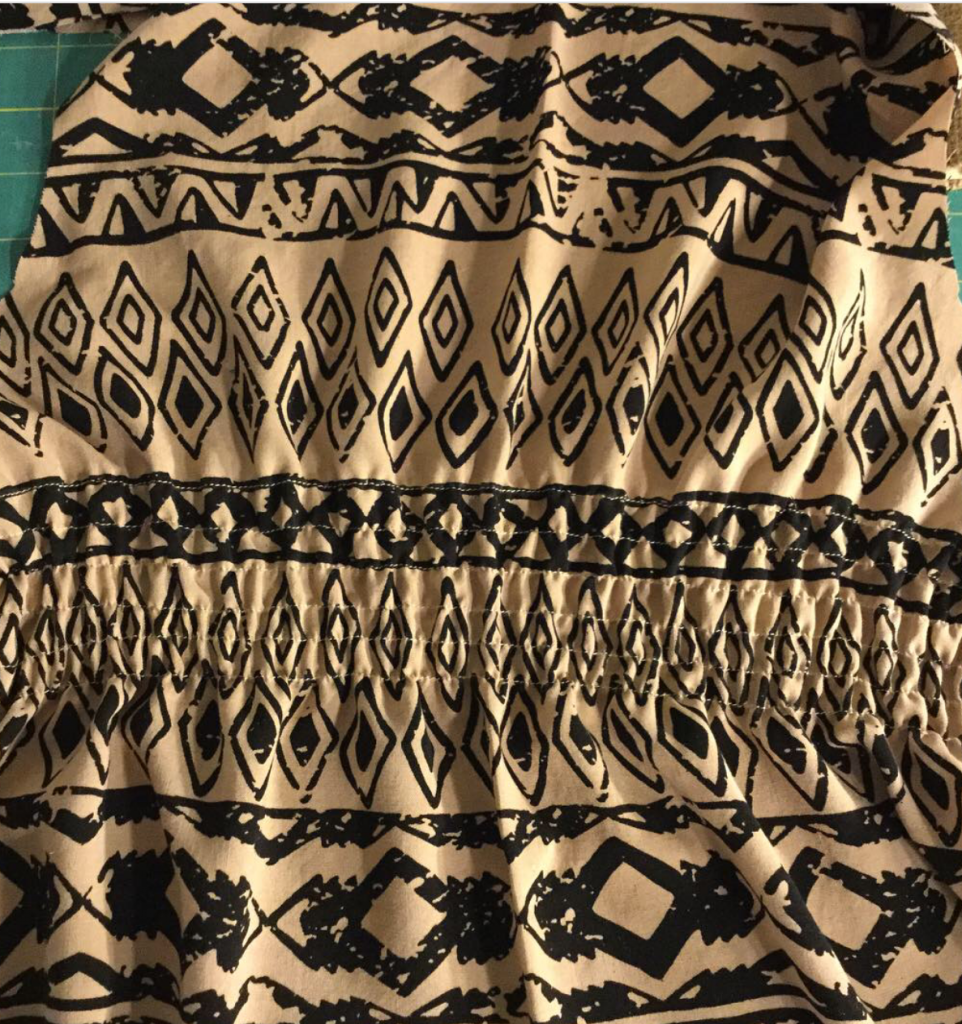
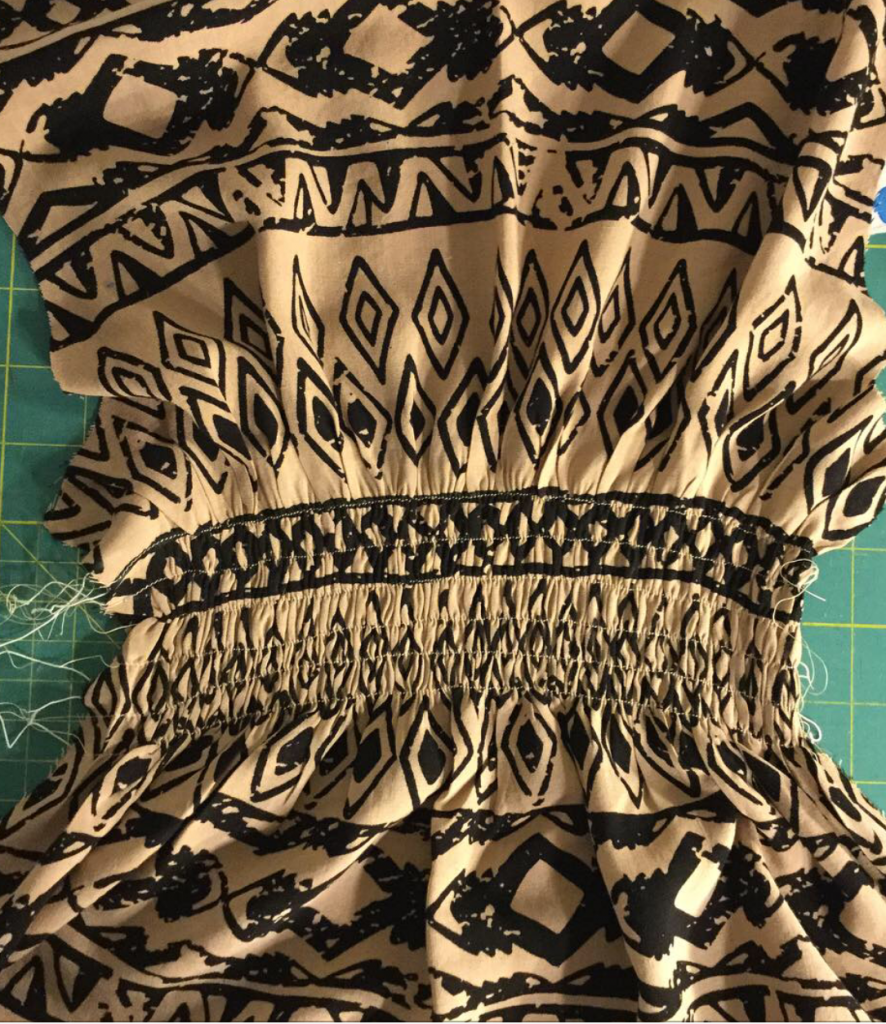
Another feature that I really like is the shirred back on the dress. Never in my long (40 years or so) sewing career have I done any shirring. It was fun. First I practiced a bit on a scrap of the dress fabric to see how it would behave.  I used a rayon fabric which feels wonderful and has a very nice drape. But being somewhat slippery, it was a pain to sew with. If the print on the fabric had not been so linear, it would have been less of a problem but I had to work hard to keep the lines straight and the print matching at the seams. I’m off track here, let’s get back to the shirring. To gather the fabric, normal thread is used on the top and elastic thread is used in the bobbin. The thread must be wound by hand on the bobbin. After marking the lines on the fabric, you just stitch along the line. I tied off the threads by hand, rather than backtacking the stitches at the start and end of each row. The first row looks like it will be too loose but as more rows are stitched, it gathers up a bit tighter. My machine didn’t have a problem with the elastic thread except, for some odd reason, after the end of each row, I had to take the bobbin out and reseat it. I have no idea why but I couldn’t just start the next row. If I lifted the bobbin and reseated it, I had no problem. This was only a minor inconvenience. The fun part of shirring (and I didn’t know this would happen) was the magical shrinkage after pressing the shirred portion. Take a look. Here is the shirring just after I finished the six rows. It looked fine but was quite loose.

IMG_1104

The instructions said to press it so it would shrink up. Yikes, it was magical.

IMG_1103

Pretty interesting, right? Once the shirring was done, everything came together quickly. I think the dress was easily completed in an afternoon.

IMG_6236

I am going to buy a knit fabric and make a second dress. This one is so comfortable and I think it would be even more so in a knit. There are some pleats in the front and I don’t want them to be ‘poochy’ – no 55 year old tummy needs that – so I will look for a thin knit to minimize any potential issues! The sizing was spot on. I made a medium and it fits great. While I wouldn’t say this is a pattern for a someone just learning to sew, it is a fun one if you have a little sewing time under your belt.

Finally, tomorrow is the two year blogaversary for Needle and Foot! I want to celebrate with a giveaway. I hope you will come back and join in!

Linking to Can I Get a Whoop Whoop and Finish it Up Friday – you’ll find links to both of these at the top of the page, under Link Ups.

Our Bear Claw Quilt

Over the years, I have collected some very pretty quilts. Each has a great deal of sentimental value to me for different reasons. Today I want to share one of them with you.

img_20160528_5261

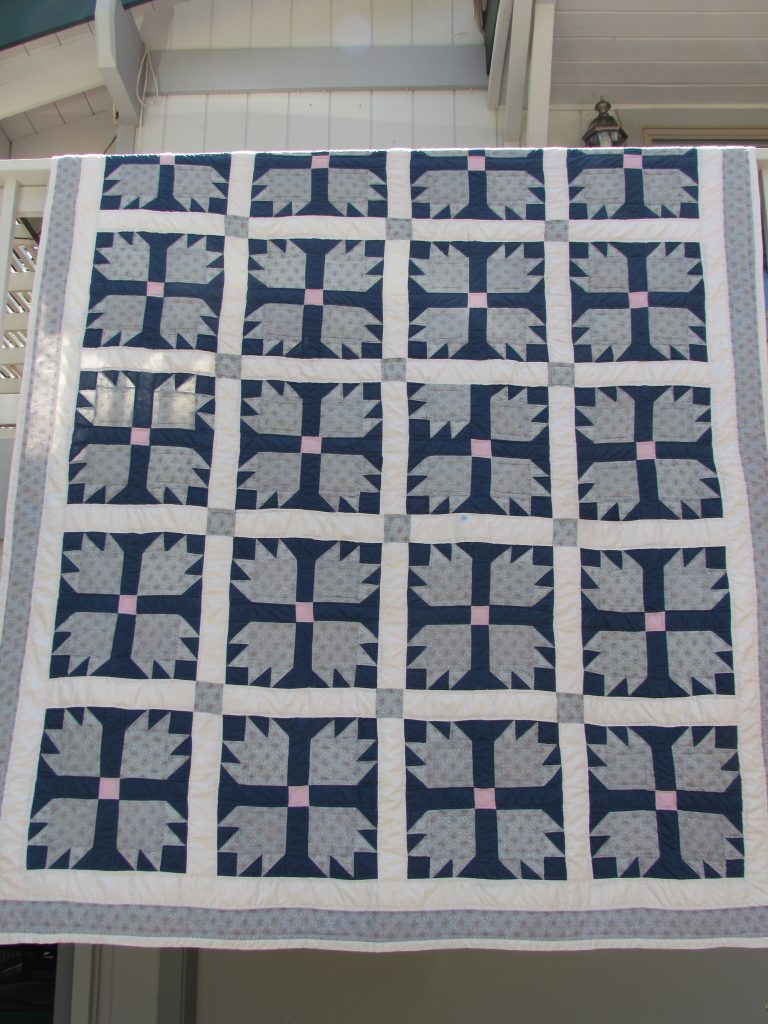
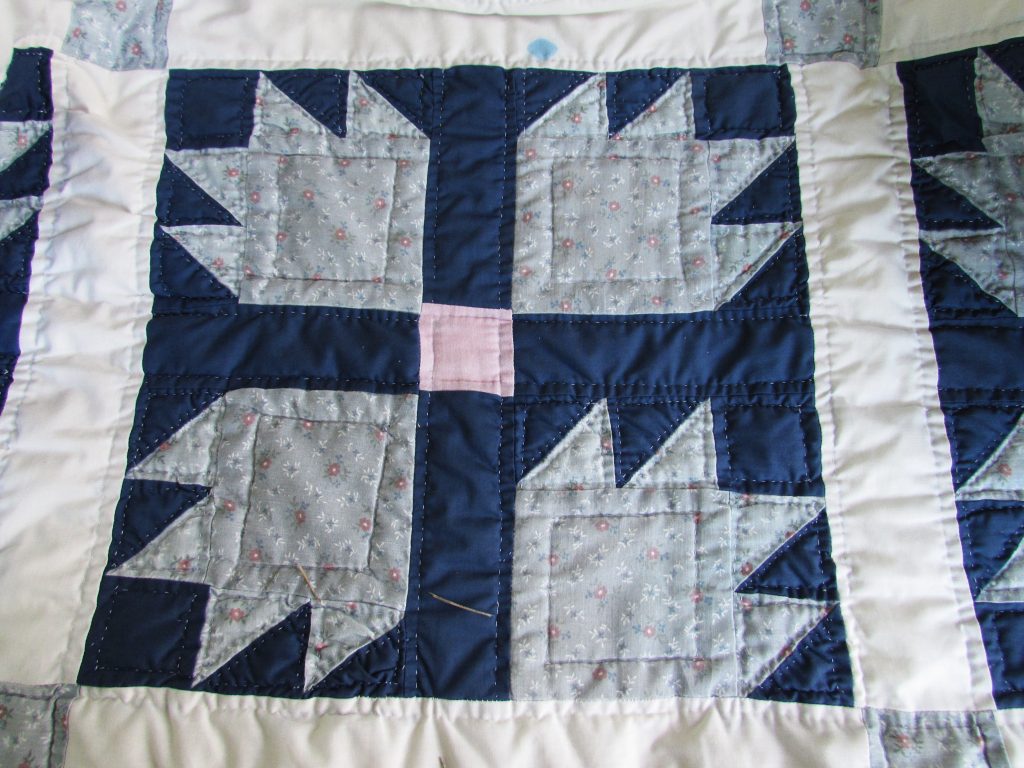
This quilt was given to me as a gift by some very sweet friends. In the early 1990’s we lived in State College, Pennsylvania for two years. When we were moving back to California, our friends, John and Lois, came by early in the morning the day before we left. Knowing that I had a love of quilts, they brought me a quilt they purchased on a trip through the Appalachian Mountains.

This very traditional quilt is large enough for a queen size bed.  Over the years we have enjoyed this quilt so much. It has become very faded and thin and has a few ink stains on it but it still has years and years of use left.

img_20160528_5262 v2

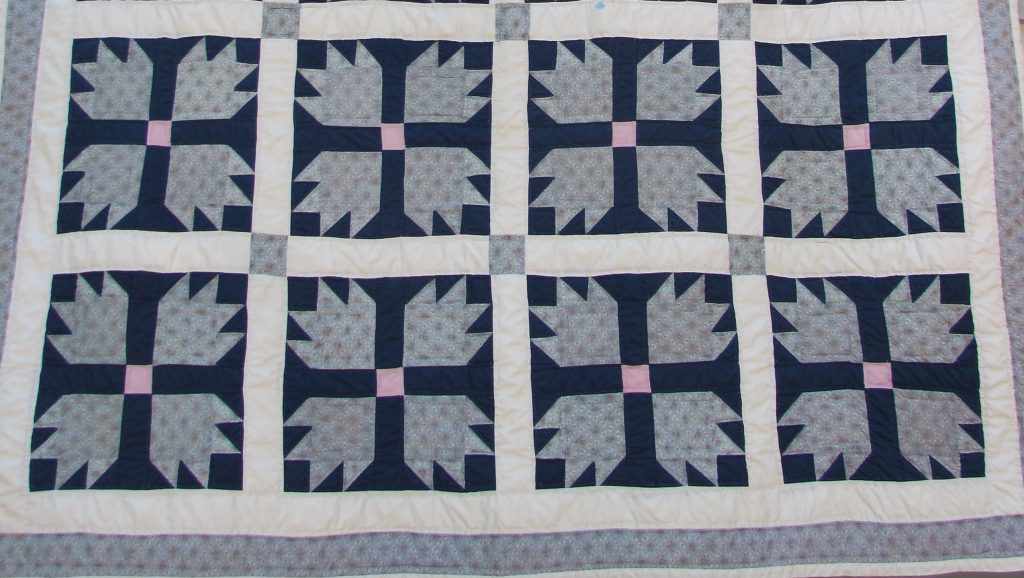
As each quilt always does, our bear claw quilt has its own special charm. Part of what makes it charming is the simplicity of the fabrics that were used to make it as well as the very simple hand quilting. More than that though, are the mistakes made by the quilter! It makes me smile every time I look at this claw that is pointing the wrong way. (The blue spot on the sashing is the ink stain I mentioned.)

img_20160528_5270

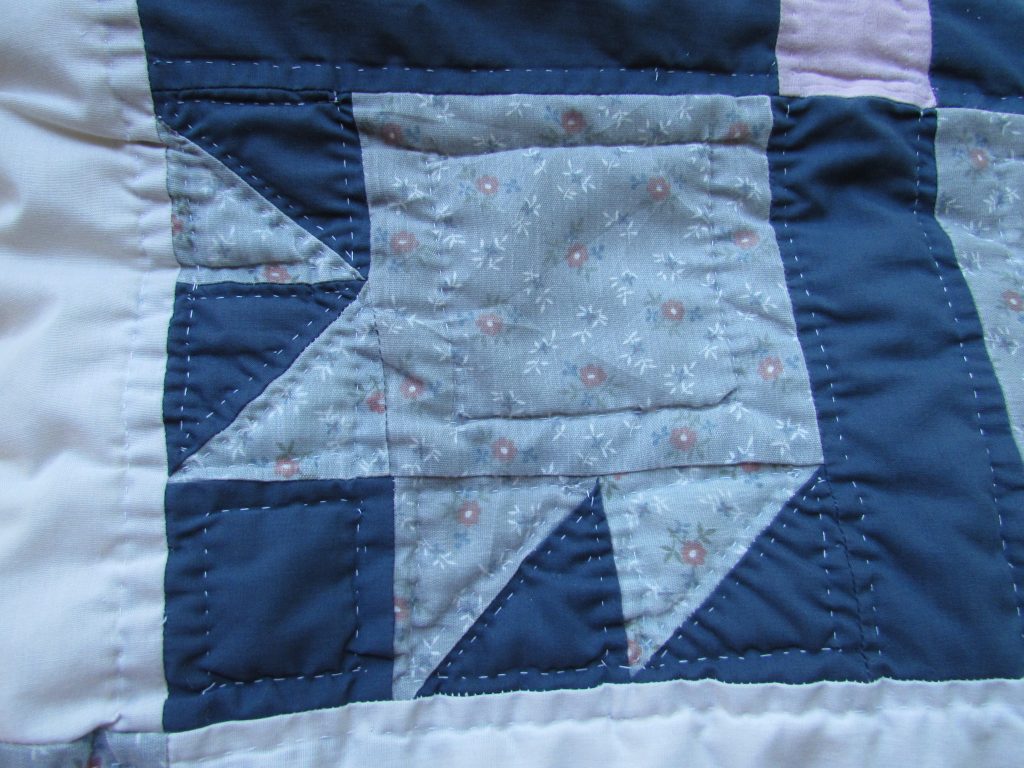
There is another mistake, one that seems more likely to be missed by the quilter than a whole block pointing the wrong way. Take a look at this poor bear’s toe. Ouch.

img_20160528_5268

Our quilt is so sweet and filled with its own unique character. The sashing and borders are a very simple muslin, lots of the points are cut off, some of the blocks are topsy-turvy but it has been a special part of our family for over 20 years.  Right now it lives on our bed in the Downieville house, keeping us cozy until I make the Dear Stella quilt.

Linking to Jen at Quarter Inch From the Edge as well as Let’s Bee Social.