Tag Archives: Scrappy Quilting

From one project to the next

Lots of progress has been made on a few projects this week.  I had some minor dental surgery done so I have been home taking it easy for most of the week.  Much of my time has been spent trying to figure out how many ways I can prepare a diet of oatmeal, smoothies, yogurt and scrambled eggs.  The ideas are running low though and it is lucky that I am able to chew things with a bit more substance today!

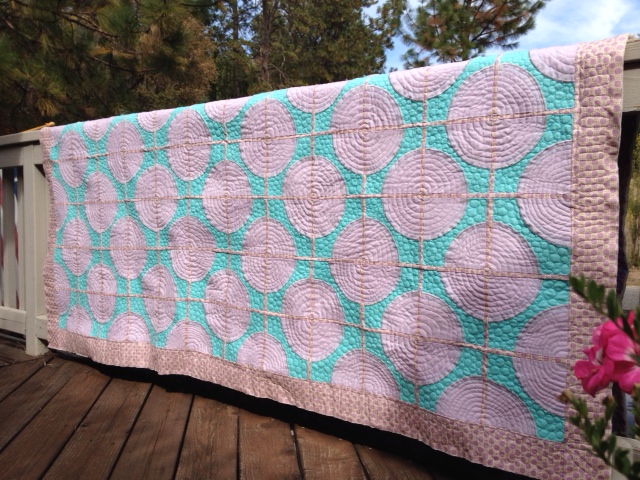
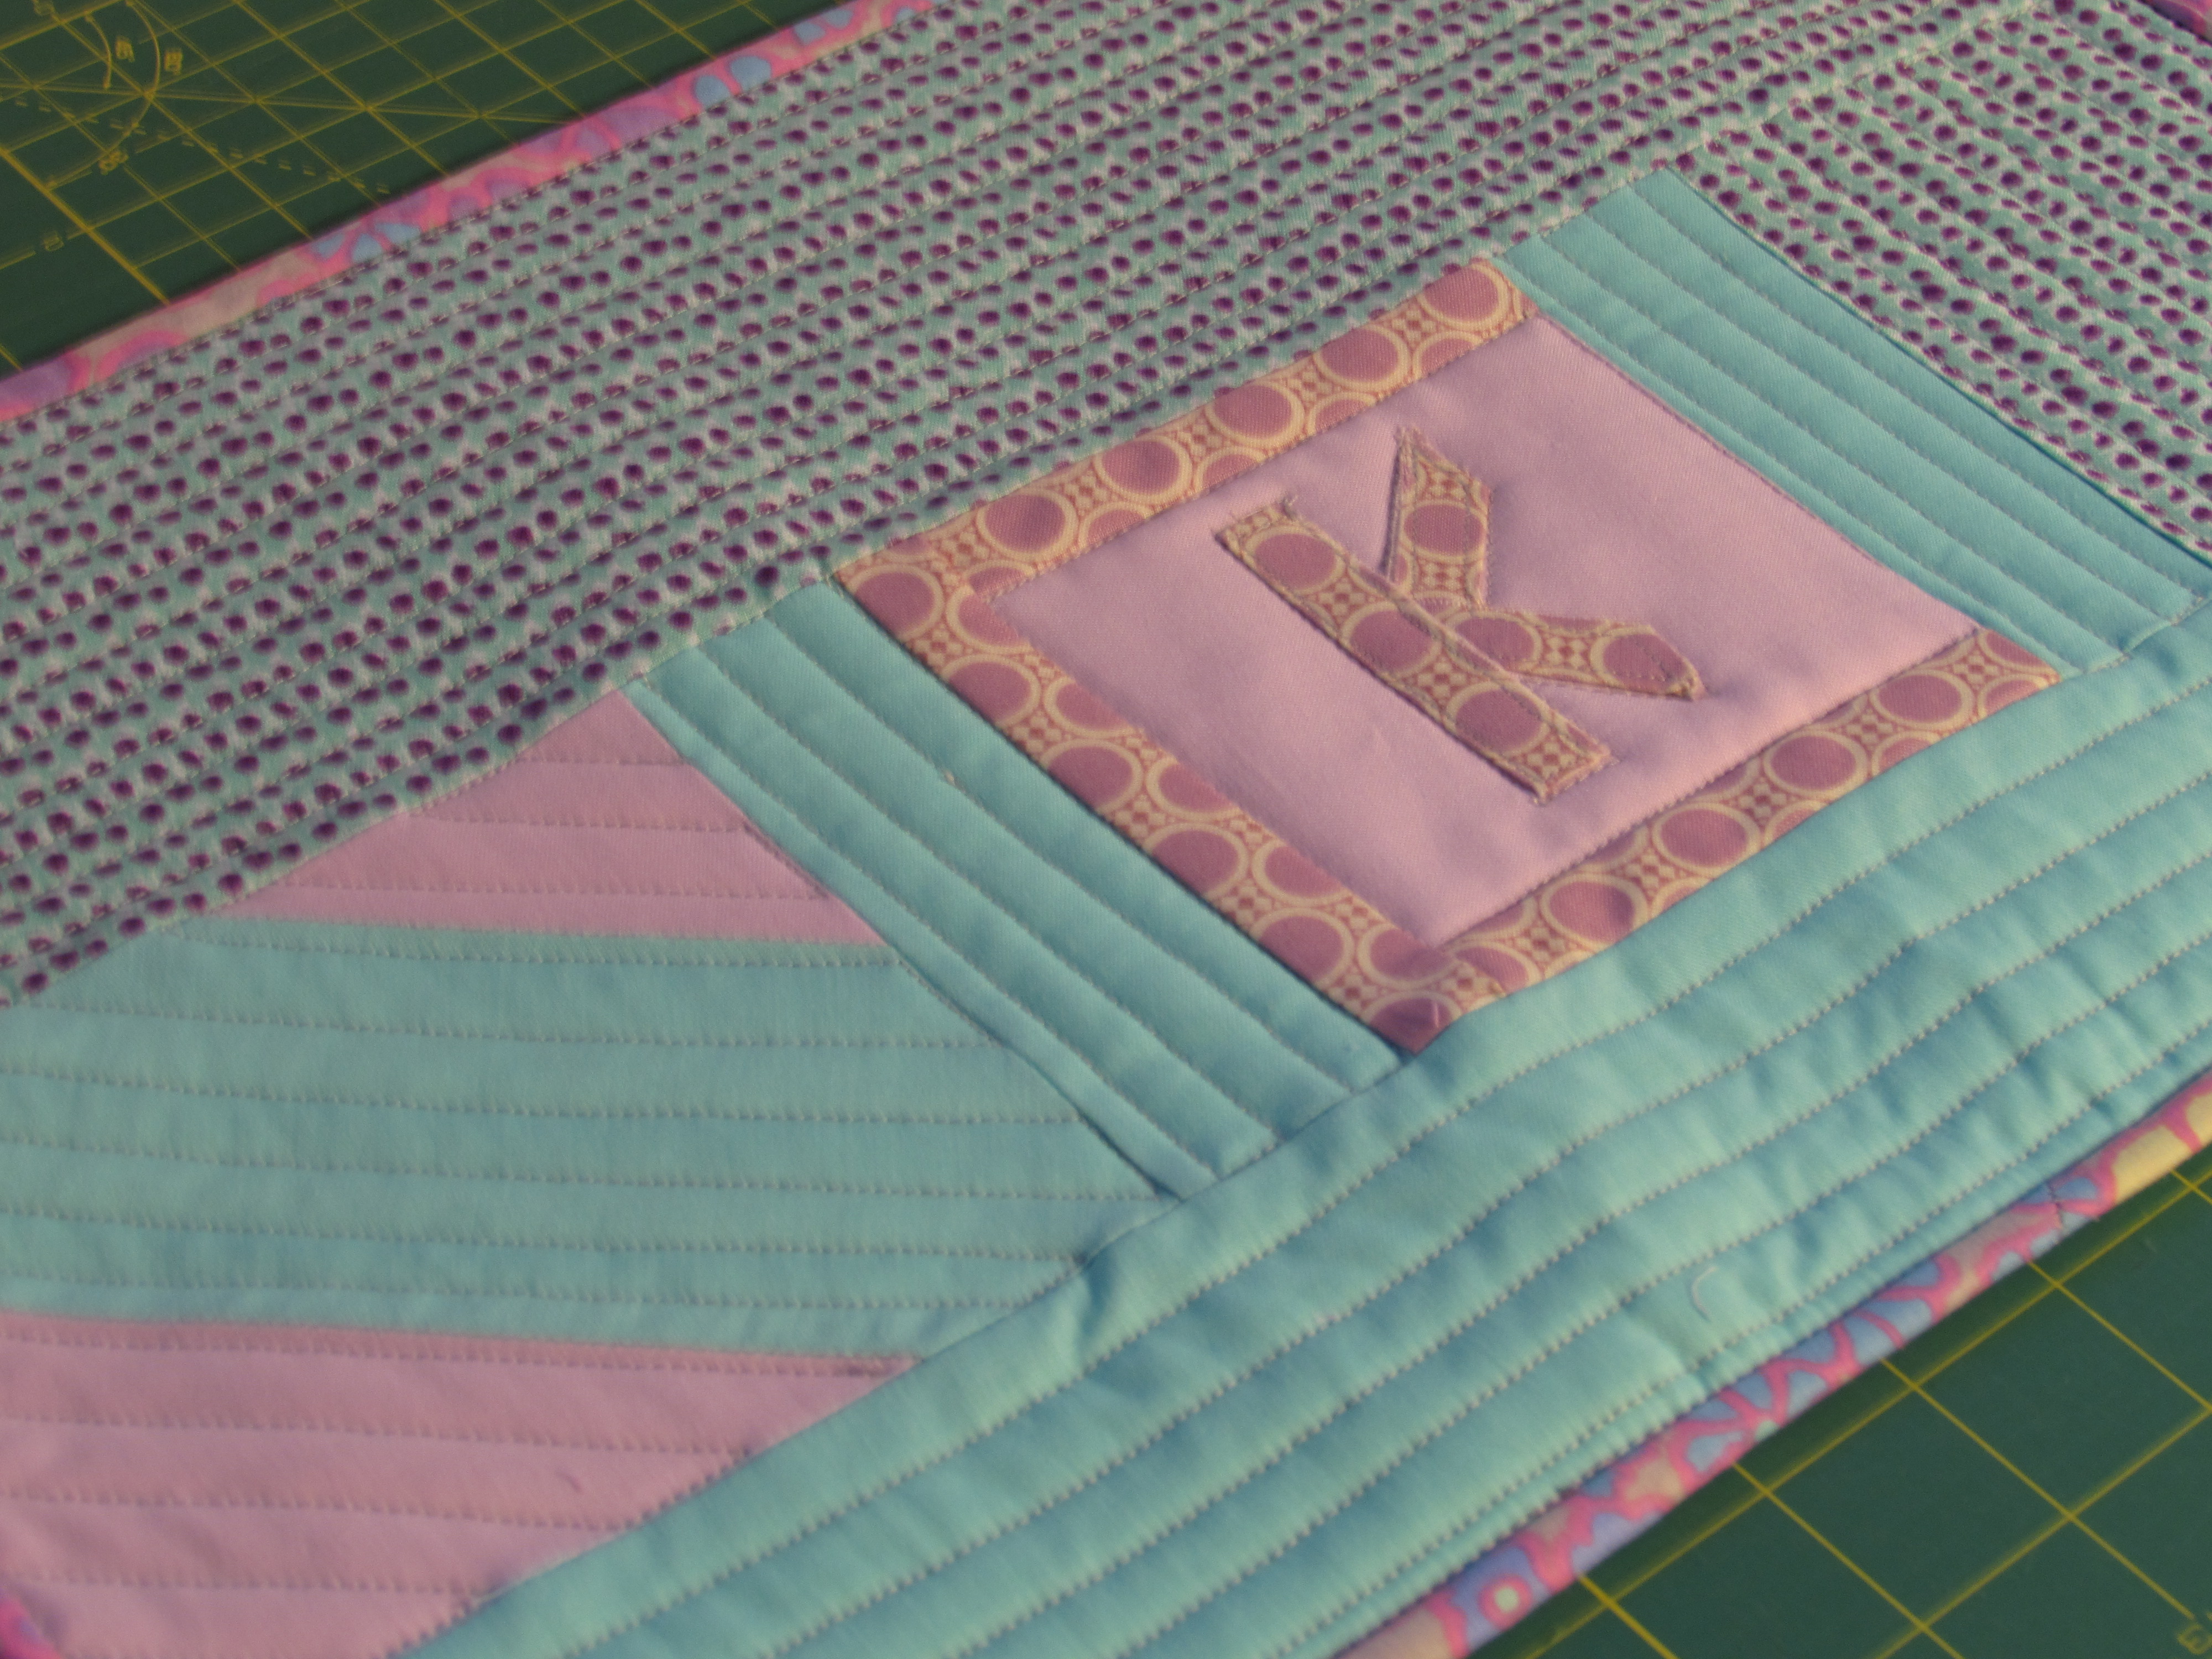
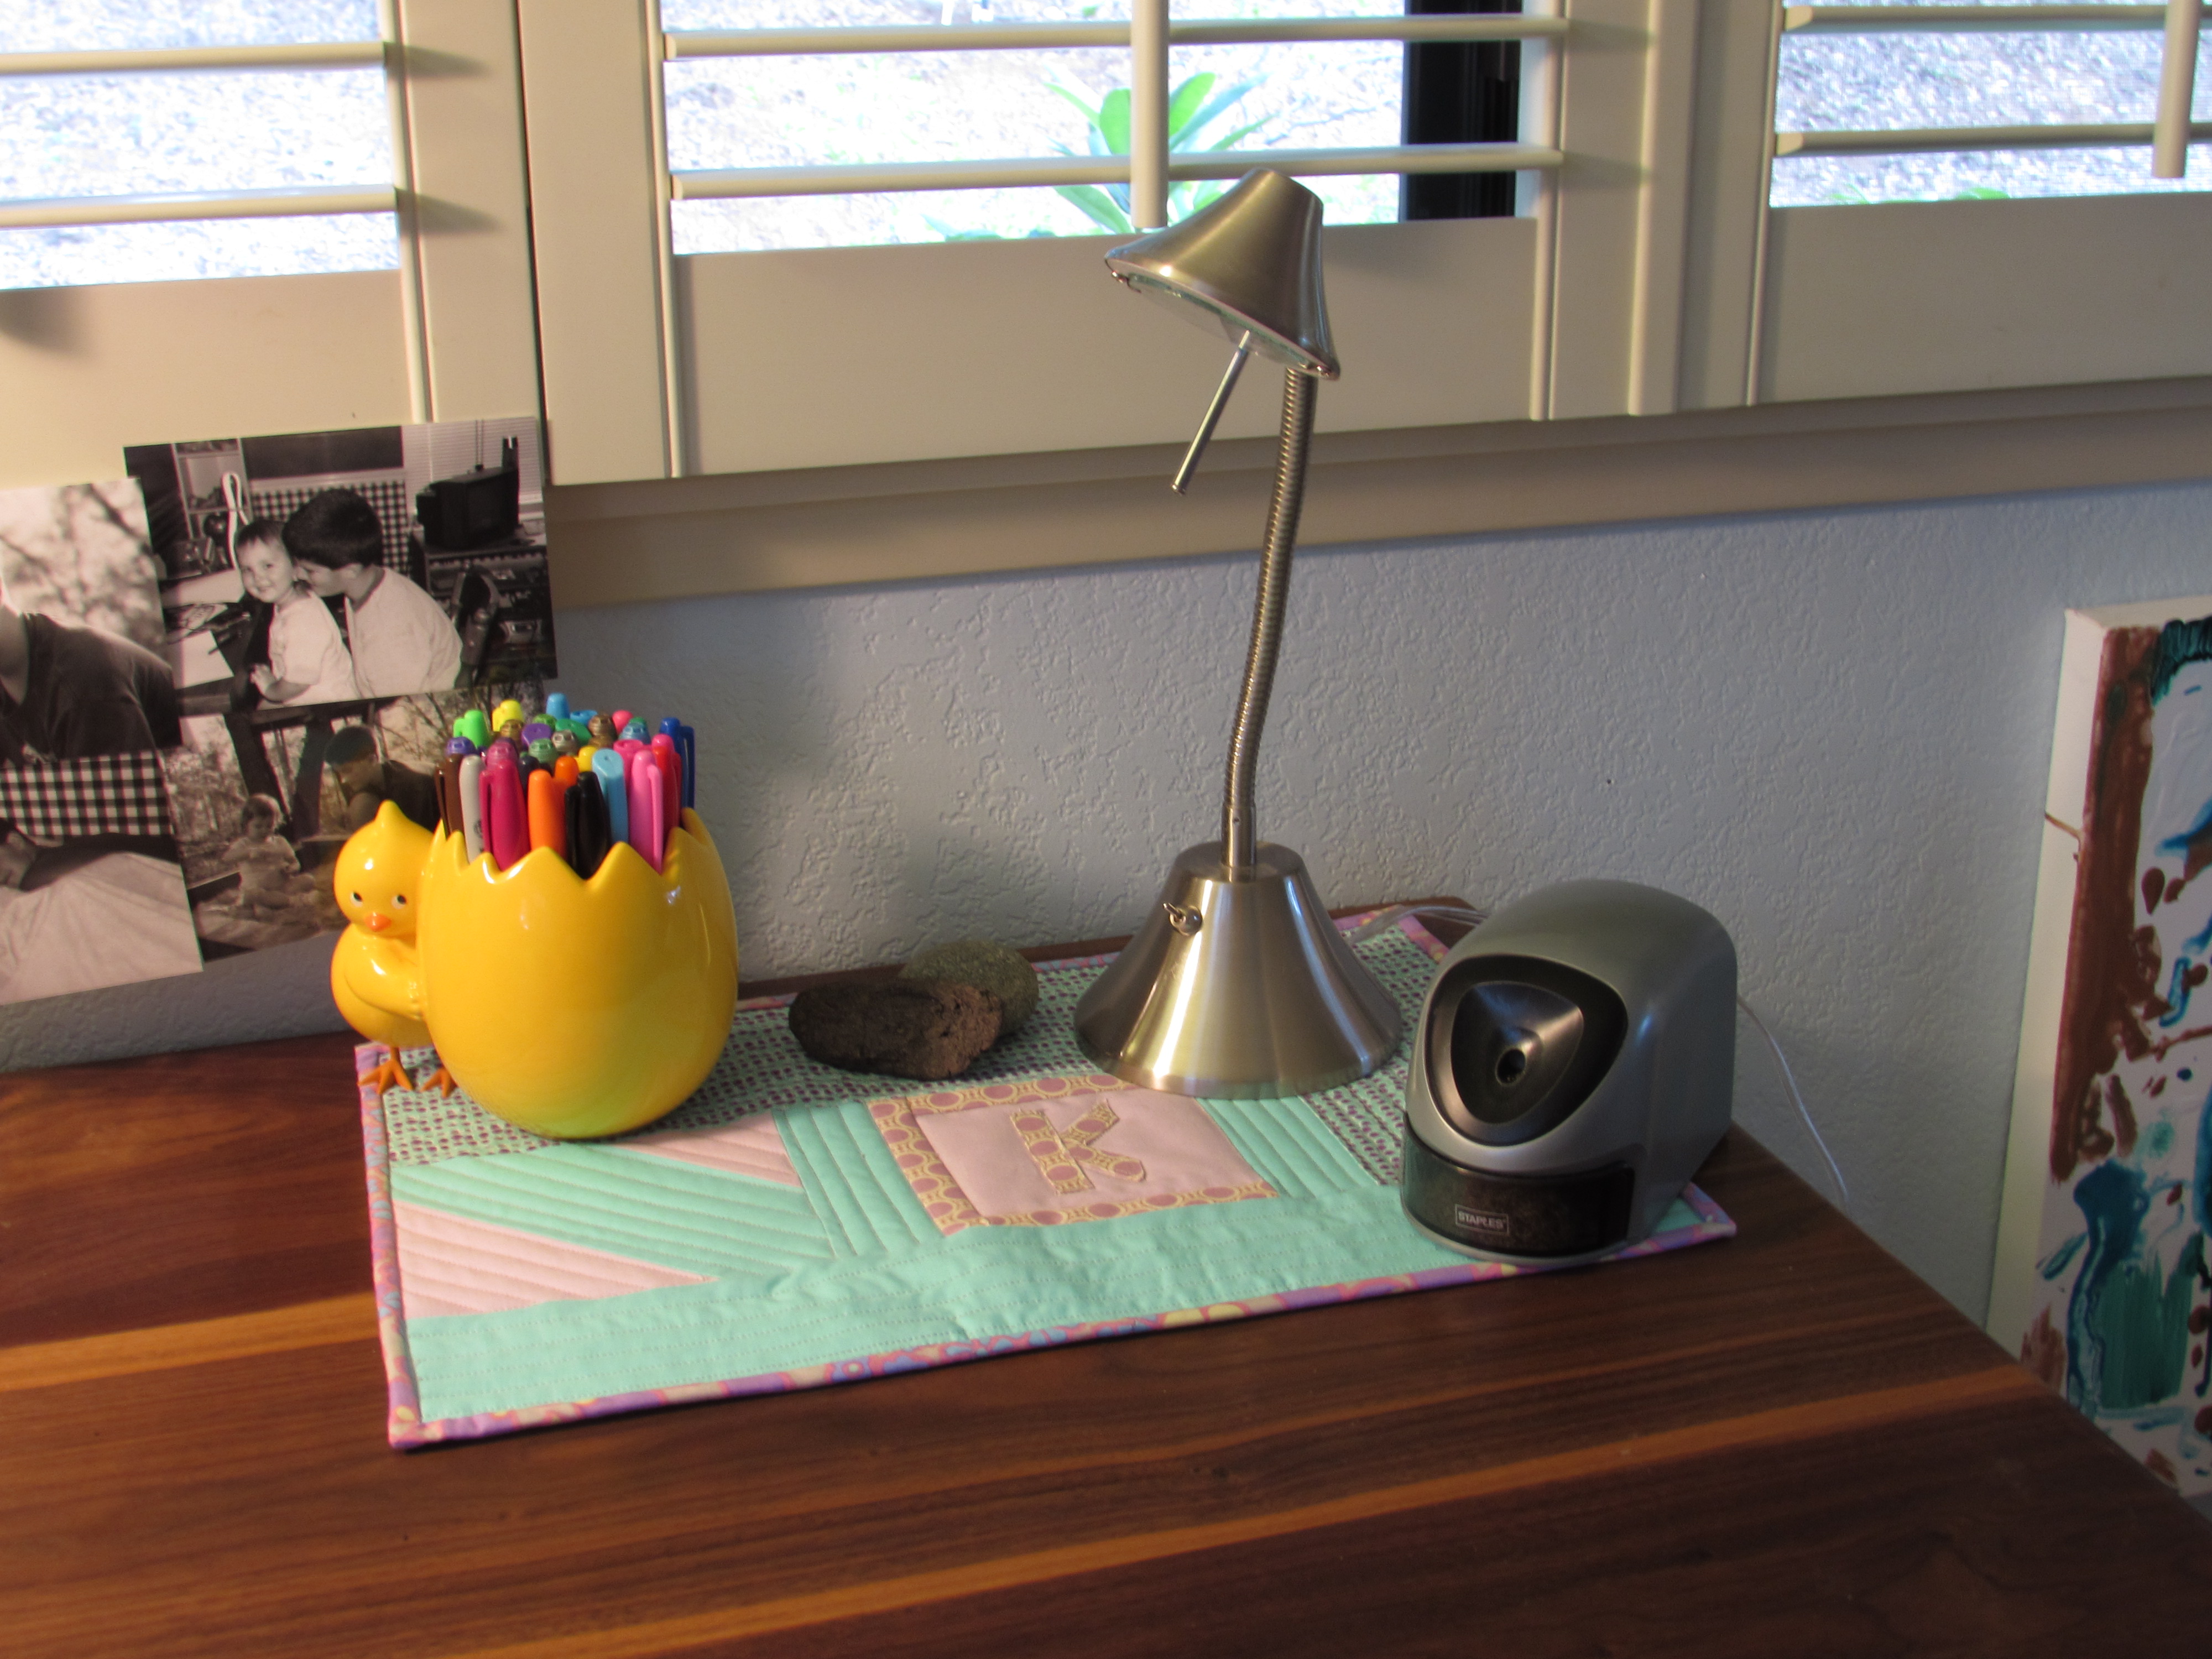
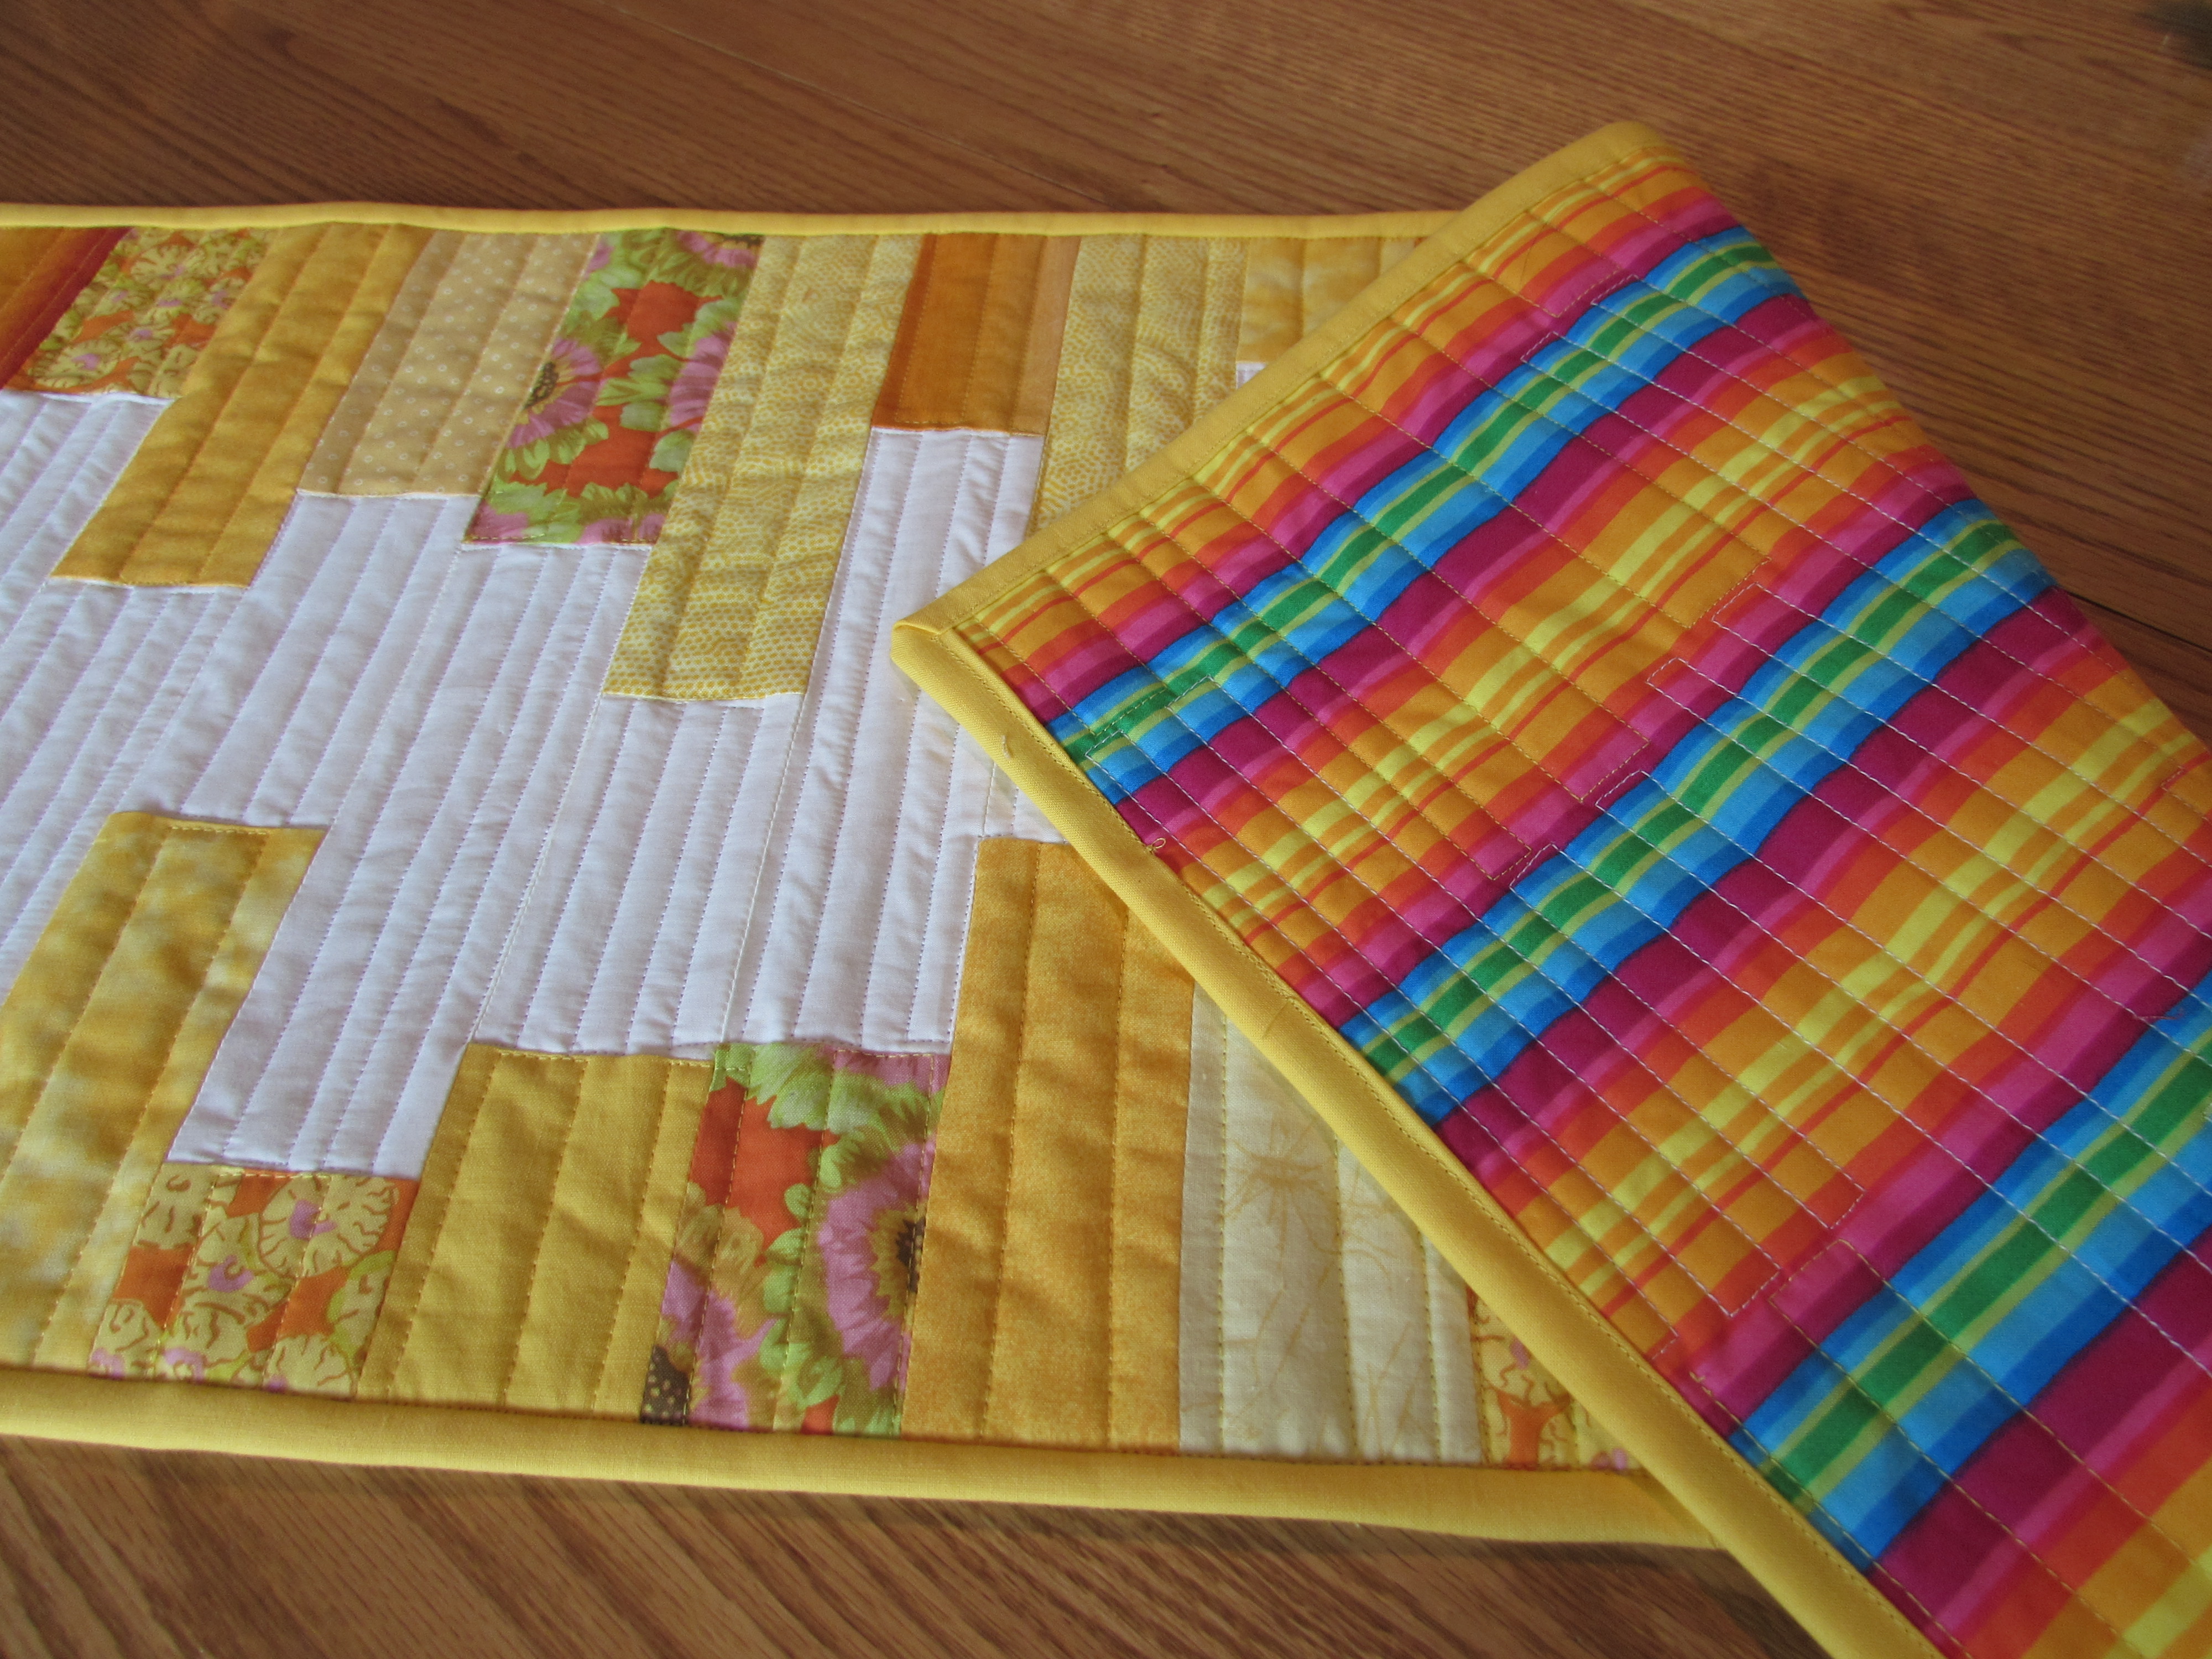
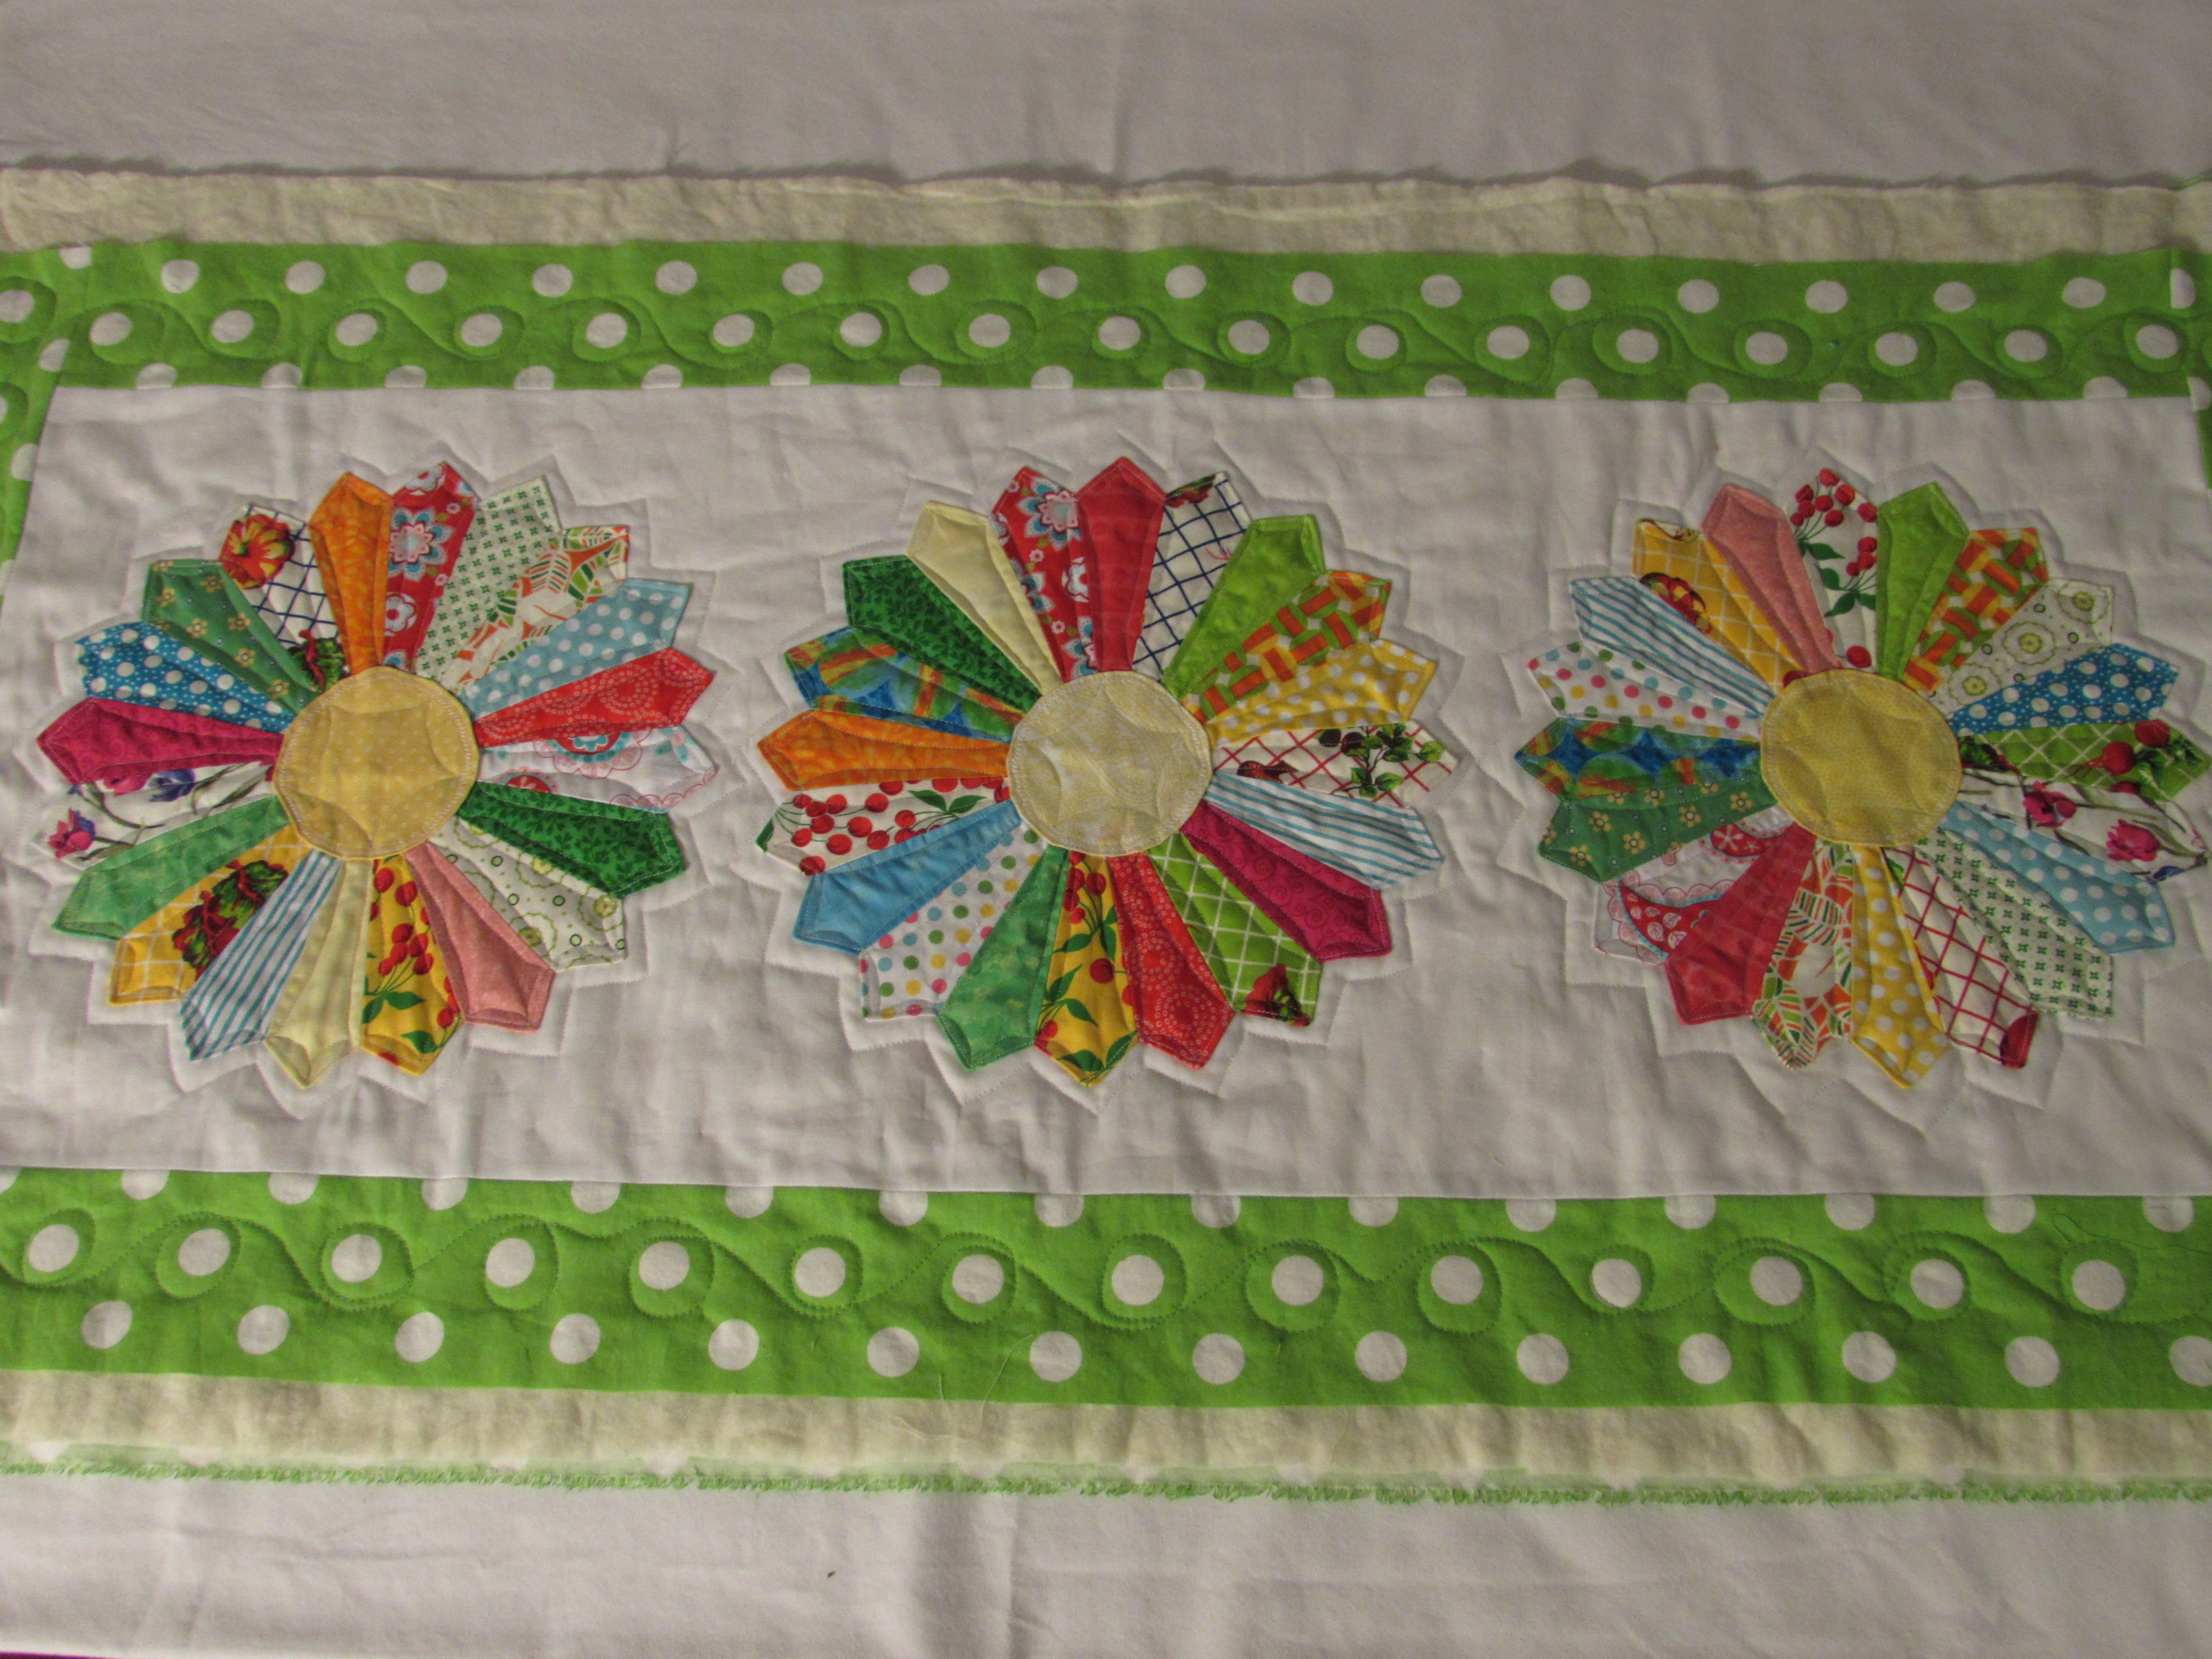
I posted last week about the Dresden plate table runner.  I got the quilting done on that and am so happy with it. I kept it simple and it works beautifully with the Dresdens.

20140722_1440

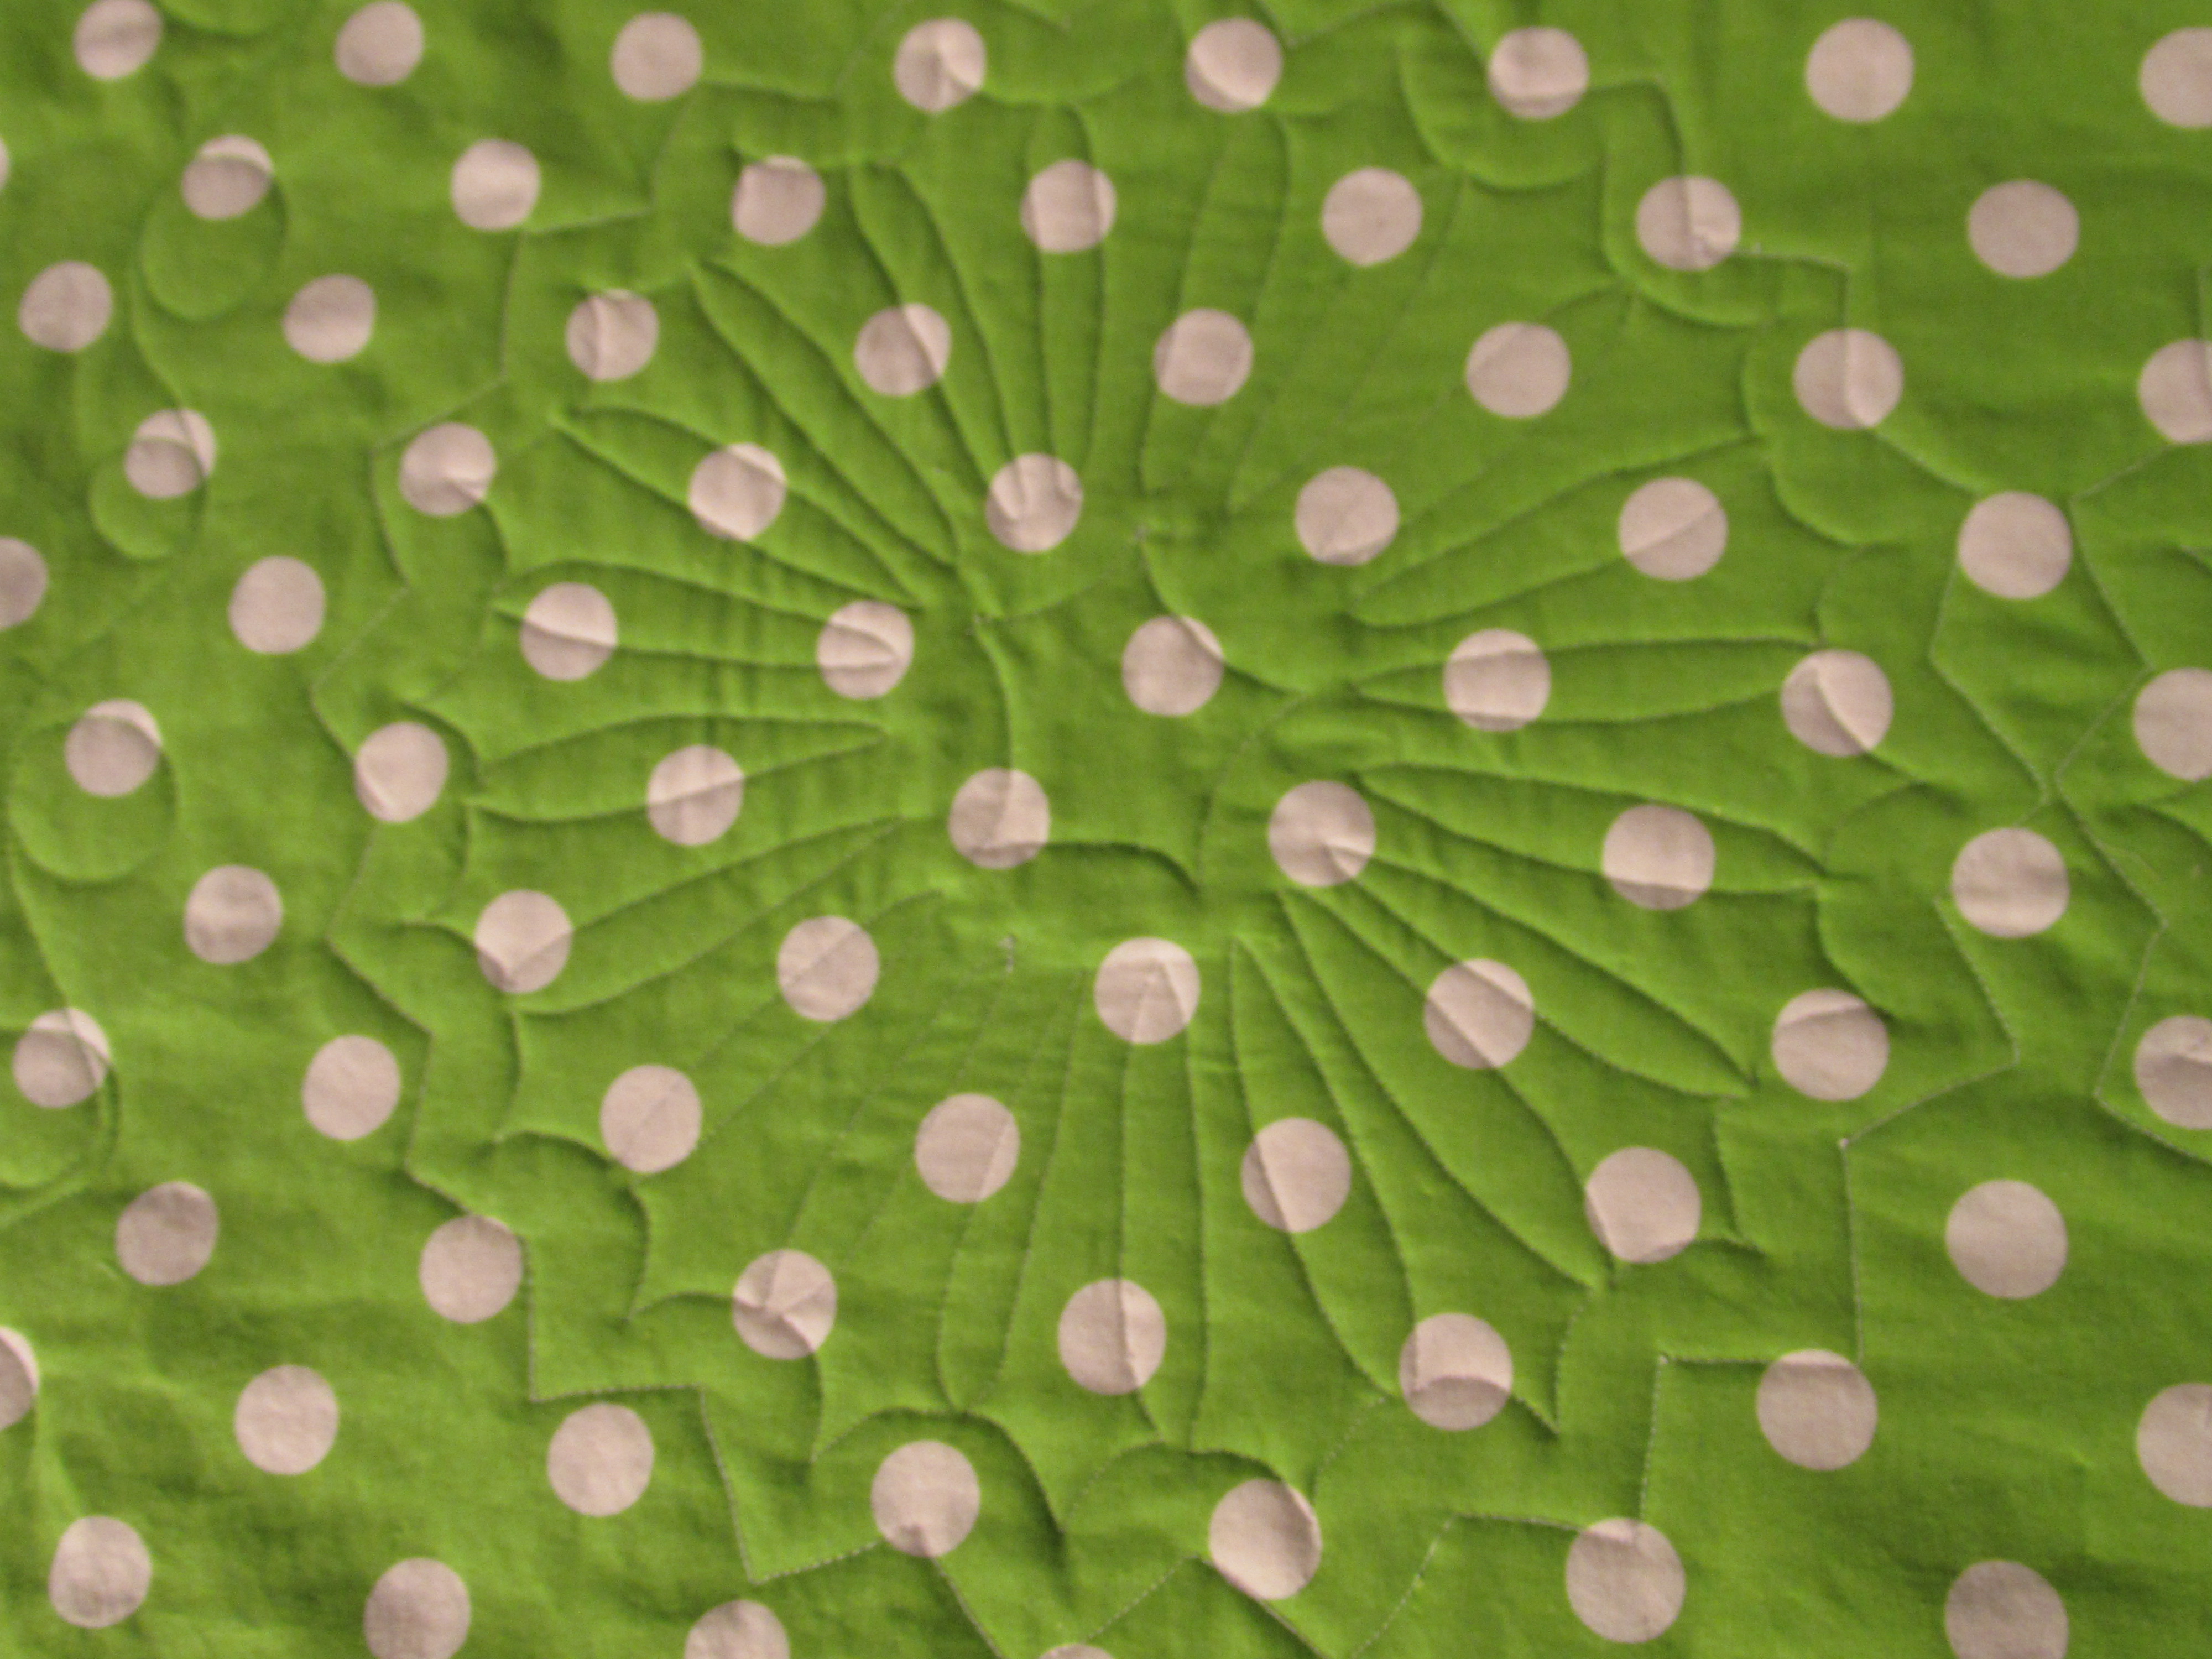
The back looks so pretty.

20140722_1441

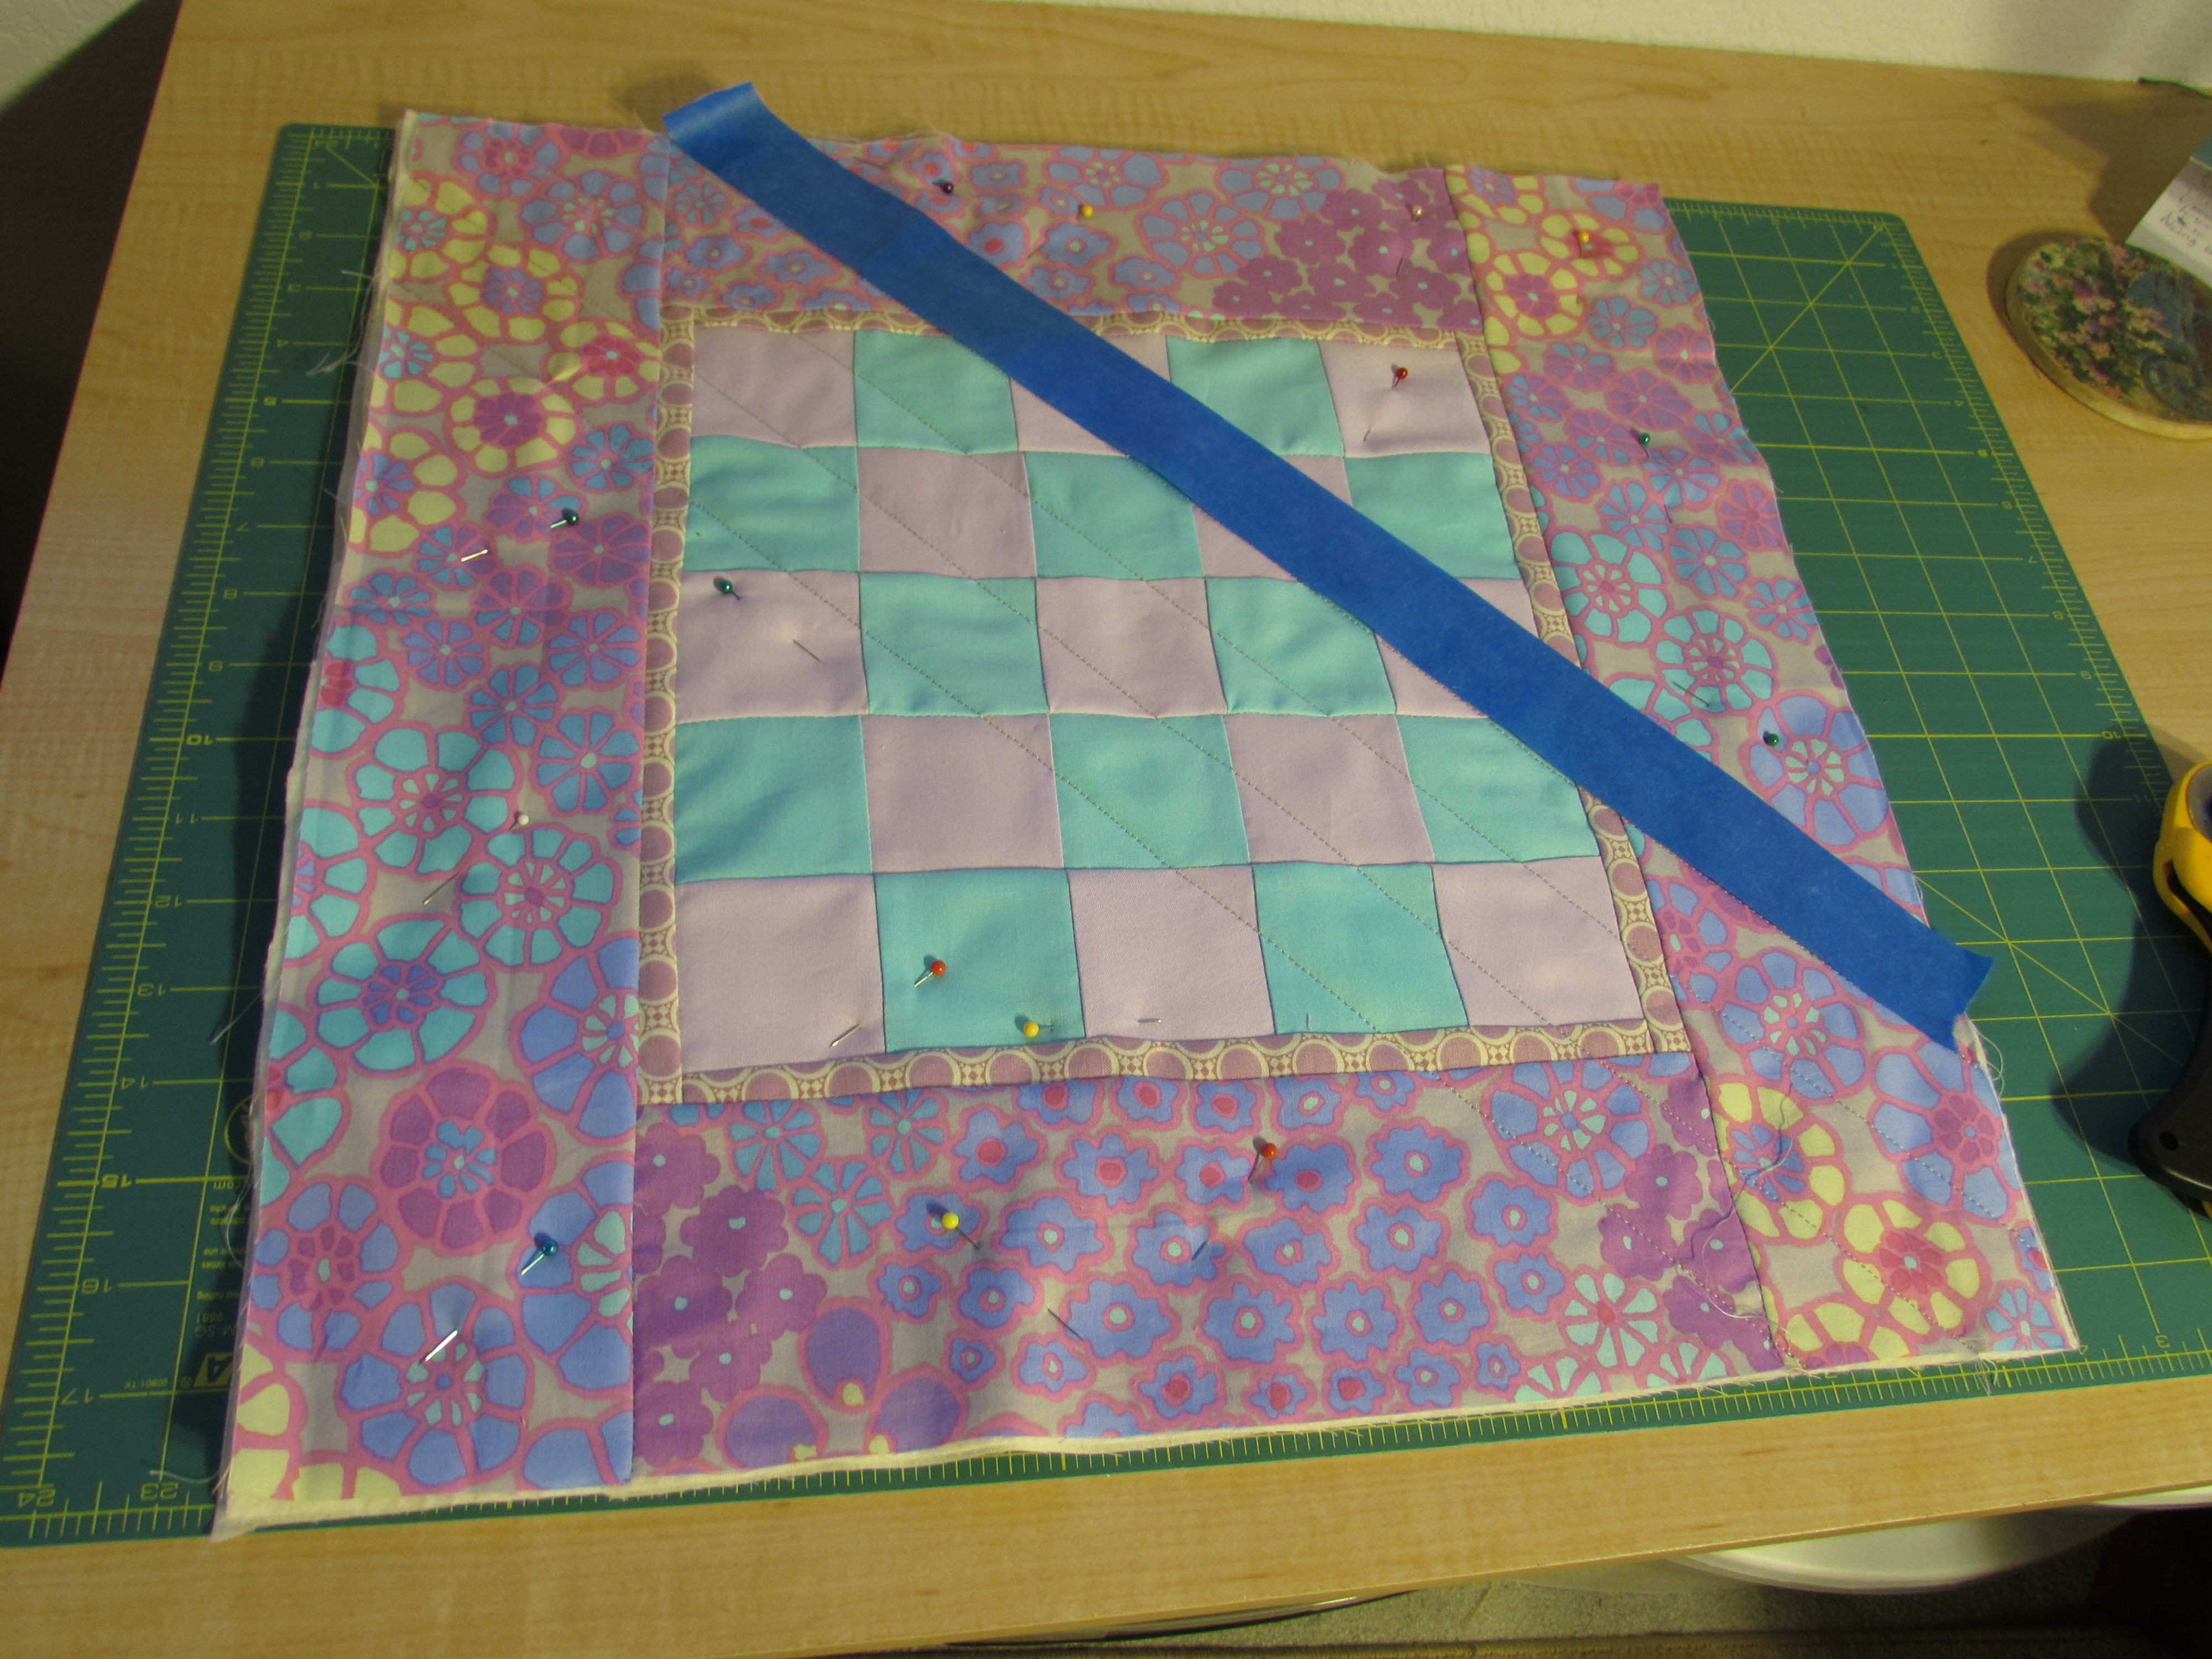
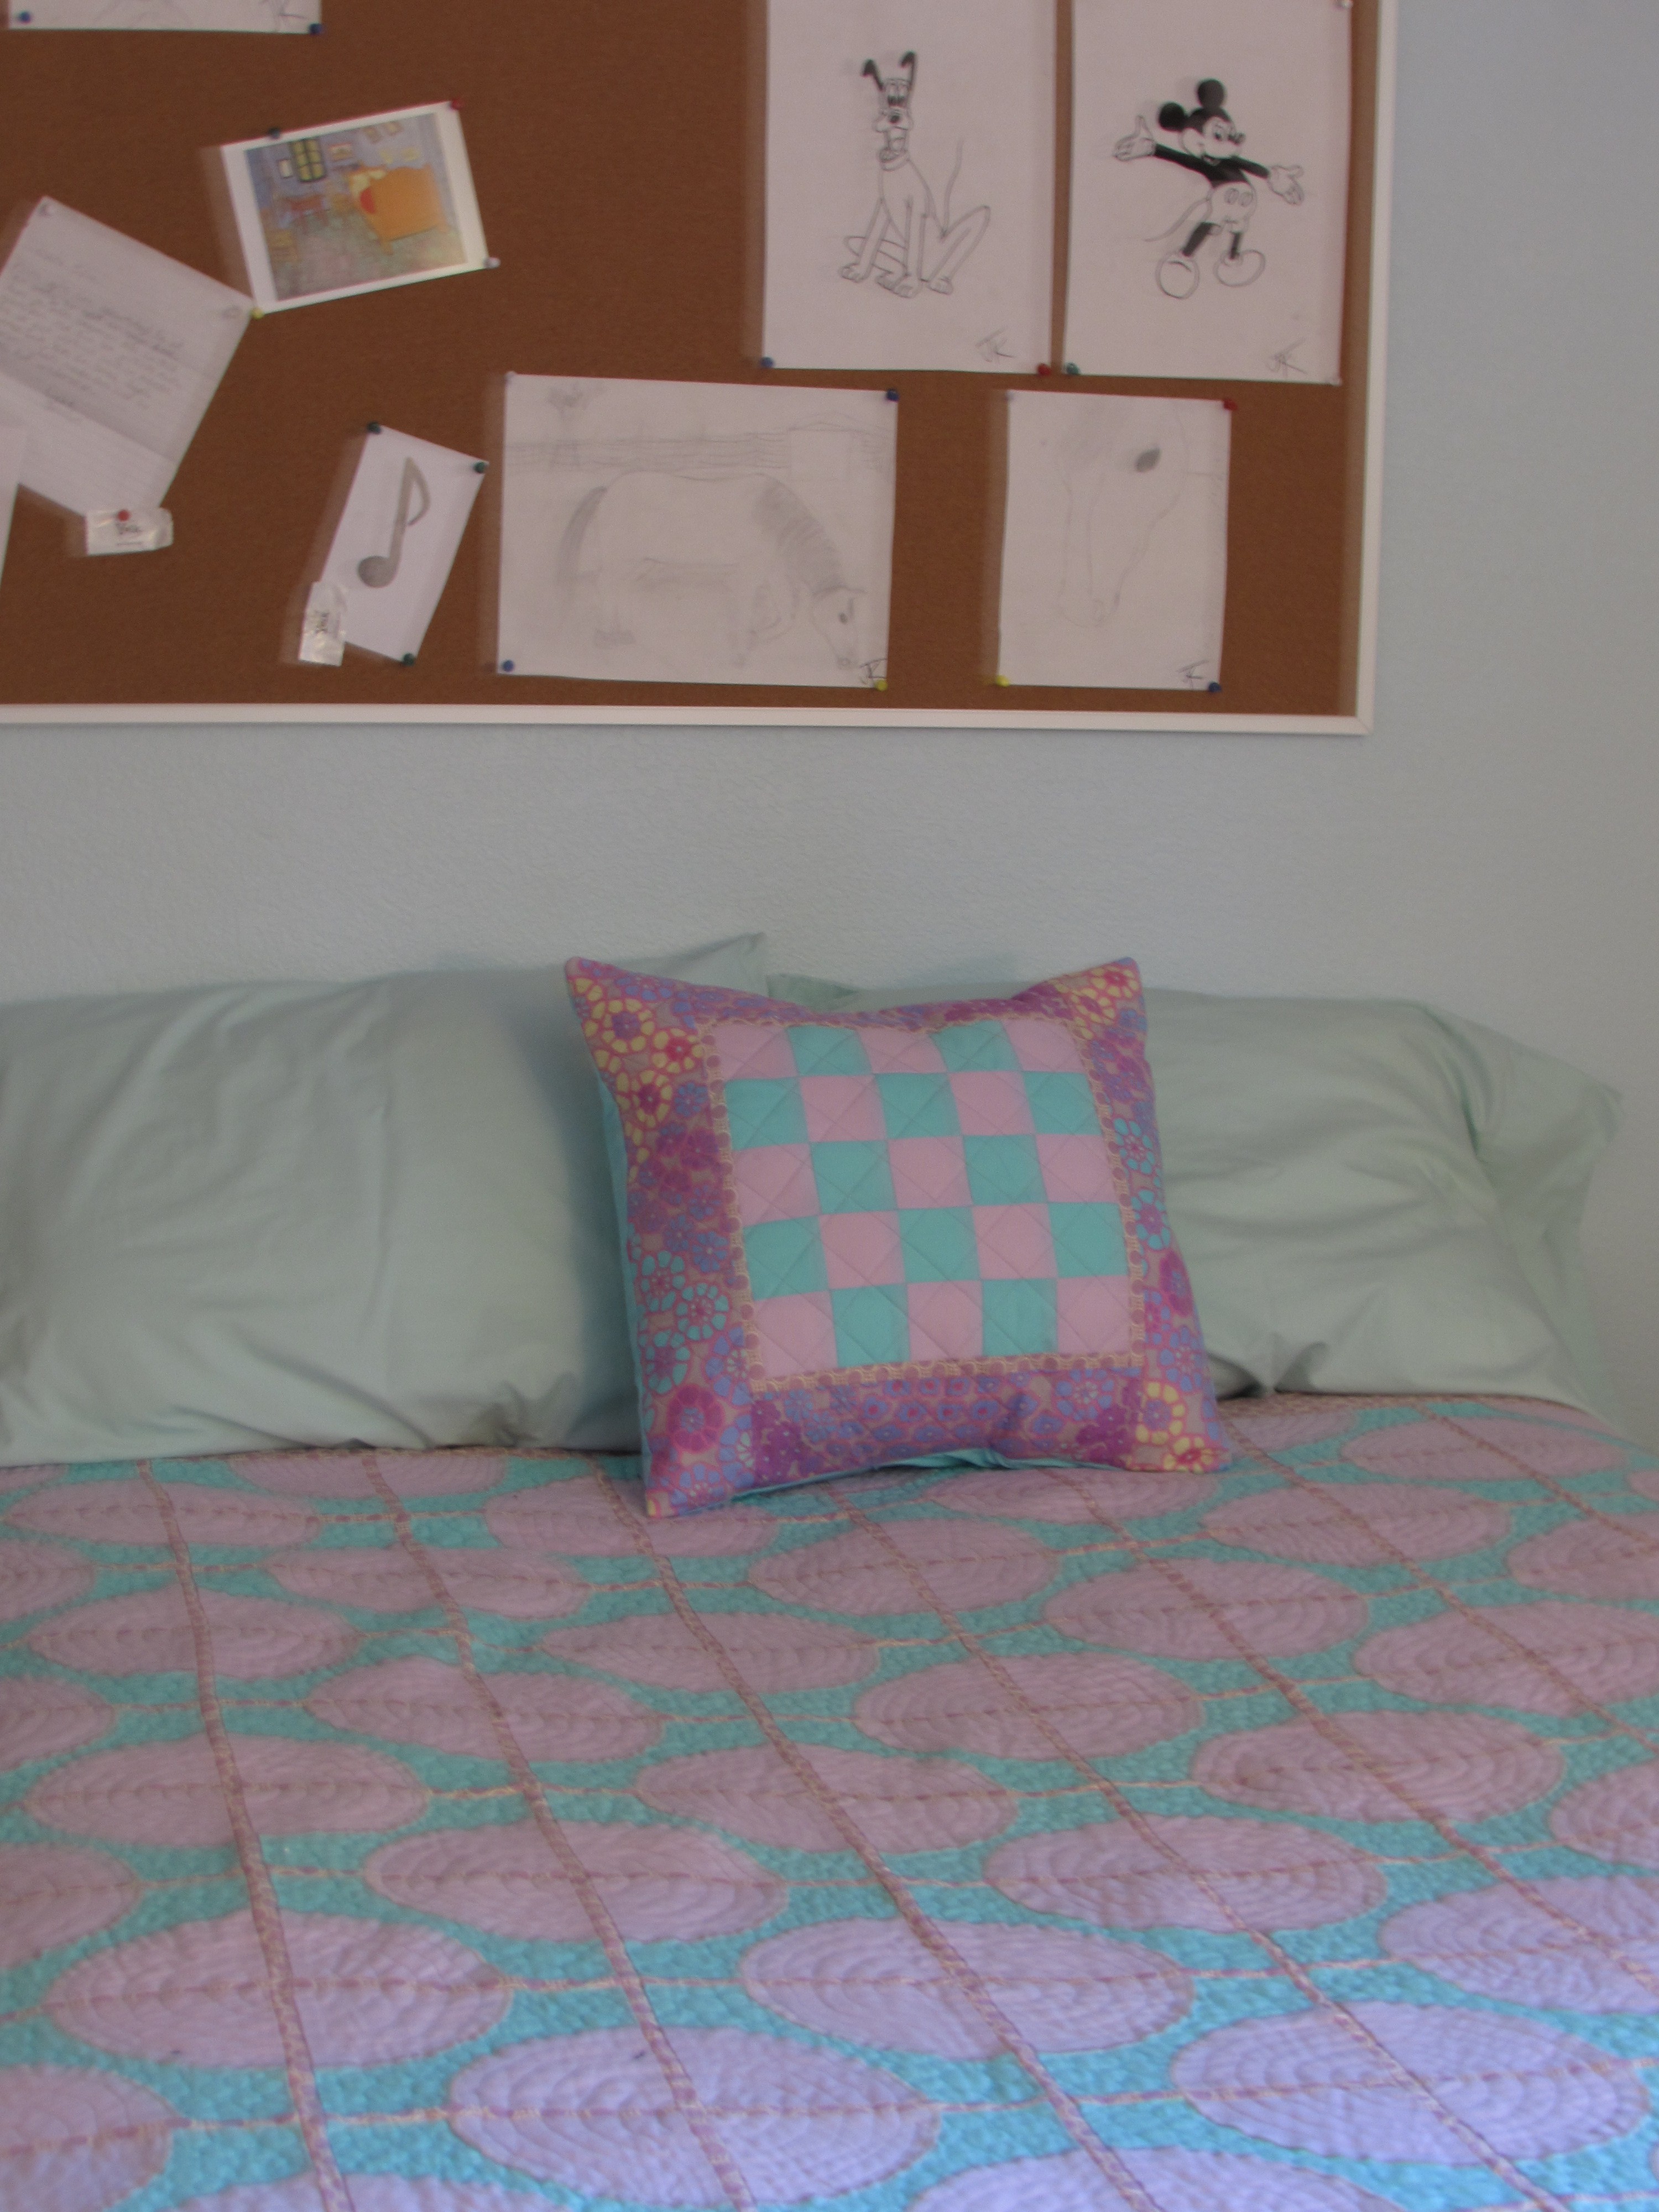
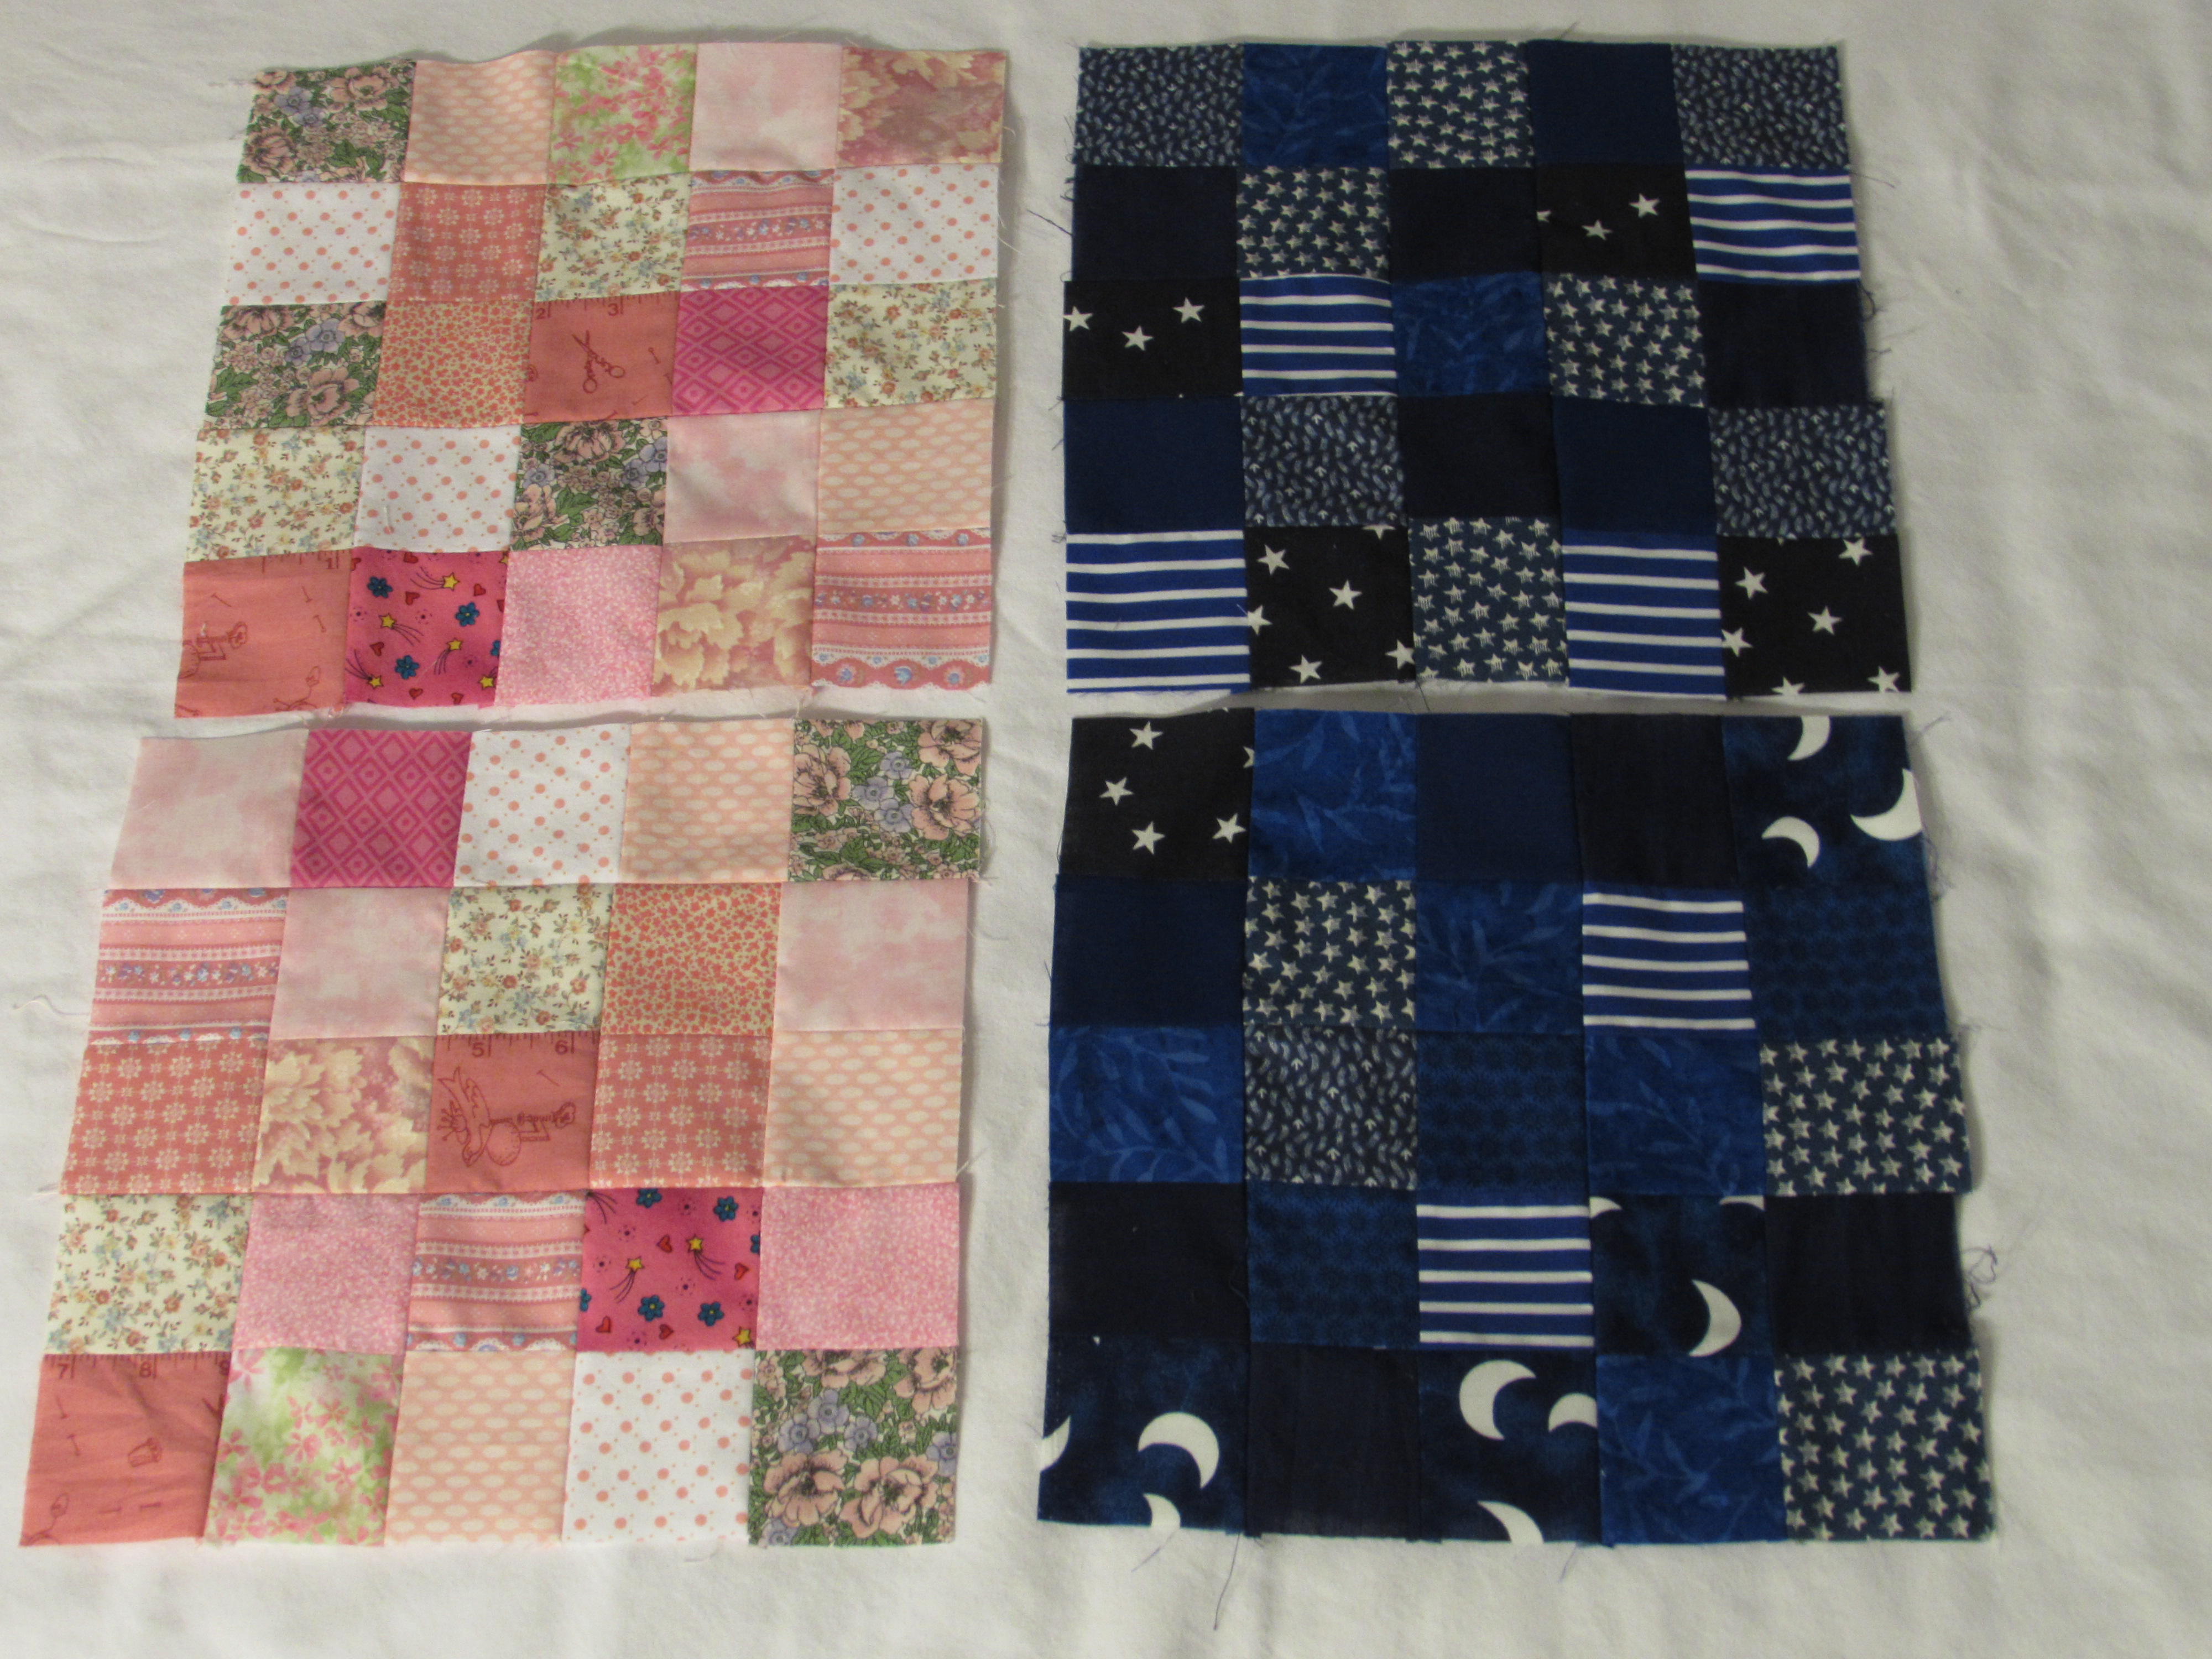
In addition, I started (another) Block of the Month project.  Recently, I came across Mari’s blog, Academic Quilter .  As I was reading through some of her posts at Academic Quilter I saw that she is working on two rainbow block of the month quilts.  She has some gorgeous blocks pictured and I was intrigued.  As often happens, one thing led to another and there I was looking at (another) blog, So Scrappy.  (I swear I just get sucked in and lose all track of time when I start reading these quilty blogs.)  Angela, the writer at So Scrappy is hosting the Rainbow Scrap Challenge for 2014.  I decided to join in and start creating some rainbow blocks for myself.  Again, a little late to the party so I need to work to catch up.  My family was off and about on Saturday so I used the day to sew.  I got the January (blue) and February (pink) blocks done. I have the scraps collected and prepped for March which is teal blue. Because I am getting going on this a bit late, I decided to do simple patchwork blocks using 2 1/2″ squares, ending up with 10 1/2″ blocks.  I will sash them with white and put corner blocks in. Making two of each color will provide 24 blocks, enough for a quilt at the end of the year.  It has been fun using up all of the strips that I have been so faithfully sorting and saving. Also interesting to see what colors I have an abundance of and which I have very little (the dark blue for example…. not too much of that available).

20140722_1442

The other block of the month that I am working on is sponsored by Aurifil.  I posted about this earlier this summer.  I am just about caught up on this one.  Two more blocks done! The bear claw took some time…. When I finished it, the block was only about 10 inches square.  I stared at it for what seemed like forever, wondering why it was so tiny. I left out the interior border strips. So I had to spend a little time with my seam ripper and fix that up.

20140722_1434

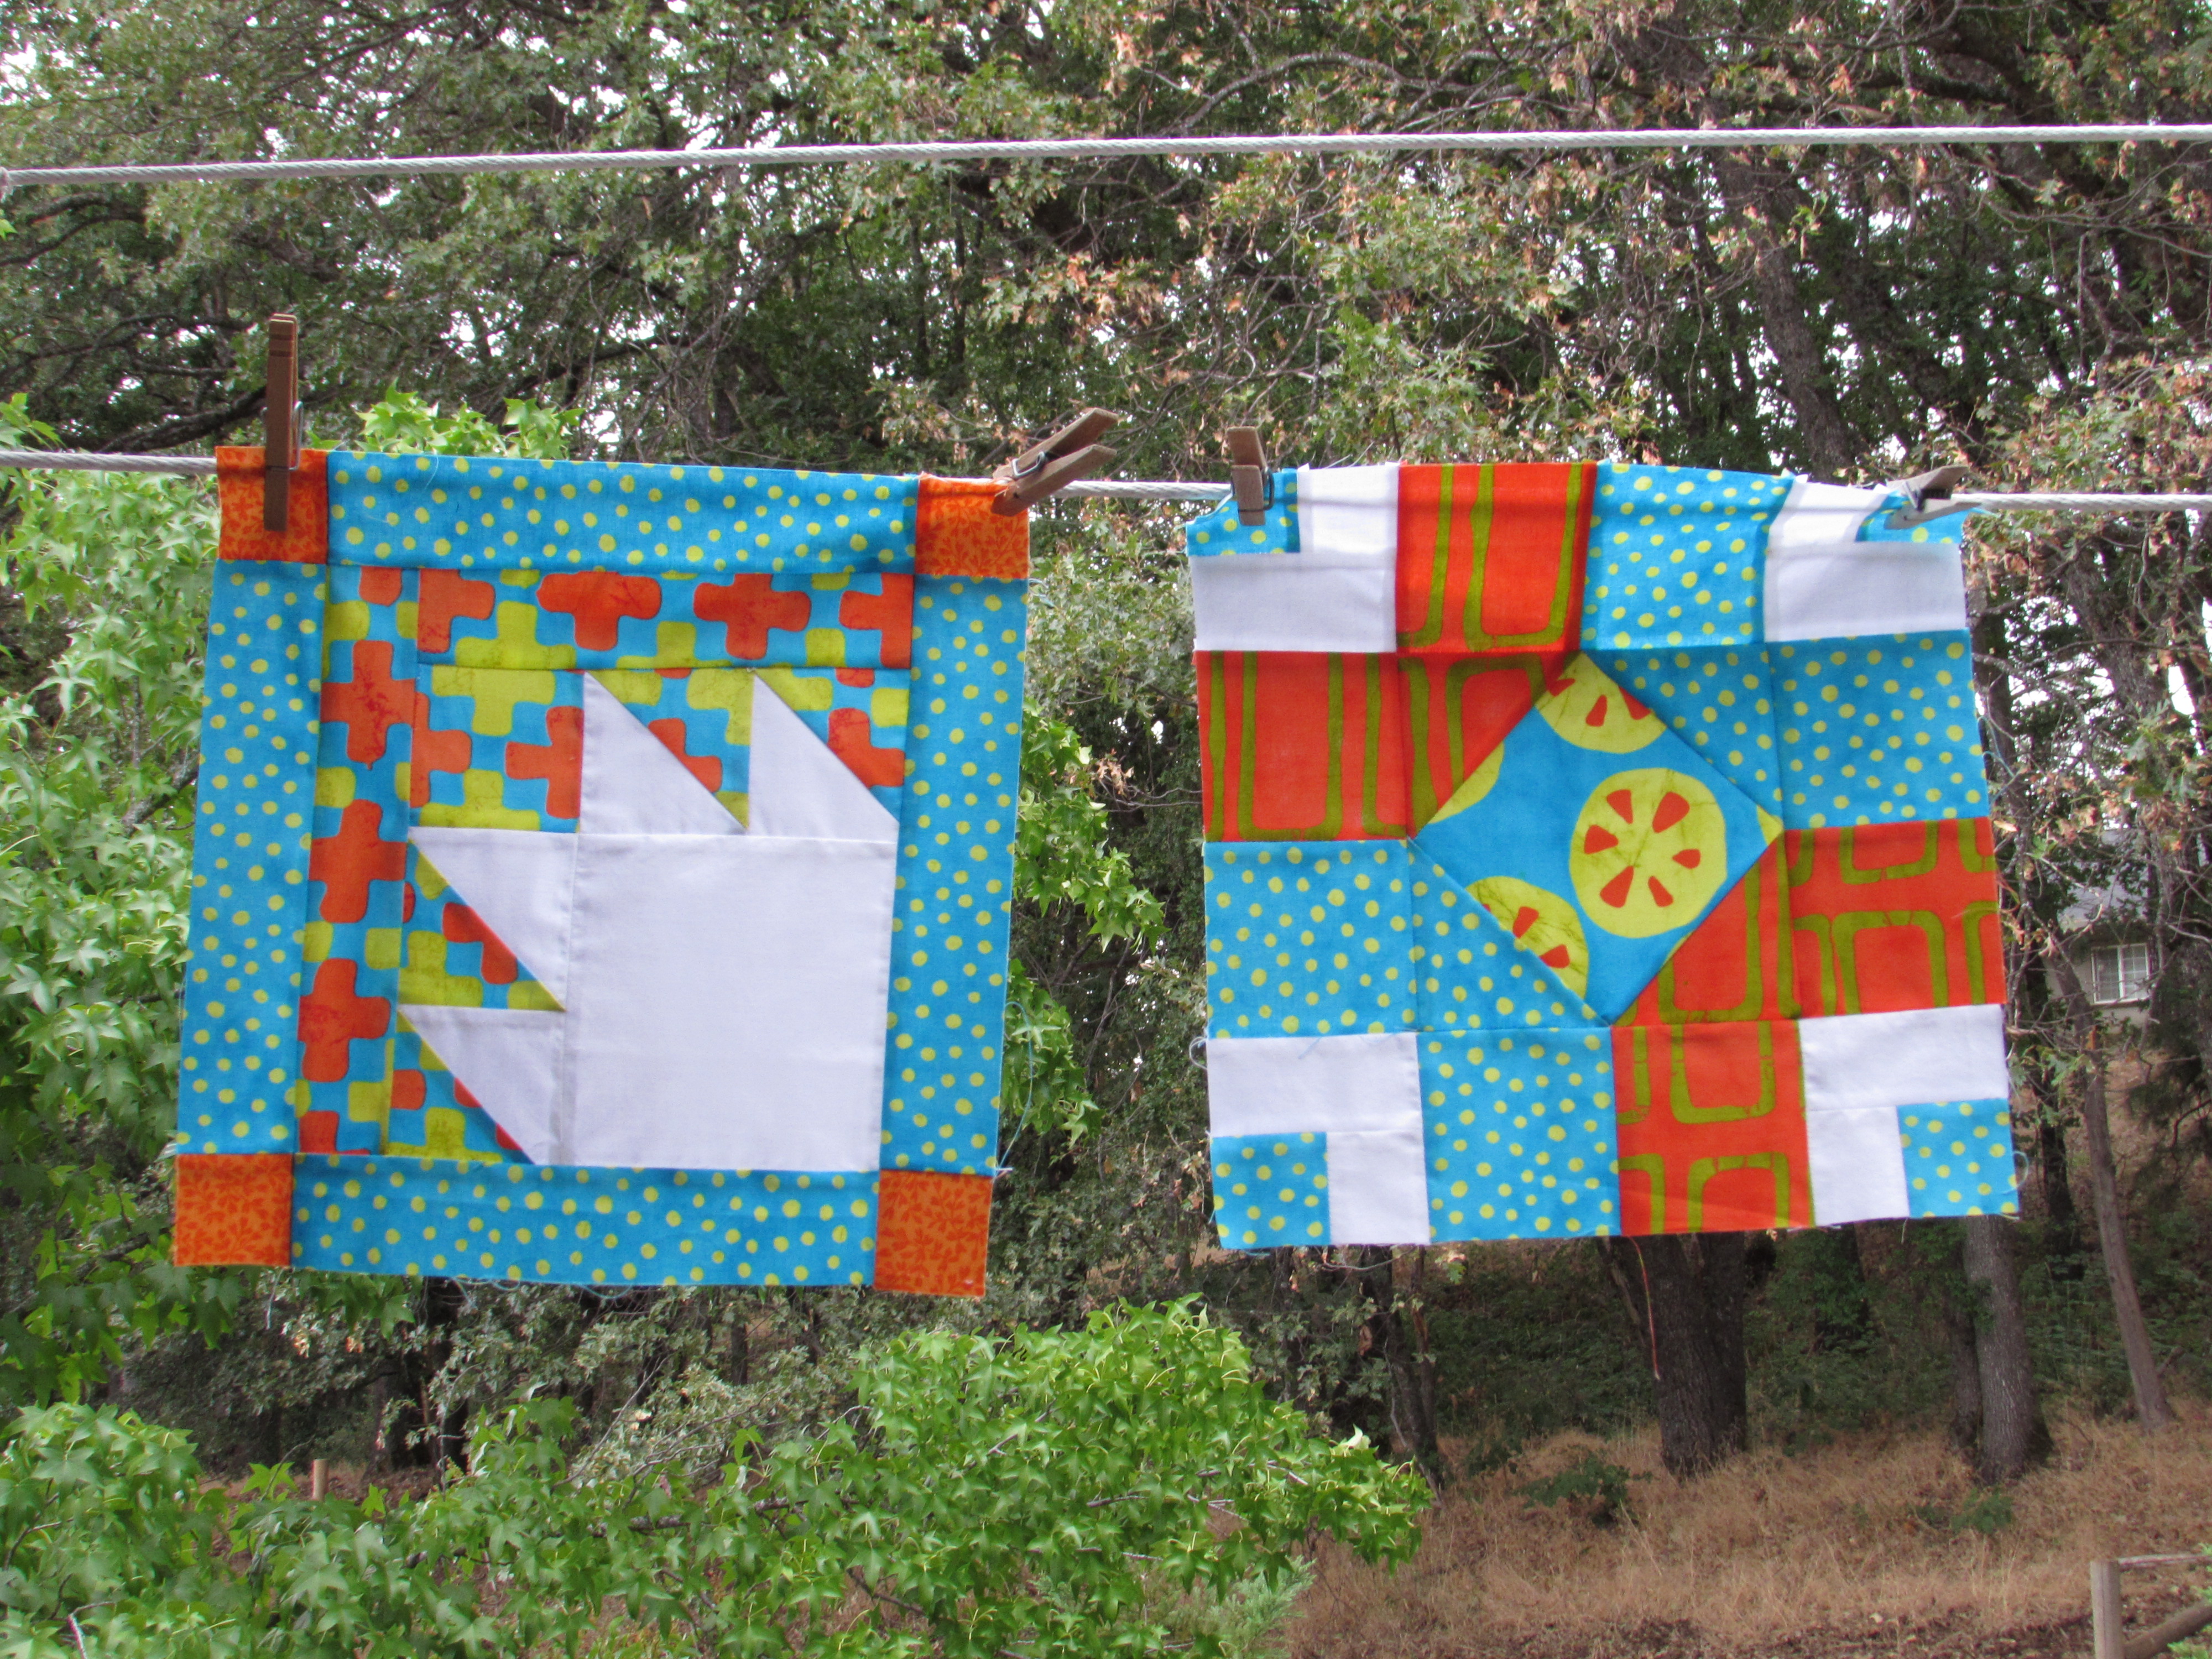
Here are the six blocks:

20140722_1437

That is my quilting week in review! Summer is already more than half way through for us.  My daughter returns to school on August 14th!!  It’s going by way too fast. Hope you are all enjoying your summer!

Linking up with all of these lovely blogs:

FreeMotionbytheRiver, FabricTuesday, ShowandTellTuesday, and BlossomHeartQuilts. Also with NeedleandThreadThursday hosted by the lovely Kelly @ My Quilt Infatuation.


Scrappy Pleasures

About 18 months ago I finally finished a quilt for my daughter’s bed. It was one of my first really challenging projects. I am happy with the way the quilt finished up, though it was harder than I expected. I used a pattern from Natalia Bonner’s wonderful book, Beginner’s Guide to Free Motion Quilting. This book has excellent information for those that, like myself, are trying to learn to FMQ.  I am not sure the pattern that I used was really one for a new beginner.  The piecing was a challenge.  Long story short, I bit off way more than I had thought but now that it is done, I am happy I did it. Here is a picture of the quilt:

julia quilt large

The pebbling took roughly 1.5 billion hours.  Or at least, it felt that way  The spirals were really hard because I quilted this on a fairly old Janome that isn’t equipped for FMQ. I couldn’t drop the feed dogs and I was fighting the machine the whole time.  If you look closely at the quilting on this, it is painfully apparent that I was just learning. Again, glad I did this one and even happier that it is done!! (And happier yet that ,since then, I bought a newer Janome that quilts with ease!)

Once I finished this quilt I had amassed a huge pile of scraps. Cutting the lavender circles left a lot of waste. Here we are 18 months later and I finally used some of the leftover scraps.

20140708_1304I decided to make a throw pillow for Julia’s bed.  l created a checkerboard with some blue and lavender squares and then added some borders.  I love the floral print.  It is an older Kaffe Fassett print that I used for the backing of this quilt. To quilt it, I made a quick sandwich with a piece of leftover batting and some lightweight muslin. I quilted a cross hatch pattern and then added the back.

20140708_1305

I made the pillow cover “envelope style” so it all came together quickly.

20140708_1309

Pretty cute.

20140708_1313

I also made a little mat for Julia’s desk.  My husband made her a desk for her 12th birthday. It has a walnut top and Julia had been putting a couple of pieces of felt underneath her desk lamp and some other items so the top wouldn’t get scratched. I made a rectangular mat (11 x 18″) for her to use instead.

20140708_1308

This was a fun little project.  I took an assortment of scraps and just played around with them until I found an arrangement that I liked. It was my first attempt at improv piecing.  Just slicing and dicing and moving things around instead of drawing a sketch and measuring each piece. I am not one for doing things without a pattern or direction.  I (usually) cook from recipes rather than just making things up as I go.  As a kid, I colored within the lines. Get it? So playing with the fabric and just moving the pieces around was a fun exercise.  As far as improv piecing goes, this is pretty tame.  None of the pieces are wonky – it all lines up. Baby steps, right?? I used straight line quilting and machine binding.

20140708_1310

Two scrappy projects completed and they brighten Julia’s room. (Honestly though, these two projects made hardly a dent in that scrap pile!)  She is at camp this week and these will be fun surprises for her to come home to.

Linking up with: Linky Tuesday at Free Motion by the River; Fabric Tuesday at Quilt Story; Sew Cute Tuesday at Blossom Quilts; WIP Wednesday at Freshly Pieced and Let’s Bee Social at Sew Fresh Quilts.


A bit of sunshine

I have been working on lots of projects lately that are for charity or for family gifts. I decided to take a break and make something quick and bright for our house. With lots of yellow scraps on hand, this was a breeze to make. The table runner was copied from a picture I had seen on Pinterest. It comes from a book titled “Set the Table”, published by Martingale. I based the runner on the picture but figured out the piecing myself.  Not rocket science here.  Lots of 2 1/2″ strips to cut. The white strips were cut to four lengths (3″, 4″, 5″, and 6″ Then I laid them out in the order I thought looked best. I wanted a total width of 14″.  Once I had the white strips laid out, I just trimmed the correct yellow strip to the approximate length.  After all the rows were made, I sewed each to the other. Taking pictures of your layout before sewing the pieces is helpful.  Much quicker to refer back to the pictures and keep your original plan intact.

photo (2)


The top went together very fast.  I found a bright striped fabric to use as the backing. The match isn’t perfect but I really didn’t want to purchase anything for this project.  I quilted it with straight line quilting, using random widths.  I quilted it a bit tighter on the center white strips and more loosely on the yellow/orange strips. Looking at it now I think it would have been better to be more consistent between the color areas.

With each project I create, I hope to learn something new or improve the way I do something. With this project I learned to machine sew the binding.  Binding gets a bit tedious and for some items I think it is perfectly acceptable to machine sew rather than hand sew it.  Especially for an item like a table runner that will likely be washed regularly.  Anyway, using trusty ole Pinterest, I set out to find a tutorial on machine binding.  I came up with several.  I ended up using one from Christaquilts.com and another found at Fromthebluechair.com. Both basically had the same idea but the tutorial at Christaquilts.com showed a great way to attach the two loose ends once your binding is sewn on. I have had a heck of a time getting my bindings to lie flat once I join the two ends (beginning and finish).  Christa’s method is awesome and this is the first time I have been really happy with the way the join looks on my binding.  So thanks Christa!

The stitching on the binding looks fine.  It is going to take some practice to become adept at this but I think for the first time, it turned out nicely.

20140605_1017

Here is the finished runner!  Perfect for summer.

20140605_1013

And the back side with the bright stripe. Like I said, not a perfect match but good enough for this project.

20140605_1018

Love having a quick finish for this week.   Linking up to TGIFF at www.glorybequilter33.blogspot.ca.  Also linking to RichardandTanyaQuilt, Link a Finish Friday! And finally, linking to Amanda Jean at Crazymomquilts.com!!

Yay – my second blog post ever!!