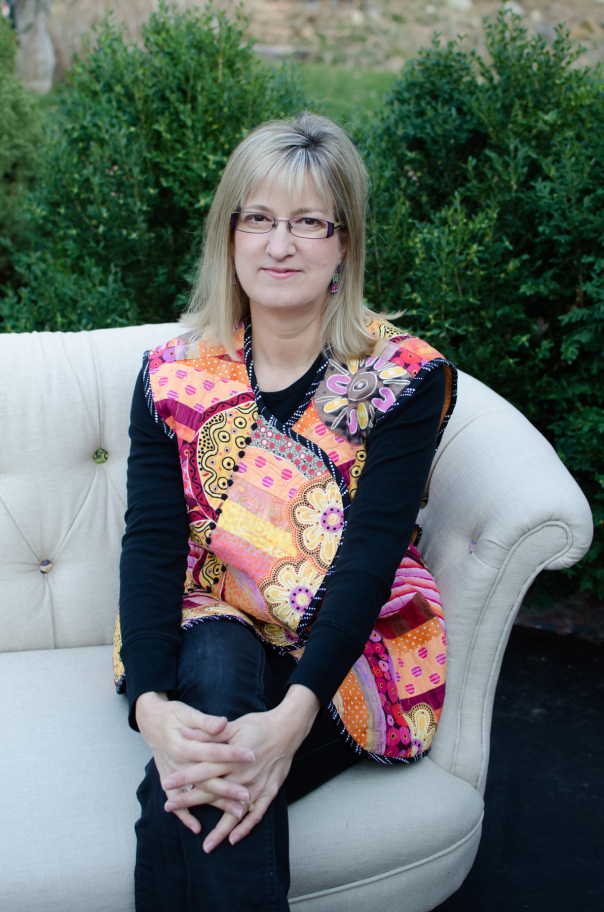
Hi Everyone – I am back from our back-to-back vacations! Both trips were awesome but as always, home sweet home! After a relaxing time away, I am ready to jump back into my blogging/sewing/shop routine. Today I have a really special post to share with you. I would like to introduce you to Heidi Emmett. Heidi is a really talented pattern designer and I am proud to carry a number of her patterns in my pattern shop. To do justice to this introduction, I need to tell you a bit more! Heidi lives in Grass Valley and we are both in the same quilt guild. Heidi makes both quilts and garments, designs clothing patterns, teaches sewing classes at an annual retreat up at Lake Tahoe and is generally a creative maker at heart. She also owned a brick and mortar fabric shop in Grass Valley for quite a few years. She is a person with what seems like unlimited energy and is constantly making or designing something. About a month ago, she and I chatted at a guild meeting and we were brainstorming ways we could work together since we both have so many common interests. As a result, I have begun to carry her patterns in my pattern shop. She had purchased some of the Sarah Golden linen blends from me at the quilt show last May with the intent to make one of her Terrific Tabard vests. Today she will share the vest she made and explain the process she used to make it. I hope you enjoy the post. If you have any questions for Heidi, be sure to leave them in the comments and she will post a reply to you there. I hope you all will enjoy getting to know Heidi as she is a creative force to be reckoned with!
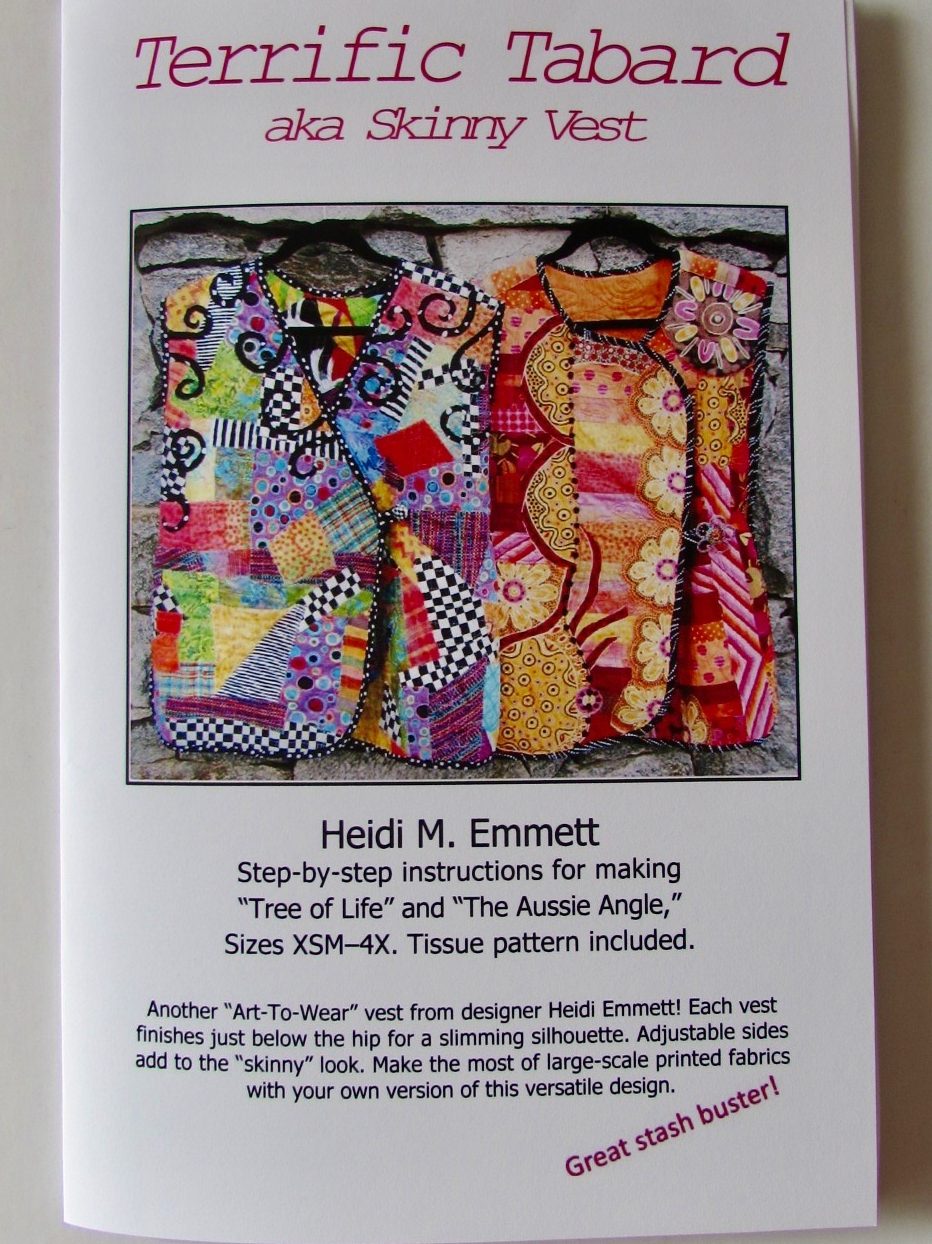
Hello! Designs by Heidi is who and what I am. I have a line of “Art to Wear” patterns. You can find some of my patterns for sale at Needle and Foot. A BIG thank you to Bernie, for inviting me show off some of the fabric she sells using one of my patterns, Terrific Tabard.
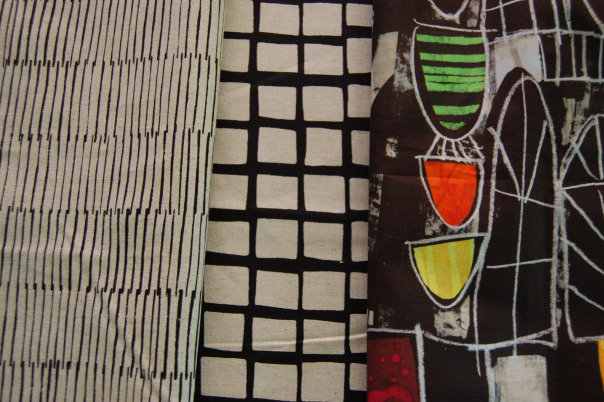
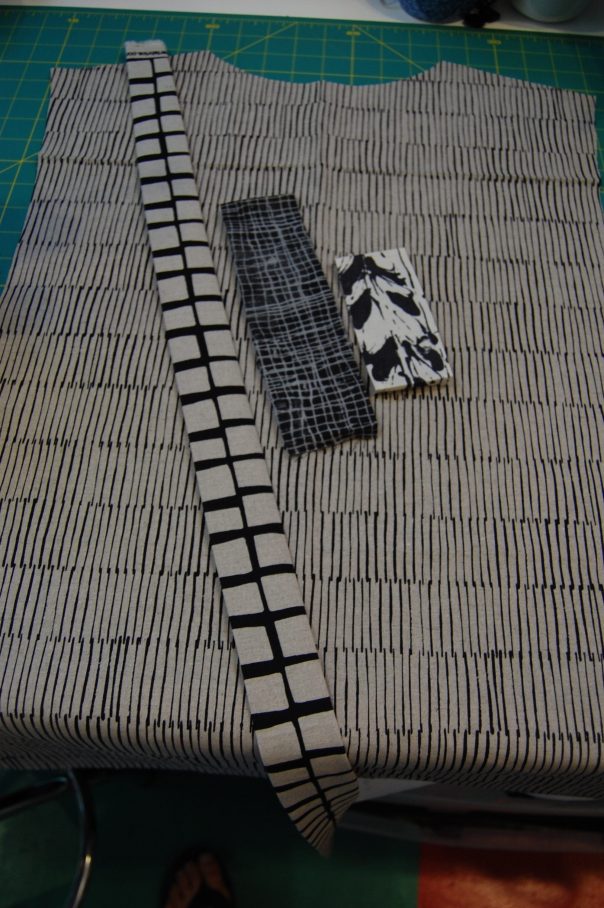
I’m going for a whole new look (than the cover shot above) with the linen blends I got from Bernie’s Etsy shop. Let me show you what I did to create a sophisticated and smooth Terrific Tabard. I started with two linen blends from Bernie. I absolutely LOVE linen! And these two linens by Andover Fabric are neutrals that will work with ANY other palette of colors. The piece with the columns of lines is called Lines (appropriate enough!) and the piece with the checked pattern is called Squares on Tailored Cloth. Both were designed by Sarah Golden and are available in Bernie’s shop.
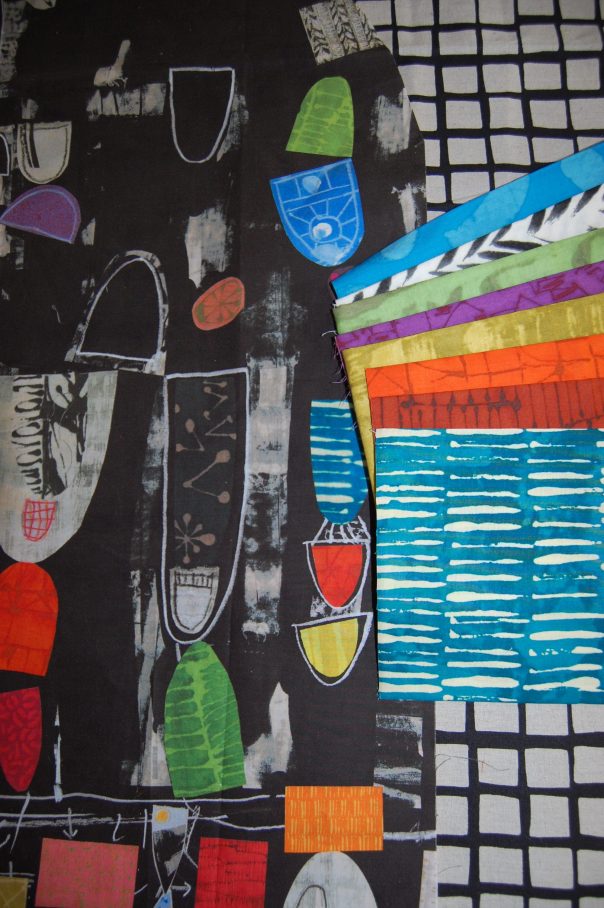
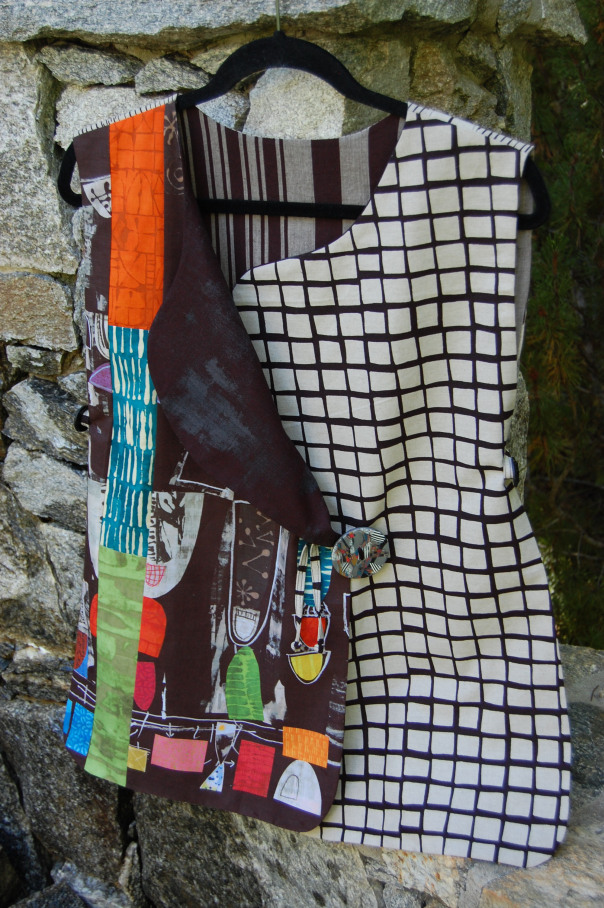
I went to Quilt Market in Portland, OR this past May and was able to buy a modern black and brightly colored panel by Marcia Derse. This panel won’t be available in stores until October. I immediately thought to use it as a part of my Tabard vest!
Fortunately, I also snagged some very small pieces from Marcia’s newest collection, again available in October. The linen fabric is just perfect with these prints.
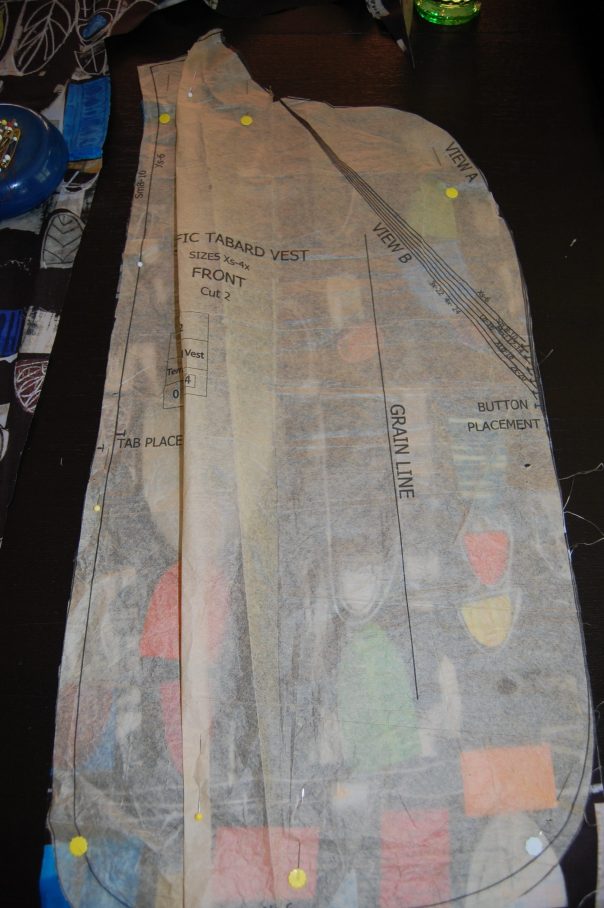
Most of my patterns have tissue pattern pieces included (I always include a range of sizes in one pattern). Notice I have taken a lengthwise fold in some of the tissue (closest to the side, not the center). I did this because I want to insert some improv strips to add color and visual interest to the vest.
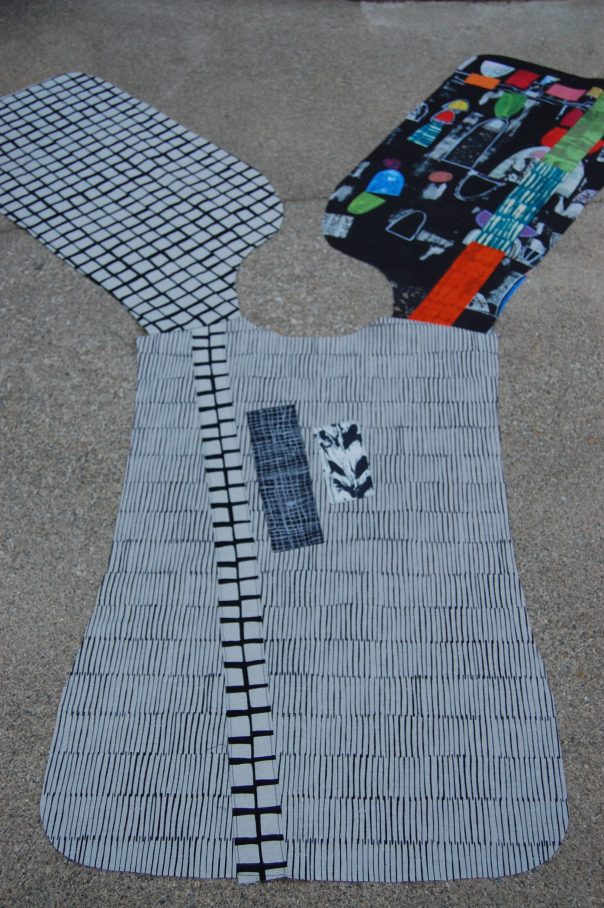
I love lots of bold color and plan to use bits of the smaller Marcia Derse pieces to create a long strip of fabric. Remember when I cut out this piece I pinched out some, so now I have to fill it back in with something.
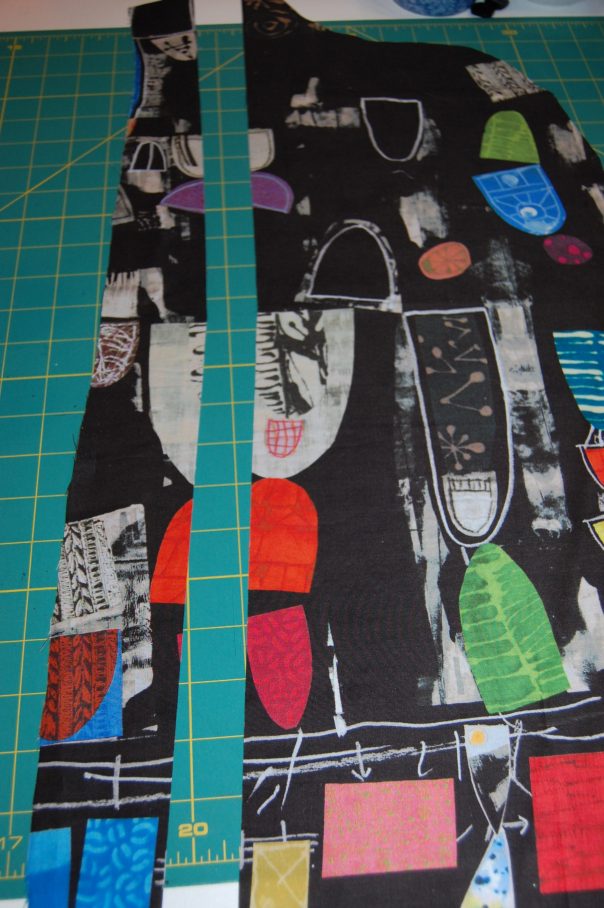
I first cut the panel apart near the pinched out area all the way up through the shoulder area. Tip: Always cut wherever you pinch it out, then you can replace that space with your accent fabric and bring it back to size again. It is a fun and creative trick.
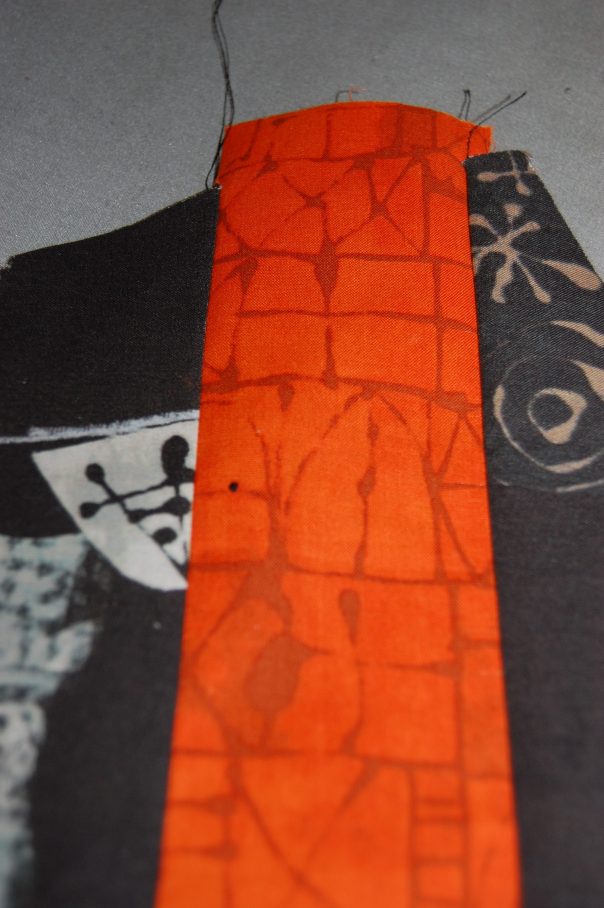
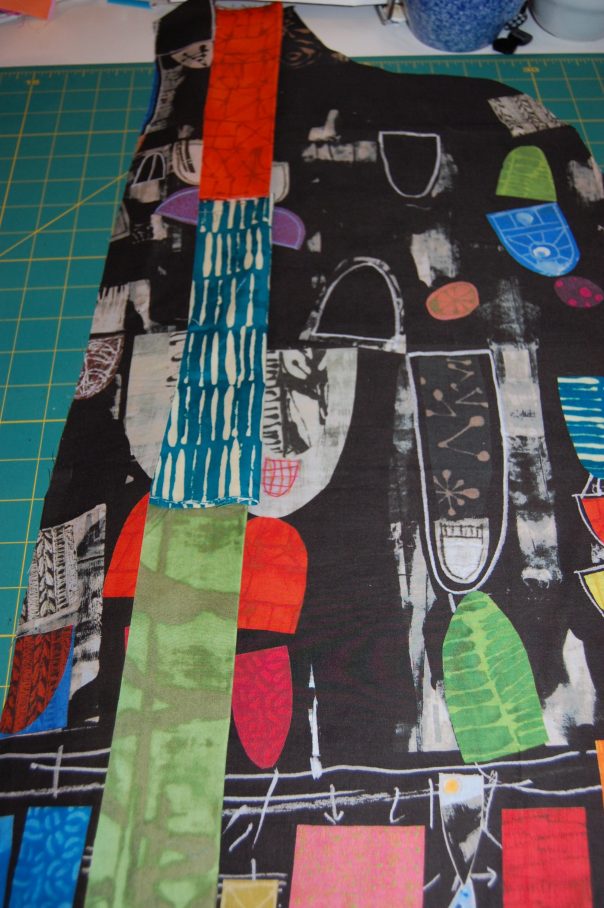 I cut up a few of those colorful pieces and sewed them together and then stitched them to either side of what I cut apart.
Always line up other seams and plan to have extra on either end to trim off. I do not like to run short. I will just snip, snip, the orange fabric in line with the shoulder seam.
While I let the fashion layer dictate what each section will look like, I always, ALWAYS, strive for a long and lean look. I want your eyes to see the whole design in an up and down fashion as this tends to be much more flattering than looking side to side.
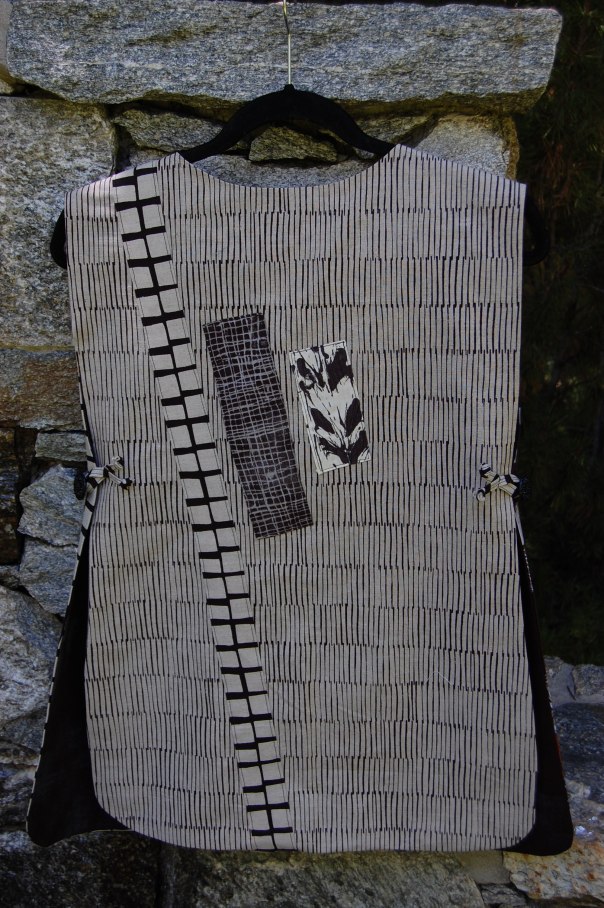
When I created the back piece, I wanted to add some embellishment to it as well. For this, I used an applique process rather than slicing and inserting a strip. I cut the pieces I wanted and folded the raw edges under and pressed them. Next I pinned them in place and top-stitched around the edges to attach them to the back as well as finish those raw edges. I didn’t fuse them first though you certainly could if you preferred that method.
After stitching the front pieces to the back, in most other “quilted” version of Terrific Tabard, I would be layering the vest with batting right now (sometimes even before the shoulder seams are stitched together) and quilting all three pieces. Then the vest would be finished off with quilt style binding (albeit much narrower than a quilt binding). These instructions are included in the pattern. But THIS vest will have no batting. I chose to line it traditionally which means no binding necessary! This version really goes together quickly.
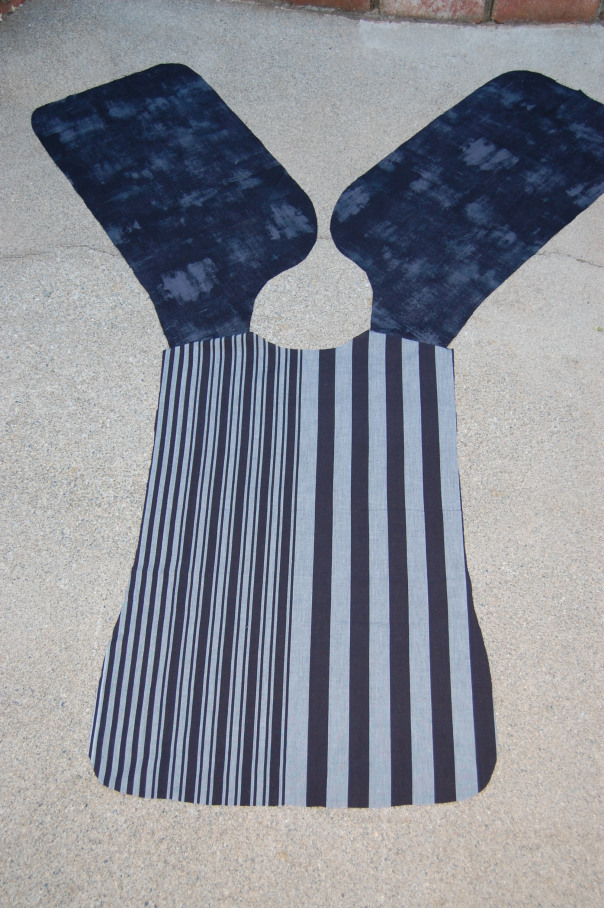
The two front lining pieces are “Grunge” in black. The back piece lining is a very old (no longer being made) Kaffe Fassett stripe. To line this I pinned it, right sides together, and stitched all the way around using a 1/4″ seam allowance. I made sure to leave about a 6-8″ opening on one side so I could turn it right side out.
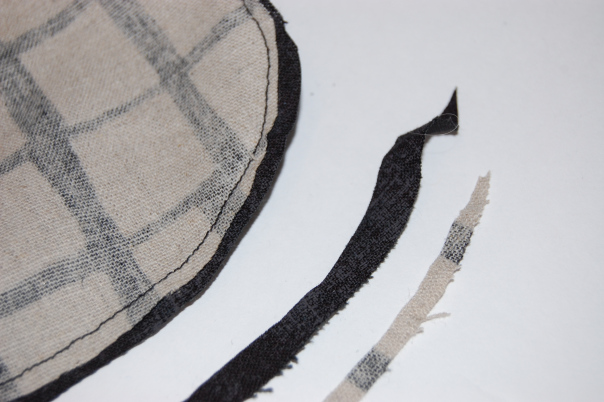
Very carefully grade the seams on the curved portions. Grading just means trimming one piece smaller than the other. When you turn the whole piece inside out and begin to press, press, press (that’s the secret to a beautifully lined piece), all the rounded edges will fall into place as you press. Tip: On dark fabrics use a press cloth (a piece of muslin works) on top of the fabric before you press. Sometimes you get a shine, even on linen.
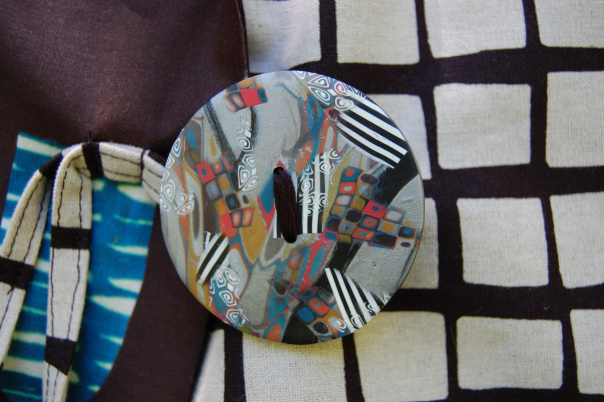
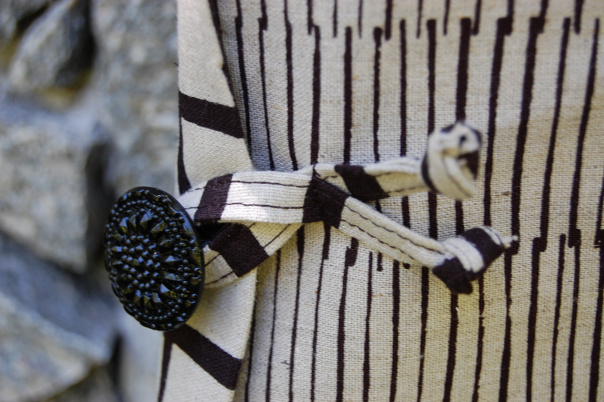
I have a rather large collection of buttons. Here is a group of handmade polymer buttons by the talented Sandra Bruce. I love to buy the buttons I like, knowing that someday, I’ll have the perfect button for a project. Forget buttonholes. I use strips of fabric that have been folded and pressed and stitched into place.
The polymer button I chose for the front is very intricate and it’s really BIG, but I think it blends in nicely.
The two side buttons are from my glass button stash. I know, I know, it’s a sickness, but one I don’t want to get over. Ha, ha.
I love my new vest. I can’t wait to wear it (not sure when since it is still summer!), but I’ll be ready when cooler weather comes.
Here is the finished back side of the vest. I love the look of the larger scale linen print slicing through the narrower lines.
One last way to style this Terrific Tabard, fold back the lapel on just one side.
If you like what you have seen, please join me at Designs by Heidi for more fun and creative happenings. I love sewing “Art to Wear.” You can also follow me on Instagram to see the latest patterns and classes I offer. Thank you again Bernie for letting me join in with you all at Needle & Foot.
Hugs, Heidi Emmett

