
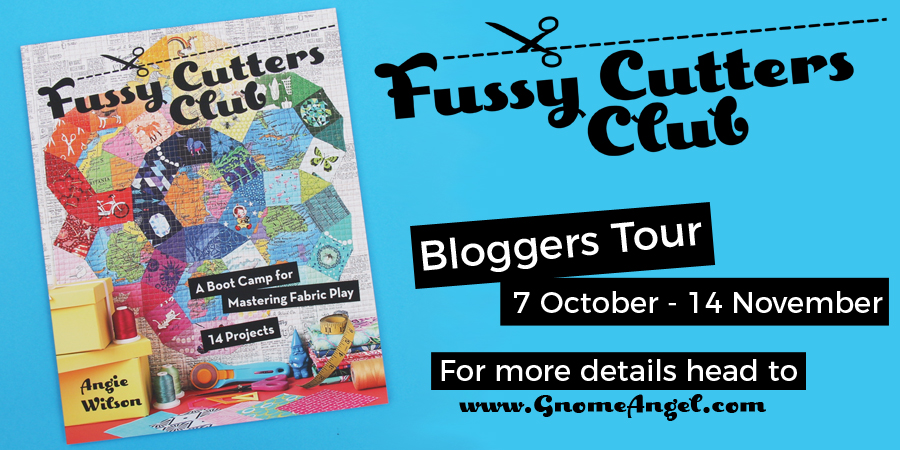
Today is my day to post a review and host a giveaway of a fun new quilt book. If you are here for the first time via the blog hop, welcome! The book of the day is Angie Wilson’s Fussy Cutter’s Club published by C&T Publishing. You may know Angie as she is the queen of online quilt alongs and swaps. She thrives on leading large groups of quilters through complicated projects such as her current QAL making Jen Kingwell’s Gypsy Wife Quilt – not for the faint of heart for sure. For more info on the events she is currently leading and has done in the past, click here.
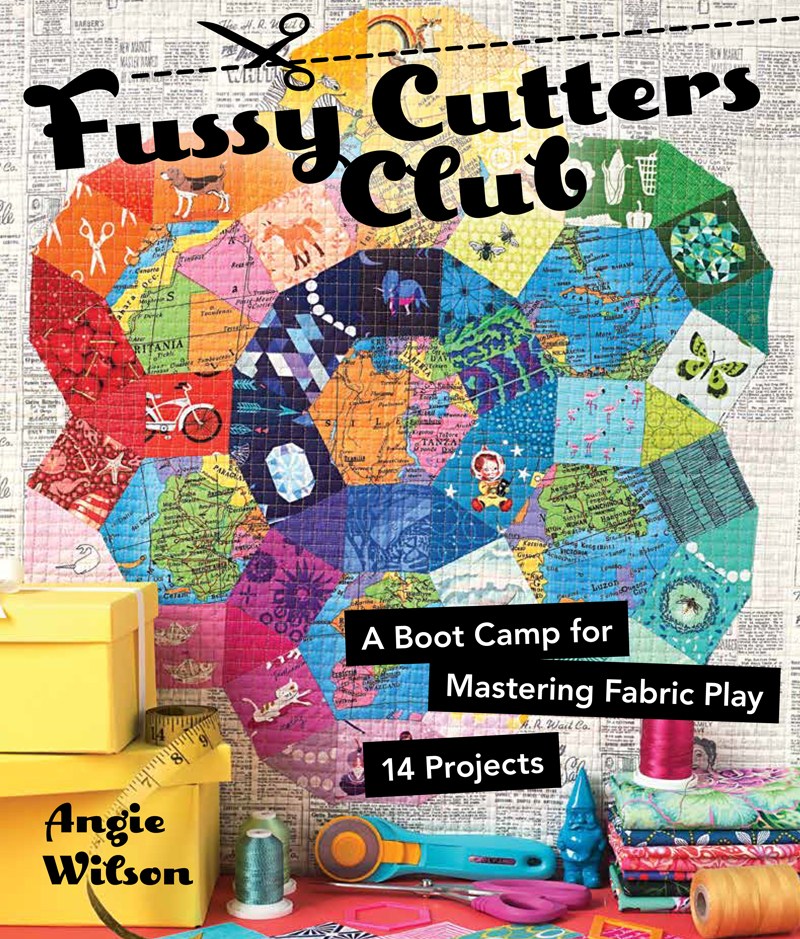
It was about two months ago when I was invited by C&T Pubs to review Angie’s upcoming book. Right away I was intrigued by the title of the book and the gorgeous cover. I know we aren’t supposed to judge a book by its cover, but come on. Look at this cover! It just pulls the reader in at the get go. Angie’s reputation for mad skills with fabric play and use of color assured me the book would be worth the time to read, review and create with.
The premise of the book is to learn to look at your stash with a new perspective – Angie teaches the reader to use your fabric by cutting into it and emphasizing the bits you love the most. The book is well written and the instructions for each of the 14 projects are precise and easy to understand. Angie takes the reader through the design process, how to best use your fabrics, color theory and more, prior to introducing projects. She really did a great job with this book. The projects range from the very simple to quite complex (again, look at the cover!)
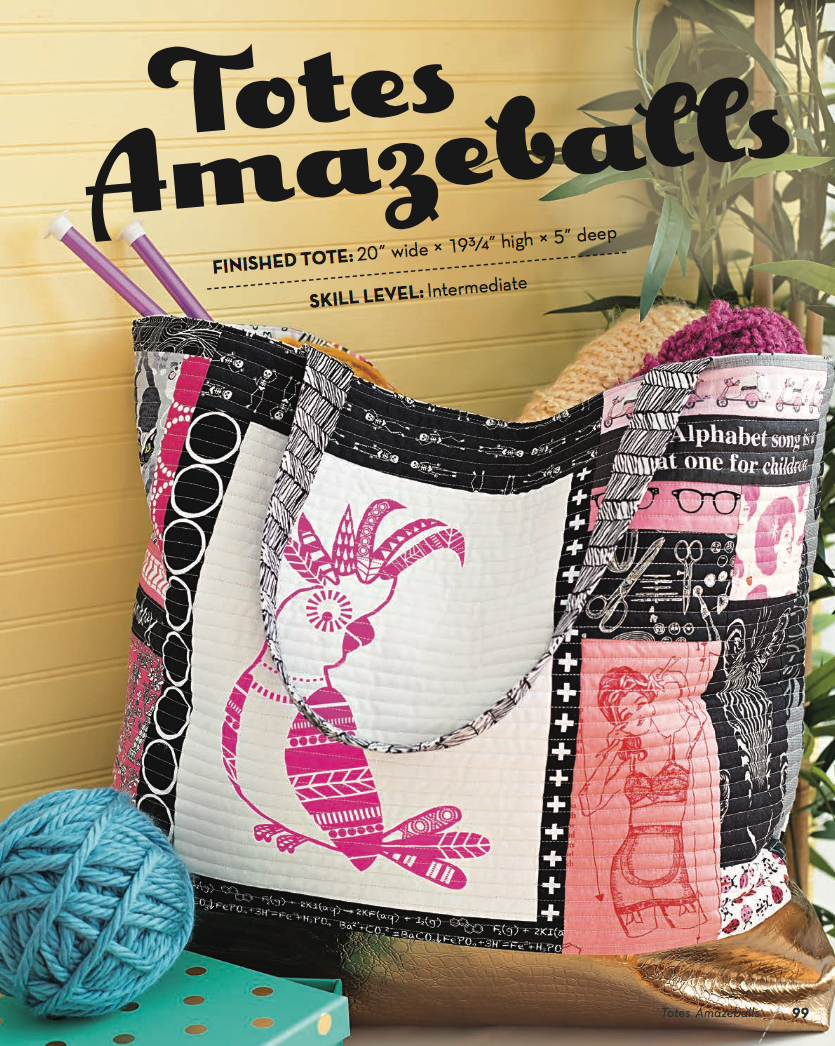
For my project, I chose to make the tote bag. Angie rated it as an Intermediate project but with her clearly written instructions, I didn’t have any trouble. Following Angie’s thoughts on color for this project, I chose a limited palette.
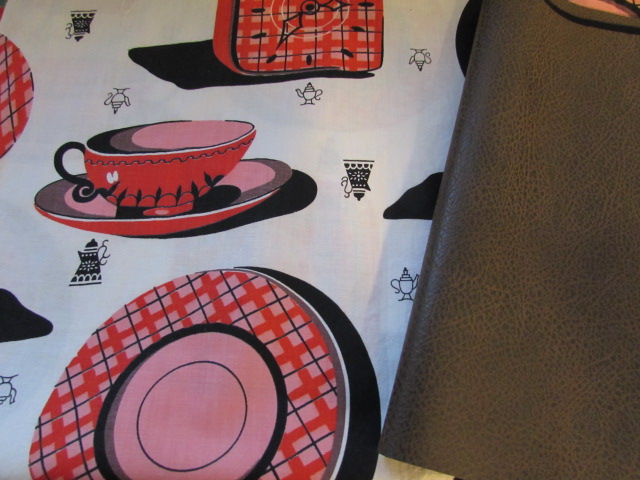
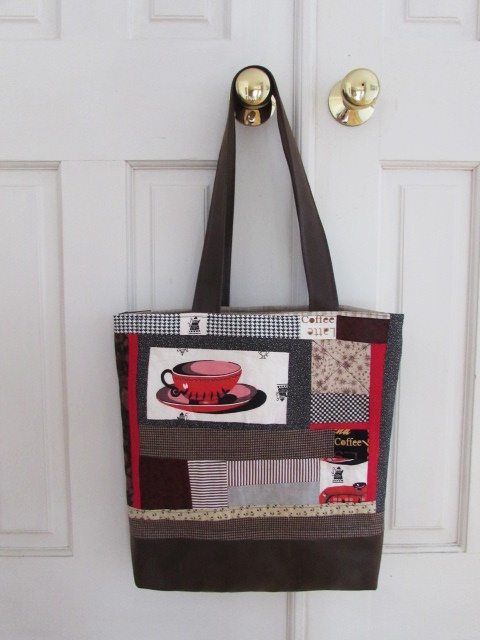
My bag is built around a piece of vintage fabric I have from the 1950’s. It is a kitschy print featuring red, brown and black kitchen appliances, clocks and coffee cups. I loved the idea of using vinyl for the bottom of the bag (looks great and gives durability) and found this textured vinyl at Ben Franklin. Once I had my focus fabric and the vinyl, the rest of the fabric was pulled from my scrap bins.
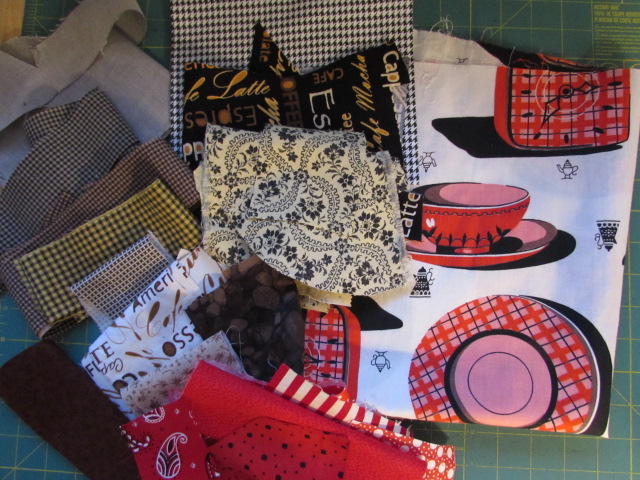
Since the red coffee cup was the primary focus, I decided to use mainly black, brown and white with the occasional pop of red. Most of my fabrics had a vintage look to them except the coffee themed text prints. Those are clearly current and modern but I liked the idea of including the coffee text with the other fabrics, to further the coffee theme of the bag. The main fabrics I fussy cut were the coffee cups and saucers, the text prints, and the tiny black coffee pots on the vintage fabric.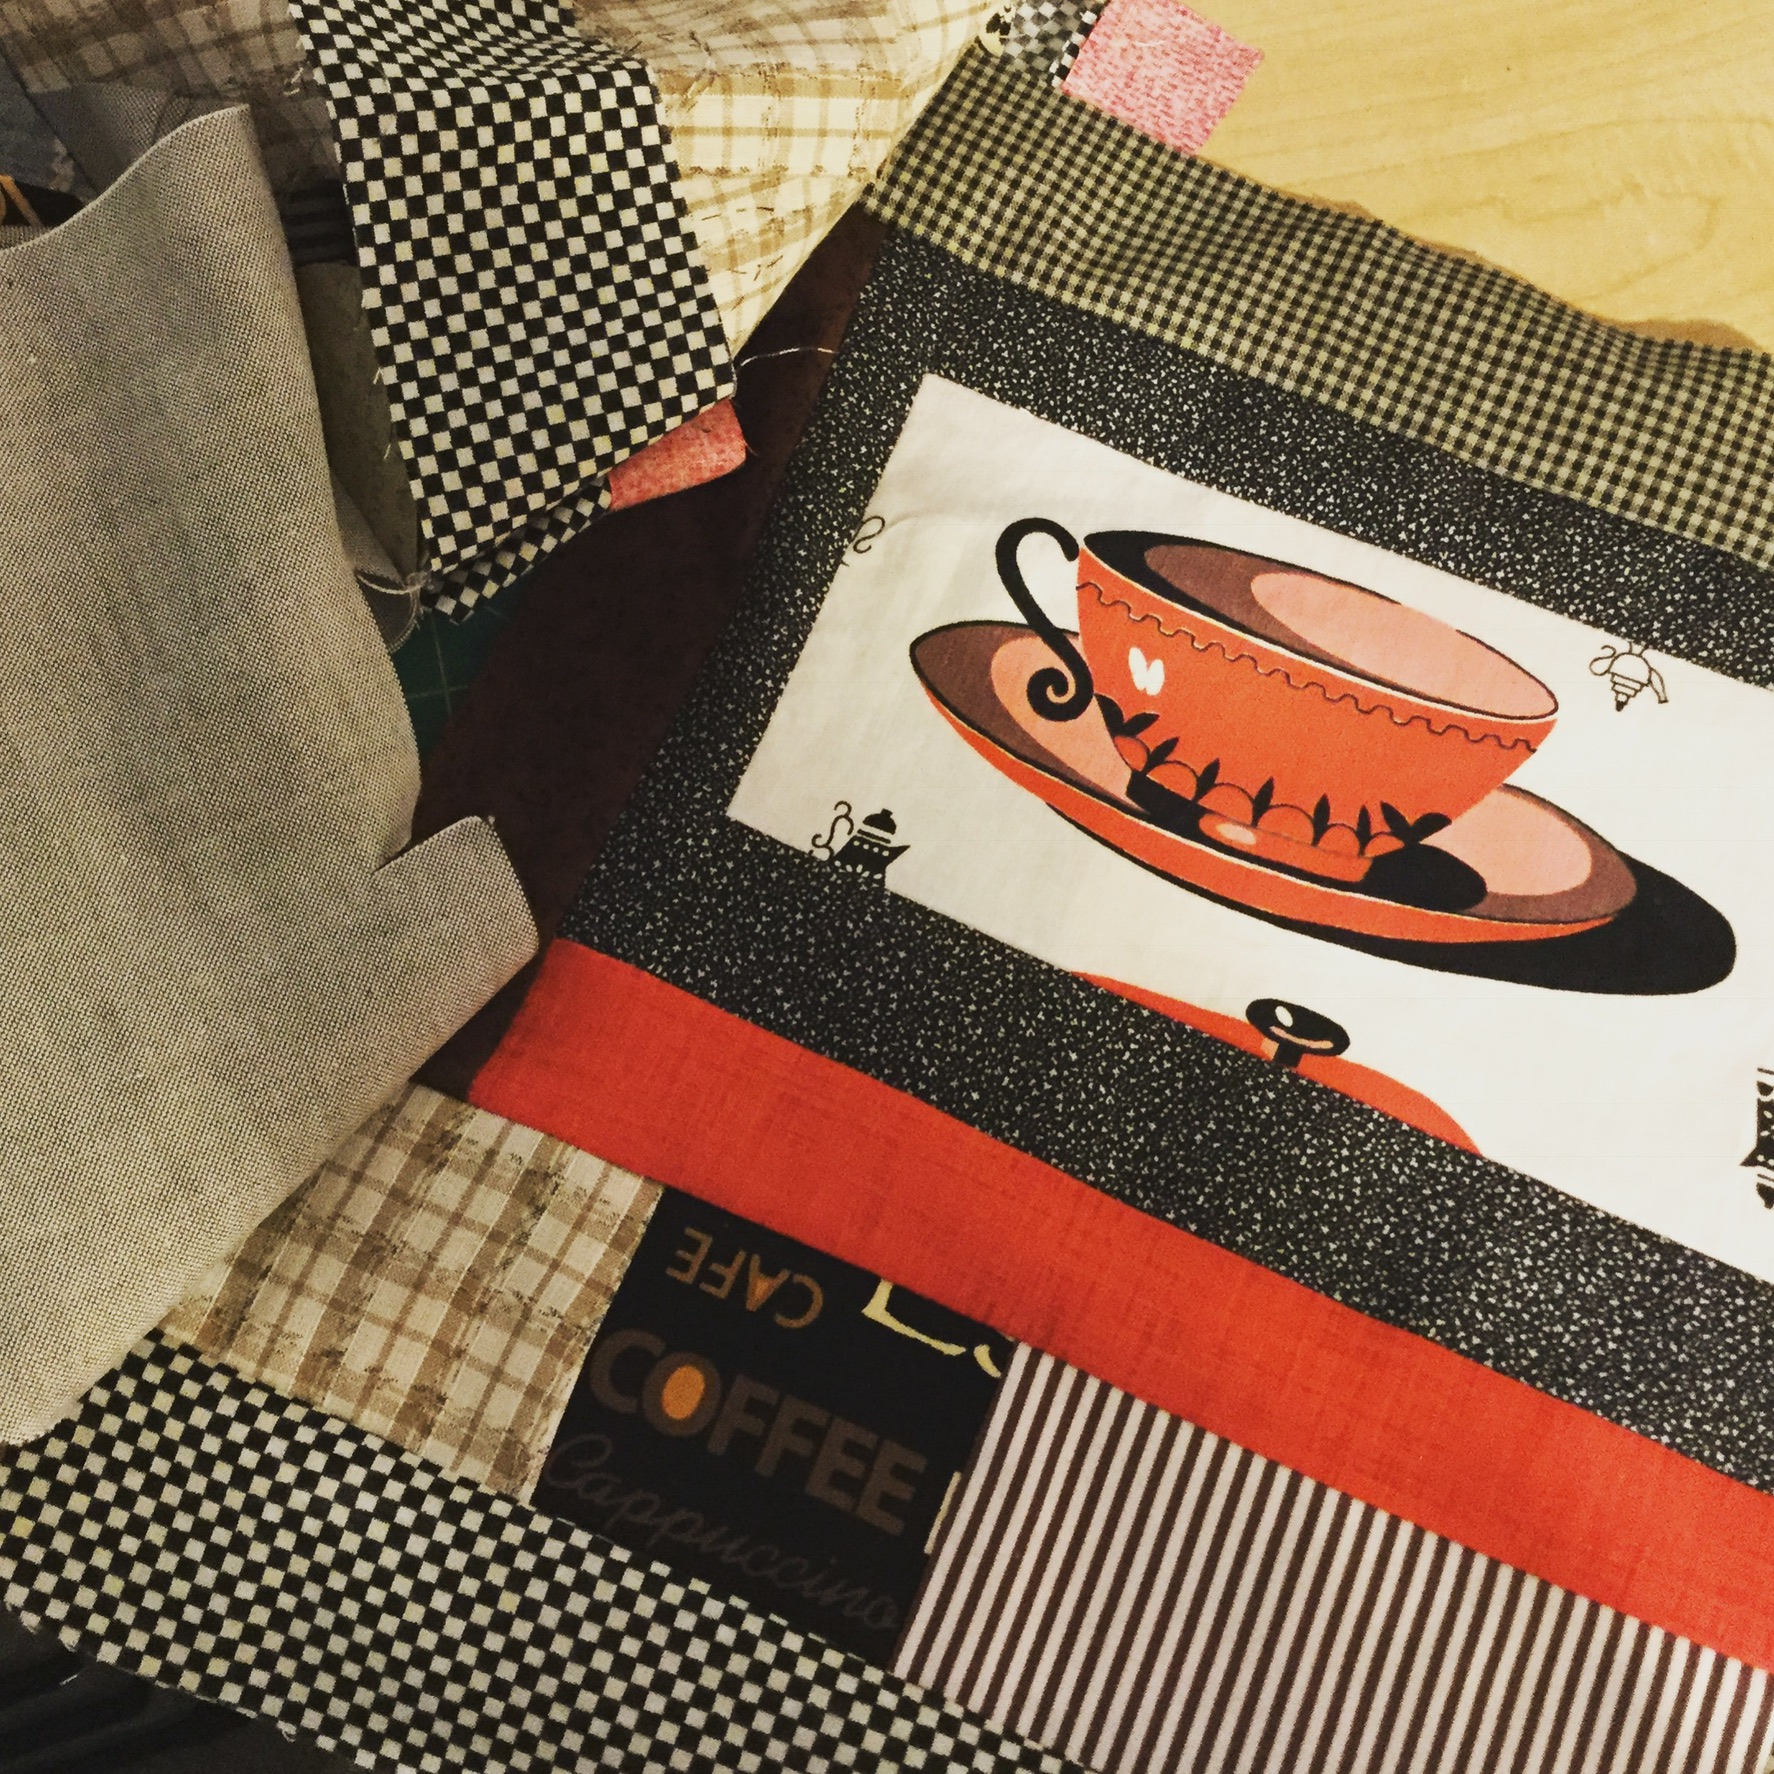
Making the slabs for the outside of the bag was really fun – I have improv pieced in the past, but it has been a long while. Putting these scraps together was very satisfying. I did reduce the size of the bag by a few inches in width and length. I am fairly short and the bag seemed like it would be too big for me at the original size but breaking it down to reduce it was easy.
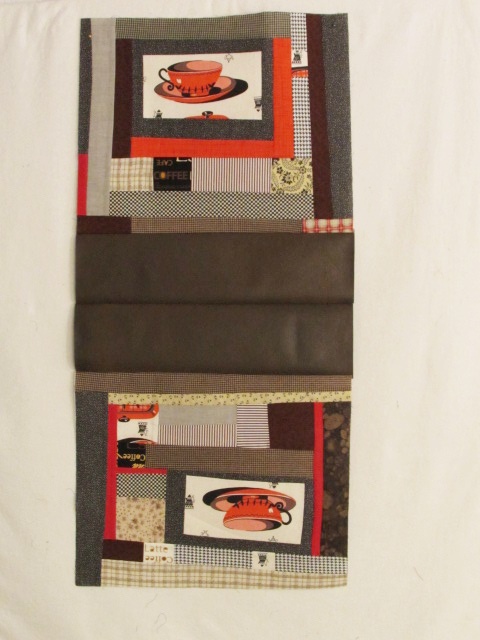
The two main slabs and the vinyl bottom are assembled here
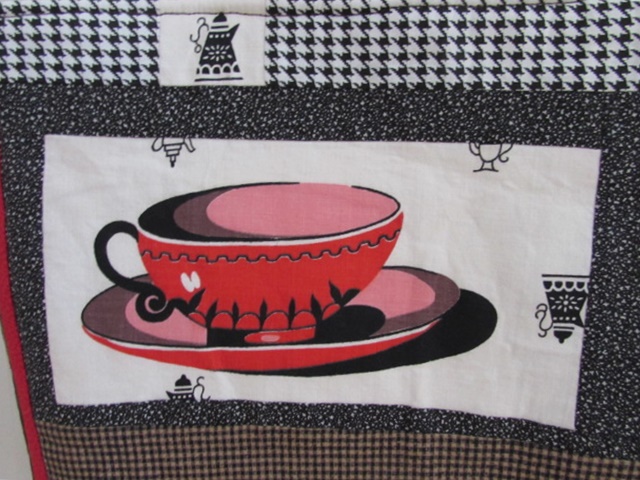
I learned quite a bit about fussy cutting. Like anything, the more you do it, the better it becomes. Looking back, I feel I should have trimmed the bits I fussy cut closer in. I left too much peripheral pattern and that detracts from the focal point. Note the cup and saucer below. I think if I would have trimmed it down a bit and removed the little bits of coffee pots, it would have been much cleaner. In the picture above, take a look at the text print. Were I to do this again, I would not allow the other words to appear. I really only wanted the word “coffee” to be the focus. But live and learn (or sew and learn?). Next time I will remember these bits and pieces that really make a difference in a project.
When assembling the bag, Angie’s instructions called for me to line the outer pieces with fusible interfacing and then to apply fusible batting. I was skeptical at first but it really makes the structure of the bag a nice combination of crisp and soft (does that make sense?) The addition of the fusible interfacing gave it a nice shape. Once I had those layers assembled, I used simple straight line quilting to hold all three pieces in place.
Her pattern calls for fabric straps but I had plenty of the vinyl so I decided to make the straps with that instead. I like the look of it and was pleasantly surprised that my machine had no issue stitching through several layers of vinyl. (I did use a heavy duty jeans needle.)

My model shows just how cute this tote bag is!
Overall, it was a great project and I felt the book was a great inspiration to look at my fabric with a different perspective. The tote is really fun (as you can see with my always available bag model.) It traveled with me to Vermont last week and when combined with the cross body bag I made, it was the perfect set up.
This is just one example of the projects that Angie designed for her book. There are thirteen others though, including pillows, coasters, minis and zip pouches. To take a look at some of the projects, here is a list of the bloggers celebrating this new book. Check them out for lots of inspiration as well as several chances to win a copy of the Fussy Cutters Club book! As with most book giveaways, if the winner is international, an e-book will be provided. If in the states, you will receive a hard copy of the book.
- 7 October 2017 – C&T Publishing
- 8 October 2017 – Lisa @ Sweet Little Pretties
- 10 October 2017 – Alyce @ Blossom Heart Quilts
- 12 October 2017 – Kerry @ Kid Giddy [GIVEAWAY]
- 14 October 2017 – Cat @hellofromcat
- 16 October 2017 – Molli Sparkles [GIVEAWAY]
- 18 October 2017 – Peta @ She Quilts A Lot
- 20 October 2017 – Kirsty @ Bonjour Quilts
- 22 October 2017 – Nicole @ Snips Snippets
- 24 October 2017 – Bernie @ Needle & Foot [GIVEAWAY] — You are here now!!
- 26 October 2017 – Kristy @ Quiet Play
- 28 October 2017 – Lucy @ Charm About You
- 30 October 2017 – Sandy @ UpStairsHobbyRoom [GIVEAWAY]
- 1 November 2017 – Raylee @ Sunflower Quilting [GIVEAWAY]
- 3 November 2017 – Bec @ Skyberries
- 4 November 2017 – Angie @ GnomeAngel
To enter to win, please leave a comment telling me your current go-to quilt book (I guarantee if you purchase or receive this book, it will be right up there on the list!) I will leave the giveaway open through Saturday, October 28th and will announce a winner on Sunday.
Linking up with lots of my favorites – most are listed at the top of the page, under Link Ups. Also linking to Elm Street Quilts annual Bag It event. Check that out here!