
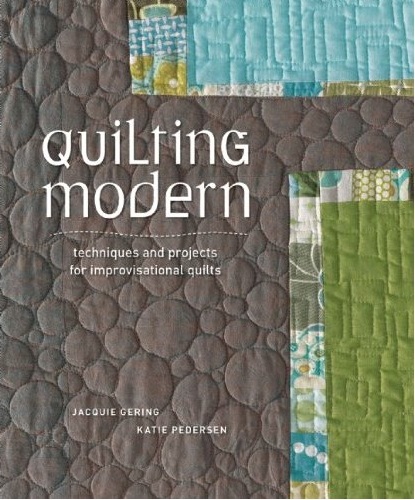
If I had to name a quilter that I would most love to take a class from, I might just name Jacquie Gering. I love the work she does. Her style is so crisp and clean. Her use of color is exquisite. (She was, in fact, recently named 2014 National Quilt Teacher of the Year!) She blogs over at Tallgrass Prairie Studio and has a book out that she co-authored with Katie Pederson of SewKatieDid, titled “Quilting Modern”. I purchased this book a while back and have recently finished my first project from the book. This book is a great tool as I work to learn more about the world of modern quilting. There are some clear cut (no pun intended!) explanations of the use of color as well as how to do improvisational piecing. I haven’t really done any improv piecing and will use this book to get me going in that direction. I think Quilting Modern is perfect for the beginner quilter as it contains abundant information about the basics of quilting.
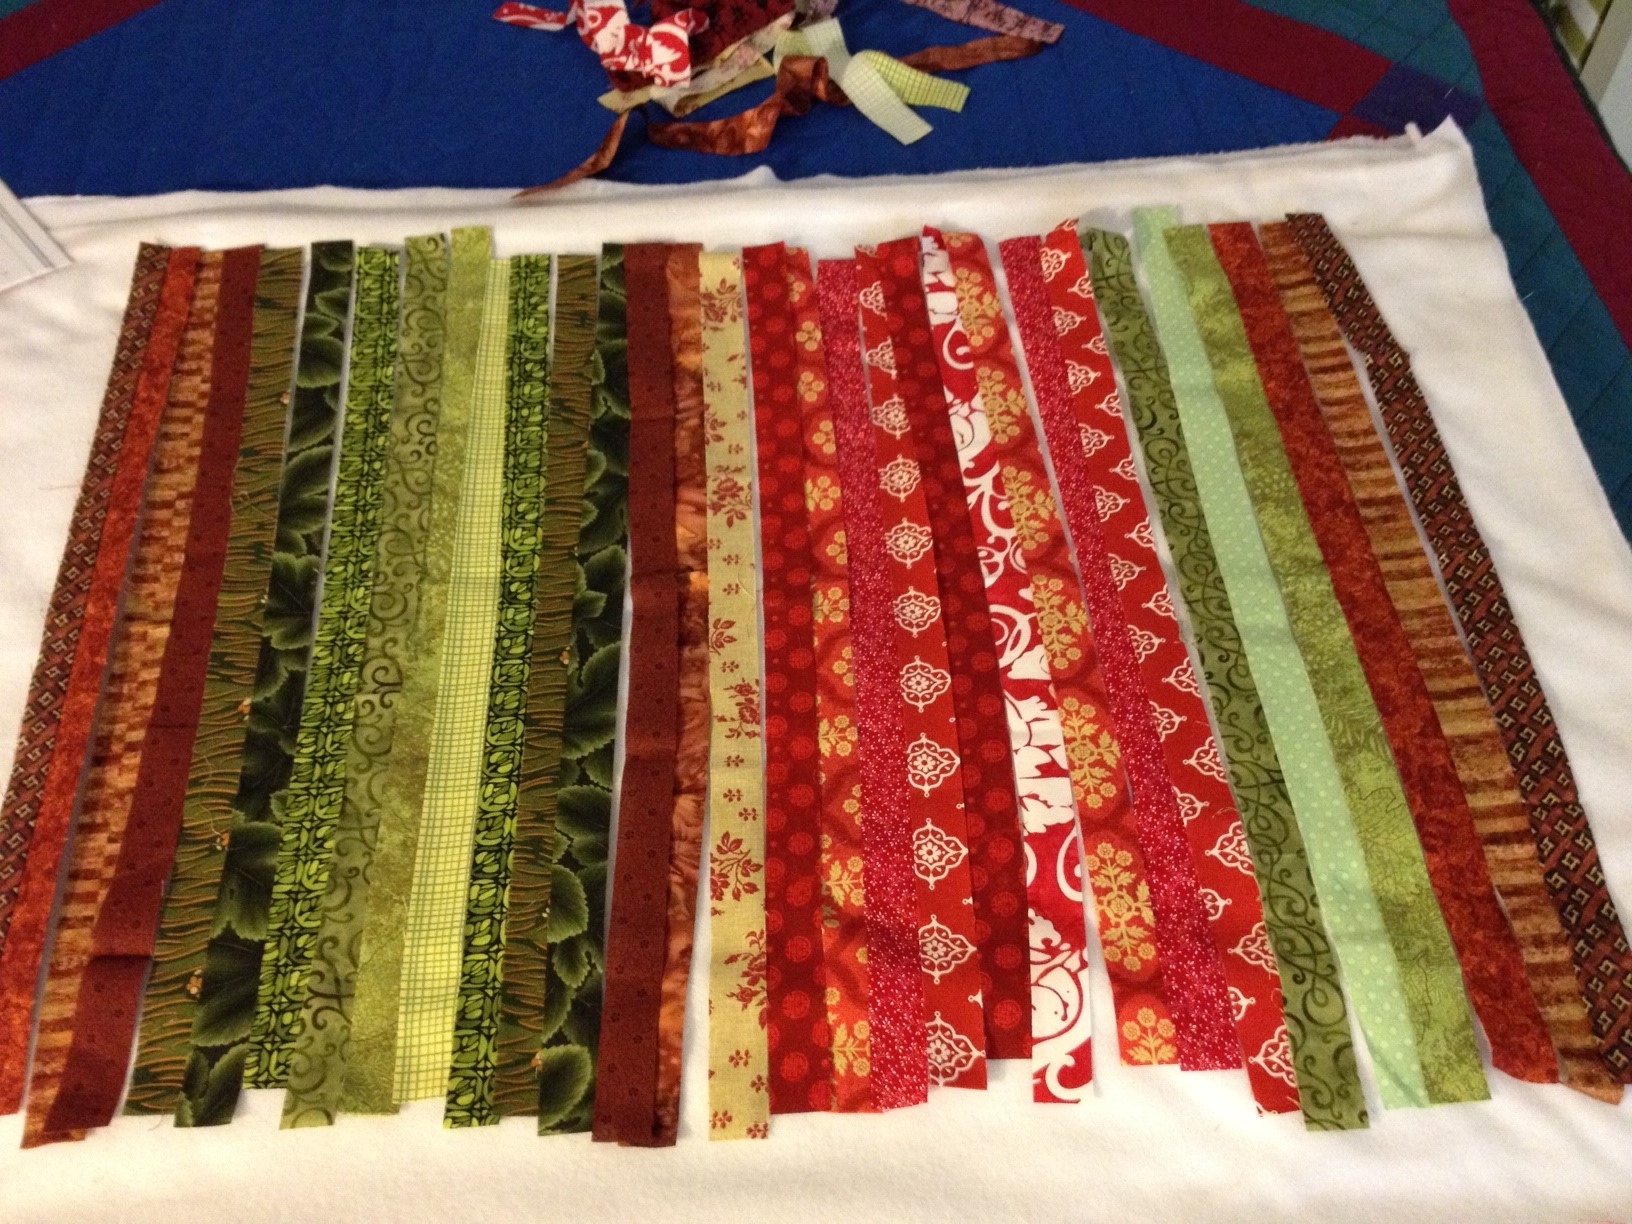
For my first project, I chose a wall hanging that is named Fiesta Wall Quilt in the book. It is a piece that involves a strip pieced square as the focal point and then some large borders around it. I loved this process. The strips are pieced into a large square and then narrow strips are sub-cut from that block.
The narrow (pieced) strips are then arranged in a way that pleases the quilter. Once that arrangement is done, those strips are sewn back together. It was easy and really, kind of fun to do.
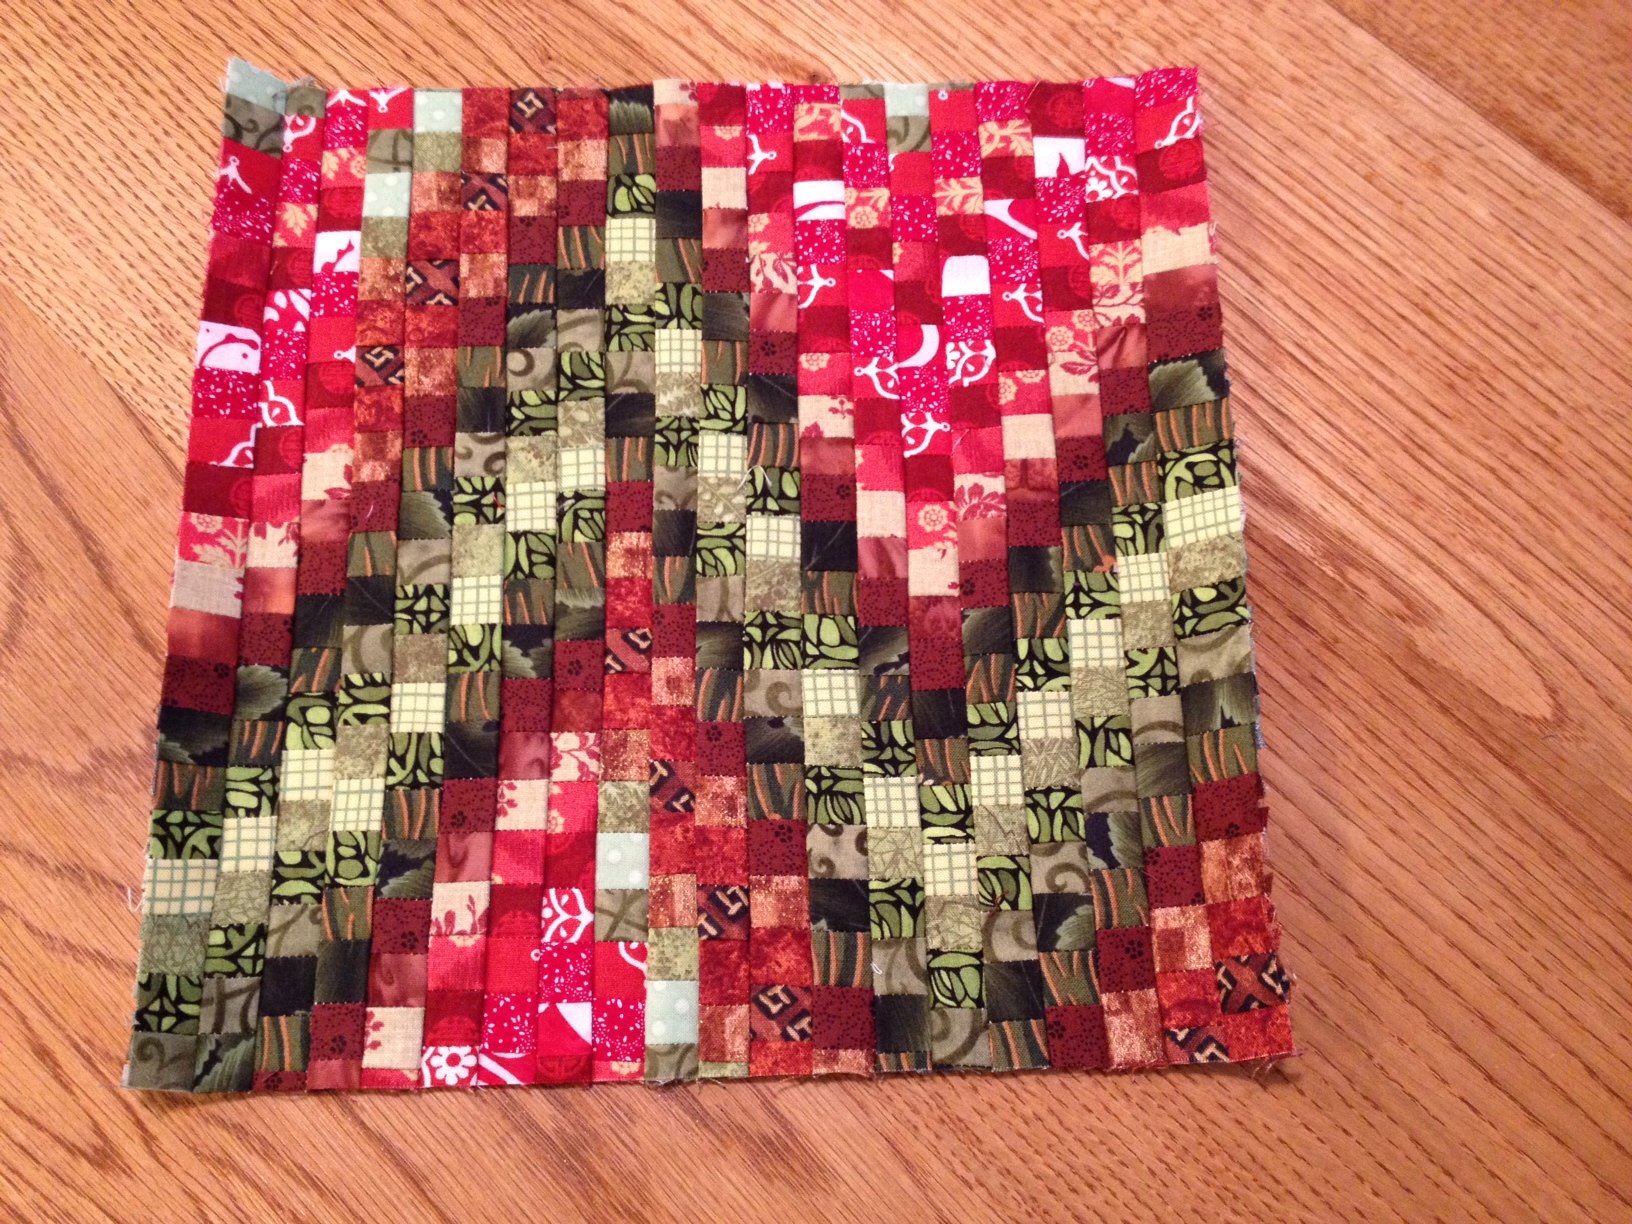
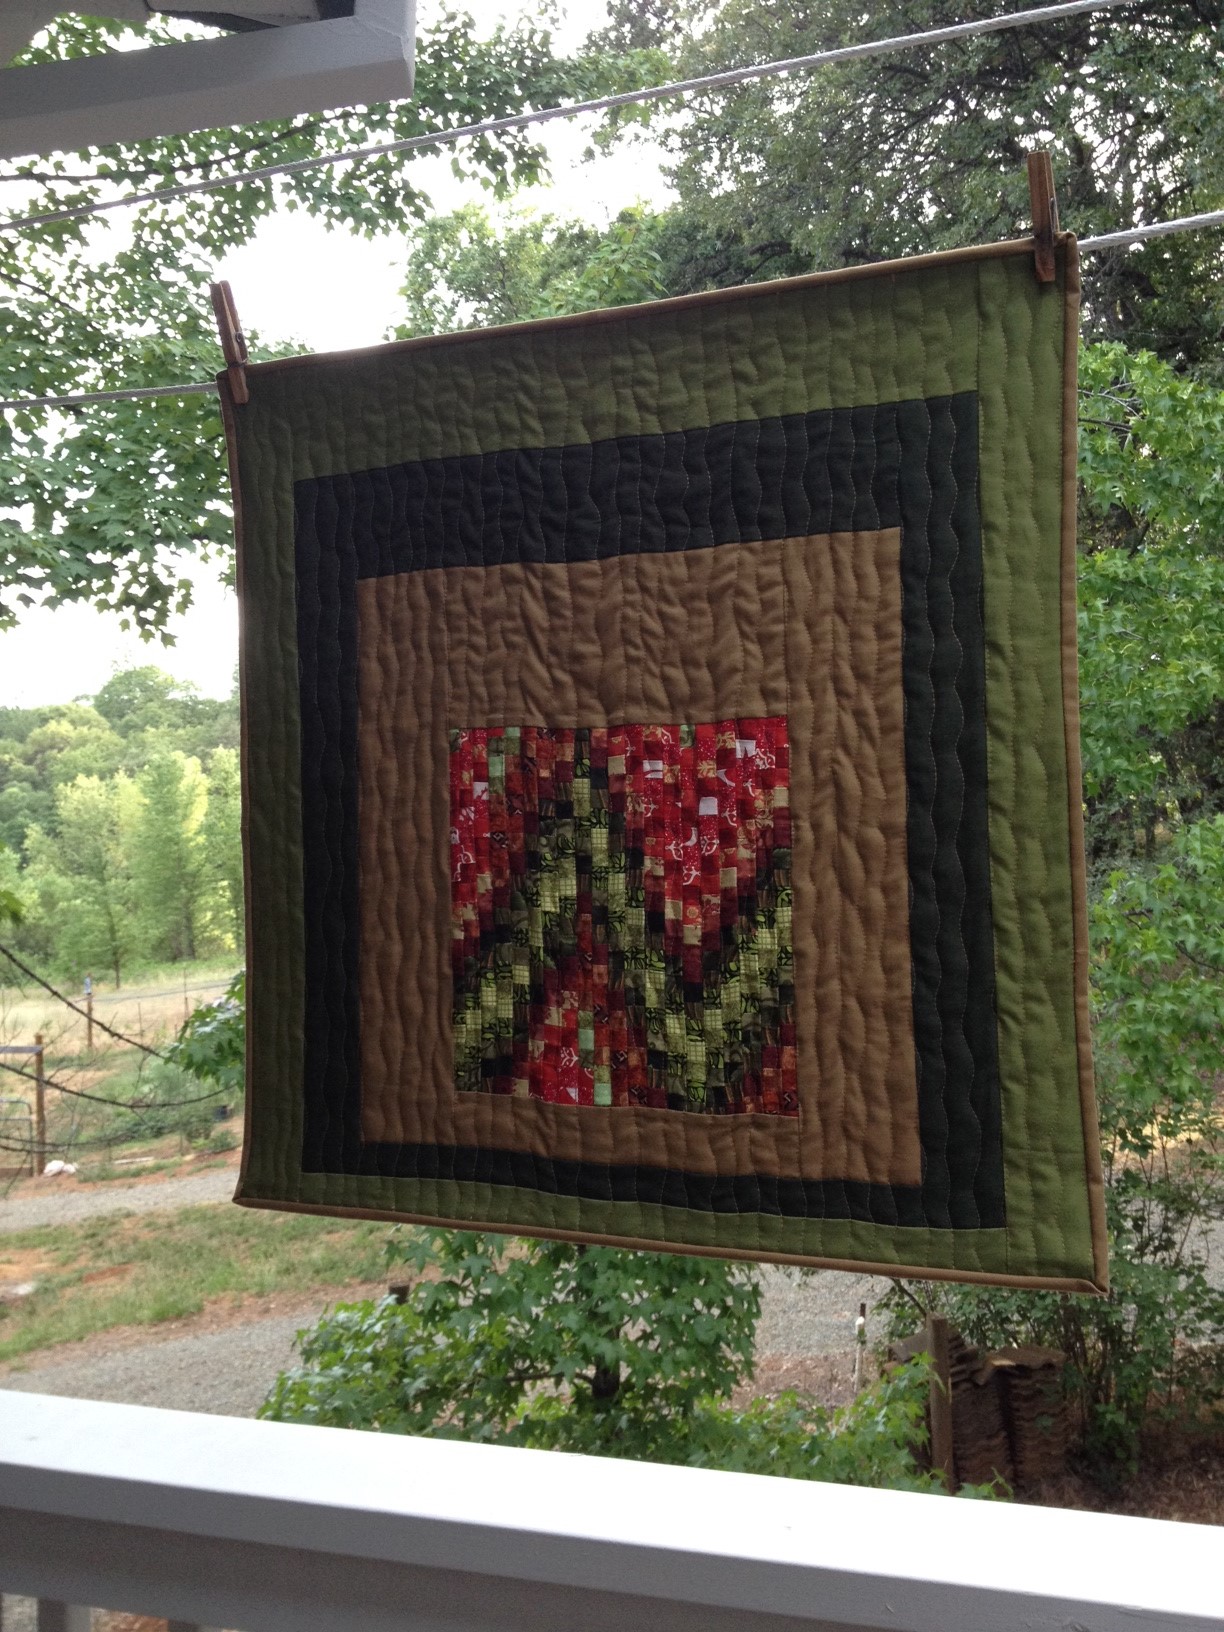
In the book, they have a much more random placement of their colors. I liked this crooked path arrangement so chose not to have such a random style. I used shades of green and tan for the borders. The quilting was done with a walking foot and wavy lines. There was some pull on the fabric (in the center above the pieced square) that I am unhappy with. I picked those seams several times but couldn’t fix it. Reading Amanda Jean’s tutorial, at CrazyMomQuilts, on finishing a quilt, I learned that this can sometimes be alleviated by quilting the piece from top to bottom with each line. I was quilting in both directions (top to bottom and bottom to top). Next time, I will give that a try and see if the results are better.
Here is the finished quilt.
Linking up to TGIFF and MyQuiltInfatuation and ReallyRandomThursday at Live A Colorful Life. Also linking to RichardandTanyaQuilt, Link a Finish Friday and Finish It Up Friday at Crazy Mom Quilts. And finally, linking to ConfessionsofaFabricAddict.