
Today was one of those days where I had plenty of things I should be doing but I sewed instead. I couldn’t get in the mood for anything on the neverending ‘to-do’ list. I just felt like sewing. Which is fine. I thoroughly enjoyed the afternoon. It is pouring rain outside; so dark and cloudy it looked like evening by 2:00 in the afternoon.
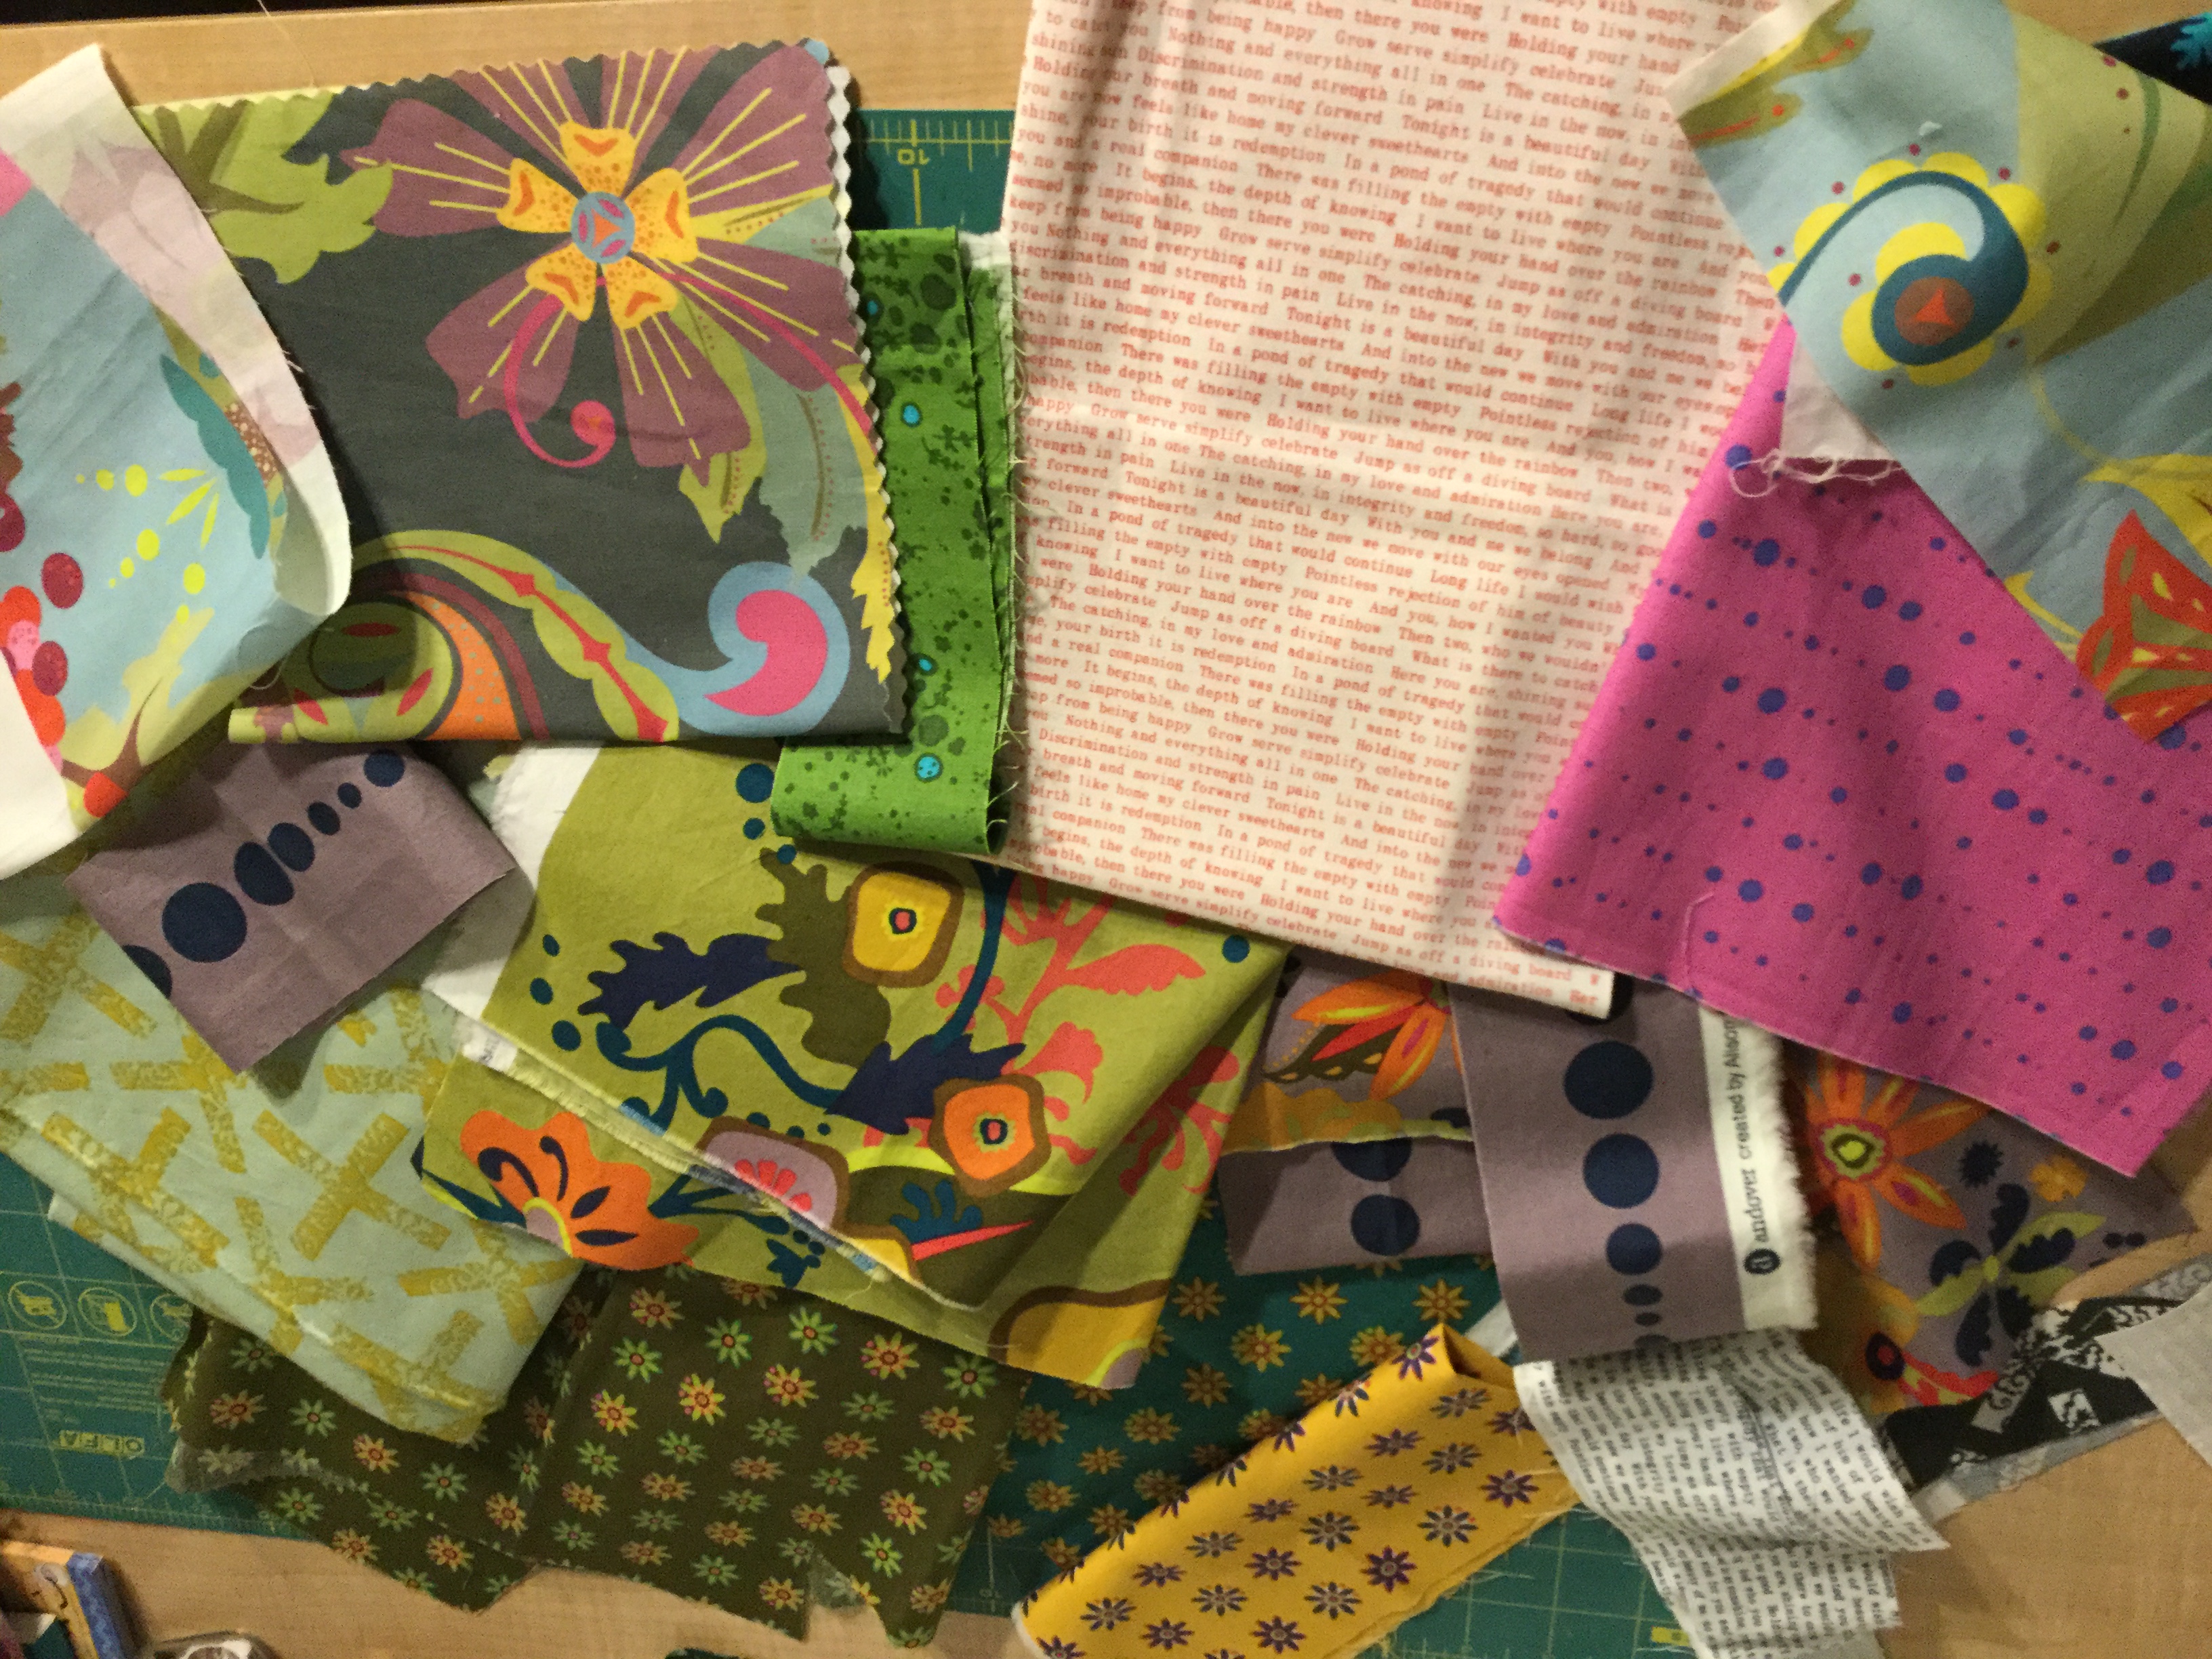
Last night, I decided to pull out my dwindling collection of Alison Glass scraps. You know I love her fabric – I have used it to make a mini for an Alison Glass swap as well as two purses. Yvonne, over at Quilting Jetgirl, has been playing with, sewing with, collecting and posting about Alison Glass lately and it got me in the mood. She is hosting a little Alison Glass celebration in January and there just might be a prize of a huge set of fat eighth’s to be won. All of this set off a bit of an Alison Glass frenzy in my sewing room. 
Thinking about what I wanted to make, I ruled out any sort of mini quilt or table runner. Rather, I wanted to make a tote or a zip pouch. I poked around on my Pinterest boards and found the tutorial for the Open Wide zip pouch from Noodlehead.com. Anna Graham is the blogger and pattern designer behind Noodlehead. You might remember that I made her 241 Totebag three times over the past year. Her patterns and tutorials are wonderful. I really like the look of the Open Wide pouch.
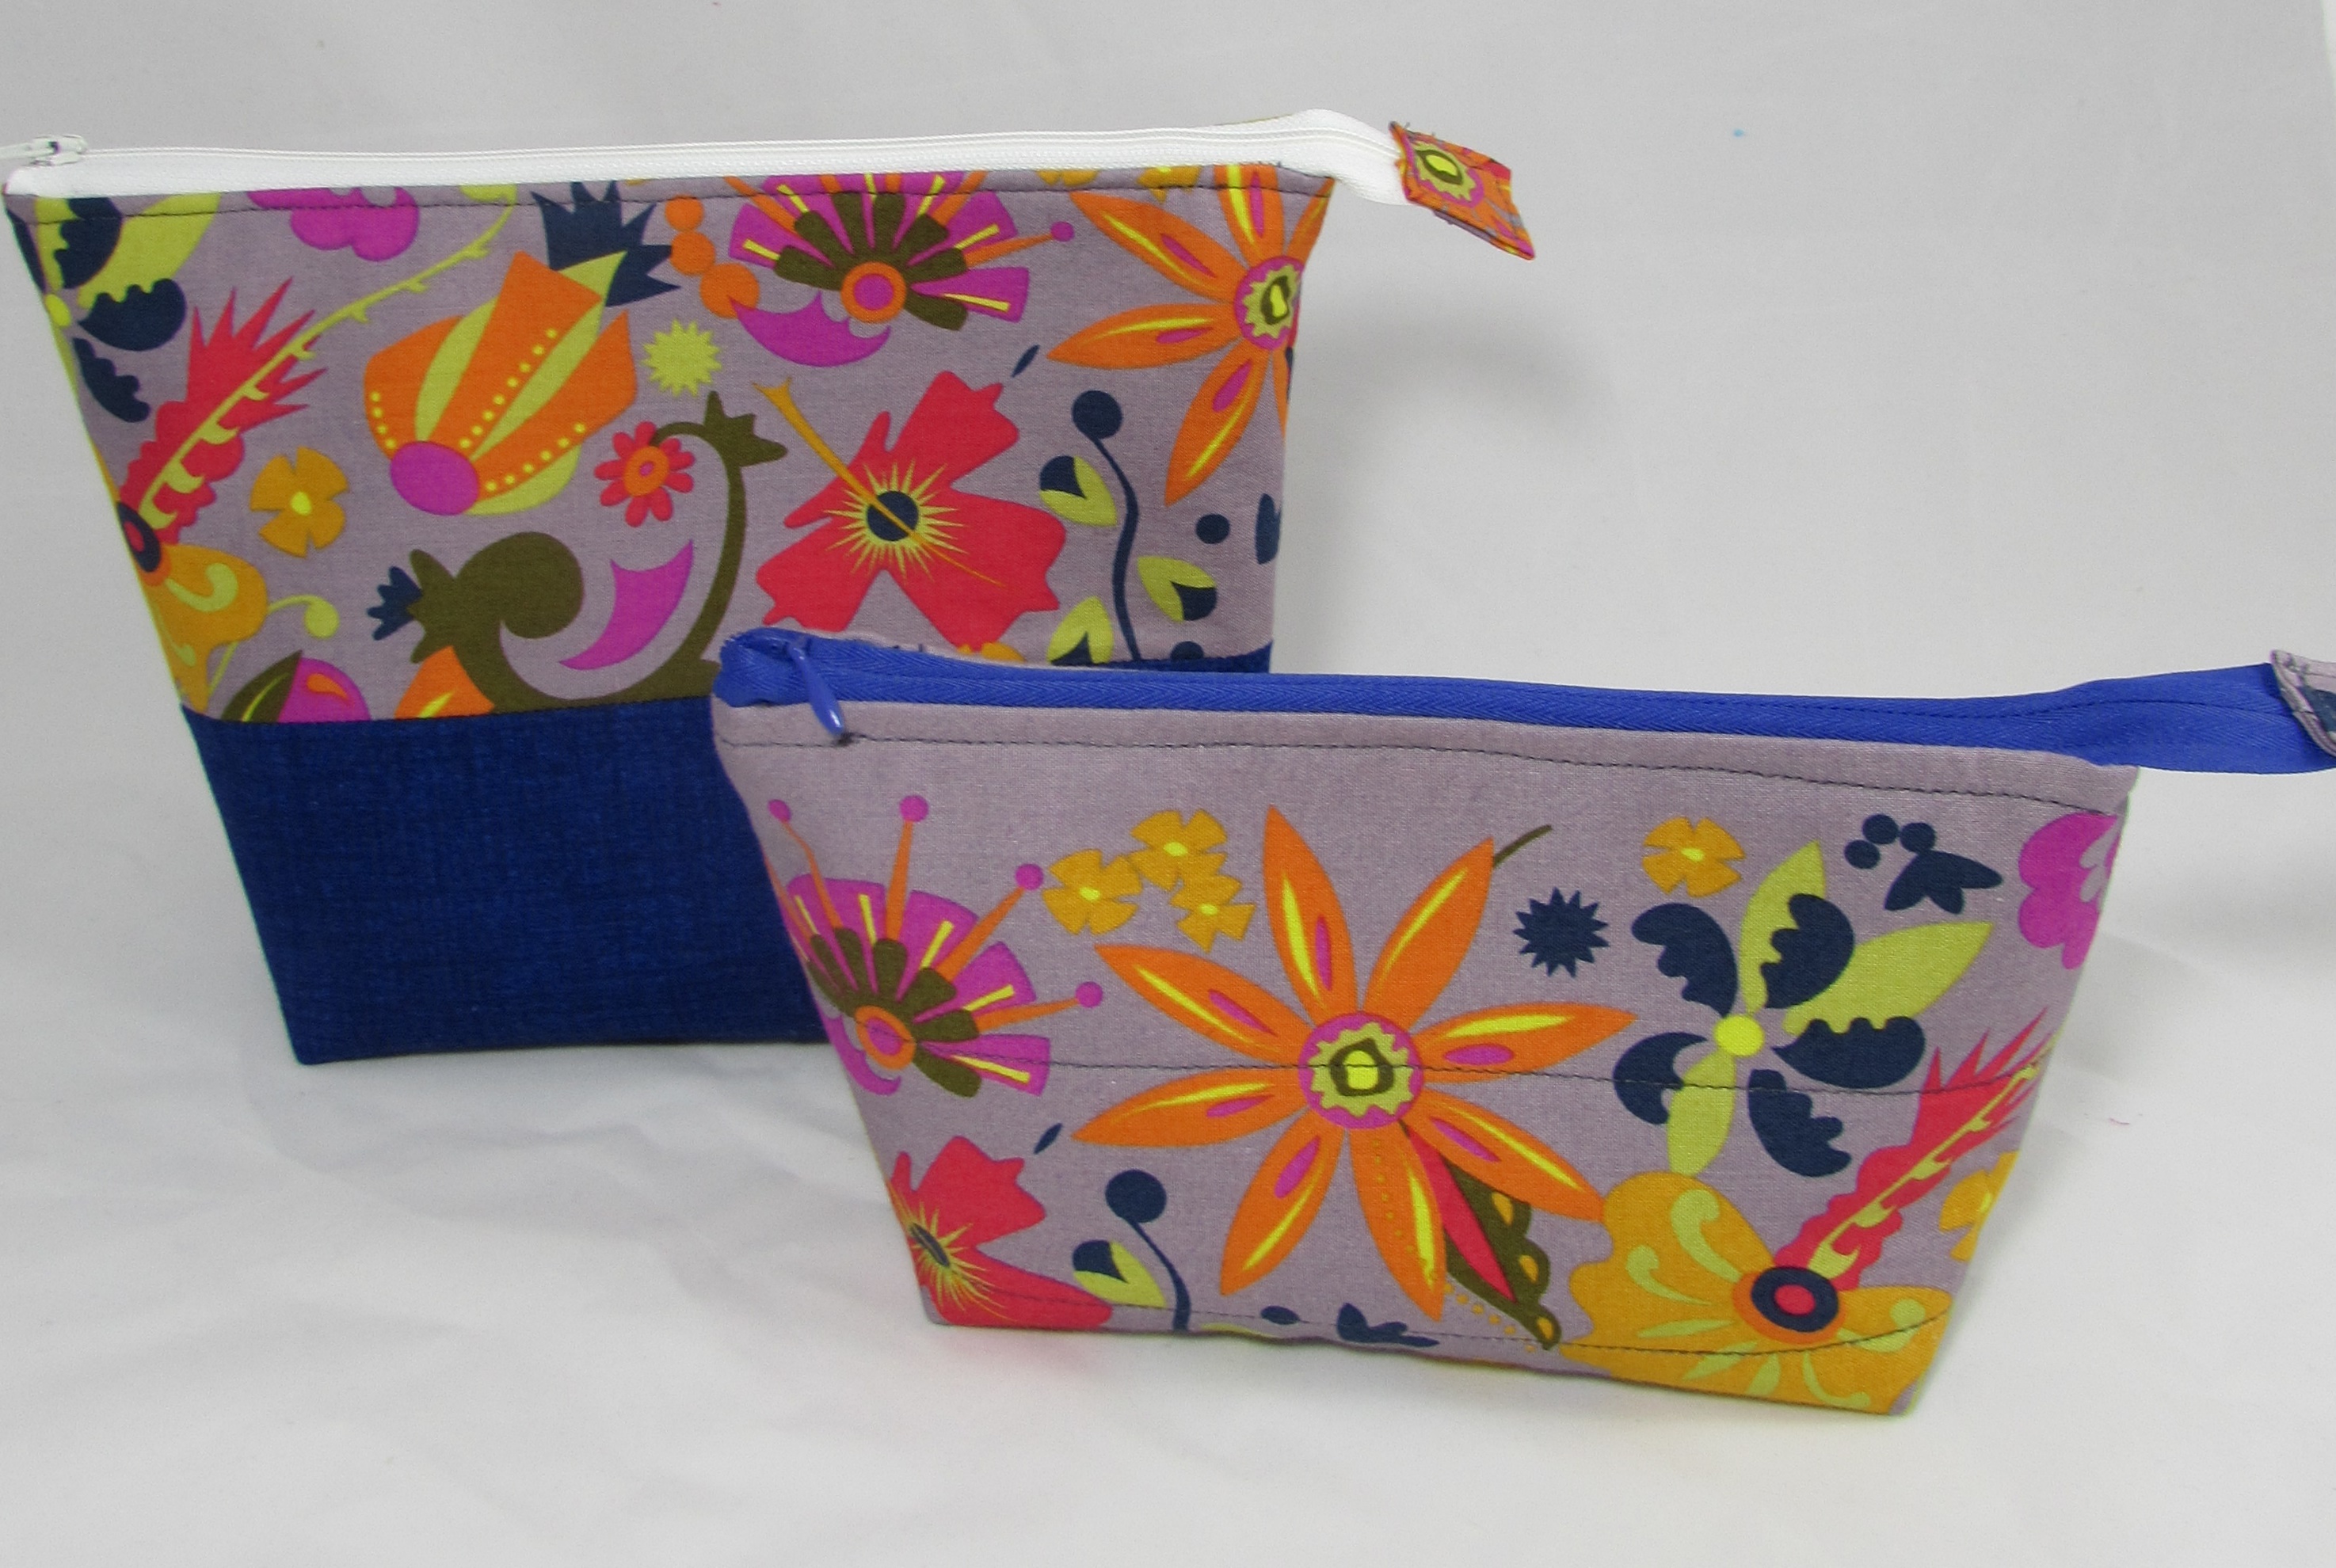
I made two of them this afternoon. They are that simple! The first one was the middle size pouch that measures about 6″ x 6 1/2″. I decided to have a different fabric for the base of the bag. The second pouch was made with the smallest measurements, finishing at 4.5″ x 5″. I really like the method Anna uses for these pouches. She boxes the corners quite deep which creates a very wide bottom of the pouch, in relation to the length at the top. Because of this, the pouches open wide. This little variation is such a simple way to get this result.
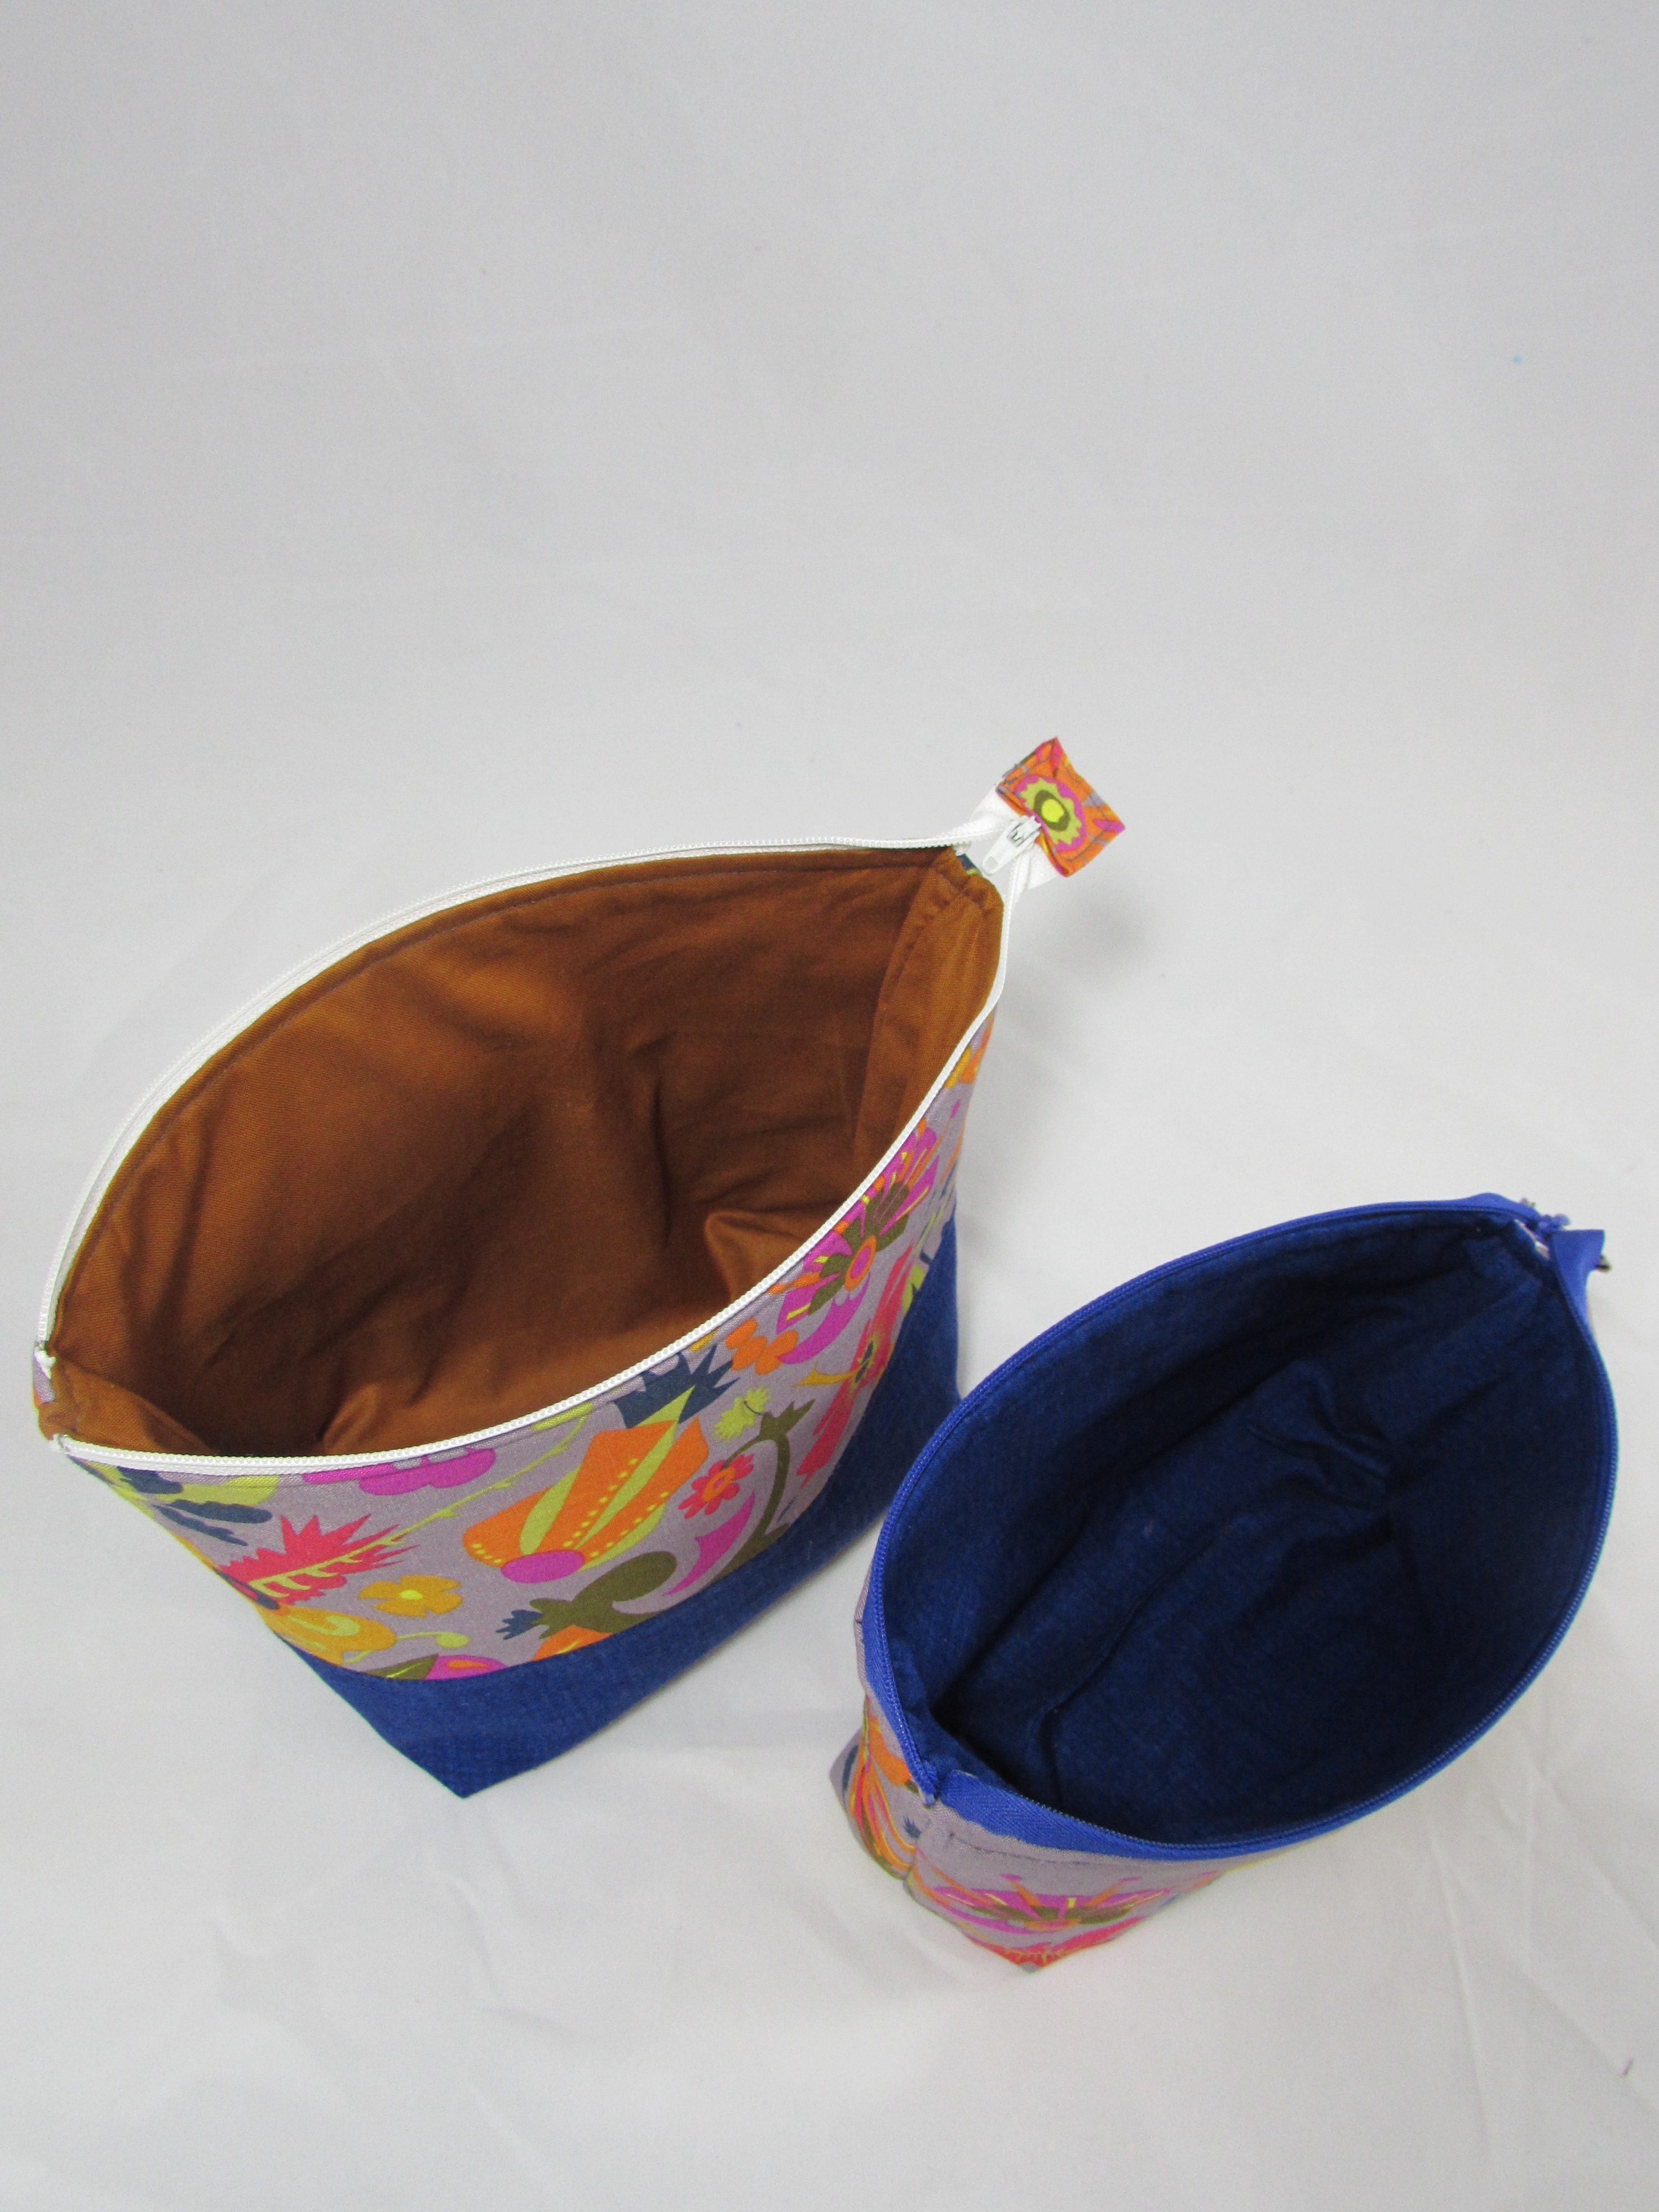
I found two challenges with this pattern. The biggest of which (for me) was boxing the corners of both the outer fabric and lining fabric without being able to peek in and see if the seams were all lined up correctly. Anna’s instructions call for sewing the lining and outer fabric together, leaving an opening in the bottom of the lining to turn it right side out. Prior to turning it right side out, you box all four corners. It worked, but I would like it better if I could see what I was doing. I think it might be possible to stitch the outer fabric and stop. Then box the corners while still being able to look inside and see that it is all lined up. After that, one would continue to sew the perimeter and finish the lining. Boxing the corners of the lining doesn’t matter as much since they don’t show. Of course, I didn’t think of this until after I completed two pouches. 
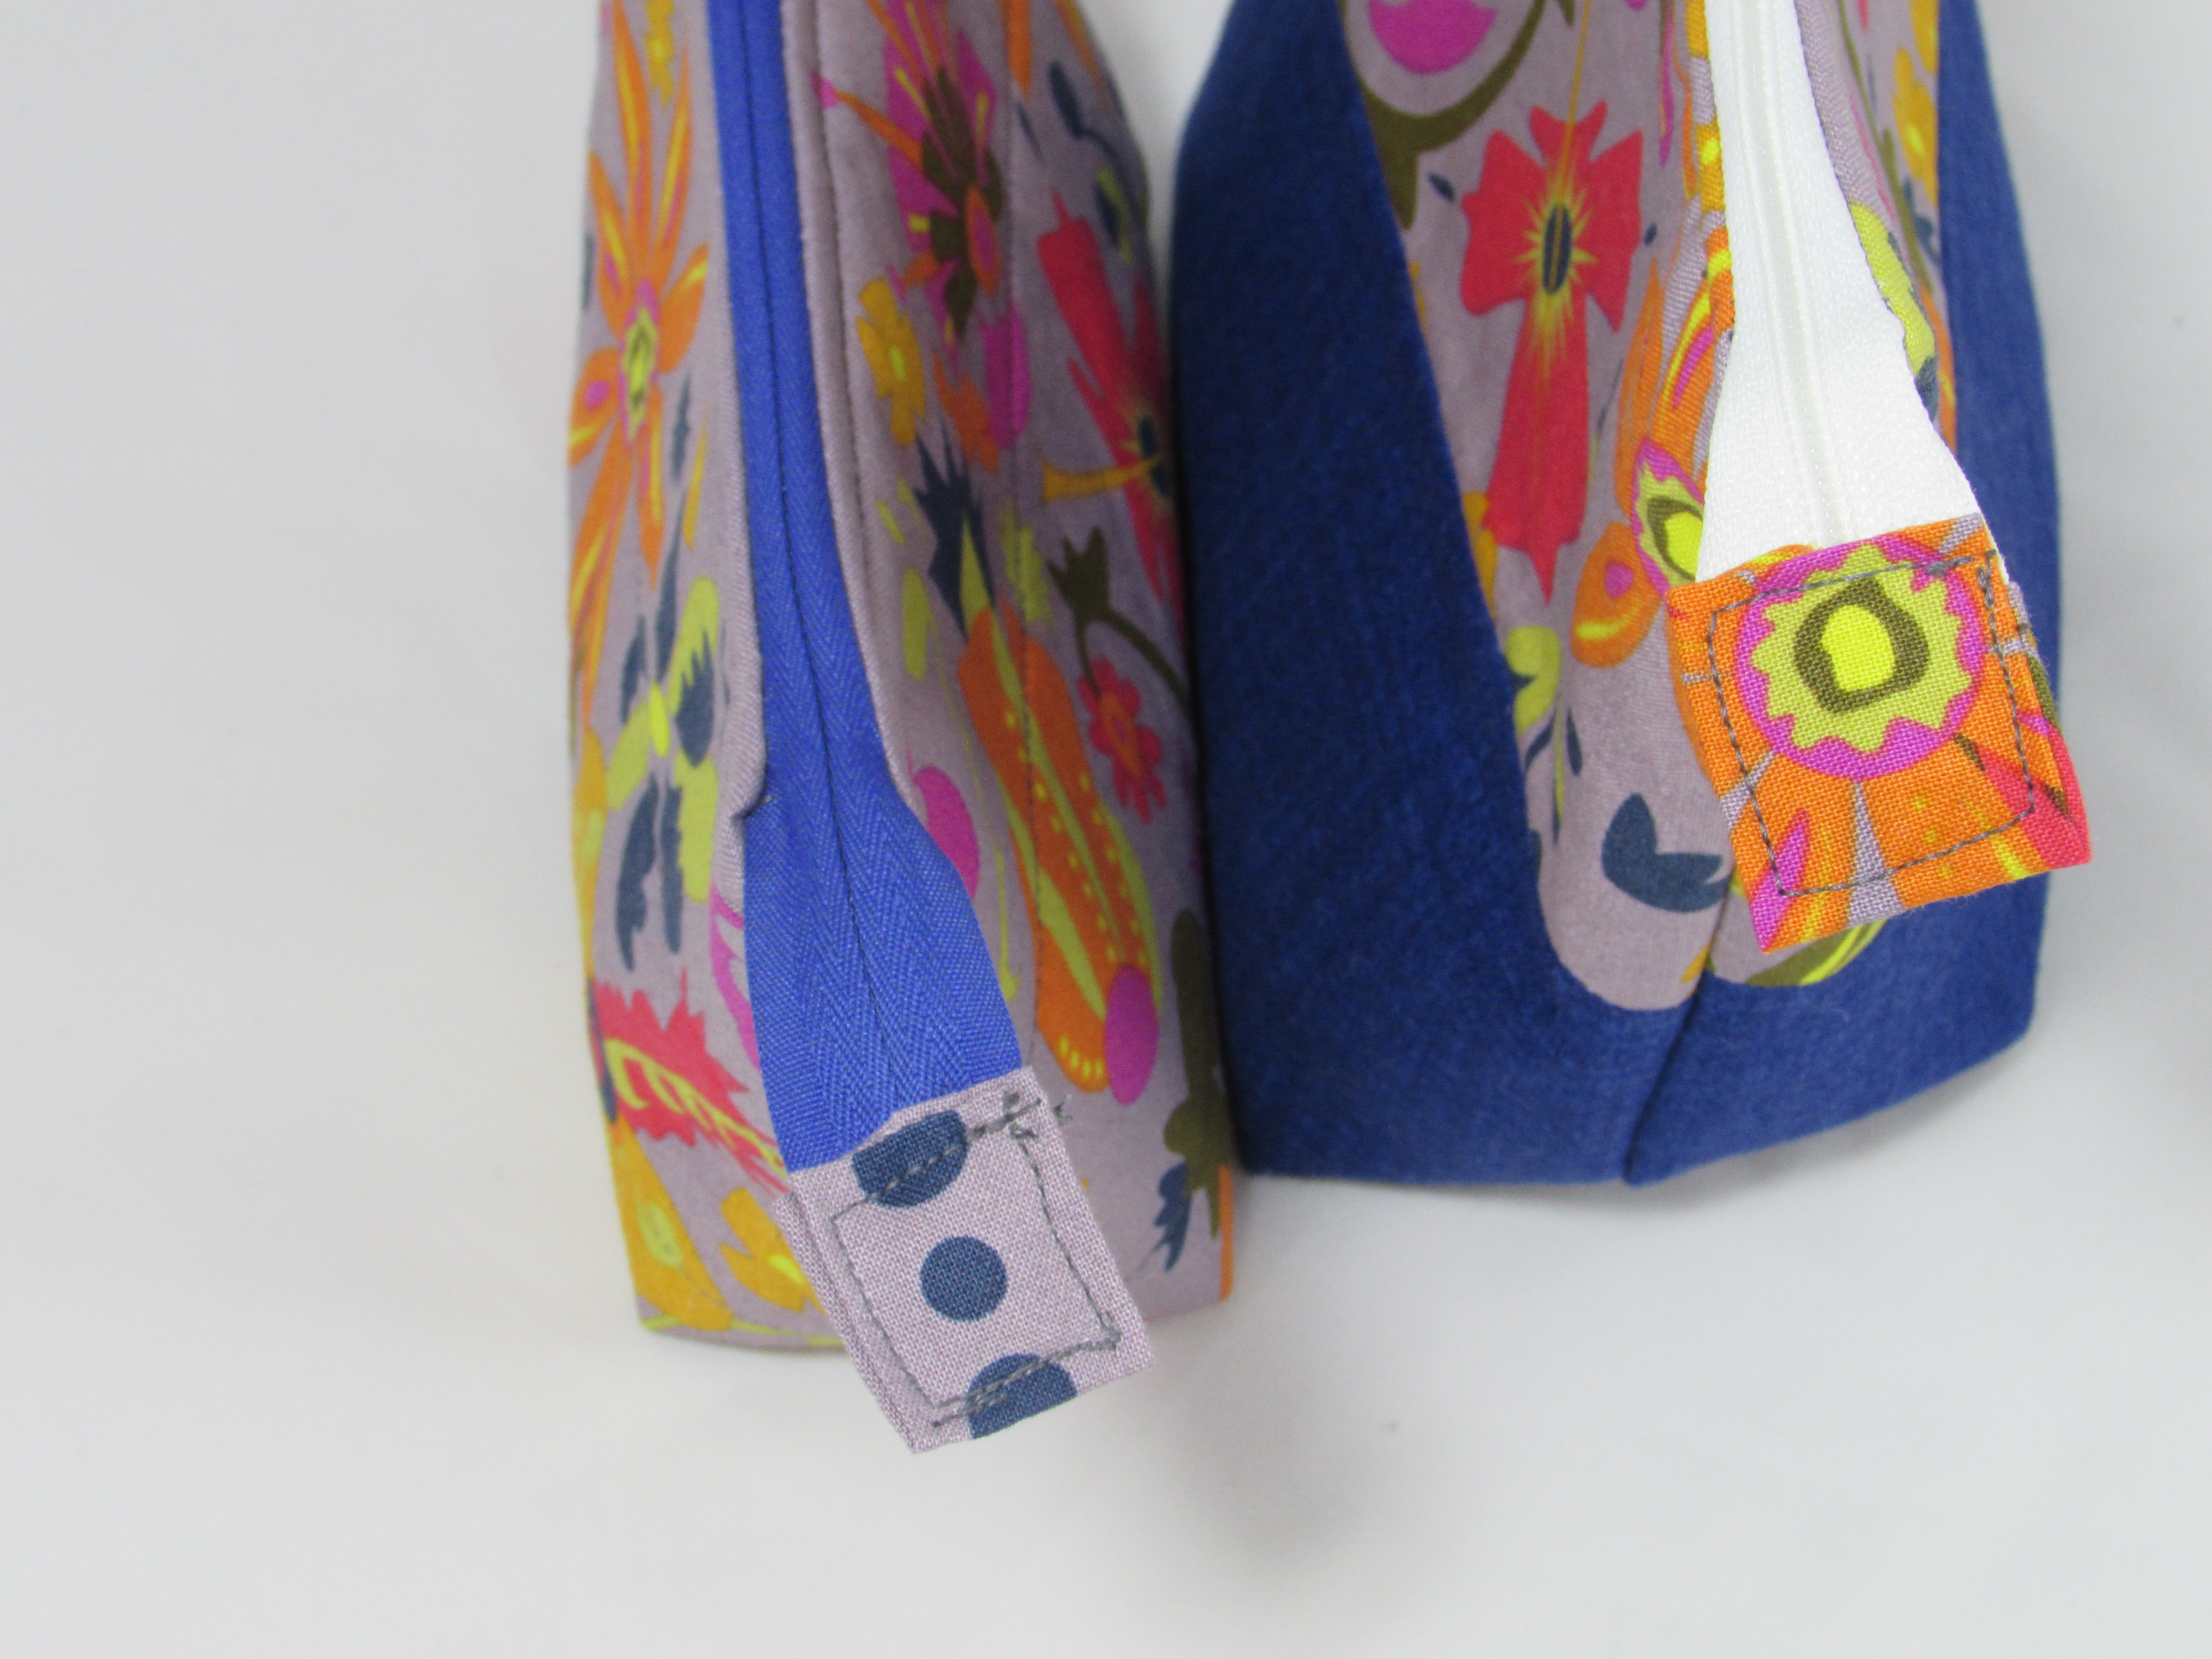 The second challenge is not a huge deal. Anna has the tail end of the zipper extend beyond the end of the zip pouch. It adds a nice touch to the finished bag. But I had a hard time getting a decent result. It was sort of fiddly and I ended up unpicking the stitches on each of them and trying to get a better finish. They still don’t look great. I think I would play with this next time and try to come up with a different way to finish off the end of the zipper. It doesn’t look like it should be so hard but it was difficult for me to keep the little folds in place and move the zipper around, dragging the pouch along with it. I wonder if I could have finished the end of the zipper before I even began sewing the pouch together. Questions, questions…. I think I need to make a third pouch and test out these ideas.

Anna lists fusible interfacing as optional for the pouches. I used a fusible batting. I like the bit of heft it gives the bag. When I made the second one, I decided to quilt two horizontal lines on each of the pieces of outer fabric. It looks cute and will make sure the batting stays nice and flat against the outer fabric. Overall, the pattern is great and it was a fun project for this afternoon. I love the look of the floral fabric (from the Field Day line) and the deep blue fabric together. I got my Alison Glass fix and now I can move on to the next project!
If you are a fan of her fabric, you might want to join in with the Link Up that will be happening over at Quilting Jetgirl. I think it is good that I made my project early. Yvonne will be hosting the event for the last two weeks of January which is going to be a busy month for me. My son is getting married on January 14th so we will have all sorts of fun happening in January and, most likely, my sewing time will be a bit limited.
Linking up with Crazy Mom Quilts and Confessions of a Fabric Addict this week. Links are available at the top of the page, under Link Ups. Also linking to the Bag It link party at Elm Street Quilts.
Both pouches are really nice and I think you did a great job! Lovely fabric also. I’m like you. I make the first one exactly by the pattern and if I have any “what ifs” moments-then I do it again.
Debbie, I think this is the best way to learn and improve. I will make another pouch and see if the ideas help make the finish a bit nicer. I certainly don’t need three zip pouches but I can always give one as a gift.
Oh these are adorable! I relate to picking stitches out to get just the right look, but I think those zipper ends look great. And I have added fusible batting to my shopping list!
Do you sort your scraps according to designer?
Normally, no, I don’t sort by designer. But for some reason, I like keeping my AG pieces separate. They usually work well together and I just have a thing for them.
As for the fusible batting – it is wonderful. It takes high heat on your iron and some pressure when fusing it to get it to hold well. I love it though.
I know that feeling, sewing instead of doing the chores, LOL, happens to me waaaayyyy too often!
Oh, yeah – wayyy too often. Chores are highly underratedd Carole.
They came out great, Bernie! I had to make a second one to get it right! I love the final results.
Thank you Karen. Hope you have a wonderful Christmas.
I think they’re just perfect–no need to pick away at anything They look terrific! I hope you’re keeping them for yourself–but anyone would be delighted to get one of these wonderful poiuches!
Or pouches
Yes, I am keeping the smallest one to use in my purse. Julia, my daughter, chose to use the bigger one as a pouch for traveling. Thanks for your sweet comment.
These are lovely! One of these days I will try the open-wide and it is nice that you have shared your thoughts here!
Thanks Heidi. They are actually quite fun to make. Give it a try sometime. Have a lovely weekend.
Great pouches. I haven’t made the open wide pouch but I’ve wondered about the zipper part. I’m going to check out the tutorial.
Good luck with your pouch Brenda. It took me a few times but I have it down now.
Thank you for sharing this. I’m making a small cross stitch panel (a video game thing) for my son to use in a pouch. I think one of these will be perfect!
Glad you liked it Tammy. See the comment above by Lois. The way she describes boxing the corners is genius. Just a suggestion.
Lovely pouches, I particularly like the one with two colours outside, lovely. I still haven’t ever made one.
That was my favorite as well. Julia claimed it for her own. I am always tickled when she likes something I made. (We don’t always have the same taste. ) Happy Friday Kate!
I love tha pouch
Thank you Maggie! I do too. Happy Holidays.
I made these pouches and was frustrated with the boxed bottom seams not lining up. Next few I made I cut a square from the corners and then sewed 1/4″ from the edges. Can’t remember how big the square was, maybe 2.5″. You can find this way to make boxed corners in some other patterns. Love the pouch & have made quite a few as gifts.
Lois, what a great reminder!! I had forgotten about that method. I have used it in the past and it is much more accurate. Thanks so much!
Merry Christmas.
Those are lovely pouches. I noticed the one in my daughter-in-law’s bath is getting a bit worn. (I don’t know what she keeps in it, but it’s always there.) I may make her one of these in the large size. I think I’ll finish the zipper end first, though. It seems that it would be easier to handle those little pieces of fabric without the whole pouch tagging along.
Who hasn’t left the chores for a little sewing now and again? Surely I’m not alone in this world when it comes to that…but if so, okay!
Sounds like a nice gift for your DIL. I am sure she will appreciate it. The largest size is quite big – perfect for traveling. The medium and small size are nice for home and purse. Just to give you an idea.
Have a great week and Merry Christmas Mary.
I am excited to see how people are already thinking about and using their Alison Glass stash to make projects. The pouches are great and I am catching up on reading so I already saw how you played a bit more with the pouch design as well.
Isn’t it funny how much of a stir is created with these events? It just adds a fun social element to my projects and gives me an area of focus. Reminding me of all of these pretty AG scraps that I have totally put me in the mood to make something with them. Anyway, I am sure your link up with have all kinds of gorgeous projects – I am looking forward to seeing what everyone comes up with.