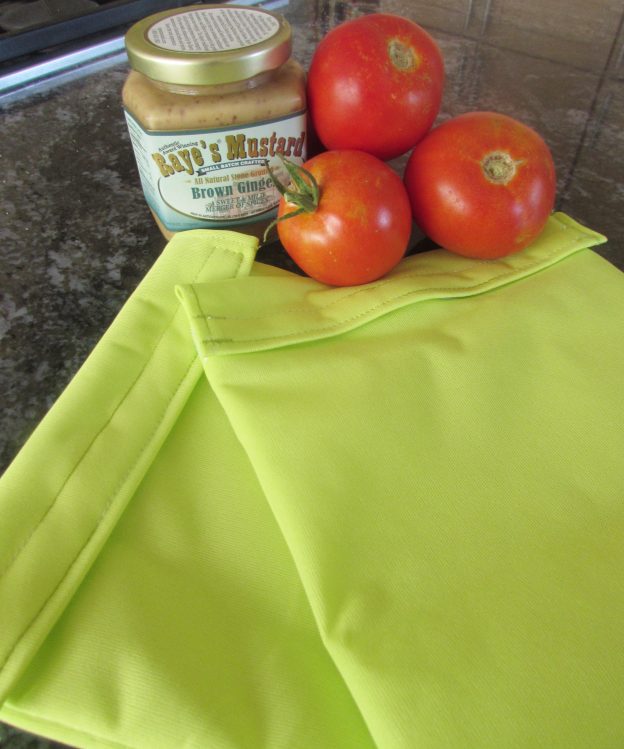
I am all about reusing and recycling. We try to minimize our garbage by recycling everything, composting all that we can and feeding many of our kitchen scraps to our chickens. As for single use plastic (e.g. zip lok bags), I really try to avoid them and when I do use them, I wash them and re-use them again and again because plastic just doesn’t break down or biodegrade. To that end, we have been using reusable bags for packing school and work lunches for the past several years. At this point they are looking pretty grungy. As usual, I hopped on Amazon to order some. Looking at the price ($25.90 for only three bags) and the simplicity of the bags, I decided to make them.
I wrote a tutorial for these bags a few months ago but had purchased the wrong fabric and found out it wasn’t food safe. I asked readers if anyone knew of a food safe fabric and lucky for me, Gayle of Pedal Sew Lightly, responded right away with a link to Wazoodle.
I quickly purchased a piece of PUL from that measured 18 x 60 inches (one half yard) and a strip of velcro for less than $15.00. Thus far, I have made three reusable bags (sandwich size) and I have plenty of fabric to make a few more. Yay for knowing how to sew, right?
These are extremely quick and easy to stitch up. Here are the instructions.
Materials required for one bag:
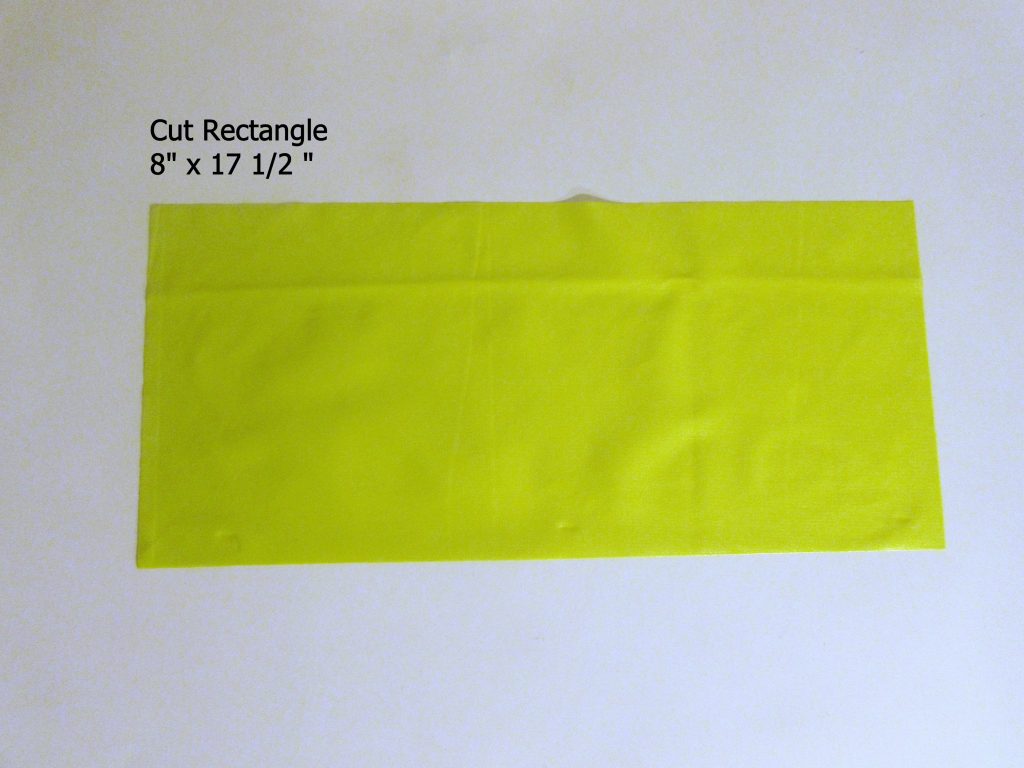
- PUL fabric: 8 inches x 17.5 inches
- Thread
- Velcro: 8 inch strip that is one inch wide
Note: PUL is very slippery fabric. I used a walking foot when sewing because having the extra traction of the walking foot made it so much easier to stitch. Maintain a light hold on the back side of the fabric, as though you are guiding it through the machine. Hold it but don’t pull on it.
- Cut your rectangle of fabric.
3. Fold right sides together, leaving about 3 inches extending above the opposite side. Stitch sides together with a 3/8″ seam, catching each edge of the velcro in the side seam. Then turn the bag right side out.
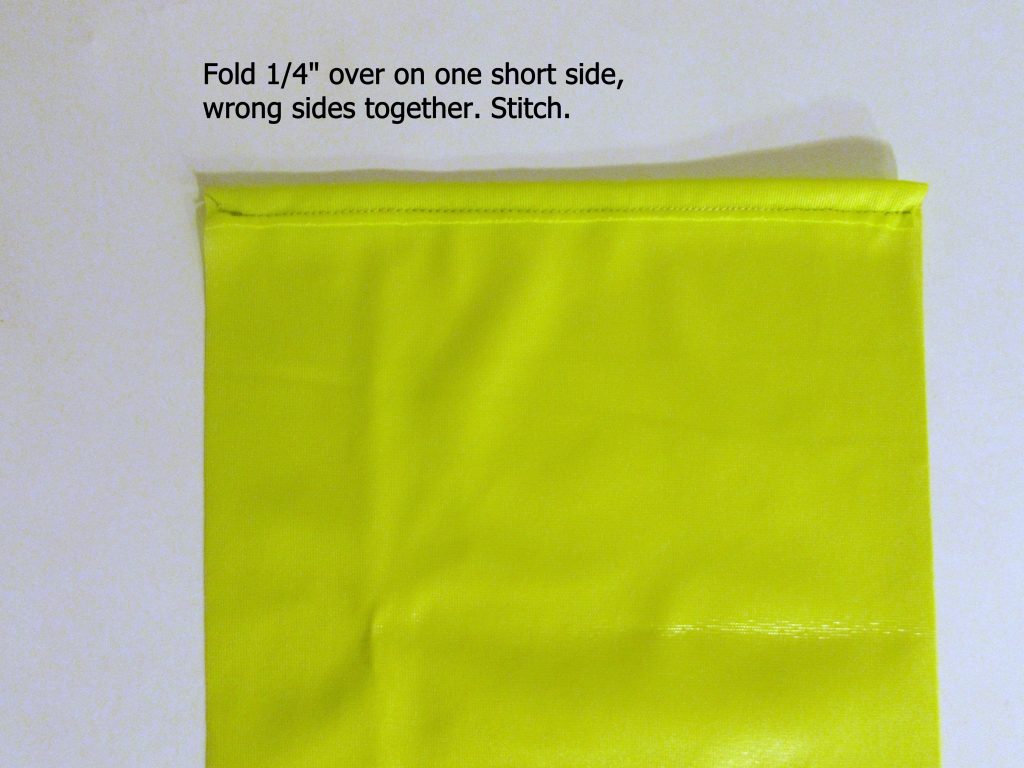
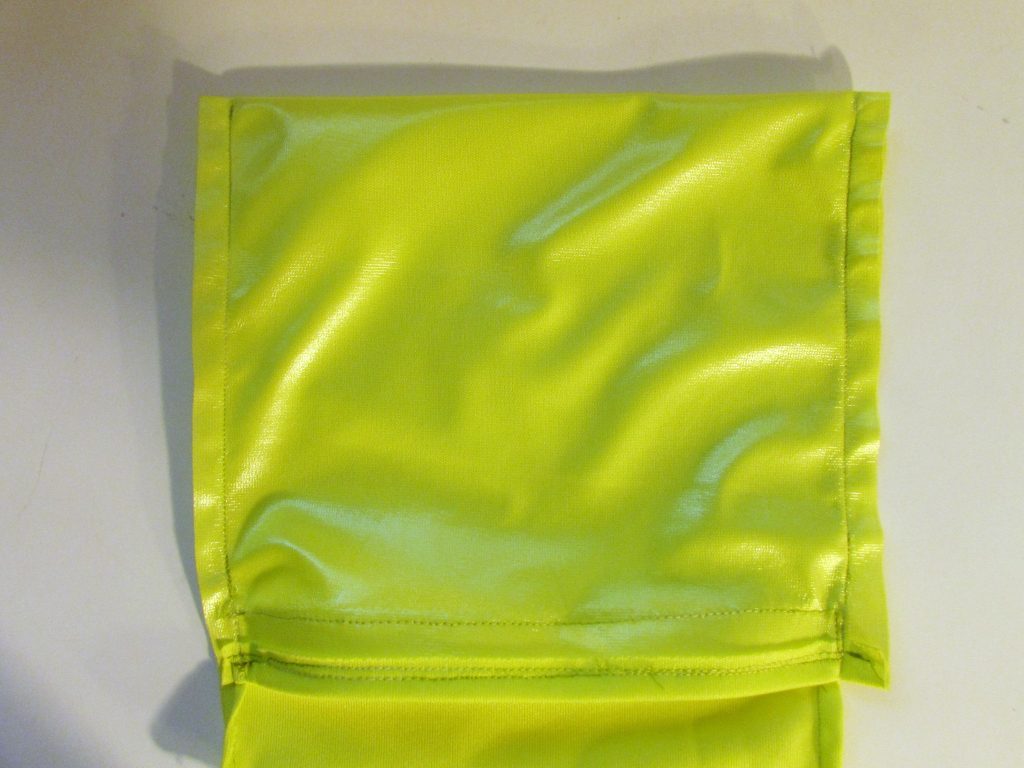
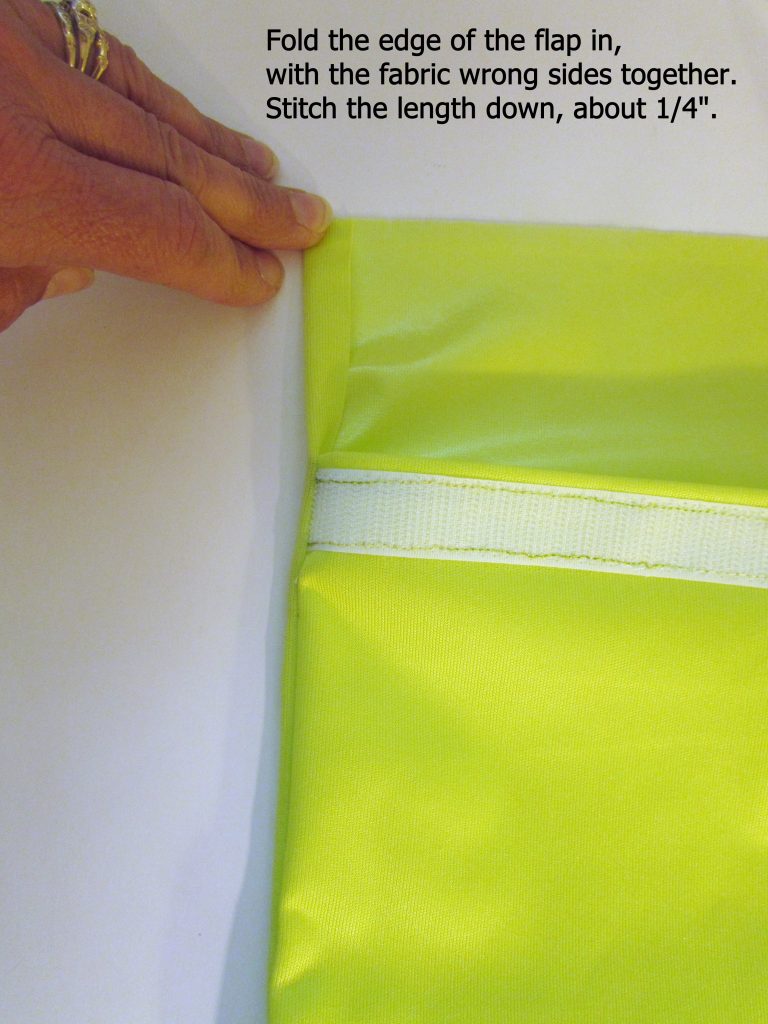
4.Finish the each side of the flap by folding over 1/4″ to the inside and stitching.
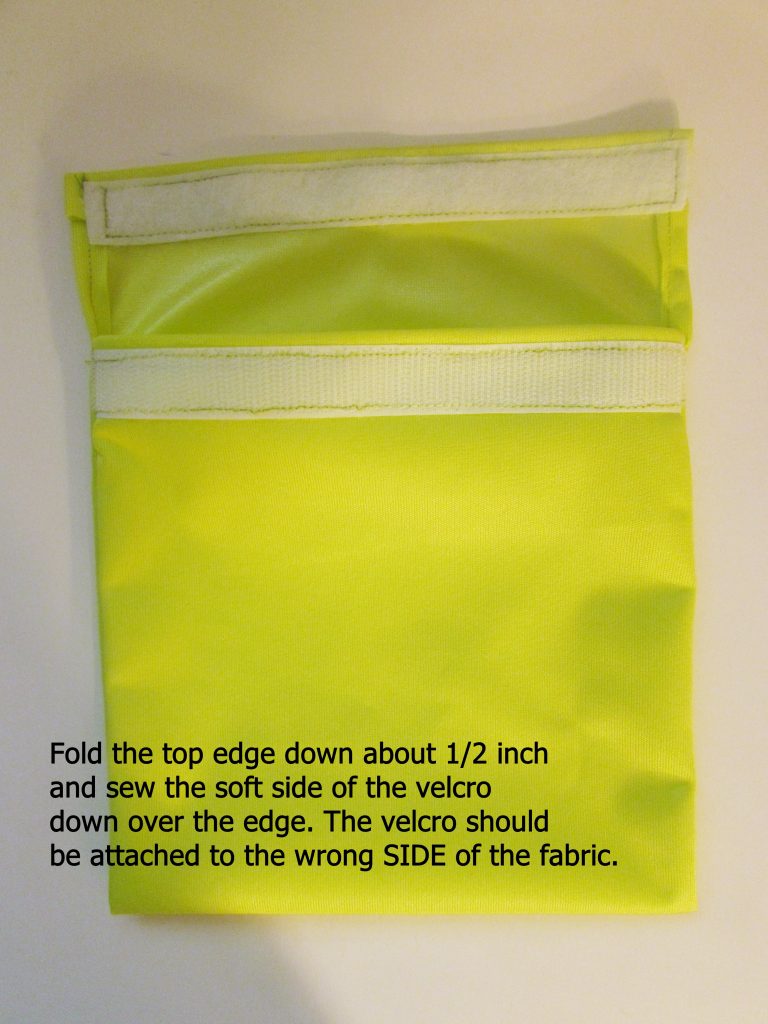
5. Fold over the top of the flap, bringing it to the inside. Sew the velcro to the inside of the flap, on top of the part you folded in. You may choose to pin this but I just stitched slowly and held it on top of the folded piece. It is a bit tricky because the PUL is slick so take your time and stitch slowly.
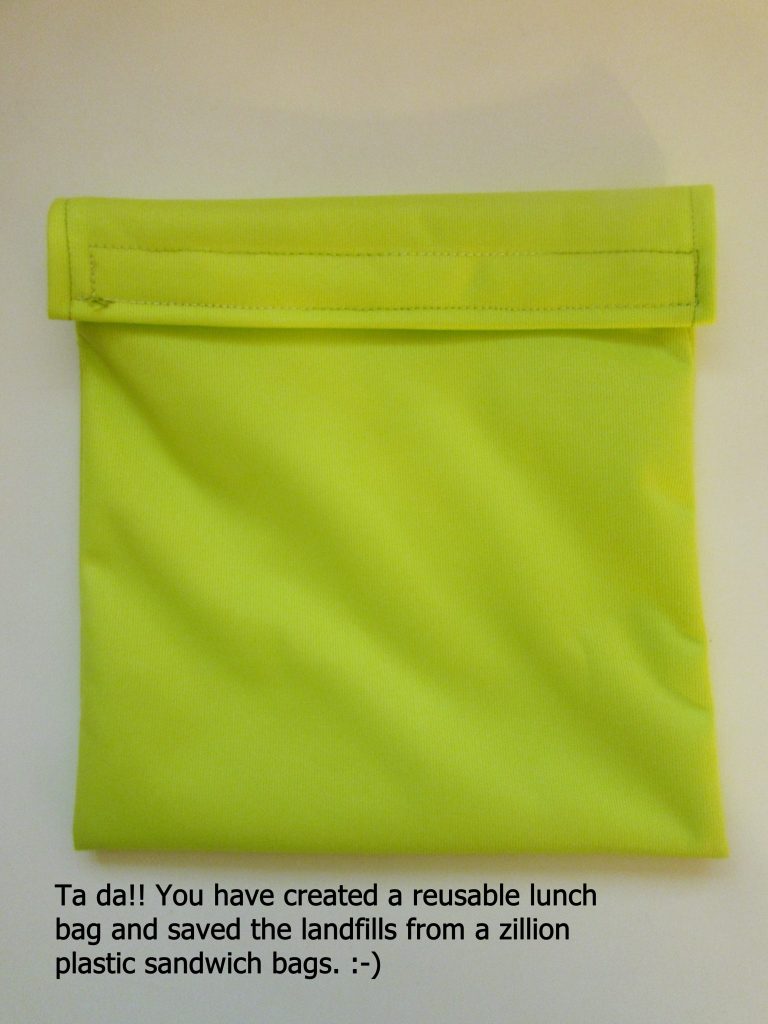
Finished! Not so hard, right? The first one took a few minutes as I got used to working with the PUL. The following two took less than 20 minutes each to make – these bags are that simple.
Let me know in the comments if you have any questions. Hope you will make a few of these and reduce the need for zip lok bags, thus reducing the amount of plastic in our landfills.
Linking up to my favorites. For more info, click on Link Ups at the top of the page.

The bag looks practical and cute too ♥
summerdaisycottage.net
Thanks Summer. Yep – very practical and if enough people used this type of bag it would have a positive impact on our landfills. They take so little time to make! So happy you stopped by. Take care.
THis is a great post. I don’t usually eat sandwhicthes but I pack everything in glass. Today I got really excited at work because I need to hand out quilt kits at my guild and I scored some used zip loc bags that are big enough for that purpose. They had cold packs in them. There was no way I was going to buy any.
Glad you liked the post. It just takes a bit of thought to get around using so much of the plastic, single use items. Good going!
I’ll take some of those beautiful tomatoes please! A reusable bag would be nice to put them in, too. We use reusable plastic ziploc containers, not disposable bags. Mine from last year are still functional, even after going through the dishwasher a zillion times. These bags would be great for little snacks in a purse, too.
If I could mail tomatoes to you, I would!! We have a bucket full on the counter today. Yes, these are handy little bags. ?
It’s funny, I just pinned a tutorial on making sandwich bags last week (http://www.sewcando.com/2013/05/super-simple-reusable-sandwichsnack-bag.html) The blog author links to her post about PUL in that tutorial. I recently bought a KAMSnap tool and have made unpaper towels for our kitchen.
Go Diana! It only takes a bit of planning and not a whole lot of time to implement practices like these. Awesome!
Thank you for making it easy to make gifts for my very eco-friendly friend! I know she will be over the moon with these. Five of these will mean one for each member of her family and will be about two hours of work, since you did the hard part for me! Thank you again!
Hi Torry, This is such a sweet comment to read. Wow! I am happy to share this tutorial and am even happier that you are making such a nice gift for your friend. I am sure she will love them. Thank you for your kind words.
I have used homemade cloth lunchbags for a couple of decades, no lie, but never thought about a reusable Ziploc type bag! Cool! Thanks for the great tutorial.
You’re welcome Sandra! Happy to share it with you.
This is so awesome! I was working on a reusable ‘snack bag’ for my son today with pockets for ice packs. My first try didn’t work out quite right (too small). I’m off to make a new one tonight!
I’m so glad! What type of fabric are you using? I liked using this PUL tho like I said, it was a bit slippery. Let me know how it goes and why you are using. Take care Kristi. Hope all is well!
I used a PUL on one side as the lining and quilting cotton on the outside (he likes orange). He likes to eat cheese for snack at school, but it must be cold, he won’t eat it warm…. Last year I used ziplock bags with icepacks stuffed inside. I wanted something reusable so I made a ‘snack bag’ with two pockets for ice packs. Instead of sewing up the sides, I used Velcro, which allows the ‘bag’ to open up flat like a placemat (otherwise it would be impossible to get the cheese out with the icepacks on the outside. Now he can just pop it open have cold cheese! I also made a drawstring bag (with PUL and quilting cotton) for the rest of the snack. It fits the ‘ice pack bag’, a small thermos for milk, and a container for some crackers.
This is so clever Kristi. I bet you will get so much use out of this. I agree with your son about the cheese. I am not a fan of lukewarm cheese either…
Pingback: Recyclable Bags | purathrive reviews