
Hi Everyone! I have been enjoying seeing pictures of your shirts on Instagram and Facebook. There is lots of sewing going on and they all look wonderful. Today is really the final ‘how-to’ post for this sew along. We will put the bias binding on the neckline and arm holes and finally, hem the shirt! Easy Peasy, right? Well, I thought so but honestly, the armholes gave me so much grief!! I think the problem, for me anyway, was the width of the bias binding piece. I will explain as we go.
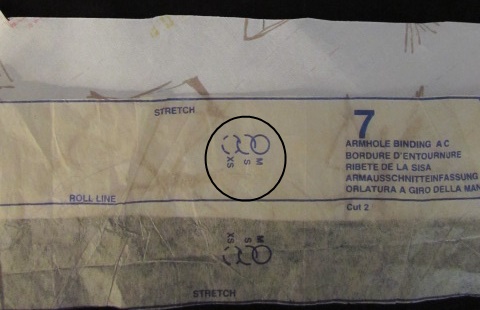
To begin, you need to mark the center dots that are printed on the paper pattern pieces, both the neck binding and the armhole binding. Those dots notate the center of the back side of the neckline as well as the top of the shoulder for the armhole.
 Let’s attach the neck binding first. After marking it, fold the binding in half, lengthwise – wrong sides together – and press (just like when binding a quilt). Next you will pin that folded binding to the neckline. When I pin something like this, I first pin the center back point. Then I match up those notches, there is one on either end of the binding. After those three points are pinned, ease the rest in and pin it well.
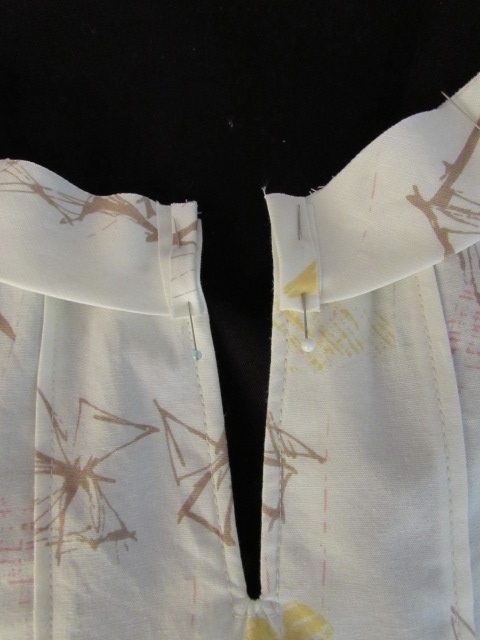
When I got to the end of side of the binding strip, I folded it back, then pinned and pressed it. This will tuck the raw edge of the binding strip in so when you stitch it down to the inside, you have a neatly finished edge.
The directions call for a 3/8″ seam allowance when stitching the neckline. I only point this out because it veers from the 5/8″ allowance we have been using up to now.
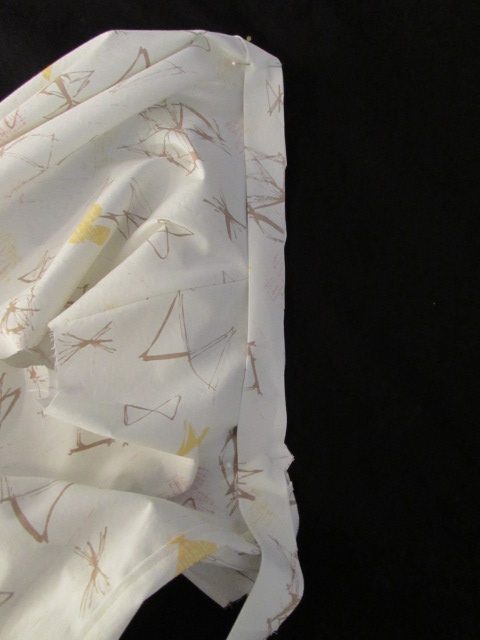
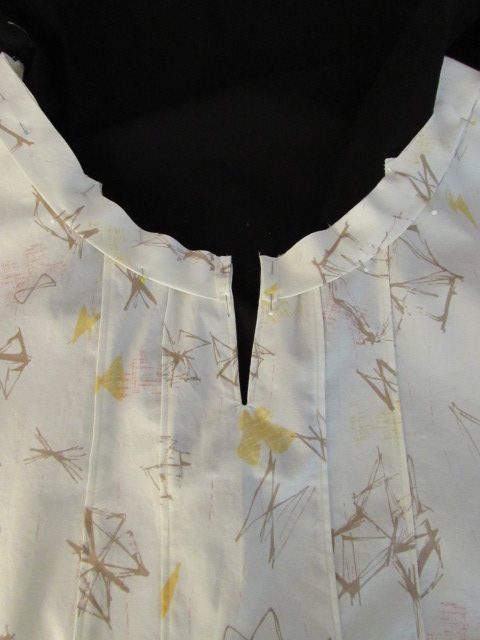 Stitch the binding to the shirt, making sure the fabric below the binding stays flat and smooth. Just take it slow and you will be fine. Remember the strip is cut on the bias which allows some stretch. You shouldn’t need to stretch it but you will be able to ease it around the curves nicely. Then clip the neckline a few times from the inside. Do not cut through your stitches though. I like to do this because I think it allows the binding to fold in over the curved edge nicely. Go ahead and press your seam and then fold the binding to the inside and press it down. Slip stitch the binding to the inside of the the shirt, including both ends.

The process is mostly the same for the armholes. However you will stitch the ends of each binding piece together (with a 5/8″ allowance) so that you have a circular piece, pressing that seam after stitching. Then, again, fold wrong sides together and press. Match that center marking with the shoulder seam and the stitched seam with the side seam at the bottom of the armhole. Then match your notches. Following that, ease the rest in and pin well. Stitch with a 5/8″ seam allowance.
Before going any further, press the seam and turn the binding in toward the inside of the shirt. Press it and see if the binding lays flat. This is where I ran into difficulties. For me, the binding was too tight. I kept taking it off and fiddling around with it. Finally, the only way I could get a finish I was happy with, was to fold the binding in after stitching it. I stitched it at 5/8″ and then folded it in half to make it narrower and pressed it. Then I folded it to the inside and slip stitched it down. If you look at the picture, you will see it is rather narrow, compared to the neck binding. Honestly, I cannot really say what went wrong for me here but it sure made me crazy for a little while there.
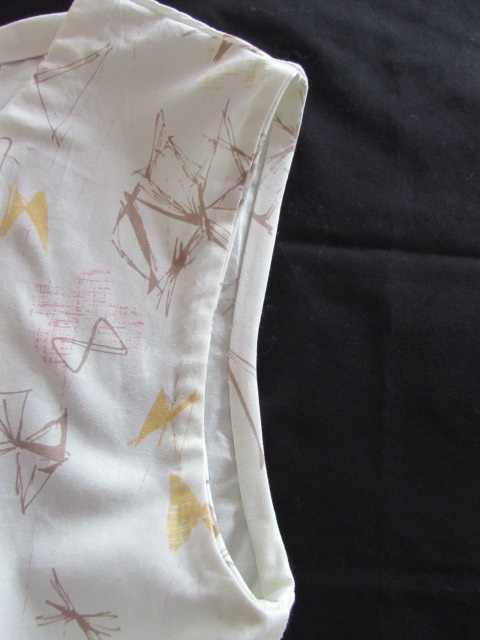 But it lays flat and looks ‘good enough’. The first time I made this pattern, I put short sleeves on it and that was simpler! Hoping this isn’t a problem for you. I can’t figure out if I cut something to the wrong size or what?? I hope you don’t have this issue. If you do though, be patient and work with that binding piece. Message me via Facebook or Instagram and I will try to help.
That very last step is to hem the shirt. I am assuming you know how to do this but really it is so simple. Fold up 1/2″ to the inside and press. Then fold it again, to the inside, and press again. Pin along the edge and machine stitch the hemline. Ta Da!!! A finished shirt! I can’t wait to see all of your blouses. Let’s meet up here next week and share the finish. You can link up a blog post if you like as well as post pictures on Facebook and Instagram. Rather than figure out how to link an Instagram post here, please email me a picture of your finished shirt (on you or on the hanger!) and I will share them in the last post.
As always, please let me know if you need help. Have fun finishing your shirt up and I look forward to seeing them next week!
Looks great Bernie! I’m hoping to finish mine up this week. Got to get through some fabric re-organization first. I definitely agree that clipping the curves helps fold the binding. I’d like to suggest understitching the binding at the neck & arms. It gives a cleaner finish & helps things lay a little flatter. It can also help to iron the bias binding as you place it around the neck & arm hole. The heat helps kind of mold the binding around the curves.
Thank you Kristie. Understitching does help quite a bit. I totally overlooked that one!
good enough??? I think it looks neat as if from an upscale clothing store
Thank you Preeti. I am somewhat disappointed in the finishing of the armhole though really the part that doesn’t look as good is (luckily) at the underarm. It doesn’t really show when I am wearing it.
Well, you were right, Bernie. My underarm facing doesn’t want to lay quite flat, its a little bunched up. But it is directly under the arm, so it won’t show, luckily. I did clip the curves and understitch it, which seems to help. Yay, the hardest part is done!!
Yep, that’s what mine was doing. But, like you said, it won’t show. Show me a picture when you are finished.?