

Good morning all. I hope your shirts are progressing and that none of you are experiencing any frustrations. From what I have heard and seen, it looks like there are some really pretty shirts coming together. Yay! If you have made it to this point, then it is time to check the fit and start stitching the main seams together. If you are not quite there yet, no problem. You will catch up! If you are new to this event, click here to start at the beginning.
In this post we are going to talk about methods to use for finishing the seams. I think a nicely finished seam makes so much difference. The seams won’t fray and it won’t look ‘homemade’ with clean, finished seams. There are a several choices but for this project, we will talk about two finishing methods.
- French Seams, my favorite
- Seams finished with a zig zag stitch
I am going to mainly focus on French seams for our project. This will work in most cases. Where it might not work is if, after you try on your shirt, you decide to sew narrow seams to help with the fit (if it is a bit tight.) If this is the case, you may not have enough seam allowance to create the French seams. In this case, I would suggest you sew your seam, press it and then run a zig zag stitch to keep the seam from fraying. The finished seam would look like fine and and fraying would be greatly reduced. Each of our machines are different so I will not provide settings for the size of the zig zag stitch. I would suggest you play with a scrap, running a straight seam and then zig zag next to it to see what size works for the amount of seam allowance you have to work with. As always, I am happy to help if you have trouble with this.
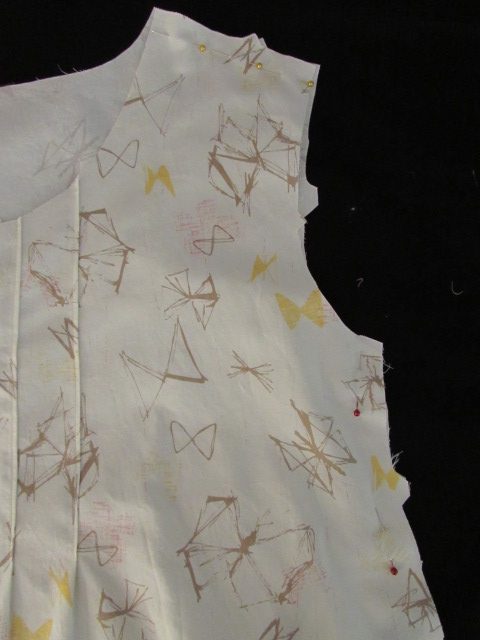
Before we talk about French seams, let’s make sure the fit of your shirt is good. Pin both shoulder seams and one side seam together on the 5/8″ seam line. Pin it wrong sides together.
Slip the shirt over your head and put one arm through that side that is pinned.

I have finished the back seam. The shoulder and one side seam are pinned.
If you have someone around to help you, have them pin the other side together for you once you have the shirt on.

Back seam is finished, one side and both shoulders are pinned.
Check to see if the shirt is comfortable across the bust line. Really, with this shirt, that is the only area that might give you trouble. Check if the armholes are fitting well. Does the shoulder seam need to be taken in or let out at all? If the shirt is tight across the bust line, try opening up that seam a bit. Take the shirt off and pin instead at the 3/8″ seam line. This reduces the seams on each side by 1/4″ which gives you 1/2″ more room. Hopefully this will open it up enough. You can also open up the seam on the back of the shirt to give more room. If this is not enough we can talk about putting a triangular gusset in at the top of the side seams but let’s do this together as needed. Leave a comment if we need to tackle this. 
If the shirt feels baggy, you can increase your seam allowance. Like above, take the shirt off and pin it tighter, maybe at 7/8″ on each side seam. This would reduce the fit by 1/4″ on each side for a total of 1/2″ decrease. Increasing the seam allowance at the side may mean you need to play with the shoulder seams. You also have that back seam to play with to add or reduce the size of the shirt. You will need to play with it. But by doing this with pins and a mirror (and a friend if possible) you should be able to find the sweet spot where you are pleased with the fit.
French seams begin by stitching wrong sides together. Kind of feels strange but you will pin your seam and take a 1/4″ seam with the wrong sides of the fabric together. It will look like you are sewing it inside out. Remember though, if you have increased your seam allowance to make the shirt tighter, you will need to trim your seam allowance appropriately, before sewing this 1/4″ seam.
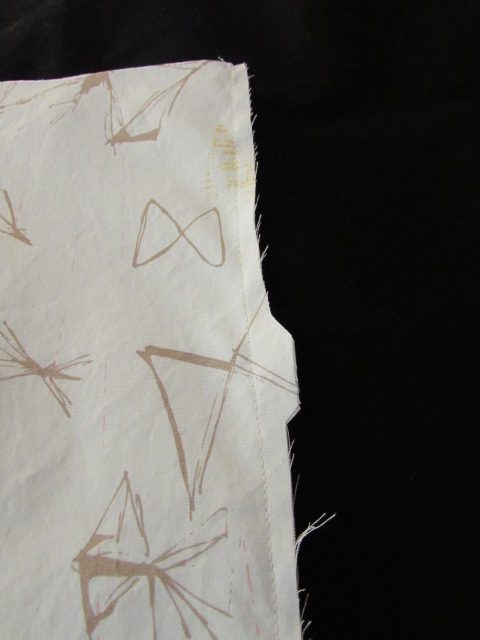
In the photo above, the fabric is wrong sides together and the seam is stitched at 1/4″ seam allowance. You need to trim any notches or frayed threads at this point so the line is clean. Then turn the shirt inside out, so it is right sides together. Press the seam lines, massaging the seam so it is tight and well pressed.
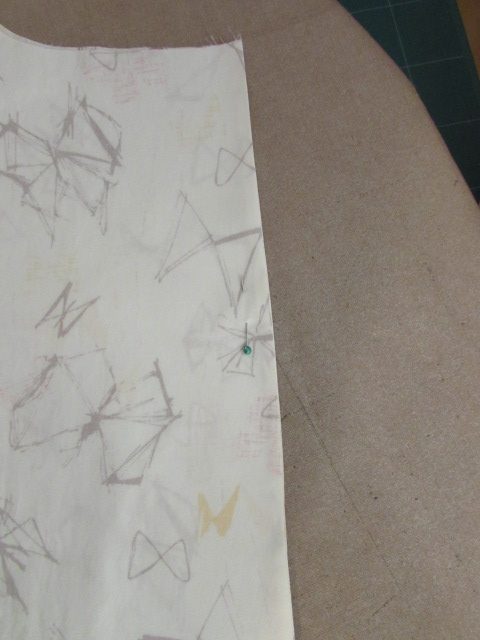
In the photo above, the first seam is stitched, the shirt is turned so fabric is right sides together. Pin if needed and stitch a 3/8″ seam line. Press again. Turn it right side out and check for any fray that may be caught in the seam and showing. Likely it is nice and clean but if there is any fray, carefully trim the bits of thread.
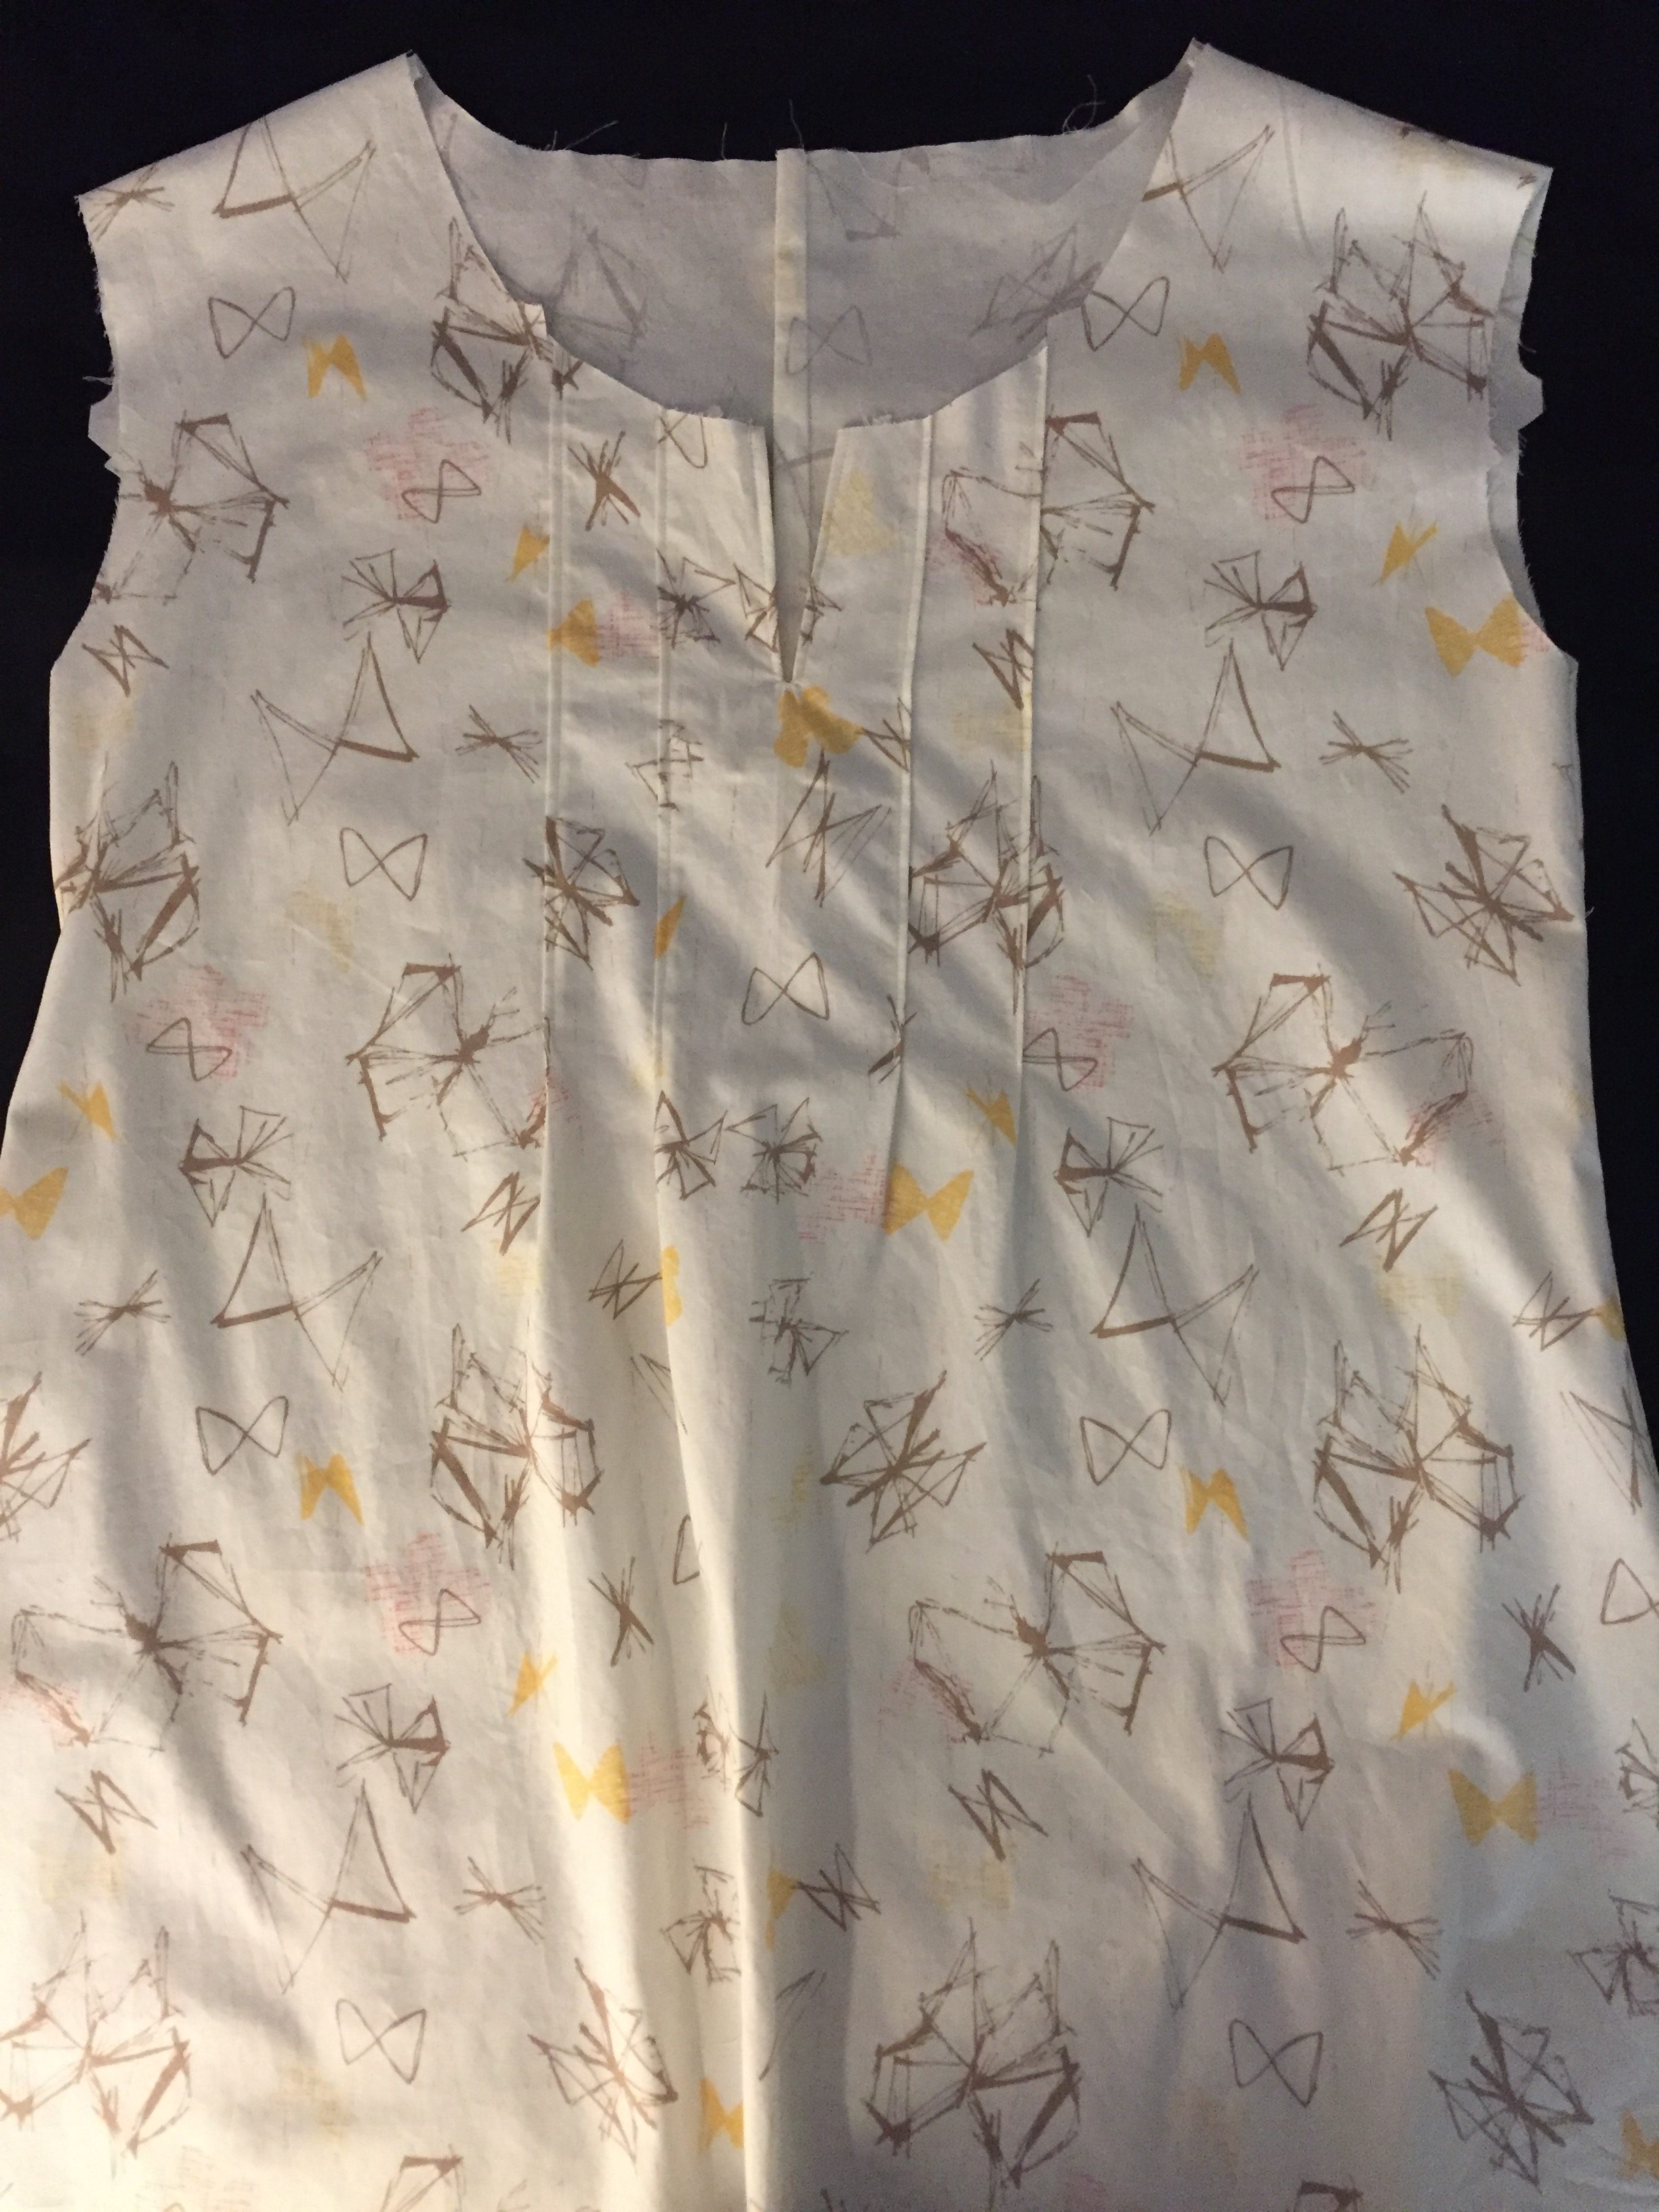
Back,shoulder and side seams are finished.
Regarding the order of things, it is best to sew the back seam first. Second you will finish the shoulder seams, sewing the back to the front. Slip it on again and check your fit. Finally, sew the two side seams.
We are almost there!! I’ll be back on Monday with a post on finishing the neck line and arm holes. Then you just hem the bottom and it is a finish!!
I hope you are enjoying this project. Do not even hesitate to ask if you need my help. You can leave messages via Facebook comment, Messenger, or a comment on the blog and I will be right back with you.
Just a reminder, you may sign up for my newsletter while visiting the blog. The sign up form is at the top of the page on the right. You will receive a monthly newsletter telling you what is new with my shop and about any promotions or events that might be coming up.
Keep in mind that a little more seam will be lost when making French seams, when you get to step two.
Good reminder, Eileen. If you watch your seam allowances when you do both steps of the french seam, you should ‘use up’ 5/8″. 1/4″ in the first seam plus 3/8″ in the second seam. It does mean you need to be precise when you are stitching the seams so you don’t consume too much though.
So happy to see that you’re using the French seam! I was planning on doing that just to give my shirts a nicer finish. I do have a serger, but some shirts need an extra special touch.
This looks so wonderful Bernie! Sorry I didn’t get to join in the sew-along, it’s summer travel time for our family. We had a great time in Yellowstone! Keep up the great inspiration!
It is summer time!! Enjoy the family and having your son home for a bit. Maybe we can get together for coffee sometime. Let me know if you are coming to town.