I want to share a quick project that I did last week. It isn’t a full-fledged tutorial, but I did take some pictures to give you an idea of how I went about making a new nightgown by tracing my old one.
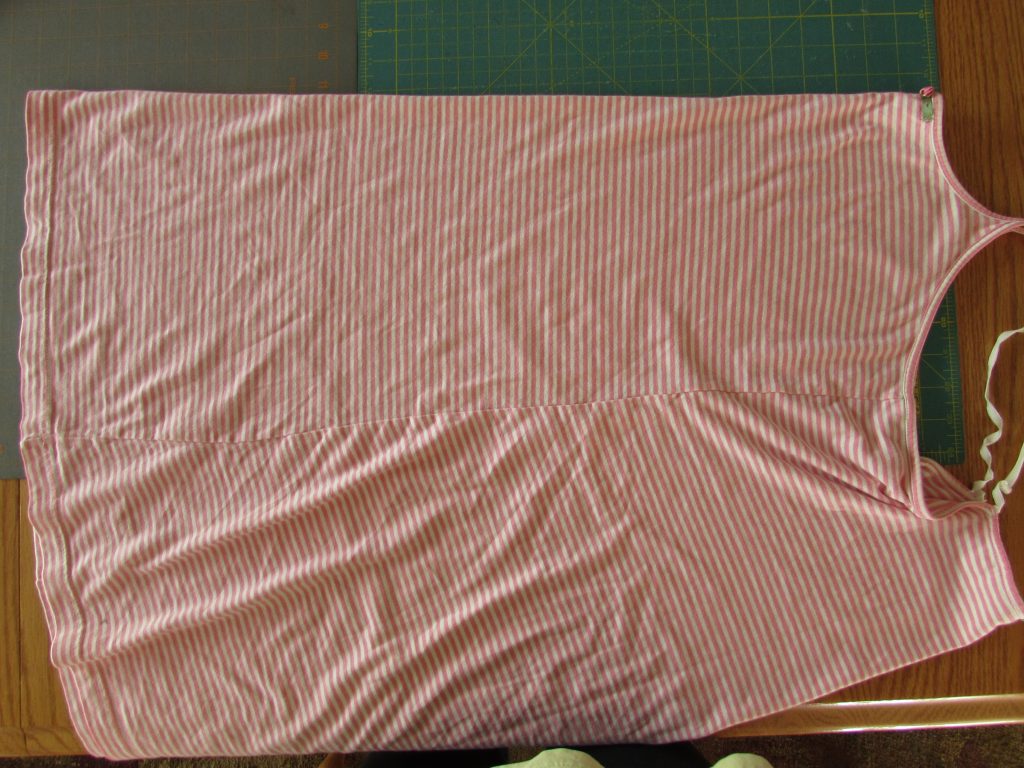
I have a favorite nightgown that I bought some time ago at a very, very expensive store. You might have heard of it, Target?? I have worn it for at least four or five summers and it is worse than ragged. It is the kind of nightgown that I would be afraid to wear in a hotel because if there was a fire in the middle of the night and I had to run to the parking lot in my pajamas, it would be a very embarrassing experience. See…. it is awful.
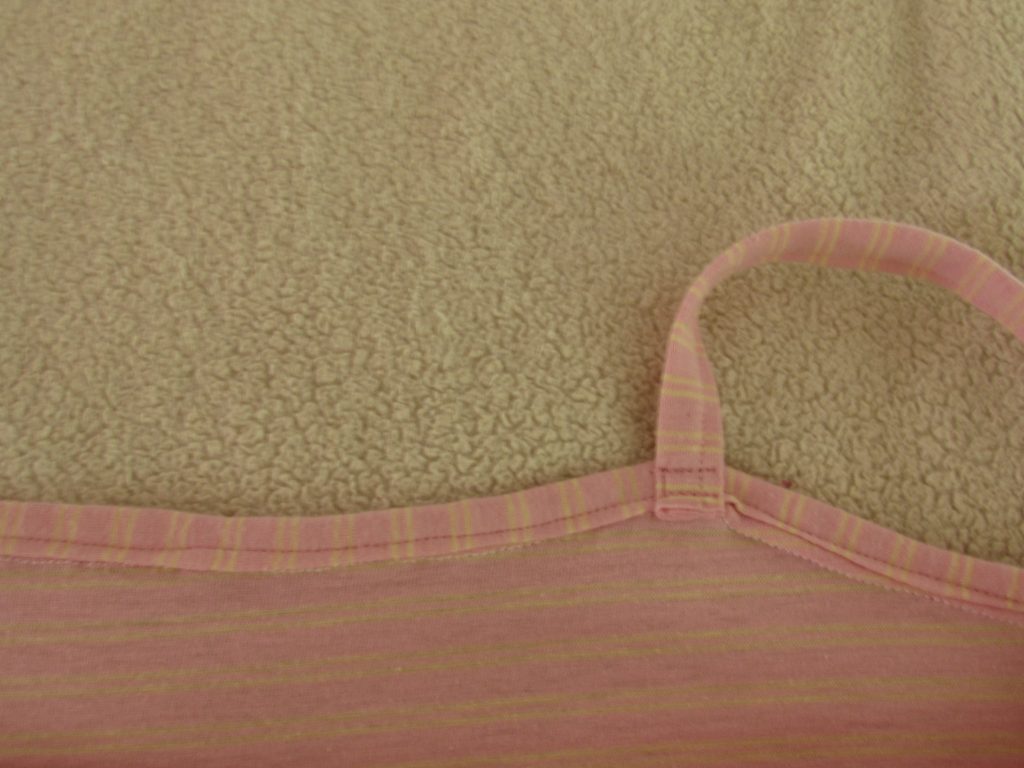
If you look carefully, you can see that I had to tie little knots in the straps because they were so stretched out that it became a bit indecent. (I kind of can’t believe I am showing my worn out pj’s but it’s all for the greater good, right?) Anyway, I really liked this nightgown because it was so comfy.
Several weeks ago, I found a piece of lightweight knit at the fabric/thrift store in our town. It was a bargain. Maybe 2.5 yards long and 60″ wide so I knew I could get a nightgown out of it and, if I screwed up the pattern, I would probably have enough to try again.
What I did was basically fold the existing nightgown and trace the front and back sections on to the new fabric. The hardest part of this was that the new fabric is basically the same as the original and it was kind of hard to see (and worse to photograph) what I was doing. Also, the old nightgown was worn and the fabric stretched, making it difficult to work with.
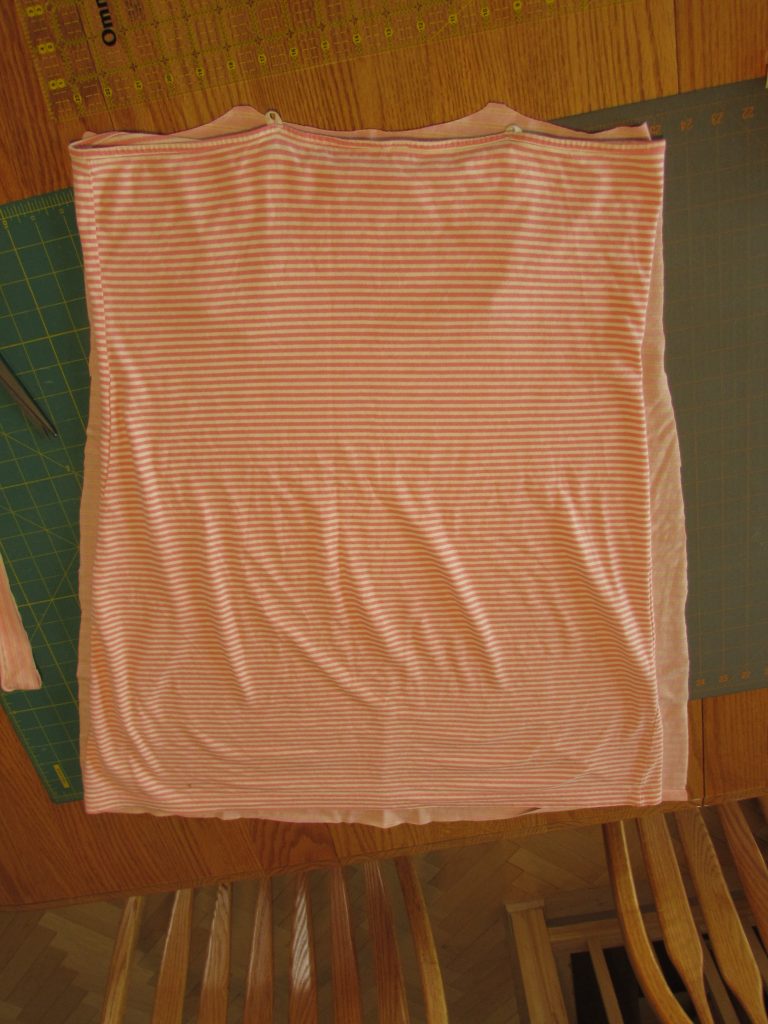
For the front piece, I folded the front of the nightgown, wrong sides together, exactly in half (as close to exact as one can fold an old, stretched out piece of knit fabric.)
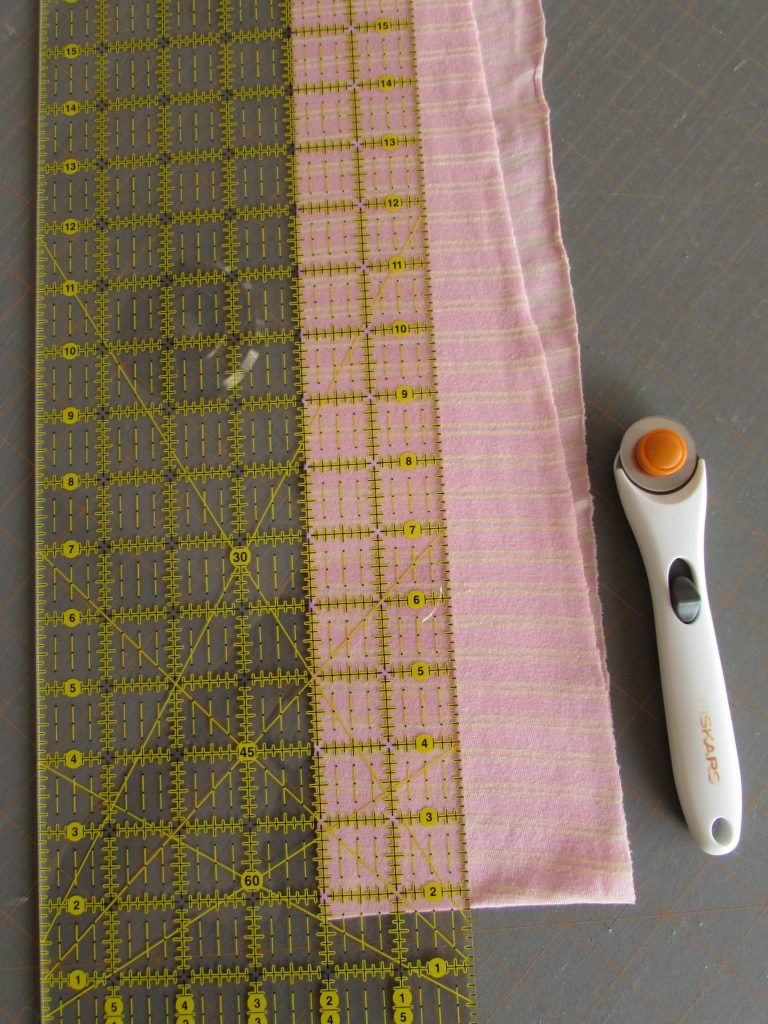
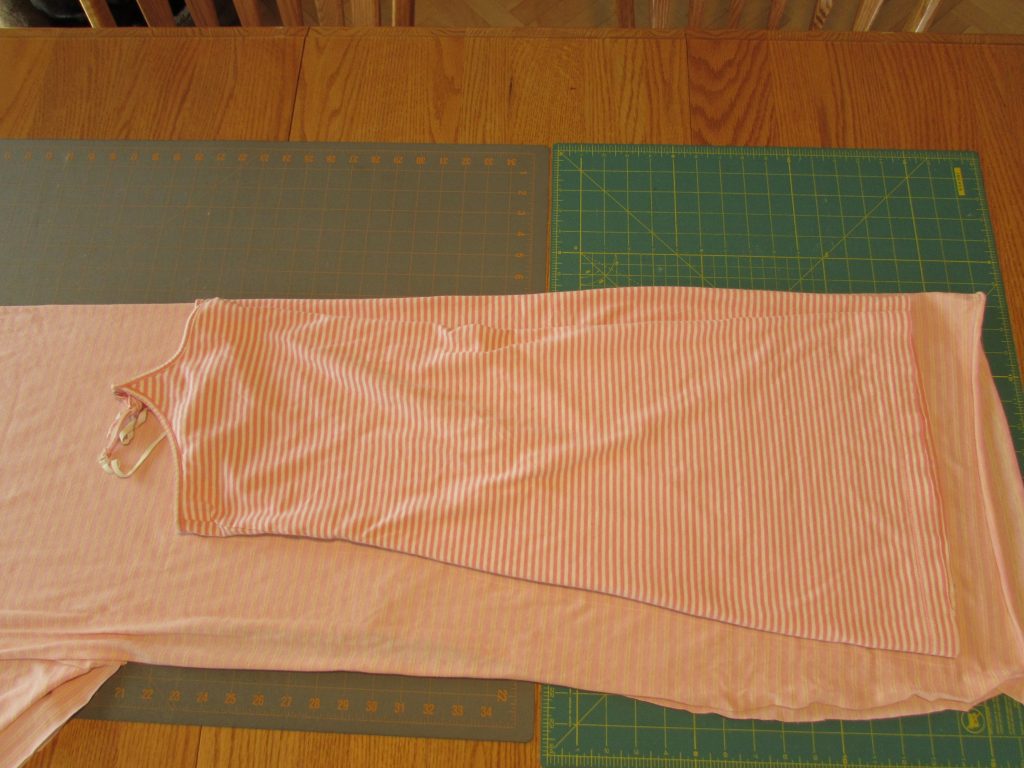 Then I laid out the new fabric. (See how close the colors are?) A quick aside to explain something; when I cut lengths fabric, I use the dining room table. I put my largest cutting mats down end to end first, so I don’t scratch anything. It also gives me the choice of using scissors or a rotary cutter. Ok – next, I placed the folded nightgown along the folded edge of the fabric and I traced it with a Clover Chaco-Liner pen. It was tricky because I only have white chalk markers and it was very hard to see on the pale pink. Once I traced it, I used scissors to cut it out.
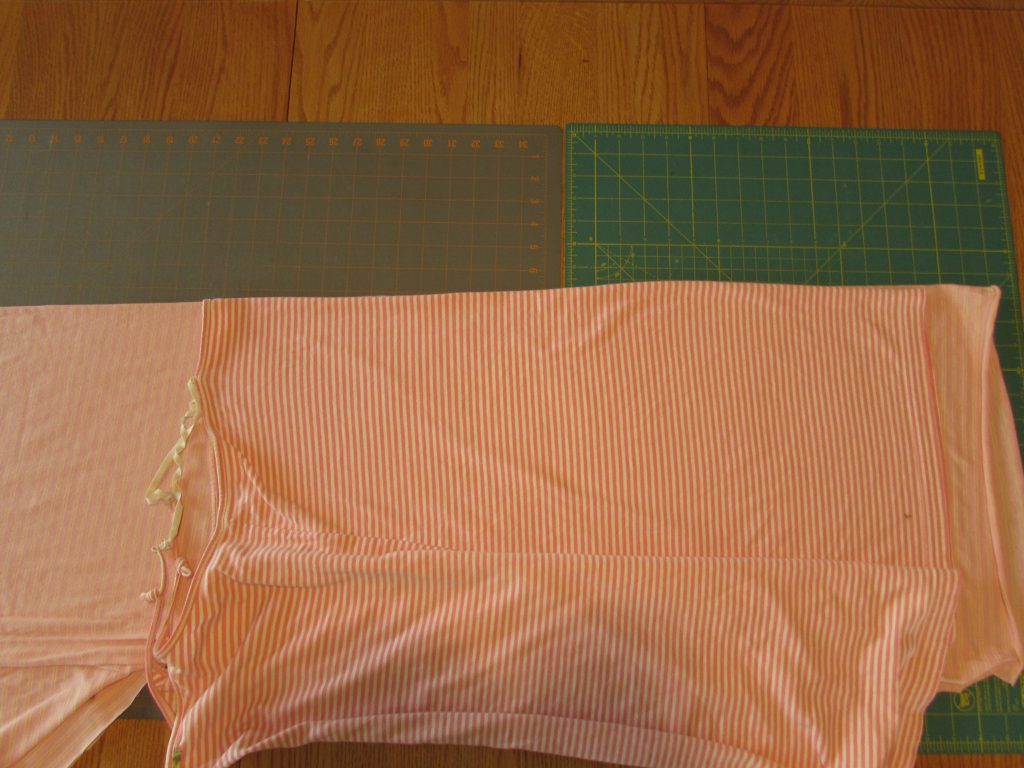 I repeated the same steps for the back of the nightgown. Once it was cut out, I opened the pieces and placed them on top of the existing nightgown to see if they were cut to the right shape and size.
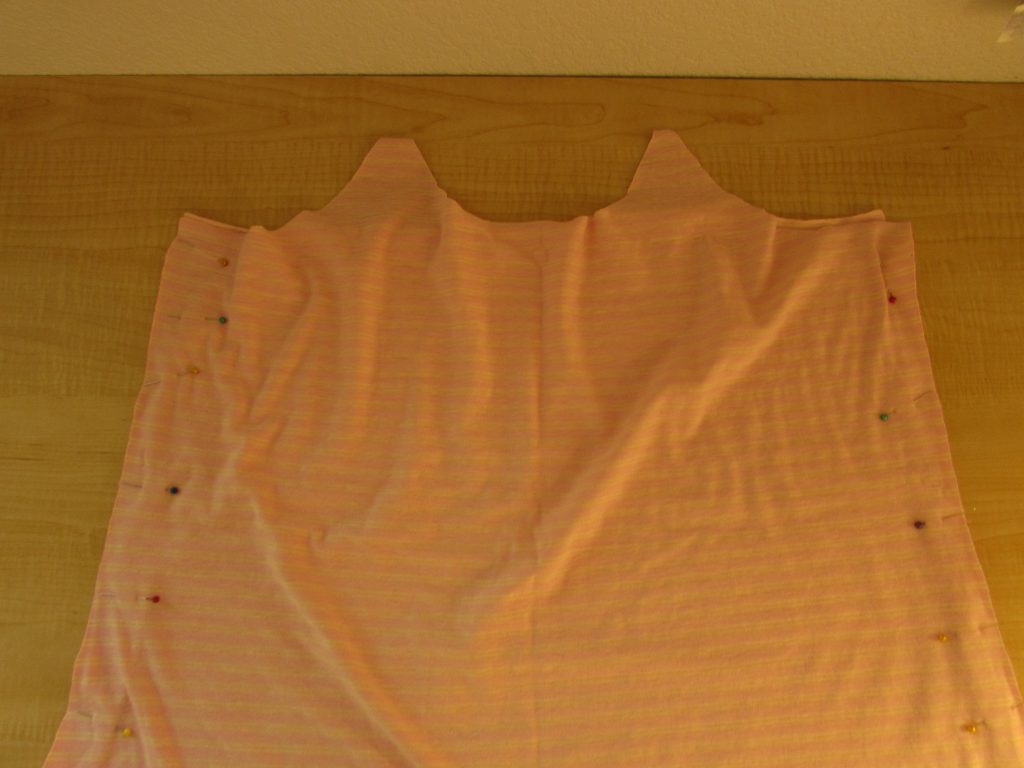
I know it is hard to see but if you look, you’ll notice that the new piece (underneath the old nightgown) is too wide. So I had to do some trimming. After that it was so quick. I pinned front to back, right sides together, and matching the stripes as best I could.
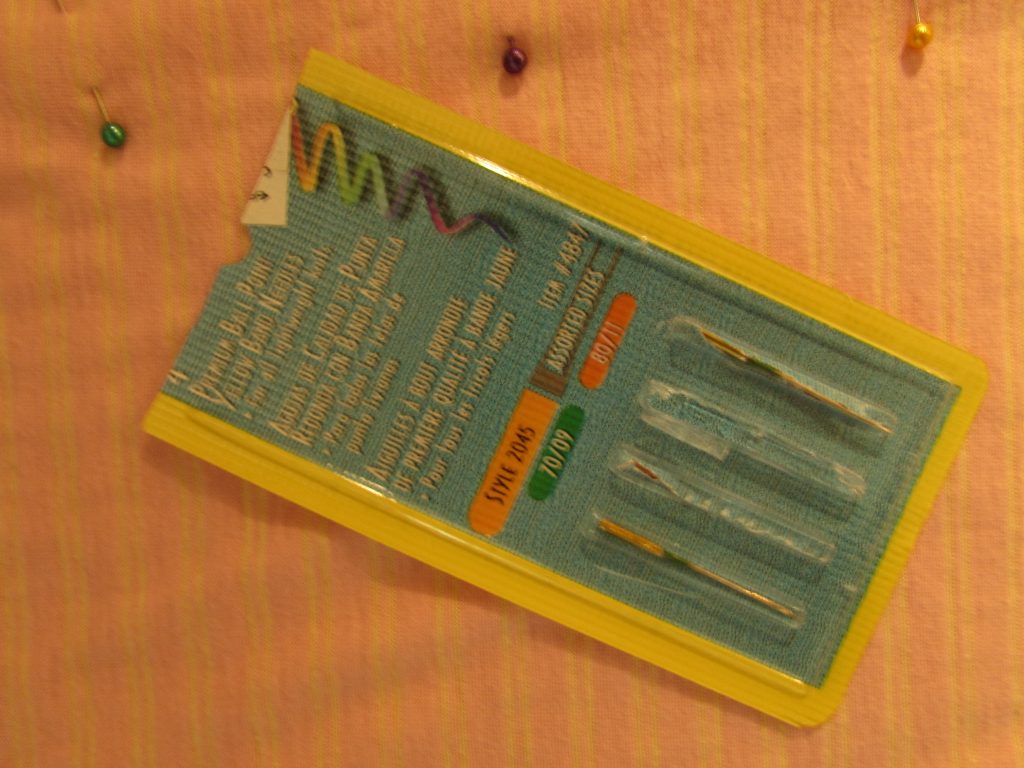
If you aren’t experienced with knit fabrics, you need to know that sewing on knits requires a ballpoint needle. They work best with knits and you won’t experience those annoying skipped stitches that often happen if you sew knits with sharps.
 Once the front and back were sewn together, I cut some strips to use to finish the neckline and armhole edges and create straps. Knit fabrics when cut, curl at the edges but a quick spray with some spray starch and a little pressing took care of that. I cut two inch strips. Then I folded one long edge over 1/2″ and pressed it.
Stitching the facing strips (right sides together) to the neckline was quick. I started at the outer edge on the front, continued along the underarm edge, across the back and along the other underarm, stopping at the other edge of the front of the neckline. (This means I finished both armholes and the back of the neckline.) After pressing the seam, I folded it over, to the inside, and pressed under the raw edge. Finally, I top-stitched the whole length. For whatever reason, I failed to take any pictures of this part of the process. The straps were formed by taking a long piece and pressing it like I did the first piece. It was used to face the front neckline and it continued beyond the neckline to make straps.
Once that was all top-stitched, I stitched the straps to the outer edges of the neckline on the back. Does that even make sense?? It would if I had taken pictures, darn it.
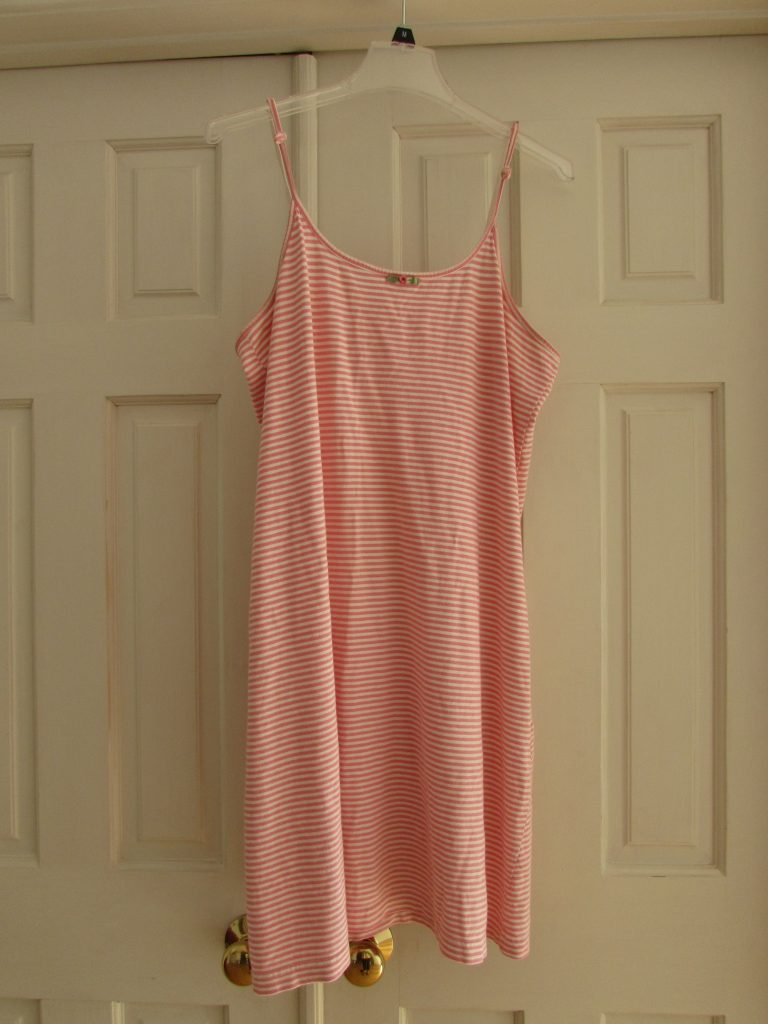
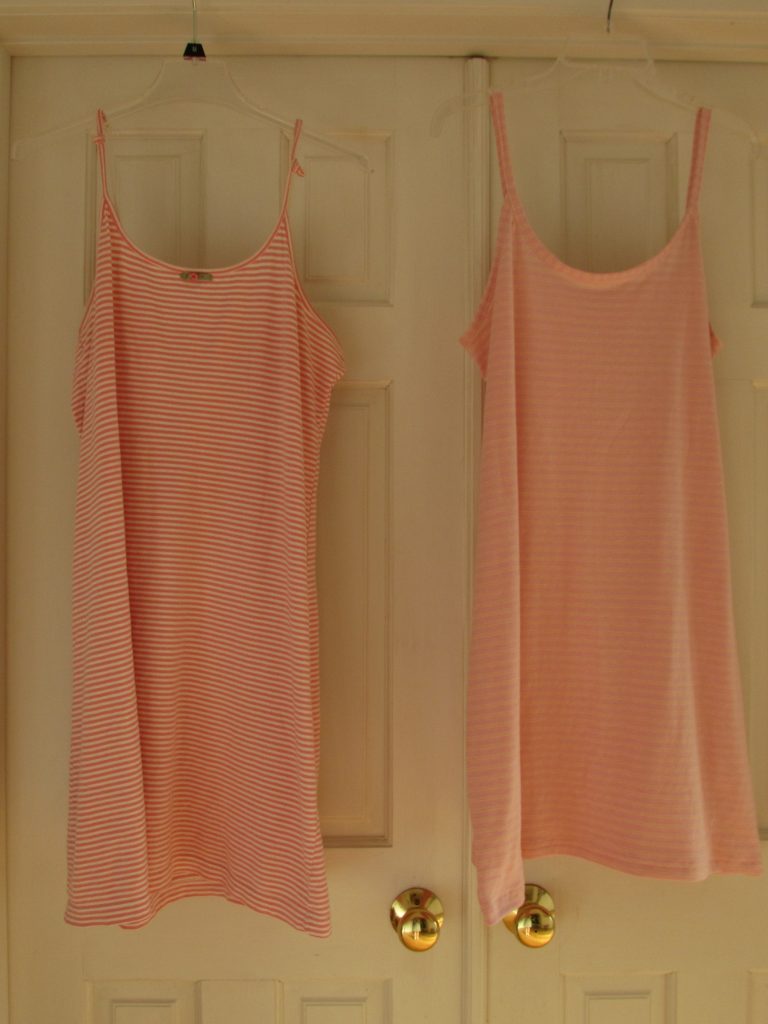
Here is the final result alongside the original. Not bad, right?
I think it is kind of funny that the fabrics are so similar. That wasn’t intended but the fabric was a great price and the knit felt really nice.
This is the first time I have attempted to use an existing garment as a pattern. It worked well but as always, I learned a few things. The next time I do this I will:
- Trace the garment on paper for use as a pattern. That way, I will be able to check the size and proportion before I have cut any fabric. As an added bonus, if the results are good, I have the paper pattern to use again and again.
- For this garment, I would have made the bias strips for facing it a bit narrower. The resulting neckline finish is a bit wider than I like.
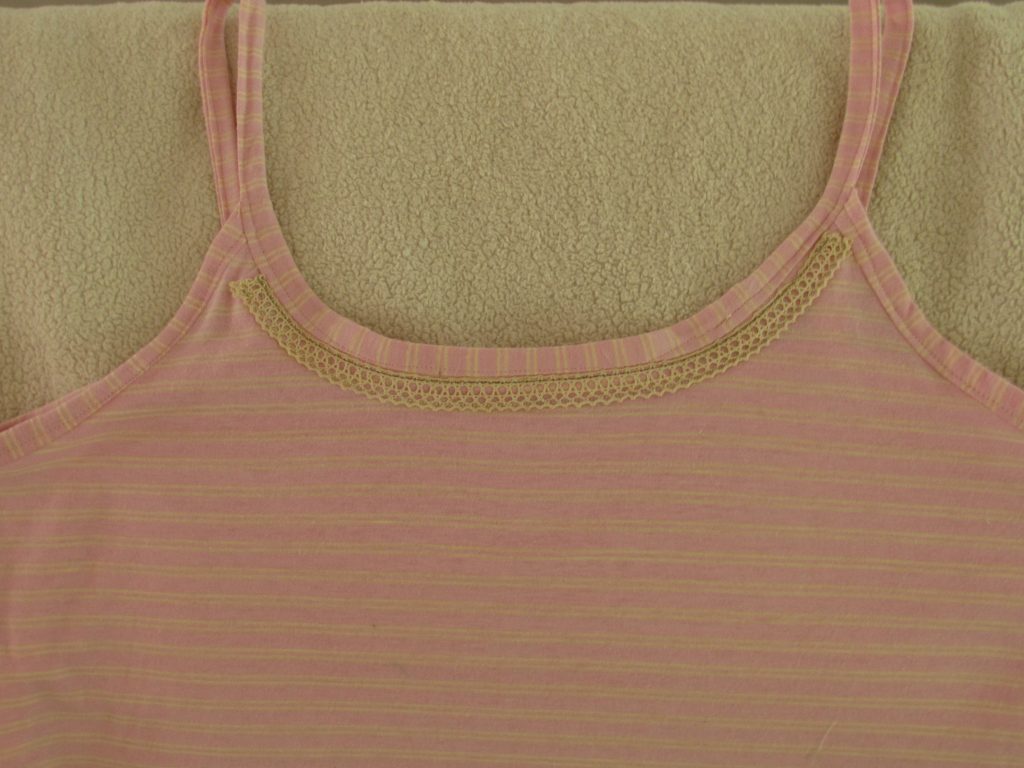
Update: Once I had the nightgown finished, I decided to add a bit of trim to the neckline to give it some shape. The cotton lace trim is not a knit so it acts to prevent any stretch at the neck. I like the look of it but of course, if I had added it before facing the neck, it would have a more finished look.
Another source of instruction on cutting a pattern from a garment is this video produced by Muv at Lizzielenard-vintagesewing.com. It is really helpful and gave me a good start. I look forward to giving this another try!
Linking to lots of fun places. Check them out at the top of the page, under Link Ups.

Ok, I need to give this a try. I think I could maybe do this (although I dislike sewing clothing). Sure would be nice to always have the same pattern.
It was a fun project. I don’t think I could do it with anything very complicated but with a simple garment, it worked well. Give it a try!
I love night gowns. When we get old, hopefully we can just wear them all day.
Yes, Target has such great stuff. It is so nice that you got so much pleasure and enjoyment from this one.
Now you can use it to make a pair of shorts to match the new one.
Ha ha! I do love Target so it is a good thing that I have to drive quite a way to get to one. I’m better off that way. Have a lovely day Rosemary. It is going to be too hot here today.
wonderful post!
thanks so much for linking up!
brooke@sillymamaquilts.com
Your timing is perfect! I have been thinking for a while about trying to make a tank top base on an existing one. I’ve watched a few tutorials and read some posts but haven’t had the time or courage to take the plunge. You have, perhaps, just nudged me closer.
Your nightgown looks great. Soft and comfortable. Great work!
Tami, I bet you would have good results. Test it out with inexpensive fabric first. Hope it works- and I am pretty sure it will. ?
Great job! I’ve got a favorite sleeveless bias cut top I’ve lovingly WORN out….you’ve inspired me to try and duplicate it’s simple lines. I think your new gown is lovely—I might unpick a few stitches of the armhole binding to tuck the end of the trim into then restitch. The bit of trim really sets it off.
Oh shoot. That is a great idea for cleaning up the ends of the trim. I will have to check to see if the trim is long enough. Thanks Kathy. Let me know how your project goes!