

You might remember that I posted about making a few heat packs for Christmas gifts this year. I had initially made one for myself a long while back and it is used frequently by all three of us. They are very quick and easy to make so I thought I would share it here. It only requires a bit of fabric and some rice. The outer layer is removable for laundering. Here you go!
Supplies:
- 1 Fat Quarter of fabric for the outside (or a scrap of equivalent size, 18 x 22″)
- 1 piece of muslin or other inexpensive, plain fabric to contain the rice.
- Dry rice, approximately 3 cups
- Thread
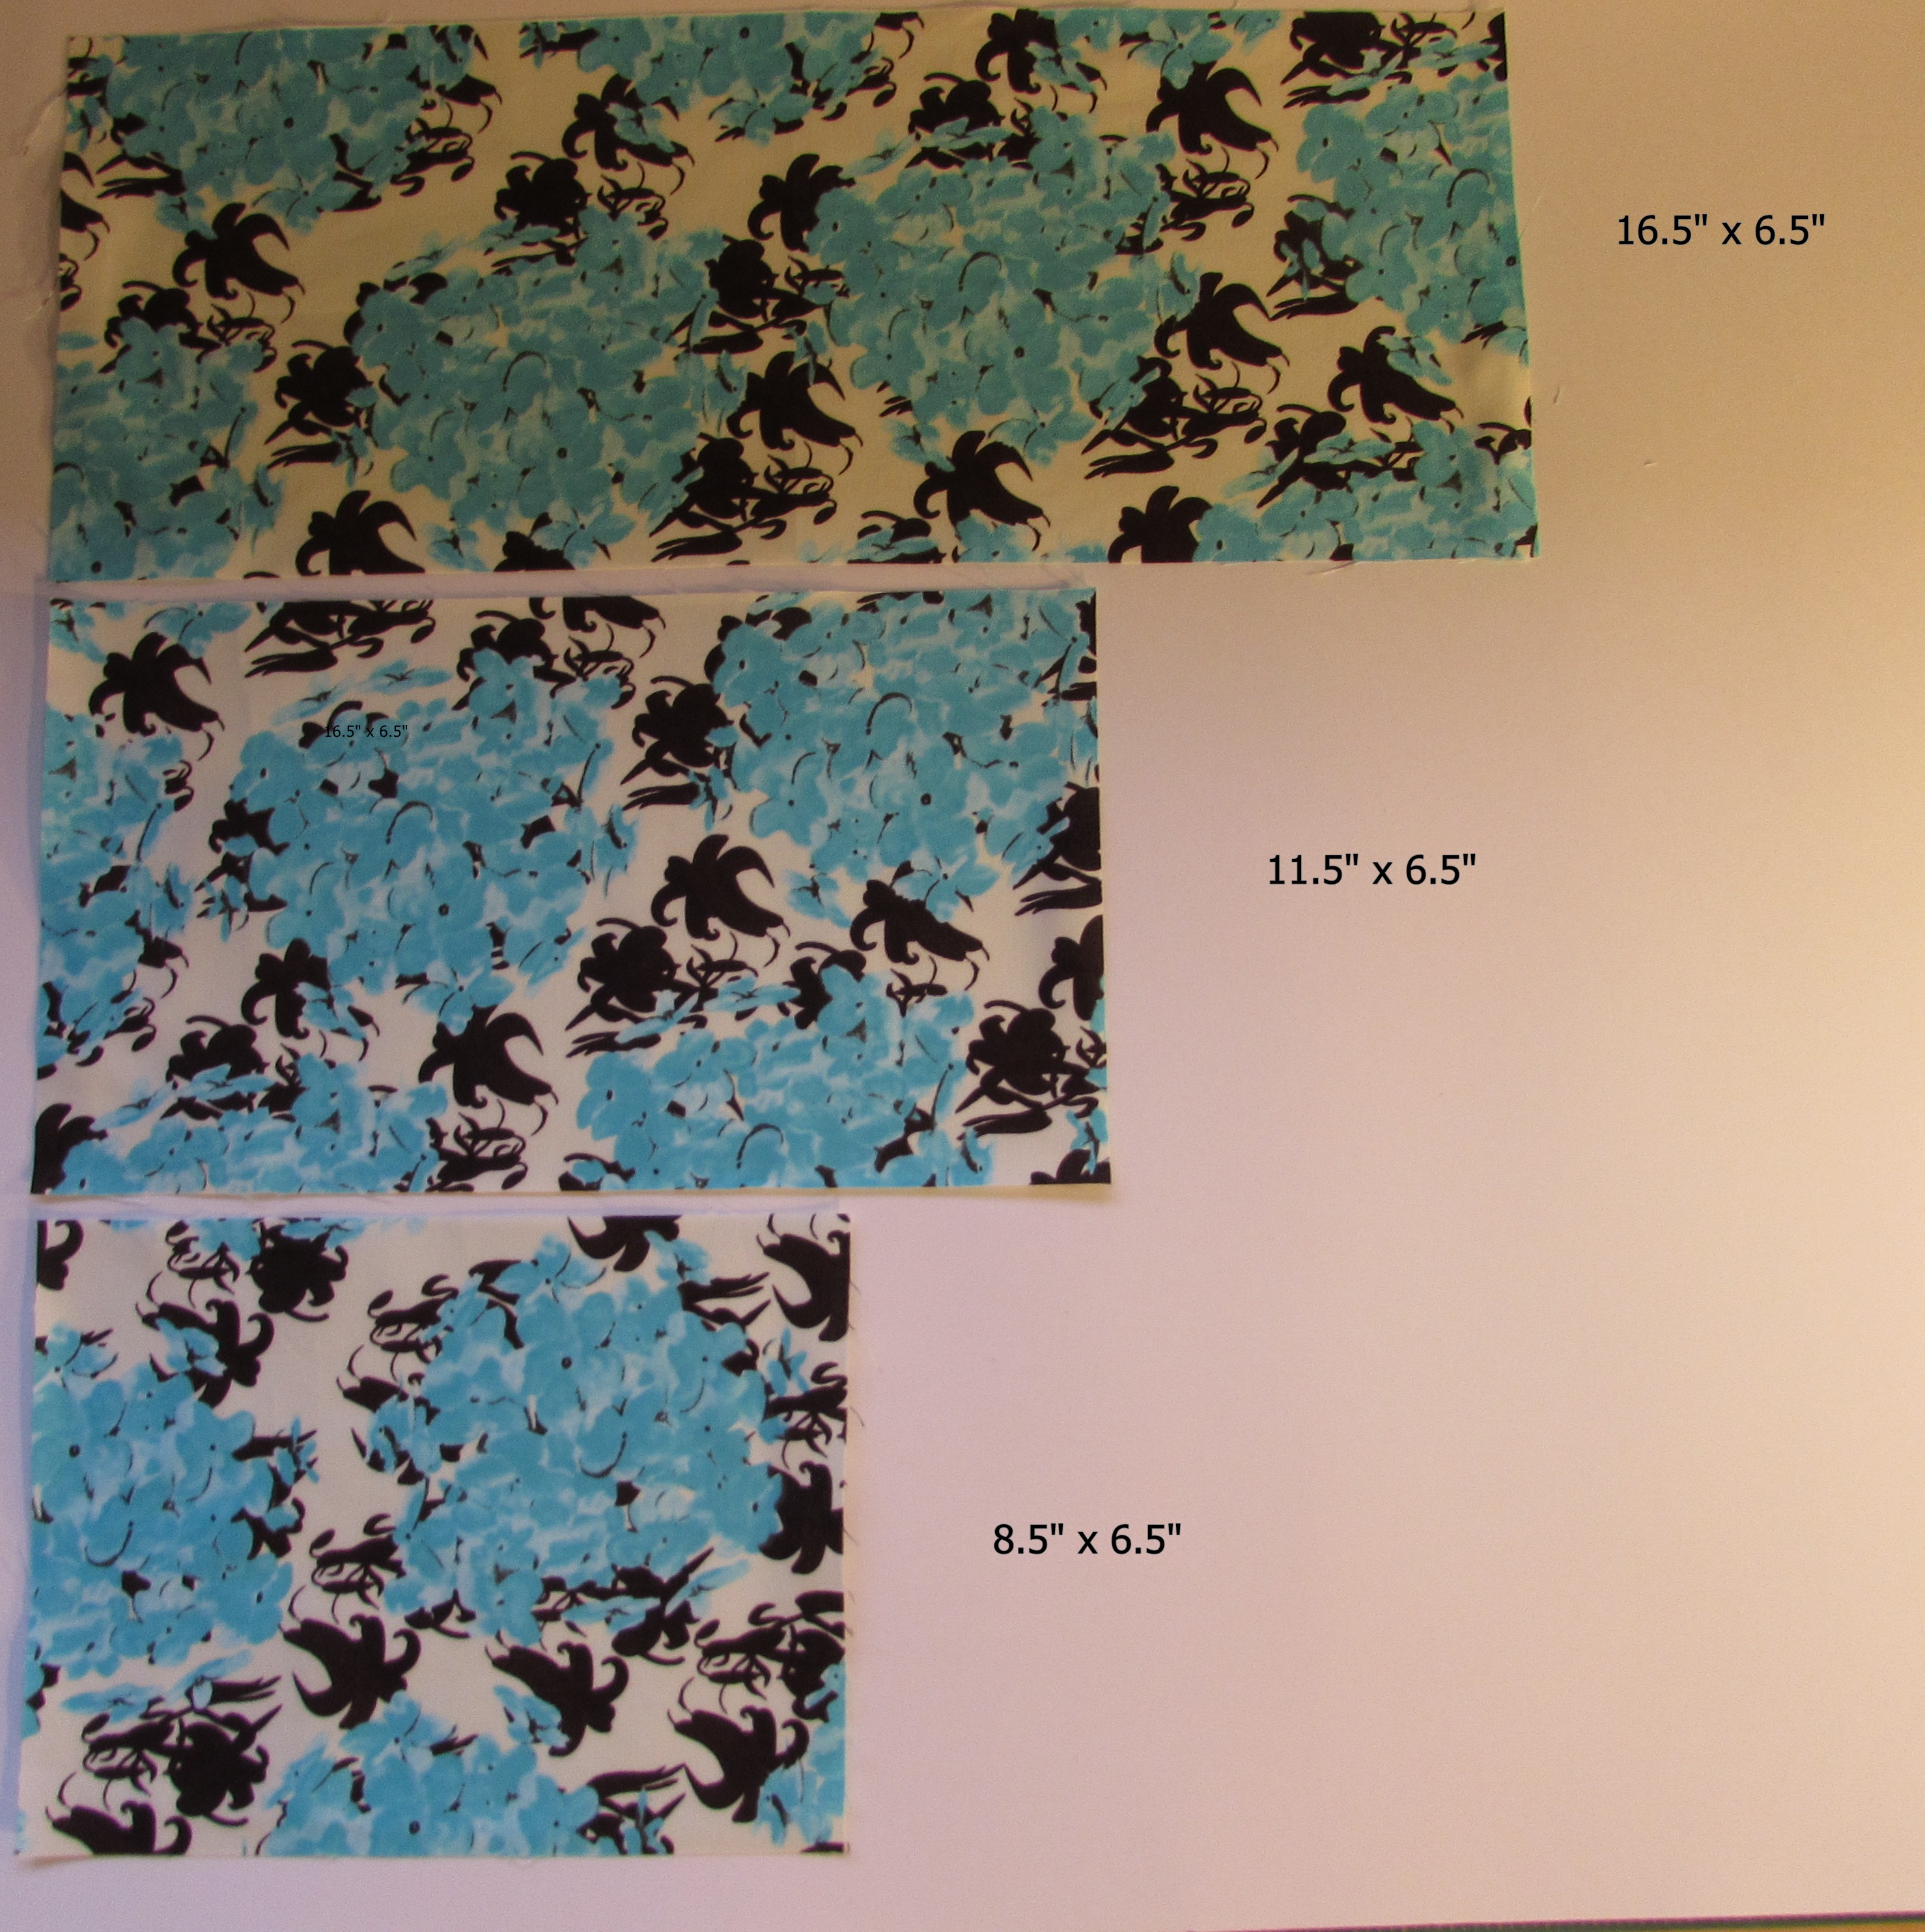
Cut the outer fabric as follows:
- Rectangle, 16.5″x6.5″
- Rectangle, 11.5″x6.5″
- Rectangle, 8.5″x6.5″
Cut the lining fabric, or muslin, into two rectangles, each measuring 16″x6″.
Let’s make the rice-filled lining first. Use a 1/4″ seam allowance throughout the project.
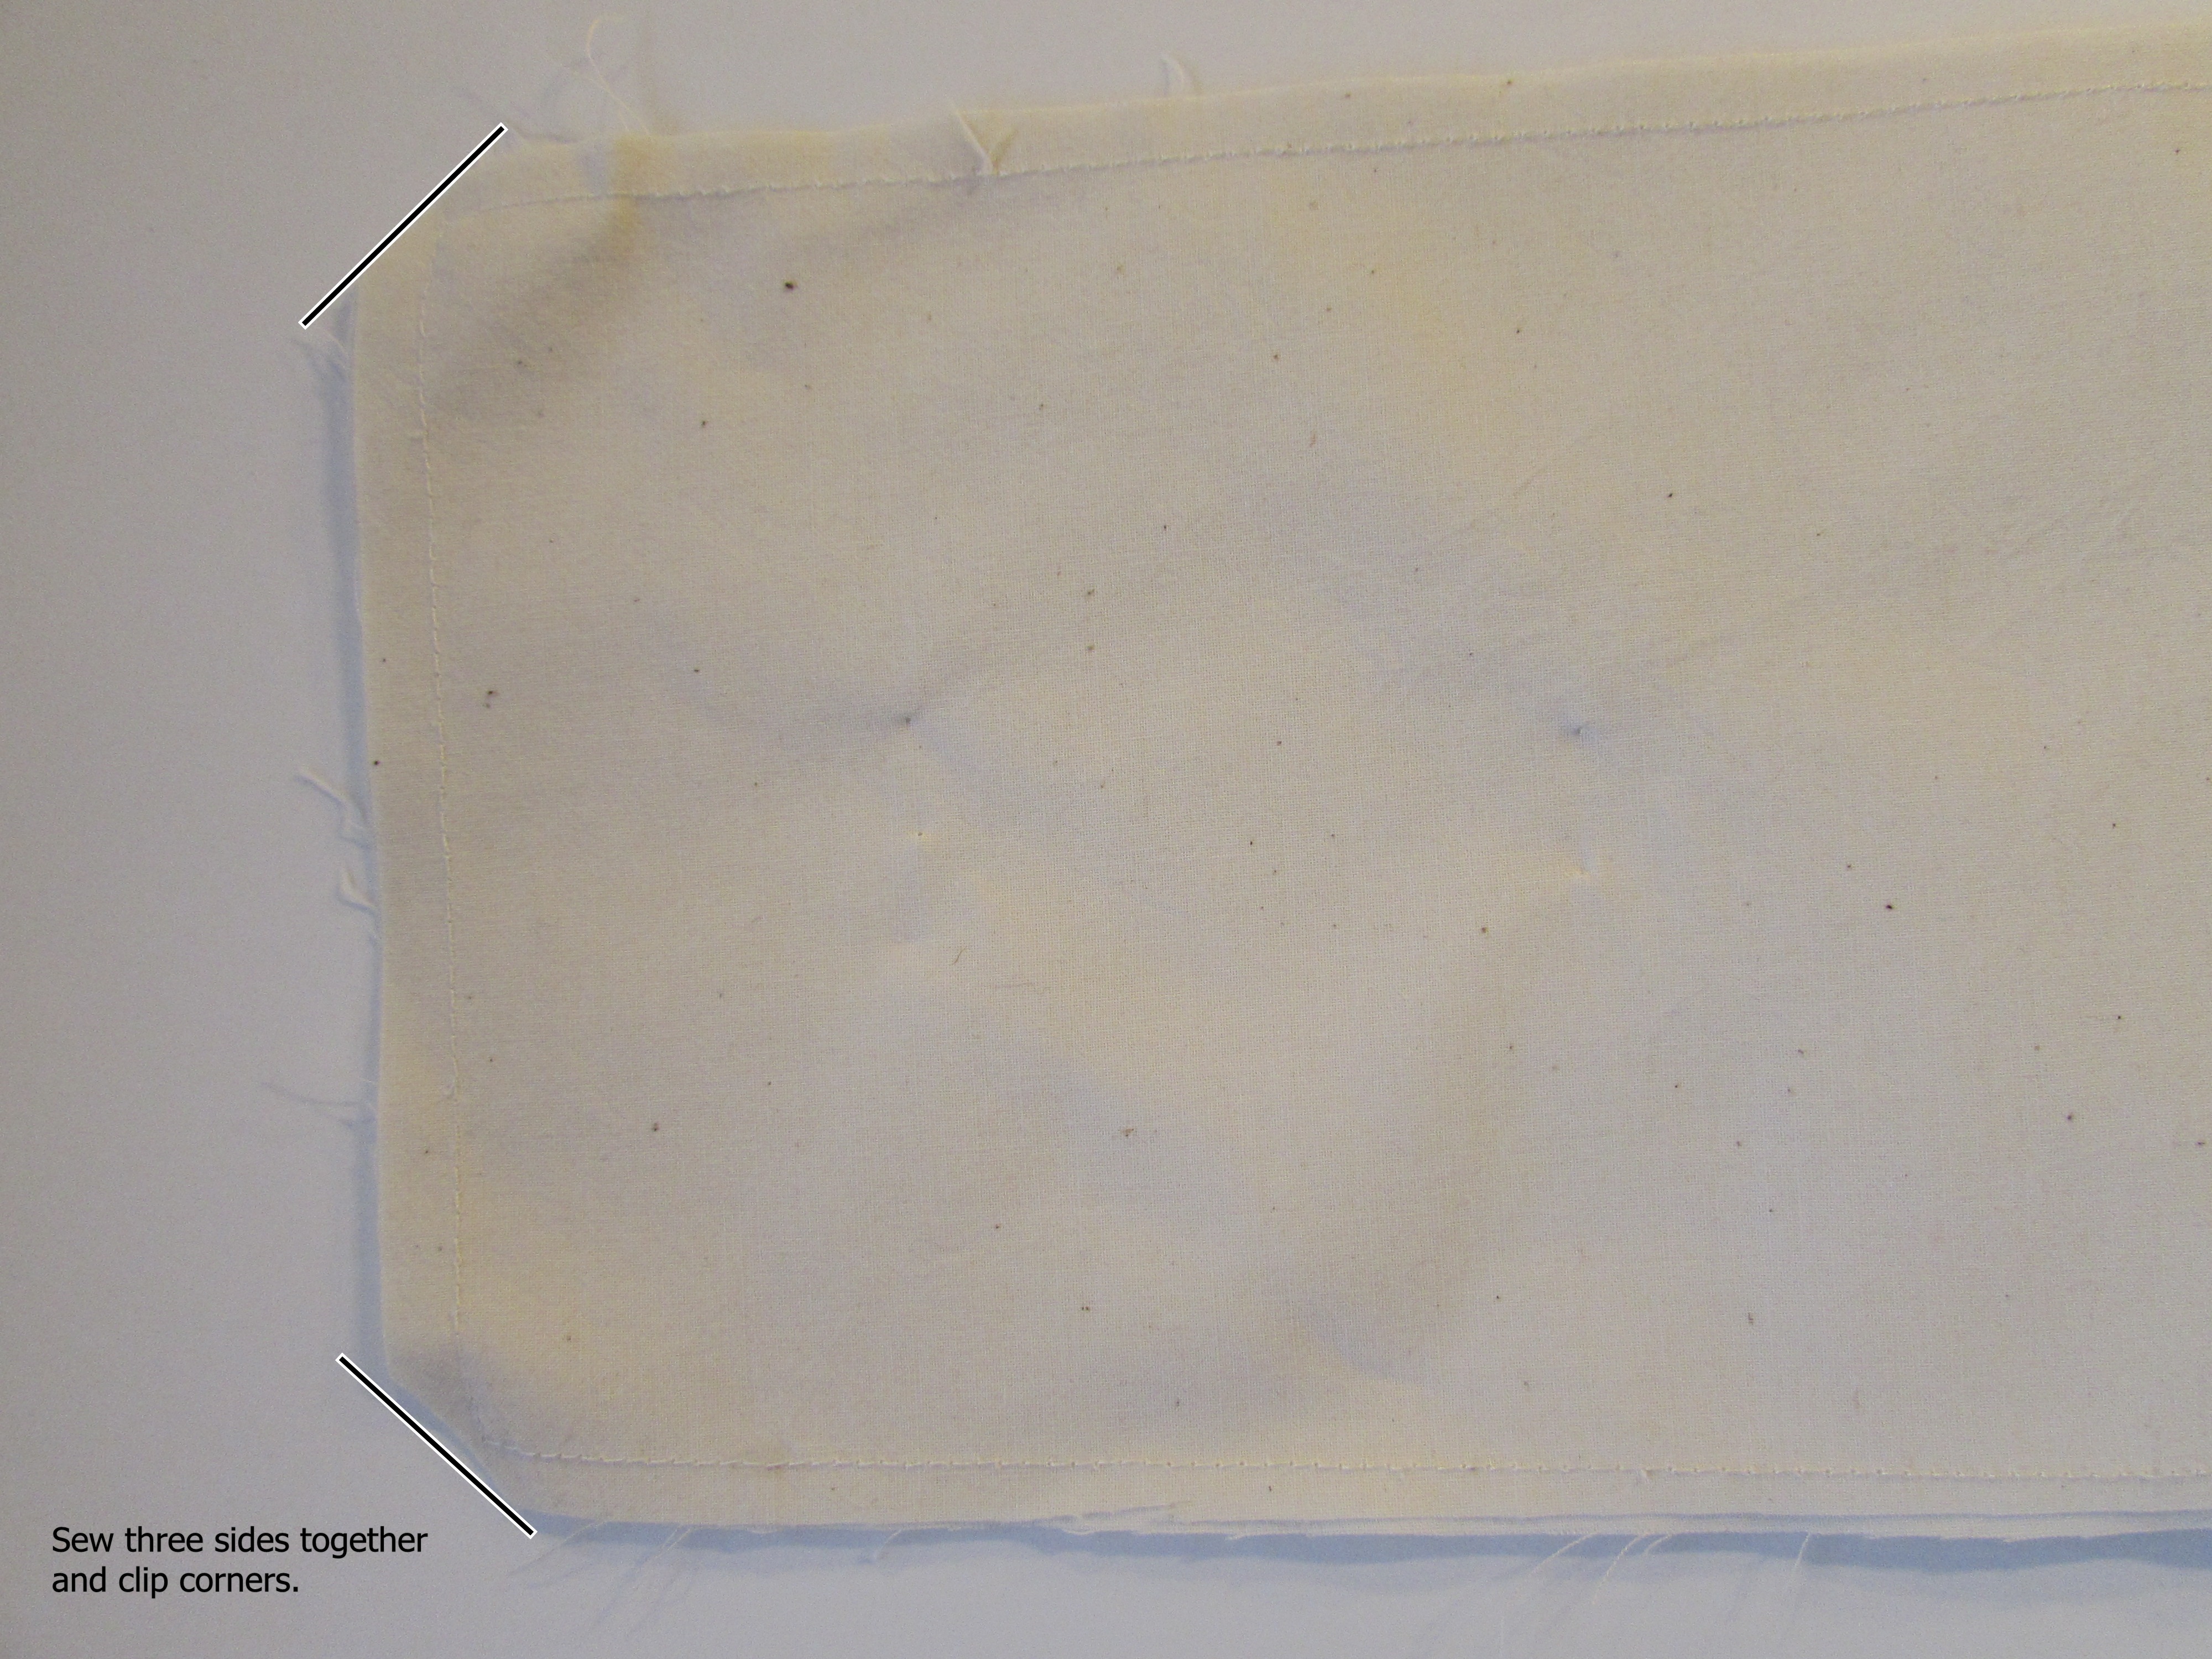
Pin the two rectangles of lining fabric, right sides together. Sew around three of the sides, leaving one end open. Be sure to sew the two long sides and one of the short sides. Before turning it right side out, carefully trim the corners, making sure not to clip your stitches. (I should have photographed the muslin against a color other than white!)
Turn the bag right side out and press. I use a chopstick to carefully poke the corners out from the inside.

Now you will fill the bag with rice. I like to make three sections and fill each with about 3/4 cup of rice. You can do this with more sections or even no sections. If you choose to leave it undivided, with just one section, fill it with the rice at this point. I like the feel of the sections and think it lays nicely when divided.
For the first section, fold the top of the bag back and carefully pour in 3/4 cup of rice.

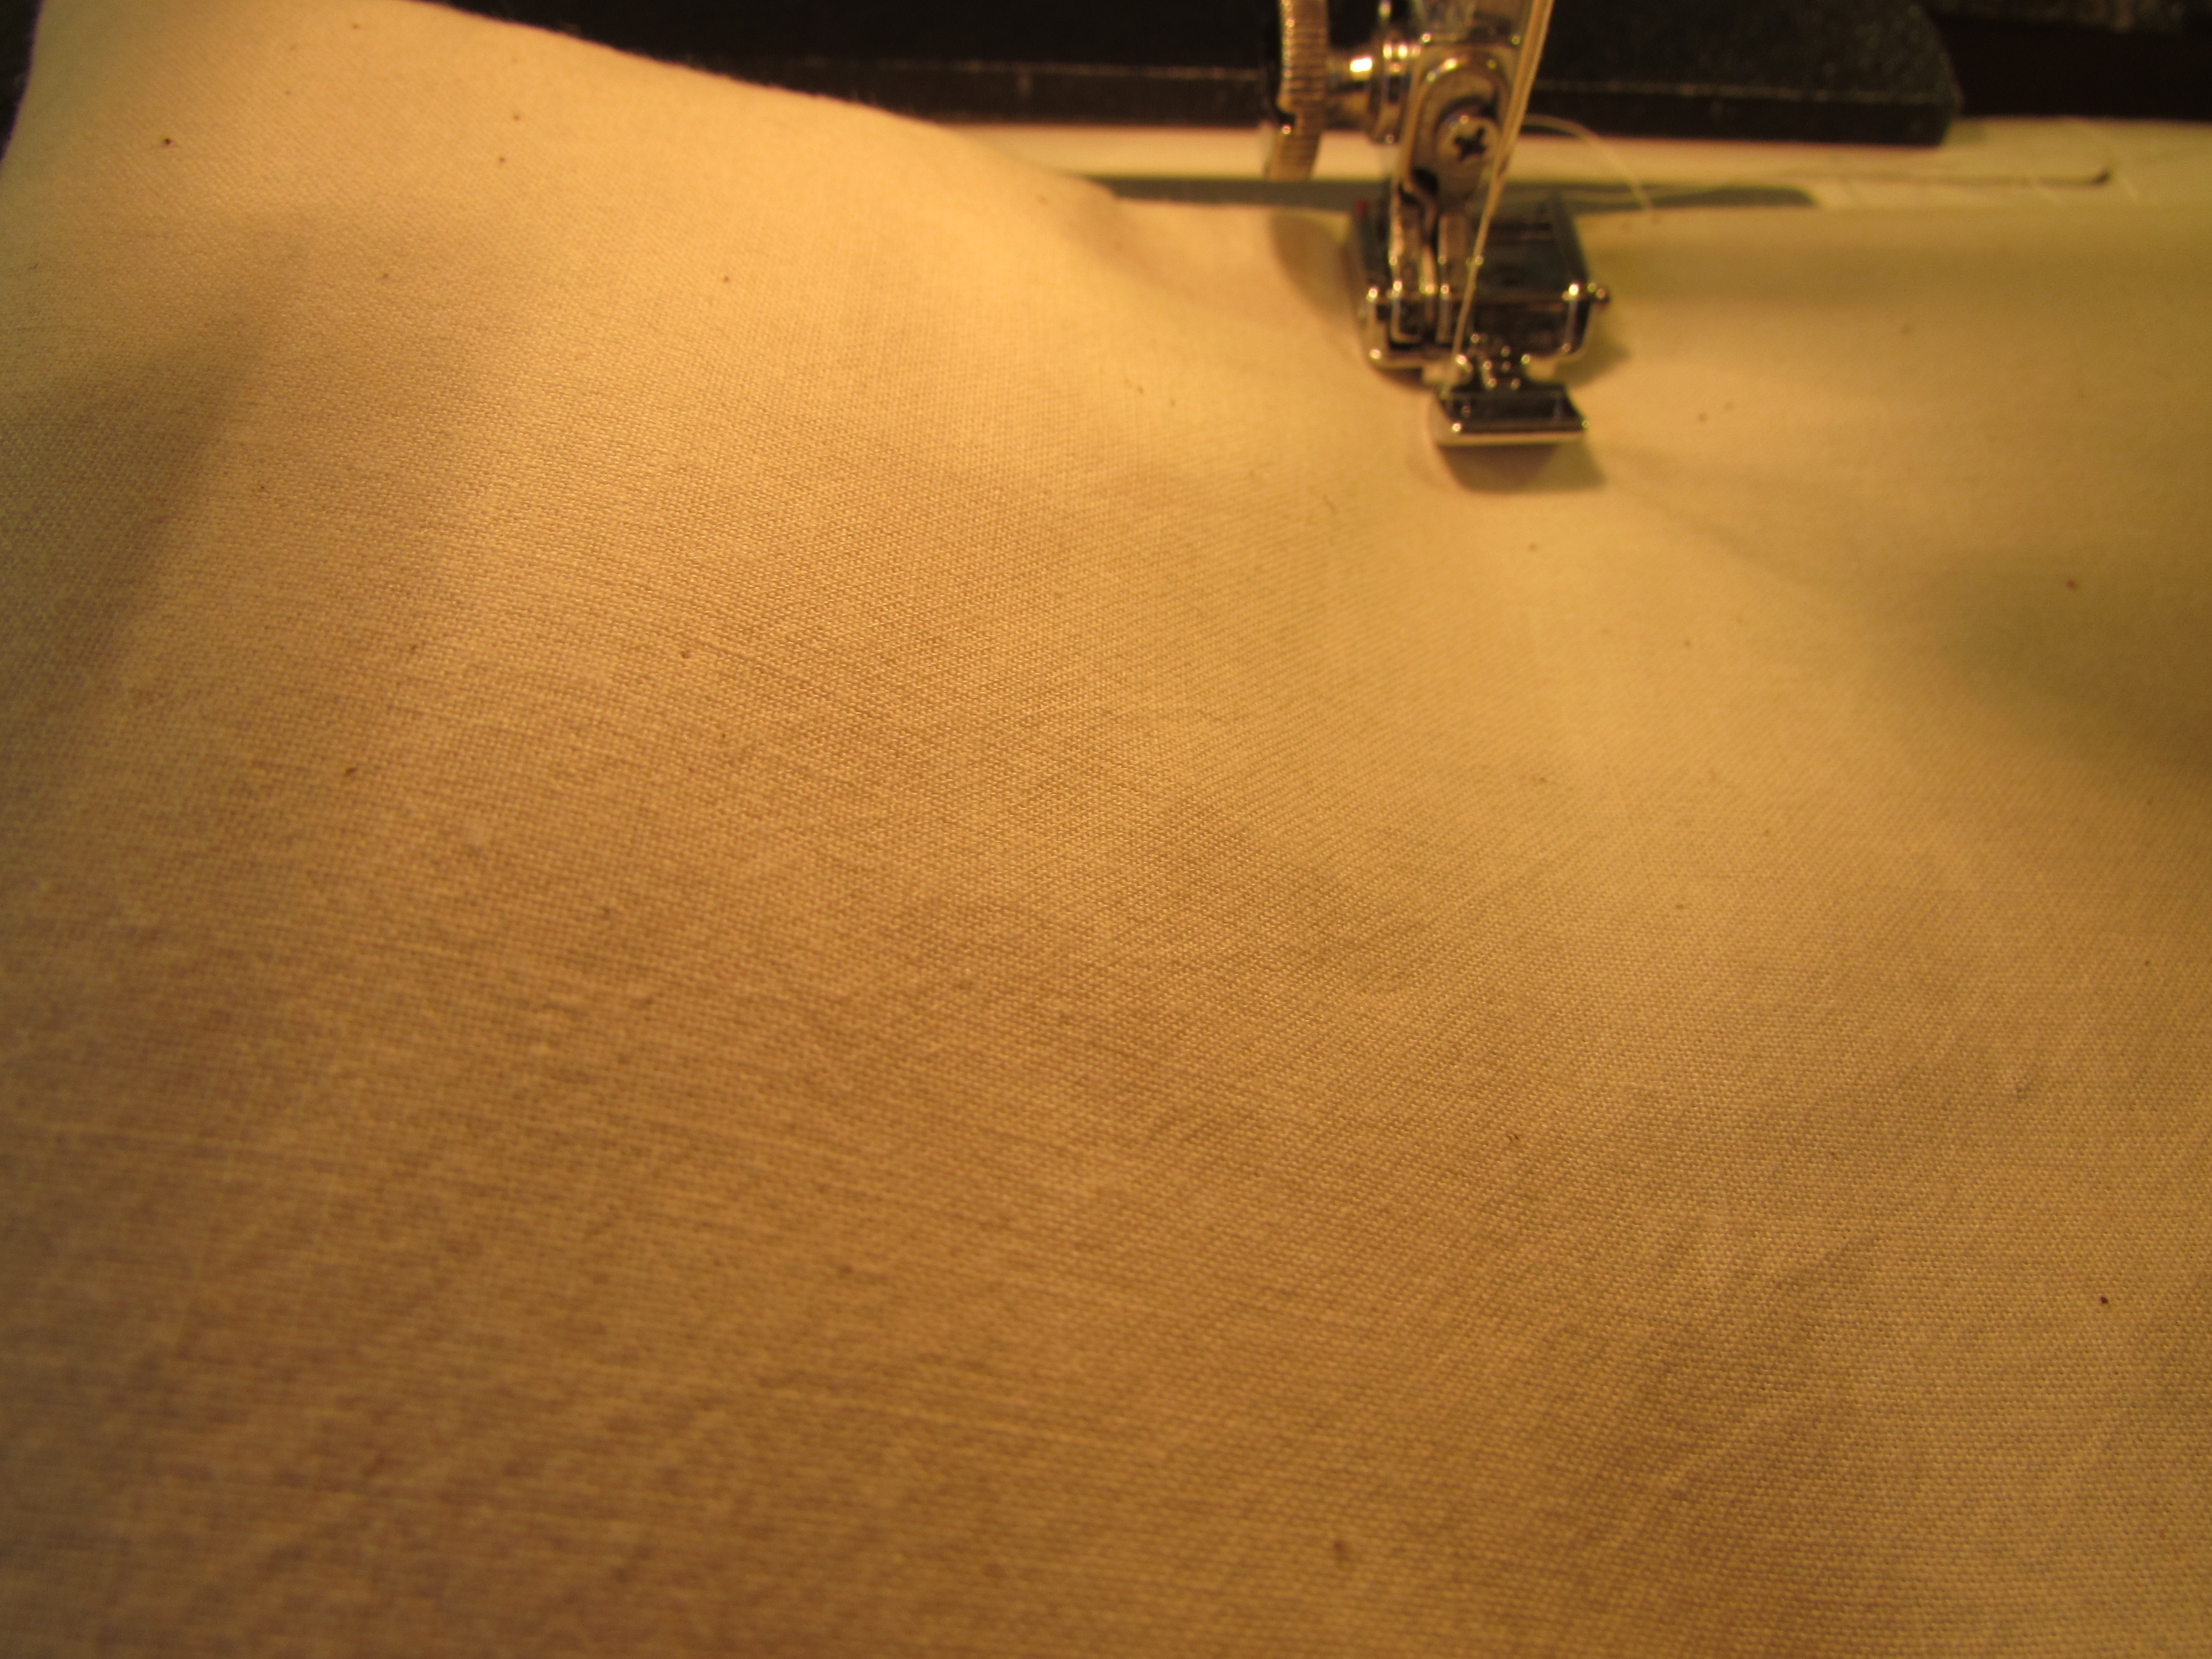
Smooth all the rice to the end and stitch across the width of the bag, close to where the rice is. I use a zipper foot to do this though it isn’t absolutely necessary.
 Create a second section in the same manner and stitch it. (I don’t measure the three sections precisely. I just estimate it.)
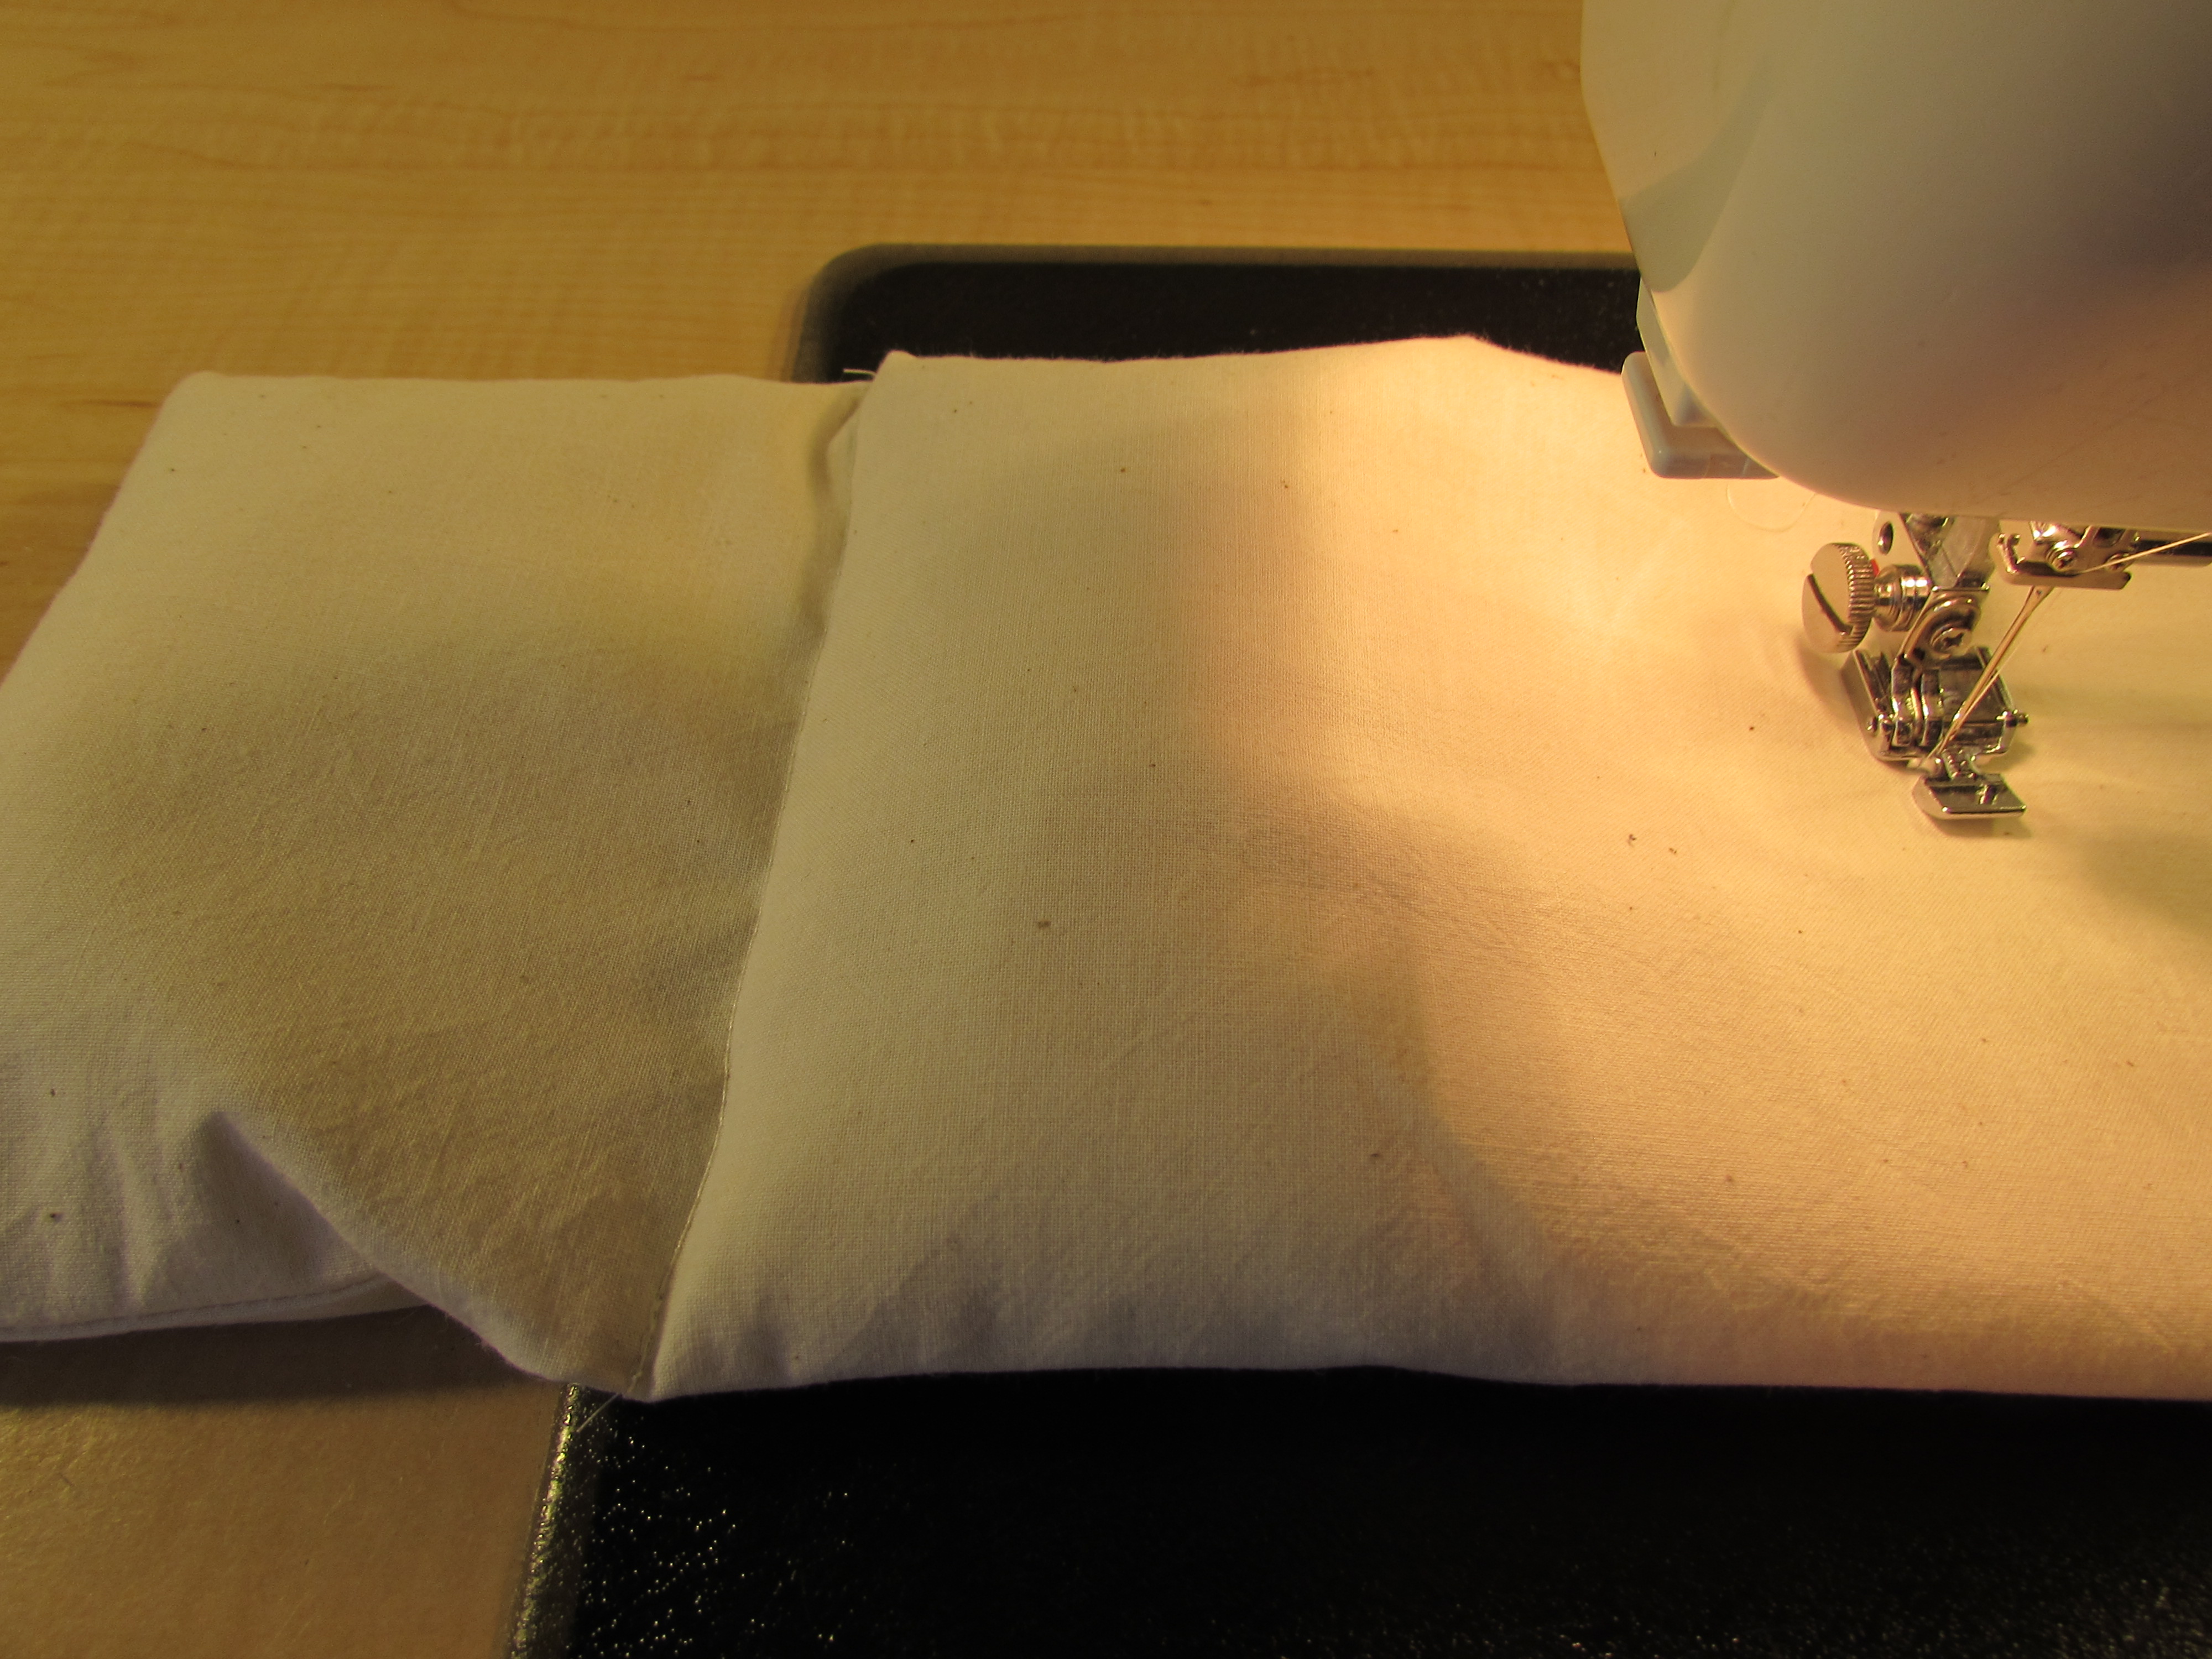
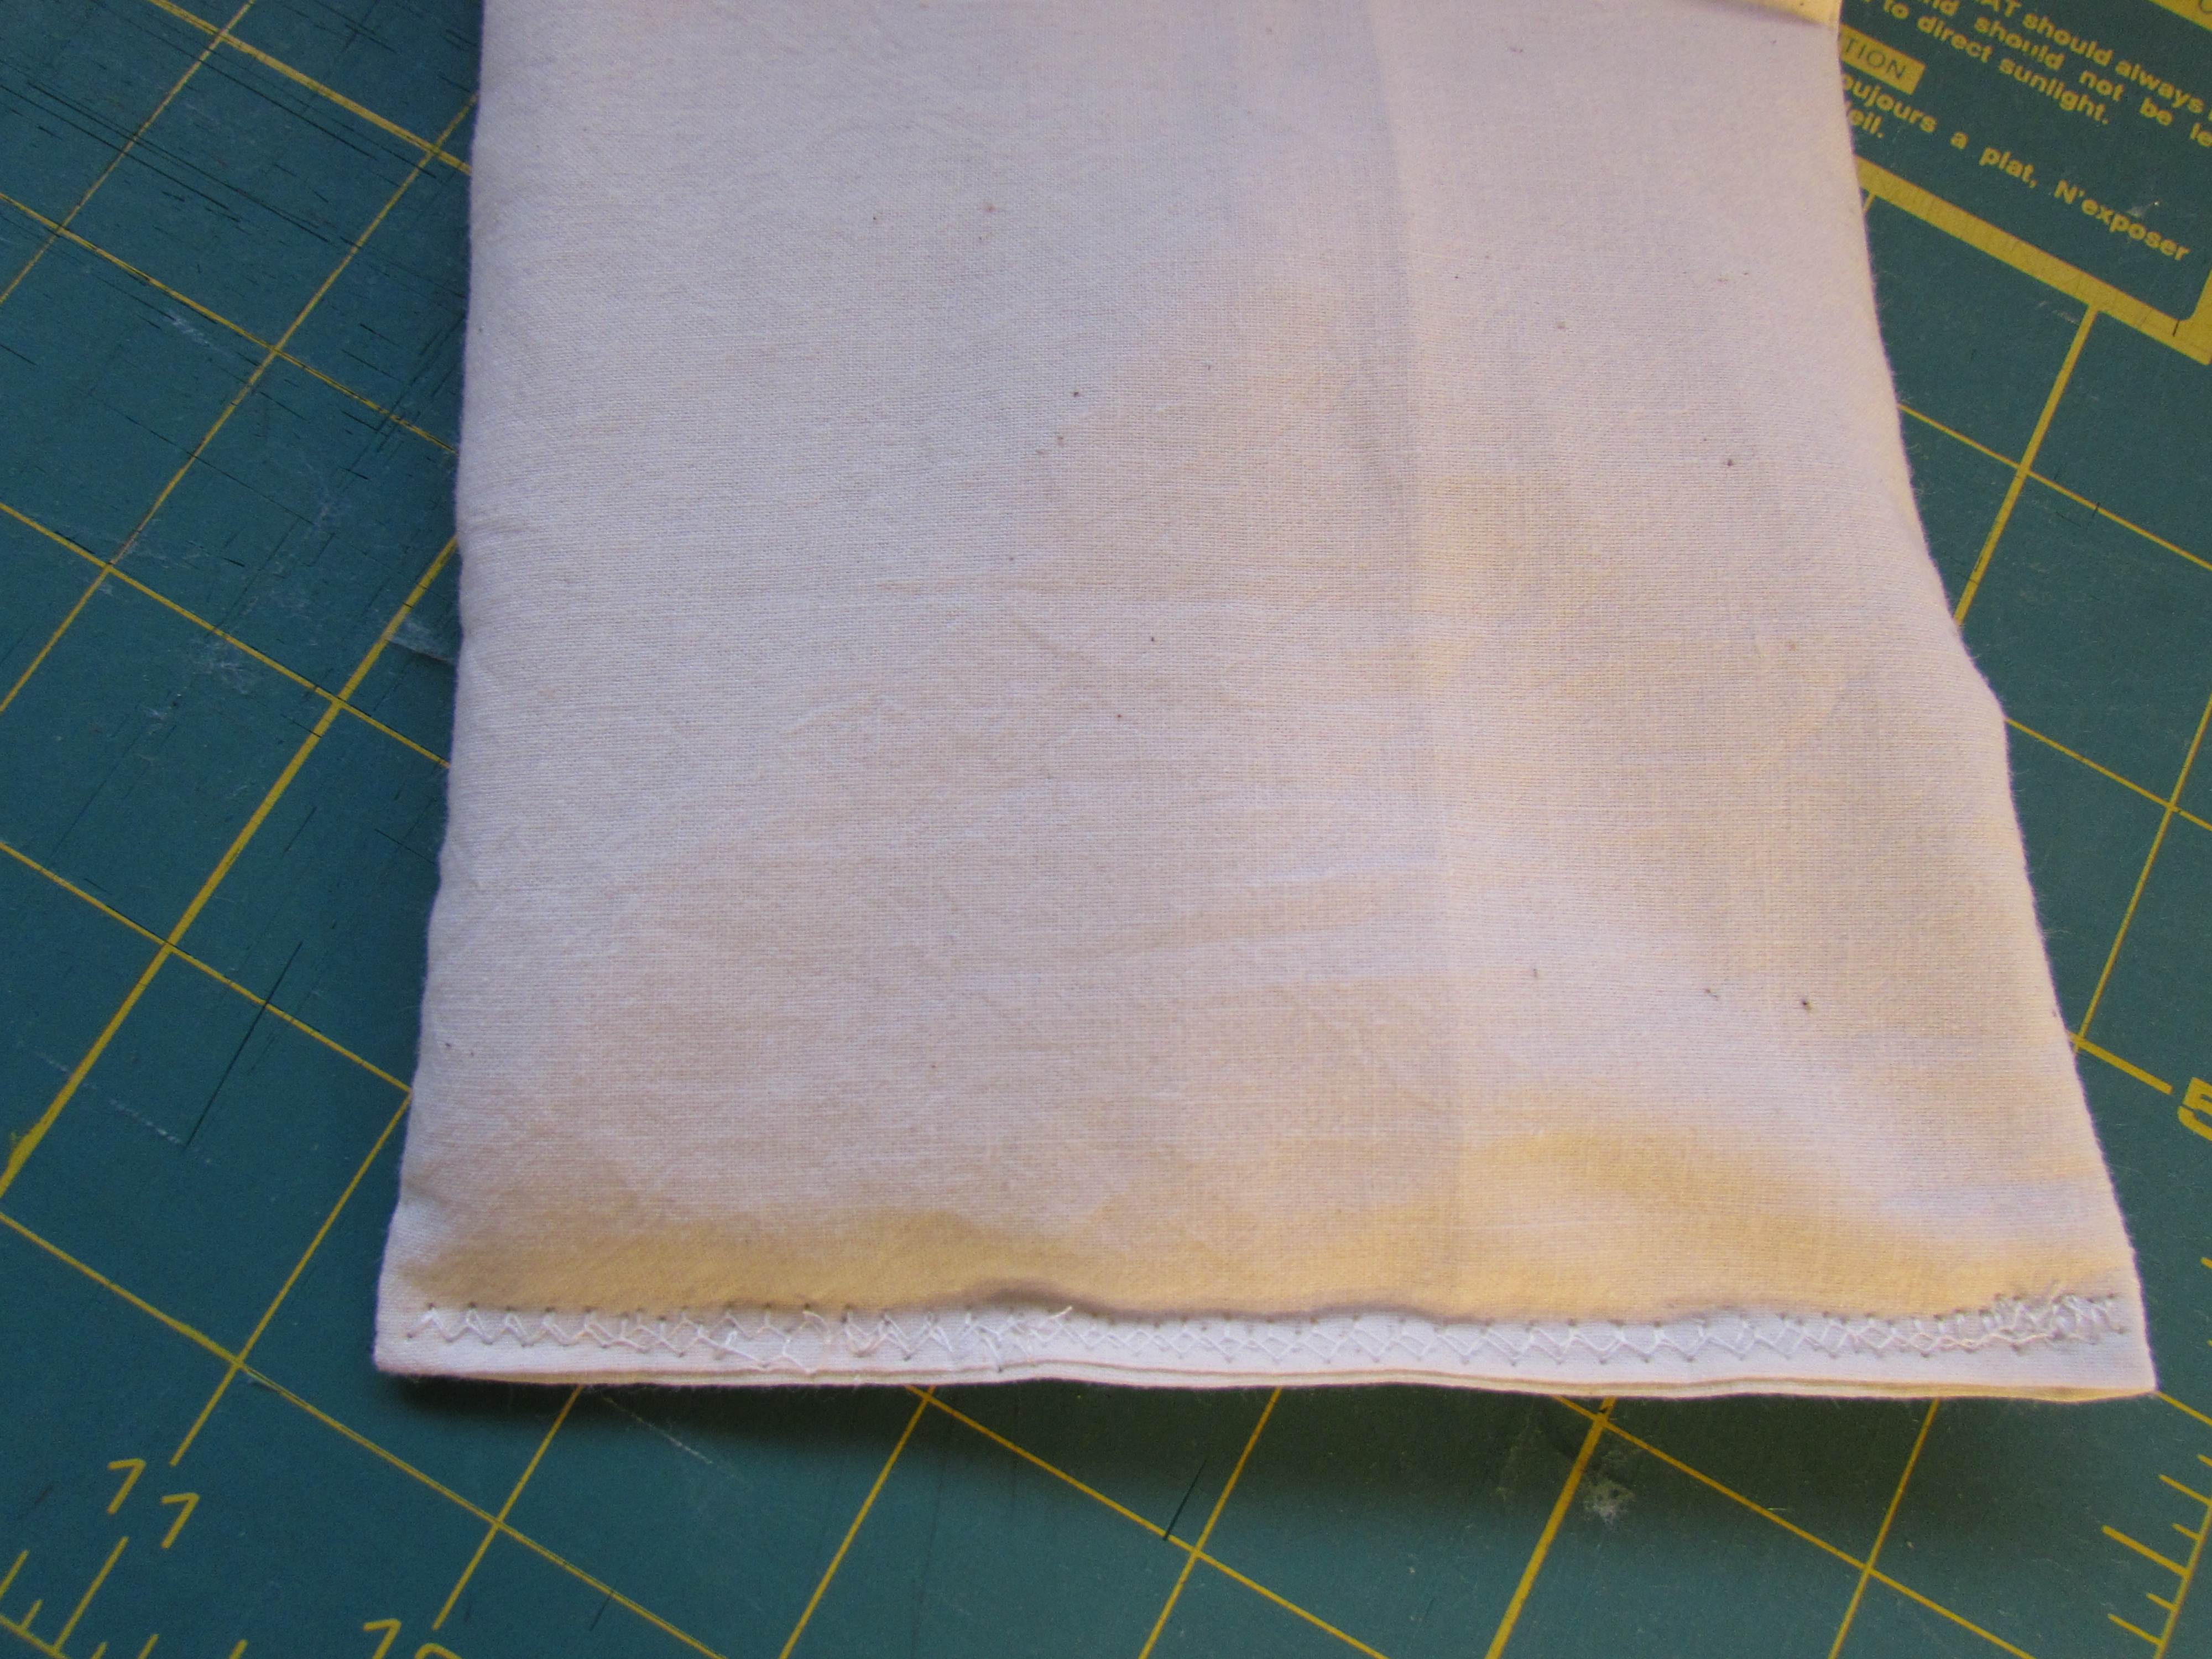
After putting in the last portion of rice, shake it to the bottom of the section and press the raw edges to the inside, taking care to make them relatively even. This isn’t going to show and certainly doesn’t need to be perfect.
To close it up, I use a zig-zag stitch and run it over the end two times so the rice stays where it is supposed to!
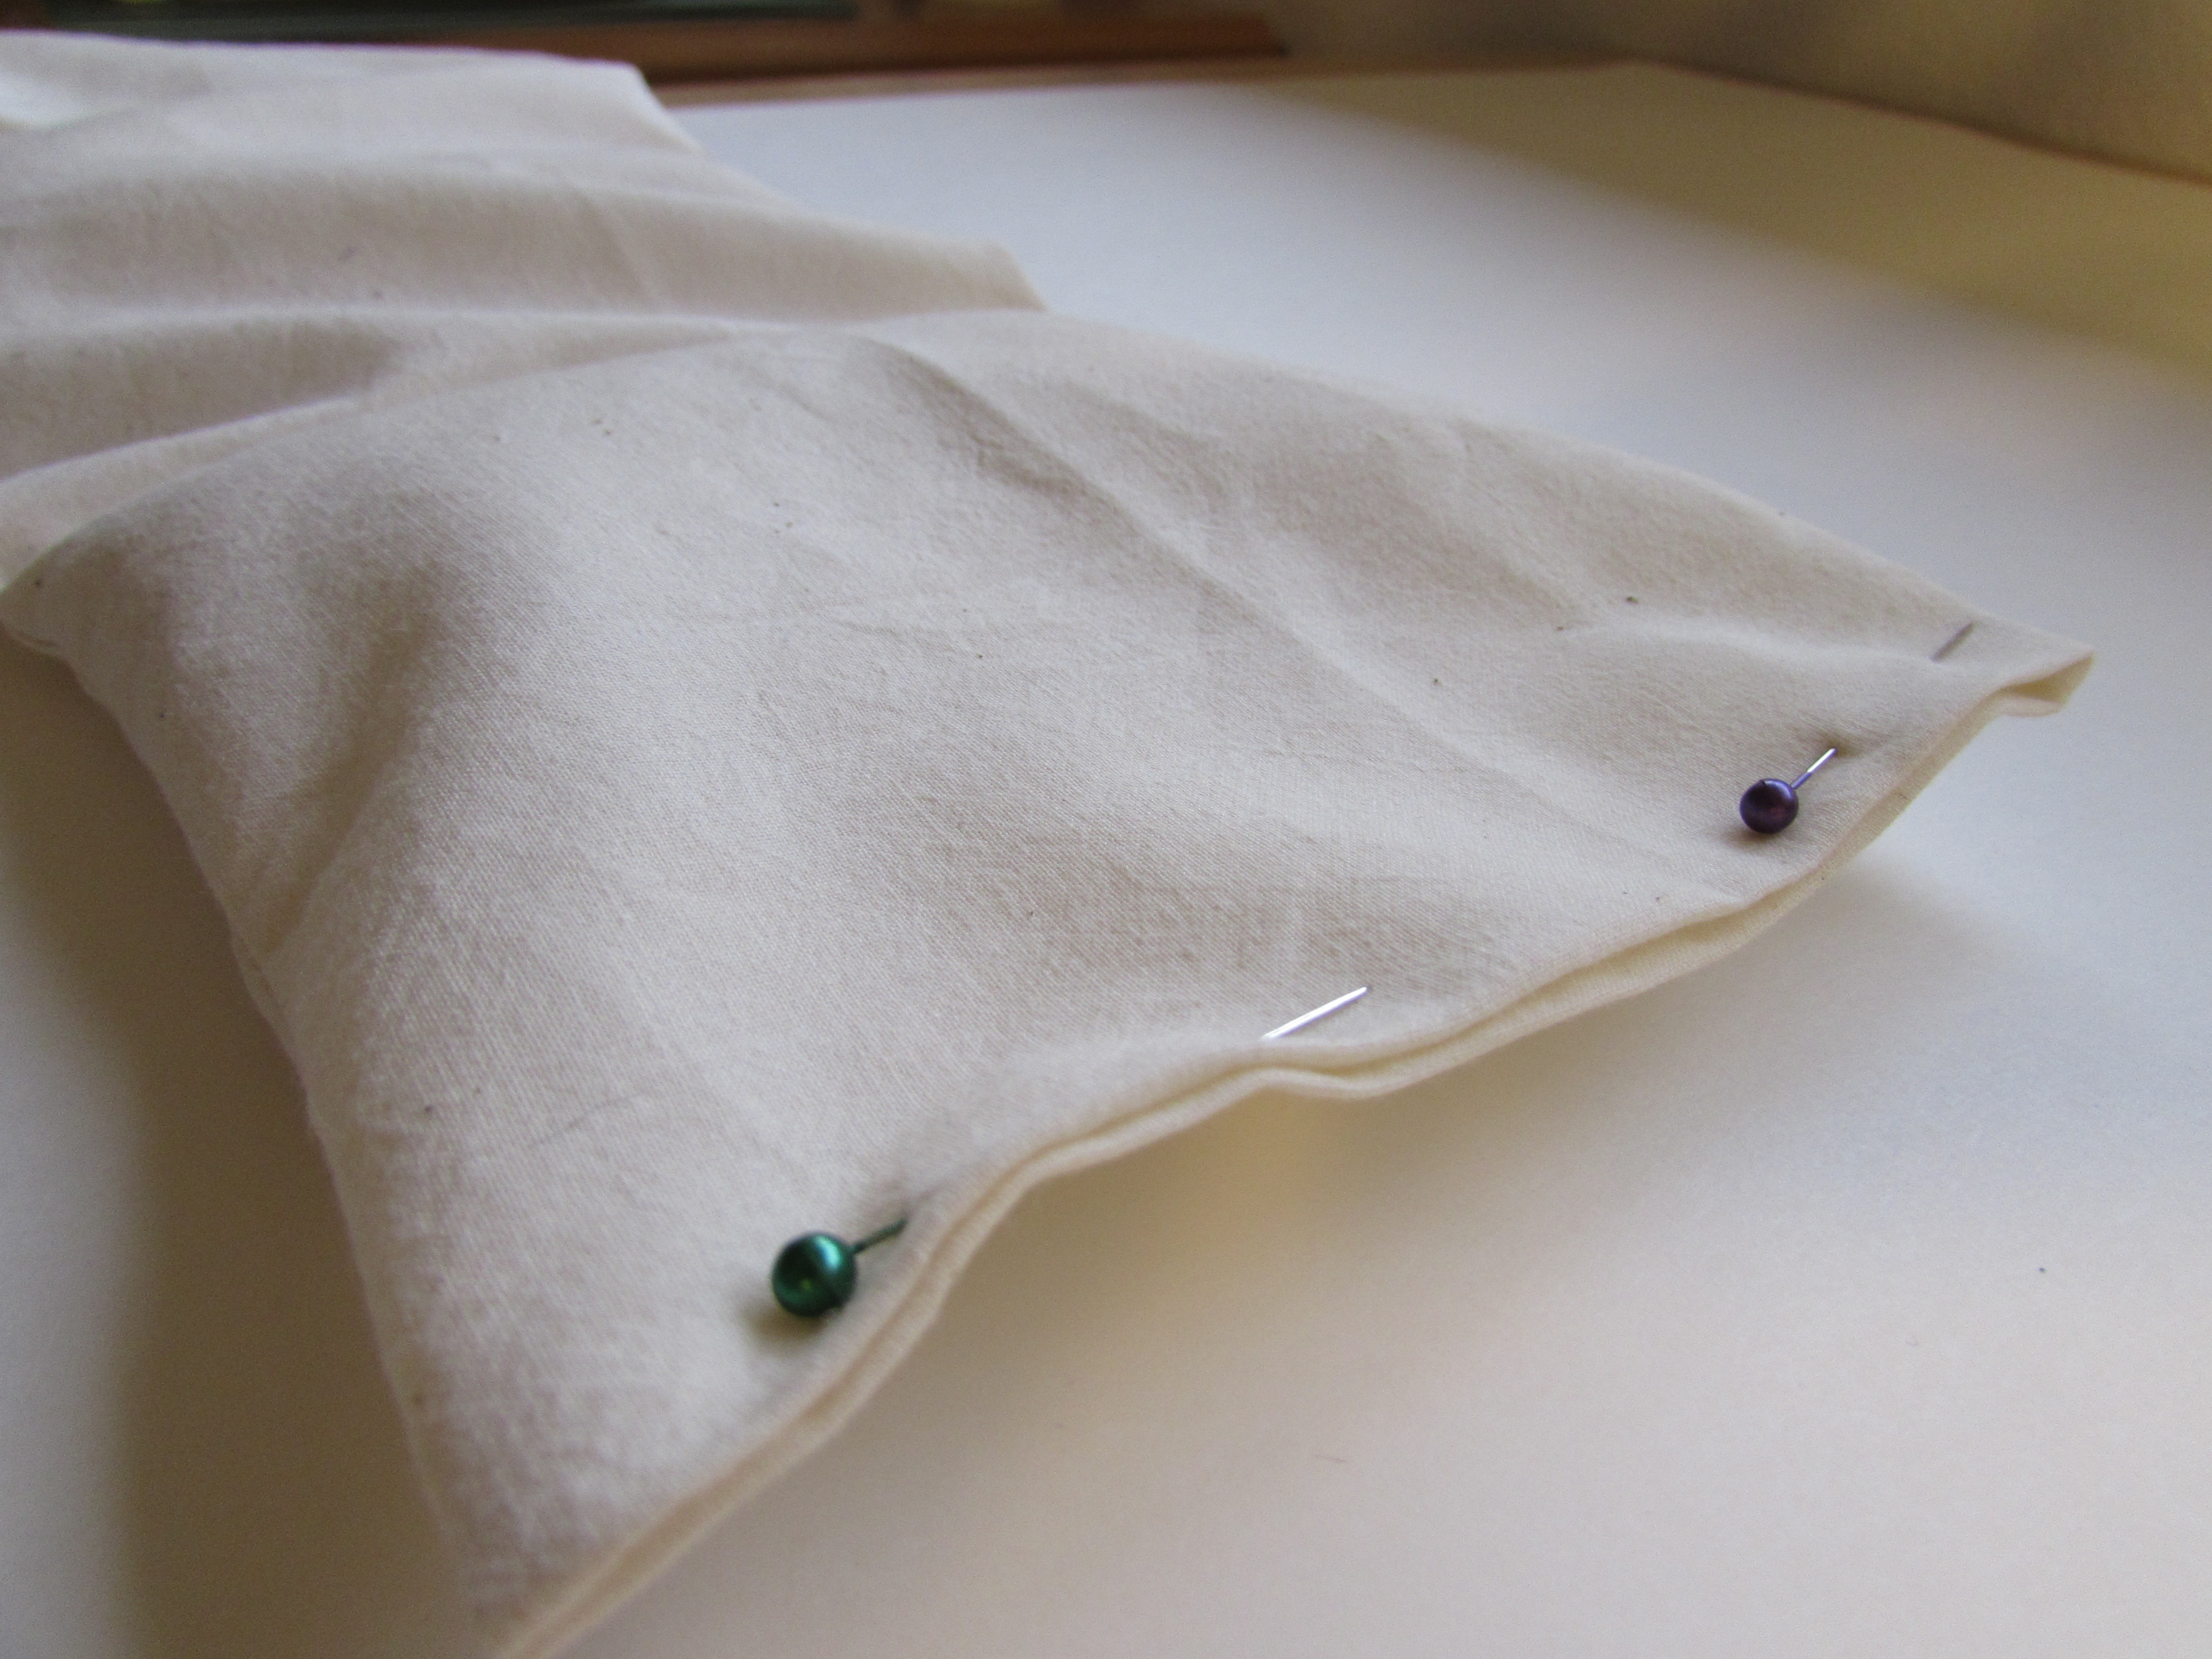
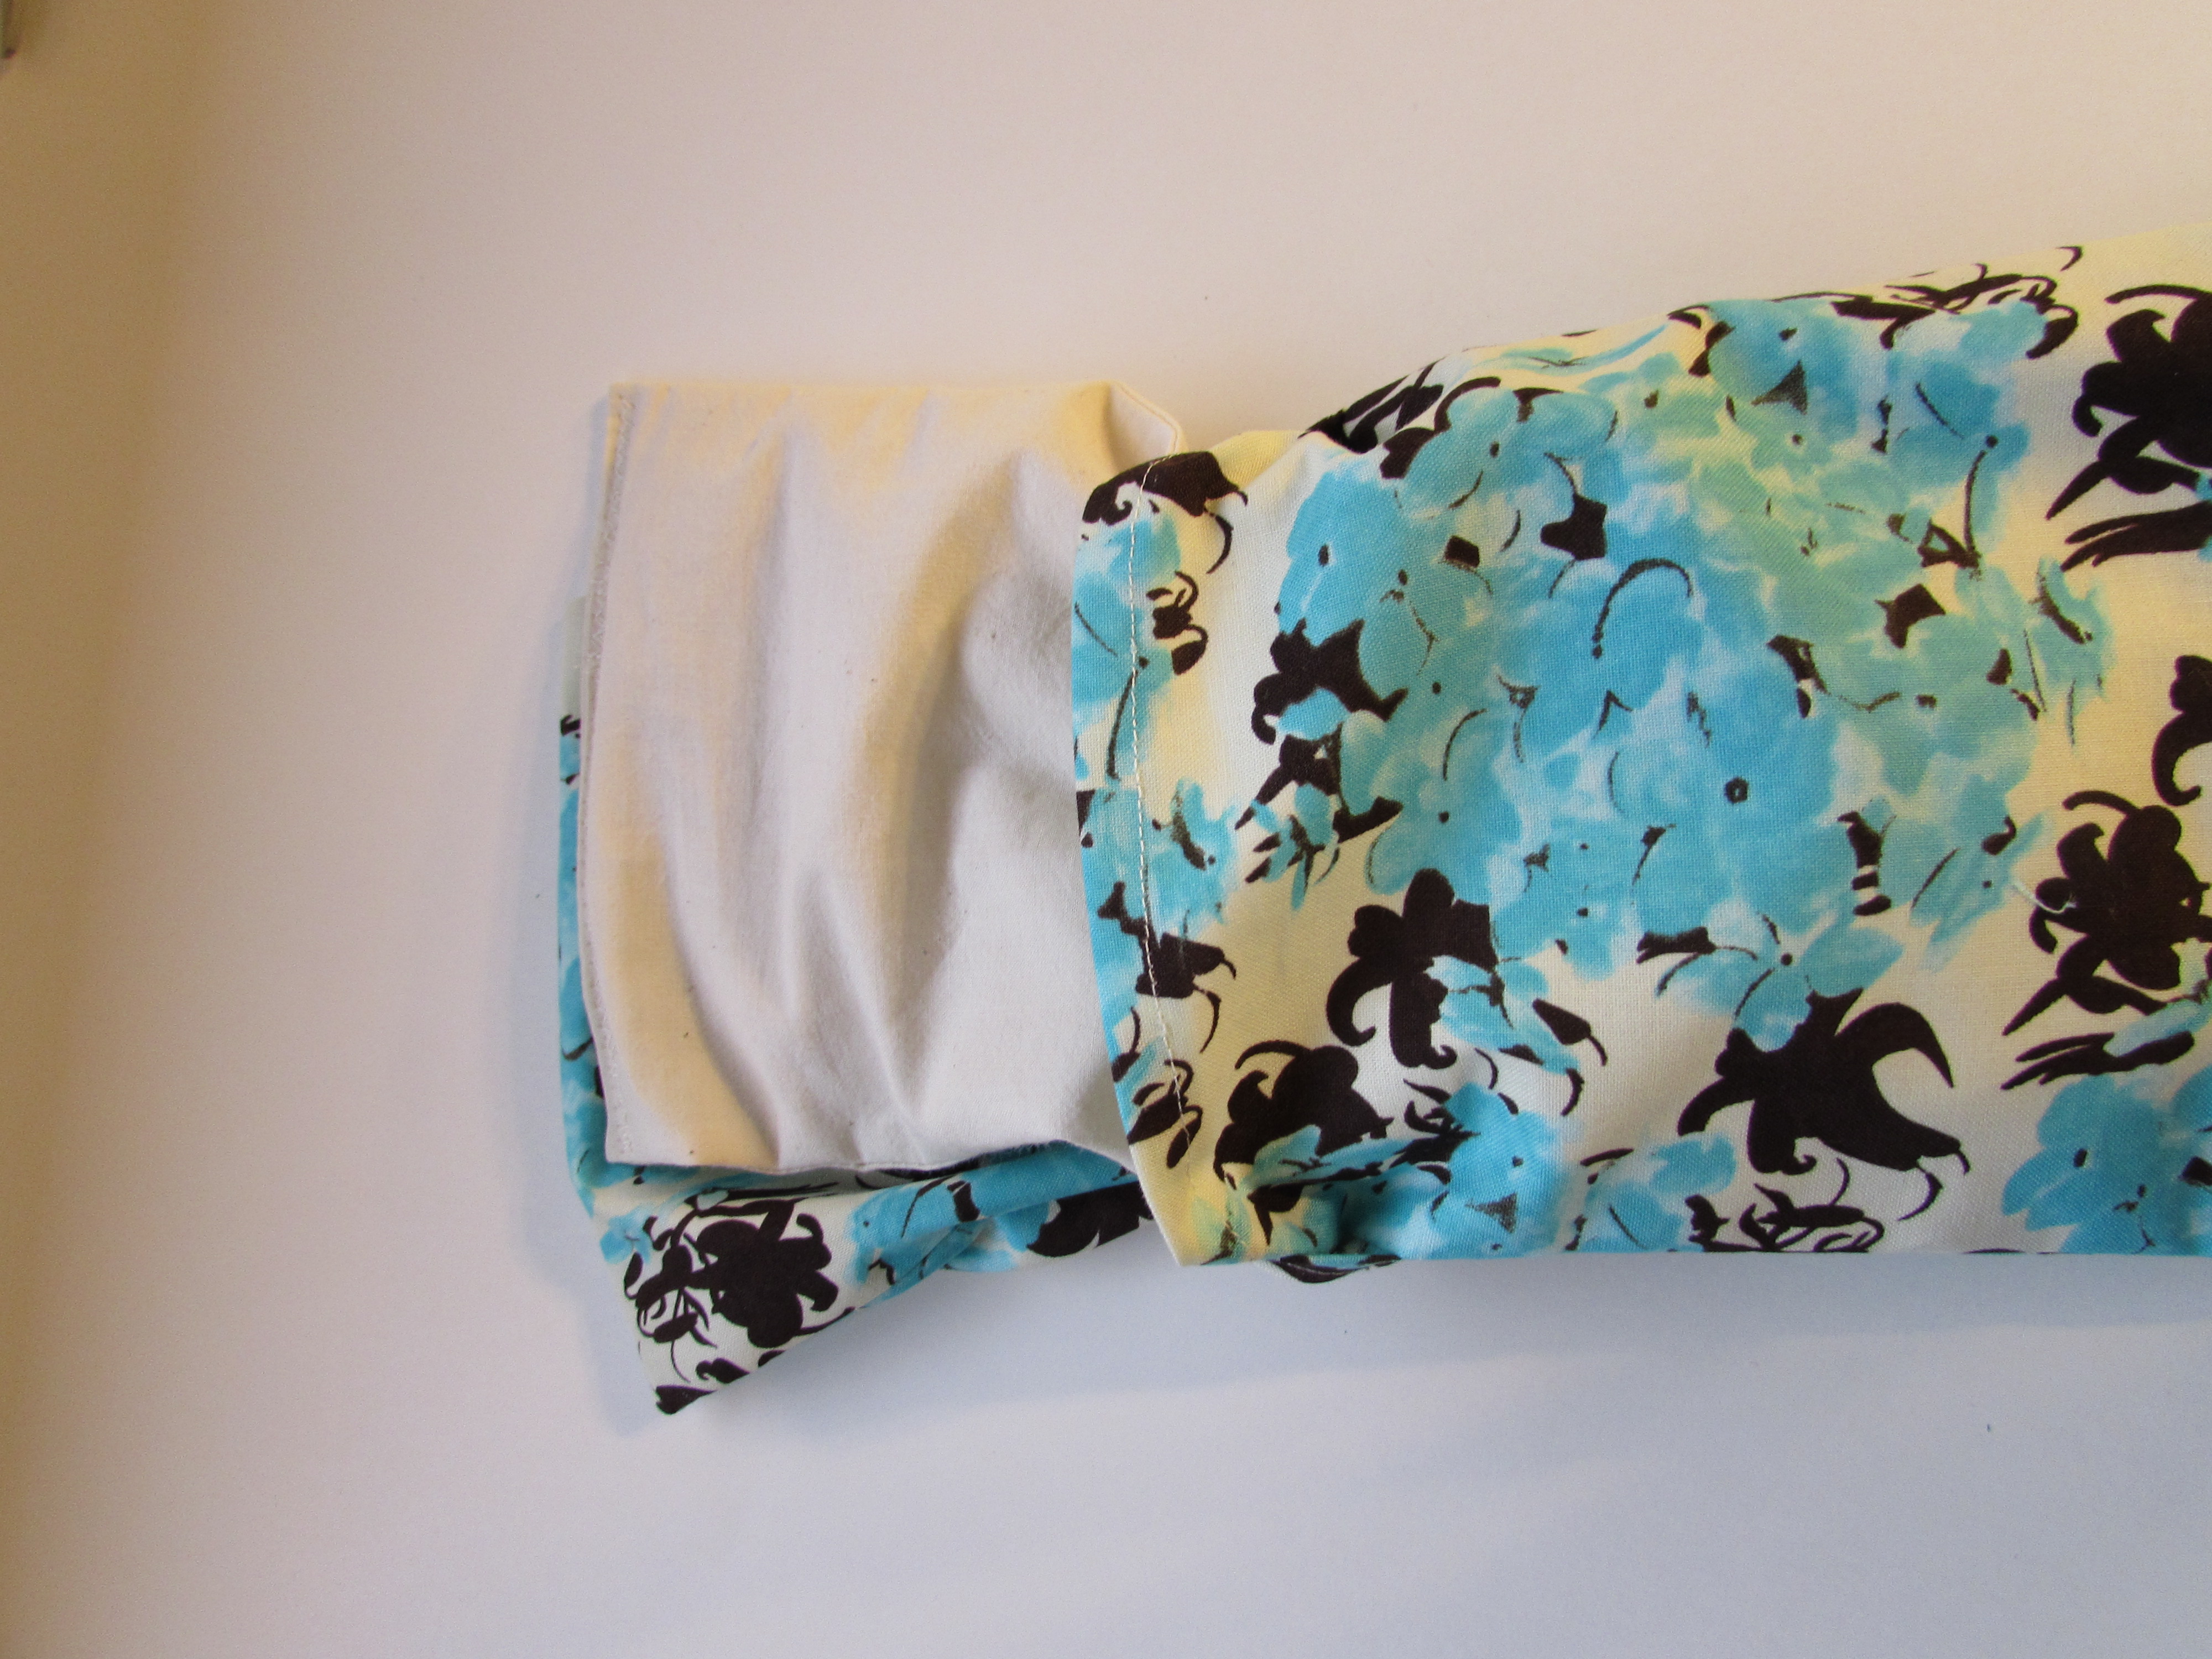
OK – the inner bag is done and now you just make the outer cover. It is basically like making a pillow cover with an envelope back. So easy.
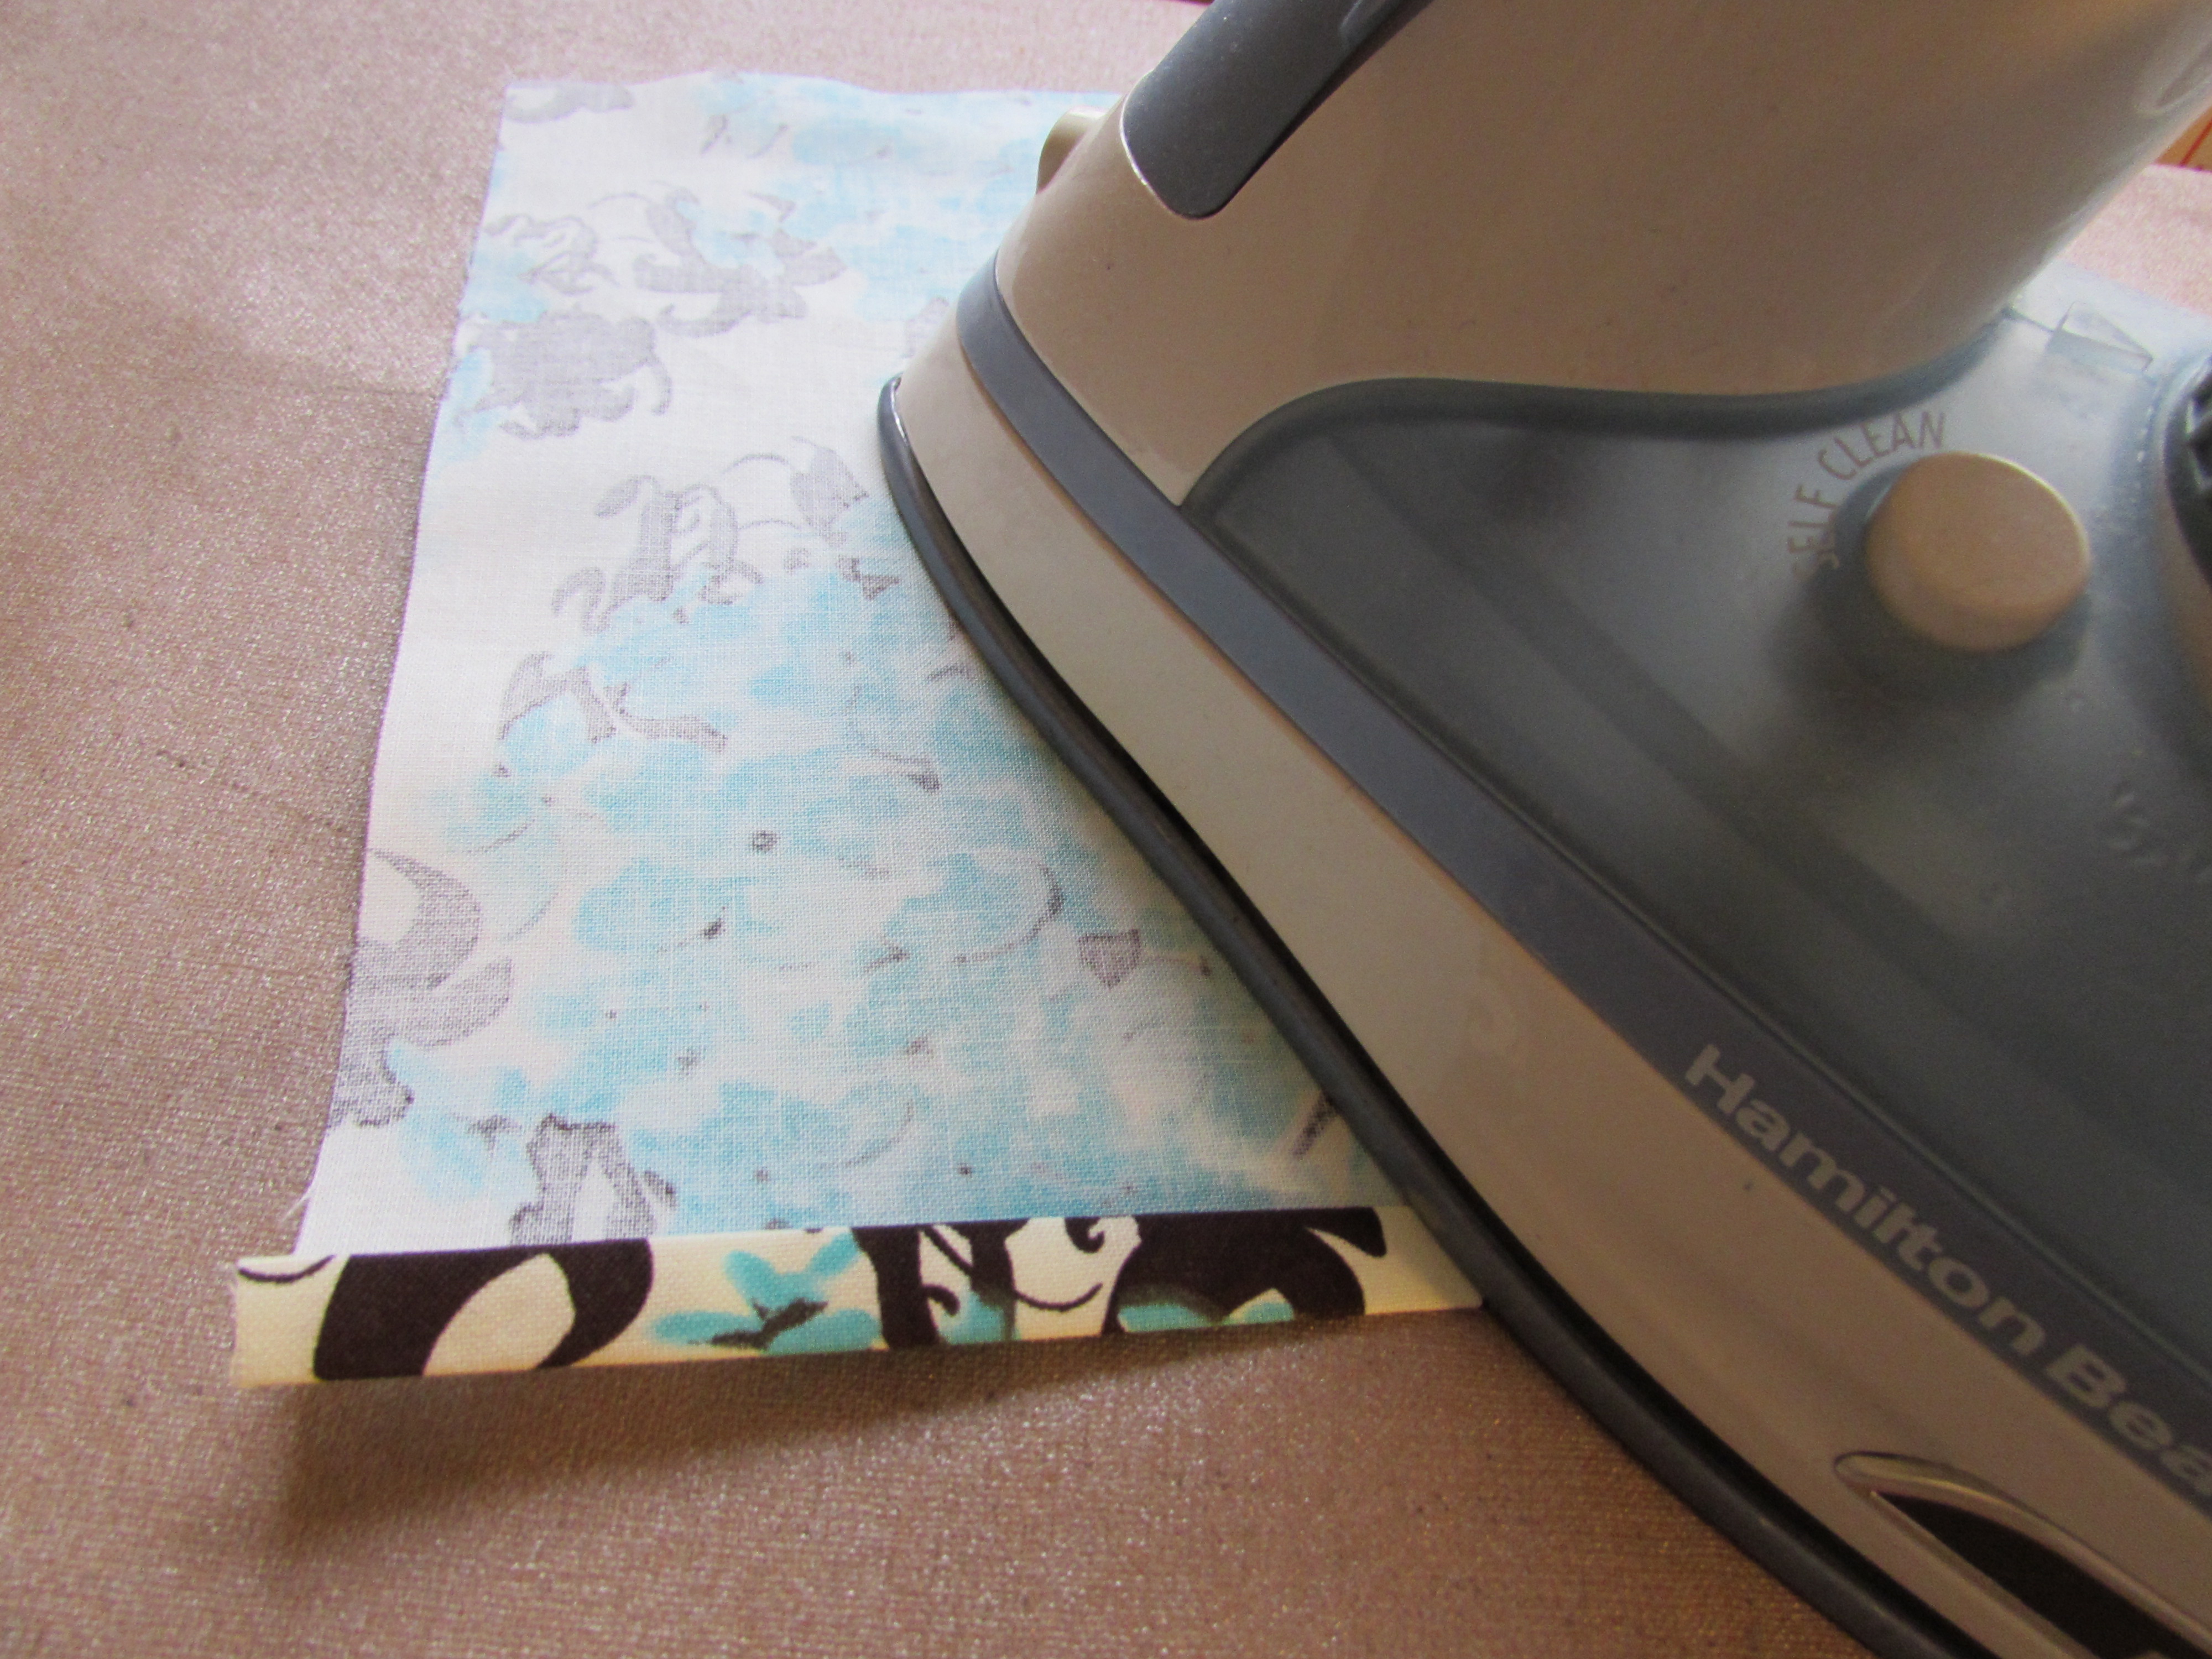
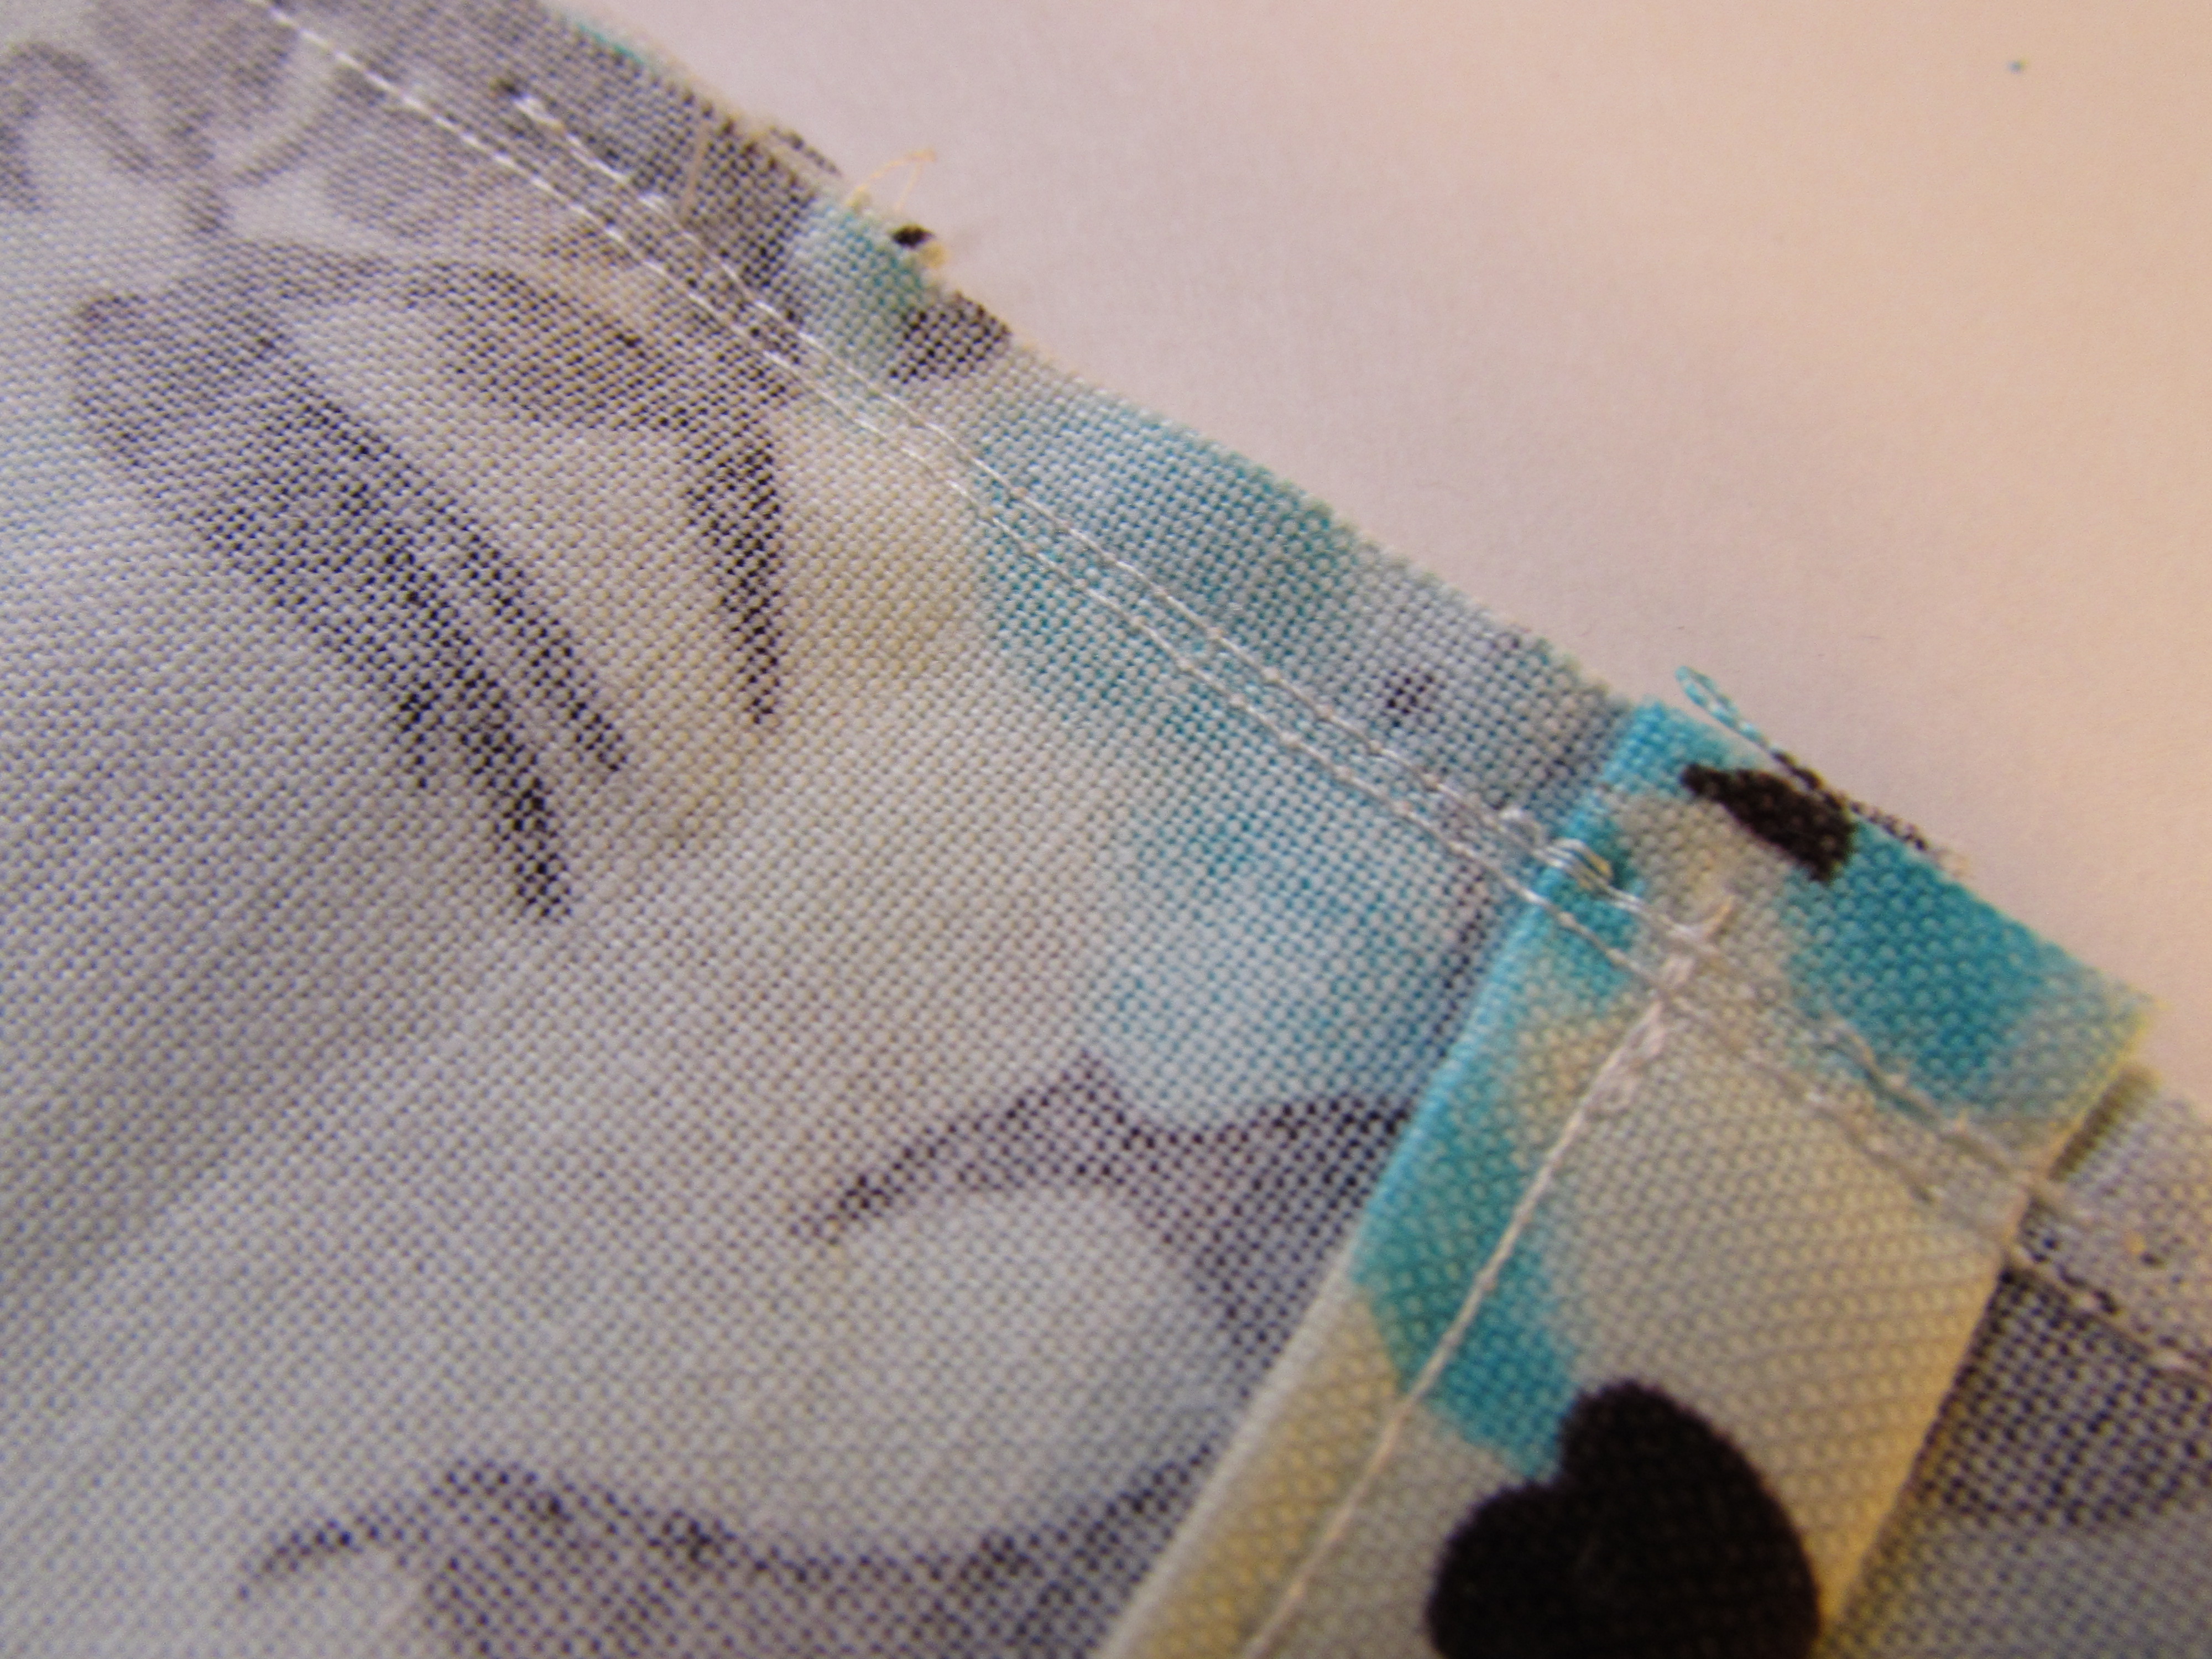
For the back side, take the two shorter pieces and finish one short edge of each. Turn 1/4″ over and finger press. Turn it again and press with the iron.
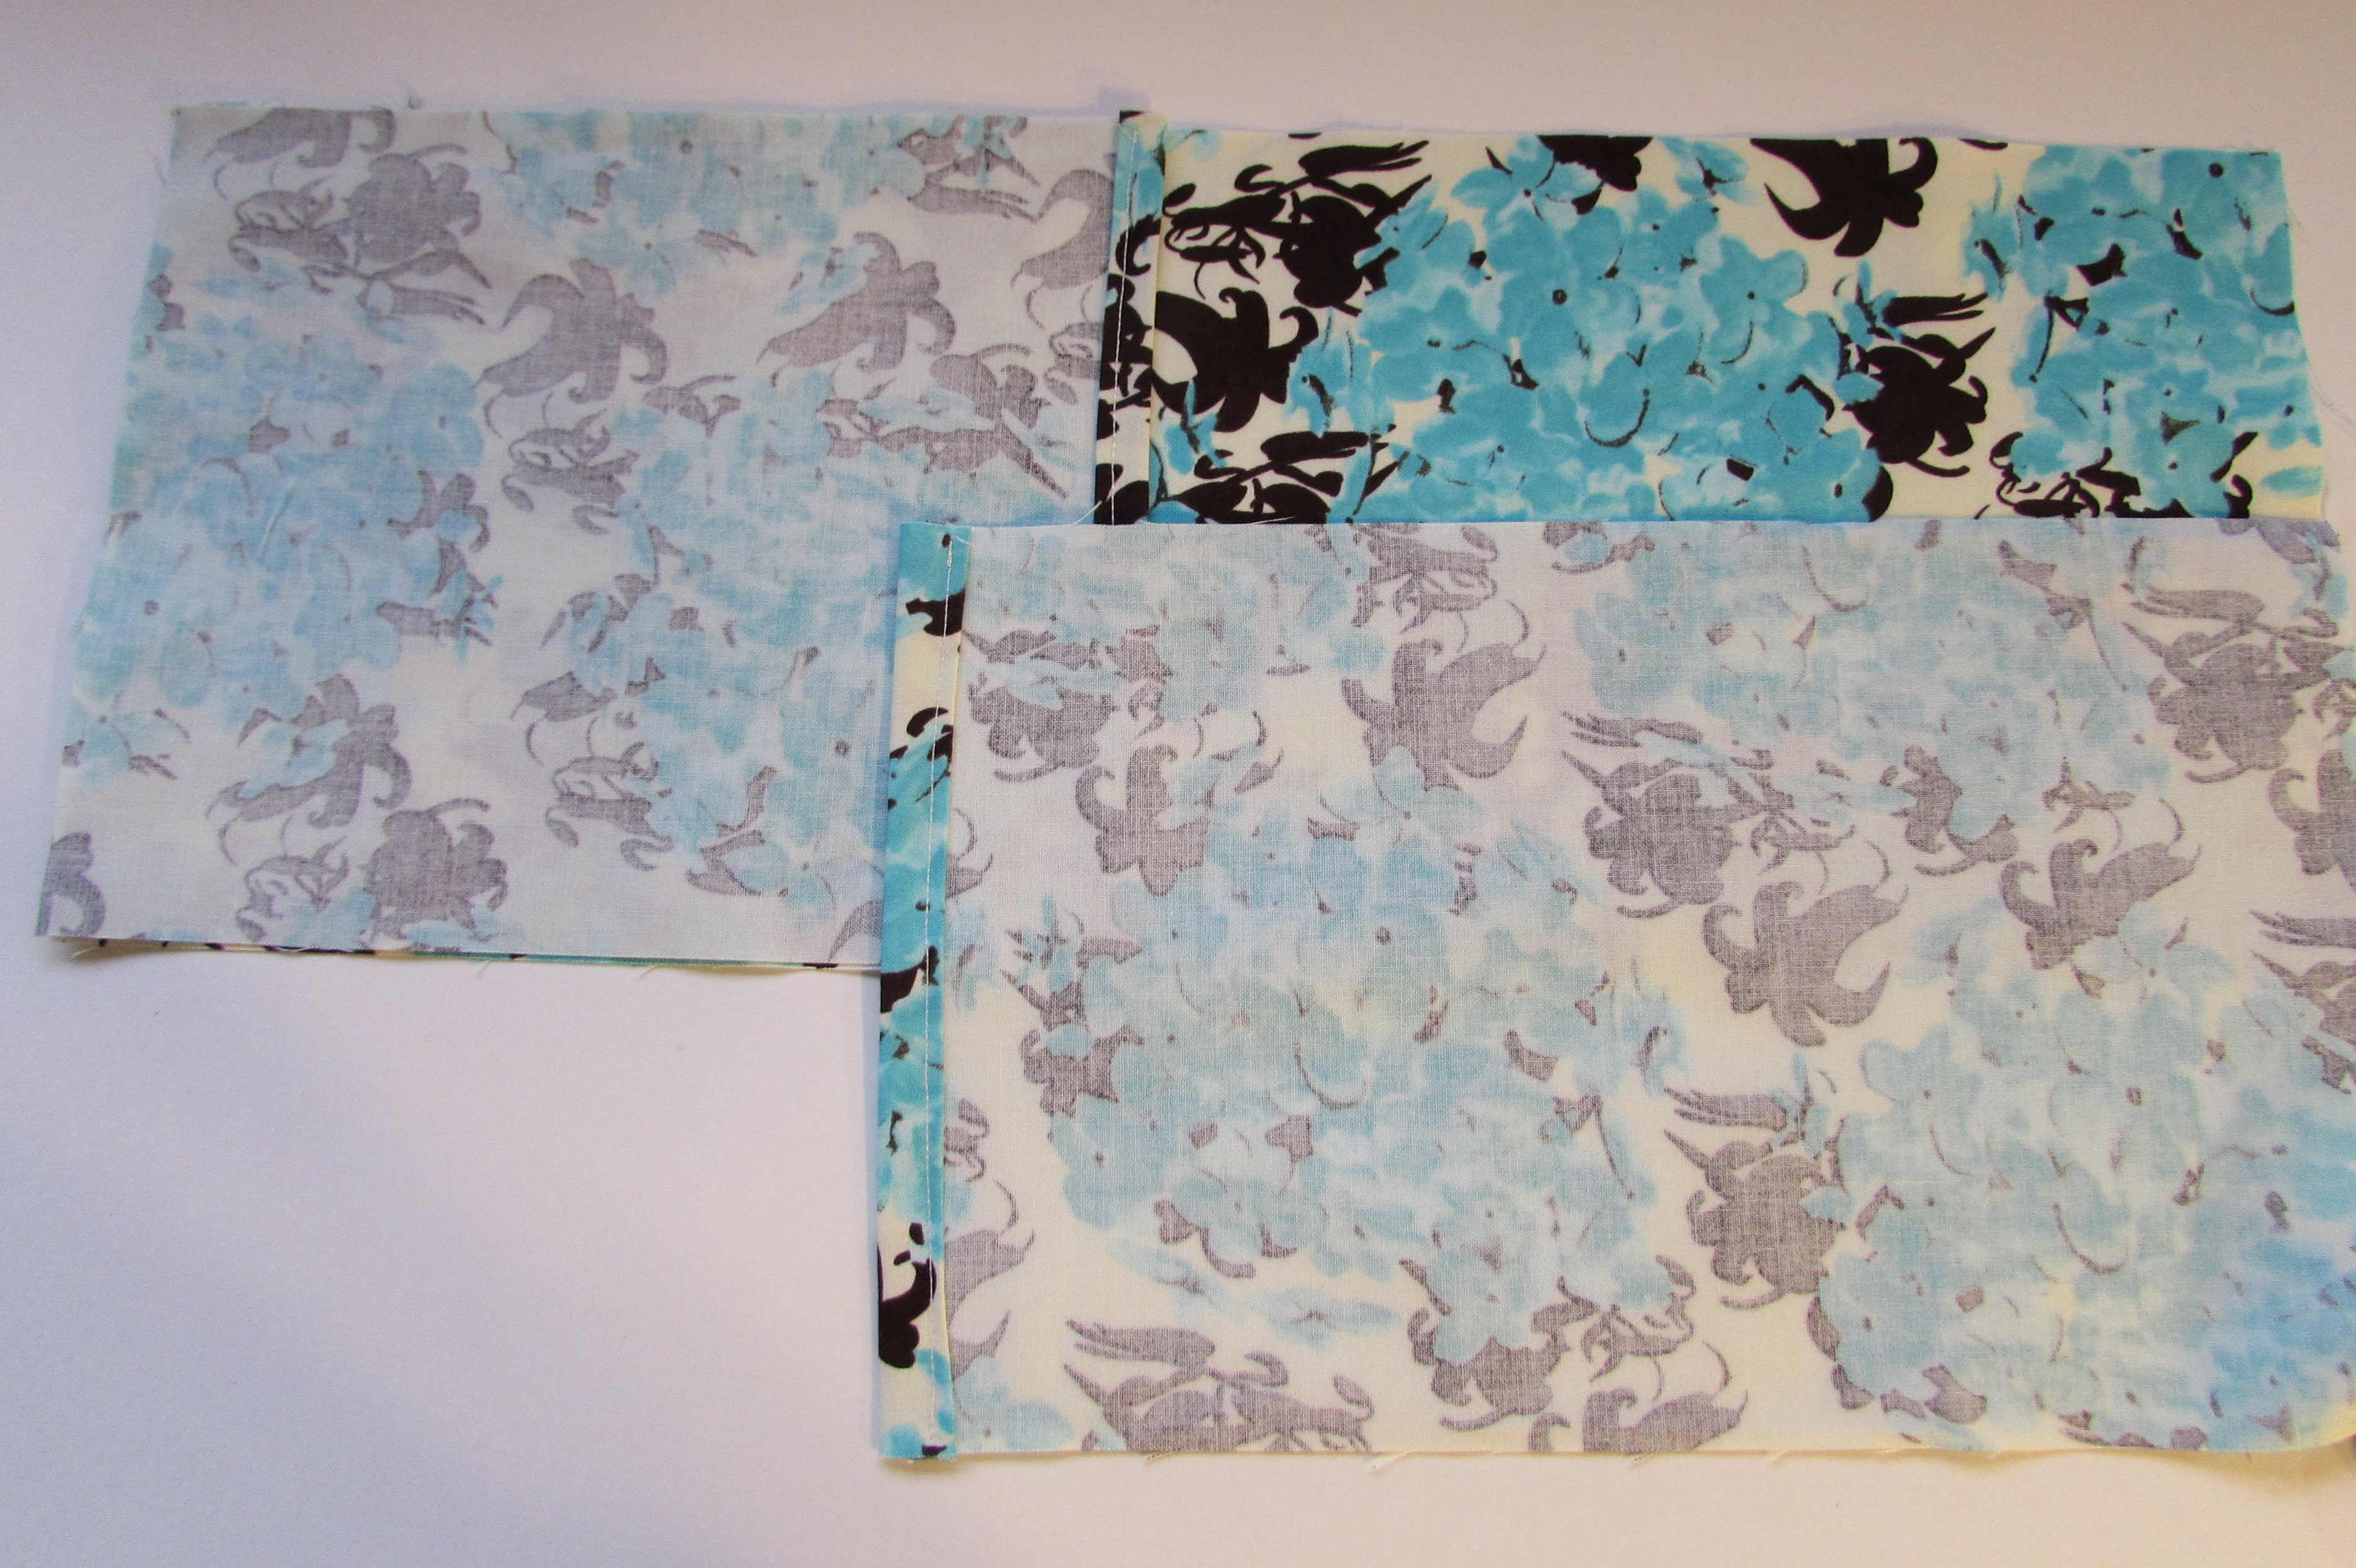
Layer the three pieces, right sides together, as follows. Long piece on the bottom, Short (8.5″x6.5″) piece next and on top of that the longer (11.5″x6.5″) piece. Pin securely, especially where the two shorter pieces overlap.
 Sew the entire perimeter of the case. Take two passes over the sections where the backing pieces overlap so they are strong. That is where the most stress is when you take the rice bag in and out. As with the lining, trim the corners carefully and turn right side out. Use the chopstick carefully to create nice corners.

Take the rice pack and insert. It takes a bit of wiggling to get it all inside the cover.
Ta Da! All done.
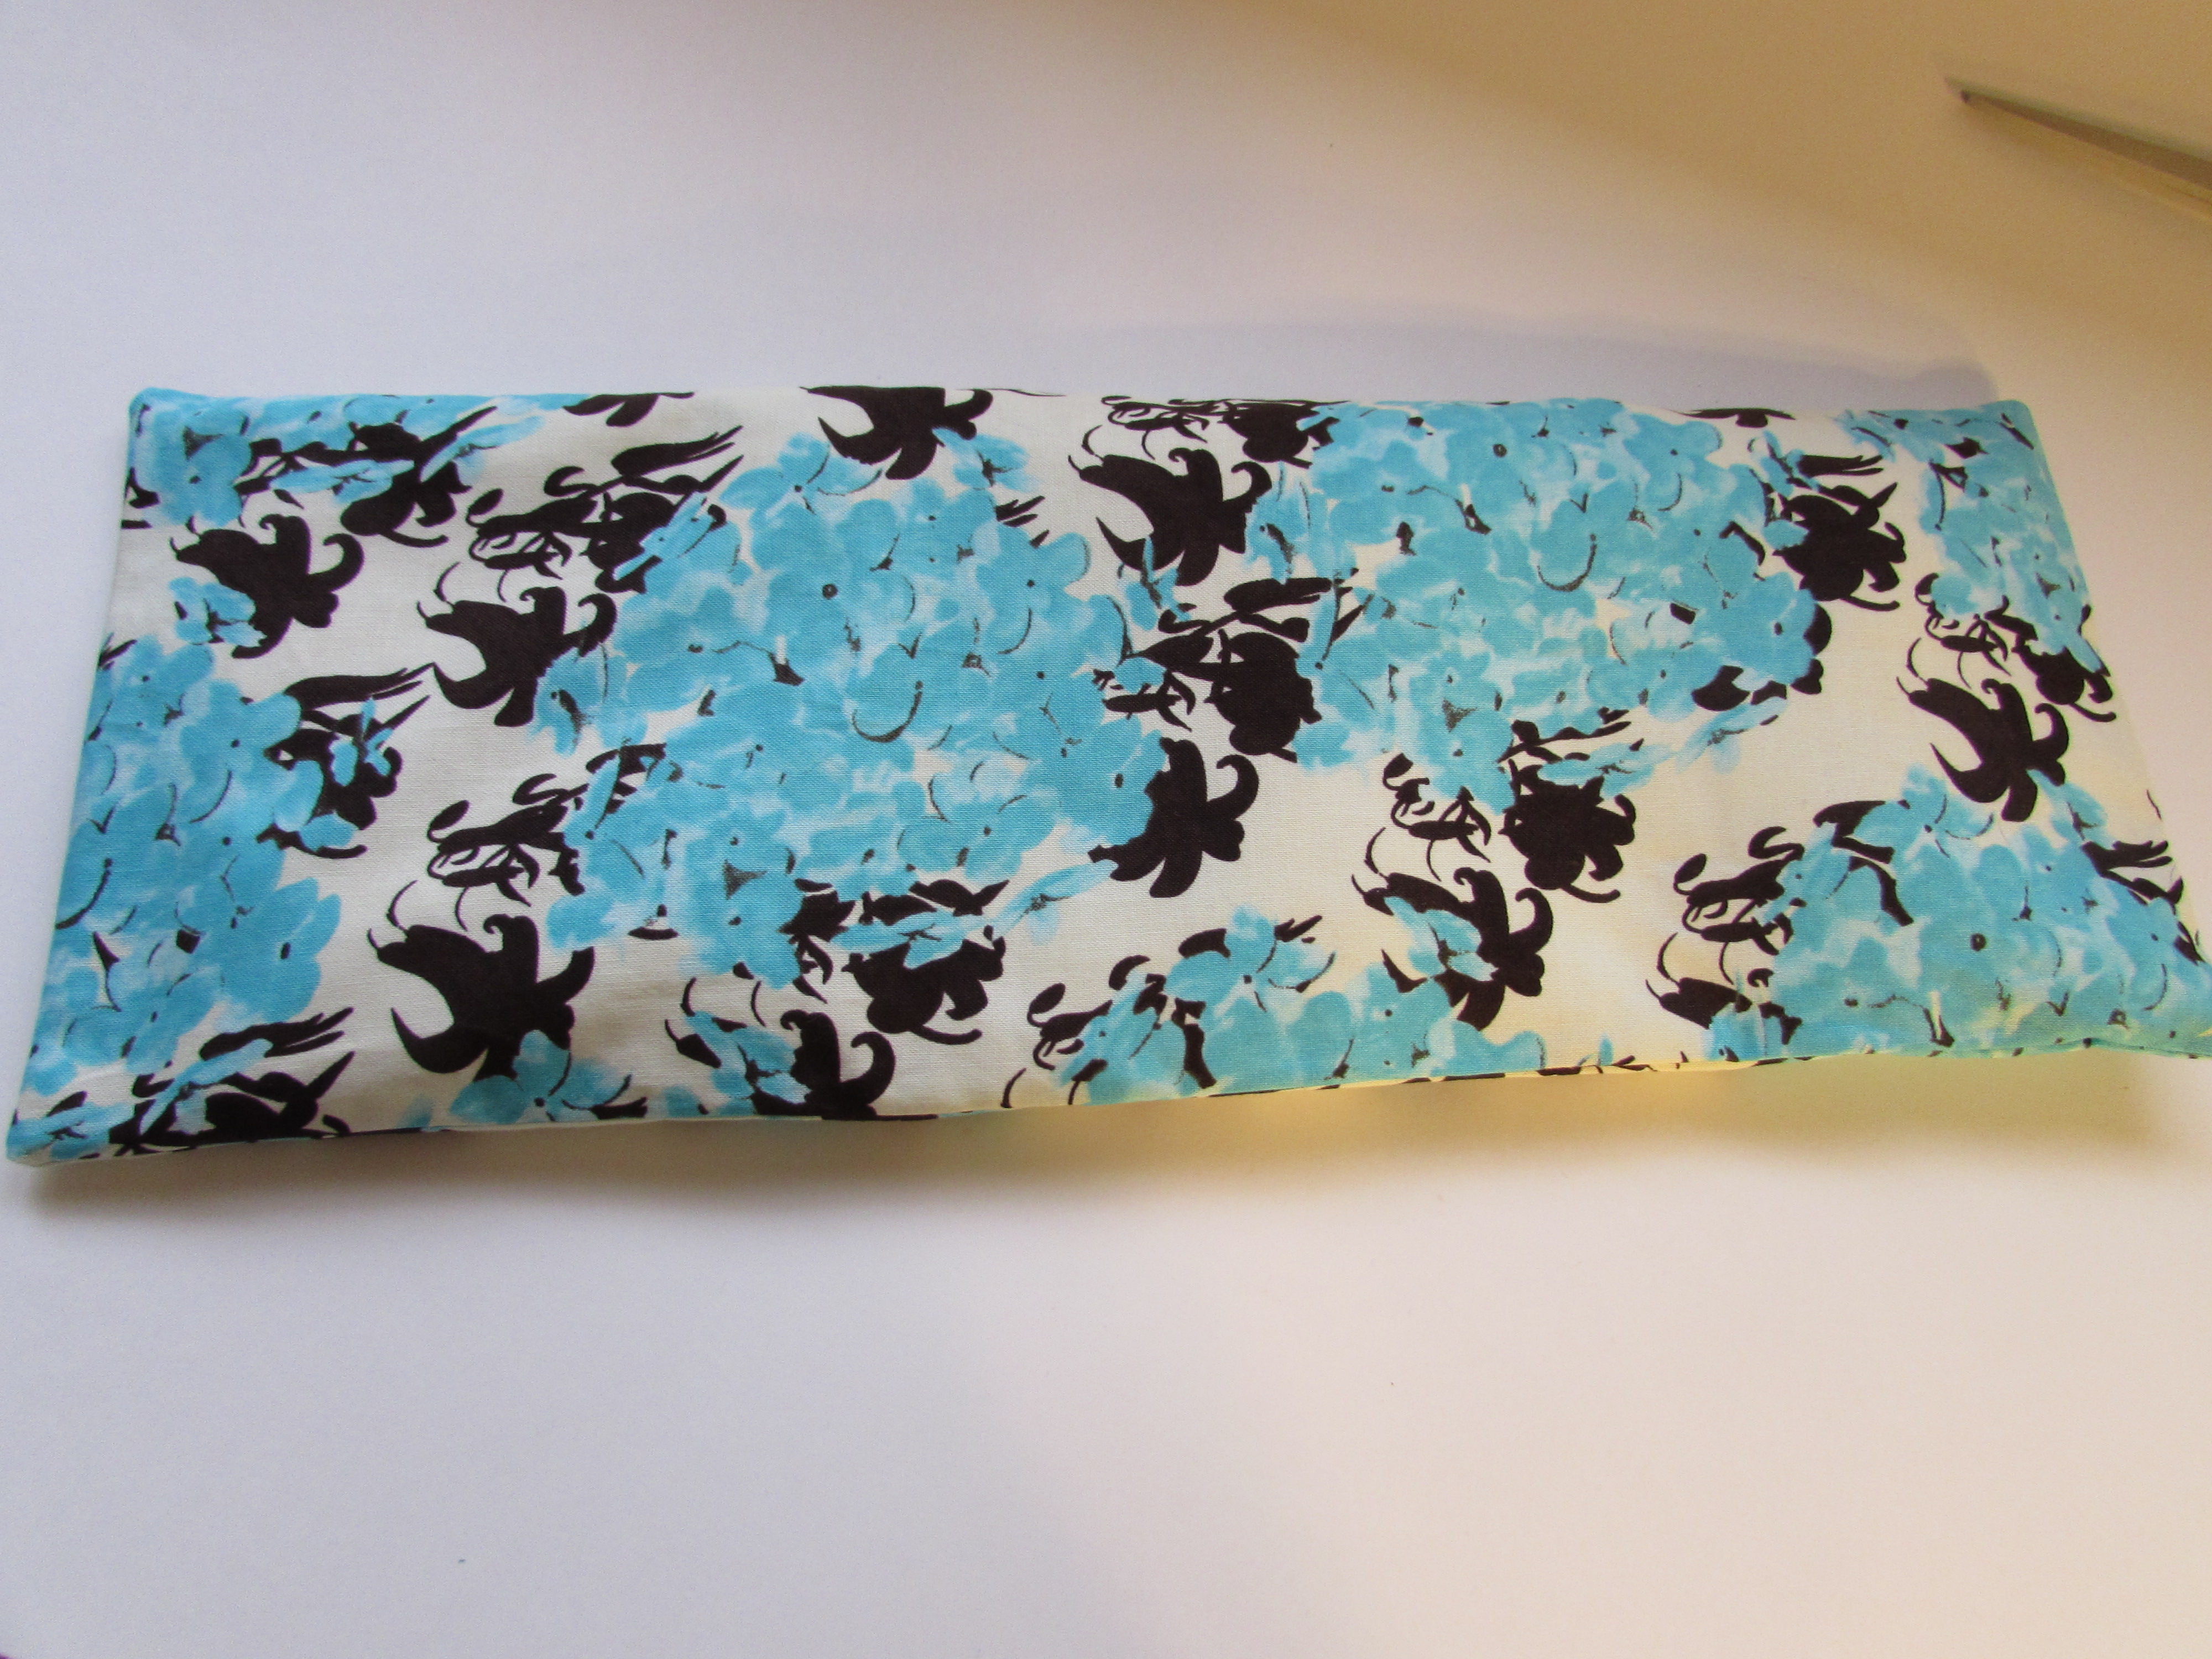
The amount of rice that is put into the liner affects how malleable, or flexible, the rice pack is. When I made the first one I put too much rice and it felt stiff and quite heavy. You can play around with it and see what feels best for you. To use, just put in the microwave and heat for a minute. Check to see if that is warm enough for you. Of course the timing will depend on your microwave, but it can get very hot so be careful. This bag can also be put in the freezer and used as a cold pack. These are great for icing or heating muscle aches, sprains, and warming cold toes in the winter.
Hope you’ll give it a try. Leave any questions in the comments or send an email and I will get back to you. I haven’t written very many tutorials, so if something is unclear, or I left out a step, please let me know so I can update this.
Linking to my usuals. Freemotion by the River, Let’s Bee Social and Crazy Mom Quilts. T hese links are listed at the top of the page, under Link Ups.
I love this idea – never thought I could make my own! The one I bought at the store finally got tired of being microwaved and stiffened up – it was filled with some kind of gushy stuff. What a useful tutorial Bernie – thanks!
Oh, I’m so glad it is helpful. I love that the outer layer is washable. And if the rice bag gets old, it is easy to make another one. Although I have had mine in use for well over a year and it is still fine.
I really need to make one (or more) of these. Years ago I had a corn pillow for the same purpose, but the inner bag finally disintegrated and I tossed it. I’ve pinned your tutorial so I can find it when I need it. Thanks!
You’re very welcome Sarah!
Thank you for sharing this. I just bought my mom one at a holiday craft show and regretted not getting one for myself. It’s work day one of 2016 and I think I could really use one
The nice thing is you can easily adjust the size and they stay warm for quite a long while.
Your Mother loves hers!!!
I’m so glad mom!


Oh what a clever idea! I do something similar to make beanbags for the kids to throw only with popcorn – which I definitely won’t be putting in the microwave!
Haha! Definitely no microwaving those!
Great turorial. I have seen the rice bags with no cover or a pillow case type cover but never thought of this style. Thanks for sharing.
No problem. I think this envelope style cover has worked well. Thank you for stopping by!
This is a great tutorial. I have now made several of these. Thank you so much!
Hi – Thank you so much for letting me know you were able to use the tutorial. These are so great for healing sore muscles.
Take care.