Yesterday I spent the day recuperating from some sort of intestinal bug. I spent a bit of time pitying myself in the morning since I had spent a good portion of the week prior down with migraines. Once I completed that task (the pity party) I decided to move forward. One can only enjoy that sort of thing for so long.
I decided to look at www.vistaprint.com and play with designing a business card for Needle and Foot. The day prior to being sick, I was in our local kitchen goods store, The Wooden Spoon. (Isn’t that a cute name?) I was comparing the eight cup Chemex and the ten cup pot. I have a customer on Etsy that wants a ten cup cover and I had not yet made a pattern for that size. The manager was so gracious when I explained what I was doing and that I hoped to avoid actually buying the ten cup pot (they are sort of spendy and I already have the six and eight cup model). Once she saw what I was making, she asked for a business card to show the owner because she thought they might be interested in talking with me at some point. Alas, no business card had I. So I did what any other professional would do and wrote my contact info on a scrap of paper that I dug from the darkest depths of my purse. You should know that the nuns always gave me a hard-earned “C” in cursive/handwriting all those years back so it is sure that I left a gorgeous note. Hope they don’t lose it. Hence the need for something a bit more professional. Off to Vistaprint.
After I created what I thought looked like a good draft I submitted it to my Advisory Board of Five (aka my five sisters). Oh, the helpful information that I gleaned from them. The texting session went as follows:
Me:
Here it is, what do you think? I know the picture is blurred and I am working on that but how about the information?
Them :
- I like the picture. Make the picture bigger.
- Add ‘Quilter Extrordinaire’ under the name.
- Now you can use the cards to put in those fishbowls at restaurants and win free lunches. This is the only reason I have business cards. I haven’t won yet but I feel it happening at some point.
- Oh, I actually won a free lunch doing that at Noodles & Co. (In my old life.) <this advisor is currently retired.>
- See, they pay for themselves.
Me:
Thanks. Now, do I order 100 or go big and get the 10,000 pack? Buying in bulk is always more economical you know.
Them:
- Do they have a ten pack??
- 100 doesn’t seem like enough but 10,000 would allow you to wallpaper a room in the Downieville house <that is the house we are currently renovating.>
It is always best to have support like this when making critical decisions. The expertise and wisdom run deep within this group. If you don’t have this type of support I highly recommend you go out and adopt a few sisters for yourself.
Other than designing business cards (I bought the 100 pack, by the way) I did a little bit of sewing. Prior to getting sick, I decided to start working on the first row of Mari’s Classic Stitches BOM. She is making the first row with Broken Dishes blocks which are created with HST’s. I am not usually a fan of HST’s – all the trimming and squaring up that is required gets to me after a while. But the block is cute and I really want to do this row quilt for RSC2015. I dug in. The color for January is blue which I have plenty of scraps for. Unfortunately my first attempt was not entirely successful. I read the instructions wrong and made HST’s that were three inches when squared off. The instructions actually said to make them so they were 3″ finished (like when sewn into the block.) This means I should have squared them to 3 1/2″. Dang it. Luckily after making the first 24 HST’s I put them on the design wall to play with them. Soon as they were up there I knew they were too small. So that stack went into a Ziploc bag to be used some other day, in some other way.
I started over and it all went as it should. Got the HST’s put together (and it didn’t take long.)
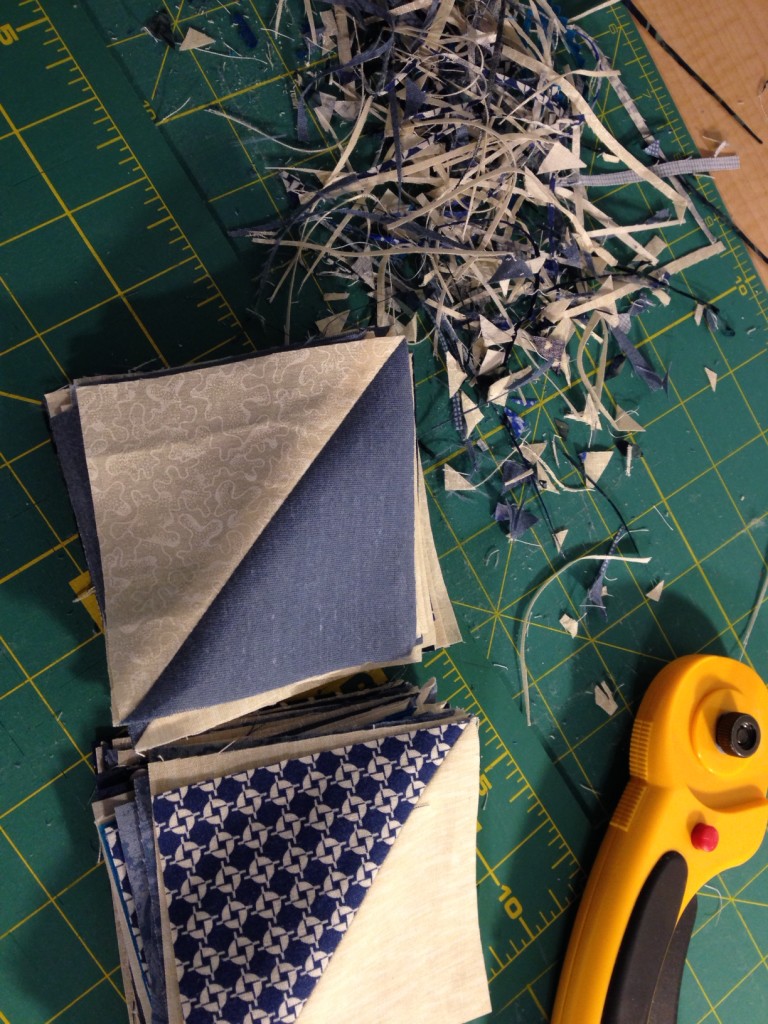
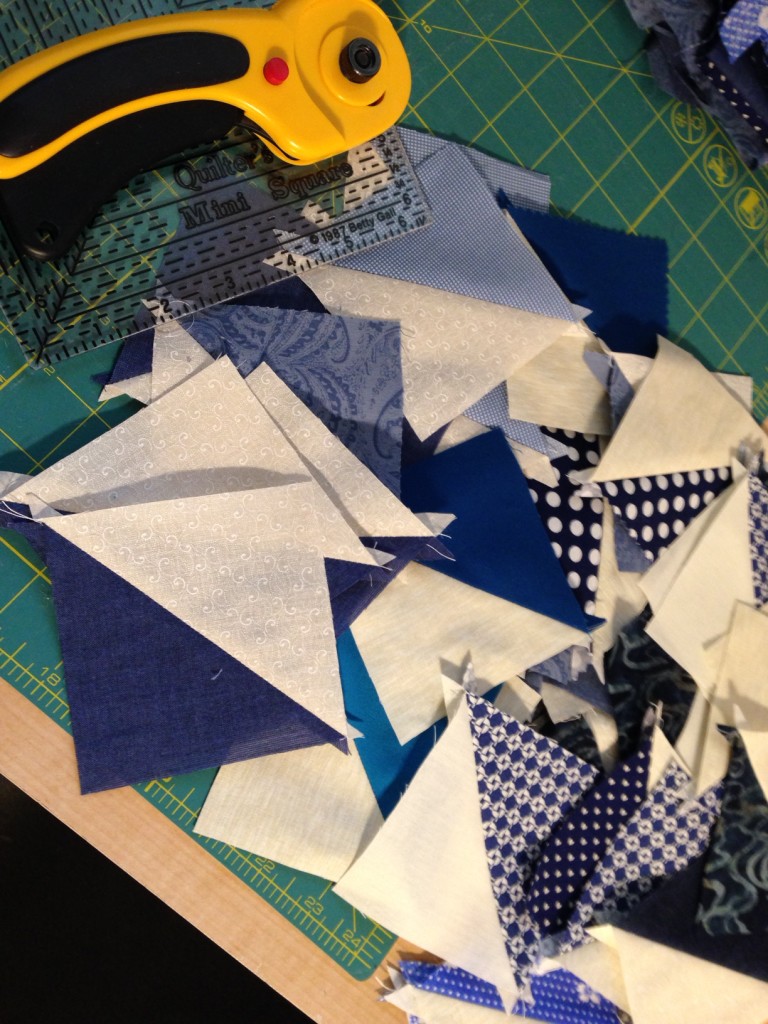 It’s that trimming. Why isn’t there a better way? Or is there? Does anyone have any good tips for trimming HST’s? My method for making HST’s is to cut two square and put them right sides together. I have a little tool to draw two lines that are each 1/4″ from the diaganol. I sew those two lines and cut them apart down the center. The method works but maybe I am missing something wonderful that would allow me to love making HST’s? If so, please leave me a comment with your suggestion!! I will be ever grateful as sooo many blocks are based on HST’s.
Enough whining. The trimming was completed. The fun part is piecing the blocks. Here they are – almost done and hanging on the wall.
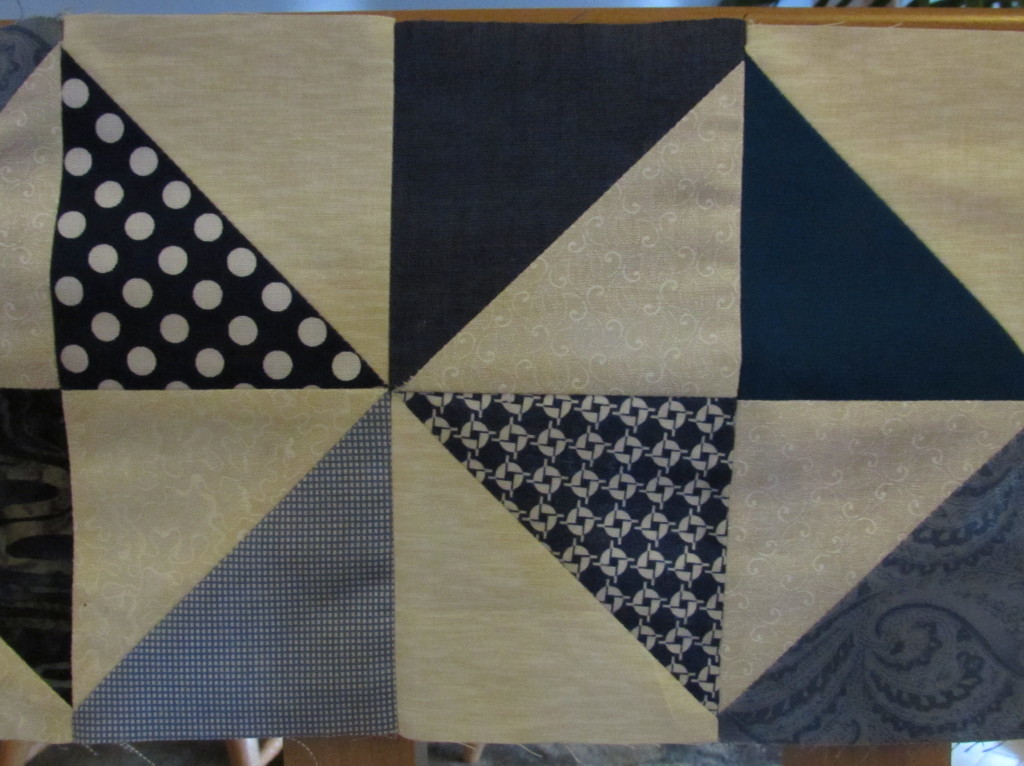
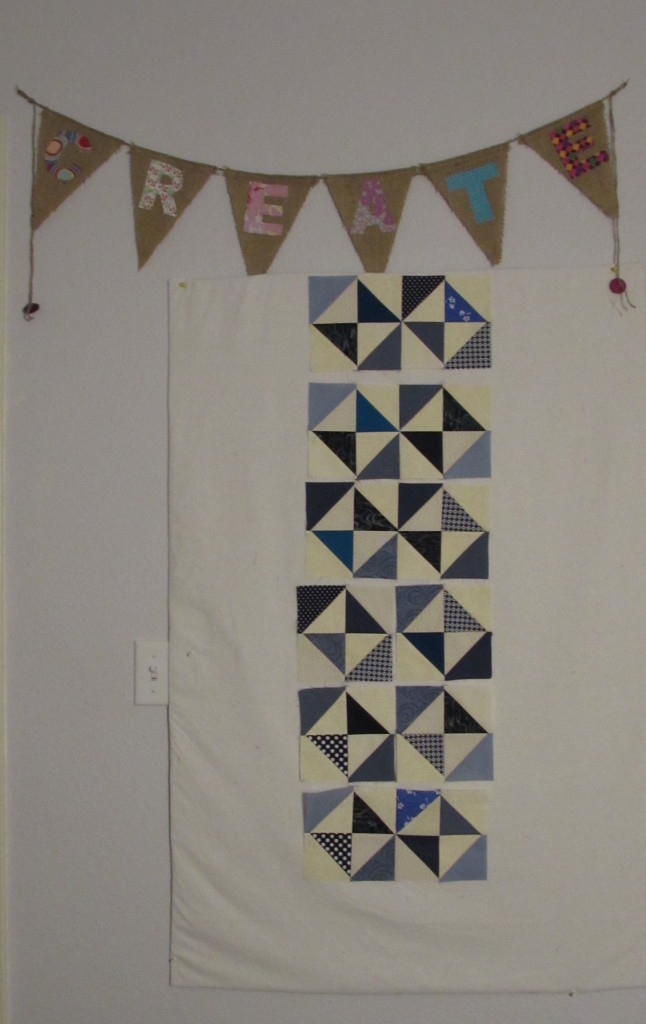 One good thing is that with this project, I noticed that my points are getting more accurate. Not all of them… but some actually look like this:
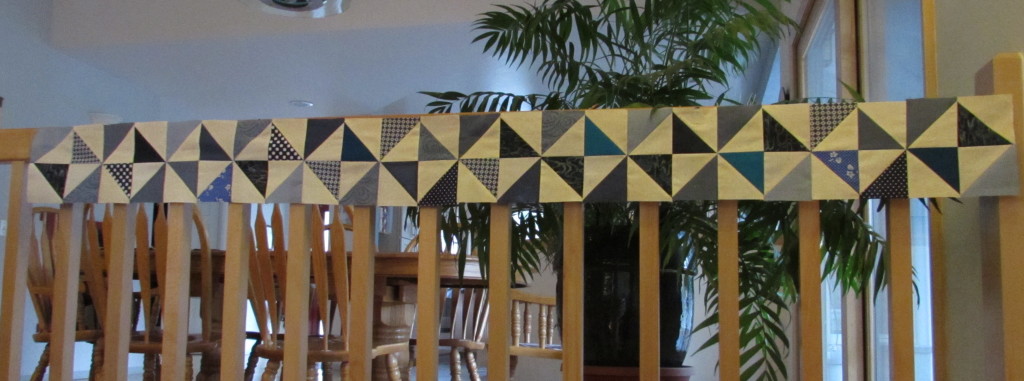
And, ta da! First row of the quilt is done. Yay! (Hard to take a picture of this as it finished at 60″ long and it is raining out. This will do for now.) Row one complete!
Hope you all have a wonderful weekend. Linking to Lorna at Let’s Bee Social and Amanda Jean at Crazy Mom Quilts. Both of these links are found at the top of my page, under Link Ups. Also linking to Angela at So Scrappy for RSC15 and with Megan at Sew Stitching Cute’s link up.

