Happy New Year!! I have been away from the computer for the past week and a half or so spending time with my children. All four kids plus my daughter-in-law were here for a week over the Christmas Holiday. What a treat. I love having them all at home. The last of them left this afternoon. We had a great time together – lots of time for visiting, playing cards, seeing relatives and eating, eating, eating. I hope you all had a wonderful holiday season as well.
Business first! In my last post I was celebrating my 51st post and 51st follower with a little giveaway. Mari, who writes at the Academic Quilter, won the giveaway. Today I packed up a box of treats and will get that shipped of to her tomorrow. Congrats Mari! If you haven’t ever popped over to her blog, you might want to do that. She is a clever writer and a talented quilter – which makes for good reading!
As with many of you, I have been considering what goals I want to set for the coming year. Quilty resolutions, you might say. I have decided upon just a few. Being a list-maker and goal setter, this works well for me. Rather than list off 20 goals and only accomplishing a few of them, I am trying to be realistic. Here are five goals that I feel are attainable.
- Finish my three unfinished quilts before starting a new one. Once I get a quilt top done, I am so excited to start the next one. But then I have unusable quilt tops staring at me in my sewing room. Considering the work that went into those almost-quilts, I want to finish and enjoy them. Right now I have a nine-patch batik quilt top, my Aurifil BOM quilt, and my RSC14 patchwork blocks to sash and assemble. So, first things first, I will finish these before beginning a new quilt. (This will NOT be easy for me but should be really gratifying.)
- I am often inspired by Amanda Jean Nyberg who writes at Crazy Mom Quilts. She is both an amazing quilter and teacher. Over the past few months she has mentioned that she is on a “fabric fast”. She, like many quilters lately, is trying to sew strictly from her stash. She hasn’t bought fabric for several months! I bought a ton of fabric over the past year. I intend to sew from the stash in my sewing room and use many of the beautiful pieces that I have. My plan is to “shop” my stash and sort it into a few projects. Of course I won’t begin those until I complete number one. See above!
I will have to purchase batting and I am not sure I have yardage large enough for quilt backs but I absolutely have enough to piece a number of quilts. It will be interesting to see how long I can avoid buying new fabric. As you know, this is one expensive hobby. Not buying fabric for a while will be good for the budget!
- Take more time to enjoy the process of piecing. When I am piecing a quilt top I become so anxious to see the finished result. It seems like this anticipation causes me to hurry, which isn’t a good thing for a couple of reasons. First, it makes for sloppy piecing and second, it takes away from the enjoyment of the process. I love the whole bit – selecting the fabric I want to use, the pattern for the quilt, then cutting the pieces and making the blocks. I want to focus on slowing down. I am confident that just by slowing down, my blocks will be more precise and my points more accurate.
- Improve my photography skills. The pictures that I use on my blog aren’t as nice as I would like so I intend to learn more about photography. I take millions of pictures but usually just candids of my kids. I would like to focus on learning how to better use my camera and set up my pictures. For Christmas I received a photo light box from one of my boys. This will really help with the pictures I take for my Etsy listings. I have only just started to play with this. I also asked a friend of mine that is talented with her camera to give me some pointers. Making progress on this goal already!
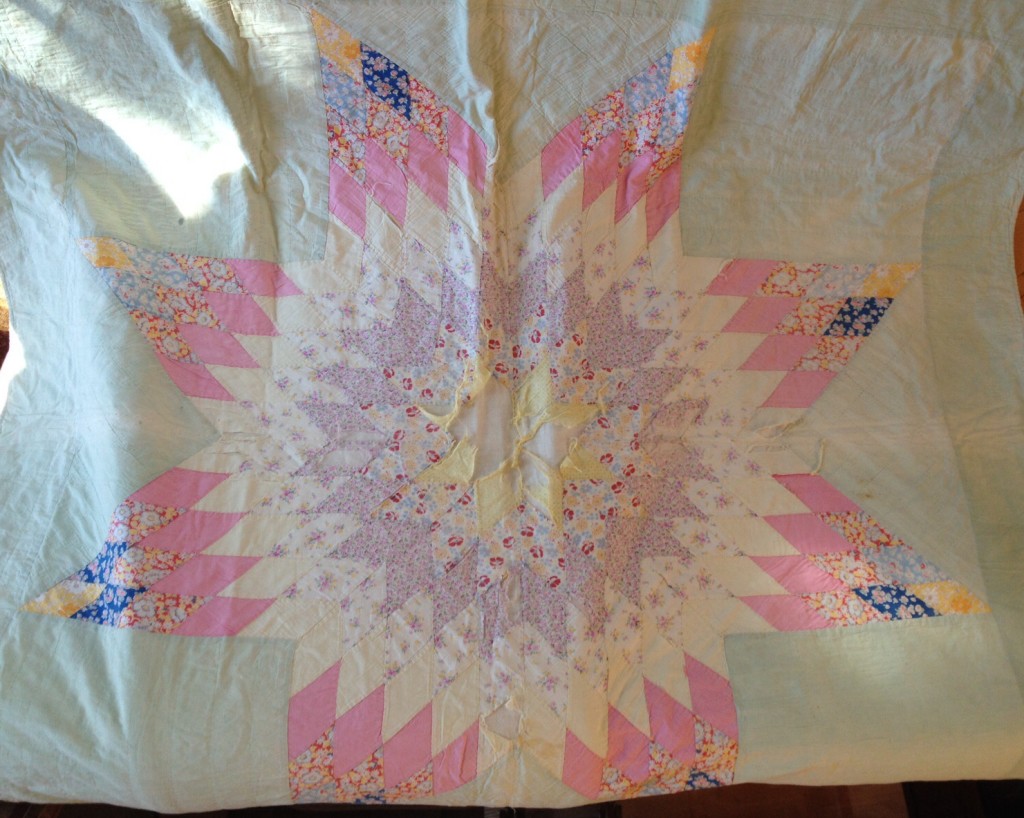
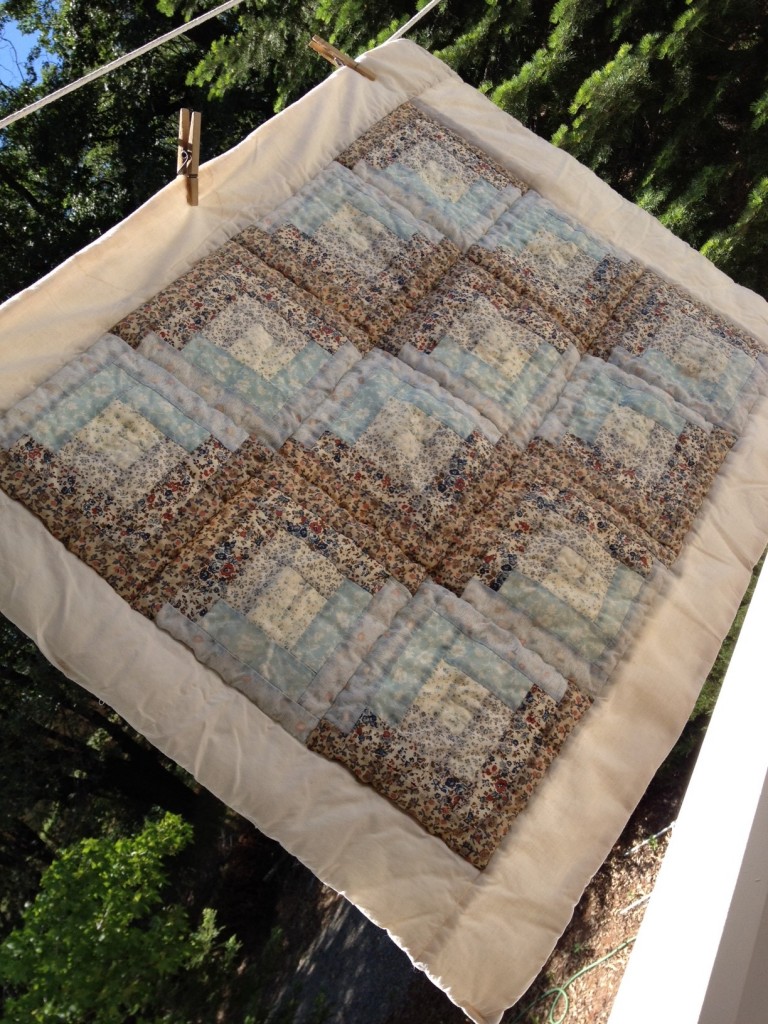
- Finally, I plan to learn a bit about quilt restoration. I have two quilts that need to be restored. One is a log cabin quilt and was the first quilt I ever made. You can read the story of that quilt here. The other is a pretty, antique quilt that I was given. If you look at the picture below you will see that the center of the star is shot. There are quite a few diamonds that are threadbare and in need of repair. It would be great to learn how to replace these pieces. (I assume by applique?)
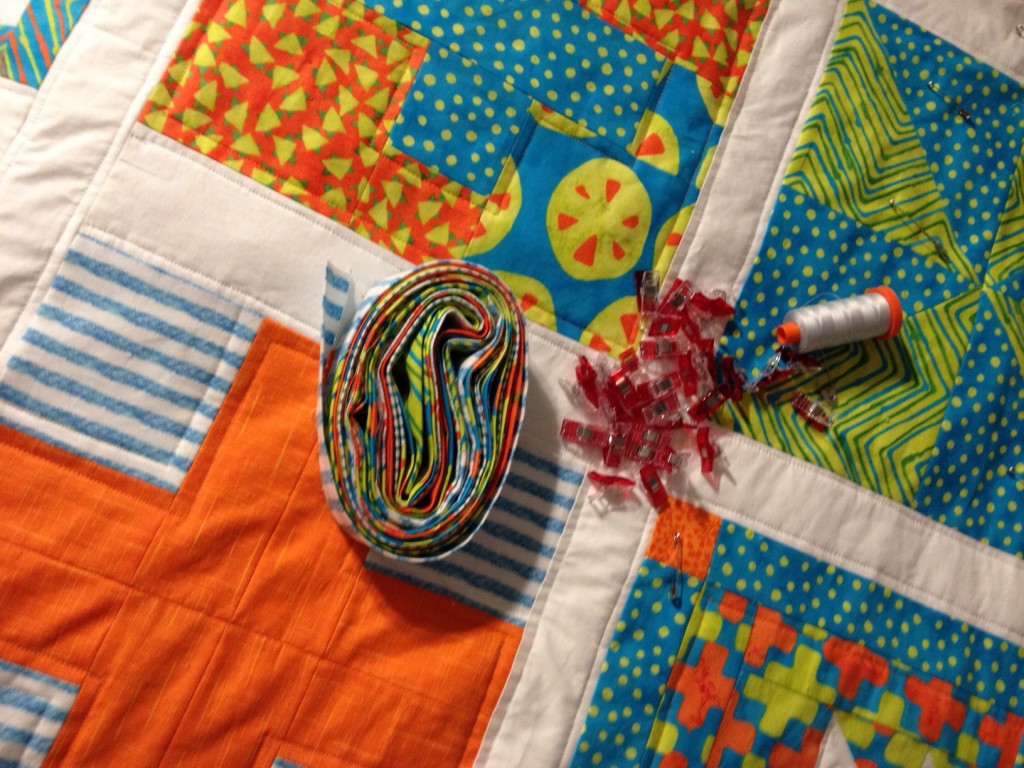
I have been working on goal number one this morning. I am trying to finish the quilting on my Aurifil BOM quilt so I can get the binding sewn on. I made a scrappy binding, which is a first for me. (Check out that pile of Clover binding clips. My Christmas gift from me to me!) This should be my last finish for 2014 – if I can get that binding on today!
So it boils down to these five goals; finish my UFO’s, sew from my stash, improve my piecing by slowing down, focus on my photography skills (hah, no pun intended!), and study up on quilt restoration. If I can accomplish these I will be satisfied. It seems like a reasonable list. We shall see! Who else is setting goals? Let me know so I can go over and read your list. All the best in the new year!
Linking to Let’s Bee Social and Linky Tuesday. Please take a look at these wonderful blogs. Their link is at the top of the page, under Link Ups.

