
When I started writing this blog two years ago, I was constantly reading and looking for tips to get it going. It was really helpful to be able to gather information through our community of quilters.
When first publishing posts it is a bit unsettling, wondering if anyone out there is going to read what you’ve just taken the time and energy to write. The quickest way to gain exposure is by participatiing in the link ups that happen throughout our quilting community. Linking your posts ,and reading through other posts that are linked, gains you much in the way of friends and readers. Your community grows and readers see you regularly reading, commenting, posting and linking up. Those that like what you have to say and the projects you are making come to look forward to seeing the next post. If you are looking for various places to link up, check the top of my blog under Link Ups. I also have a Pinterest board where I collect various link ups.
Other than using linky parties, there are several ways to gain exposure. My recent favorite is using Flipboard. Flipboard is a website that gathers an enormous amount of internet posts and categorizes them for the reader. When you go to the site, you are able to search and read all of the most current news, much like a newspaper. It is very easy to navigate. Rather than going to the original source, e.g. CNN.com, for the news, Flipboard gathers it from all sites. Then they sort it into a zillion categories for the reader to enjoy.
So, how does this become a source of exposure for a quilt blogger? Ah, good question. I am getting there! When a person begins using Flipboard, they create a login. As part of that process, one selects the categories of news they want to read. Honestly there are so many to choose from and once the reader selects categories, the news you read is filtered from those categories. Still with me? So, if someone selects crafting or sewing or quilting, those are the articles the person finds when they open their Flipboard app, or Flipboard on the web. Looking over the suggested articles or posts, when you select one to read, you are taken directly to the website it came from. Meaning if they suggest an article written at NeedleandFoot.com and the reader clicks to read, they are then directed to my blog. This is really helpful because once on the blog, hopefully the reader will look around and find out that they are completely in love with Needle & Foot, right?? 
Using your Flipboard login, you can also create magazines. This is akin to creating a board in Pinterest. If you choose to, you can save articles to your magazine. This is where your increased blog traffic really comes in. As a blogger, you can create a magazine and save your own blog posts to it. This gives each of your posts exposure as you save them to the magazine. When you save the post, there is a place to put a quick sentence talking about that post. That sentence is like tagging your post so the search engines within Flipboard can find it and suggest it to others who are using Flipboard. I have been using Flipboard, collecting my posts and sorting them into different magazines for a few months now and I can see traffic coming via Flipboard and it is steadily increasing. It took me a while to figure out how to use this to my advantage and now that I have a system, I want to share it with you.
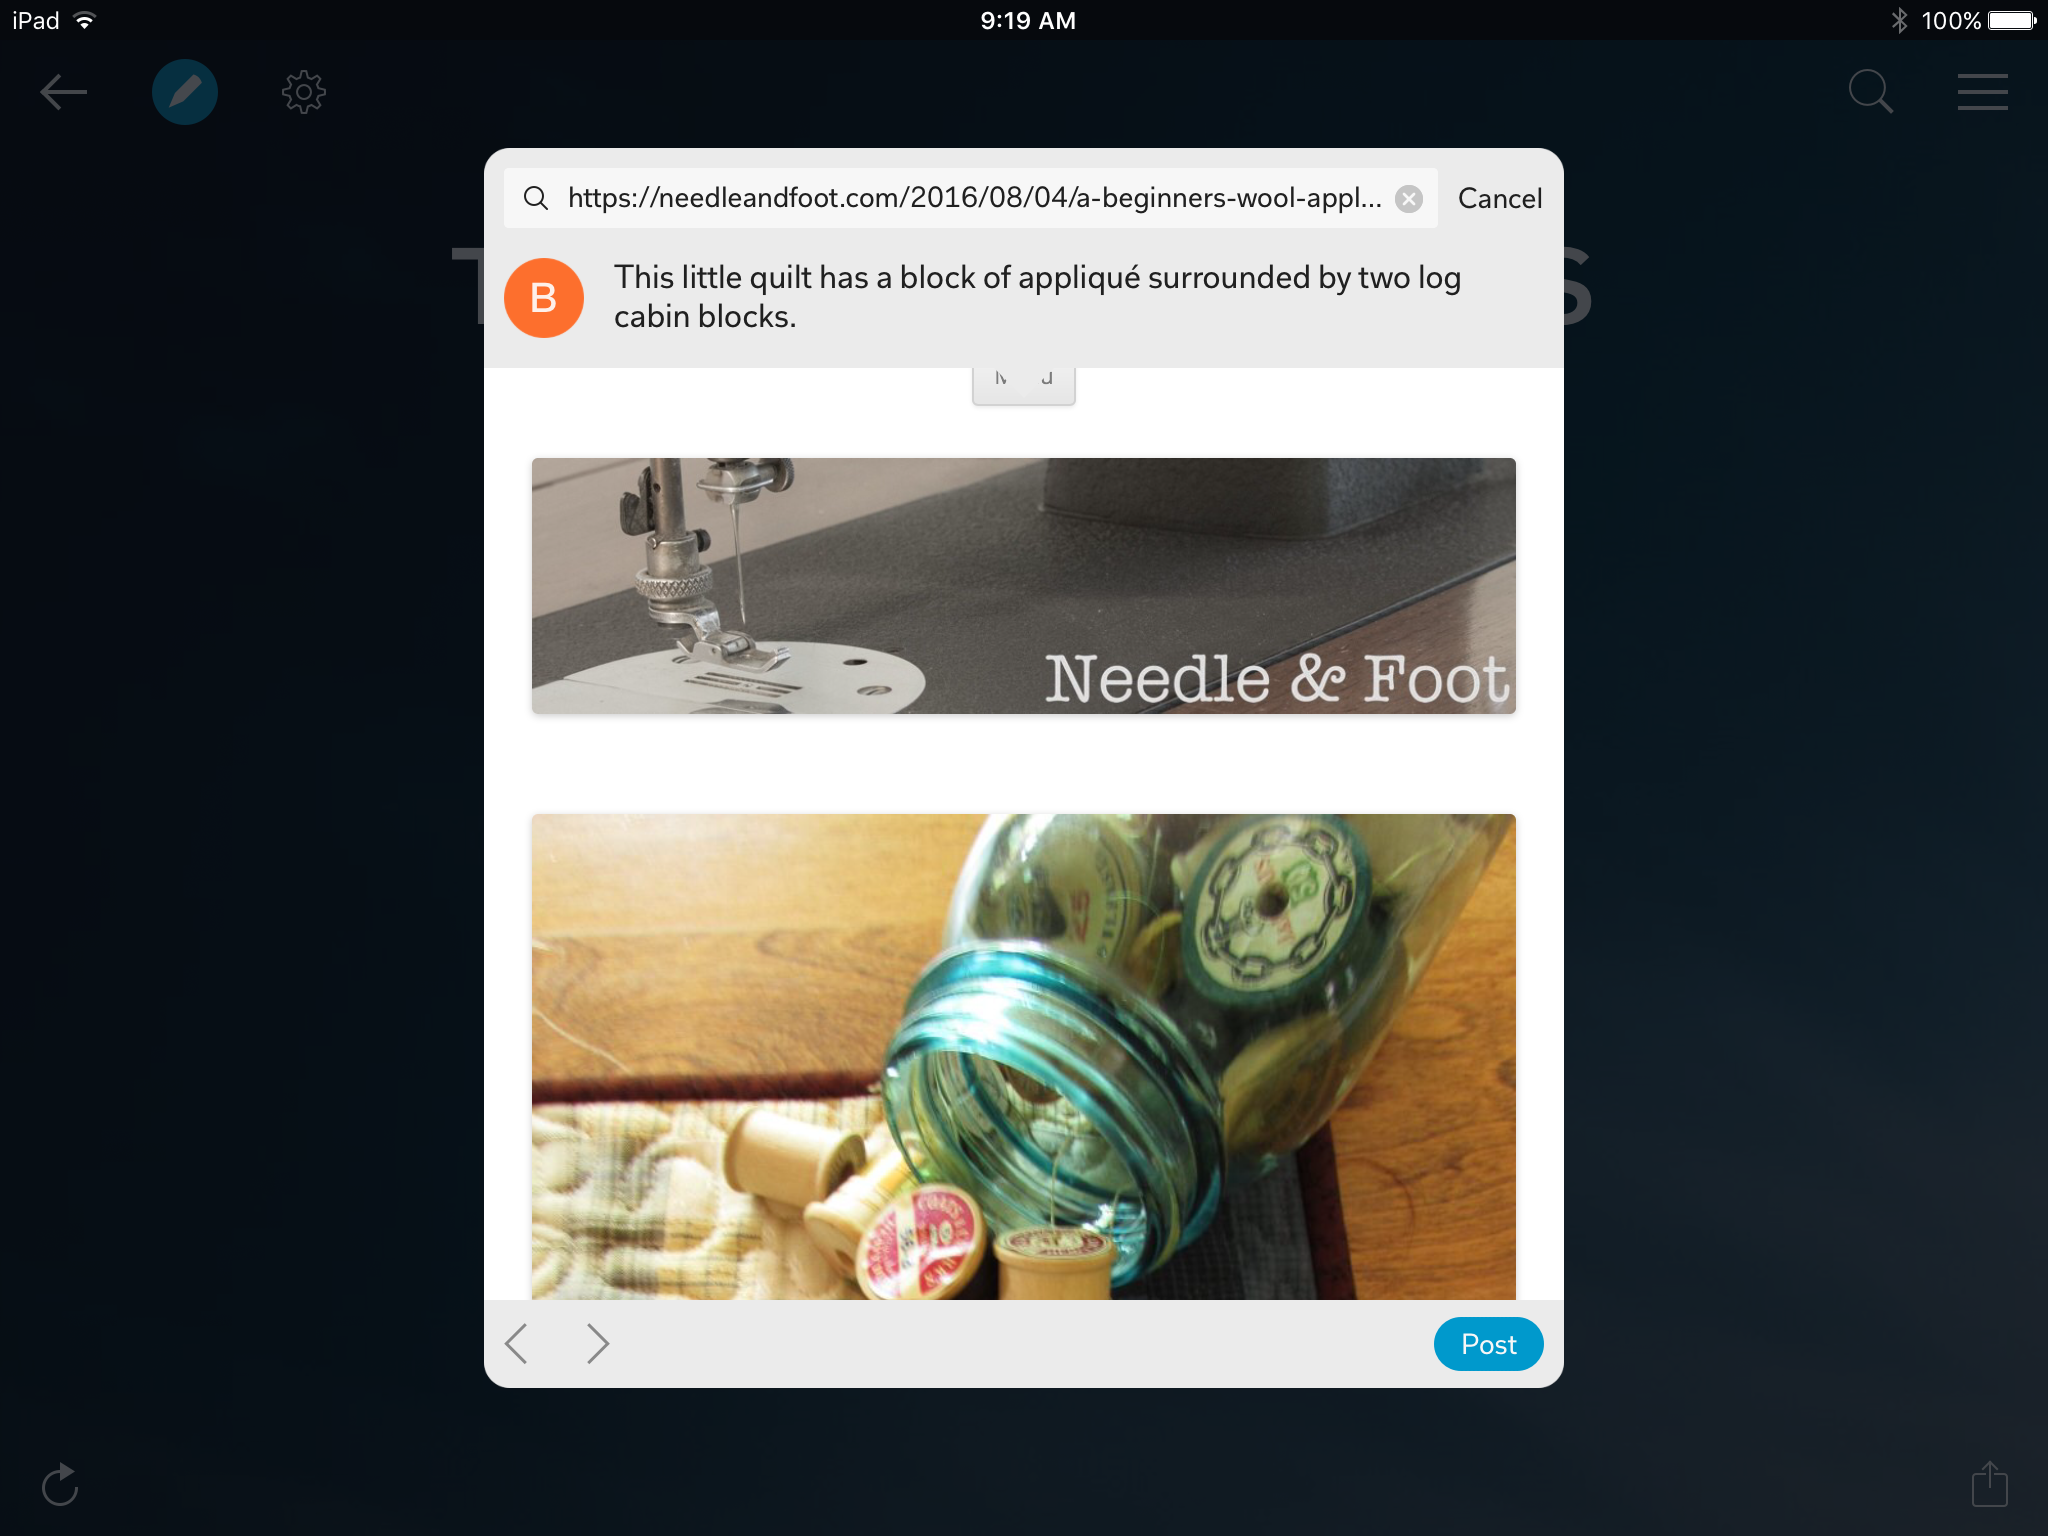
Readers can use Flipboard on the internet or by downloading the Flipboard app (which is free.) The pictures I have from the tutorial are screen shots of the process using the app on an iPad. However, it looks quite similar to what one sees using the web based version.
Here are the steps to take:
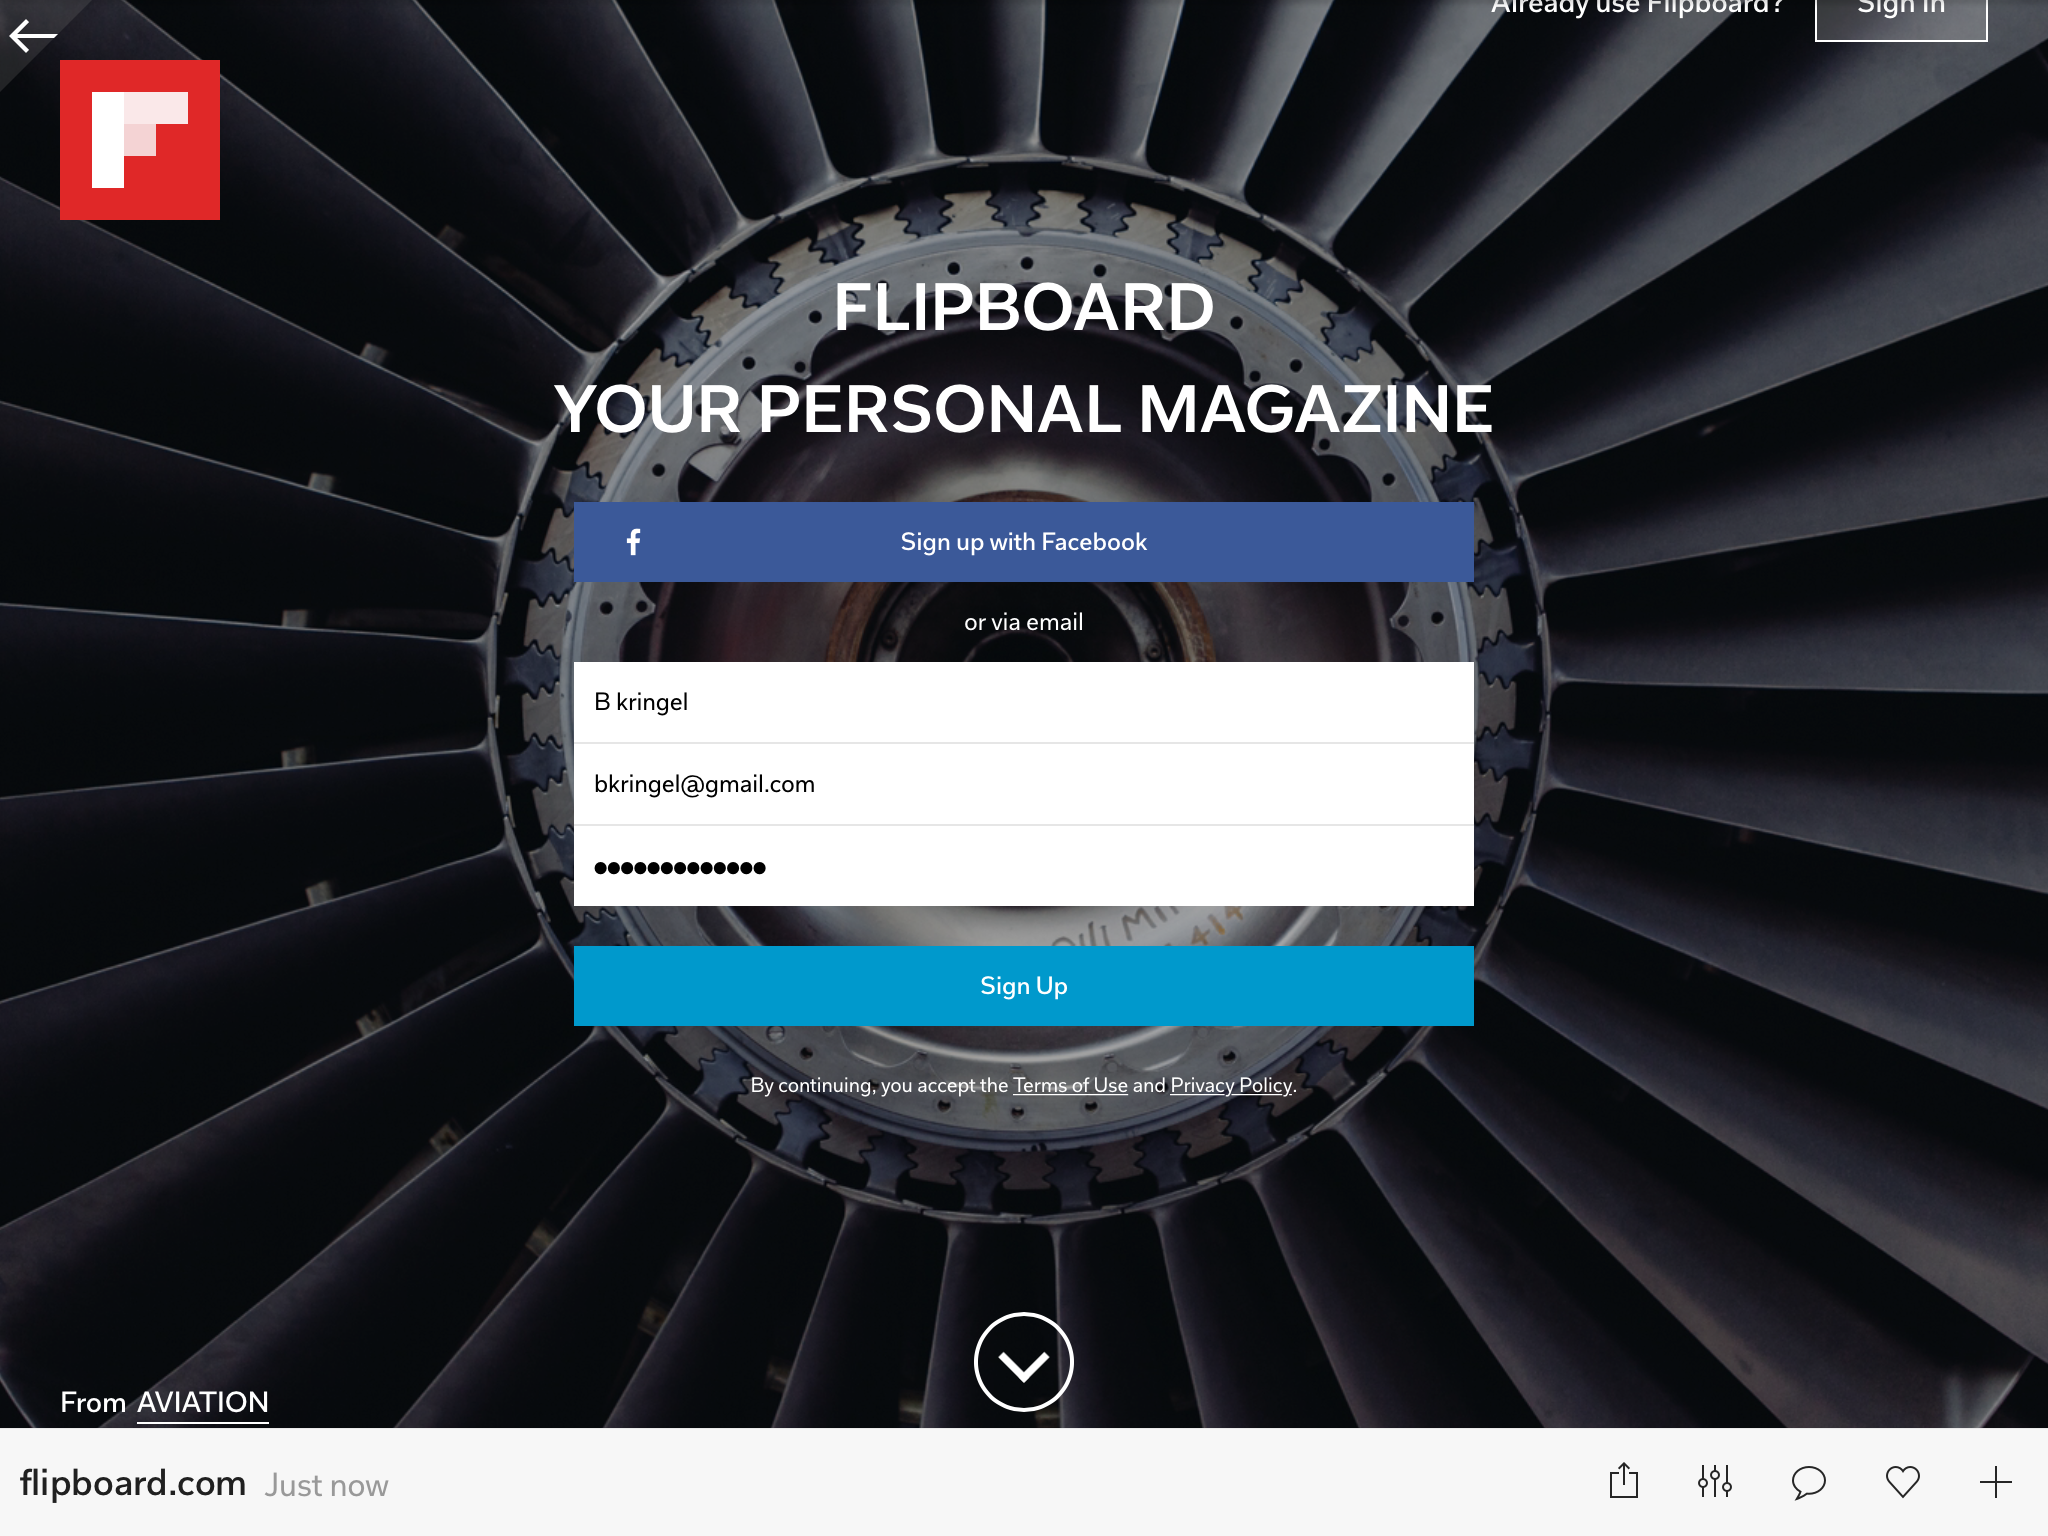
Go to Flipboard.com or download the app on your device and open it. Create your login.
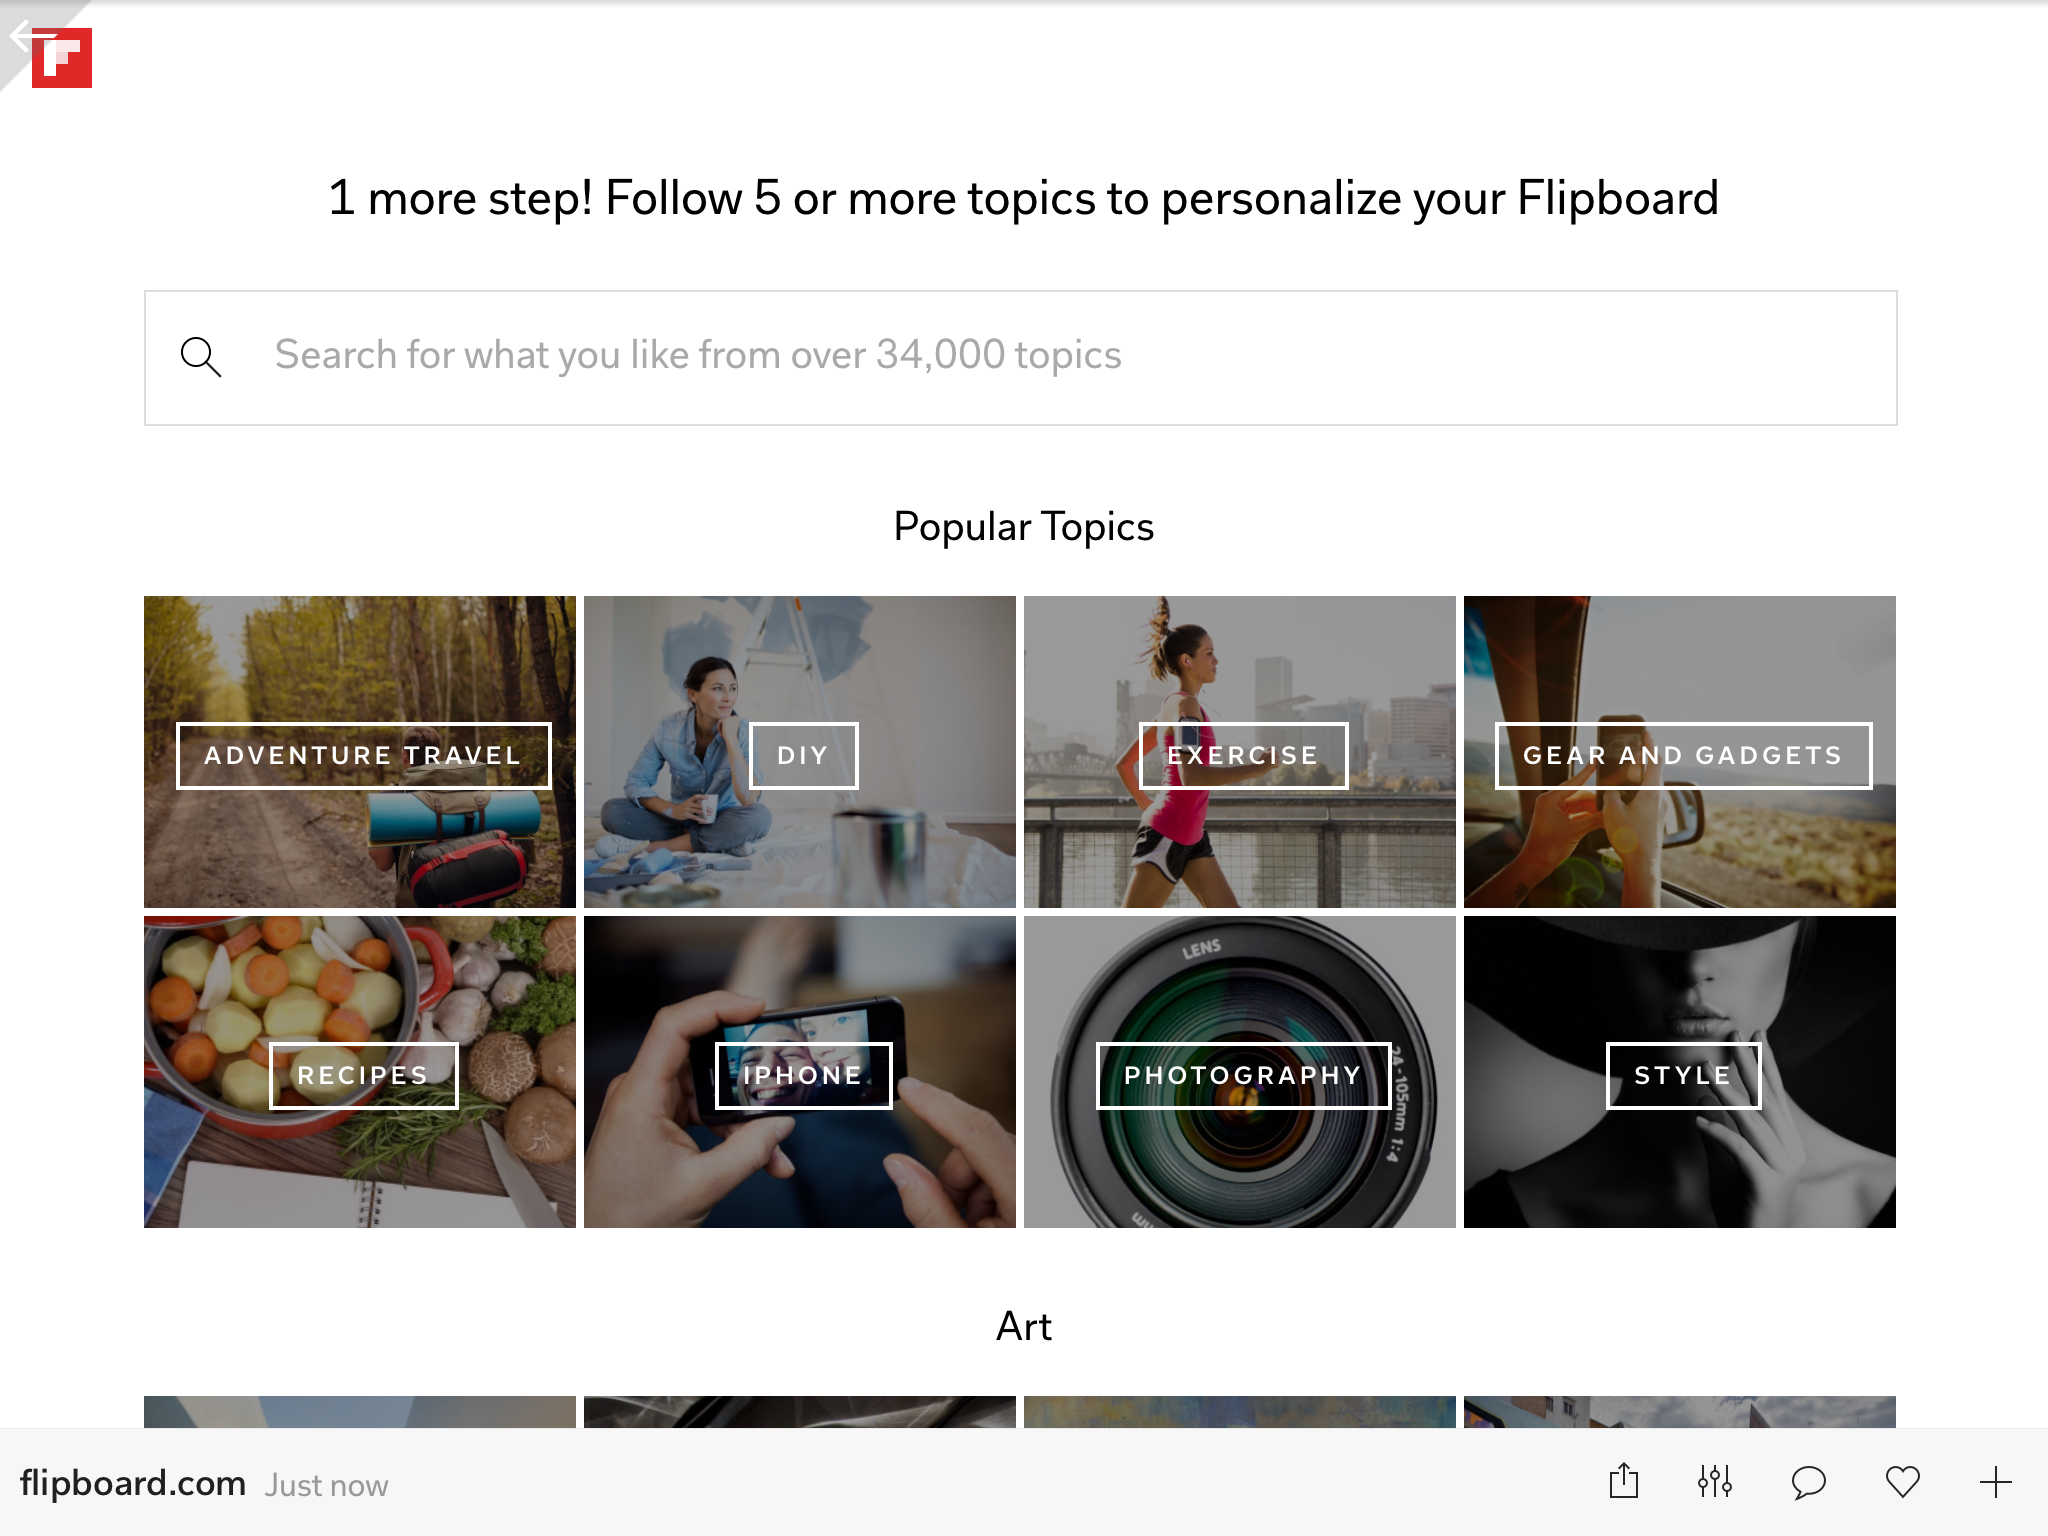
Select your categories. Even if you don’t plan to use Flipboard to read articles or gather information, select a minimum of five categories. You’ll notice that with each category you select, the site will filter it and offer you more specific items within the category. This is so they can offer you articles that are truly in the area you want to read. I think they do an excellent job of filtering.
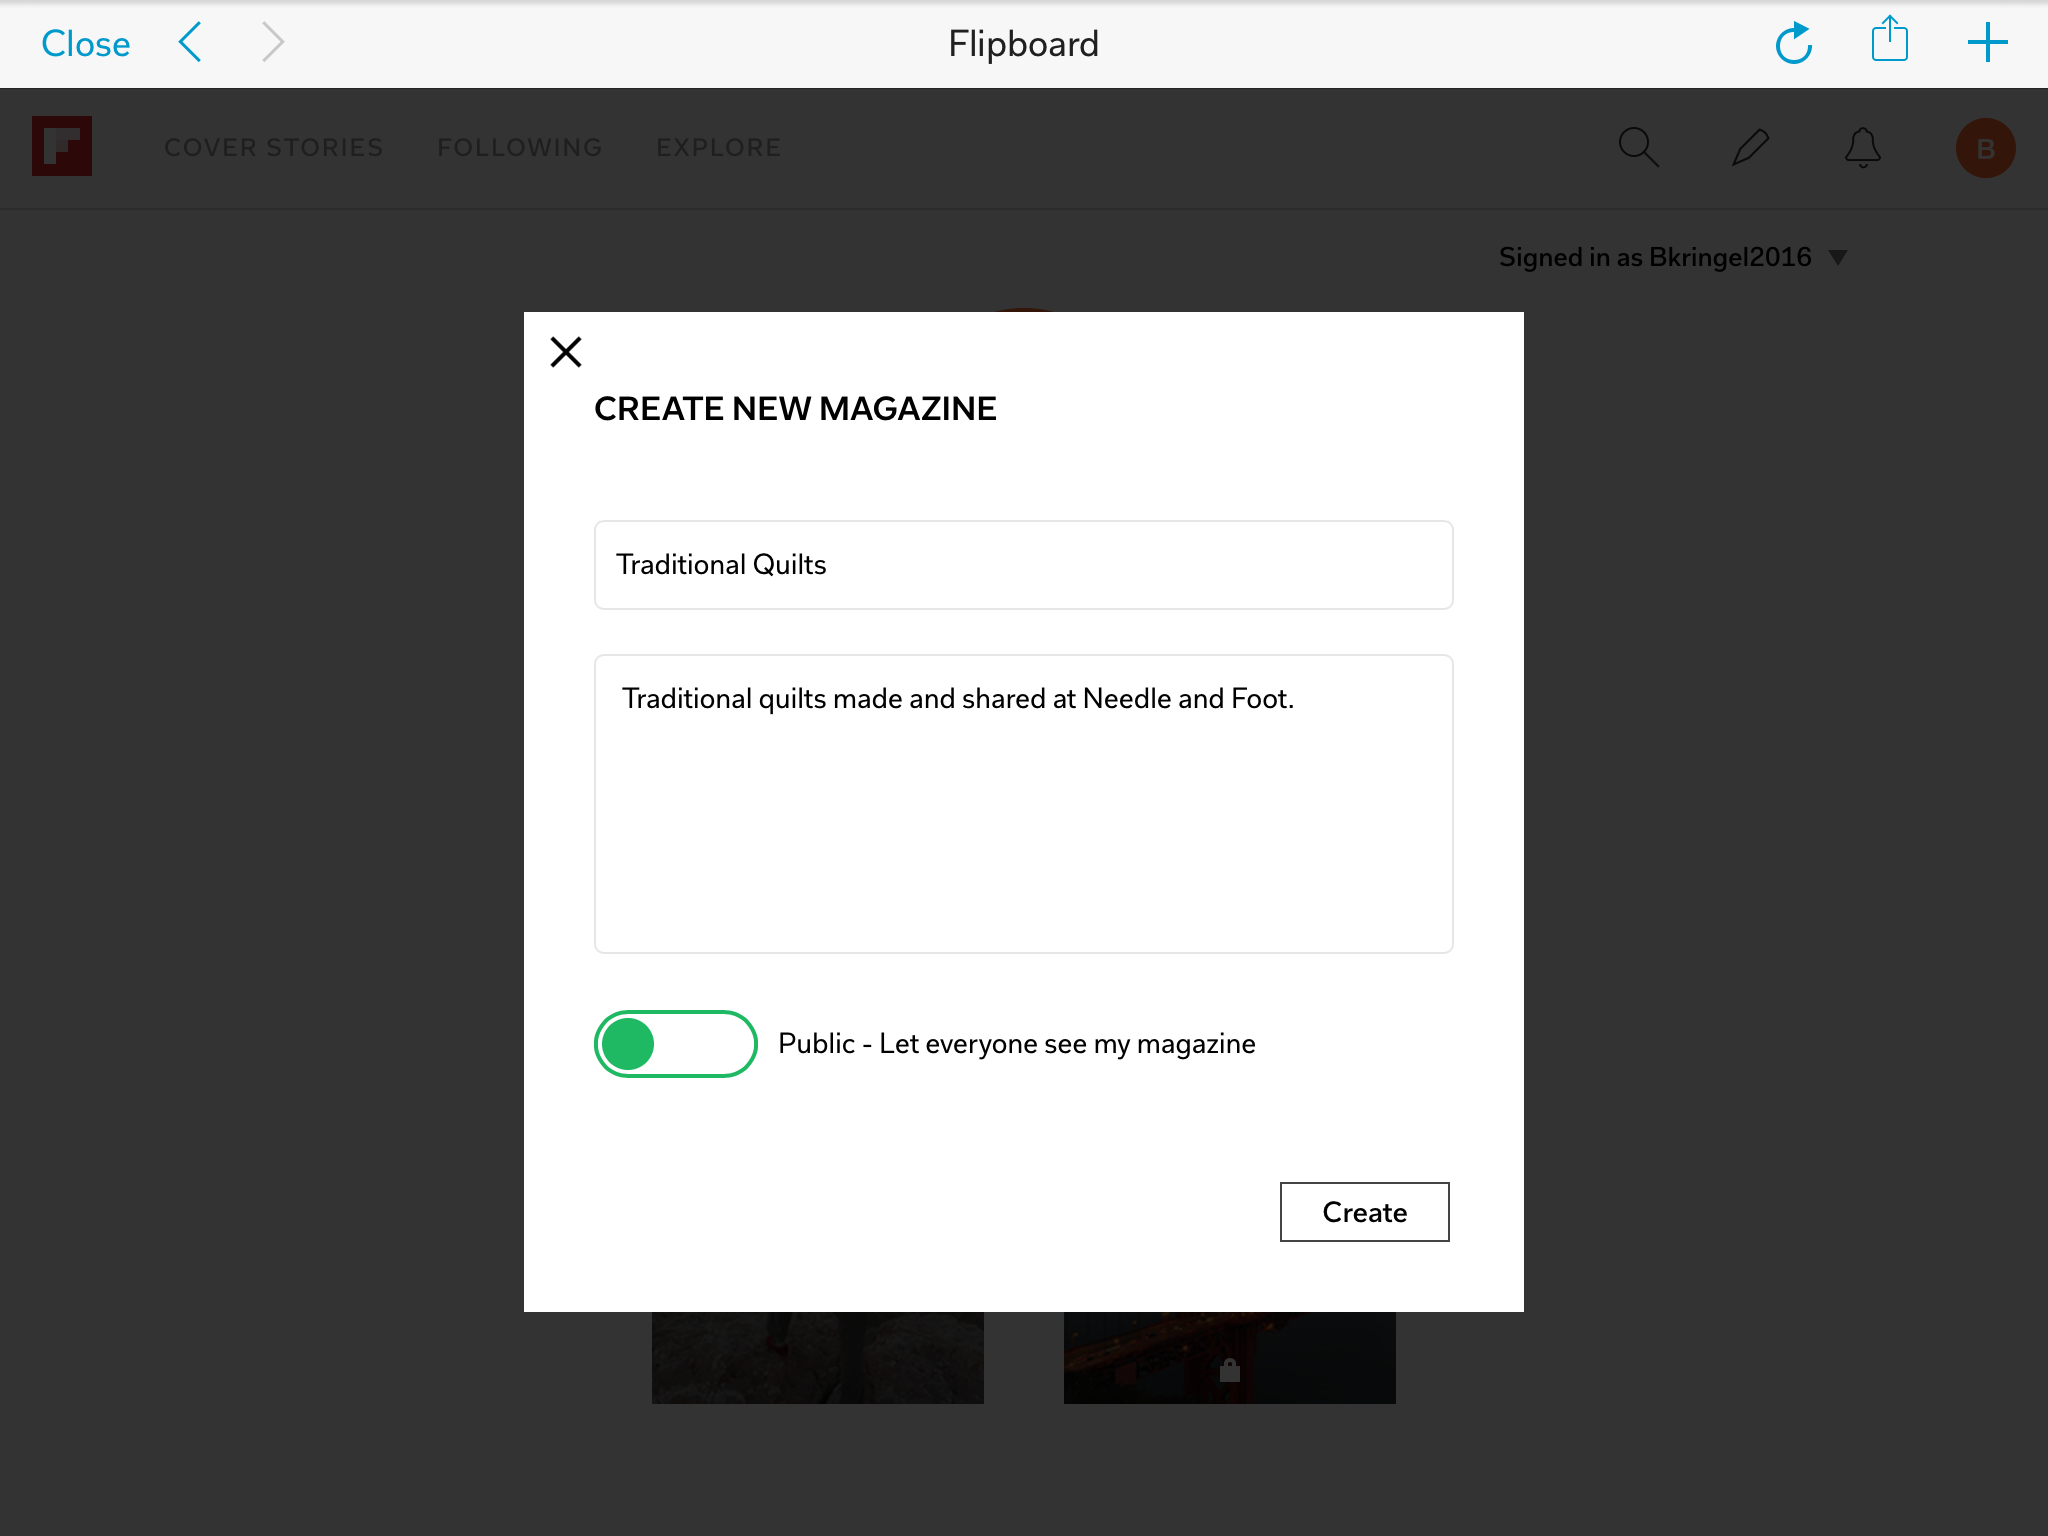
Next, create a magazine. Make sure to leave it public so any reader can read the posts you collect in the magazine. Add a sentence or two describing what you are going to collect in that magazine. Remember these words are used as tag words for the search engines that filter. Be sure to use a clear description with tags so your magazine will come up in the search process.
Once you have a magazine created, link your blog posts to it. I have made several magazines. They are each used to sort my blog posts into areas of interest. For example, I use Vintage Sewing, Modern Quilting, Traditional Quilting, Free Motion Quilting, and Sewing Projects. Each time I post something that is relevant to a category, I add it to that magazine. This sounds like a lot of work, but honestly, once you have the magazines set up, it takes less than 30 seconds to add a new post to it.
If the post fits more than one magazine, add it to each one. If I make a modern quilt and talk about both the quilt piecing and FMQ, I will add it to both the Modern Quilts and Free Motion Quilting magazines. This provides more exposure and increases the opportunity for a reader to come across your post. I have noticed that when the post is linked to your magazine, a picture will display (from that post). It displays best if the picture is portrait rather than landscape display (or vertical is better than horizontal).
Once my magazines were created, I went back to my older posts and chose several favorites and linked them to the appropriate magazine (s). I haven’t yet finished with this task but the more posts I link, the better the traffic is that is driven over from Flipboard.
Finally, I want to tell you a quick way to link your post to the magazine. There is a small icon called the Flipboard bookmarklet which,if you download it, resides at the top of your browser. This button is used to quickly add a URL to a magazine, which makes it amazingly fast to link your post to a magazine. Once I hit publish on a post, I click to view my post on my site. From there I click the icon and it will take me to Flipboard. I select which magazine I want to add it to and write that sentence or two describing the post, selecting a few key words that help to tag the post. That’s it. The post is added and I’m done. If it relates to multiple magazines, I repeat the process to add it to the relevant magazine. To place the icon on your browser, click here.
This process takes a short while to set up and very little time to maintain. I encourage you to give it a try. Let me know if you see good results. I am happy to explain further if any part of this leaves you frustrated. Leave questions in the comments and I will get back to you ASAP.