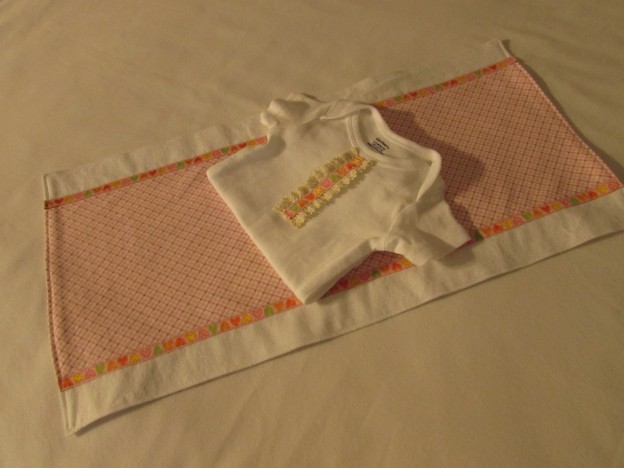
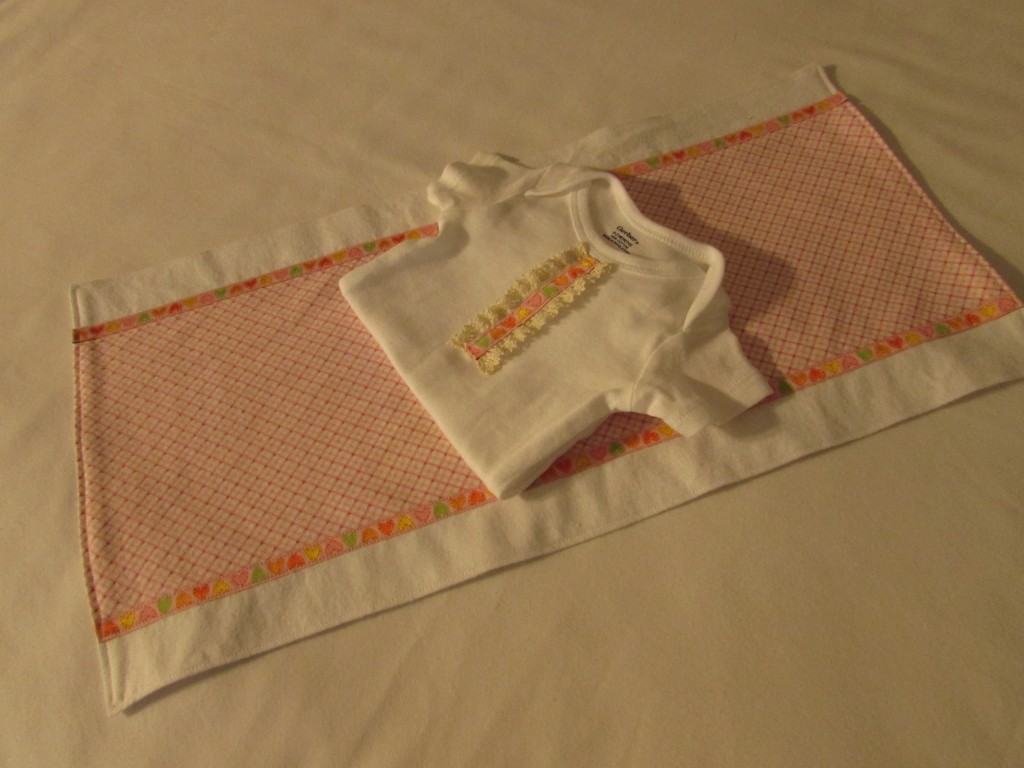
This weekend my sister asked me if I would make something for her to give as a baby gift. Her yoga teacher is expecting a little girl in October and she wanted to bring something to her before she goes on maternity leave from the yoga studio. I had made some burp cloths and embellished some onesie tshirts for little boys (which are in my Etsy shop) but had not yet made anything for baby girls. After talking a bit and looking at ideas on Pinterest, Tina decided she wanted something simple and soft. Here is a photo of the end result. I think it is just adorable.
I thought I would take some pictures as I made the items and create a tutorial. These are such cute gifts and sew up in no time at all. They are great ways to use scraps if you have any flannel scraps accumulated.
Ok. Here we go! My apologies in advance for the pictures. They aren’t the greatest.
Here is a shopping list for you:
- Onesie (they come in a package of five so you will have plenty to make for gifts.) For the onesie, I used size 0-3 months. The newborn size was sooo tiny (5-8 pounds) so I chose these which are just a tad larger so the baby could wear it for more than three days before outgrowing it!
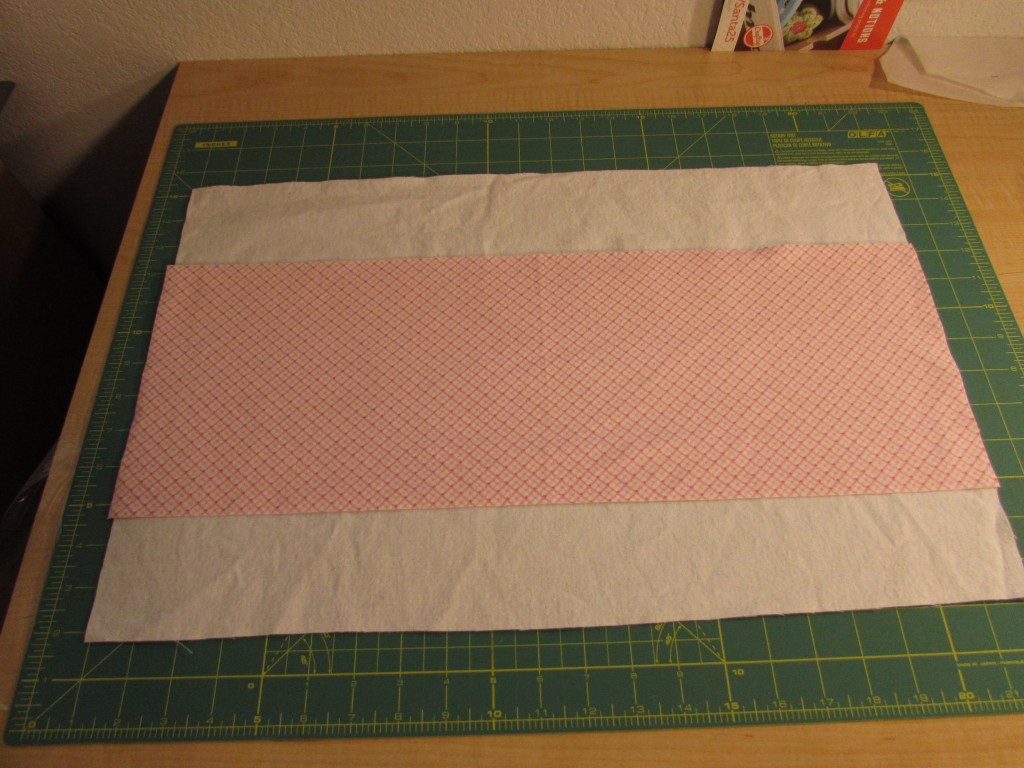
- White flannel rectangle, cut to 21 1/2″ x 13 1/2″
- Accent flannel rectangle, cut to 21 1/2″ x 7 1/4″
- Ribbon trim, 1 1/3 yards
- Lace trim, just a scrap if you have it. You will need about 9 inches.
- Water soluble glue stick.
I prewashed everything and dried it in the dryer. Both the flannel and the onesie did shrink quite a bit. Before prewashing the flannel I ran a stitch the length of the raw edges. This prevents it from fraying too much. Otherwise, flannel has a tendency to fray quite a bit when washed and that is just annoying. All those threads to deal with plus you lose a bit of fabric that way. Once all is prewashed, press your fabric and the onesie.
Let’s start with the onesie.
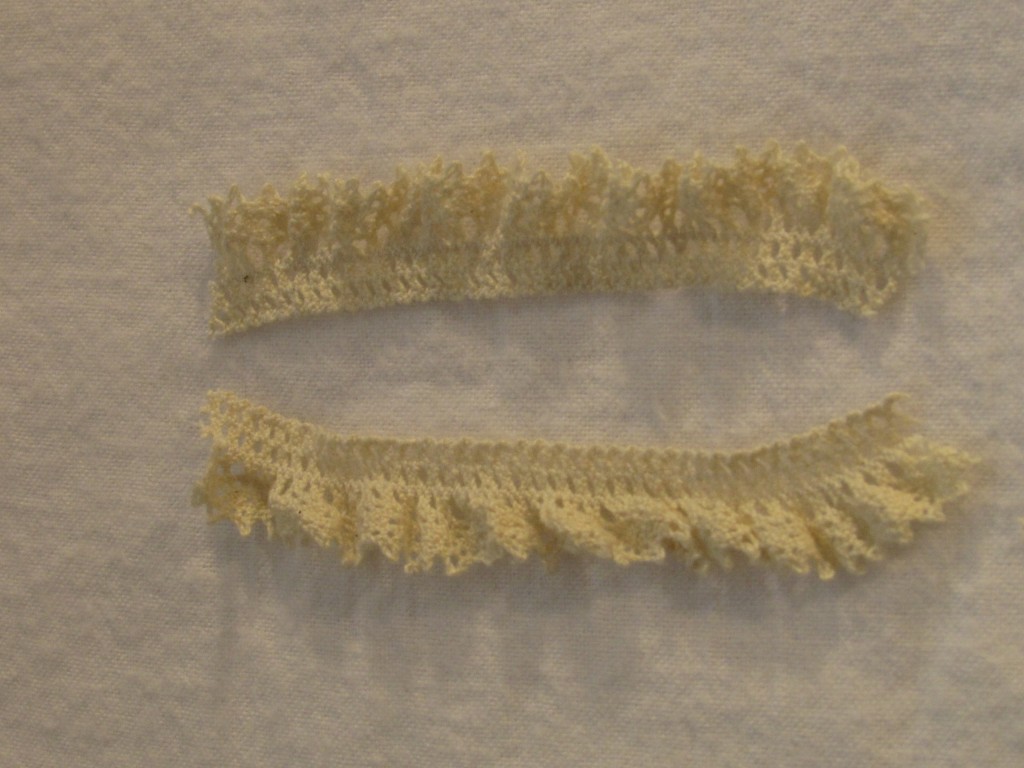
The lace that I used was ruffled on one side. I took two pieces that were 4 1/2 inches long and put them side by side.
Overlap the straight edges and fasten them with a pin and/or a bit of glue from a washable glue stick.
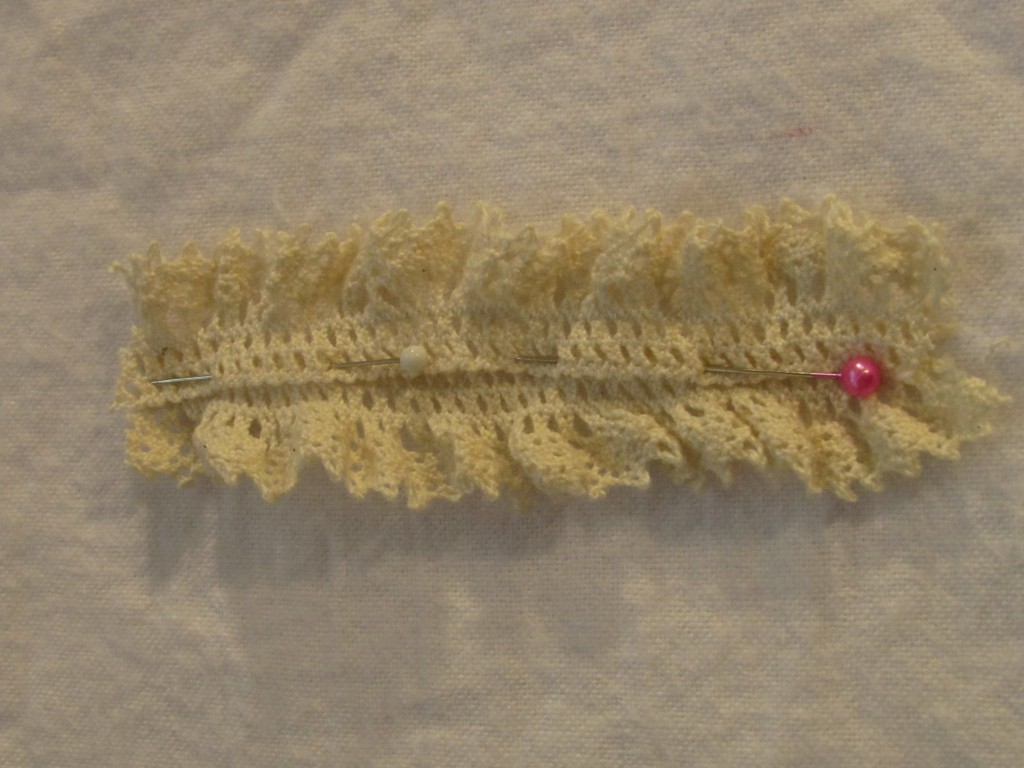 Run a stitch down the center to hold them together. I used a small zig zag stitch. Fold over one end of the lace and hand stitch it to finish the raw edge. I just did a running stitch along the end. It was nicely camouflaged by the lace. Repeat with the other end.
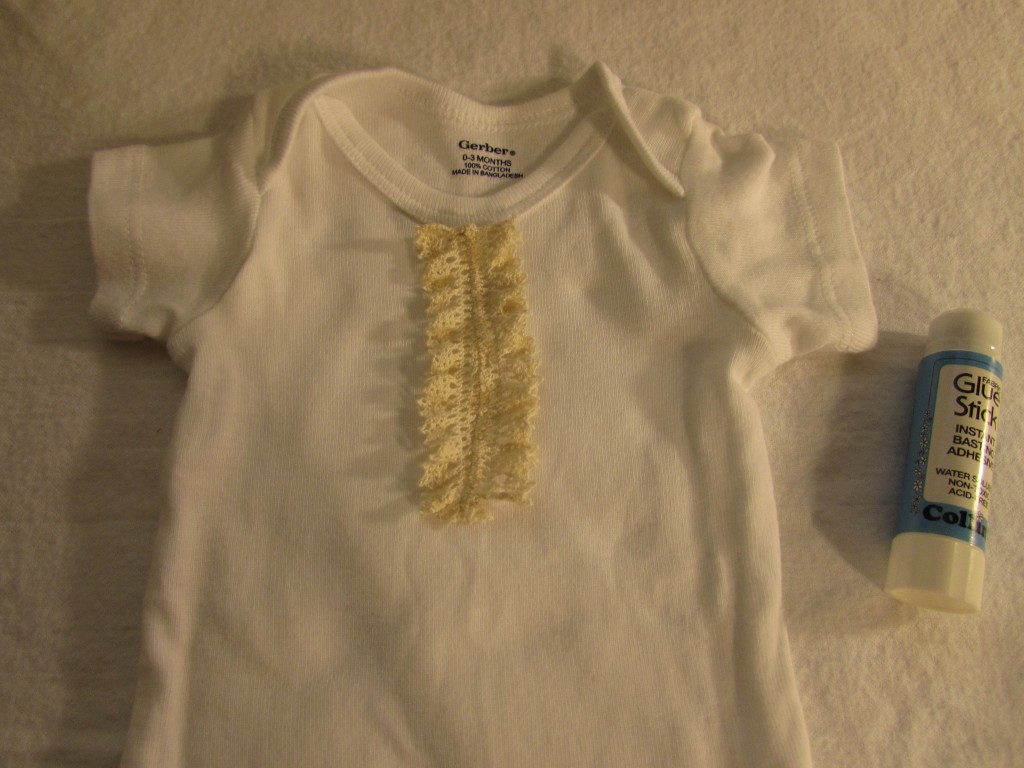
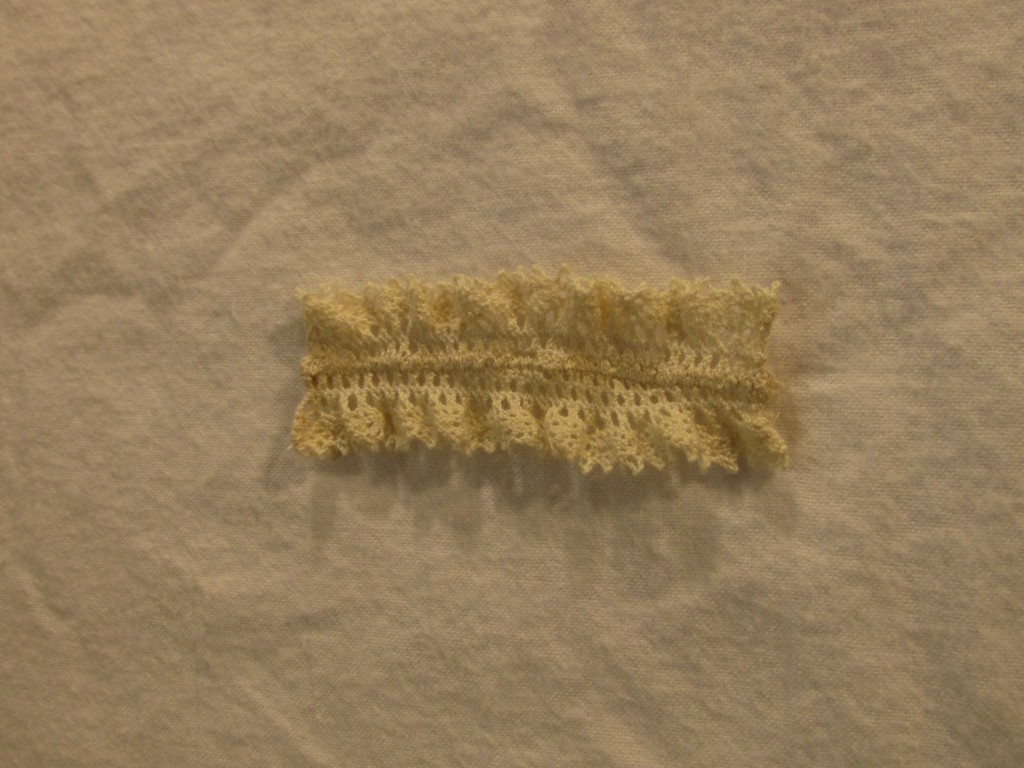 Center the lace on the front of the onesie. Tack it down with the washable glue stick.
Cut a piece of ribbon that is 1/2 inch longer than the finished lace. Turn under each end 1/4″ so it matches the length of the lace. Tack this down the center of the lace with the glue stick. Set this aside and let the glue dry for about 20 minutes or so. By the way, I use the glue stick instead of pins because when I am working with such a tiny pieces, the pins are just too big. They can make the ribbon and/or lace buckle up. The glue stick allows it to lay nice and flat when you are stitching and it doesn’t move around like it would when removing the pins. (The picture below was taken before I turned under the ends of the ribbon.)
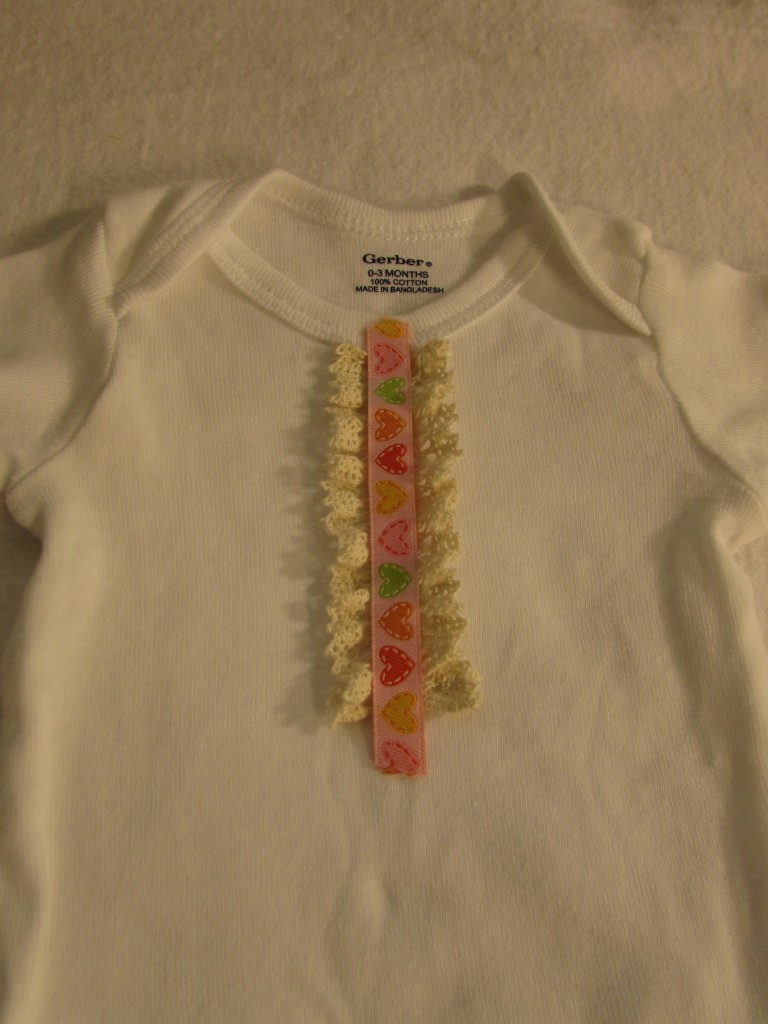 Once the glue is dry, stitch a straight stitch down either side of the ribbon and across each end. That’s it! All done. Let’s work on the burp cloth now.
Lay the white flannel on your work table. There was not a right side or wrong side to the flannel that I used. If yours has a right side, lay it right side up. Make sure that your accent piece is the same length as the white flannel.
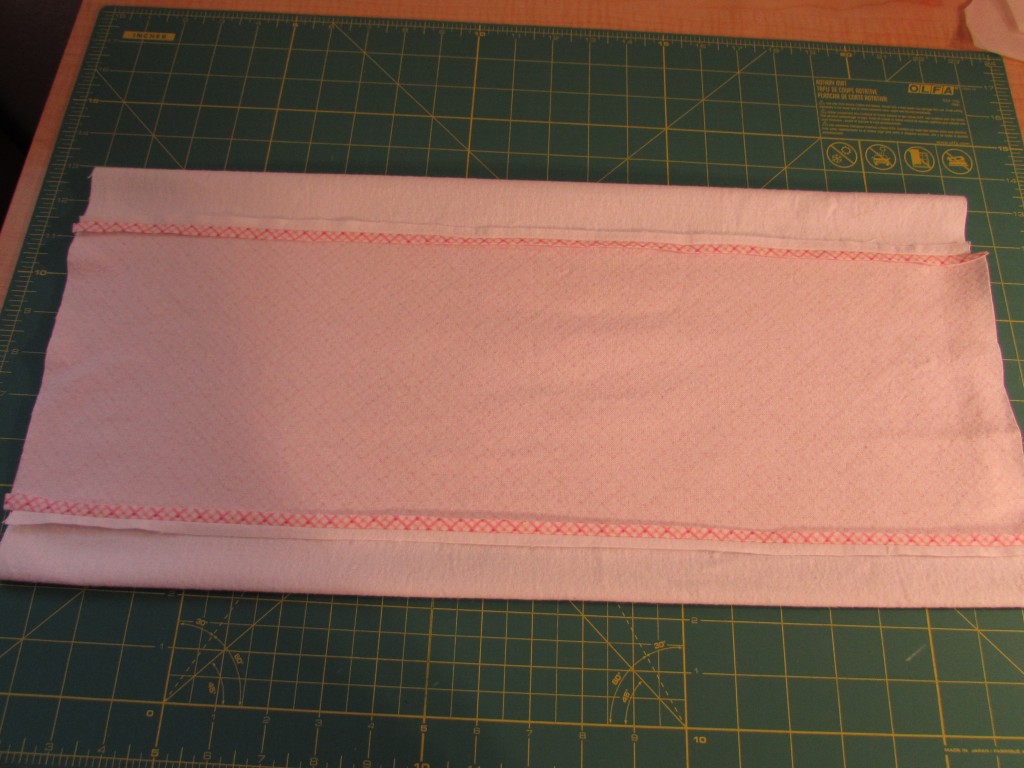
Turn the accent piece over so that the right side is down, against the white flannel. Line up one of the edges of the accent piece with one of the edges of the white flannel. (We are going to sew both sides together, creating a tube made of the white piece and the accent piece.)
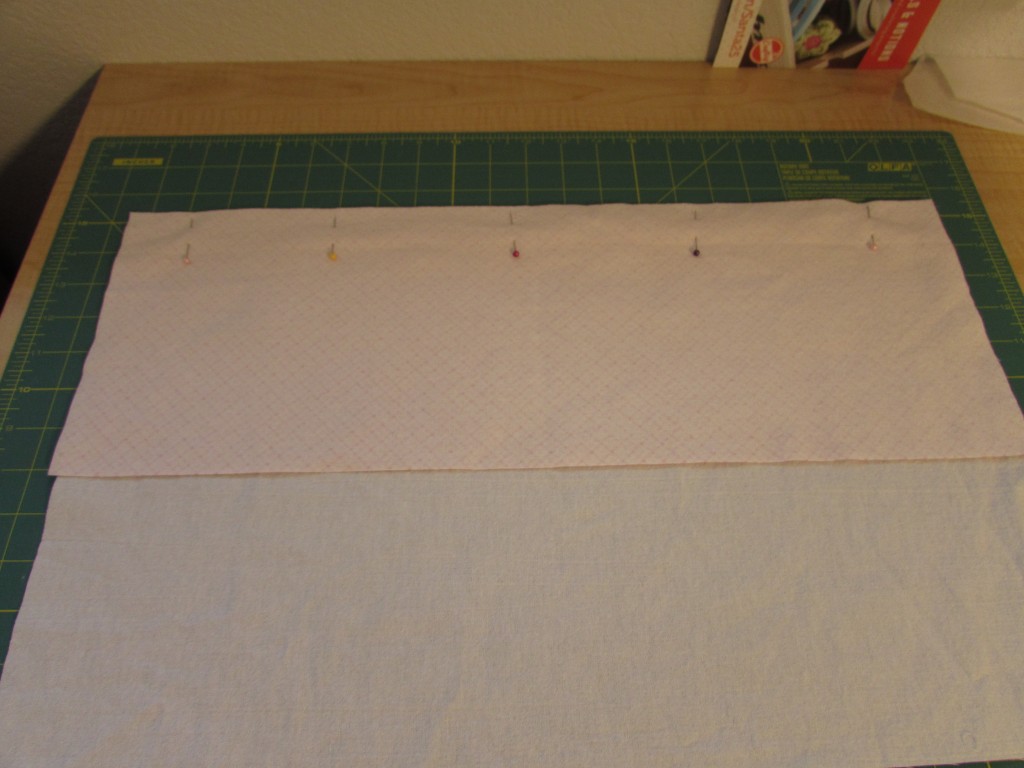 Stitch a 1/4″ seam, joining both pieces of fabric. Press your seams, open or to the side, whichever you prefer. Then line up the other two edges in the same way and stitch a seam, joining them.
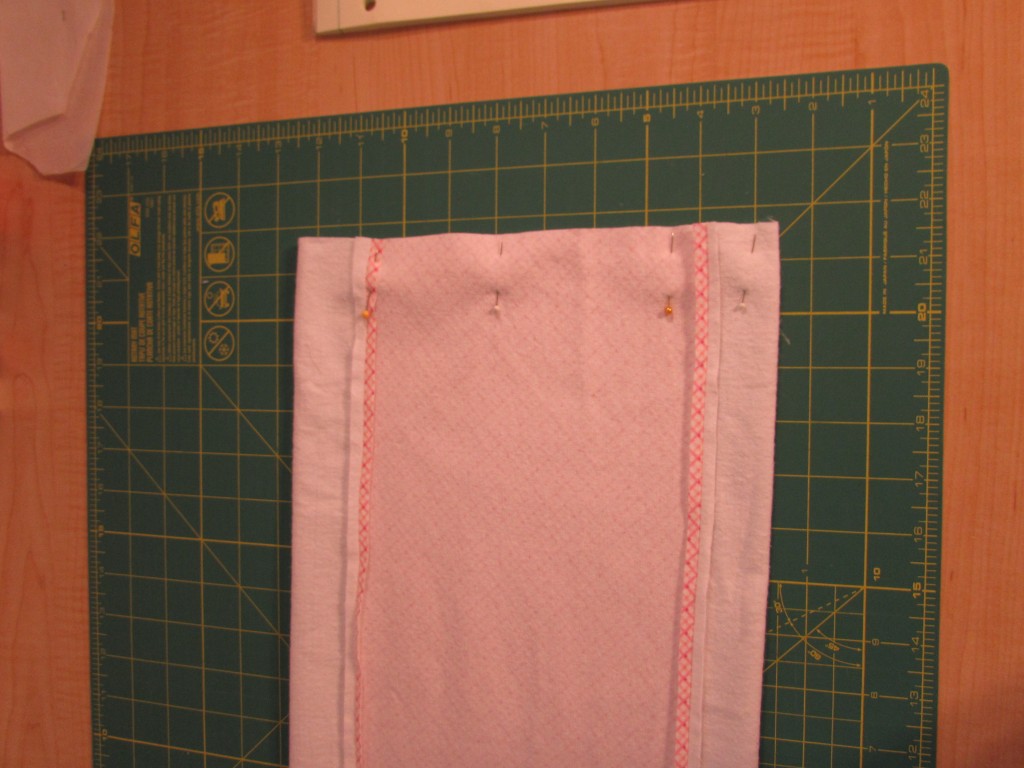
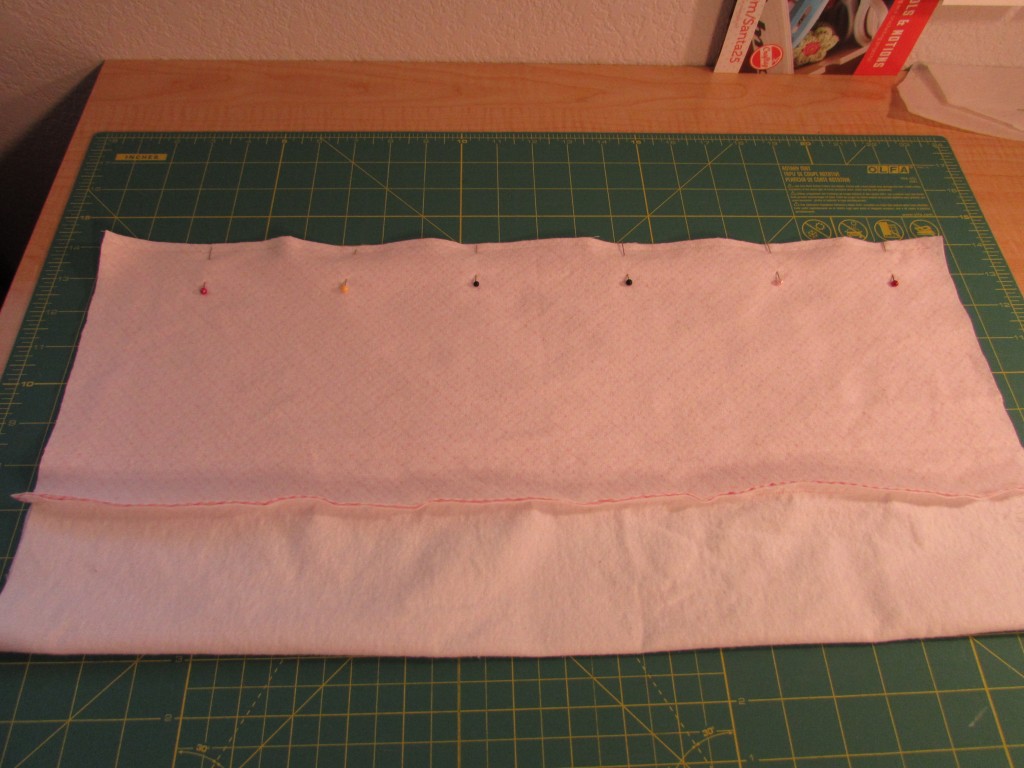 Again, press your seam. To do this, I just moved the seam to the center of the “tube” so I could lay it down and press it. The next step is to center the accent fabric on the white fabric. Do this while the pieces are still right sides together (seams are still showing). To be honest, I just eyeballed this but if you wanted, you could measure the amount of white fabric that shows on each side of the accent fabric and make sure it is equal.
Once you have the fabric centered to your liking, you need to pin the end together. Stitch that end closed with a 1/4″ seam.
Then you will sew the other end. However for this end, leave an opening of about 3 or 4 inches in the center.
Use this opening to turn the burp cloth right side out. Once you turn it right side out, press the whole cloth. Turn in the open ends and pin shut. You can hand stitch this opening or top stitch the whole perimeter of the burp cloth, catching the open section at that time. I chose to top stich the perimeter. Unfortunately, I didn’t choose to take a picture at this point.
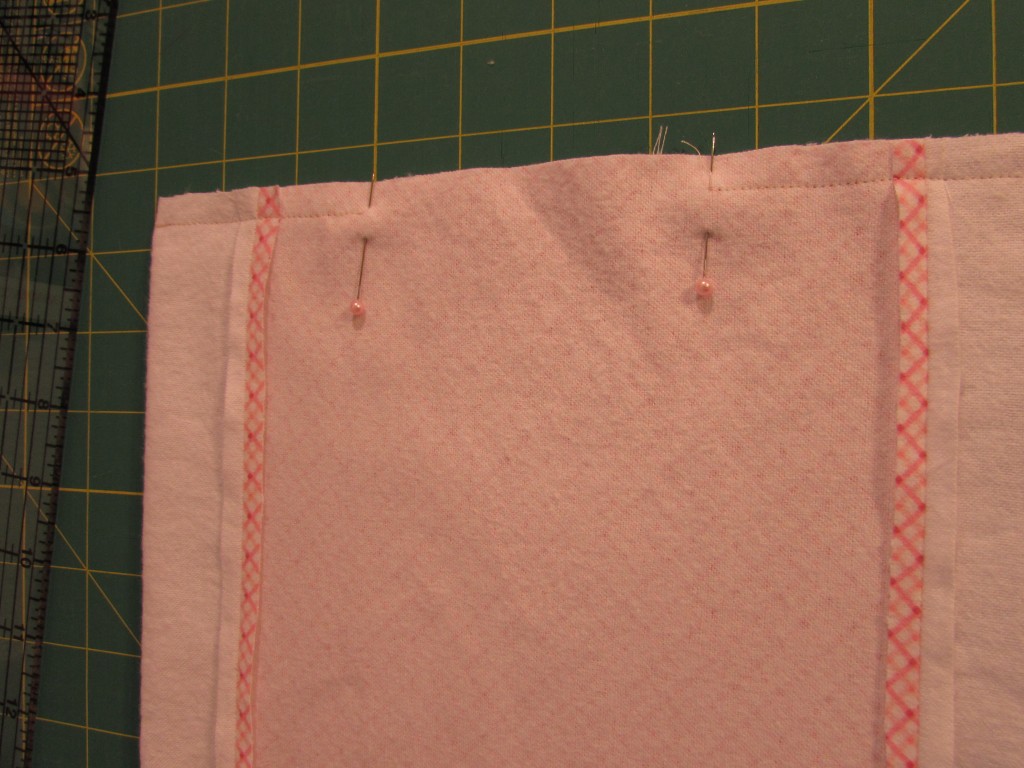
The next step is to cut two pieces of ribbon that are 1/2″ longer than the burp cloth. Turn under the ends and, again, use a swipe of your glue stick to tack the ribbon down to the burp cloth. Center the ribbon over the seam that joins the white flannel and the accent fabric. Let the glue dry for a bit and then stitch down both sides of each piece of ribbon, as well as across the top and bottom edges of the ribbon.
Finally I always stitch down the center of the burp cloth. This will help the burp cloth keep its shape after being laundered. I run a seam from top to bottom, beginning just below the top stitching that runs around the perimeter of the cloth. Hoping you can see the seam in the picture below.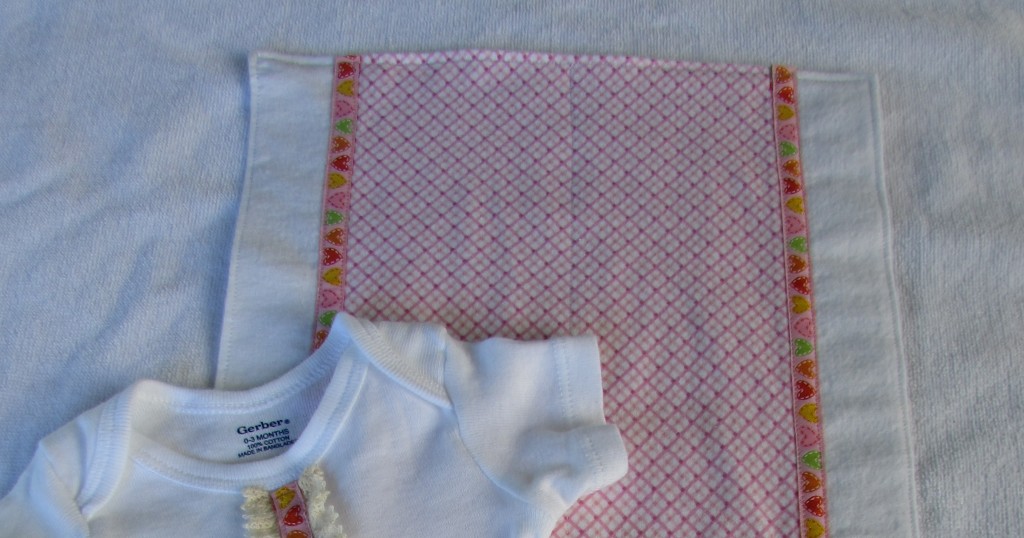
Hoping this tutorial makes sense to you. If you have any questions, leave them in the comments and I will get back to you. If you make these items, let me know. I would love to see a picture.
Linking up to Freemotion By the River, Sew Cute Tuesday, Fabric Tuesday, Let’s Bee Social, Anything Goes Thursday, Finish It Up Friday, TGIFF and finally Confessions of a Fabric Addict. These are all wonderful link-ups. Take a peek to see what others have been working on this week. The links are all listed at the top of my page, under Link Ups.

