Category Archives: Quilting Skills

Quilting, In Real Life

I have thought about hosting an event like this for a long while now. Occasional frustration while scrolling my various social media feeds got me thinking. While I do love the inspiration found on Instagram and Facebook, sometimes it makes me wish I were more skilled or more artistic or more prolific a quilter or more, just more. Know what I mean? It seems to me we should share both – the mistakes and the achievements, the blunders and the best of our work. This would present a balanced picture, it would show quilting – in real life!

In an effort to do this, I invite anyone who wants to share to leave a story in the comments. Explain what your mistake was, how you did or didn’t fix it, and what you learned from it (if anything!). Bloggers – if you write a post describing the same, please put the URL in a comment so we can all click through and read about your silly mistake or misunderstanding.

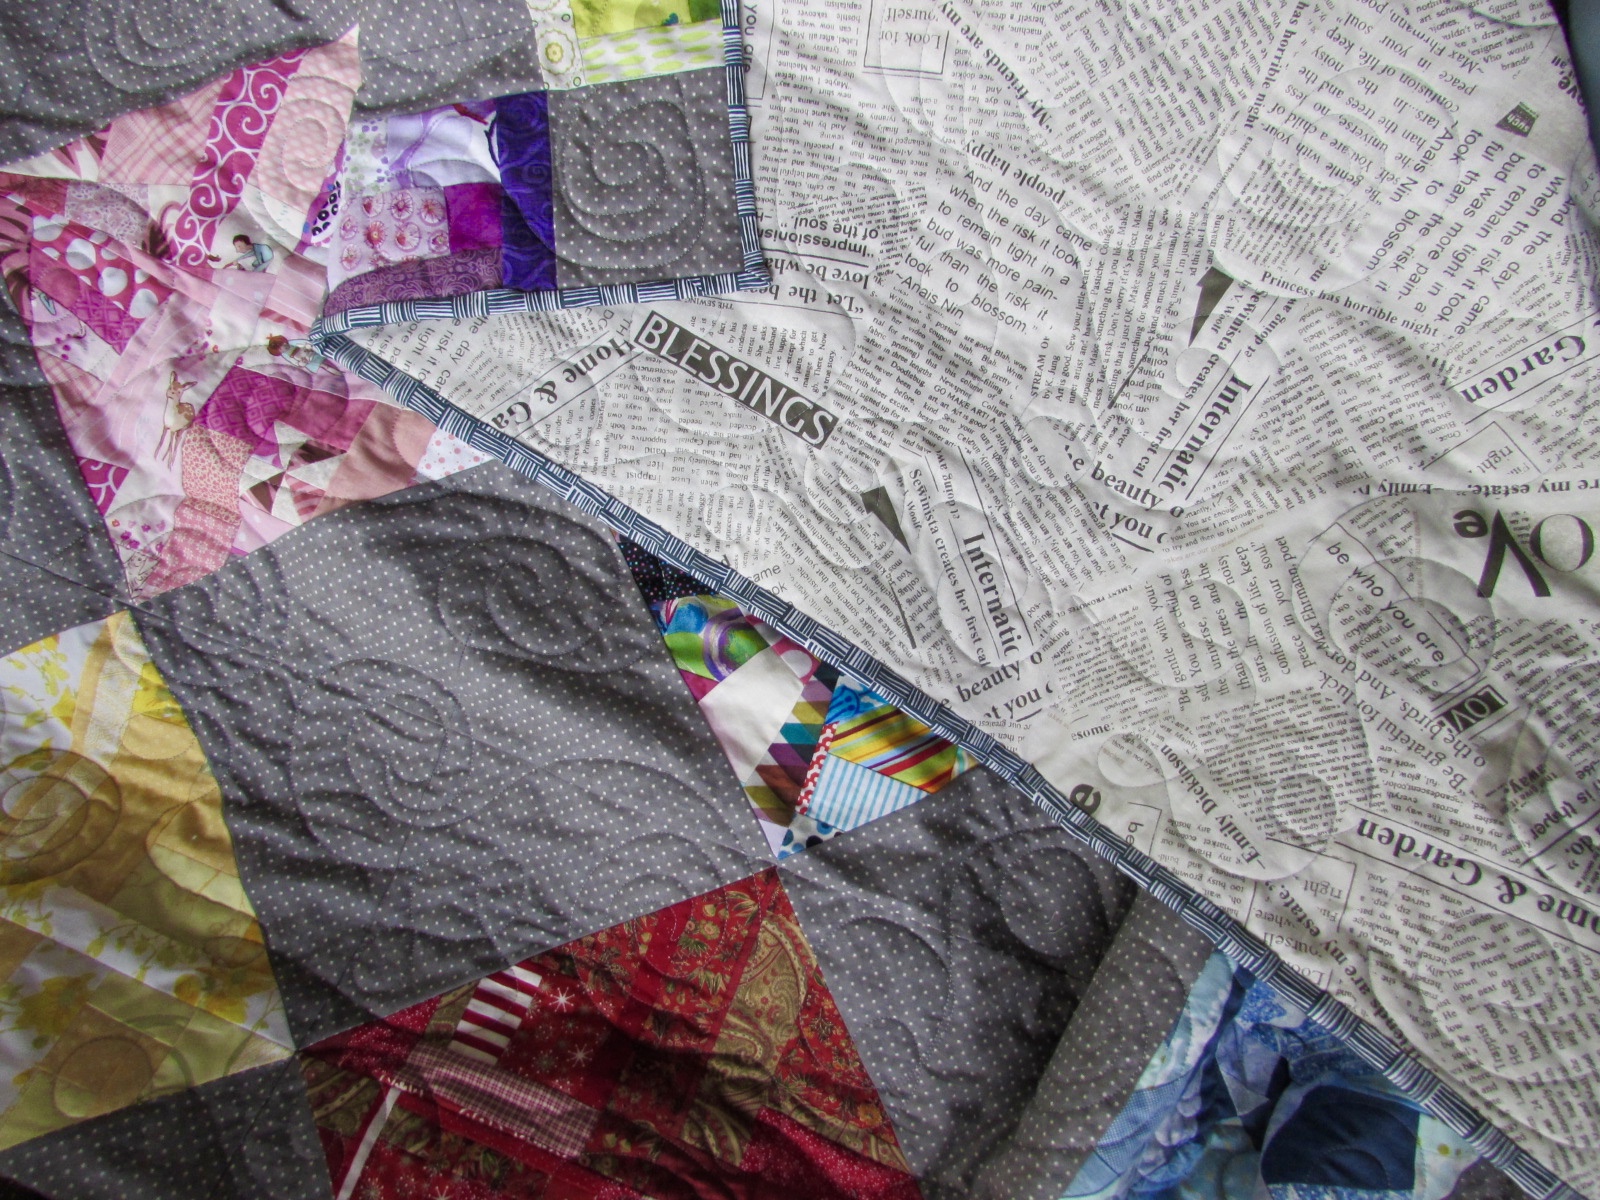
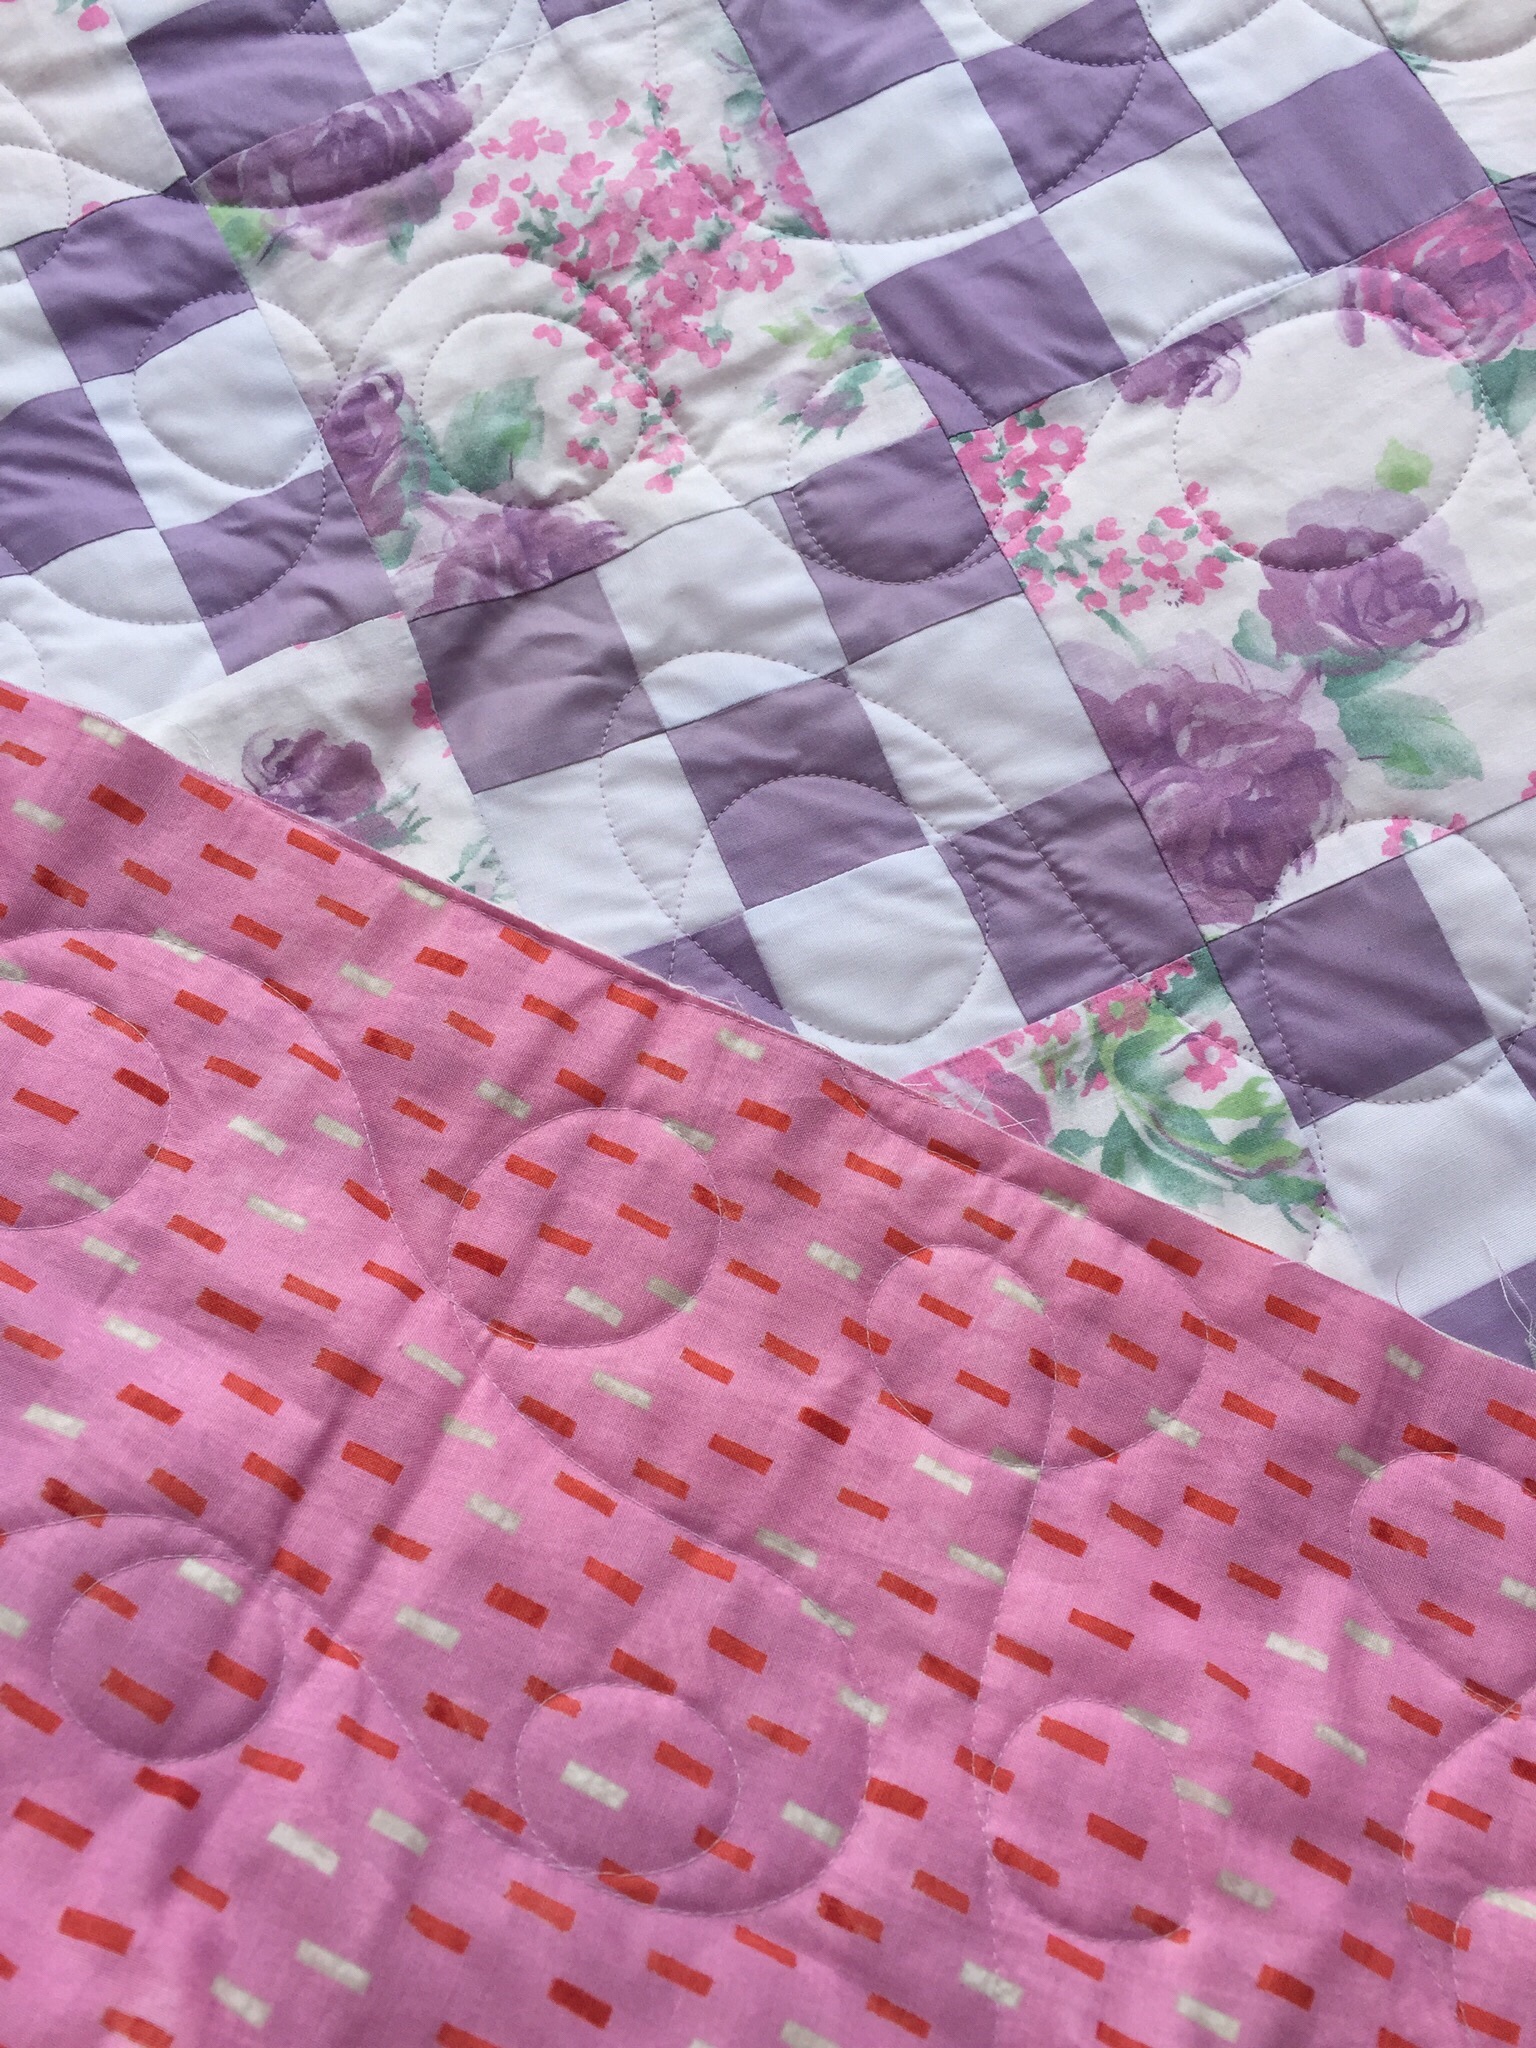
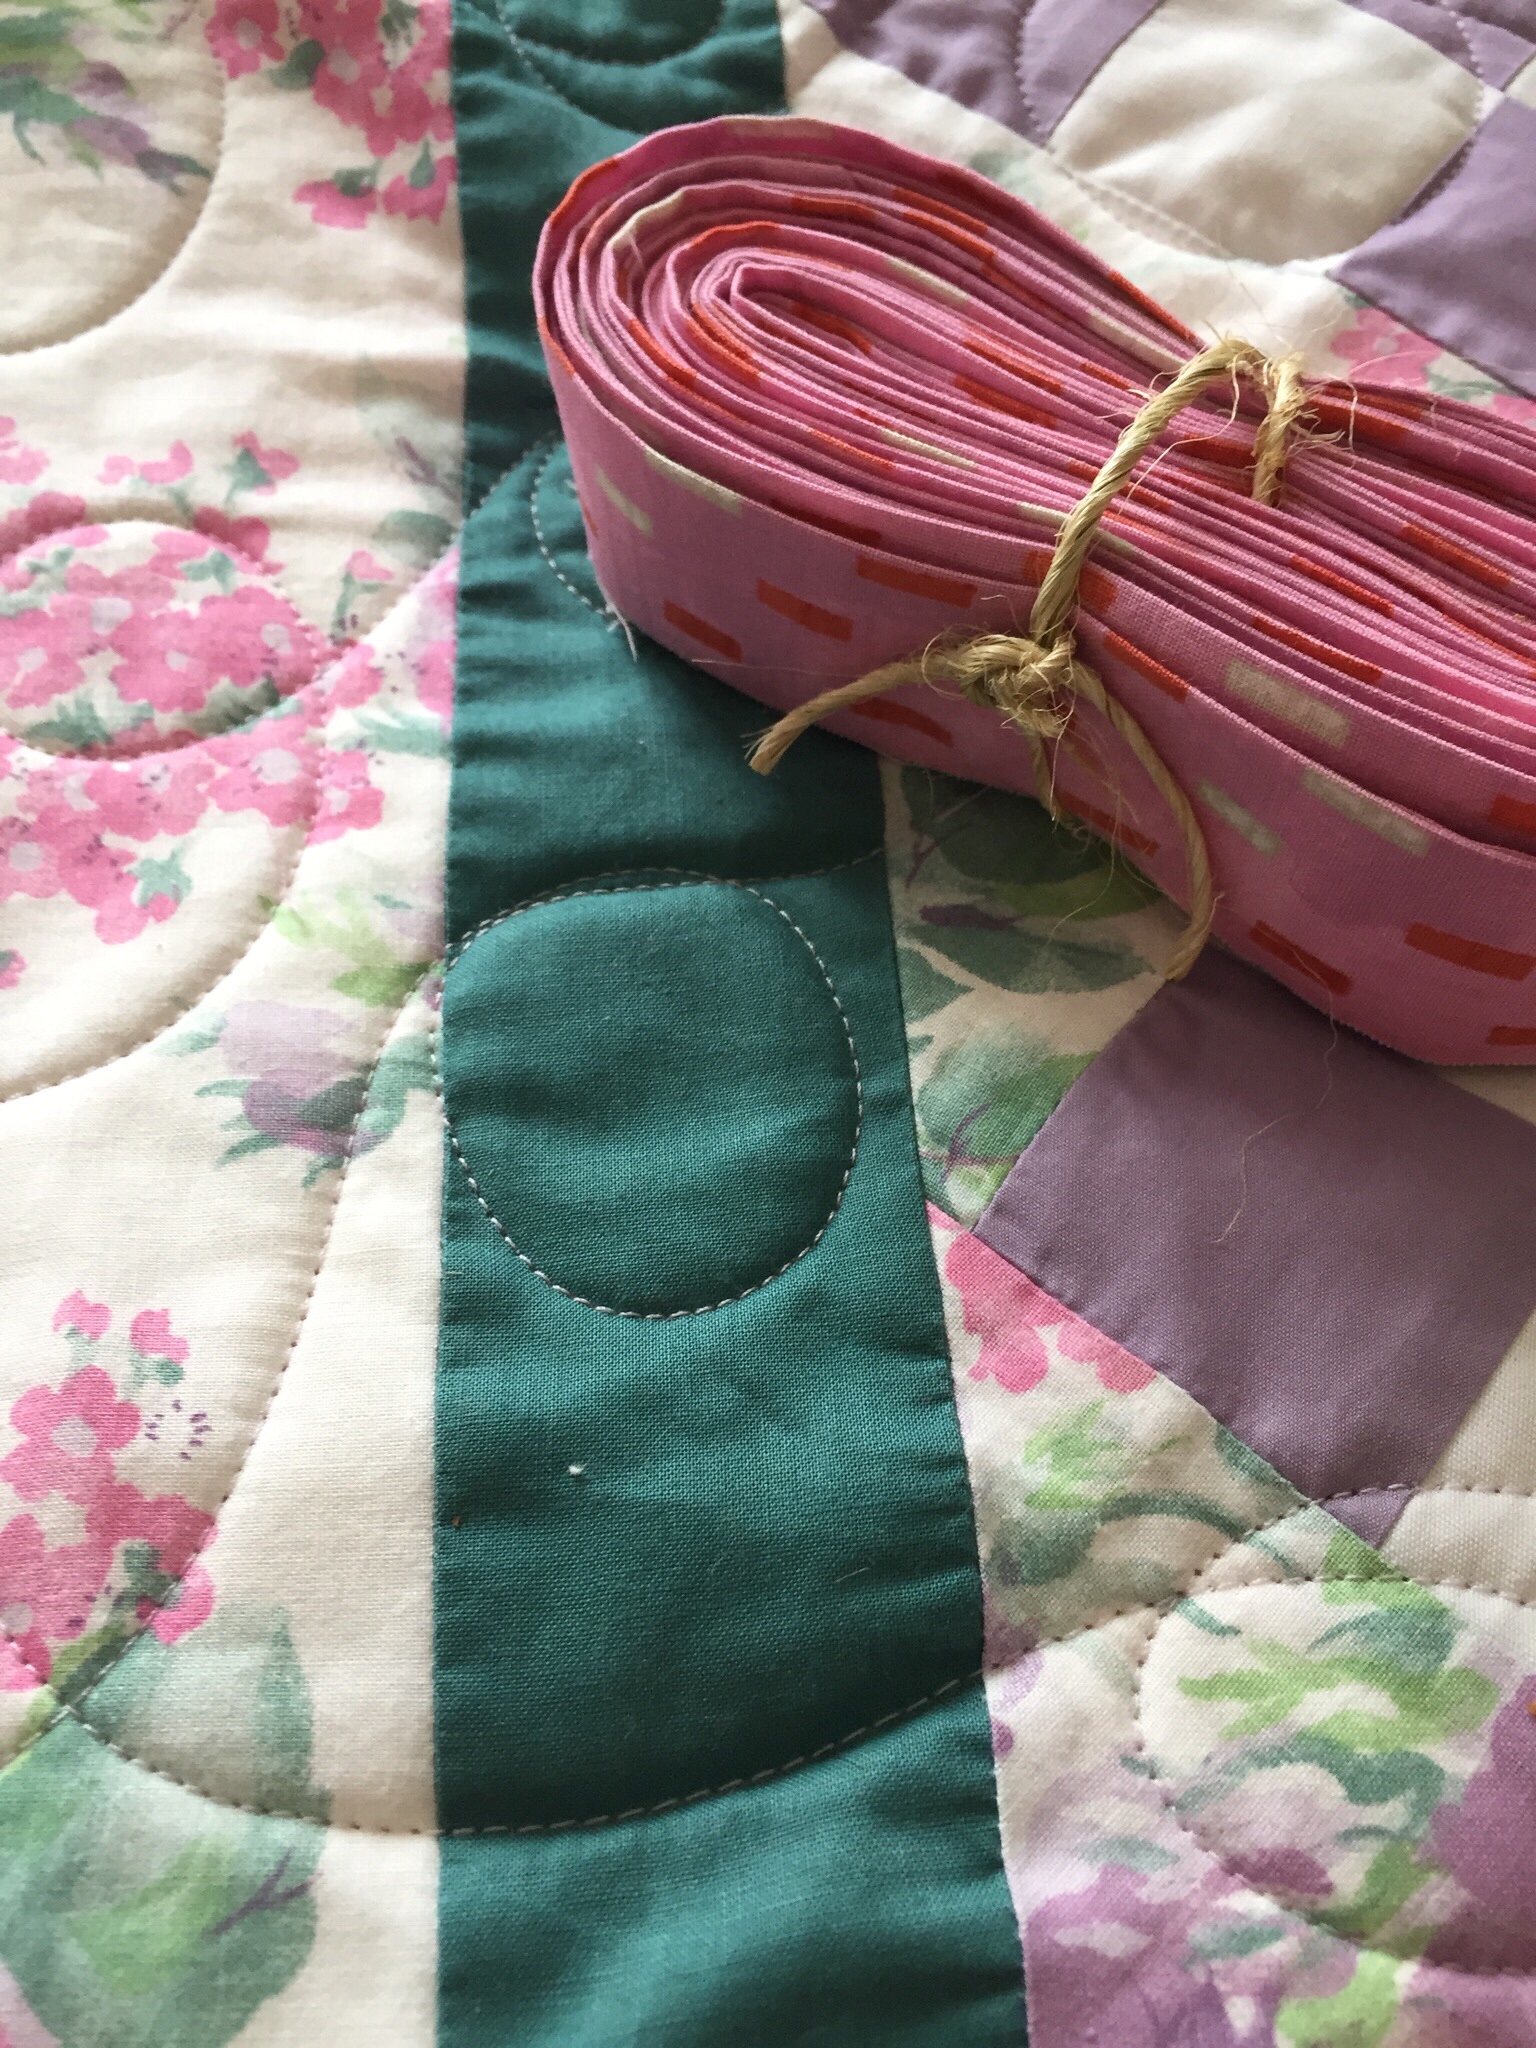
I have so many I could tell you about but I have chosen one big one that I chuckle about almost every time I bind a quilt. I would define this as a complete misunderstanding. I don’t have any wonderful pictures to illustrate this so I will just have to tell the story.

When I started quilting, I basically taught myself. This was back in the late 1970’s. At that time, I made three quilts – each one queen size. I had no clue about actually quilting a quilt so they were hand tied. Also, I didn’t know about binding a quilt so they were sort of made ‘envelope’ style. I layered the front and back, right sides together. Then I stitched around the perimeter, leaving an opening large enough to turn it right sides out. Then, get this, I took a layer of polyester batting and inserted it into the quilt and basically crawled in with it as far as I could to smooth it out. So the batting wasn’t really stitched in to anything and you can bet it was lumpy but I was 17 or 18 and I thought this was fine. This is sort of the back story – it isn’t the misunderstanding. We haven’t gotten there yet! I just wanted to tell you where I was coming from as far as quilting knowledge goes! It helps to know that though I began sewing when I was 11 years old, I made clothes – not quilts. I took home ec classes in high school and learned a lot about sewing then. You can read a post here that talks more about those classes if you like. The rules for making clothes are quite different than those for making quilts. This is what caused my major misunderstanding!!

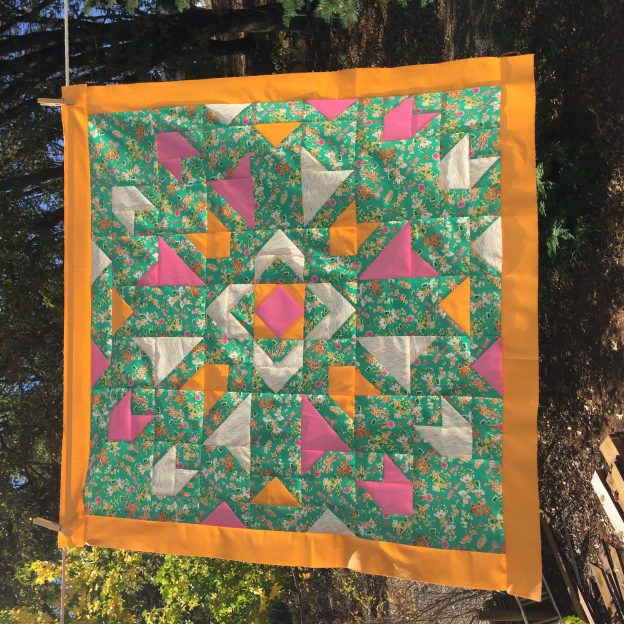
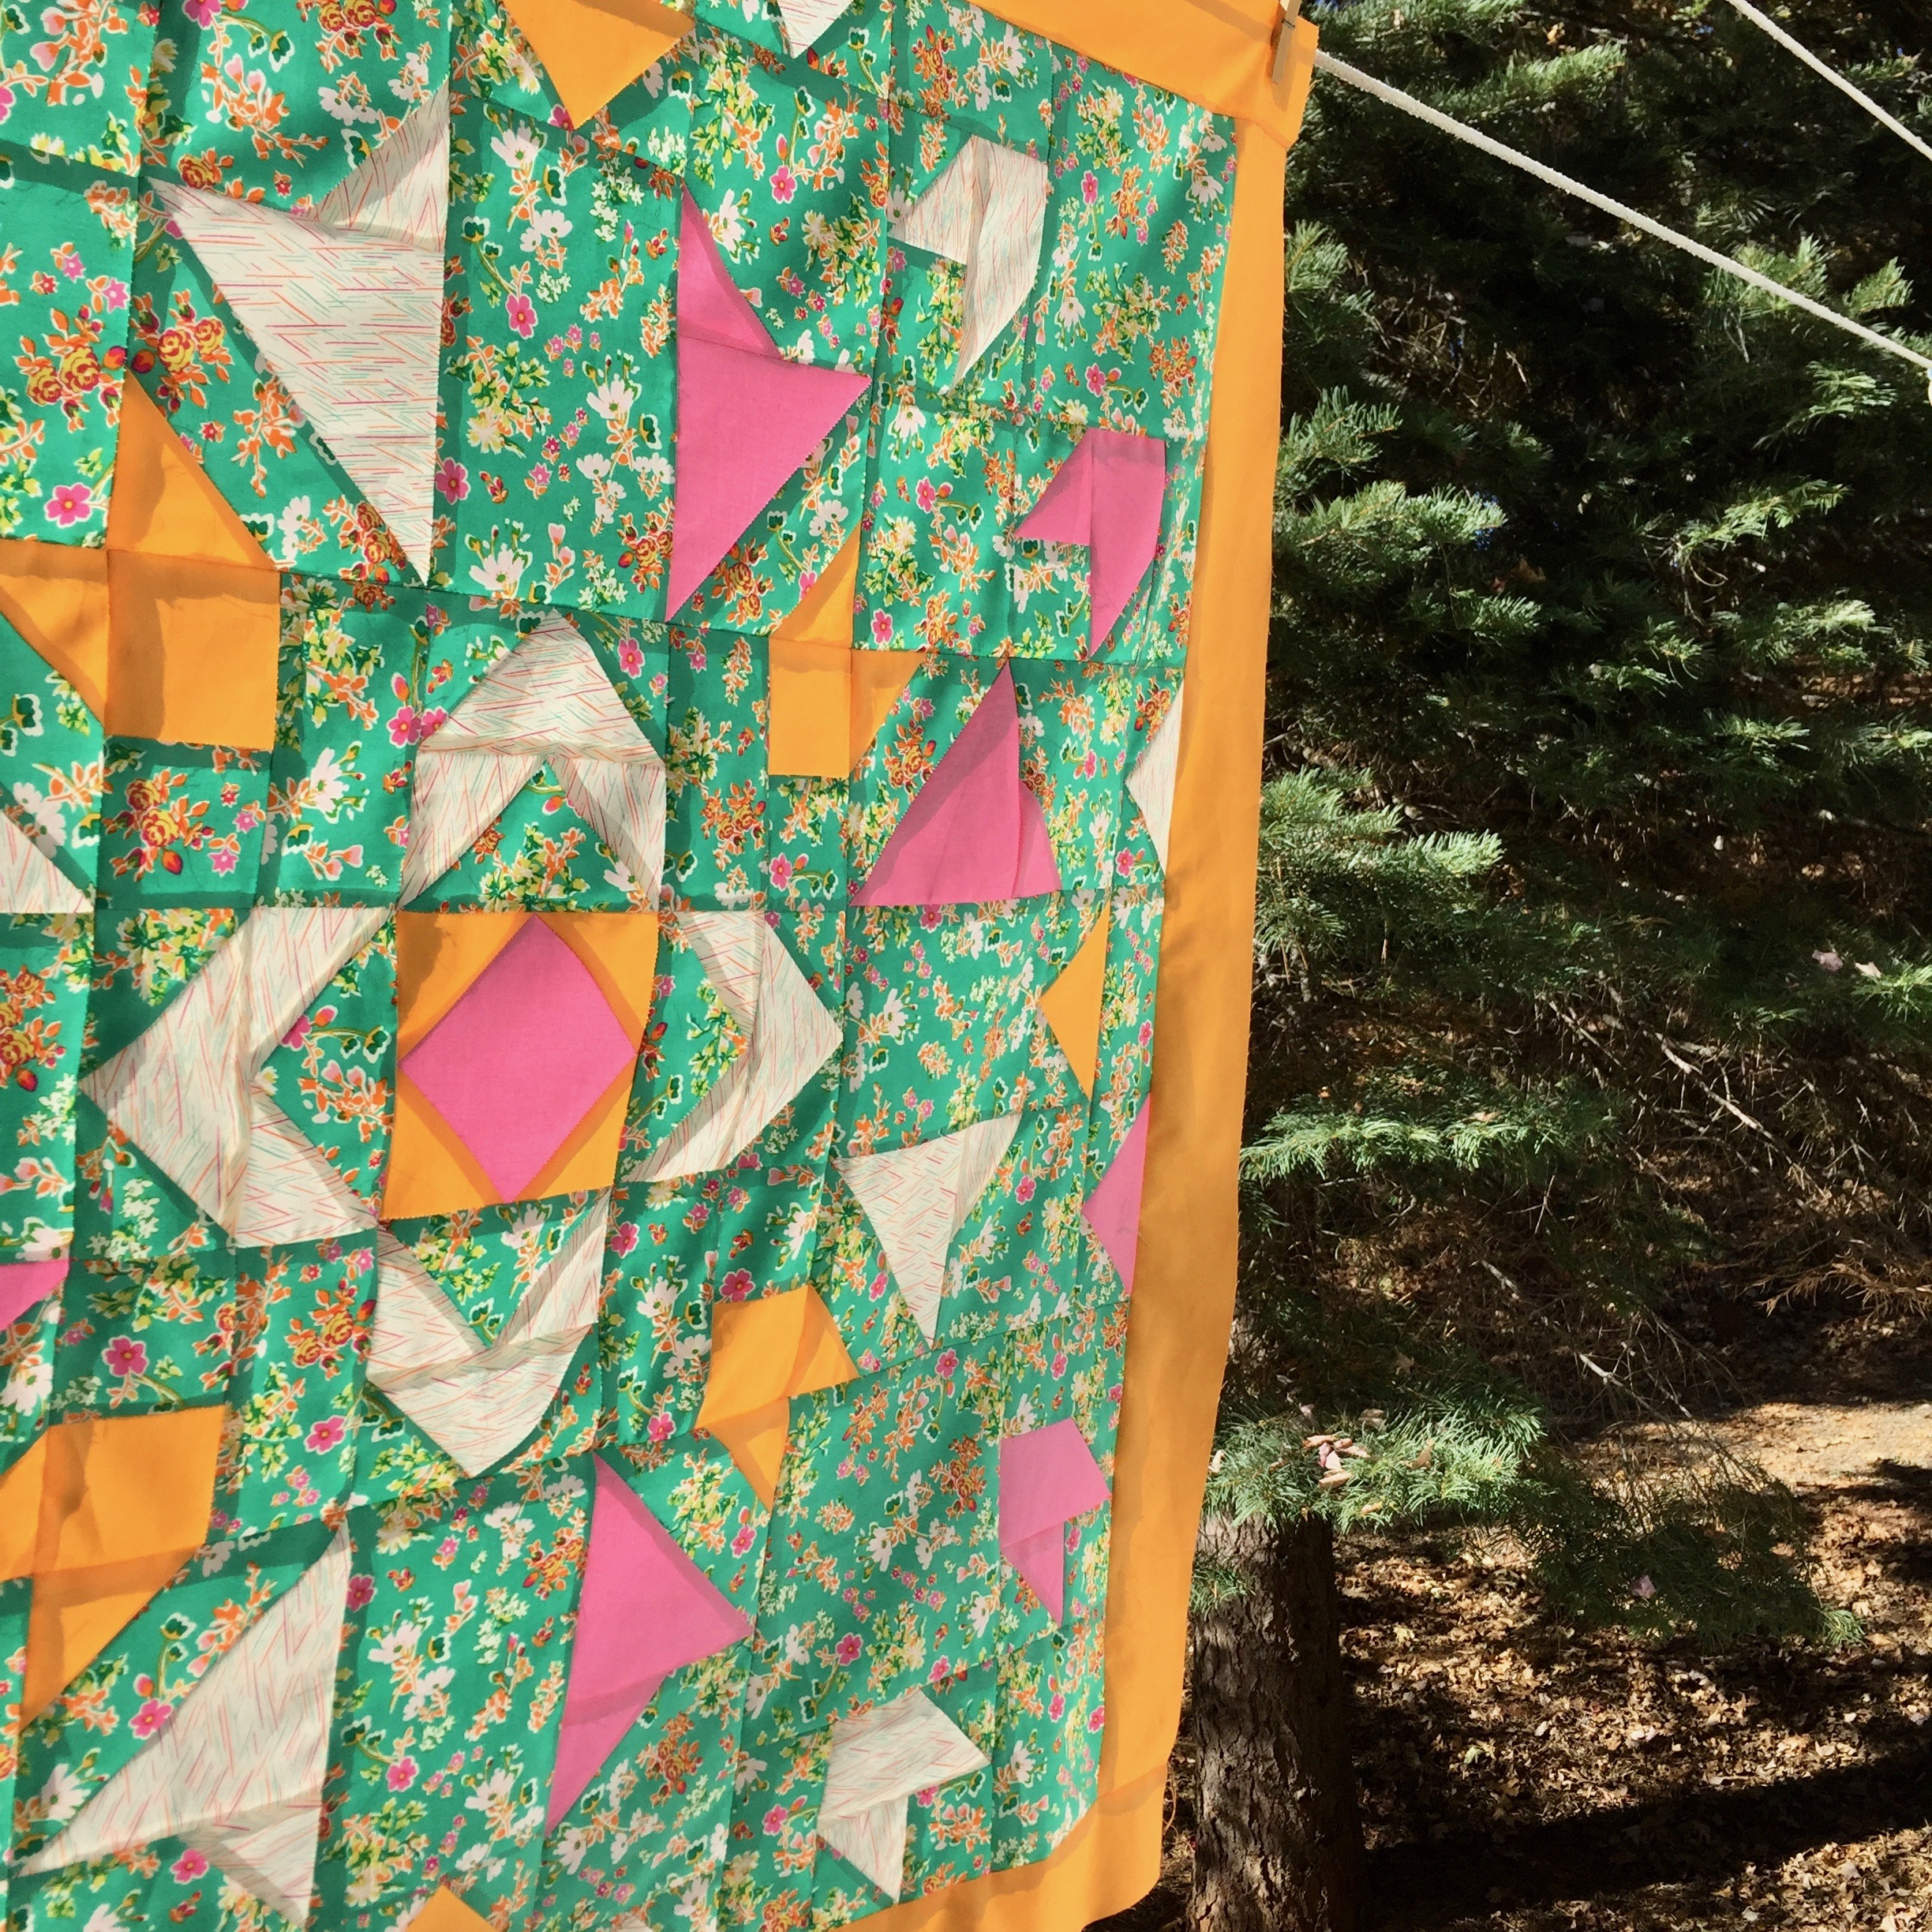
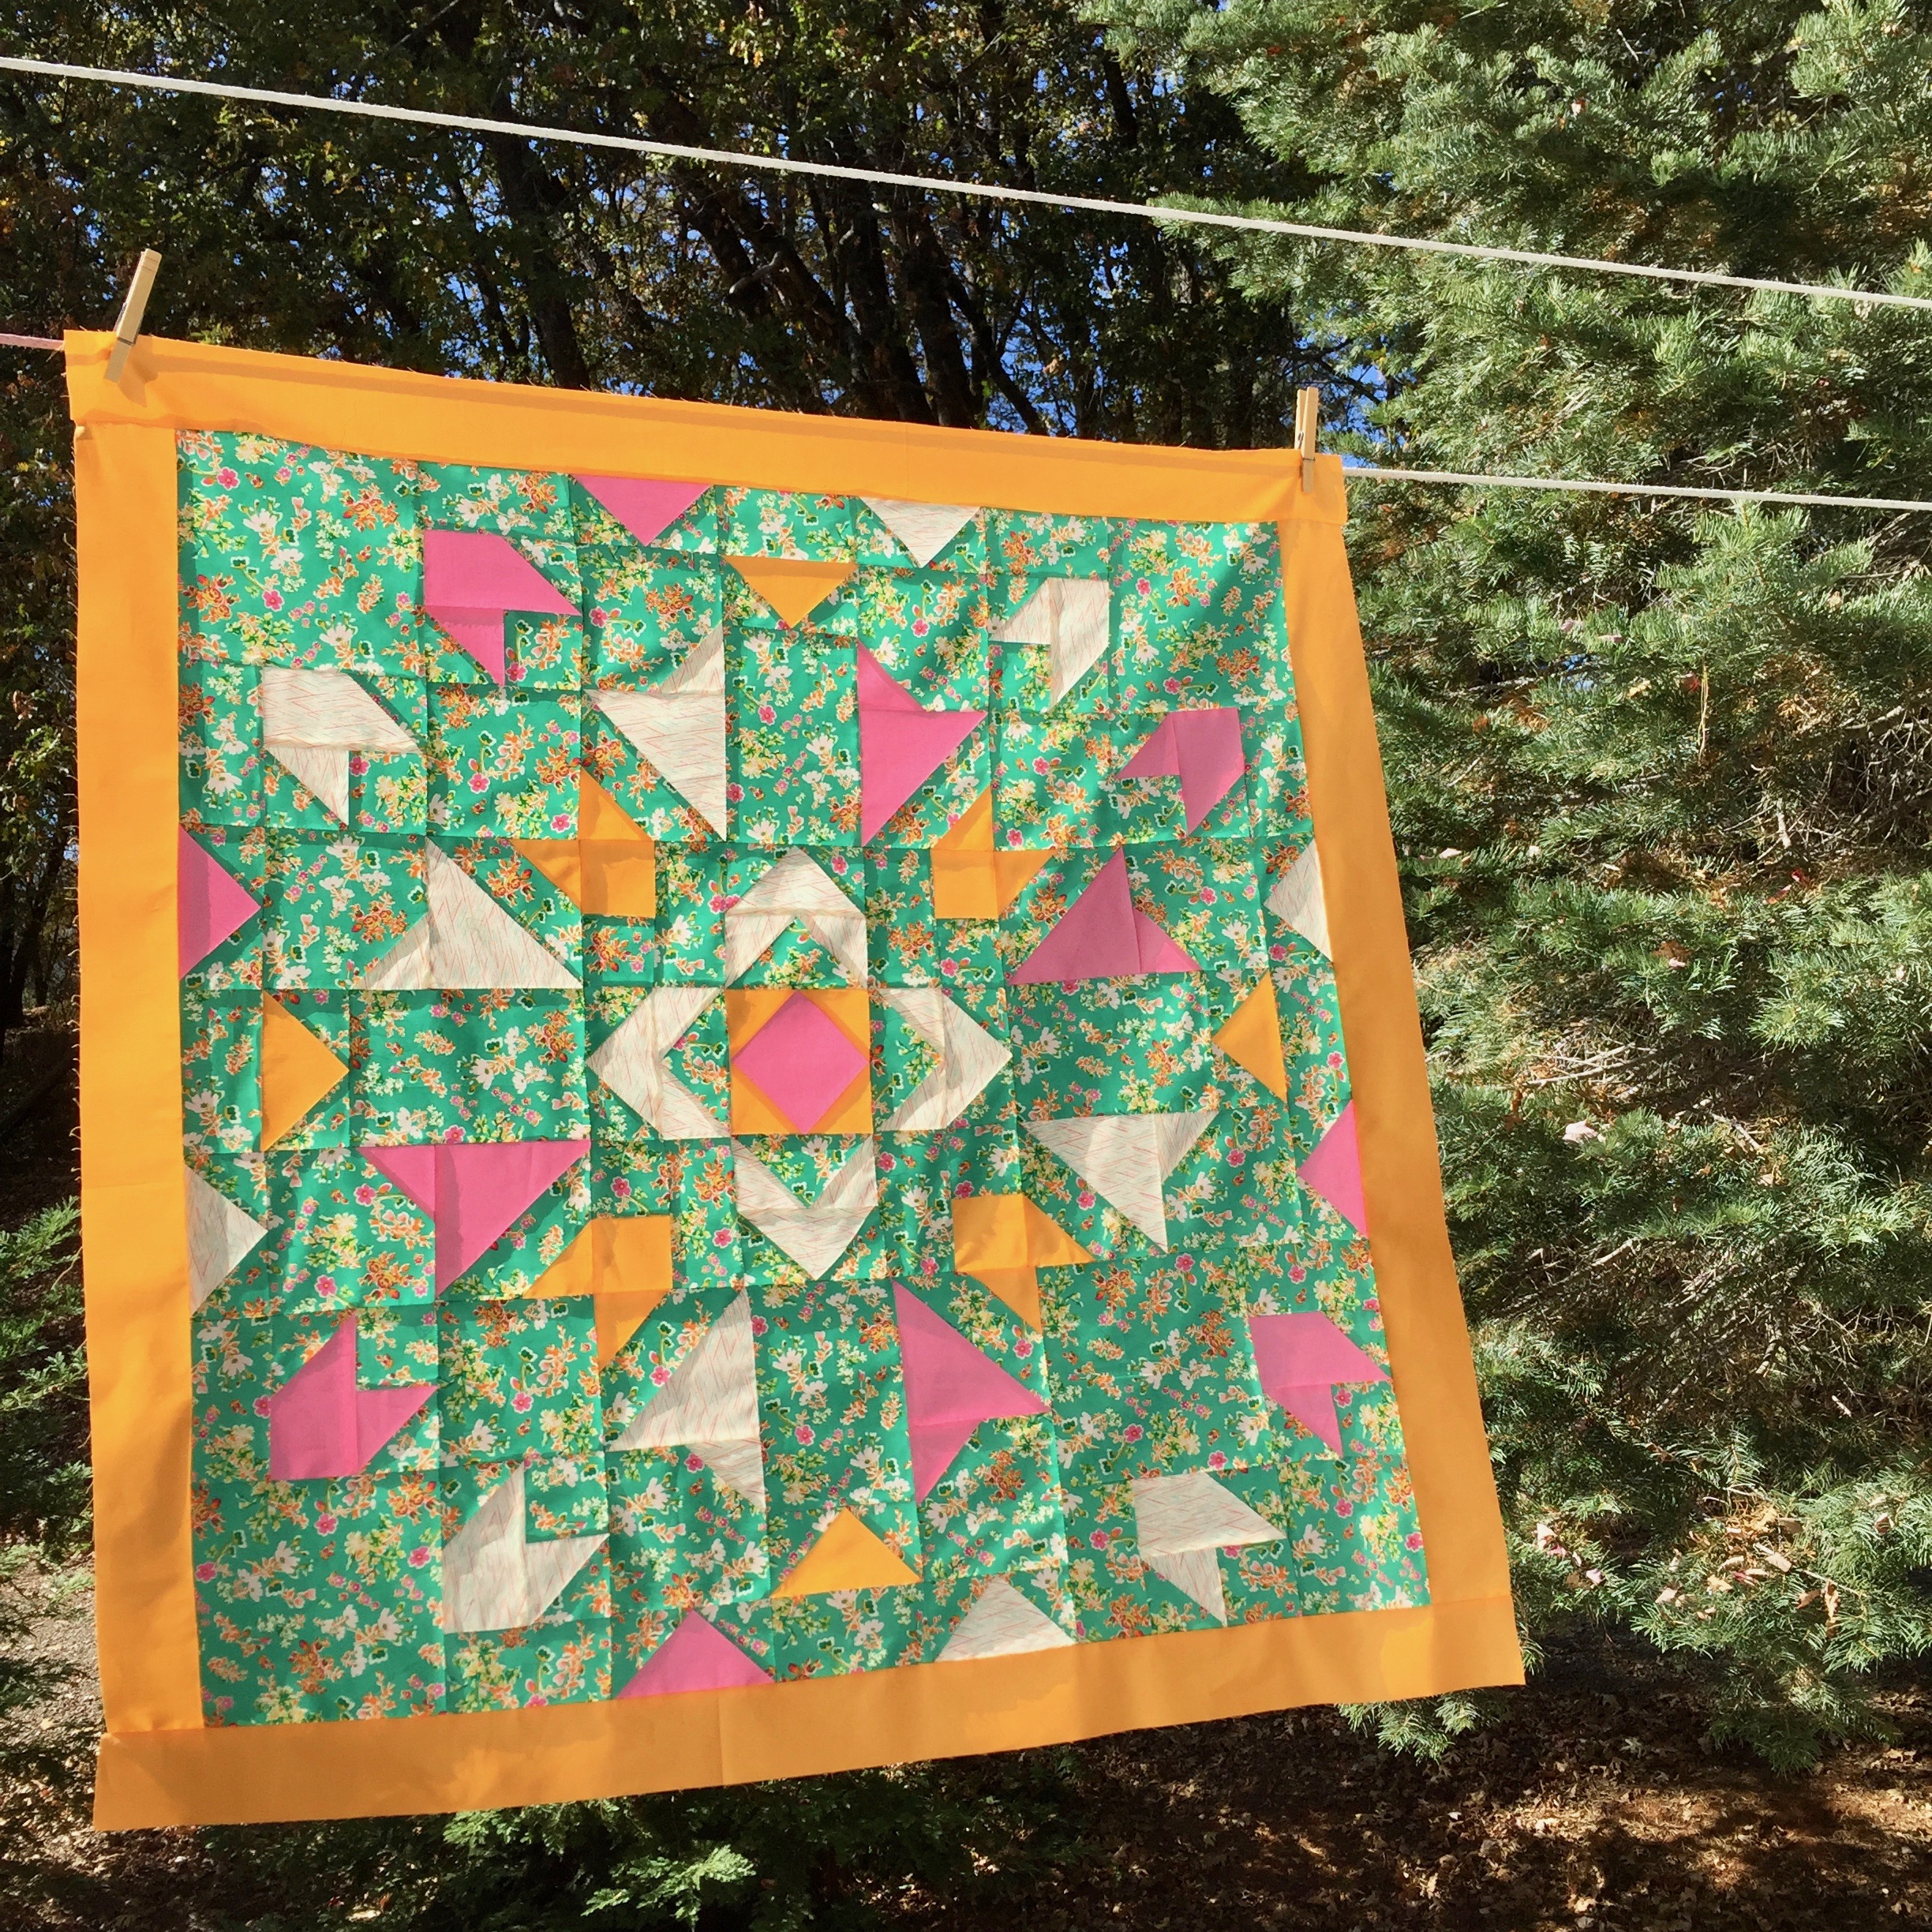
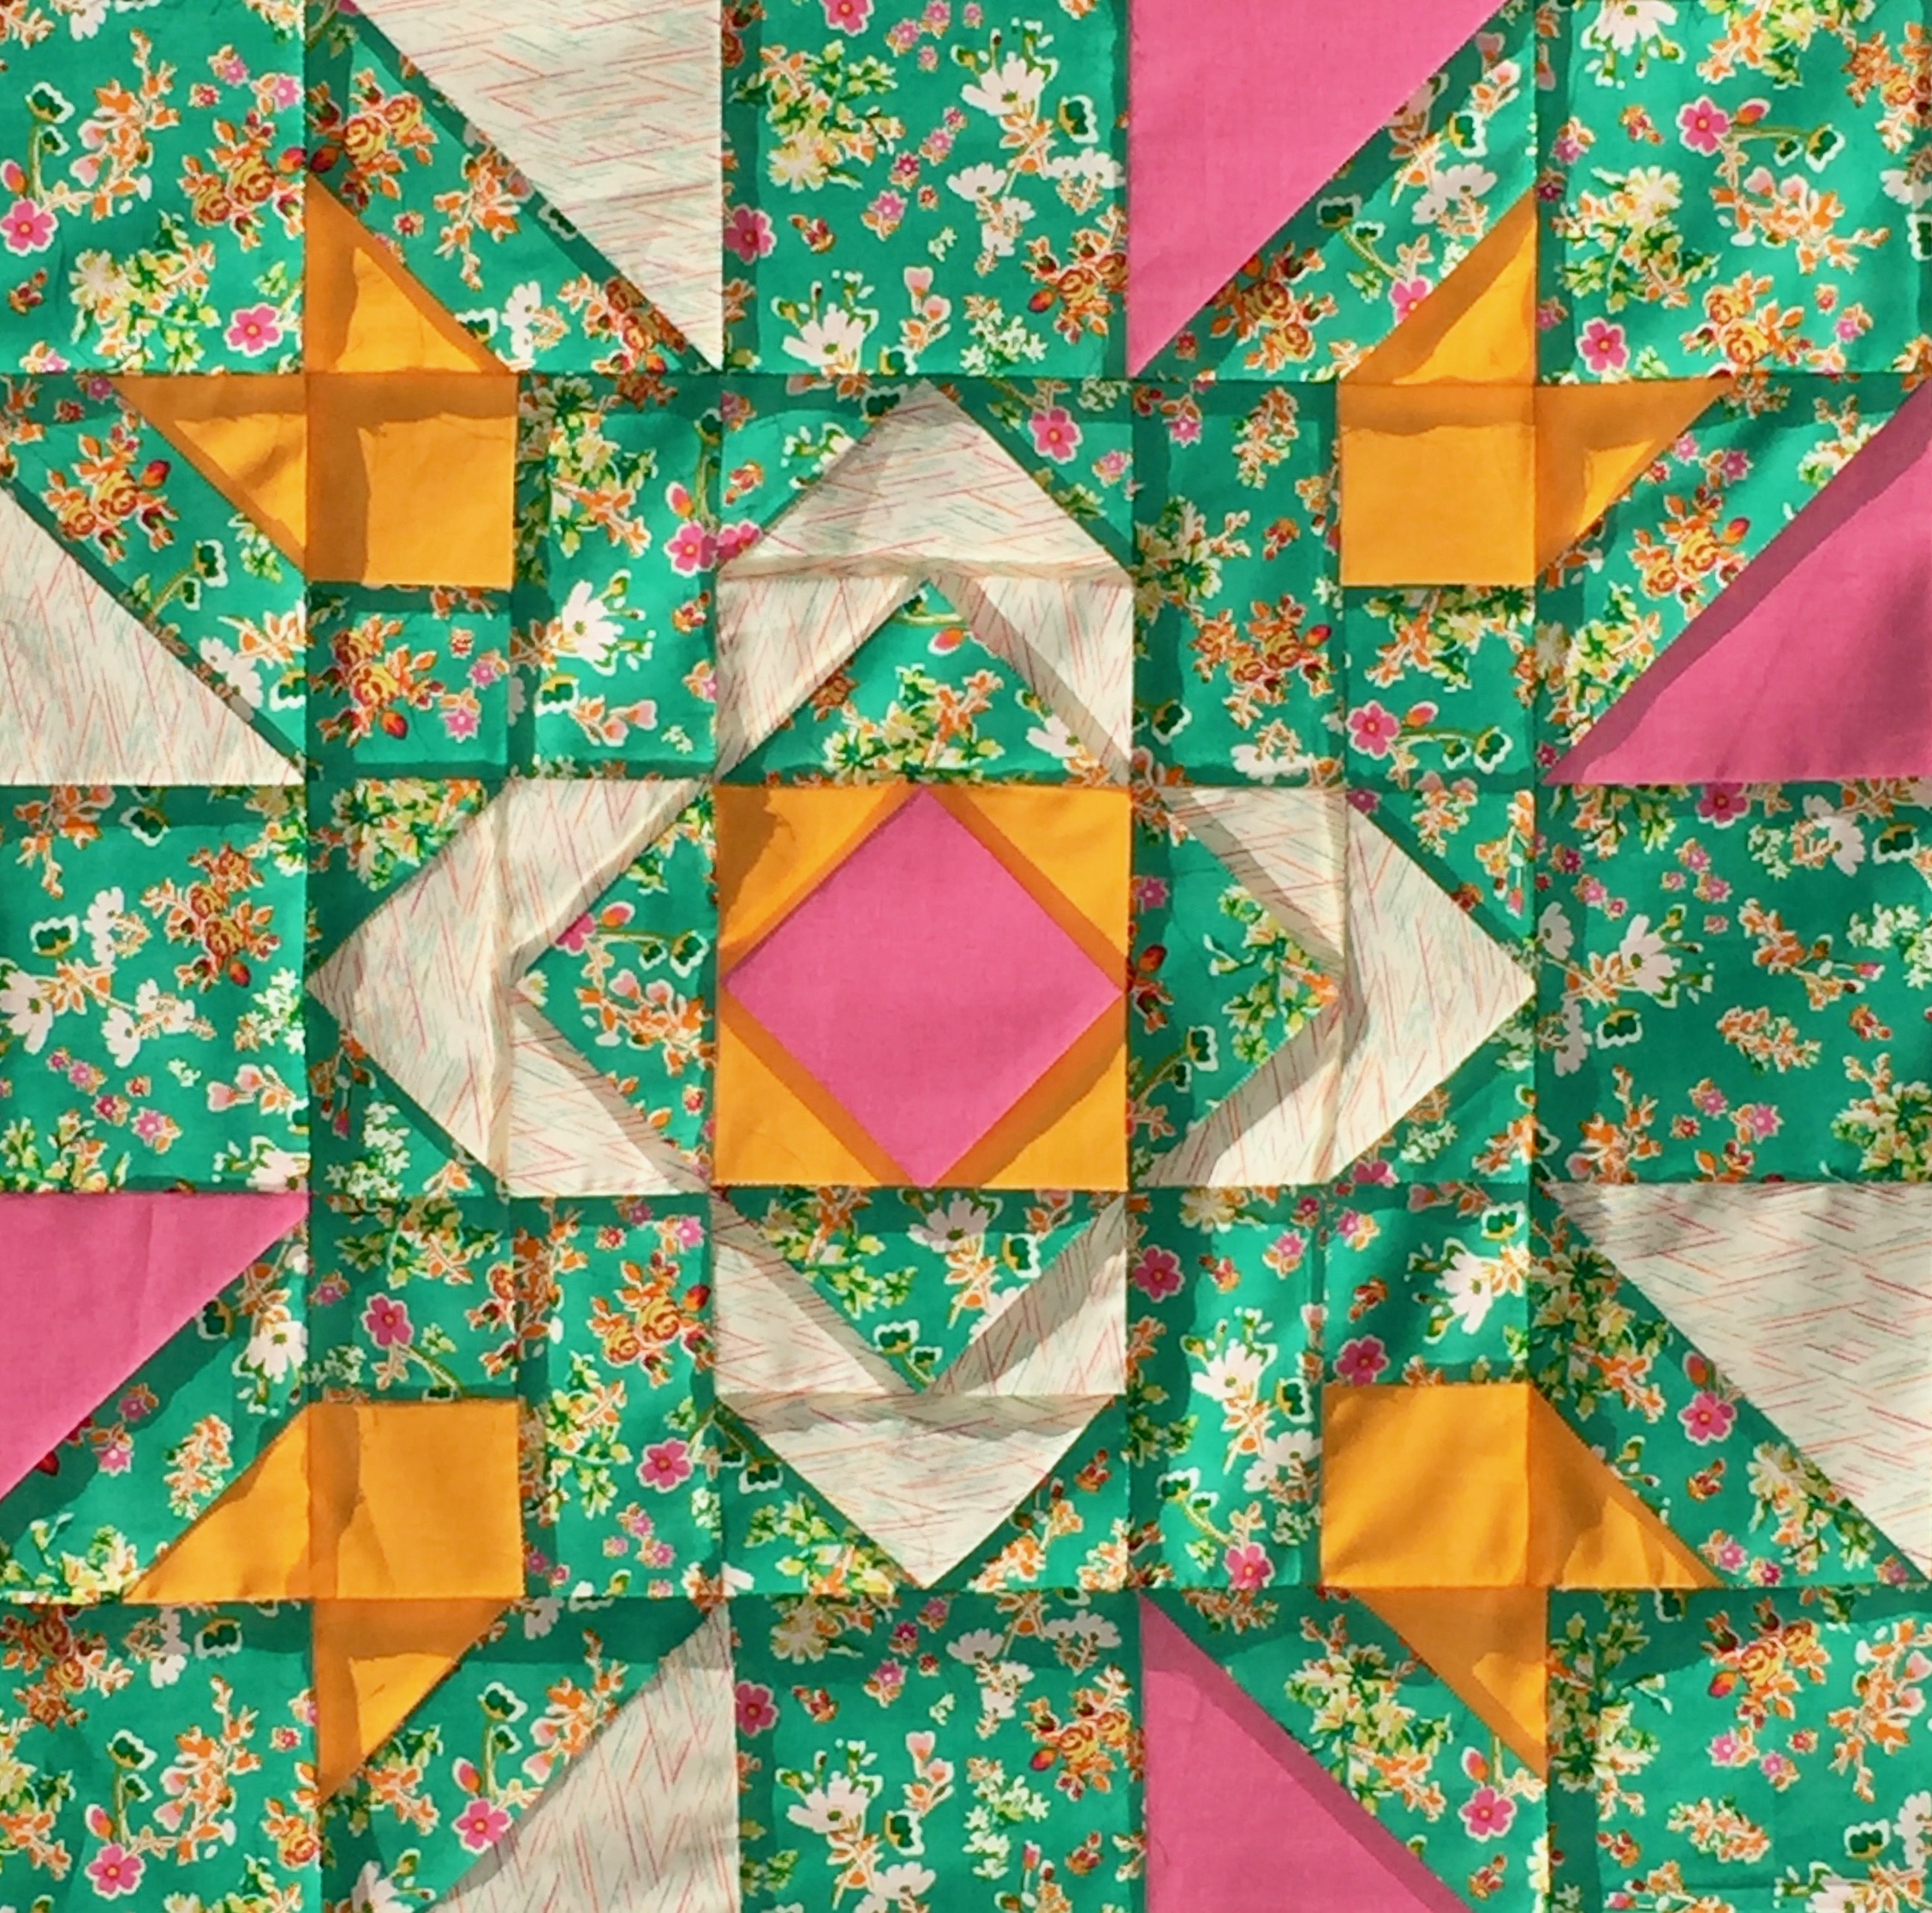
Fast forward from 1978 to 2010 and I began quilting again. This time I had the benefit of all the tutorials on the internet. I read many and they were (and still are) very helpful. Some of the first projects I made were minis and table runners. Then I moved on to trying to make some lap size quilts. Binding quilts was quite tricky for me. I would look at the pictures of other quilts and the crisp bindings with beautifully mitered corners and wonder why the heck mine looked so weird.

Want to know why? Let me tell you. For the most part, I understood the process of making the double fold binding, stitching to 1/4″ before the corner and then off the corner, then I mitered the corner as I turned. All of that worked well. Once I got the binding entirely stitched on, I made my mistake.

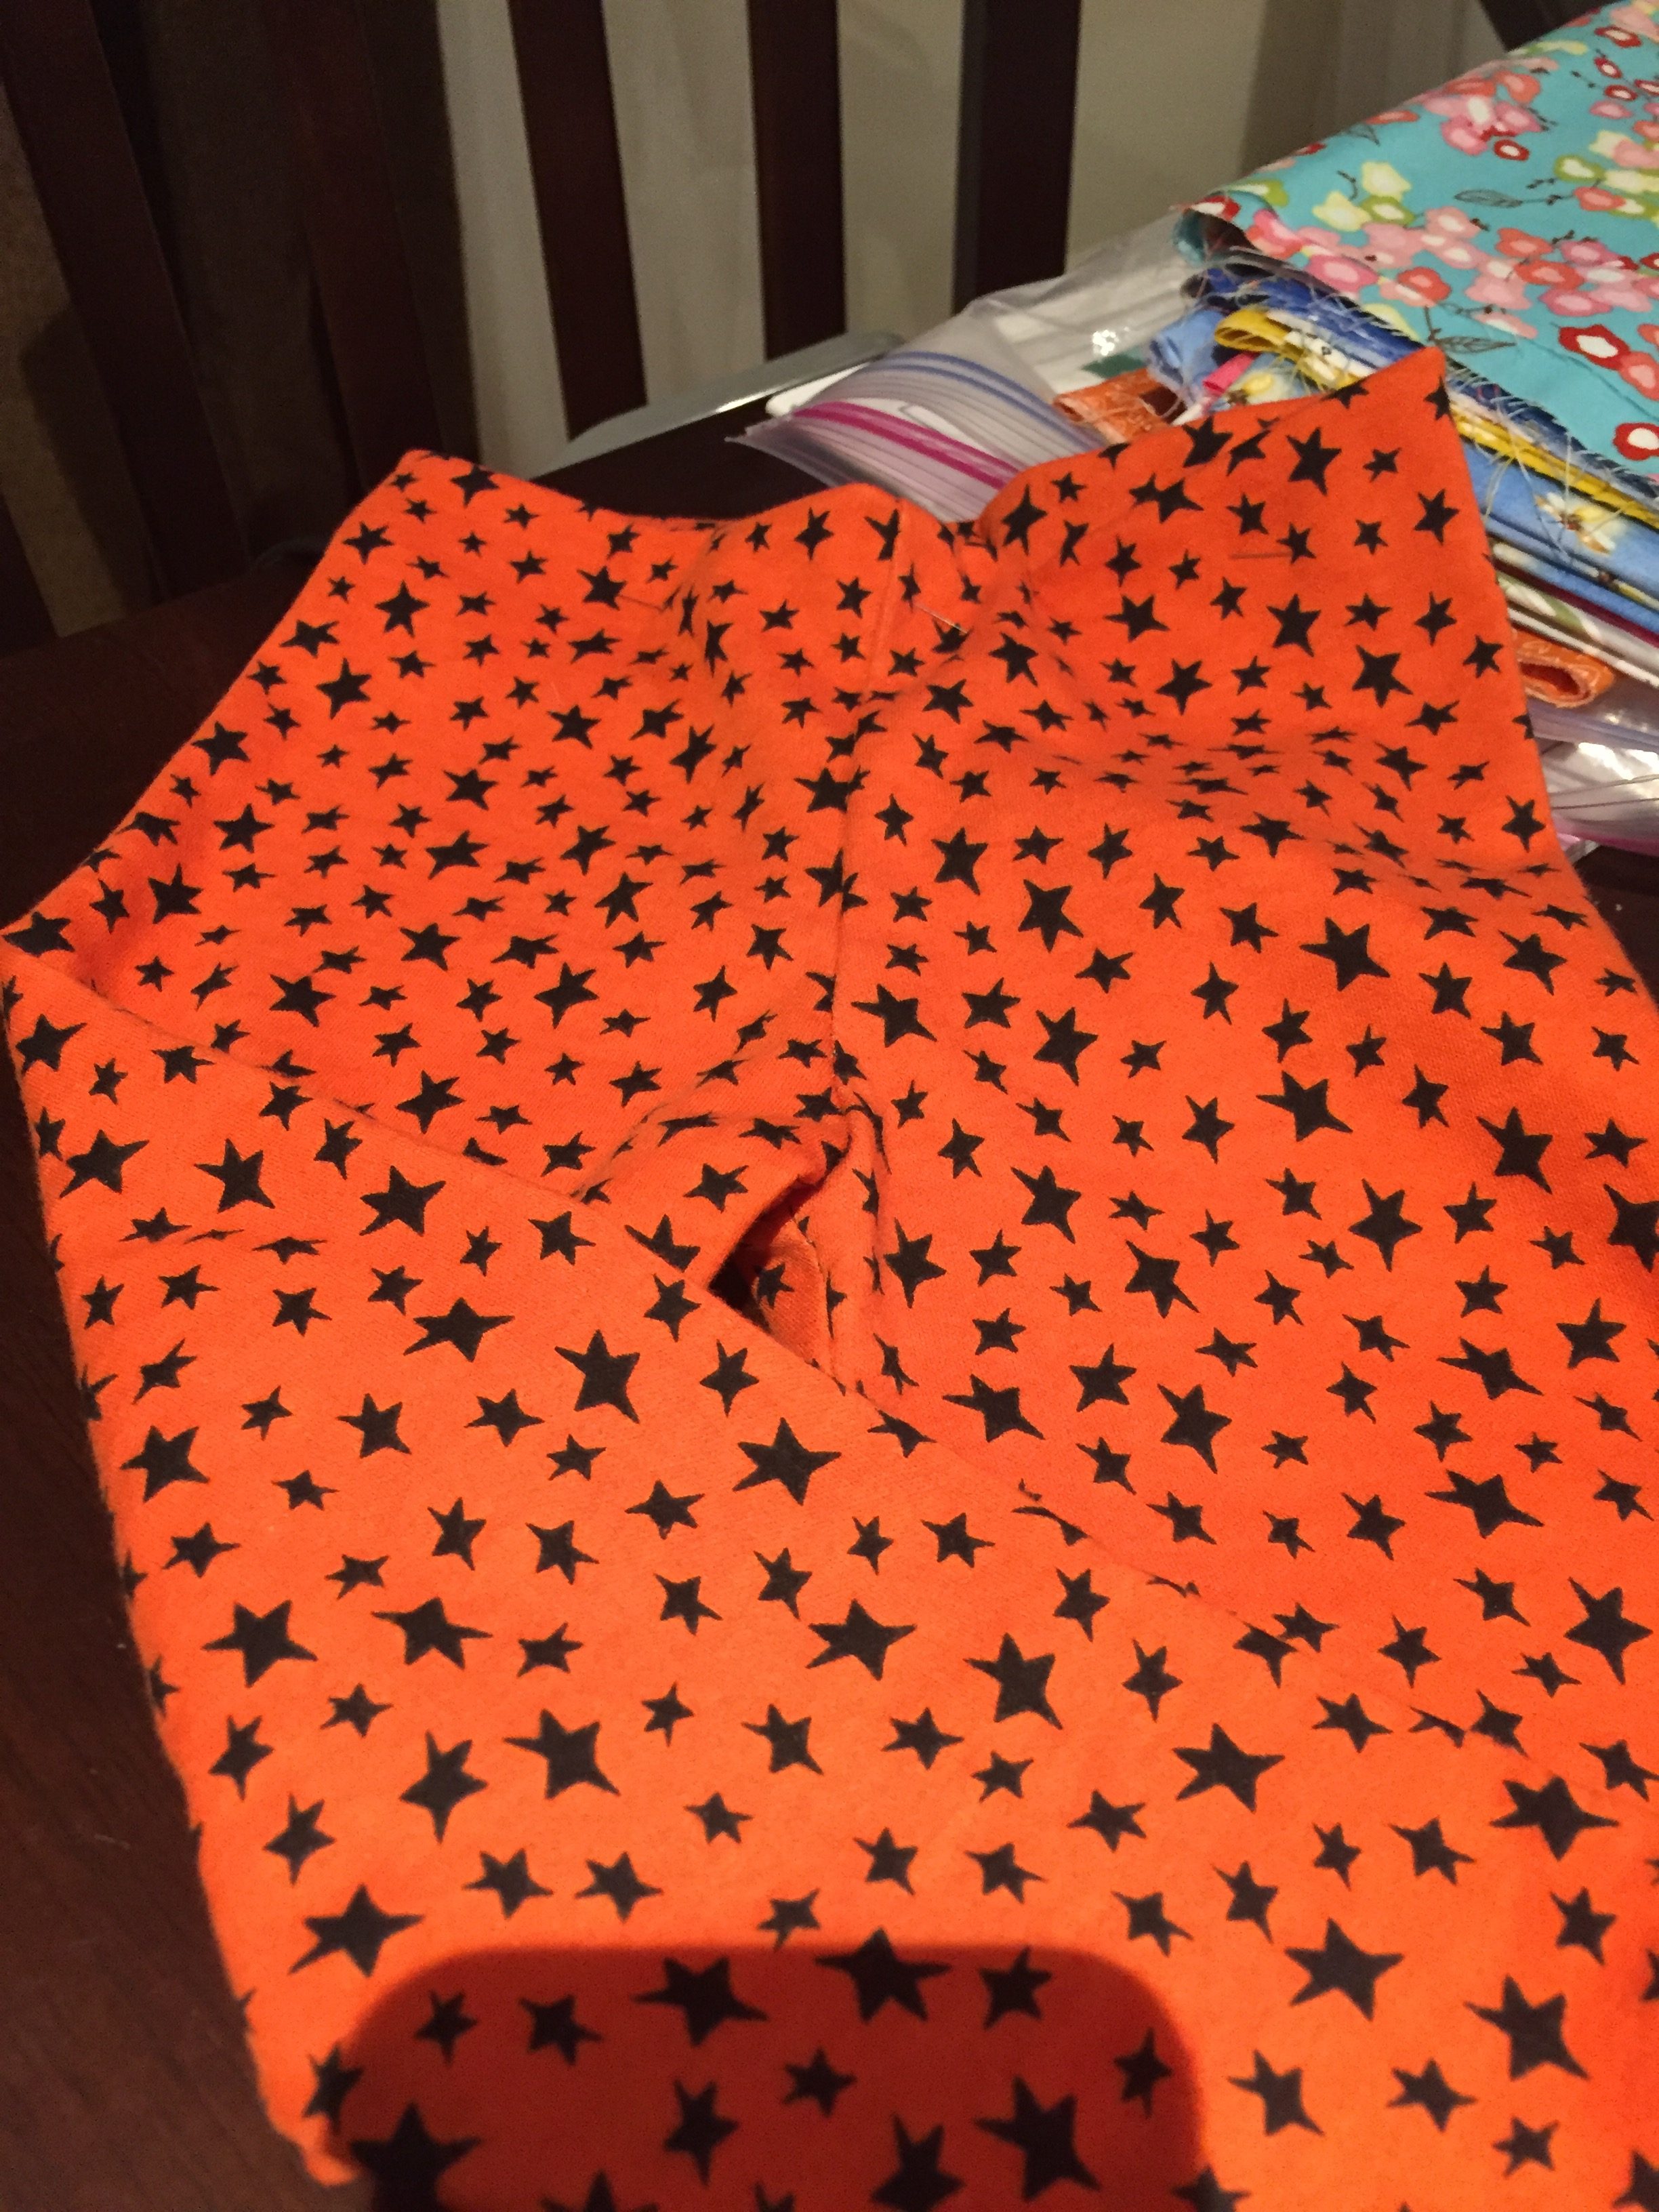
I assumed that the 90 degree corner needed to be clipped! After all that work, I went to each of the corners and snipped them off!!! No kidding. I didn’t do this only once either. I did it to a couple of quilts before I figured it out. When sewing clothes, pillow cases or anything with a 90 degree angle, the corner is clipped off so when you turn it right side out, there is a nice crisp corner without excess fabric bunching it up. Well, as we know, bindings are folded over the corners and the corners need to be intact so they fill the binding. My habit to clip those corners was so strong I just did it automatically. Let’s just say the bindings on the first couple of quilts were very weird indeed. I don’t have any pictures of this. But I assure you, I did it repeatedly.

There were actually several habits that were hard to change when I started quilting. Using a 1/4″ seam felt so wrong to me. It didn’t seem like such a small seam could actually hold the pieces together. When sewing clothes, it is standard to use a 5/8″ seam. Also, I am used to back tacking each time I start and stop a seam. Most of the time, I still do this. Old habits die hard. But when I am piecing small blocks, it is problematic if I tack at the beginning and end of the seams – it can make my seams too fat, make the blocks too small, and sometimes causes those bitty pieces to get sucked into the machine at the feed dogs (which makes me crazy!)

We are all constantly learning. Many of my readers are amazing quilters, some are quite new to it and others are like me – gaining confidence with much still to learn. But – we are all right where we should be. Our projects should not be compared. They are as unique as each of us which is what makes life interesting.

I am looking forward to reading tales from others about your blunders, mishaps and misunderstandings! I had planned to have a link up ready for those with blog posts. Well, the weekend got away from me and it didn’t happen. Instead, bloggers, please leave the URL link to your blog post in a comment. Readers, please scroll the comments and click through to read the mistakes others have made. I can almost guarantee I will both learn something by reading these and will also have a laugh or two. For readers who are not bloggers, will you tell your story of a mistake or goof you made? Explain it, tell us how you did or didn’t fix it – share with us! Your story in a comment enters you in the drawing for the prizes! Readers, if you want to comment on others stories, please feel free. I think this will be a lot of fun.

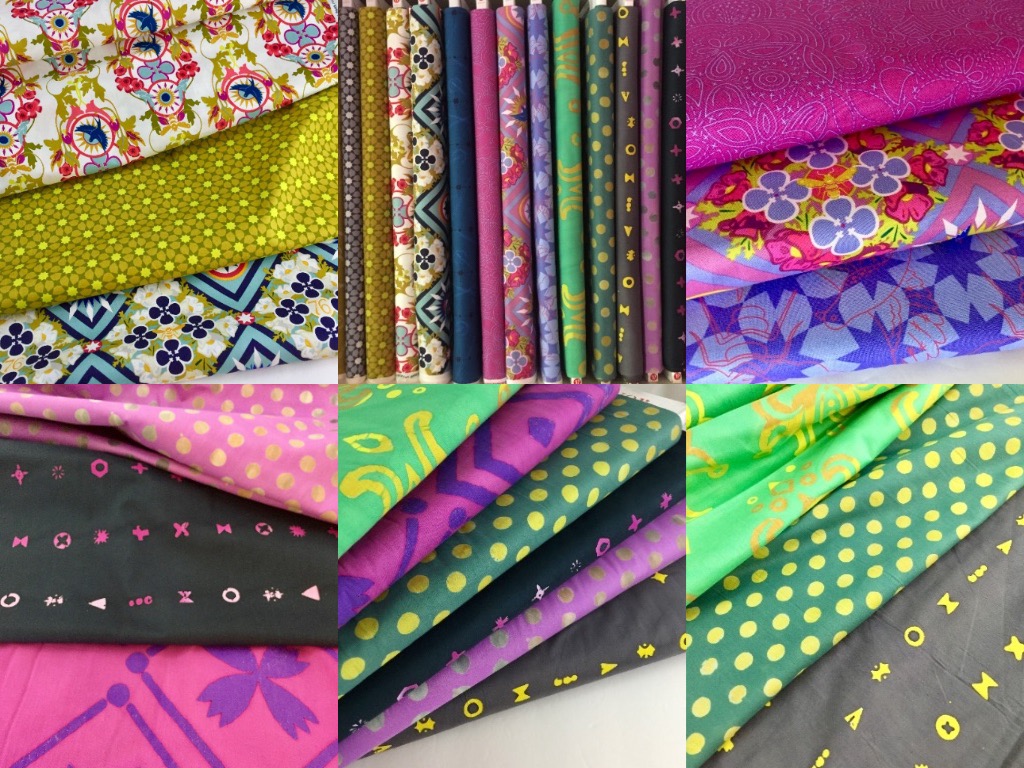
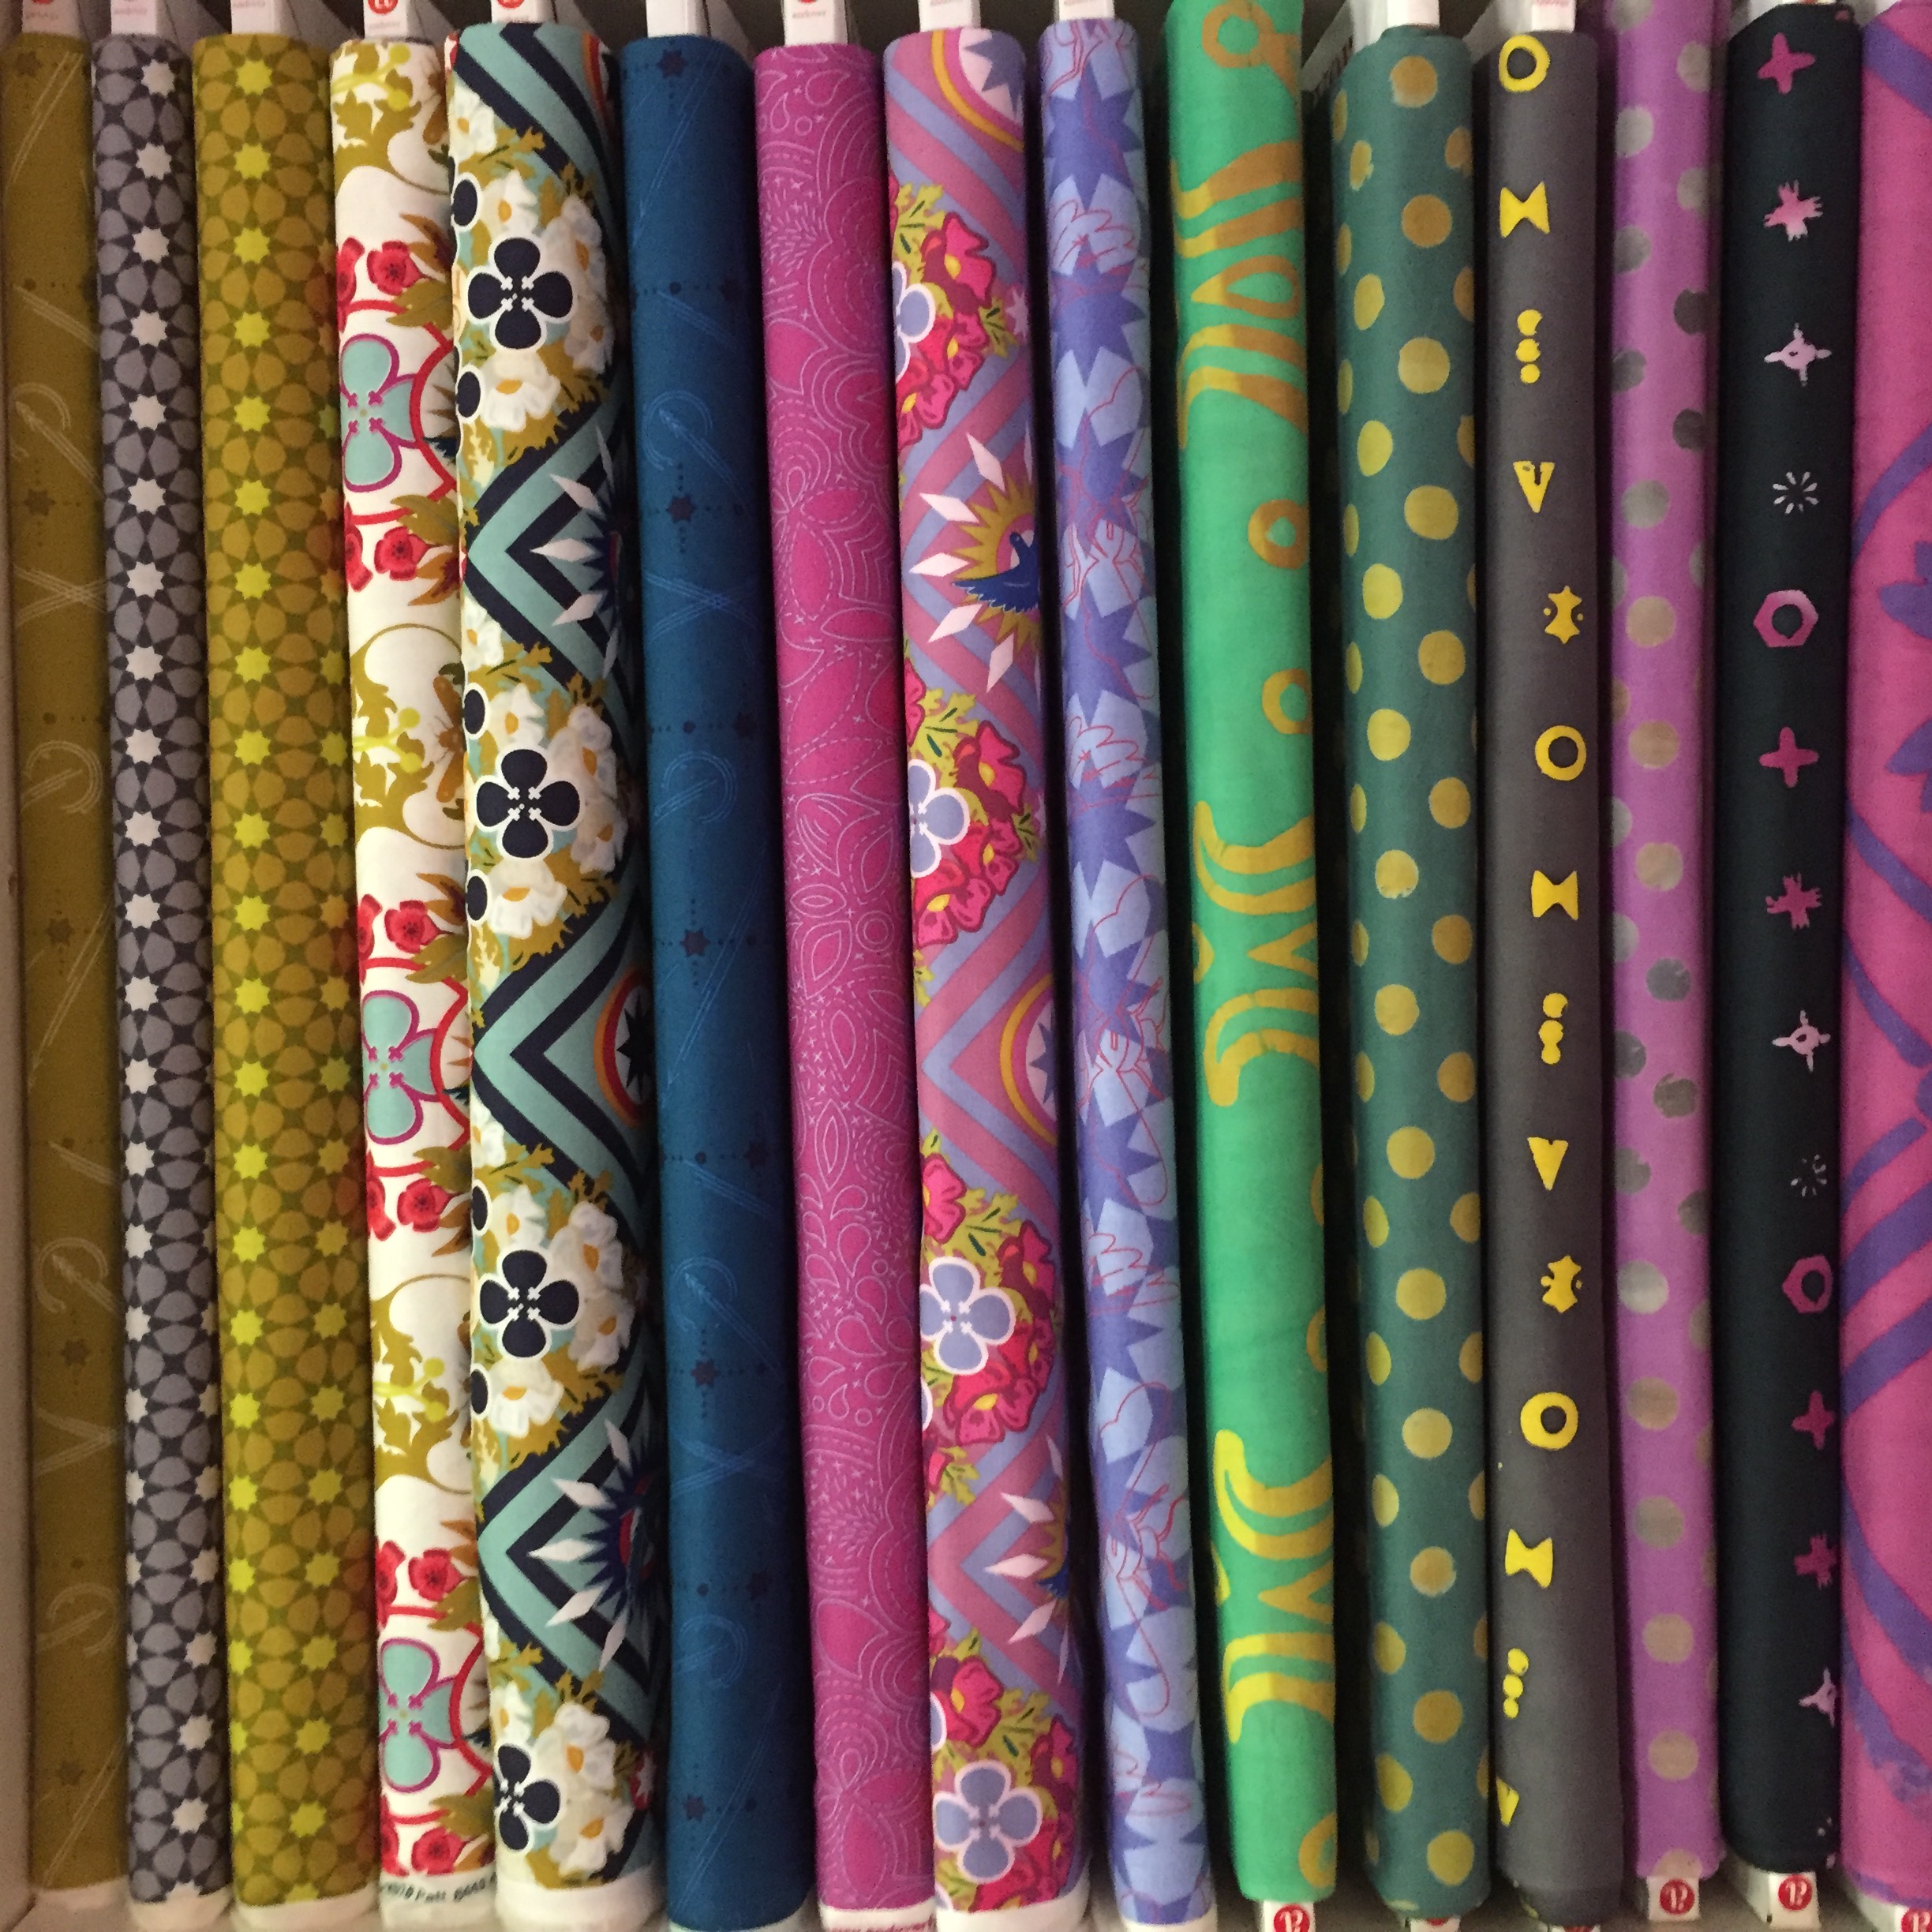
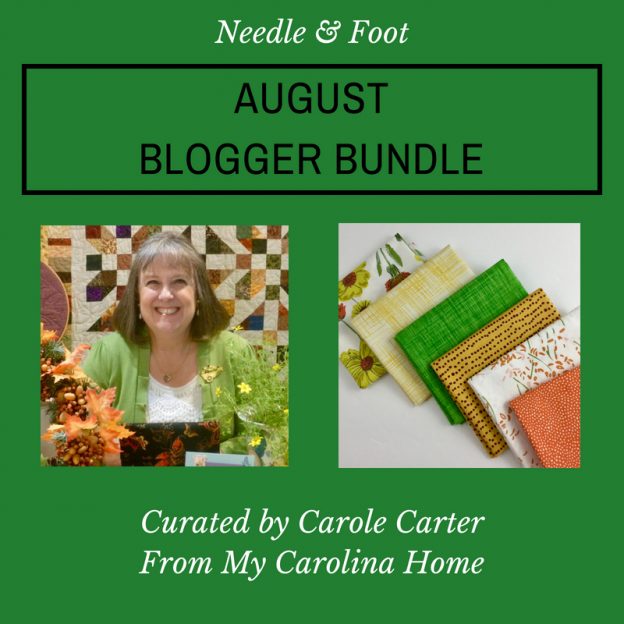
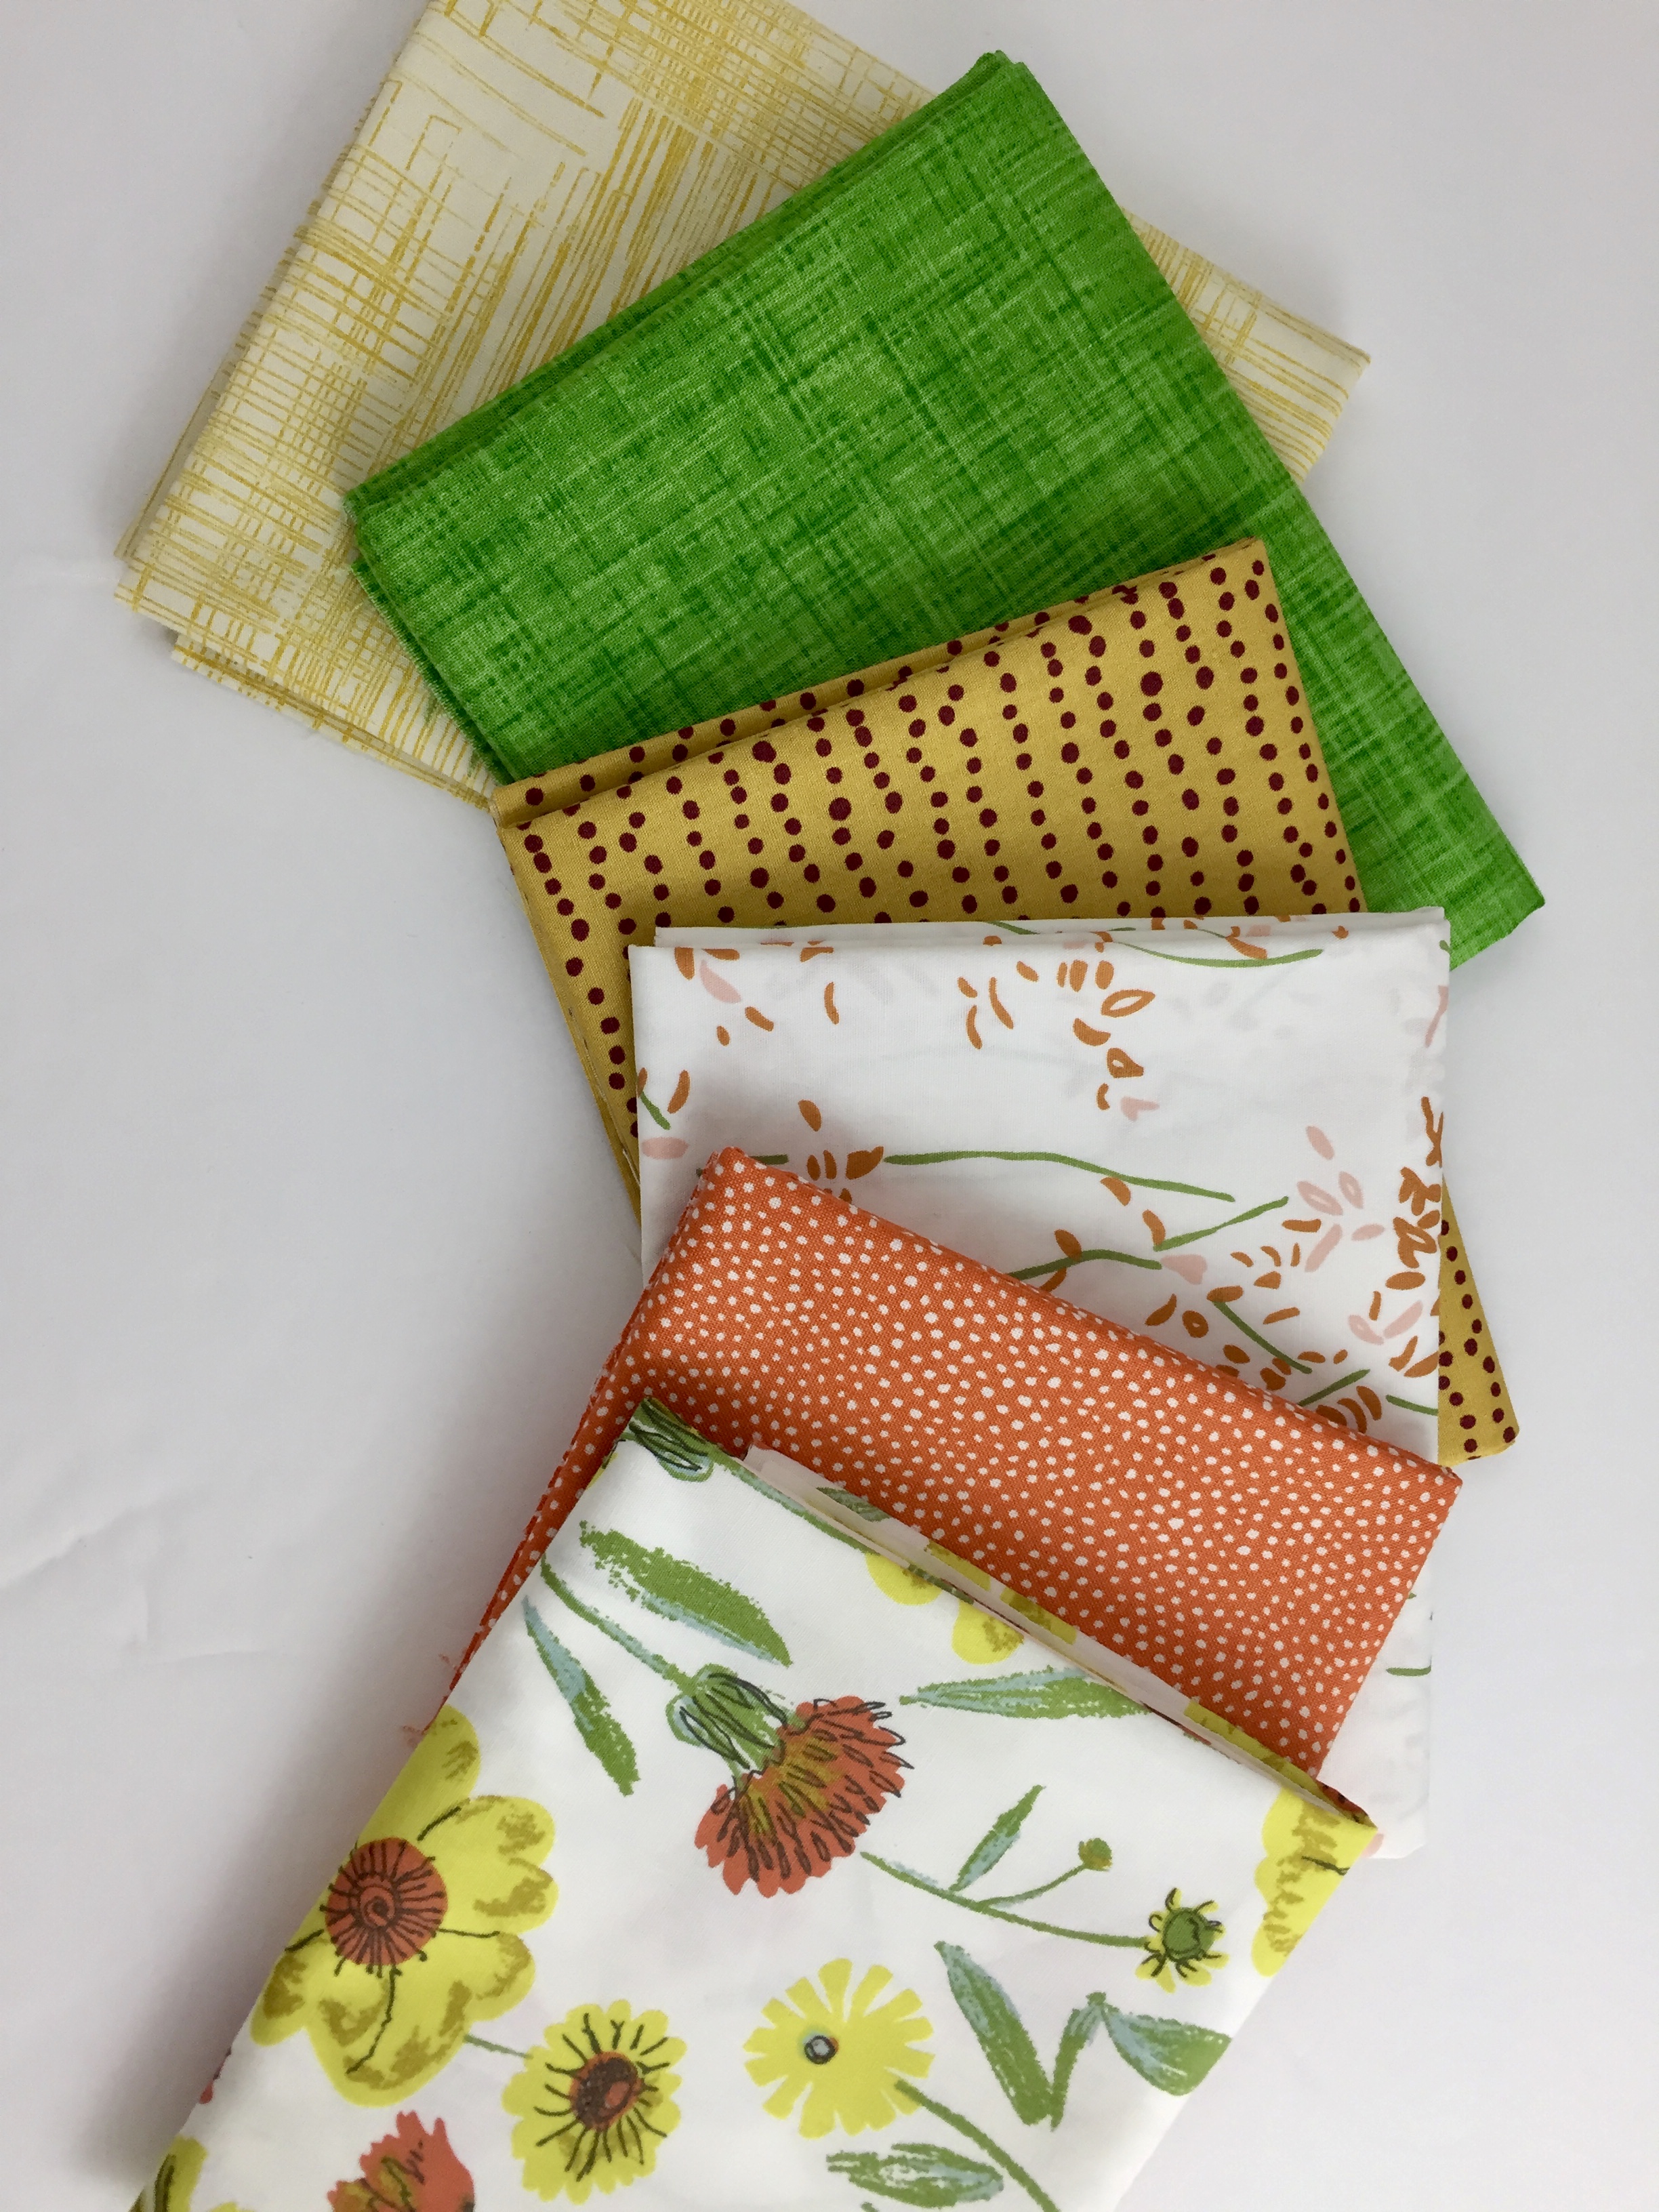
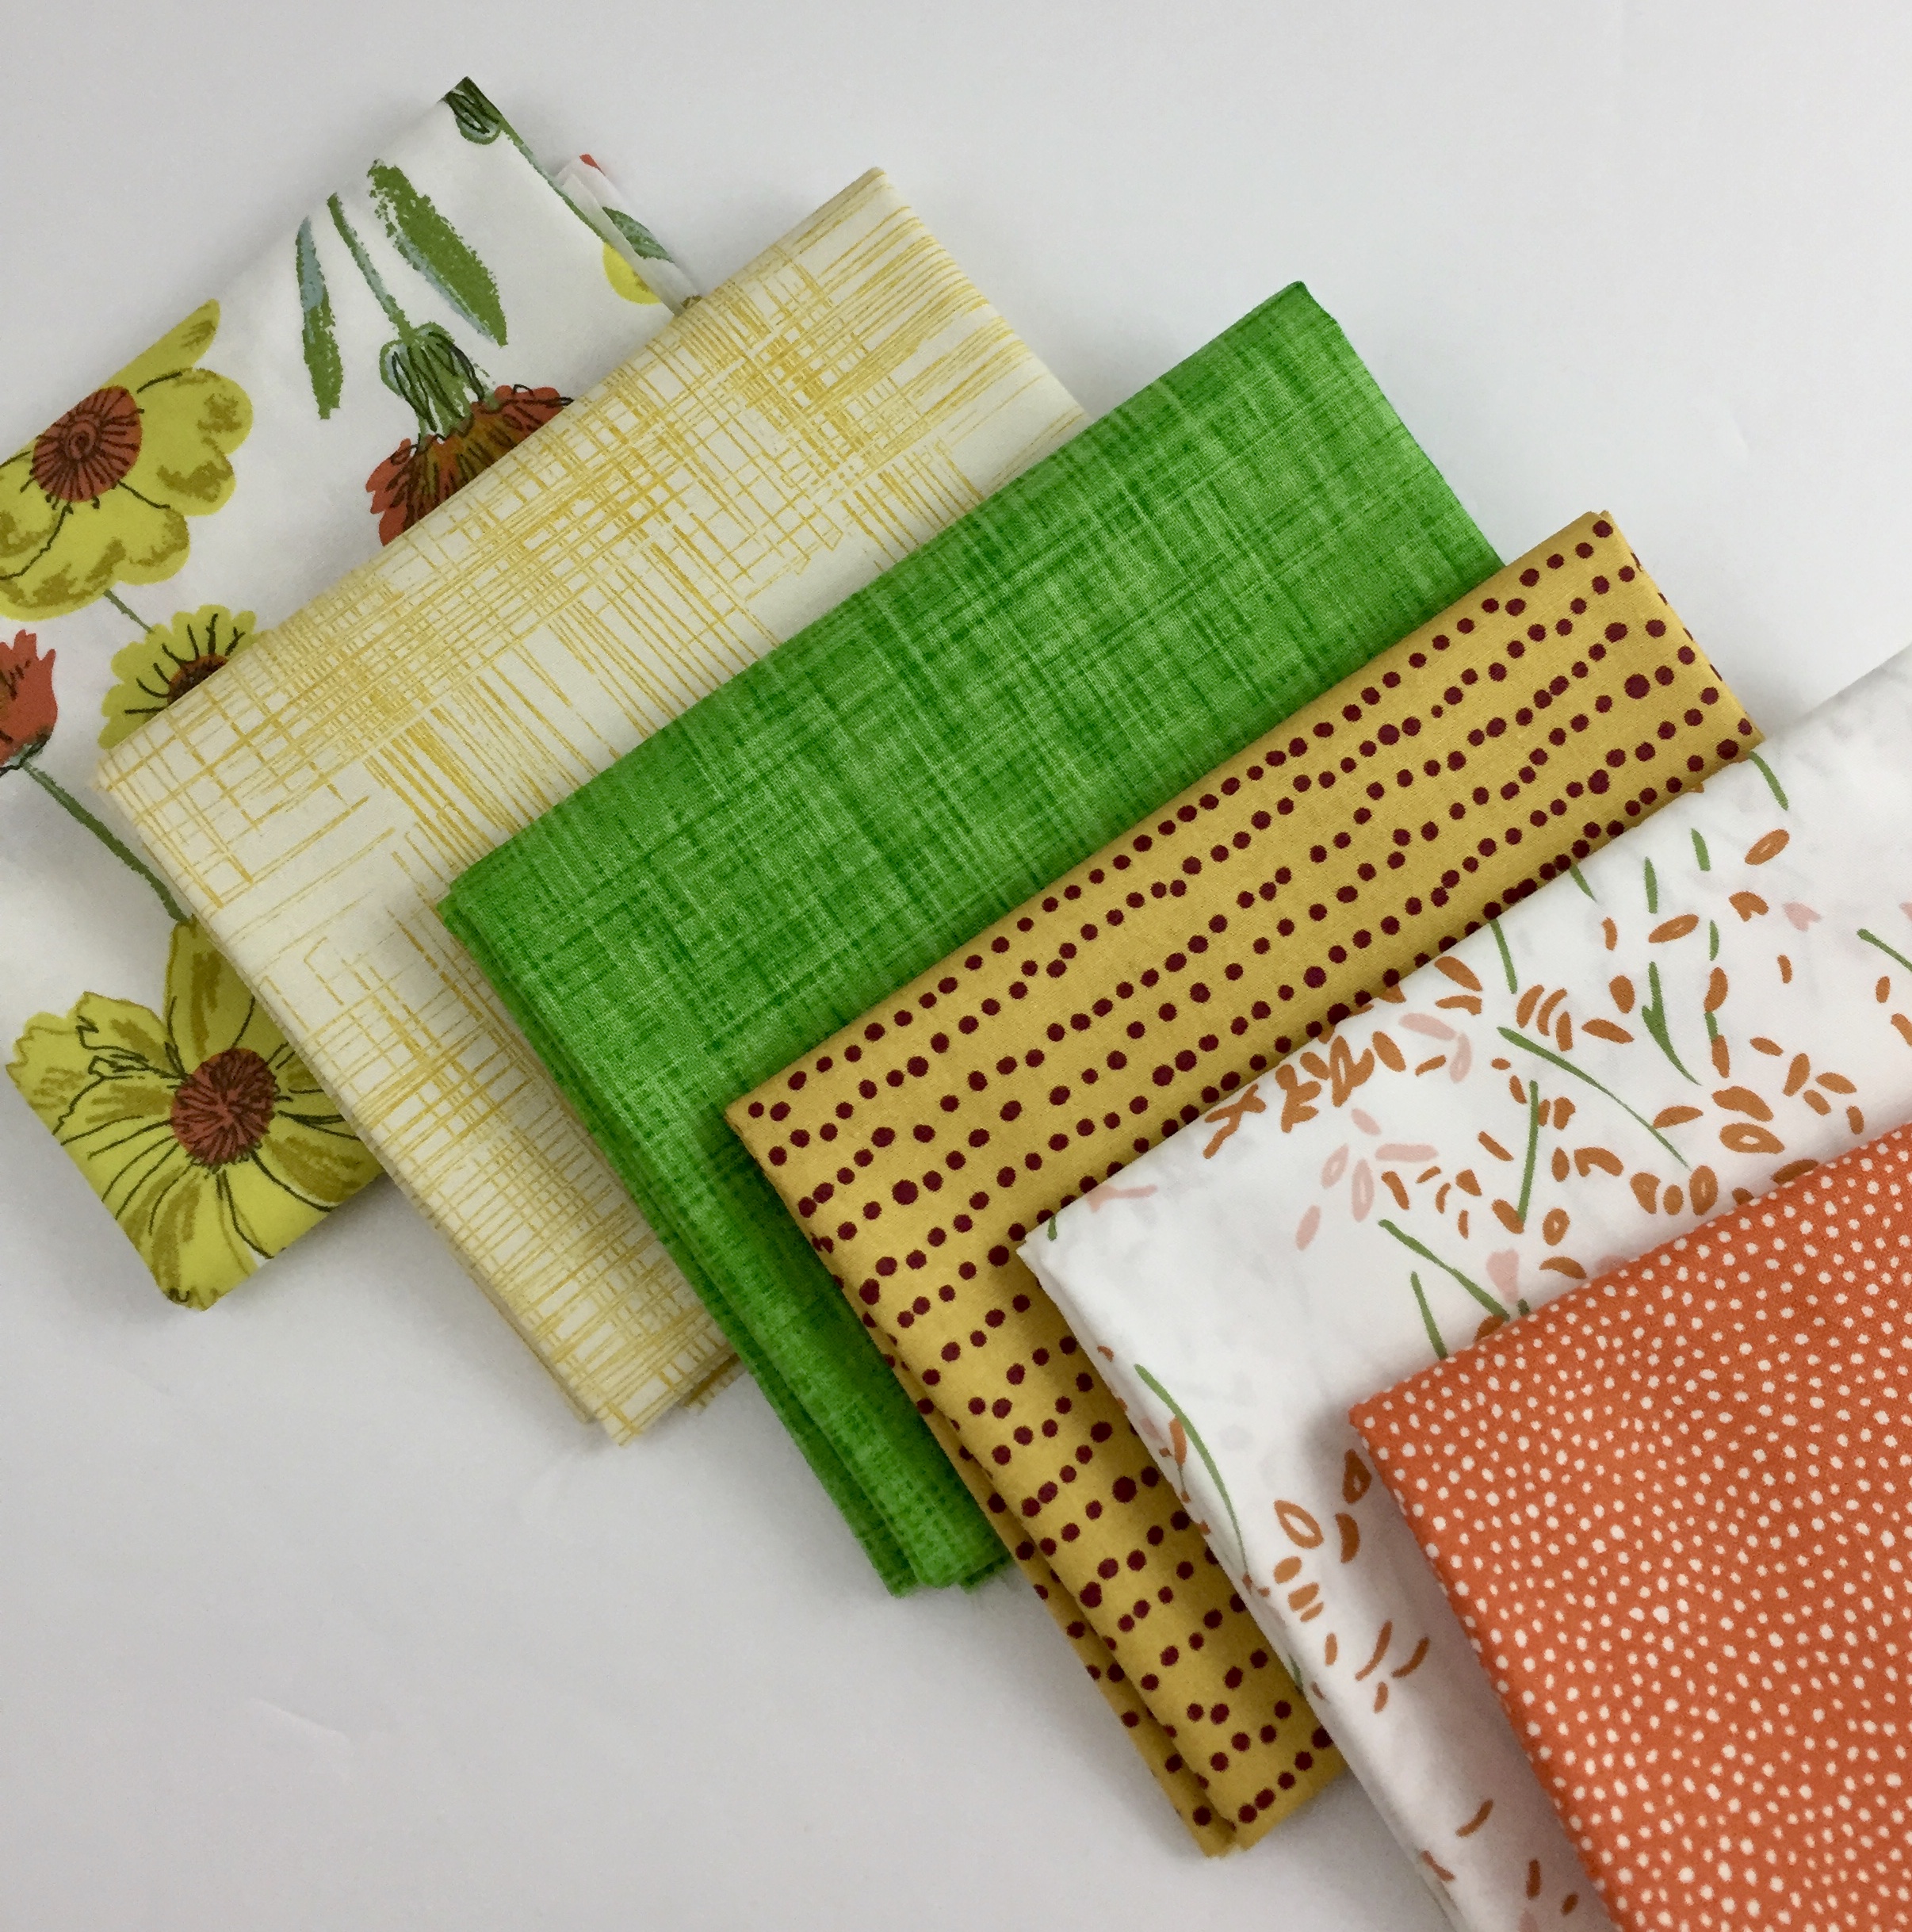
At the end of the week, I will close the comments. Then I am going to draw names from all who entered their story and prizes will be given! Remember from the prior post? We have a gorgeous fat quarter bundle from Art Gallery Fabric, a $30 gift certificate to my shop, three pdf patterns from Bonjour Quilts, one pdf pattern from Devoted Quilter, two mini charm packs from My Sewcalled Quilts. Also, one more prize has been thrown into the mix – one book from C&T Publisher will also be awarded. Lots of fun things to give away!! (Note, when you leave your comment, please let me know if you live outside the US. I have to limit the fat quarter bundle to US residents only – darn those shipping costs!)

Thanks to everyone for participating! We need to encourage each other – one way to do this is to show both sides; our successes and our blunders!

Fireburst Flimsy

I have a quilt top to share with you!  It is my first time participating in a mystery quilt project.  For those of you who aren’t familiar, a mystery quilt is an event where the quilter who designed the pattern releases bits of information on a regular schedule.  The participating quilters follow along, making something but not knowing what the final result will look like.  This event is the Fireburst Mystery Quilt designed and hosted by Tish of Tish’s Adventures in Wonderland.

A little bit of background – I haven’t ever participated in one of these because, honestly, the idea of making a quilt when I couldn’t see the pattern freaked me out a bit.  I have such a difficult time with spatial relationships, what goes where and in what direction does it point, etc.  When I make something, I constantly look at the pattern to double check myself and even then I make mistakes and spend a lot of time with my trusty seam ripper.  But this time was different because I cheated a bit.  🙂

Tish was planning her event and, early on, she asked if I would put together some kits to sell in my shop that worked for the pattern.  There are quilters who like the idea of a mystery quilt along but feel challenged pulling fabric for it without being able to see the pattern (the host of the QAL will usually explain that the pattern needs so many light, medium and dark value fabrics so people can pull from their stash or shop accordingly.). Anyway, Tish and I worked together to pick fabric in my shop and create kits (which was actually a lot of fun and I look forward to seeing the finished quilts of people who purchased the kits.). To do this, Tish showed me the pattern, thus taking the ‘mystery’ out of it for me!  I decided to sew along with the group, sort of pretending I had not seen the pattern and give it a try.  For the most part, I didn’t look at the finished pattern – in fact I didn’t look at it until the end when I discovered a mistake.  More on that it a minute.  😉

Another reason I wanted to participate was the very slow and relaxed schedule Tish. planned for the event.  She gave instructions at the beginning of each month and it was very easy to accomplish what she planned within the month.  This has been such a hectic time lately with my son’s wedding, trips to Vermont, summer time etc.  I appreciated a project that I could just work  on a little bit each month and ‘keep up’.  (I have not kept up with any of my RSC2018 projects at all, which is a little disappointing.  But what’s a person going to do?  Life gets in the way.)  At this point, participants are finishing up the quilt tops and then will be quilting and binding them. There is a fun link up in January to celebrate the new year and these pretty Fireburst quilts.

OK – so how was my experience with a mystery quilt along when it wasn’t actually a mystery?  It was interesting because I still spent a lot of time with my seam ripper!!  I have leftover pieces that I cut and/or stitched incorrectly.  Half square triangles that were not used because they were made with the wrong fabrics.  Maybe I will make a few blocks with these oddball pieces and put them on the backing.  With all of that, I still have a mistake on the quilt top.  Take a look and you will easily spot it! By the time I noticed it, the blocks were stitched together and I was no longer on good terms with my seam ripper.  This is the way it will stay! My fireworks are going to flare a bit different than everyone else’s!!

It is such a sweet quilt and will be a fun baby quilt to gift or donate.  I love the two print fabrics from Priory Square by Katy Jones.  The solids are bold and make a great fireburst coming off the center! Isn’t the center block pretty?  It would be a fun block on its own.

The project was fun and should have been quite easy.  Actually it was easy. Even with my errors, it came together nicely. If you like the pattern, I encourage you to make one.  All of the steps are listed with clear directions on Tish’s site.  There is time enough to begin now and finish with us in January if you like!

Time to make the backing now! I hope you are all having a lovely week.

Linking up with lots of fun places.  Check them out at the top of this page, under Link Ups.

Newsletter!

Have you signed up for my newsletter?  It is published every month or so and is full of information about my shop, new arrivals, sales, and events.  Click here to sign up!


Good to Be Home

I thought I would post a quick check in now that I am home from Vermont! If you are on Instagram, you might have seen the photos I posted from the trip. It was such a treat to spend so much time with my son and his family.

The first day there, my grand daughter woke with a fever.  While I certainly don’t want to ever wish her ill, I have to admit, I enjoyed holding her a bit extra while she wasn’t feeling well.  This girl is usually on the go and doesn’t have time for very many grammy cuddles.  That Monday when she was under the weather, she was running around a bit less and happy to sit on my lap and look at books a bit more so that was a treat.

The rest of the week, she was a bundle of energy.  We took lots of walks, ran a few errands and played in the back yard.  Remember I posted about the projects I intended to complete during nap time? I was mostly successful. I started a blouse for myself.  All that is left is to finish the neckline and the armholes.  I brought the wrong type of bias tape so that was set aside and I will finish it up this week.  

I did get a pillow case made for the baby’s bed.  The pillow case with the kitties was made just before I left home.  The baby got a kick out of it and pointed to the kitties as we meowed. 

While in Vermont, I made one with a soft flannel from Michael Miller. (I love the flannels I have in stock – They are really soft and thick.) She loved the fish and we had fun pointing to those too.  I kept telling her the colors of each one which would make her smile as we went along, though she really hadn’t a clue what I was saying.  Haha – Grammy’s have to try, right?

When I cut the fabric, it was a bit shorter than I wanted.  To remedy this, I left the selvages on and then bound the edge with a bright orange print from my stash (maybe a Dear Stella print??) This worked well and the pillowcase was generously sized.

Unfinished leggings for the Halloween season.

Also I made the leggings I had planned.  I love the way they look on her though I didn’t remember to take a picture so you will have to trust me on that one.  I used the same pattern from Toddah as I used for her reindeer leggings last Christmas.

Other than that, no other sewing took place.  I am not afraid to admit she wore me out by the end of the day.  The plans I had to sew after she went to bed each night didn’t materialize (no pun intended!) By then, I was wiped out and usually watched a bit of tv and went to bed.  I did manage to finish a book, The Housegirl, by Tara Conklin.  It was a good read and I would recommend it.  The story is about a current day young lawyer who is working on a reparations case to recognize the descendants of African American slaves and it ties to a young girl who was a slave in the 1800’s.  I thought it was really interesting and of course, a bit sad –  still a good story though.

I am happy to be back home – I was gone nine days which is a long time to be away.  While I was away, I didn’t have one single migraine.  I have talked before about dealing with chronic migraine. It is really incredible to go such a long stretch without a headache.  I have been home since Tuesday night and still haven’t had one.  So it has been since August 25th.  I was texting my sisters about this and one of them asked me how much time I spent on the computer while in Vermont.  I thought about it and realized I hardly turned my laptop on at all.  I haven’t been doing much blog reading at all and didn’t write any posts (I had written the Meet & Greet post earlier and scheduled it to post). I often bring a book on my iPad to read on the plane but I was in the middle of The Housegirl so I brought it to finish up, meaning I read a paper book, not electronic.  This was really interesting and made me wonder if the lesser migraine frequency was at all related to the dramatic decrease in screen time. So, I am going to test it out.  For the majority of September, I am signing off the blog and won’t really be reading blogs either.  I do have the September Blogger Bundle coming up on the 12th of September so I want to do a post then. But I am very curious to see if this relief from the migraines continues. I cannot give up computers completely because I need to continue to work my shop.  But I know I can lessen the time spent quite a bit.

So, I will be back on September 12th with a gorgeous bundle curated by my friend Mari who blogs at  The Academic Quilter.  Be sure to pop over to check it out.  I love the colors Mari selected!!  Until then, take care and happy sewing!


Newsletter!

Have you signed up for my newsletter?  It is published every month or so and is full of information about my shop, new arrivals, sales, and events.  Click here to sign up!

Summery Tablecloth

I have a finish to share!  Remember the tablecloth I started?  I was using this sweet cheddar yellow widleback from the shop (down to only one more yard in the shop). My plan was to make a floral collage (inspired by Laura Heine’s patterns) around the border of the tablecloth.  I posted this back in late June.

The day I posted it, there was a comment from my friend Preeti (of Sew Preeti Quilts).  Part of her comment was this:

“I am impressed that you put so much effort into the table cloth. It will be a piece of art and everyone will be overly careful not to spill the tomato ketchup on it 🙂”

This really made me think for a bit.  My family is not overly careful.  This tablecloth was intended for use on the deck – for eating outdoors.  That means summer food.  It means burgers, bbq chicken and ribs.  We are not a dainty family.  I wash my outdoor tablecloths all the time!  I changed my mind entirely and took the flowers off the table cloth.  I saved them for use in a different collage project!

So there I was – no fancy border. Just the hemmed wide back – it seemed too plain.  I dug around and came up with some wide red bias tape.  The bright red with the cheddar yellow appealed to me so I trimmed the edges with two strips of bias tape, one wider than the other.

It is simple but very washable!!  I like the red – it gives the tablecloth a little pop.  What do you think?  It was very easy to do.  I didn’t mark anything.  The two strips may not be perfectly placed but really, who can tell??
I am grateful to Preeti for making me reconsider the idea.  That floral collage would have been so pretty but also very time consuming.  I don’t think the border would have held up very well to constant laundering.  Plus it would fade on the deck as that table gets the afternoon sun all summer long.  It would be better to spend the energy on a project where it will last.  So, now I know that about 1.5 yards of wide back fabric and some bias tape equals a cute tablecloth!  Talking about wide back fabrics, I want to let you know I have an incredibly pretty new wide back in stock to share with you.  It was designed by Amy Butler and is called Night Music – I love it. Click here to check it out.
Reminder:  Today is the last day for the 25% OFF sale on all Alison Glass fabrics.  No coupon code needed.  Click here to shop!

Newsletter!

Have you signed up for my newsletter?  It is published every month or so and is full of information about my shop, new arrivals, sales, and events.  Click here to sign up!

Plans for This Week

I am trying to get organized before my trip to Vermont next weekend!  I am so excited at the prospect of spending over a week with my son and his family.  My grand daughter’s daycare provider is on vacation for the week leading up to Labor Day.  This is my lucky break!!!  She and I will get to spend a whole week together.  Her parents are even going to take a quick mini vacation while I am there.  This will be the first time they have been away over night without their girl.  I am sure they will have a great time as will she and I!

Grammy’s girl – watching the sail boats.

The decision I am faced with is which projects to bring to work on while in Vermont.  My daughter in law has a sewing machine and I plan to set it up for the week.  My grand daughter is (fortunately) a very good sleeper with usually a 2 hour nap in the afternoon and an early bedtime at 7pm or so.  This will leave some sewing time for Grammy.

So far I have some fabrics cut to make a few new pillow cases for my grand daughter.  I made two for her at the beginning of summer and I thought she would like another one or two.

Also, I cut out this simple shirt. I prefer View B which has only the front and back pieces so it will be a fun, quick project. I will finish the neck line and armholes with bias tape in a contrasting color (which reminds me – I still need to get the bias tape!) I chose this voile by Katarina Roccella (which is listed in the shop) – I love the dark gray background with colorful little flowers.  There will be plenty of time to wear this as our weather doesn’t usually cool down very much until October or so.

Julia and I were in Jo-Ann Fabrics last week and we saw this Halloween knit fabric.  Doesn’t it look perfect for leggings for a toddler with the chubbiest thighs ever? I totally agree!  So, that is project number three. I just need to collect the thread and notions I want to bring and put it all together.  I think this should keep me busy during nap times.  But just in case I need more, I am going to take a big stack of charm squares.  Those are easy to pack and I can always just do a patchwork quilt.  It is good to have choices! Hopefully I will have a good bit of sewing time, but who knows? Life with this toddler could be totally different when she figures out her parents are away.

Alison Glass Prints from Handcrafted and 76 – on sale this week!!

One more thing before I close the post.  If you are an Alison Glass fan, you are in luck.  All of the Alison Glass fabrics are on sale this week for 25% off!  Sale begins today and runs through the end of the day on Thursday, August 23rd.  Take advantage!!

Newsletter!

Have you signed up for my newsletter?  It is published every month or so and is full of information about my shop, new arrivals, sales, and events.  Click here to sign up!


August Blogger Bundle with Carole Carter

The fair is over, school started today, and I am going to sew!!!  How about you?  Before I head into the sewing room, I want to share the August Blogger Bundle with you.  It is a lovely collection of colors and prints that say goodbye summer and hello fall!

august blogger bundle

This bundle was curated by Carole Carter of From My Carolina Home. I am trying to remember how I came across Carole’s blog.  I would have to guess it was through one of the many link up parties that happen each week.  Regardless of how, I have been reading this blog for quite a long time. Carole is such a devoted blogger and one of the things I enjoy most about her blog is the variety of topics she includes.  There are always seasonal posts about her projects, quilt alongs, tutorials, home decorations, her garden and, one of my personal favorites, her tablescapes.  I don’t know if I have mentioned it before now, but I LOVE having lots of different dishes to use on the table.  I have Spode Christmas dishes, my Franciscan Rose dishes from my mother-in-law, a set of different white dishes that I have purchased at thrift stores, china from years ago and more.  The only reason I don’t have more than I do is because I ran out of cabinet space (plus my husband would think I was absolutely nuts – he doesn’t understand my love of dishes!!J) But Carole does!  To catch a glimpse of some of her pretty table settings click here.

august blogger bundle

The August Blogger Bundle is just gorgeous!

Ok, back to this fun bundle. Carole and I went back and forth quite a bit as she picked her fabrics. It was great fun to work with her and see her thought process as she selected fabrics.  She ended up with this great bundle that includes Perennial Optimism as the focal fabric.  This floral is from Sharon Holland’s Bountiful line and is a favorite of mine! She also added two different textured solids.  I am a big fan of textured solids as they add interest and feel like ‘more than a solid and less than a print’.  There is a large selection of them in my shop. Carole has taken this bundle and made a lovely set of placemats. Today she will be posting about the construction of her placemats so be sure to go take a peek. Going forward this week she also plans to post about a project where she used the ‘leftovers’ from making the placemats and than finally a tablescape she set with them – I am looking forward to that post!! Also, Carole is hosting a giveaway for one lucky winner (US only) to receive a fat quarter bundle of her collection.  Be sure to enter on her blog!

From now until Sunday, August 19th,  this bundle is 20% off in my shop.  Take advantage and grab one now – I know you will love making something with it.  Thank you Carole for working with me on this and creating such a nicely curated collection of fabrics!

Newsletter!

Have you signed up for my newsletter?  It is published every month or so and is full of information about my shop, new arrivals, sales, and events.  Click here to sign up!

Linking to lots of fun places.  Be sure to check them out at the top of the page, under Link Ups.

Scrappy HST Finish

This finish was long in the making.  I started making large (9″ square) scrappy HSTs in the beginning of 2016 as my RSC16 project.  They were a lot of fun to make and I easily finished the quilt top by the end of the year. Then I promptly pressed it, hung it neatly in the closet, and closed the door. It languished for all of 2017, poor ignored quilt top.  I think I left it there because I felt it was too small and I wasn’t sure what to do with it.

At the beginning of this year, I decided to make a stack of 5″ squared scrappy blocks.  Without any plan, I figured I would somehow use them for a border.  After making the blocks, I figured out the size rectangles I needed to space between the squares to create the border.  For the most part, this worked ok.  But you know me and quilt math…..  When I laid out the border and it looked like I would be coming up short, I just expanded one or two of the scrappy blocks to compensate.  I hope this doesn’t offend anyone.  It doesn’t bother me. 🙂

In fact, I love it.  I am wild about this quilt.  It is my kind of project. Imperfection works in this sort of quilt.  I am pleased with the colors, the polka dot background which provides a nice spot for the eye to rest, the border of gray dots between the HST’s and the scrappy border – all of it!  This one took a long while to come together, but it was worth the wait!scrappy HST I took it to the long arm shop and quilted it with a meandering loopy motif.  Some little spirals, some large loops and some small ones. It left the quilt with a nice, cozy drape. This was a lot of fun to quilt and took no time at all.

For the backing, I chose Newsprint in a wide back. This was designed by Carrie Bloomston and is probably my favorite backing. When I ordered my first bolt of it, I was pleasantly surprised to sell the bolt within weeks.  I just received a second bolt so I have it in stock again.  Because it is such a fun print, I also take the wide back and cut fat quarters and 1/2 yard pieces. Each of these (wide back, fat quarter, and 1/2 yard cuts) are available in my shop.

scrappy hat quilt

The binding is a print by Lotta Jansdotter called Aliisa from her Lemmikki line. I really like this fabric but looking back, I don’t know if it is the best match for the quilt.  The color is “slate” but when it is next to Newsprint and the gray dotted background, it has a very blue tone.  Because the quilt is so scrappy, I decided to go with it anyway. I like the angular pattern of the print. So, I think it is ‘good enough’.  I did go back to the listing though and update my description to explain about the blue hues this fabric has. If you are intrigued by this one, click here to see the shop listing.

I can happily check this one off the list and report I am down to three unfinished quilts in the closet.  Well, that is not including either of the RSC18 projects I am working on. Not too terrible!

Tomorrow I am off to see my kids in Vermont.  Probably no blog posts until I get back – unless I change my mind.  😉 I am so excited to see my grand daughter.  She started walking last week and it will be so fun to watch her toddling around.  Like I mentioned in my last post, any Etsy orders placed by 3:00 Friday (today) will ship.  If placed after that, they will ship on Monday, April 2nd.  The last time I was gone like this, I promised to refund half of the shipping charge for orders placed in my absence – sort of a thank you for being patient and waiting until the 2nd for shipment.  Same goes with this trip!  Place the order and just know I will pay half of your shipping cost.  Thanks so much for understanding!. It is a bit difficult to be a grammy to a little girl in Vermont when you live in California!


Linking to Finish It Up Friday and a few others.  All are listed at the top of the page, under Link Ups.

Modern Plus Quilts Blog Hop

The release of Modern Plus Sign Quilts, written by Paige Alexander and Cheryl Brickey is being celebrated with a blog hop this week and next. I am so happy to take part in celebrating this book.  I have long been a fan of plus quilts and made one a while back.  I called it Positively Floating and you can see it here. Adding a book devoted to modern interpretations of plus quilts is the perfect thing for my collection of quilting books.

There are a couple of things I really appreciate about this book. One is the ease of most of the patterns Paige and Cheryl designed.  I am not usually one for fussy quilts with tons of pieces to cut and points to match up.  While there are some advanced, challenging patterns in the book, there are also lots of options for simpler designs. Also, there is a nice write up on the history of plus quilts which I really enjoyed.  Finally, with many of the patterns, the authors included an illustration of a suggested layout for cutting the pieces such that you get the most out of the fabric needed. This is really helpful for me as I just don’t have a strong ability to see spatial relationships and often (more often than you’d think) will cut my pieces and find I don’t have quite enough fabric.  This is because I don’t always choose the most efficient cutting plan.  Part of me attributes this to the fact that for years I sewed clothing, not quilts.  Clothing patterns always show the best way to lay out the pieces on the fabric – so I never had to figure this out for myself.  Anyway, I think this was a great addition to the quilt book and you don’t see it in many books that are published.

Let’s move on to the quilt I made.  This is the pattern called Postage Plus.  It is based on a postage stamp quilt (basically small patchwork) used to build the plus.  The oversized plus is set into a bold pattern of stripes.  This gives a very modern result.  The book shows a quilt with a gray and white background which is looked really clean.  When I chose to make this pattern, it was so I could use up an older Moda jelly roll that I purchased from a destash last year over at Academic Quilter.  Using strip piecing with a jelly roll made this quilt a very simple project to assemble.

The quilt came together so quickly.  I love using the stripes to bring out the brown and green shades in the patchwork. The colors make me think of ice cream for some reason.  Lime sherbet or coffee ice cream, which would you choose?  I would go for coffee ice cream every time!

You might notice I am sharing a quilt top, not a finished quilt.  If you are a fan of Instagram, you probably saw the posts where I was unhappily removing a large amount of long arm quilting gone bad.  Ugh!  I took this quilt top and loaded it on a long arm at my friend’s house.  For whatever reason, I couldn’t use her machine and obtain a good result.  It just looked horrid. I am far from a perfectionist and will often leave issues such as wobbles, mistakes, or points that don’t quite work out in the quilt. (Maybe I am too lazy to fix things like this). But this was bad.  Even the lazy quilter in me couldn’t just ignore it.  So I stopped, after quilting about 25% of the top, removed it from the frame, took it home and unpicked it.  Really, it wasn’t too awful a task and I am happy I fixed this.

I am eager to load it on the machine at the same shop where I have been renting time.  I have an appointment on Friday of this week and will be able to quilt this up then.  Off topic here, but take a look at the blue skies we enjoyed yesterday.  It was a gorgeous day and I am lucky to have taken photos then.  Today it is fierce, pouring rain – not a day to be outside.  Sure changed dramatically over night!

In closing, I strongly recommend Modern Plus Quilts.  The book is top notch with creative patterns of varied complexity , nice tips and clear information – a book well done.  The blog hop goes on all of this week and through next week.  Paige and Cheryl are offering giveaways each day so be sure to hop over there and enter the giveaways.  Lots of fun happening in blogland these days!

Below is the schedule for the hop
Monday, March 12
     Cheryl @Meadow Mist Designs
     Paige @Quilted Blooms
Tuesday, March 13
     Signature Plus
          Soma @Whims and Fancies
          Ann @Brown Paws Quilting
          Kitty @Night Quilter
     Tribal Plus
          Sophie @Luna Lovequilts
          Afton @Quilt Mod
          Shelley @The Carpenter’s Daughter Who Quilts
Wednesday, March 14th
     Plus Surround
          Jayne @Twiggy and Opal
          Jen @A Dream and A Stitch
          Abigail @Cut&Alter
     Kaleidoscope Plus
          Yvonne @Quilting Jetgirl
          Sandra @mmm!quilts
          Karen @Run Sew Fun
Thursday, March 15th
     Postage Plus
         Linda @Flourishing Palms
         Bernie @Needle and Foot
         Liz @Savor Every Stitch
         Stacey @Stacey in Stitches
     Rick Rack Runner
         Michelle @From Bolts to Beauty
         Patty @Elm Street Quilts
         Melanie @A Bit of Scrap Stuff
Friday, March 16th
     Row Addition
          Myra @Busty Hands Quilts
          Izzy @Dizzy Quilts
     Transparency Chains
          Christa @Christa Quilts
Monday, March 19th
     Faceted Rings
          Jessica @Quilty Habit
          Cindy @Hyacinth Quilt Designs
          Jennifer @Inquiring Quilter
     Petal Plus
          Julie @The Crafty Quilter
Tuesday, March 20th
     Message in a Bottle
          Tish @TishNWonderland
          Judy @Sew Some Sunshine
          Emily @The Darling Dogwood
     Cute as a Button
         Wanda @Wanda’s Life Sampler
          Karen @Tu-Na Quilts, Travels and Eats
          Katherine @Sew Me Something Good
Wednesday, March 21st
     Celestial
          Anja @Anja Quilts
          Kate @Smiles From Kate
          Sue @Sevenoaks Street Quilts
     Pinwheel Plus
          Carole @From My Carolina Home
          Alison @Little Bunny Quilts
Thursday, March 22nd
     Intertwined
          Debbie @Esch House Quilts
          Laura @Slice of Pi Quilts
          Beth @Cooking Up Quilts
     Bear Claw Plus
          Janice @Color Creating and Quilting
          Joanne @Quilts by Joanne
Friday, March 23rd
     Cheryl @Meadow Mist Designs
     Paige @Quilted Blooms

Linking to my favorites. Find them at the top of the page, under Link Ups.

This post contains affiliate links which means if you make a purchase by clicking on them, I will receive a small payment. This does not change the purchase price to you in any fashion.

Long Arm Practice

A few weeks ago, I was visiting with friends in the office I retired from. One of the women follows my blog and Facebook page. She told me she had a quilt top she had made in the mid-1990’s. It was intended for her daughter (now in her early 30’s). Robin thought it would be fun to finish it up and asked if I would quilt it for her. I am the first to say I am not highly skilled with quilting. This quilt top was for a twin size bed which is bigger than I am able to quilt at home. After making sure she knew my skill level, I agreed to finish it up for her.

She brought me the quilt top the following week. As she said, it is definitely 90’s colors (mauve, pink and green) but she was hoping I would have a fabric in the shop that might work for the backing. I sent her several photos to choose from. She made a great choice with the Dash print from Carrie Bloomston’s Dreamer line. I love this print. It is very similar to Moda’s Grunge fabrics with the addition of a small scale print on it. The background is pink with smudges of lavender. The modern back is perfect for slightly updating the 1990’s quilt top.

I took it to the long arm shop where I am able to rent time. To me, this is such a great opportunity. I don’t have space for a long arm and don’t relish the idea of maintaining one either. Being able to rent one is the perfect compromise for me.

The gal that works there helped me load it on the frame. For the first time though, I didn’t really need a whole lot of help. (She was probably glad to see this!). The quilt top has been sitting for many years and was a bit distorted. Before I took it to the shop, I did clip threads from the back, iron it well and starched it. Even with all of the prep, it was a trick to get it to lay flat.

Because of this, I figured I should quilt it loosely and let it be a bit puffy. I think it would have been difficult to quilt it tightly without having lots of puckers.

It took little time to quilt. I used large loops and an occasional loose flower and just quilted edge to edge. I am pleased with how it looks. In previous projects on the long arm, I found it a challenge to quilt circles, they would look oblong and sometimes almost rectangular. These look like circles! I am making progress.

Never having quilted for someone else before, it feels a bit strange to just stop at this point and return it to her. When I trimmed the edges there was quite a bit of the backing fabric left over. I asked if she would like to use it as binding and she agreed. So, I cut the binding strips and sewed them together. The rest is up to Robin. She will bind it and wash it.

It was fun to use the long arm again. I think it has been since about October since I quilted there, so quite a few months. I do have a quilt top nearly finished though which means I will be back there next week. This was a win-win for Robin and I both; her long time UFO is nearly finished and I got more practice time on the machine. She did purchase the supplies and pay for my fees to use the long arm. Even though it still needs the binding, I am calling this a finish (at least for my portion of the project.). Linking up to Crazy Mom Quilts, TGIFF and a few others. Check the top of the page under Link Ups for lots of fun places to link to.