Category Archives: Gardening

Weekend Staycation

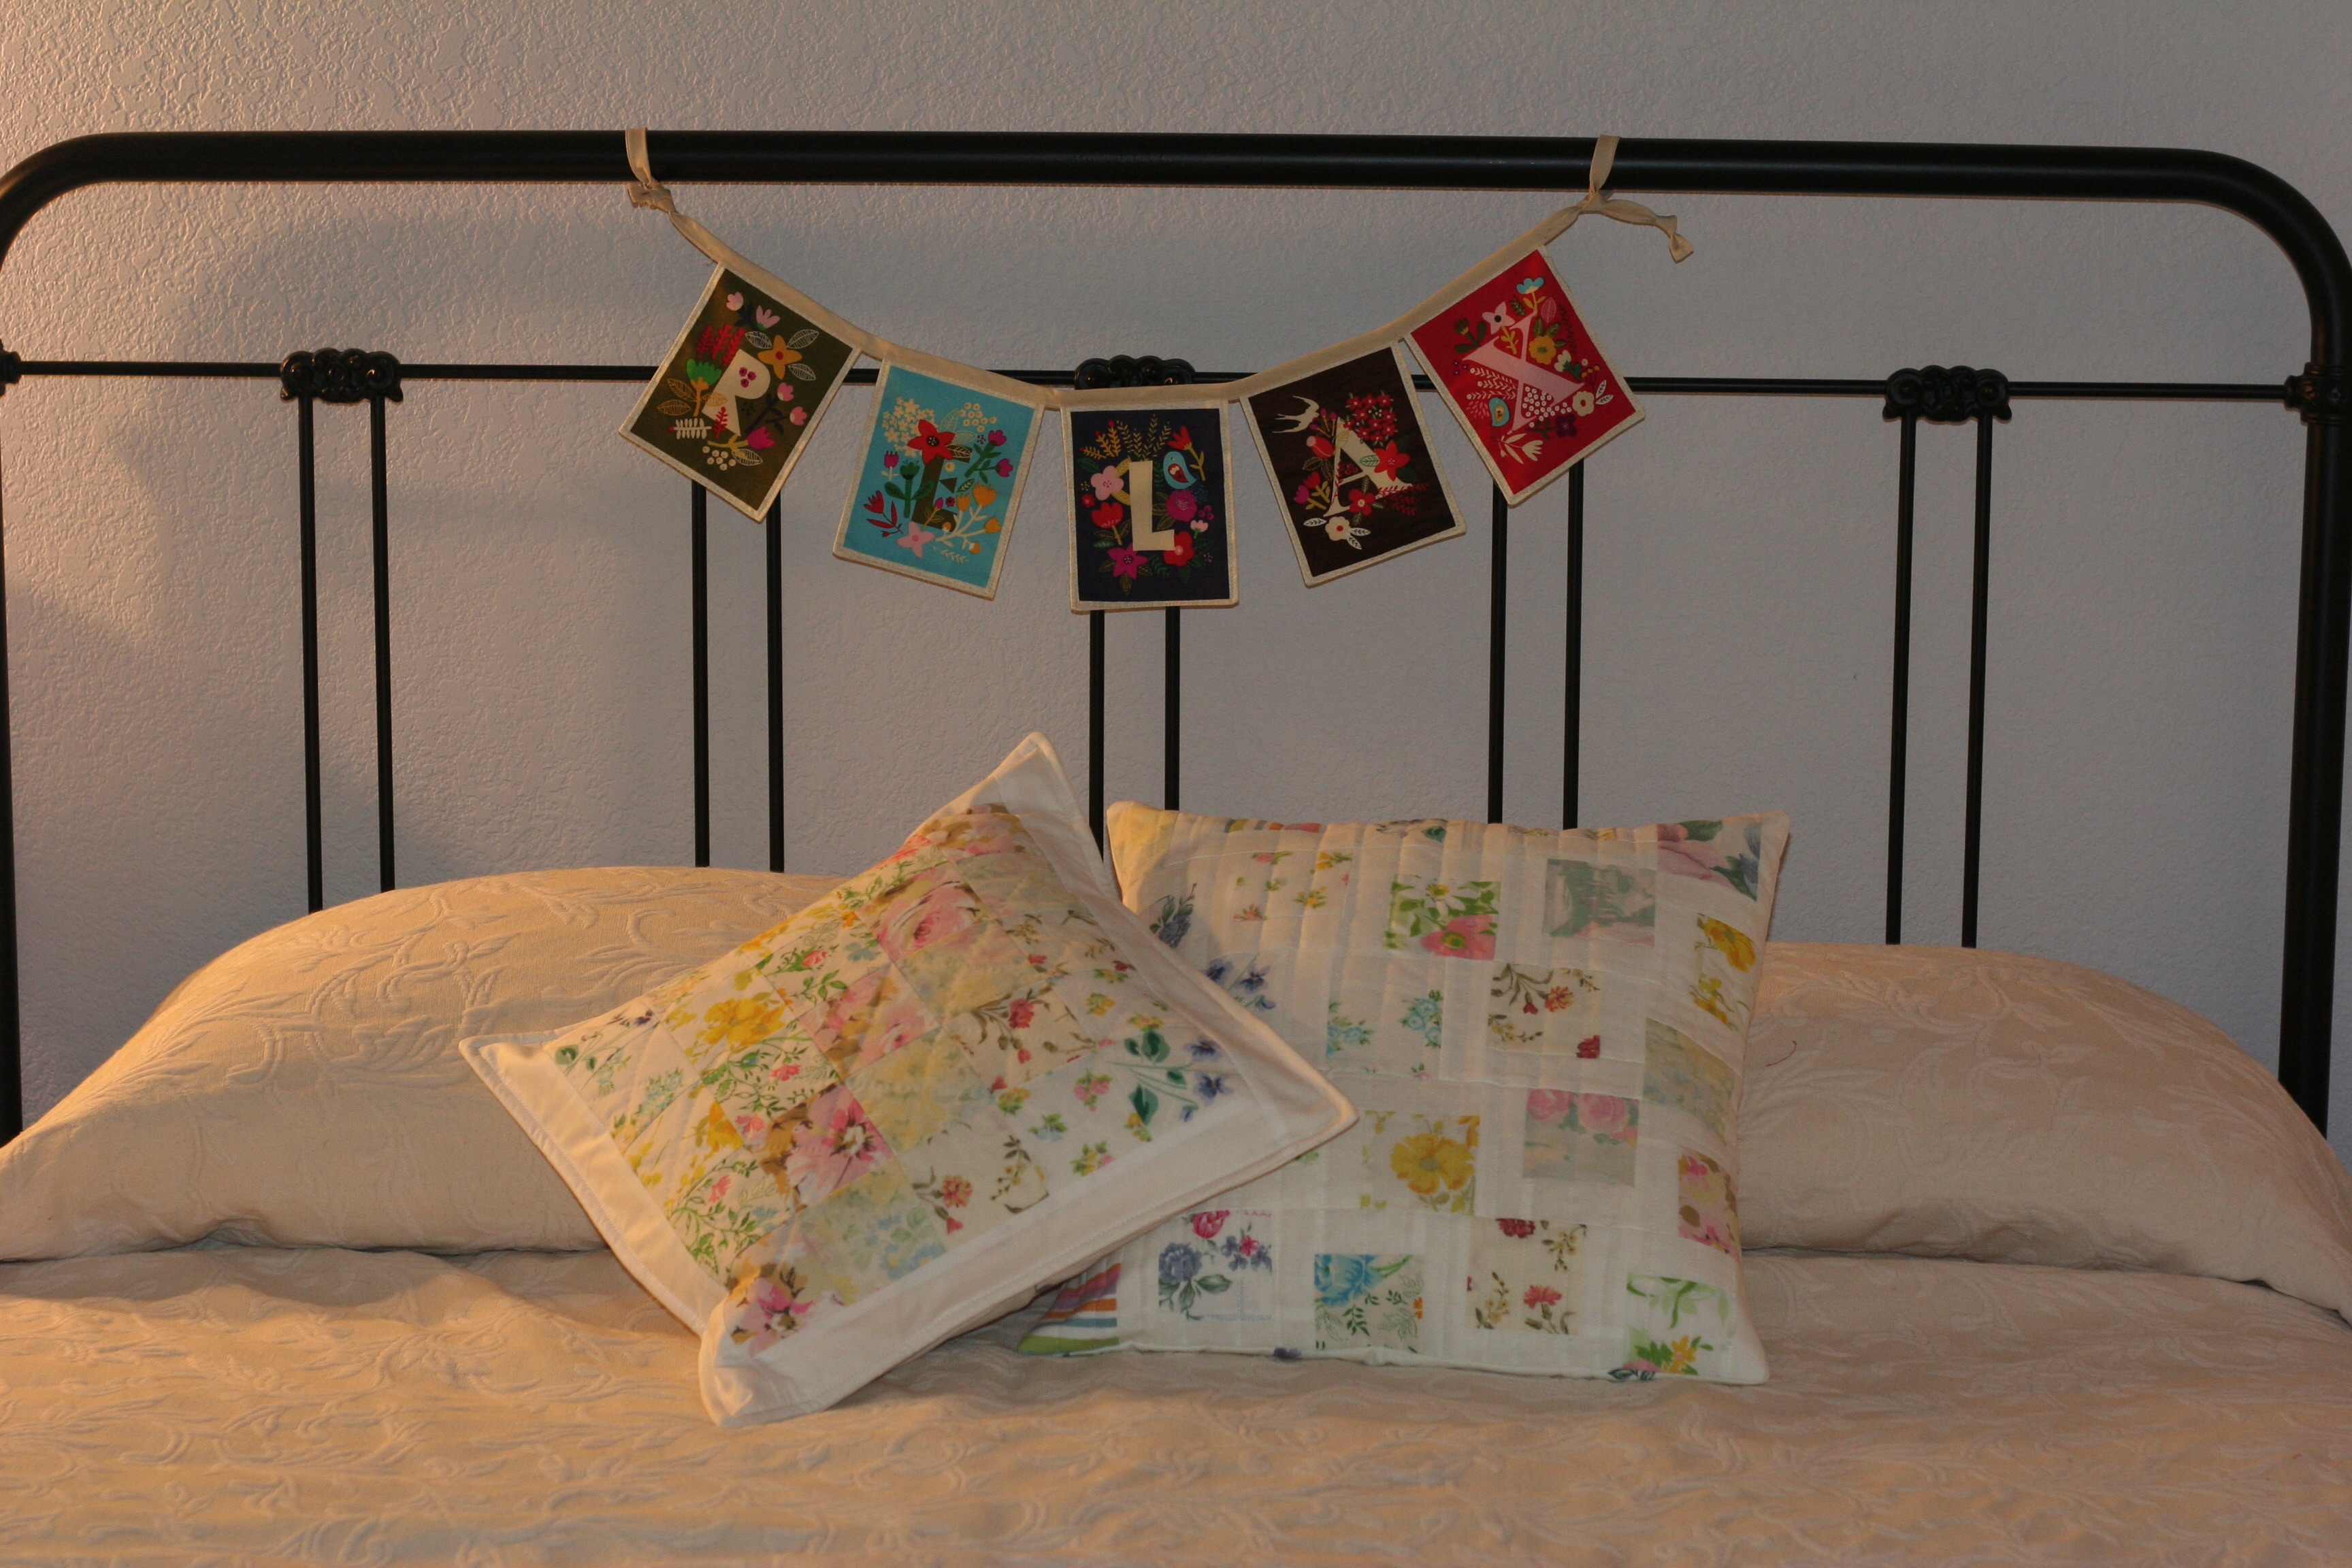
Today Ray and I celebrate our 18th wedding anniversary. Eighteen years on the 18th of April. I like when numbers line up like that. 🙂 This is one of my favorite shots from our wedding.

image

We decided to have a night away to celebrate over the weekend. Ian was available to come hang out with Julia which was just perfect. We stayed at the same hotel that we had our wedding reception at in town, The Holbrooke.  Like many things in this area, it dates back to the Gold Rush and is really adorable. The best part was we didn’t have to spend any time driving so we had time to play in the garden, visit with Ian AND spend a bit of time away. Isn’t it funny how we take what is all around us for granted? We live in such a pretty little town but we leave to relax.

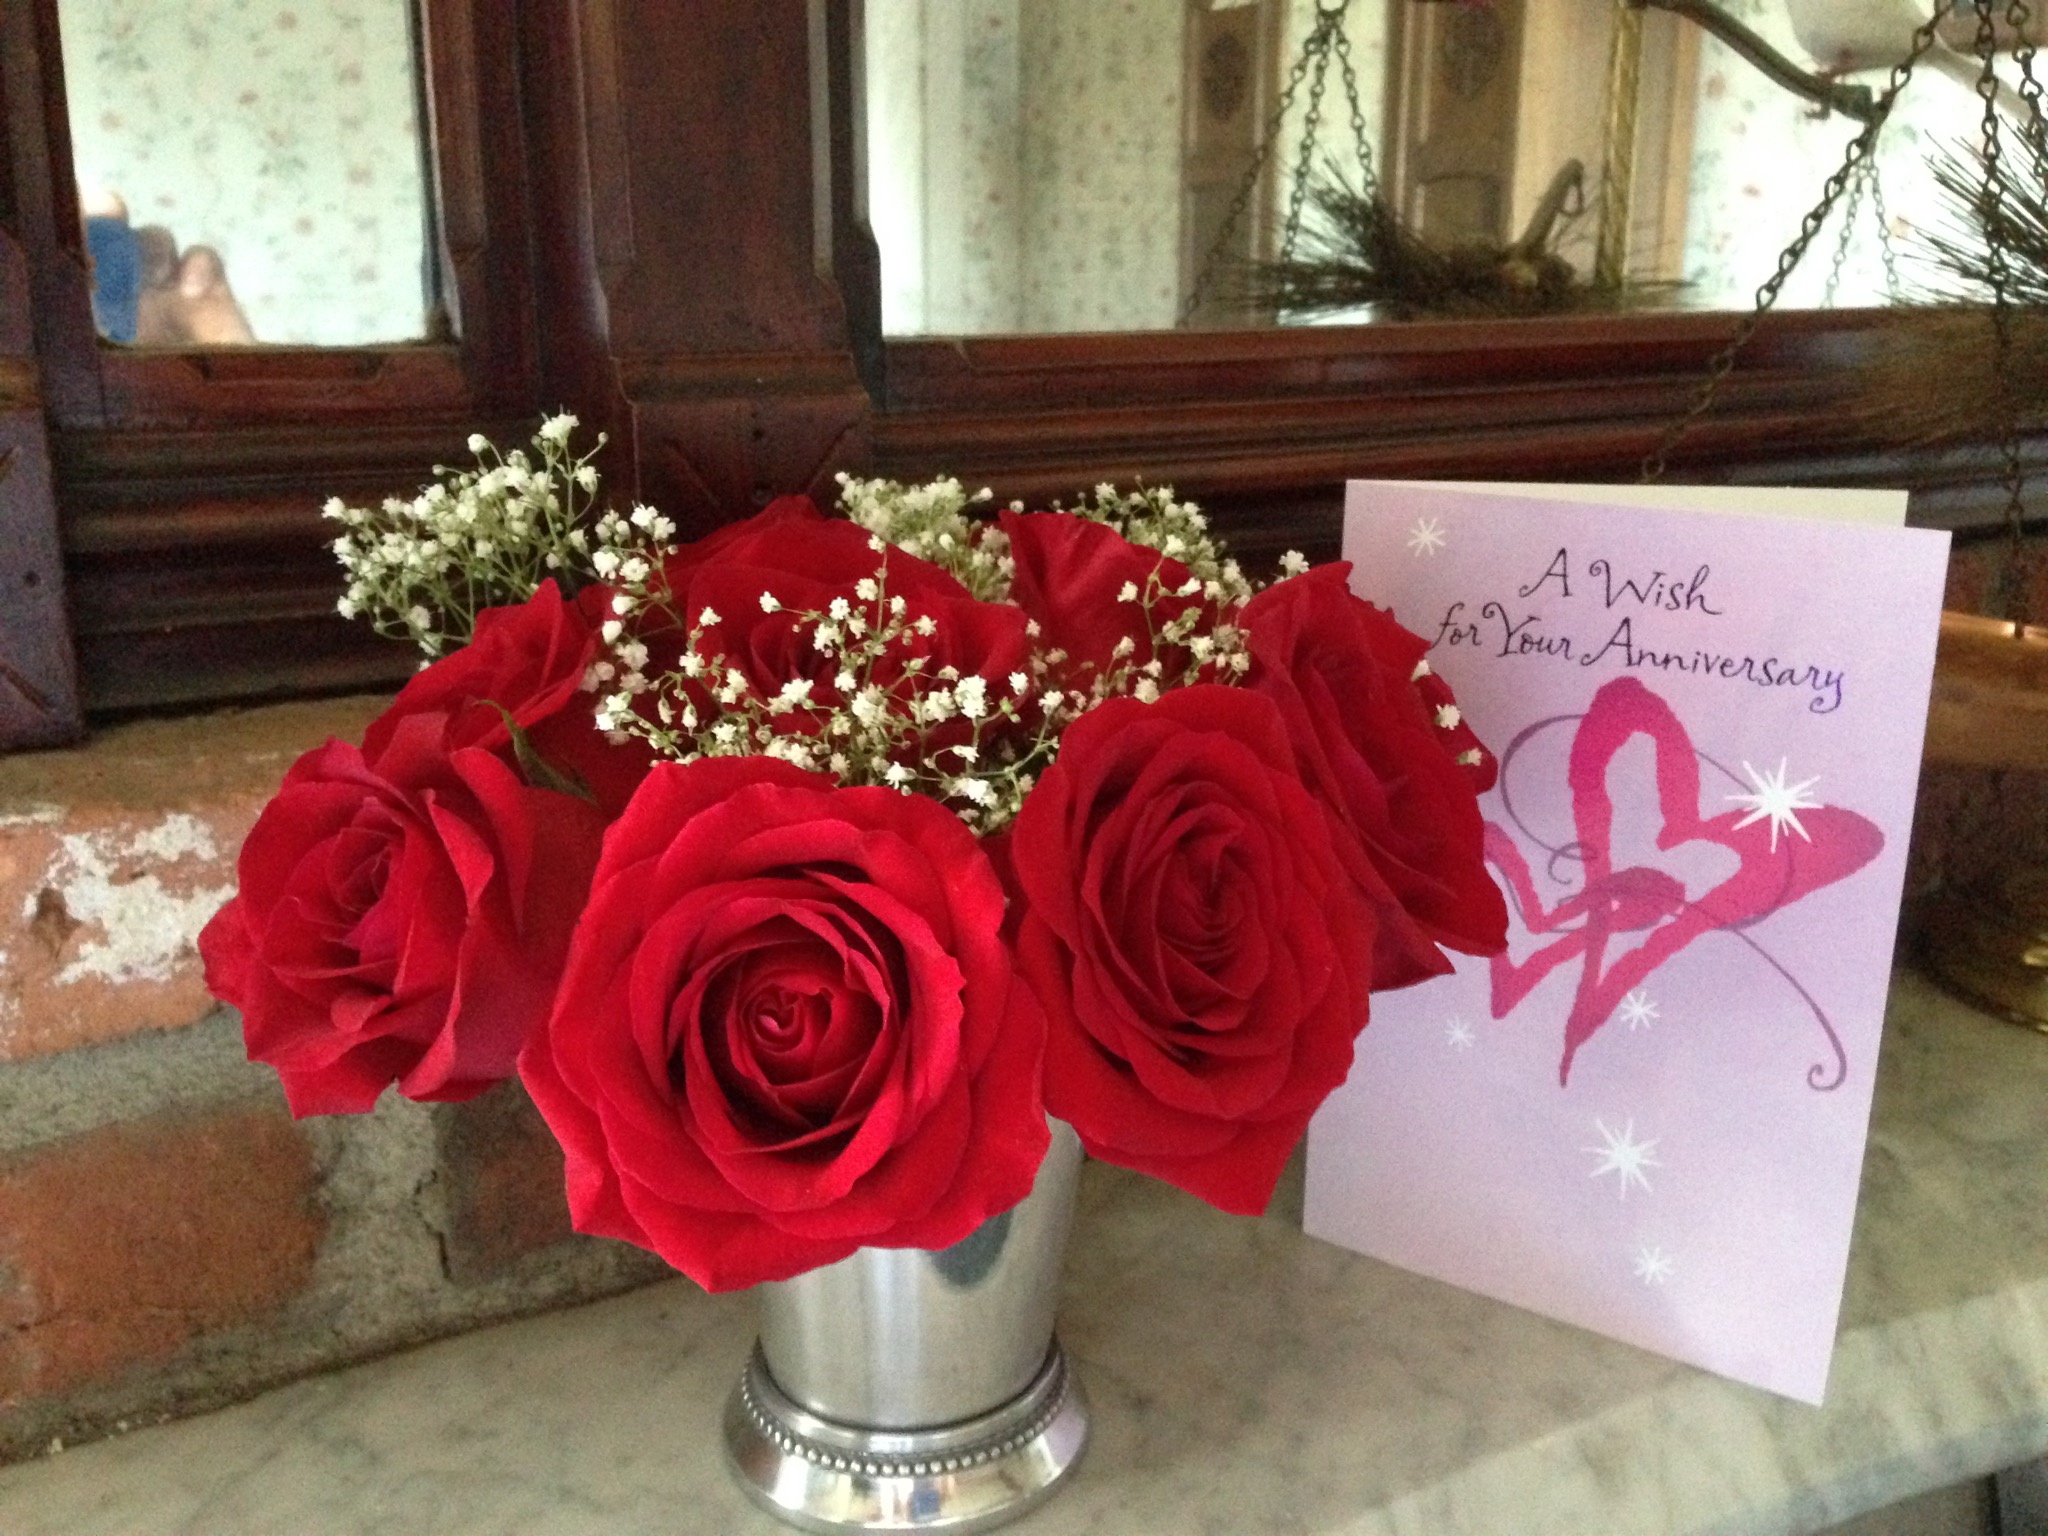
Mom and Dad knew we were staying there so they stopped by with flowers and a card and asked the girl at the desk to put them in our room. When Mom explained why we were staying there, she upgraded us to the Bridal Suite. We felt very special!

image

Needless to say, no time was spent in my sewing room. I have so many projects going right now so I want to be diligent this week to make some progress on each. I have been successfully using my Quilter’s Planner to keep my to-do list organized each week.  This is the list for this week:

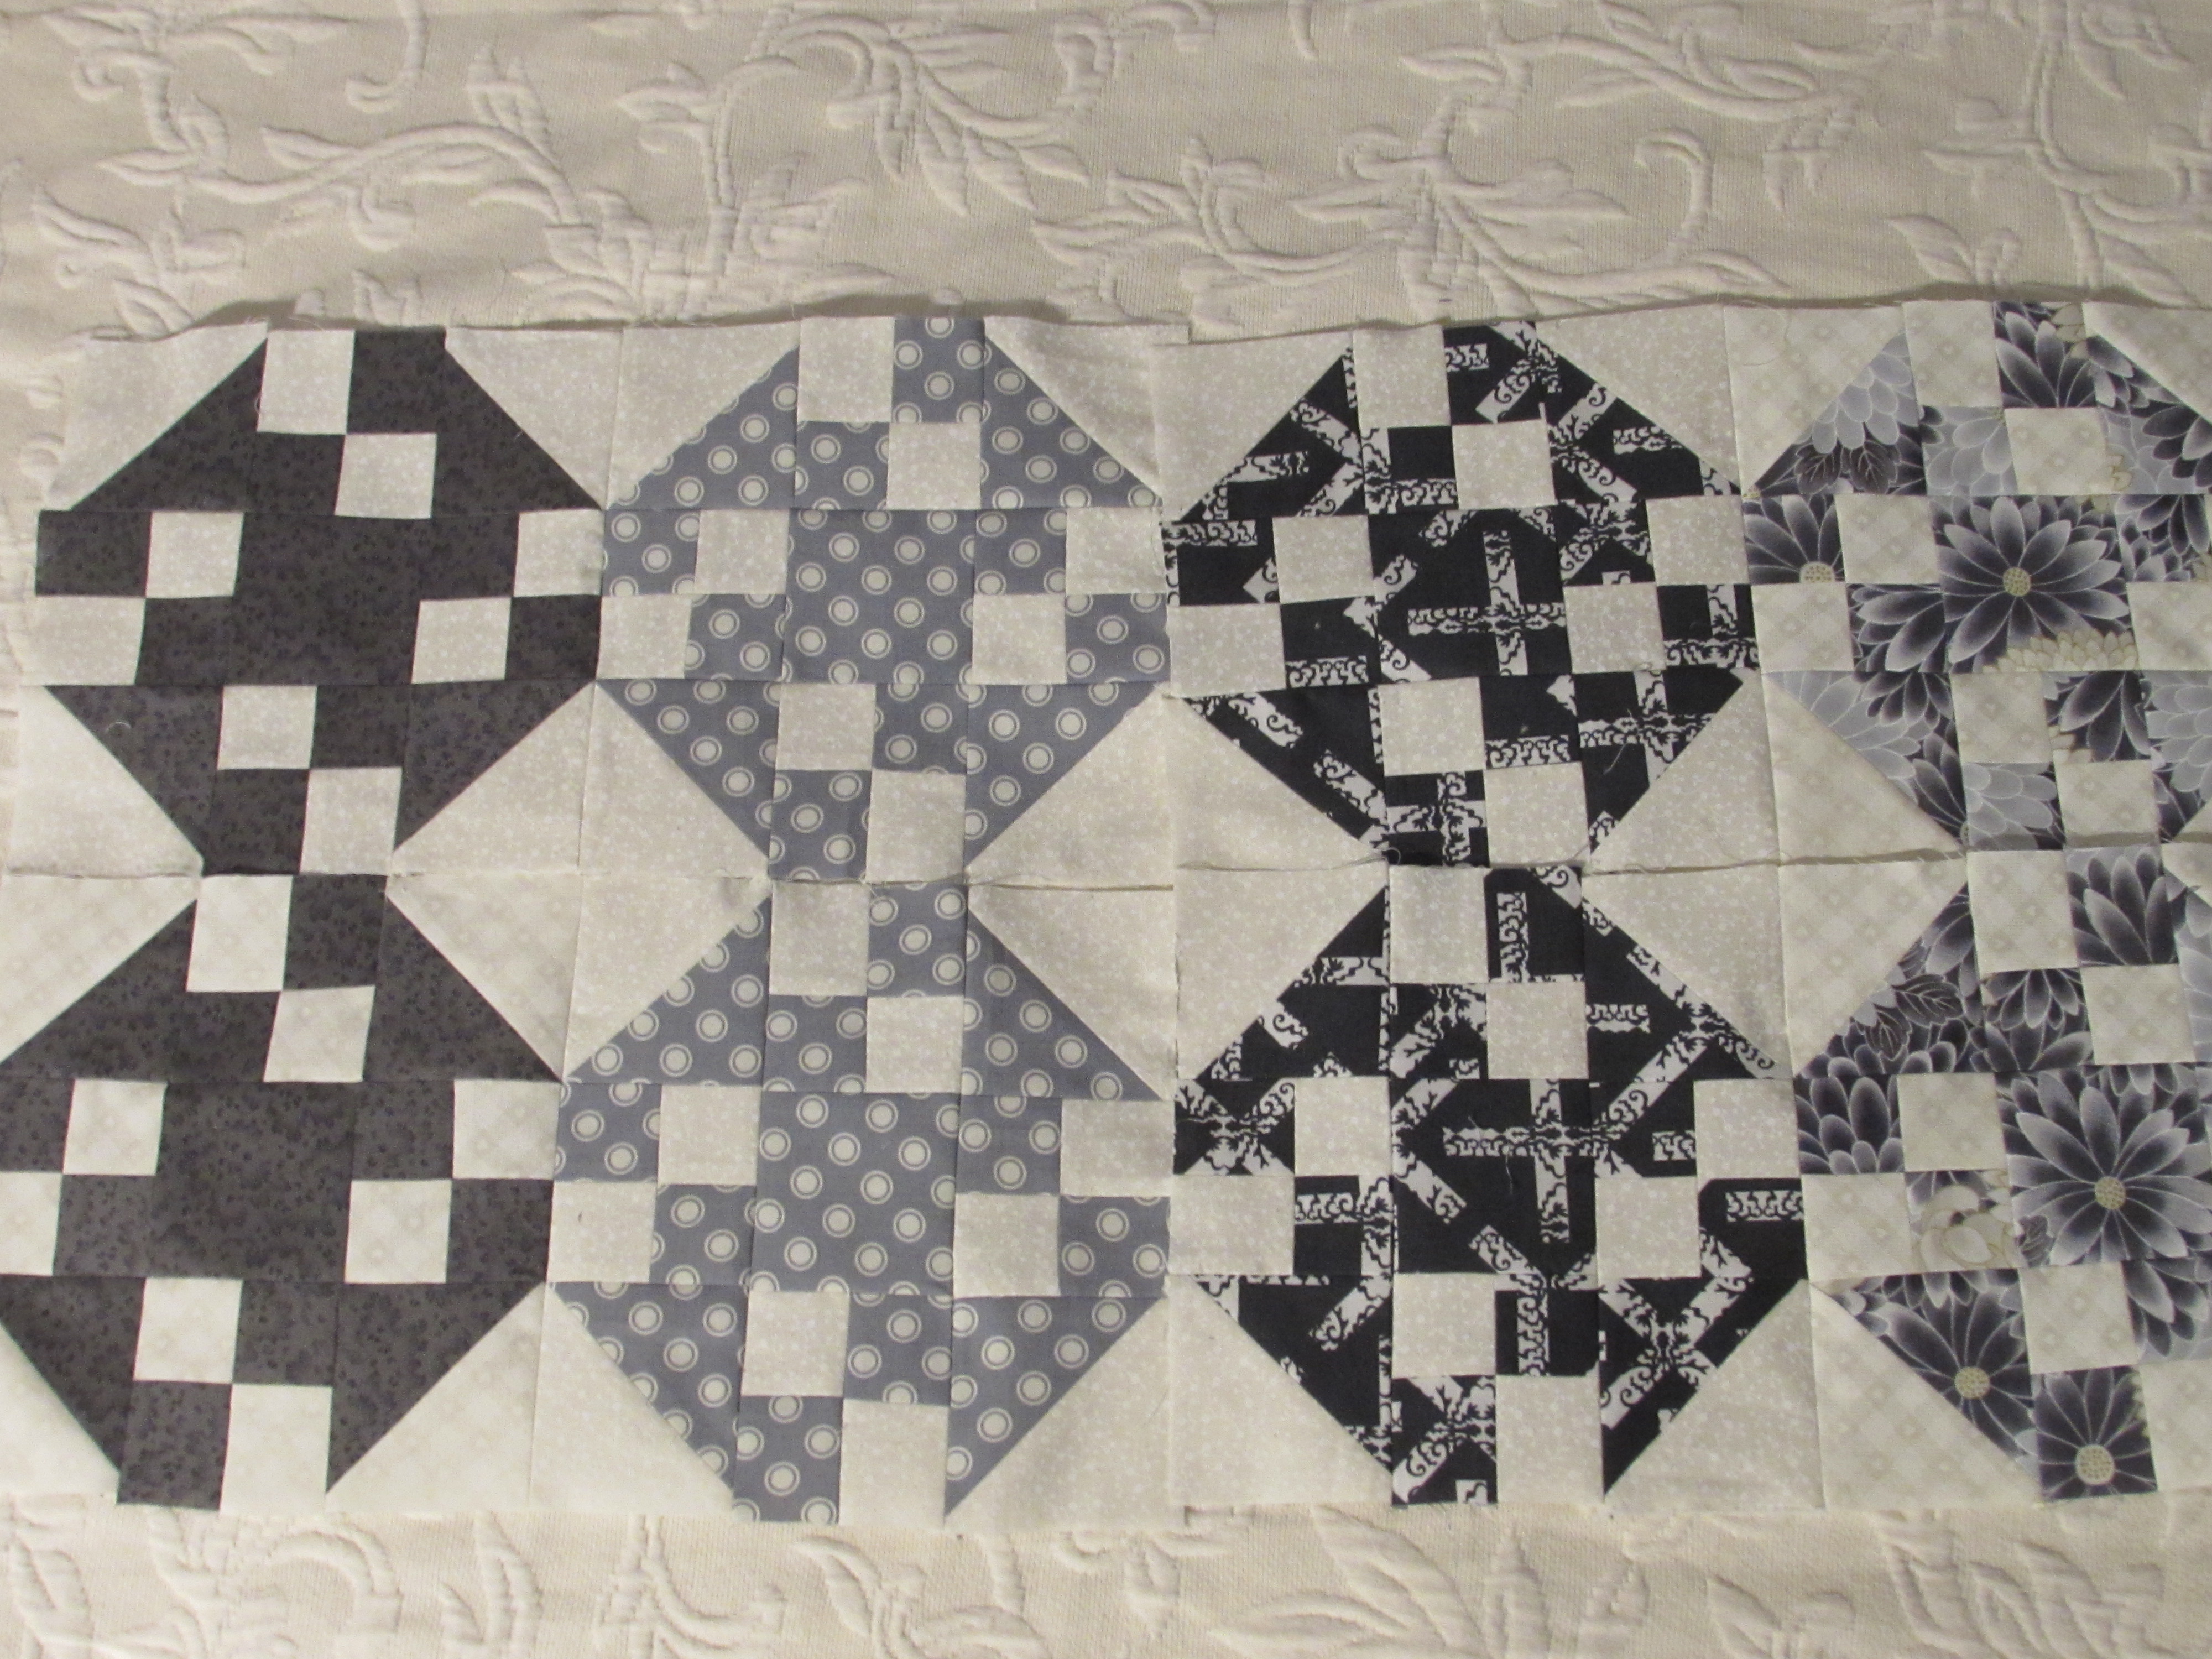
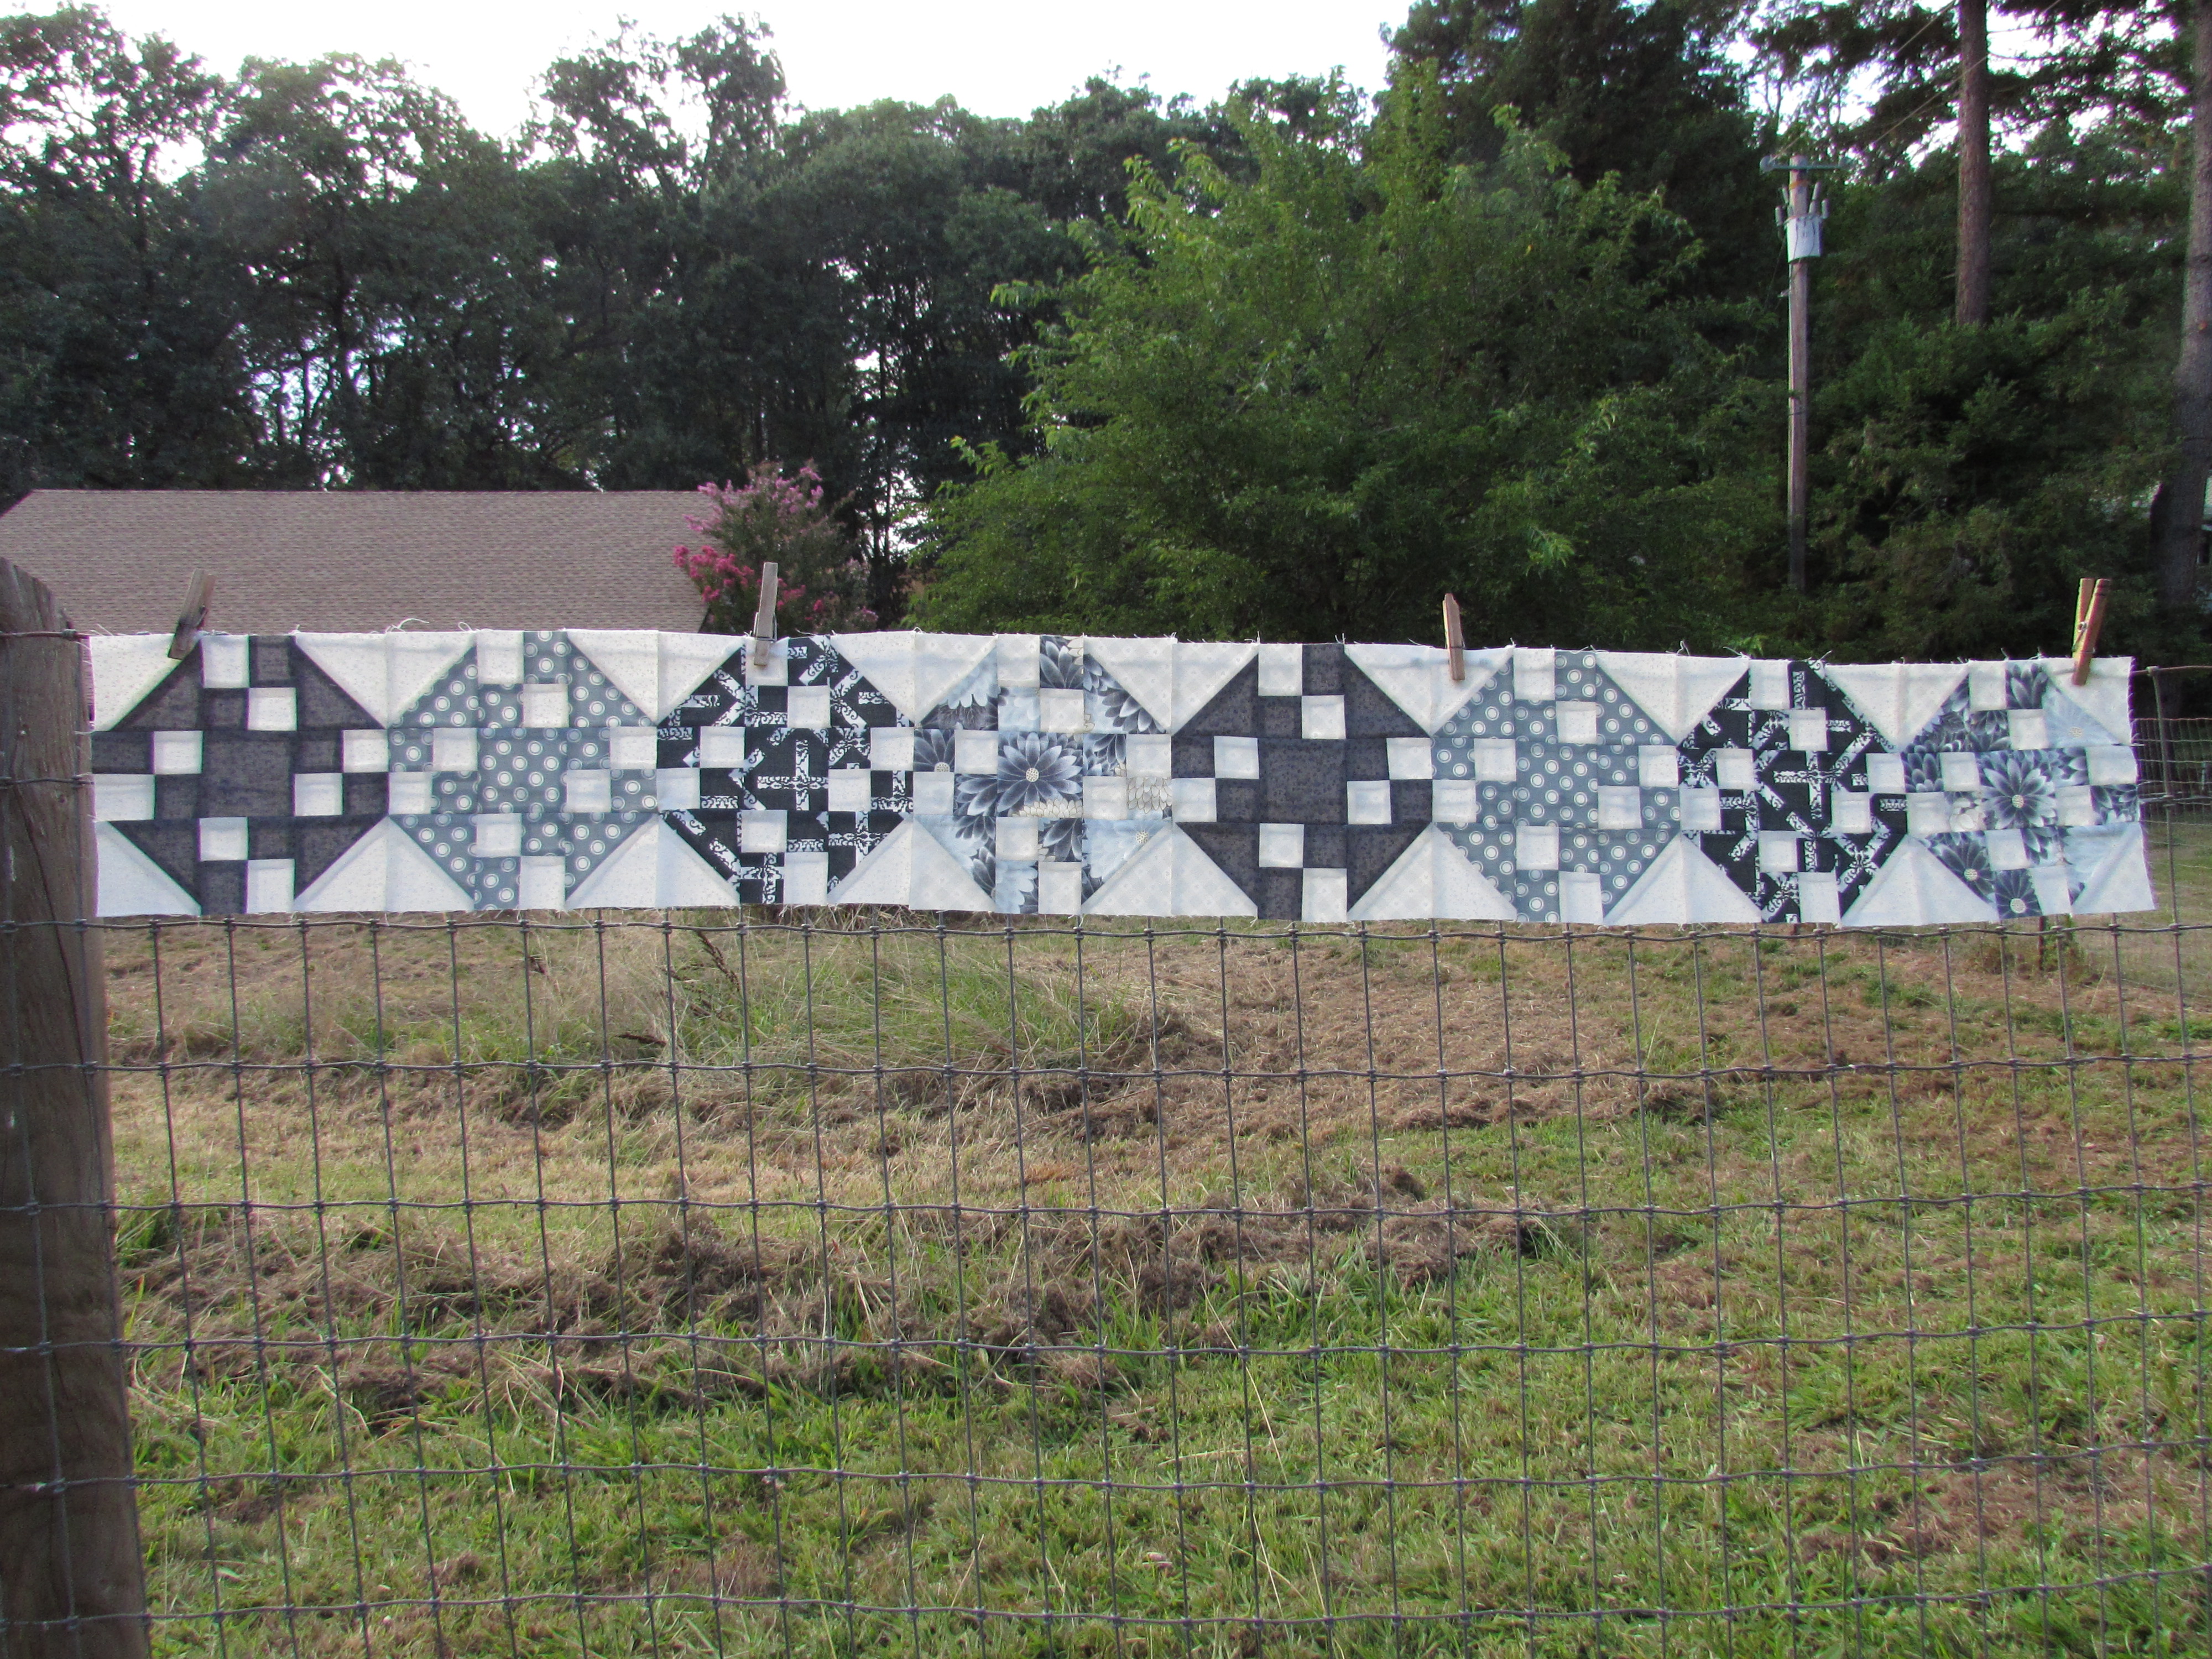
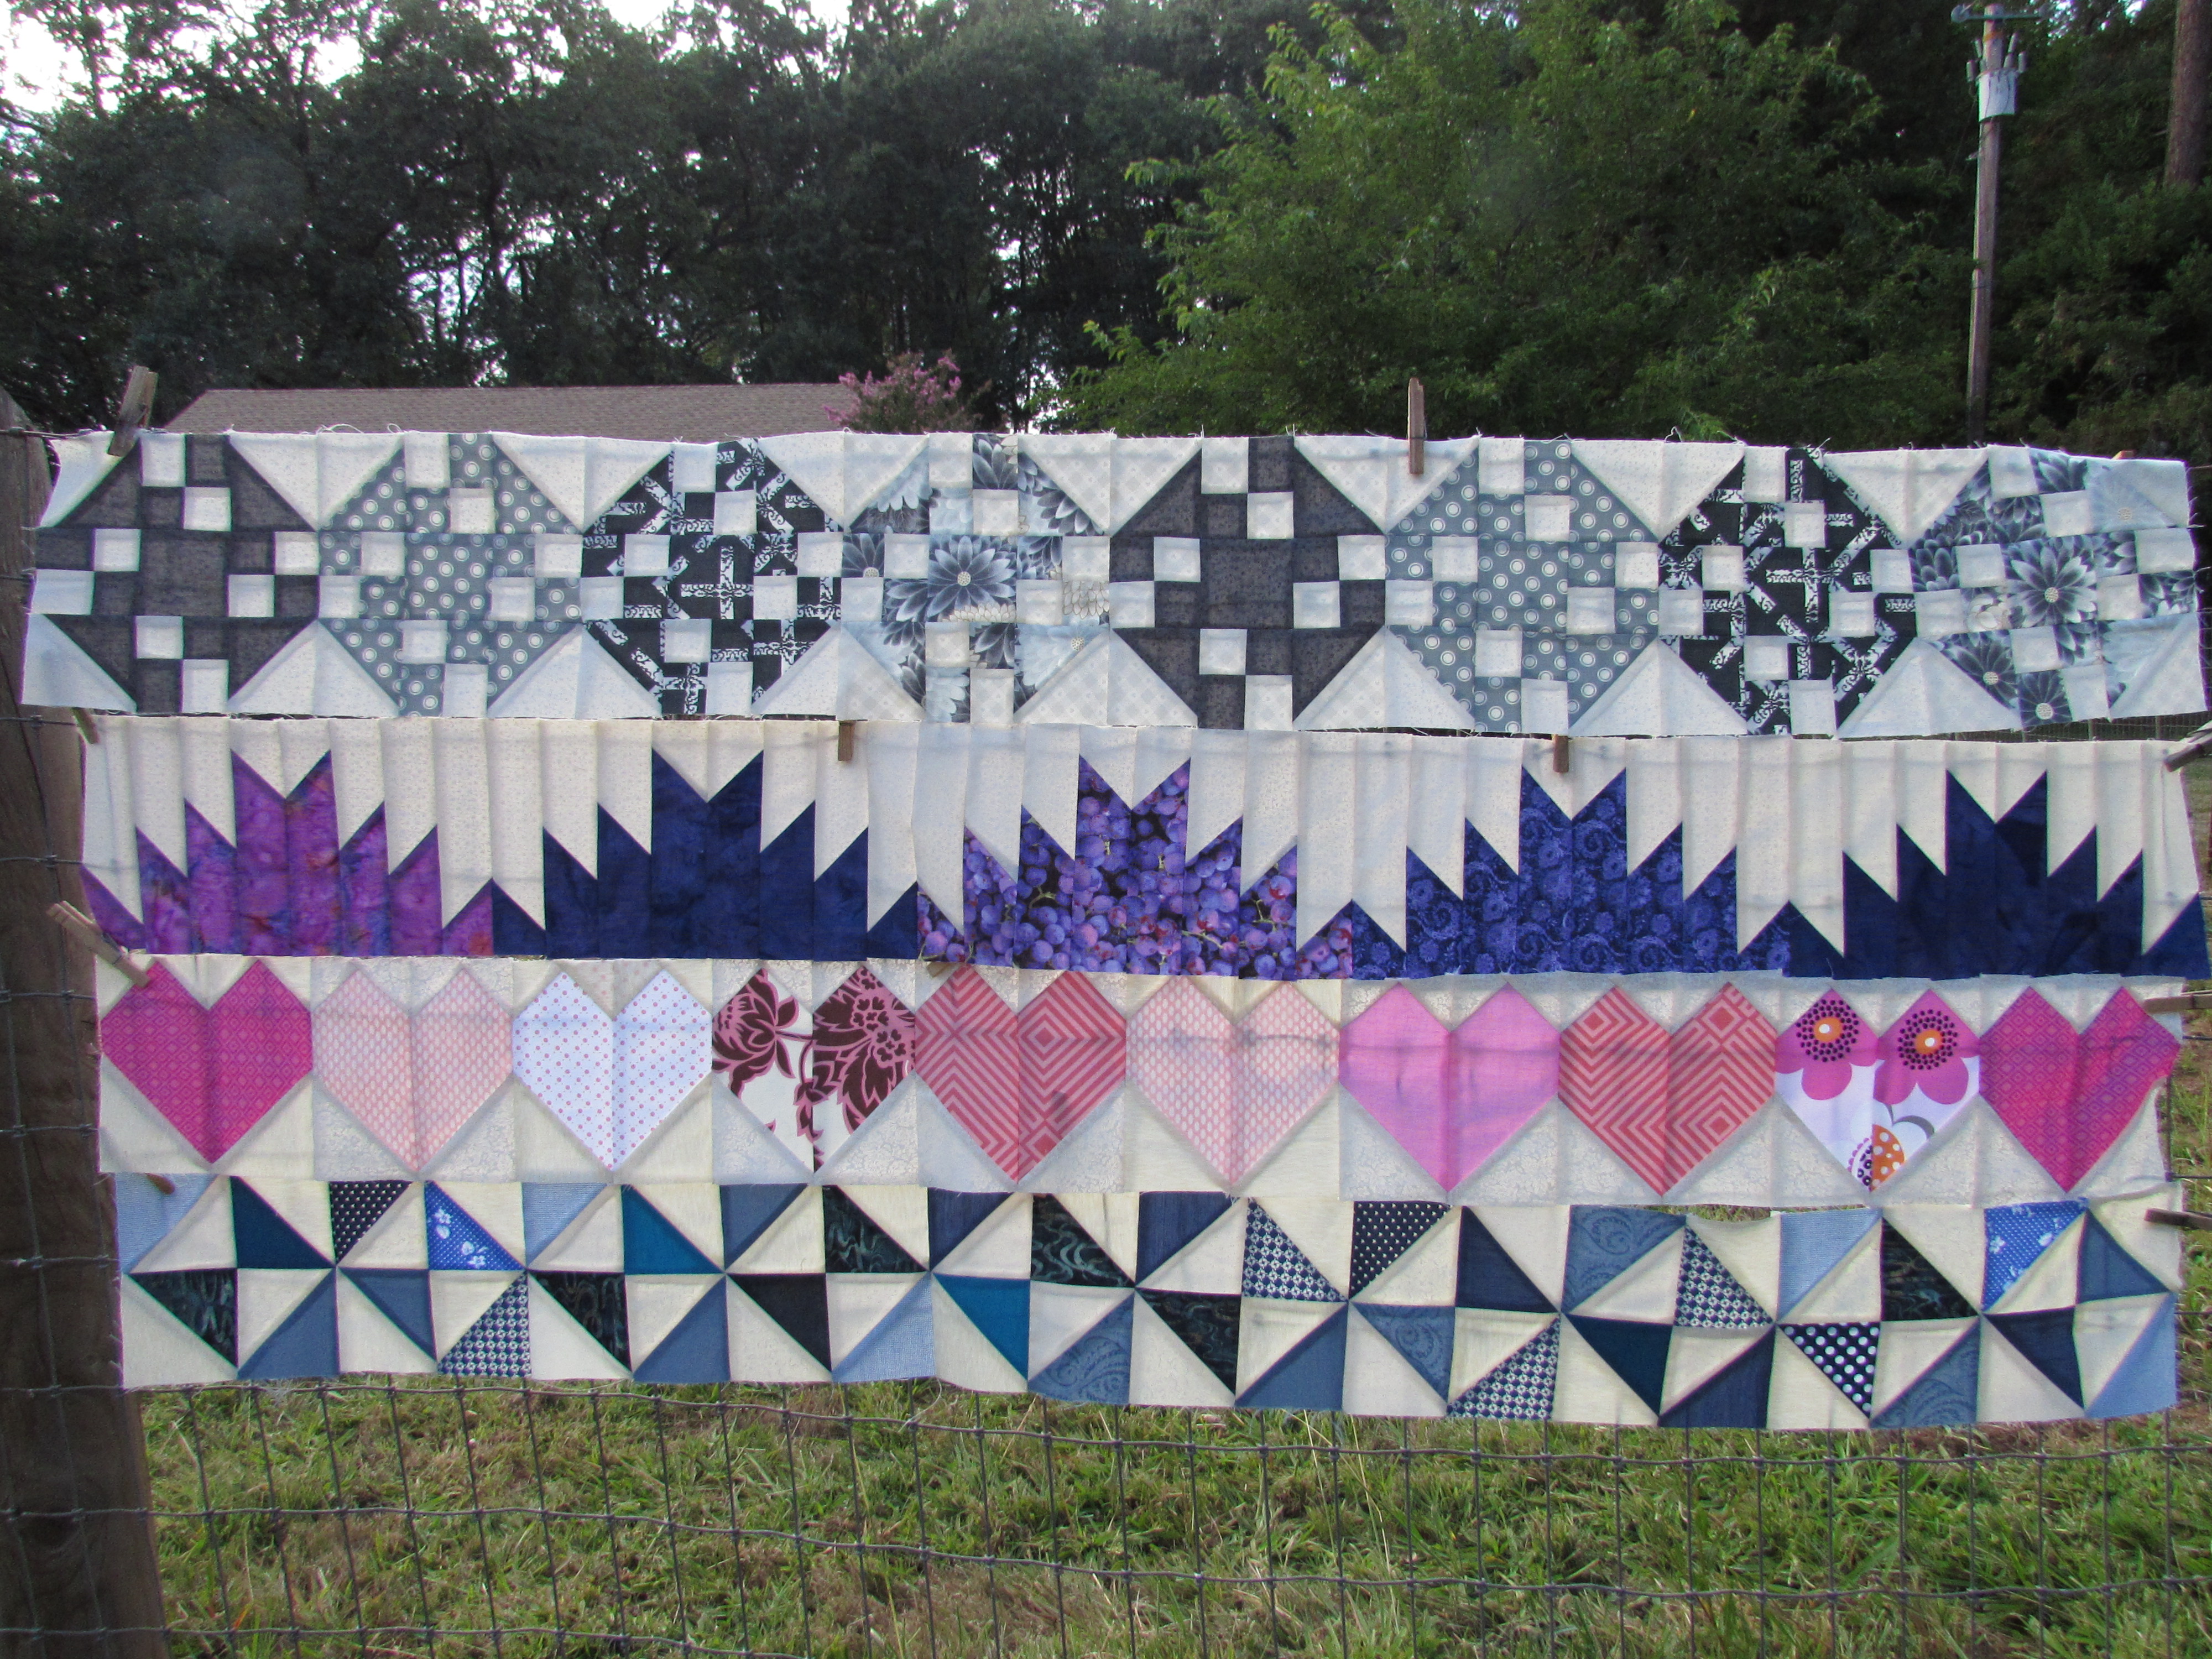
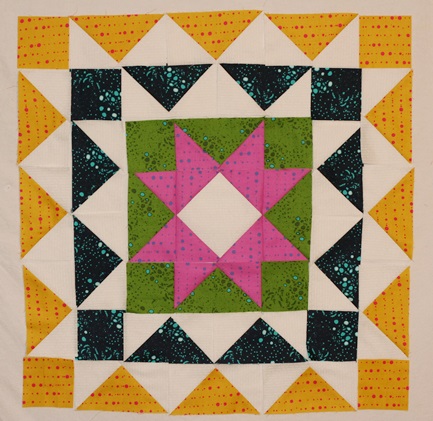
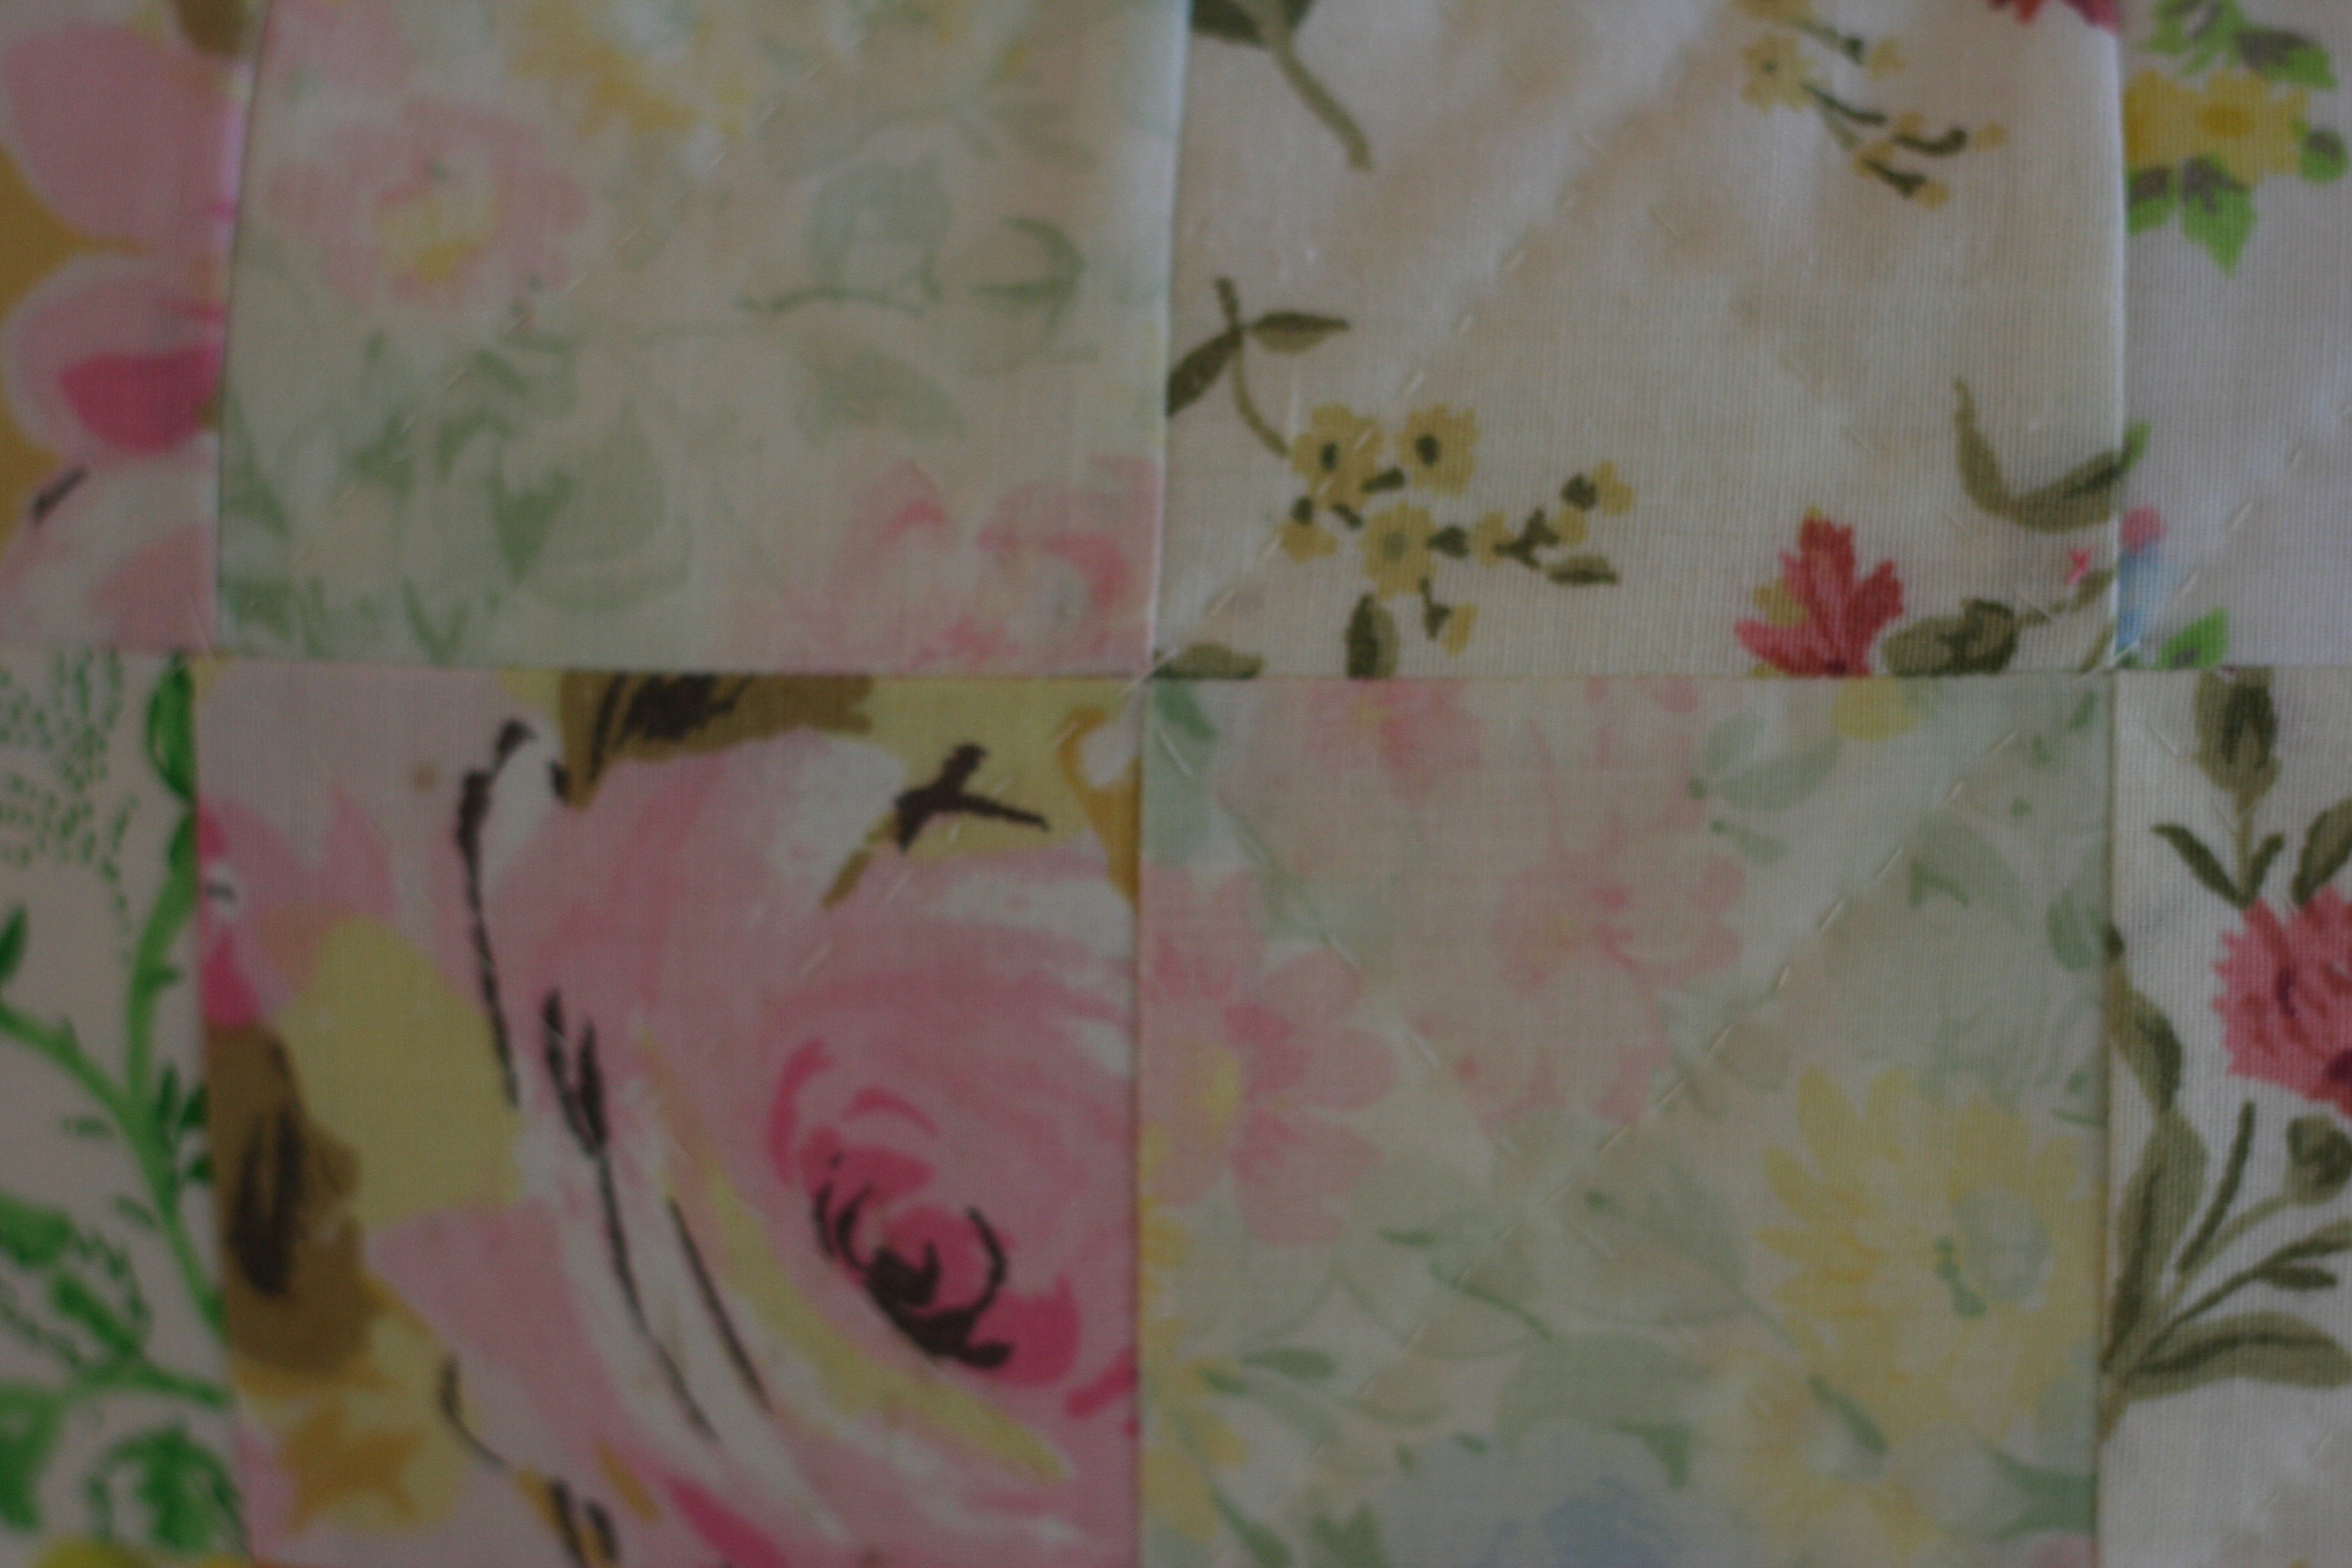
  1. Complete the block assembly for Stepping Stones QAL. (I have about 1/2 of the 143 blocks complete.
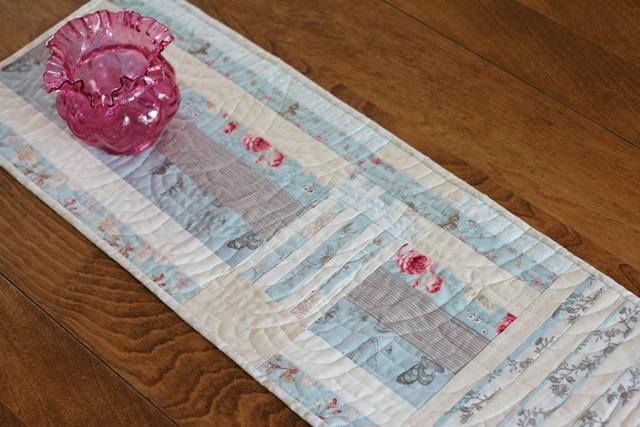
  2. Make two items for my Etsy Shop. I need to build up inventory and if I don’t do a little at a time, it just doesn’t get done.
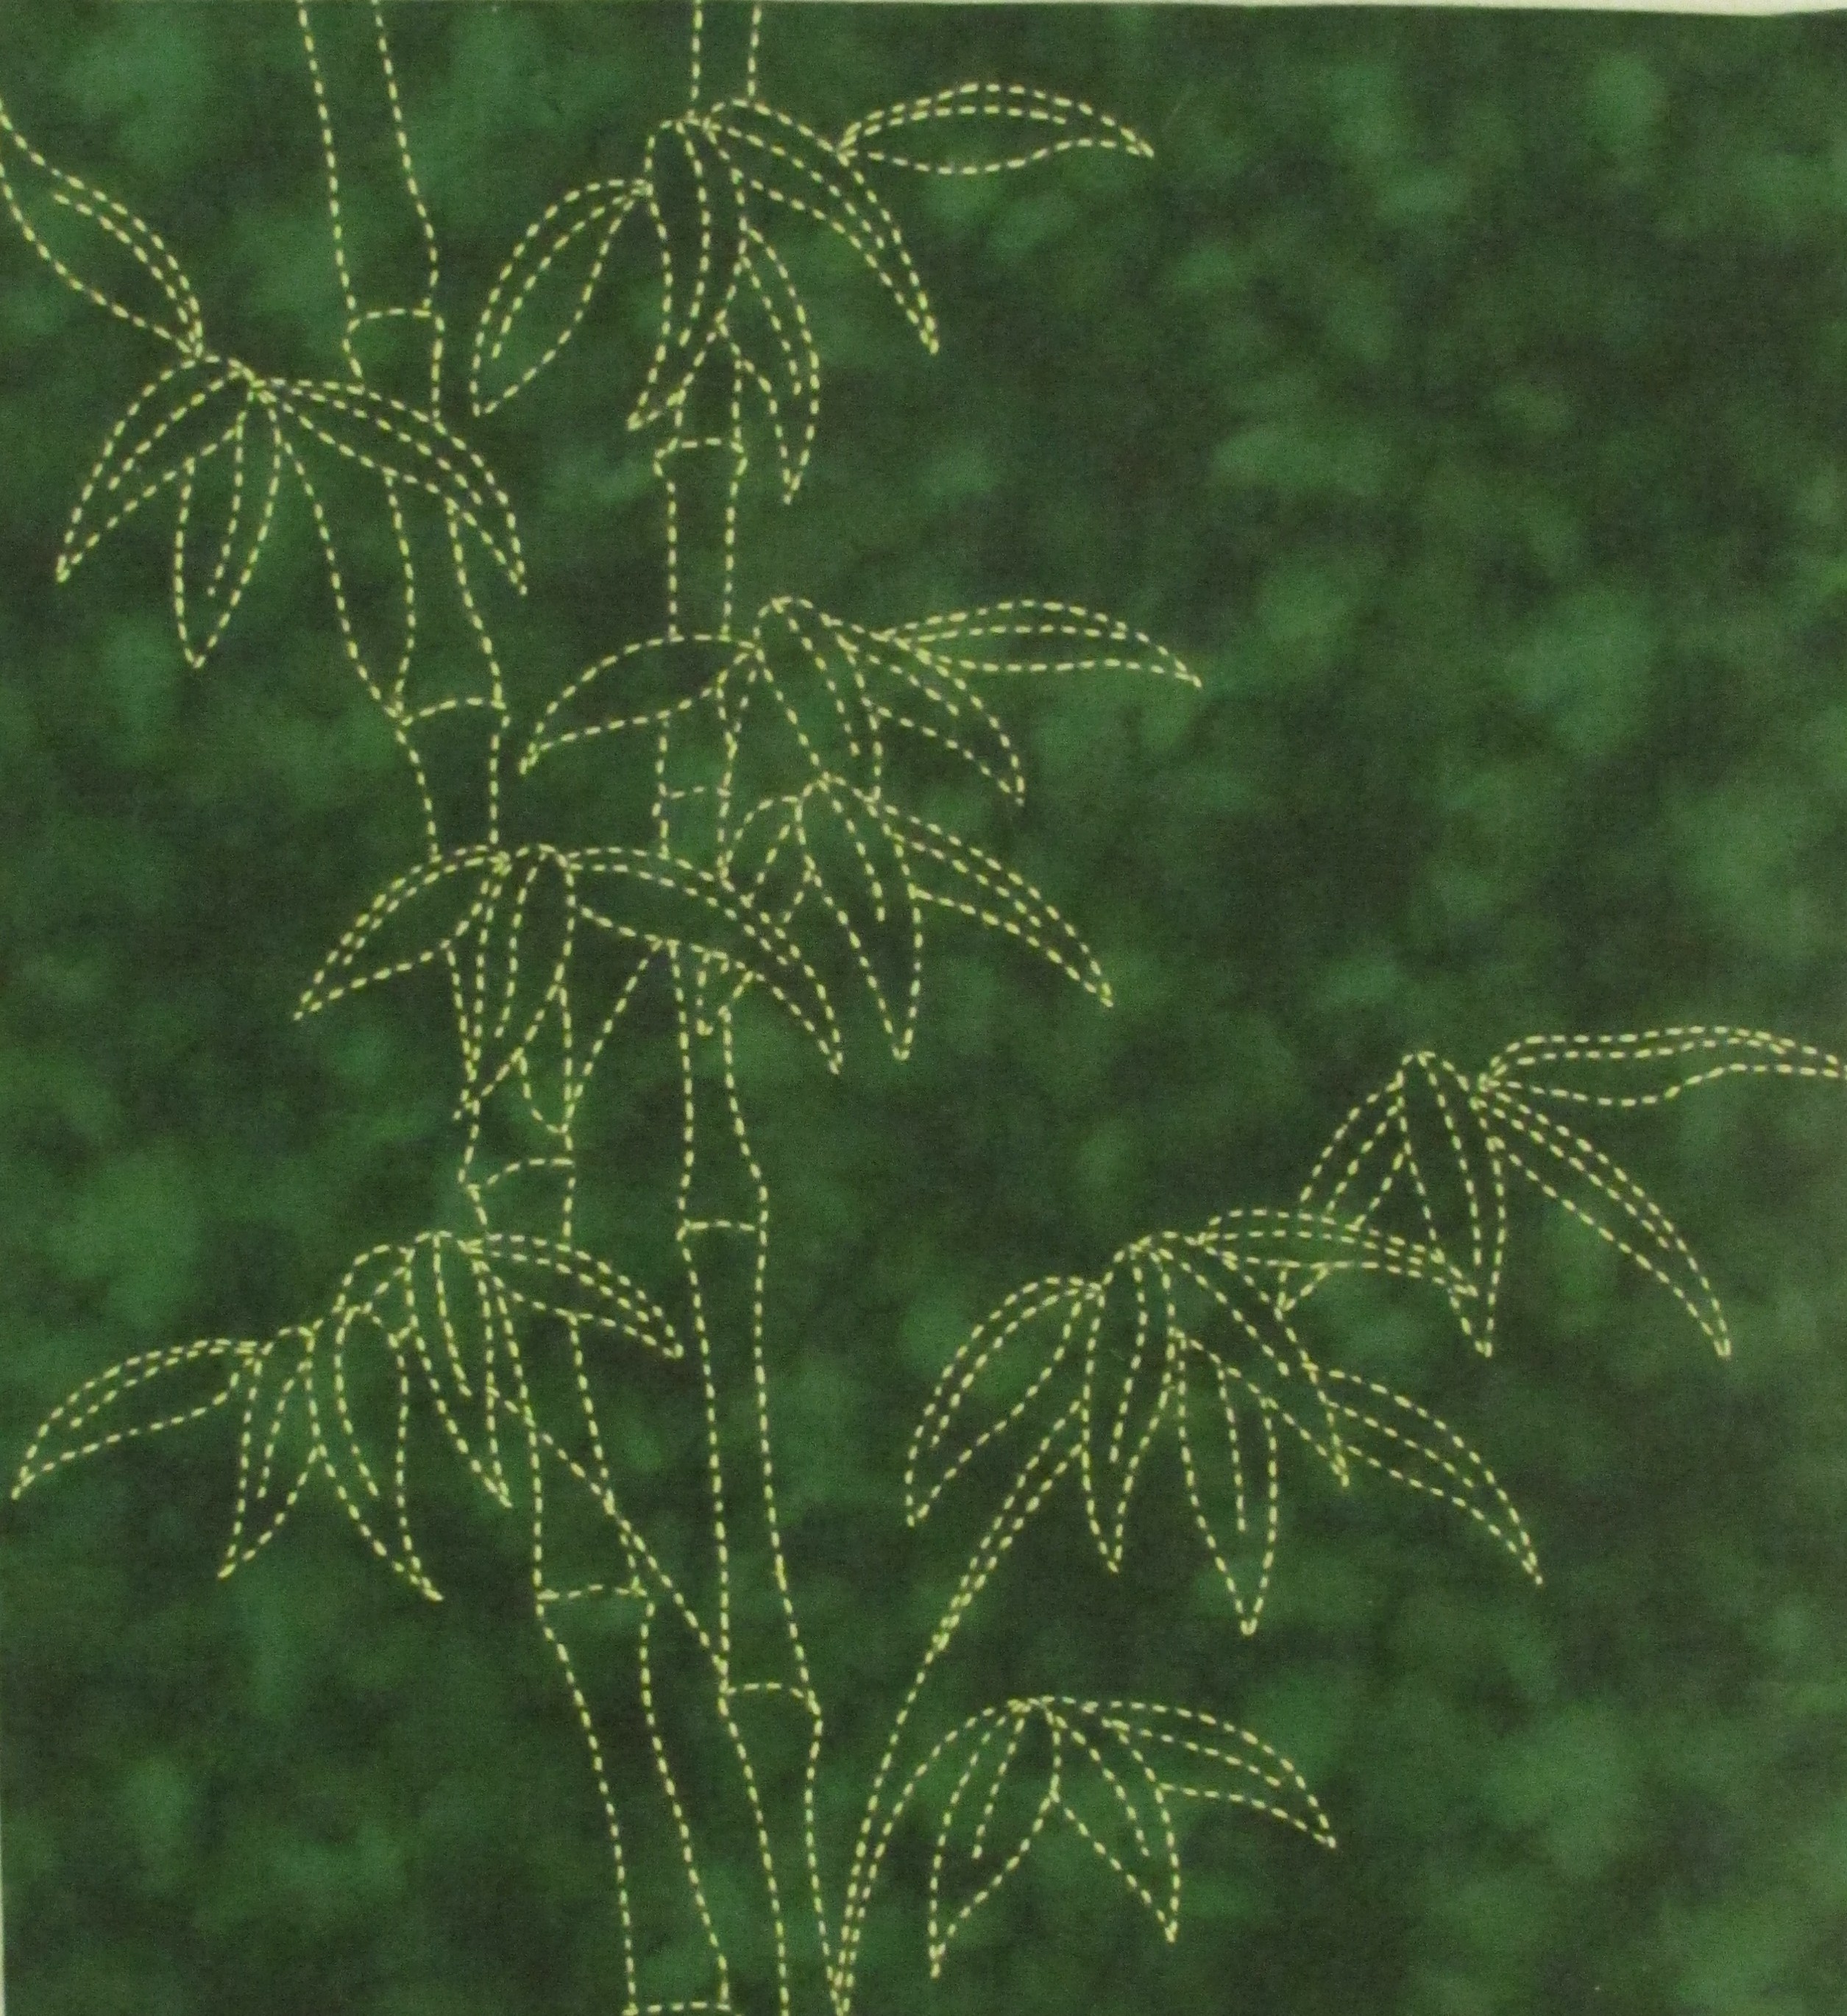
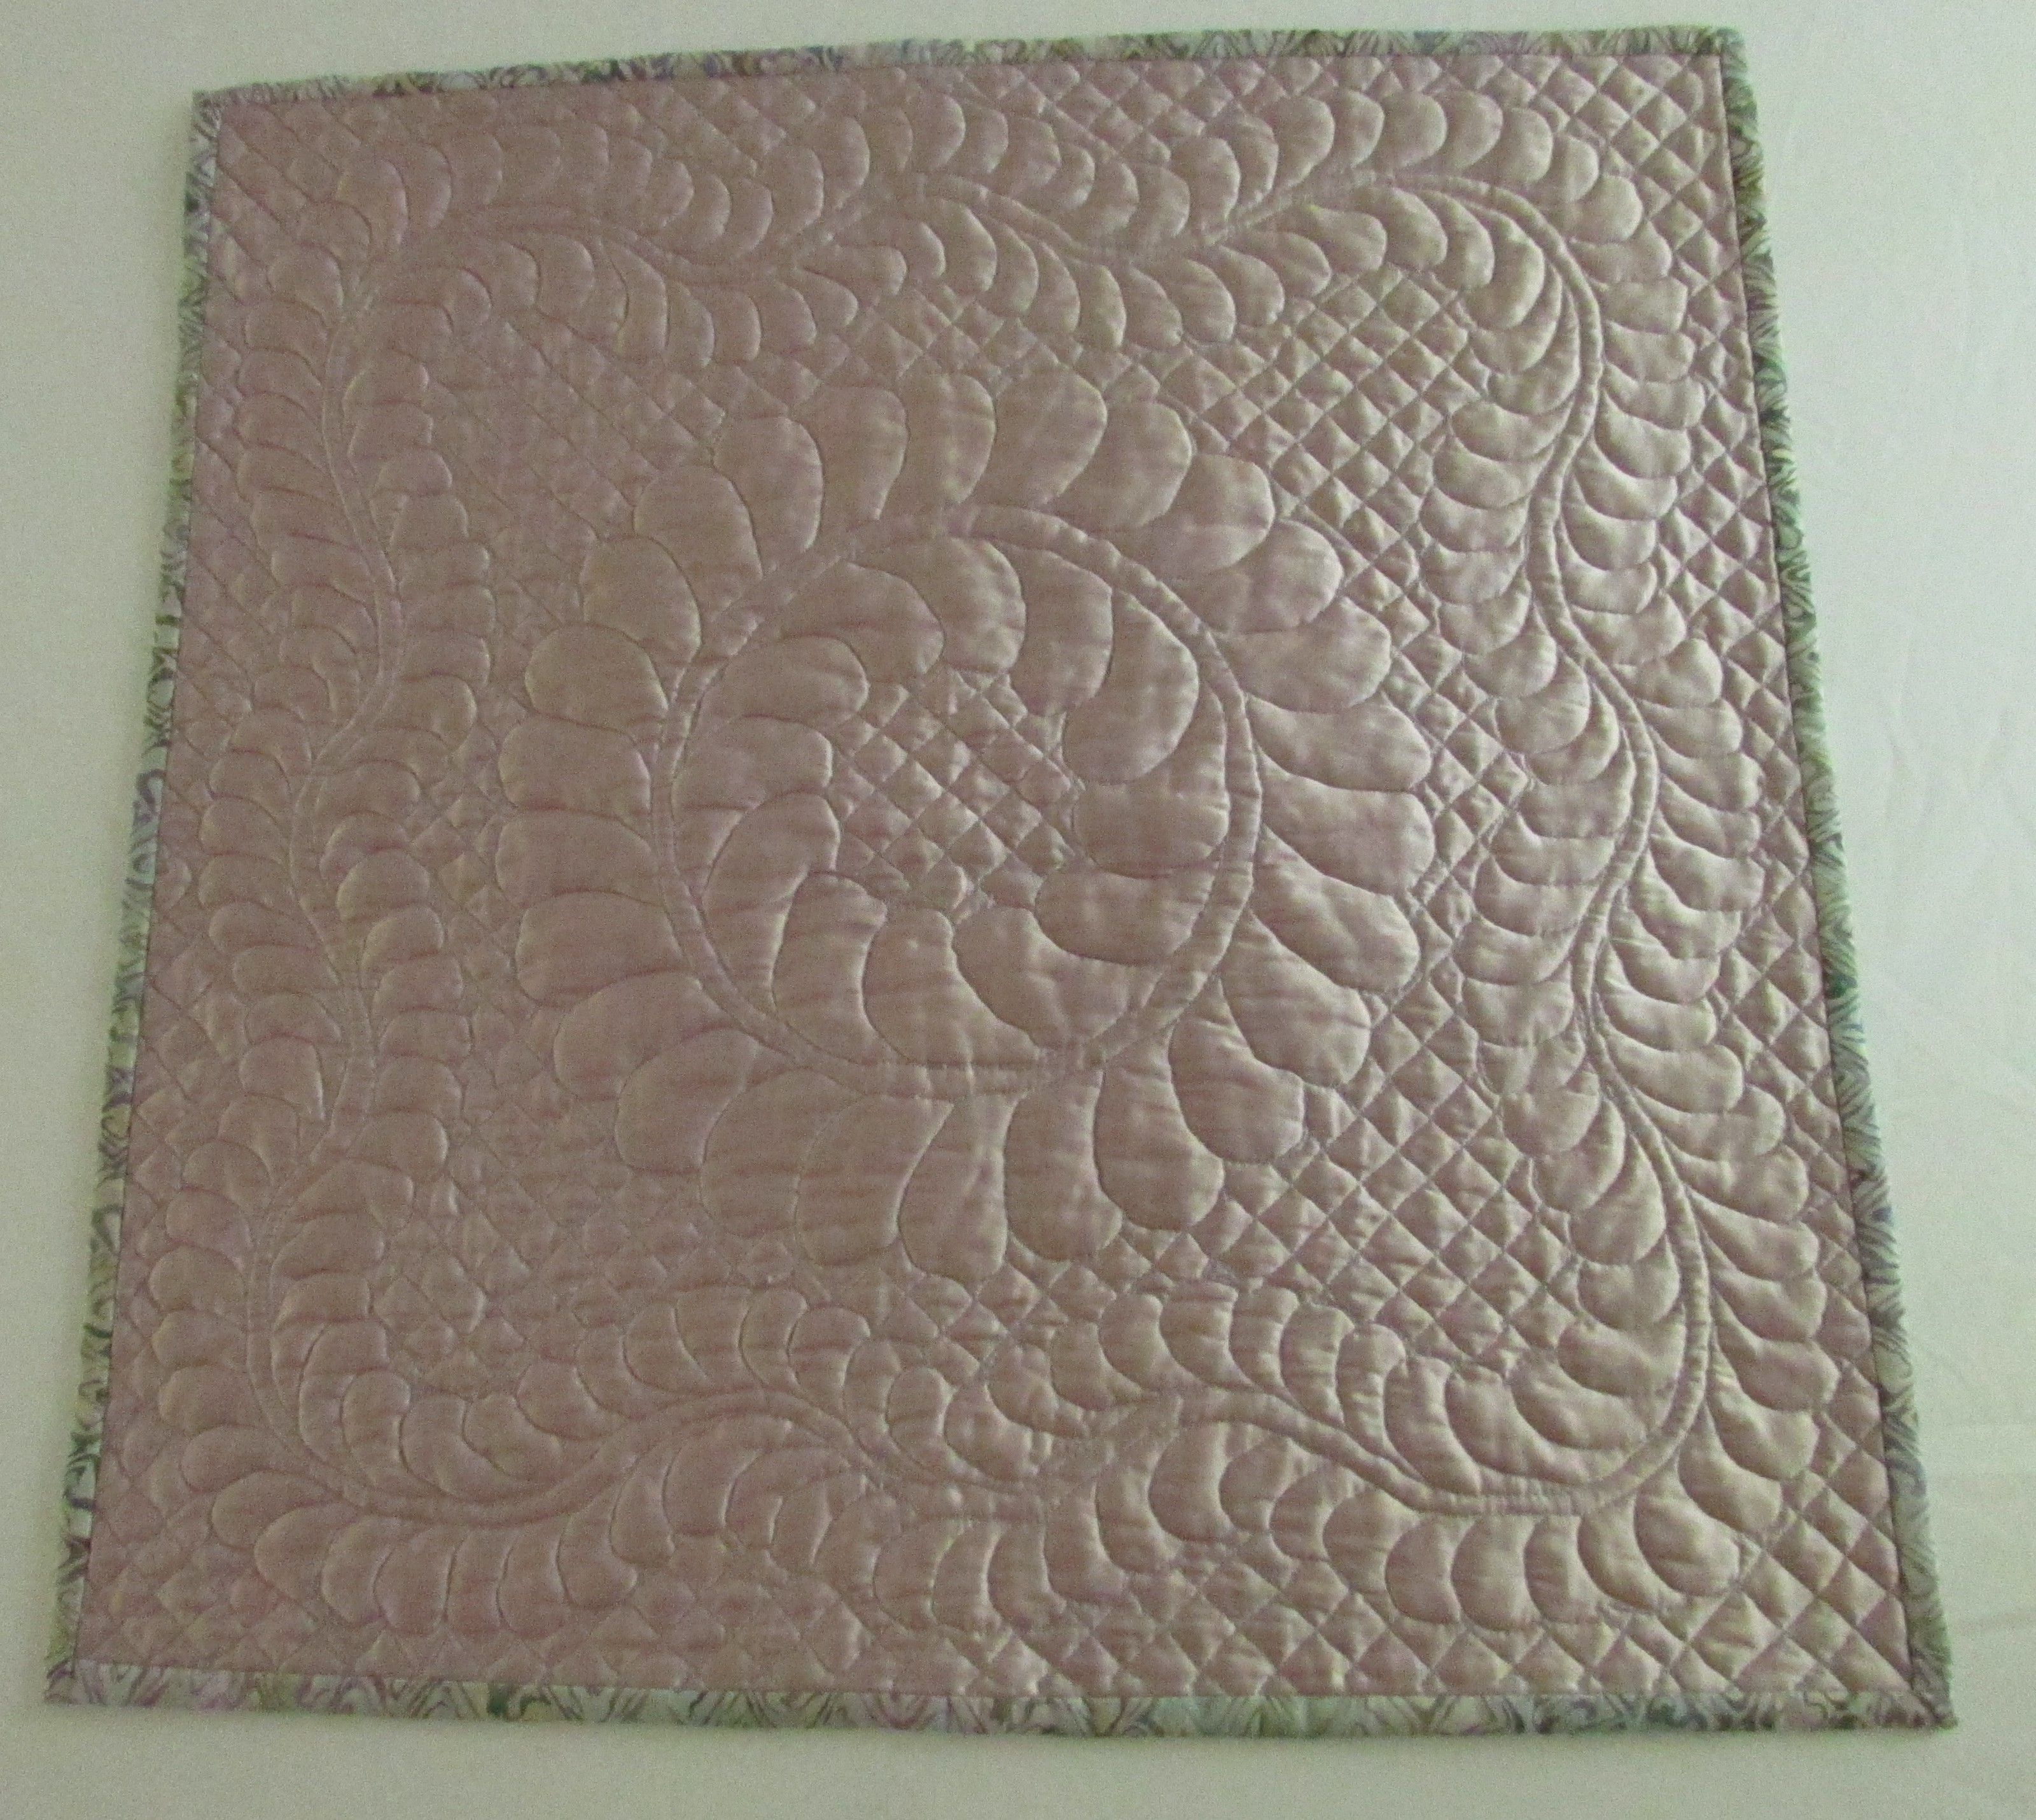
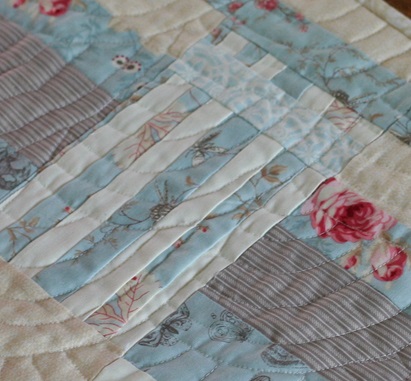
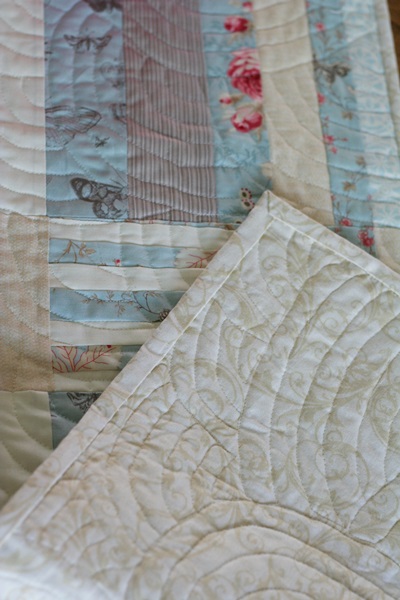
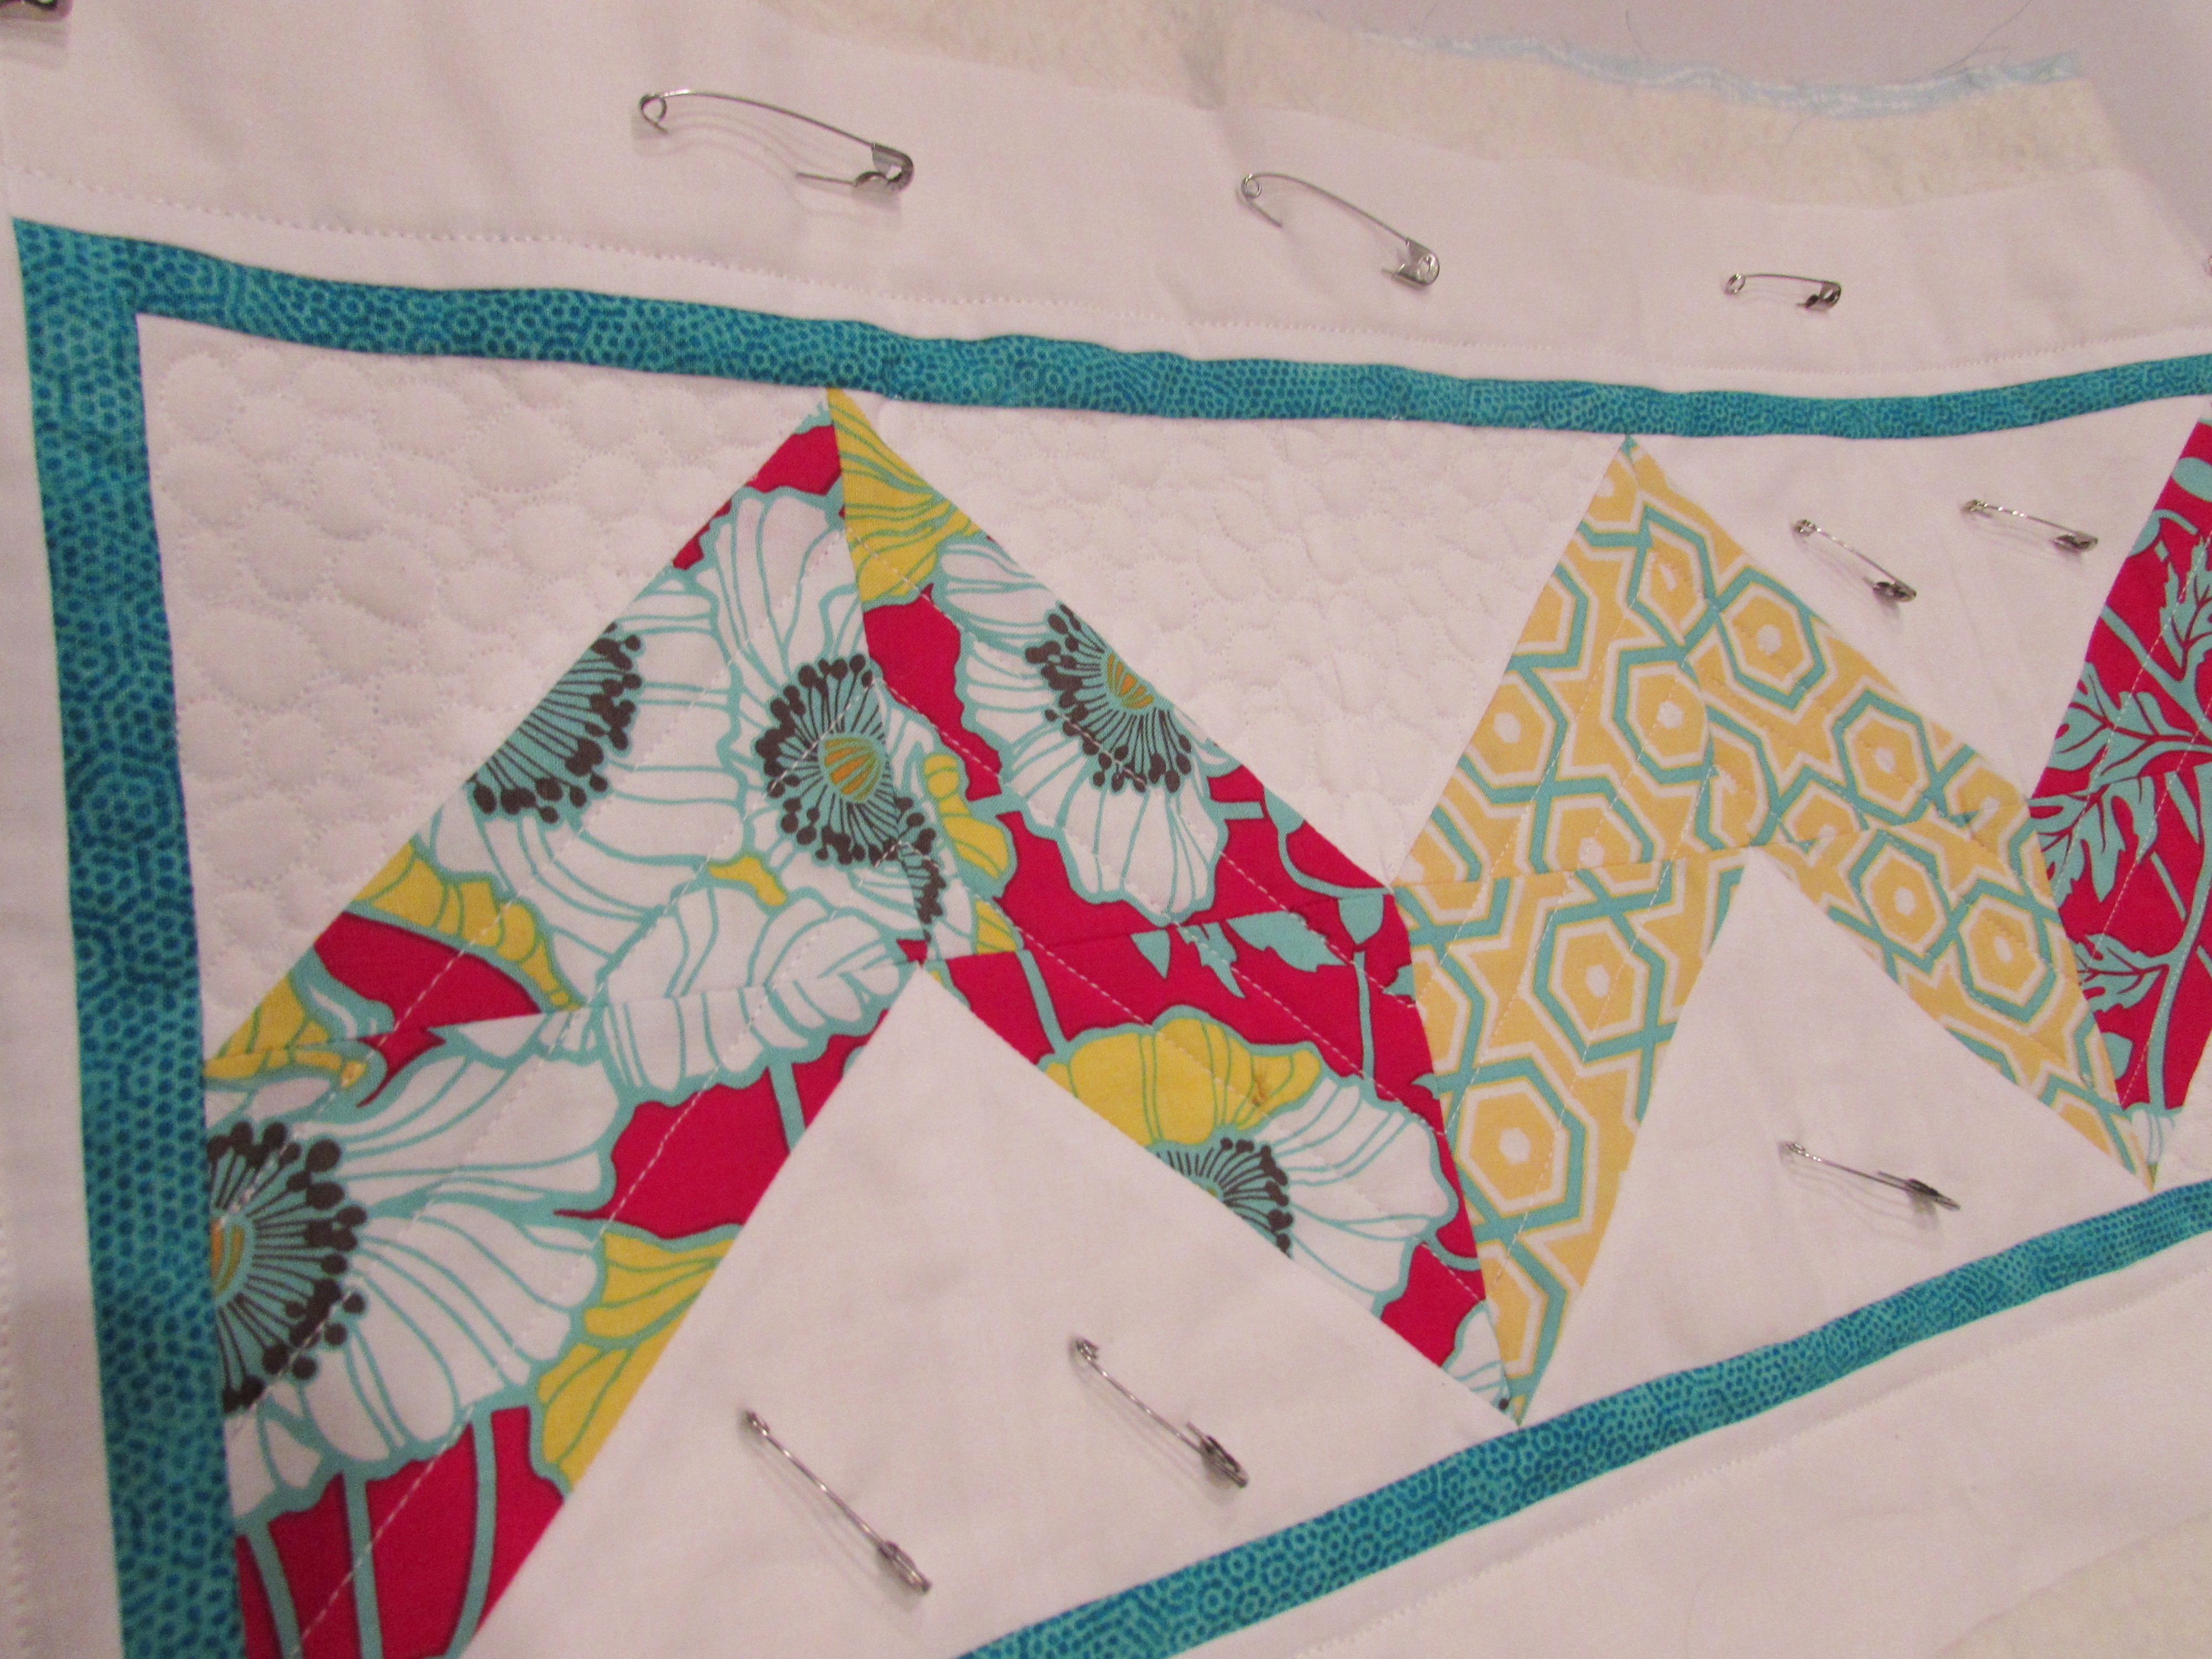
  3. Finish quilting the art quilt I mentioned in my post the other day. I have just one border left to quilt and I want to make it look like wood grain. Lori has an excellent variation here that I plan to use. Last night I practiced it on paper and it is a simple motif. Should go together with ease.
  4. If time allows, I will face or bind the art quilt.

OK – my list is now public and hopefully I can achieve each of these goals.  What is the plan for your week? Does listing your goals help you keep things straight?

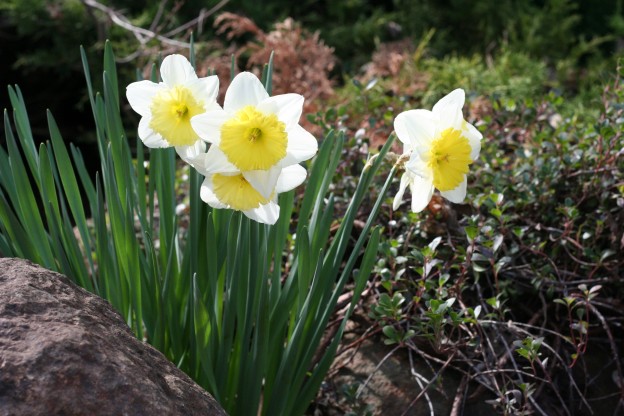
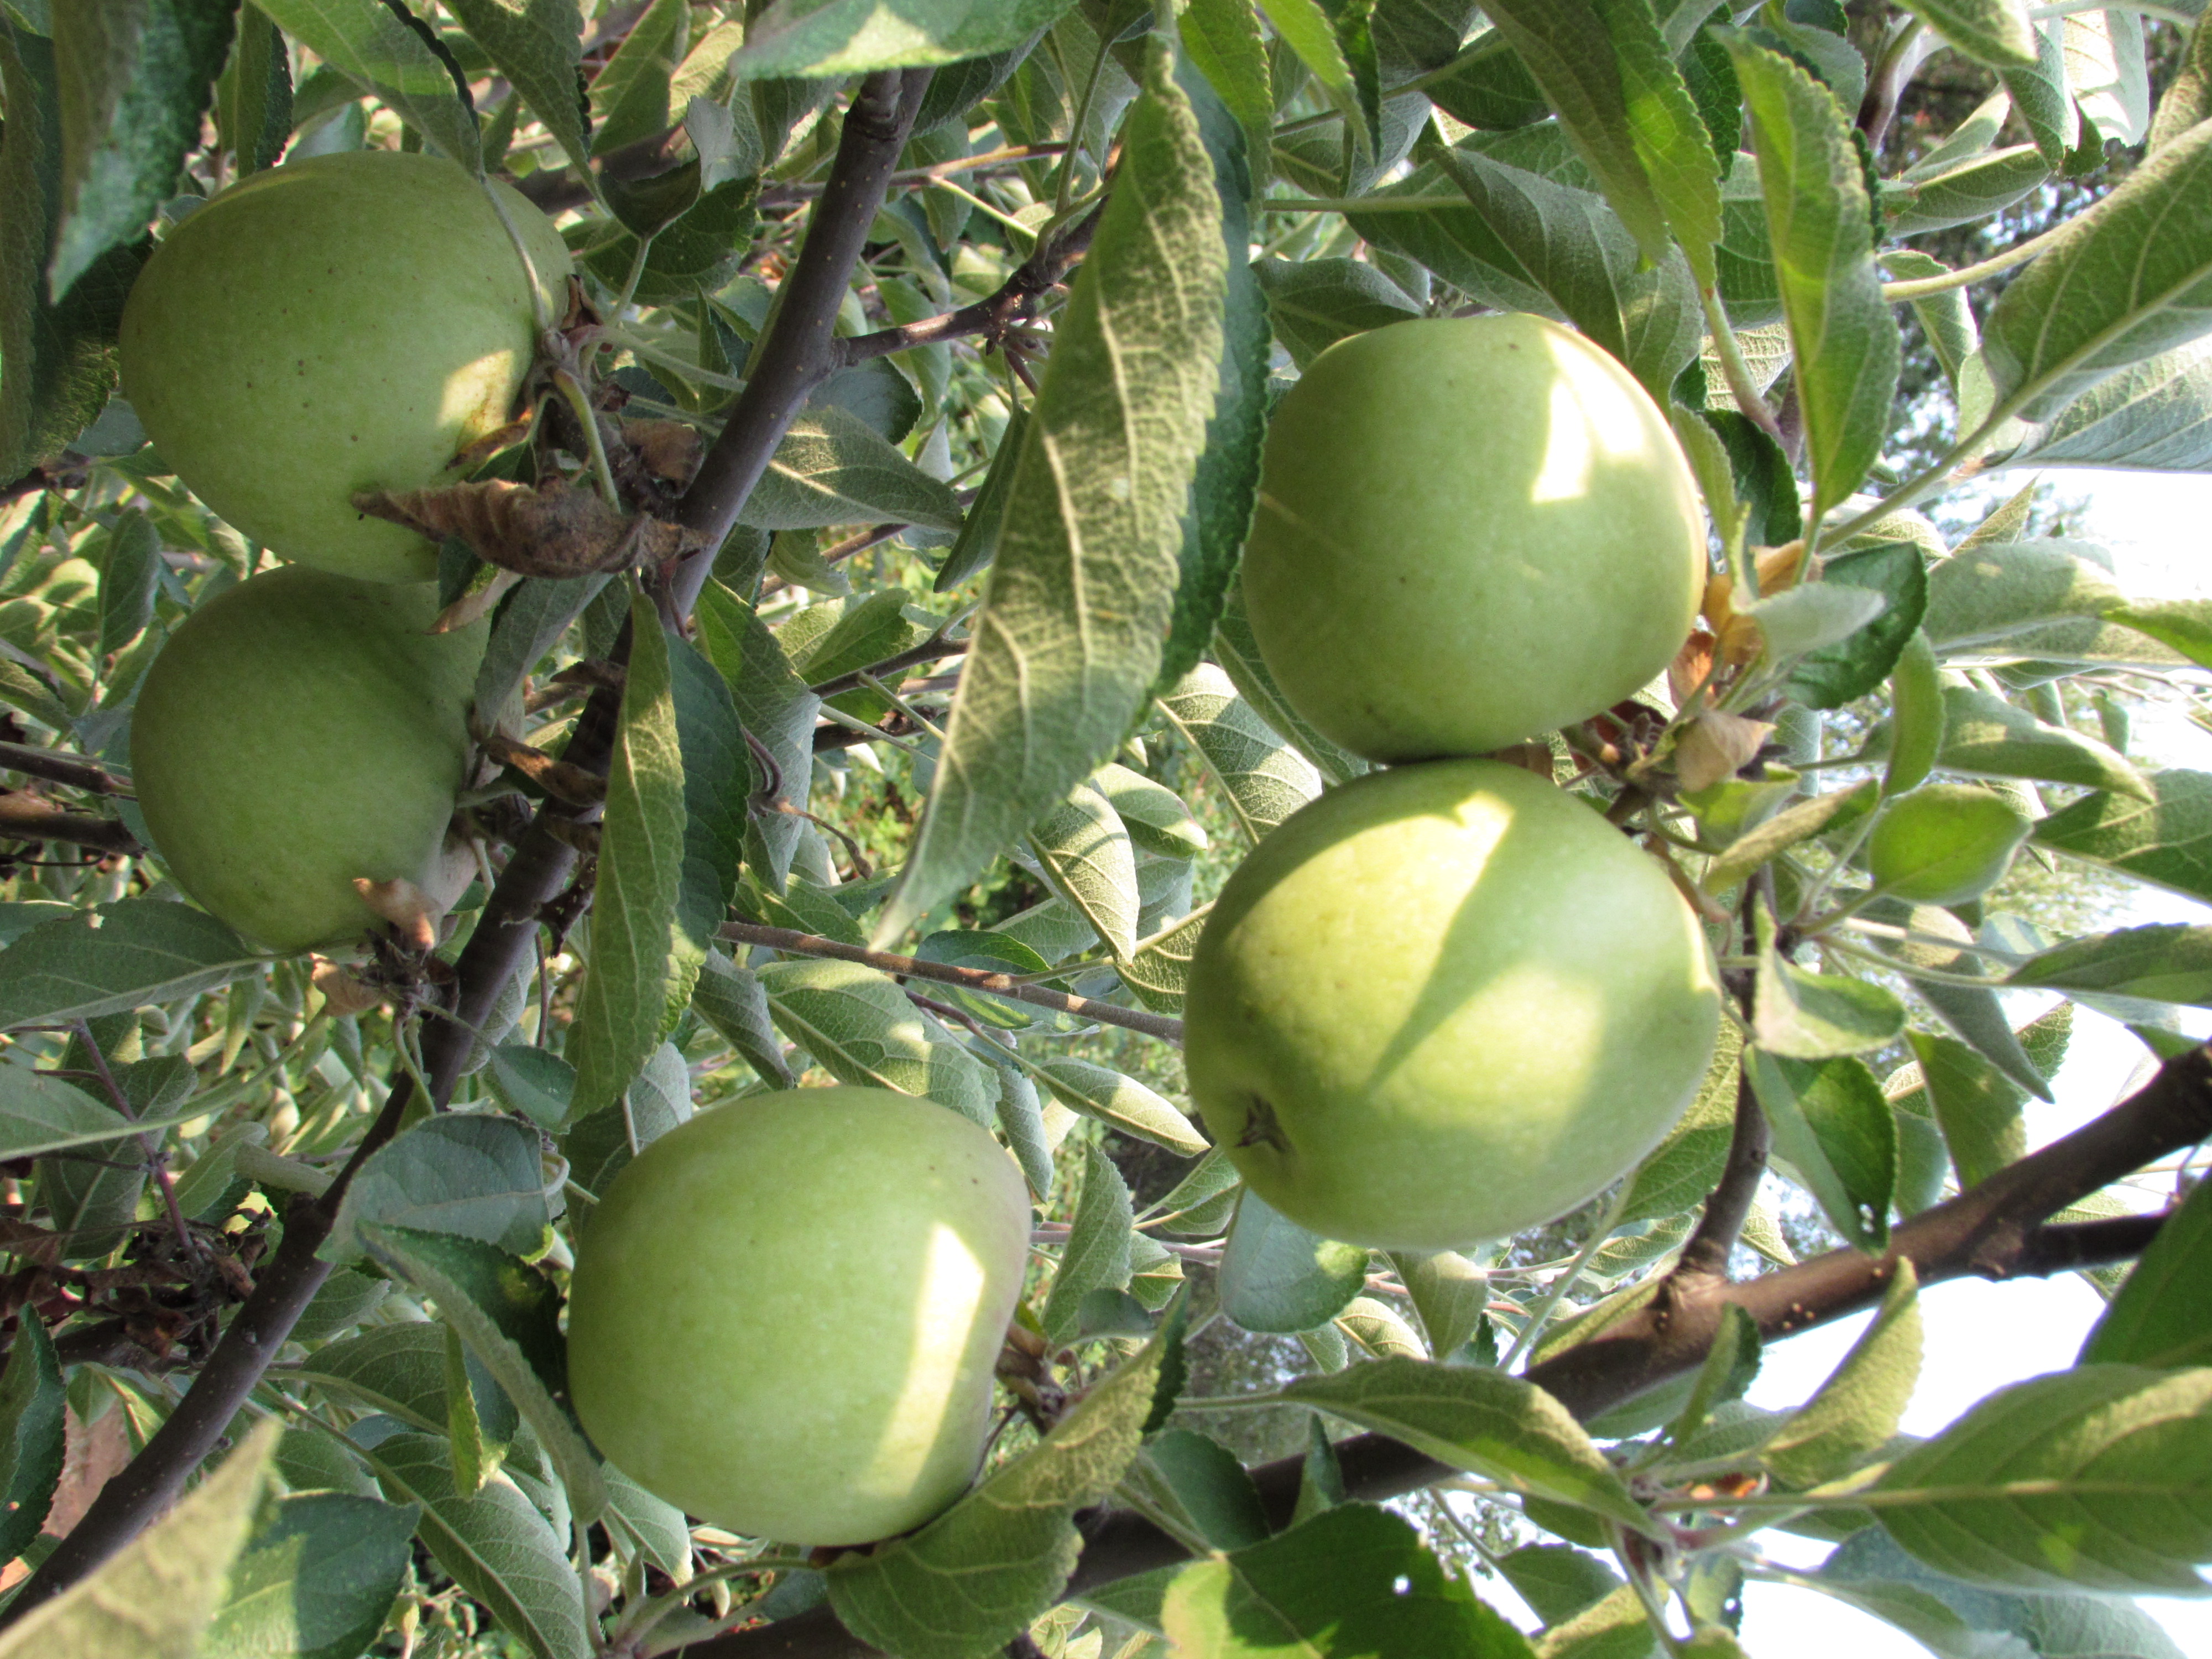
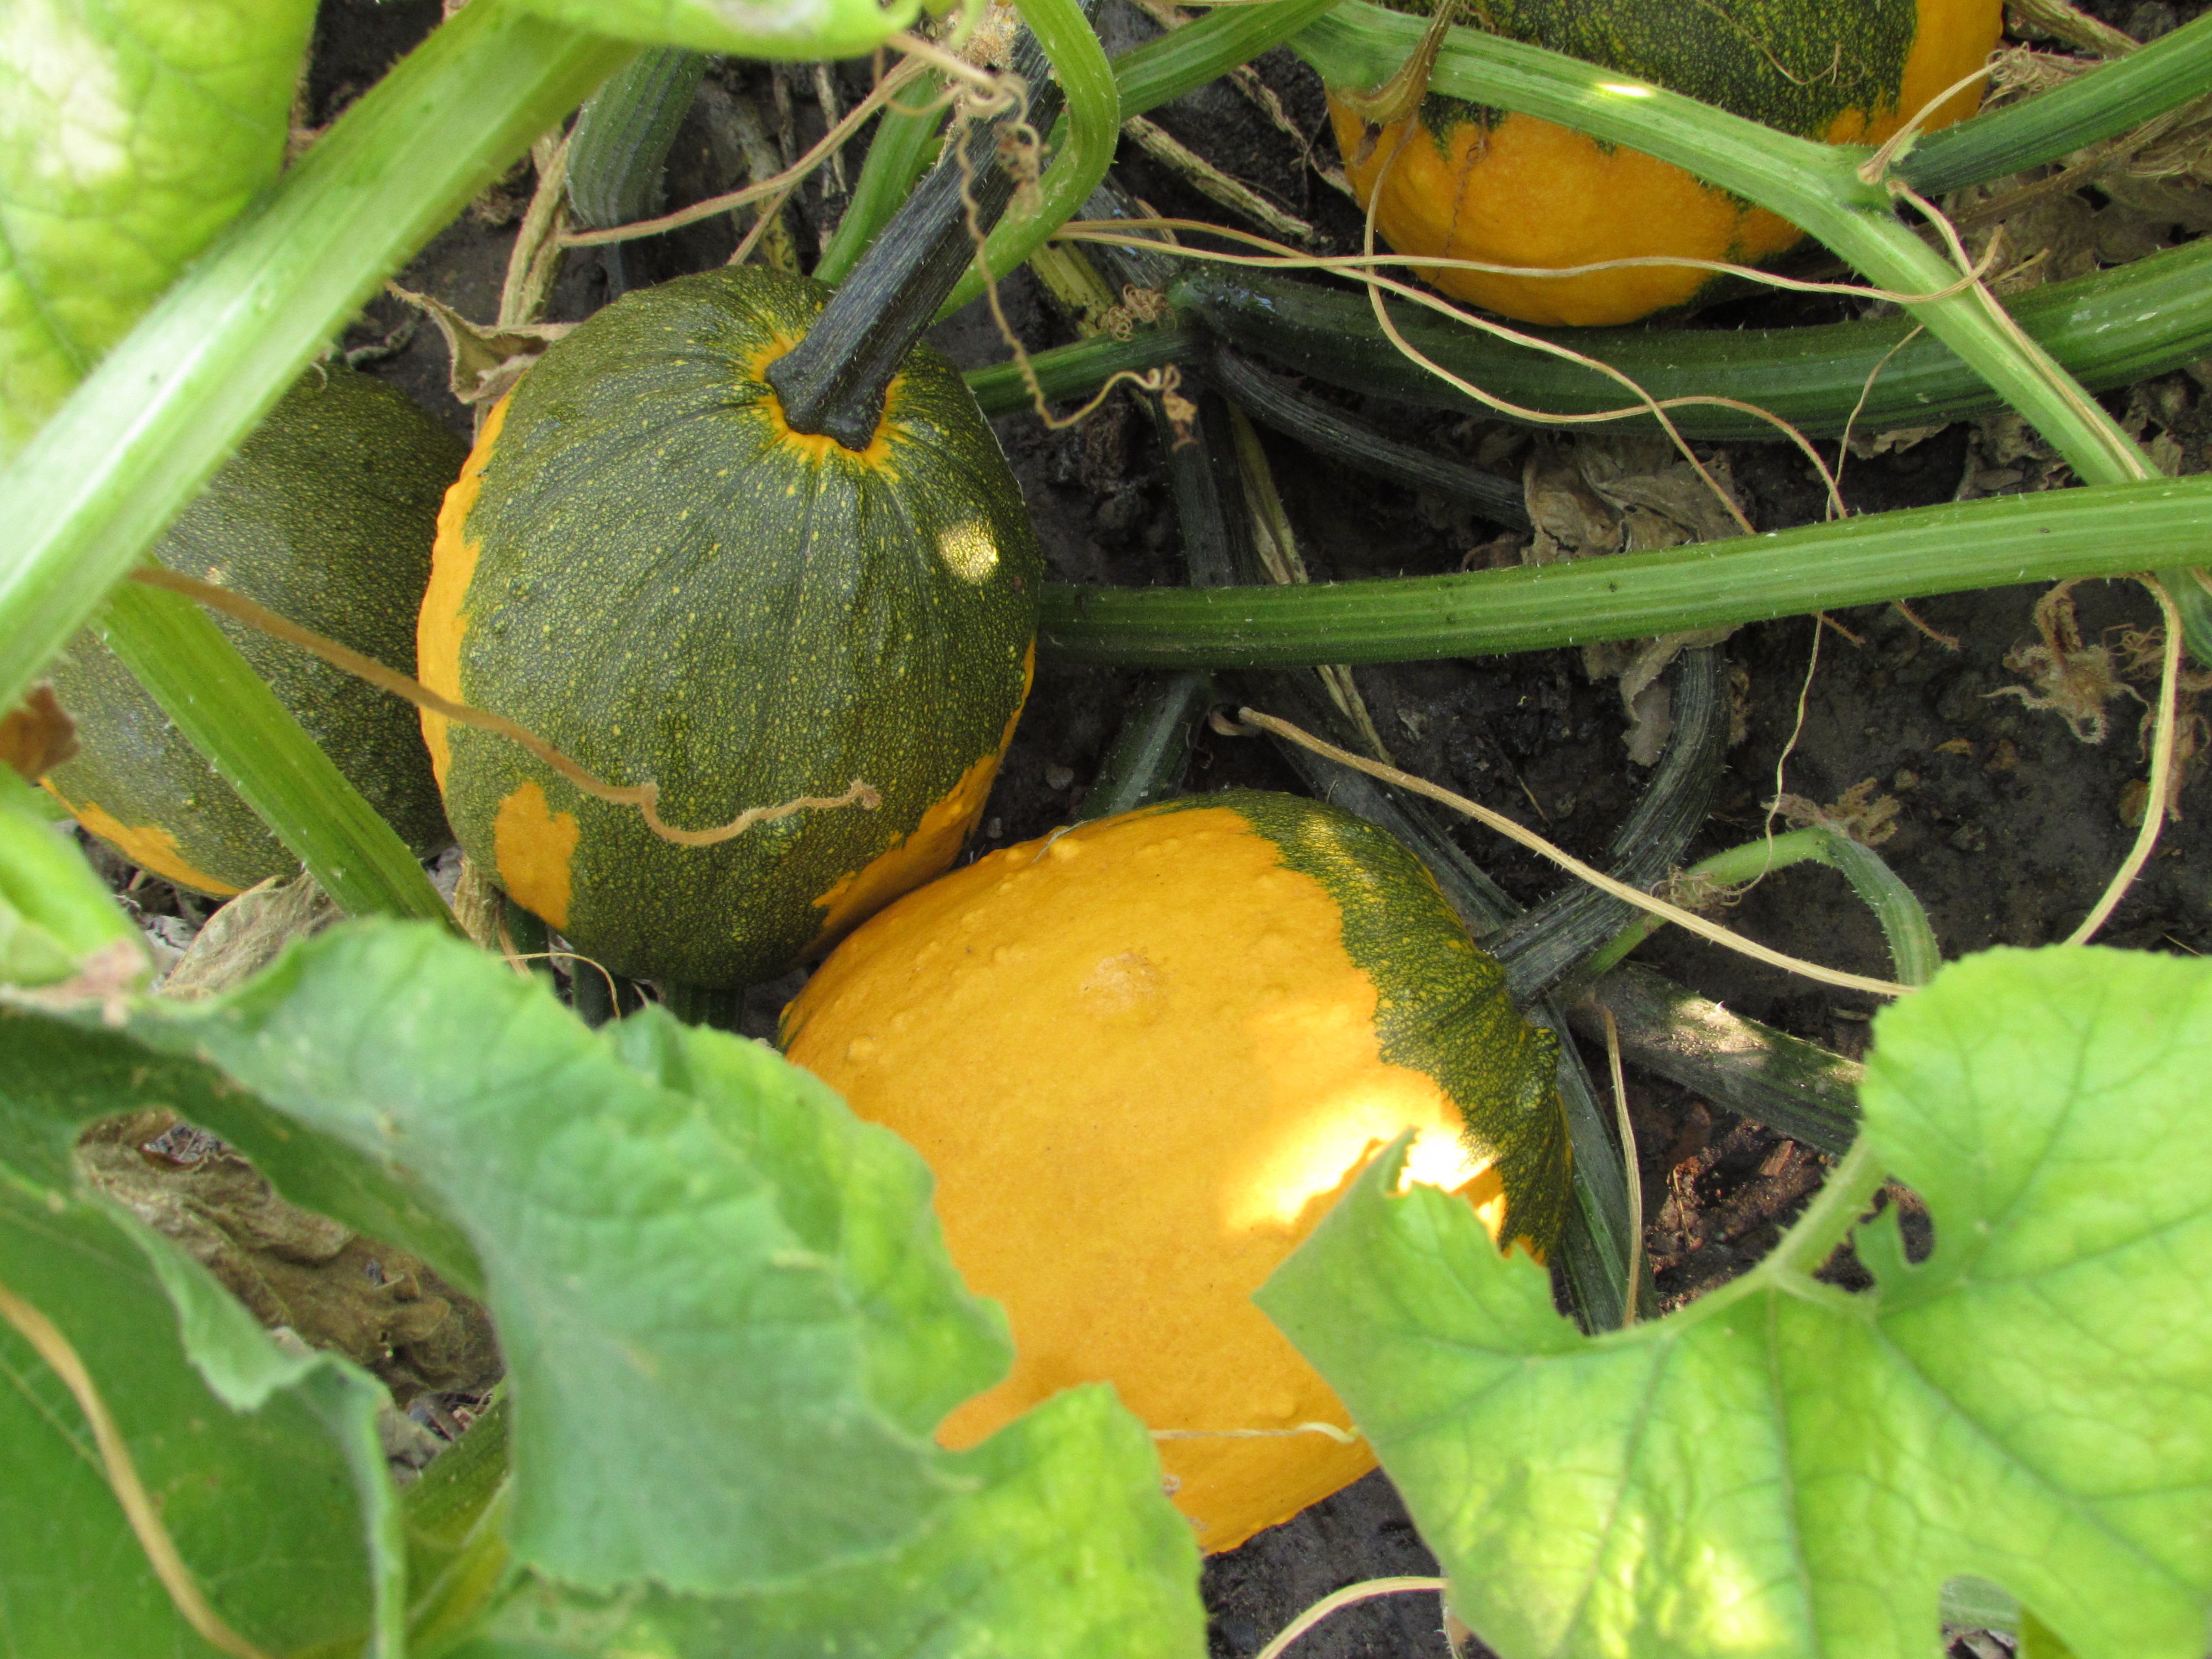
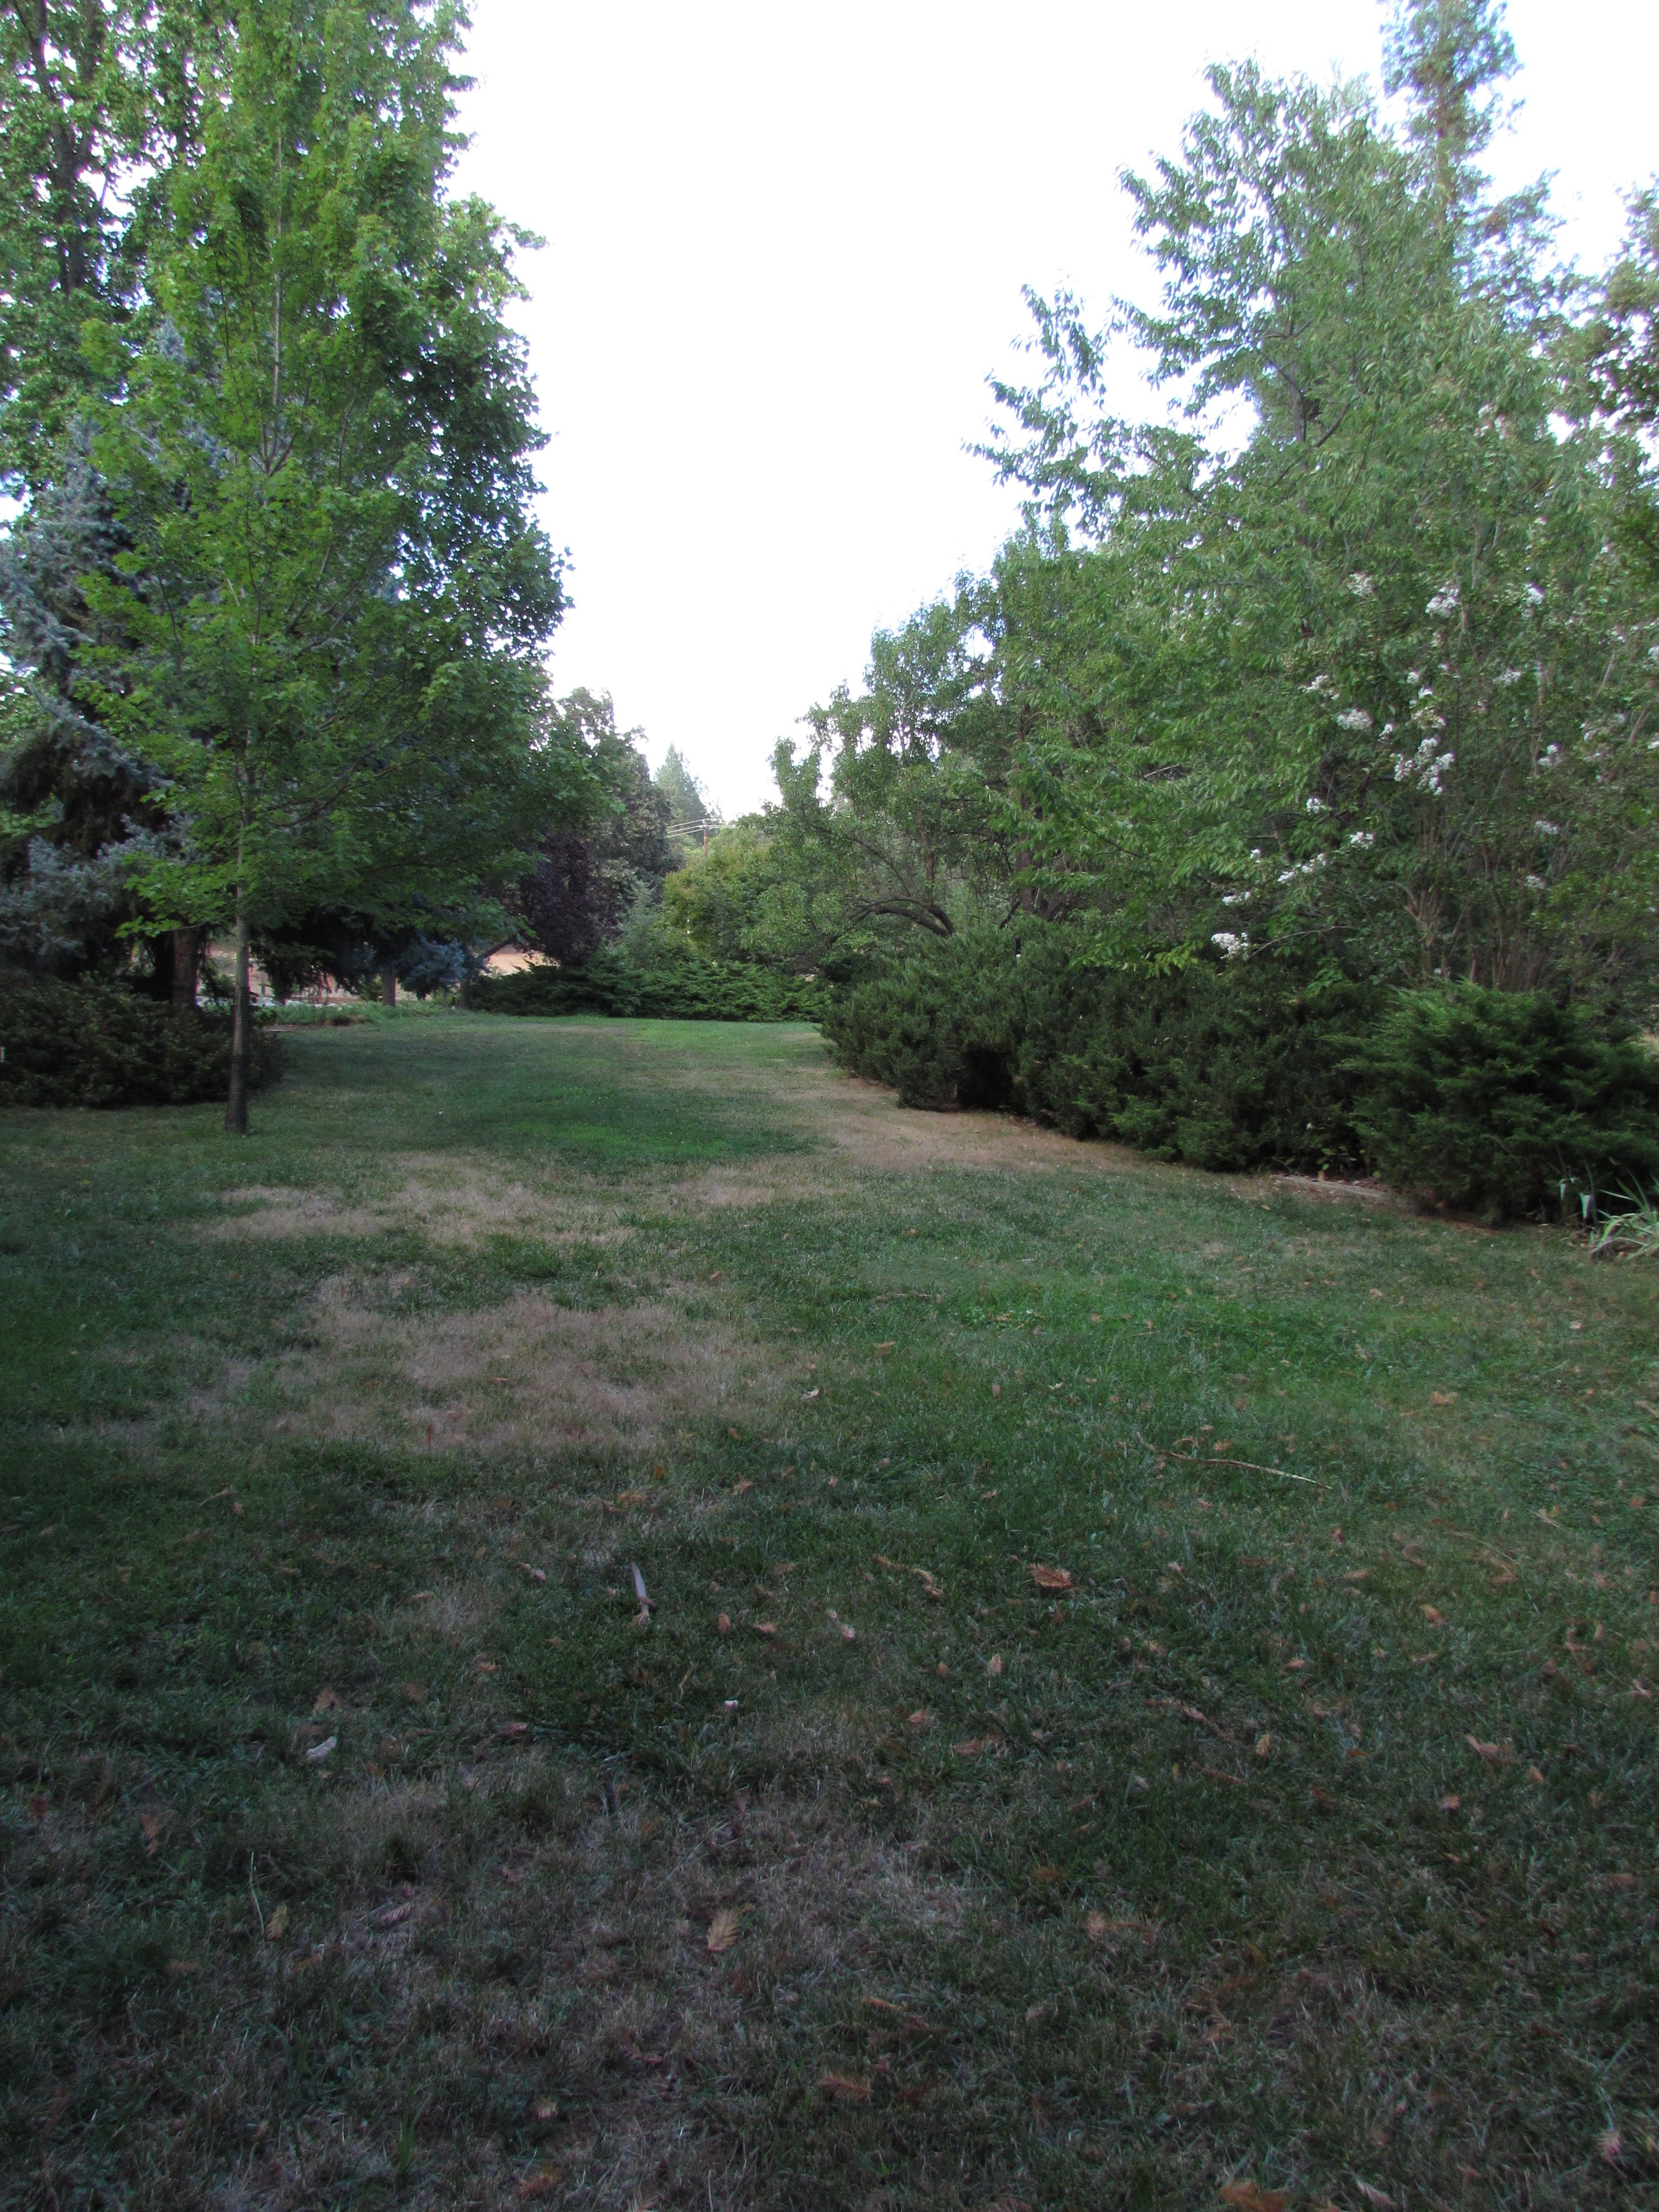
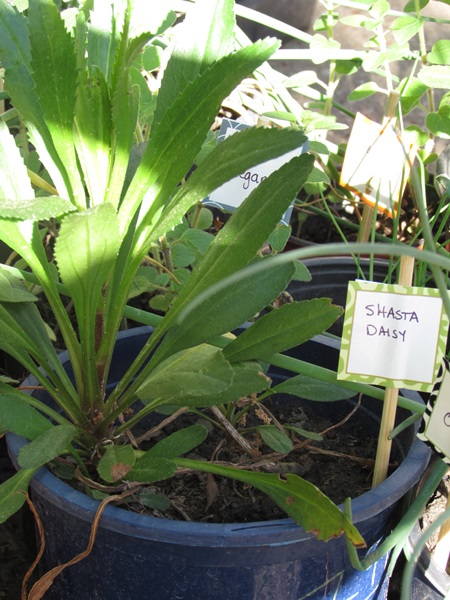
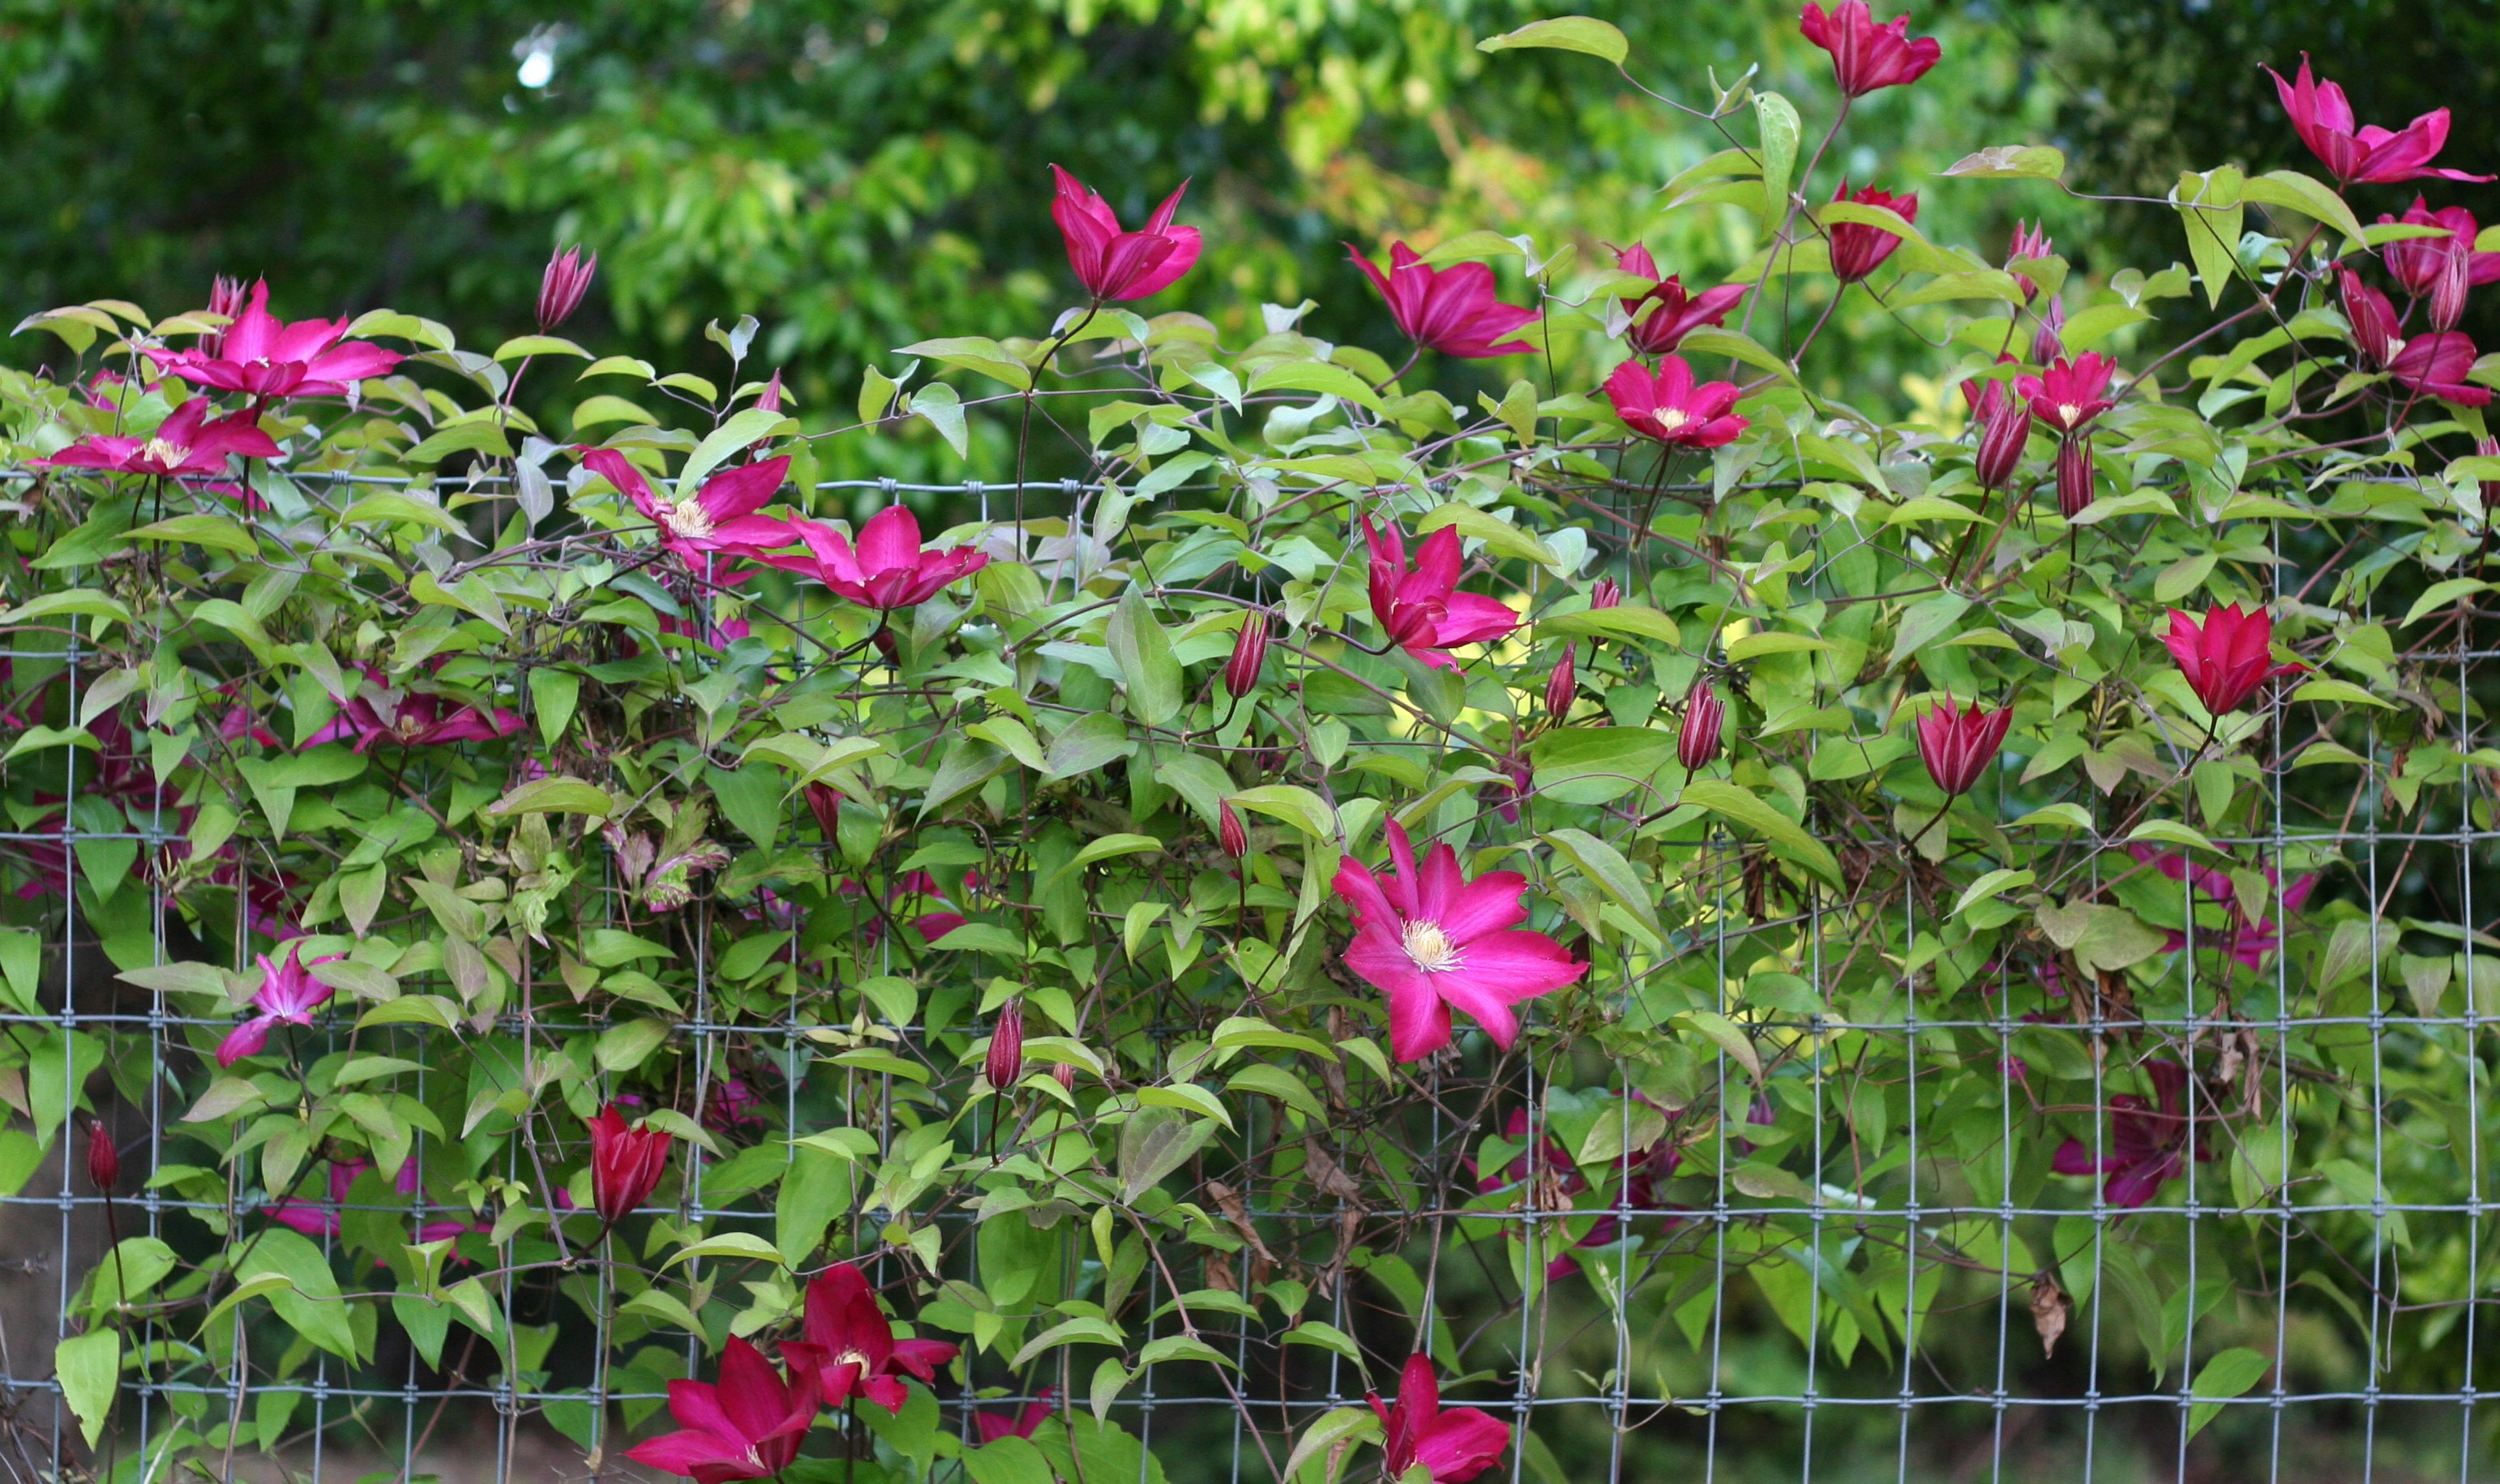
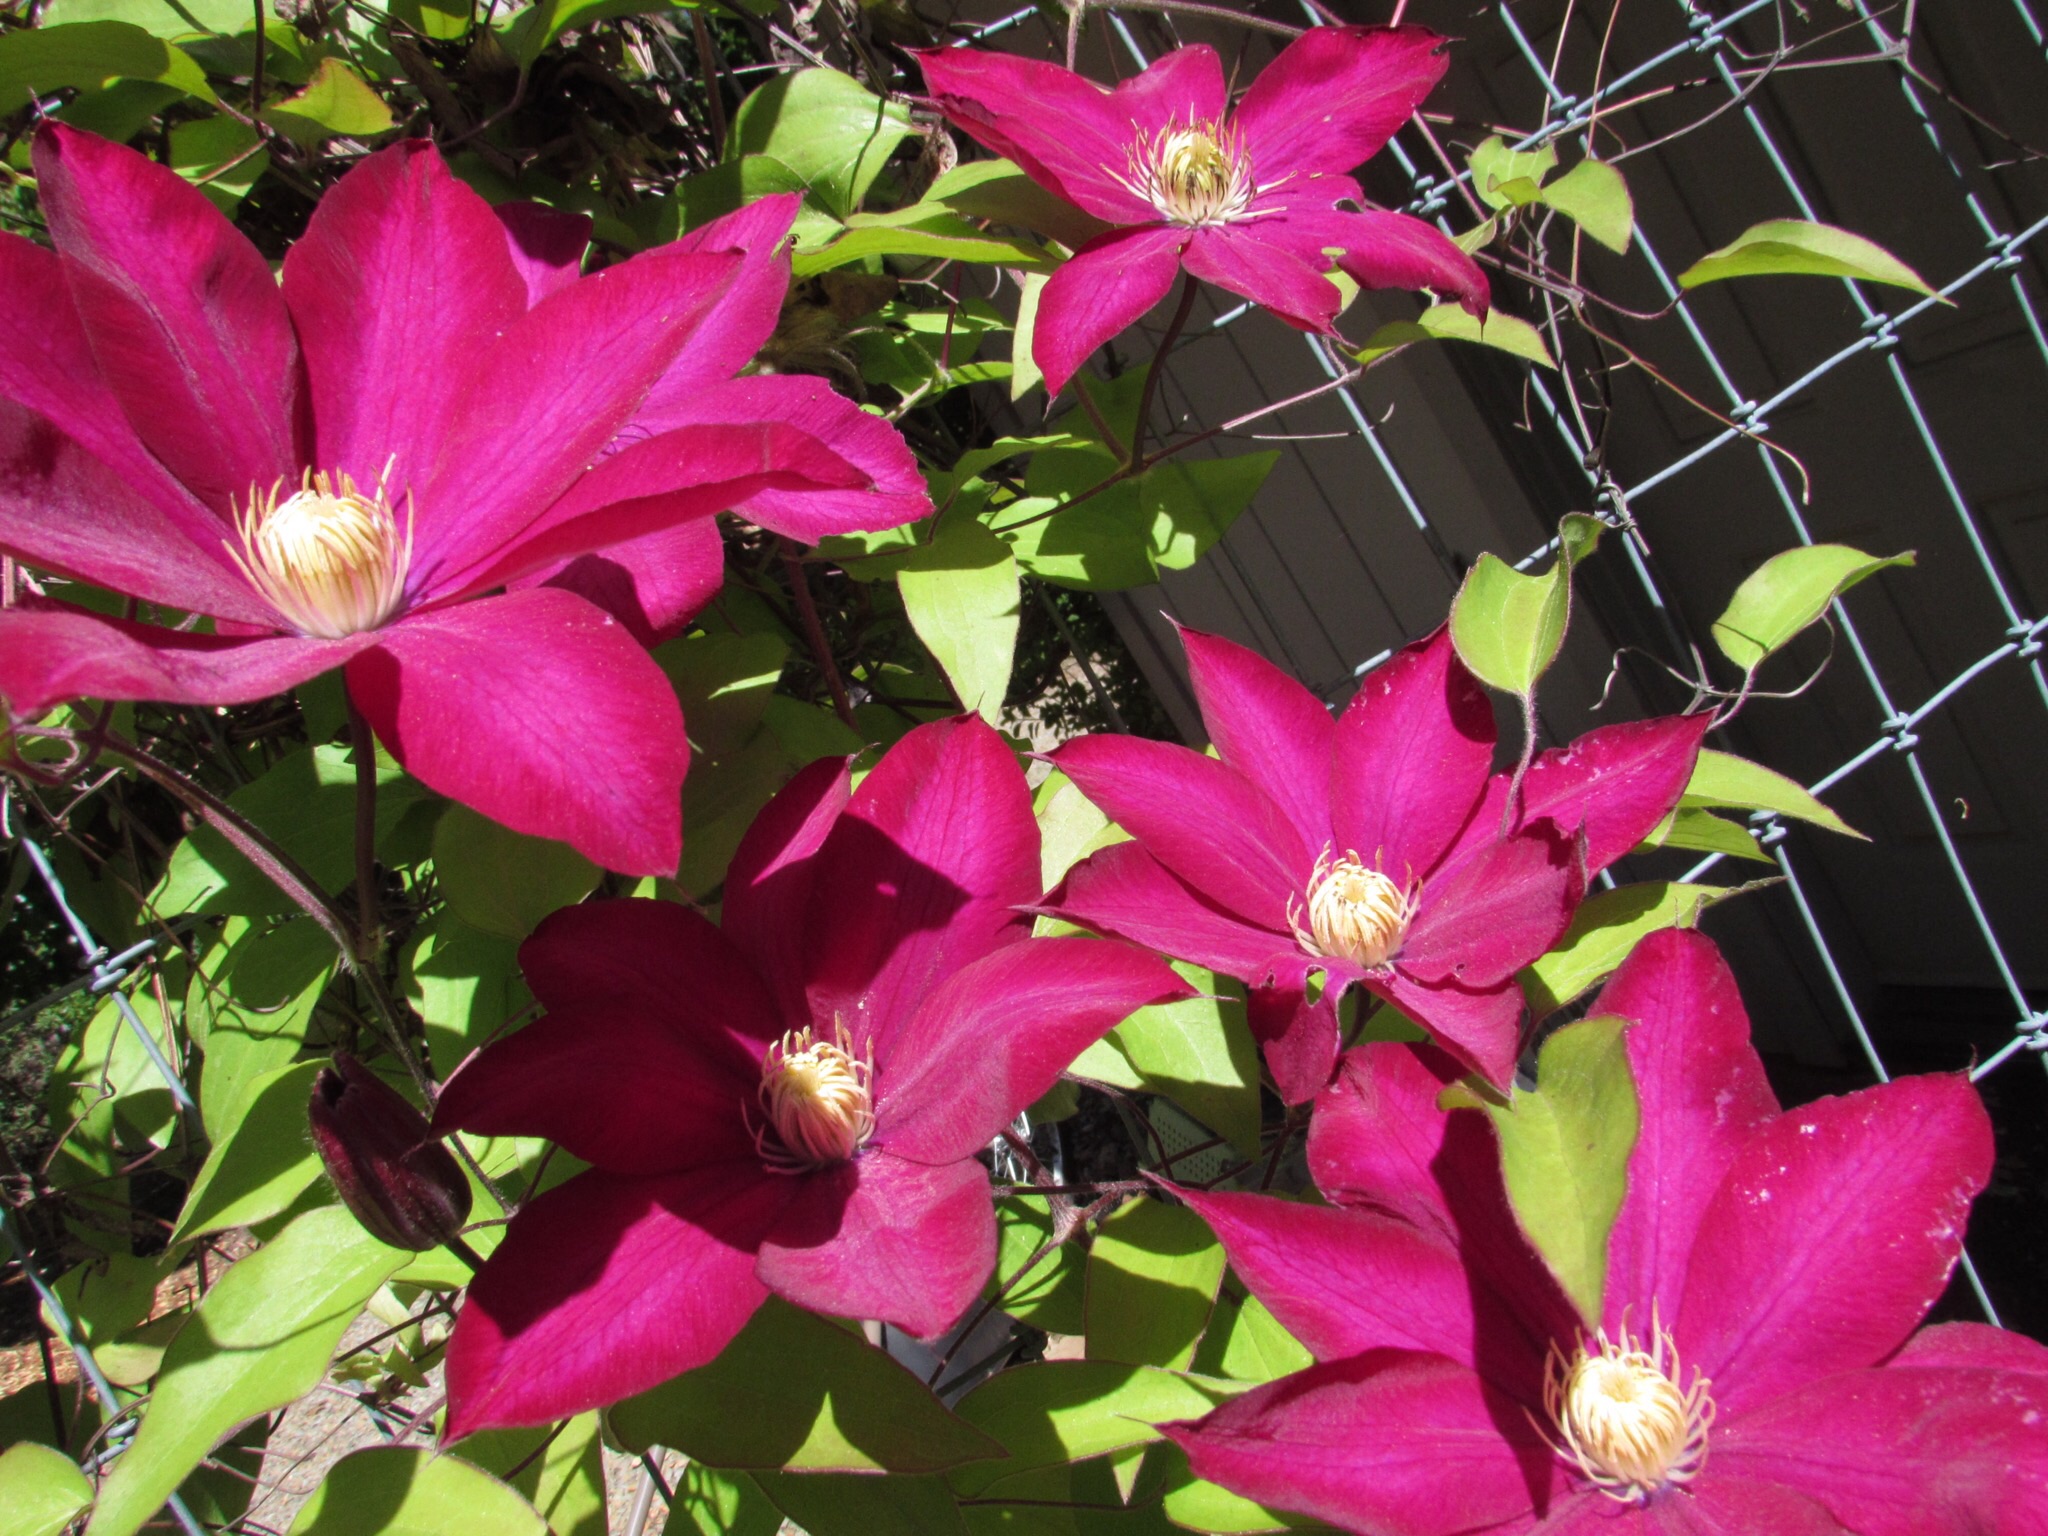
Just for your enjoyment – spring is here!  A few pictures of what is happening in my garden this week.

The clematis are fully blooming.

image

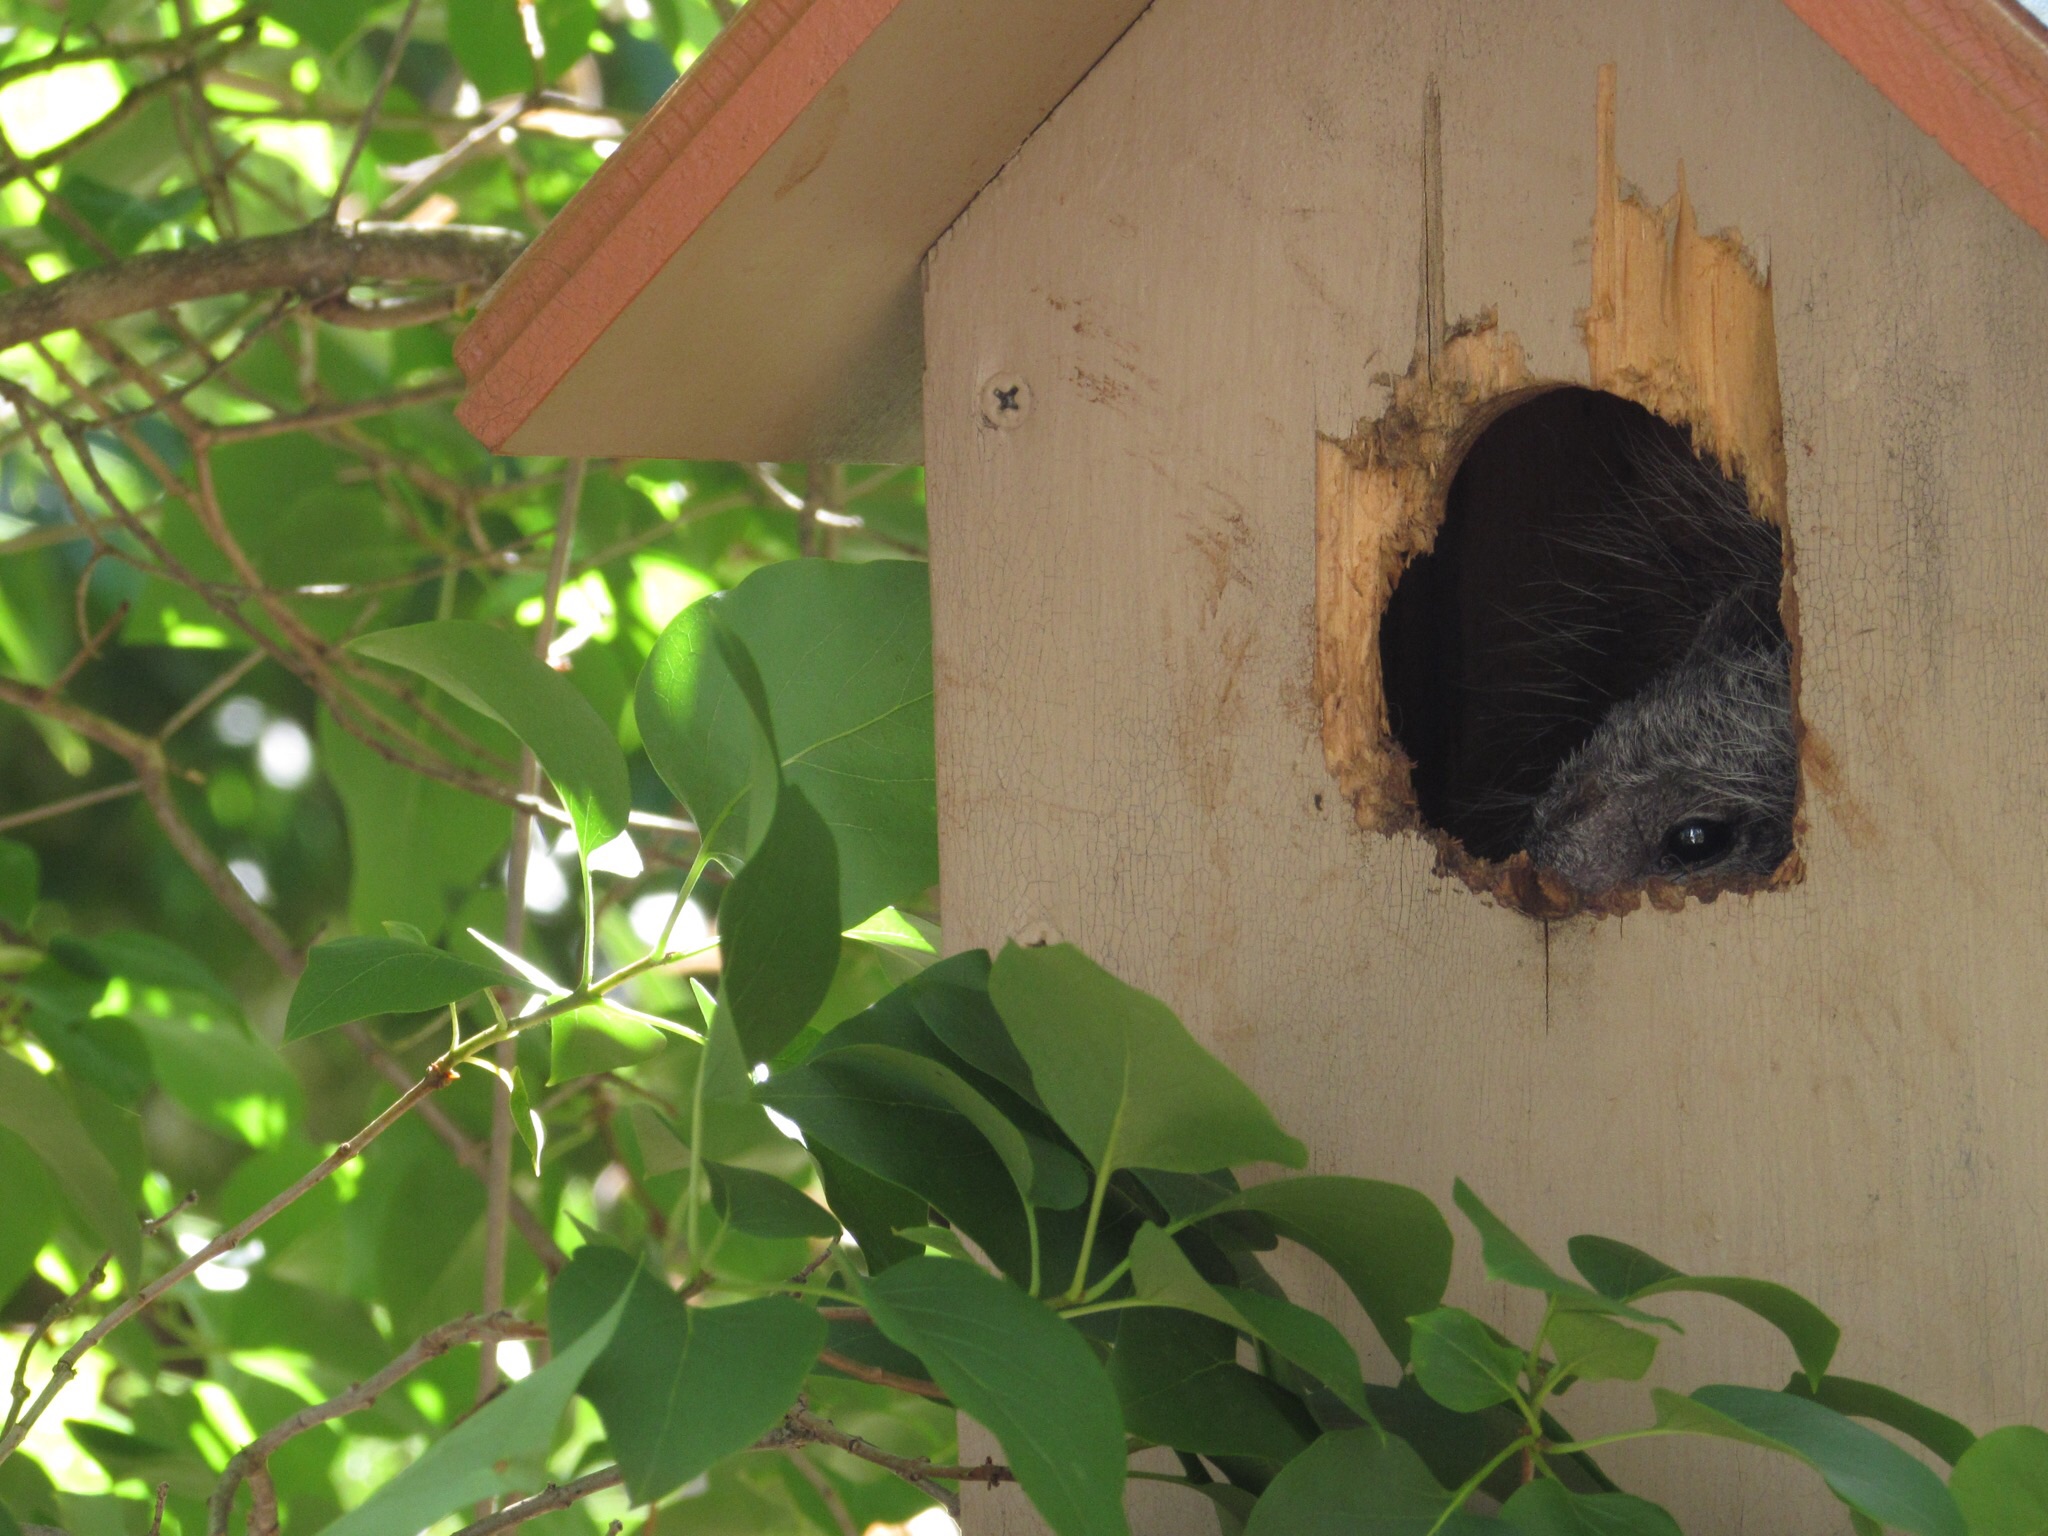
This squirrel decided to hide out in a birdhouse. Last year some sort of critter chewed the opening to enlarge it on two of our birdhouses. I actually made (with help!) this birdhouse one afternoon in Ray’s shop. He was giving me a woodworking lesson which was a lot of fun.

image
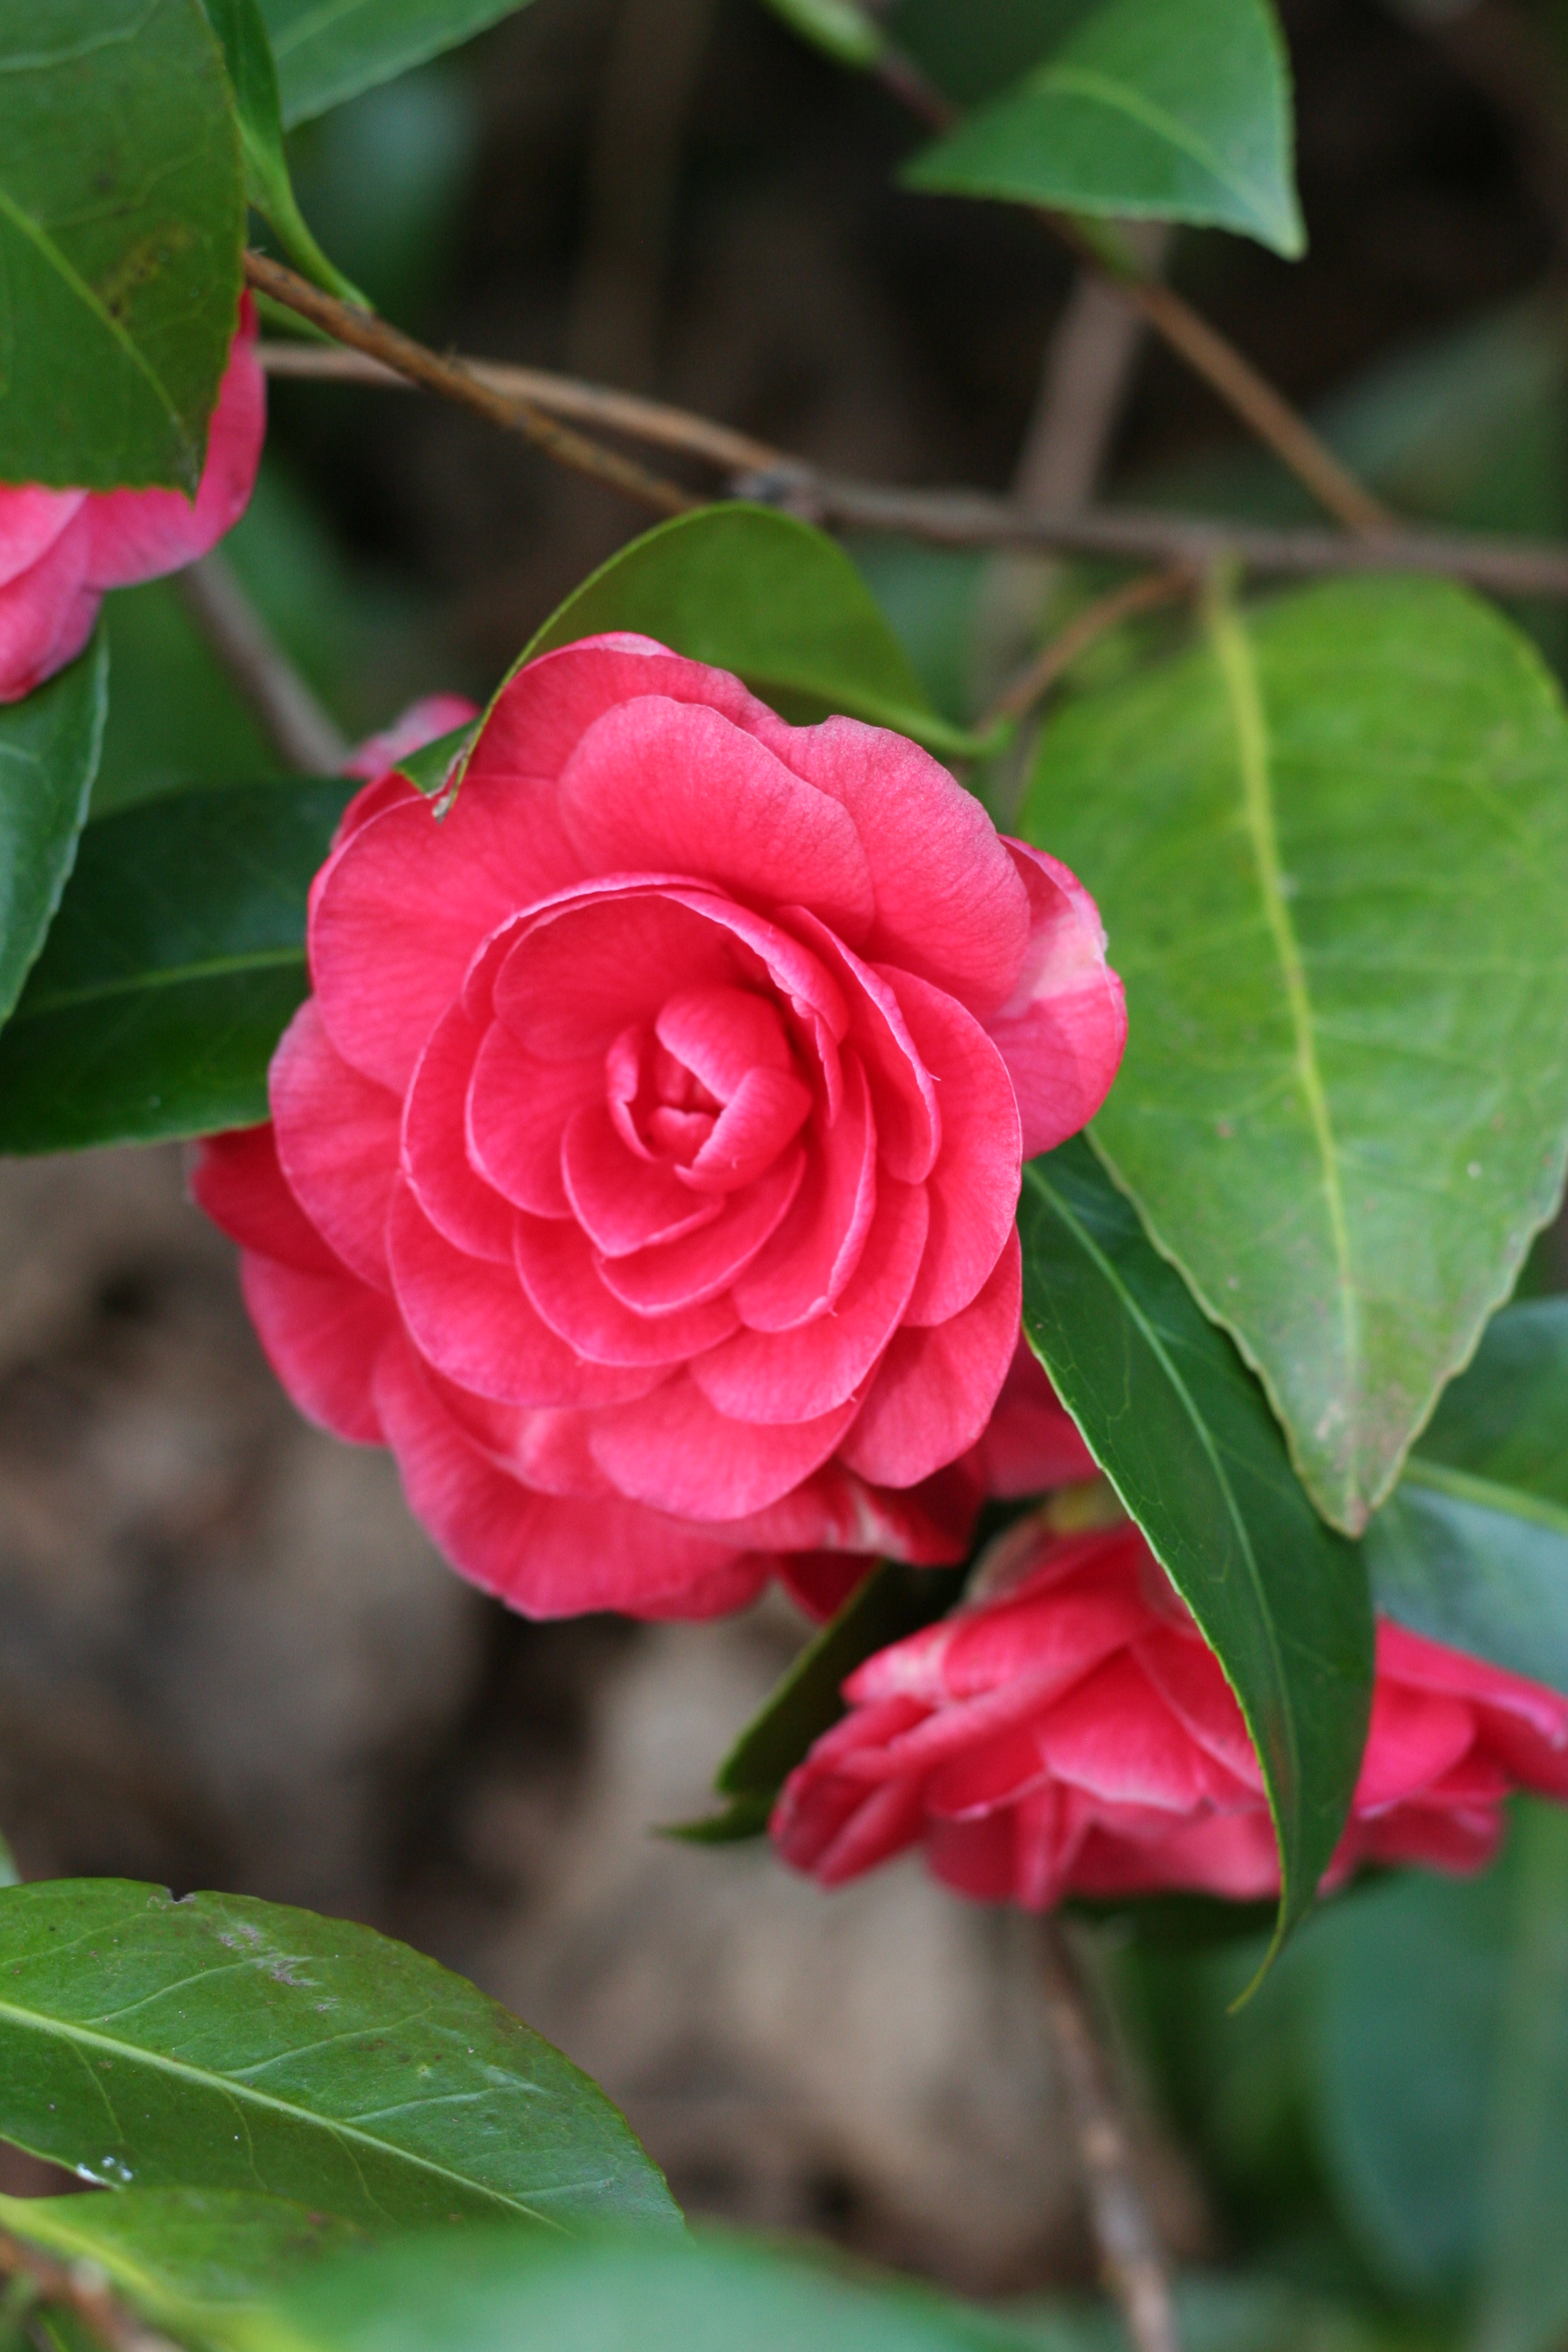
Roses are all starting to bloom.  They will be spectacular in a week or so.

img_20160415_4861

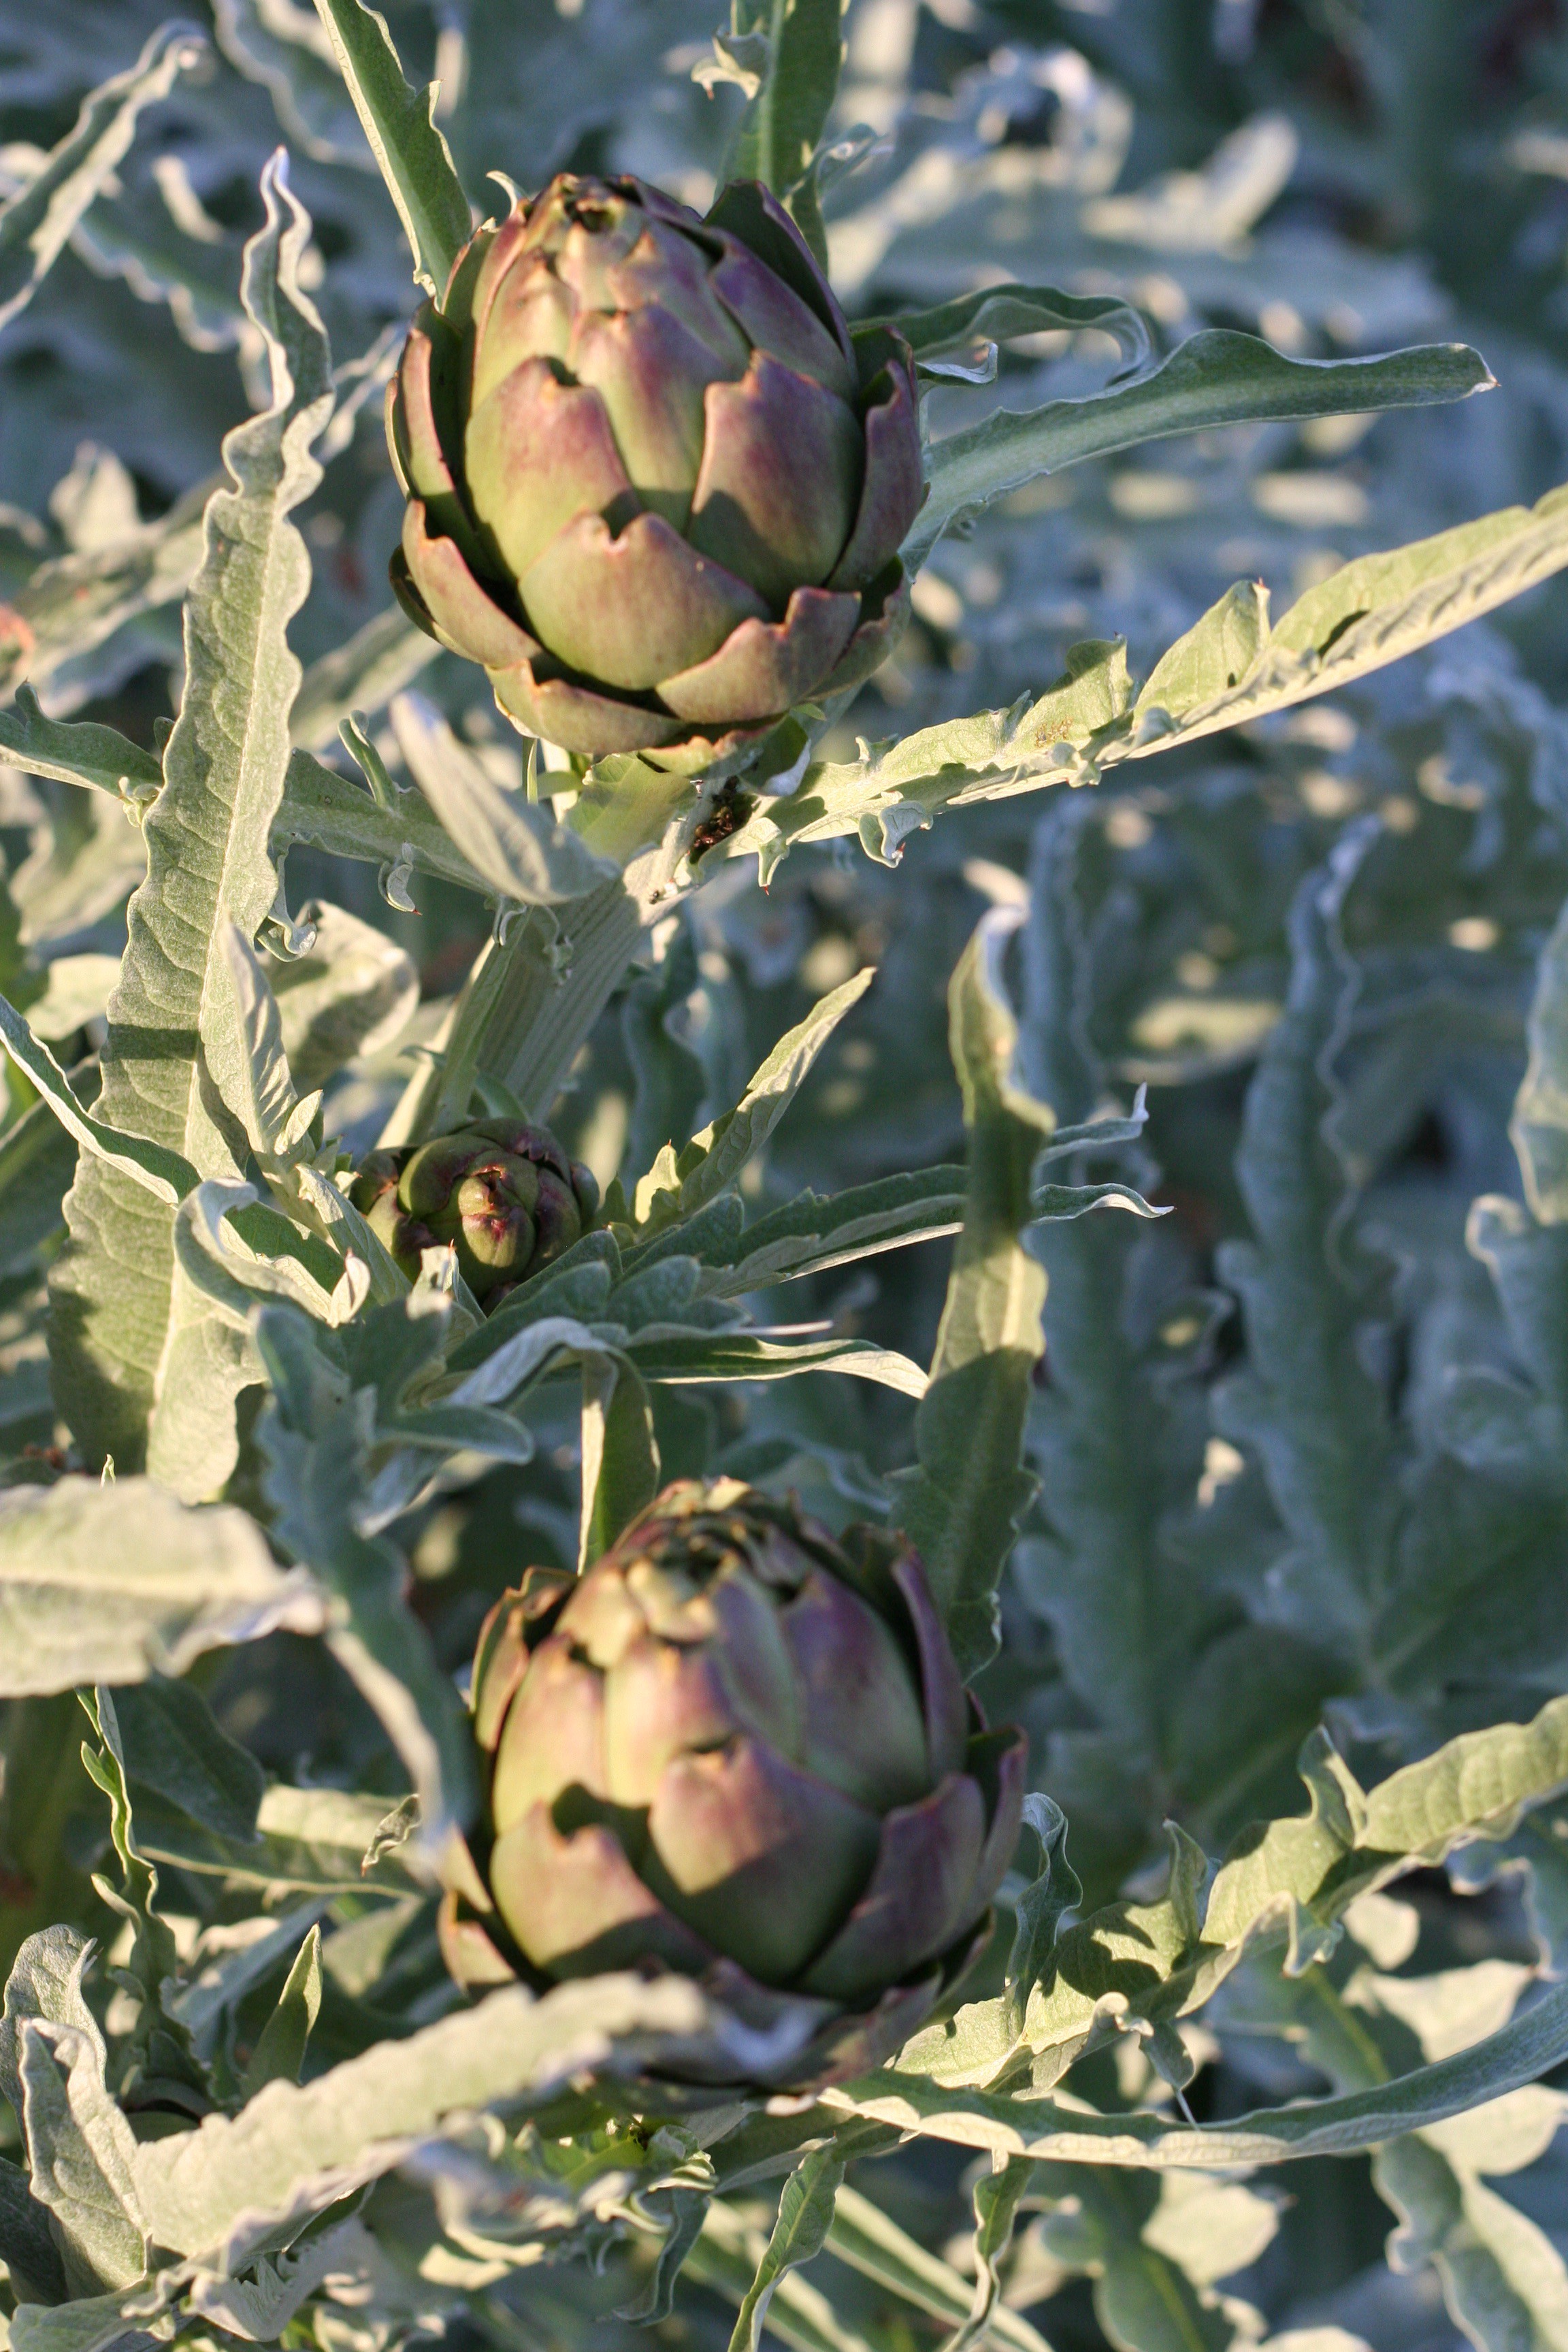
Artichokes are growing! This plant is fairly prolific. We will probably yield a dozen artichokes from it.  Ray has all sorts of lettuce growing and we should be picking some by the weekend.

img_20160415_4856

Hope all of you get a nice mix of outside time (weather permitting in your area) and sewing time!

Linking up (for the first time) with To Do Tuesday at Stitch All the Things.


Spring Veggies

I have been looking at the weather on the East coast and reading about snow and freezing temperatures this first week of April. Yuk. We lived in Pennsylvania for a couple of years in the early 1990’s. While I did love living in State College, I remember those winters felt really long.  One year my mother ordered an arrangement of blooming daffodils because she knew I was green with envy that she was having spring in Northern California while I was still dealing with snow.

Now that our temps are warm, my husband has our spring veggies planted. He put in lettuce, kale, broccoli, chard, and seeds for green beans, snow peas and carrots. All of these can handle our nights which are still dipping down into the 40’s. I decided to share a quick idea with all of you, but especially those of you who aren’t yet able to be outside digging in the dirt and planting veggies. Have you grown sprouts before? I love fresh sprouts in salads and sandwiches and have them growing regularly in my kitchen. It is especially nice in the winter months when I can’t grow anything outside.

This is all you’ll need:IMG_0822

  • One bag of Mumm’s Sprouting Seeds (they have various flavor combinations and one bag will last for a very long time!)
  • One quart size Mason jar
  • A scrap of netting or tule & an elastic band

To start a batch, place one tablespoon of seeds into the clean Mason jar. One tablespoon will fill the jar once they all sprout.

IMG_0824

I keep the extra seeds in the freezer. They will keep indefinitely if frozen.  Put cool water in the jar to cover the seeds by an inch or two.

IMG_0826.Cover the jar with the tule and secure it with an elastic band. Let the seeds soak in the water for about 4-6 hours. After the time has passed, drain off the water. Set the (inverted) drained jar of wet seeds in a bowl.

IMG_0850

Leave the seeds like this. Rinse the seeds twice each day, morning and evening. To rinse them, add cool water to cover however much they have grown.

IMG_0849

Give a gentle swish and then drain off the water. These twice daily rinsings will keep the sprouting seeds moistened. (If a child is draining the seeds, have them hold the jar with two hands that are gripping the elastic band. That will help to ensure they don’t dump al the seeds out if they drain “vigorously”.) They can sit wherever you have a spot, but if they are in a window with a bit of sunshine, they will sprout faster. You’ll see they grow quite fast. With warmth and consistent rinsing, you’ll have a jar of sprouts within about five days.  If your house is cool, it may take a bit longer but they will grow.

IMG_0848

Because they are stored upside down, the sprouts will be peaking through the netting. Just give them a gentle shake before you rinse them to get them into the water. Soon your jar will be brimming with fresh sprouts.

image

At this point, gently pull them from the jar. It is likely they will be in a tight clump. Gently pull them apart so air can flow through them.

image

They will keep in the refrigerator, in a covered container, for about five days. The fresh sprouts seem to stay fresh longer than those I buy in the market. I think this is a fun project for children. There is enough change day by day to keep them interested. It is a wonderful experience for them to grow something on their own and this is completely doable for school age children.

If you have any questions, leave them in the comments. Hope you will give this a try and soon after you will be out in your yards enjoying spring!

Linking up, for the first time, to A Little Bird Told Me.

Winter into Spring

Earlier this week I was catching up on some of my favorite blogs. One of those is Frugal Little Bungalow.  Deb, the author of this blog, often posts about the simplest parts of life and she usually reminds me to slow down, stay in the moment and appreciate all that I am blessed with. A talented quilter, Deb often quilts her work by hand and her stitching is lovely.  A few days ago she wrote about the passage of the seasons and how often we spend our time looking toward the next season, instead of staying present and enjoying what the current season has to offer. How true. She finds herself enjoying winter and all it brings, rather than wishing for spring. Her exquisite photos illustrate her point beautifully. Take a peek at this post. You will be happy you spent a minute with Deb. I promise!

I find myself thinking winter is coming to an end far too quickly. I have enjoyed this winter season with all of the rain and snow we have received. I want more! We need more! Over the past couple of weeks, we have seen temps in the mid-70’s. My yard thinks spring is here. No, not yet!! It is unavoidable; with the sunny days we have had, everything is beginning to bloom.

IMG_0990

My camellia’s are putting on quite a show this week.

IMG_0979

The magnolia blossoms are just starting to open. These are likely the most dramatic blossoms in the yard.

IMG_0980

The peach tree is starting to bud.

IMG_0994

The almond tree is beginning to blossom. (Side note: In the seven years we have lived in this house, we have NEVER eaten an almond off this tree. This tree is apparently grown for the squirrels only. They do not share with us!)

IMG_0987

The critters know it is spring as well. Geese are everywhere.IMG_0974

The girls in the coop are laying eggs with serious intent and it won’t be long before they become broody and snap at me when I come to get the eggs. (I bring them grass clippings since they don’t have the freedom of foraging the property. We have far too many predators nearby, such as bobcats, hawks, foxes and coyotes.)

IMG_1006

I know that we will still have bits of winter. It is very common for our area to have this burst of spring and then have a cold snap in March and again in April. For the most part, spring is making itself known in these parts. As for me, I am trying to hang on to winter for just a while longer.


Gorgeous Grays

Yikes. I think it has been a week since I wrote a post. My routine got all turned around and all of a sudden a week passed by. (Were you sitting and waiting anxiously for another amazing read on Needle and Foot? My apologies for the wait!)

As things often do, one project led right into another. I have been making blocks for the eighth row of the Classic Stitches BOM (led by Mari over at Academic Quilter). The color for this month is either indigo blue or gray. I went with gray. We have already done two rows in shades of blue and I didn’t want to add a third. I am loving this gray row. For August, Mari wrote a tutorial for a quick block called “True Blue”. She explained that it was a block which dated back to the Civil War years (on the Union side, hence the name True Blue.) It is a really simple block utlizing four patch squares and HST’s. I chose to make the blocks in the 7 1/2″ size. This is the second row of 7 1/2″ blocks for the quilt, the rest are 6″ blocks.

I don’t know how everyone else does it but I am sort of ADD when I am making blocks. I cut for a while, piece a whole block, cut some more, piece a few more. It is really inefficient and makes me crazy. I end up cutting more than I need of one fabric and not enough of another. (I know, It is so silly. I highly doubt that my methodology is taught in any of the billions of quilting books out there, due to the inefficiency of it.) I vowed to make a change with this project! For these eight blocks, I cut the pieces for all of the blocks, stacking them in nice orderly piles. Then I made the four patch blocks. (I used strip piecing, sewing long strips and sub-cutting them into pairs, which were then joined into four patch blocks.) Next came the HST’s. Doing it in this amazingly organized manner, I had my HST’s all prepared. It was so much better – the best part of piecing is putting the actual block together, right? Once all of the tedium was done, those blocks went together in  a snap. It was much better than my usual “a little of this, a little of that” method.

Plus, when I had that stack of HST’s, I started playing with them. I spent some time laying them out in different patterns, which is pretty fun with HST’s. (It’s kind of like playing with Tangrams.) I found a design that I really liked and decided that is what I would use for my New Blogger Block Hop project. (Remember, I posted last week about having to make a block with a tutorial for the project sponsored by Fabri-Quilt?) This made me so happy. I have been playing with fabric and mocking up blocks (a version of a Herringbone block and a version of a Plus block, neither of which I liked.) Seeing this simple little pattern (which, as far as I know, isn’t some really common pattern?) was the perfect inspiration.

Back to the row of True Blue blocks. Take a look. Here they are before sewing them into the row. I enjoy playing with them and getting an idea of how the blocks would look as a quilt of their own. These blocks are fairly busy. I don’t think I would do a whole quilt with only these. It makes my eyes go a little crazy. 😉

IMG_20150810_3664


And now a row of True Blue blocks (that are gray instead of blue!)  The pasture behind the blocks is looking a might dry, right?

IMG_20150810_3666

I hung a few of the other rows with this newest member of the family. They all look great together.

IMG_20150810_3667


It is amazing that eight rows of this project are complete. Summer is ending, fall is on its way.  This is very apparent in our garden these days. The squirrels are making a huge mess each day, eating the pinecones and dropping the pieces all over the deck. The apples on our tree are growing and it looks like, for the first time, we will have apples. The tree is about three or four years old and hasn’t really produced any apples yet. These look great though.

IMG_20150808_3660

I have mentioned before that we didn’t put in a vegetable garden this year due to the drought in California. We had a volunteer plant come up though and Ray couldn’t resist watering it just a little. We were very negligent and only gave it a drink every now and then. The foilage looked like squash and it was in a bin where we had spaghetti squash last year. We figured that was what it would be. What a surprise to see these growing on it.

IMG_20150808_3658

In the next bin over, we had planted decorative gourds last year. They were so much fun and we had tons of them. Apparently there was some cross-pollination going on and we now have a plant bearing some weird combination of spaghetti squash and decorative gourd. They are hard, bumpy and dry, like a gourd, They have that cool coloring of a gourd, but the shape and larger size of the spaghetti squash.  We had so much fun trying to figure out what they would be. (Doesn’t take much to amuse us.) I am fairly sure they are not edible but they look pretty.

IMG_20150810_3670Finally, I leave you with this gorgeous picture of our front lawn in all of its droughty glory. (I know… I made that word up.) It is criminal to waste water on growing green grass so we are only giving it enough that it doesn’t totally die on us. This is the year though, right? Rain all winter long. (Please?)


Linking to a new linky party over at What a Hoot as well as Freemotion by the River, Let’s Bee Social, and Crazy Mom Quilts. Links to the last three sites are available at the top of the page, under Link Ups.


Lazy Sunday

Yesterday was a busy day so to balance that out, today is not! I am not a fan of jam packed weekends. This morning I was up early and spent quite a while in my sewing room cutting pieces. I cut everything I need for the May blocks for my RSC15 row quilt.  The color is dark green and I am hoping to piece those blocks (at least some of them) later today. I also cut the binding strips for the Alison Glass miniquilt that I am trying to finish up. I should easily get that binding taken care of as the quilt is only 24 x 24 inches. Then I cut the pieces for a cute little zippered pouch using the scraps from the AG mini. I will send that along to my swap partner with the quilt.

Yesterday was a little crazy. Julia had a science/math competition that she took part in. She did well, placing 7th (they did a 1st, 2nd, 3rd and 4 ‘honorable mentions’)  She was happy to place within the honorable mentions.  The test was really difficult.  After that we spent the afternoon at a picnic for the incoming freshman at her new high school. She had a great time meeting her new classmates.

We got home at about 4:00 and I was wandering around the garden, letting the dog run around a bit since she was cooped up all day. So many things are blooming right now. My garden is definitely a spring garden. It really peaks in May. Looking at the peonies and iris, I nearly tripped over this huge snake. It startled the heck out of me. Because of it’s color and the pattern down the length of it, I immediately looked to its tail to be sure it wasn’t a rattler. We have quite a few snakes around here and a somewhat large number of rattlesnakes. (The mascot for Julia’s middle school is the “Rattlers” if that gives you any indication.) The garter snake on my grass was a good four feet long. While snakes don’t scare me too much, it is somewhat disturbing to nearly step on one. I went to get my phone from the car (we’d just gotten home) to text a picture to Ray but by the time I returned the snake was gone.

Deciding it was time to go inside, I called Lady (our dog) to come in. She came bounding over to me and had the head of a rabbit hanging from her mouth. Snakes I can handle, dead animals – not so much.The sight of this made me gag. Honestly, I just didn’t know what to do about it. I yelled for her to drop it and she looks at me like, ‘are you kidding?’ She ran to her crate in the garage and put her treasure in the crate. Yuk. To be honest, living on acreage, we have our share of dead animal tasks to deal with.  But that is Ray’s job. I want no part of it. Unfortunately, Ray was up at the house in Downieville. I texted my advisory board, aka my sister’s, for their advice and hmmm…. surprisingly, it wasn’t all that helpful.  A lot of ewww, gross, and call the neighbor for help. Gagging all the while I managed to deal with the yuk in La dy’scrate. But the visual of my dog’s trophy piece stuck in my head for a long while (it’s still bouncing around in there, if you must know). I went inside and had a glass of wine which is unusual for me (hypoglycemia = no alcohol).  Julia was teasing me; dealing with the horrorific experience with alcohol Mom?  Eighth graders think they are so wise.

Enough of that nastiness, I need to move on, get over it, clear my mind!  Let’s talk about quilt shows and silent auctions instead.  That topic is much more pleasing.  Two weeks ago was our guild’s local quilt show and I worked at the silent auction table. We had so many wonderful donations and I bid on quite a few. I wasn’t there at the end of the day to actively try to outbid people on the items I wanted but I did manage to win two items.

Below is a stitchery of bamboo done on dark green batik. Green is my favorite color and I have quite a bit of it in my home. I love the simplicity of this piece. It is hanging in the dining room.

IMG_20150517_3316The other piece that I took home is a whole cloth mini quilt. It was made by a friend of mine and I love it. She did a lovely job with the quilting. The fabric has a wonderful shimmer to it. I use a lot of lavender in one of our bathrooms and plan to hang it in there. I need to put a sleeve on it first though.

IMG_20150517_3318When I was working the silent auction table it surprised me how little activity there was. I think it wasn’t in the best place as far as traffic goes. Also, I noticed that most of the activity came at the end of the day when people would actively try to win items and out bid other people. It seems like there must be a way to encourage more activity during the day. I would really appreciate hearing how other guilds handle the silent auction at a show. Would it work to have the bidding for certain items end mid-day rather than at the end? Seems like that might encourage that active bidding process to happen at different points throughout the day. Plus people that don’t stay at the show all day long could have the fun of trying to win items before they left. Thoughts?  Please leave me some hints on this in the comments section.


The Week’s Progress

This has been a good week for sewing. I made progress toward my April goals for ALYOF. Which is a good thing, considering April will be over before you know it. The speed with which time passes seems to increase frighteningly each month.  Anyway, it is April 23rd and I am over 3/4 of the way there. My goal was to make two table runners and either a wall hanging or runner. I wanted to complete three smaller projects this month. I finished the chevron table runner which I posted about last week.

This week I completed the second table runner. The process I used was new for me and was inspired by the way that Victoria Gertenbach at The Silly BooDilly works. I started reading her blog and looking at her style over the past couple of months. She is a modern quilter with a gorgeous sense of line and color. She quilts and does a lot of other work in fiber and paper art. I strongly suggest you take a look at her site as her work is lovely.  One of the tutorials she wrote was about pattern-less design.  She has developed a way of cutting a piece of fabric and then adding sections to it, thus creating her piece. I love the idea. While I didn’t actually follow her tutorial with this project (because it didn’t work with the fabric I had on-hand) I was surely inspired by her process .

About a year ago, I purchased a scrap bag from an on-line fabric shop. Sorry, I am not positive but I belive it was Alaska Quilting Adventures.  I ended up with loads of strips, probably end cuts from the bolts as she was creating bundles of precuts.  First I cleaned up the strips so they were (relatively) straight, though I did not cut them exactly the same width. Next, I sewed a set of them together to make a long rectangle of fabric. I cut that into three sections. I then played with more of the strips, creating blocks to add between the sections. Kind of hard to describe, but it was a very simple process. As I have mentioned before, I usually sew from a pattern or tend to copy other’s ideas for inspiration. This was very freeing. I want to try this again with a Kaffe Fassett jelly roll of shot cottons that I have. Here is the resulting table runner.

runnerThe colors are soft and soothing.  I had fun creating the block in the center which has a bit of extra detail in the piecing.

table runner detailWhen I was ready to quilt it I decided to use something with curved lines to offset the straight lines of the piecing. I chose the Baptist Fan pattern. I had not done this before so I drew it on newspaper with a sharpie until it was comfortable and then sewed a few fans on a practice piece. It is really a simple shape to FMQ. I didn’t trace it on the runner before quilting. If I had, I am sure my lines would have less wobble.

image3 (3)

It is backed and bound with the same fabric. Not sure what it was but it used up some of my stash which is always a good thing. Overall, I am happy with the result and it was a huge learning experience, both in piecing and quilting. Yay!

The third April project I worked on is for my first mini-swap. This swap features fabrics by Allison Glass. I was really getting nervous about this project, doubting my abilities till I was just about stuck. I decided to start cutting fabric last weekend and just dive in. I chose the Fireworks pattern by Canoe Ridge Creations. She does a lot of mini quilt pattern design and I have several of her patterns. They are easy to use and her instructions are great. I have the blocks done and need to stitch them together. It should finish out at 24″ x 24″. The swap isn’t due to be mailed out until early June so I am way ahead of schedule. May is going to be a busy month so I’m glad to check this one off. (By the way, for those of you who have done swaps, do you usually put anything on the back for hanging, or is that up to the recipient to do that?  Please leave a comment if you have experience here! I appreciate it. )

agmini

The colors aren’t showing correctly due to the poor lighting but I am happy with it. The blue in the third section out is much more vibrant than shows here. I really need better light in my sewing room. When this is finished I will take a picture outside. I am hoping to sew the blocks together later today and get it quilted next week. Of course, that leads to the perpetual questions, how do I want to quilt this? Most likely I will straight line quilt it with a narrow spacing.

First though I have a garden swap to go to this afternoon. I joined a gardening group and we are exchanging plants from our gardens. About six weeks ago, I potted starts from my Shasta Daisies, Oregano, and Chives.

IMG_20150423_3148

It will be fun to give these to the group and bring home something different. Hoping for plants that don’t require much in the way of water!

Linking to Let’s Bee Social, Needle and Thread Thursday and  Crazy Mom Quilts. Links to these wonderful sites are at the top of the page, under Link Ups.


Loving Spring

Hi Everyone.  Hope that your week was good – the weekend is nearly here!  We had a bit of a crazy week here. It started with a storm which was welcomed by all. Easter was rainy and cold. Then on Tuesday we actually got snow. Such extreme changes; we went from 75 degree afternoons to snow! It was a treat though as we haven’t had any snow this year. It melted off by the next morning and we are already back in the 60’s. Just a crazy spring storm.

We are still dealing with a horrible drought though and because of this, my husband and I decided to forgo our usual vegetable garden this year. It doesn’t make sense to use so much water in that way. I will also skip planting annuals and will not be planting any summer flowers in my deck pots. We are really in conservation mode here. We have three acres and much of it is grass so come summer, we will let some of it die back. Normally we irrigate a great deal of it but this year we will have some brown patches. It will grow back the following year. Hoping next year brings a monsoon our way.

Our garden is definitely pushing blossoms everywhere. The clematis is gorgeous.

imageRoses are blooming.
image

Artichokes will be picked soon.

imagePeaches are already the size of small almonds. I do love spring!

image

I worked on a few fun projects this week. I finished the vintage linen pillow that I was hand quilting last week. It is so cute.  My stitches certainly leave room for improvement but I loved doing the hand work. I will definitely continue to practice. I used Aurifil because I really wasn’t entirely sure what I should be using and I didn’t want it to stand out too much since it was my first attempt at hand quilting. Next go around, I will try something with more heft; maybe a Perle cotton?  Suggestions welcome here!

image

It is certainly harder than it looks! Tricky to quilt tiny stitches of a consistent length.  Overall, I am pleased with my first attempt and it will be a good reminder of where I began.

imageThe pair of pillows work well together.

image


I also made one of the tablerunners this on my ALOYF goal for this month. I used two Joel Dewberry prints that I won a while back. It is a basic chevron with a tiny pop of turquoise bordering it. I am quilting it with straight lines on the chevron and pebbling on the white triangles. Hopefully I can get that finished and bound this weekend. (This picture was taken inside, in the evening, which never makes for a great shot.)


IMG_20150409_3040That’s it for this week! I know I skipped writing a gratitude post this week, but if I were to choose something I am especially grateful for, it would be the storm we had. It may not have fixed our situation, but it sure didn’t hurt!

By the way, if you are an Instagram fan, have you been enjoying the “twenty things about me” posts that are going through the quilting population? I love them. I have read so many fun things about some of the quilters I admire. It has been fun to follow these posts!  Wishing everyone a wonderful weekend.

Linking to my usual:  Let’s Bee Social, Crazy Mom Quilts, and Confessions of a Fabric Addict. Also linking to TGIFF which is hosted by Lorna this week (at Sew Fresh Quilts.) All of these links are located at the top of the page, under Link Ups.