Author Archives: Bernie

A Bonus Finish!

I spent yesterday afternoon playing in the sewing room. I had plenty of other things that I should have been working on.  Namely, putting away the fall decorations and cleaning up so we can put up our Christmas tree this weekend. There is too much mess around here to create the mess that happens when we decorate the tree.  But I just didn’t feel like it. Instead, I really wanted to play with the 16 bonus HST’s that resulted from the Swoon block mini that I made a couple of weeks ago.

The Swoon block is based on rectangles, HST’s and Flying Geese blocks. The best thing about Flying Geese blocks is the pile of ‘bonus’ HST’s that accumulate when you trim the corners on the block. If you aren’t familiar with this happy little prize, allow me to explain. Briefly, when the blocks are sewn to the upper right corner of the rectangle, creating the Flying Geese block, there is a corner that is cut off. If you take an extra second to sew a second seam, 1/2″ to the right of the first seam, you have the opportunity to have a ready made (albeit untrimmed) HST. I admit, I am not very careful when I do this. My feeling is that these are just little scraps that I am giving a second chance to possibly be used in a future project. I don’t mark the second line, I don’t even measure it.  I just eyeball it and sew about 1/2″ from that first seam and slice it off.  When I had finished the Swoon mini, I took the pile of HST’s and pressed them open. I looked at the smallest one – They were all approximately 2.5″ – and I squared them to the size of the smallest block. Then I had a pile of uniform HST’s. (If you can’t go with my very casual method or if you don’t understand what I am talking about, Bonnie Hunter has a nice tutorial on making the extra HST’s in a more precise manner. Take a look here.)

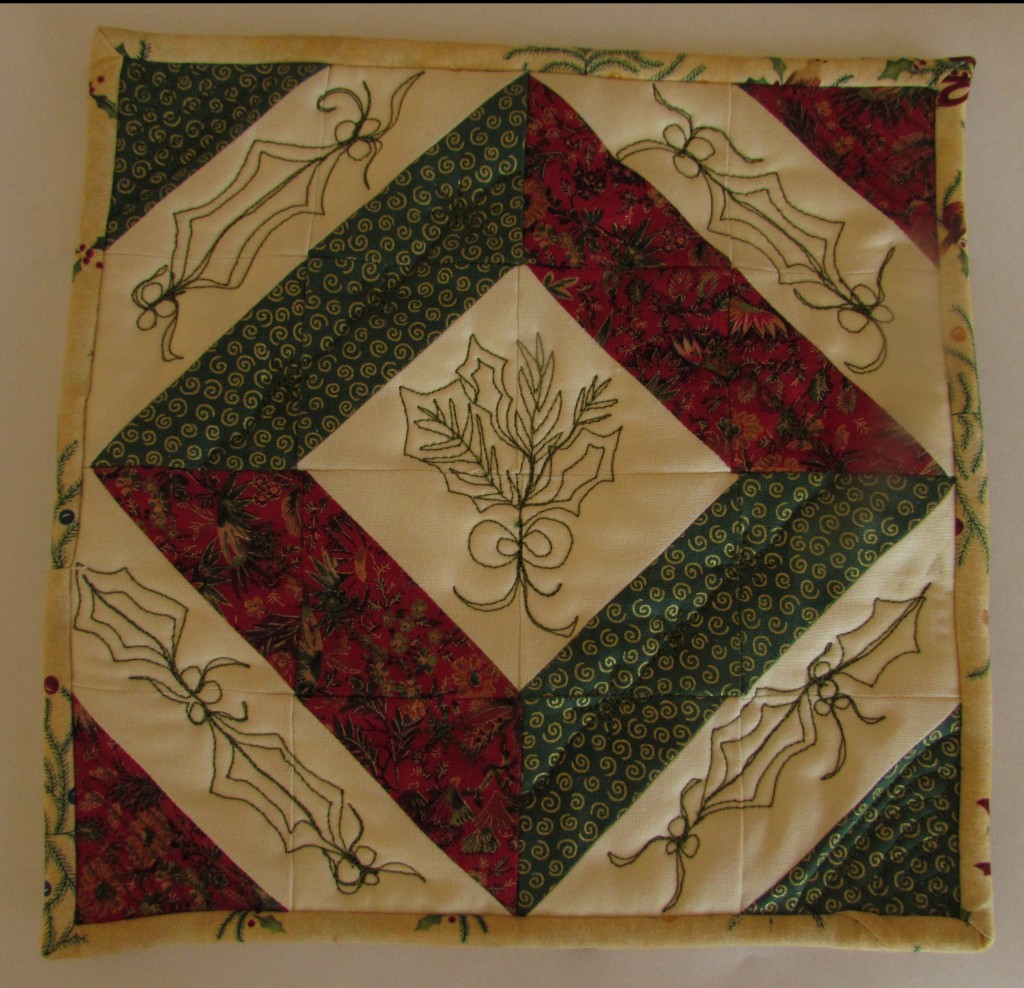
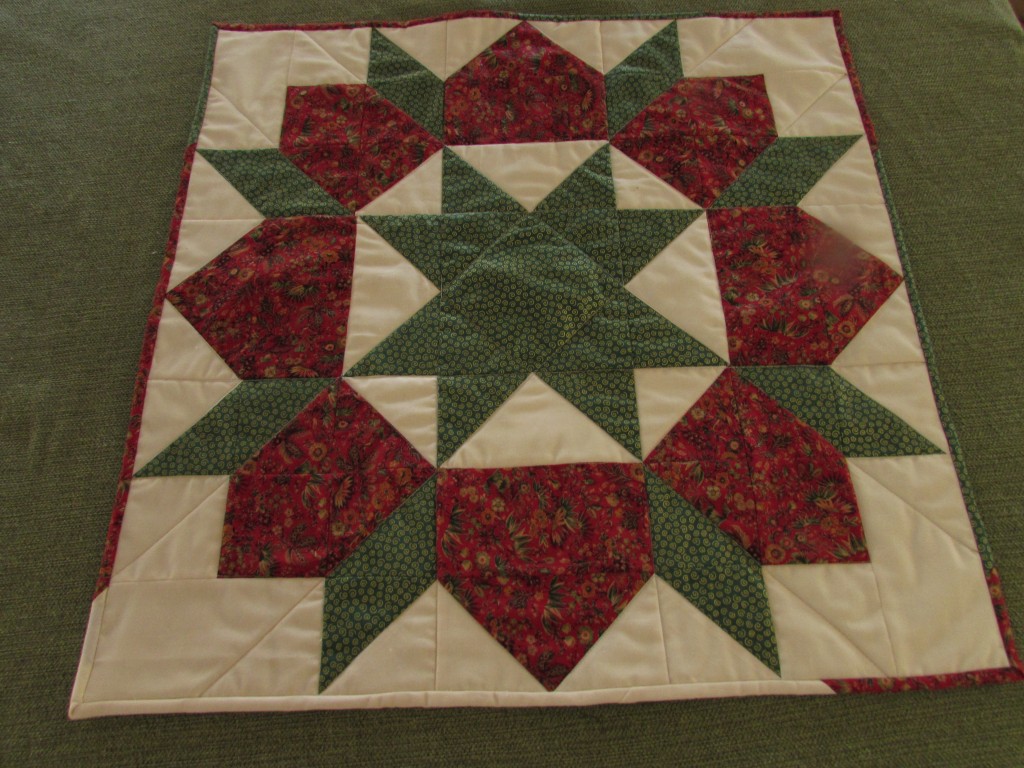
Look what I made yesterday. At 8 x 8″, it is a teeny tiny finish.

IMG_20151204_4234

I spent a bit of time playing with the HST’s, trying different layouts. It is a bit like playing Tangrams. There is no limit to the number of ways to position the blocks. I didn’t want to actually make anymore so I limited myself to use the 16 that I had – no more, no less.

IMG_20151204_4235

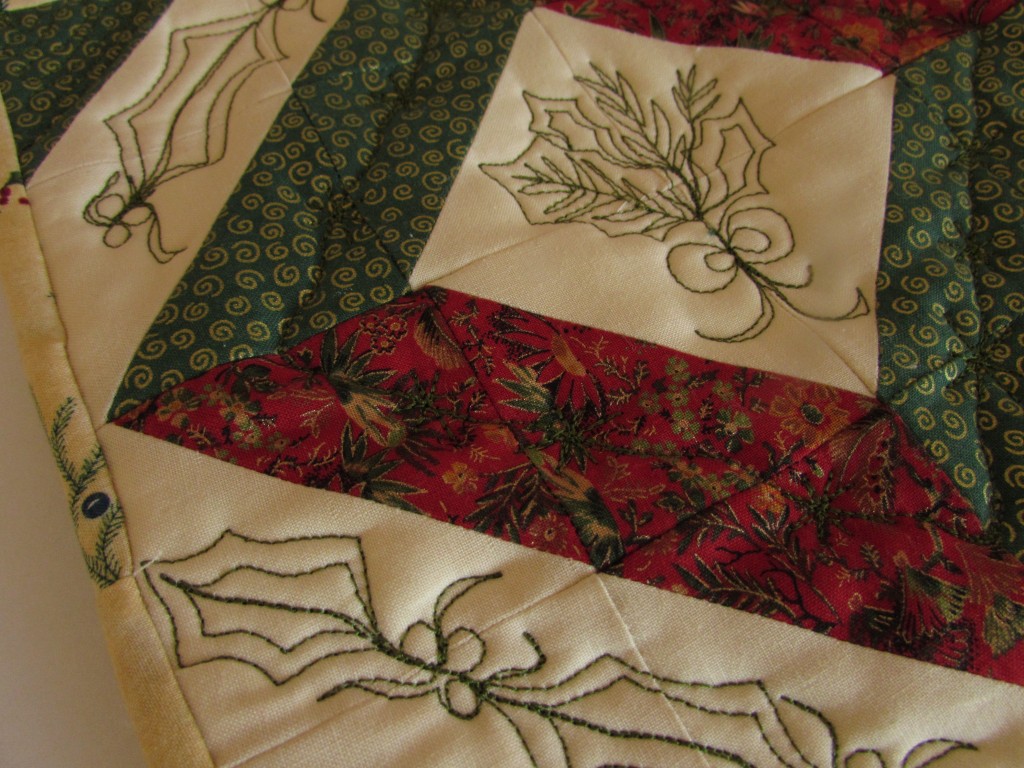
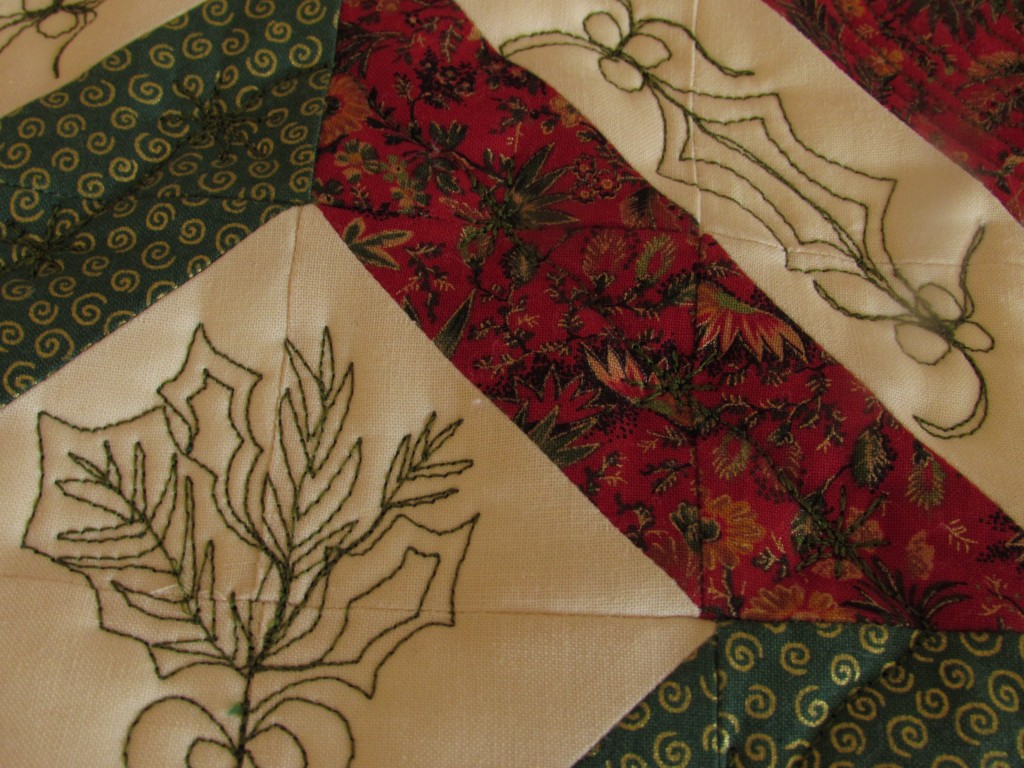
Once I had them sewn together, I decided to practice some FMQ with the little piece. Going to my usual sources, Pinterest, Leah Day, and Lori Kennedy, I found a holly motif that I liked. Here is the link to the tutorial on Lori’s site, The Inbox Jaunt.

IMG_20151204_4238

Two things made quilting this a challenge. One is that I used two layers Insul Bright batting scraps inside of this in case I wanted to use it as a hot pad or a trivet on my dining room table.  The Insul Bright was a bit annoying to quilt through, especially a double layer. Second, I decided to use Sulky thread on top and I put Mettler in the bobbin.  I love Sulky threads – so shiny and glossy. But also a bit slippery soI had to play with the tension to get it right.

Overall, the little hot pad is pretty cute. The FMQ is a bit rough. The bow at the bottom of the holly in the center is an eyesore but obviously not enough that I was willing to take the time to rip the stitches out. (It is a hot pad after all.) I haven’t practiced free motion quilting for a long while so it was fun to play with this. I am ever thankful to Lori’s site for the endless FMQ tutorials. I love that she has so many seasonal themes. It is very fun to play with them.

IMG_20151204_4236

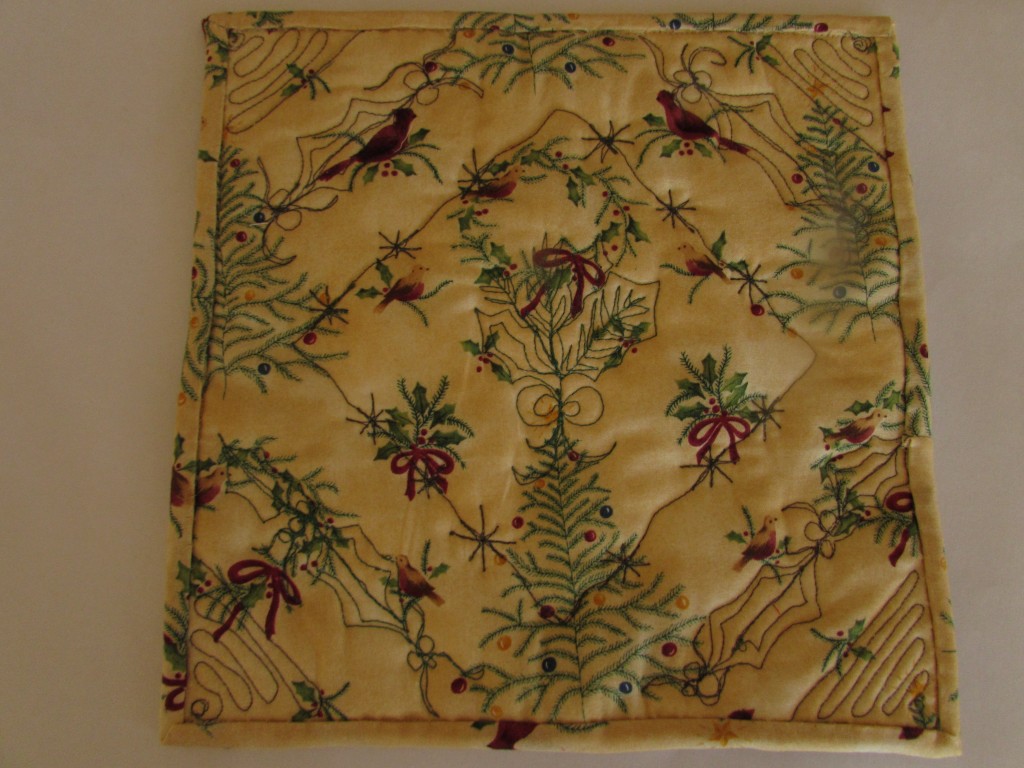
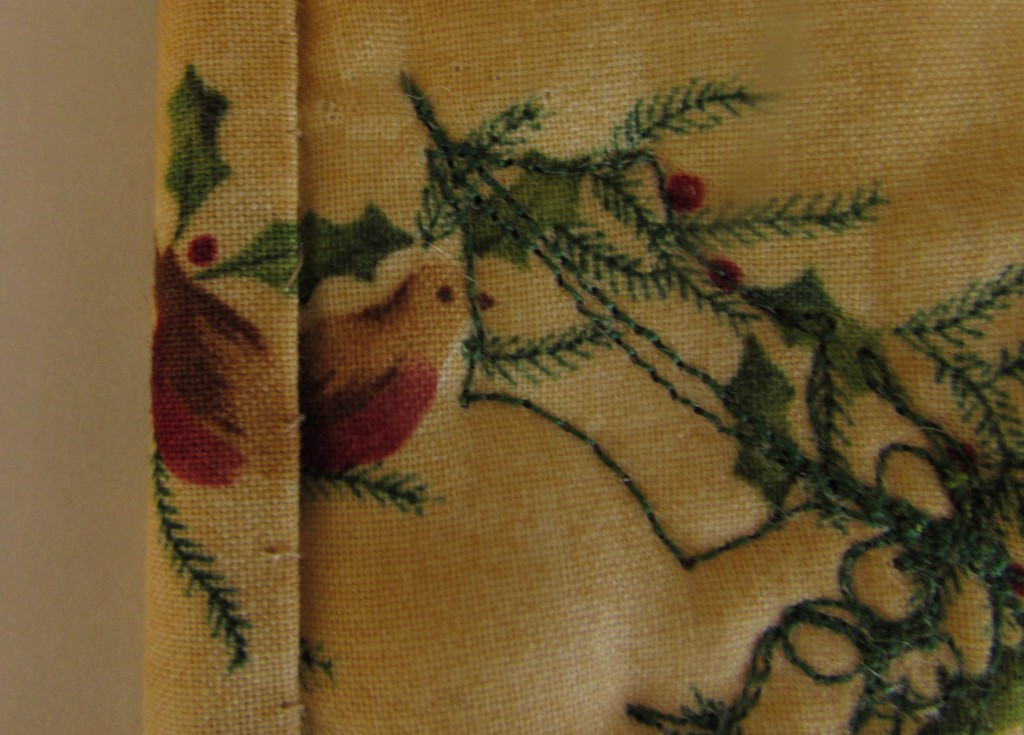
Finally, I wanted to point out something that took me by surprise. I used a scrap of holiday fabric for the back. After I was done and it was trimmed and ready for binding, I was digging through my scraps and found a few more pieces of the backing fabric to use as binding. There was barely enough. I had to cut narrow 2″ strips which were a trick to use – the quilt sandwich being extra thick from the Insul Bright. Anyway… come on Bernie and get to the point. As I stitched the binding down on the back, the folded binding matched up with the backing quite closely at one point.

IMG_20151204_4237

Isn’t that cute? The holly just about matched up, as did the little bird. Nothing earth shattering but it is a fun coincidence. (Doesn’t take much to amuse me!)  There you have it, my second finish this week!

Is your tree up (if you are a Christmas-tree-decorating person)? How about lights outside on the house? I am hoping Ray will put ours up this weekend. I think the outdoor lights are one of my favorite parts of the season and I leave them up as long as possible.

Linking to Amanda Jean at Crazy Mom Quilts and Lizzie at Free Motion Mavericks.

Swooning over this finish

A few weeks ago we had a quiet weekend – Ray was up working on our house in Downieville and Julia and I stayed home. I pulled out my pile of Christmas fabrics, trying to think of an easy project. I wanted something that would come together easily and could be made entirely from my stash. After spending some time looking at ideas that I have collected on Pinterest, I made my decision. I would make a mini that consisted of one large swoon block.

I have been drooling over pictures of quilts with swoon blocks and minis made from swoon blocks for a long while now. I am not sure what it is about them, but I love them. The pattern for the swoon block was developed by Camille Roskelly over at Thimble Blossoms.  She really started something when she created this pattern.  The pattern makes a quilt with nine swoon blocks that measure 24″ square. For this project, I decided to just make one block and use it as a mini.

IMG_20151129_4195

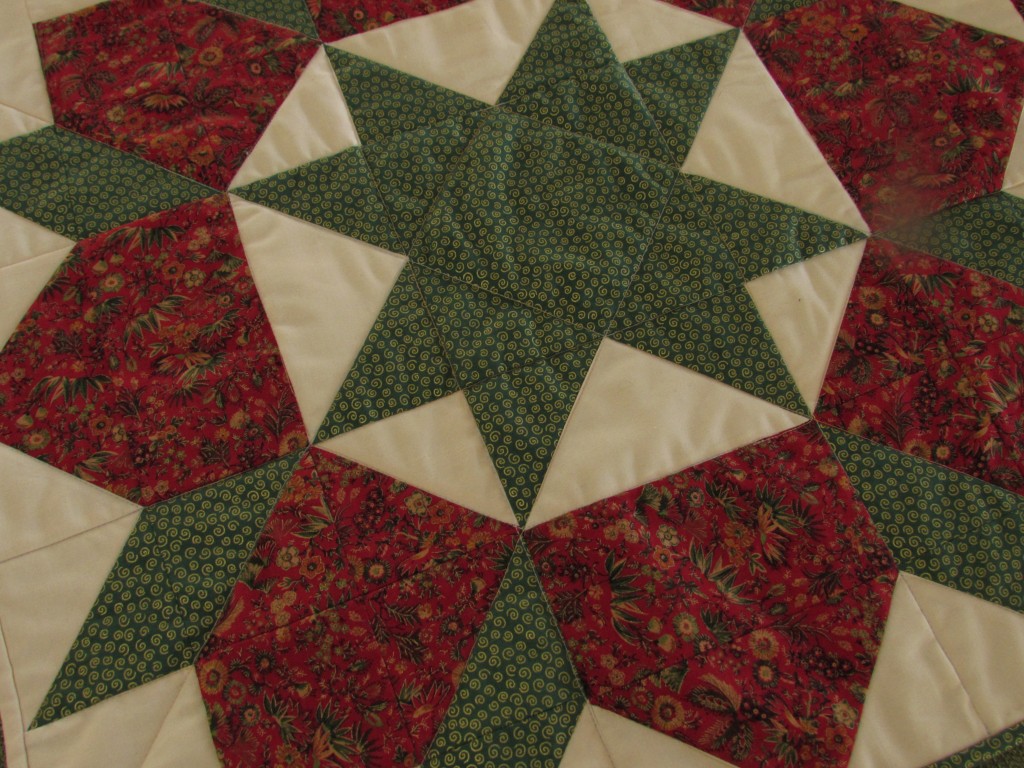
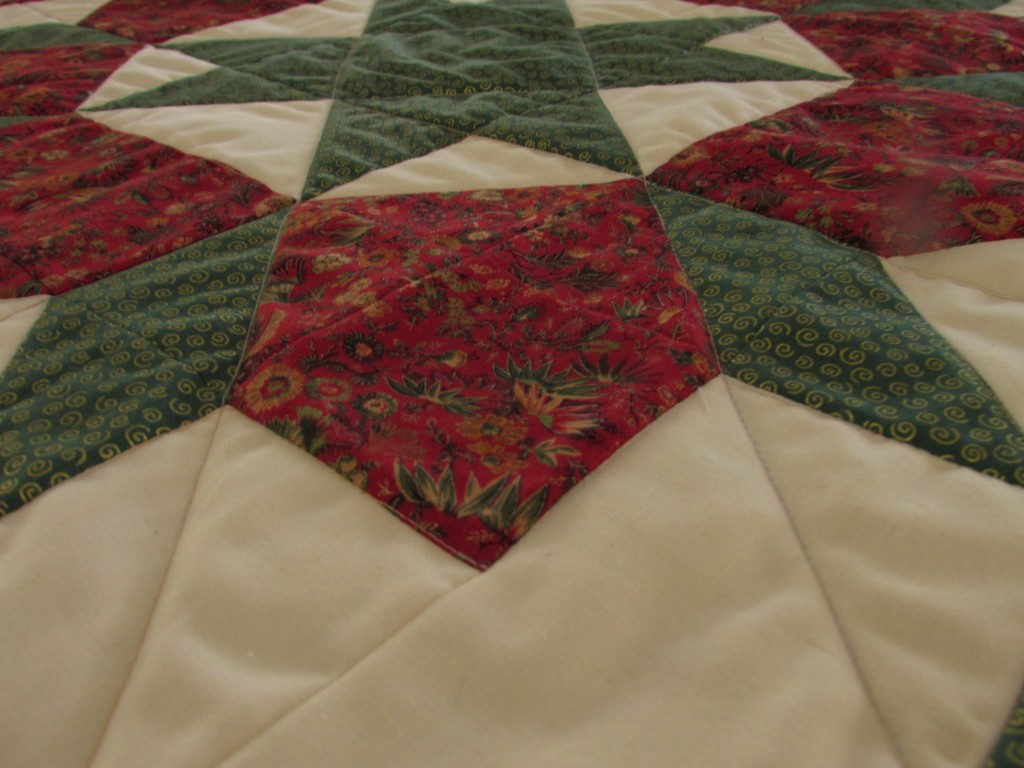
Using only minimal quilting, the fabrics and the pattern shine.

IMG_20151129_4197

It turned out so festive.

IMG_20151129_4198

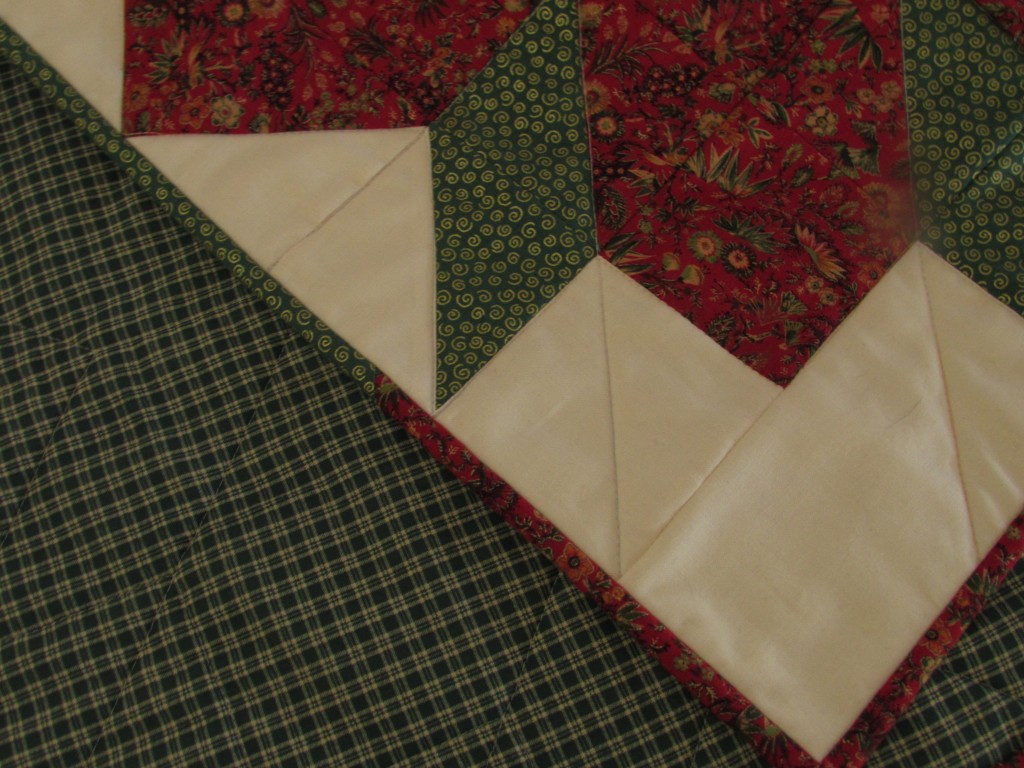
I was able to make the quilt using only scraps I had on hand. The backing is a green and cream plaid that a neighbor gave me a long while back. I didn’t have enough of any one the fabrics to bind it so I made a scrappy binding.

IMG_20151129_4196

Because it is made of rectangles, HST’s and Flying Geese blocks, the block was a breeze to cut and piece. Making a large quilt with them would be very easy. I love the oversized look of the block.

There you go. A really satisfying finish that was so fun to make and used up some stash.

Linking to Freemotion by the River, Let’s Bee Social and Finish It Up Friday.  Links to all of these are located at the top of the page under Link Ups.

Long weekend with the family

I hope all of you that celebrated Thanksgiving had a wonderful holiday. We had a small group for dinner and it was a very nice day. The Wednesday prior was a snow day for the local schools so Julia’s weekend was even longer than expected. We didn’t get as much snow as was forecast but what a treat it was.

Ray, Julia, and I went up to Downieville for the rest of the long weekend. Julia brought a friend up too.  On that Saturday we got a text from my middle son, Kyle. Big news! He proposed to his girfriend of five years and she accepted. They are perfect for each other and we couldn’t be happier to have Marisa join our family. The gorgeous picture at the top of the page was taken by Ian (my youngest son) on a recent vacation he had with Kyle and Marisa. In this picture they were at Niagra Falls.

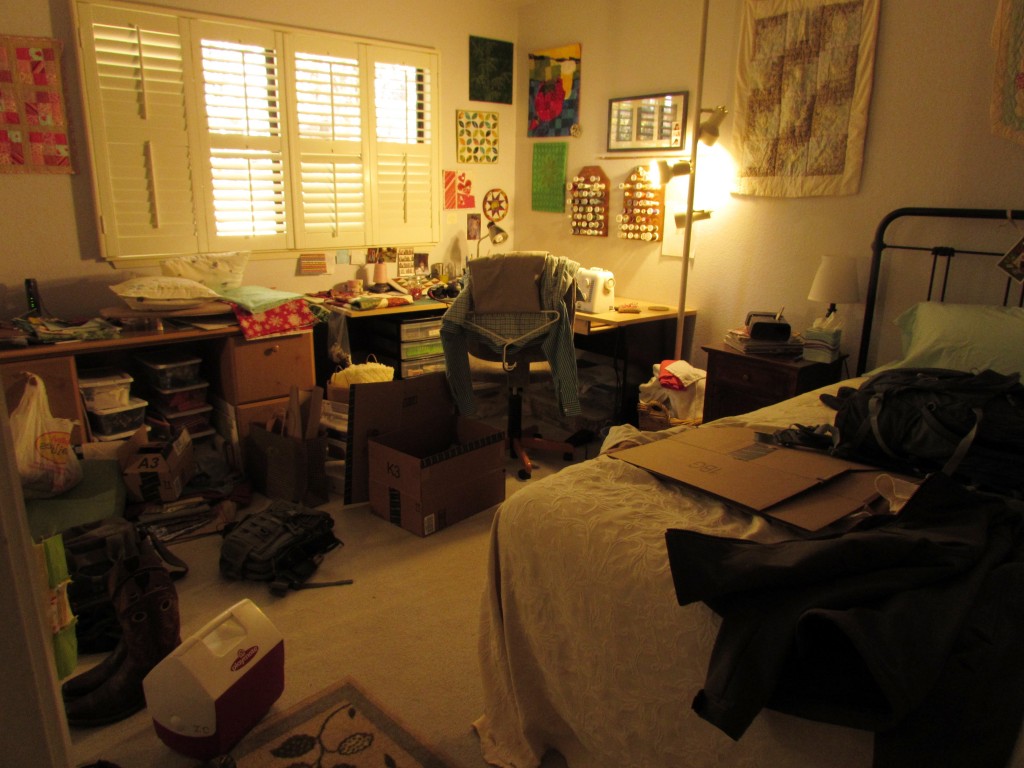
With all that was going on, I didn’t have a whole lot of time to sew. Also, it was a physical impossibility. When Ian is home, he uses the sewing room as his bedroom and this happens:

IMG_20151126_4215

To his credit, he did ask me on multiple occasions if I wanted him to clear a path to the sewing machine. There wasn’t time for it anyway so it was not a big deal.

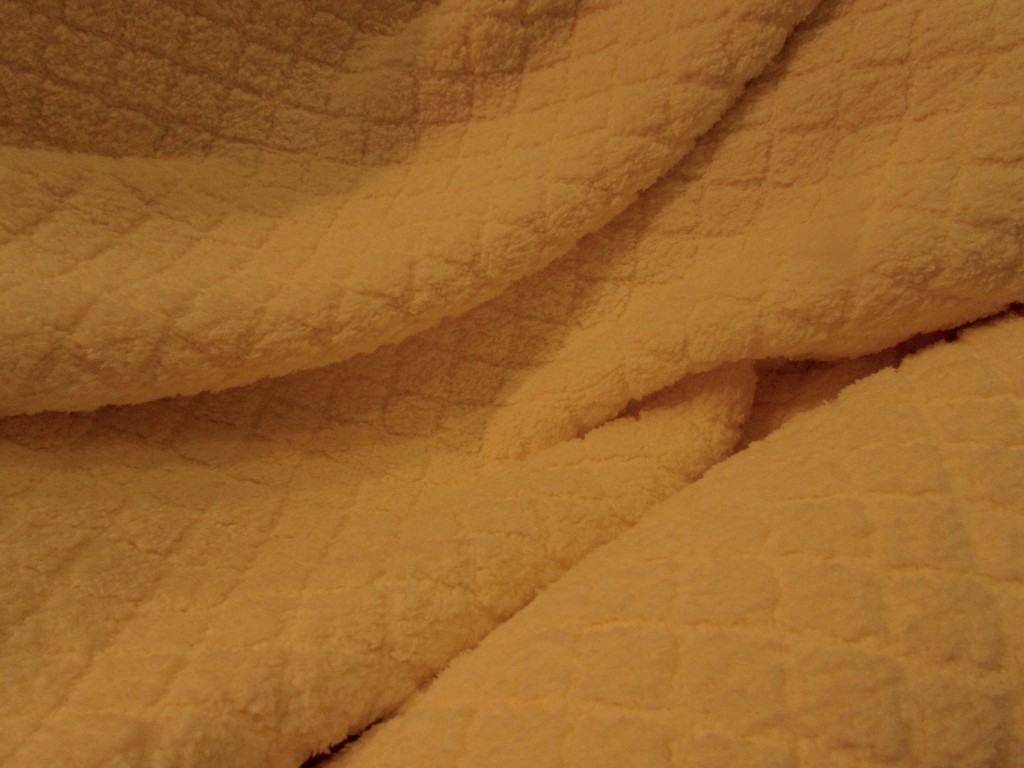
Last night when we got home from Downieville I decided to cut into a piece of fabric I bought last week. I was at Jo-Ann Fabric and had one of their always-welcome “20% off entire purchase” coupons. Those make me a little crazy. I bought some practical items that I needed for my Etsy shop and then decided I wanted to make a new bathrobe. Prior to my current quilting obssession, I used to sew clothing fairly often. A long while back, I wrote a post about this. Like quilting, garment sewing is a fairly expensive hobby. More often than not, I can buy the ready-made garment for less than I can sew it. But again like quilting, it is more fun to make it. I found this wonderful, soft buttery yellow fabric. With my coveted coupon and the fact that it was already on sale, the expense for the fabric went from $55 to $33. Not too shabby.

image

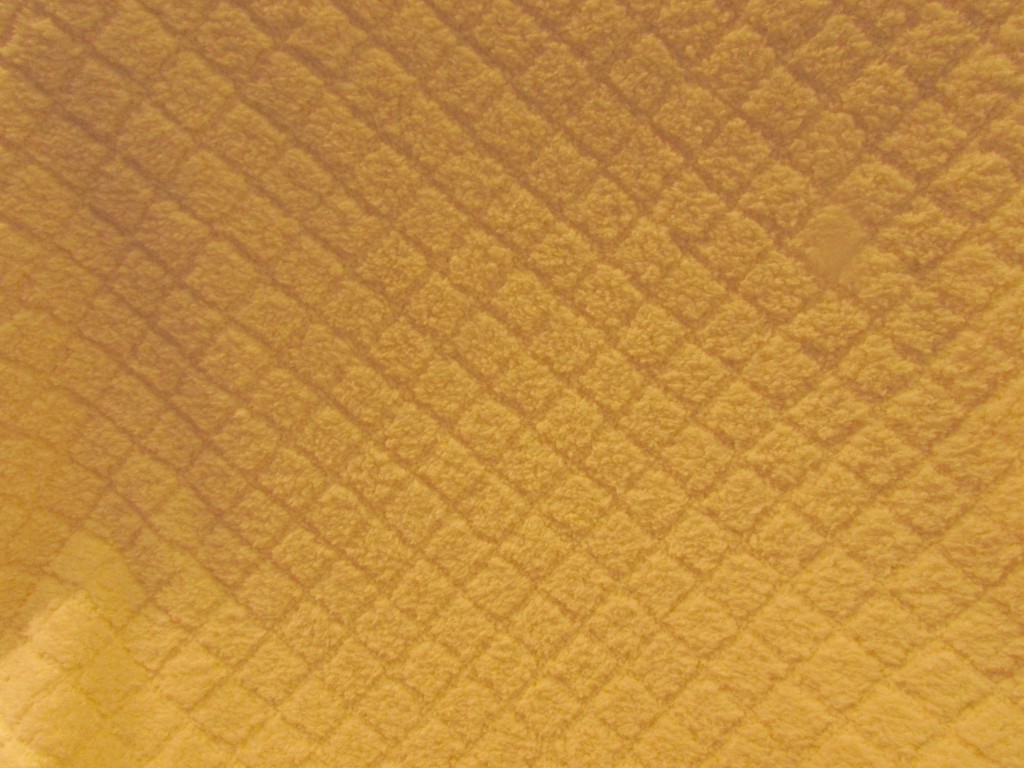
It is a very pale yellow and so snuggly. The texture is perfect and there isn’t a nap to worry about when cutting the piecesimage

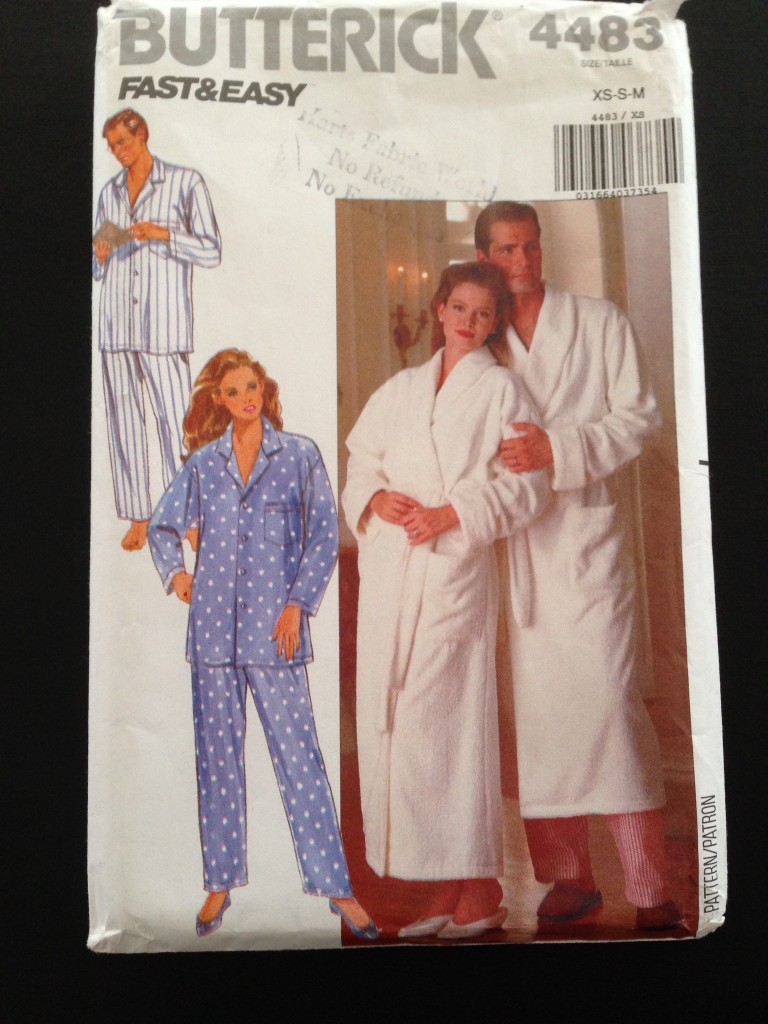
I knew I would be able to find a pattern to use in my pile of old patterns. This one was missing the pieces to the PJ pants but still had all of the pieces to the robe. It is date stamped 1989 so yep, I have had it around for a while!

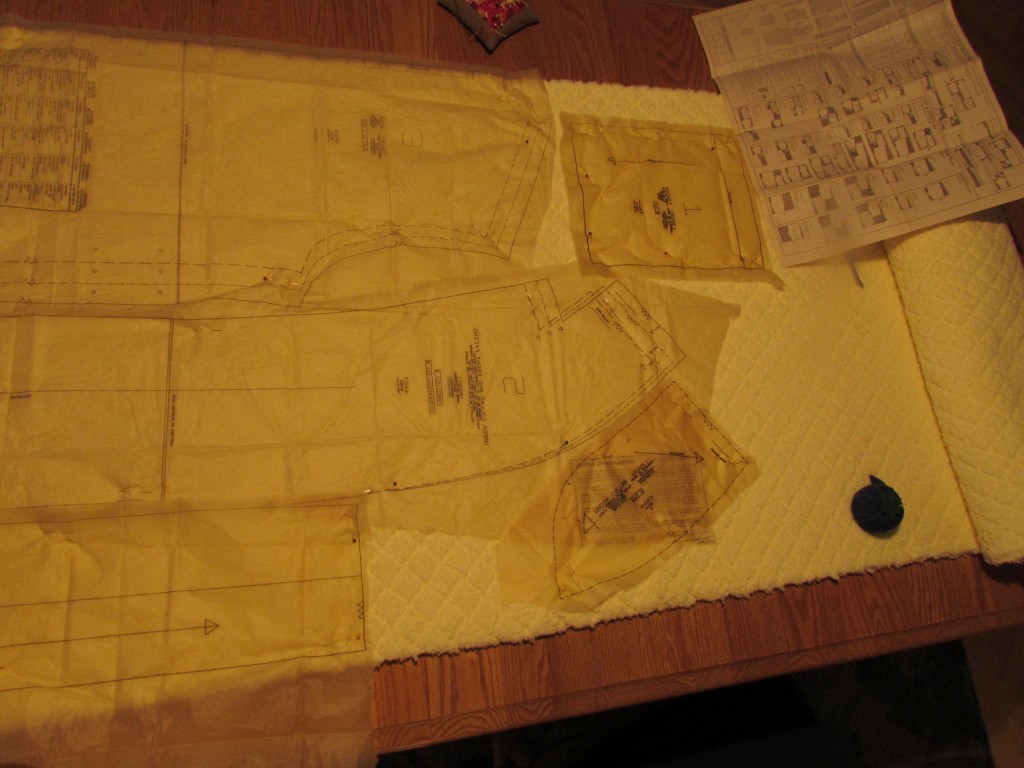
imageIsn’t that couple just dreamy in their matching robes?  Too bad I didn’t think to buy enough of the yellow fabric to make Ray a matching robe……  😉 I got the pieces laid out and cut last night so I am ready to go.  (Well, maybe I should vacuum first. I cut the pieces in my dining room because I was working with a four yard length of fabric. There is yellow fuzz floating around throughout the house now.) This bathrobe consists of a few long seams and putting two pockets on the front so it will come together quickly.  I’m looking forward to working on it. Sewing from a pattern is something that I have done for so long that I don’t really have to think about it. It is mindless sewing – as compared to quilting where I have to watch myself all along the way. In fact, this will come together fast enough that I will call it my December goal for ALYOF. I didn’t set a goal at all in November and didn’t meet my goal for October so it is time to get back on track!

IMG_20151129_4201

Happy Monday everyone!

Linking to Molli Sparkle’s Sunday Stash, ALYOF at Sew Bittersweet Designs as well as Sew Cute Tuesday over at Blossom Heart Quilts.

Happy Thanksgiving!

Just a quick post to wish everyone in the US a very Happy Thanksgiving. For those that don’t celebrate the holiday, I wish you all the best as well.

So, who is cooking and who is not? This year I will be cooking, along with my husband. I have a 20 pound monster of a turkey in the fridge and all of the ingredients for everything else. At least I am fairly sure I do. After seeing the craziness in the market yesterday, I can say for certain that if I don’t have it by now, it won’t make its way to the table.

Thanksgiving is my favorite holiday. We have so much to be thankful for and it is wonderful to have a day to enjoy family and just be grateful. For us, the day tends to be centered around food and family which are two of my favorite things!

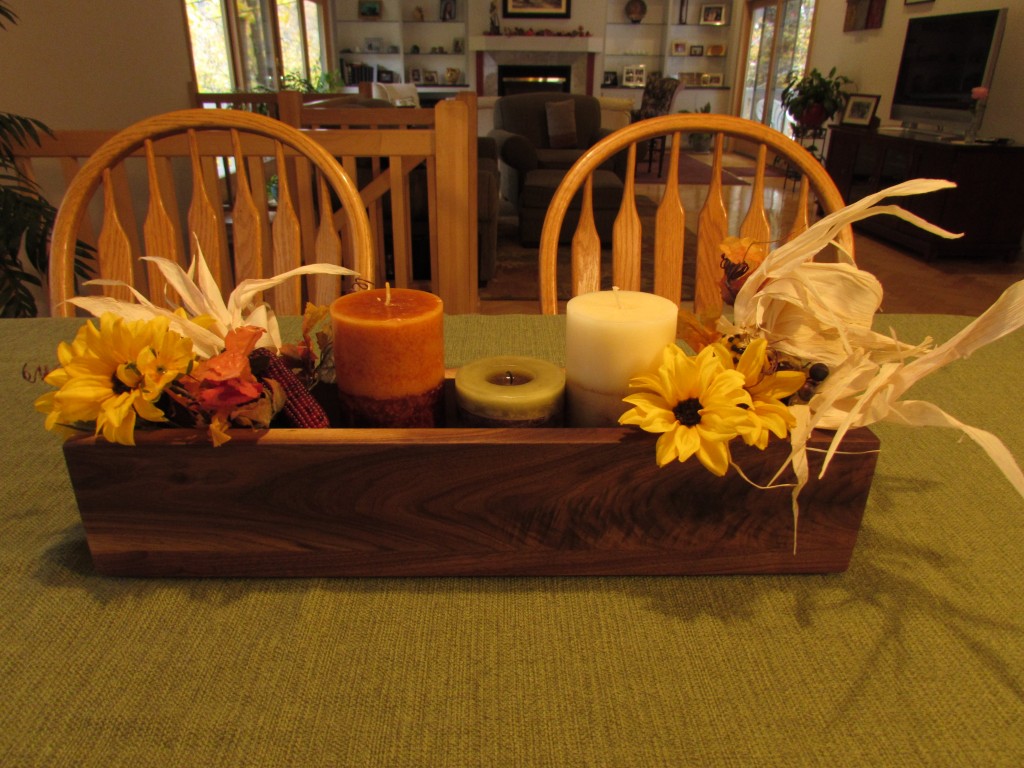
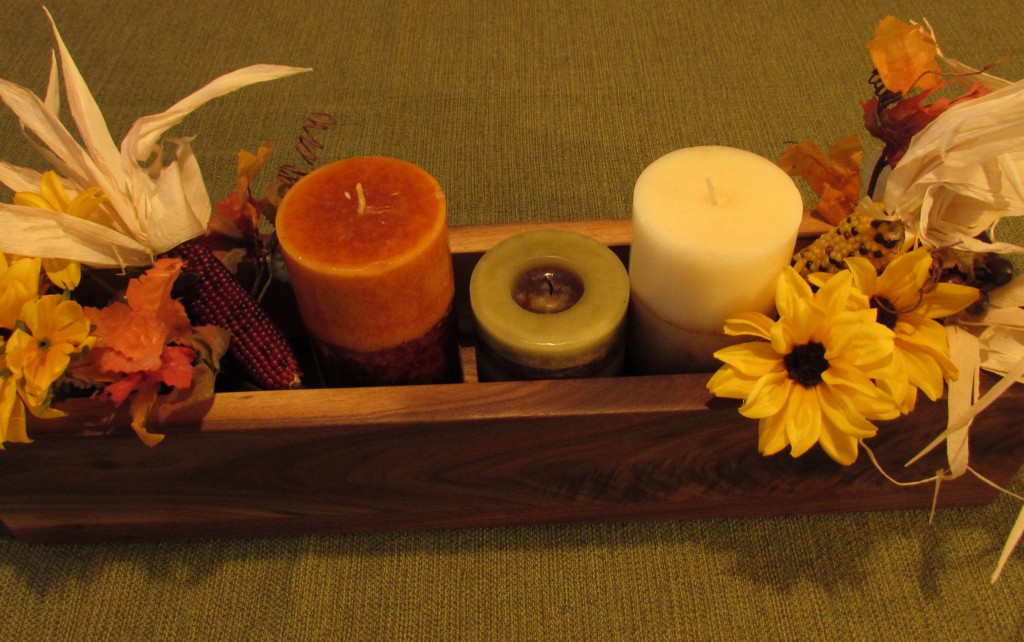
About two weeks ago I was browsing Pinterest looking for ideas for the table this year. I found this simple wooden box filled with candles and small, decorative pumpkins. I showed the picture to Ray and asked if he might have time to make one for me.

The following weekend he came through with his version and it far surpassed the picture I had shown him.

IMG_20151124_4186

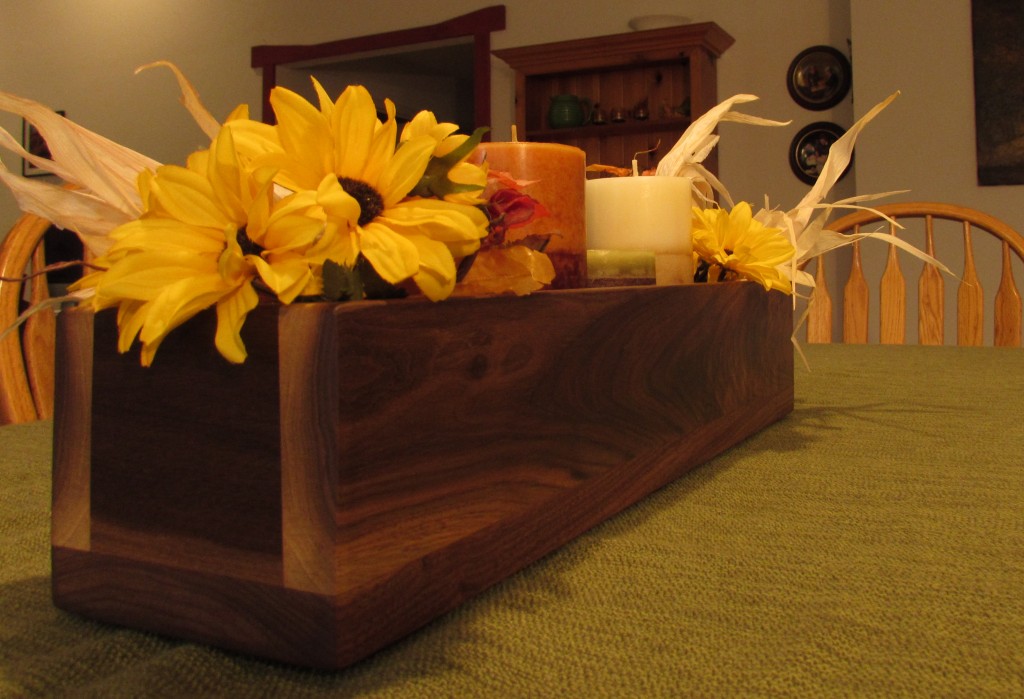
The wood is the most gorgeous walnut. He had a number of scraps left over from a table he was commissioned to make for my sister last year. I am so happy with it. I love it with these autumn colors.

IMG_20151124_4193

Ray really loves looking for pieces of wood with exceptional grain and this was no exception.  He was sorting through his ‘stash’ looking for just the right pieces. (You know how we are in a fabric shop… wandering, thinking of possibilities, feeling fabric to see what the hand is like? That is Ray in a hardwoods shop. He goes a little nuts with all of the wood and all of the inherent possibilities contained within. And I totally get this.)

IMG_20151124_4188

I look forward to using this piece over the years. It is like a blank slate and can be decorated for any holiday. It is pretty awesome having a creative guy and it is fun to have this in common with him.

I hope each of you are able to spend time with your friends or family and celebrate all that we have to be grateful for. Thank you for your virtual friendship – I so enjoy our community.

Happy Thanksgiving!

Linking with Ladybug Blessings, a link up for handmade craft.

Sunday Stash Update

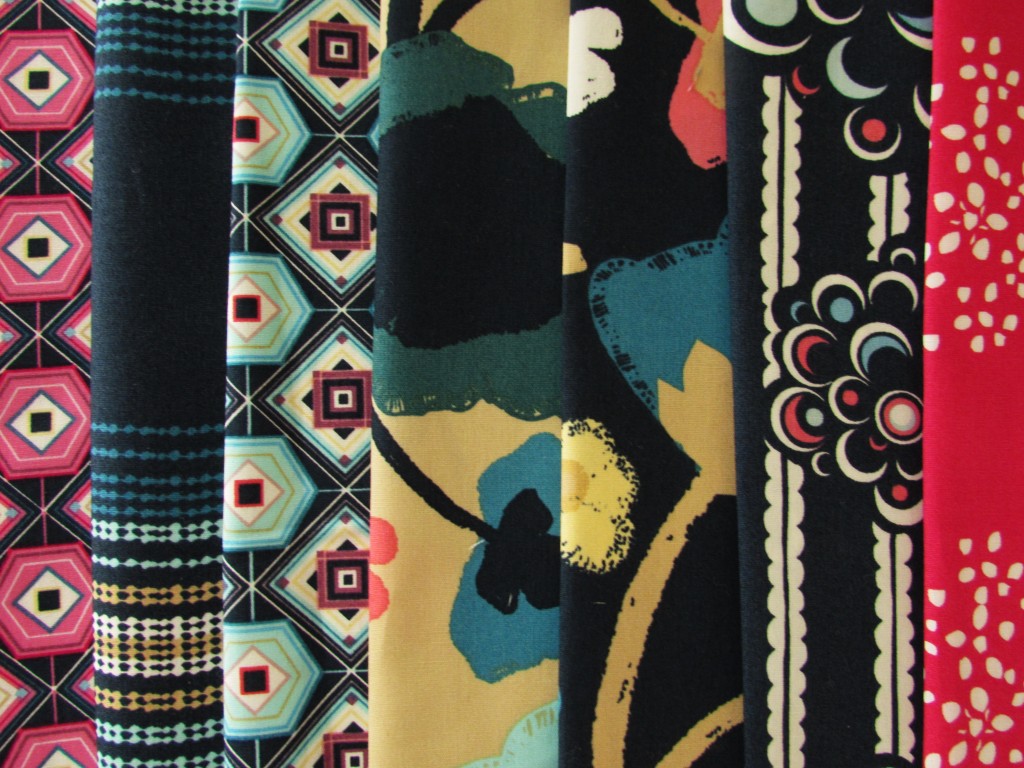
It has been a long while since I have purchased a set of precuts from one fabric line. Usually, I am too frugal to just buy fabric without having an intended project already in mind. Knowing me well, two of my kiddos recently gave me a great birthday gift; a three month membership to one of Pink Castle’s monthly fabric clubs. It is pretty amazing that a 25 and 28 year old guy when hunting for a gift for their fabric obsessed mother were fortunate enough to stumble upon Pink Castle’s fabric club options during a Google search. Actually I should say it was fortunate for me, huh? (Last year for my birthday, my three boys gave me a great gift of fabric. You can read about that one here.)

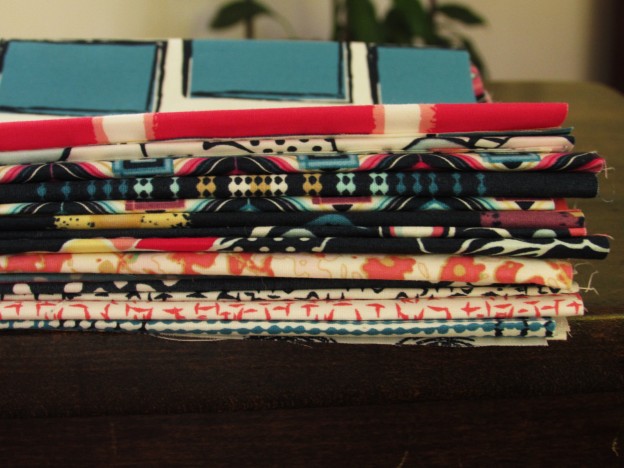
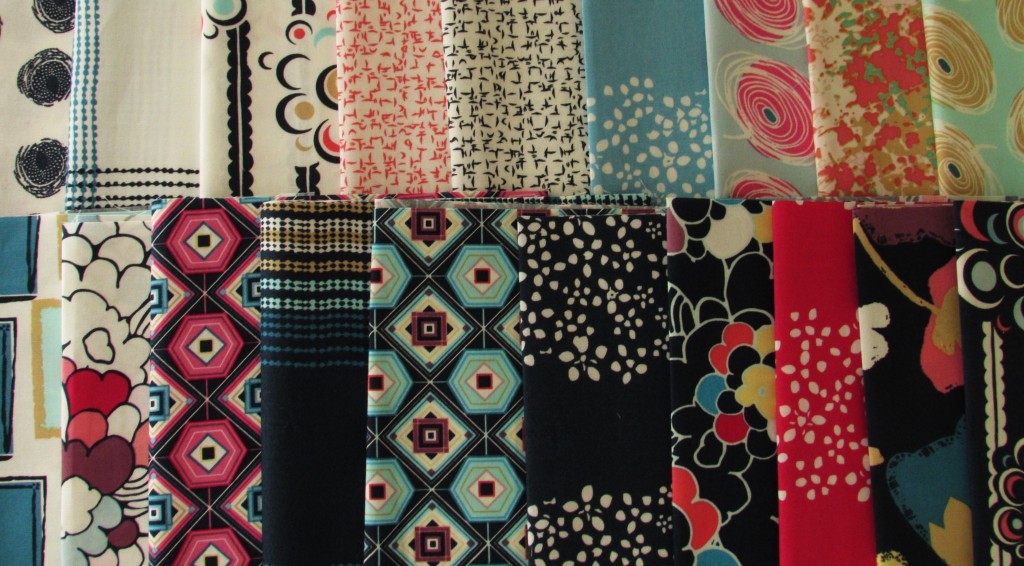
The boys selected the club featuring Art Gallery fabric. Although with the options offered at Pink Castle, they couldn’t go wrong. I would have been happy with any of them. Last week I received my first set. It is gorgeous.

IMG_20151121_4178

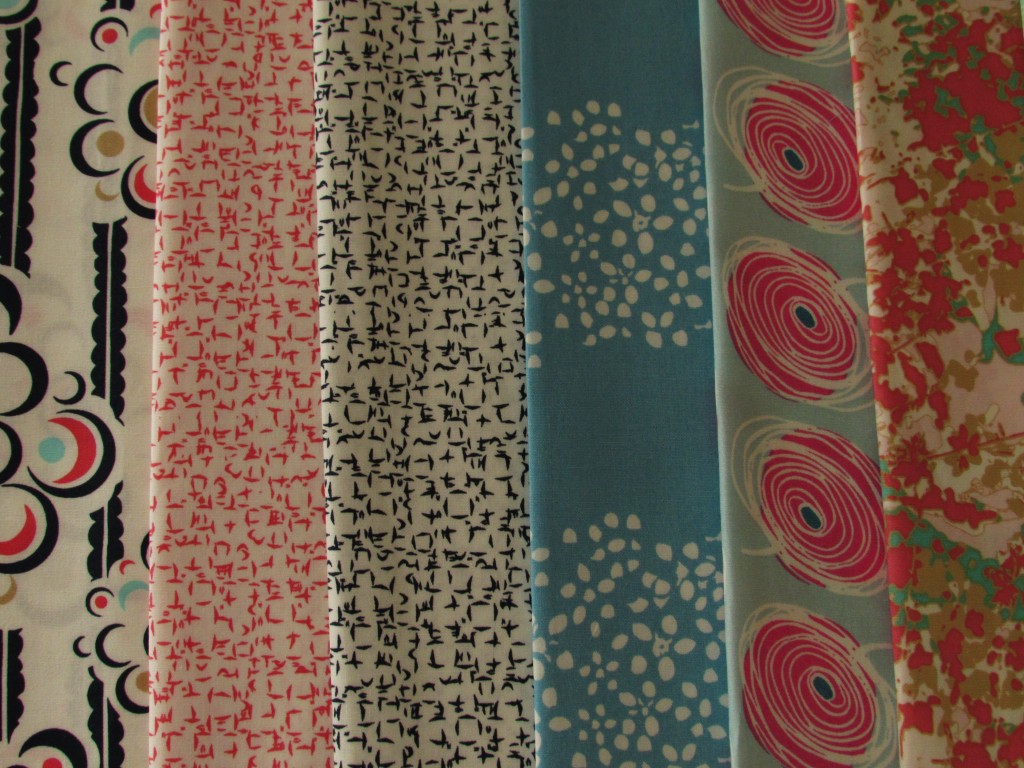
This is a line called “Dare” and was designed by Pat Bravo. It is modern and bold. The navy and dark pink are great together, especially mixed with the other shades of blue, pink and mustard yellow. I love it.

IMG_20151121_4177

So pretty!

IMG_20151121_4175

I am thinking about how best to use these. The pieces are fat eighths so not terribly large. My current idea is to make some sort of plus quilt design where the pattern of pluses (is that a word?) is surrounded by a coordinating solid, probably gray or yellow. I haven’t made a plus quilt yet and love them. I kind of see it where the pluses are clustered up in the right corner, working their way down to the below the midline and then a solid fabric surrounding them. It would be a great piece of negative space to practice some quilting.  We’ll see, I need to play around with it a bit more.

This is the perfect gift for me. I think the three month subscription is just the right amount. It will give me three new projects, which will take me well into the new year (and that’s just around the corner!!)

Hope you are all enjoying your Sunday. Yesterday I worked on a holiday project and it is coming along well. I’ll post pictures sometime next week.

Linking to Molly Sparkle’s Sunday Stash.

Tokyo Subway Map – Glitzed Up

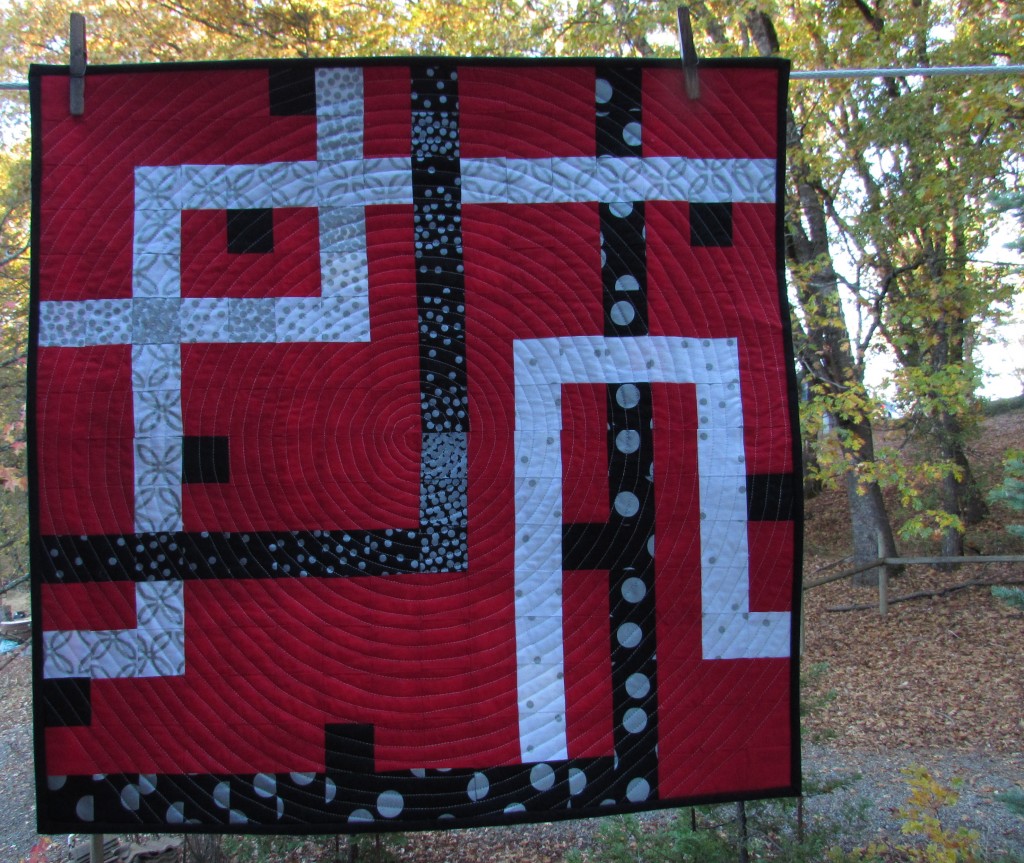
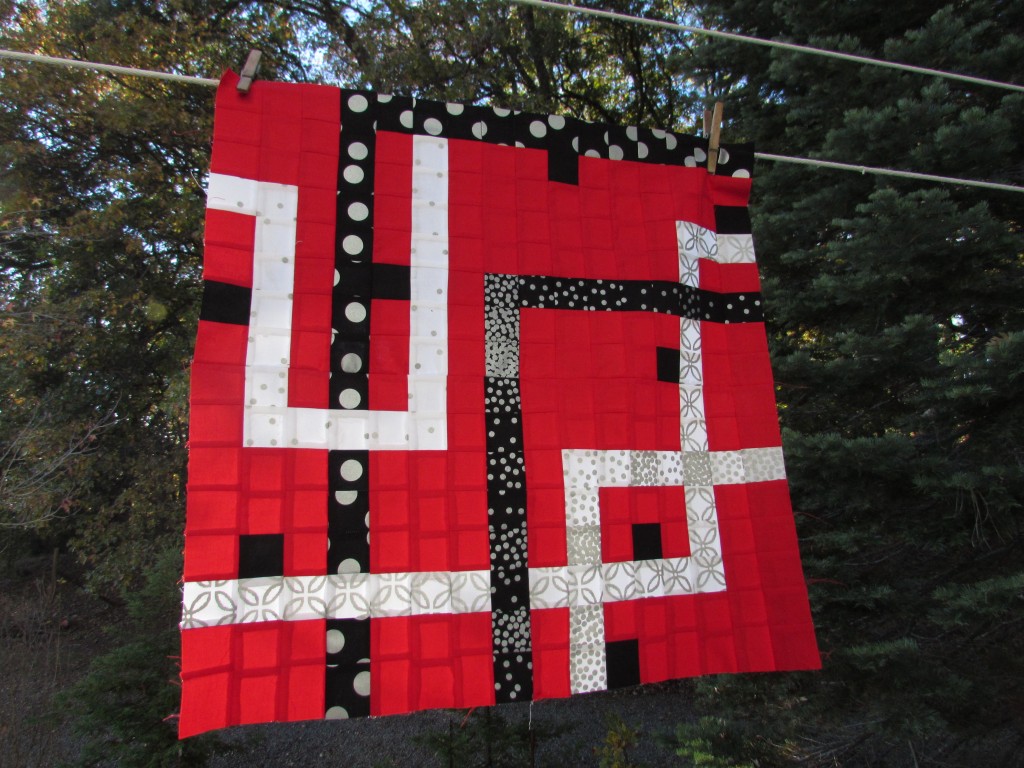
I can now say I have my first fabric challenge under my belt. This was a fun, though somewhat intimidating project and it feels good to have finished it. Overall, I am very pleased with the result. Remember I used a portion of a pattern I purchased from Oh Fransson (ElizaTbeth Hartman) called Tokyo Subway Map. You can read more about this project here. What do you think? I love the red with the Michael Miller Glitz fabric. It makes for a bold and festive quilt.

IMG_20151120_4166

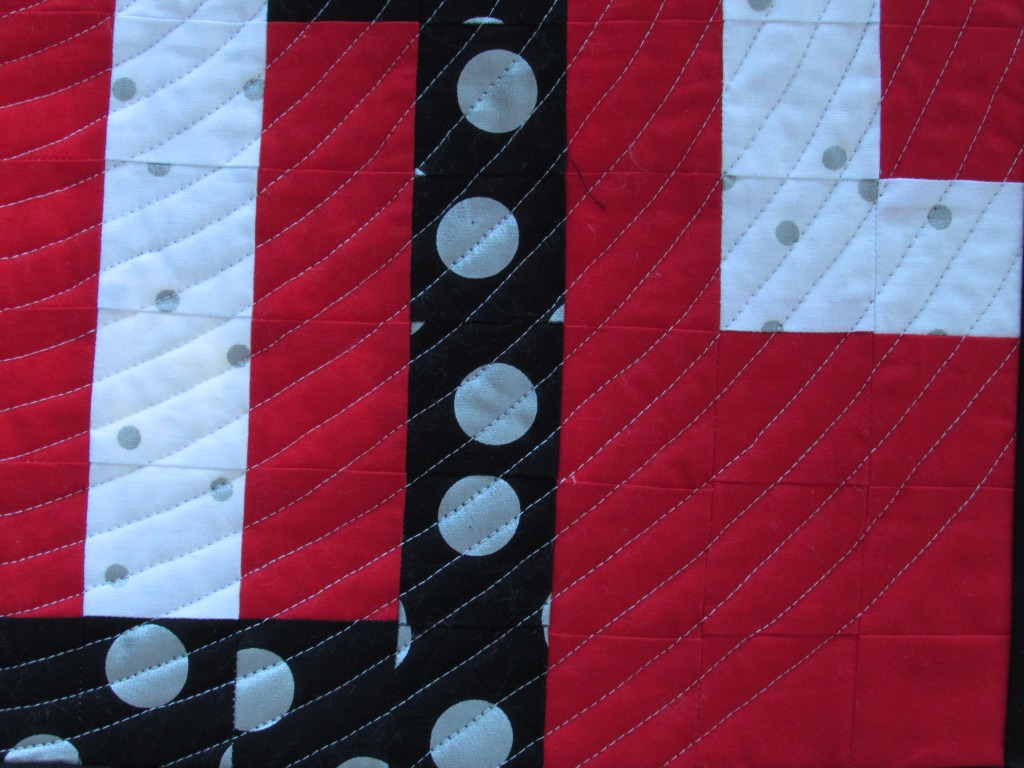
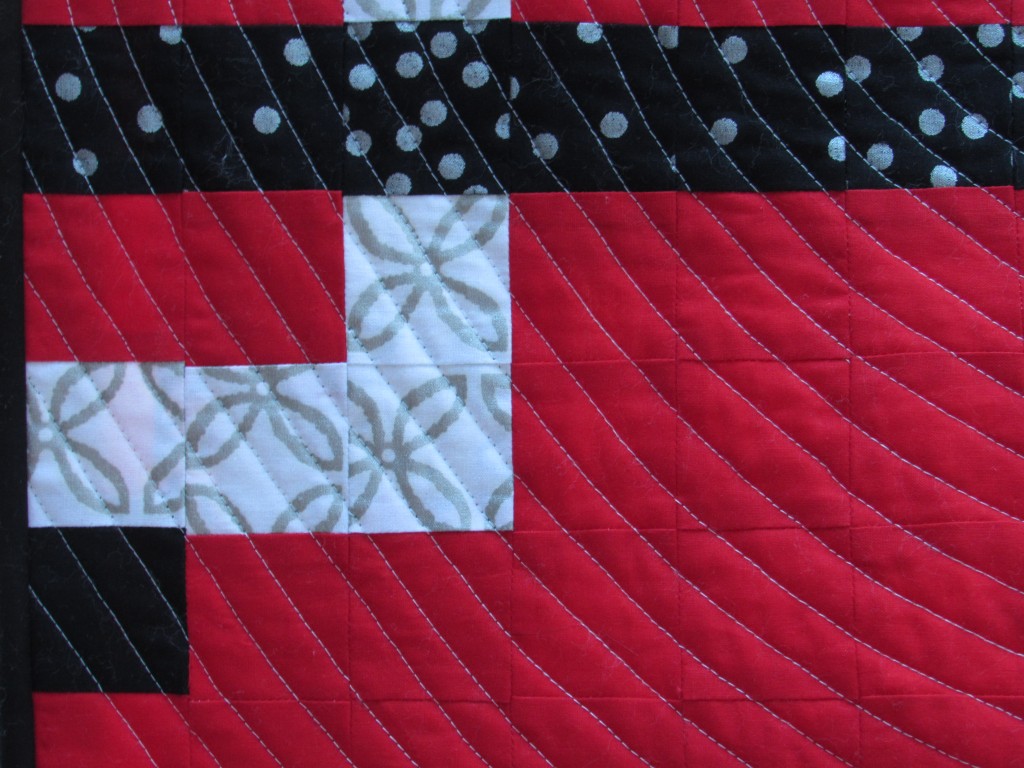
The spiral quilting was a breeze.  I practiced once on some scraps and then I went for it. Using a walking foot and Aurifil thread, only the first spirals in the center were challenging. After that, I just followed along the previous spiral with the edge of the walking foot. It was quilted in no time at all. I went in concentric circles as far out as I could.  When I hit the edge, I echoed out through the corners.

IMG_20151120_4168

Basic black made a great binding. I thought about using my leftover Glitz fabric and creating a scrappy binding but this quilt is busy enough as it is. Black toned things down a bit. Joining the ends of the binding strips tends to make me a tiny bit crazed so I looked at a tutorial from Rita over at Red Pepper Quilts. Ta Da! It worked and my binding lay flat and fit perfectly.  Thank you Rita!

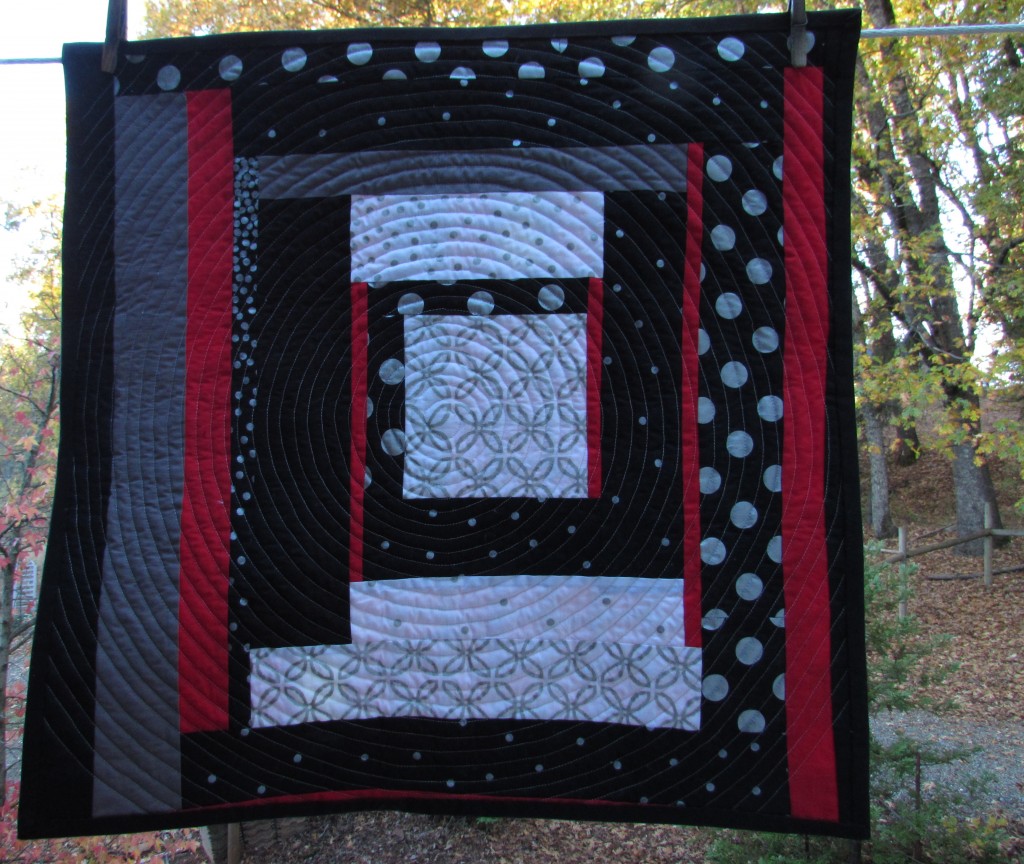
I used just about every last scrap creating the backing. I really like the back side and consider this mini to be reversible. All finished, the quilt measures at 24″ x 24″.

IMG_20151120_4169

I will submit this to QuiltCon as part ofparticipating in the Michael Miller Fabric Challenge is the stipulation that each of us enter our project for consideration for QuiltCon. I took some time and listened to some webinars hosted by the Modern Quilt Guild for tips on entering quilts. I don’t have huge expectations about this being accepted. I have seen some pretty amazing projects on Instagram and there are more that are not yet being shared. But it feels good to get this project under my belt as a way of testing the waters.

There are a few spots that are less than perfect and I don’t think that the quilts that are accepted have corners that don’t match up. Like the one below.  Sigh. I am ok with it. Overall, it looks good and I really like it.

IMG_20151120_4167

This has been a great learning experience. I will certainly do it again, if the opportunity presented itself! Now, what to work on next…..  Probably the blocks for the last row of my RSC15 project. November is quickly coming to a close!!

Linking to Crazy Mom Quilts. Links are at the top of the page, under Link Ups.

Fabric Challenge Progress

I have mentioned before that I am participating in the Michael Miller Fabric Challenge, sponsored by the Modern Quilt Guild. There are many quilters out there that signed up for this last spring. The deal is that you receive a collection of fat eighths from the new Michael Miller line, Glitz. The goal is to make a quilt of some sort using a minimum of one piece of Glitz and any other Michael Miller fabrics. (All fabrics used must be Michael Miller.)

My fabric arrived in July last summer.  At first glance, I wasn’t too wild about the prints. There is a whole lot of shimmer in this fabric. I quickly ordered some solids (gray, red and black) to tone down the collection. The gray turned out to be a bad match. It was very flat when paired with the fabrics. The red and black work fine though.  After receiving all of the fabric, it sat on my sewing table for weeks. I kept looking at it and trying to figure out what I wanted to make. I was feeling less than inspired.

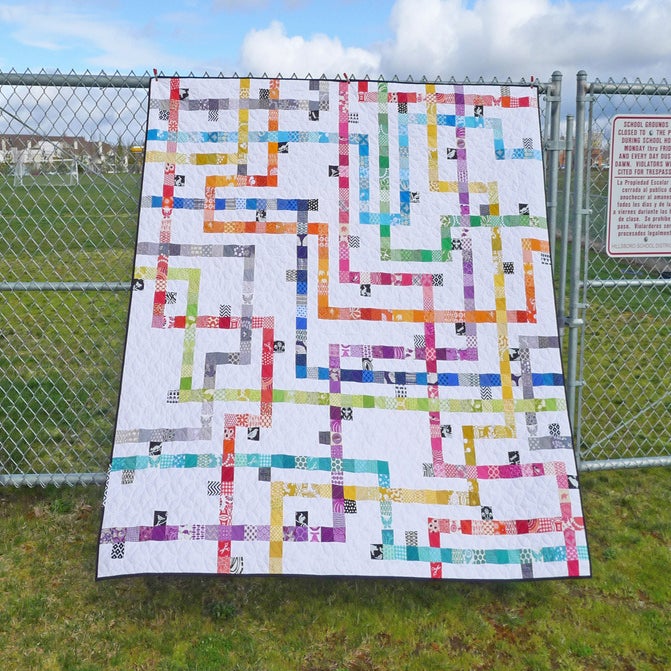
Time was moving along and I knew I had to get this figured out. Luckily for me, my sister Patti was in town two weeks ago and she was a great help. She has a great talent for design and decorating. I pulled out the fabrics and we started going through my Pinterest boards. Talking through this with her, I decided to make a mini that was angular, with a sharp pattern. It didn’t take too long to decide to use the Tokyo Subway Map pattern, designed by Elizabeth Hartman. I purchased and downloaded it right then. Can’t beat the instant gratification of internet shopping!

Image of TOKYO SUBWAY MAP QUILTS pdf quilt pattern

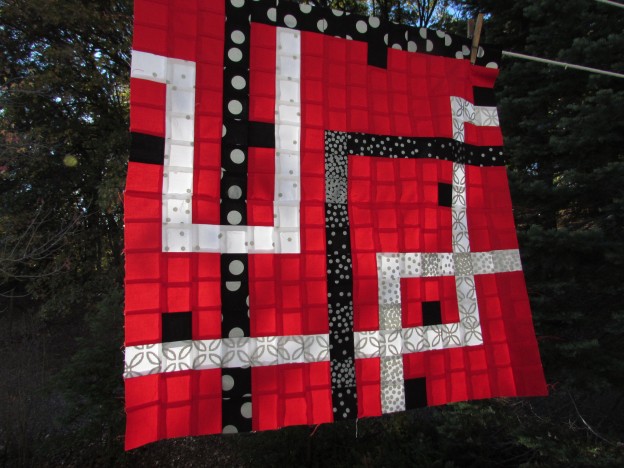
This is a great pattern that I have admired for quite a while now. For this immediate project, I decided to make four of the blocks from the pattern, using 2 1/2″ squares (which is smaller than what the pattern calls for.) Reducing the size of the squares made it possible to make my quilt finish out at 24″ x 24″.

IMG_20151112_4113

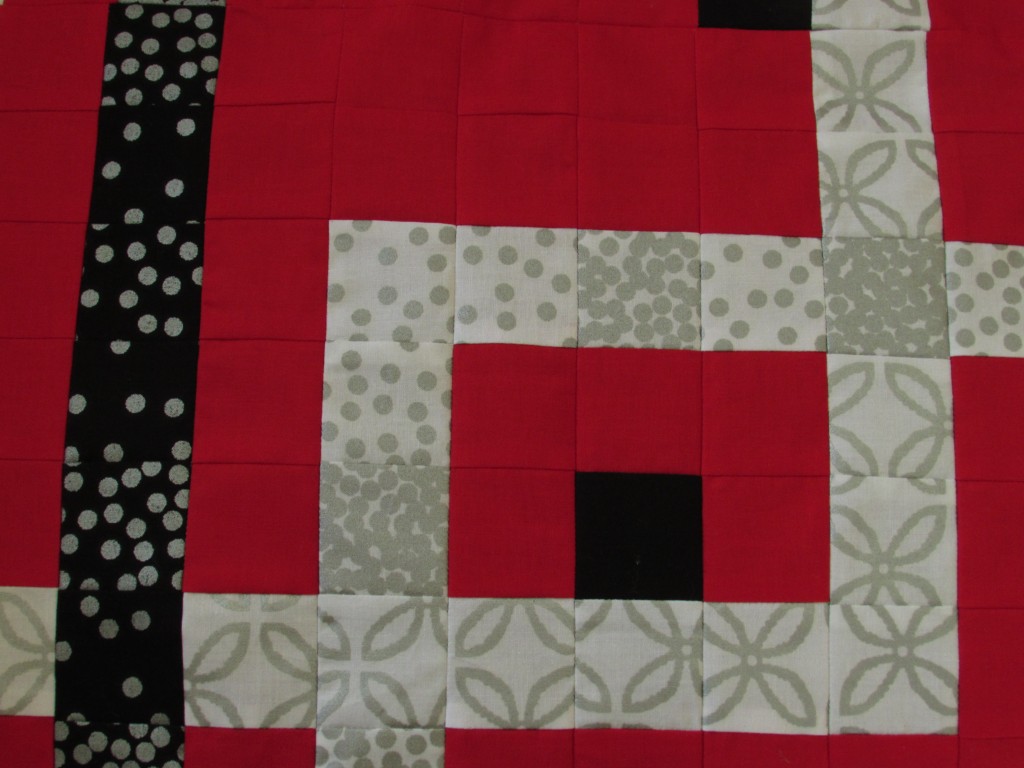
I love the bright red background with the black, silver and white prints.

IMG_20151112_4118The red sections could be a great avenue for some fun quilting. I (nothing new here) keep going back and forth on a quilting plan. I have sketched, looked through my books and perused Pinterest but still am not set on what I will do. I am concerned that the busy pattern and fabric calls out for tight straight-line quilting. But then I look at that negative space created by the red sections. If I quilt just that portion, leaving the printed sections unquilted, that could be pretty interesting. It would make an nice pattern on the back as well. (Speaking of which, I better get busy with the back. I will have to piece it with a very limited amount of fabric.)

I know I can rely on you guys for input. Feel free to give me an opinion. The other issue is time. I need to have this completed and photographed by November 30. All participants are required to submit photos of their project by the last day of November.

Hope you are all enjoying Autumn. We Californians are totally loving the rain that we have been gifted with over the last couple of weeks. They are forecasting for more over the weekend. Yahoo!

Linking to Amanda Jean over at Crazy Mom Quilts as well as Sarah from Confessions of a Fabric Addict. Link ups to these amazing quilters are available at the top of the page, under Link Ups.


Finished My Pennsylvania Blocks

It seems like it’s been a while since I posted a finish. But I have one this week! Getting back into the sewing room has been so nice though it took me a while to really get going. I decided to make the October blocks for my Classic Stitches row quilt. Being so close to the end of this project, I didn’t want to get too far behind.

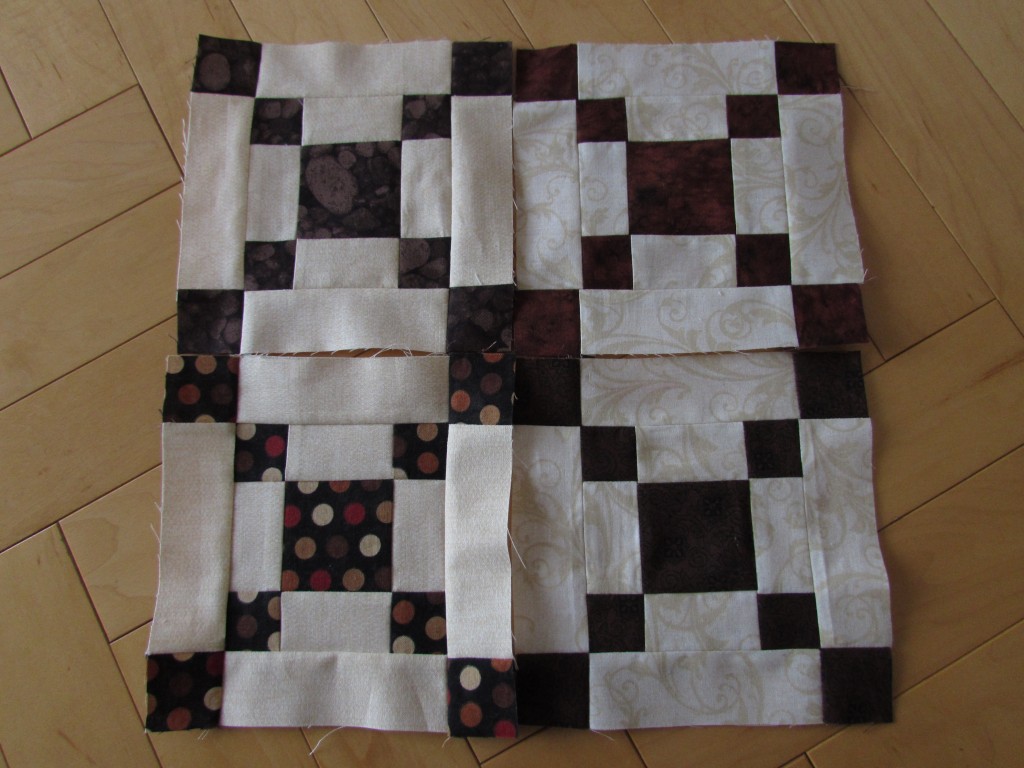
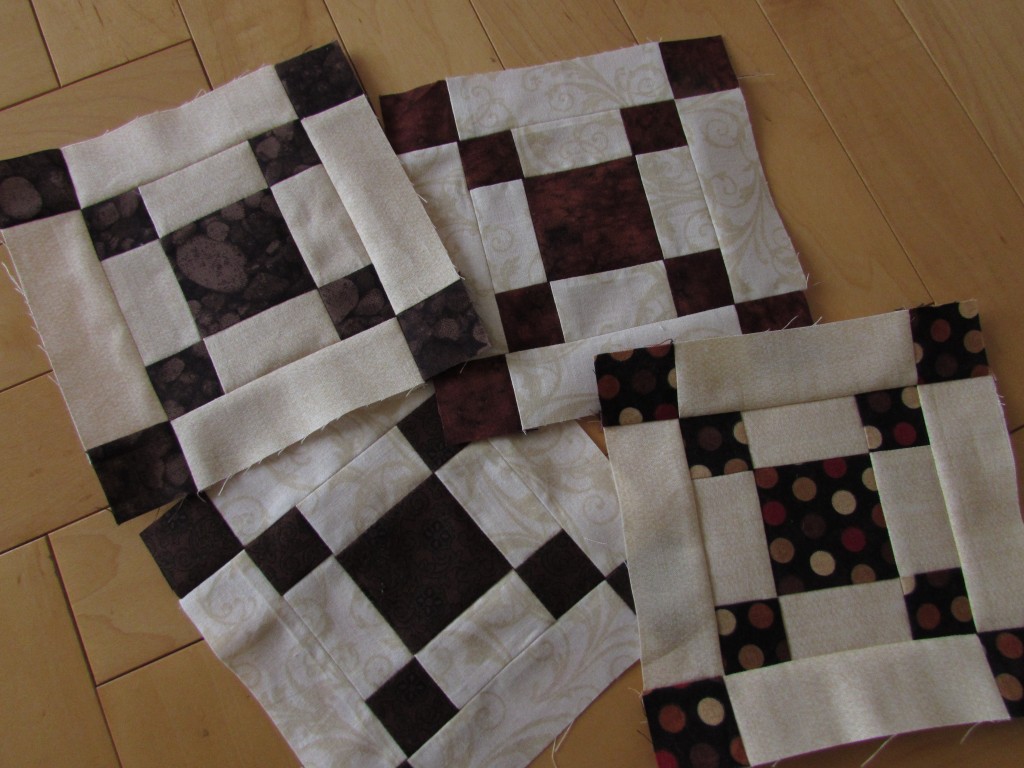
The color for October was brown for RSC15. The block that Mari chose for October was the Pennsylvania block. I think this was in honor of her recent move from Wisconsin to Pennsylvania. It worked perfectly for me too.  I have a strong fondness for the state of Pennsylvania.  When my boys were little guys, we lived there for two years. We were in State College and I loved everything about that town. So making a set of Pennsylvania blocks was perfect for me.

IMG_20151103_4068

Unfortunately, I got off to a rocky start with these guys. Mari always posts the cutting plan for various size blocks when she writes her tutorials. I thought it would be fun to make a row of 3″ blocks. Turns out it wasn’t fun at all. 😉  The block is very simple to make but when you are going for a 3″ block, it means using little pesky pieces and honestly, we just didn’t get along.  I struggled along and got two blocks made, throwing away all sorts of attempts along the way. After a fair amount of ripping, cutting, and grumbling, I gave up and made six inch blocks. They went together with almost no effort (or at least it felt that way after my tiny block debacle.)
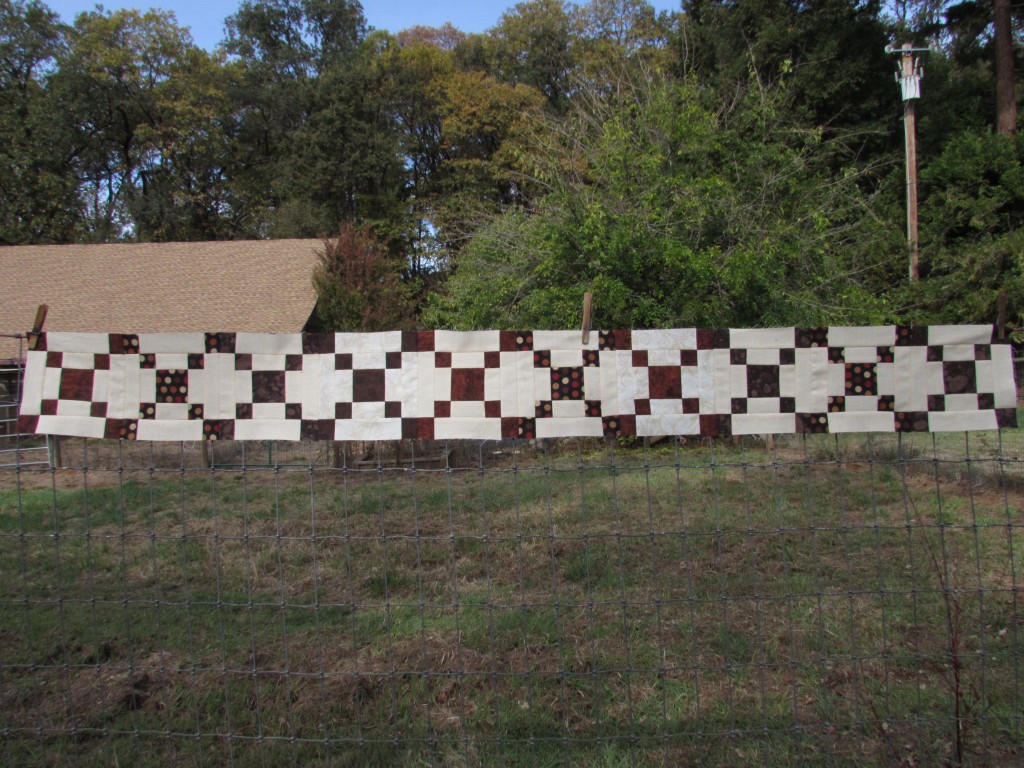
IMG_20151105_4084

Isn’t that a cute row? So traditional. Much like I thought State College was. I remember thinking it seemed like everything was more grounded, more down to earth in State College, as compared to living in California.
The row fits right in with the other rows of classic blocks that I have made this year.

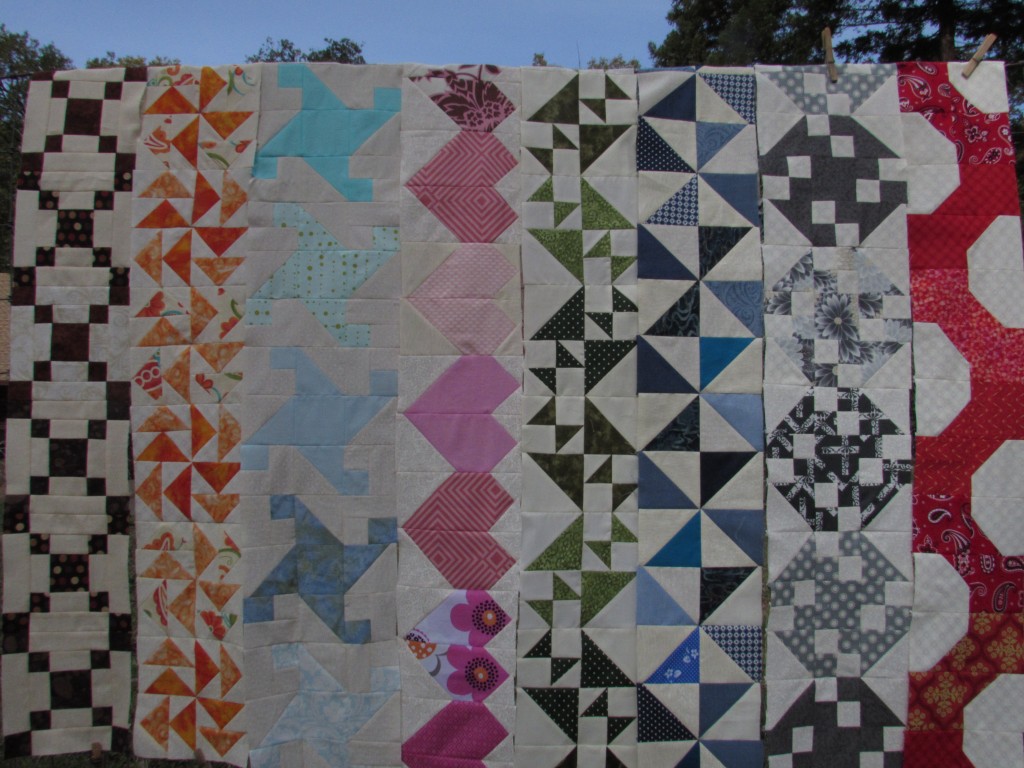
IMG_20151105_4079At this point, I have ten rows completed. (For some reason, I didn’t grab the purple or the yellow rows when I went outside to take pictures. So, they aren’t shown here.) My next decision is whether or not to make the November row. With these ten rows, I have 62 inches in length (two of the rows are 7″ blocks and the rest are 6 inches.) I am going to sash the rows because my not-so-precise sewing style means the blocks won’t line up perfectly and that can be disguised with some sashing. This will add a bit more length. How long do I want this to be?  (It will be 60″ wide.) Any ideas???

The week buzzed by and I am happy to have this checked off the list.  My Etsy shop is getting busier and I need to make a few more things for holiday shopping so that jumps to the top of the list now. Along with that is the Michael Miller fabric challenge that I am doing with the Modern Quilt Guild. That project is due on November 30th so I need to get cracking on that. It is well underway and I am sure I will have a post for you with pictures sometime next week.

Enjoy the weekend!

Linking to Amanda Jean over at Finish It Up Friday.

Wednesday WIP

You know that feeling when you have been down with a bug for a while and you finally feel better? That happy feeling of being able to have normal days, doing normal things? And it feels so good to just be back to normal?  Well that is kind of how this week feels.

It has been three weeks since Mom’s heart surgery. This week she has made some really big improvements and is feeling so much better. She looks wonderful and is up and doing little things here and there. Consequently, we all feel better! I don’t know if this is how all families are, but when one of us is down, we each have this sympathetic /empathetic thing that causes the rest of us to be down. And we know this about each other. When Mom was in the hospital, moving from bed to chair to walker was intense. It was so hard and it really hurt. The first couple of times the nurse came in to tell her it was time to get up and move from chair to bed, Mom would tell us to leave the room for a minute.  She would say, “If you watch, you’ll hurt too.  No need for that.” She knew how hard it was for us to be watching her.  But now, three weeks later, she is on the road to recovery and looking great.  Such a relief! We are endlessly, completely grateful for her good health.

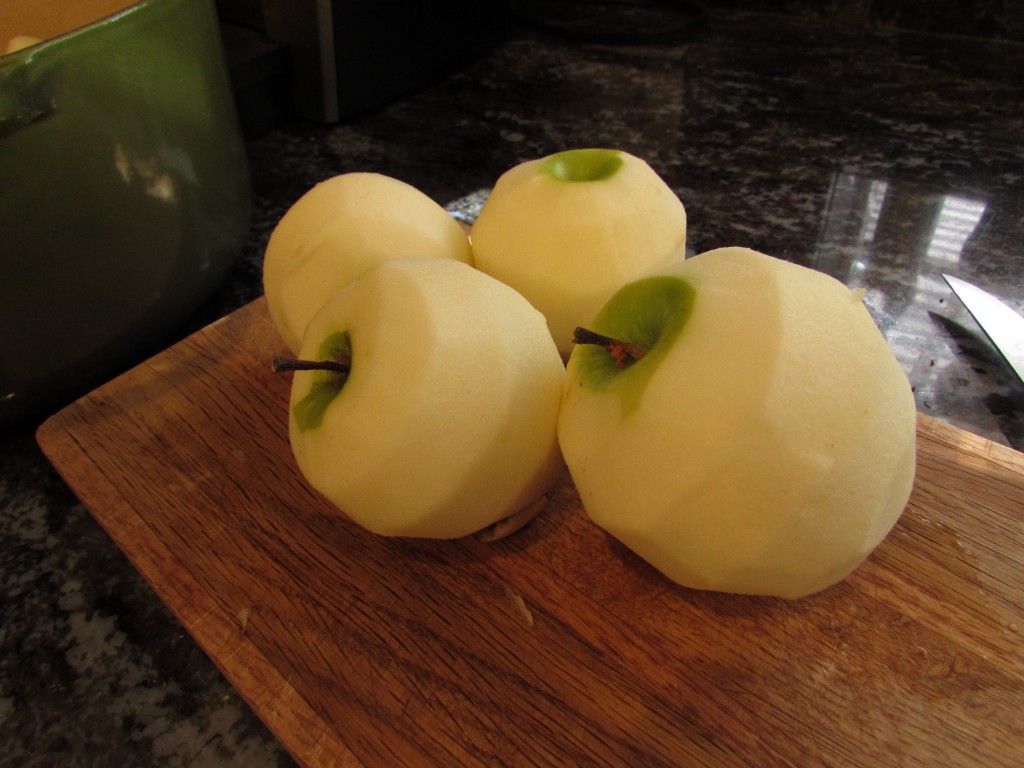
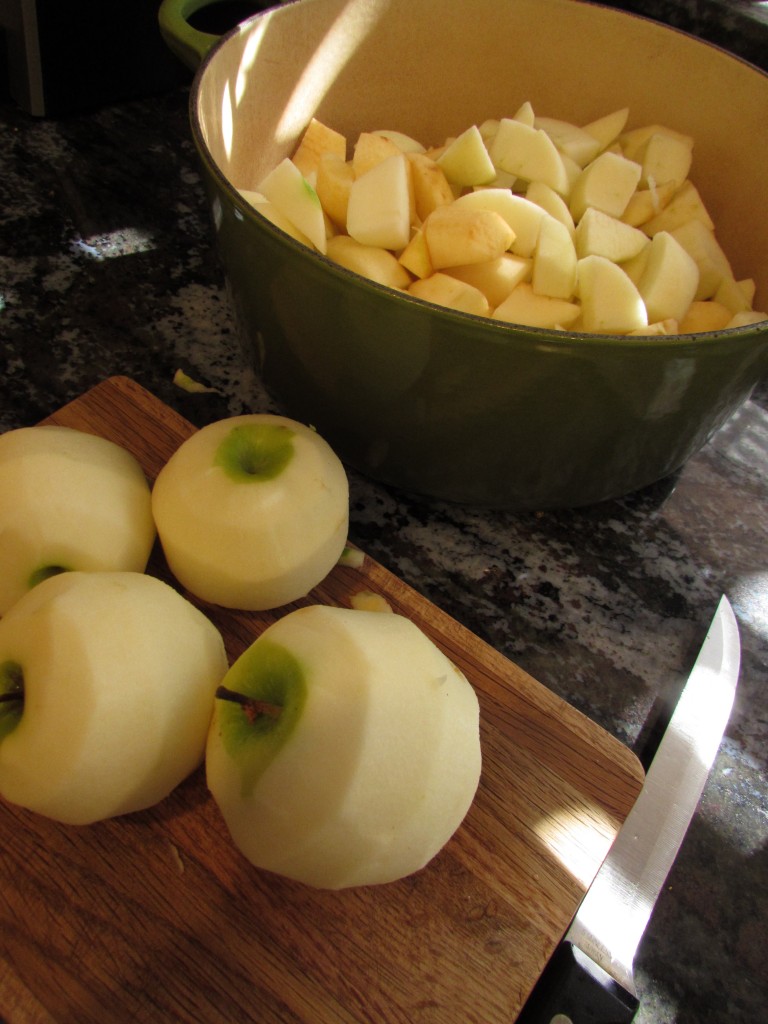
Today I did normal stuff. Enjoyed cleaning my house and catching up on laundry! (Pretty exciting, right? Honestly, it was.) I also decided I had better do something with the apples that have been sitting in my basement for more than a month now.

IMG_20151020_4019

My in-laws have a small apple orchard and we went and picked apples a long while back. I made a large pot of applesauce with the last of the apples. Yum. Our family loves homemade applesauce, chunky with lots of cinnamon.

IMG_20151020_4020st

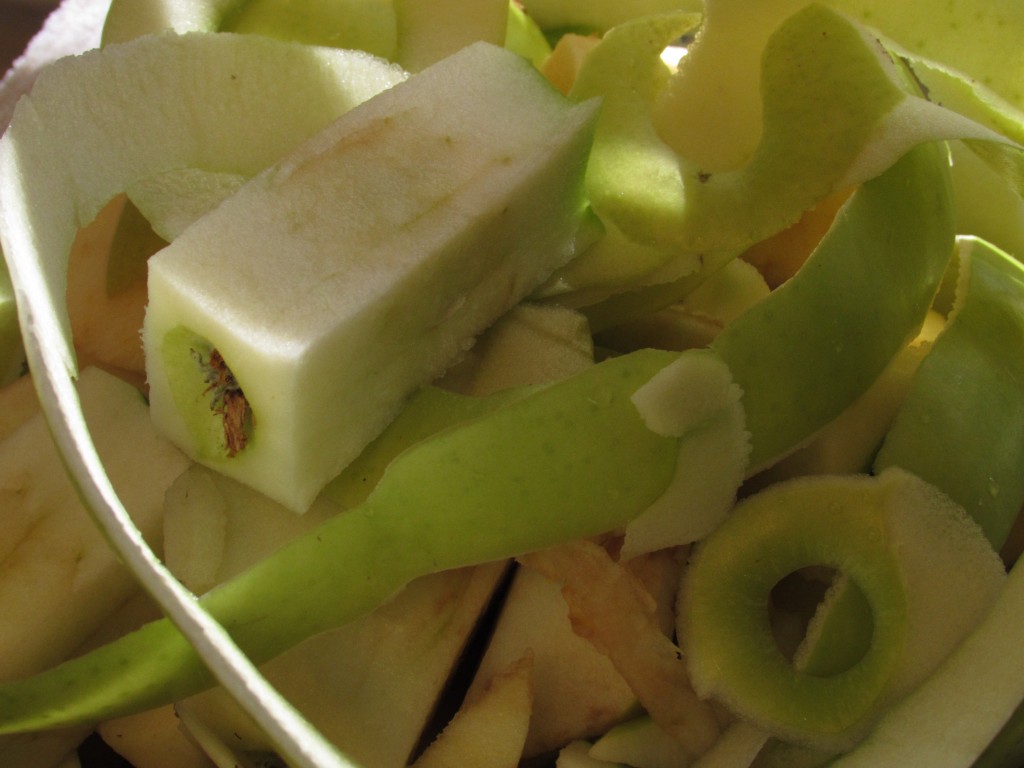
Even our hens were happy about this. They get all the scraps. Lucky girls.

IMG_20151020_4021

I have also been back in the sewing room. Finally! This week I have been workng on my blocks for the brown row of my Classic Stitches BOM quilt. The blocks are so cute.  I started out making 3″ blocks. This was two weeks ago. My brain couldn’t deal with the small, fiddly (as Mari says) pieces. I just couldn’t come up with consistent blocks. It took me forever to get two finished. So, I gave up and went back to 6″ blocks and they are great.

IMG_20151103_4067

I will get these finished up in the next day or so and stitch them together. The last color of the year is bright green. This is an easy one for me – I love green and have a big tub of scraps to go through. I need to go check in with Mari and see what sort of block she has planned for us this month. It is really crazy that we are coming to the end of this project already!

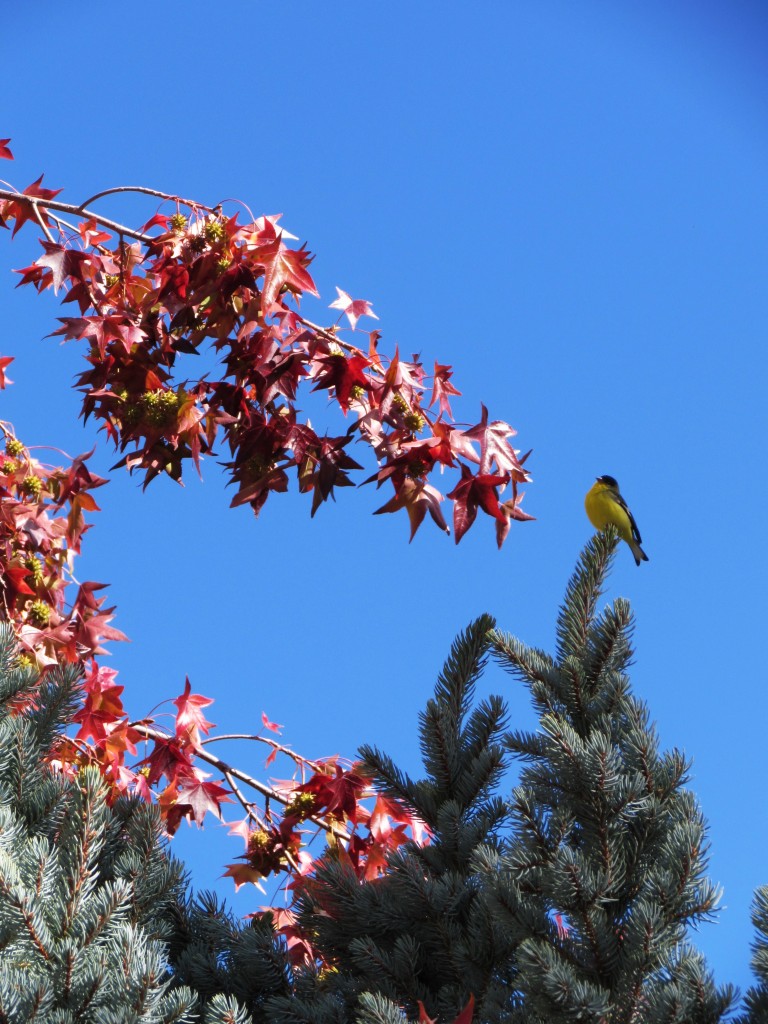
Lastly, while making applesauce today I was watching the finches. We have lots of them. This little guy settled in way up at the tiptop of our spruce tree.

IMG_20151103_4064

Hope you are having a wonderfully healthy week filled with the ordinary pleasures of life.

Linking to Let’s Bee Social – the link is at the top of the page, under Link Ups.

Quilter’s Planner for 2016

Last summer I had the good fortune to join up with a group of fairly inexperienced quilt bloggers for the 2015 New Quilt Blogger’s Blog Hop. It was a wonderful experience and I learned so much from the other bloggers, and even more from the four leaders of the Blog Hop.  One of the projects that resulted from the Blog Hop was the Fabri-Quilt New Block Blog Hop.  About seventy quilters designed an original block using fabrics donated by Fabri-Quilt. Together, this made for a wonderful series of creative, original blocks, each of which was posted with a detailed tutorial.

One of the leader’s of this year’s Blog Hop, Stephanie Palmer, of Late Night Quilter, took it a  (giant) step further. She has created a Quilter’s Planner for 2016 (and isn’t it crazy that we will be heading into a new year so soon?) Stephanie put hours and hours of thought into the creation of this calendar. She included both monthly and weekly pages, quilting references and tools, and pages to write detailed quilting plans for your projects.MonthlySpread

There are pages to write notes, doodle designs, and plenty of room to organize your quilty life and your family life. This is perfect for me. I am a list maker and keep a list on the kitchen counter that I create at the beginning of each week. There are always four lists containing my goals for the week. I use one each for Sewing Etsy Product, Blog Posts to Write, Personal Sewing and Quilting and Family/Household.  Stephanie thought of everything and I think this book will cover all of it for me. She collaborated with Kelsey at Lovely and Enough. Kelsey created artwork that is interspersed throughout the planner.

In addition, there are a number of quilt patterns from numerous pattern designers included (including Pat Sloan, Amy Garro, Yvonne Fuchs, Lee Heinrichs and Kitty Wilkin among others).  Finally, on each weekly page there is a gorgeous original quilt block from the Fabri-Quilt Block Blog Hop, with instructions included. And guess what… my block is included!!

This calendar will be the perfect holiday gift for that quilter who has everything. Or a gift from you, to you! I just ordered mine and it should ship the first week of December. I am so excited to receive my copy.

If you are interested, you can click here to order.  Alternatively, you can also click on the Quilt Planner button on my page. (I do not receive any compensation for the purchase of the planner.) Stephanie is self-publishing the books so she is using Indiegogo as her tool to sell them. These lovely planners are available for order until  the end of November. The planners should ship in the first week or so of December.