A few posts back, I mentioned that our family will grow by three great-grandchildren in the first part of 2017? Guess what? One of those babies will be my first grandbaby. Does that make sense?? It sounds weird. Probably because I have been patiently waiting for this for a long time. No, not really all that patiently. Sometimes Ray has to give me the stink-eye, reminding me to quit asking my kids about grandbabies. Finally, it’s going to happen– yahoo!! I get to be a Grandma, or Grammy. Probably Grammy, I like that better. My oldest and his wife are expecting their first baby, a sweet little girl, the first week of March!! Awesome news, this is.
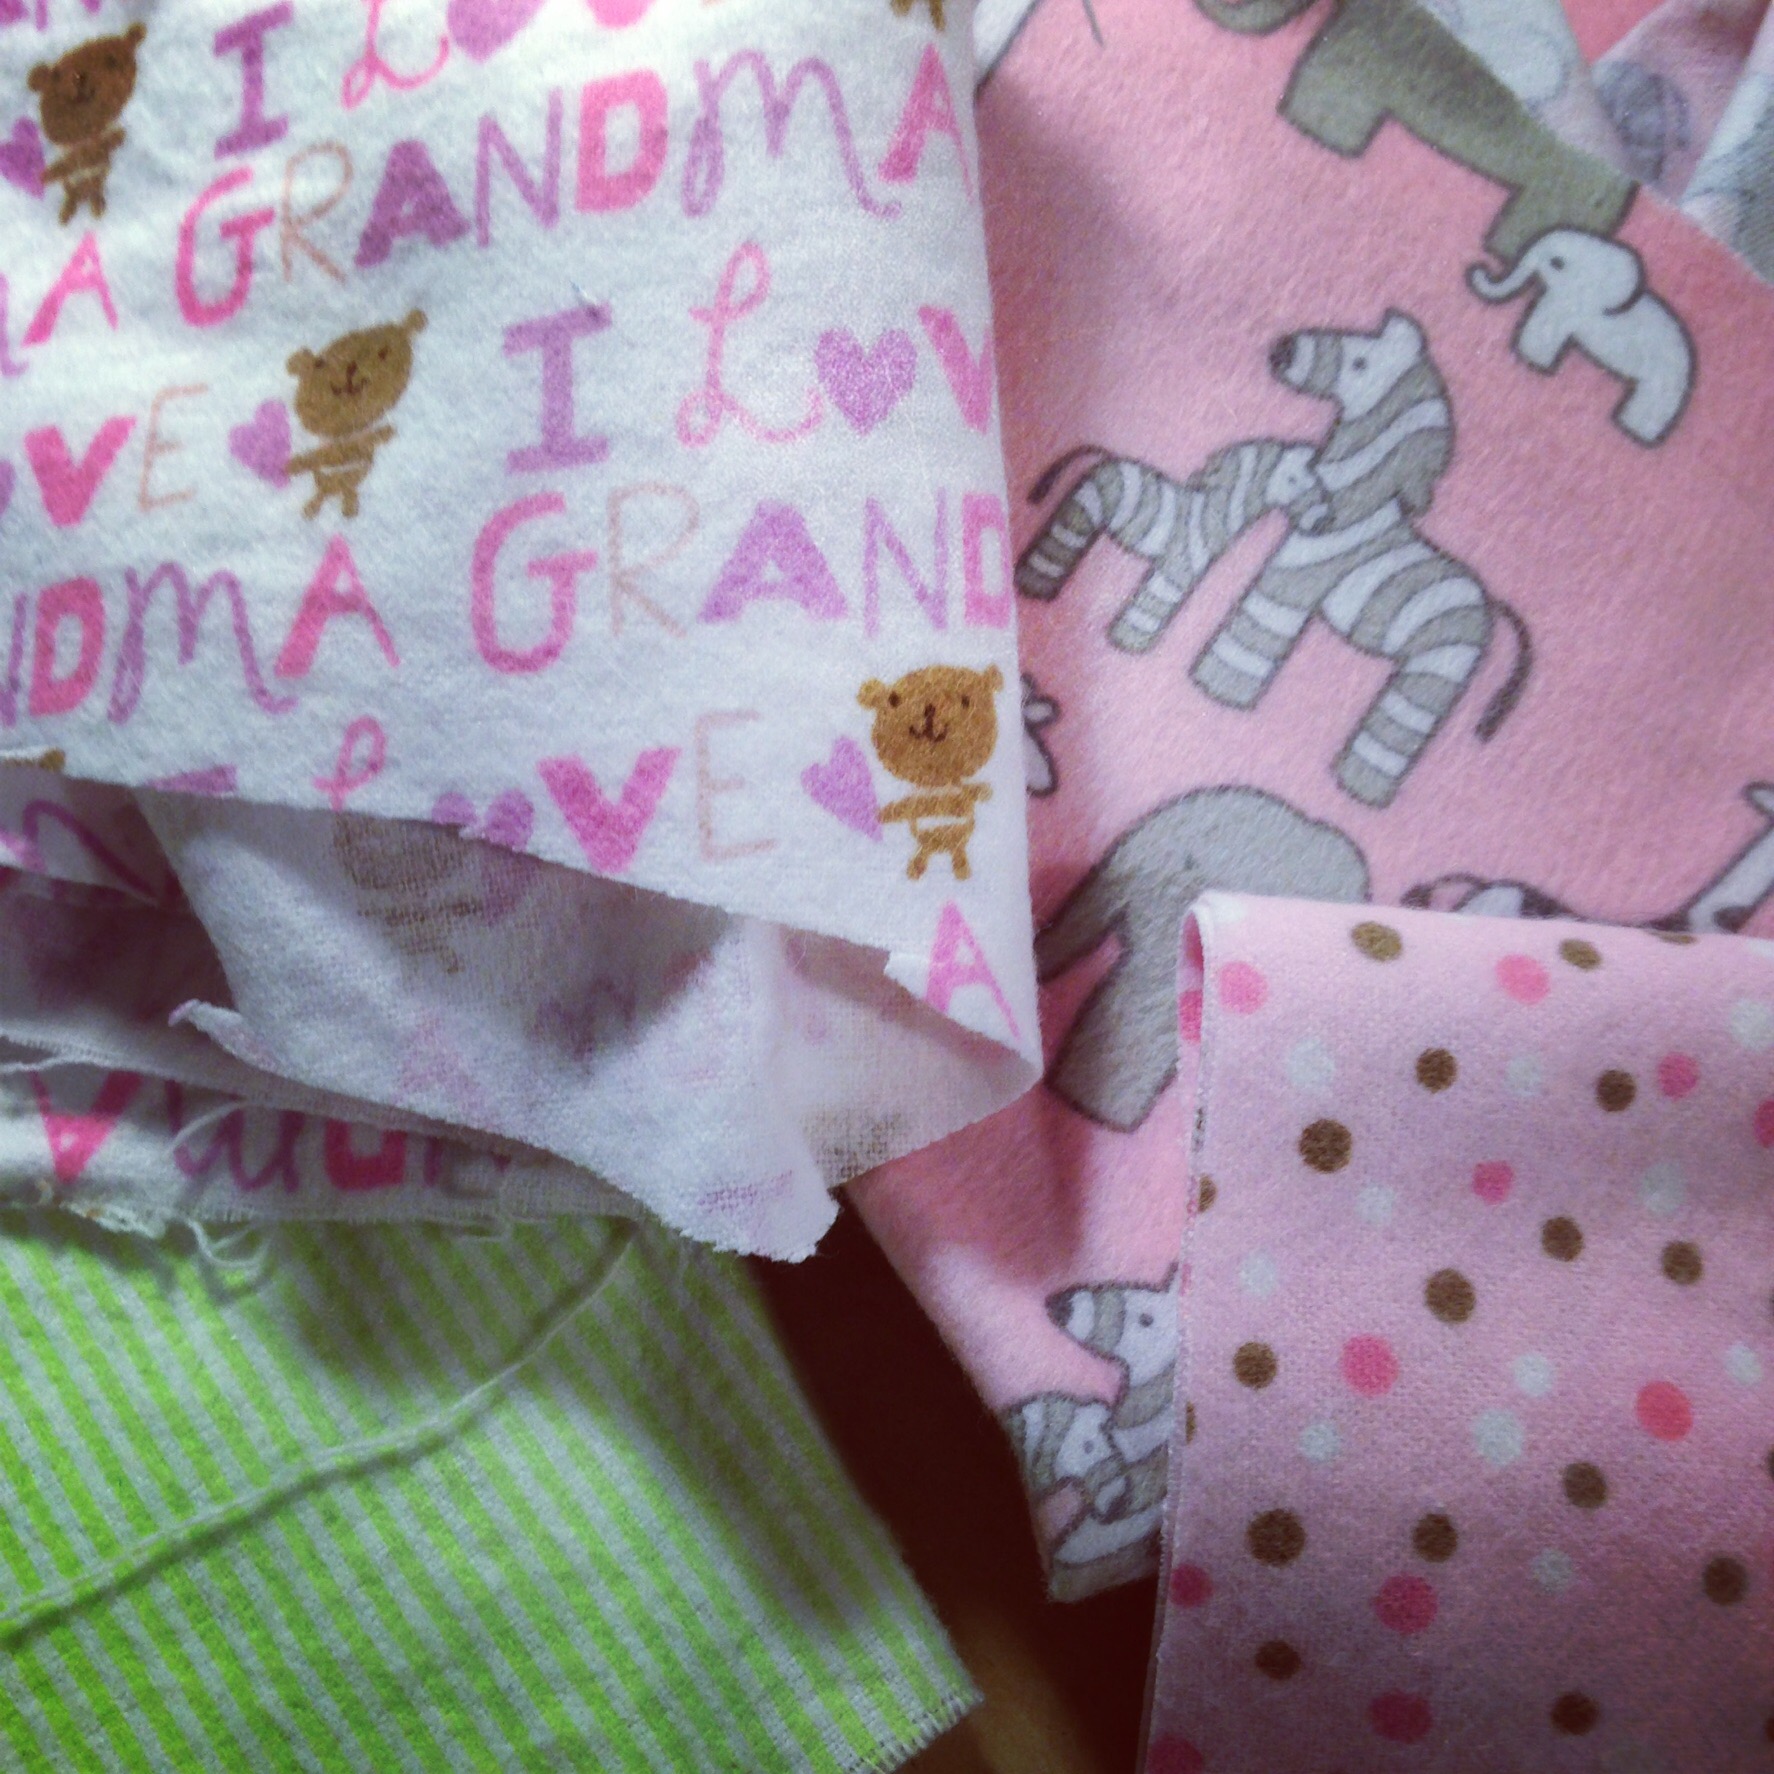
I have sent a few little things to them for the baby. (They live in Vermont – Clearly, it’s not going to be all that convenient to play with my granddaughter.) Last weekend I really wanted to make something for her. It was raining like crazy though, making a trip to the store somewhat unappealing. (Seriously, it was raining that hard.) I dug around in my closet of more-fabric-than-anyone-could-need and pulled some flannel scraps. These were scraps in every sense of the word. They didn’t really go with anything and were not very big. Certainly I could turn them into something. Babies start out small – these were small scraps, I didn’t need to make anything huge, right?
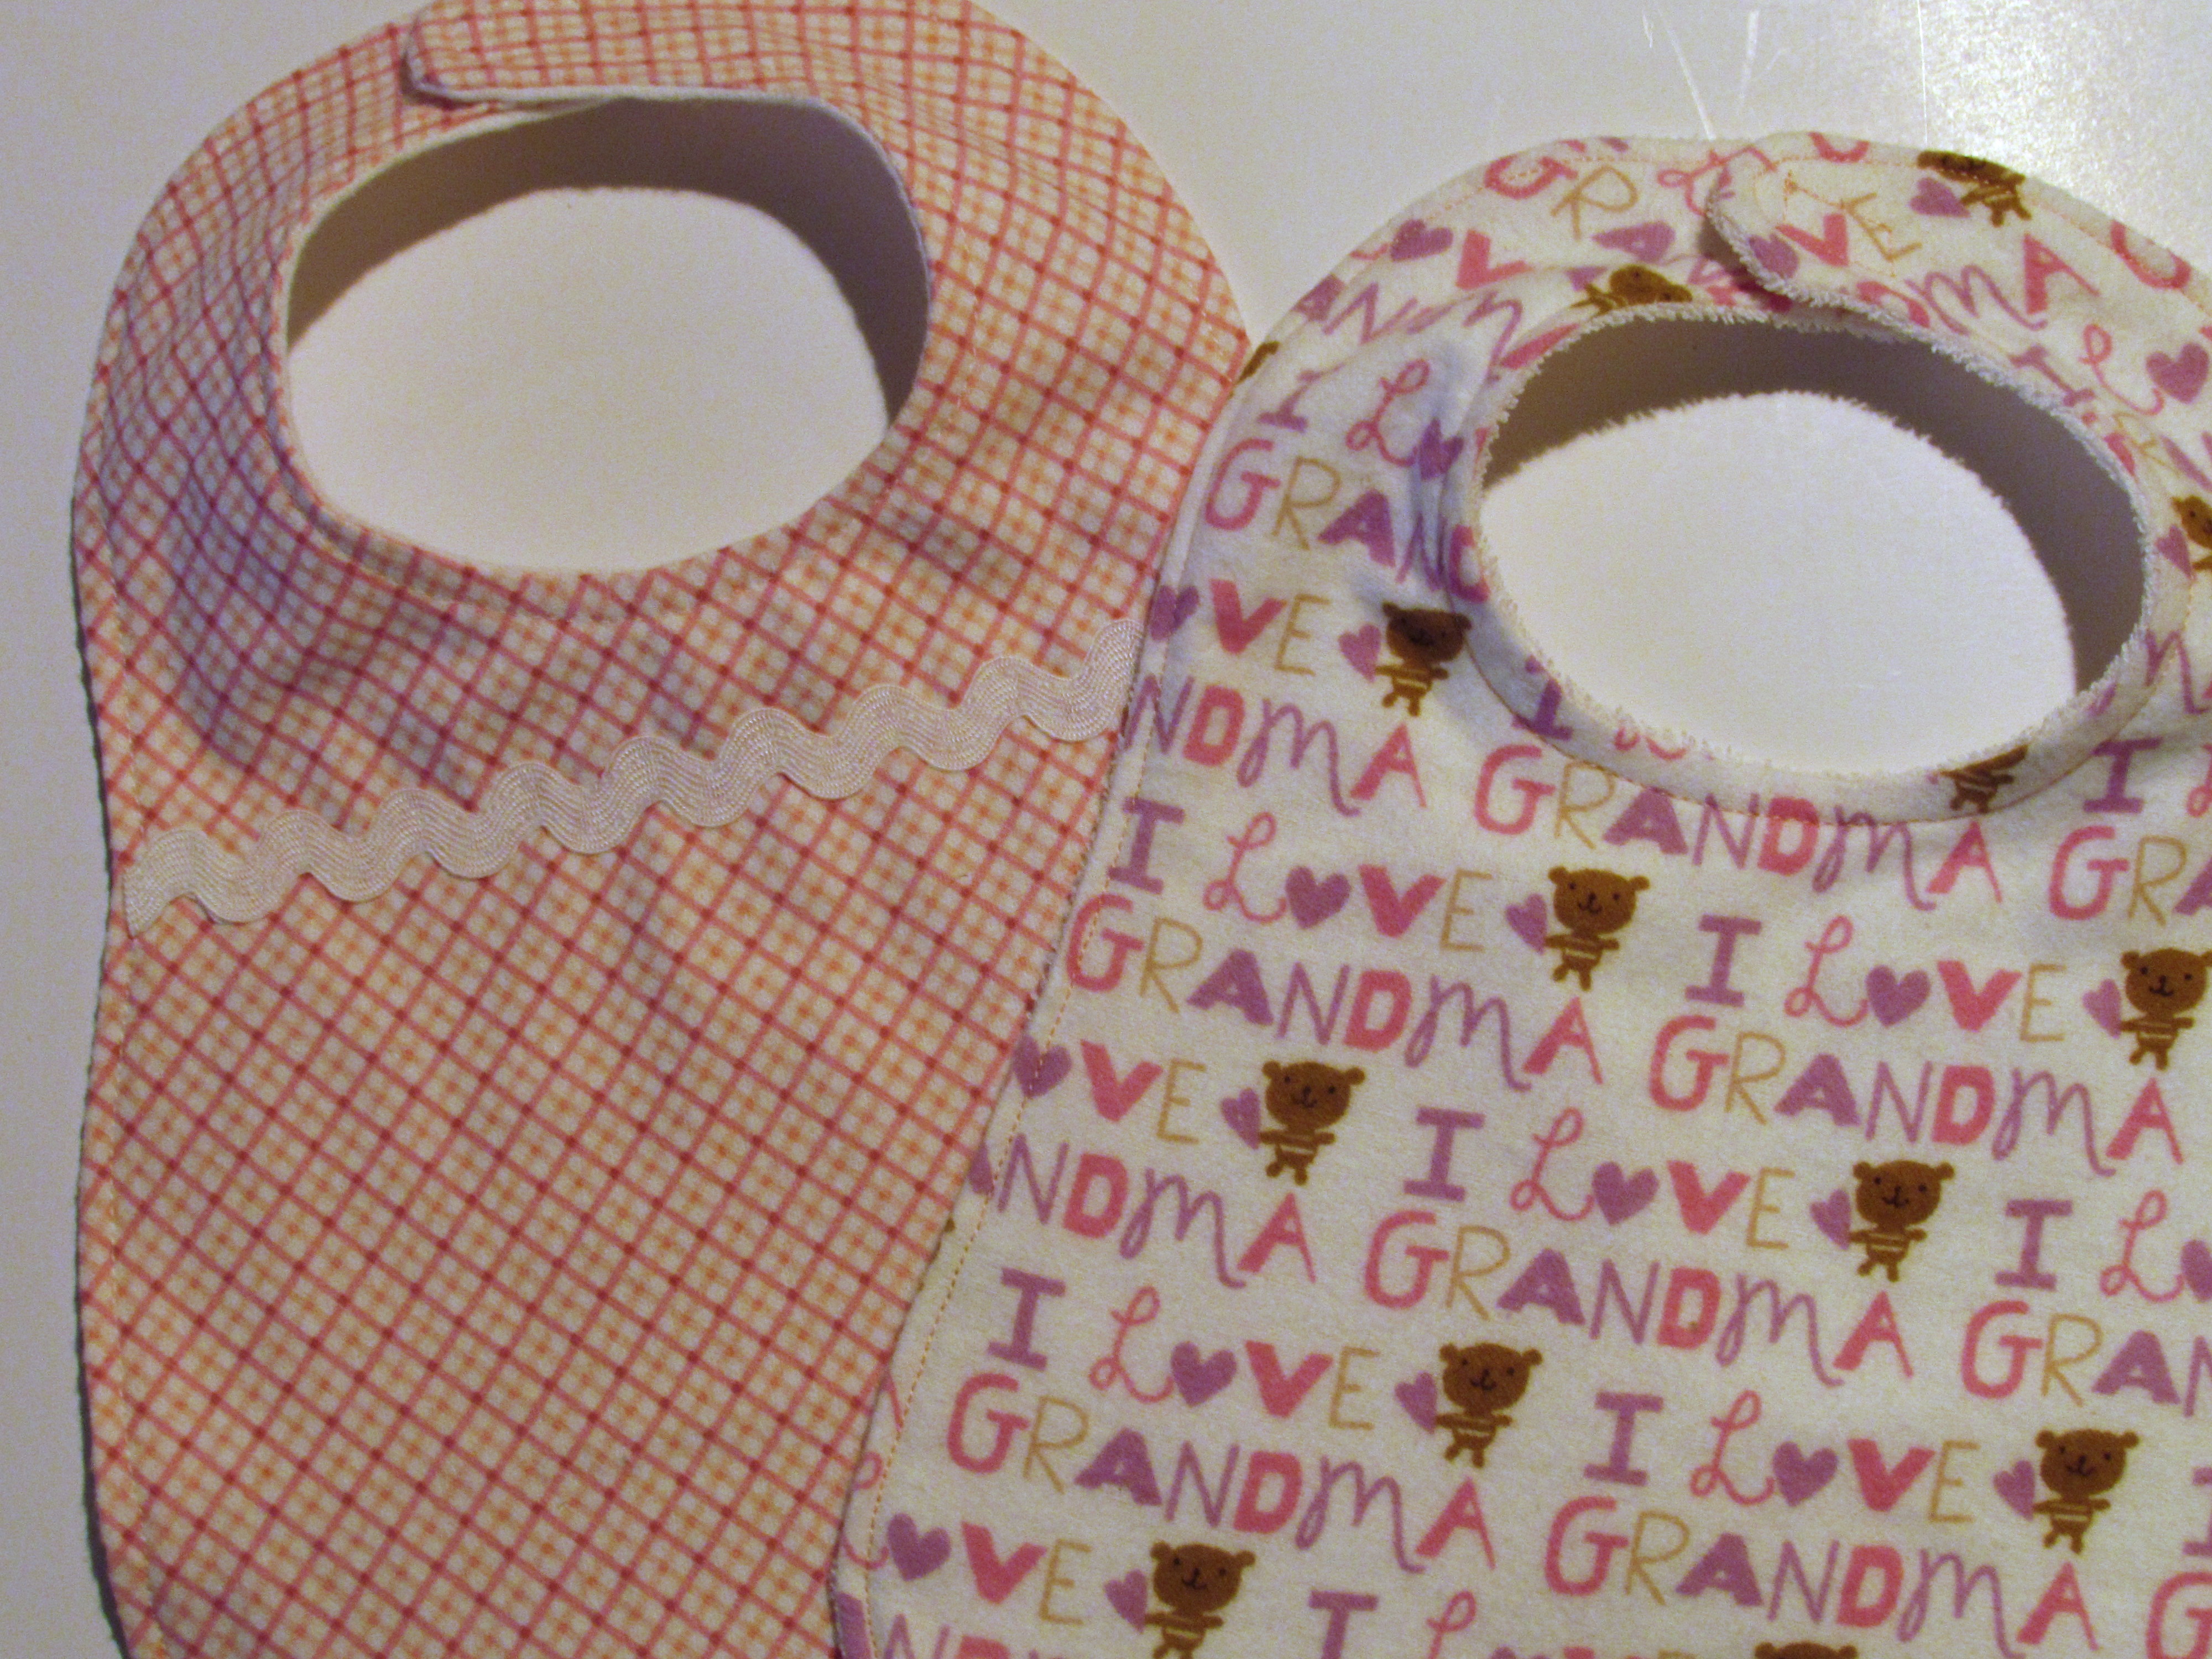
I also found a reasonably sized piece of white flannel and a tiny piece of white terrycloth. After an afternoon of playing around, this is where I ended up.
I squeaked one bib out of terrycloth and flannel and the other bib is backed with white flannel and trimmed with white rick-rack. I used velcro closures because I was out of the little gripper snaps and it was raining….. remember?
Joy (baby girl’s other Grammy), if you are reading this, the “I Love Grandma” bib is for both of us. This girl is going to have two really cool grandmas.
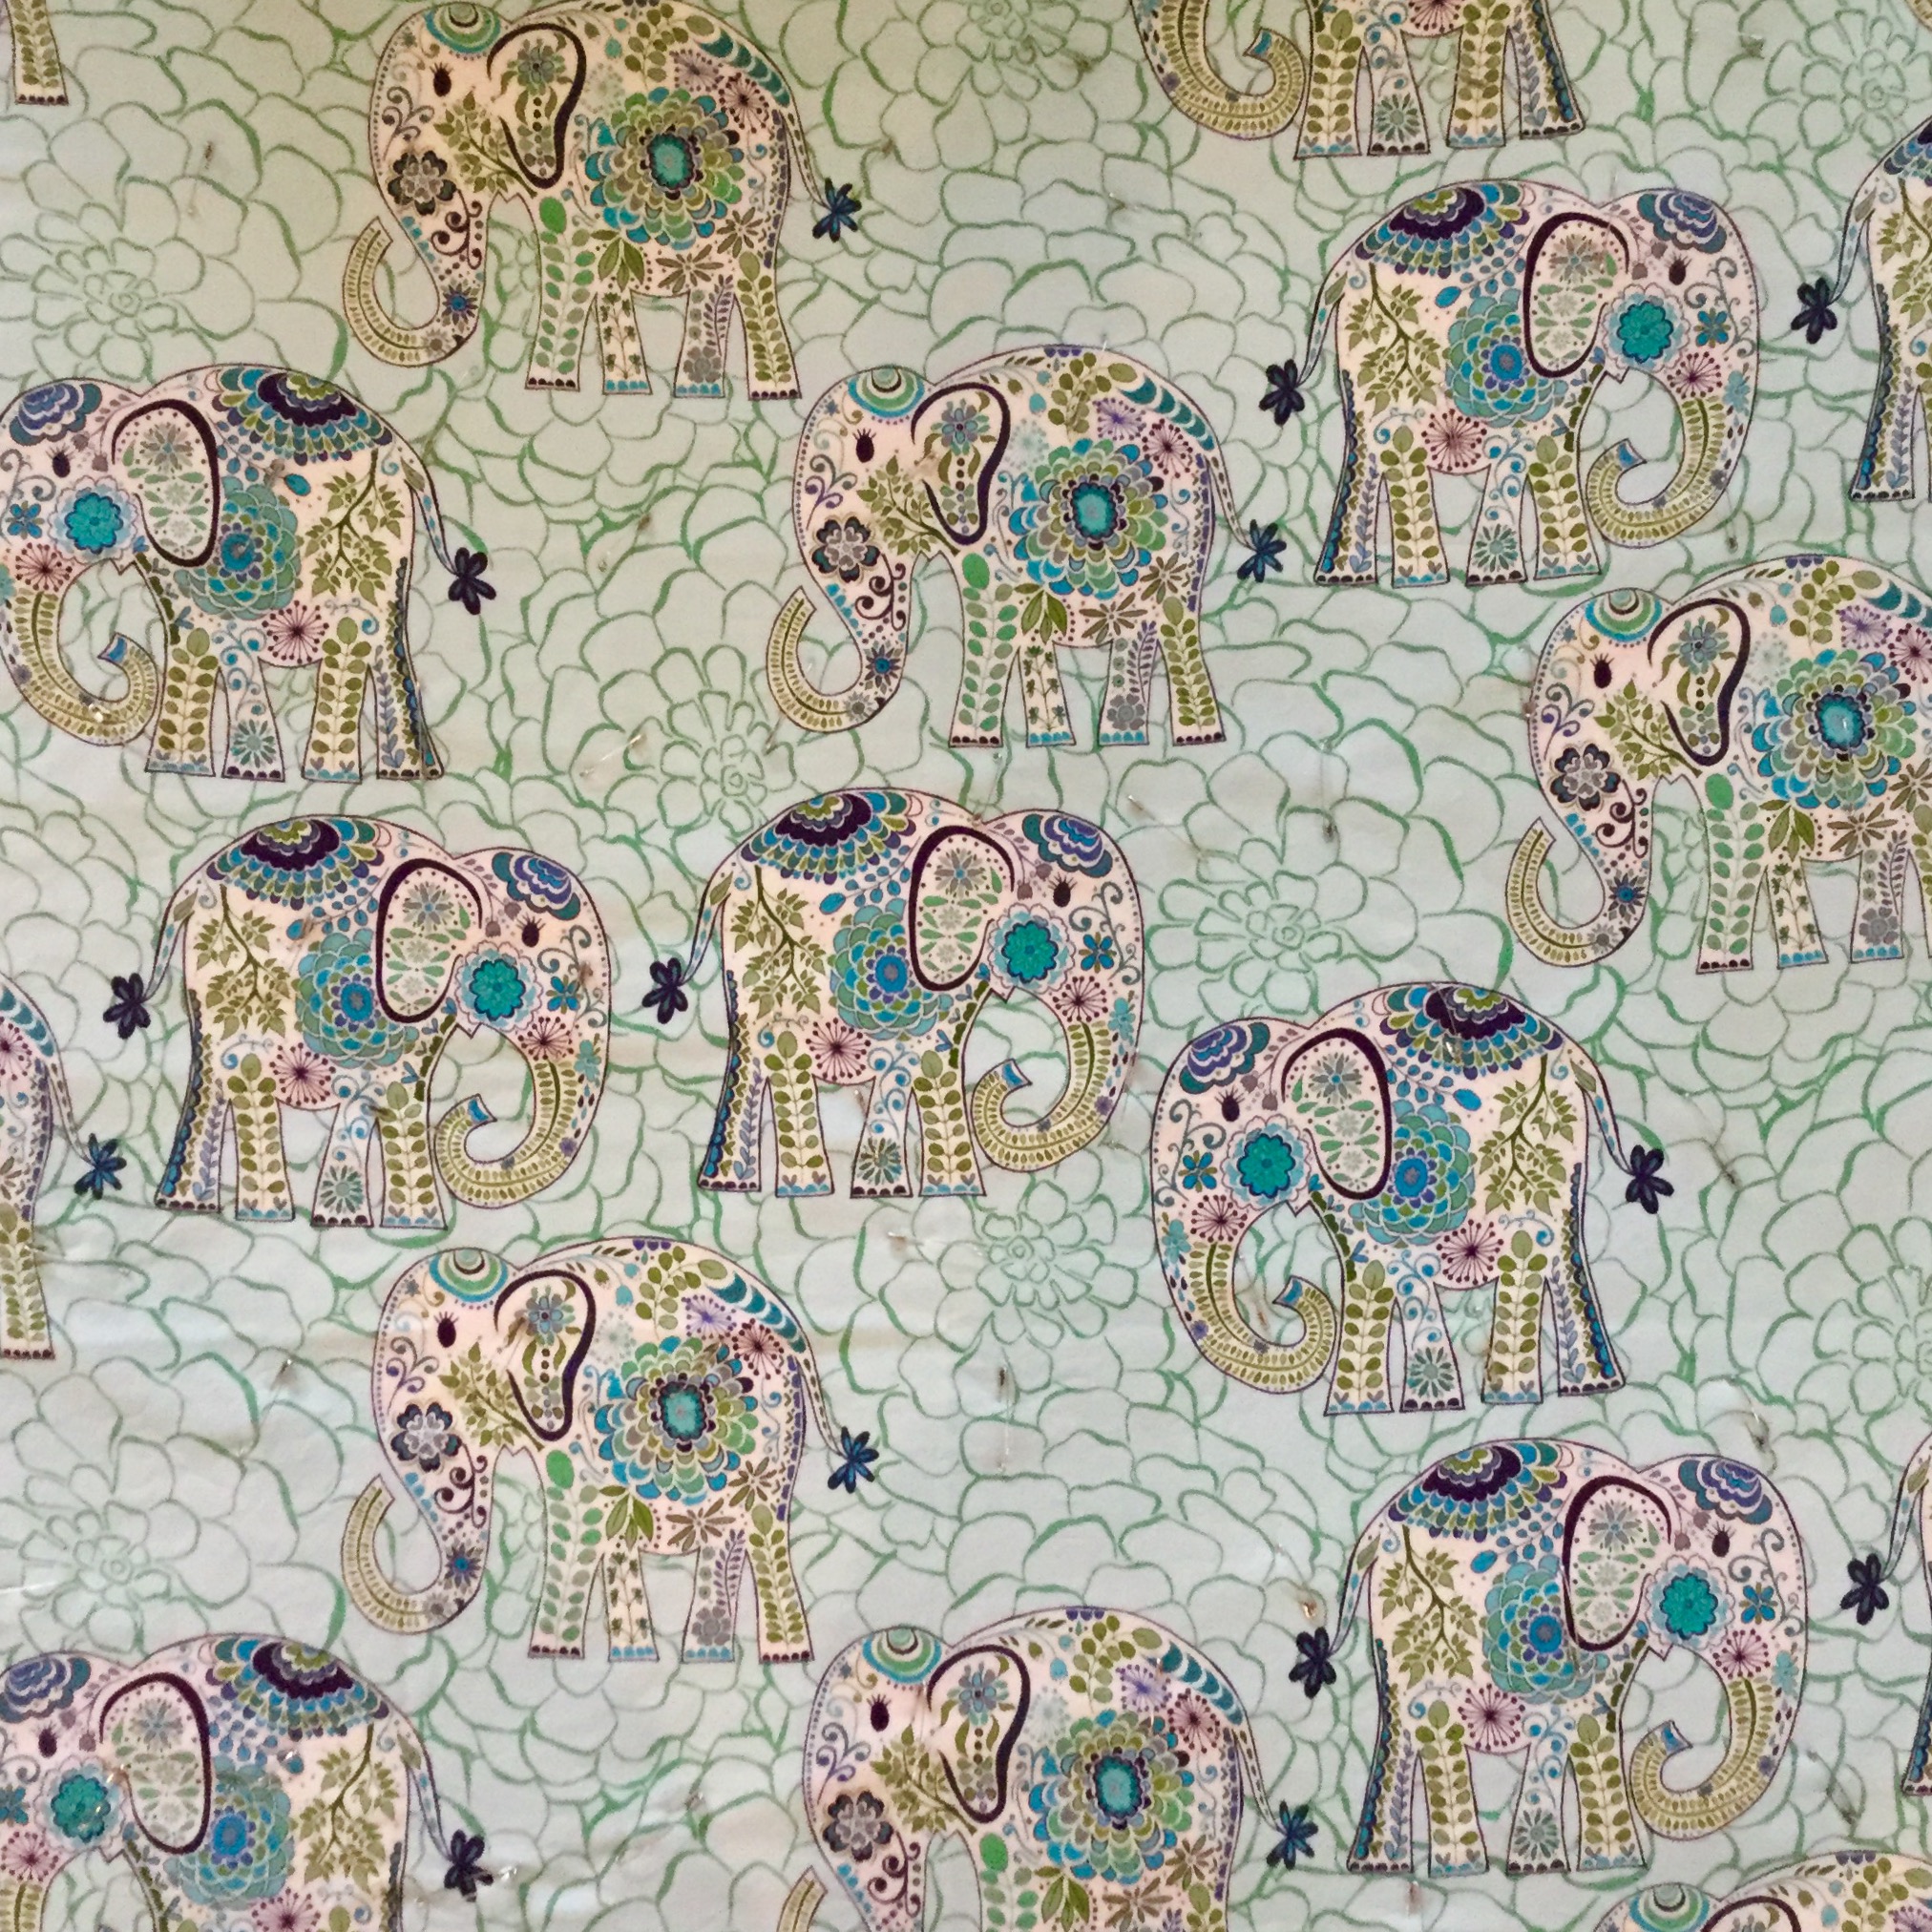
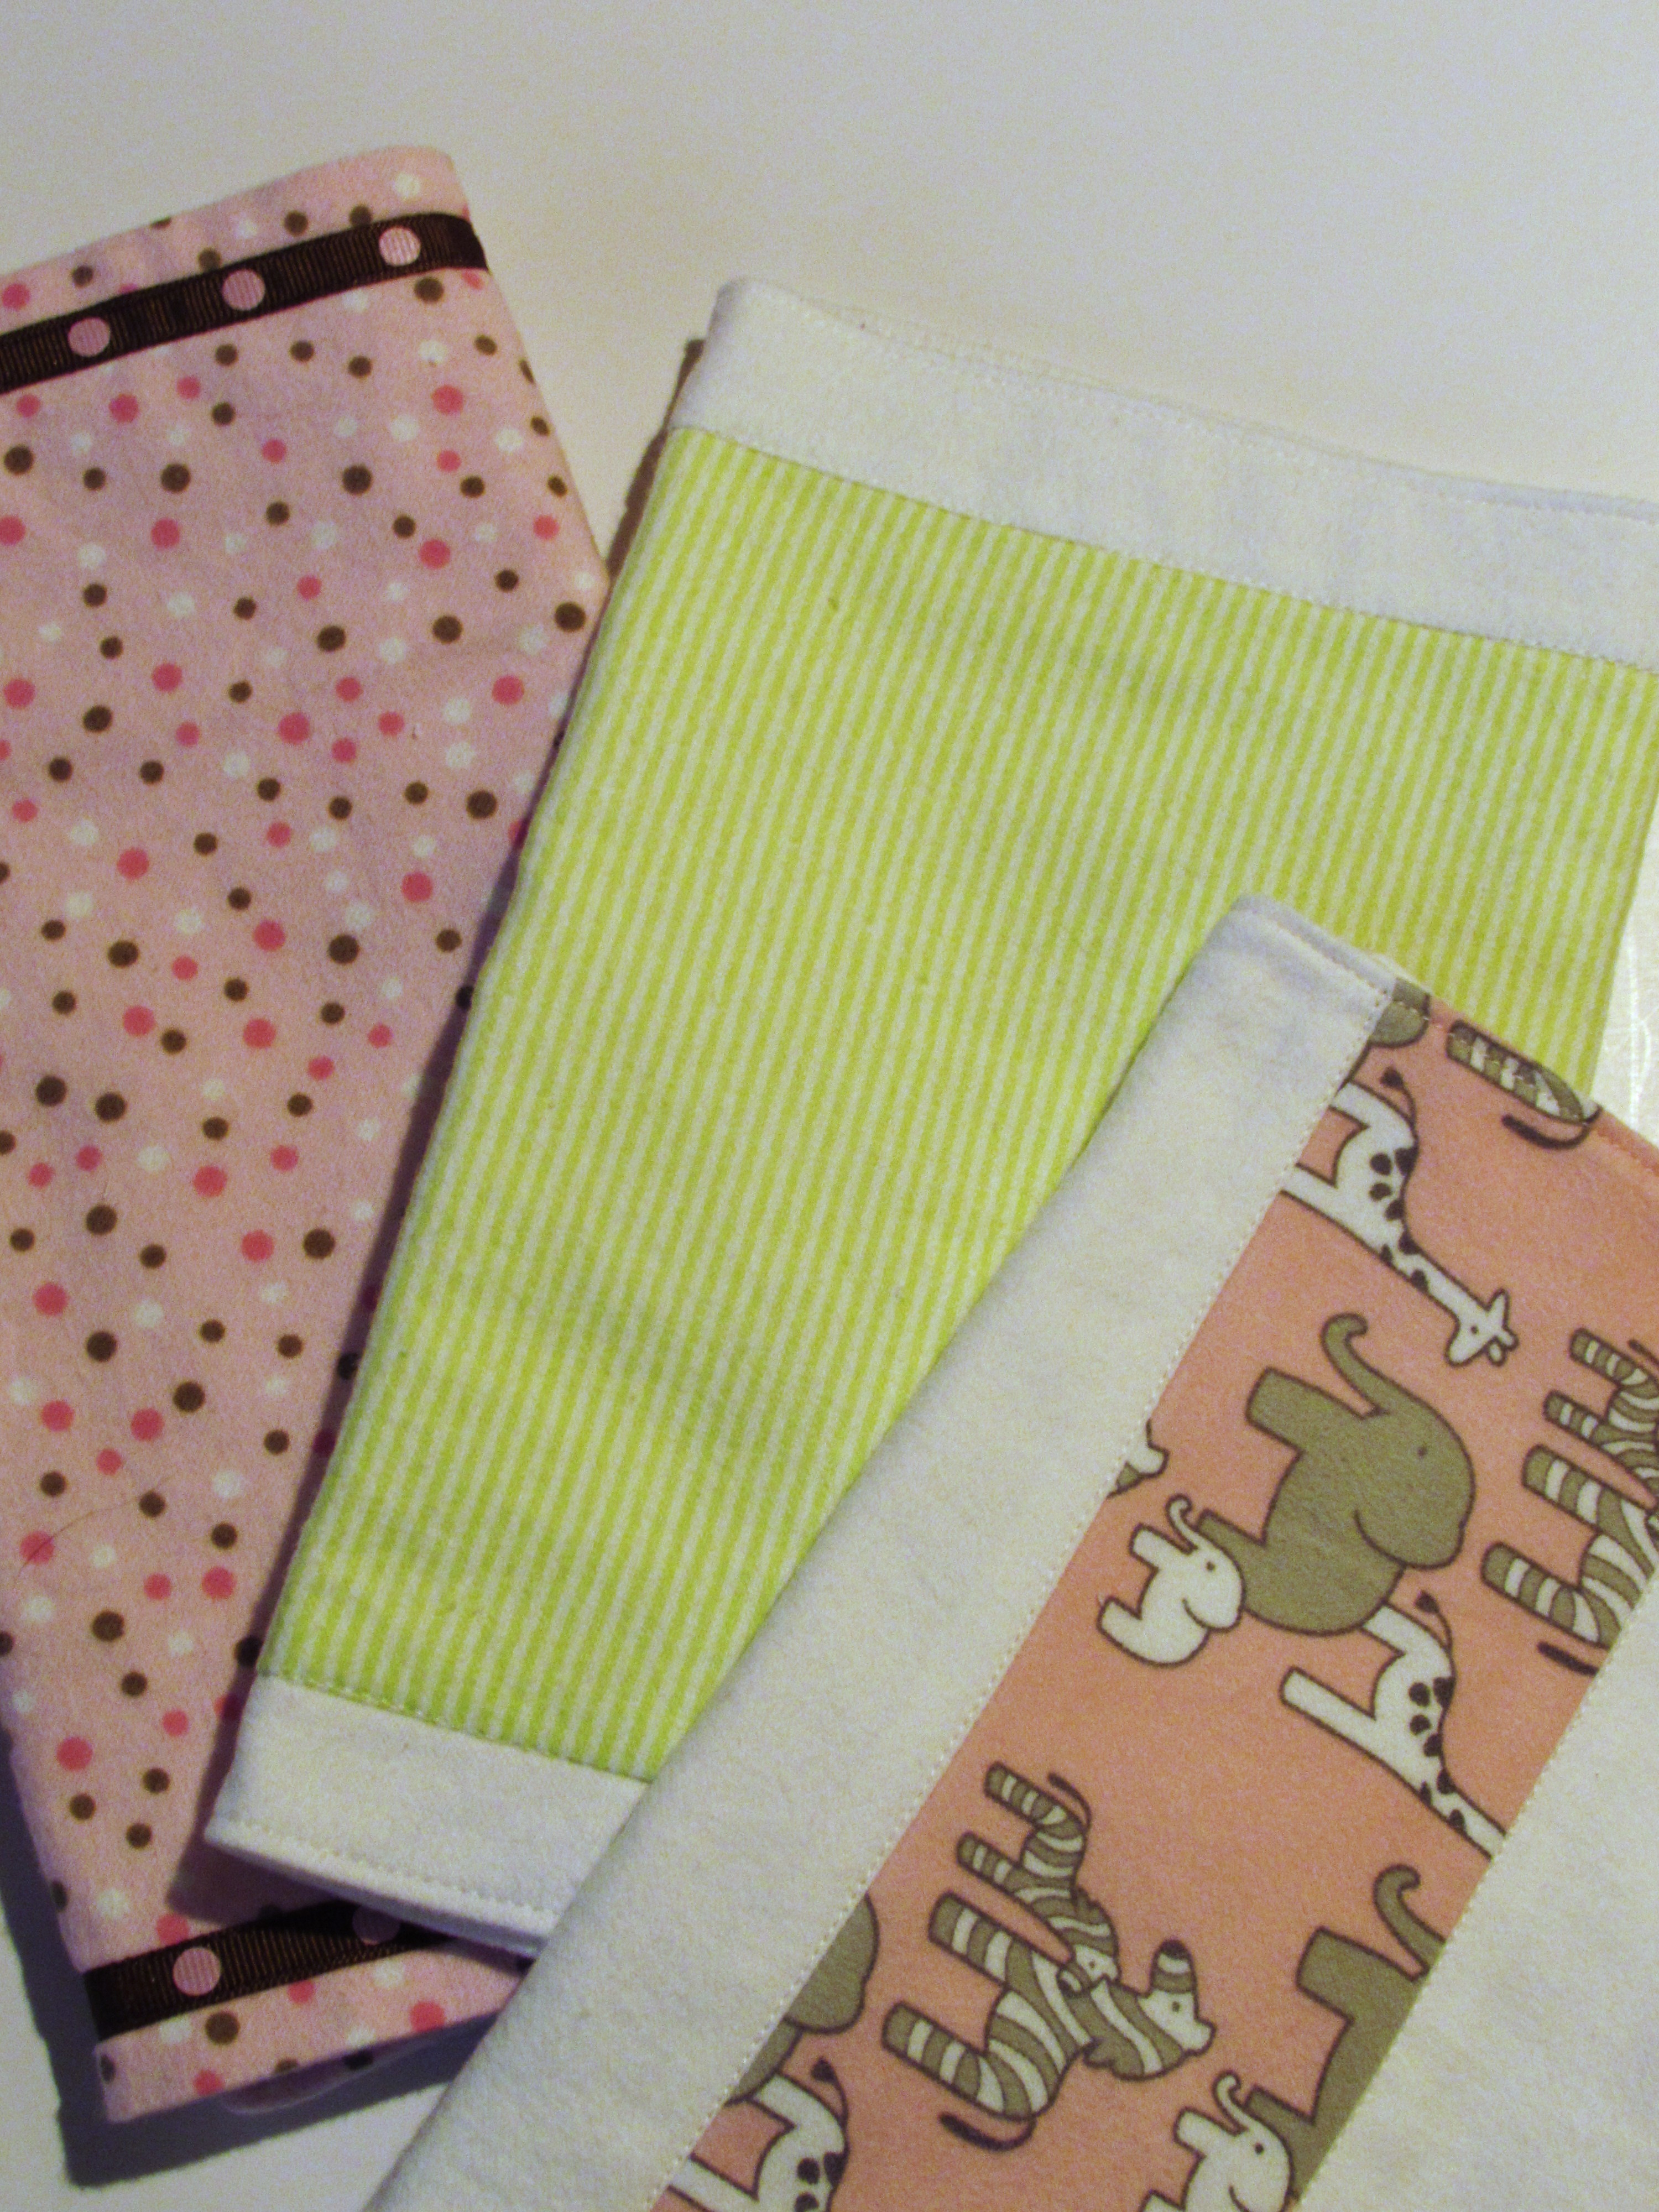
I also made three burp cloths. These are definitely scrappy. The elephant fabric was just a few bits so I mixed it with white flannel strips to get a large enough rectangle. The lime green stripe was a narrow rectangle so I sewed it to a larger rectangle of white flannel, causing the white to wrap around to the front and create a large enough rectangle. That pink polka dot is adorable and I even had coordinating ribbon to embellish with. Fancy schmancy burp cloths for my special girl. I sent them off to the kids with a note telling them that three burp cloths was not nearly sufficient but this would at least get them started. 😉
When I first started blogging, I posted a tutorial for burp clothes that wrap the backing to the front, like the green one. If you want to check it out, click here.
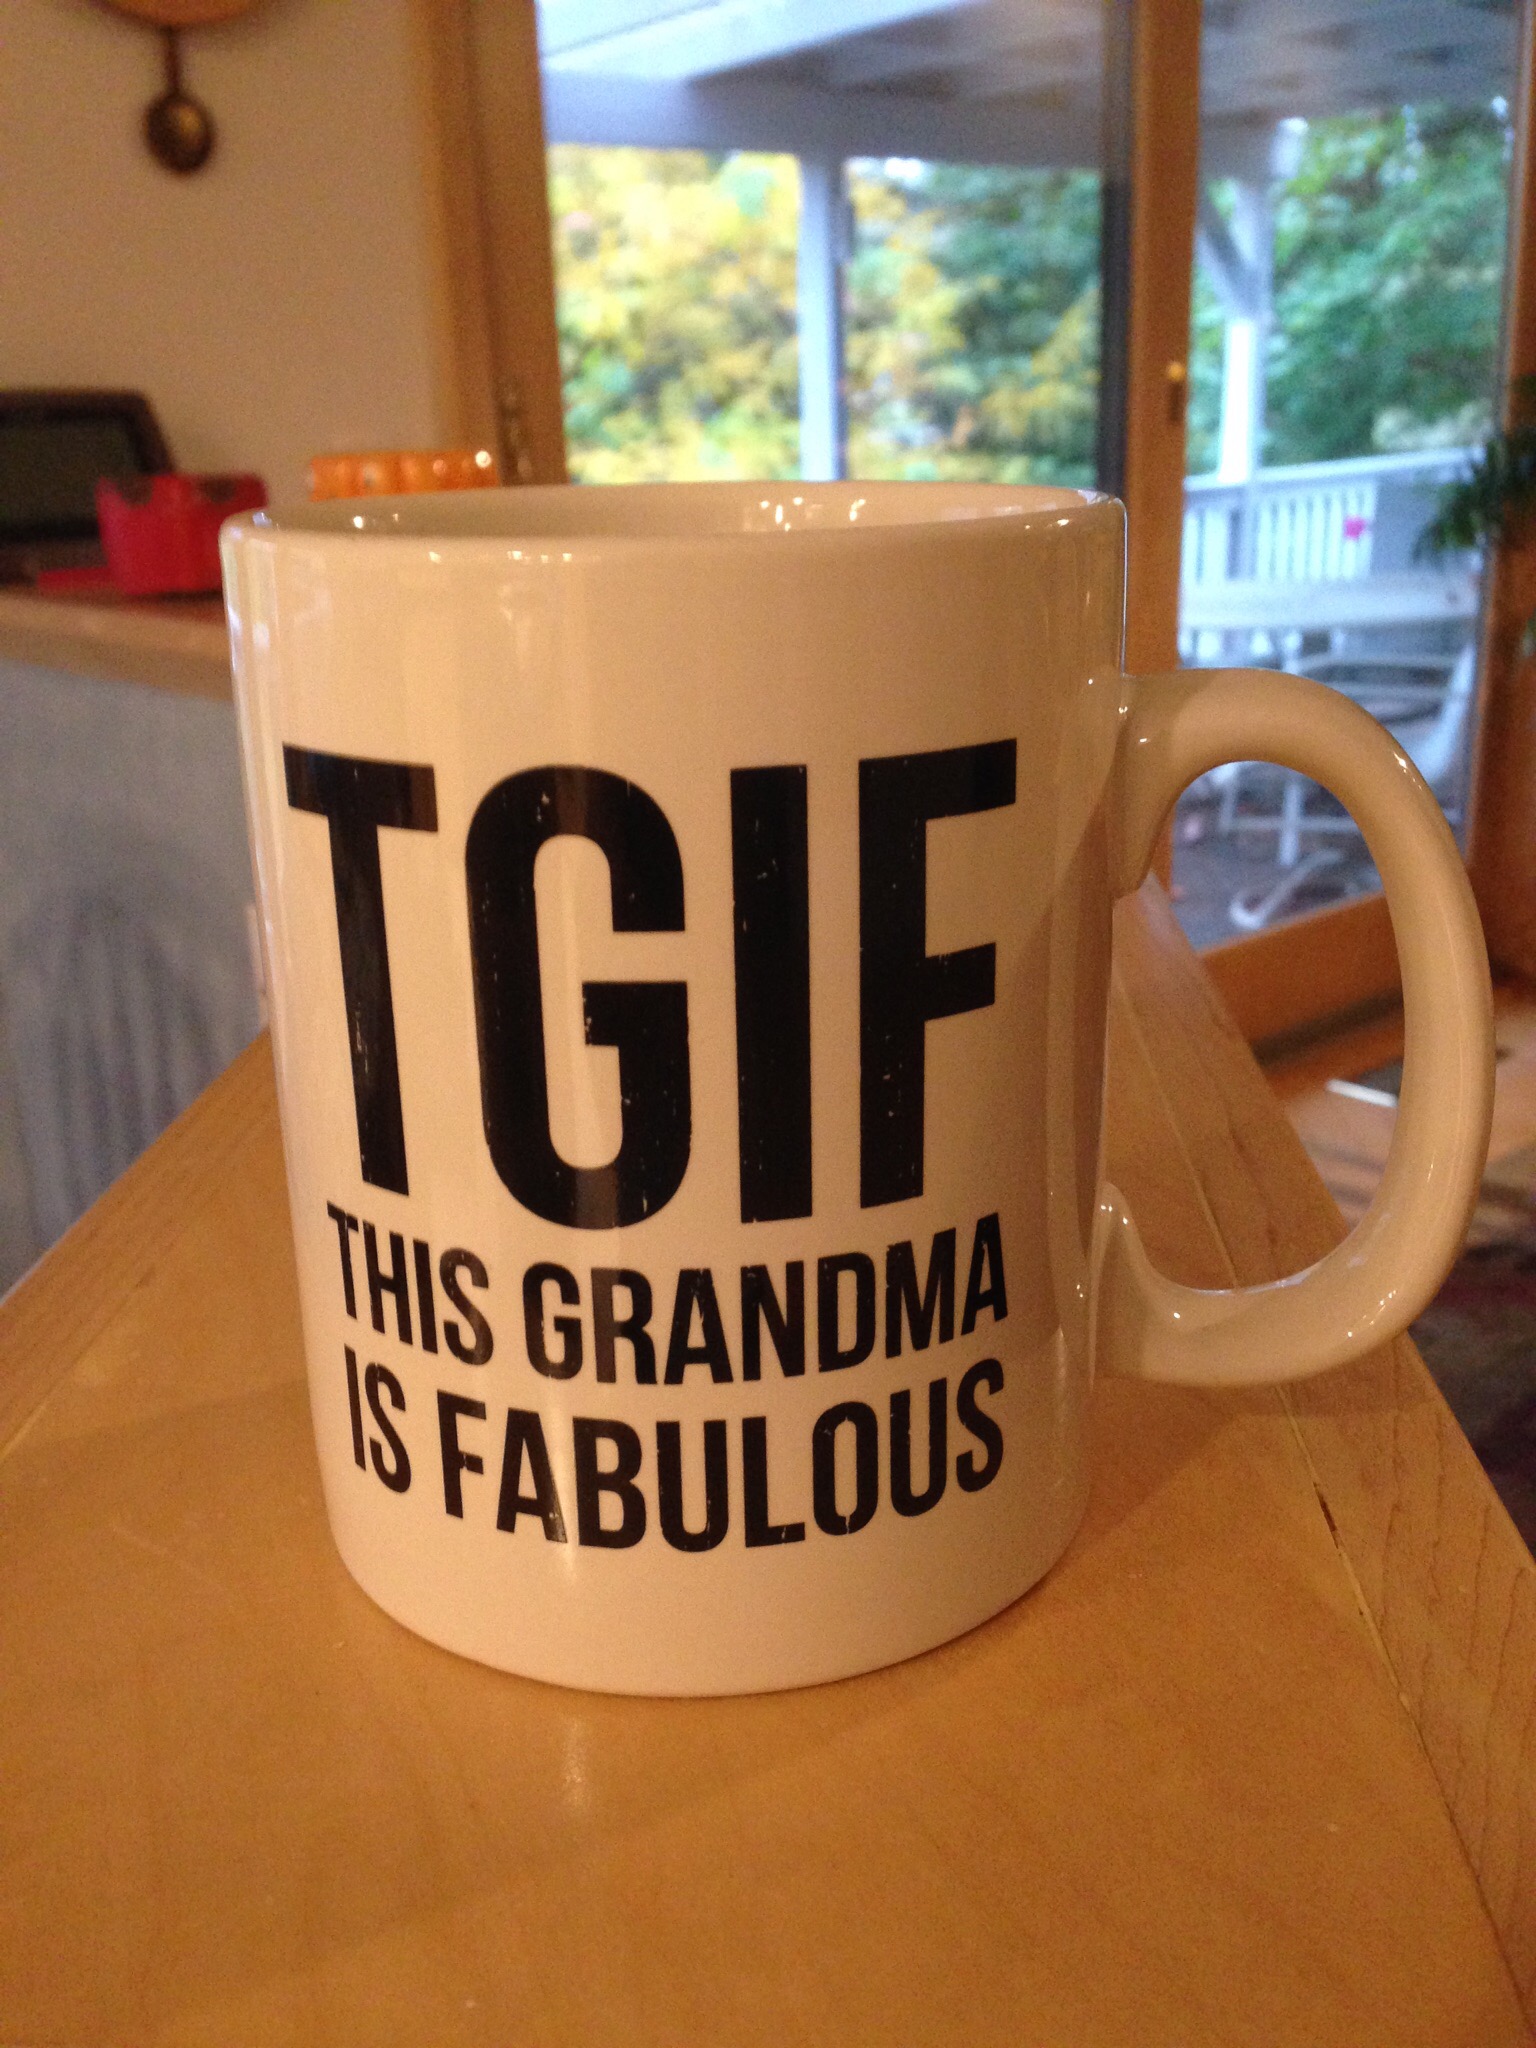
I can’t wait for this baby’s arrival. My son and DIL are so good about keeping all of us posted with ultrasound pictures and baby bump photos. She is clearly adorable already. For my birthday last week they sent me a lovely frame that says granddaughter on it and this TGIF mug. It is the perfect mug for me – holds a huge cup of coffee and reminds me I am soon to be a Grammy.
Linking to lots of fun places – check them out at the top of the page, under Link Ups.
Just a few quick things to share with you this morning. First of all, I drew the names of the winners for the Autumn Abundance giveaway. I have to say, it was so nice to read about all of your favorite Thanksgiving dishes and traditions. Everyone has something special about the day, ranging from candied yams to Szechuan turkey (which I had not heard of), to mac and cheese and all sorts of pie. Traditions run strong in families and it makes the holidays that much more special. Thanks for sharing some of yours!
Here are the giveaway winners:
Kim of Lily Patch Quilts won the fat quarter bundle of Into the Woods fabric. Lucky girl!
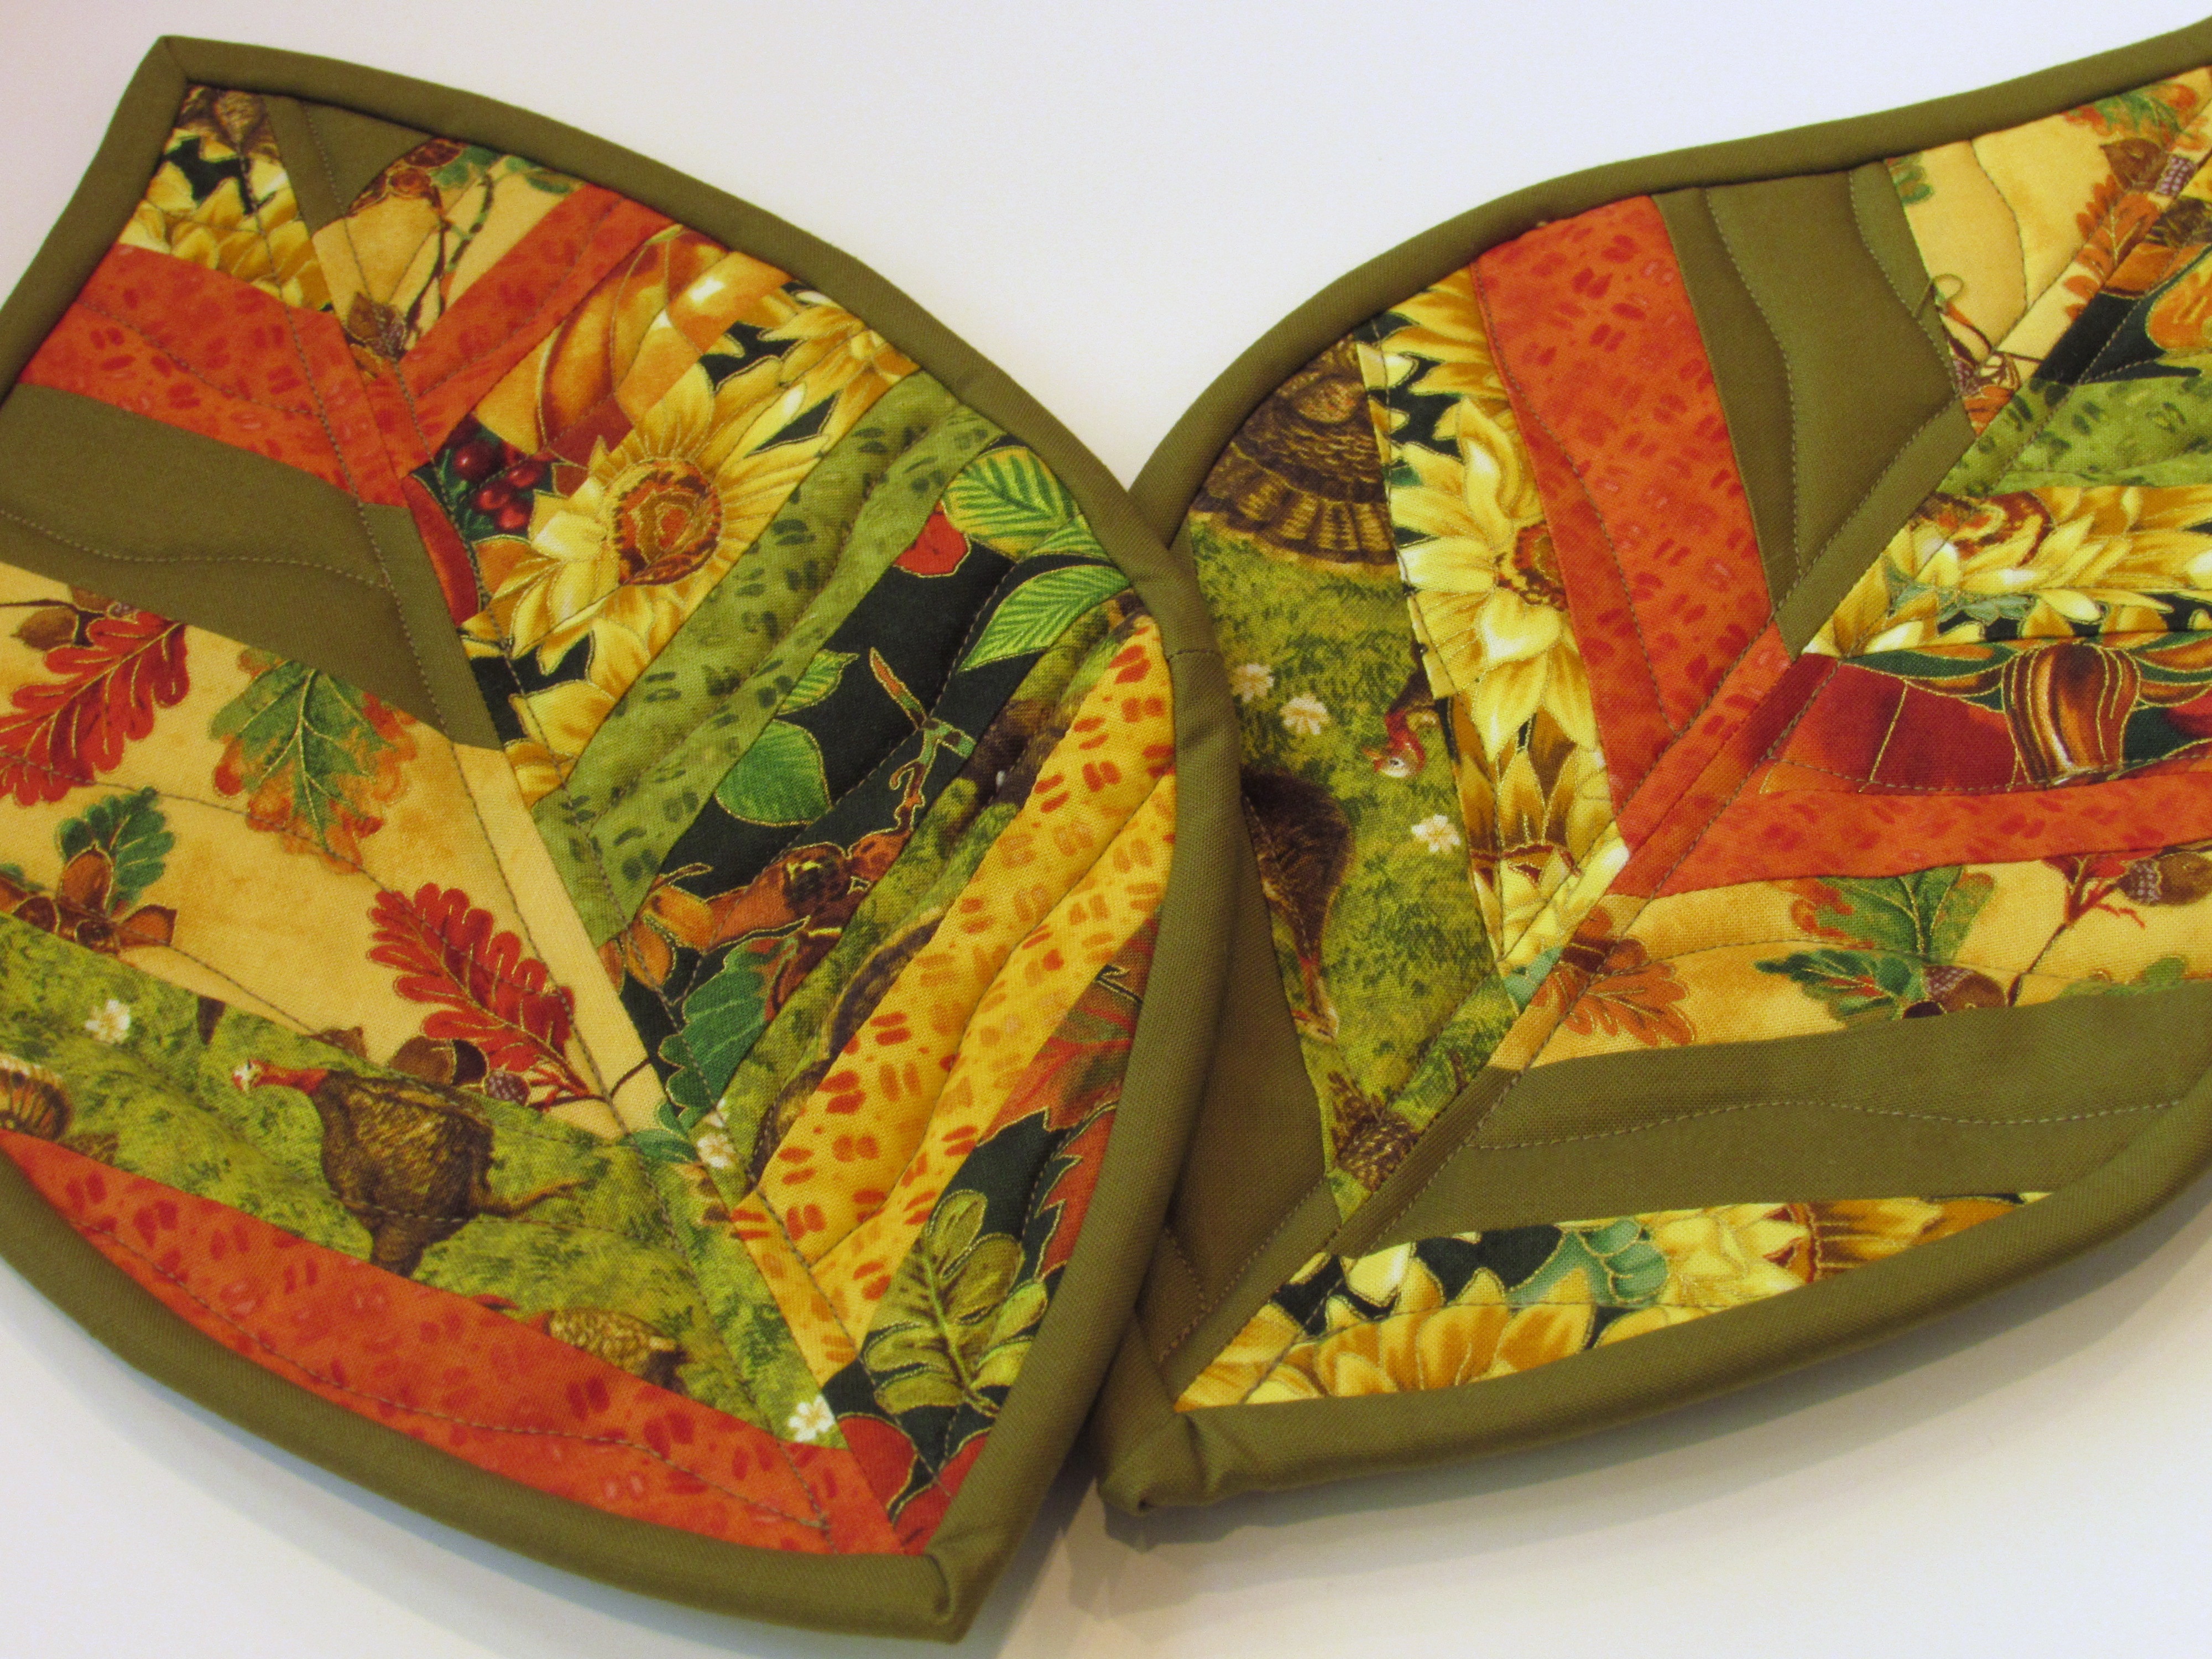
Donna won the pair of scrappy leaf shaped pot holders.
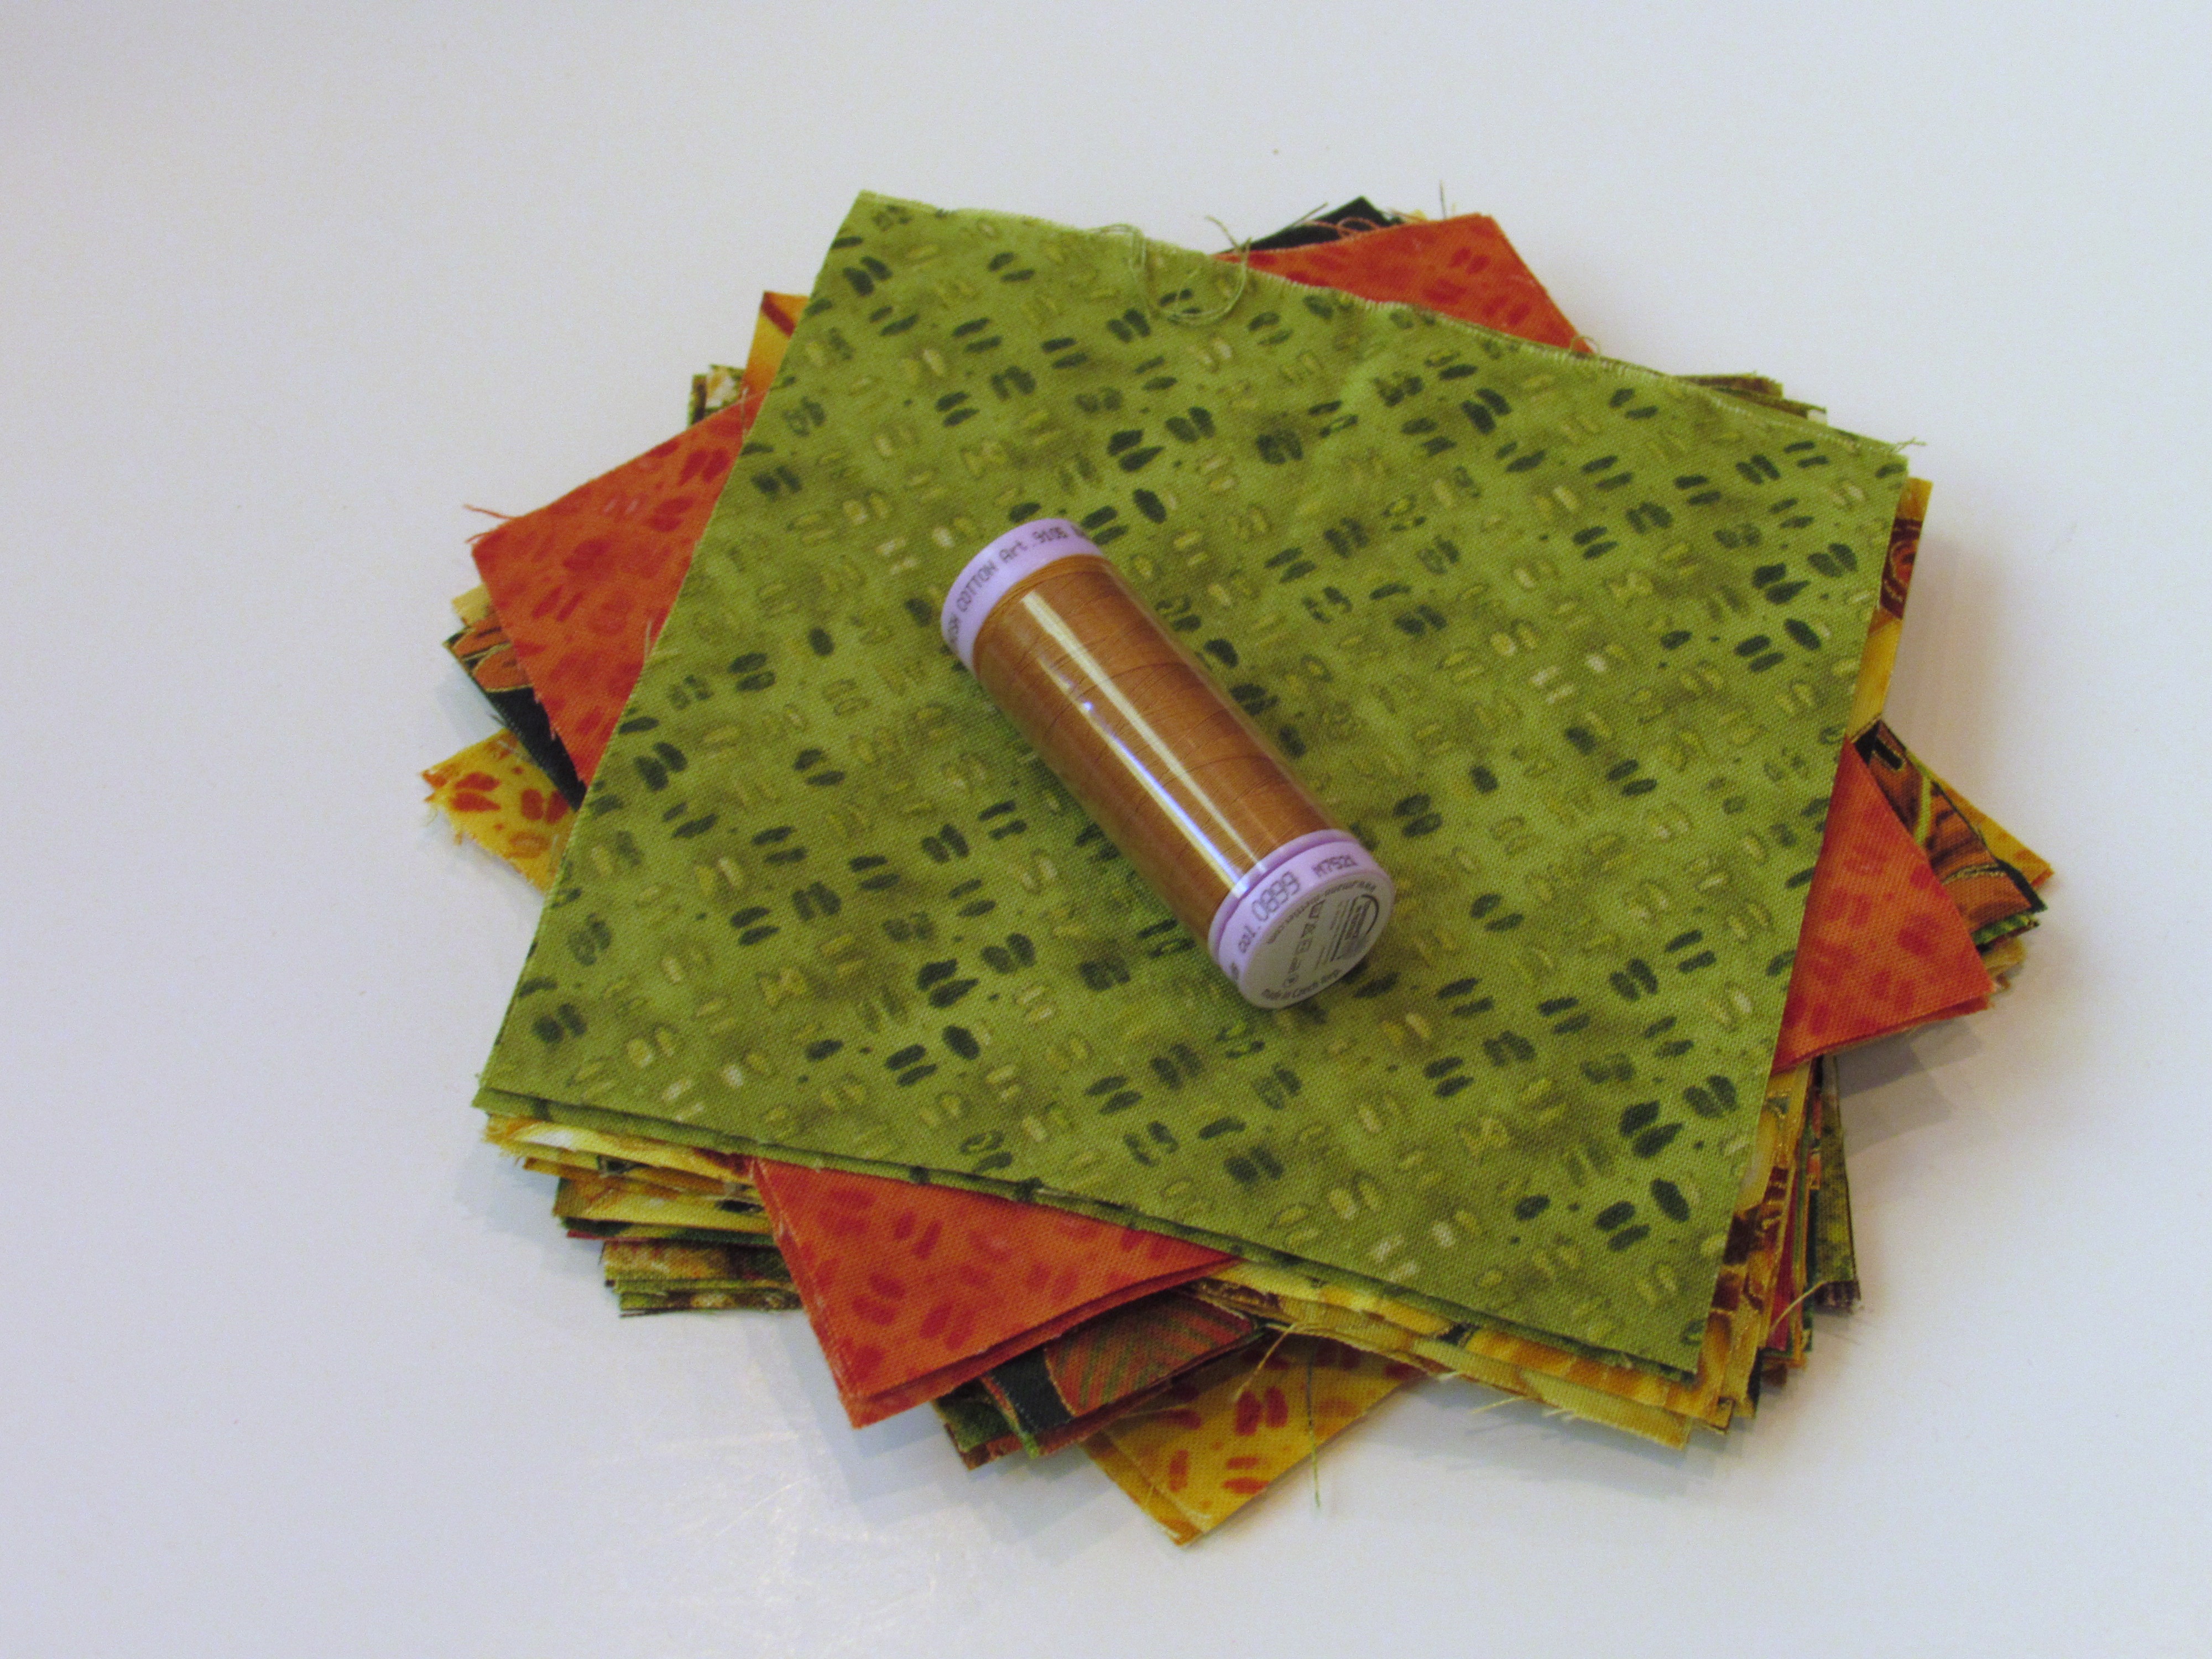
Linda won the charm squares with a spool of Aurifil thread.
All three prizes are being mailed to the lucky winners. Thanks so much for participating in the blog hop. It was a lot of fun and I very much enjoyed looking at all of the projects made with the gorgeous fabrics that Paint Brush Studios provided, making our event possible. Thanks so much to Paint Brush Studios!!
Next, I wanted to let you know that C&T Publishers (of which Stash Books is a division) has supplied me with a wonderful coupon code for readers. Between now and Monday, November 7th, just use the code SECRET35 to receive 35% off your entire order. It’s November already – maybe time to do a little holiday shopping?
There are several new books being released in November, two of which have caught my eye.
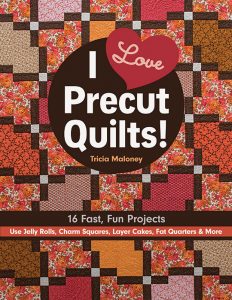
I Love Precut Quilts has loads of ideas for projects that use charm squares, jelly rolls and layer cakes.
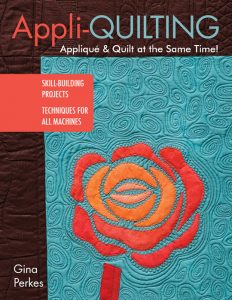
Another new release is Appli-Quilting. I think this book has some cool ideas about incorporating applique with an assembled quilt sandwich and sewing the applique down as a part of the quilting. Click through on the link for some interesting pictures of projects in this book.
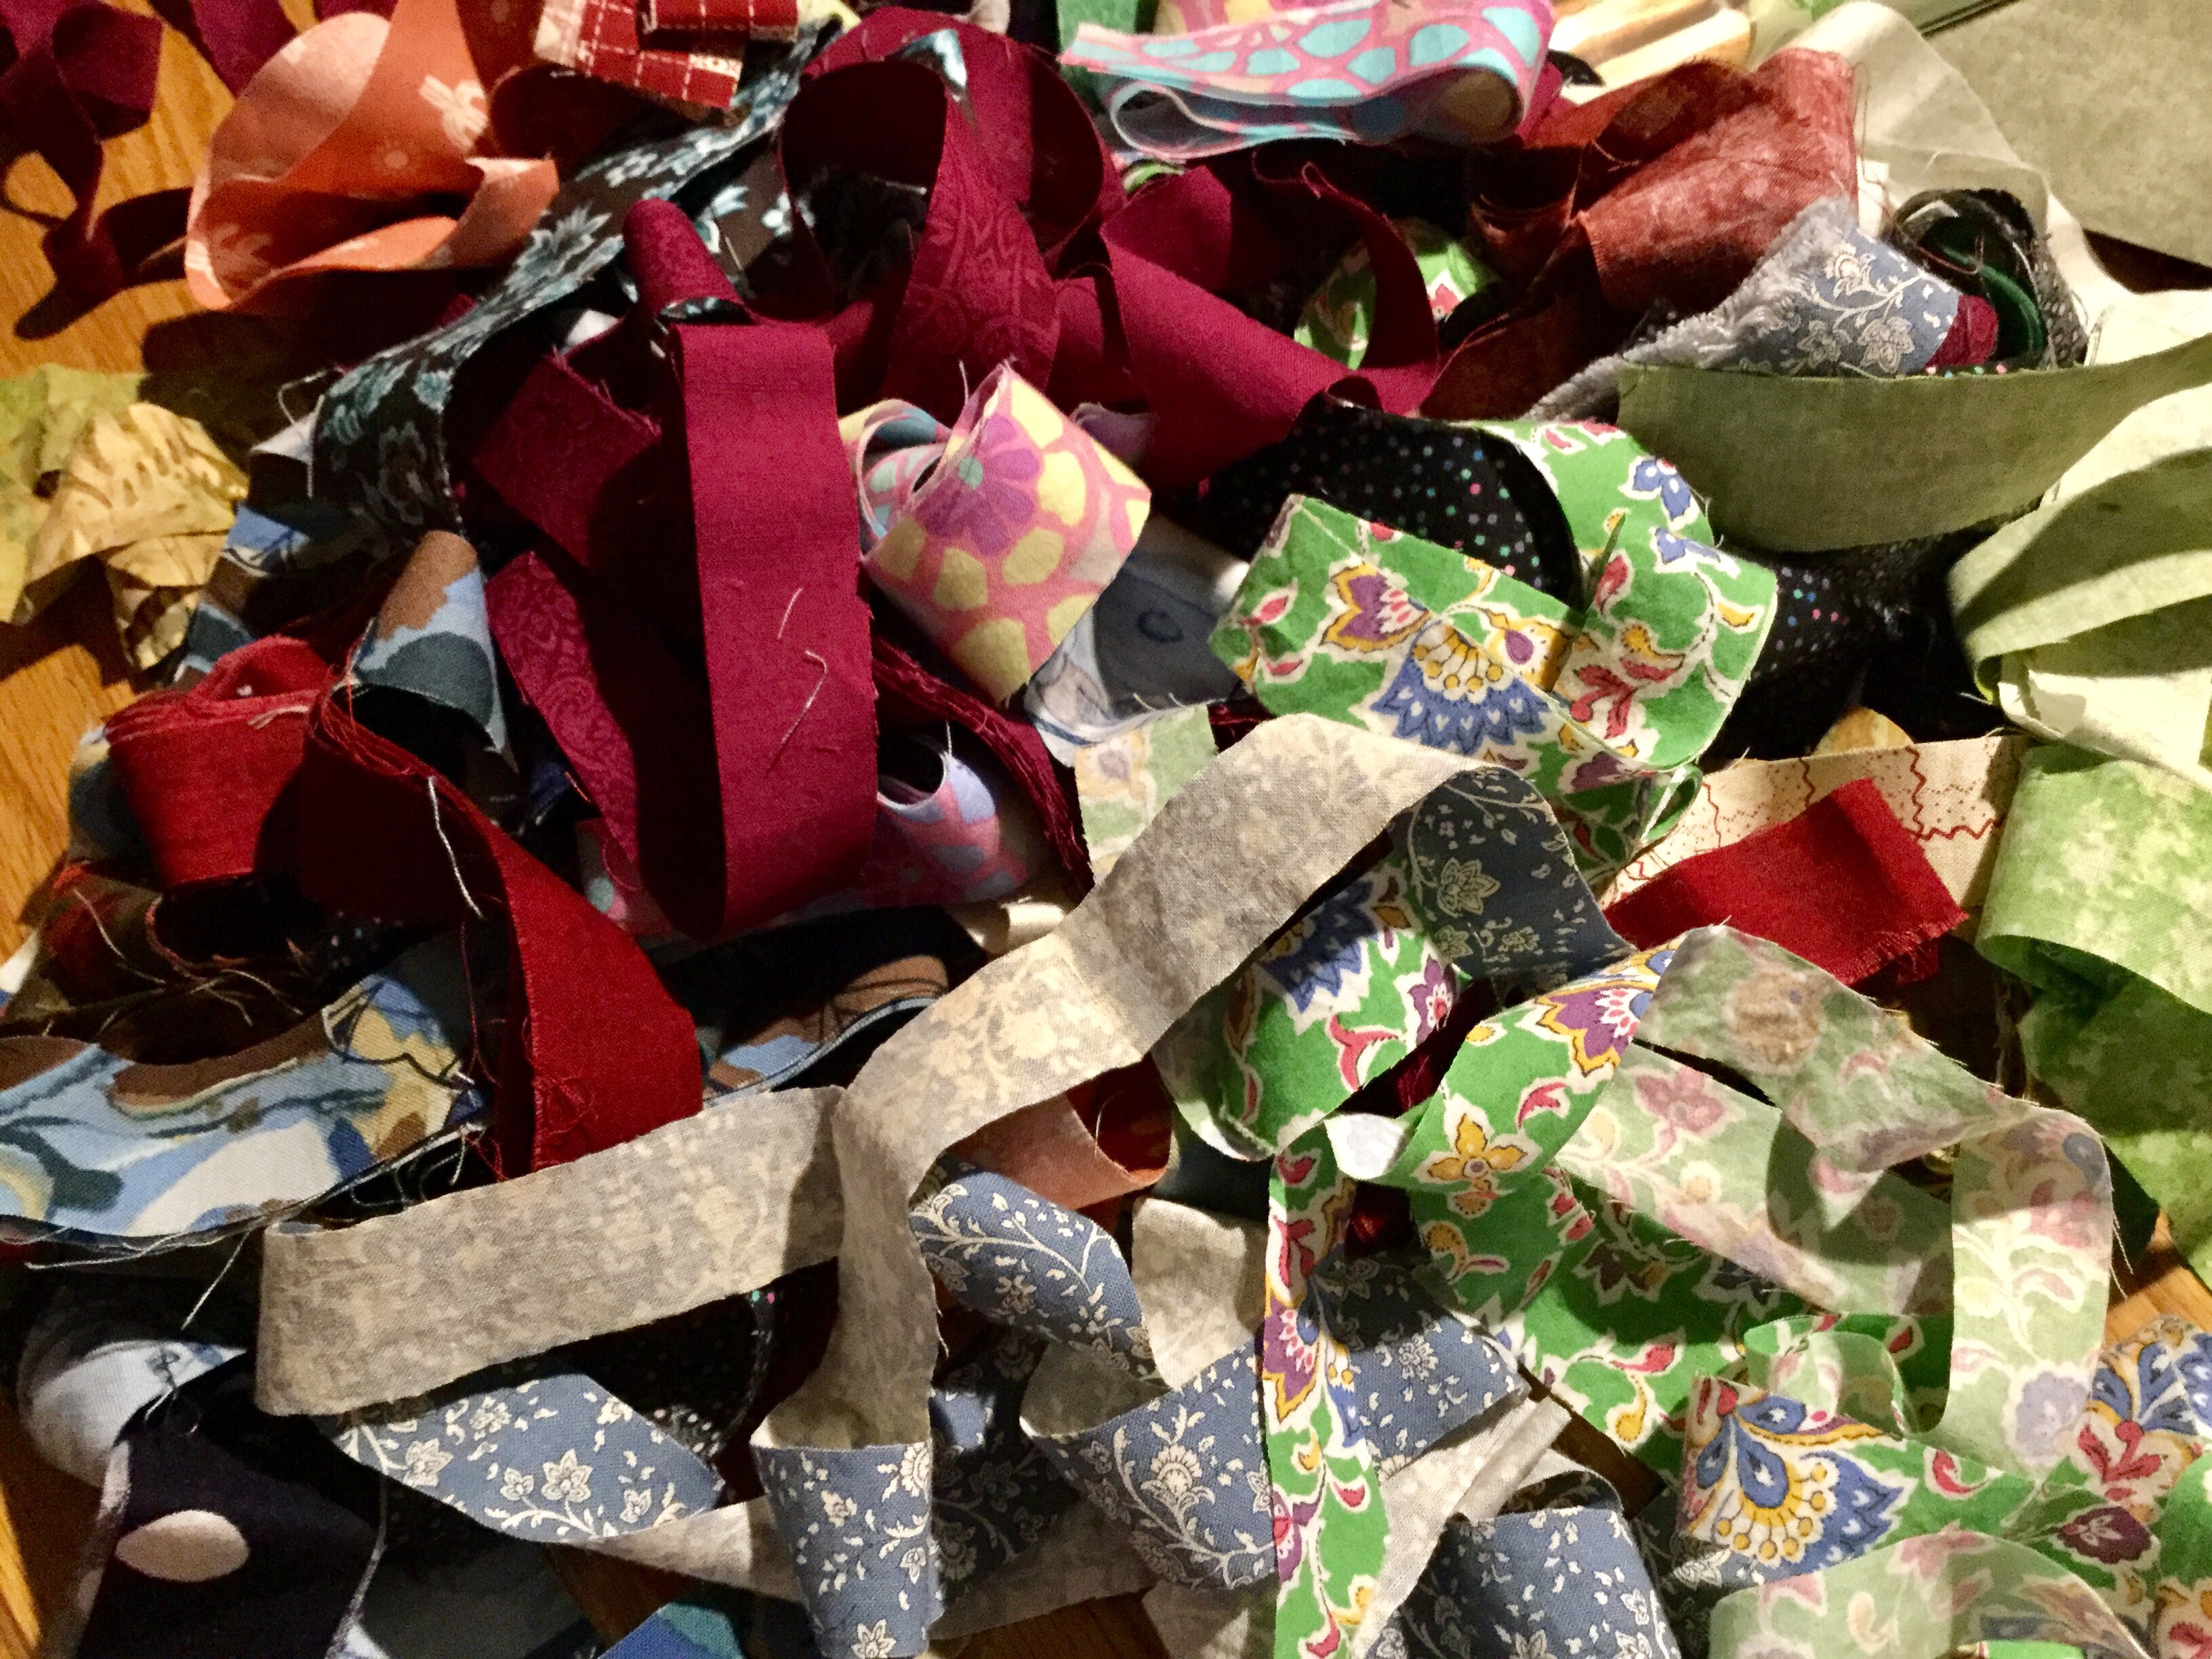
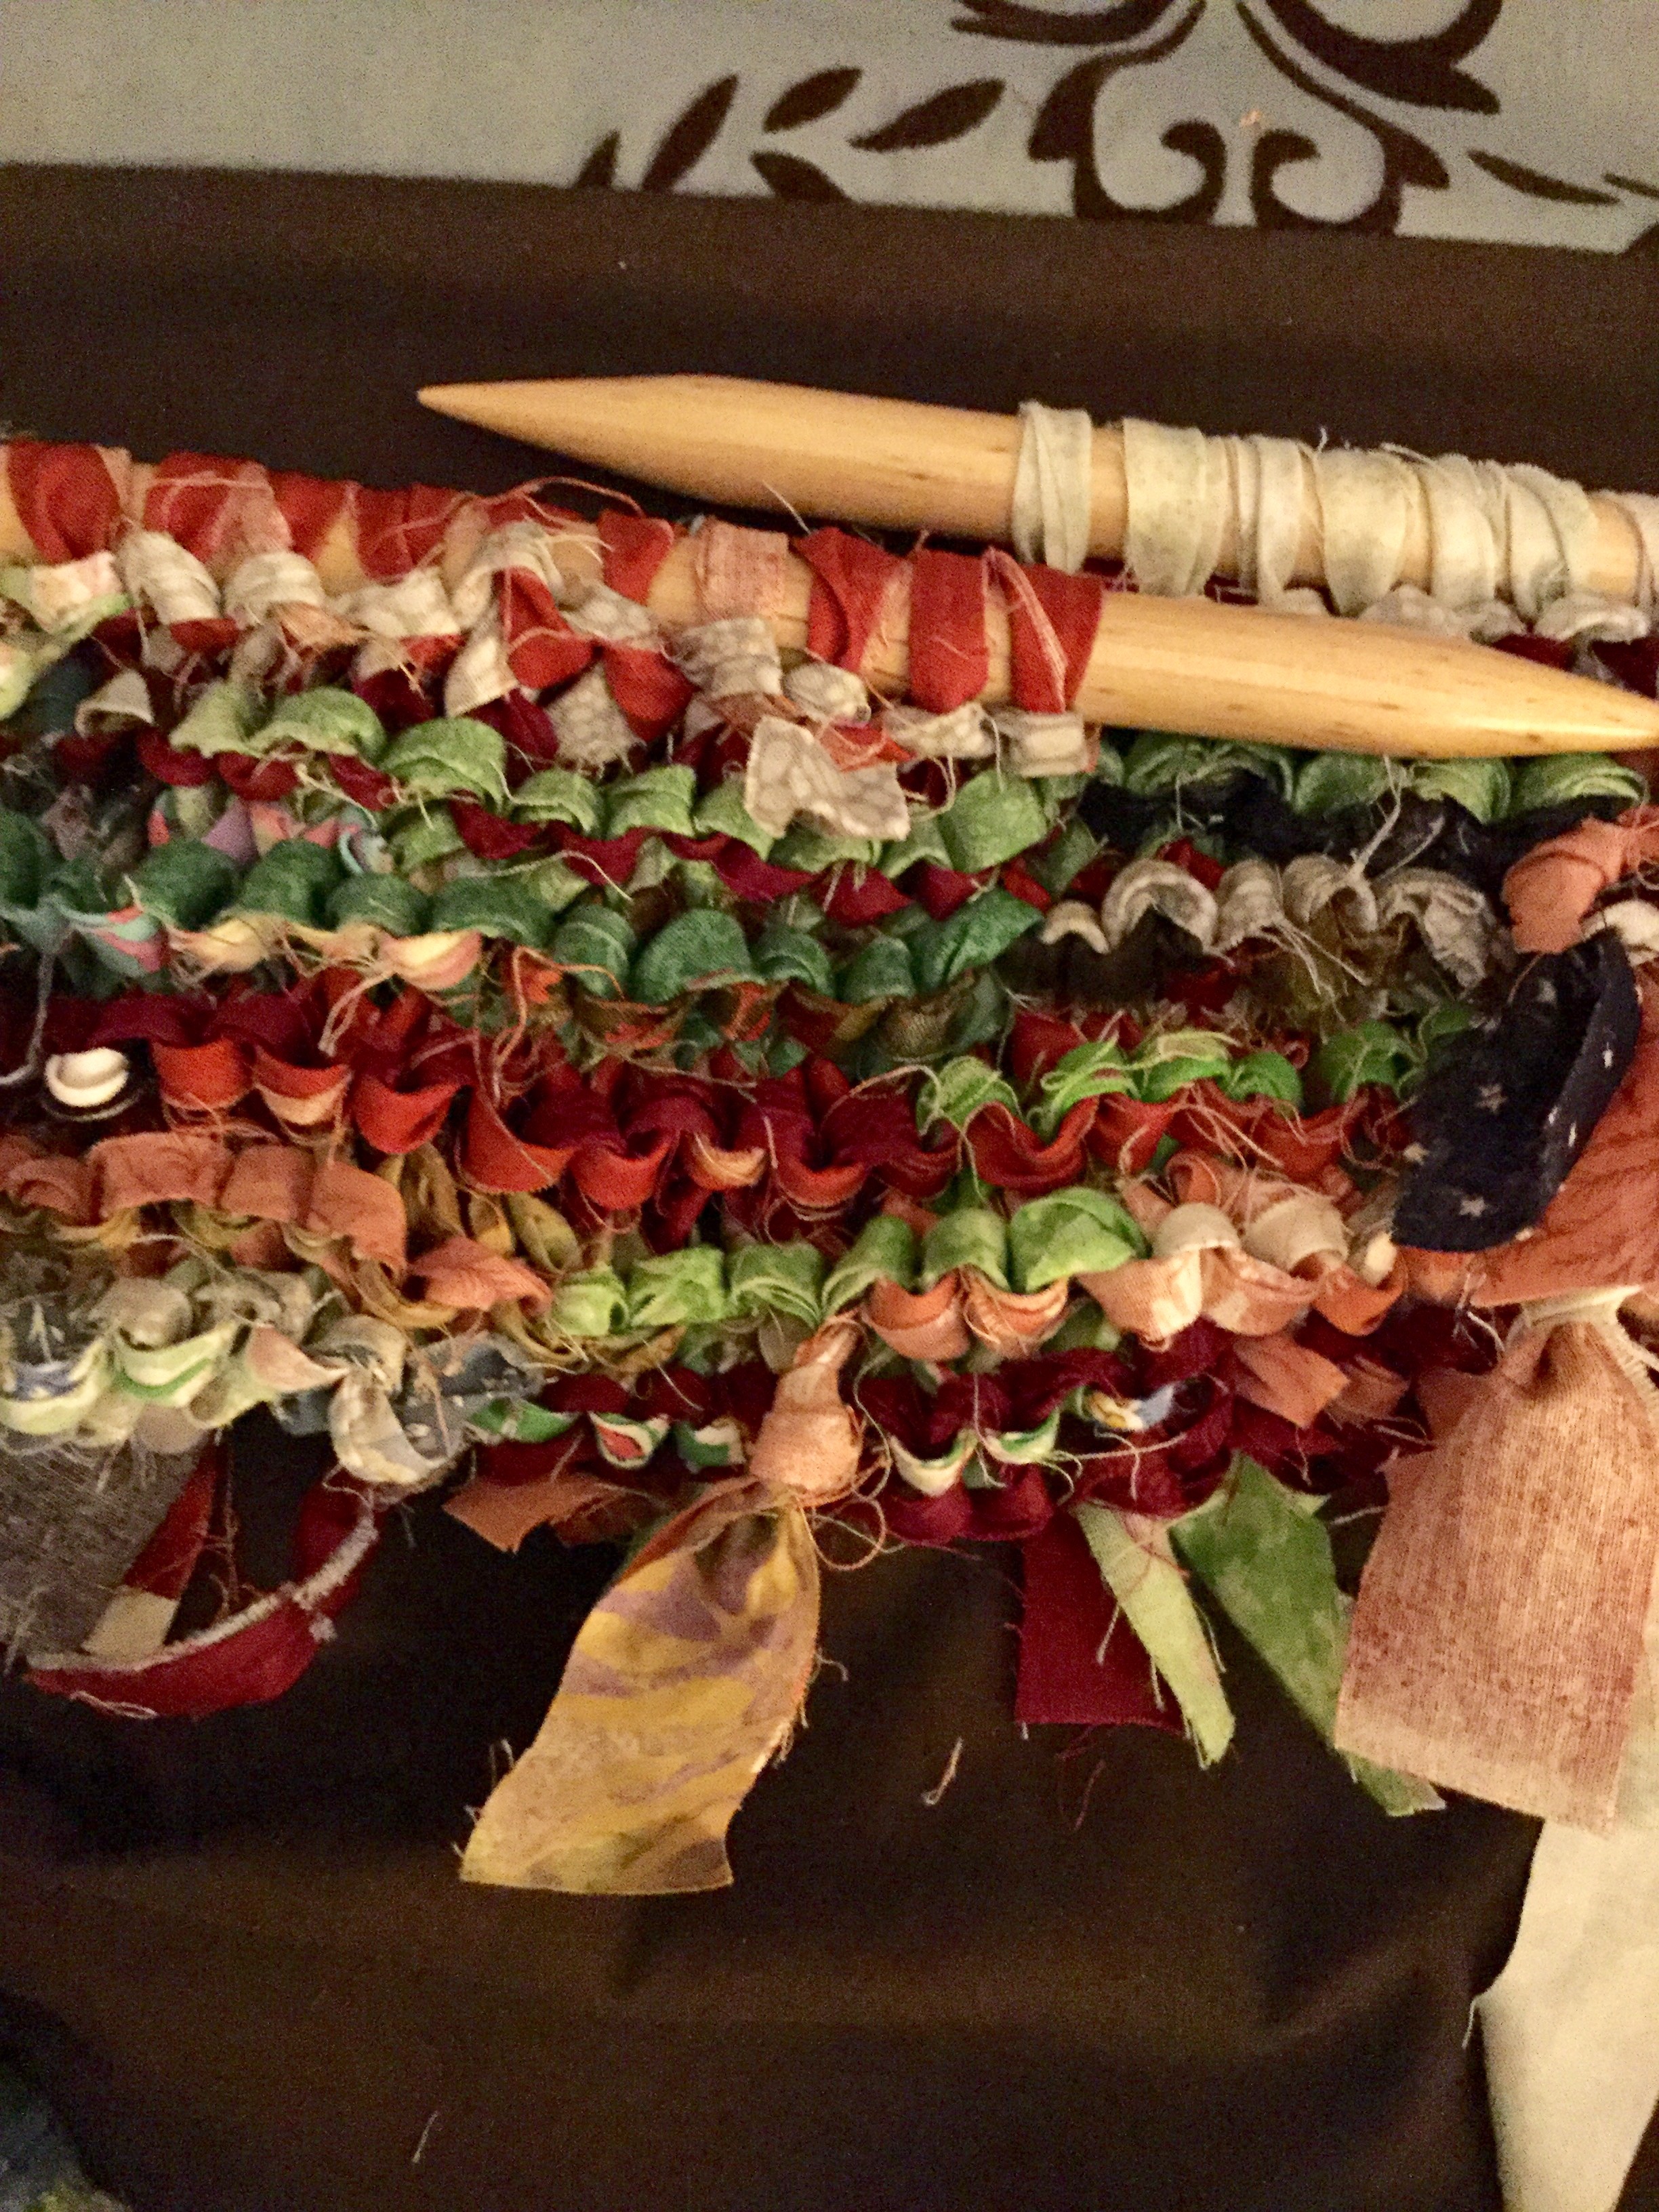
Over the weekend I started a fun project. After reading a few posts at Crazy Mom Quilts, I decided to try and make a rag rug using scrappy strings. I have a huge tub of strings, many of which were given to me a couple of years ago by my wonderful neighbor, Reta, just before she moved. I have used this bag of strips so often, yet it seems to remain full. I think they just multiply in there when I am not looking! I am enjoying this and think it will be really sweet when I get it finished.
Today I am heading out to the long arm shop to (finally!) quilt the Harmony quilt for my nephew and his bride. I will be back to show you the results later this week. I am crossing my fingers that it quilts up nicely.
Have a wonderful week!
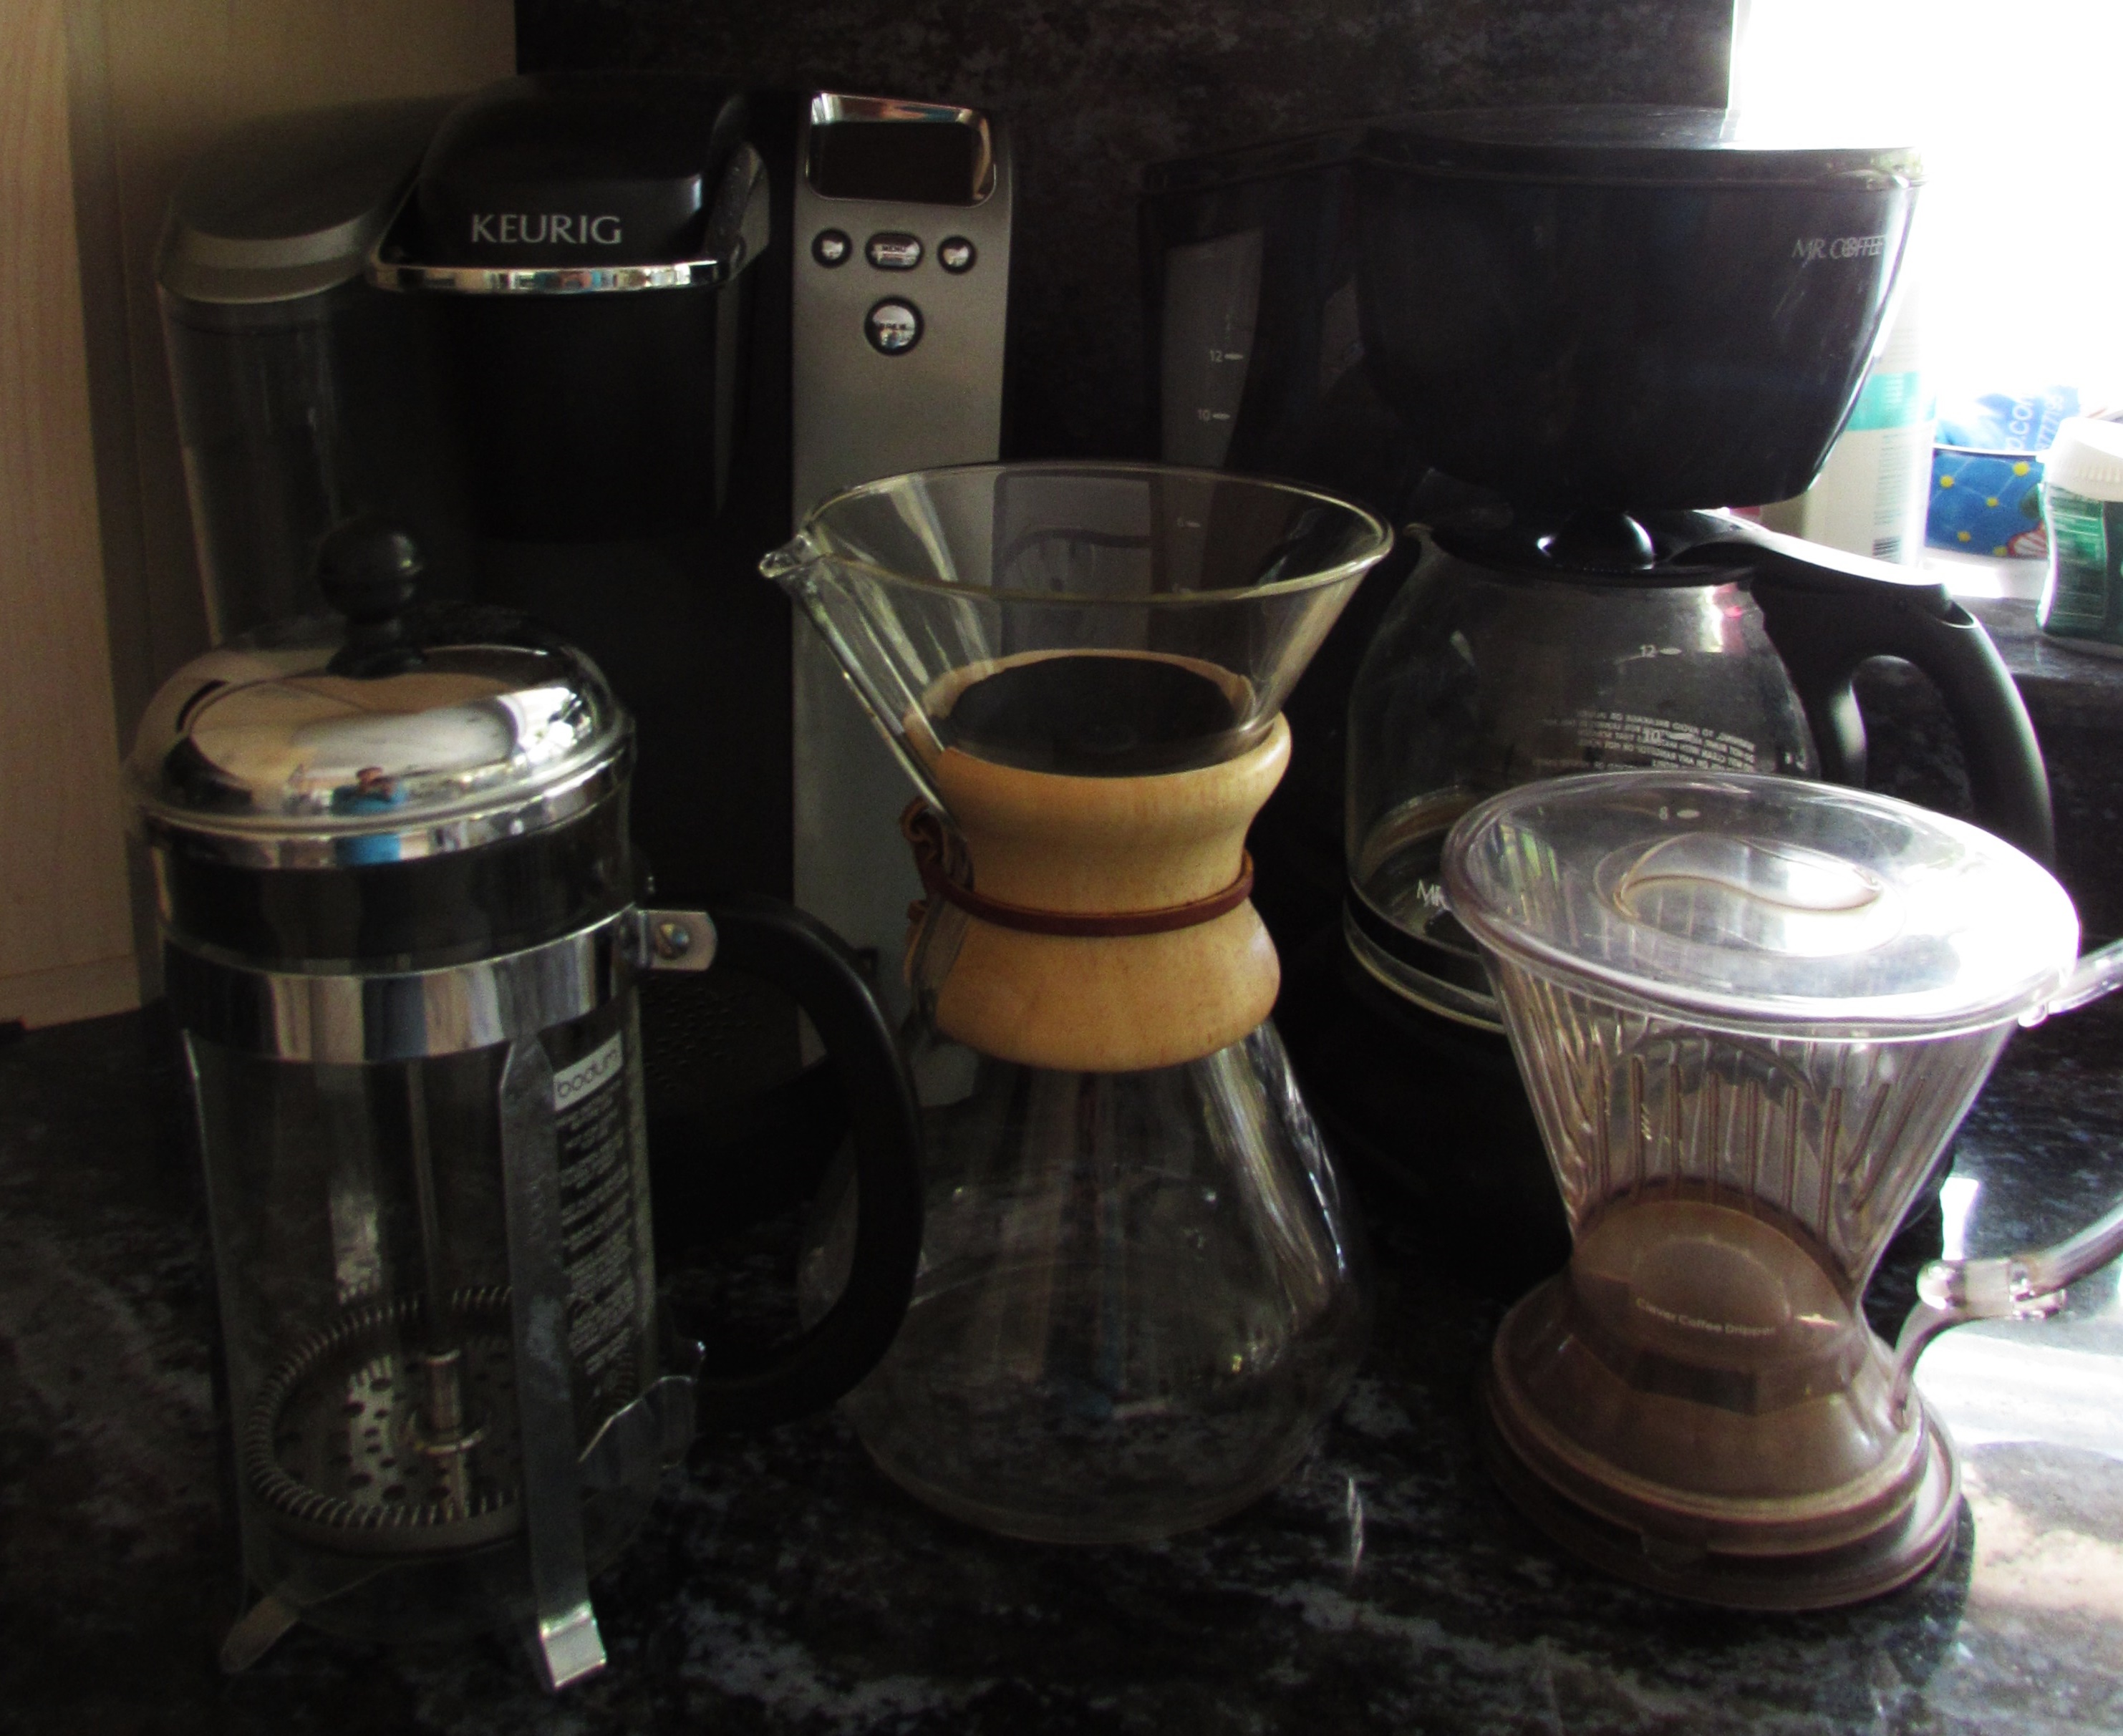
Today I want to share a quick and easy project with you. I have a bit of an obsession with coffee. Currently I have five different methods of coffee brewing in my kitchen. I am always trying out some coffee gadget or method to look for the best cup. I have a Chemex pot, a Keurig, a regular drip coffee maker, a Pour-over, and a French Press. I like all of them and they each have a place in my very deep and sustaining relationship with coffee.
Is there such a thing as too much coffee??
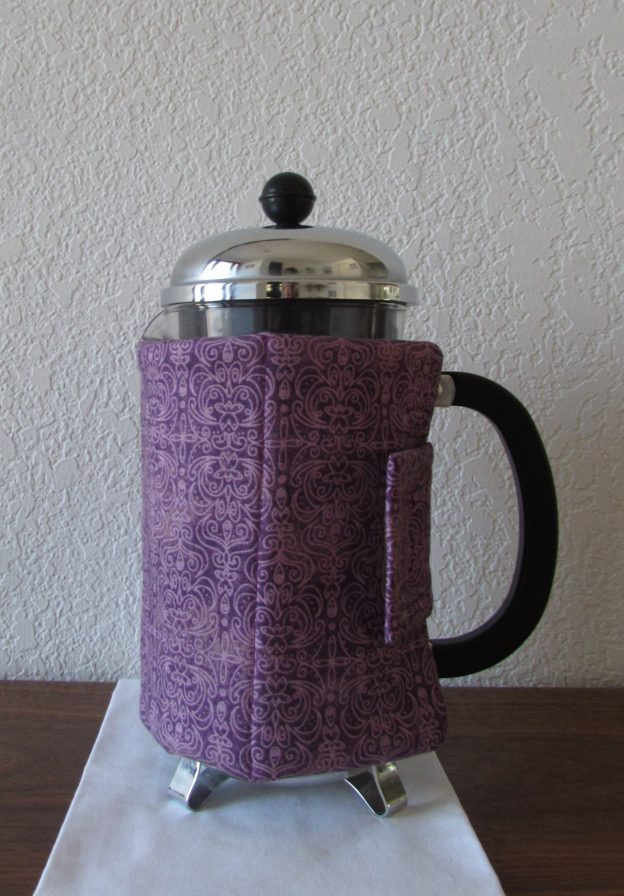
If you asked most coffee lovers, the problem with the French Press and the Chemex is the coffee tends to cool off quickly. I like my coffee near the boiling point, really hot, so I use a cozy wrapped around the pot to insulate it. I have been making cozies for both French Press pots and Chemex pots for a while now and selling them in my Etsy shop. I thought it would be fun to share a tutorial for making a cozy for a French Press with you today. If you are a user of a French Press this will keep your coffee much warmer. Or, you could make one as a gift for the French Press lover in your family.
Right sides together means to put the print part of the fabrics (the good side, the outside) against each other – so the you can see the wrong side of the fabric on the outside.
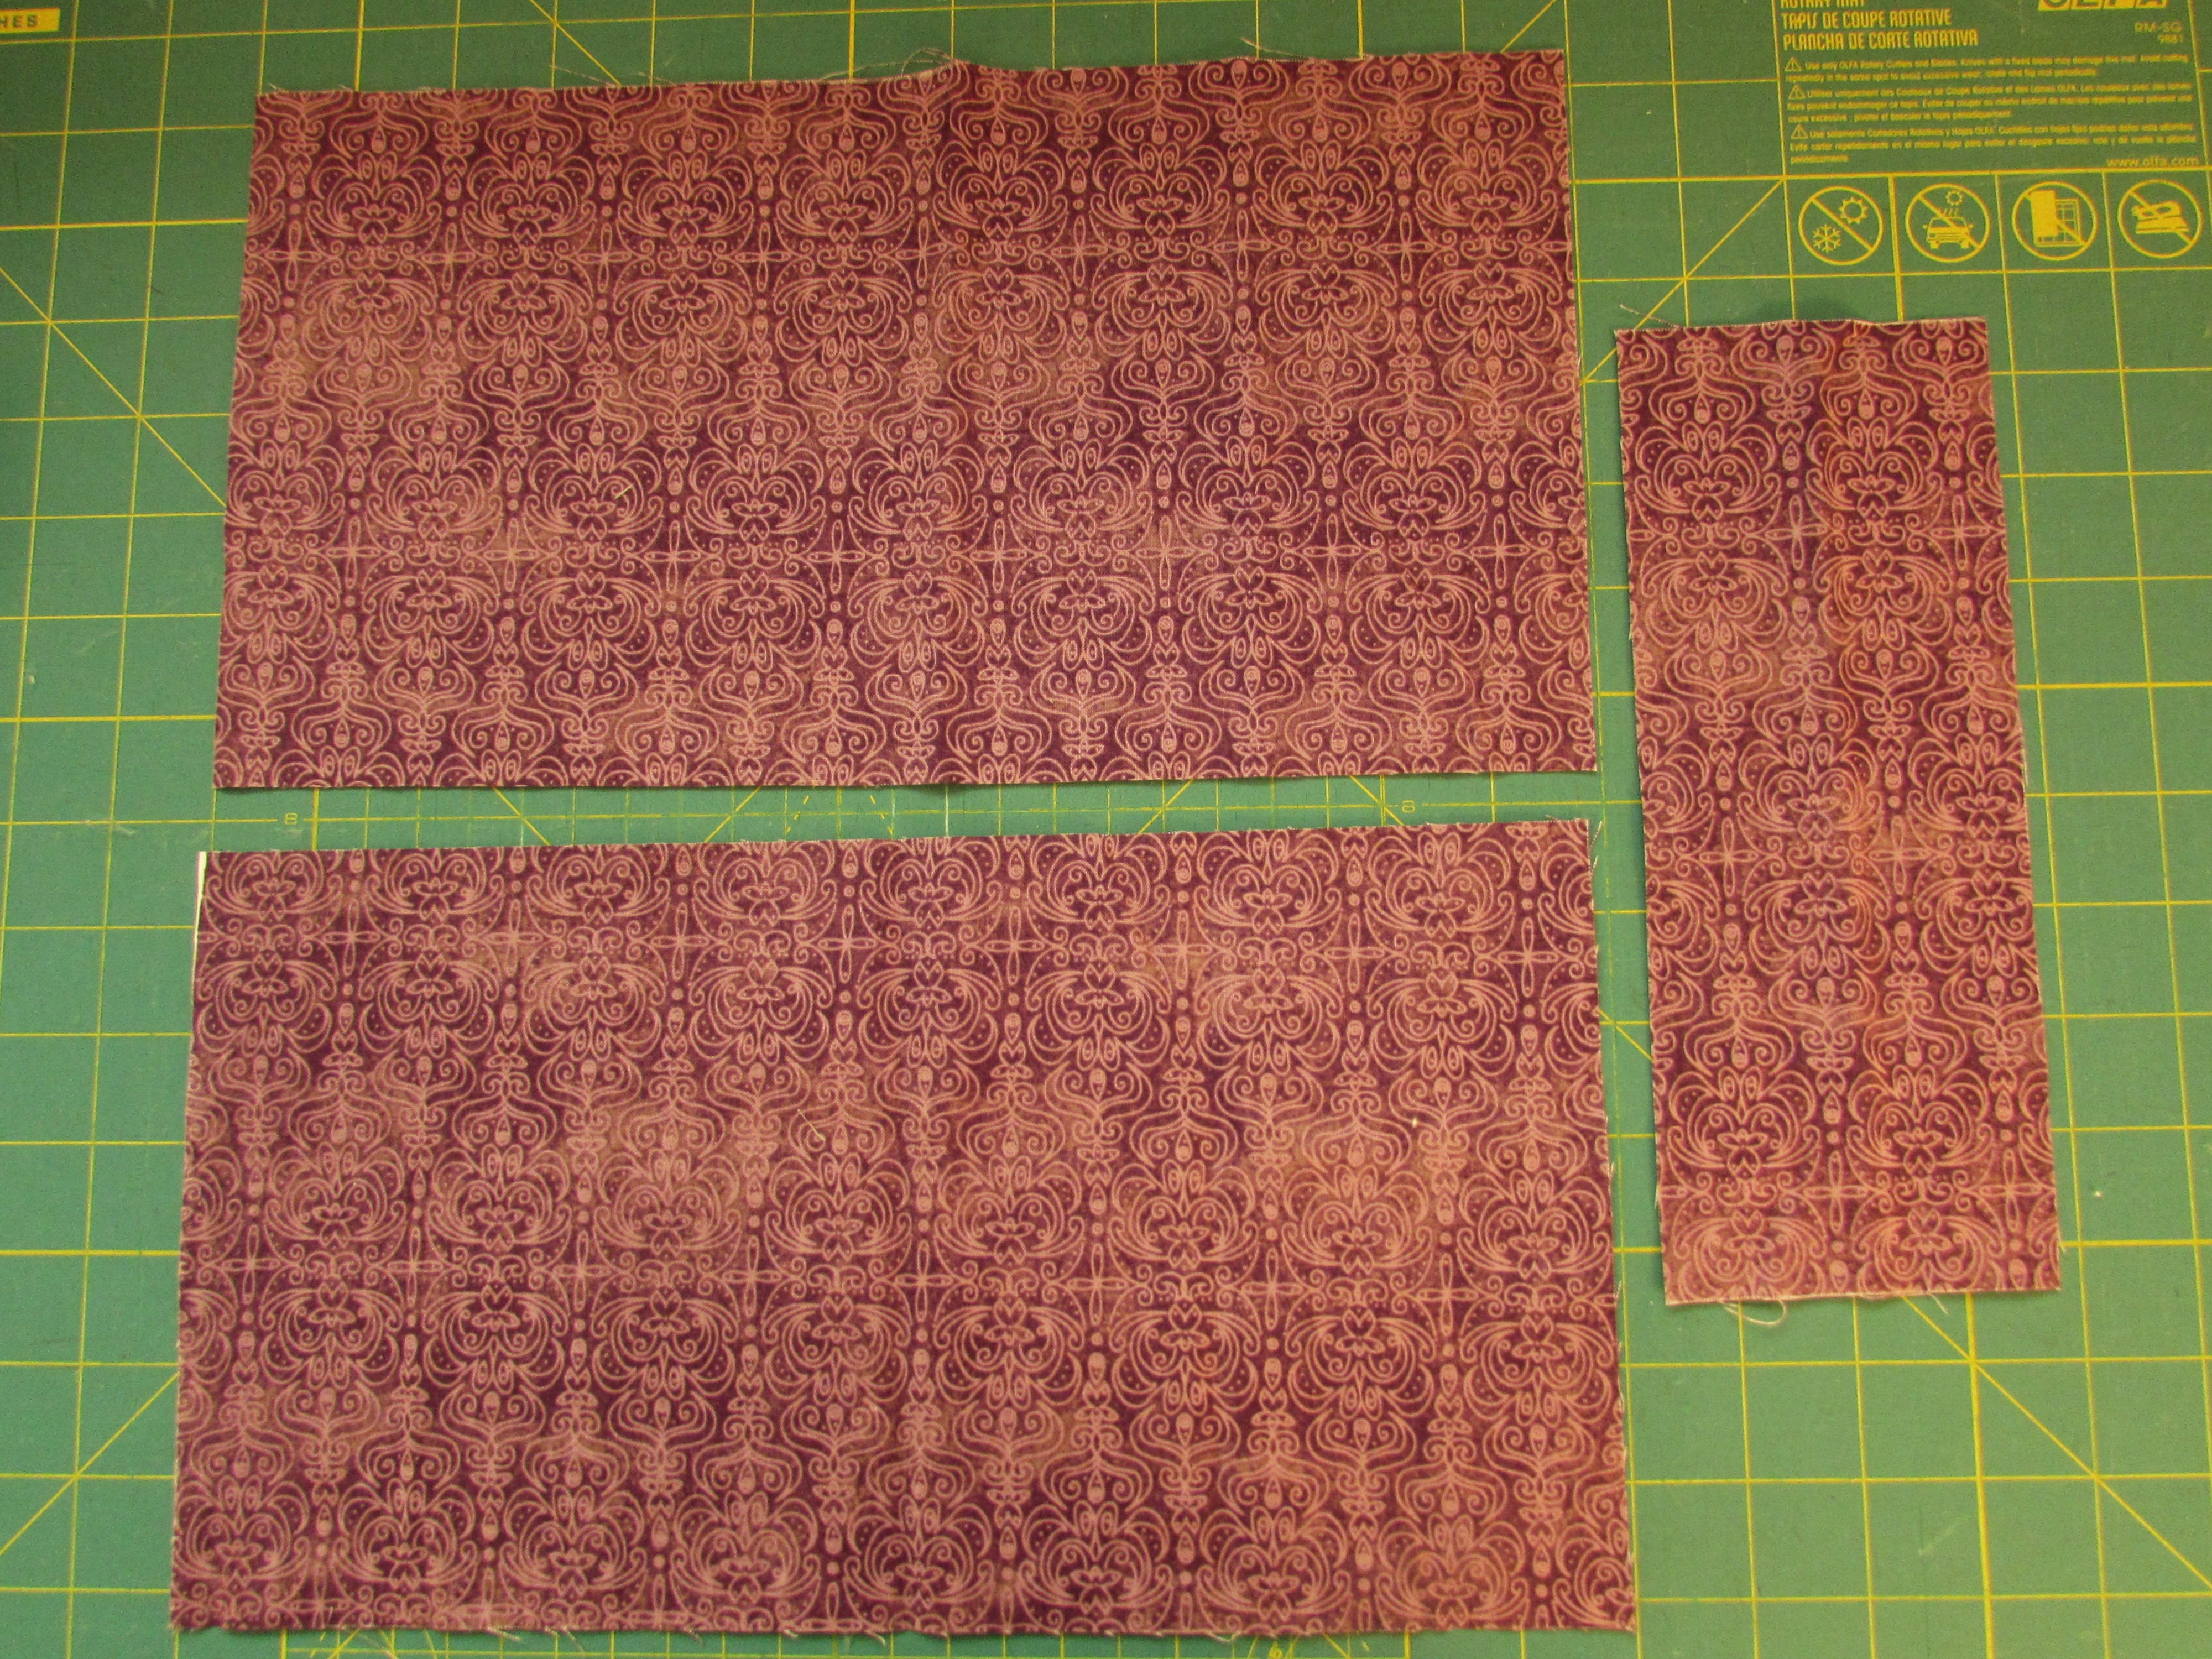
Cut three pieces from the fat quarters. Two at 7″ by 13″ and one piece that is 3″ x 7″.
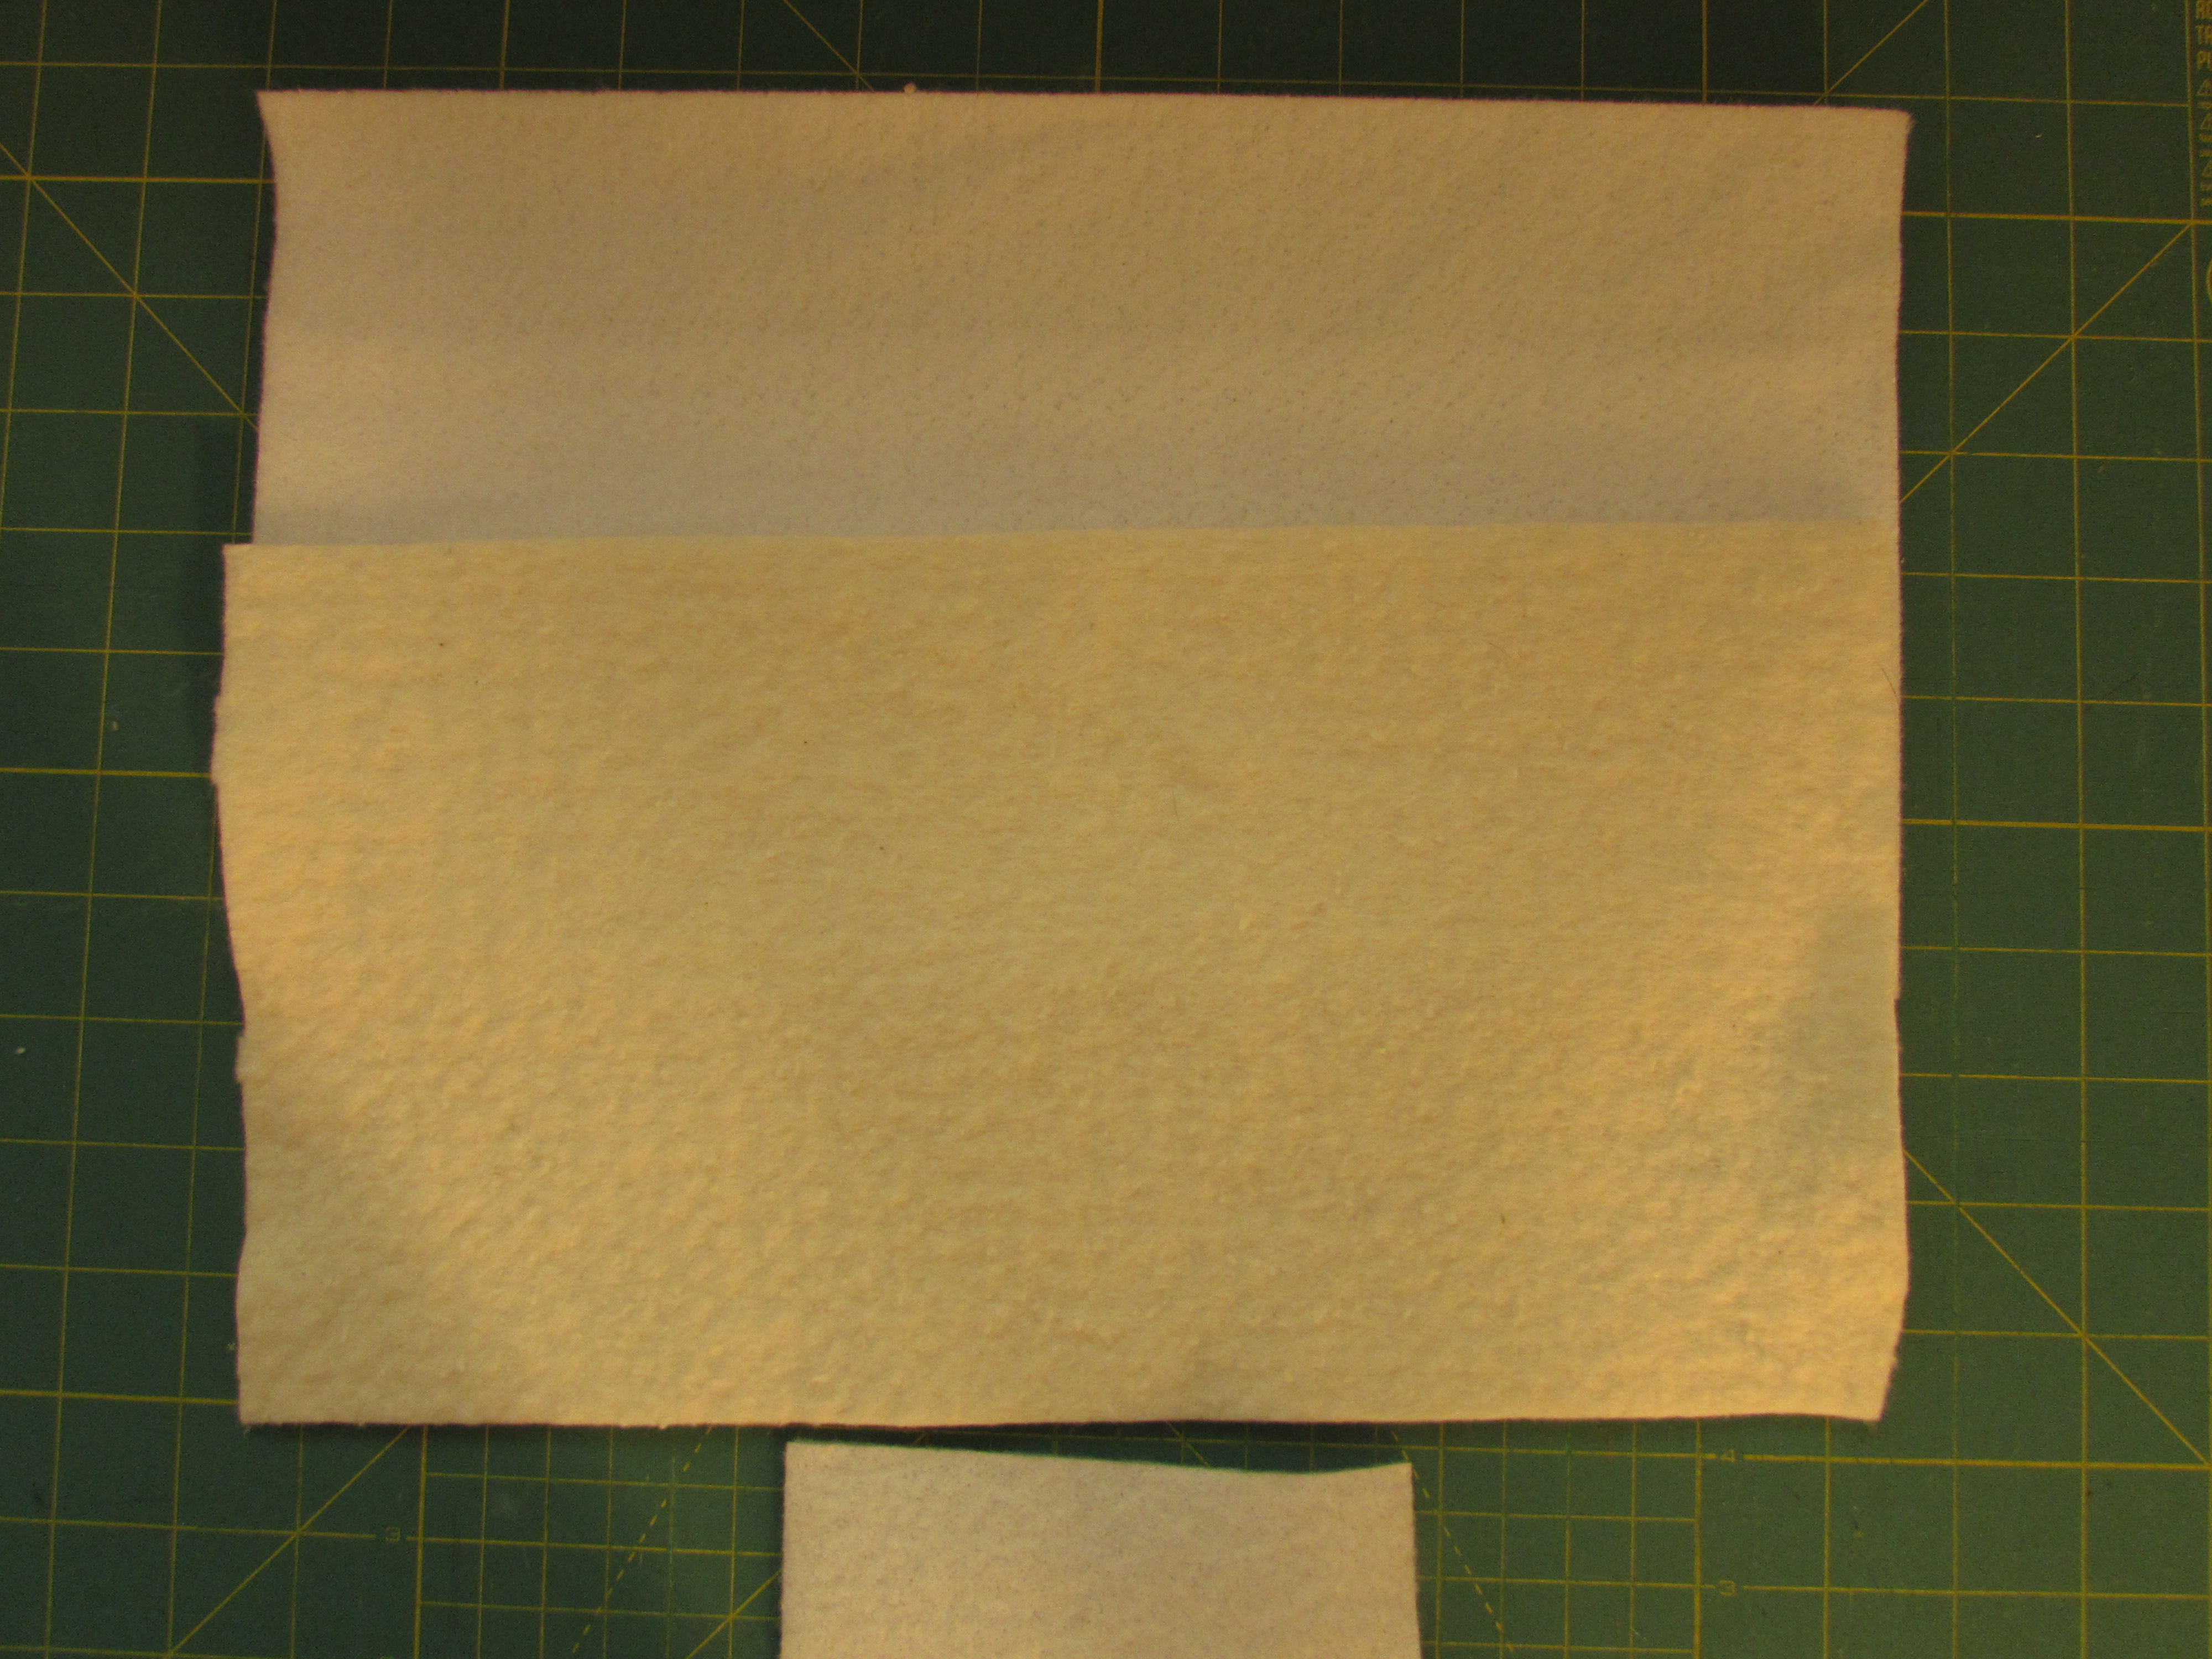
From your batting and Insul Bright scraps, cut one piece of each at 7″ x 13″ and one (you may use either batting or Insul Bright for this one) at 3″ x 3.5″.
If you aren’t familiar with Insul Bright, it is a batting made with polyester fibers that insulates items to stay warm. It is used for things like hot pads, trivets, cozies and can actually be used to line clothing. It is washable but is not microwave safe. There are strands of a metallic, mylar substance in it for the insulative properties.
Let’s begin by making the tab.
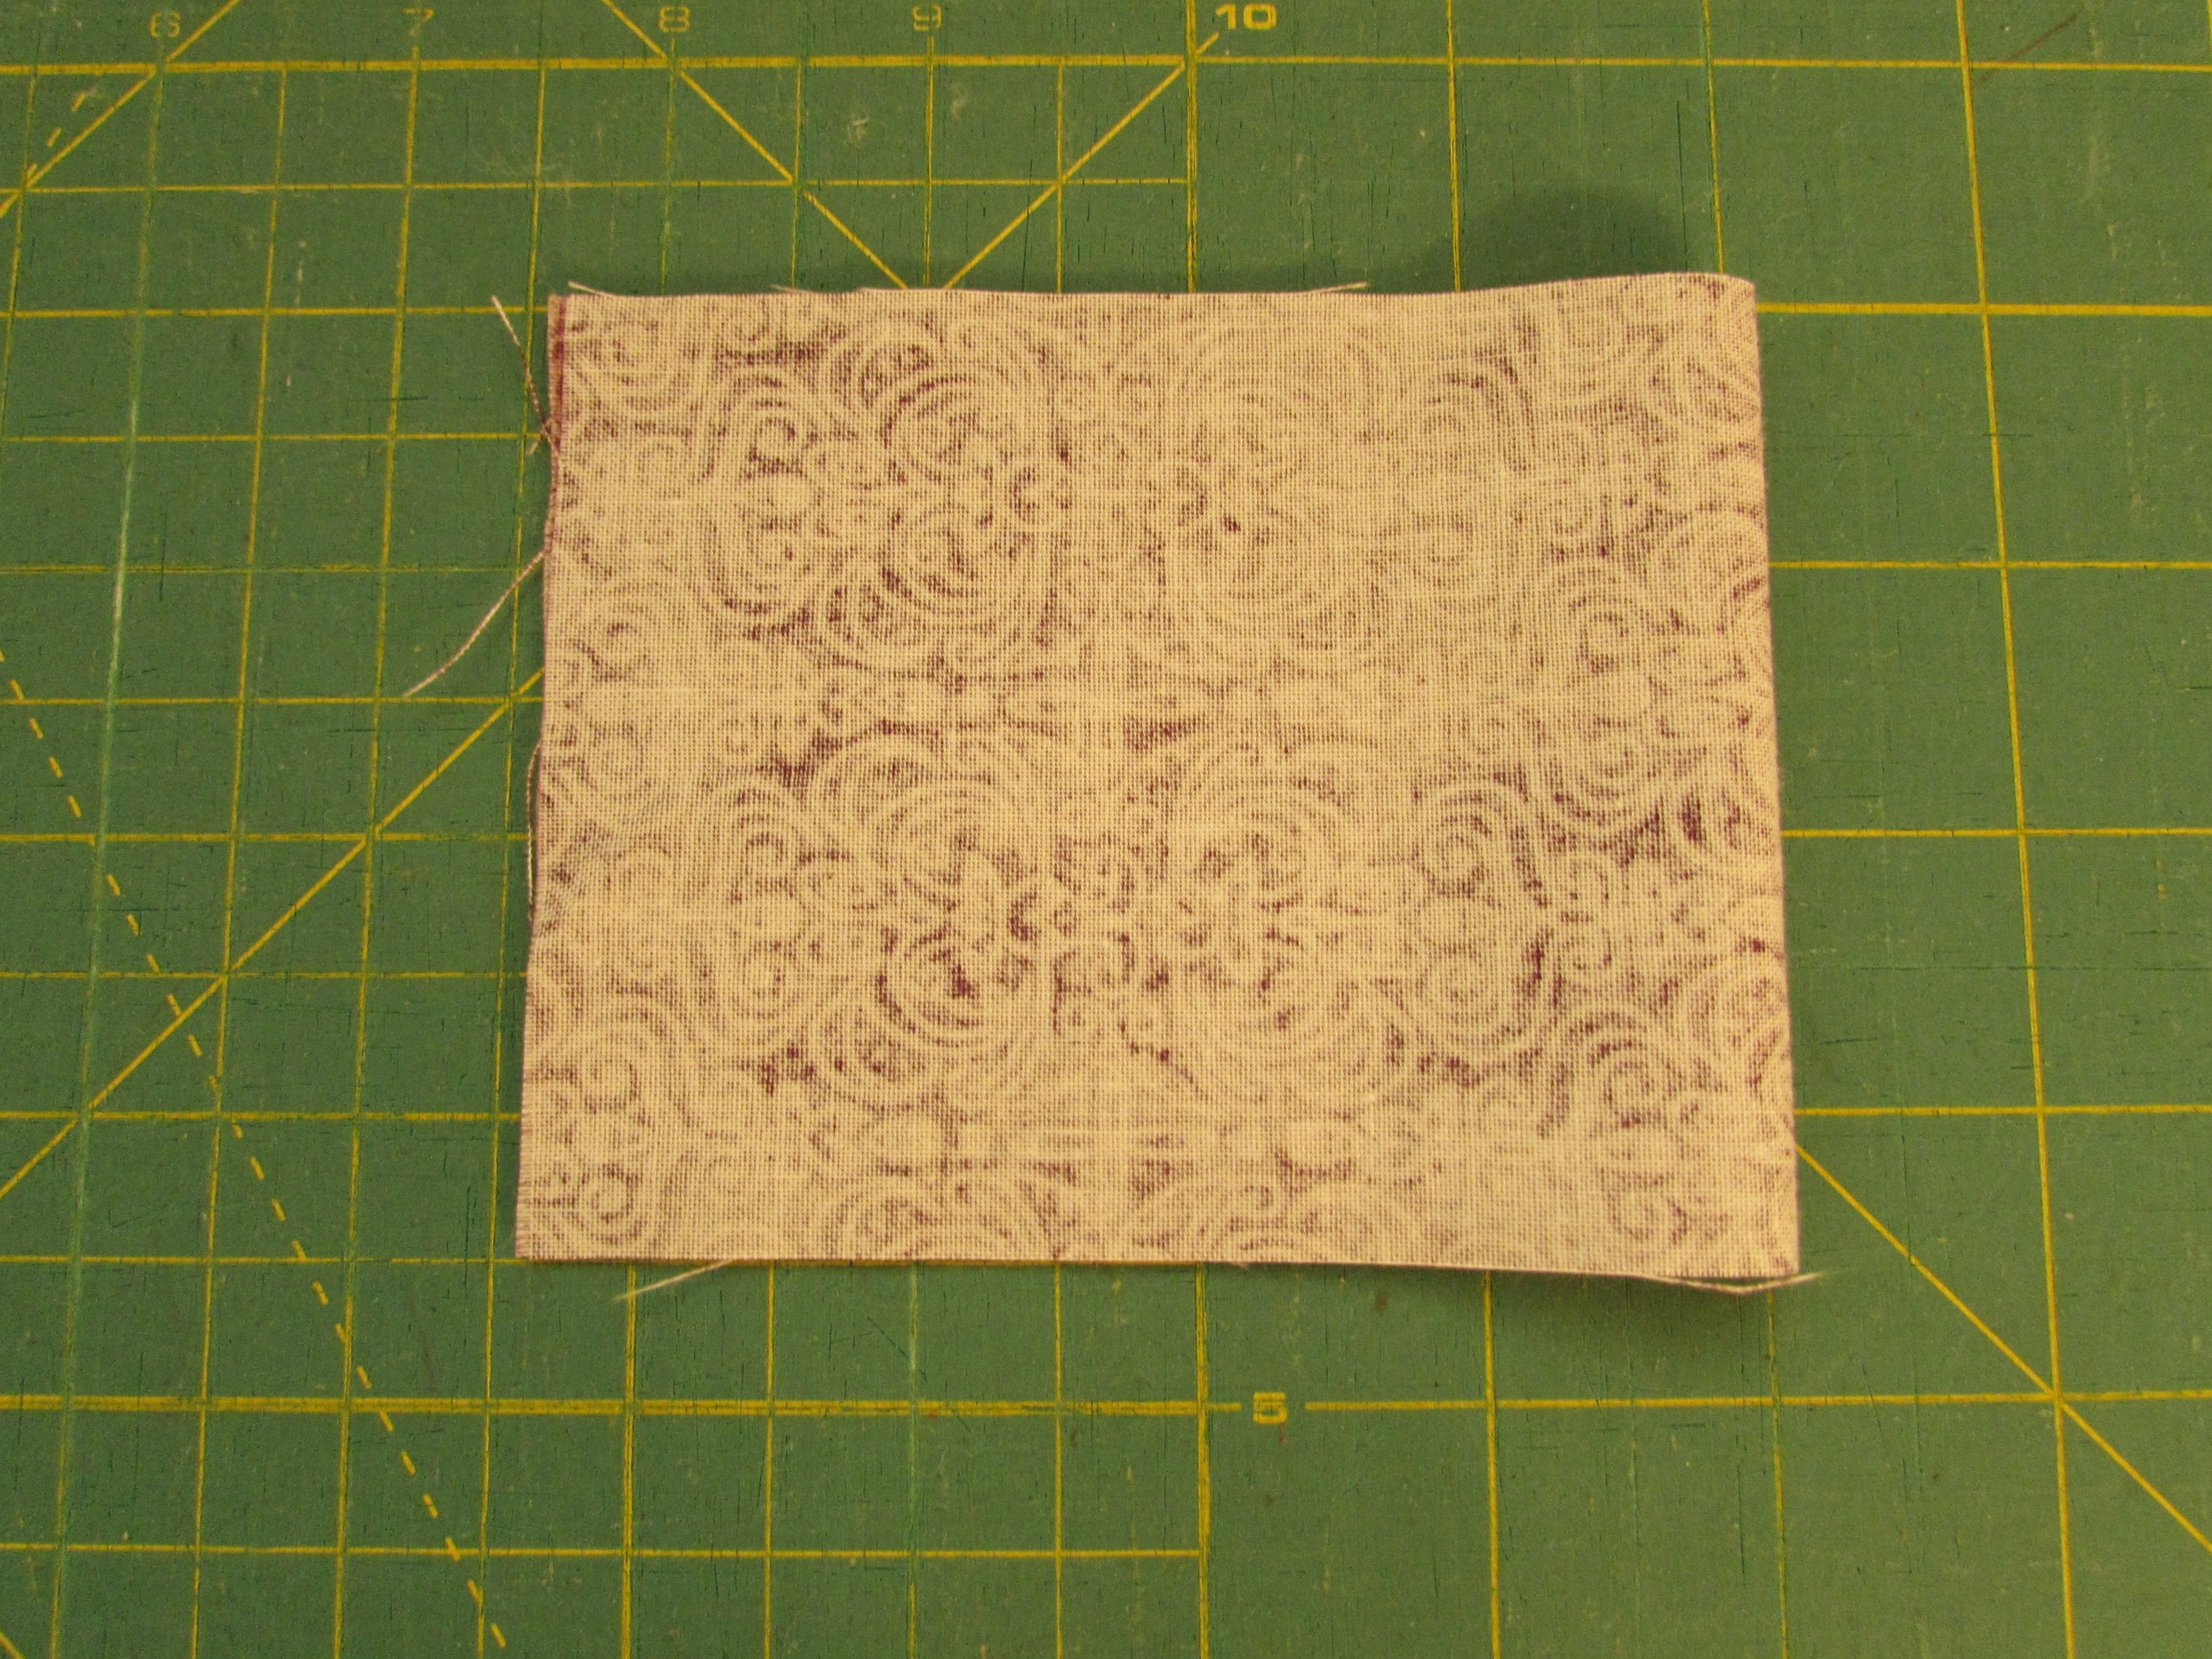
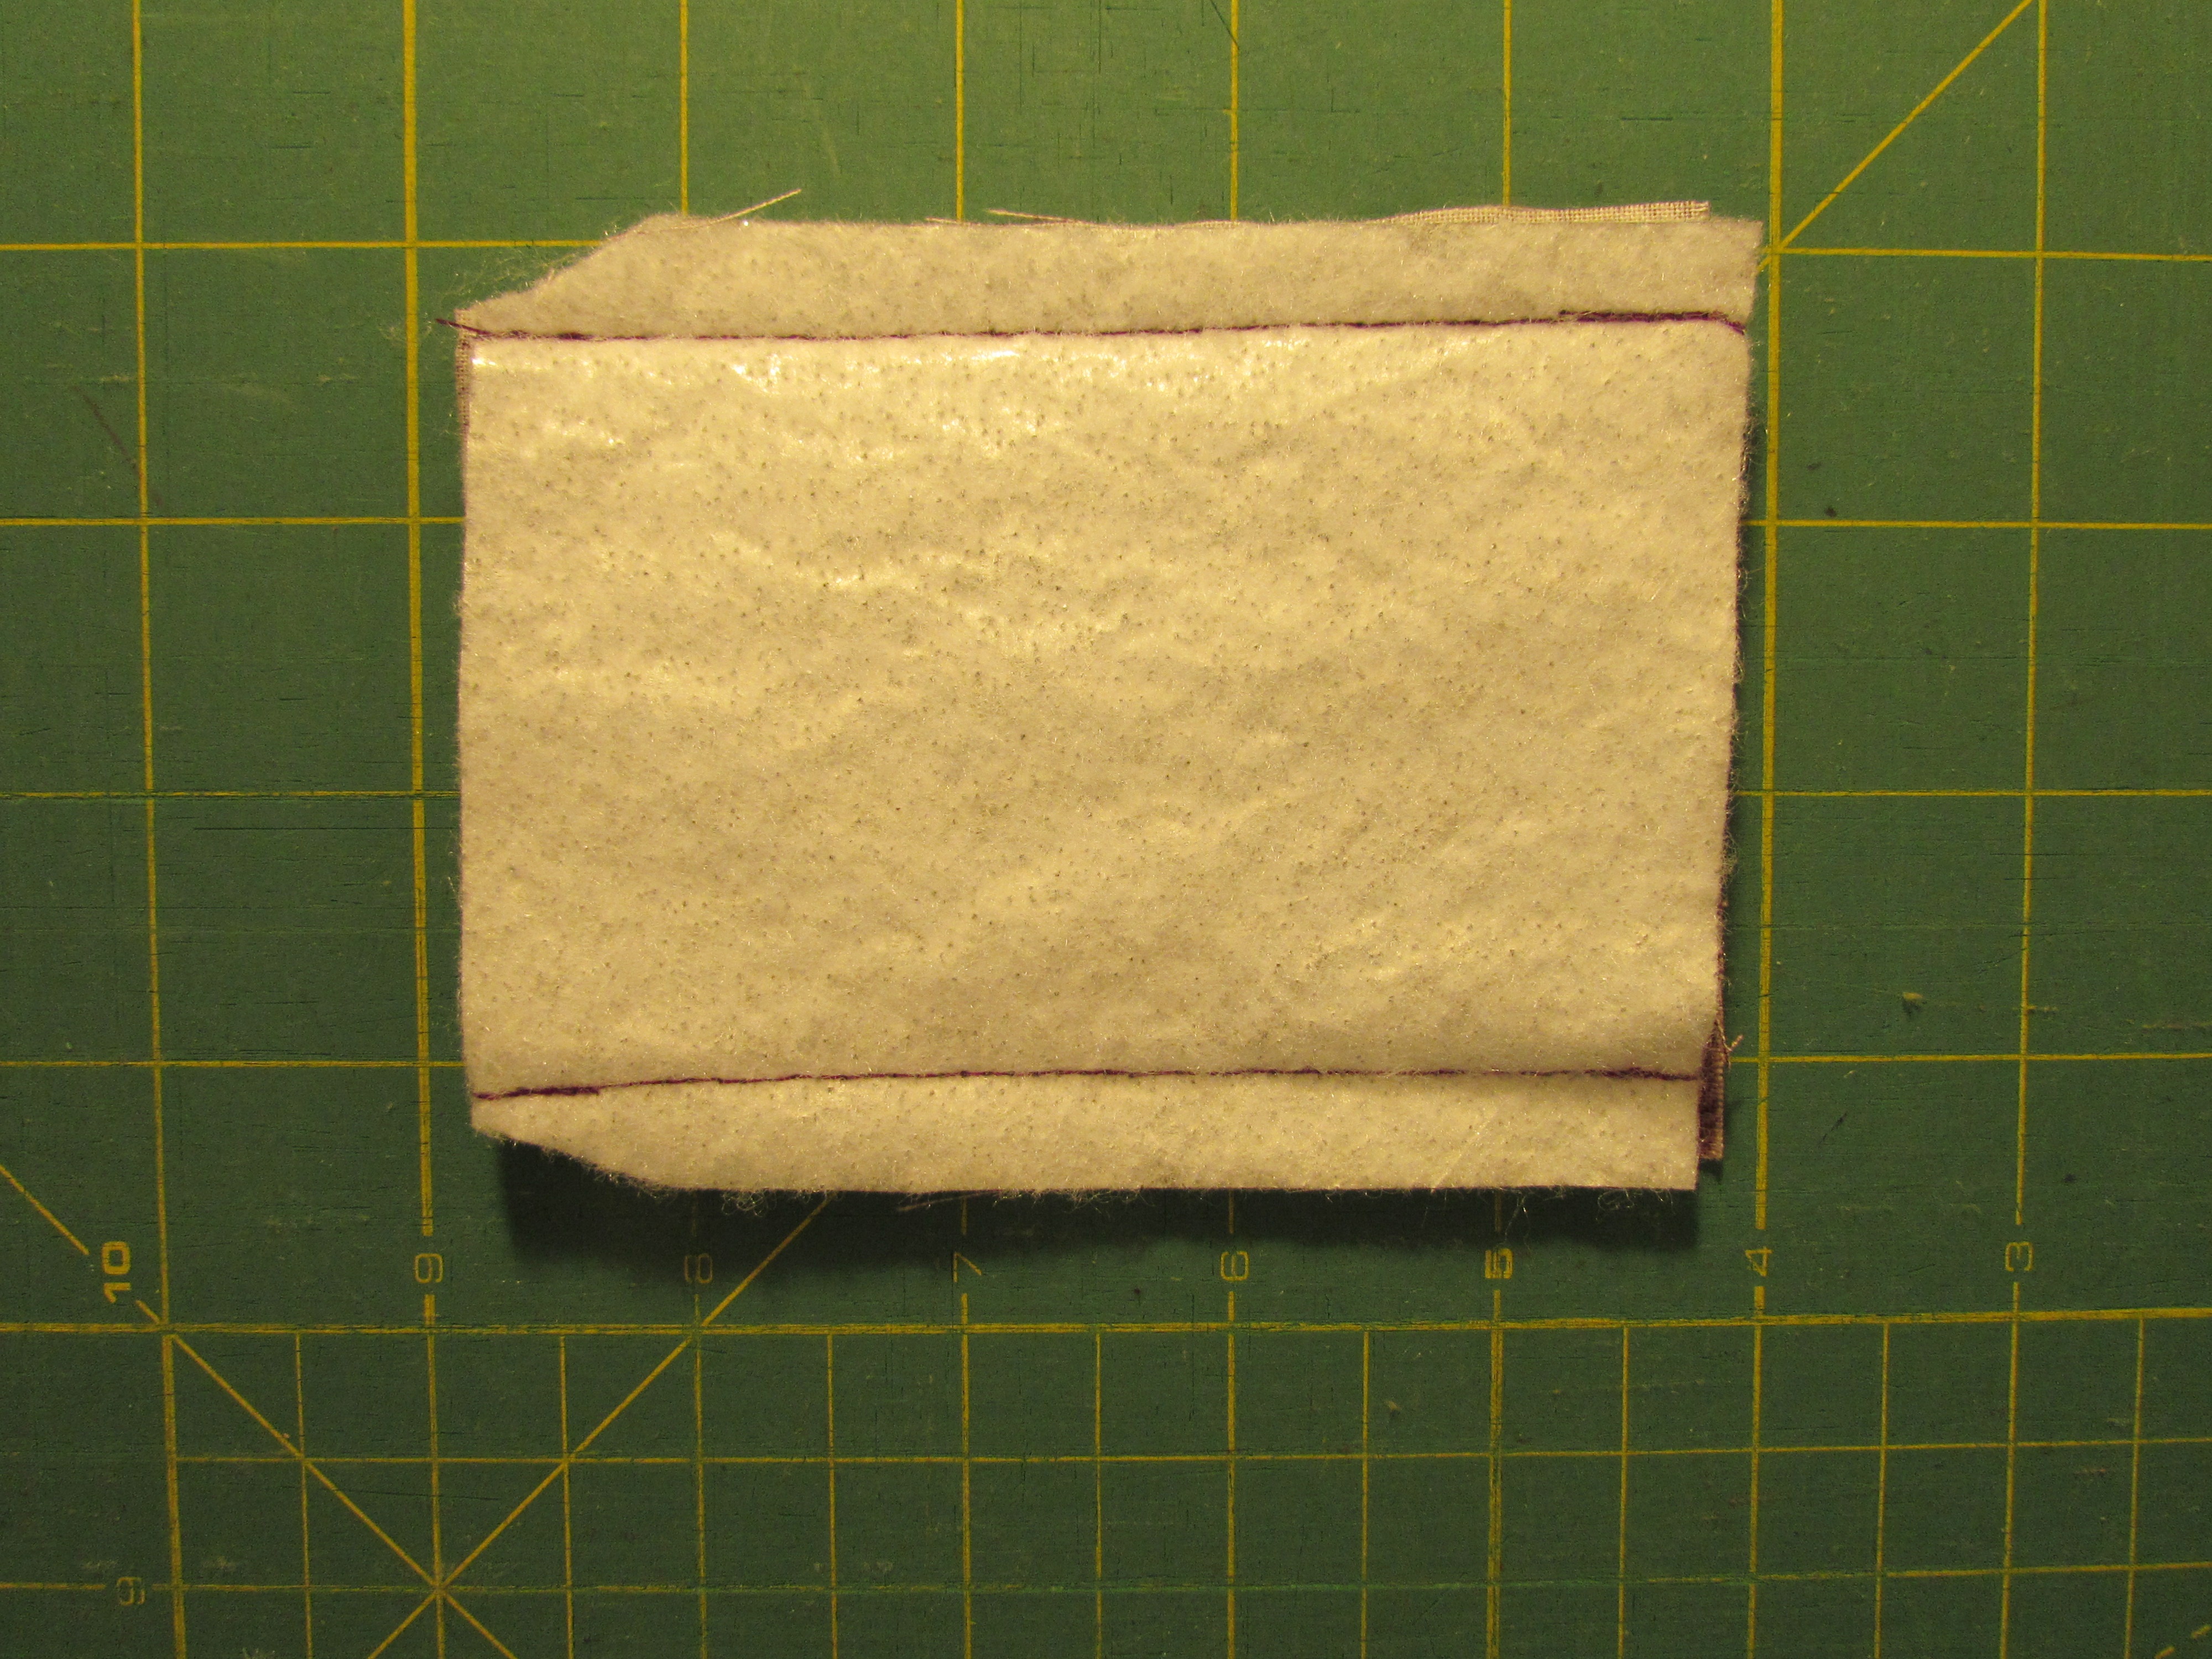
Take the smaller rectangle and fold it in half, right sides together. Then place your small rectangle of batting on top of this and pin.
Stitch along both long sides, leaving the short end open. Trim the corners at the end where the fabric is folded – not the open end. This will make your corners less bulky when you turn it right side out.
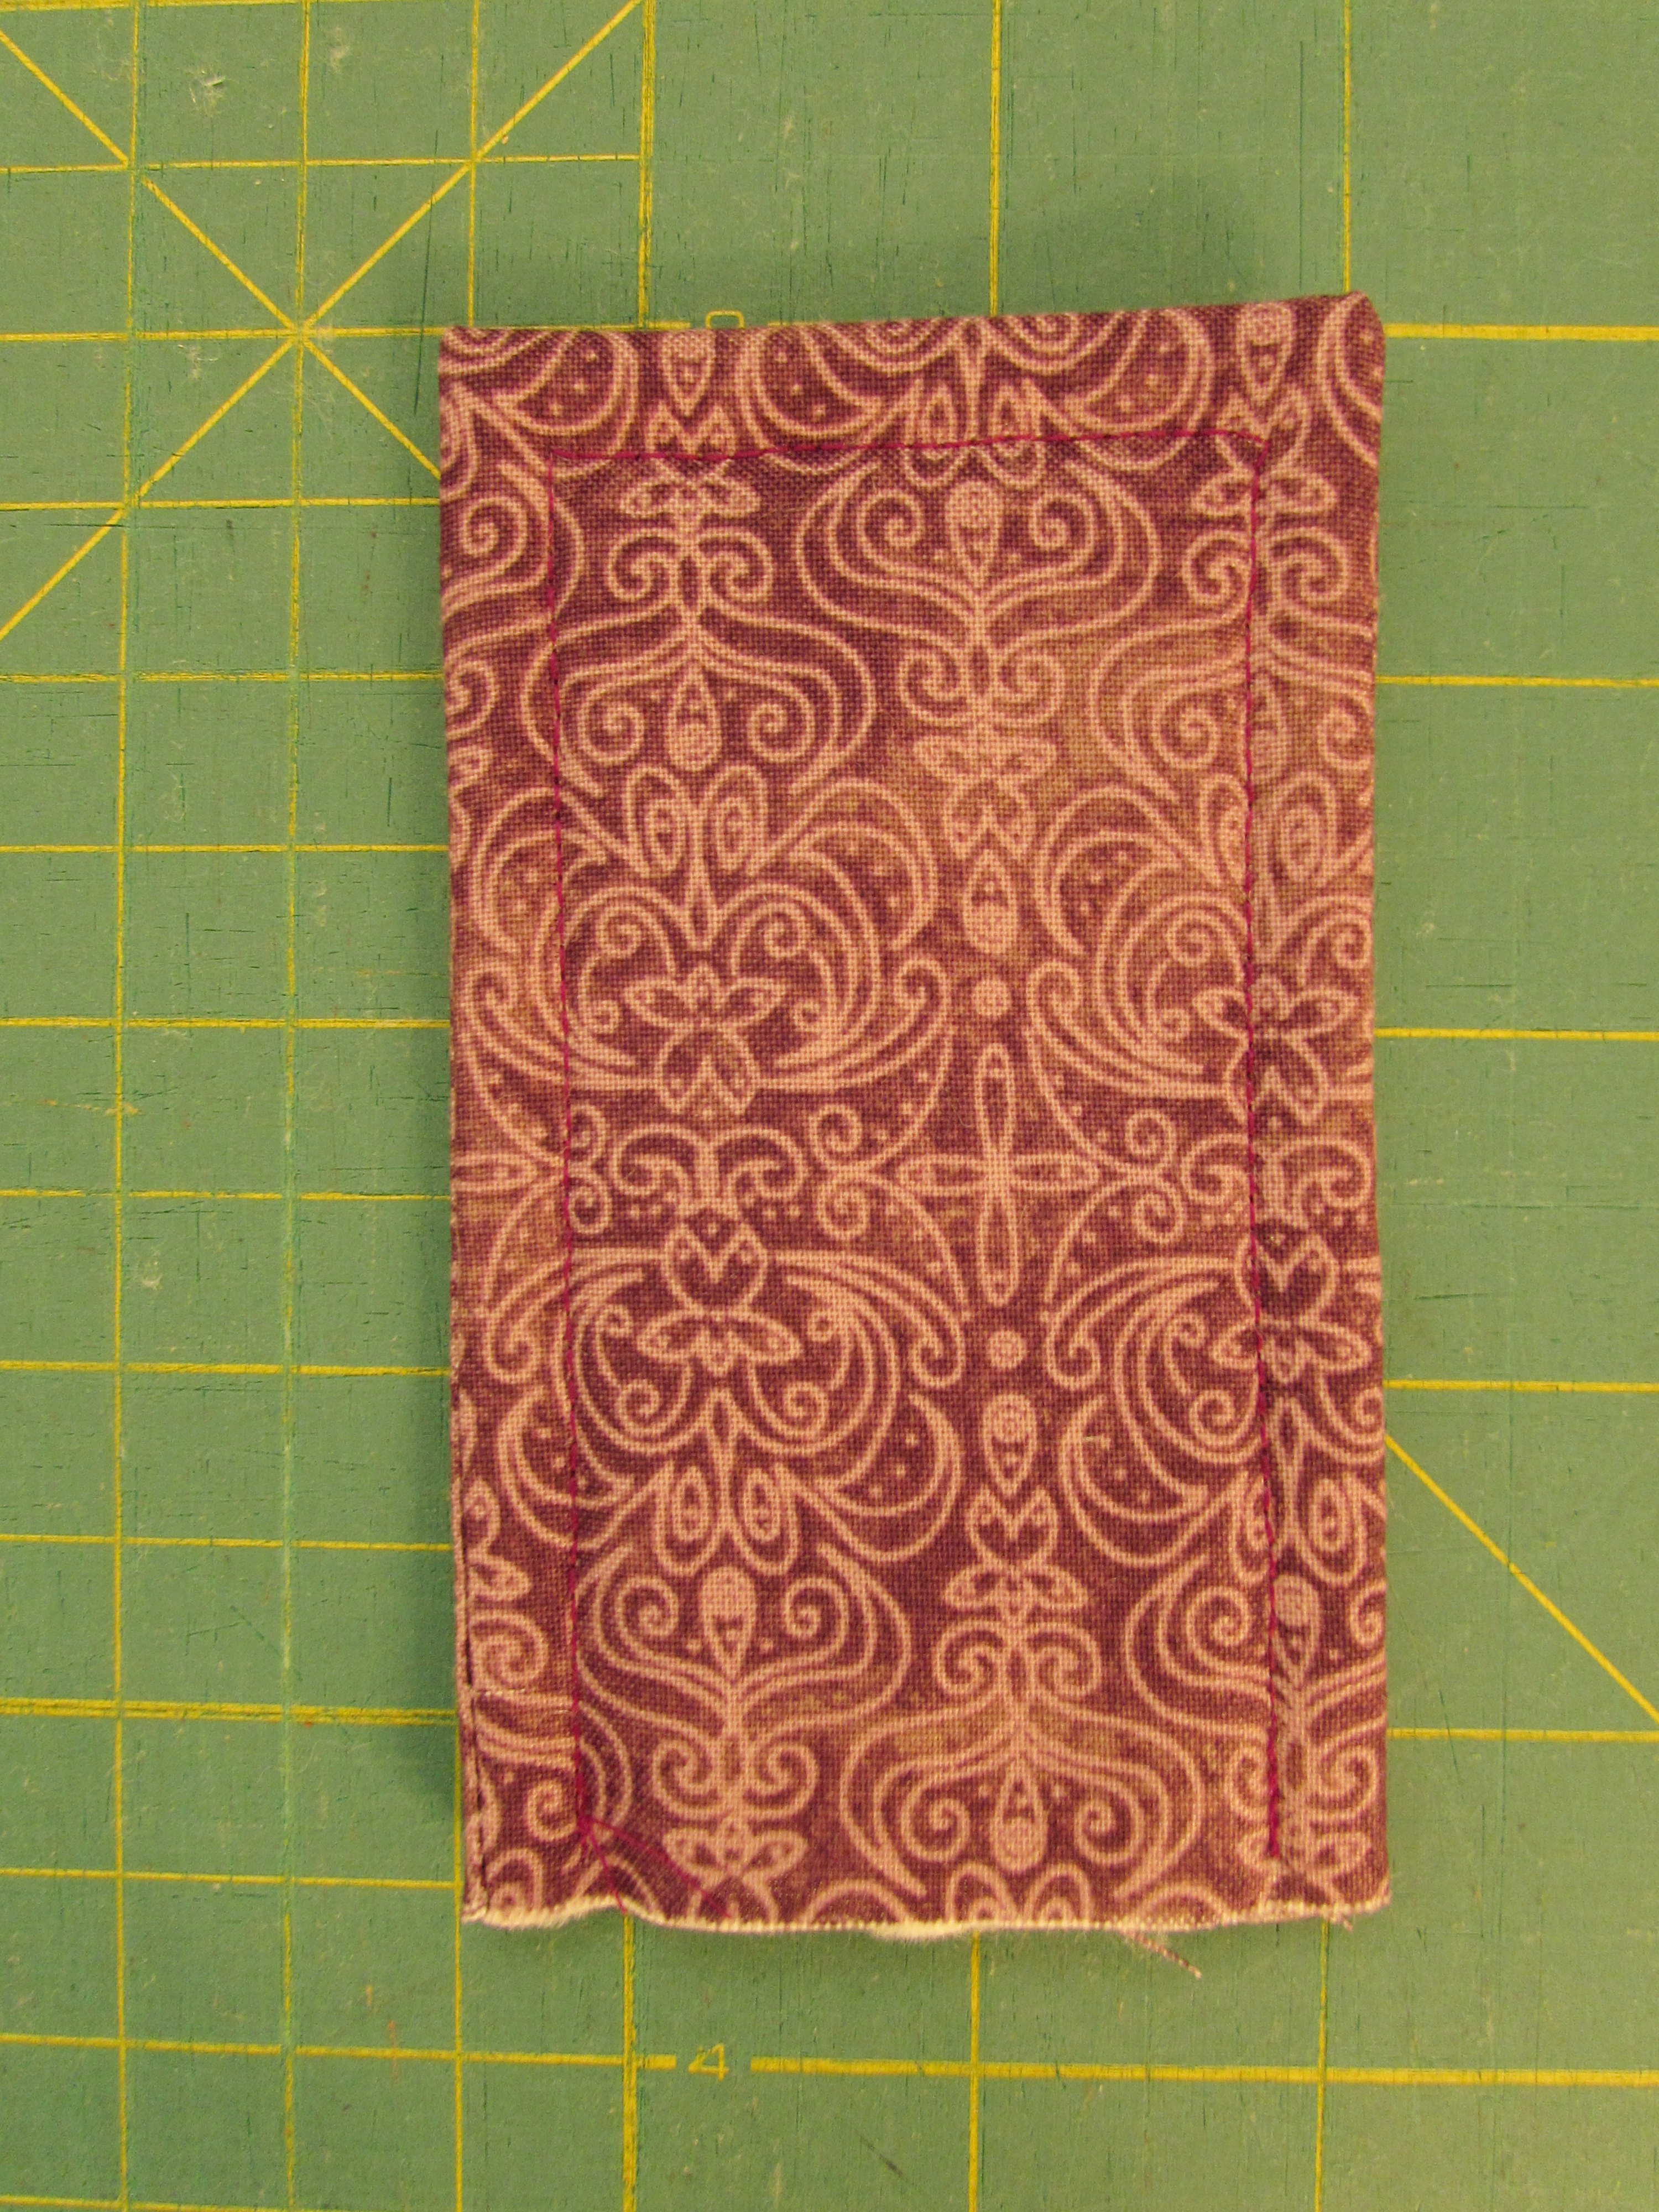
After turning it right side out, use a wooden chopstick or the round end of a pencil to poke the corners out – be gentle here so you don’t make a hole. Top stitch around the edge at 1/4″ allowance.
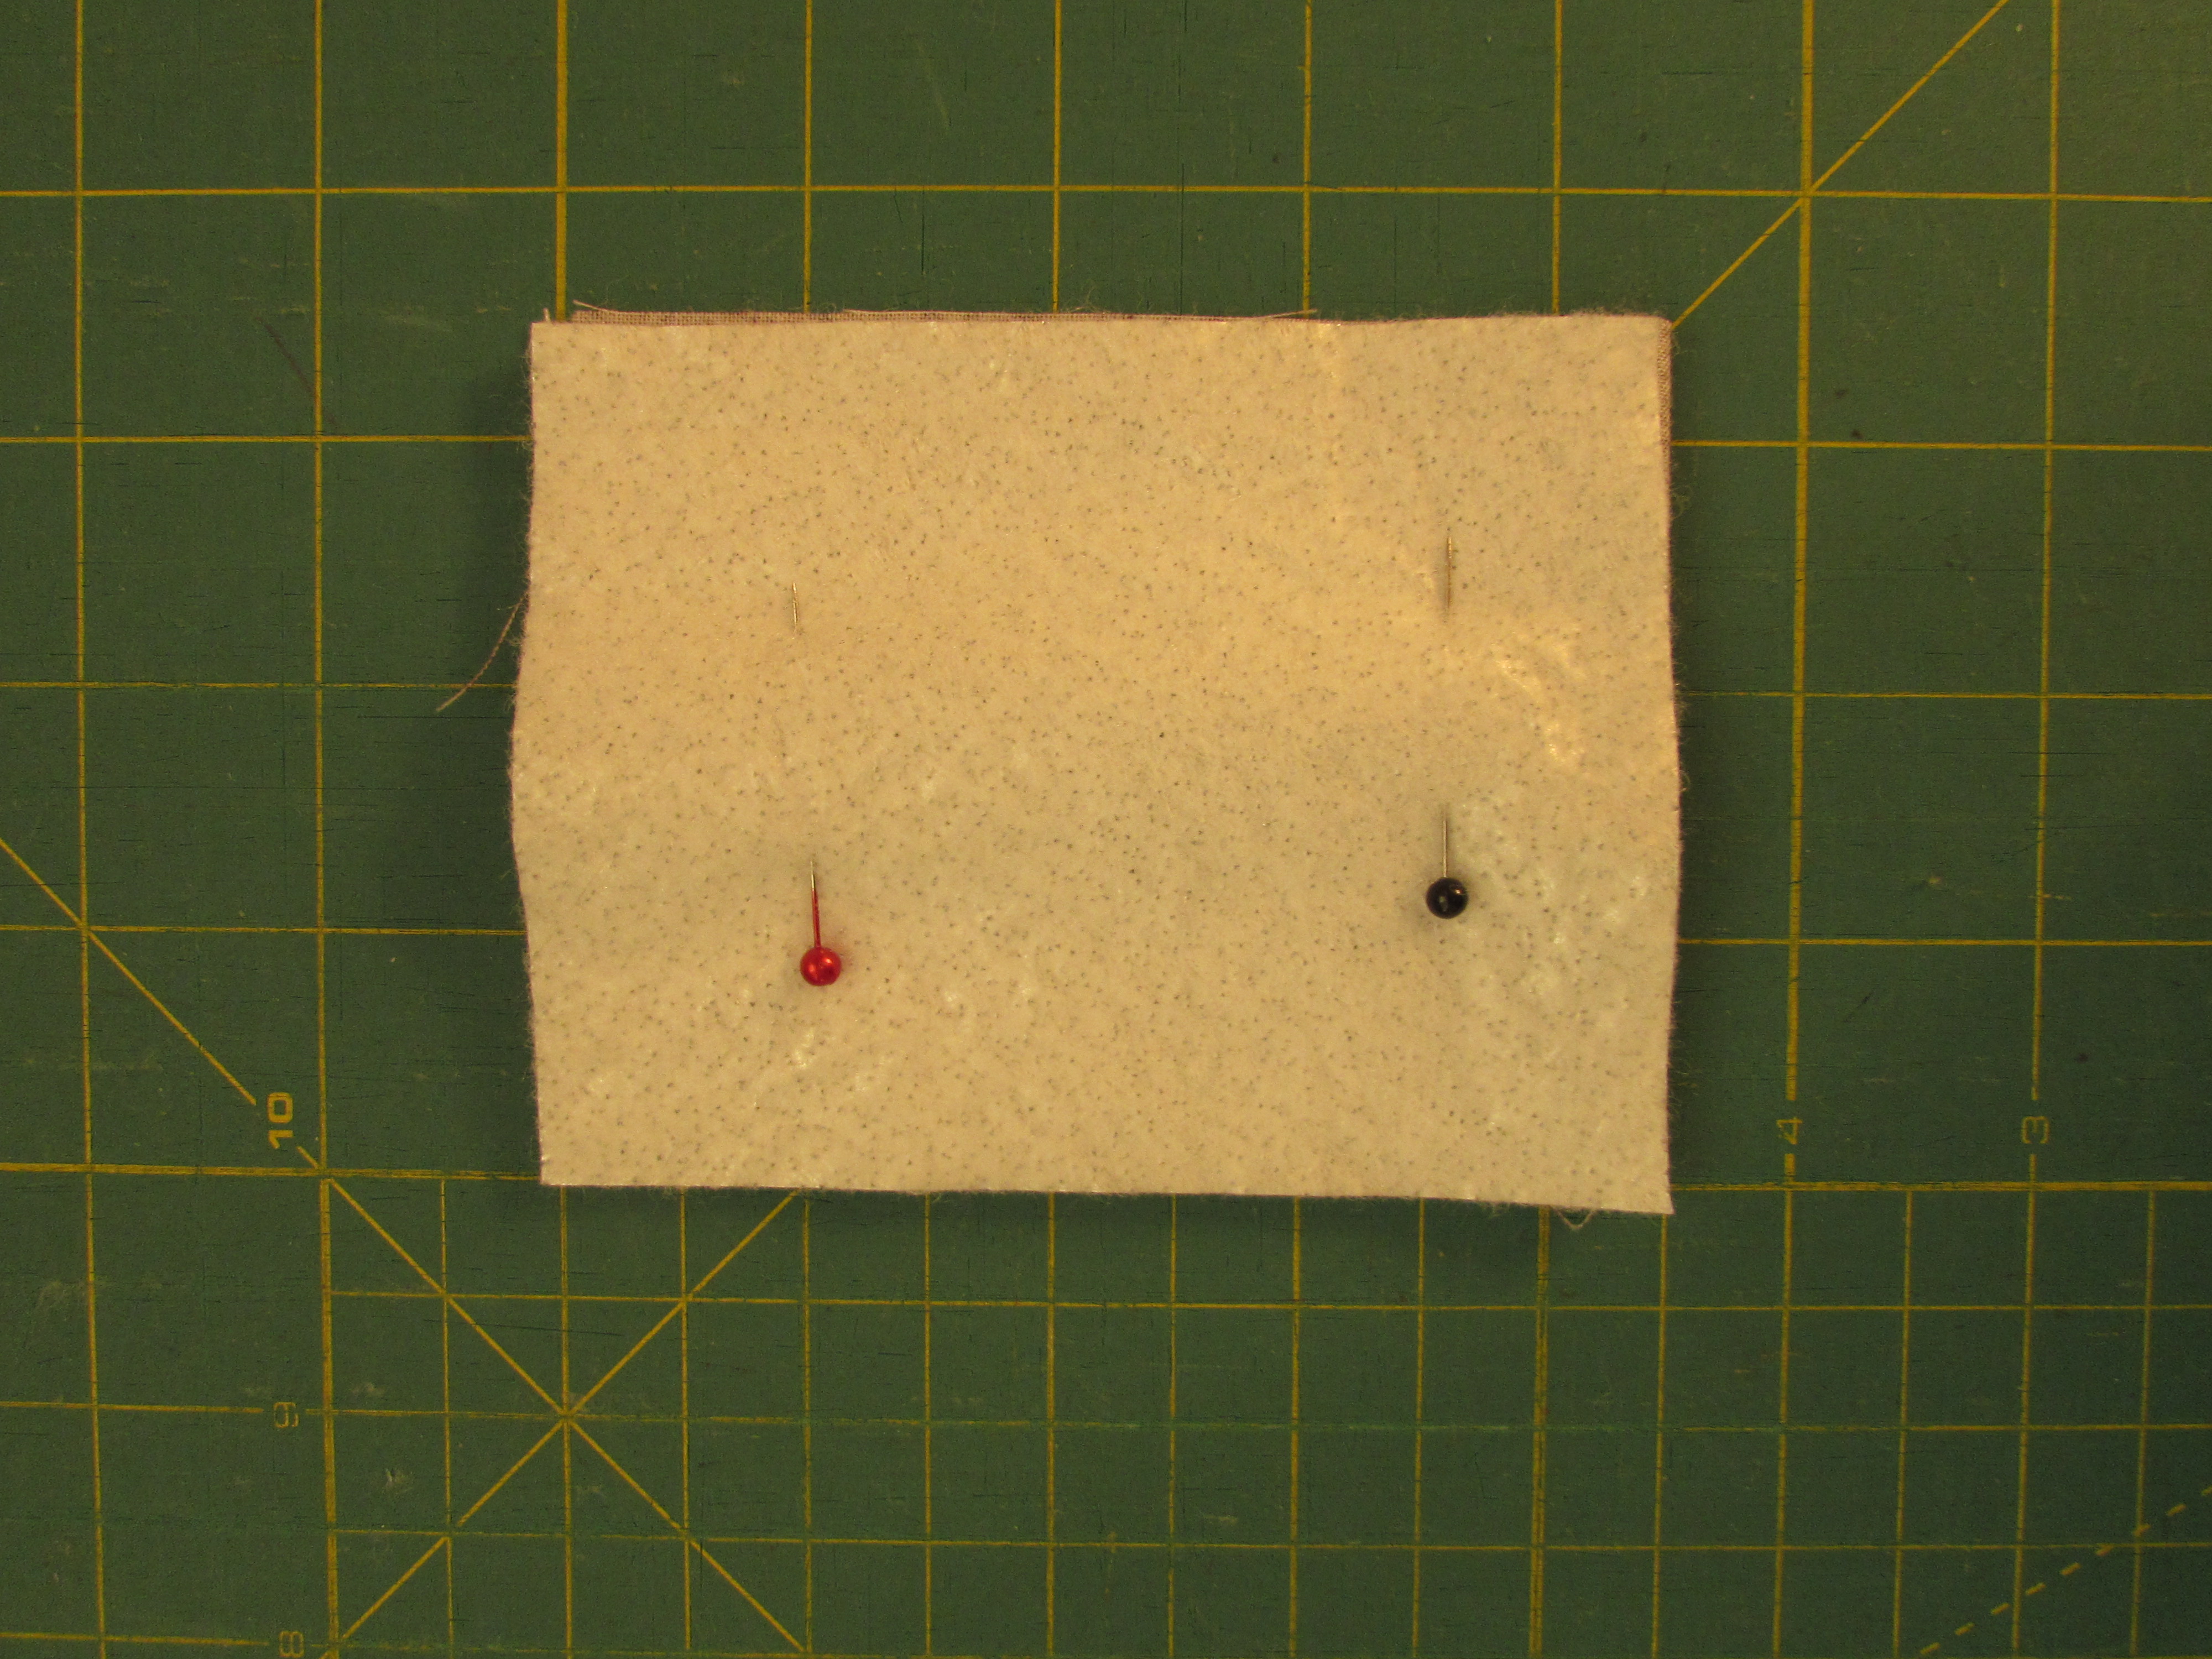
Use a fabric marker to make a tiny dot at the center of the short, open end of the tab. Set this aside for a moment.
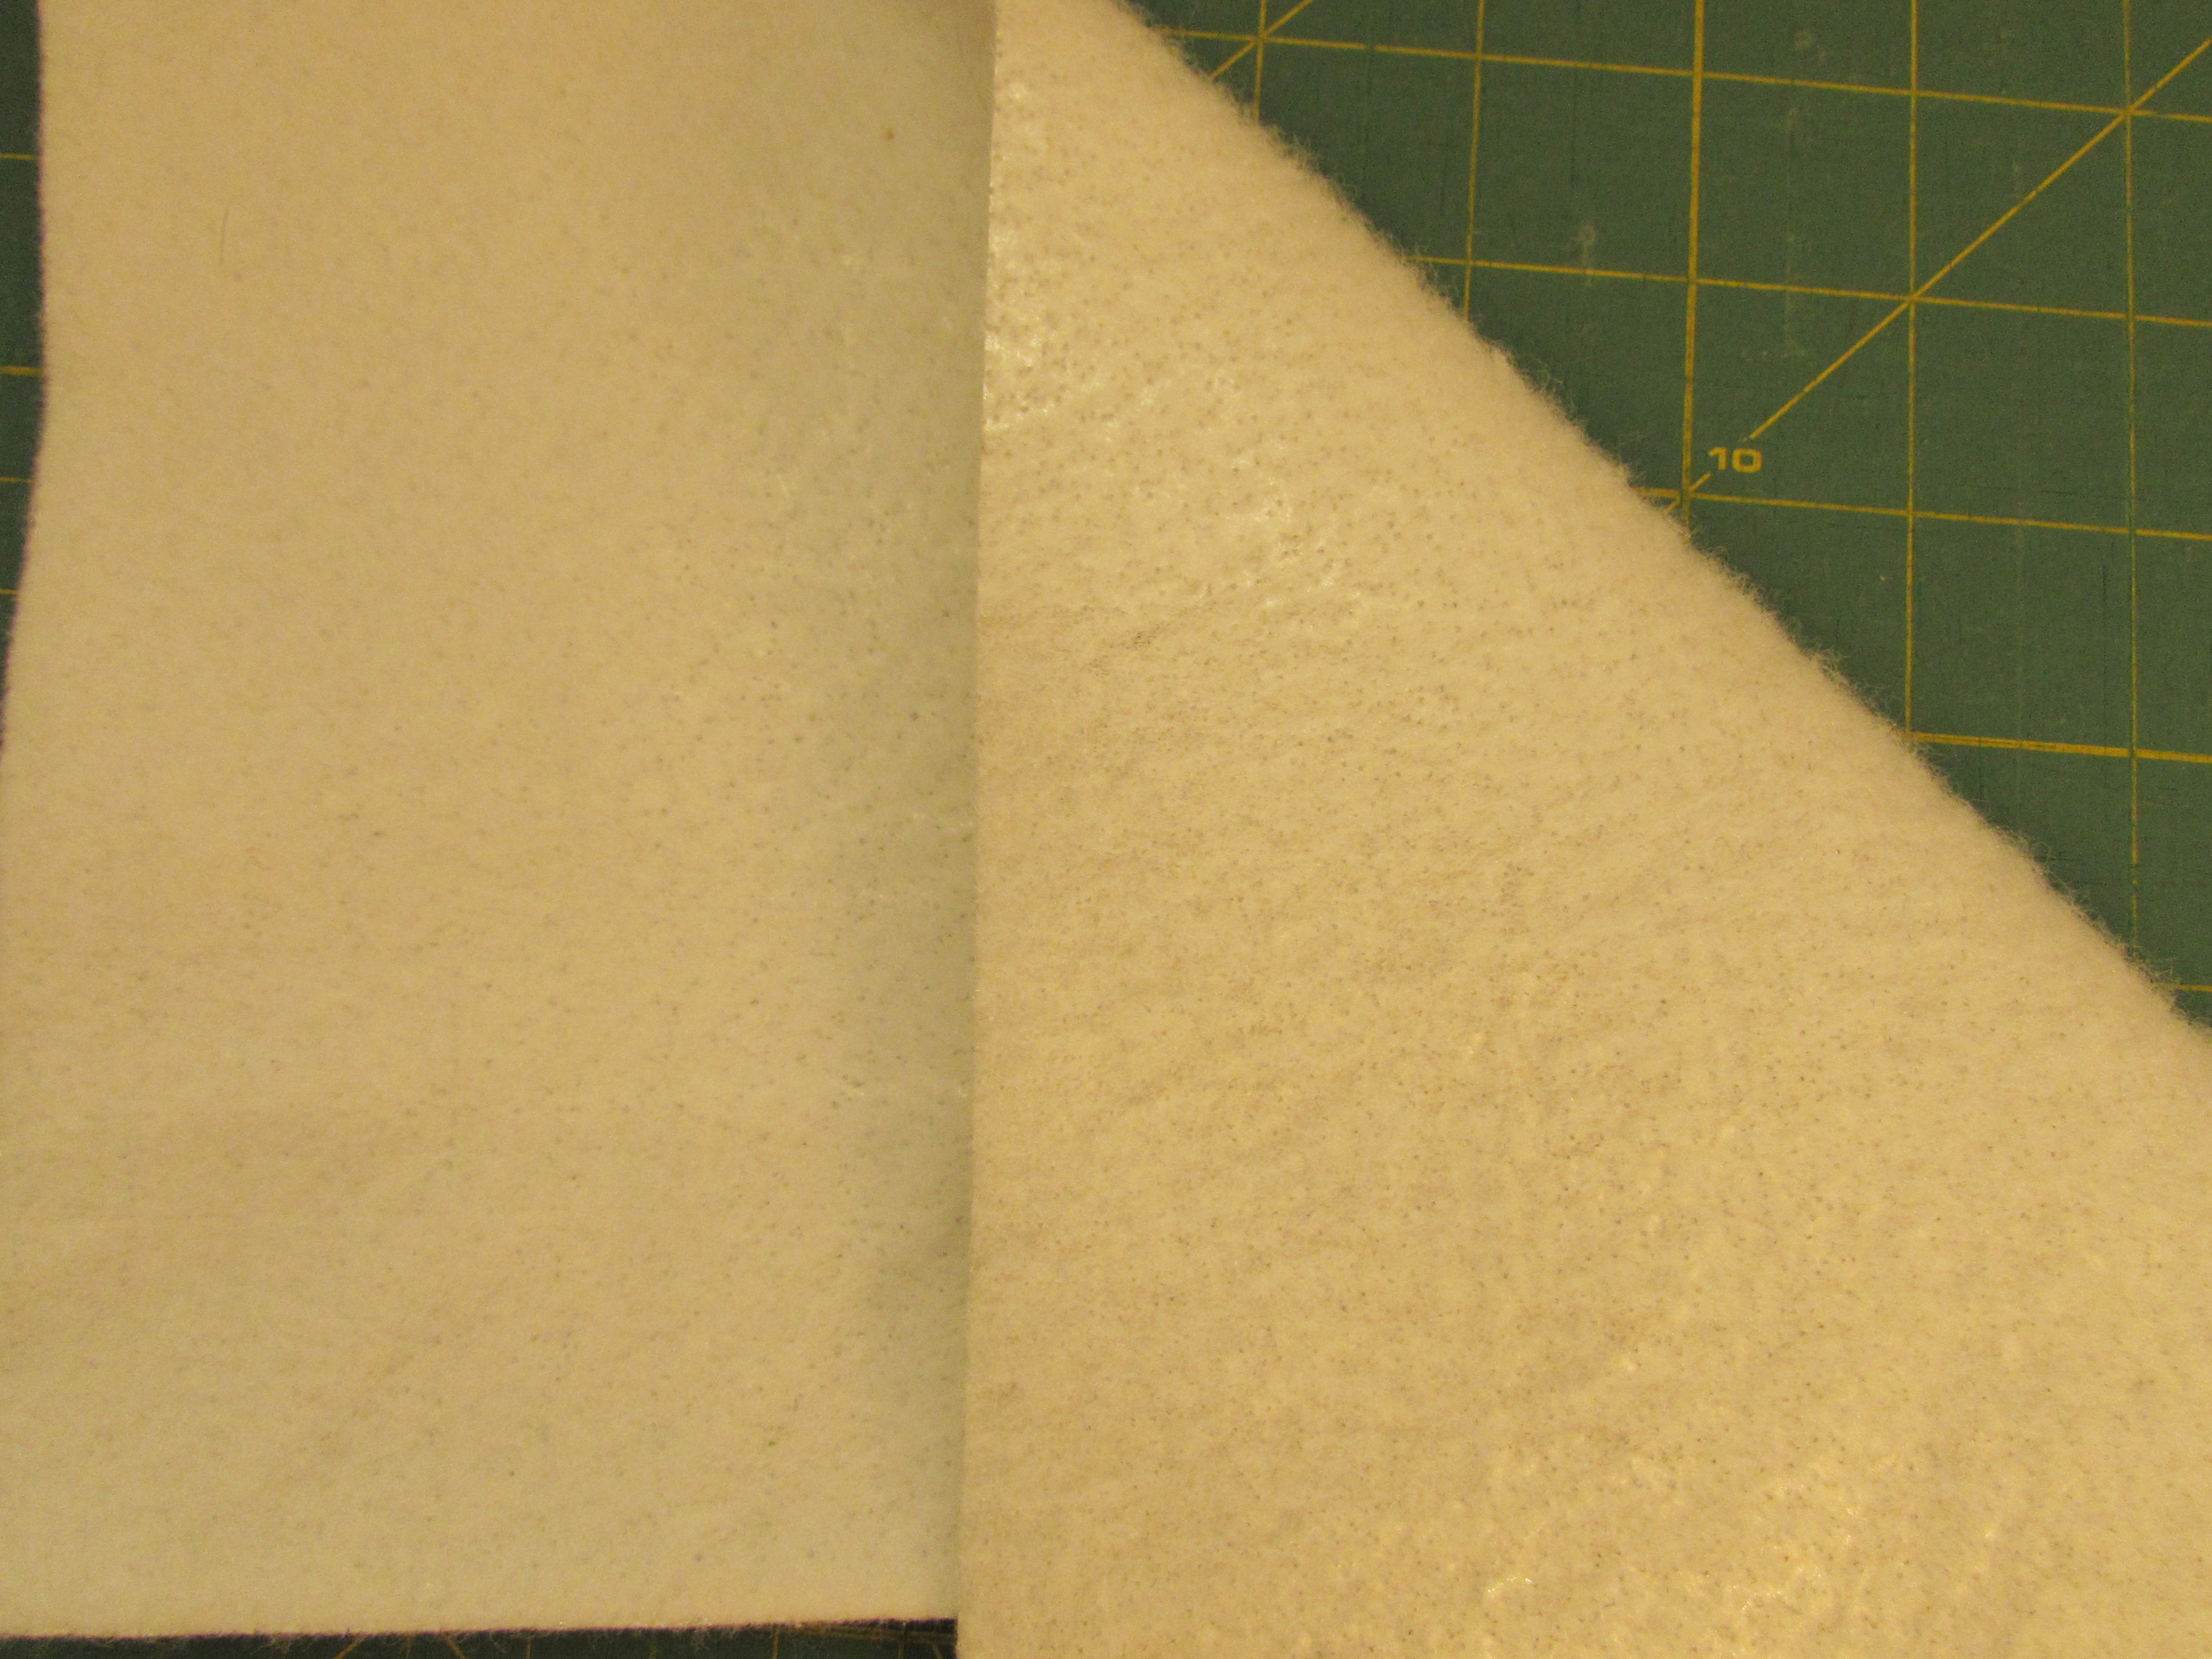
Take a look at your piece of Insul Bright. You will see that there is one side that is a bit shinier than the other, where the metallic bits show – in the photo below, the shinier side is on the right. When using Insul Bright, that side should be placed so that it is touching the inside of the fabric. We will be layering fabric, batting and Insul Bright. For better insulation, the shiny side should be in contact with the fabric, not the cotton batting. This isn’t hugely important though. The manufacturer states that it will only provide slightly better insulation.
Let’s assemble the layers for the cozy. Place the Insul Bright on the bottom side with the metallic, shiny side facing down on the mat. Next place your cotton batting on the Insul Bright. Finally place your two fabric rectangles, right sides together, on top of the cotton batting.
Pin the edges tightly so the layers don’t shift. Next mark a small dot at one of the short ends center point. You will match that dot to the center dot on the tab.
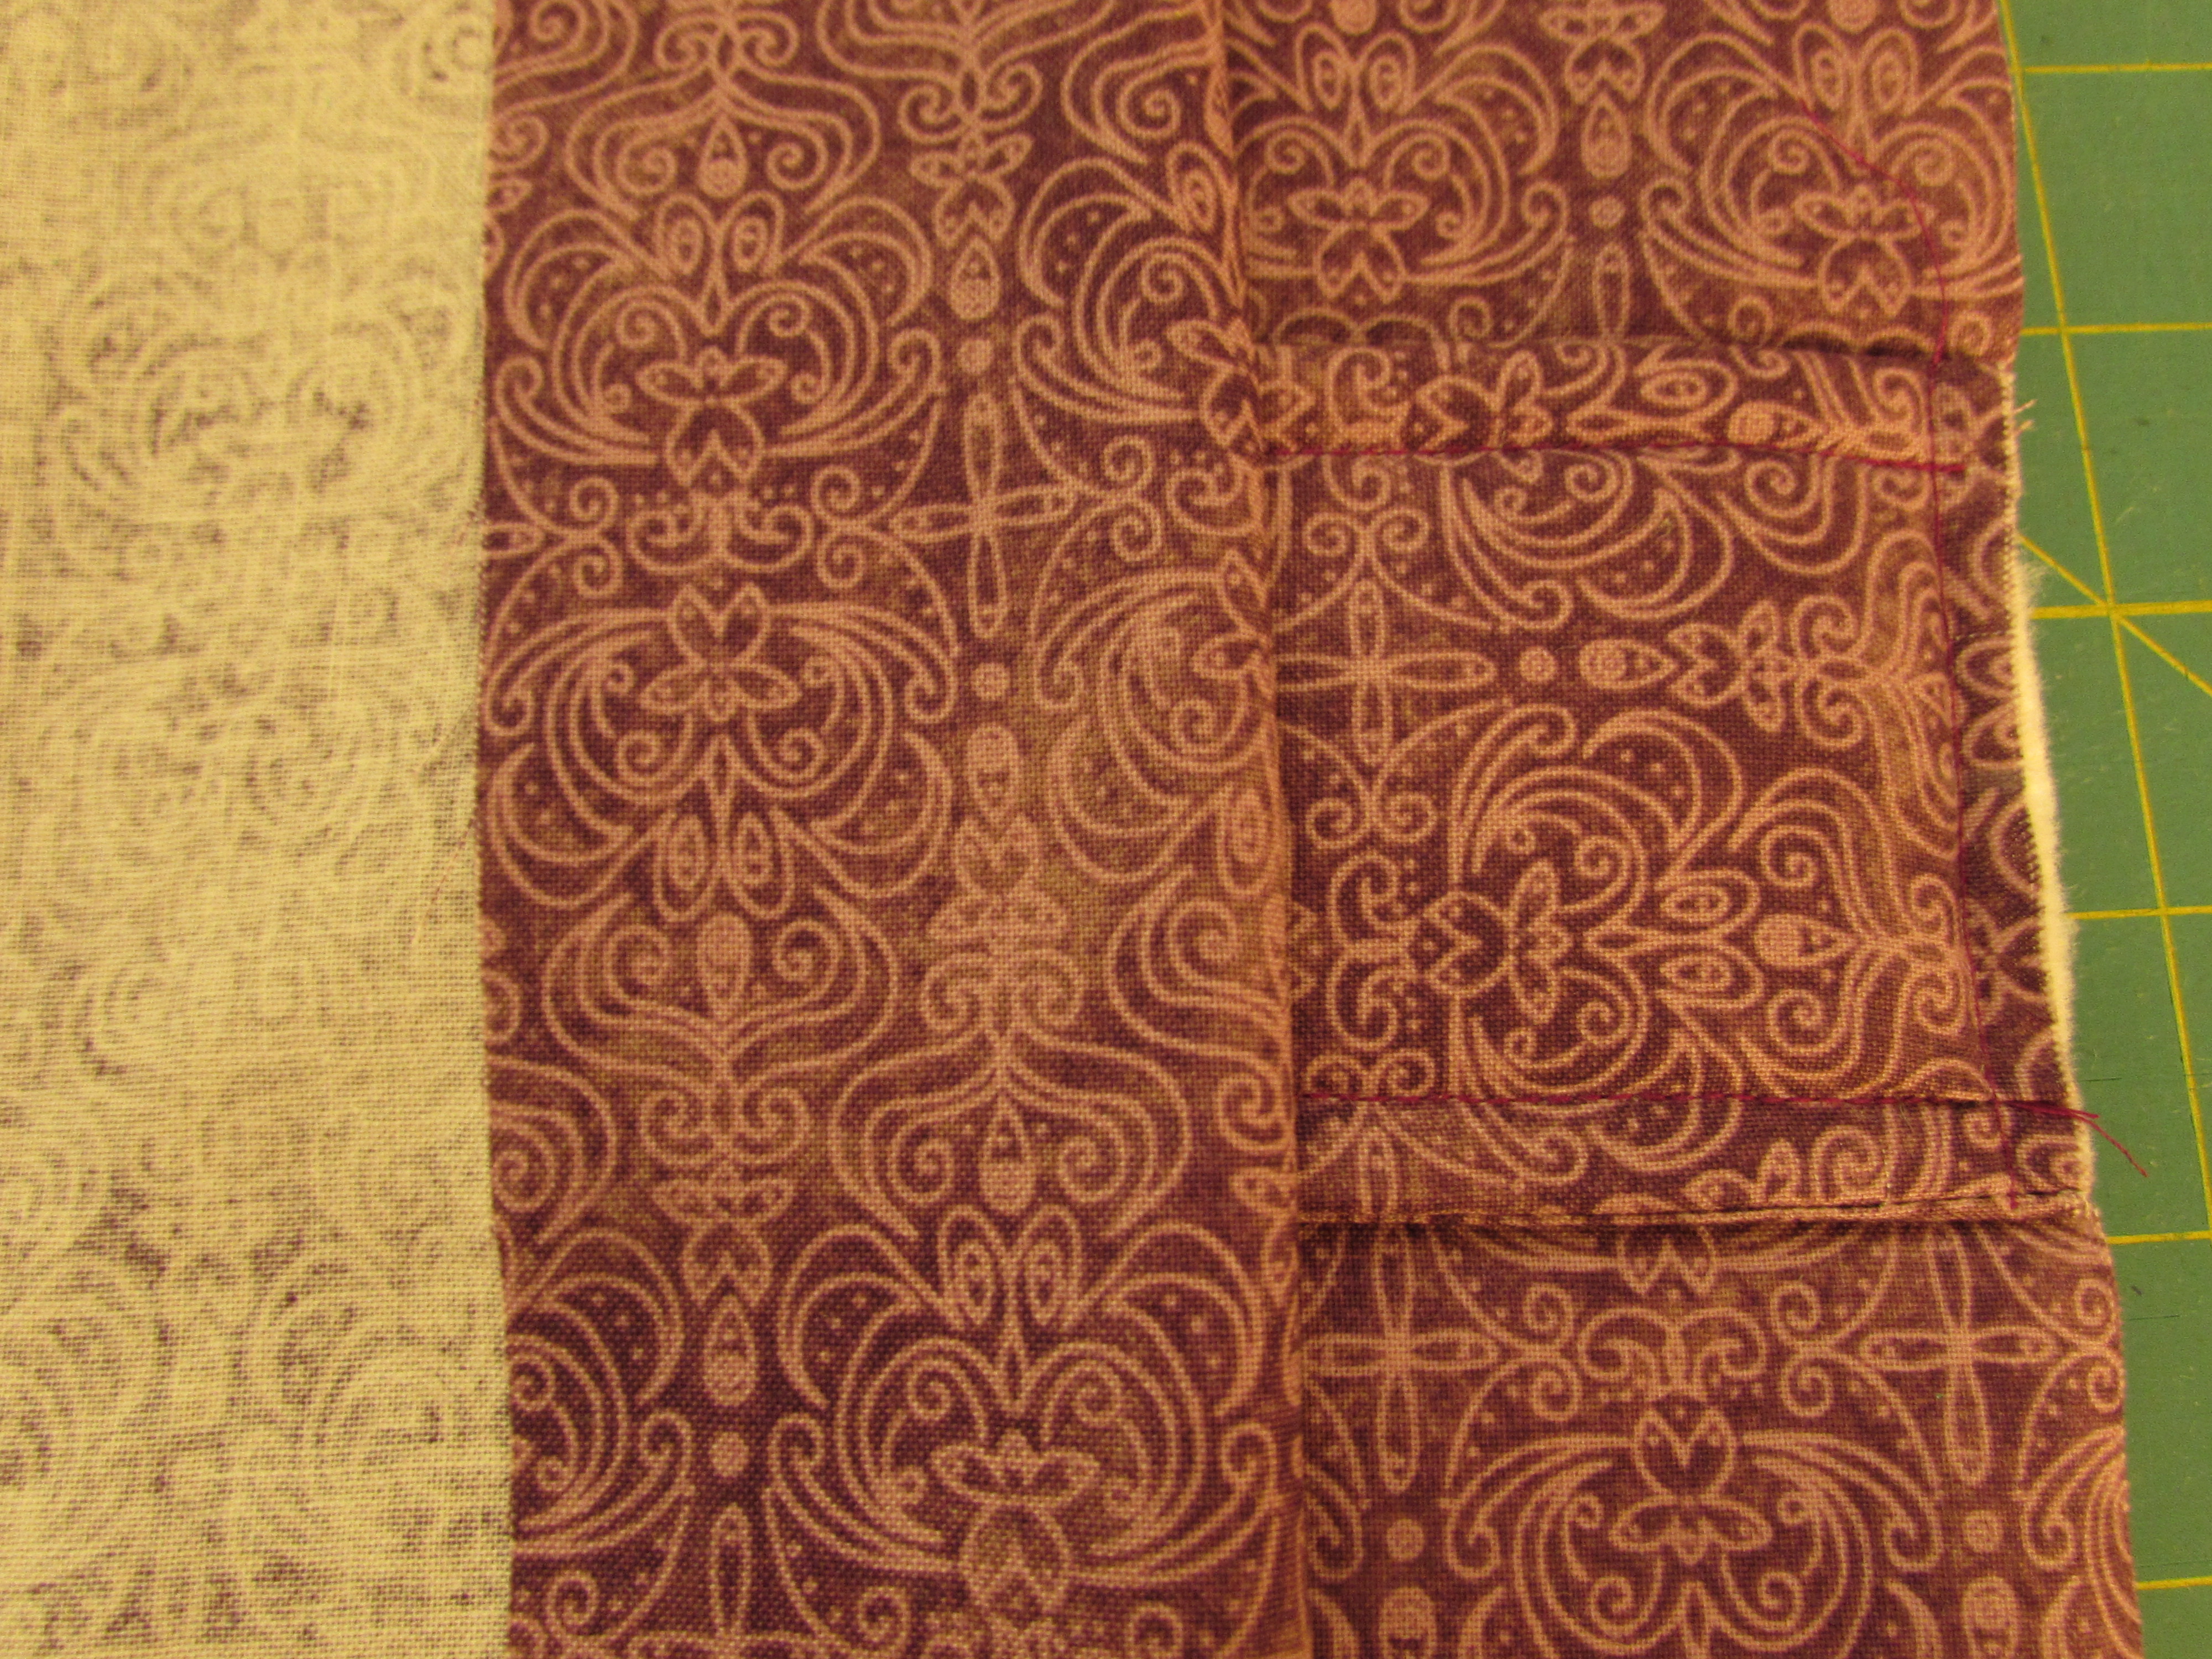
Fold back the top layer of fabric a few inches and insert the tab between the two fabric layers matching the center points on the large rectangle and the tab.Once you slip the tab between the layers of fabric, make sure you have that rawedge of the tab aligned with the short side of the cozy, NOT the finished end. You will stitch the tab to the bottom layers (which would be both battings and one fabric layer). Stitch it with 1/4″ seam allowance so this seam won’t show later on.
Unfold that top layer so it is now covering the tab. Pin securely.
Starting on one of the long edges, stitch all layers together, around all four edges with a 3/8″ seam allowance. Leave one 3″ opening on one of the long sides. Remember when you are beginning and ending this seam to stop at the opening with your needle down, pivot the fabric and sew off the edge. Reverse stitch about three stitches so that your seam holds while you turn your project right side out.
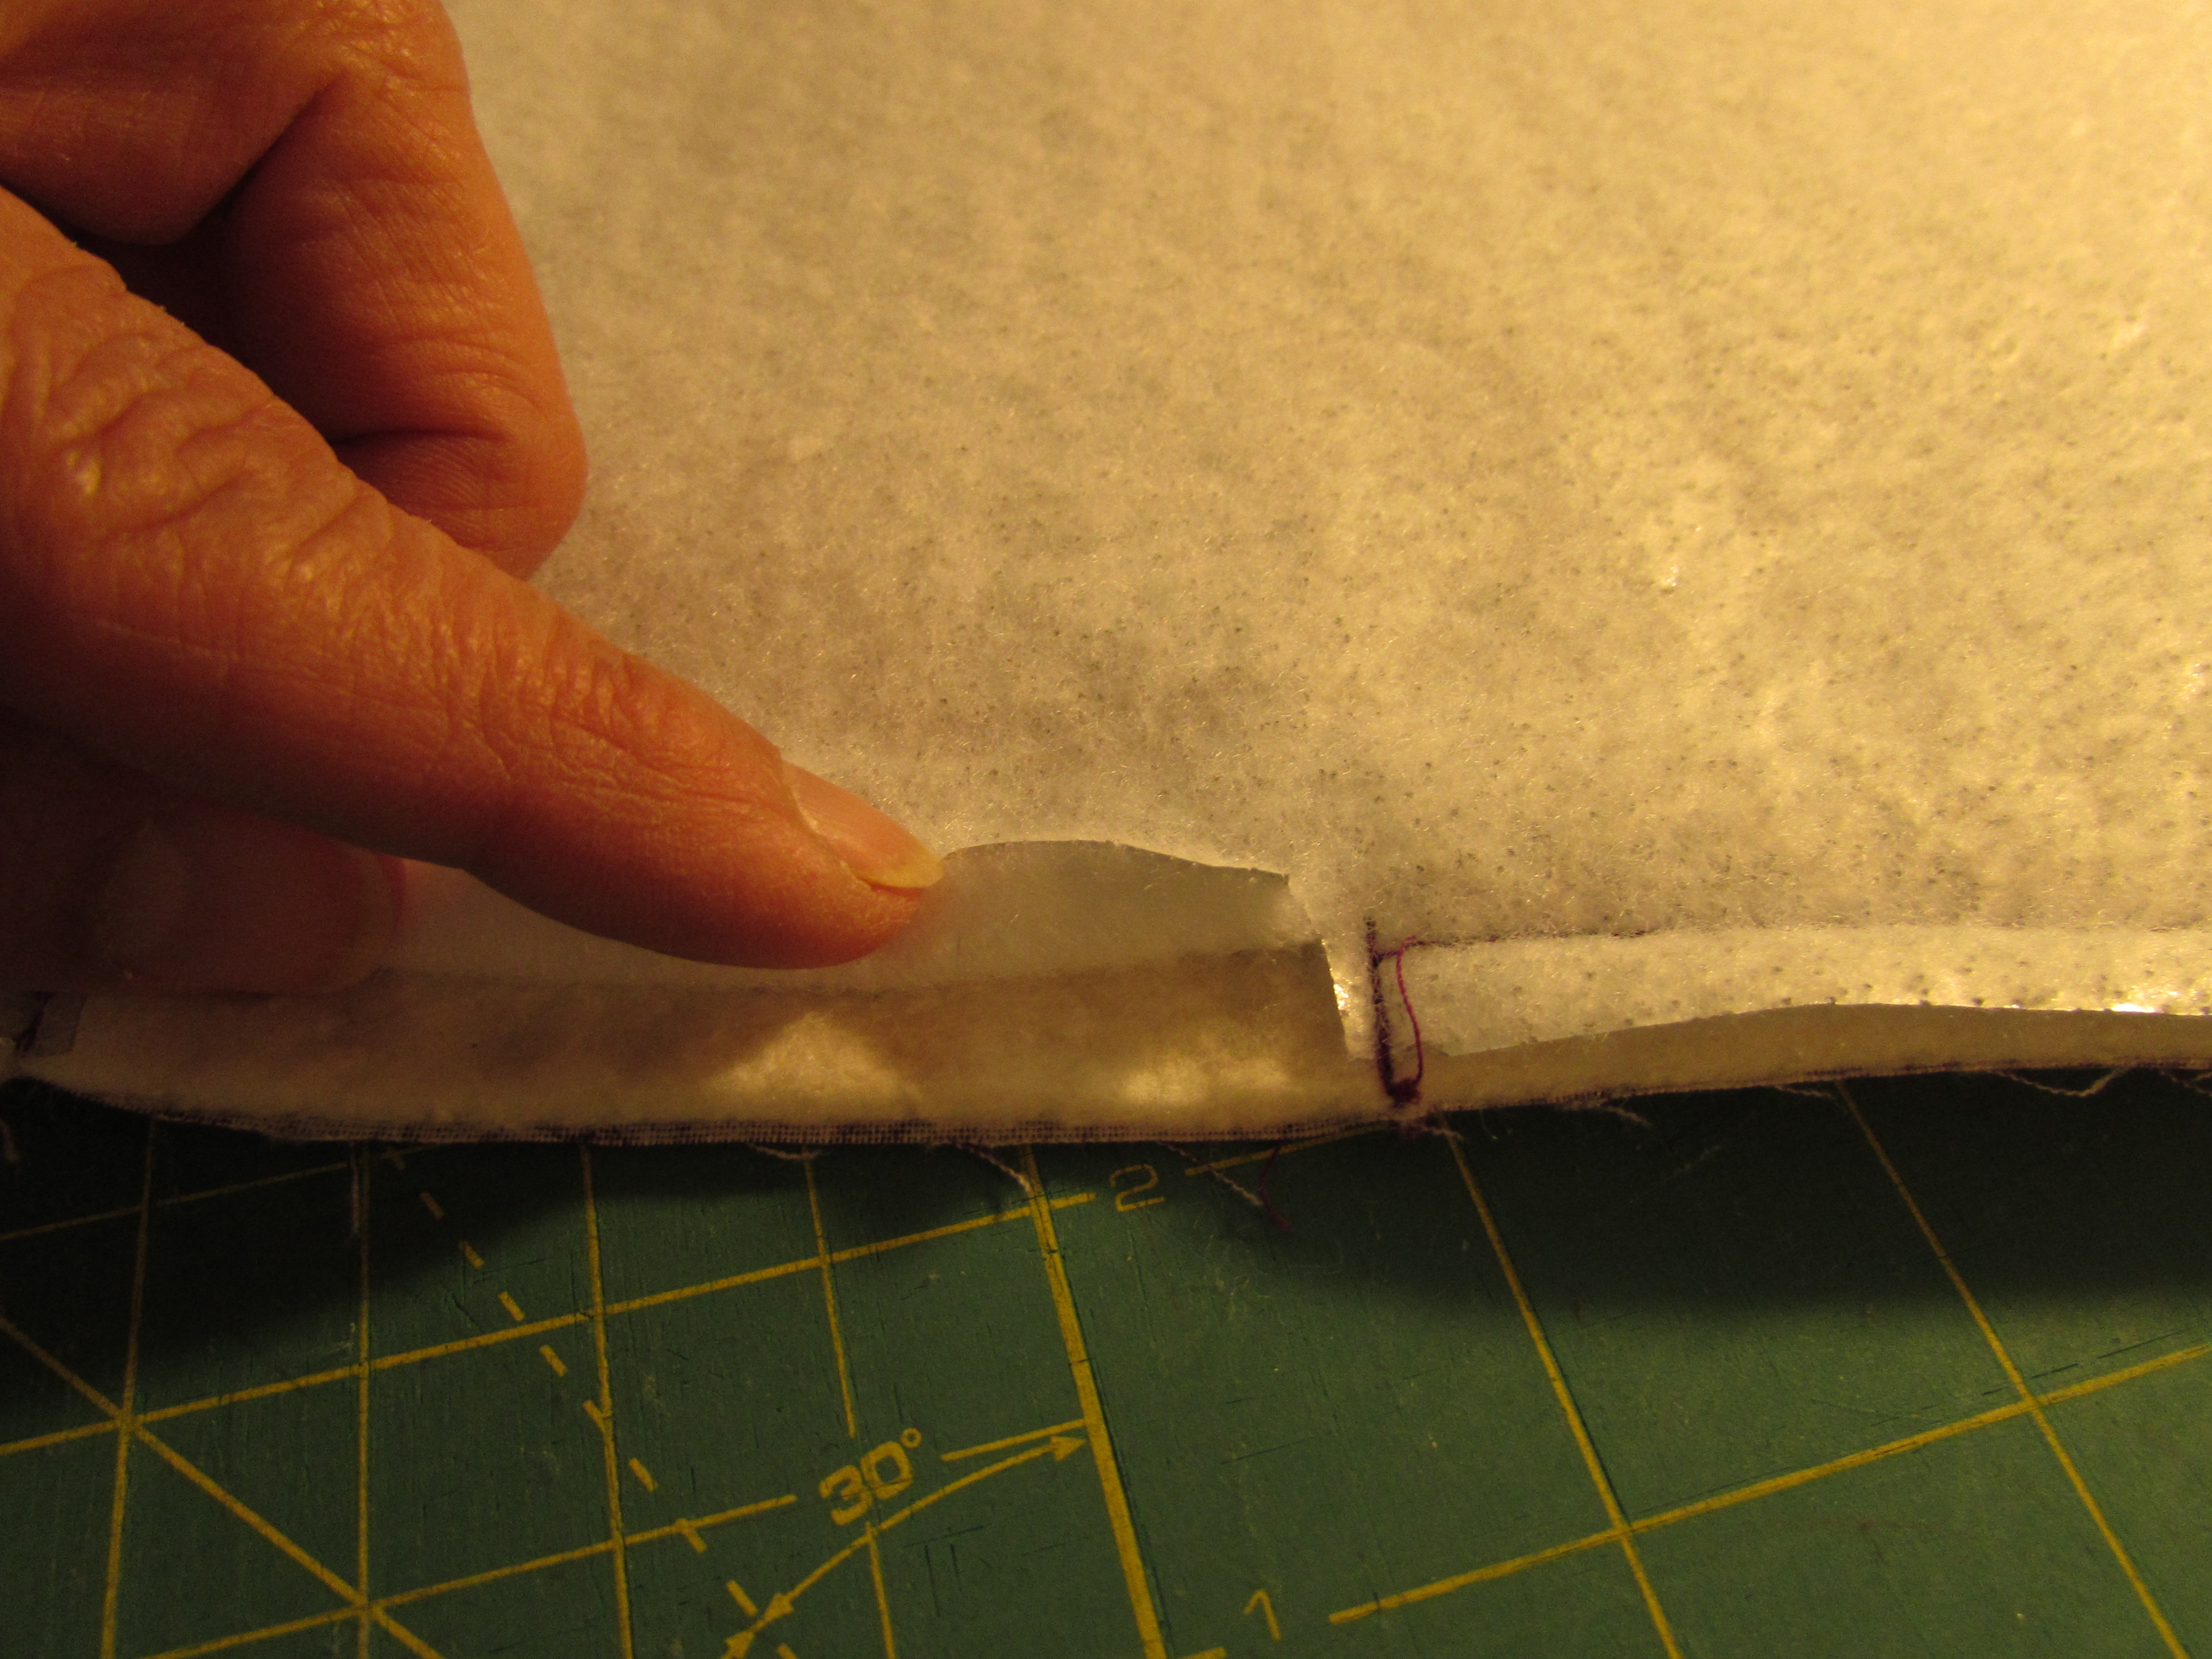
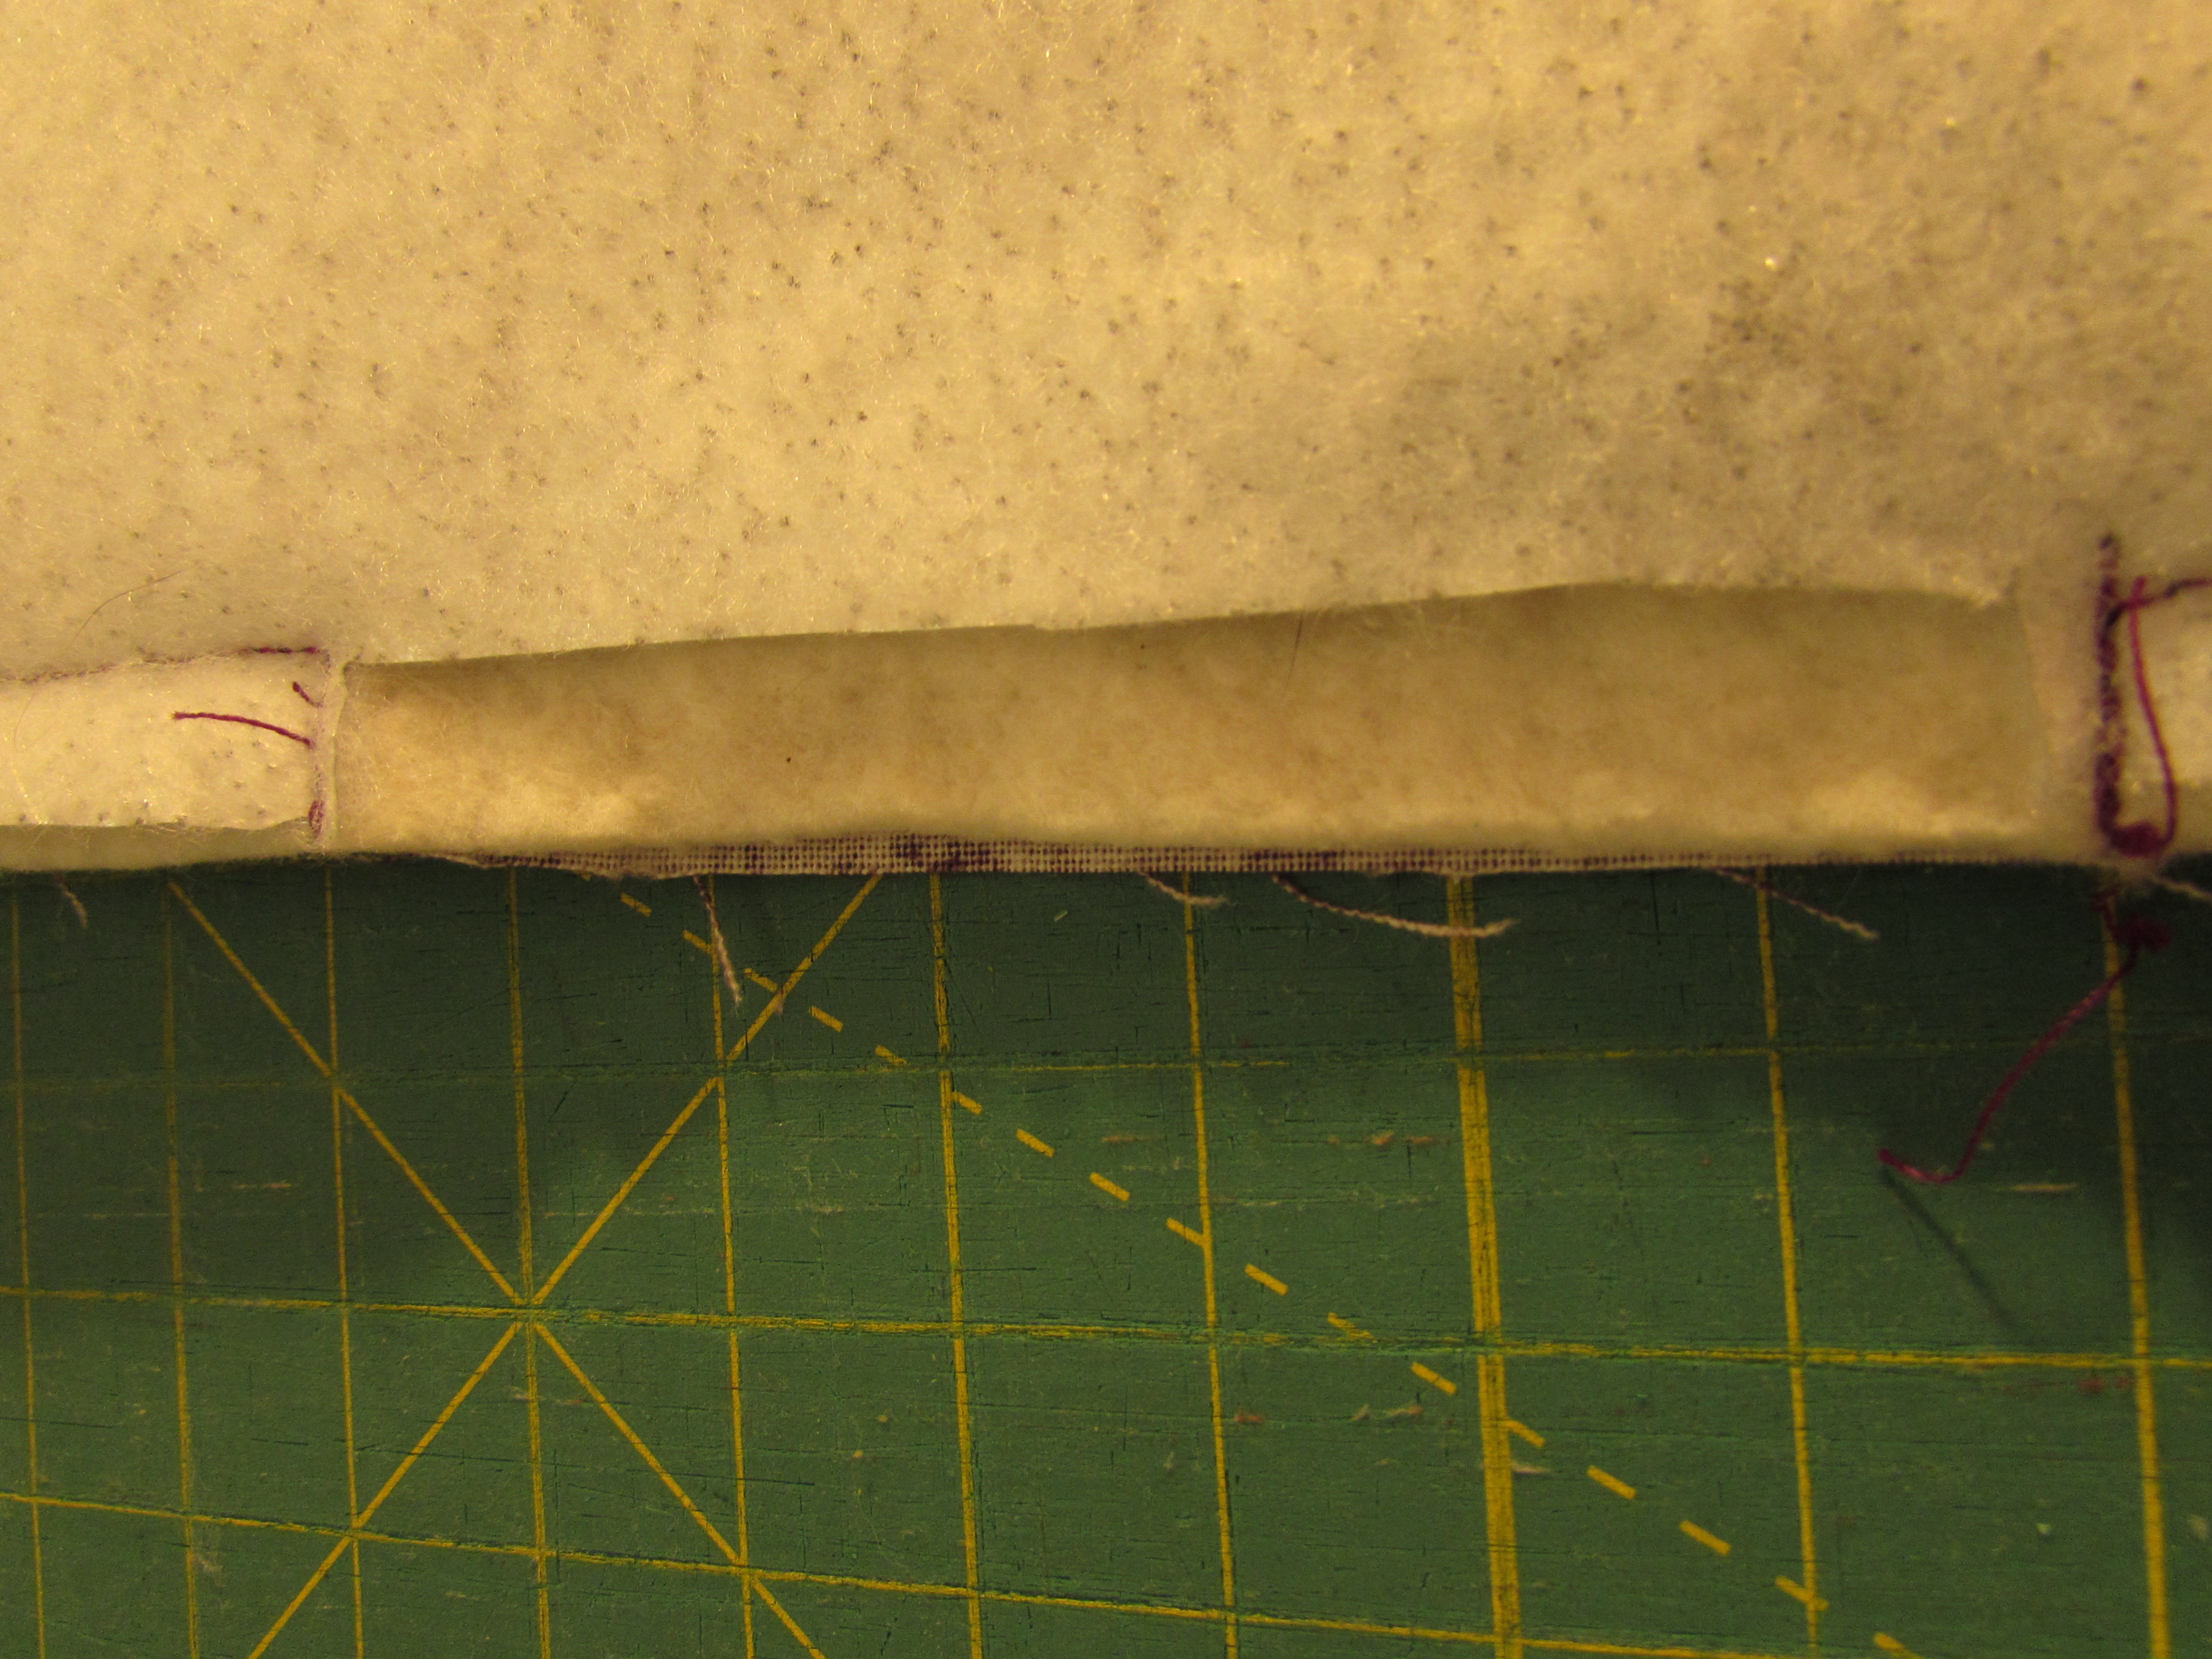
Very carefully, take your scissors and make a small cut in the Insul Bright. It should be only as deep at those stitches you just made. Clip each side and then trim that piece off. This will remove some of the bulk from that seam when you close it up. You will also need to trim each of the four corners, just like we did with the tab, taking care not to snip too closely to the stitching.
Now turn everything right side out by gently pulling the piece through that opening. It takes some patience but just work it through the opening. Then use your fingers to slide the batting layers into place and flatten them. Sometimes they get a wave or lumpy feel from turning it right side out but you can just massage everything flat. To have nice crisp corners, use your chopstick, or the round end of a pencil, and push the corners out. I roll the finished edges between my fingers a bit to get a nice flat edge. Then press everything with steam. Carefully fold in the opening seam and hand stitch it closed. Use a hidden stitch, such as the ladder stitch. (If you need a tutorial on the ladder stitch, click here.)
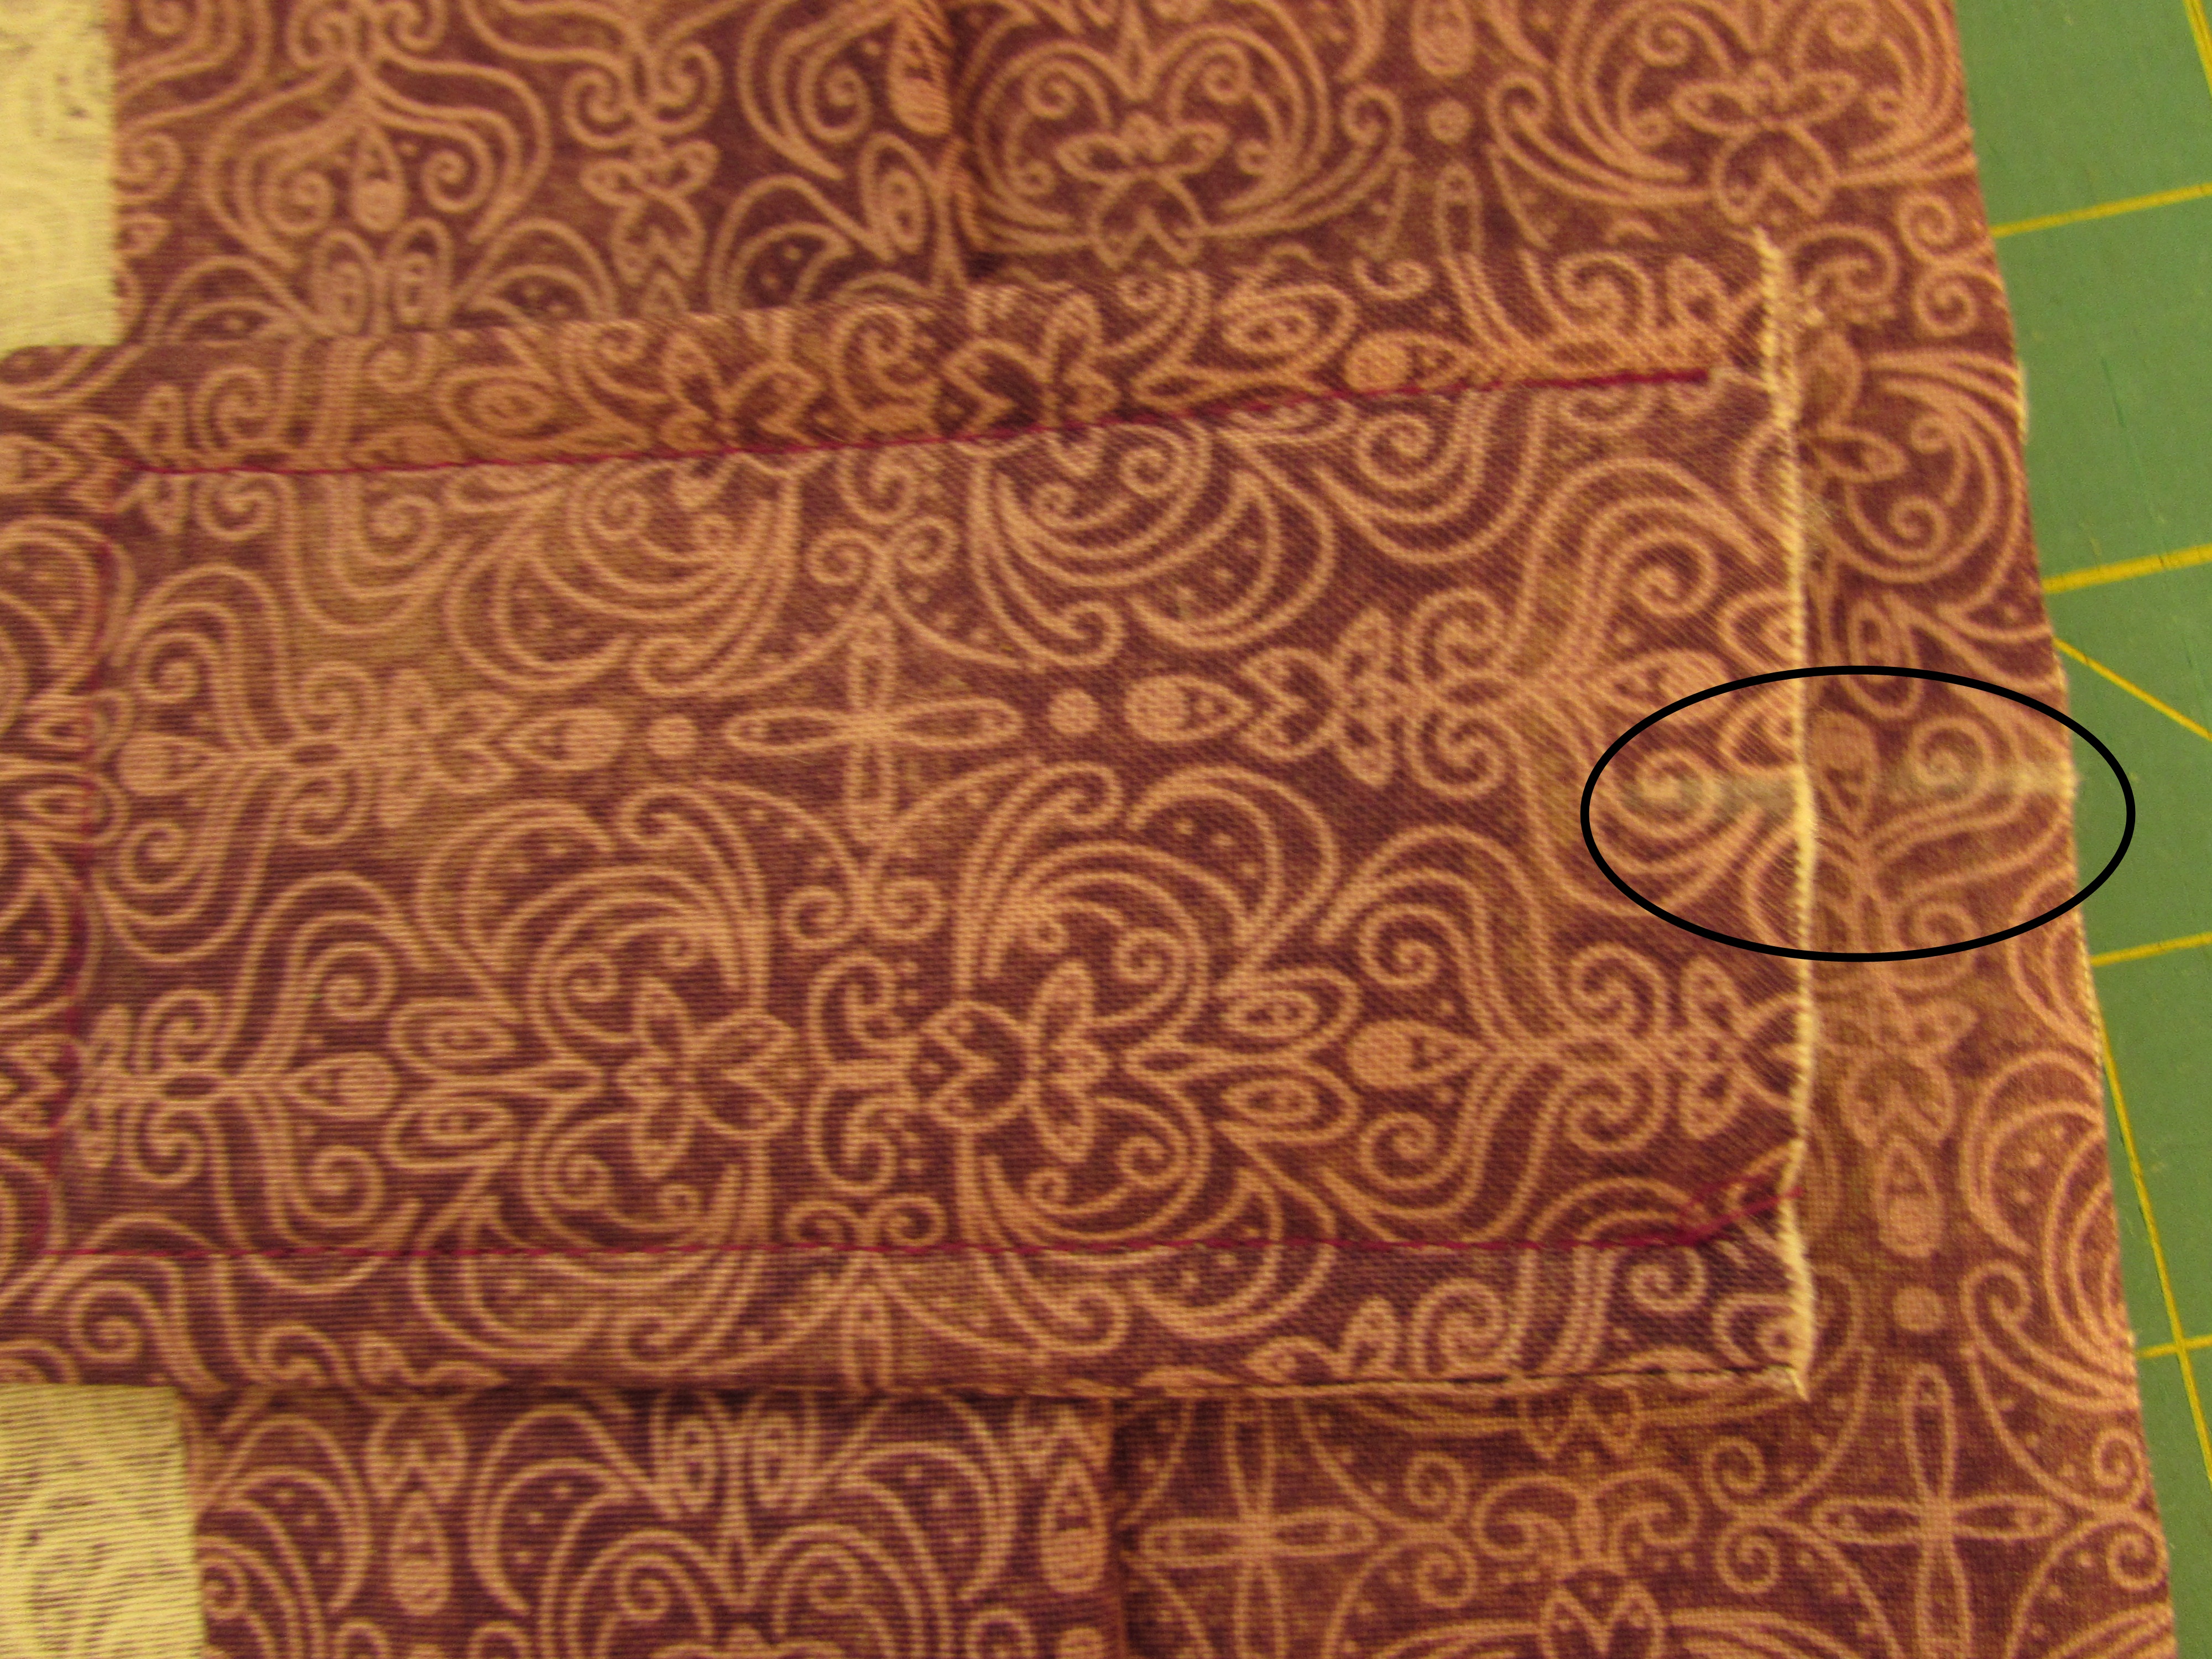
Using your walking foot, quilt a few lines through all layers to hold everything in place. The quilting can be as you like; this piece was quilted with three seams across the rectangle.
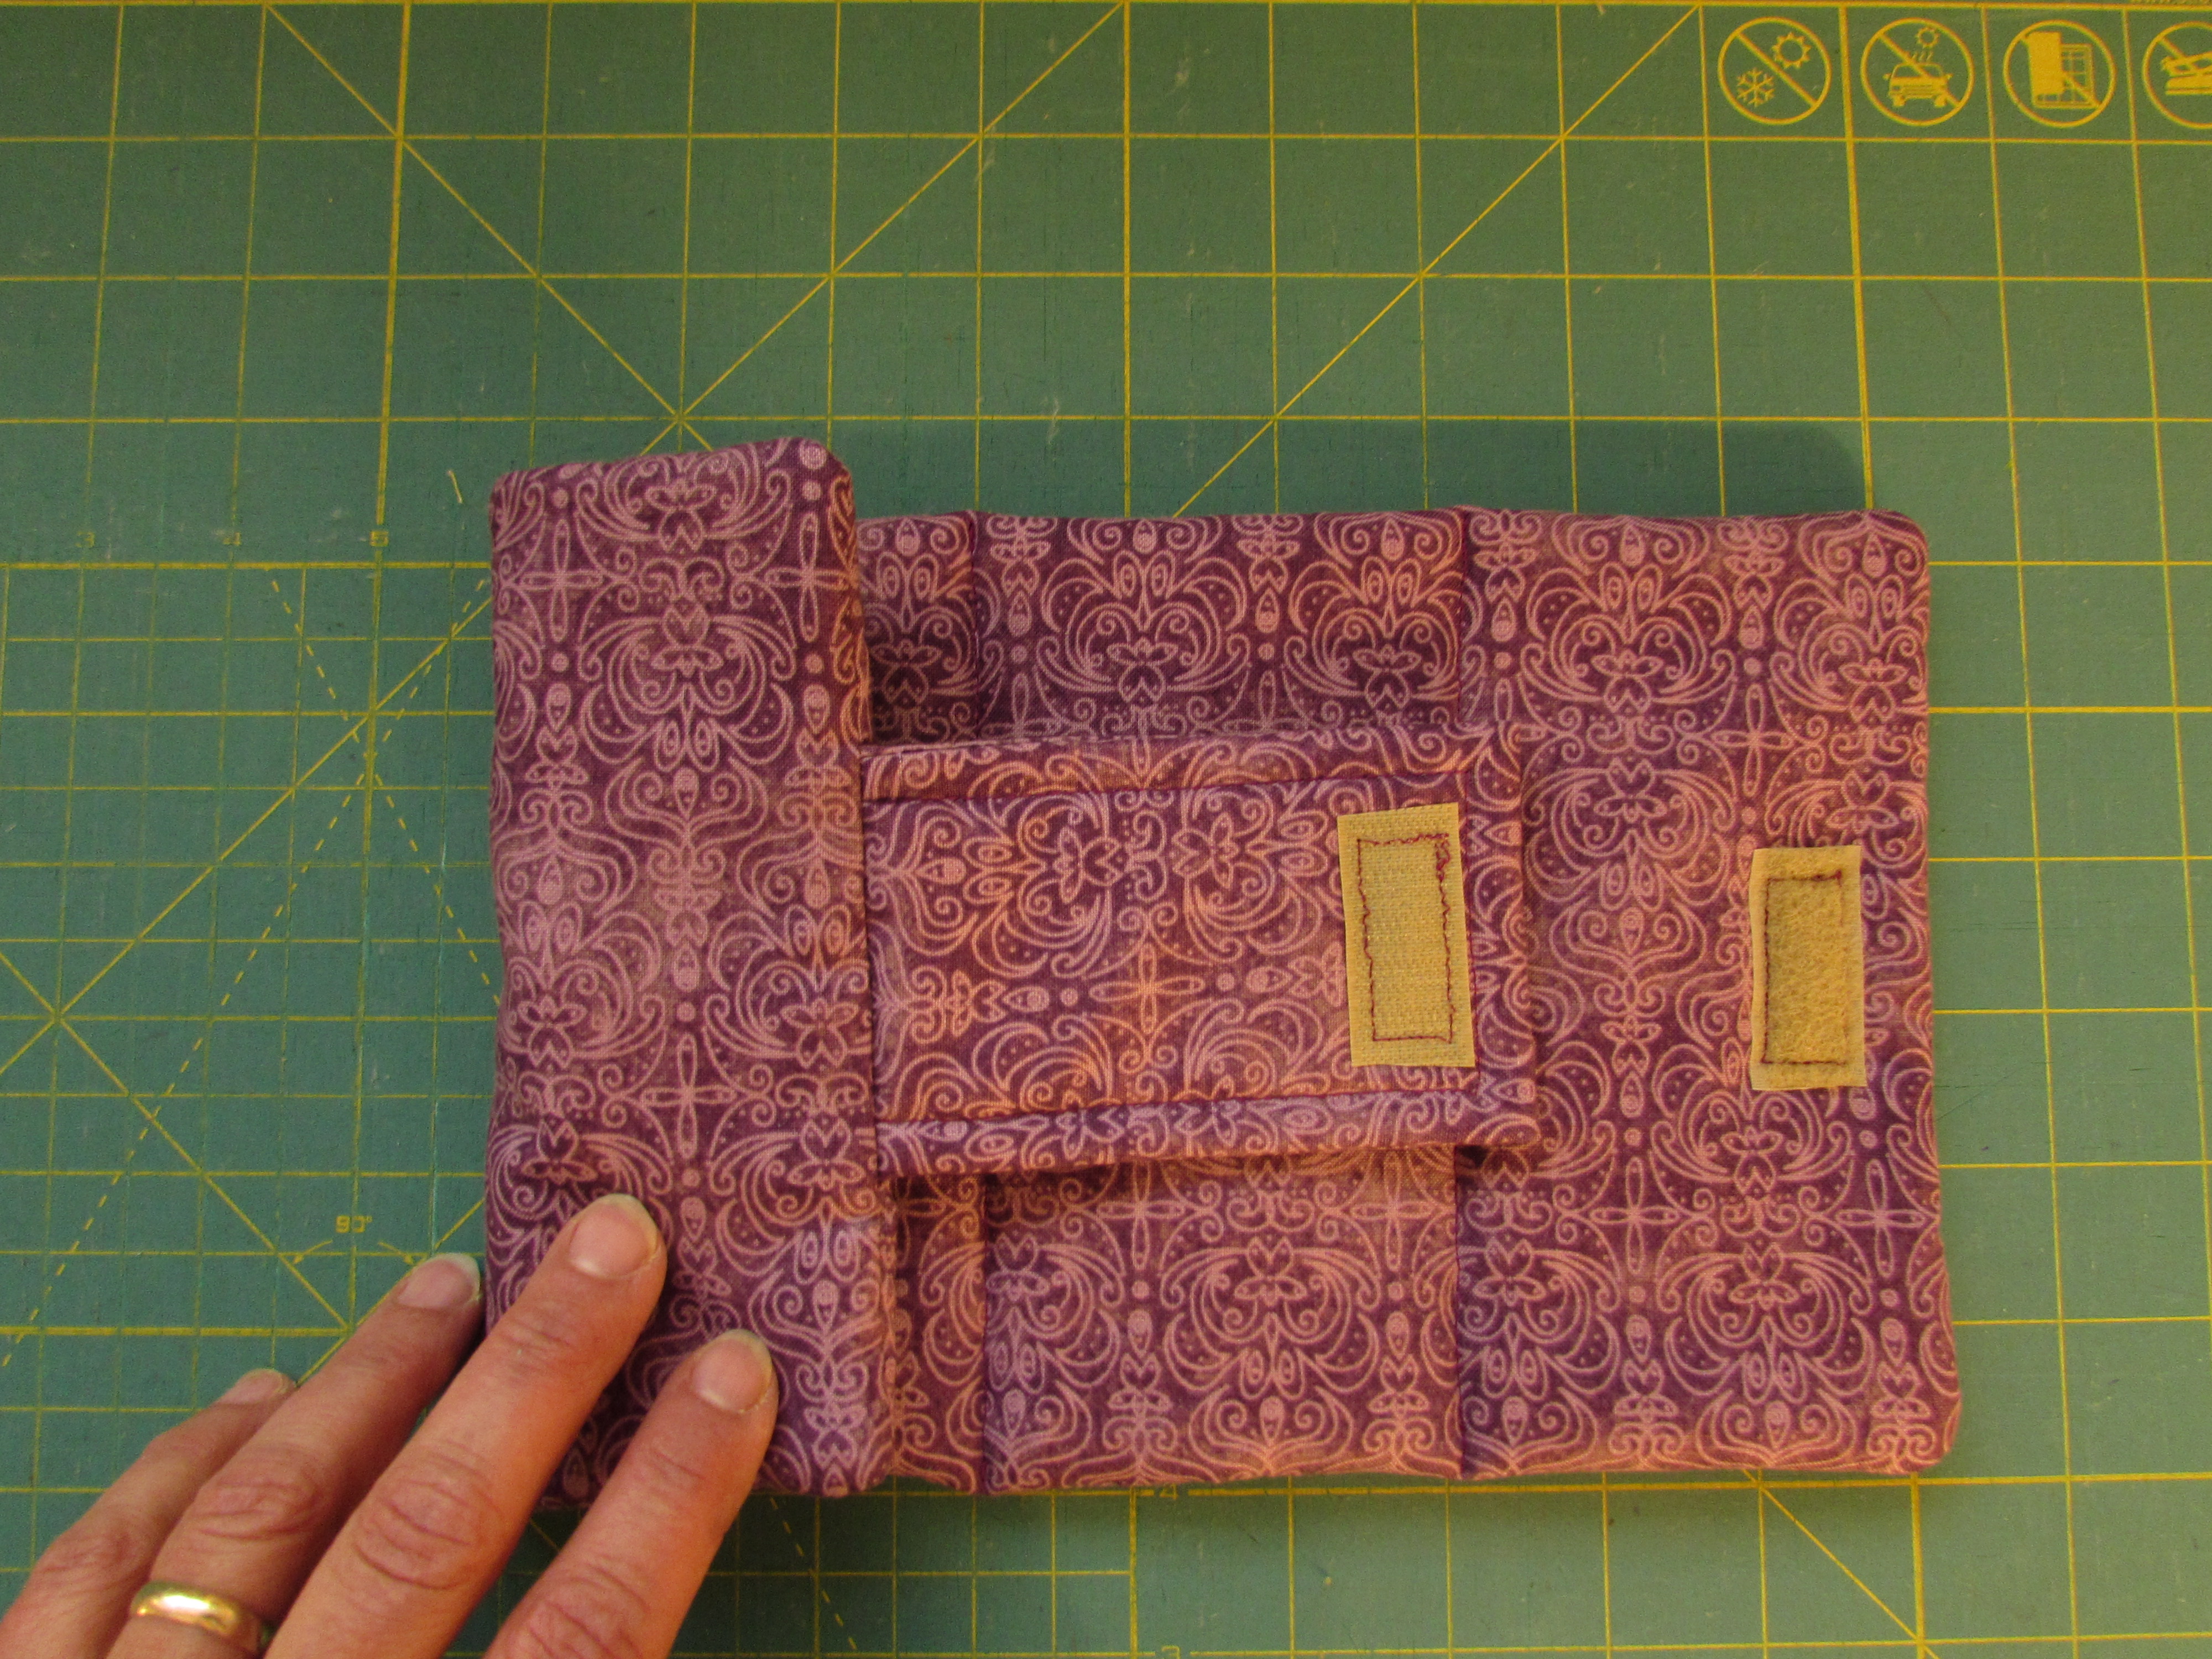
Finally – last thing to be done is to add that small piece of velcro to the tab and the body of the cozy. You will see the velcro is on one side of the tab and the opposite side of the body. The velcro cannot be on the same sides or the closure won’t work! Usually, I sew the piece to the tab first and then line up the body to mark where the second piece goes.
See how the two pieces line up correctly?
That’s it – easy, peasy. I hope I covered each step without going into too much detail. The finished cozy should measure about 6″ x 12″ (without the tab) depending on your seam allowance. I sized this to fit the 8 cup Bodum French Press. If you have a different model, you will need to measure the height of your carafe to get the height of the cozy. Then measure the circumference of the carafe to get the finished length of the rectangle. (This is easily done by using a cloth measuring tape and measuring around the body of the carafe.) If you carafe is narrower, or skinnier, than the Bodum, adjust accordingly.
Should you have any questions, leave them in the comments and I will help you figure it out. If you get a chance to make one, I would love to see it. Post it on IG with #needleandfootcozies. Enjoy your coffee hot, as it is meant to be enjoyed!
Linking to my usuals – see the list of linky parties at the top of the page, under Link Ups!
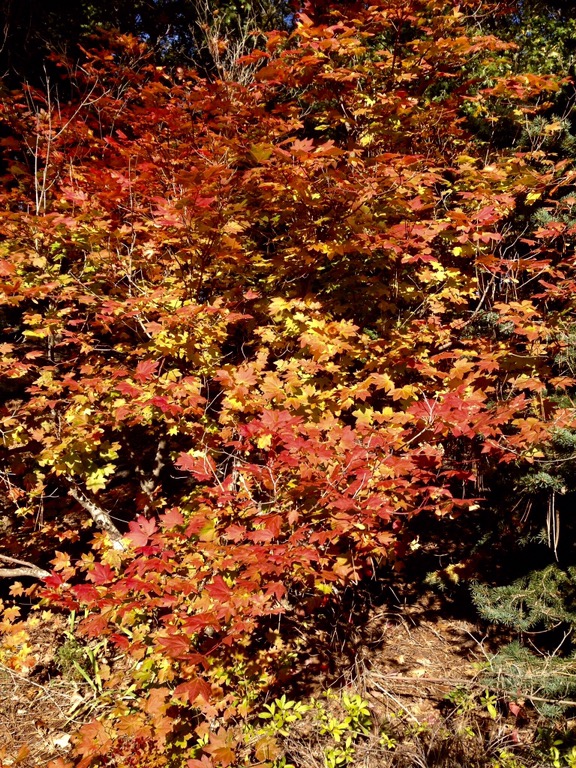
Today I am celebrating Autumn! Our maple trees are filled with color. Fortunately, we have several different varieties which means the leaves all change at different times, enabling us to savor the season for a bit longer. It is gorgeous.
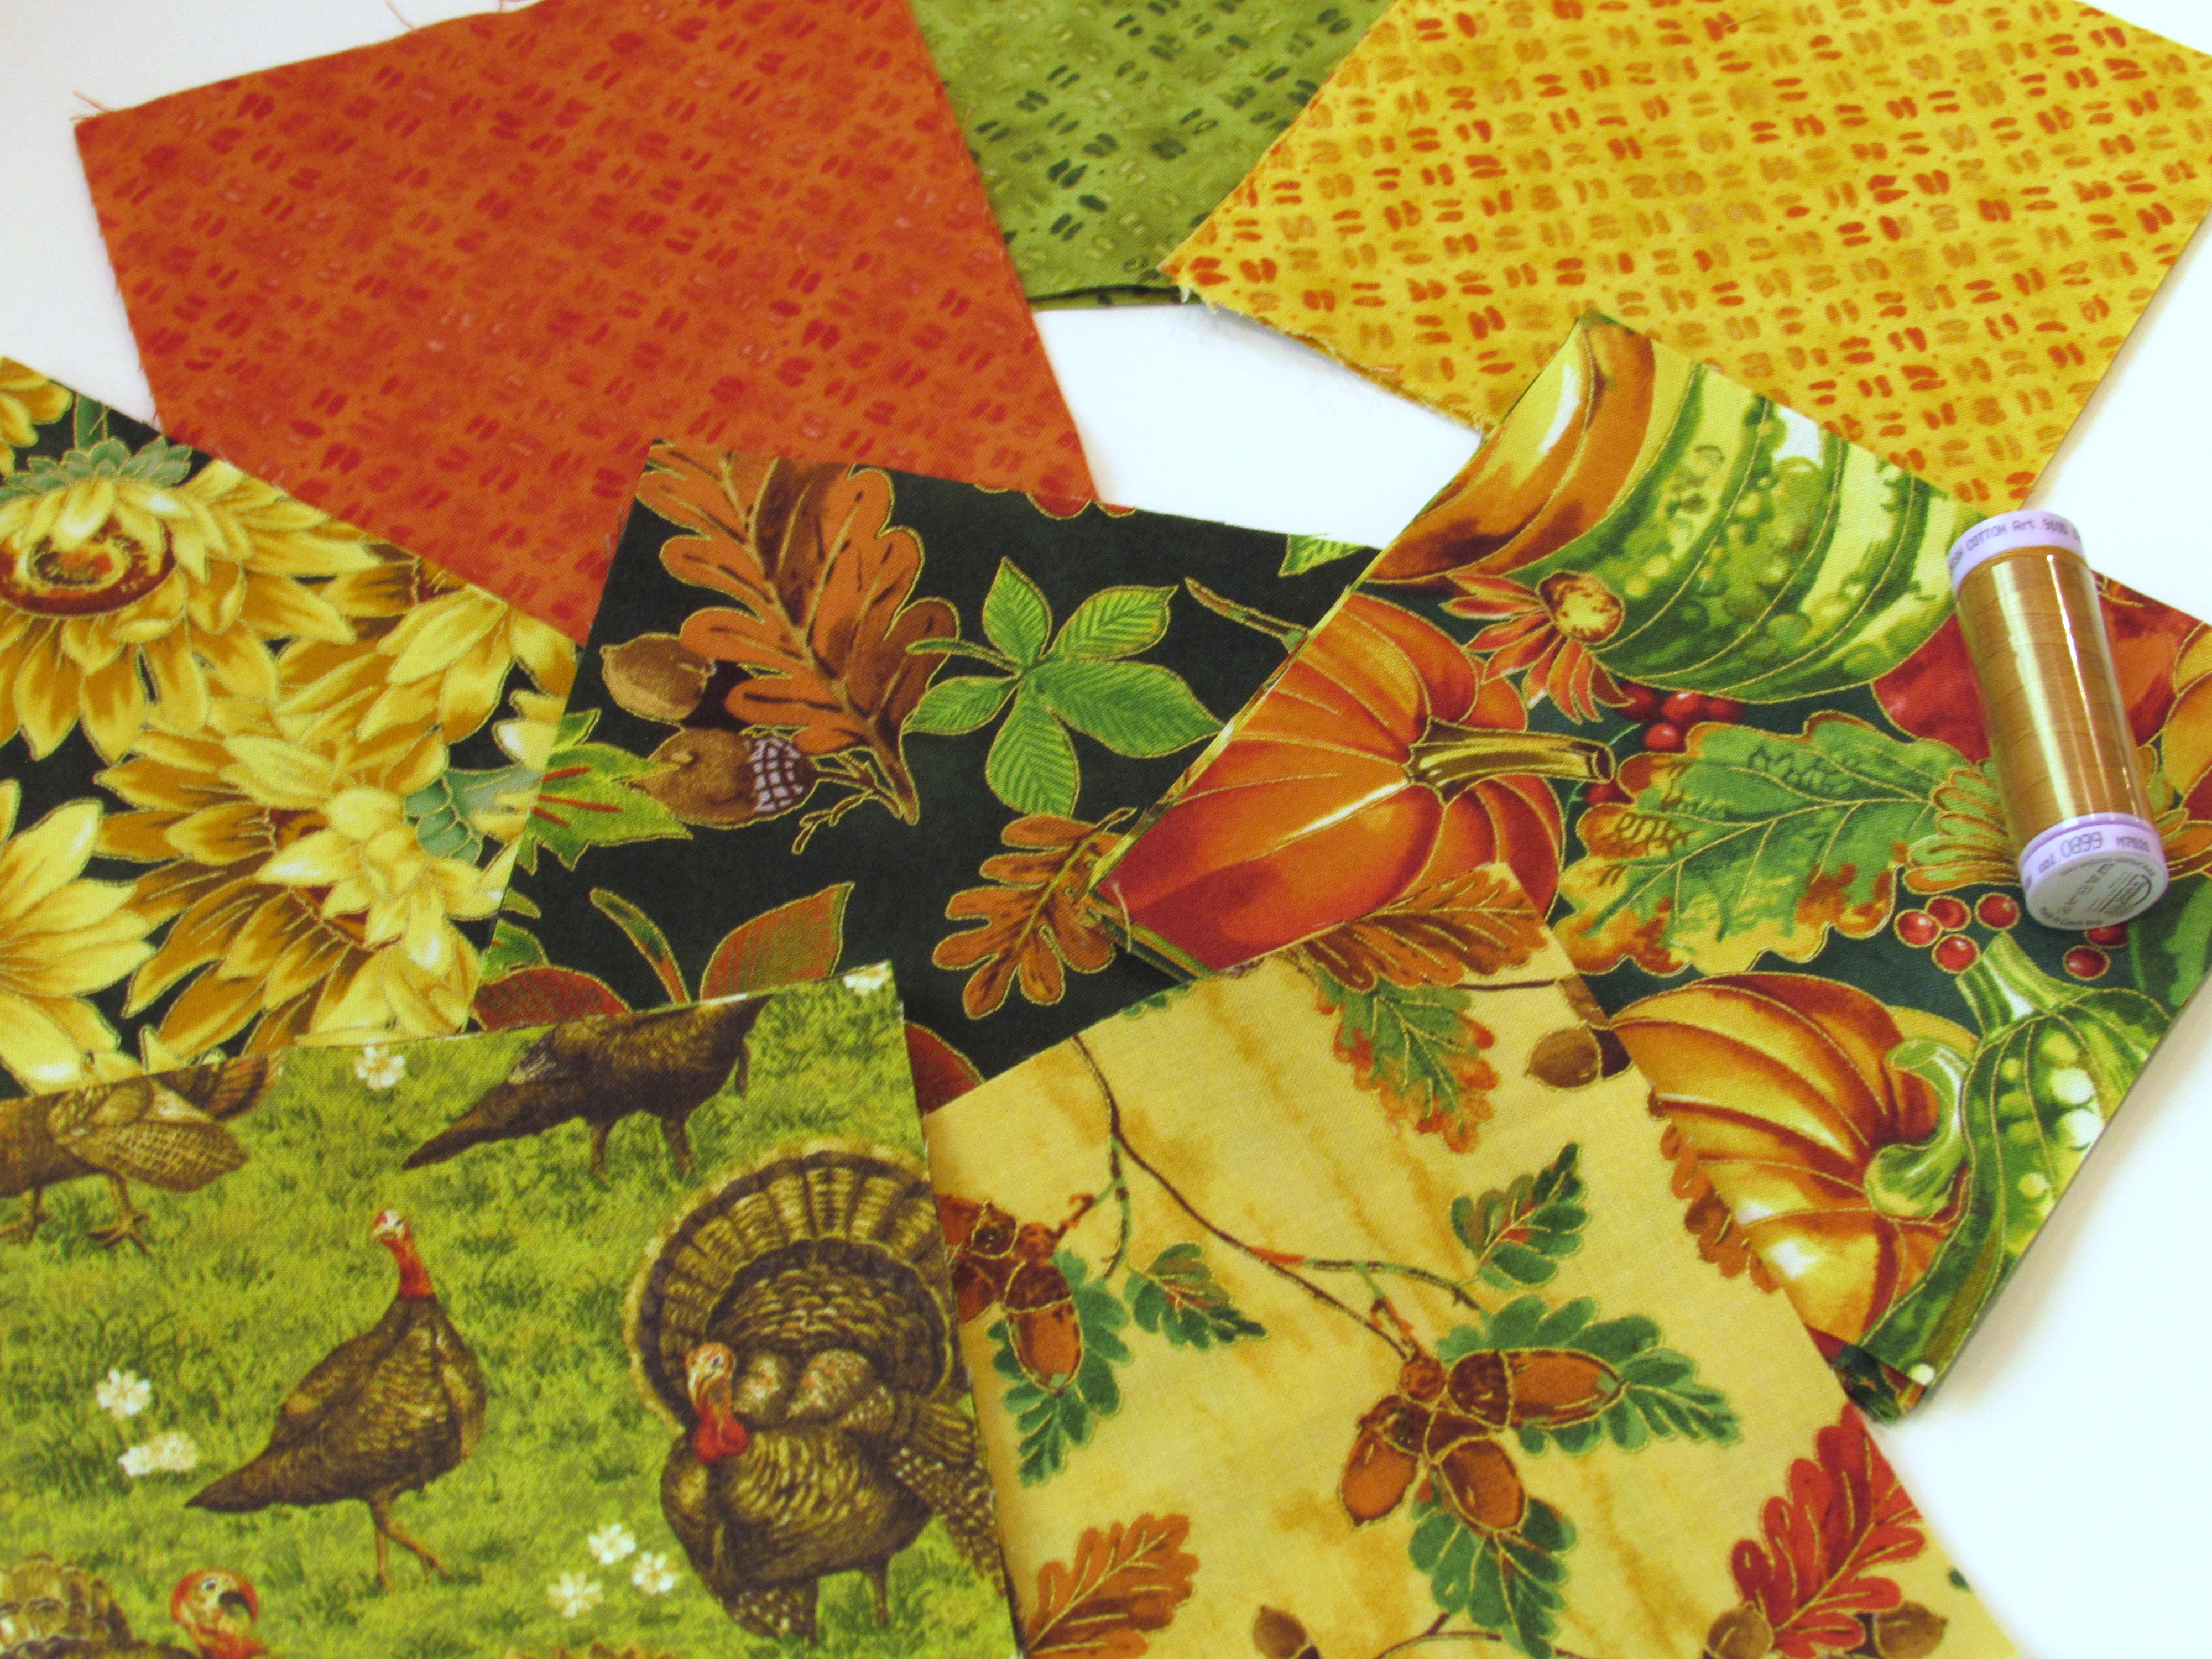
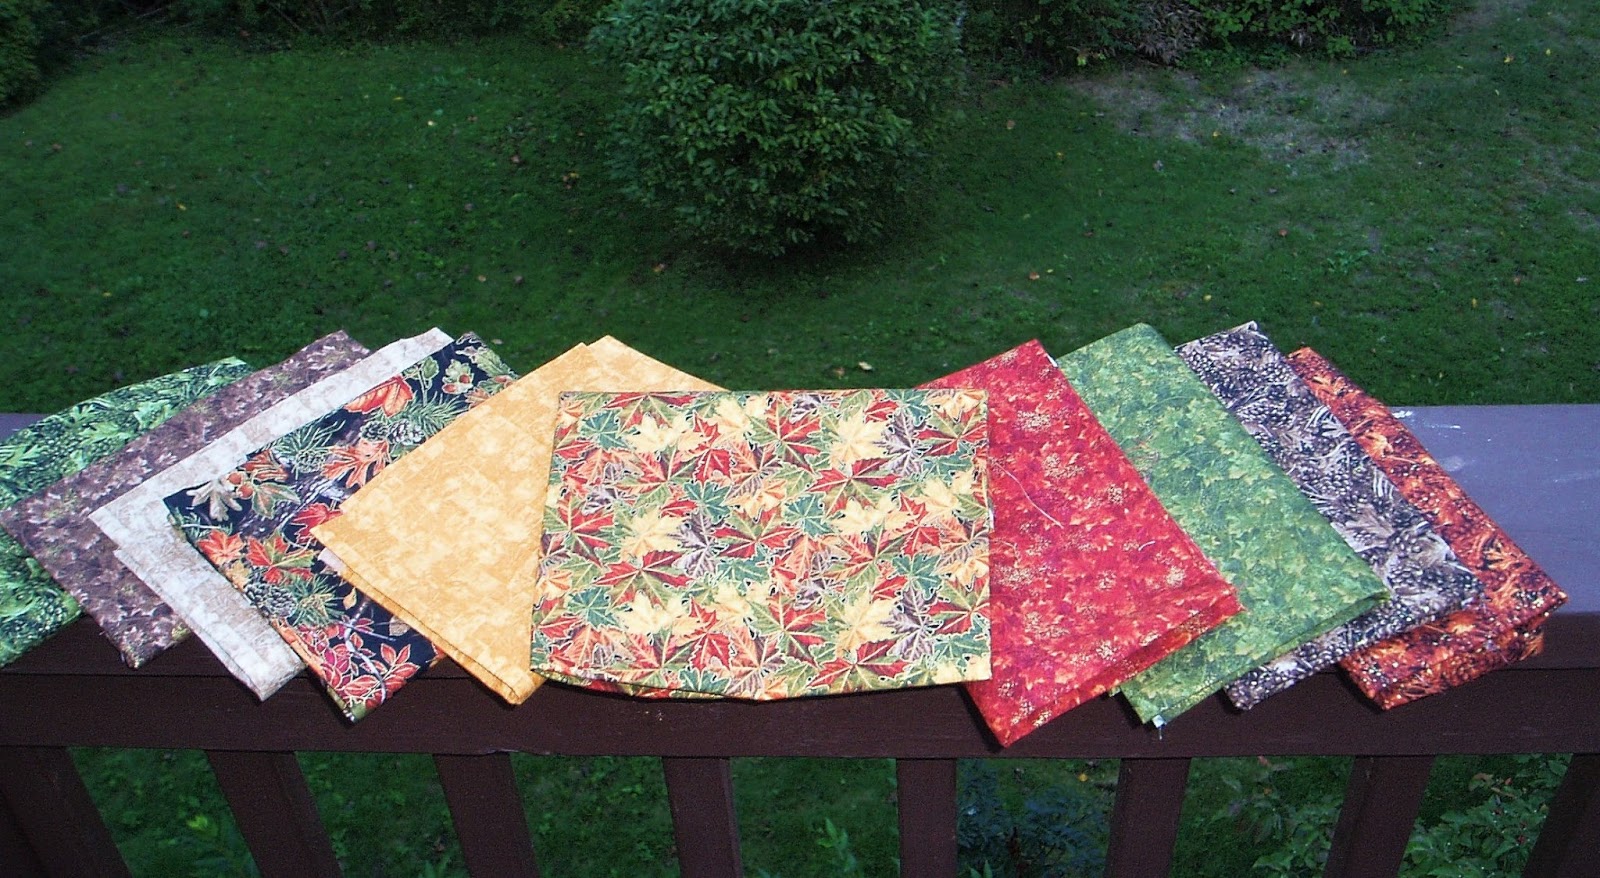
In preparation for this blog hop, I have been working with a line of autumnal fabrics provided to me by Paintbrush Studios. PB Studios has been a very generous sponsor. They provided me and four other bloggers with the fabrics of our choice in different fall lines and we have each made a project showcasing their beautiful fabrics. The line that I selected for my project is called Golden Harvest.
Here is the schedule for the Autumn Abundance Hop this week.
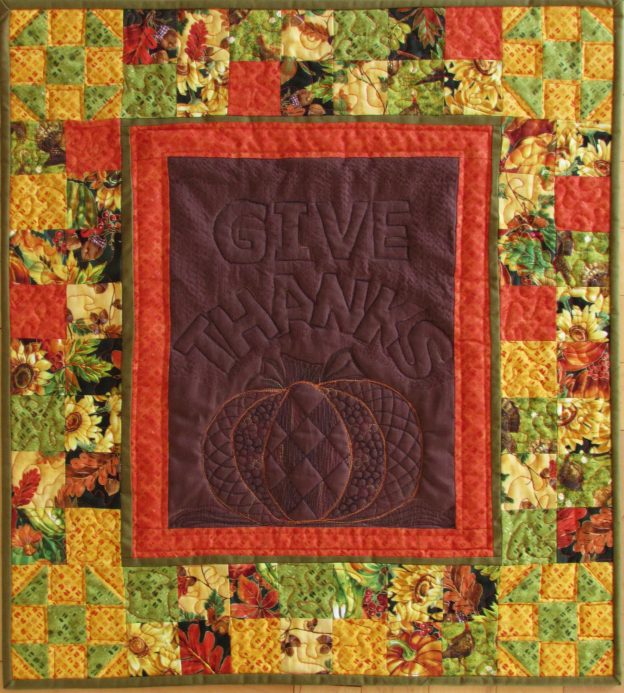
When considering my options for what sort of project I wanted to make, I decided I wanted to have something to hang during the Thanksgiving season. Thanksgiving is my all time favorite holiday. It centers around family and food – what else does one need? I have been having a lot of fun doing some relief quilting (remember my THREAD and FABRIC pieces?) and thought it would be a good idea to do another one.
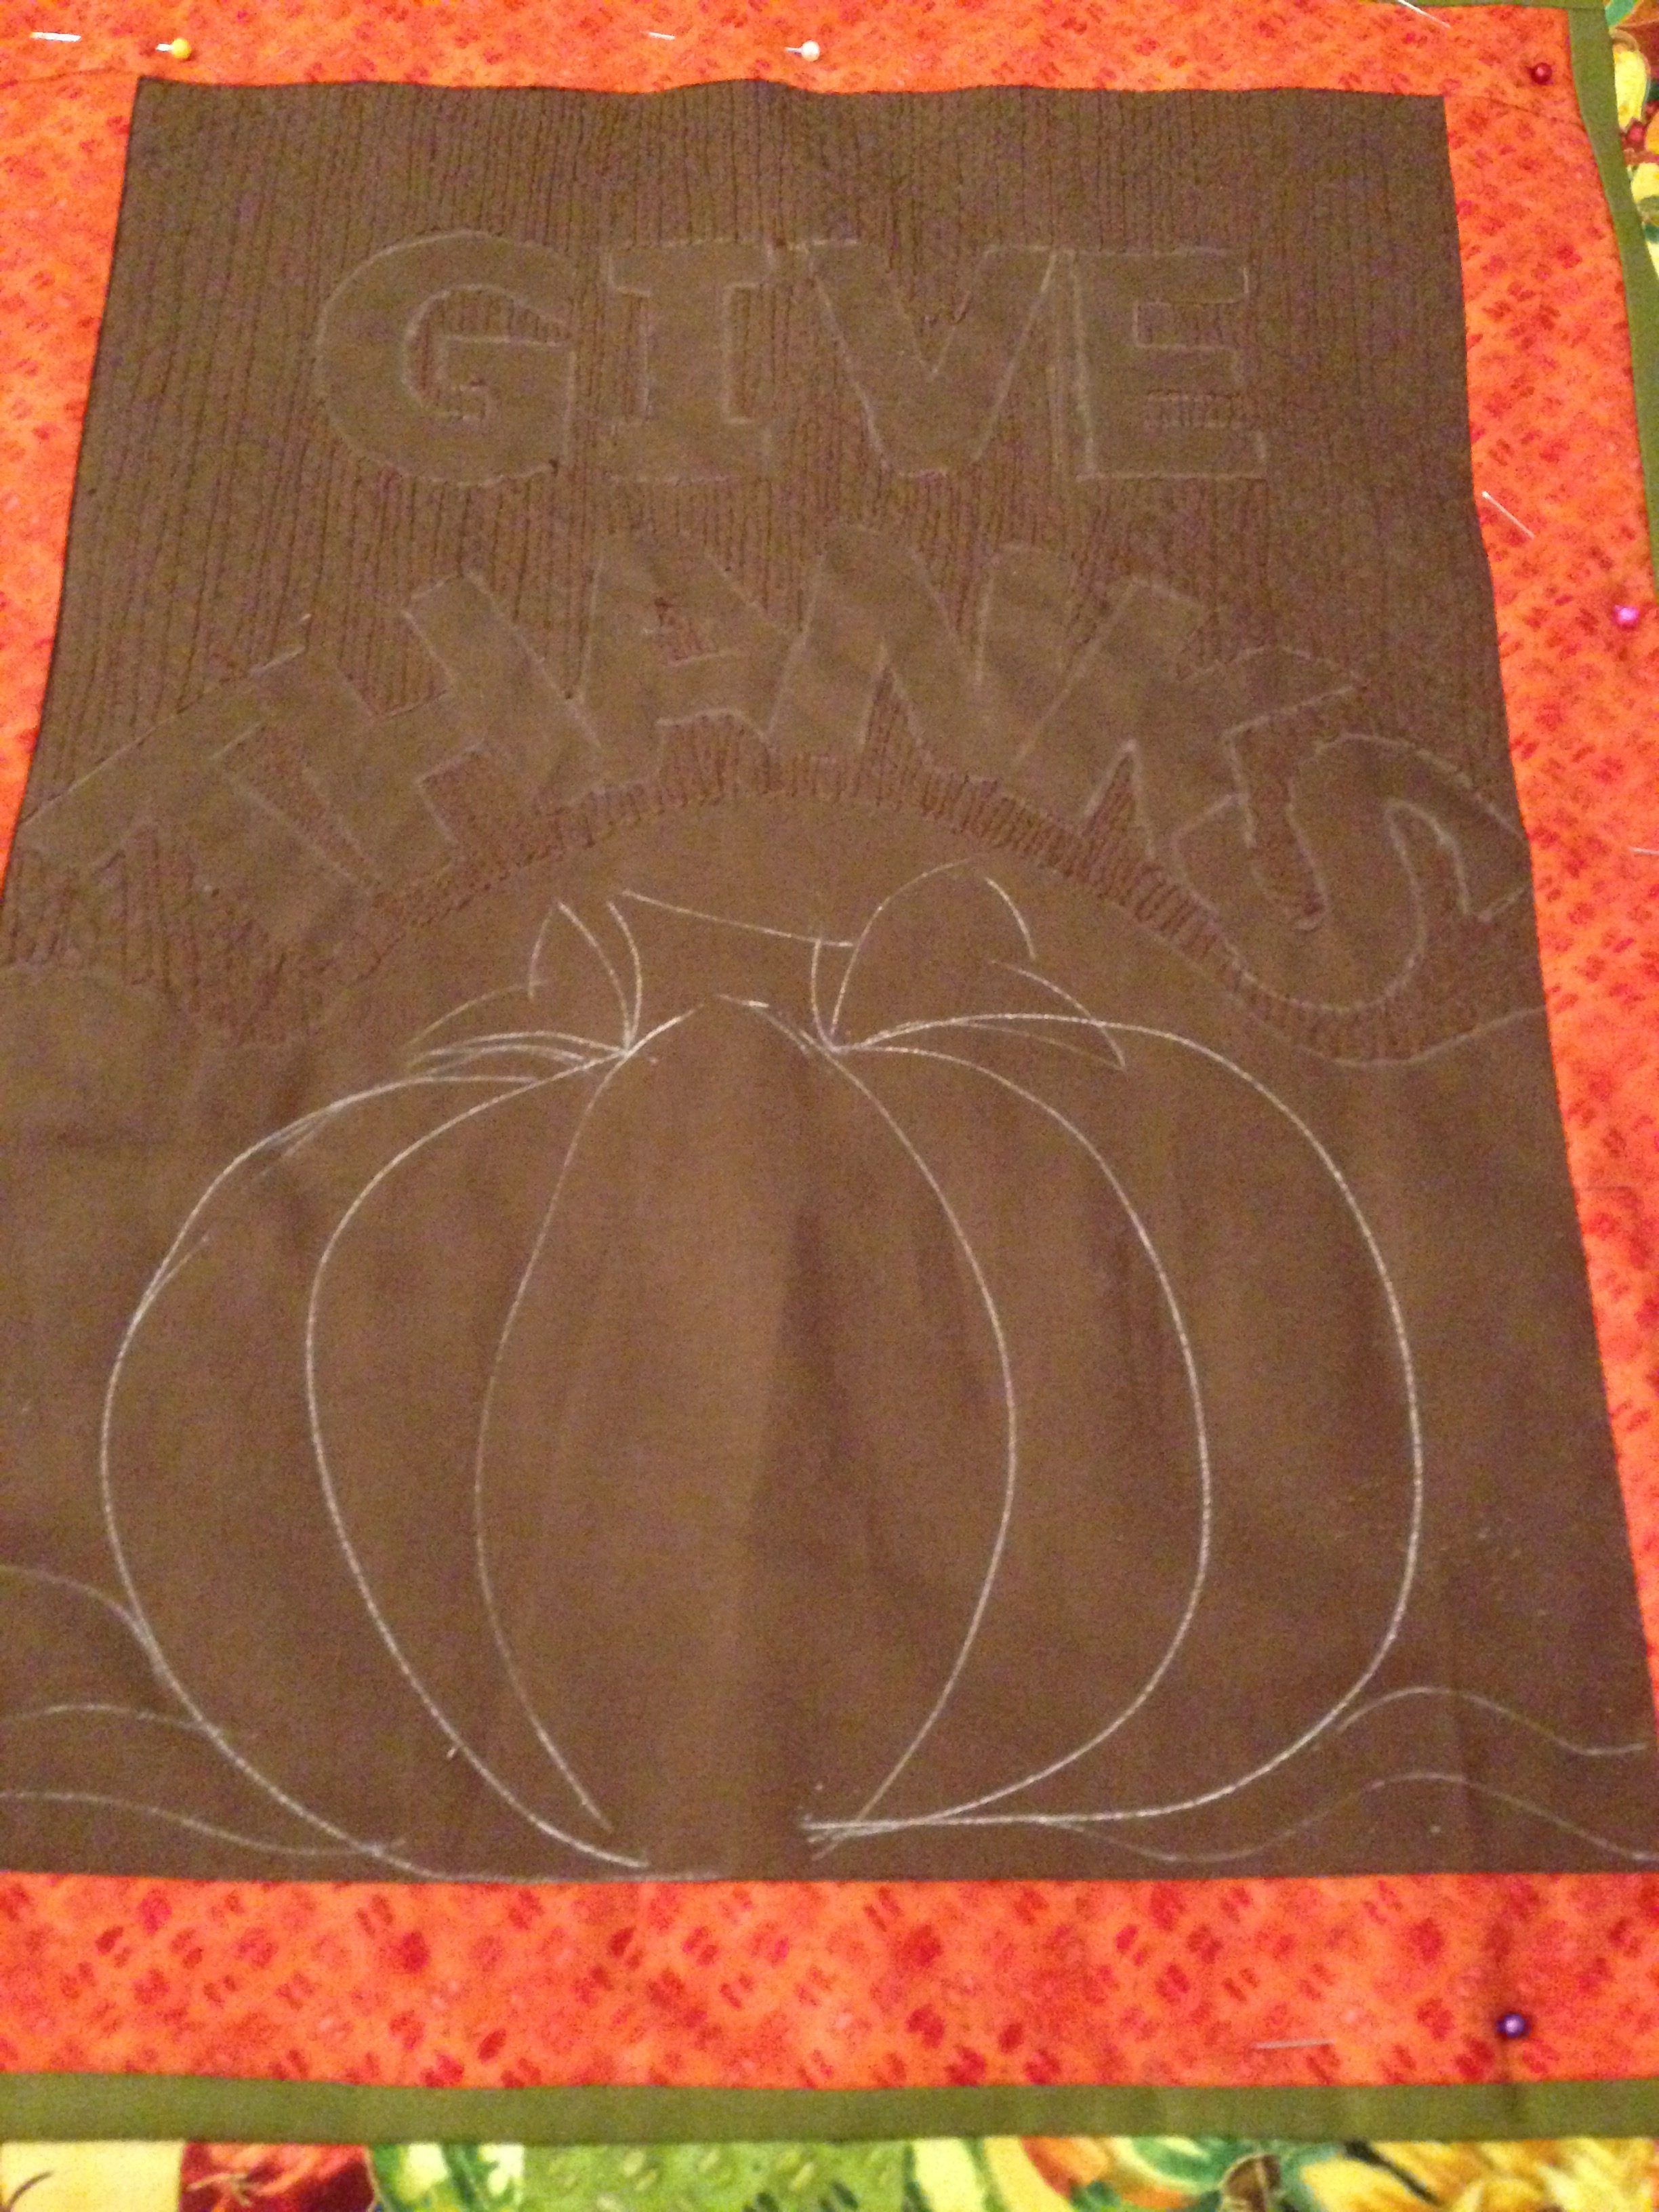
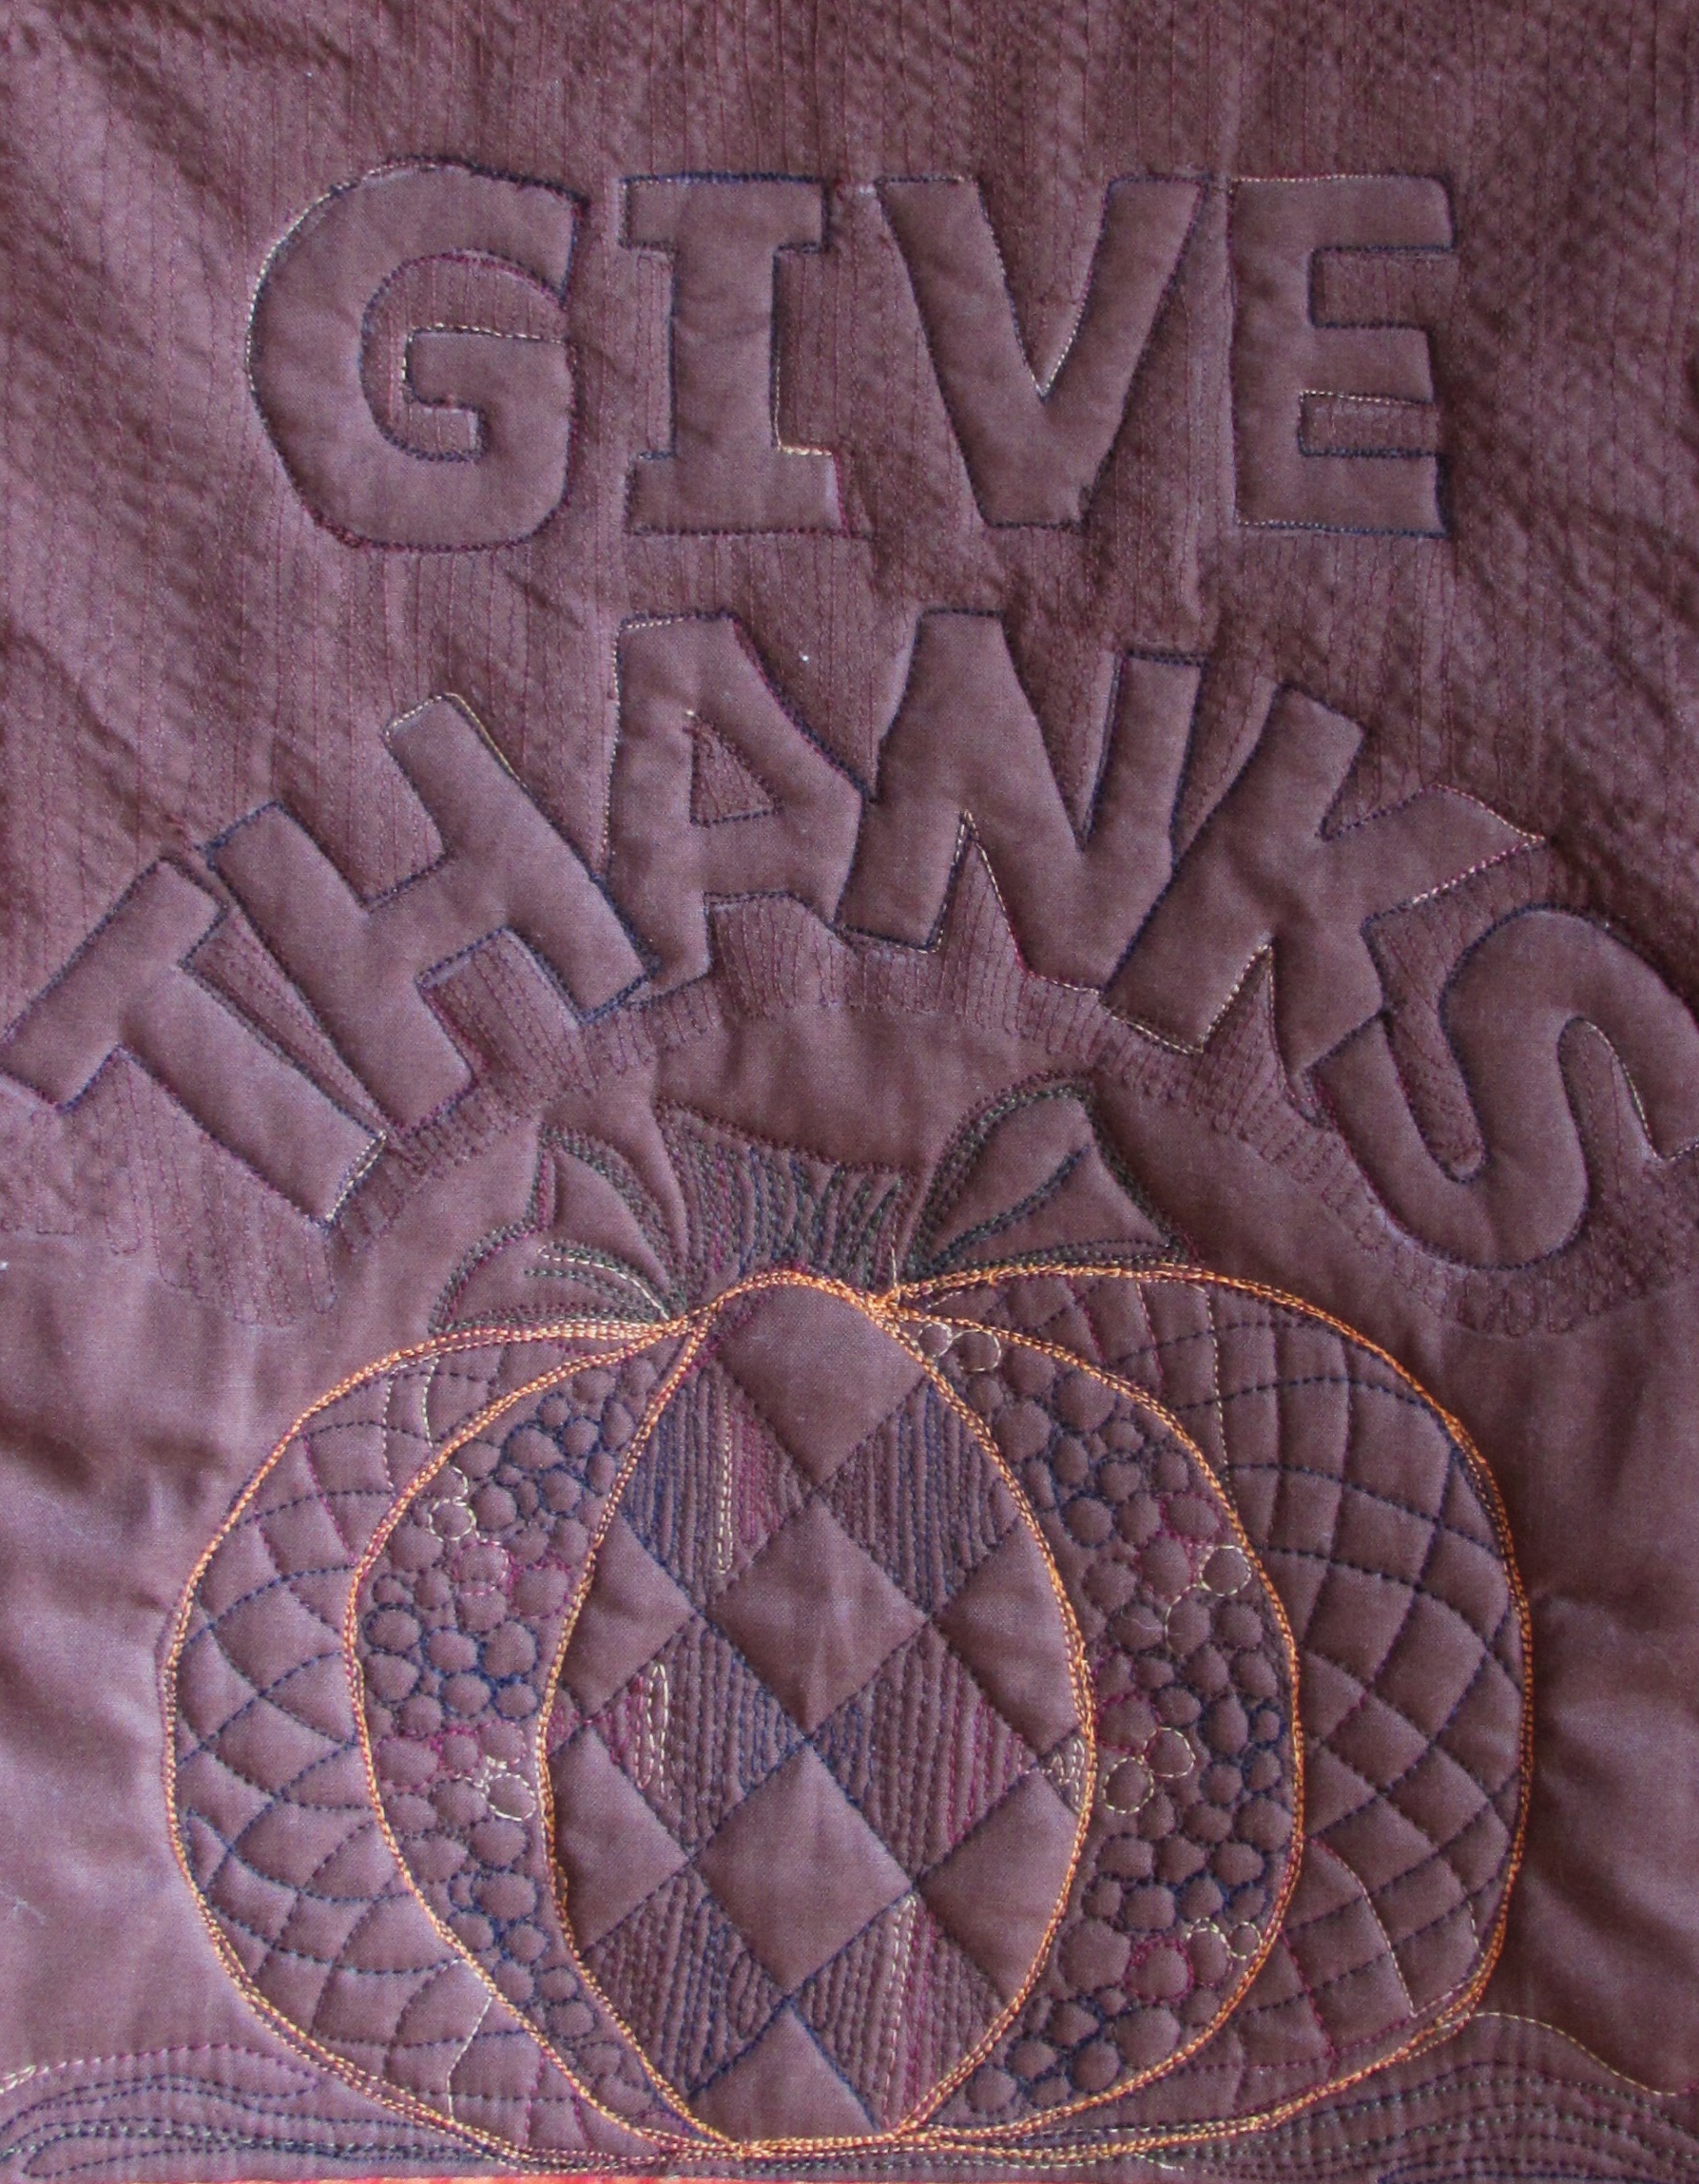
I did a quick sketch but didn’t really plan too much beyond that. I began with the center piece. I had this gorgeous brown solid (PB Studios calls is Espresso) and I cut a rectangle and played around with the placement of the lettering. GIVE THANKS was my focus. With the stabilizer fused to the back, I quilted the letters. This goes quite quickly. Especially since Muv over at Lizzie Lenard Vintage Quilting encouraged me to free motion this instead of using a walking foot. She is absolutely right – it worked just fine! Much, much faster to get the lettering done.
Once I had accomplished that, I thought about what sort of design should be placed below the words. At first I thought of doing some applique but the more I thought about it, I decided I wanted to quilt a design instead. I love playing with thread and here was an open space to do with as I pleased. I decided on a pumpkin and took a look at Lori Kennedy’s site, The Inbox Jaunt, for some inspiration. She never fails me. Never! This pumpkin is taken directly from this tutorial. It came together easily.
Using YLI variegated thread, I started by outlining the pumpkin, stem and leaves. Next I filled in the sections of the pumpkin. Following that I added to the outlining to give it some depth. The stem and leaves were also filled in and outlined a couple of times. So much fun!
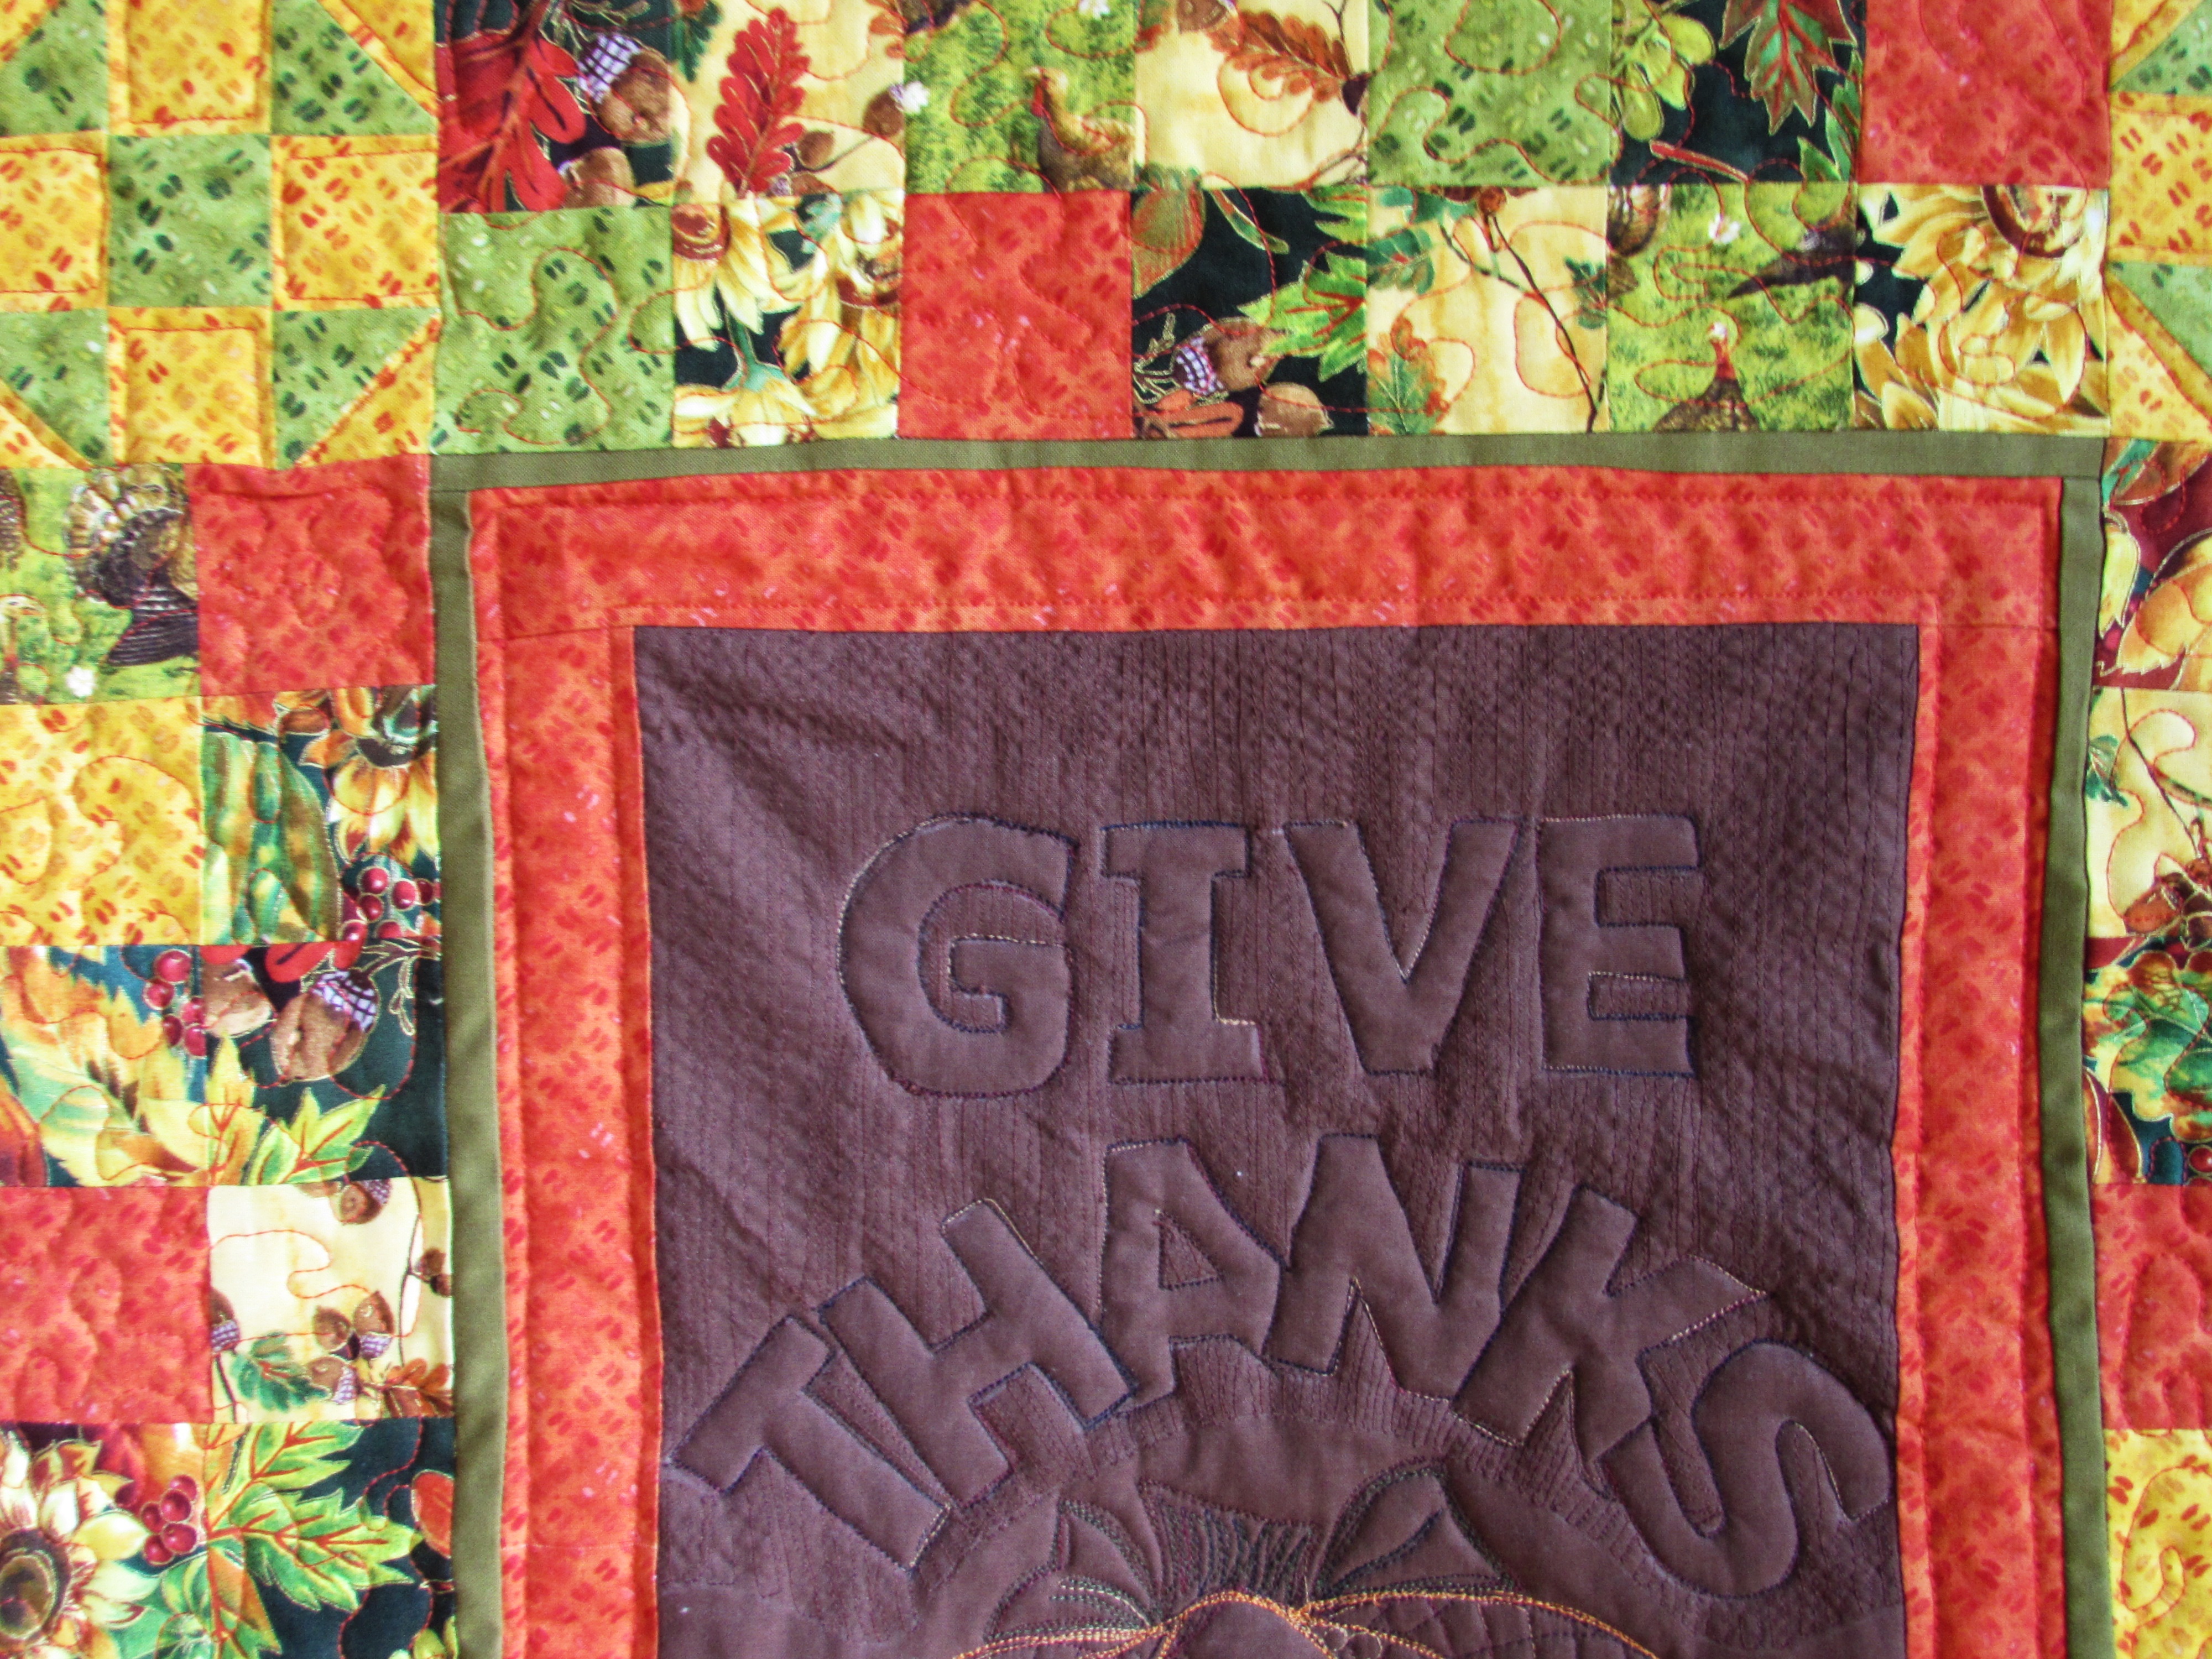
The next step was to put a narrow border of the olive green solid. I had already decided to do a patchwork border to set off the center. I wanted to use a 2 1/2″ square because of the scale of the fabrics I was playing with.
While I worked things out with the patchwork border, I was thinking about the corners. I made some pinwheel blocks but thought they looked too flat. Following that I made some churn dash blocks and liked these much better.
As it always does, the quilt came together with the sum being so much greater than its parts. I really love this project. The sunflowers, pumpkins, leaves and turkeys are so cheerful. The fabric really is adorable. The green, orange and yellow blender prints worked well to tone down some of the color within the borders. The traditional colors and themes of this line are just right – they made me happy just playing with them. I used a brown print that was in my stash to back it and then used the olive green fabric to bind it. The quilt finished out at 23″ x 25″ inches.
As with most projects, there are a few things I learned. One is better planning equals better results. While it is fun to just sew and see how things come together, I should have done a bit of measuring and planned the patchwork border in more detail. I had to fuss with trimming borders and such to get everything to work together. Also, when I was trimming the piece, after quilting it, I somehow forgot that about the bits that the binding would consume. This is a little bit ridiculous considering the number of quilts I have bound. But I trimmed too deeply, forcing myself to cover points on the churn dash squares on each corner. I was going too fast without considering the details.
I will enjoy hanging it this season and bringing it out again with each Thanksgiving. This simple message of gratitude will remind us of all that we have to be thankful for.
Something I am very thankful for is the generous support of Paintbrush Studios. They were a pleasure to work with and the fabrics they sent to me are just lovely. They are a nice weight and have a very nice feel to them.
Photo courtesy of Academic Quilter
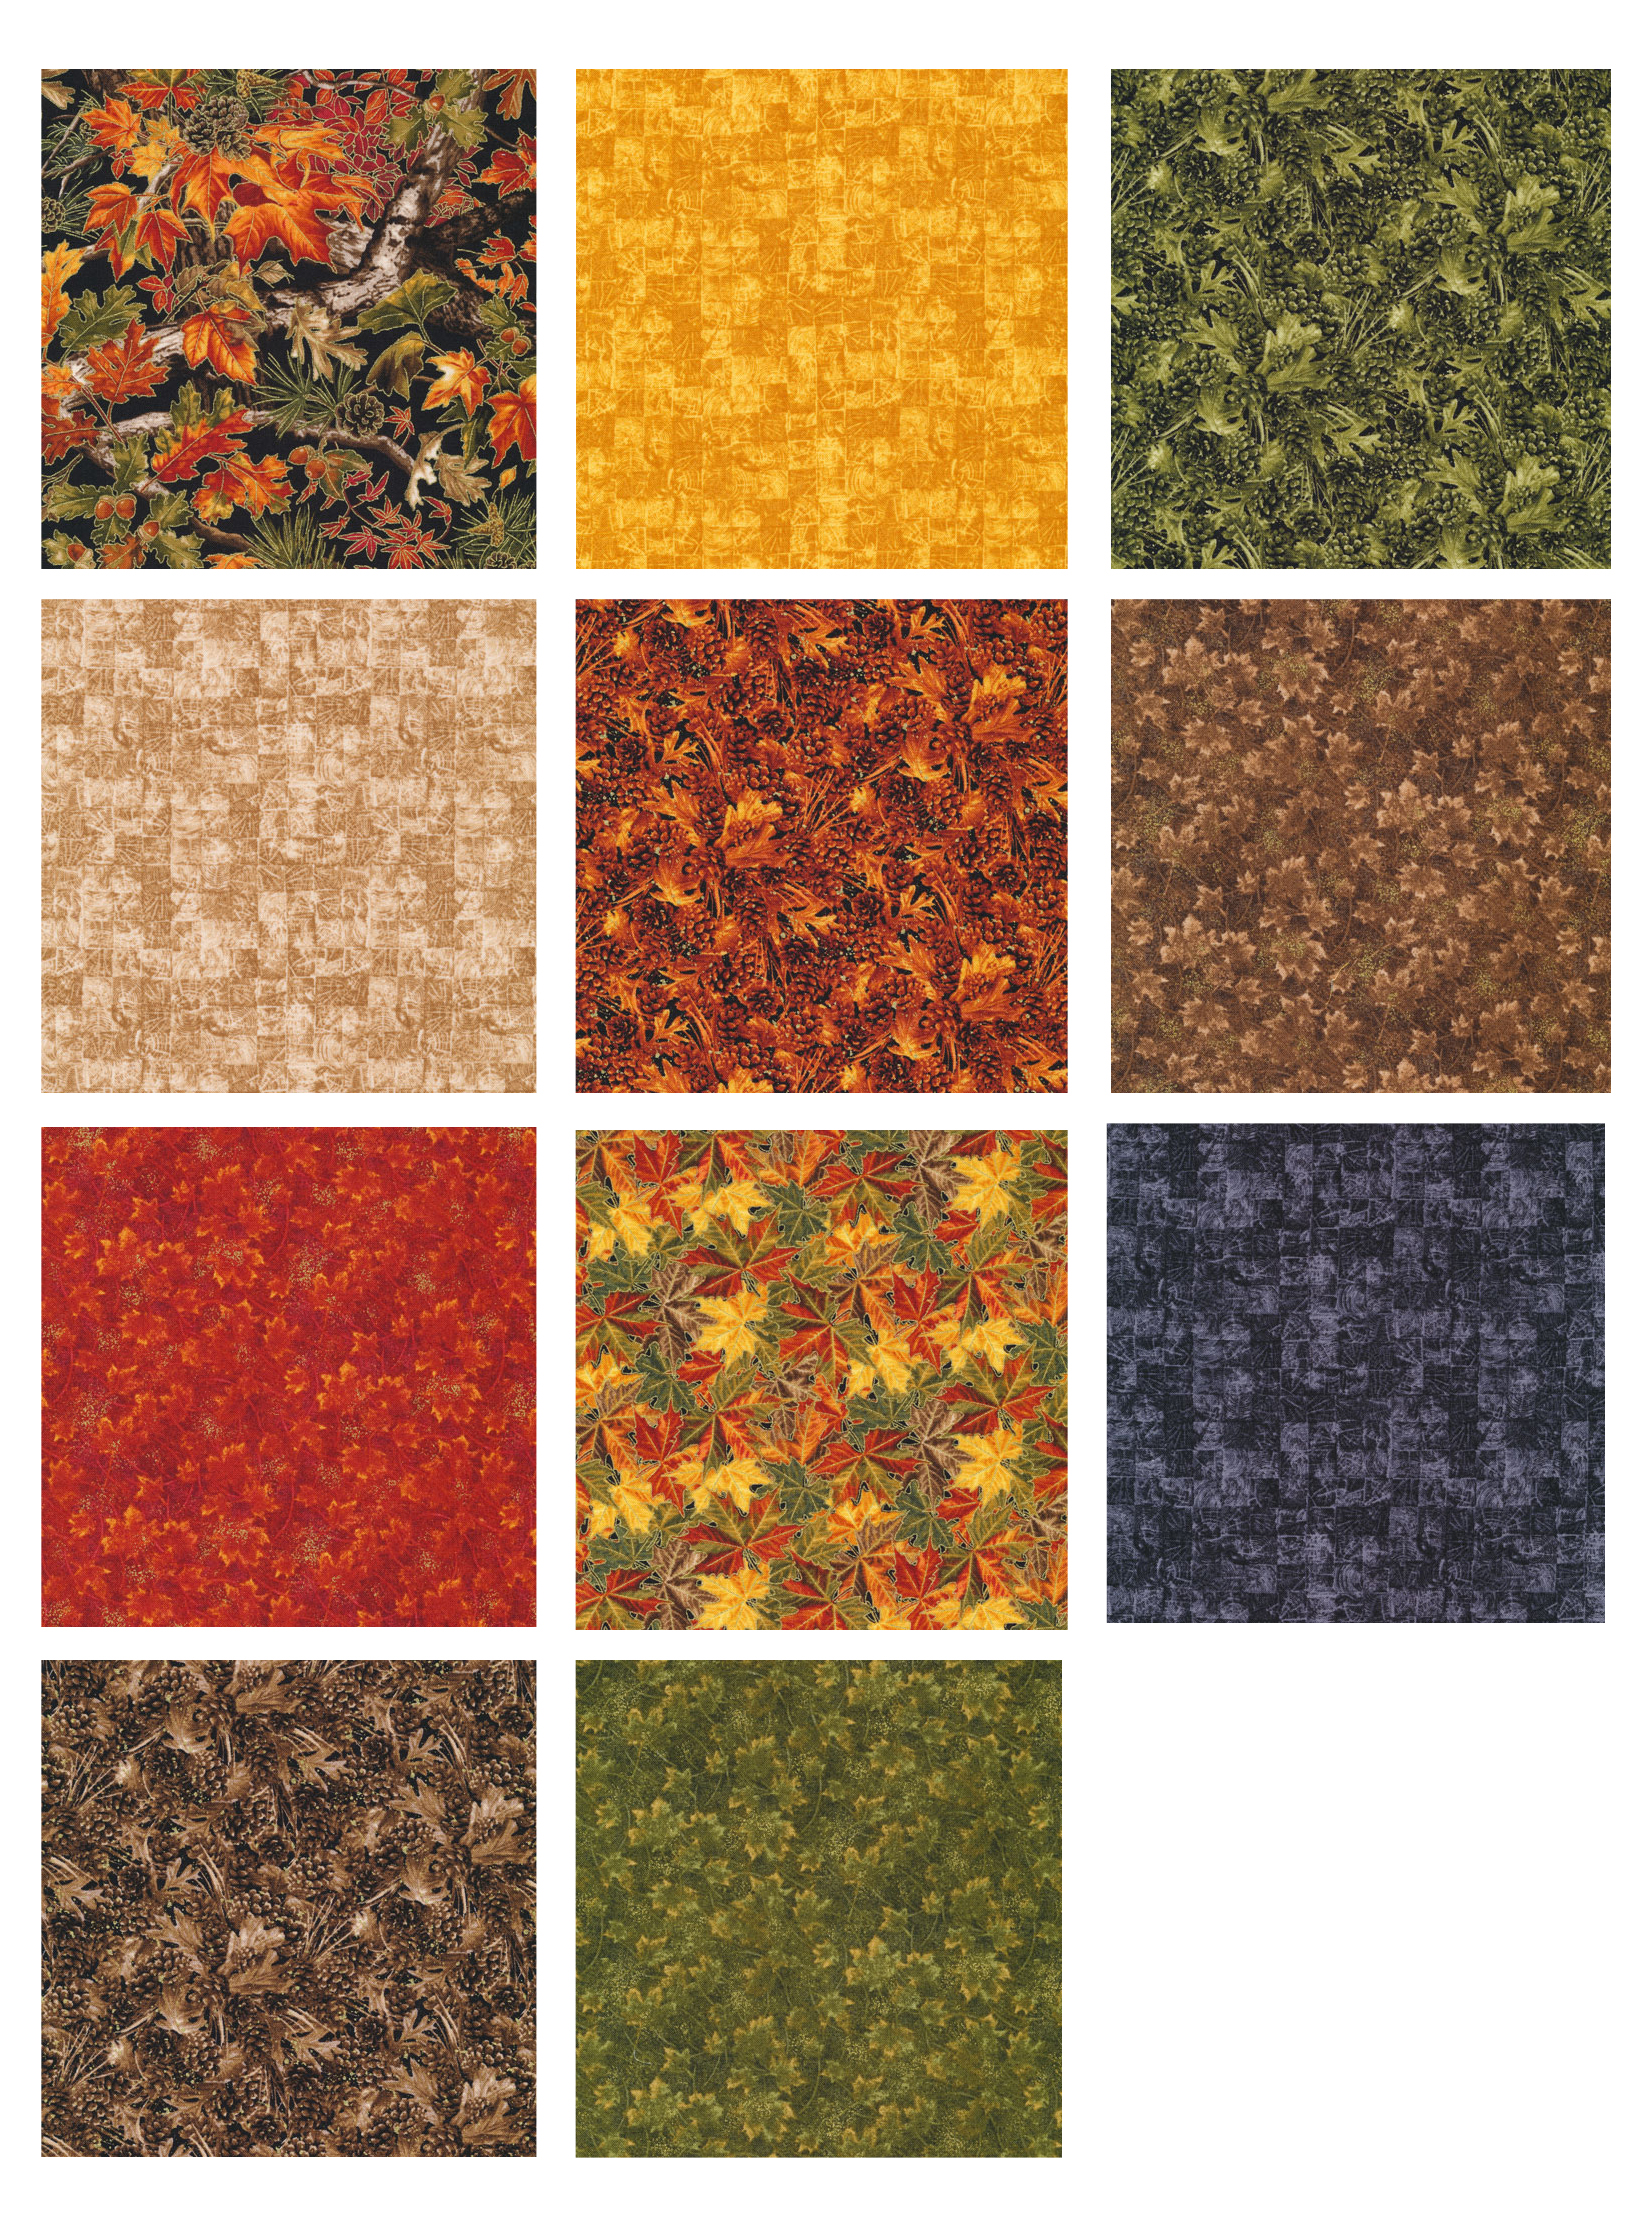
Paintbrush has also provided me with a fat quarter bundle of Into the Woods to offer to one lucky winner. Enter the giveaway by telling me about your favorite part of Thanksgiving Dinner. (Mine is definitely stuffing followed closely by homemade cranberry sauce. Way back when, I posted the recipe for the cranberry sauce I make at Thanksgiving…. just in case you want to try something new.) Leave me a comment and tell me about your favorite. If you are following the blog, leave a second comment and tell me how for an additional entry.
Now for my giveaway. I wanted to make something to give as thanks for all of the friends, inspiration, and community that happens within our online group of amazing quilters. Using this tutorial from Buttons and Butterflies, I made a pair of potholders from some of the scraps. I will pick a name from the comments to win these two potholders as well.
After finishing the potholders, I decided to cut the remaining scraps into charm squares. I was able to cut a set of 40 charms. So, let’s give those away as well!
I added a small spool of coordinating Aurifil so you can make a fall inspired project of your own!
Good luck! Winners for all three giveaways will be drawn on Friday evening, October 28th. I will email winners and announce them the following day on the blog. Make sure I have an email address to contact you!
Be sure to check back each day this week with the others on the hop. They have been working on wonderful projects for fall and have used gorgeous Paintbrush Studios fabrics that are different from mine. You are sure to enjoy their work. There may just be some giveaways on their sites as well. Enjoy this season of brilliant colors, family and friends, and some darn good food.
THIS GIVEAWAY IS NOW CLOSED. Thanks everyone!
Linking this post to She Can Quilt as a part of the Q4-FAL event.
If you are wanting to gain confidence in your free motion quilting skills, today might just be the day to purchase a Craftsy Class! Just today, all classes are $14.99. Can’t beat that. I know I learned a great deal with the classes I have taken. I have taken this one from Lori Kennedy and this one with Angela Walters.
I have a quick finish to share with you today. It also means I can check one thing off of my aforementioned Q4 FAL list! Yahoo for checking things off the list. (I derive great satisfaction from such things.)
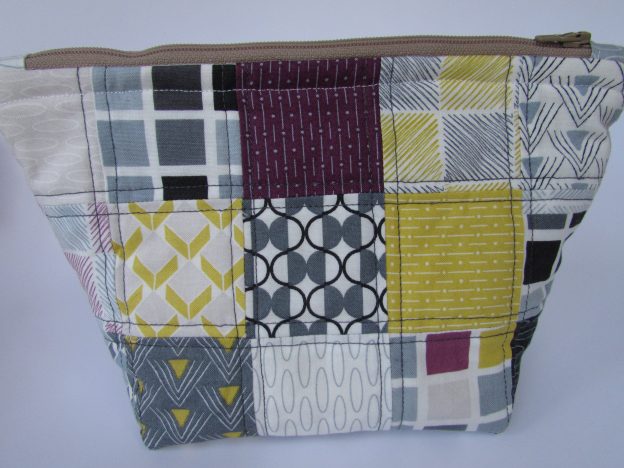
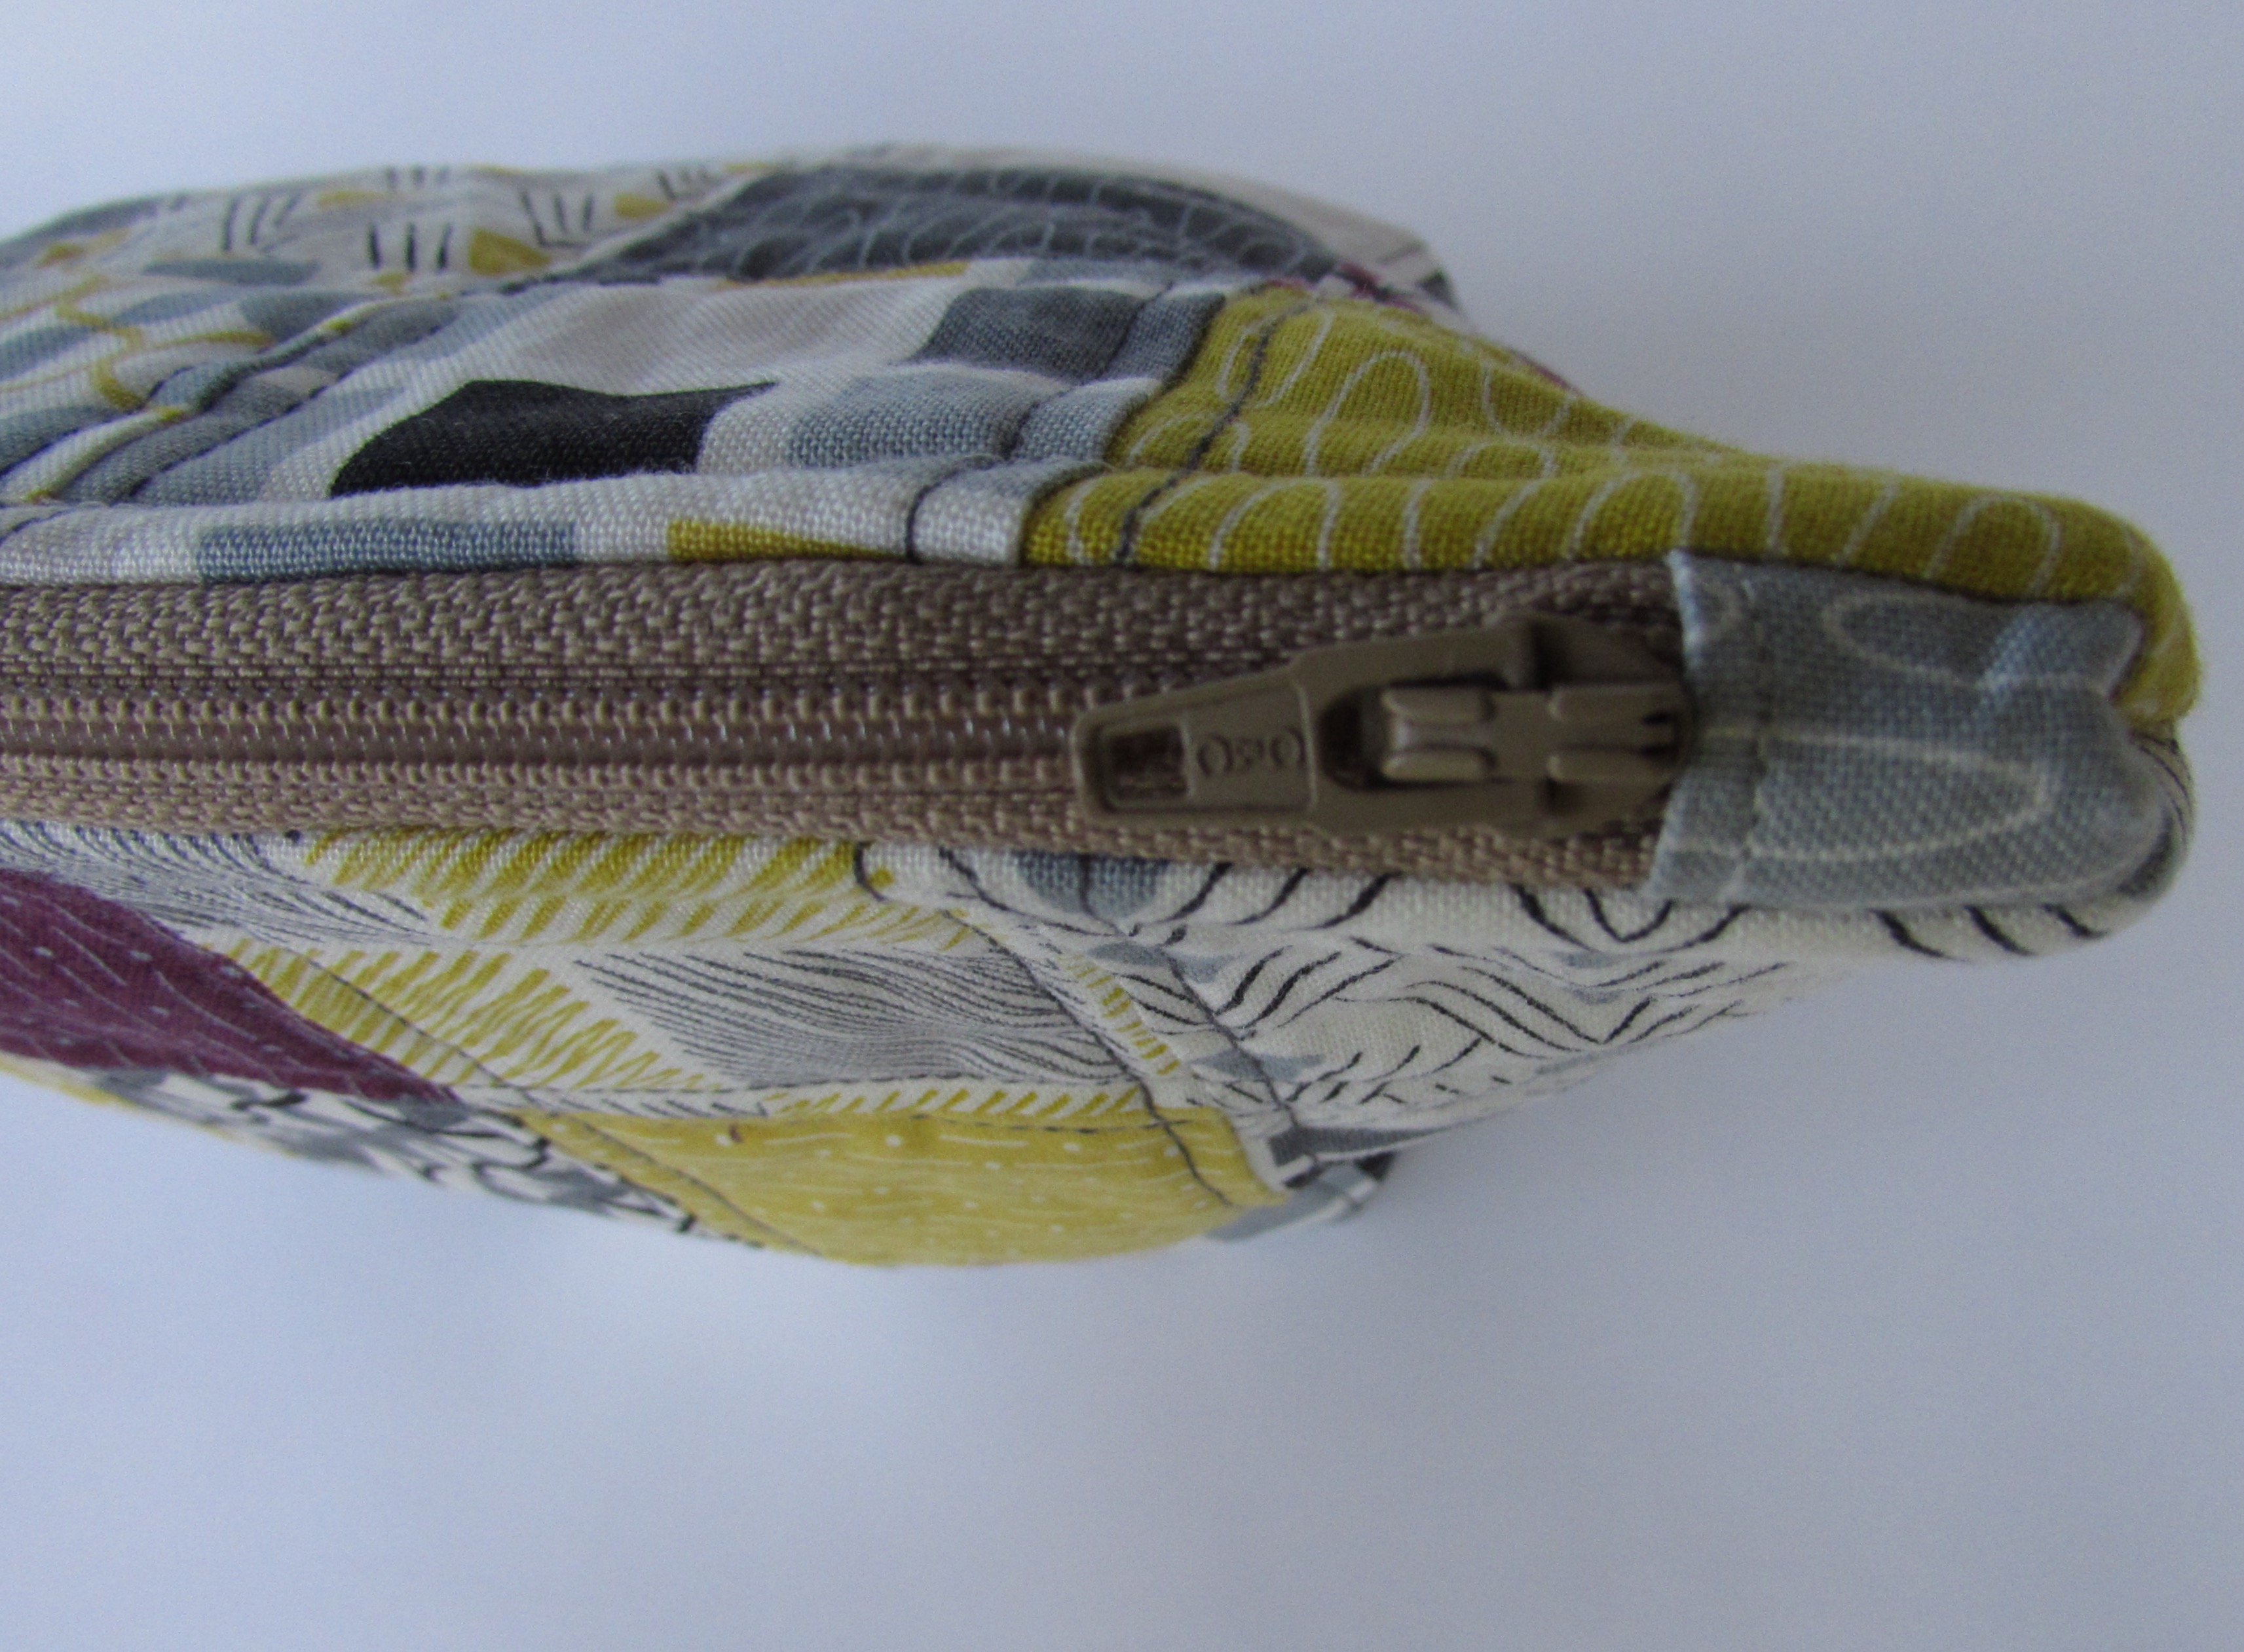
I made a zip pouch with a packet of mini charms. These were the Chic Neutral charms by Amy Ellis. I showed a peek at this project in an earlier post. My sister and I have birthdays that are just three days apart. Actually, three years and three days but who’s keeping track? Um, I am, she’s older. 😉 She sent me the Nani Iro scarf for my birthday and I sent her the zip pouch. It was really simple to make. I used this tutorial by Julie Hirt, published on Moda Bake Shop.
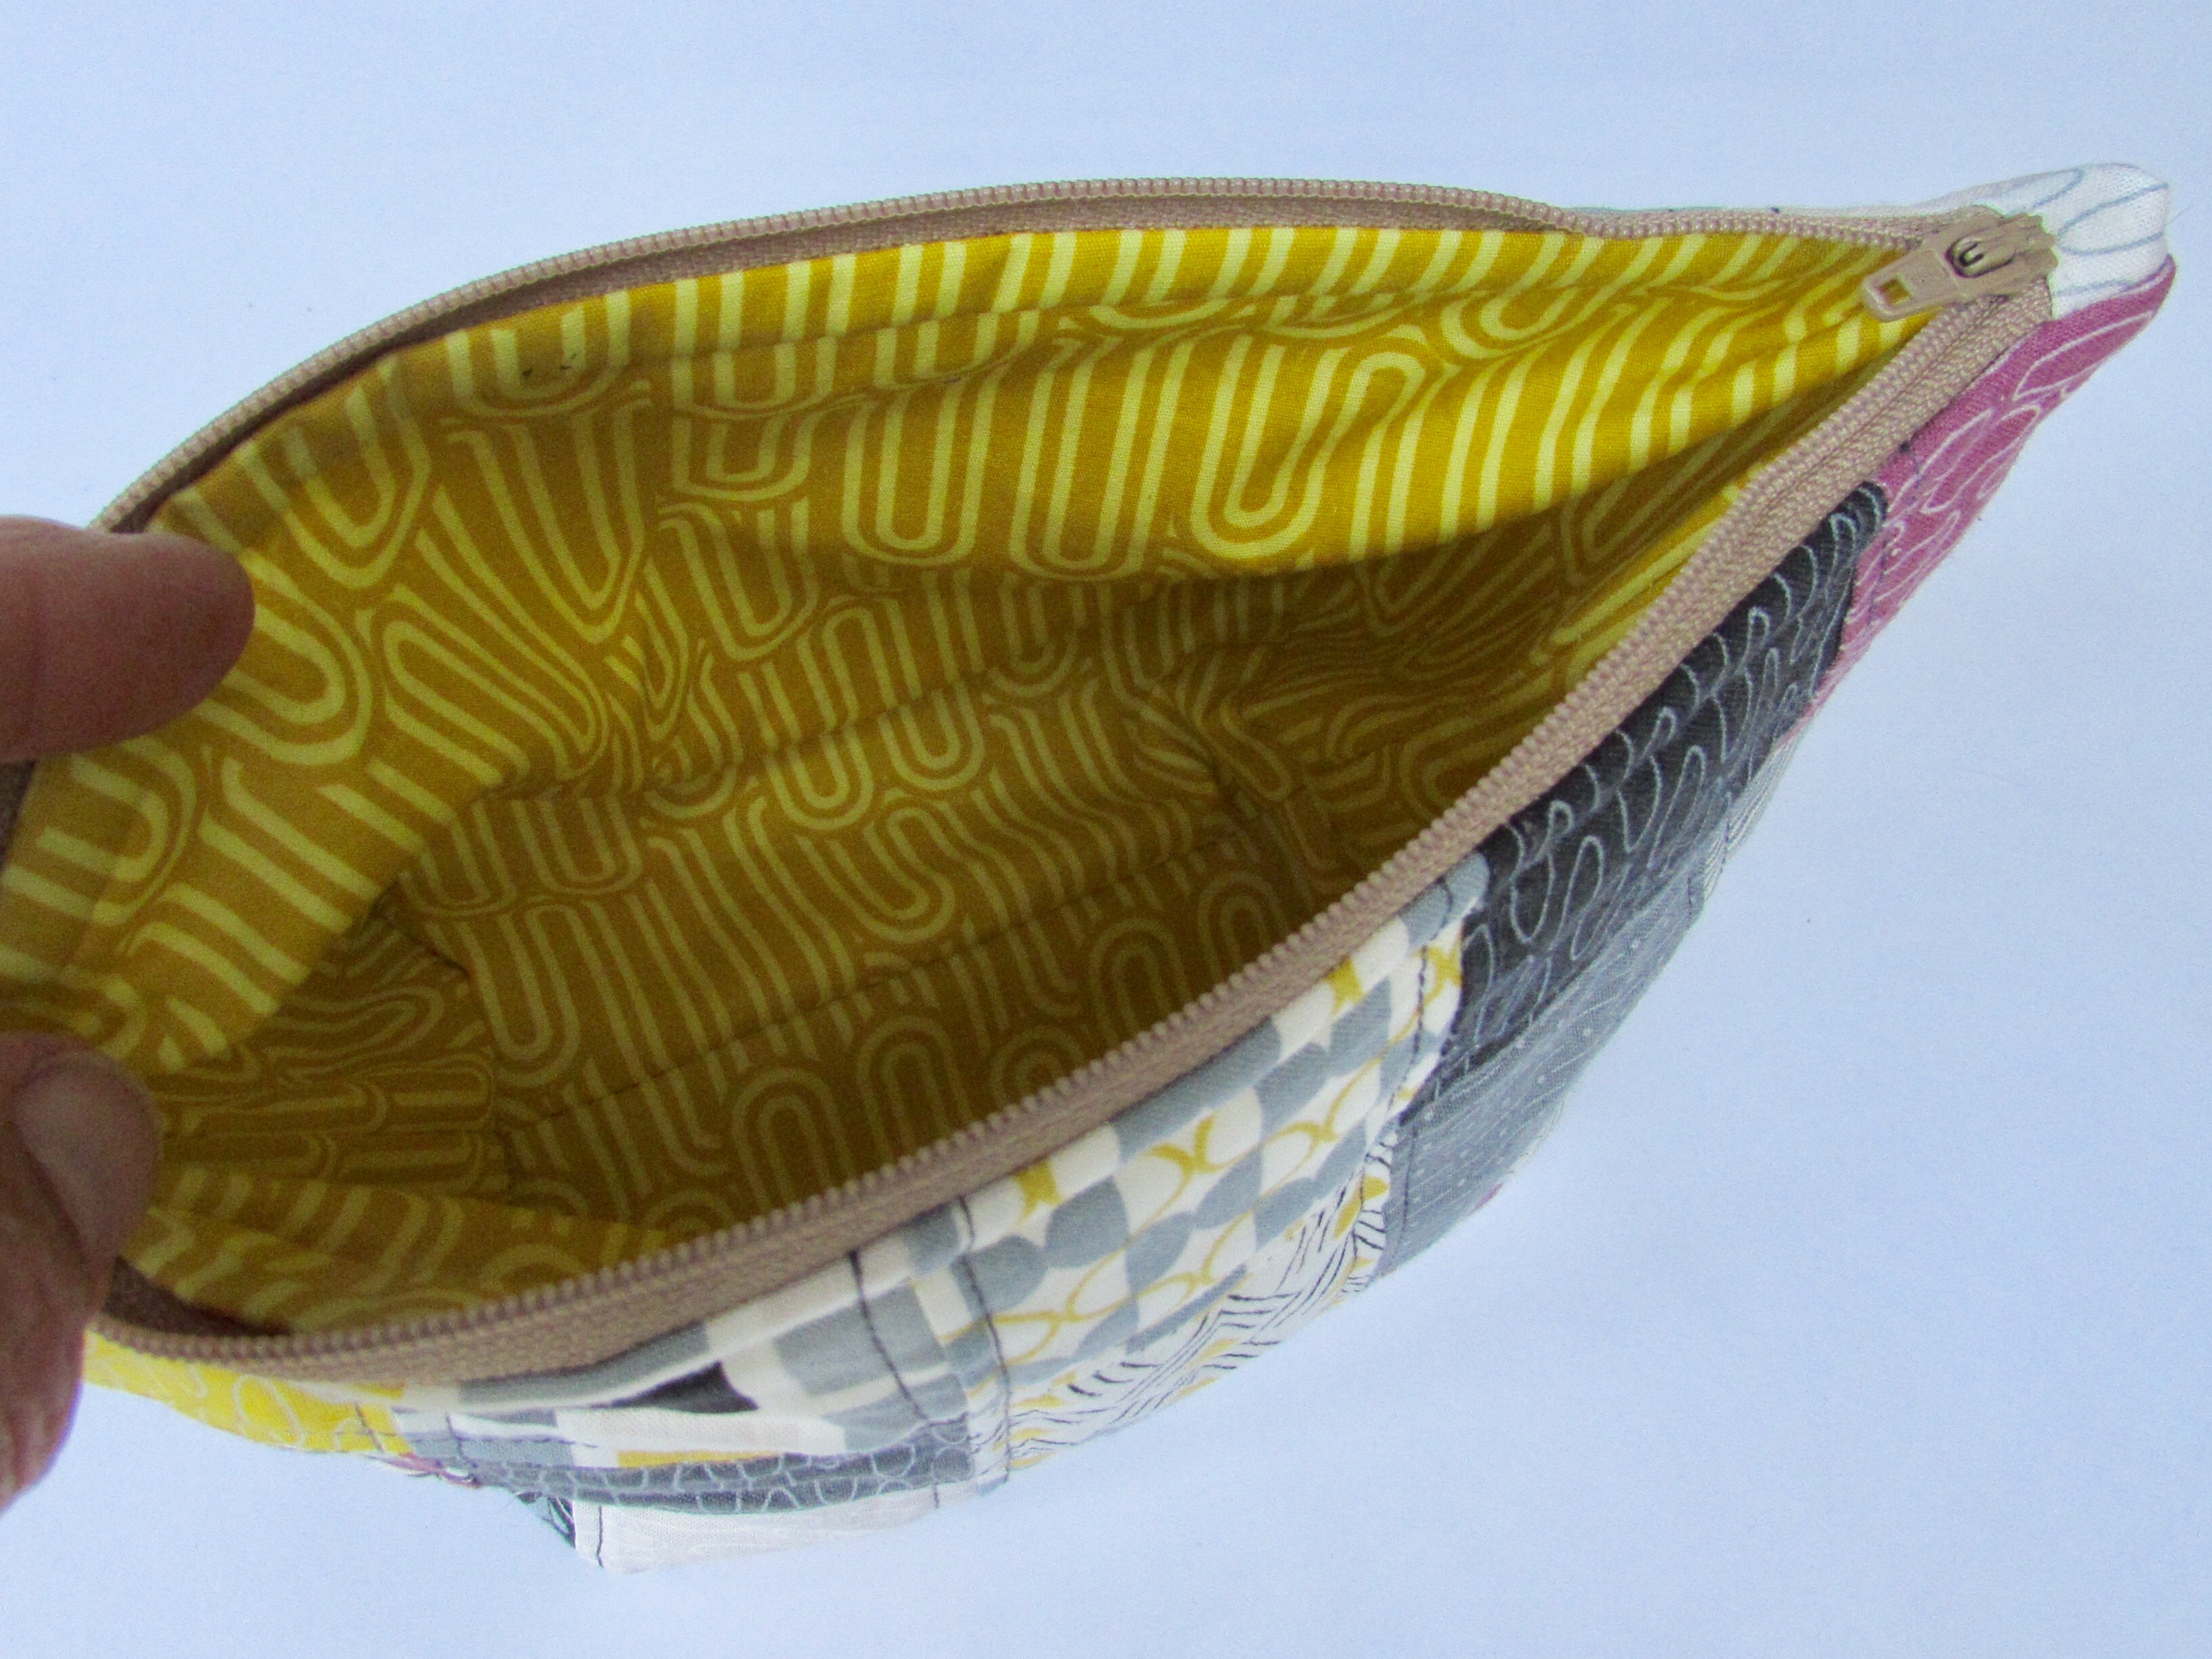
The pattern is clear and quite easy. I lined it with a deep yellow print that was in the yellow stack in my closet. I used a neutral, tan zipper because I had one available.
This is the first time I finished off the ends of the zipper with a fabric covering. It adds a nice touch but the resulting thickness made it a challenge to turn it tight side out.
It is such a cute finish. Hopefully Cathy will finds all sorts of really important things to keep in it!
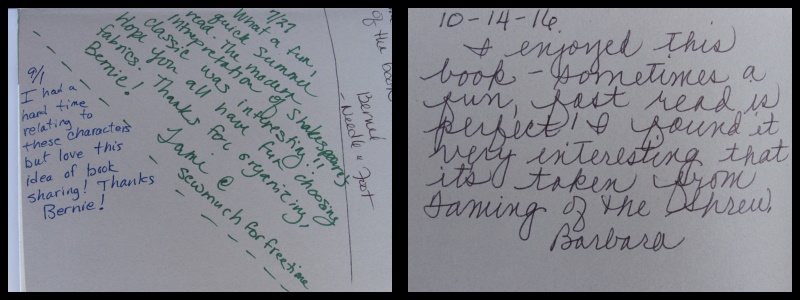
Also, I wanted to tell you that today I received Vinegar Girl, the Summer Book Share, back. This was the first, of many I hope, book that I shared with Needle and Foot readers. I sent it off to Tami in Wisconsin in July. From there, this little book traveled from to Idaho to West Virginia to Durham in the UK, to South Carolina and back to California! That makes me smile. Each person to read the book added a few fat quarters for the next person when the book was sent on. We tried to related the FQ’s to the story. Barbara chose the floral print because the main characters receive a Peony plant for a wedding gift. The print with the city on it represents Baltimore, where the story takes place. What a lovely selection of fat quarters. I will really enjoy using these pieces of fabric! Thanks Barbara! I enjoyed these notes that we left each other on the inside cover of the book.
The Fall Book Share has already made it’s way from California to Minnesota to North Carolina to Wisconsin. From there it goes to Missouri and New York before coming back to me. Looking at the upcoming season of holidays, I think the next book share will begin in January. It would be all too easy for the book to be set aside as busy at this time of year gets. So, look for a new book in January.
Linking to my usuals. Find the links at the top of the page, under Link Ups. Outside of the usually, I am linking up with Elm Street’s Bag It event! Have you checked this out yet? Also checking this project off of my Q4-FAL list for the event over at She Can Quilt!
See you all on Monday for the start of the Autumn Abundance Blog Hop!!
It is still another week until my birthday but today I received a surprise in the mail. Who doesn’t love getting something in the mail besides junk mail and bills, right? It doesn’t happen very often anymore.
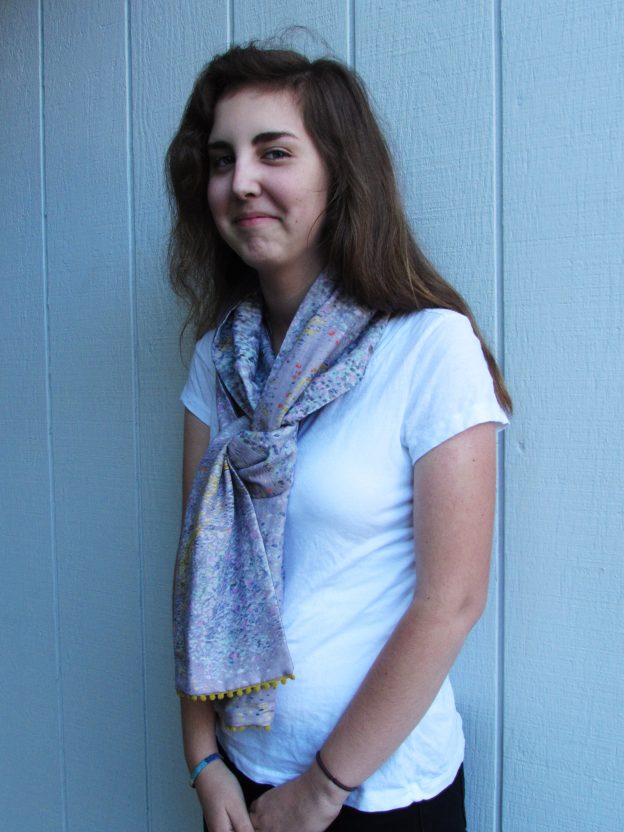
The surprise was from my sister Cathy. She made me a scarf with some gorgeous Nani Iro fabric. And guess what? She went all the way to Japan to buy the fabric. I know, she’s a little crazy. She could have ordered it online but she is the sort who usually goes the extra mile (or the extra 8,271 miles, as the crow flies) 🙂
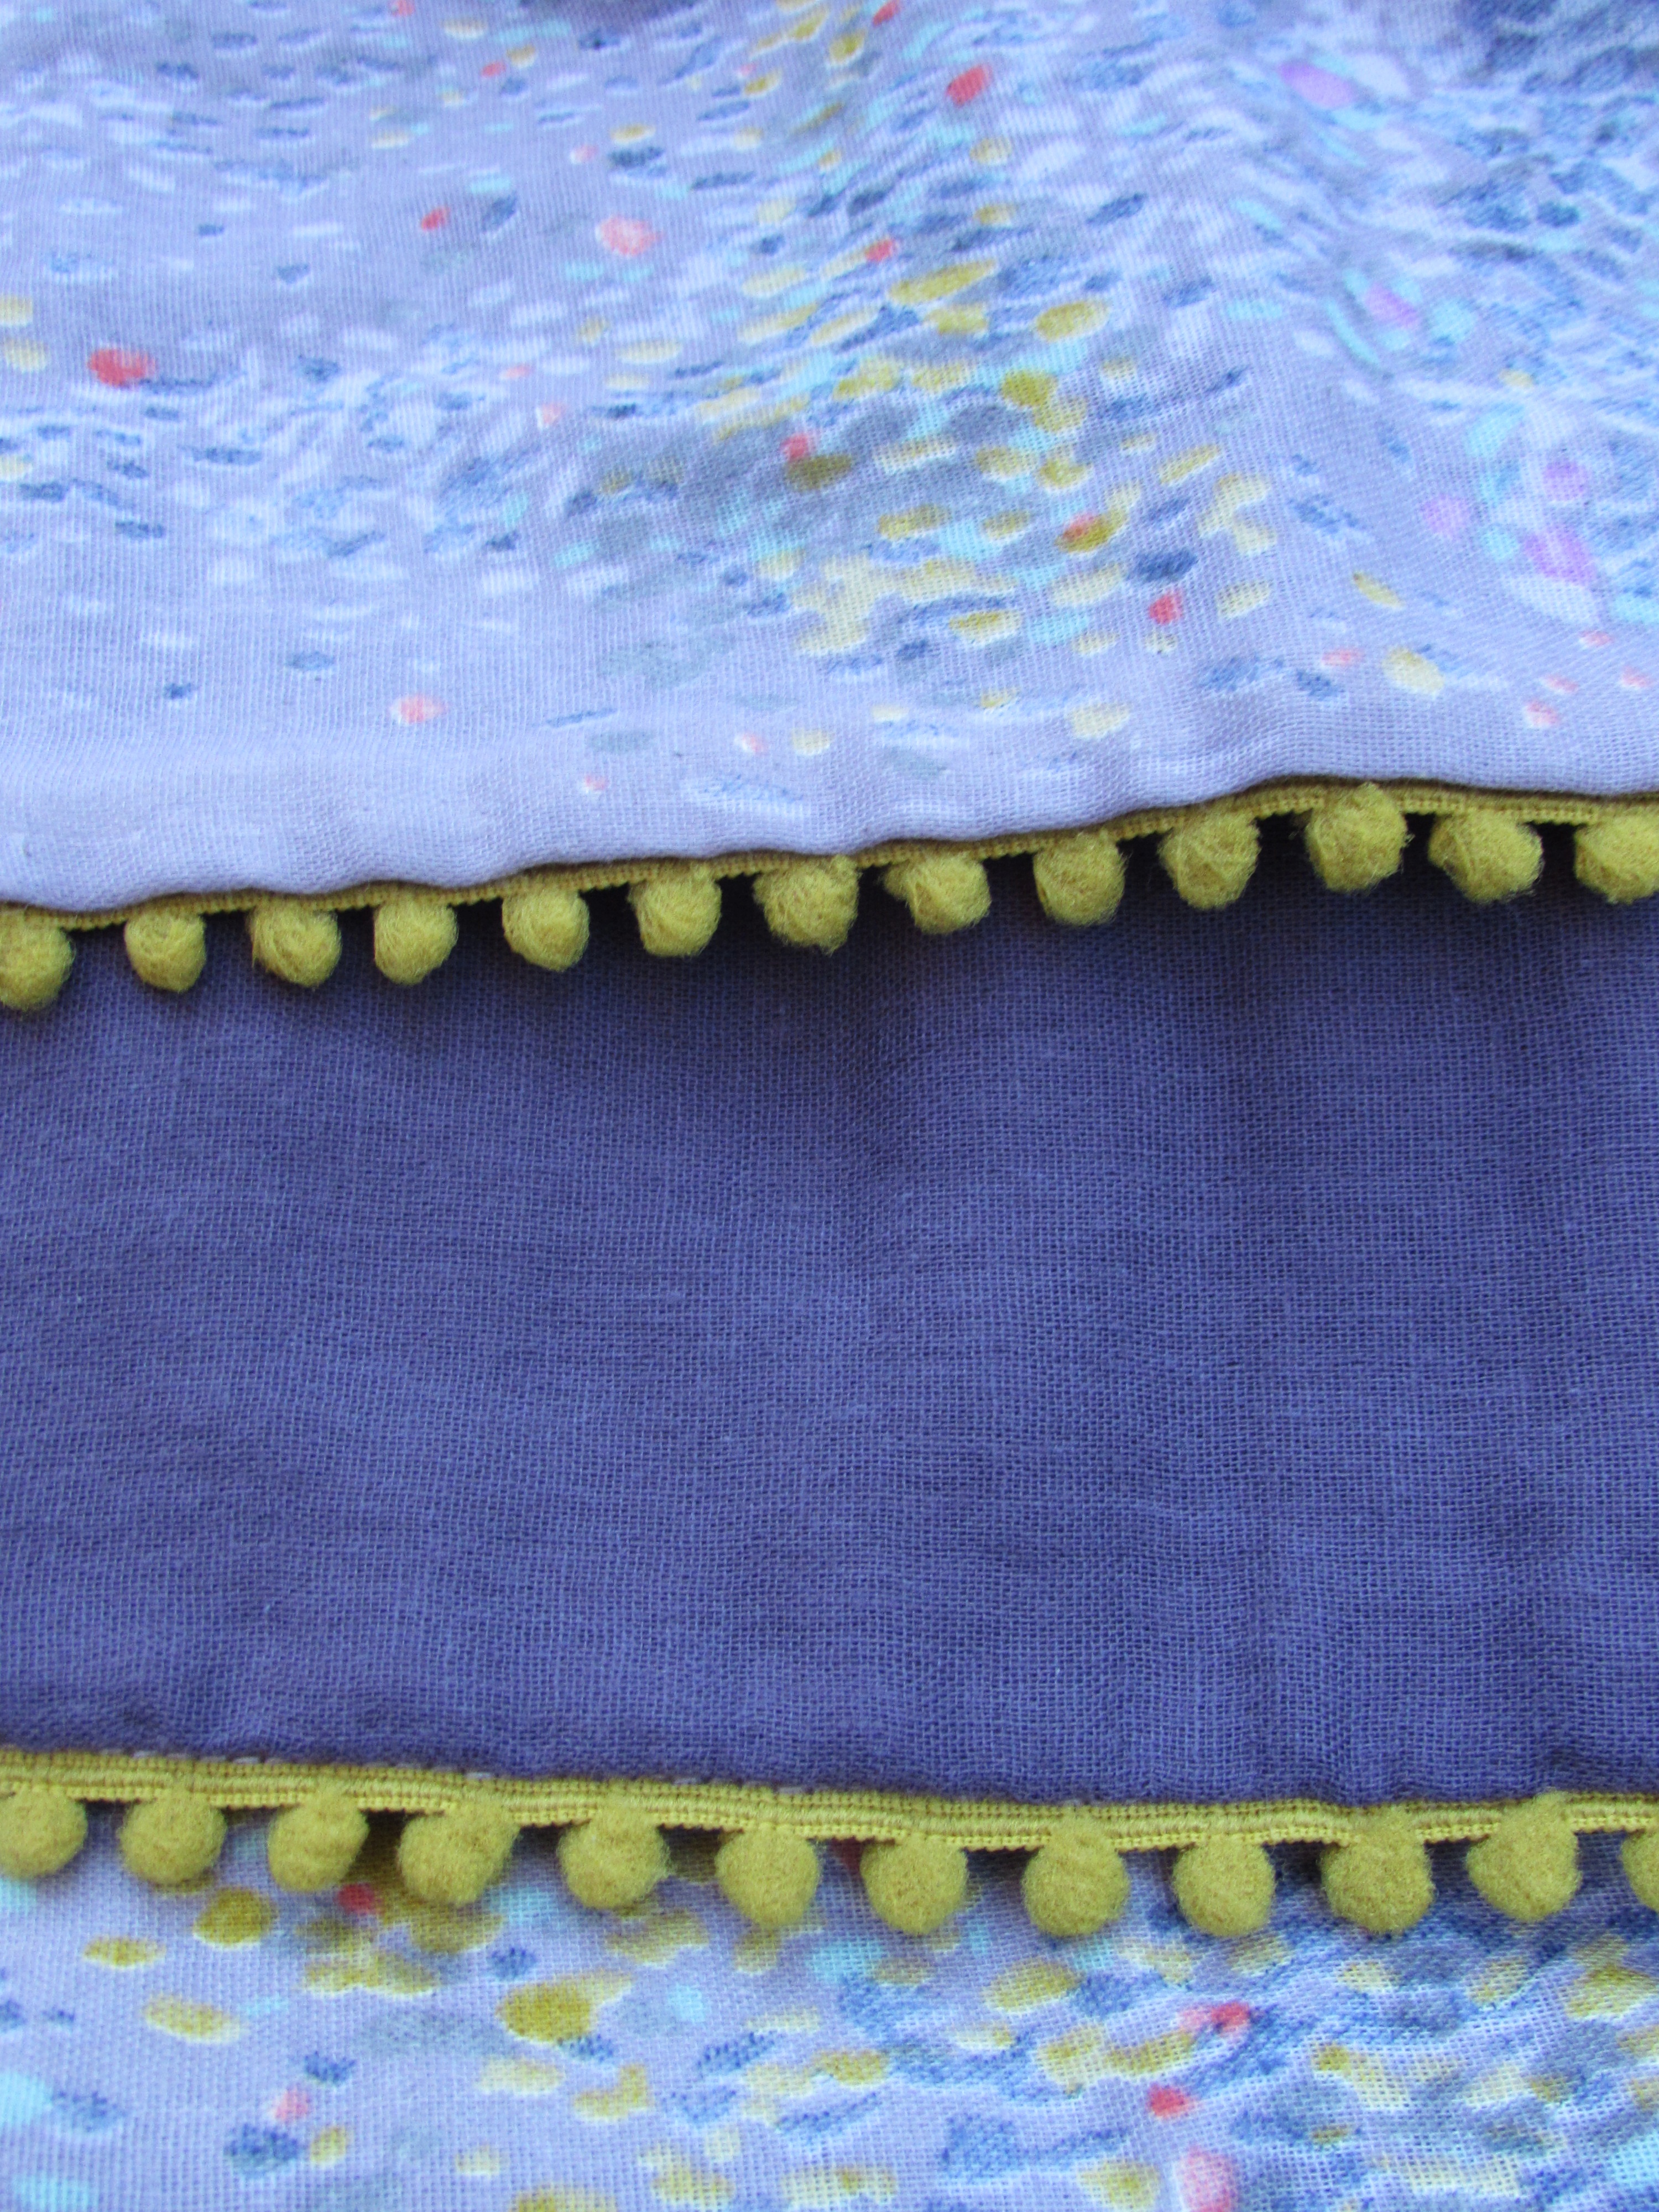
This scarf is absolutely stunning. She also put this darling trim on both ends.
The fabric and backing are so soft. Yum. I haven’t ever used Nani Iro fabric but have certainly read about it and maybe even coveted it just a little bit. Designed by Naomi Ito, for Kokka fabrics, the prints are lovely. Naomi is a painter, mostly water colors, and she designs these prints by painting first. Miss Matatabi has a wonderful interview with Naomi Ito on her site. It gives the reader a peek into Naomi’s world and her process for creating and designing these fabrics as well as a bit about her personal life. Take a minute and hop over. I know you’ll enjoy it. If you want to see some of the gorgeous fabric she has designed, click here. (Not an affiliate link but definitely a fabric enabling link!!)
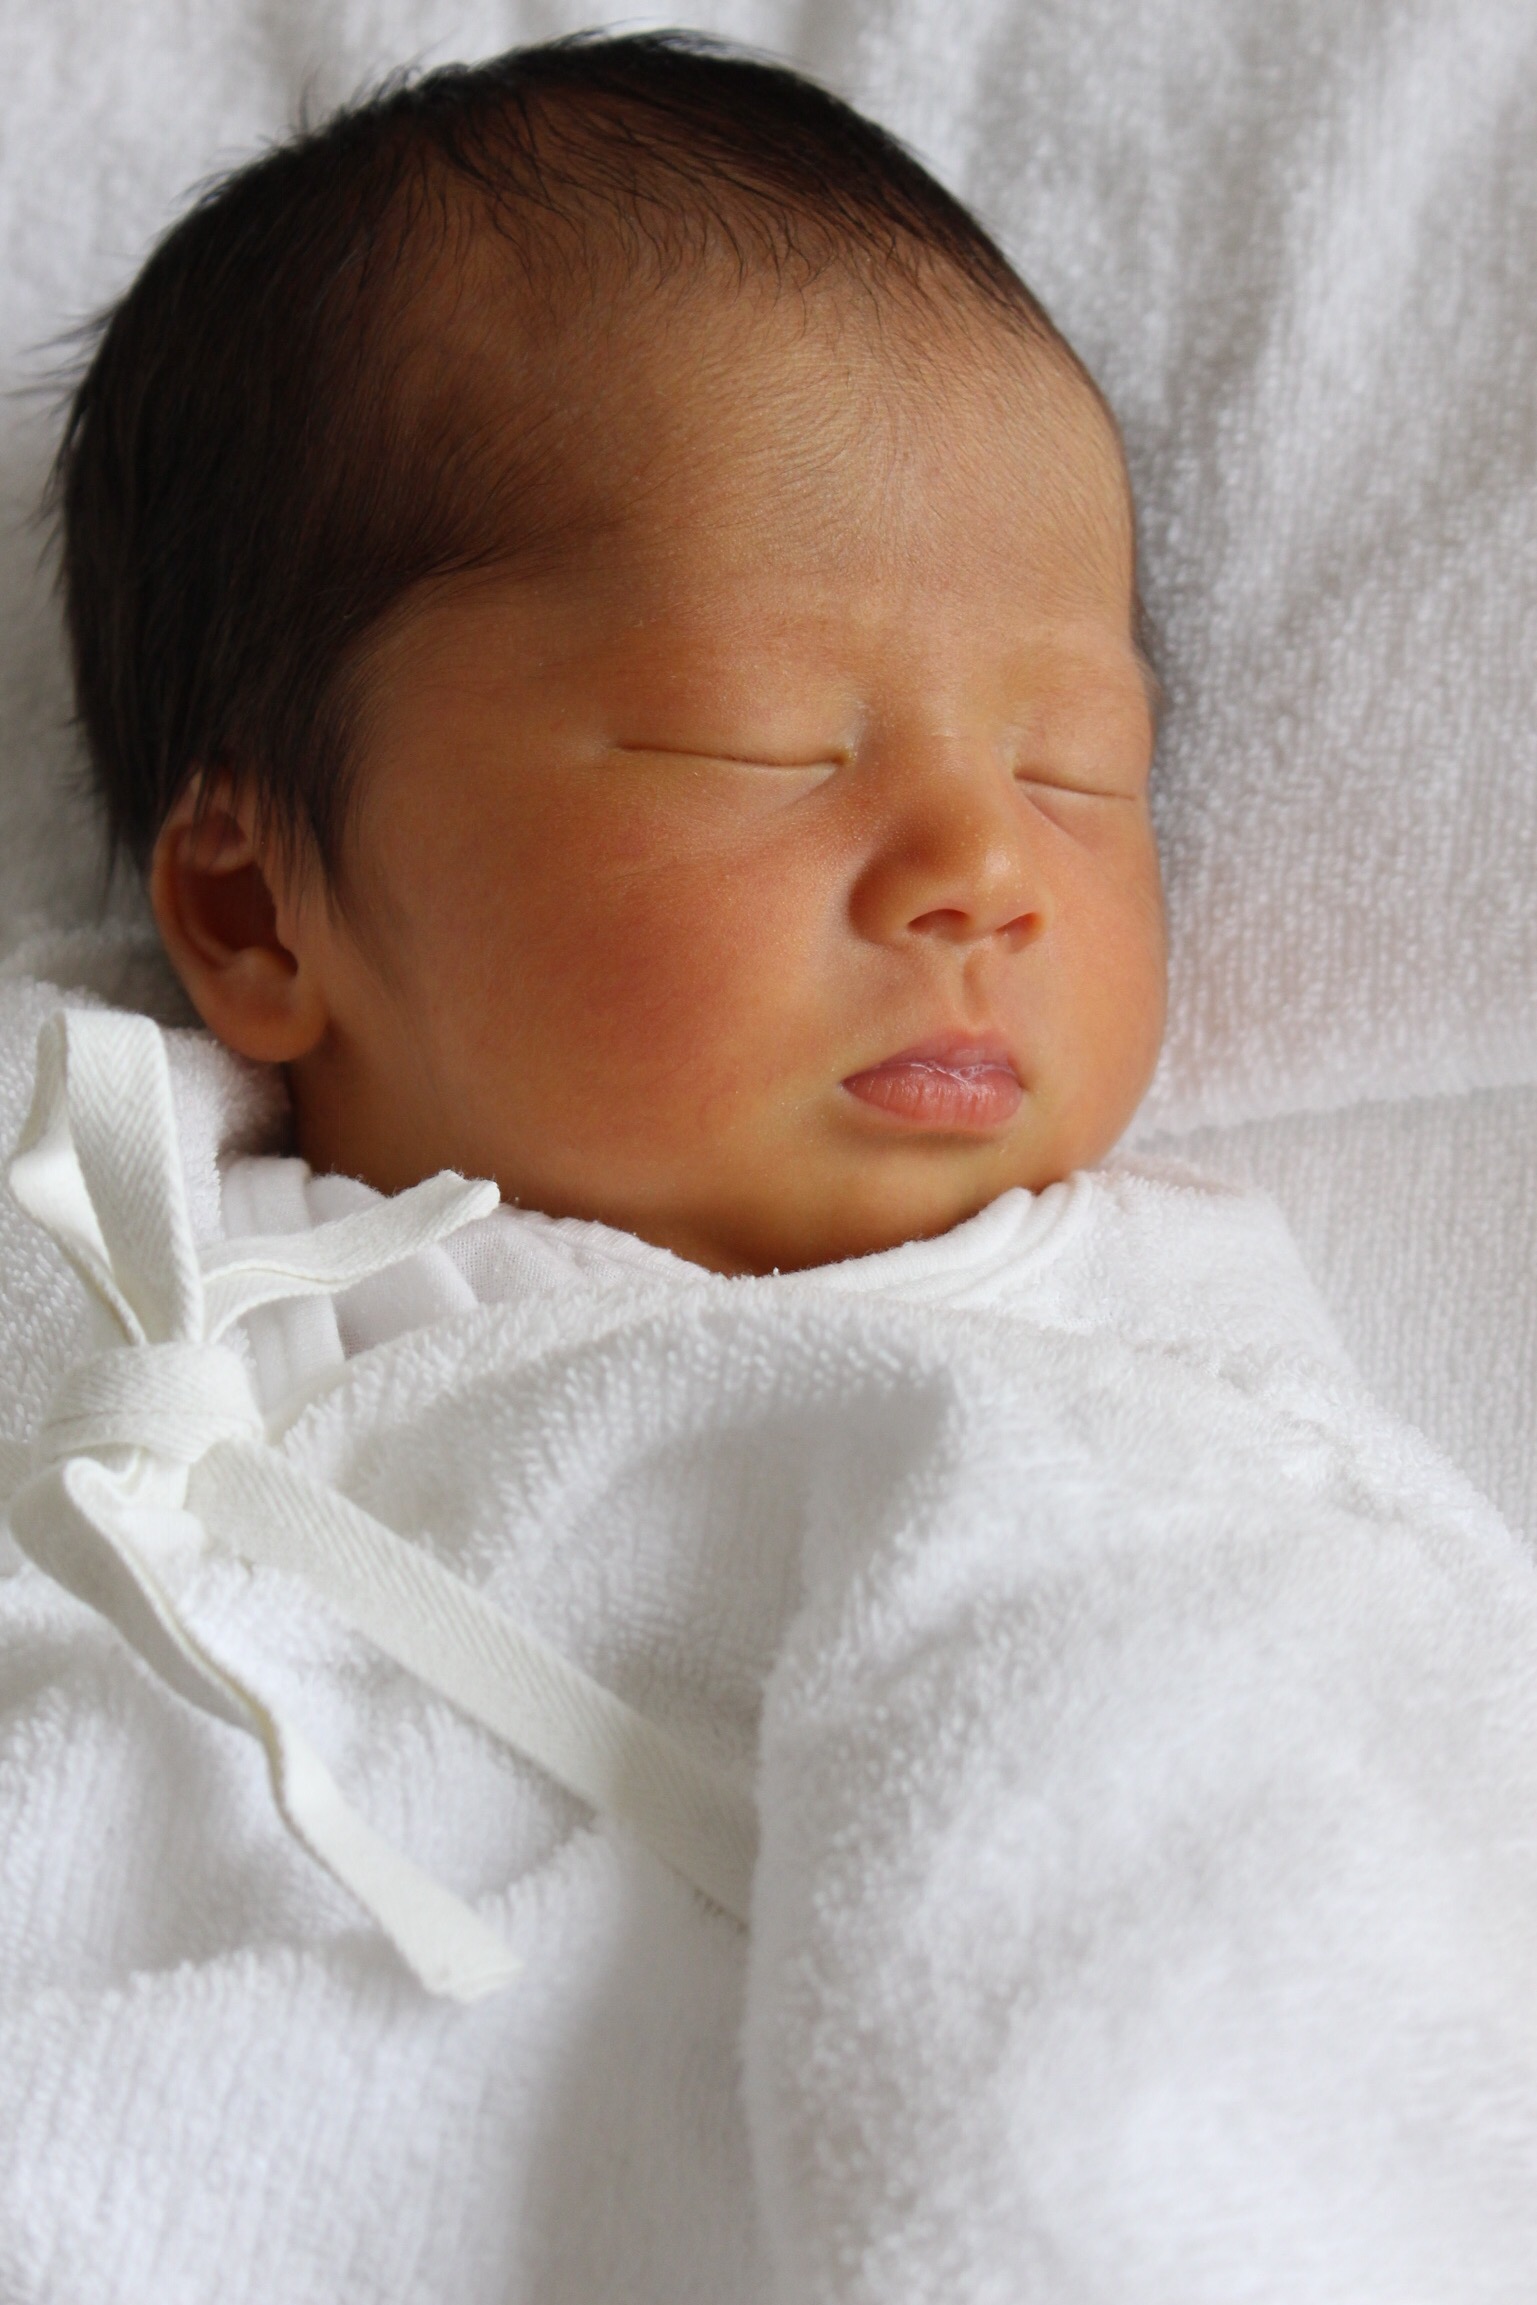
Do you want to hear the other reason why Cathy went over to Japan? I mean other than to pick up some Nani Iro to use for my birthday gift? She went to spend a month with her new grandson! This is such a great story.
Last summer in early June, Cathy texted all of us (we always have a family group text going) and told us to check our email. She had written to tell us that her younger son and his wife (who live and work in Japan – somewhere – I am terrible with geography but I am positive it is in Japan!) had just adopted a baby who had been born just that day. I was stunned. None of us knew they were pursuing adoption so it was a huge surprise. She was thrilled, we were thrilled and the texting went non-stop all day long. So many questions! My nephew and his wife had just received the news that they were able to adopt a baby boy. They brought him home from the hospital two days after his birth.
Cathy quickly scheduled a trip for the beginning of August and she was able to stay for four weeks.
This was taken when she arrived. I think he was about 8 weeks old. He is just adorable. We are really fortunate that his daddy is willing to indulge all of us and post pictures several times each week to a Google share account. I love watching this little guy change and grow.
Looking at just these three photos, it is amazing to see the change and growth in an infant over five months time; these were taken at 3 days, 8 weeks and 4-ish months. What I wouldn’t give to smooch this little guy. Hopefully they will be able to come out to California sometime so we can all get to know him. He has the honor of being the ninth great-grandchild for my parents. This family just keeps growing. With three more babies due in the first months of 2017, the count will be up to twelve great-grands and 21 grandchildren. Doesn’t get much better than that.
Reminder: The Autumn Abundance Bloghop begins here at Needle and Foot on Monday, October 24th. I have projects to share and giveaways to give. See you Monday!
Not sure how this happened but it is the beginning of the fourth quarter of 2016 and I never once set goals for the quarterly FAL that happens at She Can Quilt. Leanne hosts an event each quarter to incentivize each of us to get organized and approach our projects with some level of prioritization. Of course this means to participate, I have to actually think forward a bit and decide what is reasonable to finish up.
This time I am joining in. Better late than never, right? Here is my list:
Finish the project for the Autumn Abundance blog hop that I am hosting next week. Obviously, there is no way to not reach this goal. Paintbrush Studios has generously sponsored the blog hop and we are excited to provide some autumnal inspiration for all of you! My project is nearing completion. I have been working on quilting it and now need to put some finishing touches on it and bind it. Here is a peek.
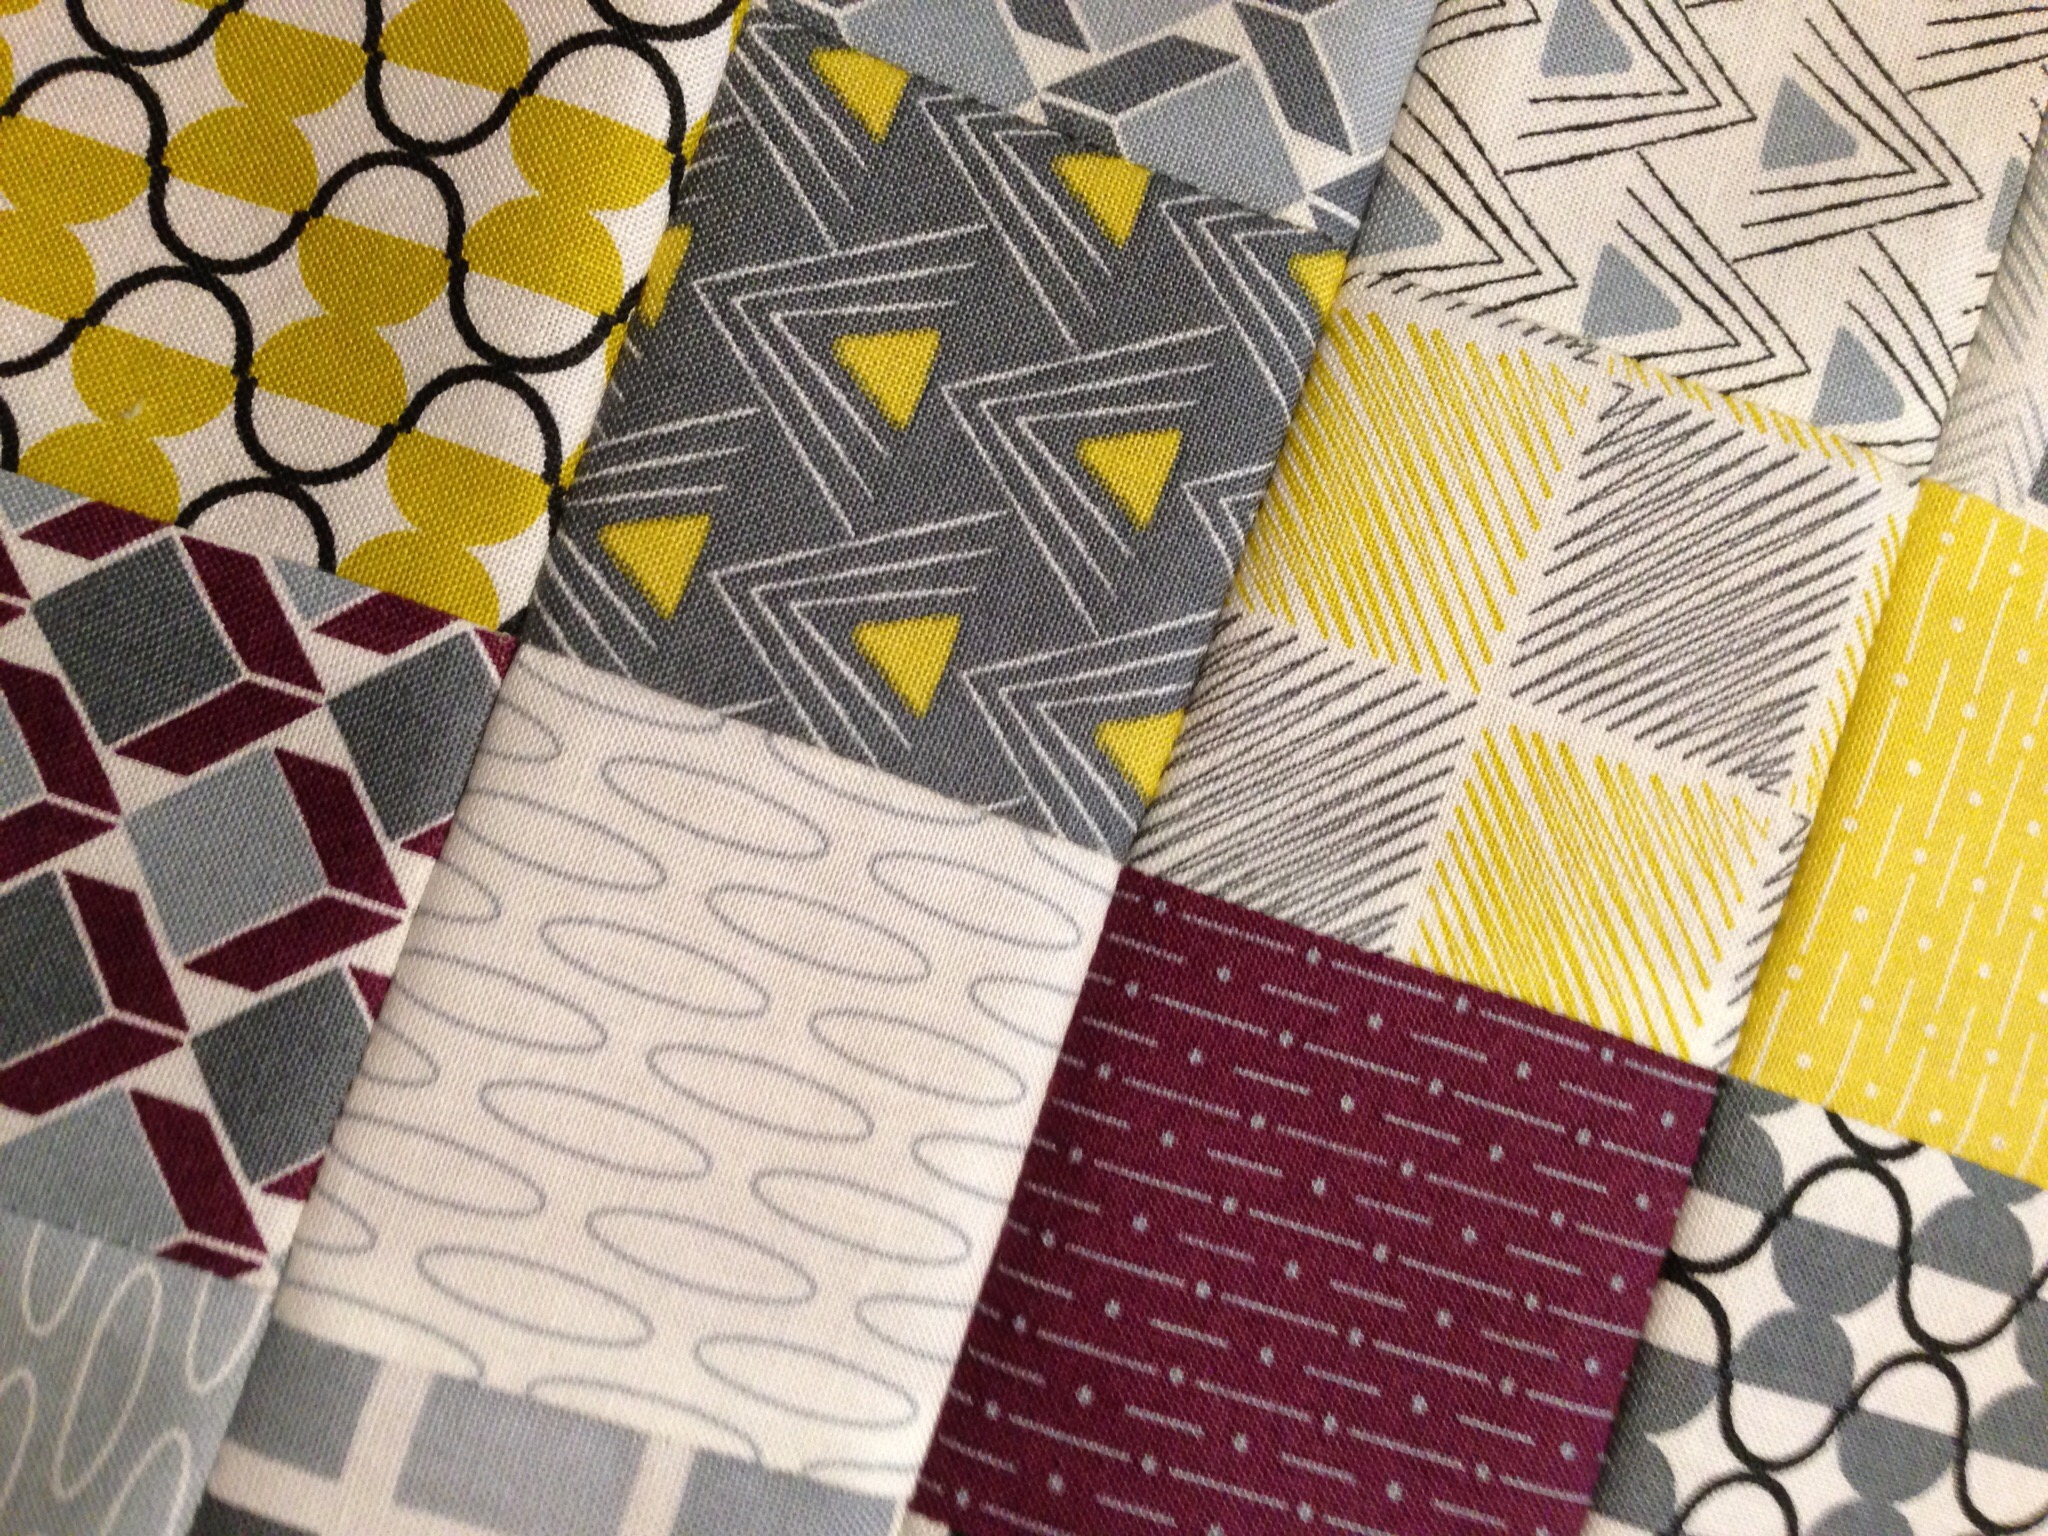
I am working on a little project that will be gifted soon. I am using a mini charm pack of Chic Neutrals, designed by Amy Ellis for Moda. I have only just started this one but it isn’t a huge project. Here is a shot of the patchwork. I really like the colors and geometric prints in this line.
Remember the Harmony Quilt? I was supposed to quilt this at the long arm shop last week. That plan was derailed (as happens far too often) by a series of migraines that caused me to lay on the couch for much of the week. But I really want to finish this. It is a wedding present for my nephew and the wedding was at the beginning of September. It is a gotta-get-it-done sort of project.
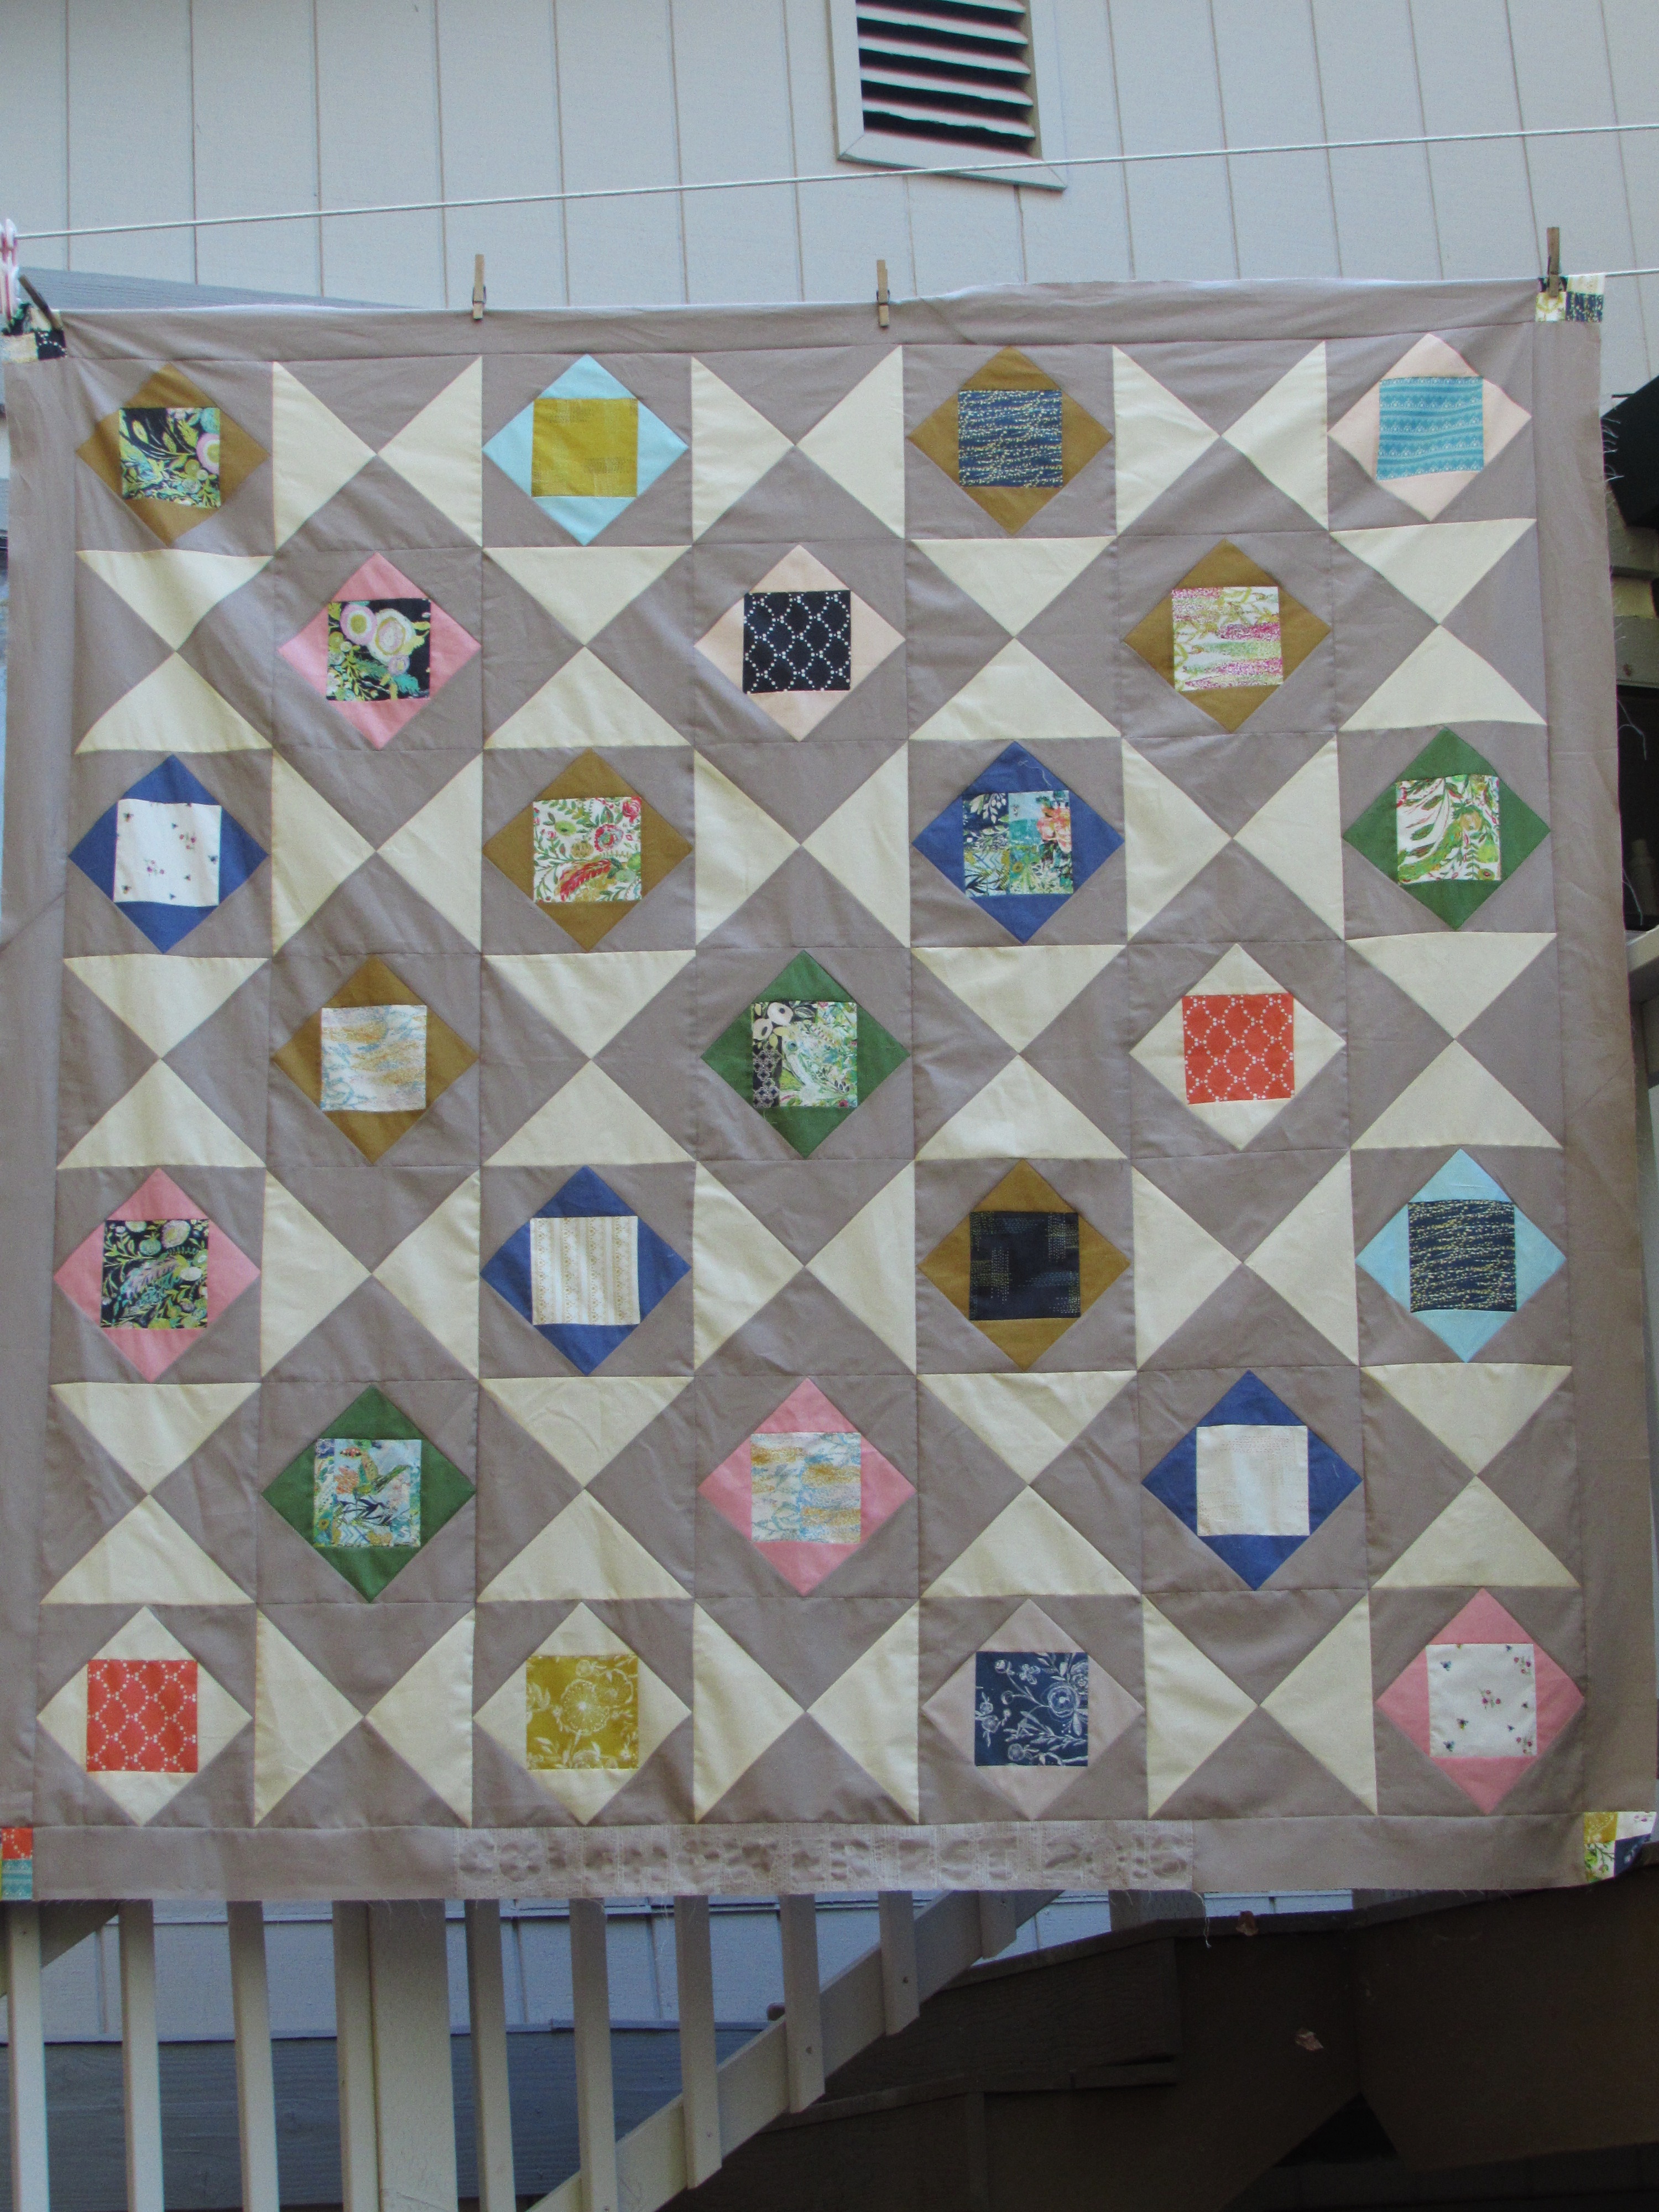
My scrappy projects will likely be done by the end of the quarter. I am going to prioritize my Scrappy HST quilt over Gemstones. Mainly because I am not entirely sure what colors I want to do to finish up the Gemstones piece. So – for sure – I will finish the flimsy of the Scrappy HST’s by the end of the year.
I have a whole cloth baby quilt that I just pin basted. This is a fun project, commissioned by my niece, for her friend who will have a baby this coming winter. Love the fabric for this one! I am looking forward to getting this going. However I need to wait for some thread that I just ordered from Craftsy. I think that is it. During the fall, I spend quite a bit of time sewing for my Etsy shop and usually end up making a few Christmas gifts. Since I don’t have the gifts planned yet, it doesn’t make sense to put them on the list. I suppose I could add in the Etsy items though since they will take a lot of my sewing time. Yes, that seems like a good idea. One more thing for the list. 🙂
6. Etsy Shop – I need to make about ten more of the Chemex Cozies and five of the French Press Cozies.
That should do it for the next couple of months. Plenty to keep me busy and likely there will be more but this is the list of have-to’s. How about you? Linking up this quarter? Today is the last day to link up if you want to join in.
Today is the last day of the Supply Sale at Craftsy. Great prices on all sorts of supplies like batting, needles, rotary cutters and blades, thread, etc. I put in an order yesterday for some basics. It is nice to buy this sort of stuff at a decent price for a change! Check it out.
We are so lucky to have Ian (number 3 son) and his girlfriend, Sharlyn, here for the weekend. They are here to attend a friend’s wedding. Ian loves photography and he is doing the photos for the wedding. Additionally, today is Ian’s birthday. So, there’s a lot going on for these two today. Earlier this morning, over coffee, I discovered Sharlyn shares my love of Pinterest. Looking at her boards was a lot of fun. I found all sorts of ideas to pin to my own boards.
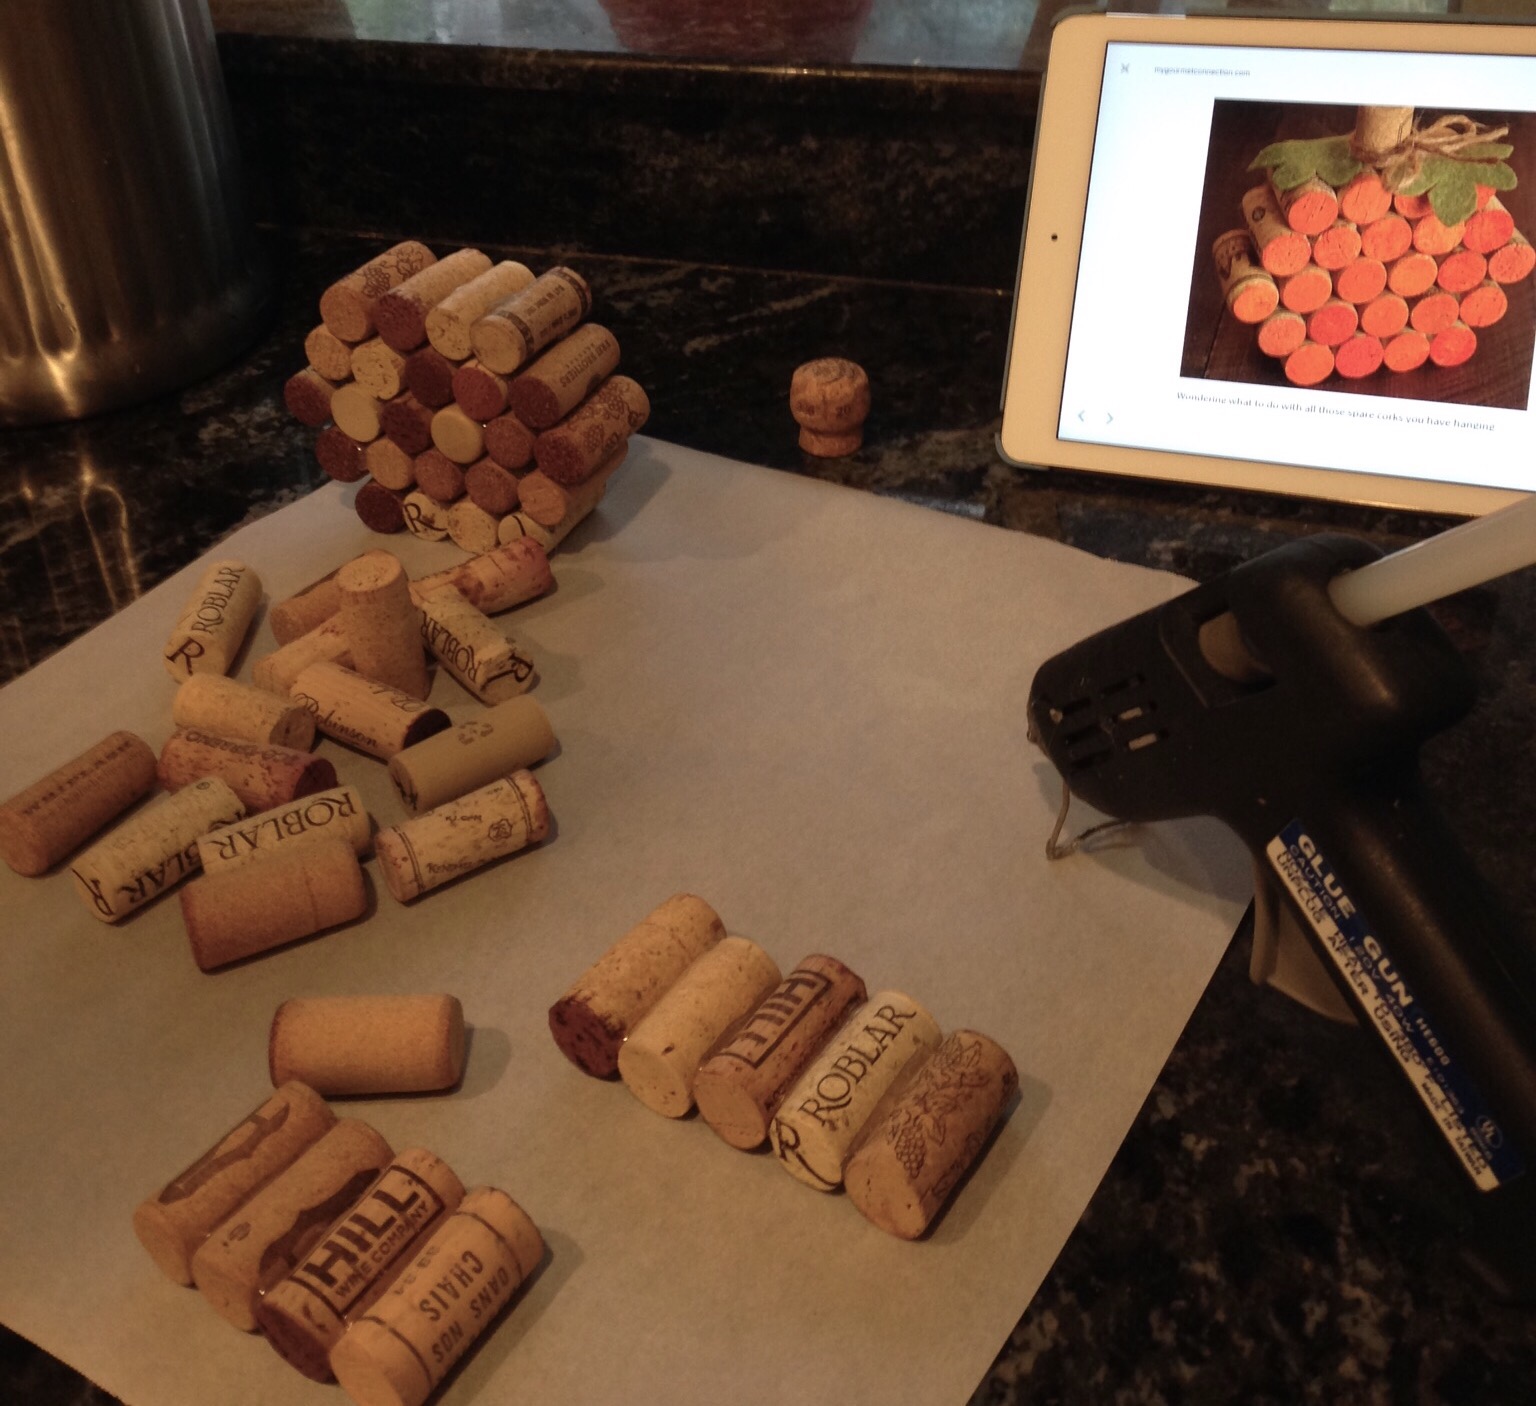
One of those ideas was cute pumpkin made with wine corks. She pinned it from this site. It was only one of several crafty ideas using wine corks that Sharlyn had pinned. This comes as no surprise because she works as an enologist, or winemaker, for one of California’s largest wineries. She comes across more than one or two wine corks in the course of a day at work.
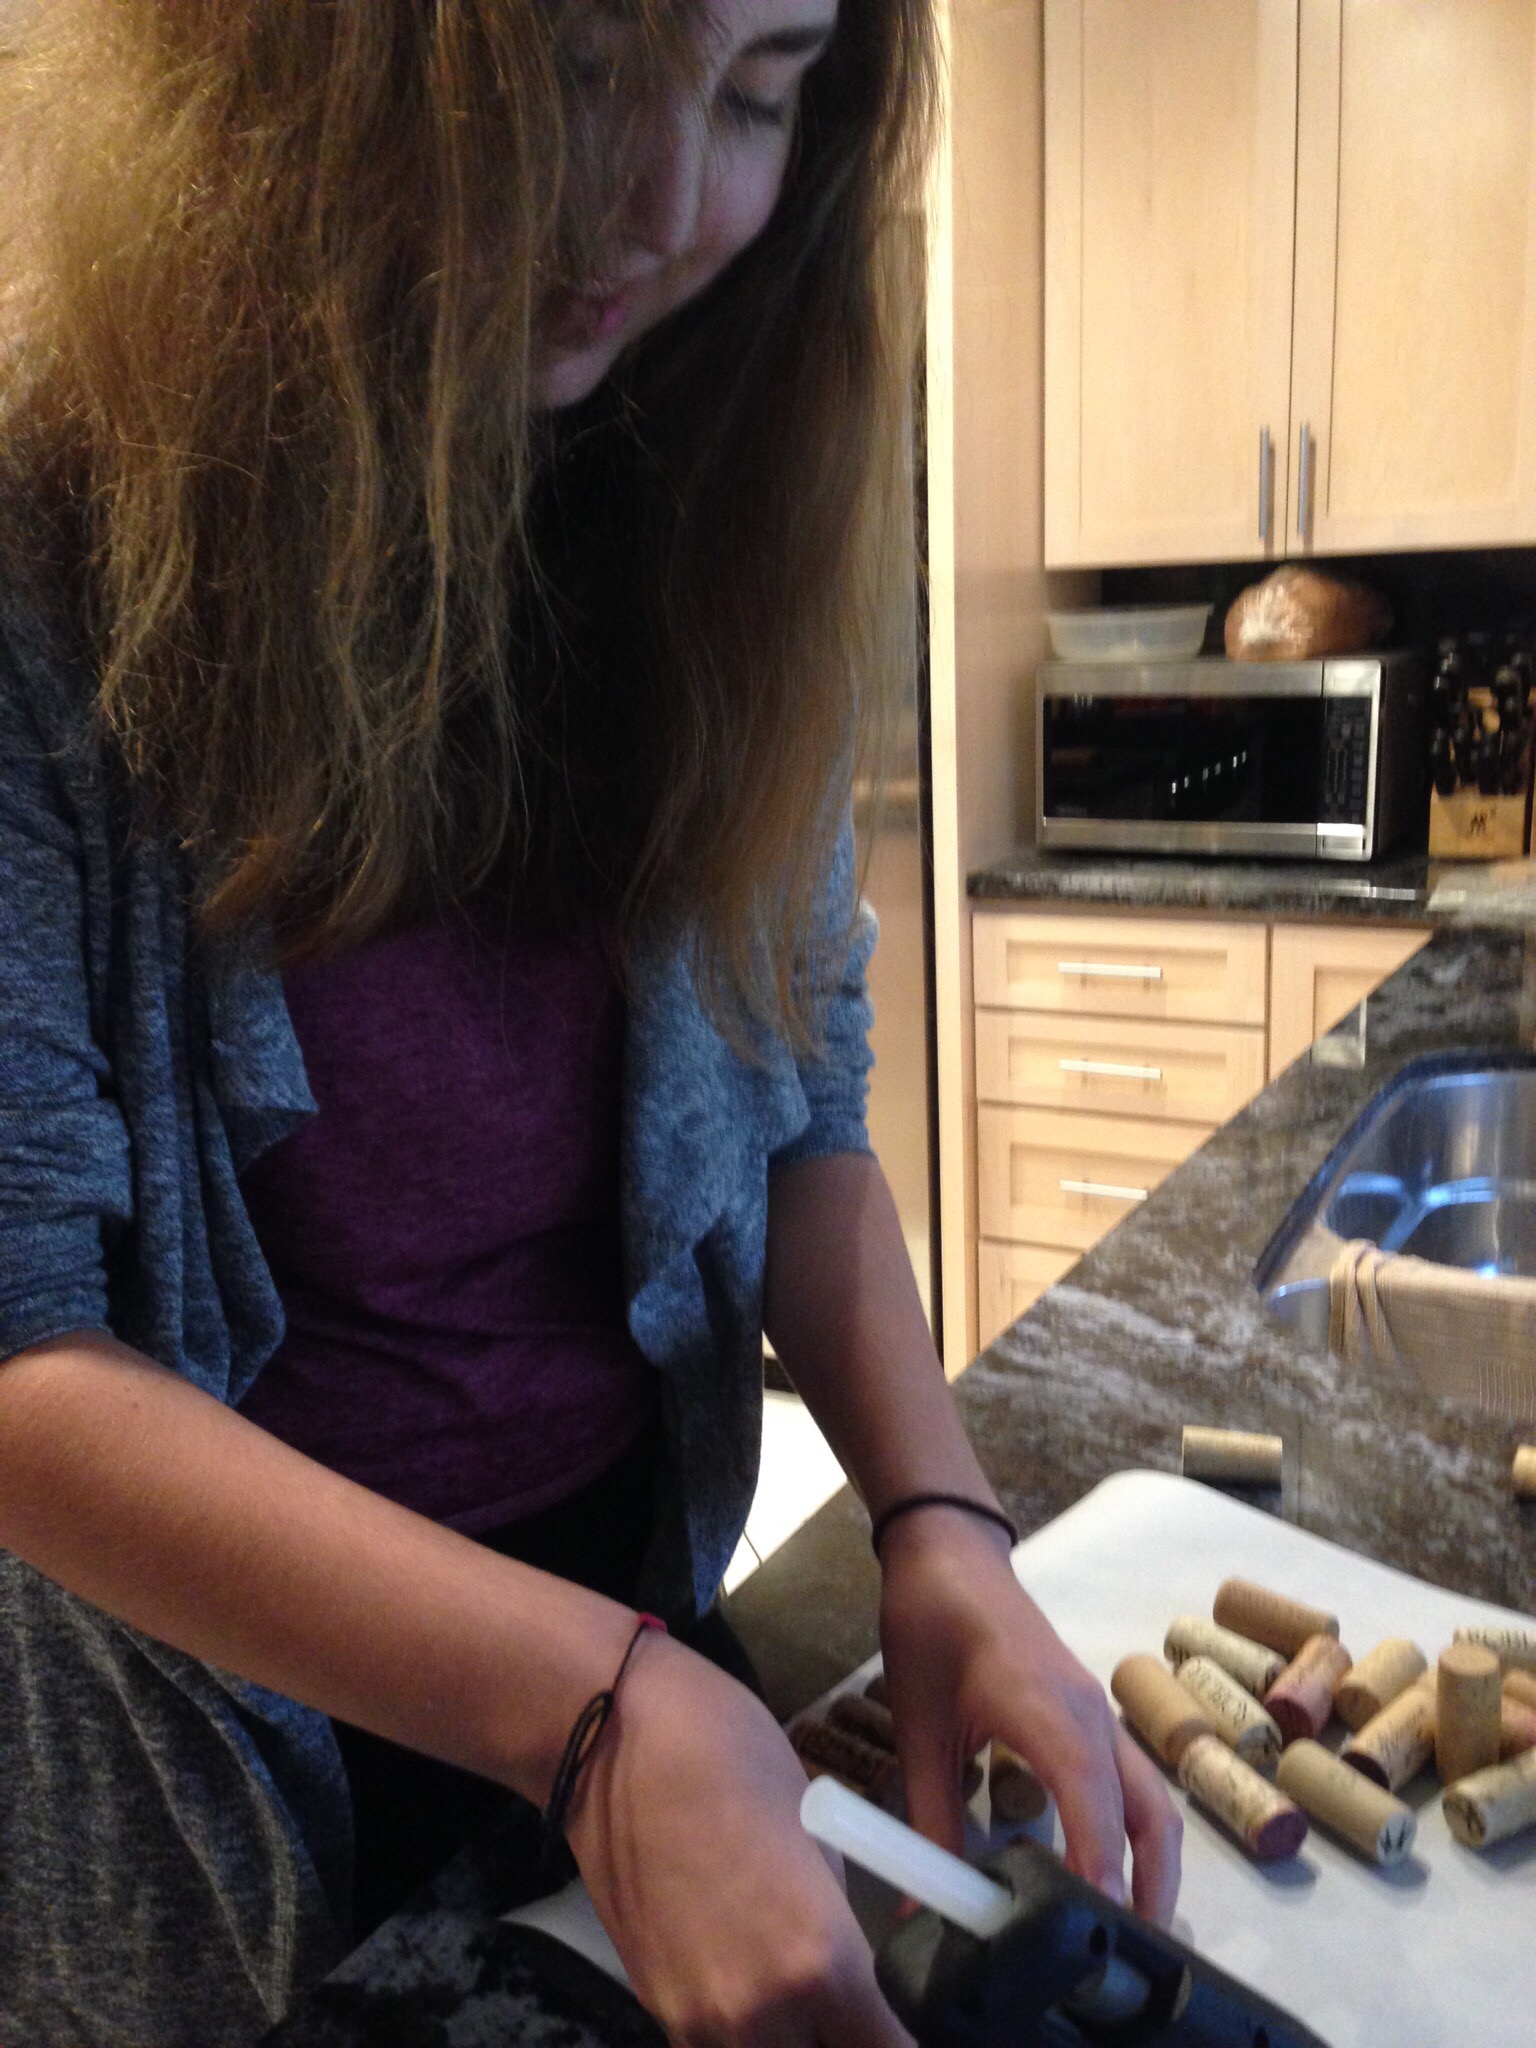
After Ian and Shar left for the wedding, Julia and I got to feeling a little crafty. Luckily, I had everything we needed to make a few of these pumpkins. I have been tossing wine corks into a zip lok bag for a while now, thinking there might be something fun to do with them. (In case you are concerned, don’t be. It took a good long while to save up these 75 or so, wine corks.) Counting the corks we had, there were just enough to make three pumpkins. With the help of a whole lot of hot glue, we got started.
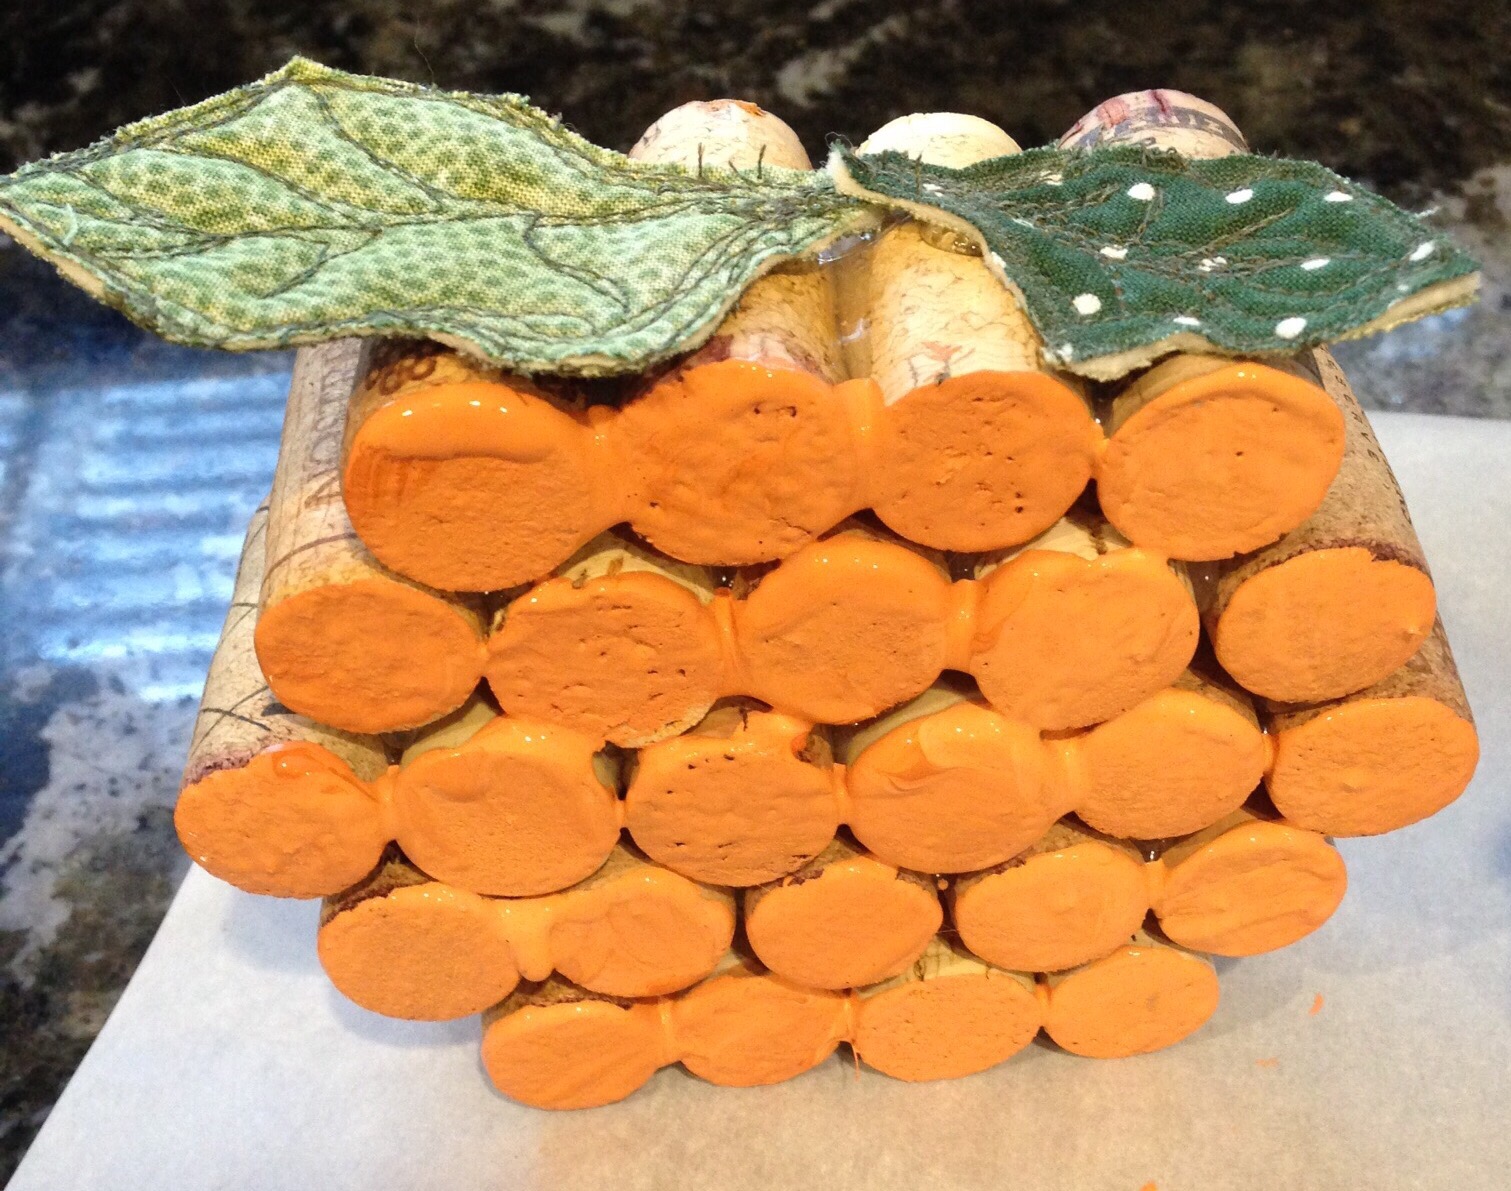
It is such a simple project. We glued rows of corks together and then glued and stacked them one on top of the next. To get a round shape, we glued a row of four, then five, then six. Those were glued together, in that order. Then two more rows, one with five corks and the next with four were made and glued to the first three rows. So you end up with a row of four, then five, then six, then five and finally four. We also made a slightly smaller version, eliminating the row of six. (Meaning making a row of three, then four, then five, then four and finally three.) Wherever possible, we tried to make the ends of the corks as even as possible so hat the pumpkin was mostly flat on the front side. The back side is uneven but really, who is looking back there?
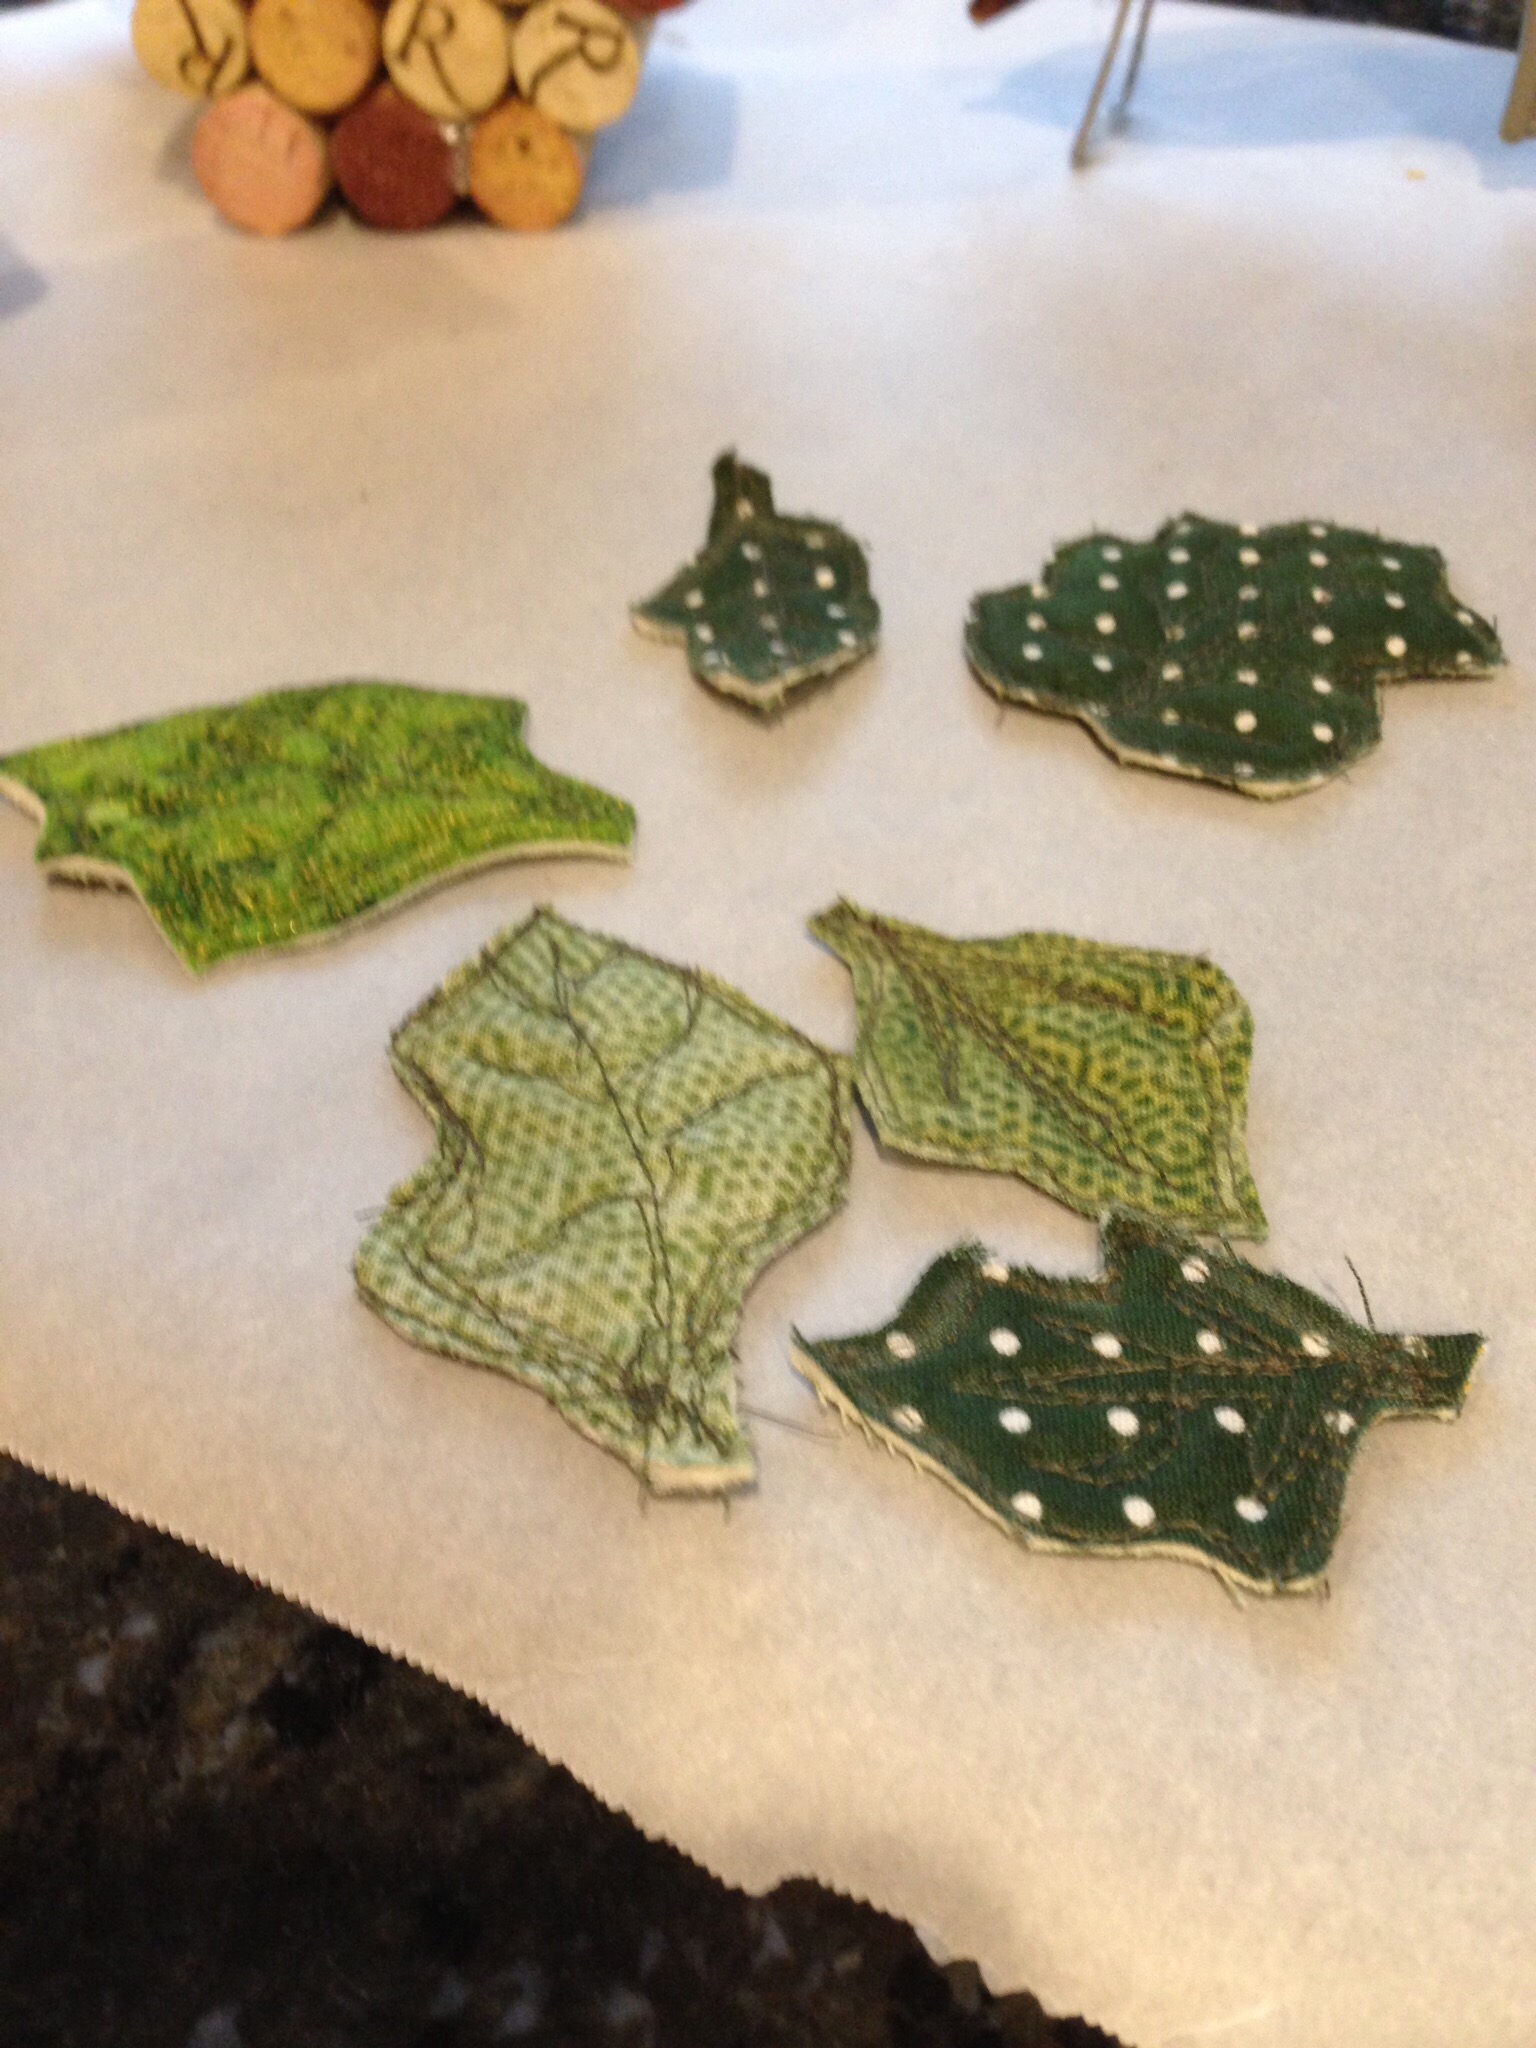
When the hot glue felt somewhat solid, we painted the face of the pumpkin, meaning the ends of the corks, with some orange acrylic paint and left it all to dry. While the paint was drying I made some simple leaves. I didn’t aim for precision with the leaves. I took green scraps and tiny bits of batting, made a sandwich, and quilted the basic outline of a leaf. I added some veins to define the center of the leaf. I went around the outer edge several times and then cut the leaf out.
As I was making them, if they looked to big, round, or otherwise not quite right, it was very easy to just keep trimming them and stitching until I liked the shape. They looked rough but I wanted a rustic feel. The stem of the leaf looks messy with the stitching backtracking over and over, but that part was hidden by the pumpkin stem.
By the time the leaves were made, the paint was dry enough to handle the pumpkins again. Actually, I was being impatient…. the paint was barely set. 😉 We glued the leaves down, two per pumpkin.
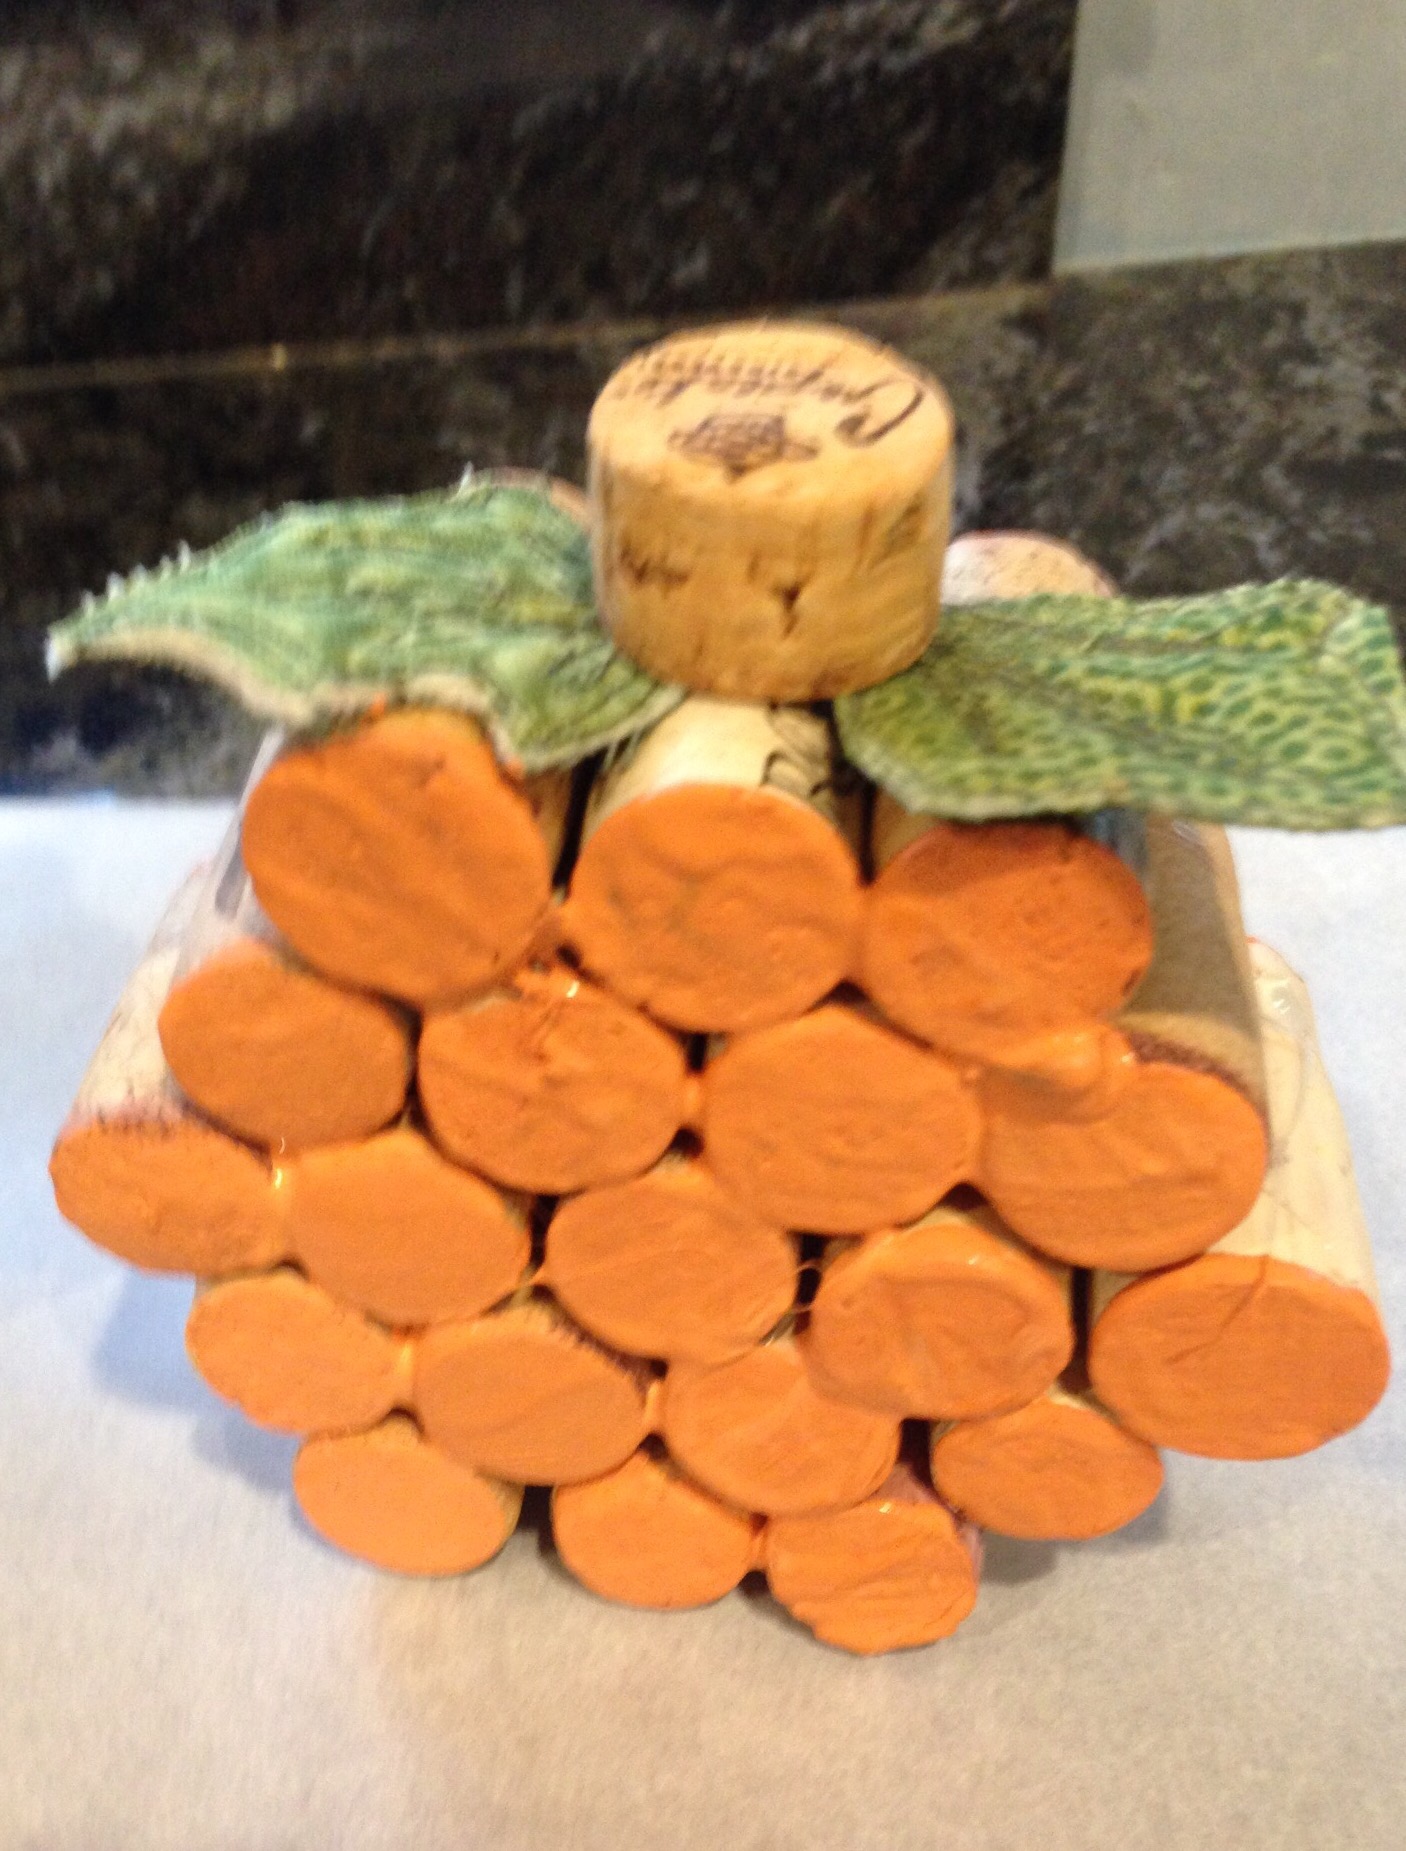
Following the leaves, we glued the cork/stem. I did cut the cork down a bit to use for the stem, the full size cork was a tad too tall.
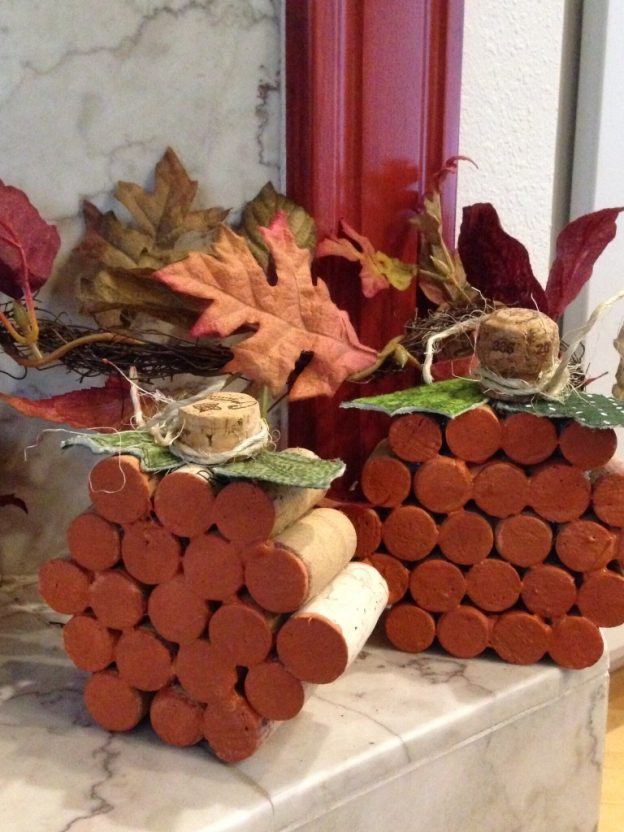
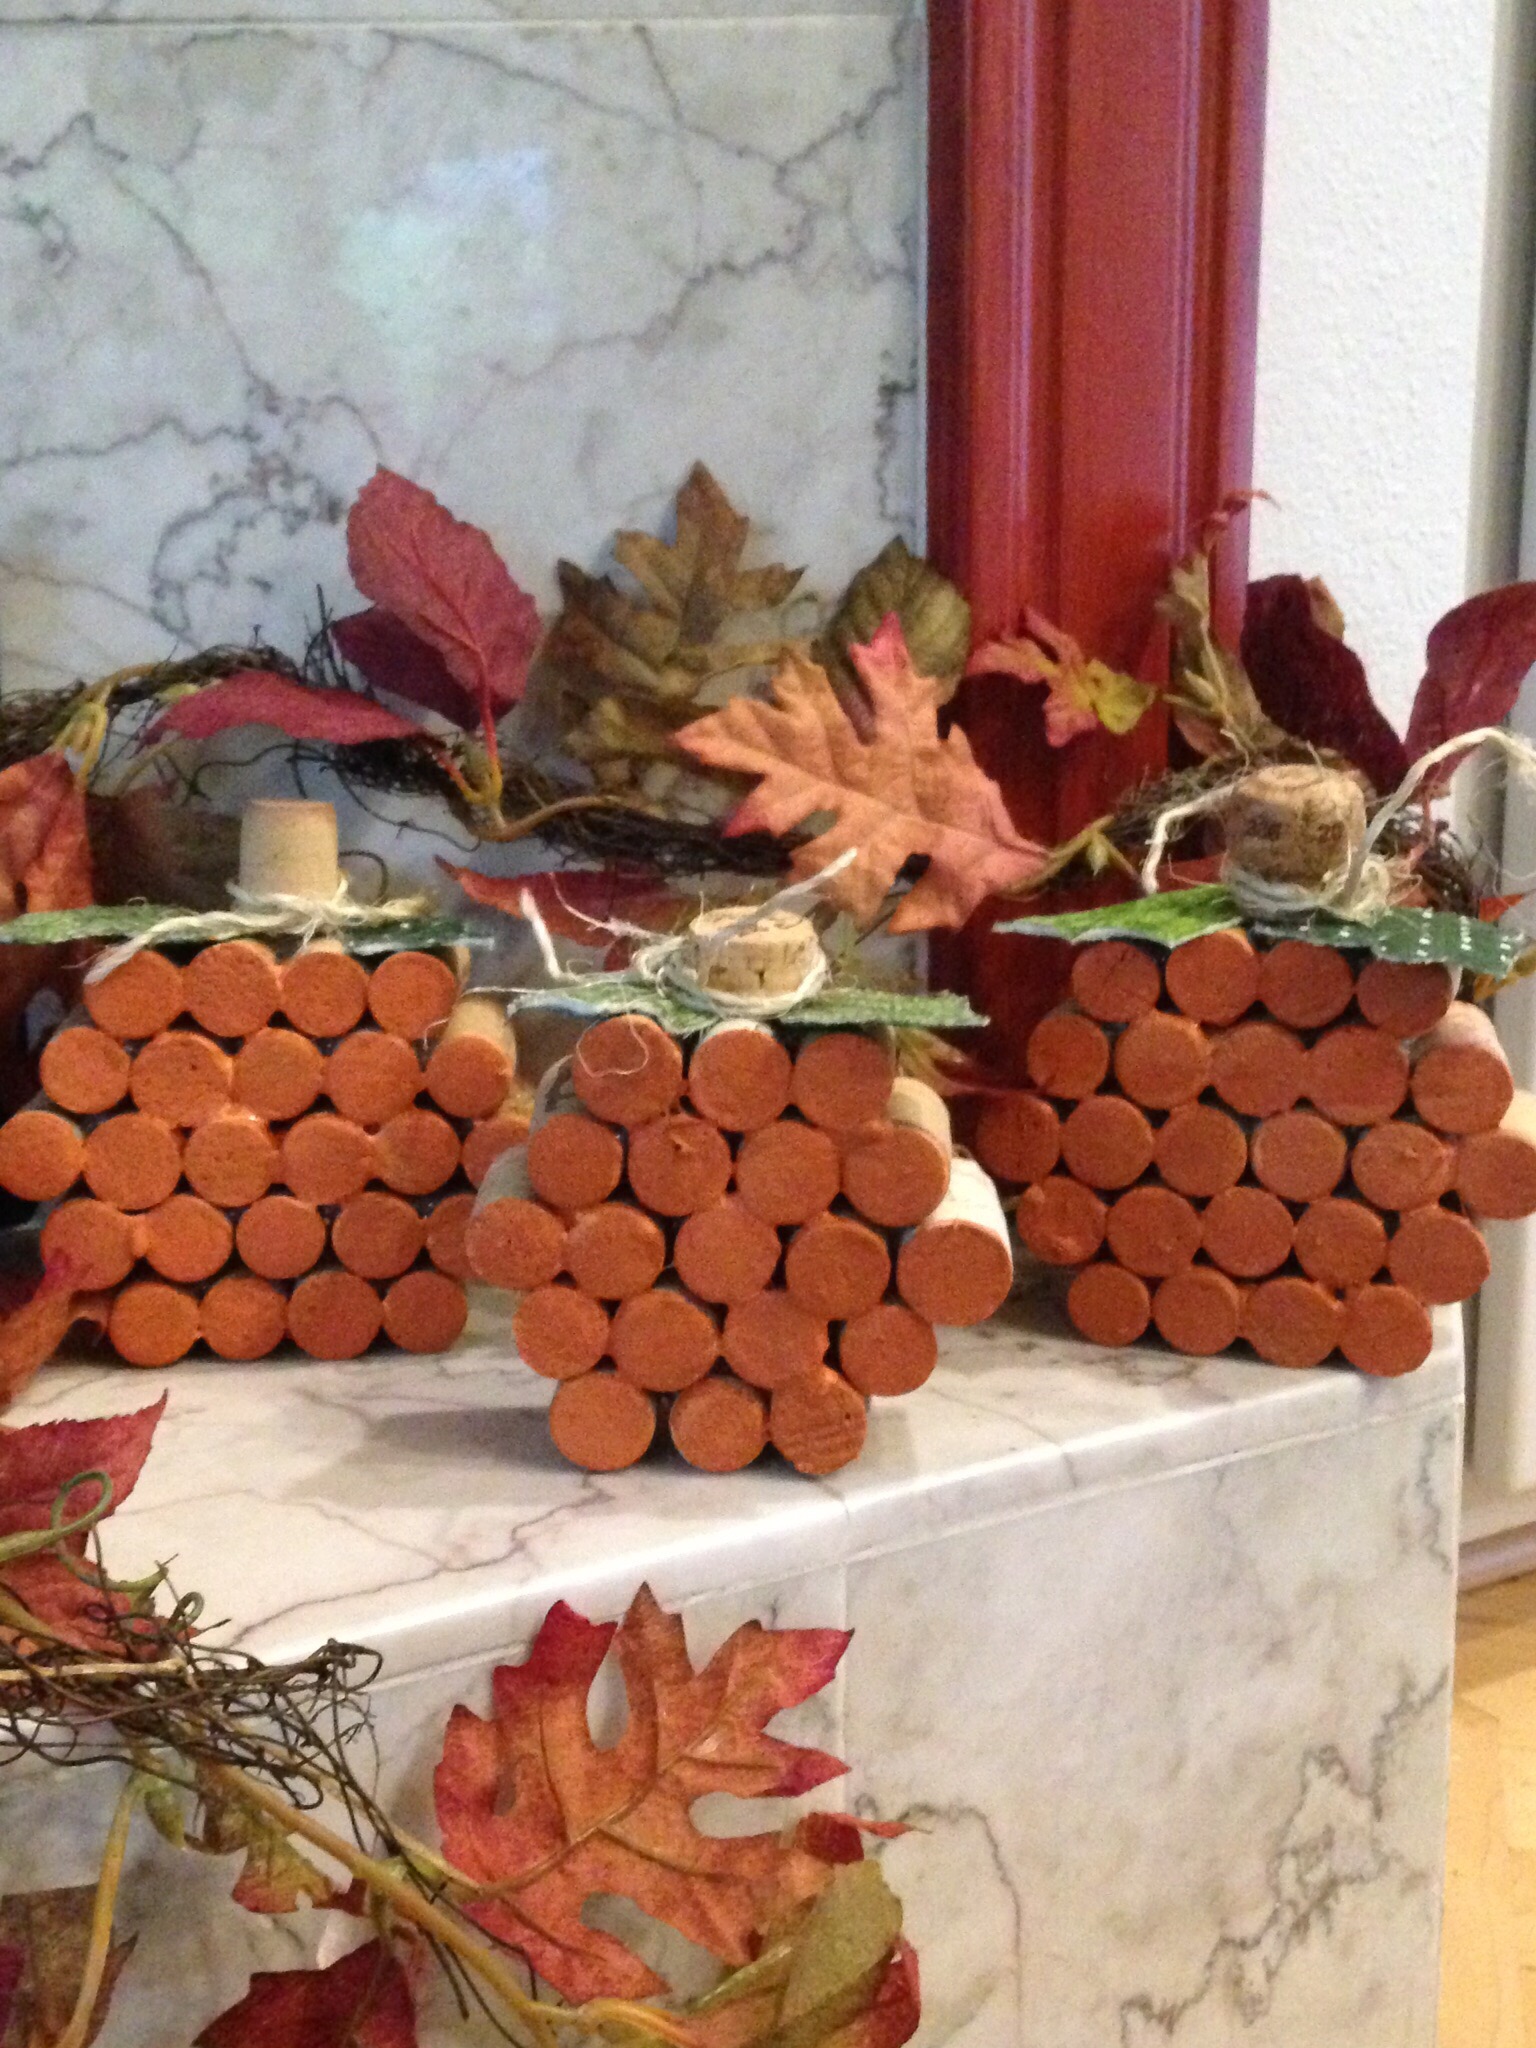
Once they were truly dry, I decided the shade of orange was too light. I gave each of them another very light coat with another orange paint that was a touch darker than the first. The final touch was adding a bit of twine.
What do you think? The darker orange is better, right? Yep, they are adorable. A fun, easy project for this very rainy day. Save up those wine corks and give it a try!
It’s the season for more making! The changing colors call for new projects, and Craftsy wants to help you start the season with all the supplies you need. Lots of the basics are on sale, including batting, Aurifil threads, and Kona cottons. For all of you Cotton and Steele fans, there is a fat quarter assortment on sale for an amazing price.This promotion ends Sunday, October 16, at 11:59 pm MT.
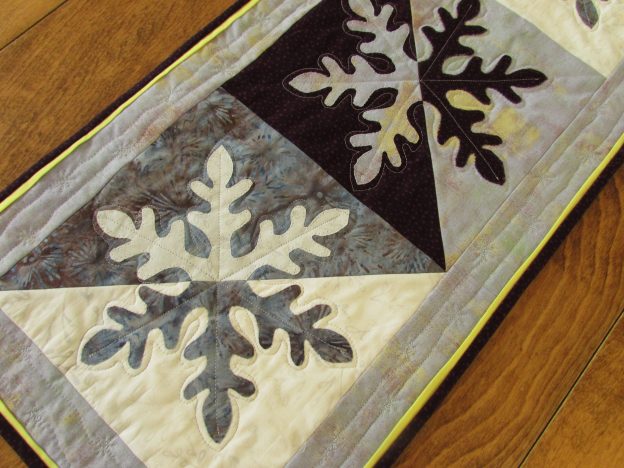
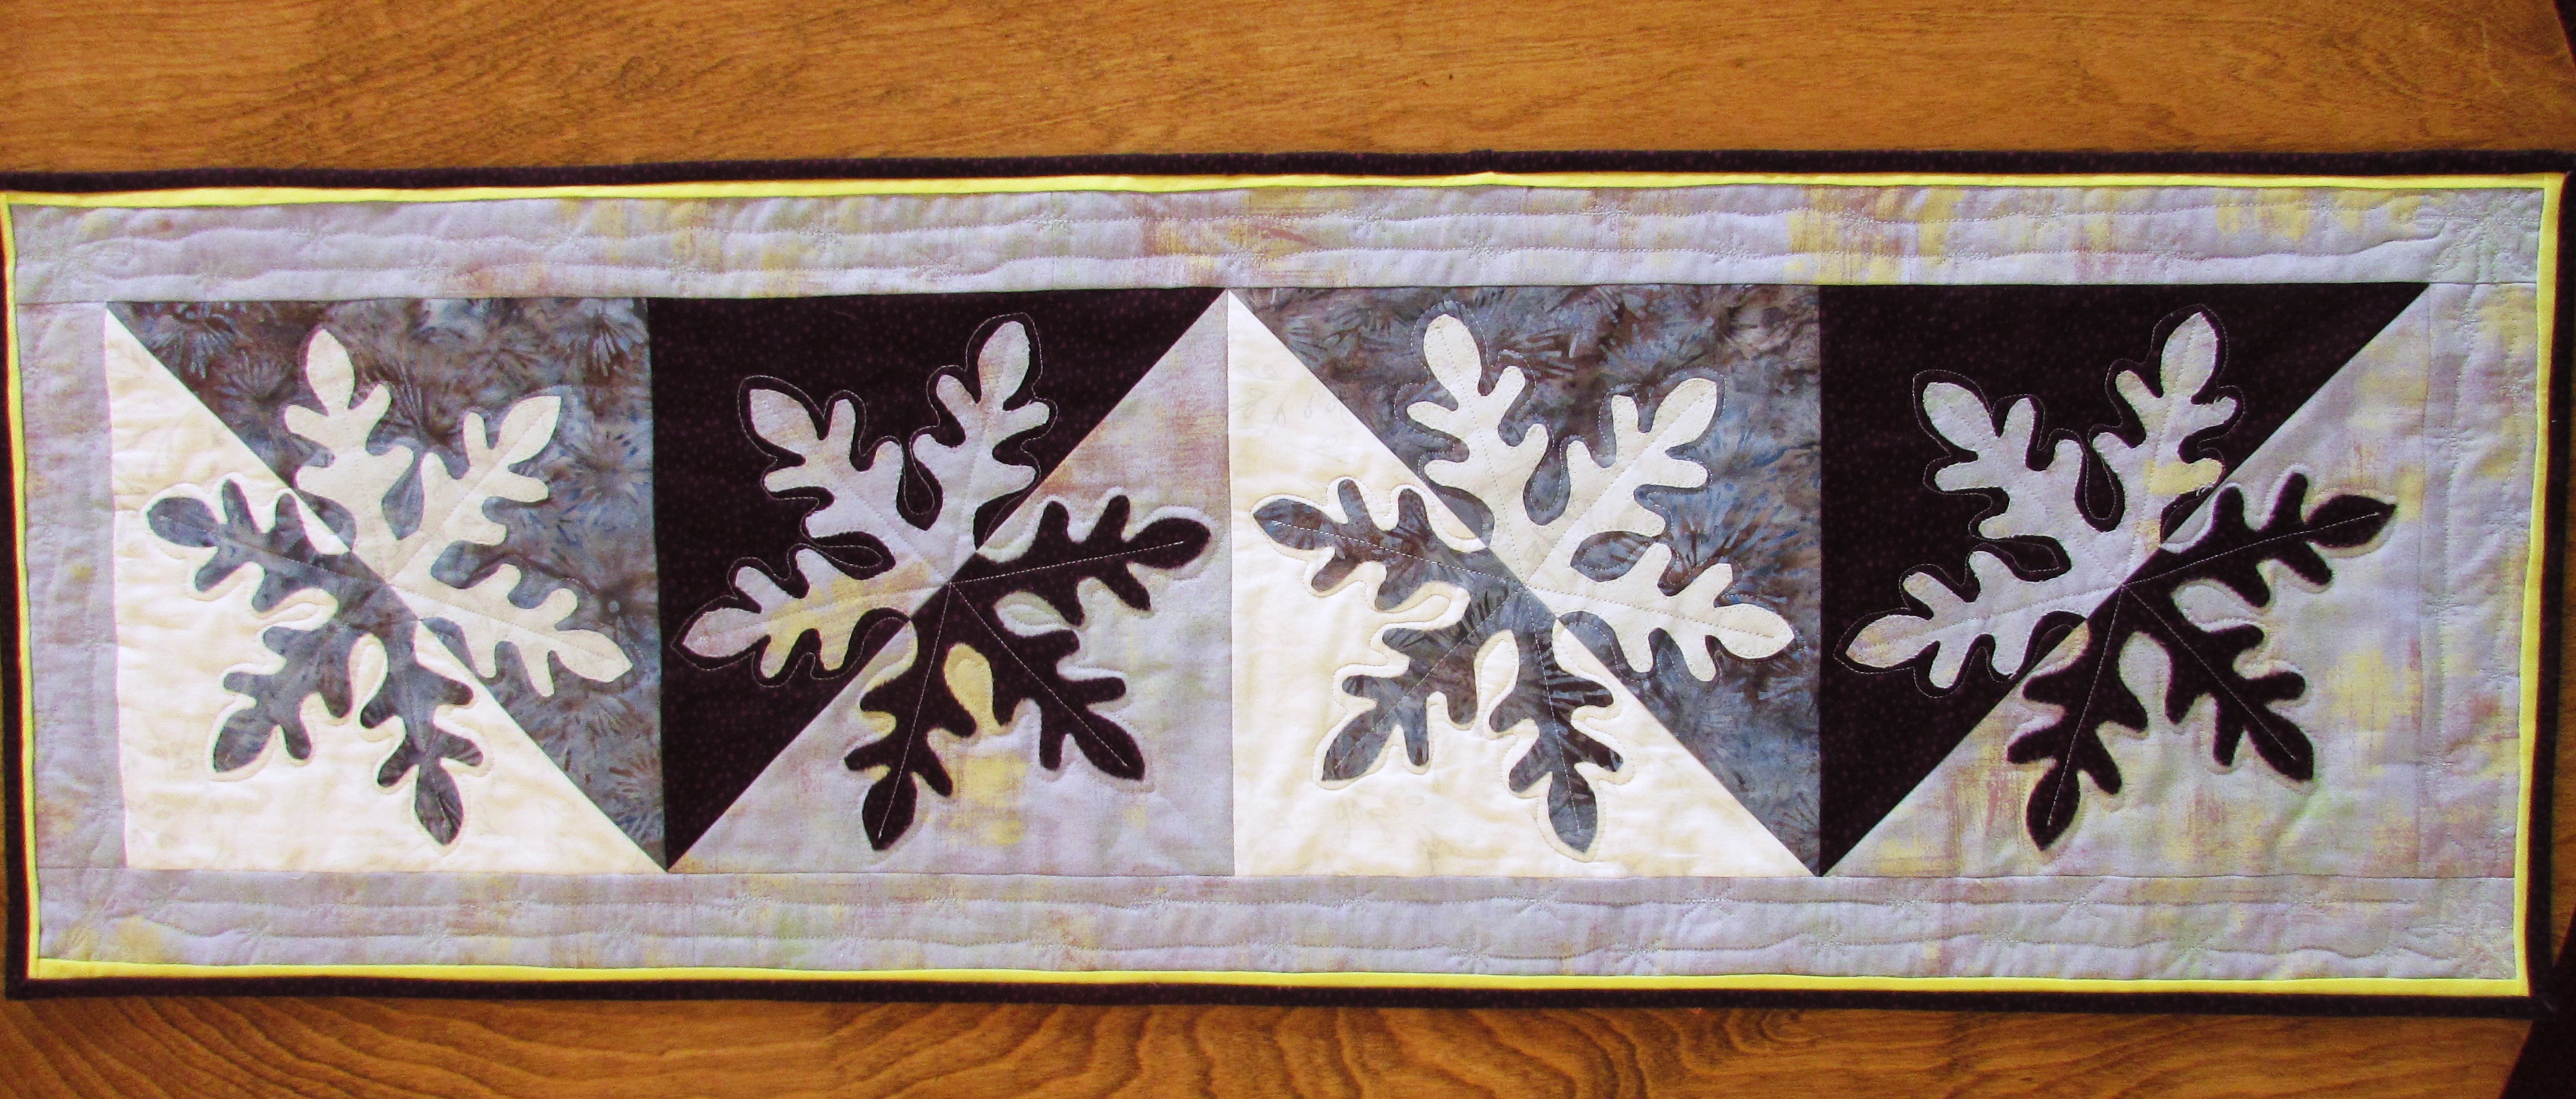
I surprised myself by finishing up the Snowflake piece that I started last weekend while at the Mountain Star Quilters retreat. I had really done the bulk of the work over the weekend. All that remained was to square up the blocks and add borders. Then it was ready to sandwich, quilt and bind.
I am pleased with the project – the fabric choices worked well. I had help selecting the fabrics for this one. I was at my LQS and it was a Thursday which meant that Sandra was working. Sandra Bruce is a gifted quilter/artist/long-armer in Grass Valley. I have mentioned her before – here and here. She does amazing quilts from photographs that she then pixelates by placing a grid over to piece the photo together. If you have a minute, pop over here to see some of her work – it is well worth your time.
Back to my Snowflake project. Sandra was working and I asked for her help gathering fabrics. I knew I wanted and icy blue and a deep burgundy to play off of each other. The suggestions that I appreciated most from Sandra was to use a Grunge fabric (first time I have done that) and a solid, bright yellow for the outer flange. I wasn’t sure about the yellow but I like it – it picks up the yellow in the Grunge fabric nicely.
I mentioned that the applique process was tedious, moving along each curve of the snowflakes. However the clear thread was forgiving and the little misses that happened along the way don’t really show up.
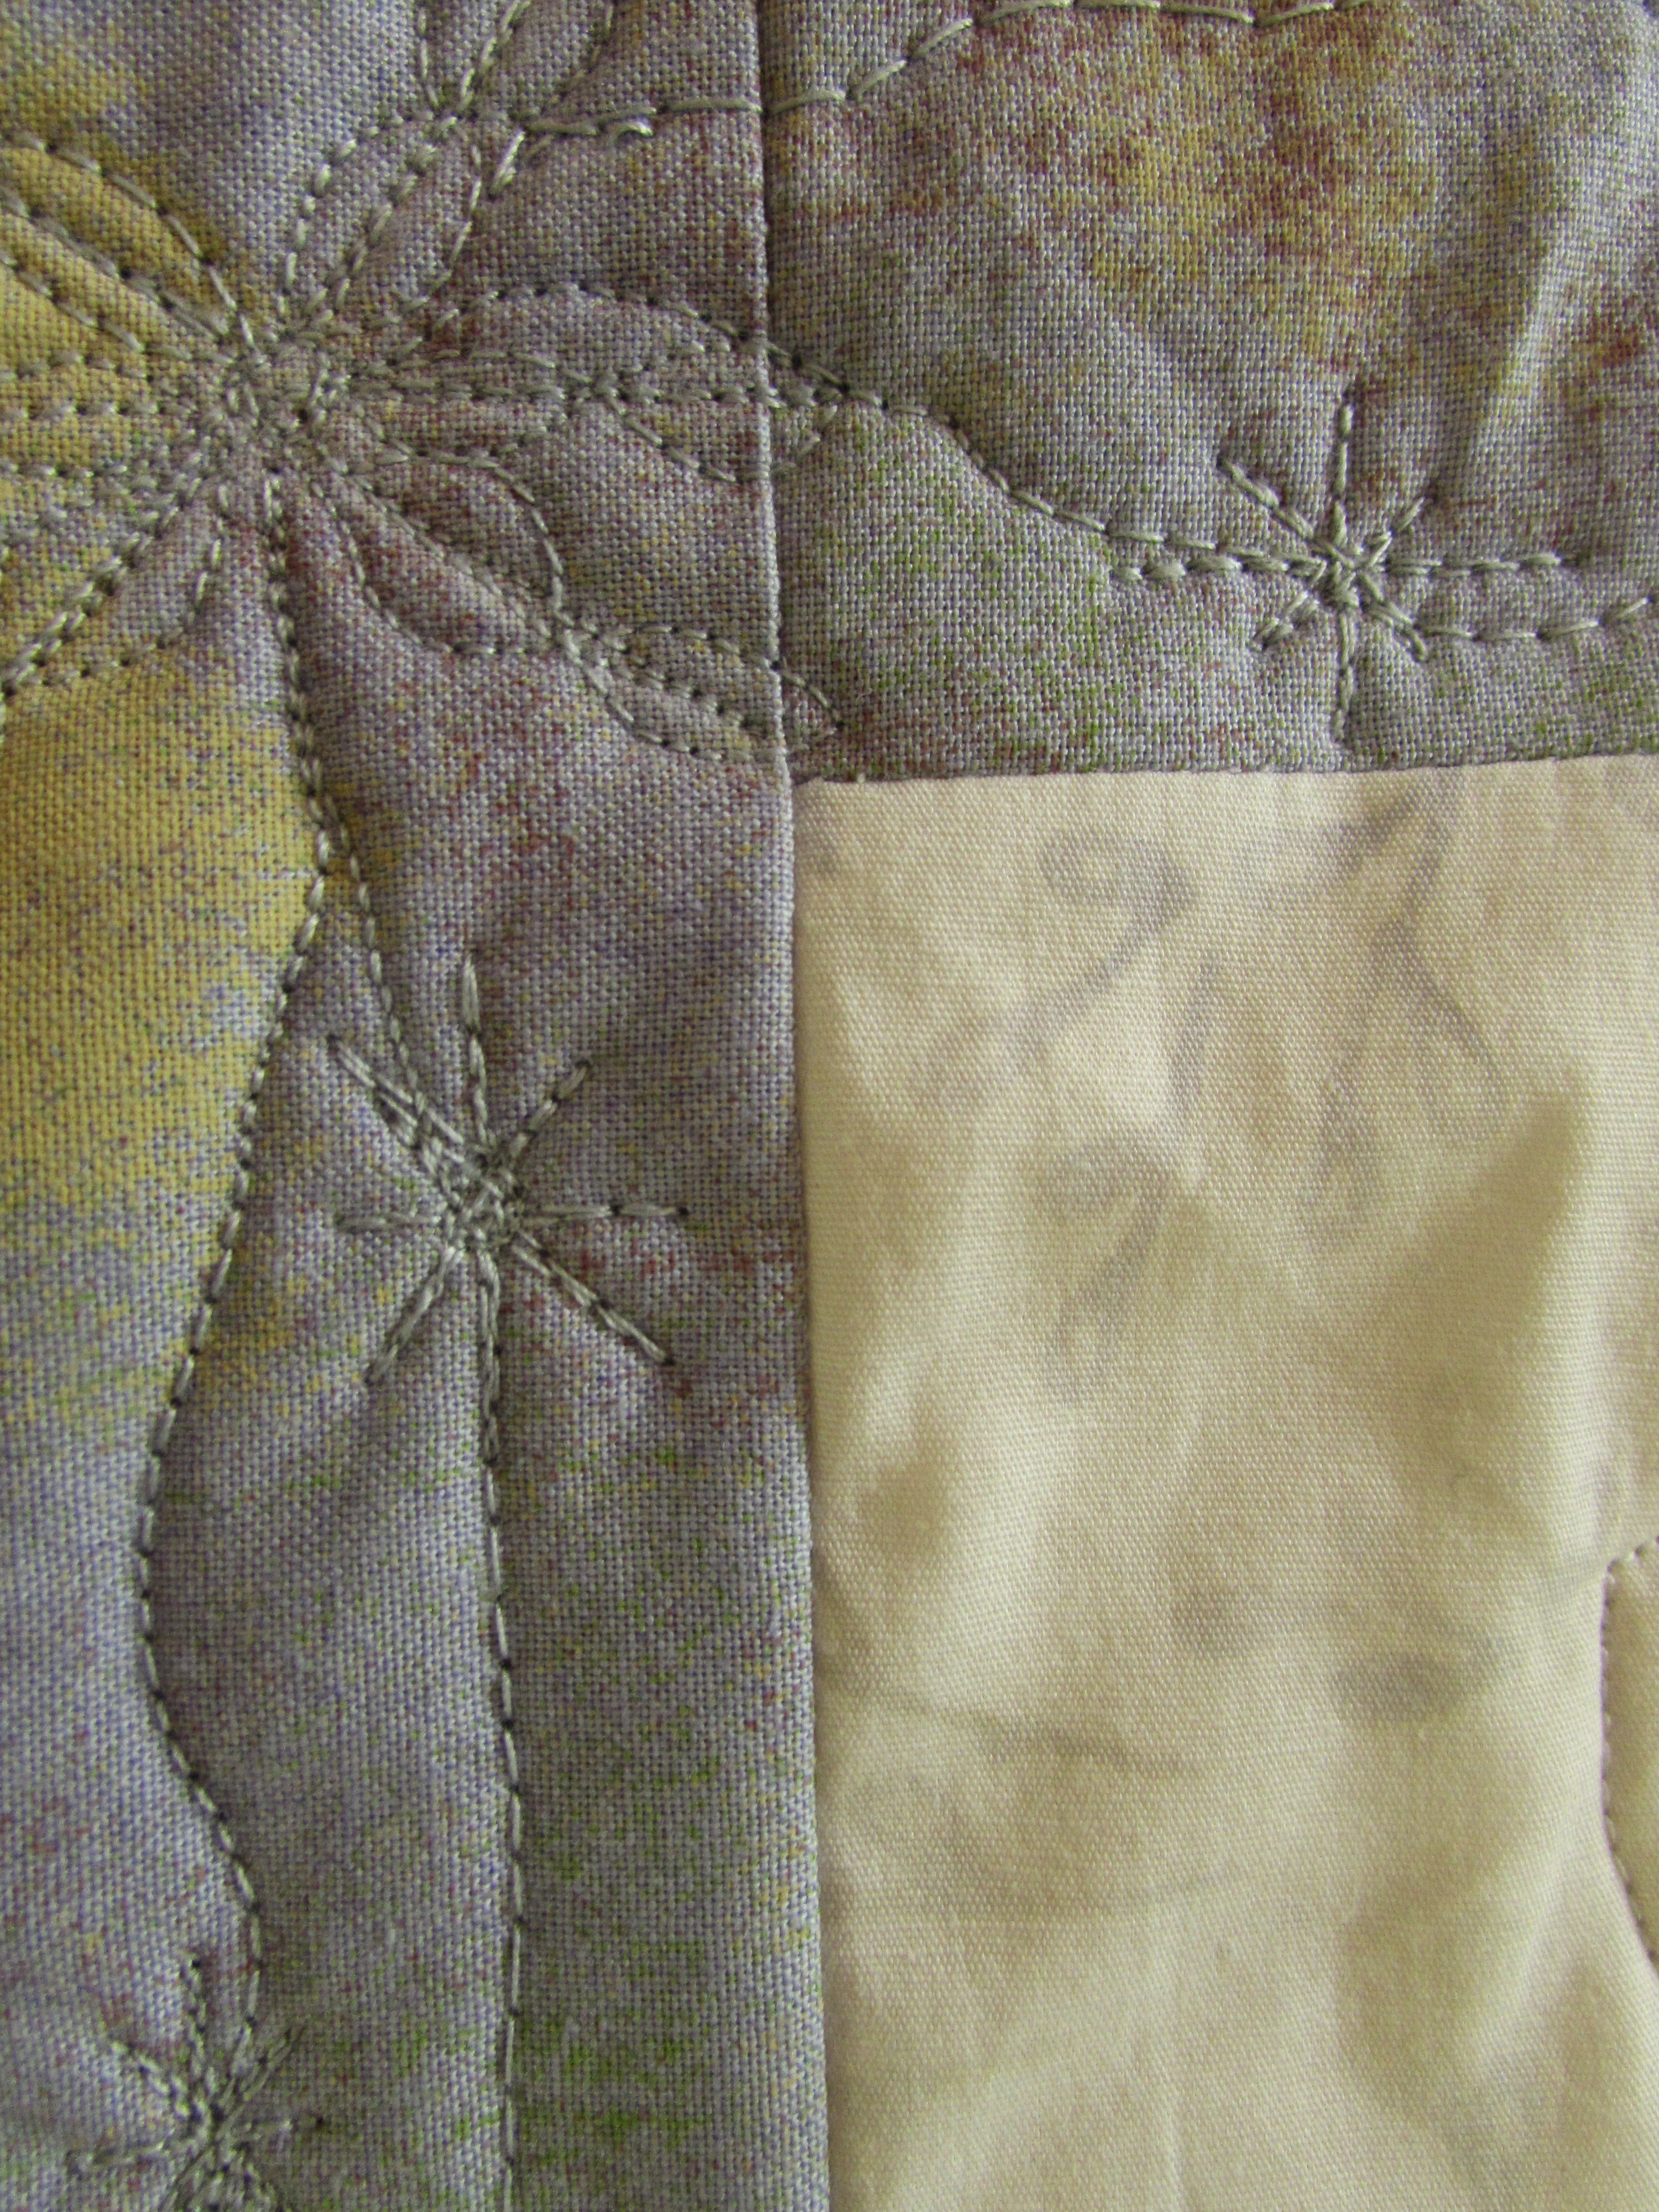
Quilting this one was very simple. I stitched straight lines through the star of the snowflake and then echoed around each one.
For the borders I stitched slightly wavy lines with little star/snowflake shapes along the way. Also, I did a snowflake on each corner. (I am not thrilled with how they turned out but that’s the way it goes sometimes.)
The backing is a piece of white with tiny silver polka dots that I found at a thrift store over the summer. I like the snowflake motif on this white shimmery backing. I even have a sleeve made for this but it still needs to be sewn to the back. Talk about a complete finish. 🙂
I don’t want to use this as a table runner because I don’t want to wash it. I feel uncertain about the strength of my applique. Instead, this quilt will hang in the living room up in Downieville – at least during winter. I should make another long piece to switch out during the other seasons.
Linking to my favorites – find them at the top of the page, under Link Ups.
Remember two years ago when I went on a quilt retreat in Downieville and ended up buying a house? (You can read about that here.) Well, this weekend was the Downieville quilt retreat for 2016. I had such a great time. When I was packing up and getting ready for the retreat, I was somewhat hesitant because I was not totally looking forward to the classes I signed up for. But that hesitance was all for naught. The weekend was wonderful and both classes so much fun.
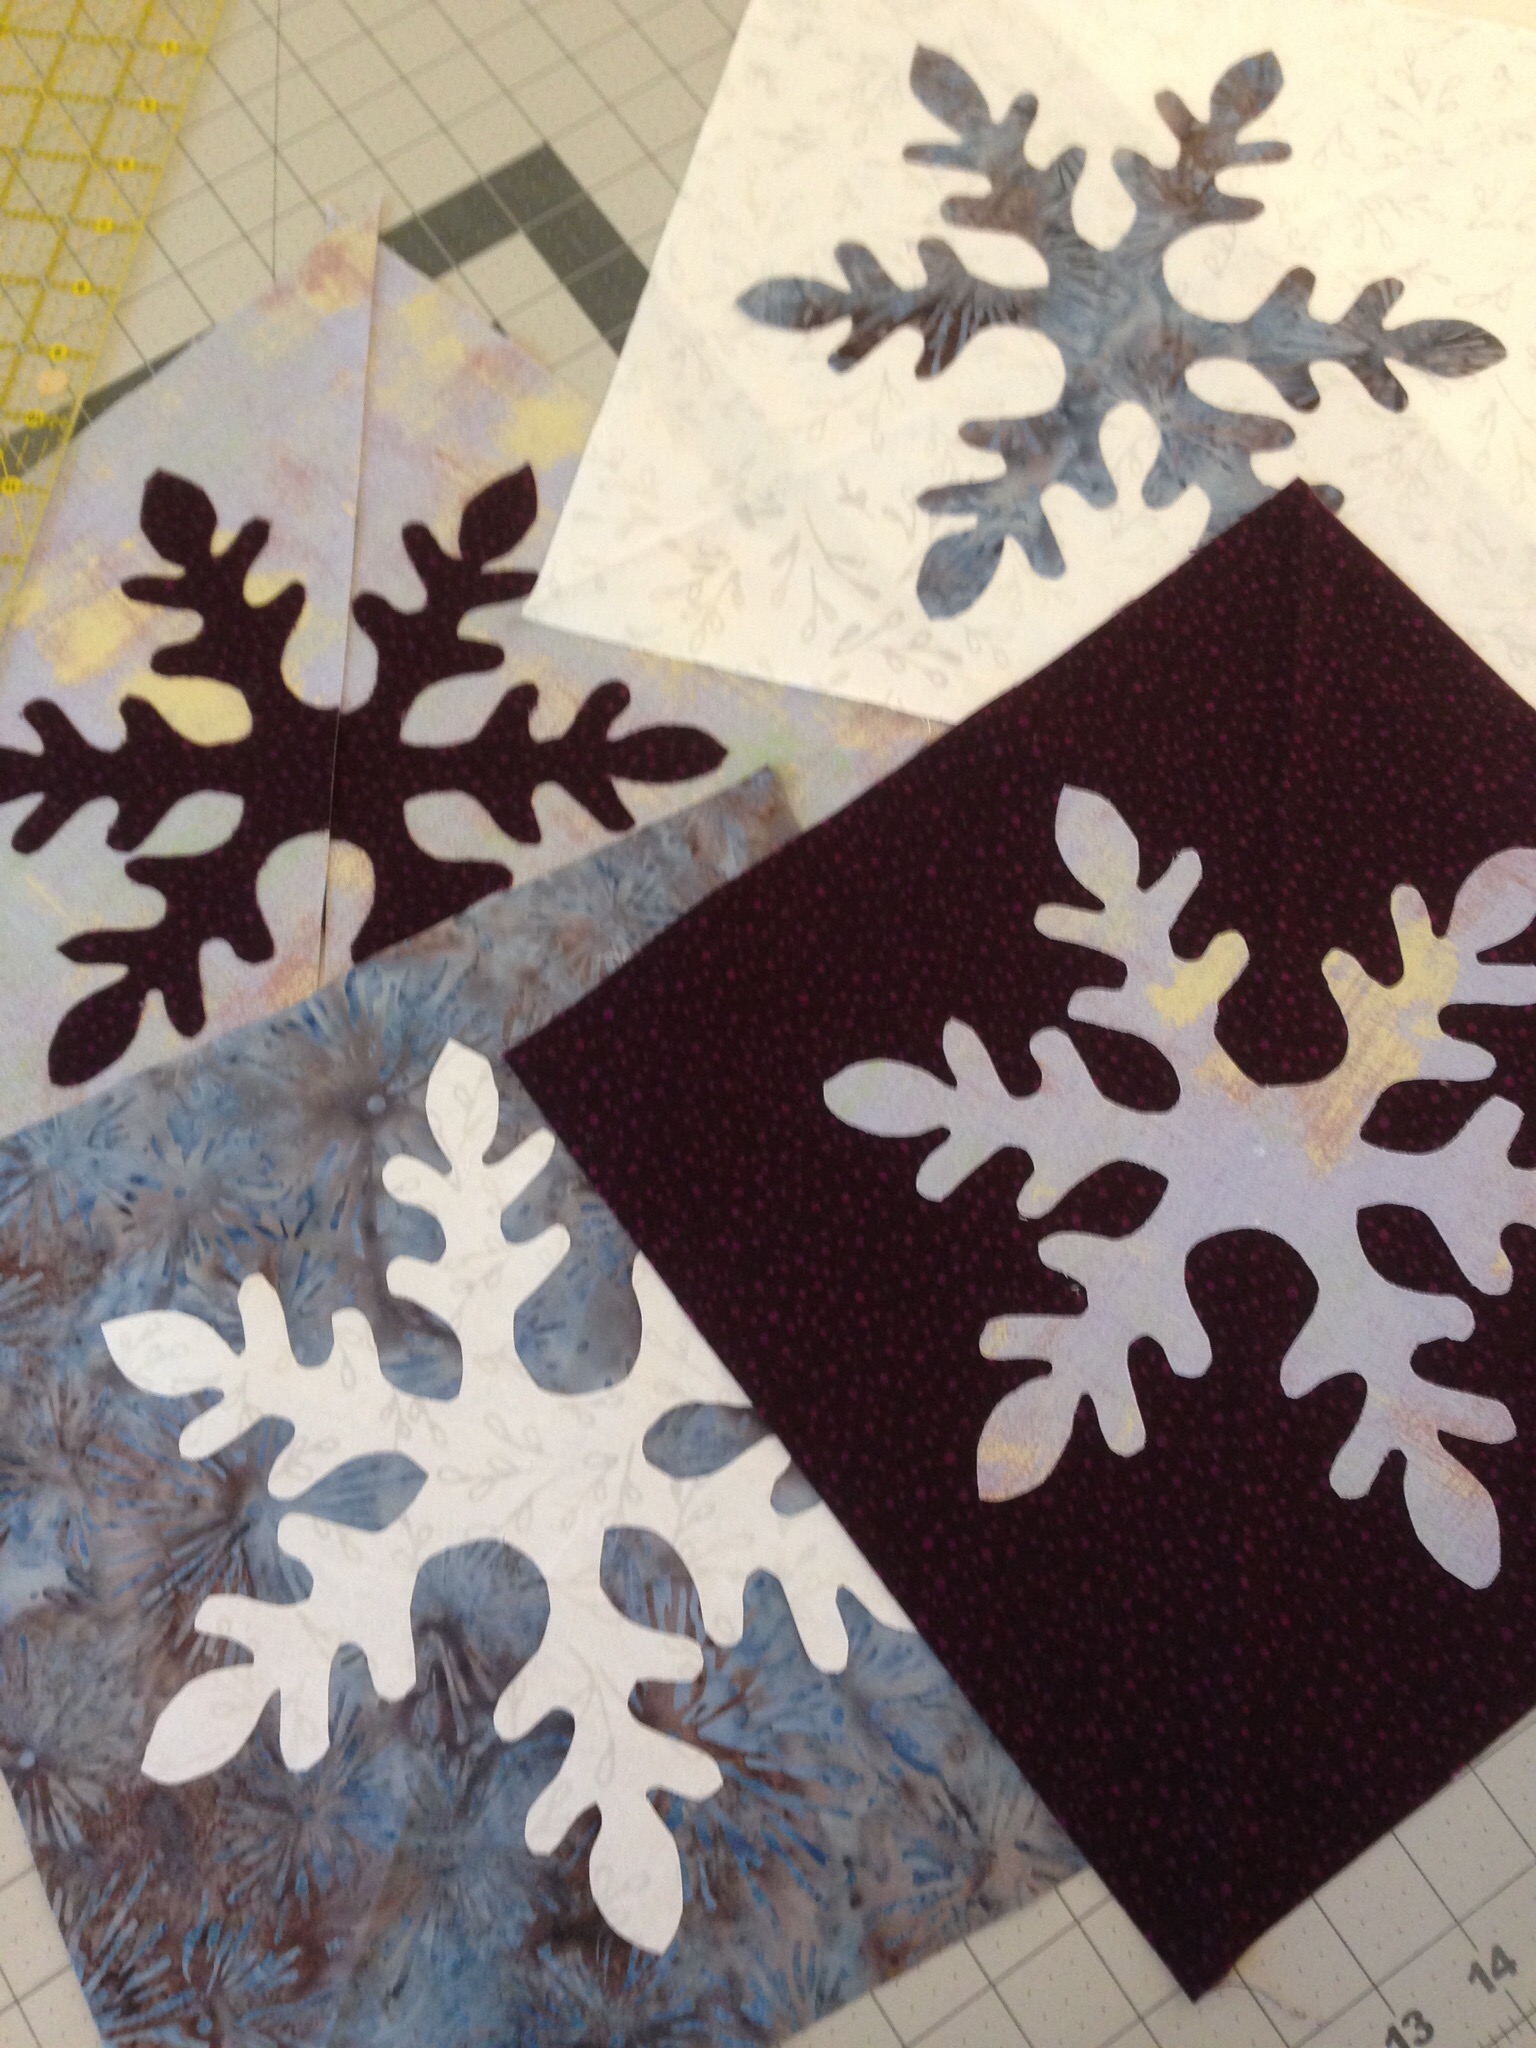
Friday I took a class called Reverse Applique. I thought that it was to be a class on traditional reverse applique where the shape is cut from the top fabric, edges are turned under and the second fabric applied underneath the first (showing through the shape that was cut.) Nope, this class was really a basic applique class but the images were sliced up a bit and stitched back together to show a negative image against the positive. I chose to make a snowflake theme. (There were several to choose from.) These are really pretty though.
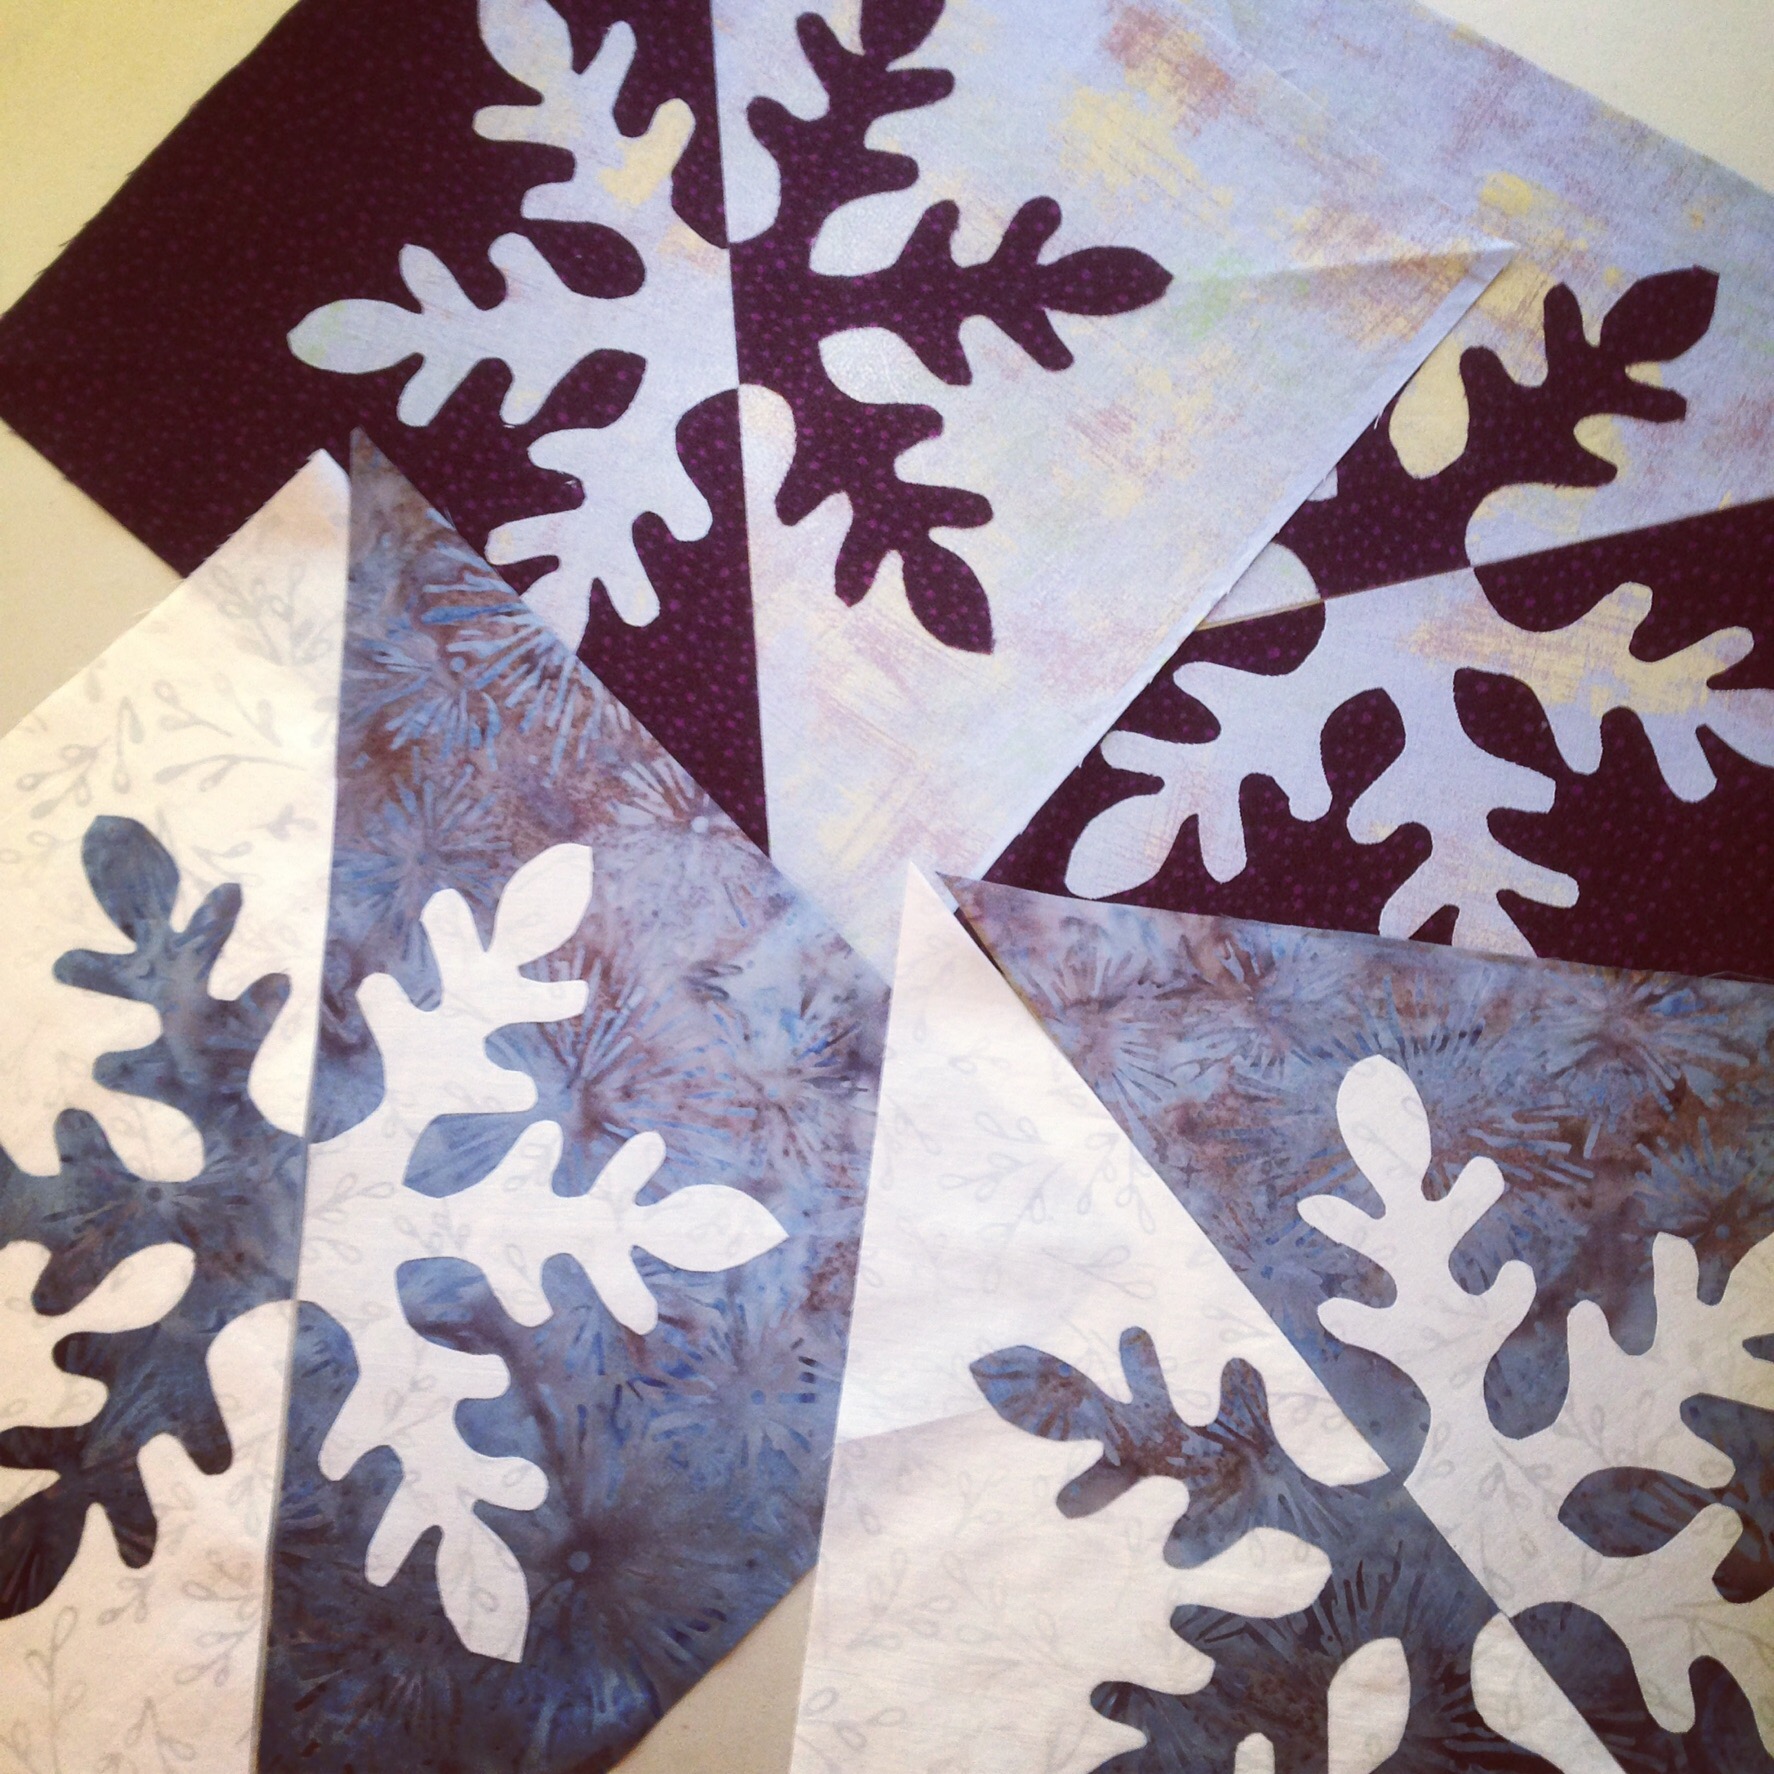
The process was the basic trace, fuse, and applique. However this was the first time I used a clear polymer thread. Yikes – that was a strange experience. While my sewing machine was ok with it, my eyes were not! It was so hard to see what I was doing. There were so many little curves to work around. Once I had them appliqued, we split each one in half and sewed the half triangle to its opposite.
I am in the process of picking the stabilizer off the backs so I can square these and put them together. I think it will hang up at Downieville. The colors are nice for the living room.
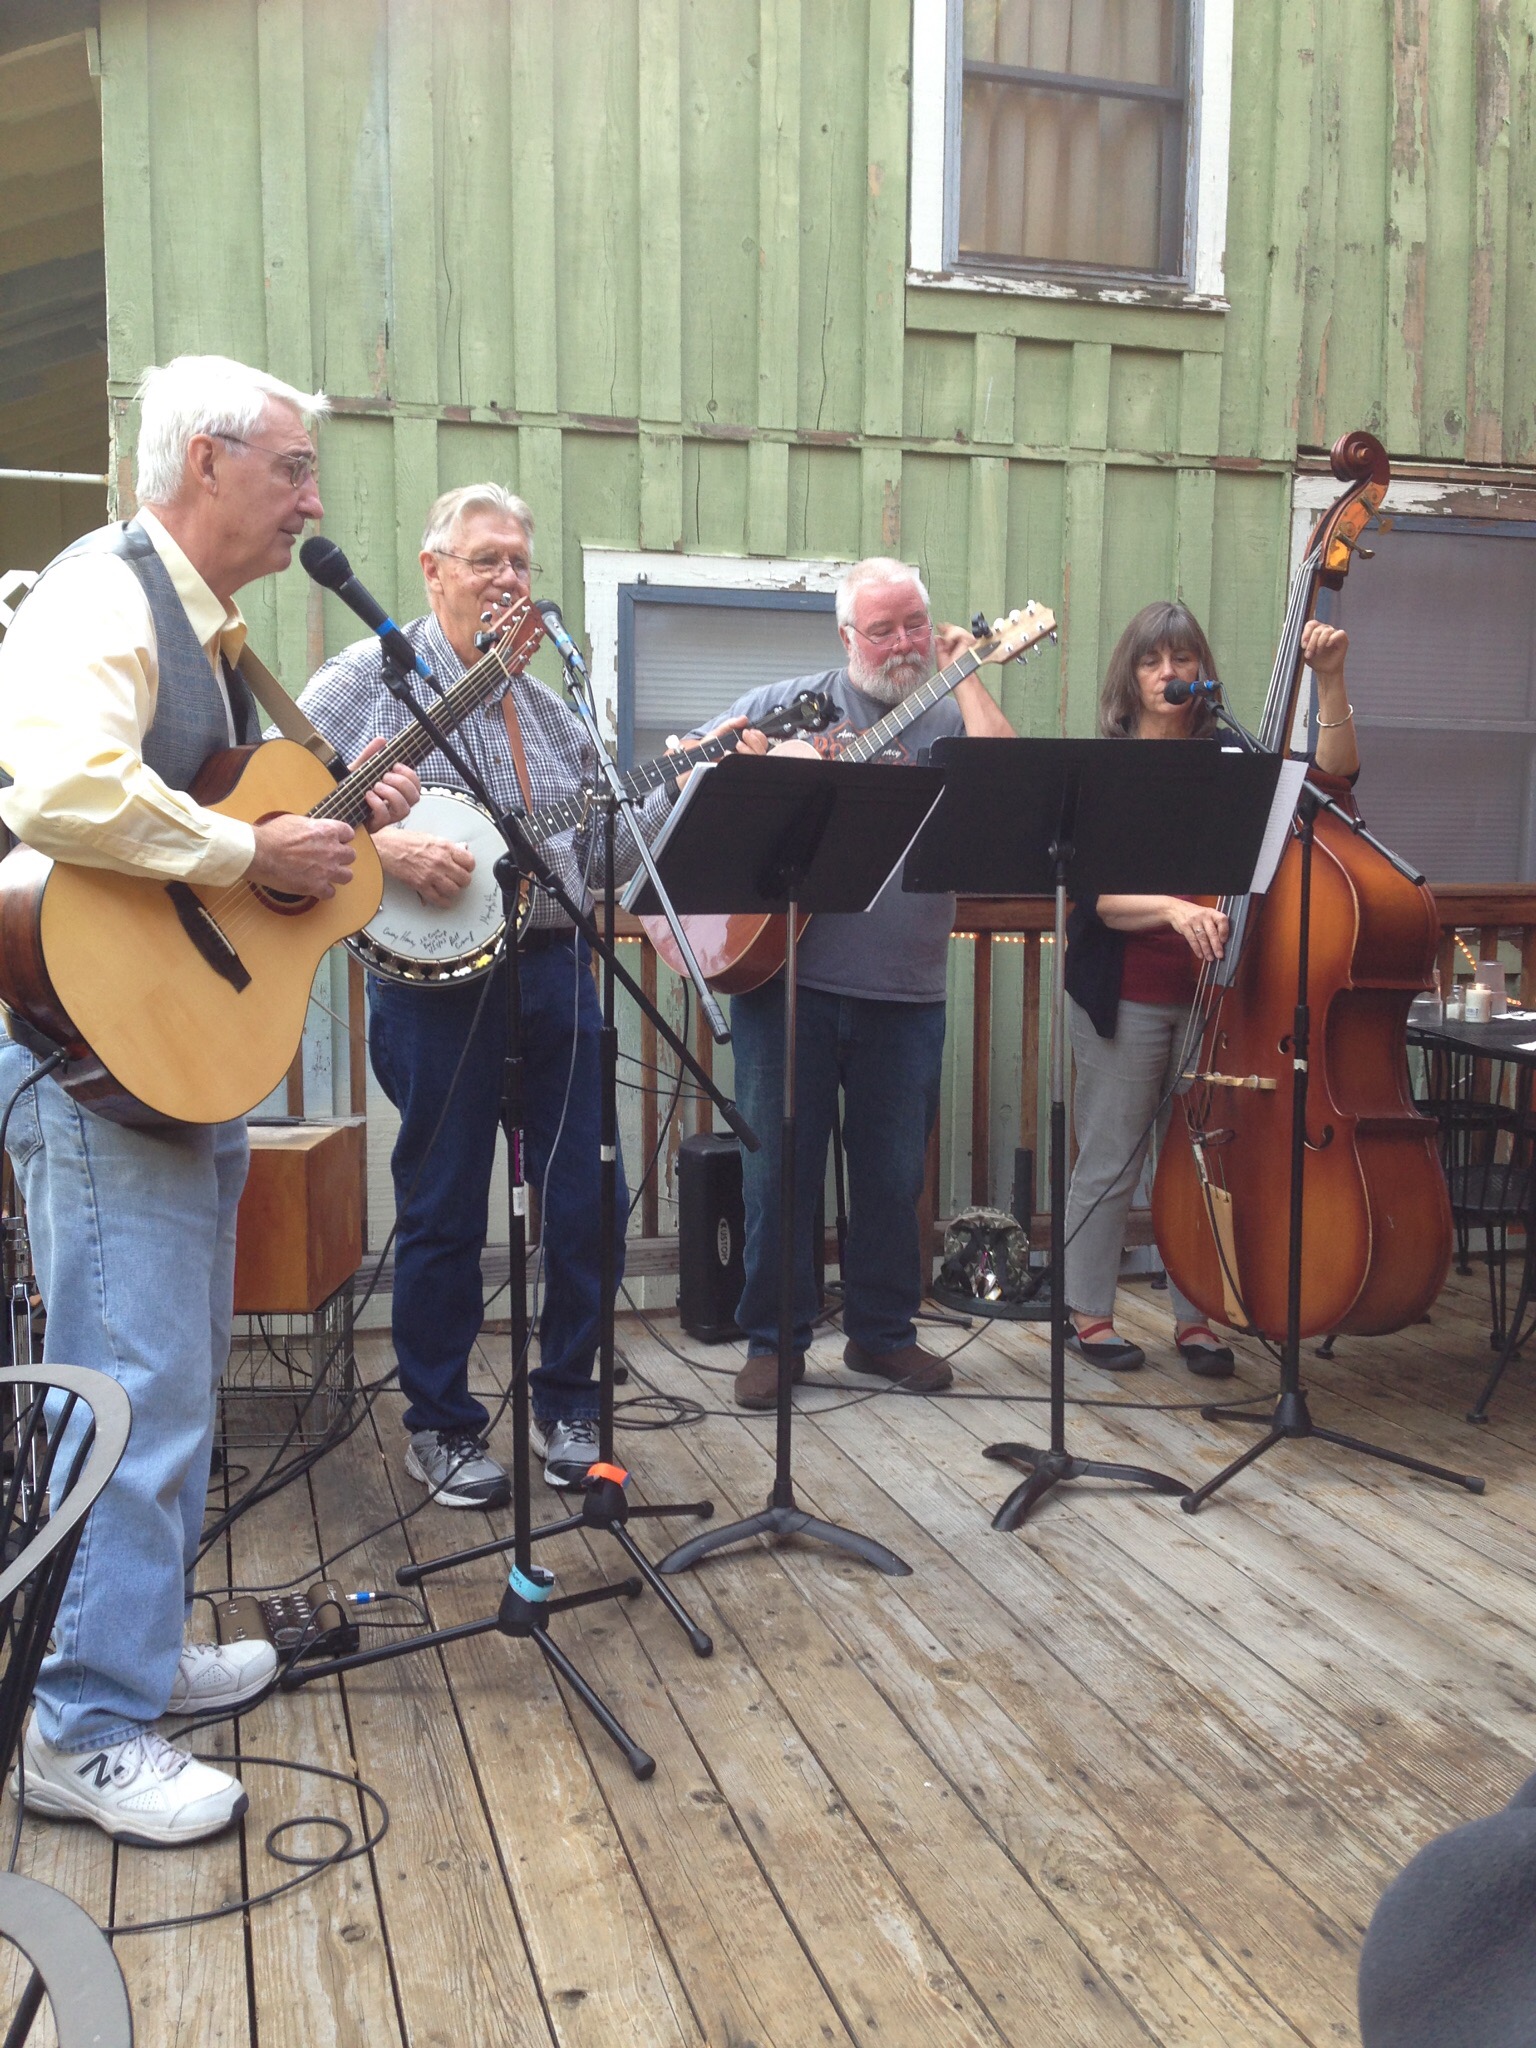
Friday night most of us met for dinner at the local Mexican restaurant. This is a tiny guild which makes for a small retreat. I like that though because it is easy to get to know the others. There was a string band playing music and we had dinner on the deck. Very relaxing.
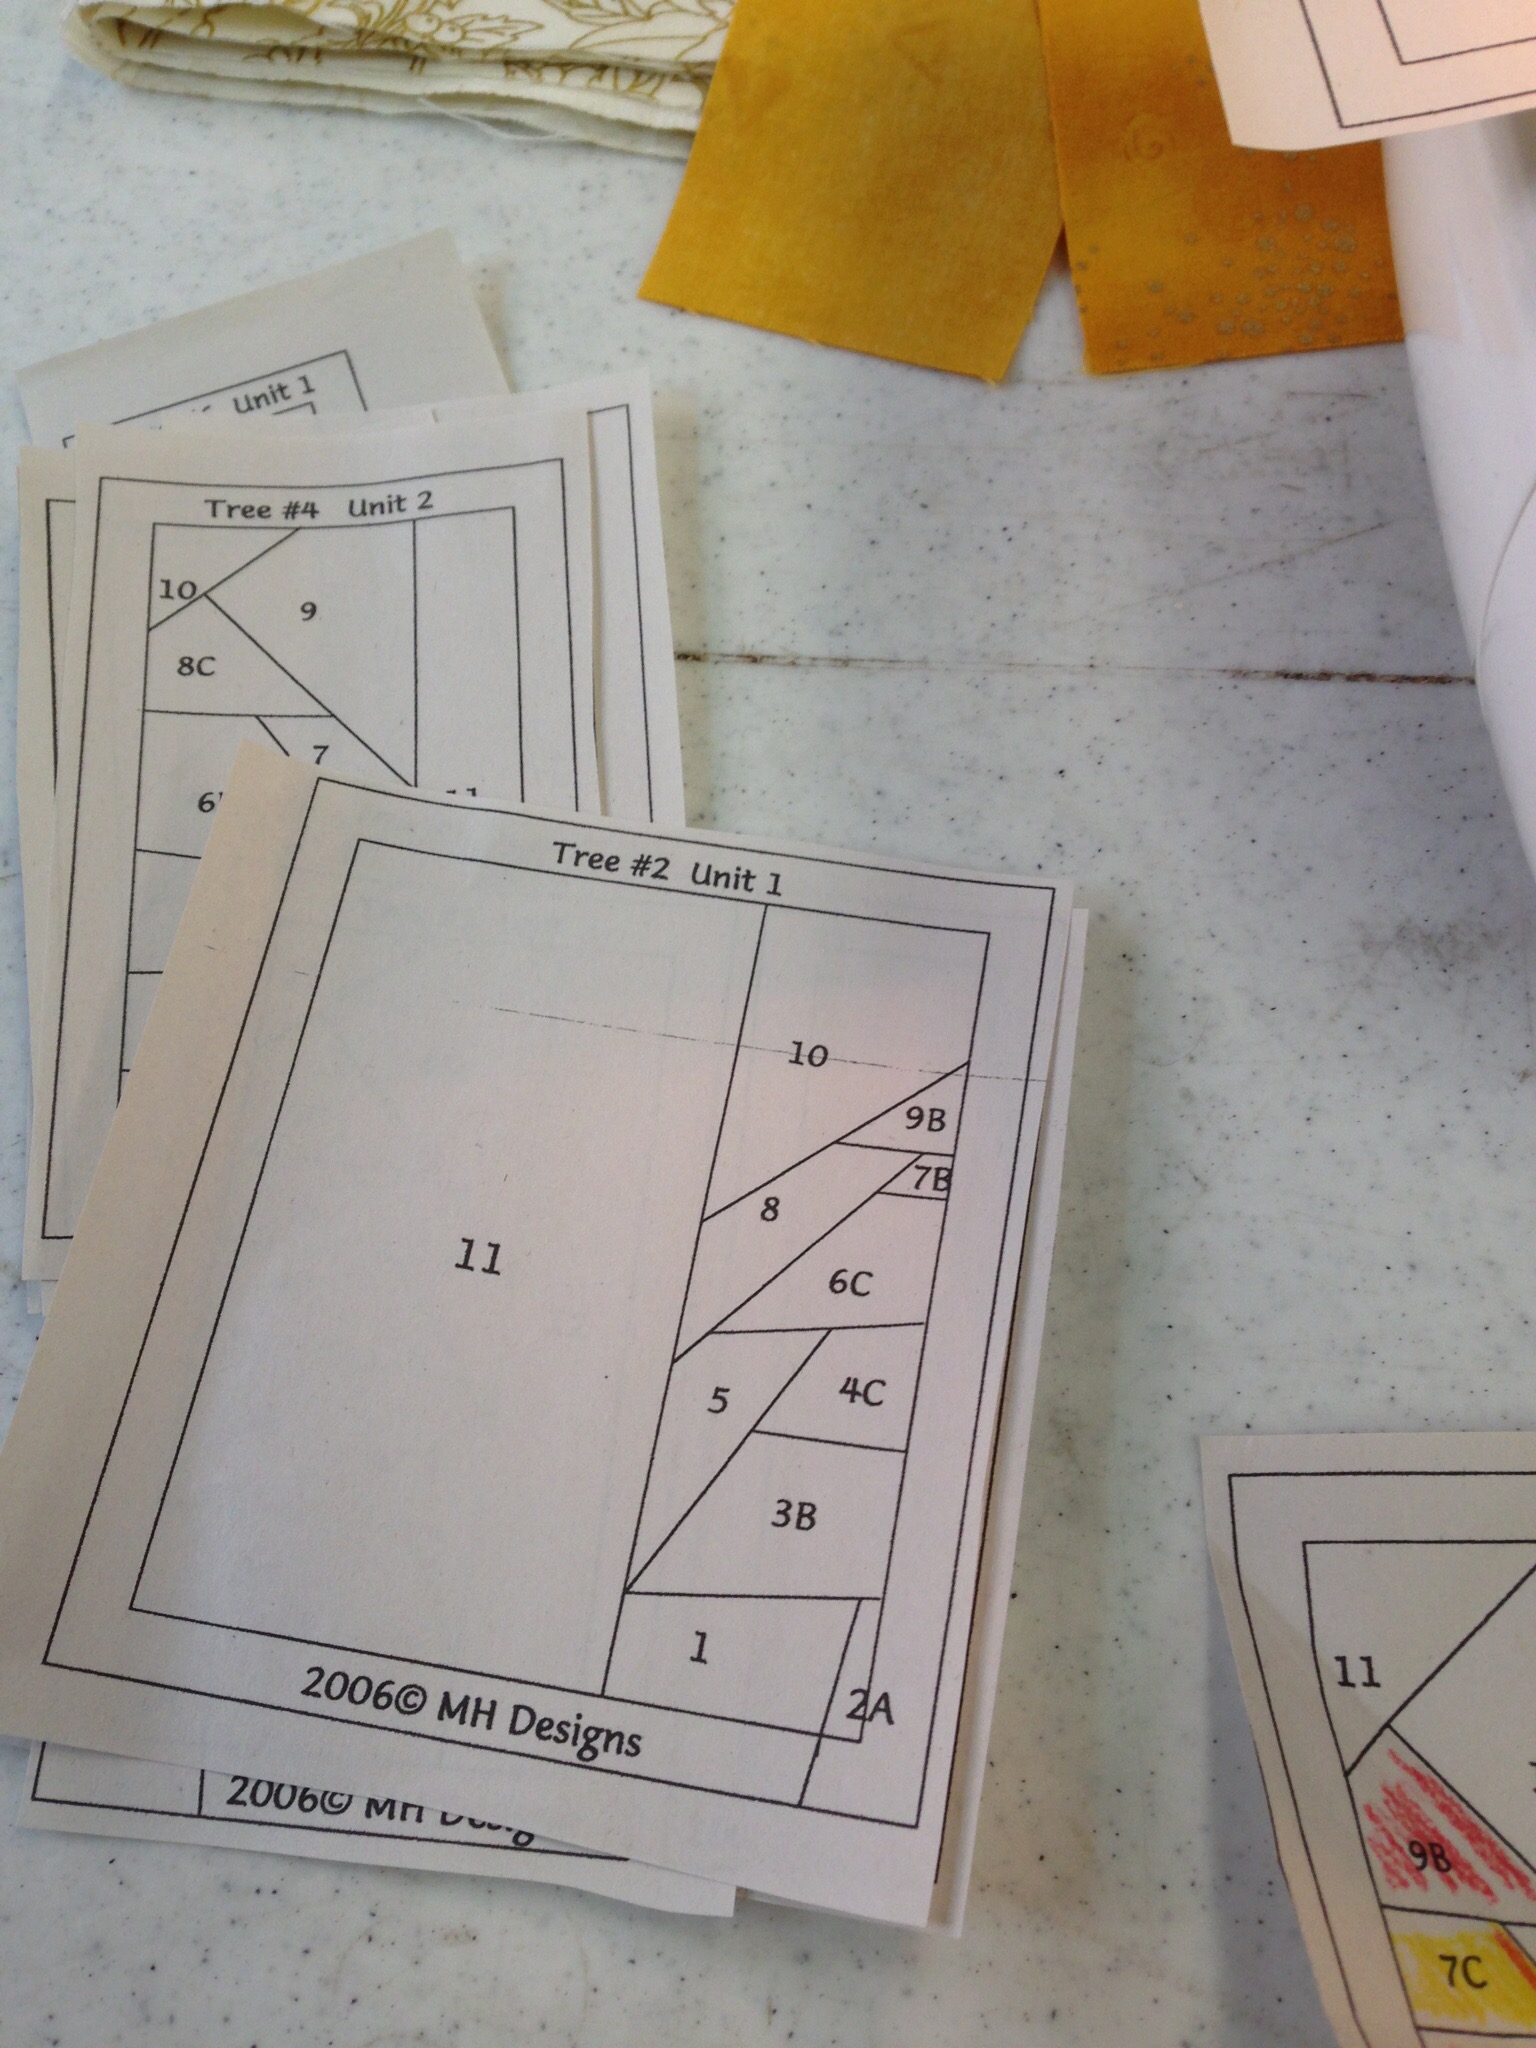
Saturday’s class was a paper piecing project. This was the one I was nervous about. I have only paper pieced one block. While it wasn’t awful, it was tricky for me. Remember my lack of spatial perception? That comes heavily into play with paper piecing.
But what luck. I had the best teacher! She was so patient and even offered to rip out my (numerous) mistakes for me. I didn’t let her do that of course, but it was sweet of her to offer. She patiently explained and explained the process to me and finally it clicked!
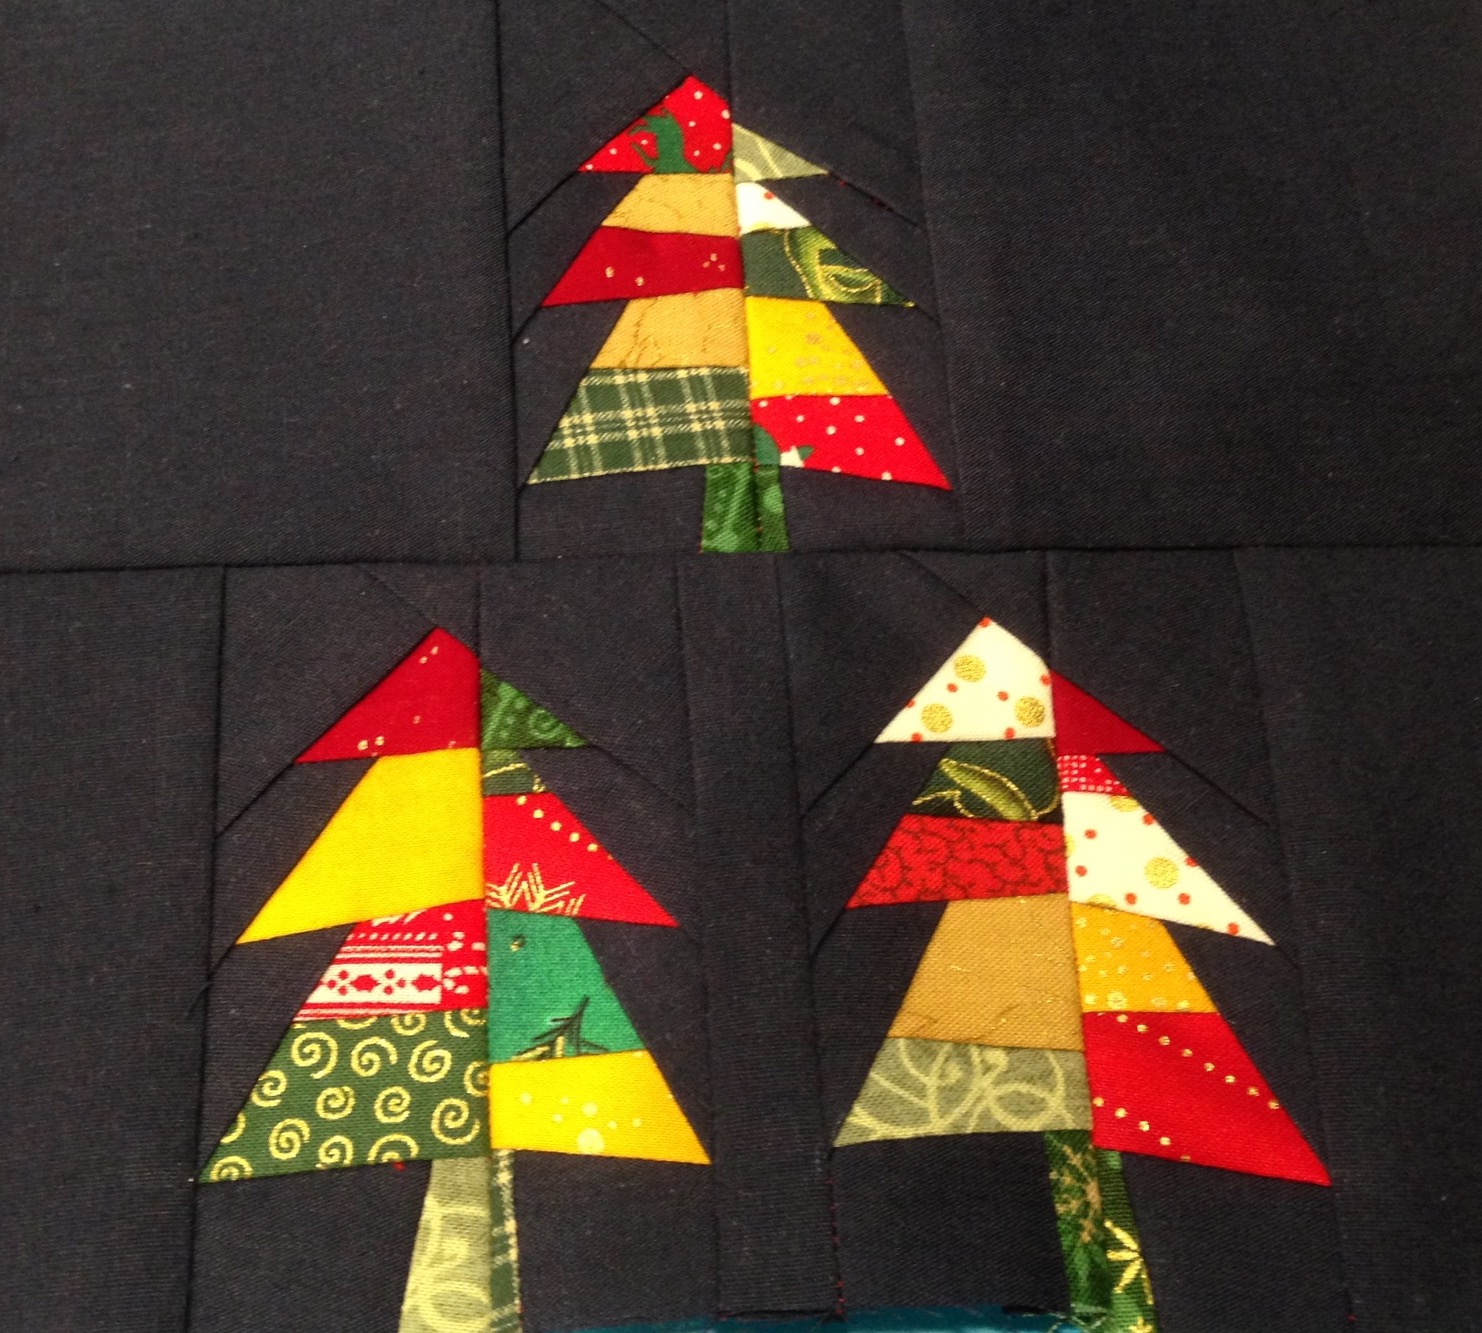
Everything about paper piecing is the polar opposite of how my mind works. Placing the fabric from behind, stitching above where you can’t really see the fabric, trimming up for the next piece – it is a trick for me to put that all together. But I think I’ve got it. At least I hope so. I was able to finish three of the six little Christmas trees for this project. (That took me a good five hours to accomplish.) It will be interesting to see if I can jump back in and get the other trees pieced without a whole lot of difficulty.
I am excited to have learned this and hopefully with practice, it will become easier!
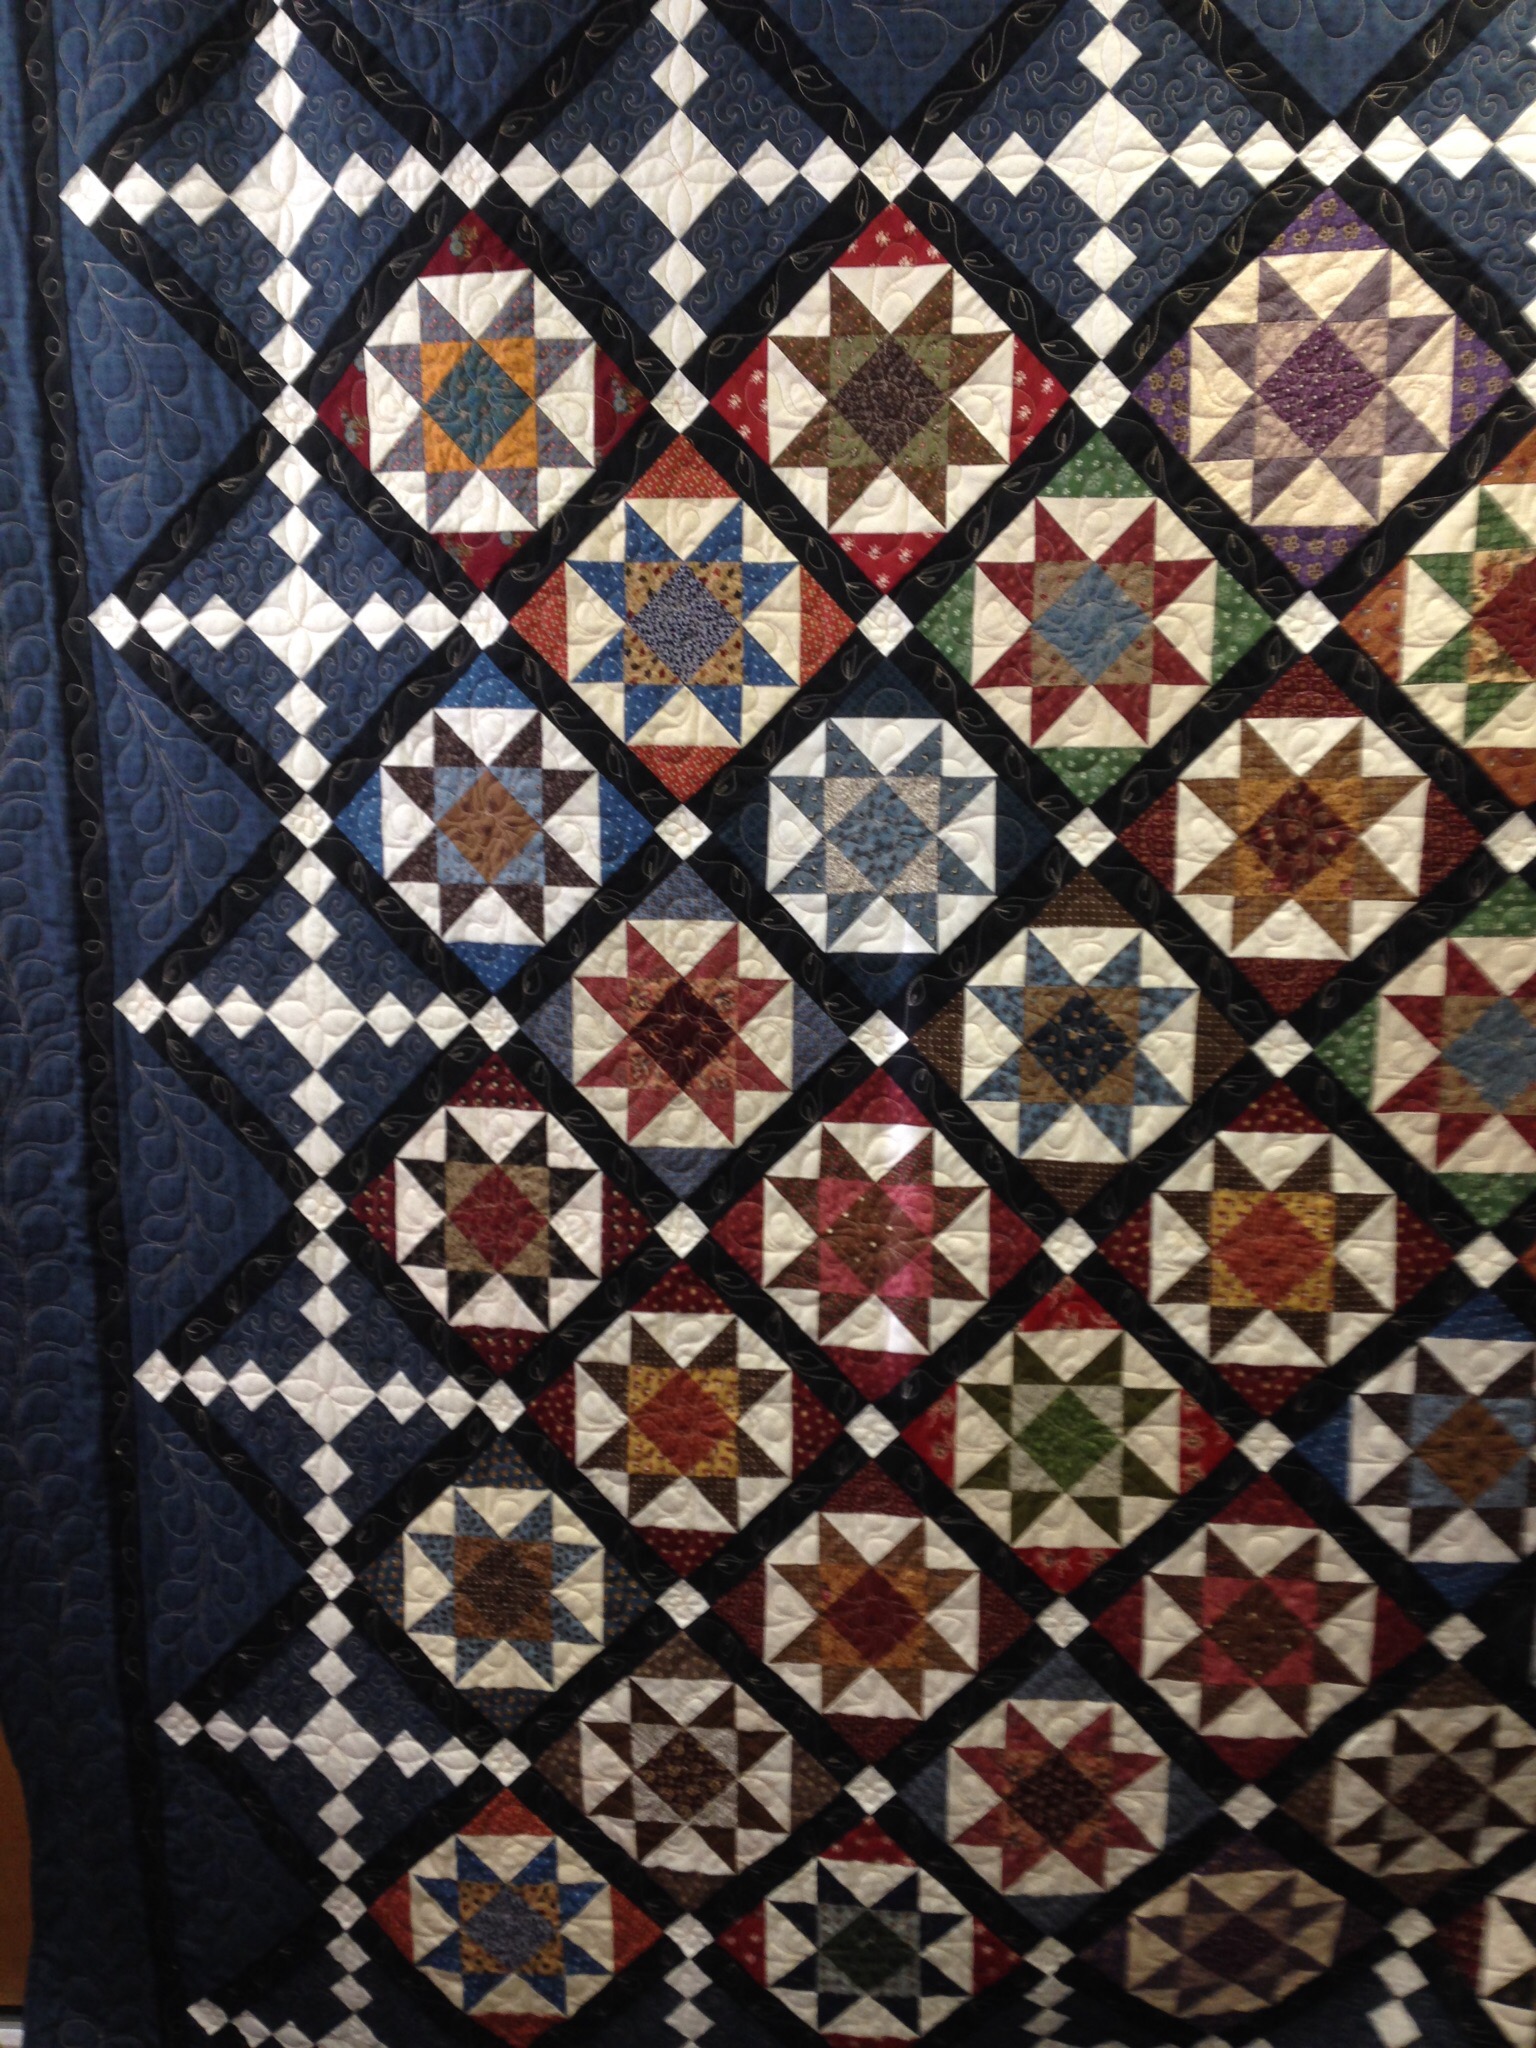
As with many quilt guilds, The Mountain Star Quilters do an Opportunity quilt each year. They tend to make somewhat traditional quilts and this year’s was just lovely. I actually joined in with the sewing and had fun making some of the blocks (I think they are Sawtooth Stars?) We raffled it off and the proceeds go to the scholarship fund for the local high school. I took a picture of just a portion because there were people visiting and it blocked part of the quilt but you get the idea. It is a queen size quilt though.
Finally, I wanted to share a bit about a book I recently read. Blogging for Books provided a copy of Still Here, by Lara Vapnyar to me for review. Honestly, I didn’t like the book.
I chose this book because I thought the plot was really relevant to today’s world. Now that people have such an online presence, there are decisions to be made about one’s on-line accounts, blogs, social media, photos etc once a person dies. For example, when people are writing wills and going through the estate planning process, it is now thought prudent to give someone authorization to deal with your on-line property. Who will close your Facebook account, deal with your blog site or Etsy shop? This is something to consider and (obviously) is something that hasn’t had to be dealt with before the last 15 years or so. I read the description of the book and thought that was to be part of the story.
However, this was not really the case. The story is that of four friends who are all in their late thirties to early forties and have come from Russia to live and work in the US. Honestly, the story moved incredibly slow. I had to force myself to pick it up and continue to read it. The characters are all a bit morose and their attitudes are quite negative as a rule. Each of the four are going through struggles, with career, marriage, parenting, losing their aging parents. I think it would be difficult to move from one country to another and strive to assimilate into the culture. But the four friends in this book are somewhat shallow minded and self obsessed. I kept hoping something would happen to change this. The ending is mostly positive and leaves the reader feeling that maybe these people are going to make some positive changes and possibly mature a bit.
The author does a decent job portraying (almost satirizing) people who are really steeped in today’s social media frenzy. The story is weak and left me feeling almost depressed. Not a great read.
I do think the subject of one’s on-line property is an interesting one. Have you thought about how you would want your accounts to be dealt with should something awful happen? Kind of morbid and uncomfortable, I know, but with the technology that has become such a large part of our world, it is a subject that will be reckoned with.
Linking up with a few of my favorites. Check them out a the top of the page, under Link Ups.


 I also made three burp cloths. These are definitely scrappy. The elephant fabric was just a few bits so I mixed it with white flannel strips to get a large enough rectangle. The lime green stripe was a narrow rectangle so I sewed it to a larger rectangle of white flannel, causing the white to wrap around to the front and create a large enough rectangle. That pink polka dot is adorable and I even had coordinating ribbon to embellish with. Fancy schmancy burp cloths for my special girl. I sent them off to the kids with a note telling them that three burp cloths was not nearly sufficient but this would at least get them started. 😉