Yesterday I finished a quilt top. This hasn’t happened for a while! I am excited about this one because it is going to be a gift for someone that I am almost certain does not read my blog. I certainly hope so, otherwise, I have just blown the surprise. 😉
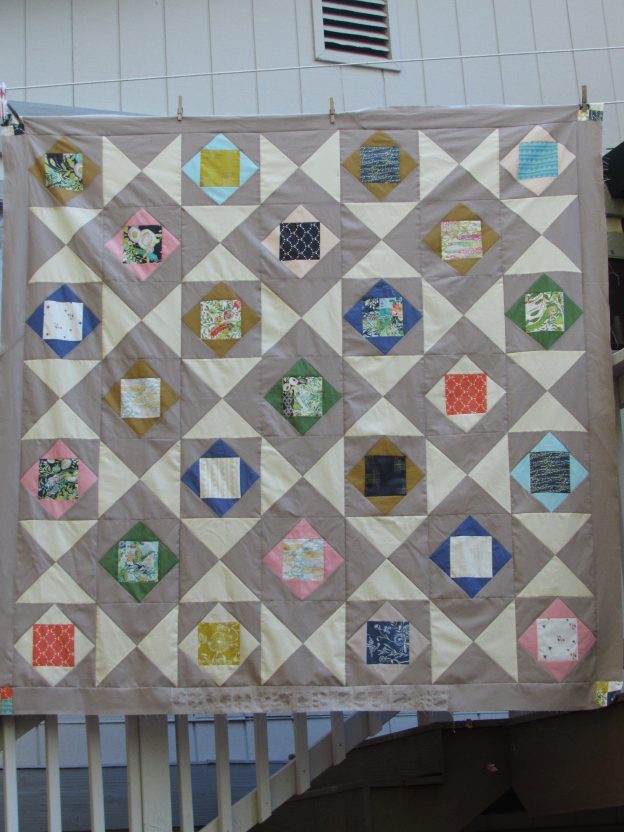
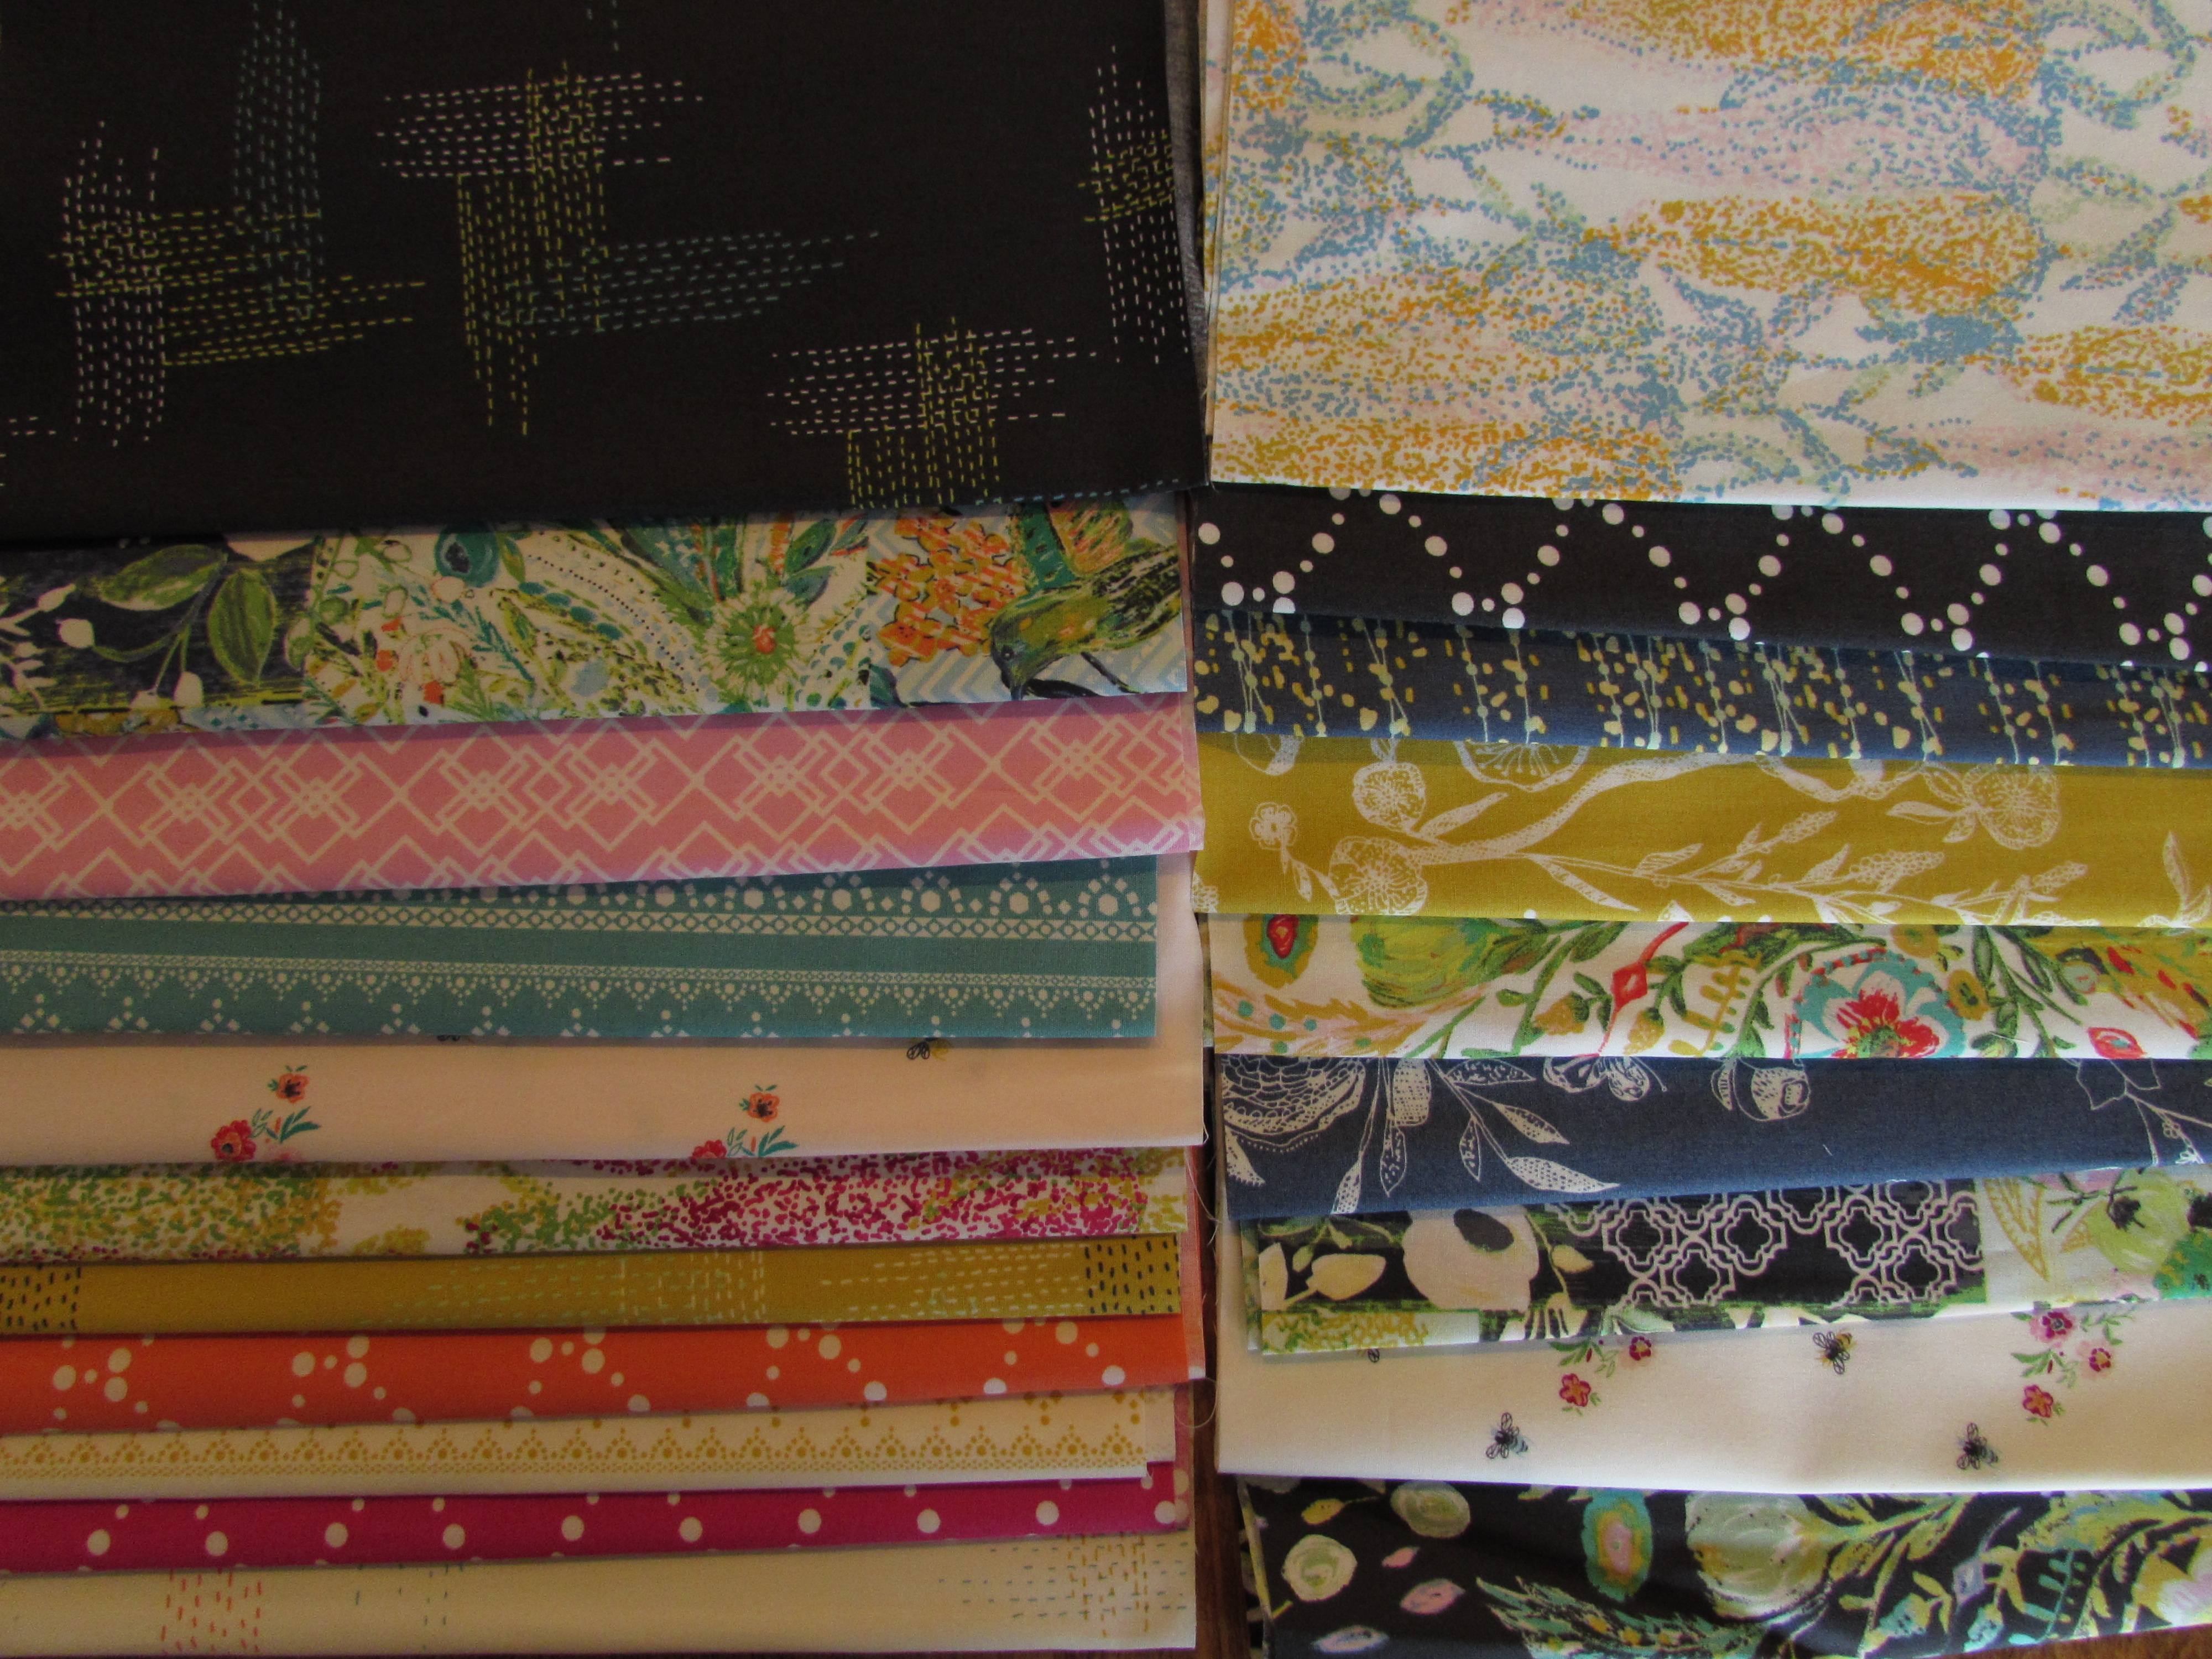
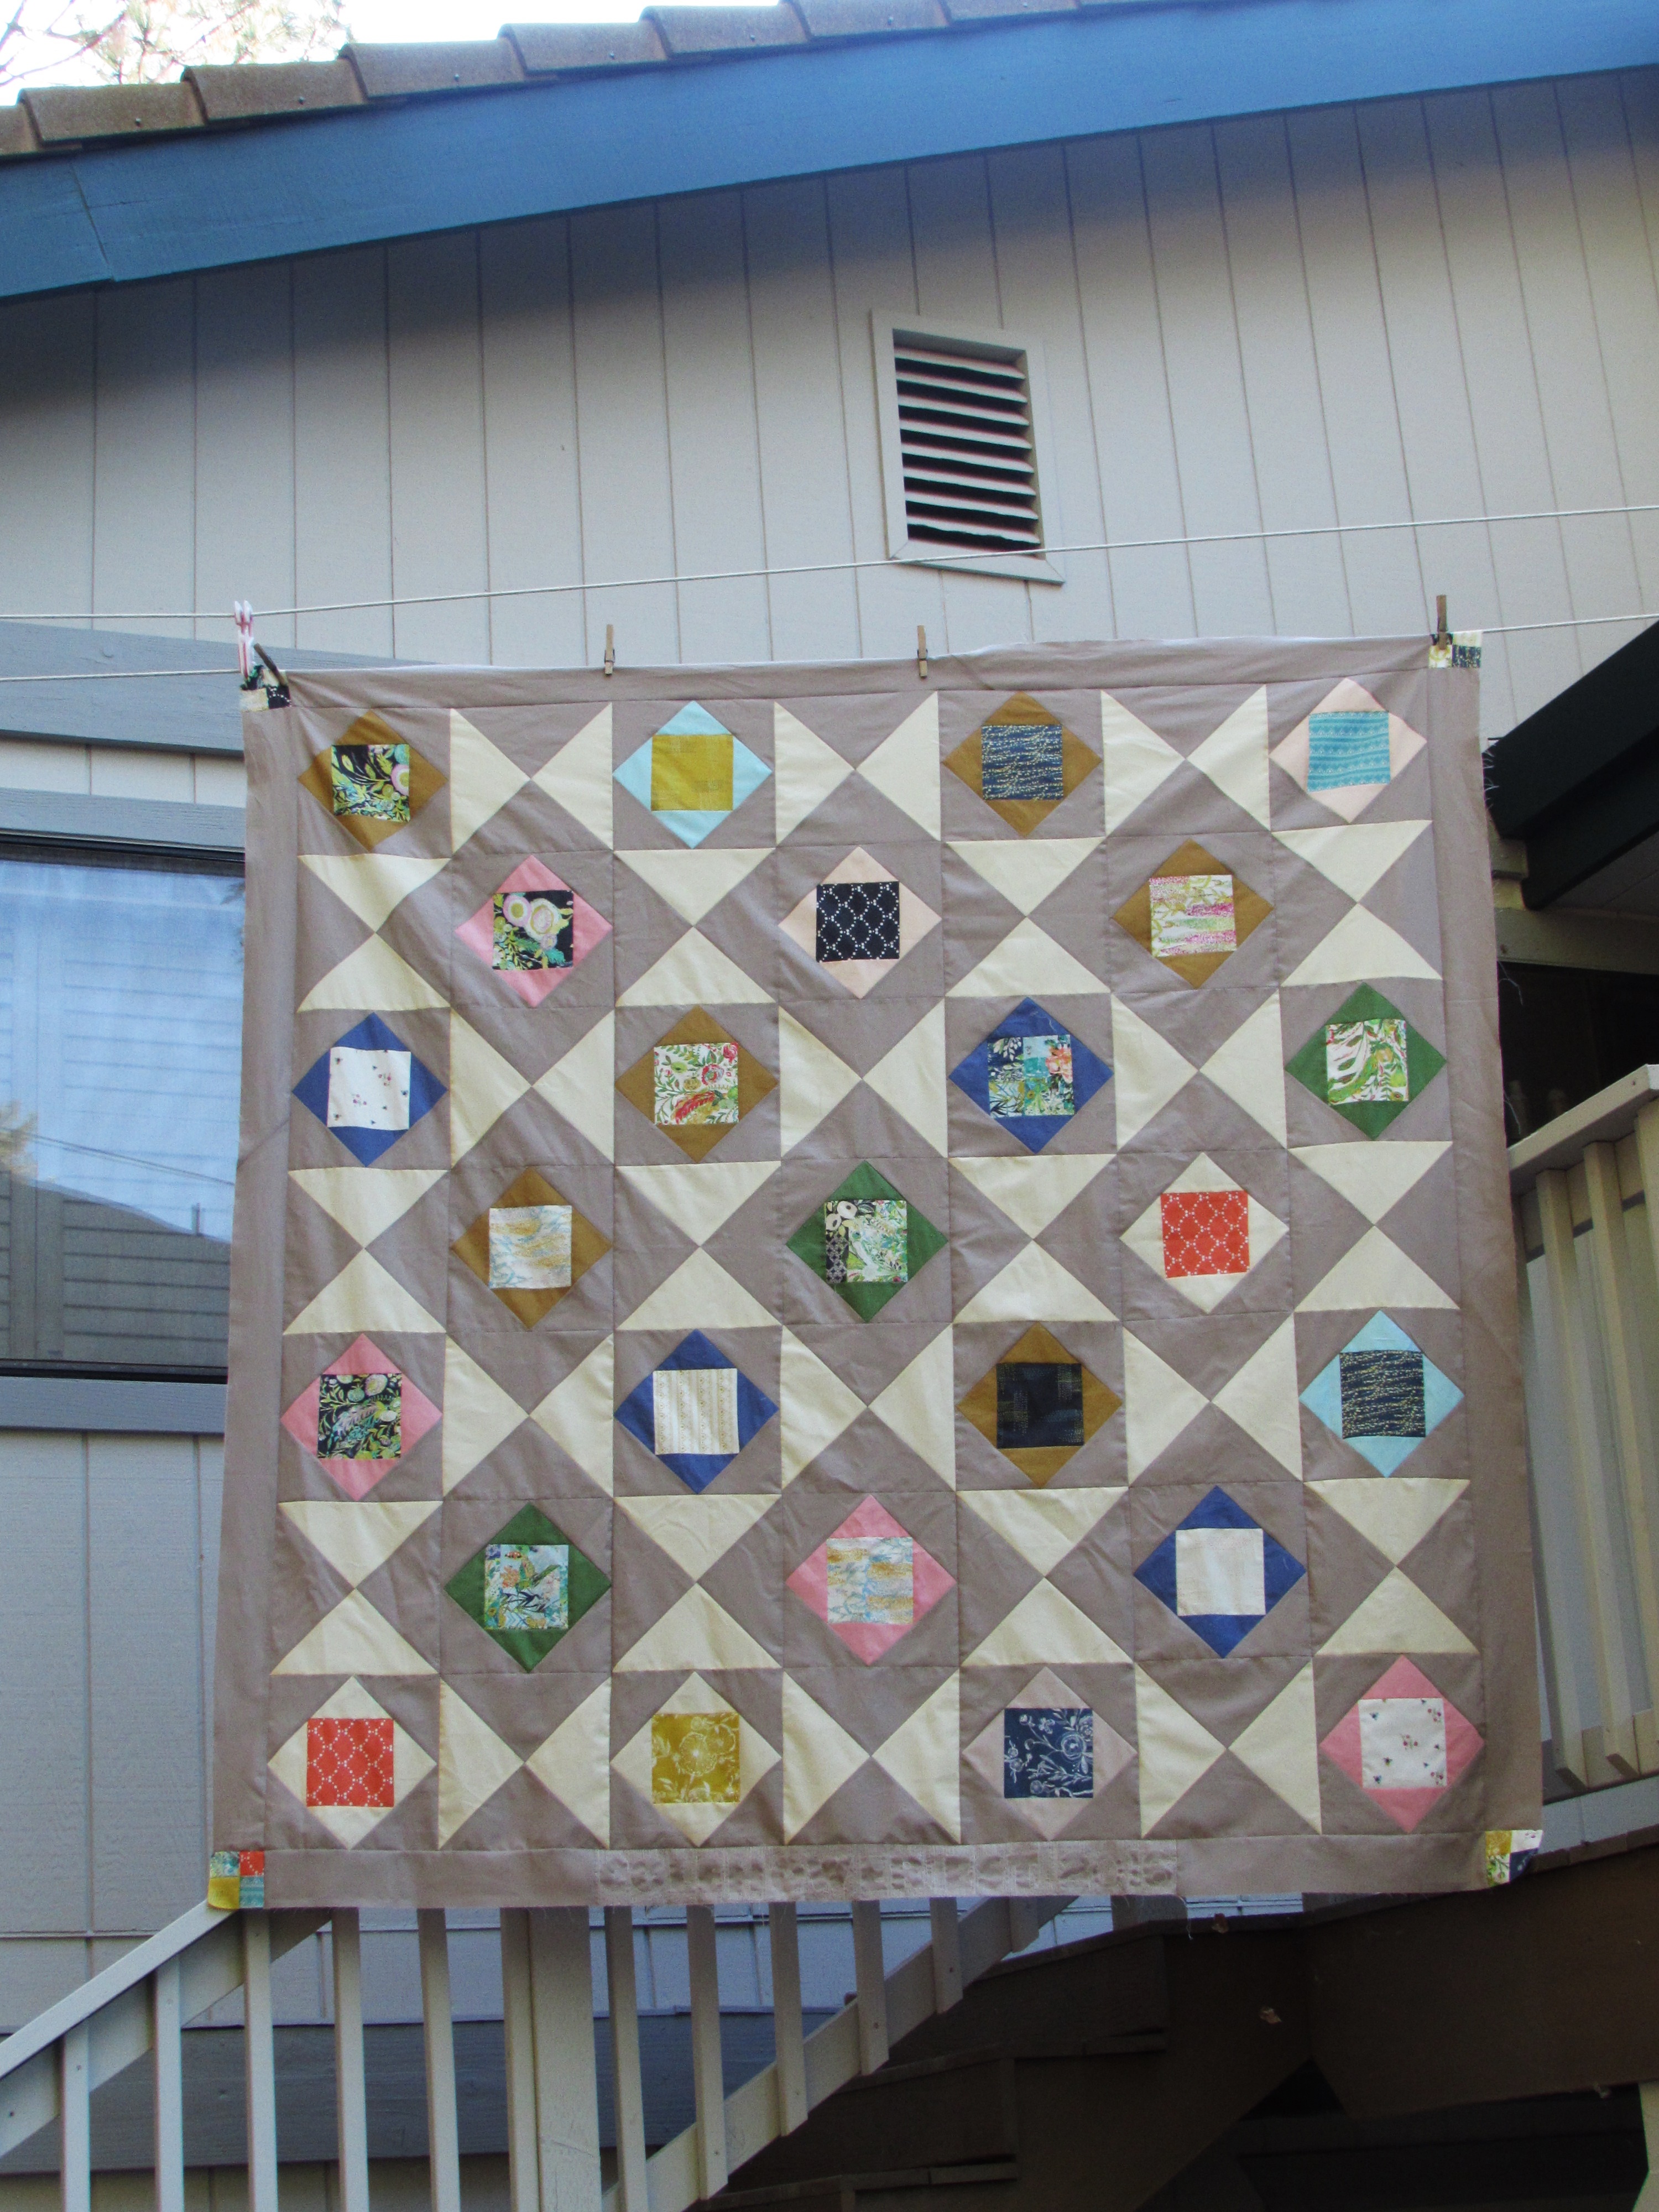
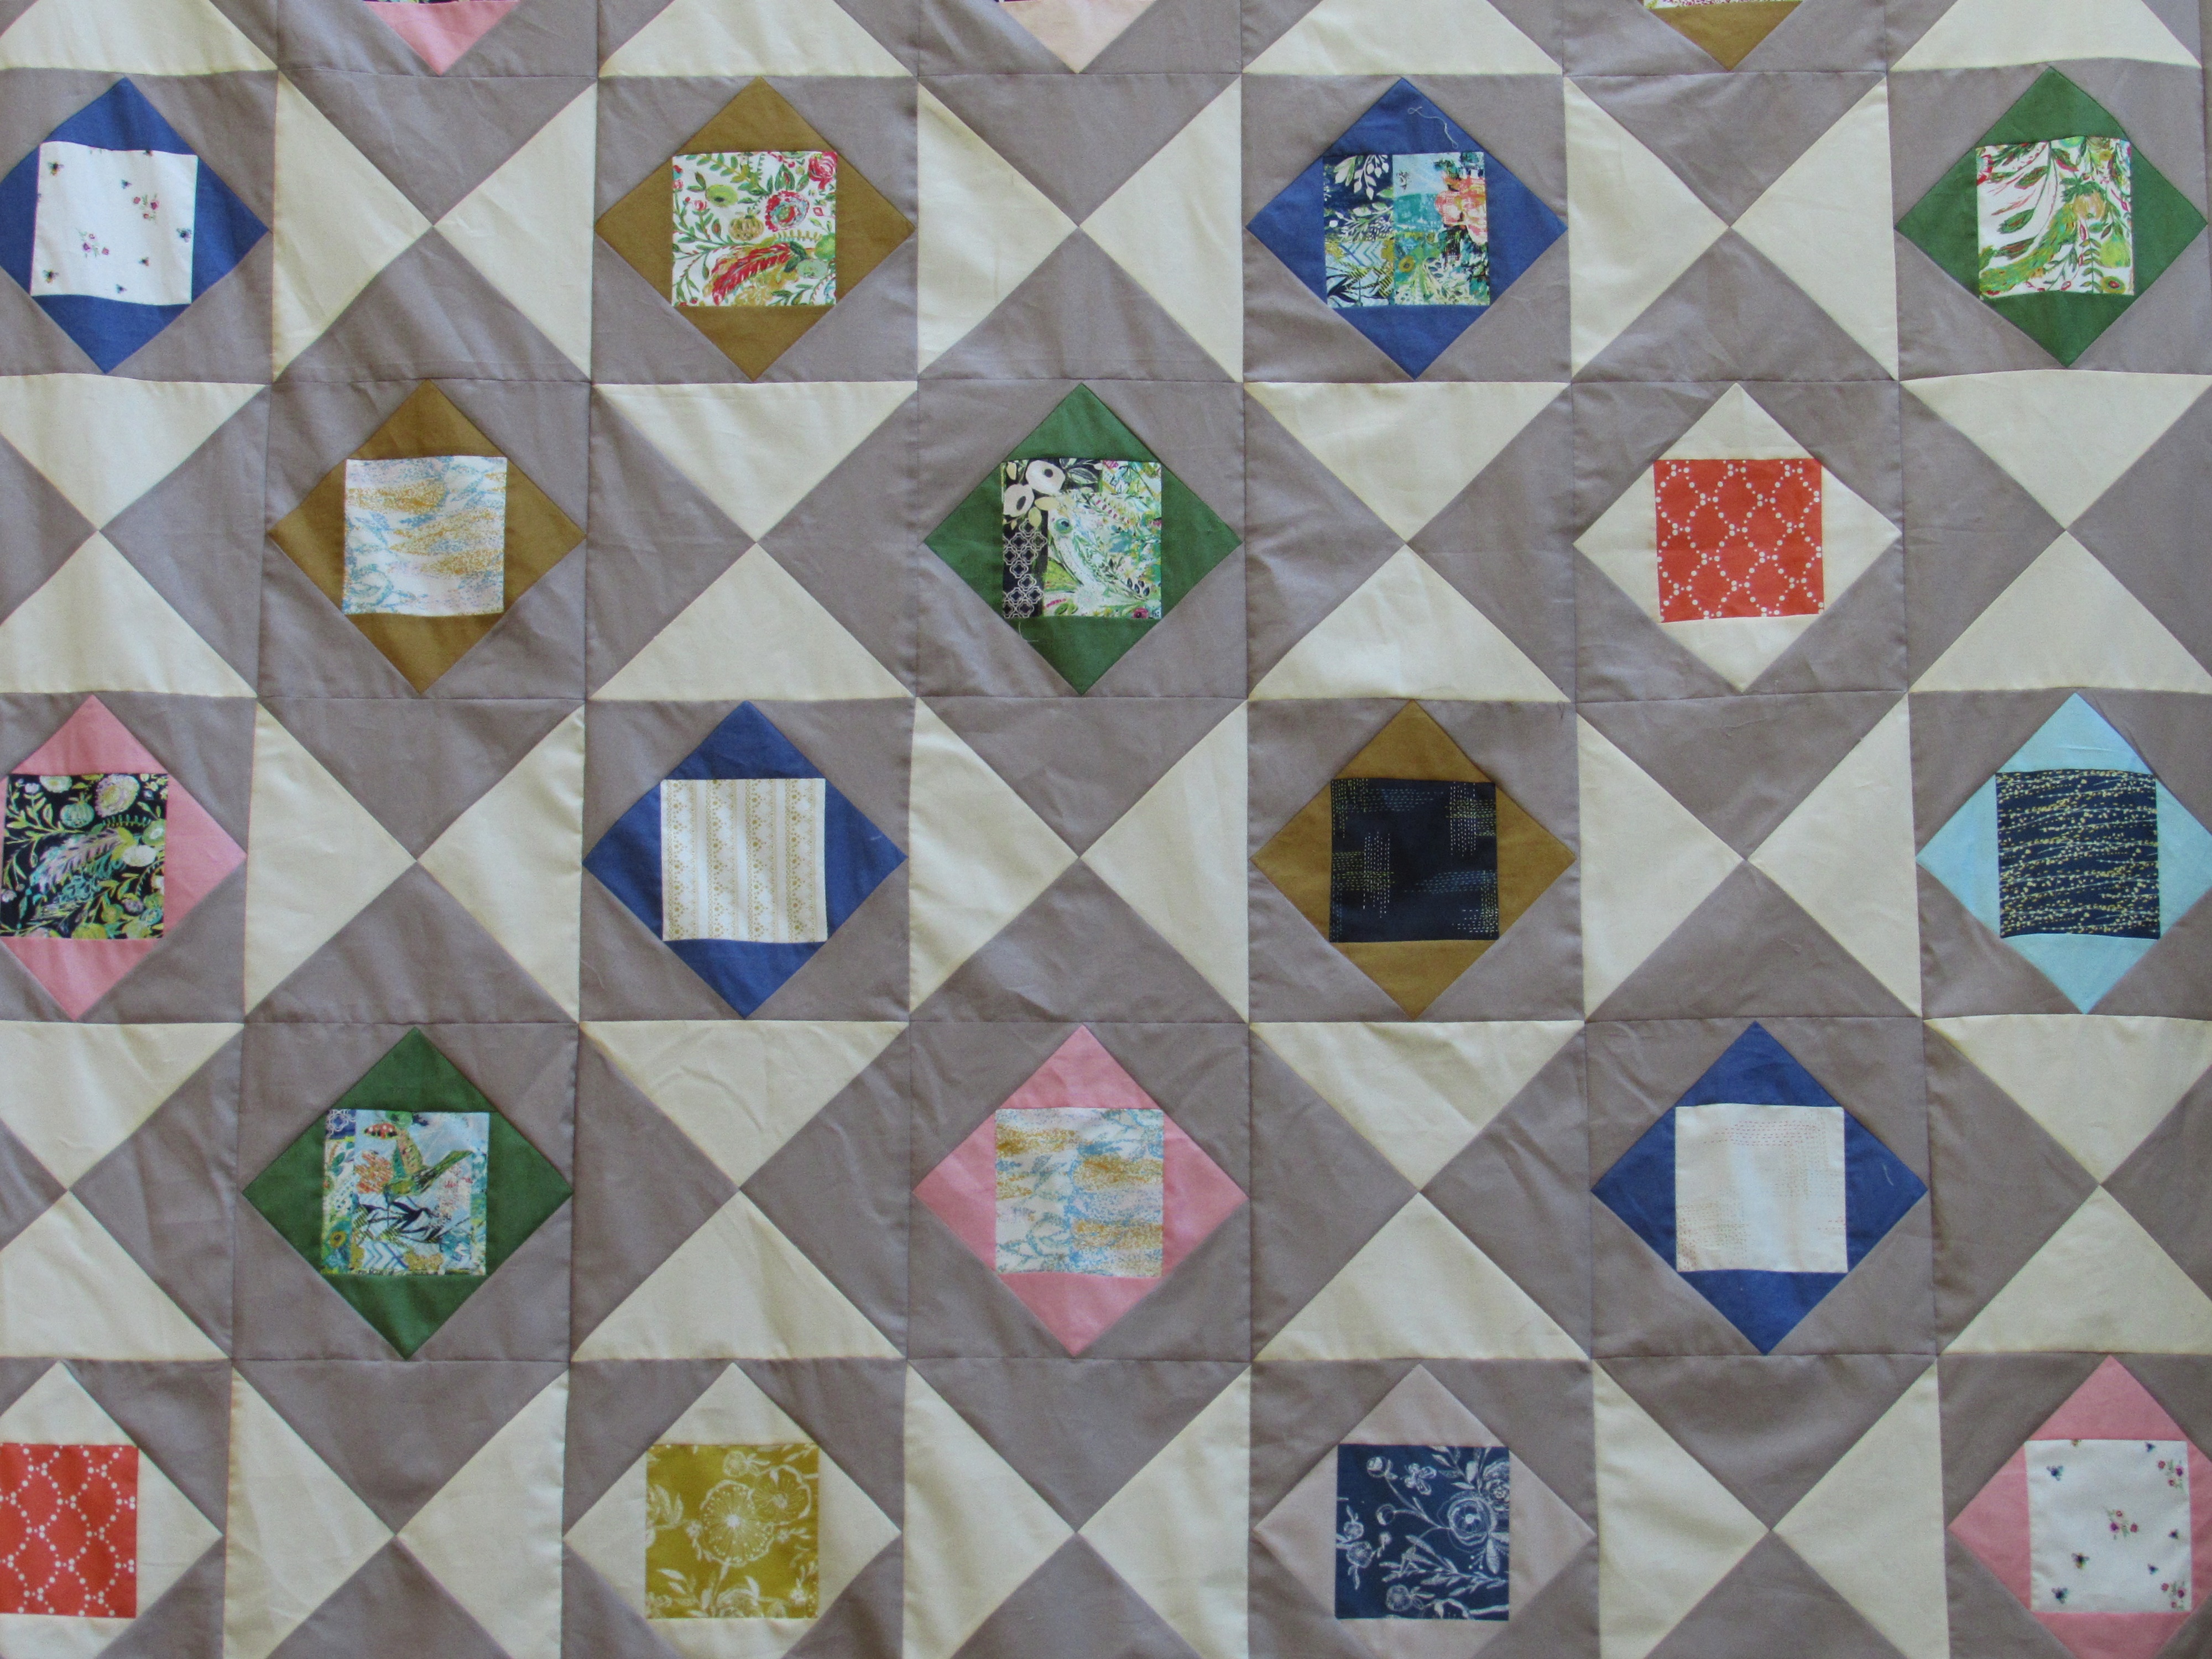
The fabrics in this quilt worked wonderfully together. The background fabrics are Moda solids, Figtree Cream and Stone. I am not entirely sure how this rich and creamy, off white color relates to a fig tree but it is gorgeous. Maybe they were thinking of that creamy outer part of the fig’s flesh? Who knows. The centers of the economy blocks are from a fat eigth collection I received for my birthday. The Art Gallery collection, designed by Bari J, is Millie Fleur. This quilt didn’t consume too much of the collection so I think I will use the rest to create a scrappy binding. (I love a scrappy binding!) Along with the prints, I used a selection of solids from my stash to create the center of the economy blocks. The blocks are quite large at 10″ square.
Looking at the secondary pattern (the cream and stone diamonds that surround the smaller economy blocks) will help me determine how to quilt it. The quilt is 70 x 70, so a slightly large lap quilt. Since I just took the long arm class, I plan to quilt it at the shop. It will be fun to quilt over all of that space created by the solid fabrics. However, since it is a gift, I want to do one or two quilts as practice before I work on this one. I still have two tops waiting to be finished which will make for good practice sessions.
There is a three inch border surrounding the blocks with four patch blocks serving as cornerstones. The bottom border looks distorted in this picture. I did some relief quillting there which I will show in the next post after I quilt this up. For now, just know that is why that portion looks a bit odd.
This was a bit of a beast to photograph, especially since my trusted quilt holder is back in school. Alas, I had to rely on my clothesline instead.
Hopefully I will be able to reserve some time at the long arm shop next week to practice. I’m very much looking forward to that. Then when I am a bit more confident, I will finish this project.
The weekend is coming and we don’t have anything planned. If it is cool enough outside, there is plenty of yardwork to be done. Not terribly exciting but that’s ok with me.
Linking to my usuals. Find them at the top of the page, under link ups.
Have you heard about the $5.00 Blowout Sale over at C&T Publishing? It runs through Sunday, 9/11/16 and is a great opportunity to grow your sewing library for not a lot of money! Take a peek at the titles that are on sale this weekend. One of my favorites is Get Quilting with Angela & Cloe, a book about sewing with kids written by the wonderful Angela Walters.
I know, I know. It is only the beginning of September. But I am starting to get excited for fall. Autumn has always been my favorite time of year. So I am getting in the mood.
My kids are all beyond the age of trick or treating (I am pretty sure you aren’t supposed to trick or treat while in your twenties and thirties unless you have children to do so with. So, I am really hoping my kids are not going door to door this year!) However, when the kids were little it was fun to think up costumes for trick or treating each year. For the boys, I had it easy. My sister has two boys that are just a few years older than mine. We would inherit their Halloween costumes each year and they were great costumes! My sister is quite a seamstress and she made the most awesome costumes for her kids. With Julia, we had to come up with fresh costumes each year. I love looking at the pictures from each Halloween, remembering what she chose to be and how we came up with the costume.
To celebrate Halloween this year, I am hosting a Handmade Halloween Link Party!!! You are all invited. It is my hope that we all share posts of current and past Halloween decorations, quilts and costumes that we have made. If we all link to one place – HERE – just think of all the fun ideas that will be shared. Let’s make this the go-to link up for all sorts of Halloween inspiration. The posts don’t have to be new ones. If you have posts from your past Halloween projects, link those up too! You can bet there are readers who will enjoy them. I have some old posts that I will share as well as a new post about costume ideas. I don’t plan to create full tutorials, rather I will share ideas for some fun Halloween costumes that we have created.
You have plenty of time to gather photos and write your post(s)or decide on your older posts. Then come back to link up on Tuesday, October 4th! I want to have the party at the beginning of October so readers who are inspired by these ideas might have time to create before Halloween. Linking up will put your name in a drawing for some great giveaway prizes. Each time you link that is another entry to win! More on that as we get closer to October.
If you feel inclined, you are welcome to share the Handmade Halloween button and help spread the word.
Let me know if you have any questions. Otherwise, come back and link up any of your Halloween related posts on Tuesday the 4th of October! See you then. 🙂
Hi Everyone! I want to introduce the book that will be used for the book share this fall. If you are unfamiliar this is how it works. Last July I wrote a quick review of a book titled Vinegar Girl, by Anne Tyler. Several readers signed up to then share this book. I sent it to the first person along with three fat quarters that were somehow reminiscent of something in the plot. That person then reads the book, jots a note or some thoughts in the front cover of the book and sends it on to the next person with three fat quarters of their choice, again somehow tying the fabric to the plot. It has been a lot of fun. The book has traveled from California to Wisconsin to Idaho and is currently on its way to the UK.
For the next book I am really excited to share The Double Bind, by Chris Bohjalian. I just finished the book and it was a gripping, suspenseful read. I have read a number of books by Bohjalian and loved each one of them. He really gets into the subject matter, becoming very knowledgable before spinning the story for us. This particular book is based on the true story of Bob (Soupy) Campbell, a talented photograper who became homeless late in life. He died, leaving behind a collection of amazing photographs and negatives, many of people quite famous. He lived out the end of his life in subsidized housing which was found for him by COTS, a homeless shelter in Vermont. Bohjalian is from Vermont, and wrote the story with a Vermont setting. He tells an excellent story of Laurel, a young woman who works at a shelter in Vermont called BEDS. Laurel was the victim of a horrid crime which has caused her to withdraw into herself and her work as a photographer and social worker at the shelter. The way that Bohjalian ties Laurel’s situation to Bobbie Crocker (the homeless man in the story) is genius. Laurel’s and Bobbie’s stories are also entwined with the story of the Buchanan’s and Jay Gatsby, from F. Scott Fitzgerald’s famous tale, The Great Gatsby. The author uses a number of the photographs taken by real life photographer, Bob Campbell, in the book. This story is an excellent illustration of how little it takes for a ‘regular’ person to end up on the streets as well as a compelling look at mental illness. I highly recommend the book which was first published in 2007 and then spent a considerable bit of time on the New York Times bestseller list.
This book is all set to go. If you want to join in, share some fabric and my copy of this book, leave a comment. The first five people to express their interest are in. When you comment, please leave me your email address and tell me if you are willing to ship internationally. That will help me create the route the book will take. When you receive the book, you have four weeks to finish it, jot down a little note and send it to the next reader with three fat quarters of your choice. I hope you will join in and share in this book and fabric adventure!
Are you wondering what is going on over at Craftsy this weekend? Sale on ALL classes – yep, all of them. $19.99 each. Check it out!
Earlier this week I mentioned I was taking a class on long arm quilting. Wow, it was so much fun. Not so much that I plan to shell out the kind of money required to buy a long arm machine but enough that I would definitely go and rent time on the machine. Probably on a regular basis.
I have wanted to take a class on long arm quilting for quite a while. The stars finally aligned and it happened this week! The shop that rents time on these amazing Innova machines is about an hours drive from my house. This is a good thing – if it was more convenient I would be in there all the time! This way, it takes a bit of thought and planning to get there, which might help me to control the spontaneous urge to go quilt something. The rate is $20 per hour which is high except when one considers how fast a project can be quilted on a long arm vs my domestic machine. Taking this class also enables me to quilt larger projects. As I mentioned before, I have only made two large quilts and this is because it is tough quilting them. I don’t really want to pay someone to quilt my projects because I like to do it from start to finish. Anyway, now I will be able to make larger quilts!
Here are some thoughts on my experience. First of all, as I expected, loading the machine is challenging. It does make the basting process less of a physical challenge in that I am not crawling all over the floor but it is quite a process to load the backing and then the batting and quilt top, making sure all is square and straight. Naturally, this process will be quicker after I do it a few times. There is much to learn about stitch length and tension but for my first time, I thought it was relatively easy. There were three of us in the class and each of us had our own machine to load. We brought two pieces of fabric that were each about 1.5 yards and this is what we practiced with.
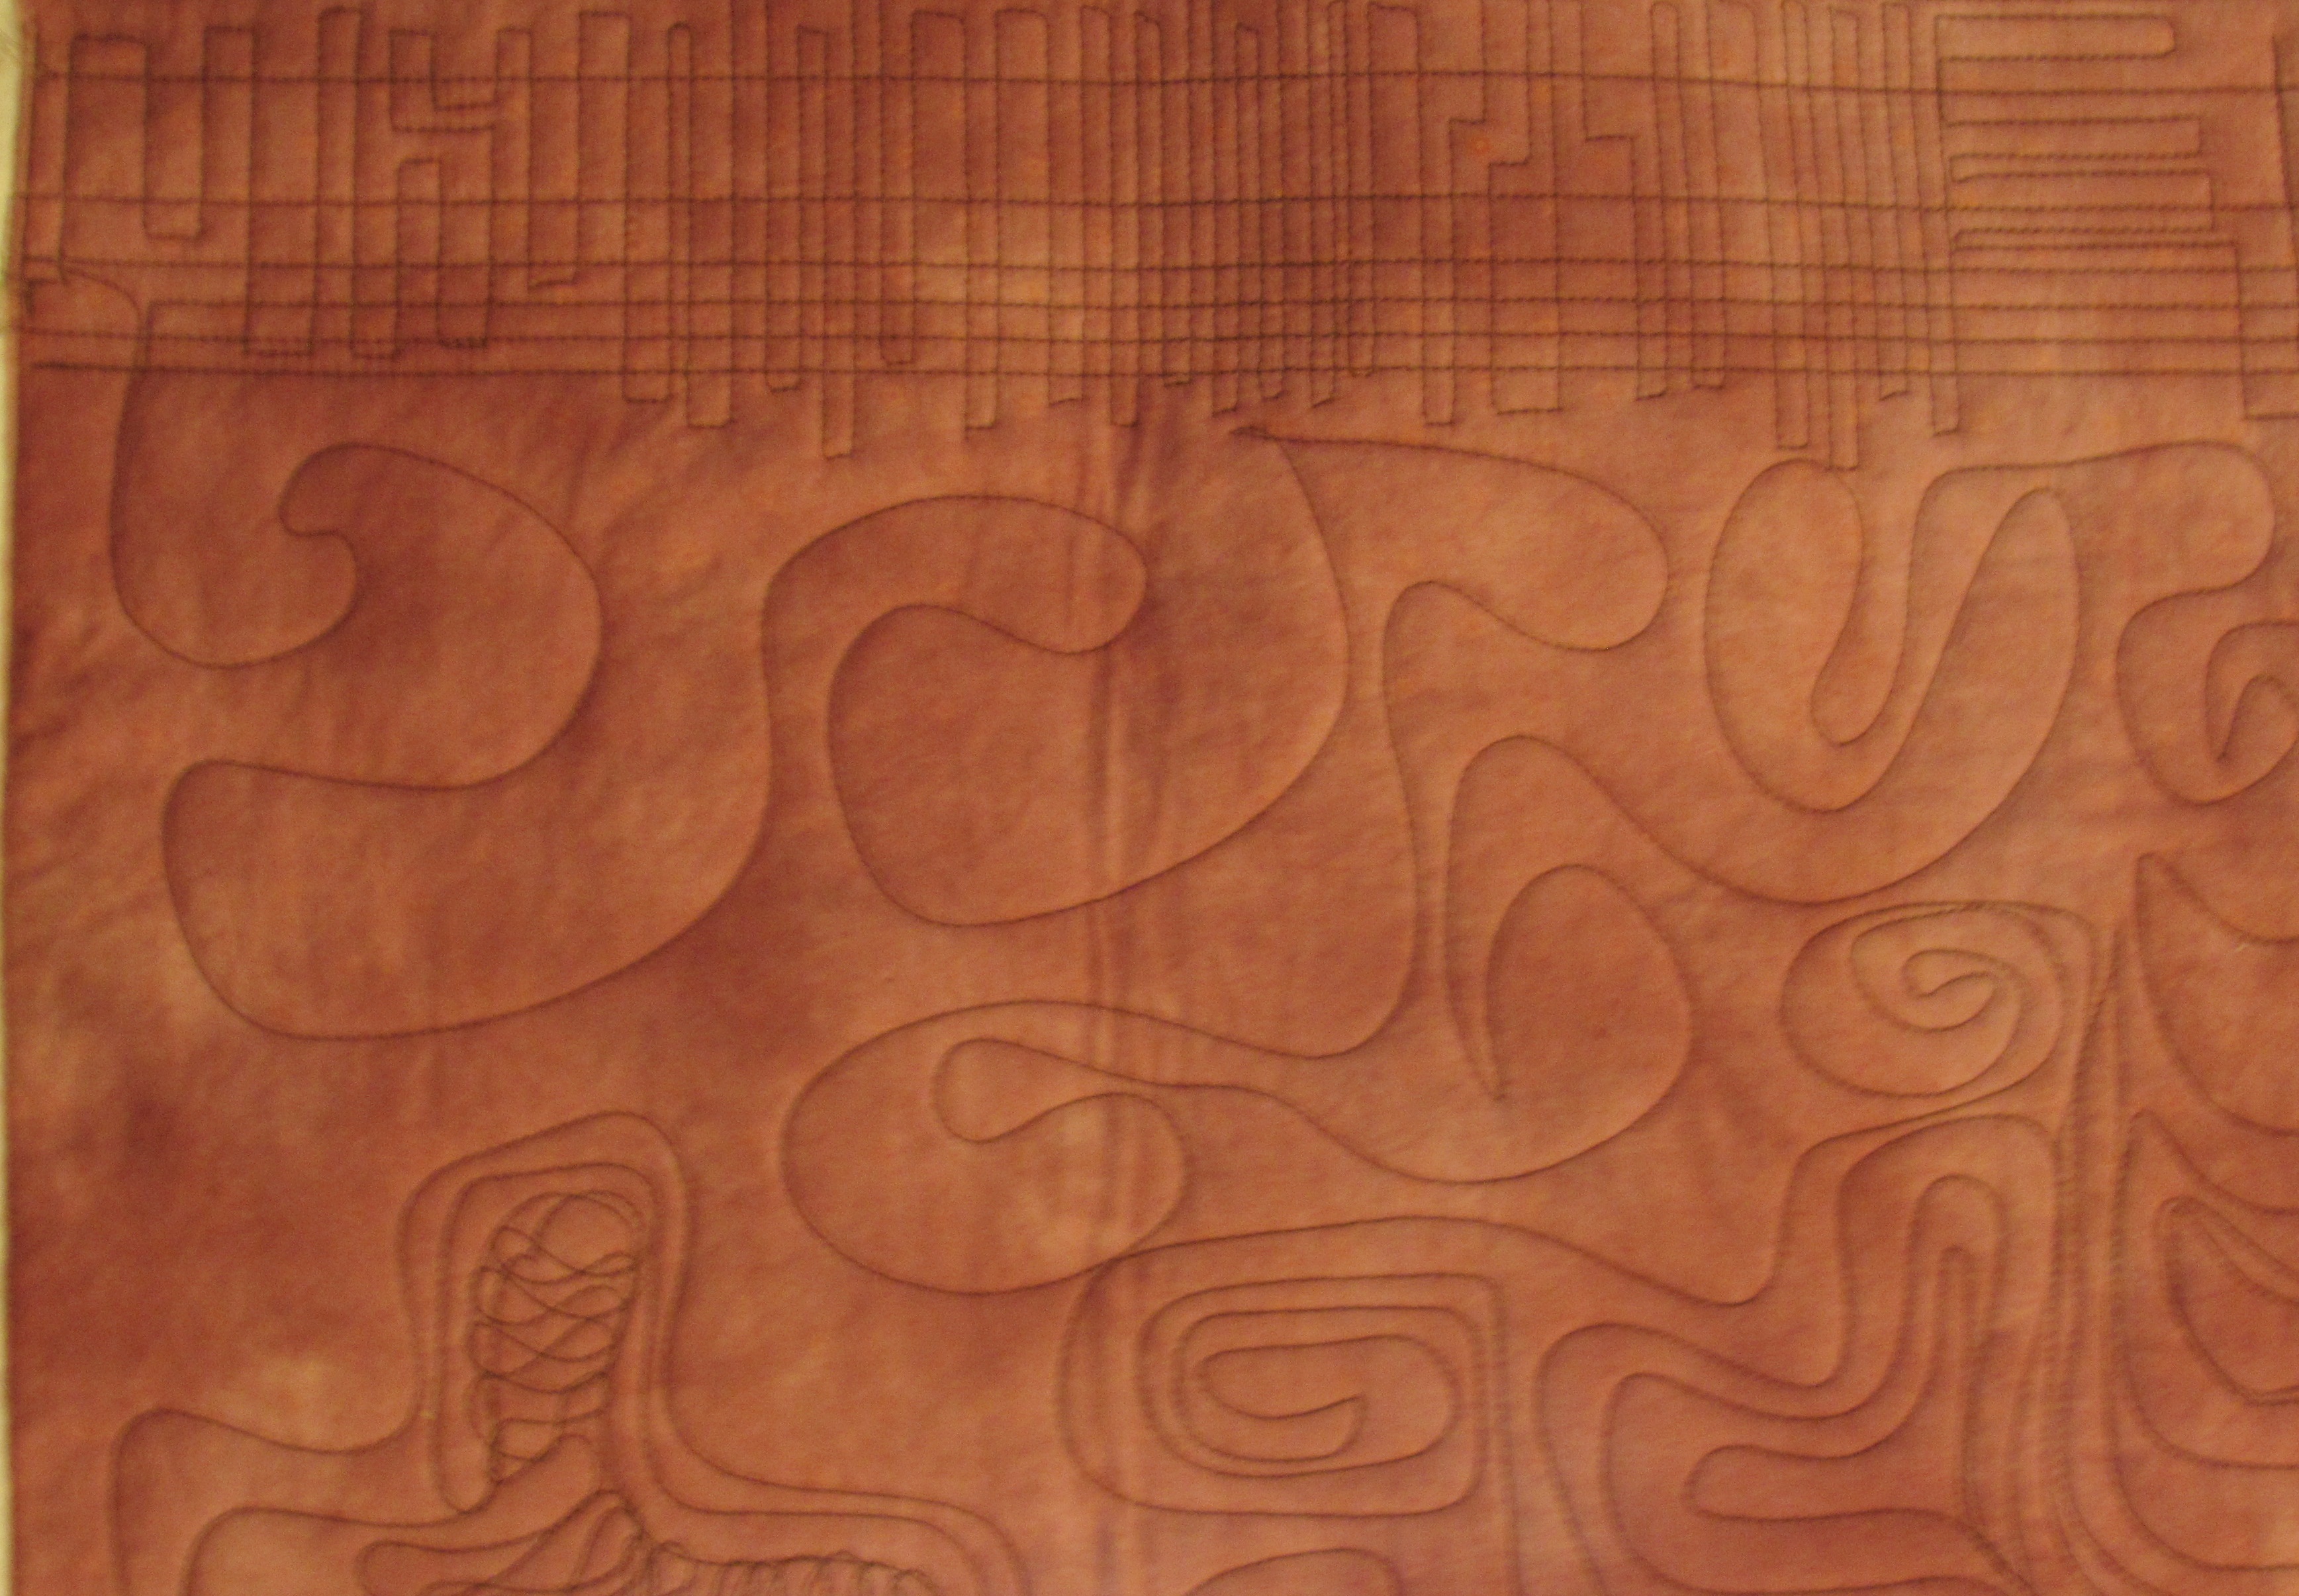
What wasn’t so easy was quiltiing a smooth circle. For whatever reason, when I tried to move in a circular pattern it was difficult and my curves had a distinctly rectangular look to them. It was surprisingly easy to get a nice straight line though. Looking at the bit of stitching at the top of the picture, the horizontal lines were stitched with channel locks on and this made those lines very straight because the machine could only stitch in that one direction (no free motion, just straight). But the vertical up and down lines that I did were done with everything open (no channel locks) and it was easy to create a nice, straight line. When I FMQ at home, I find straight lines to be very challenging if I FMQ so I normally use a walking foot and have to move the fabric with each line.
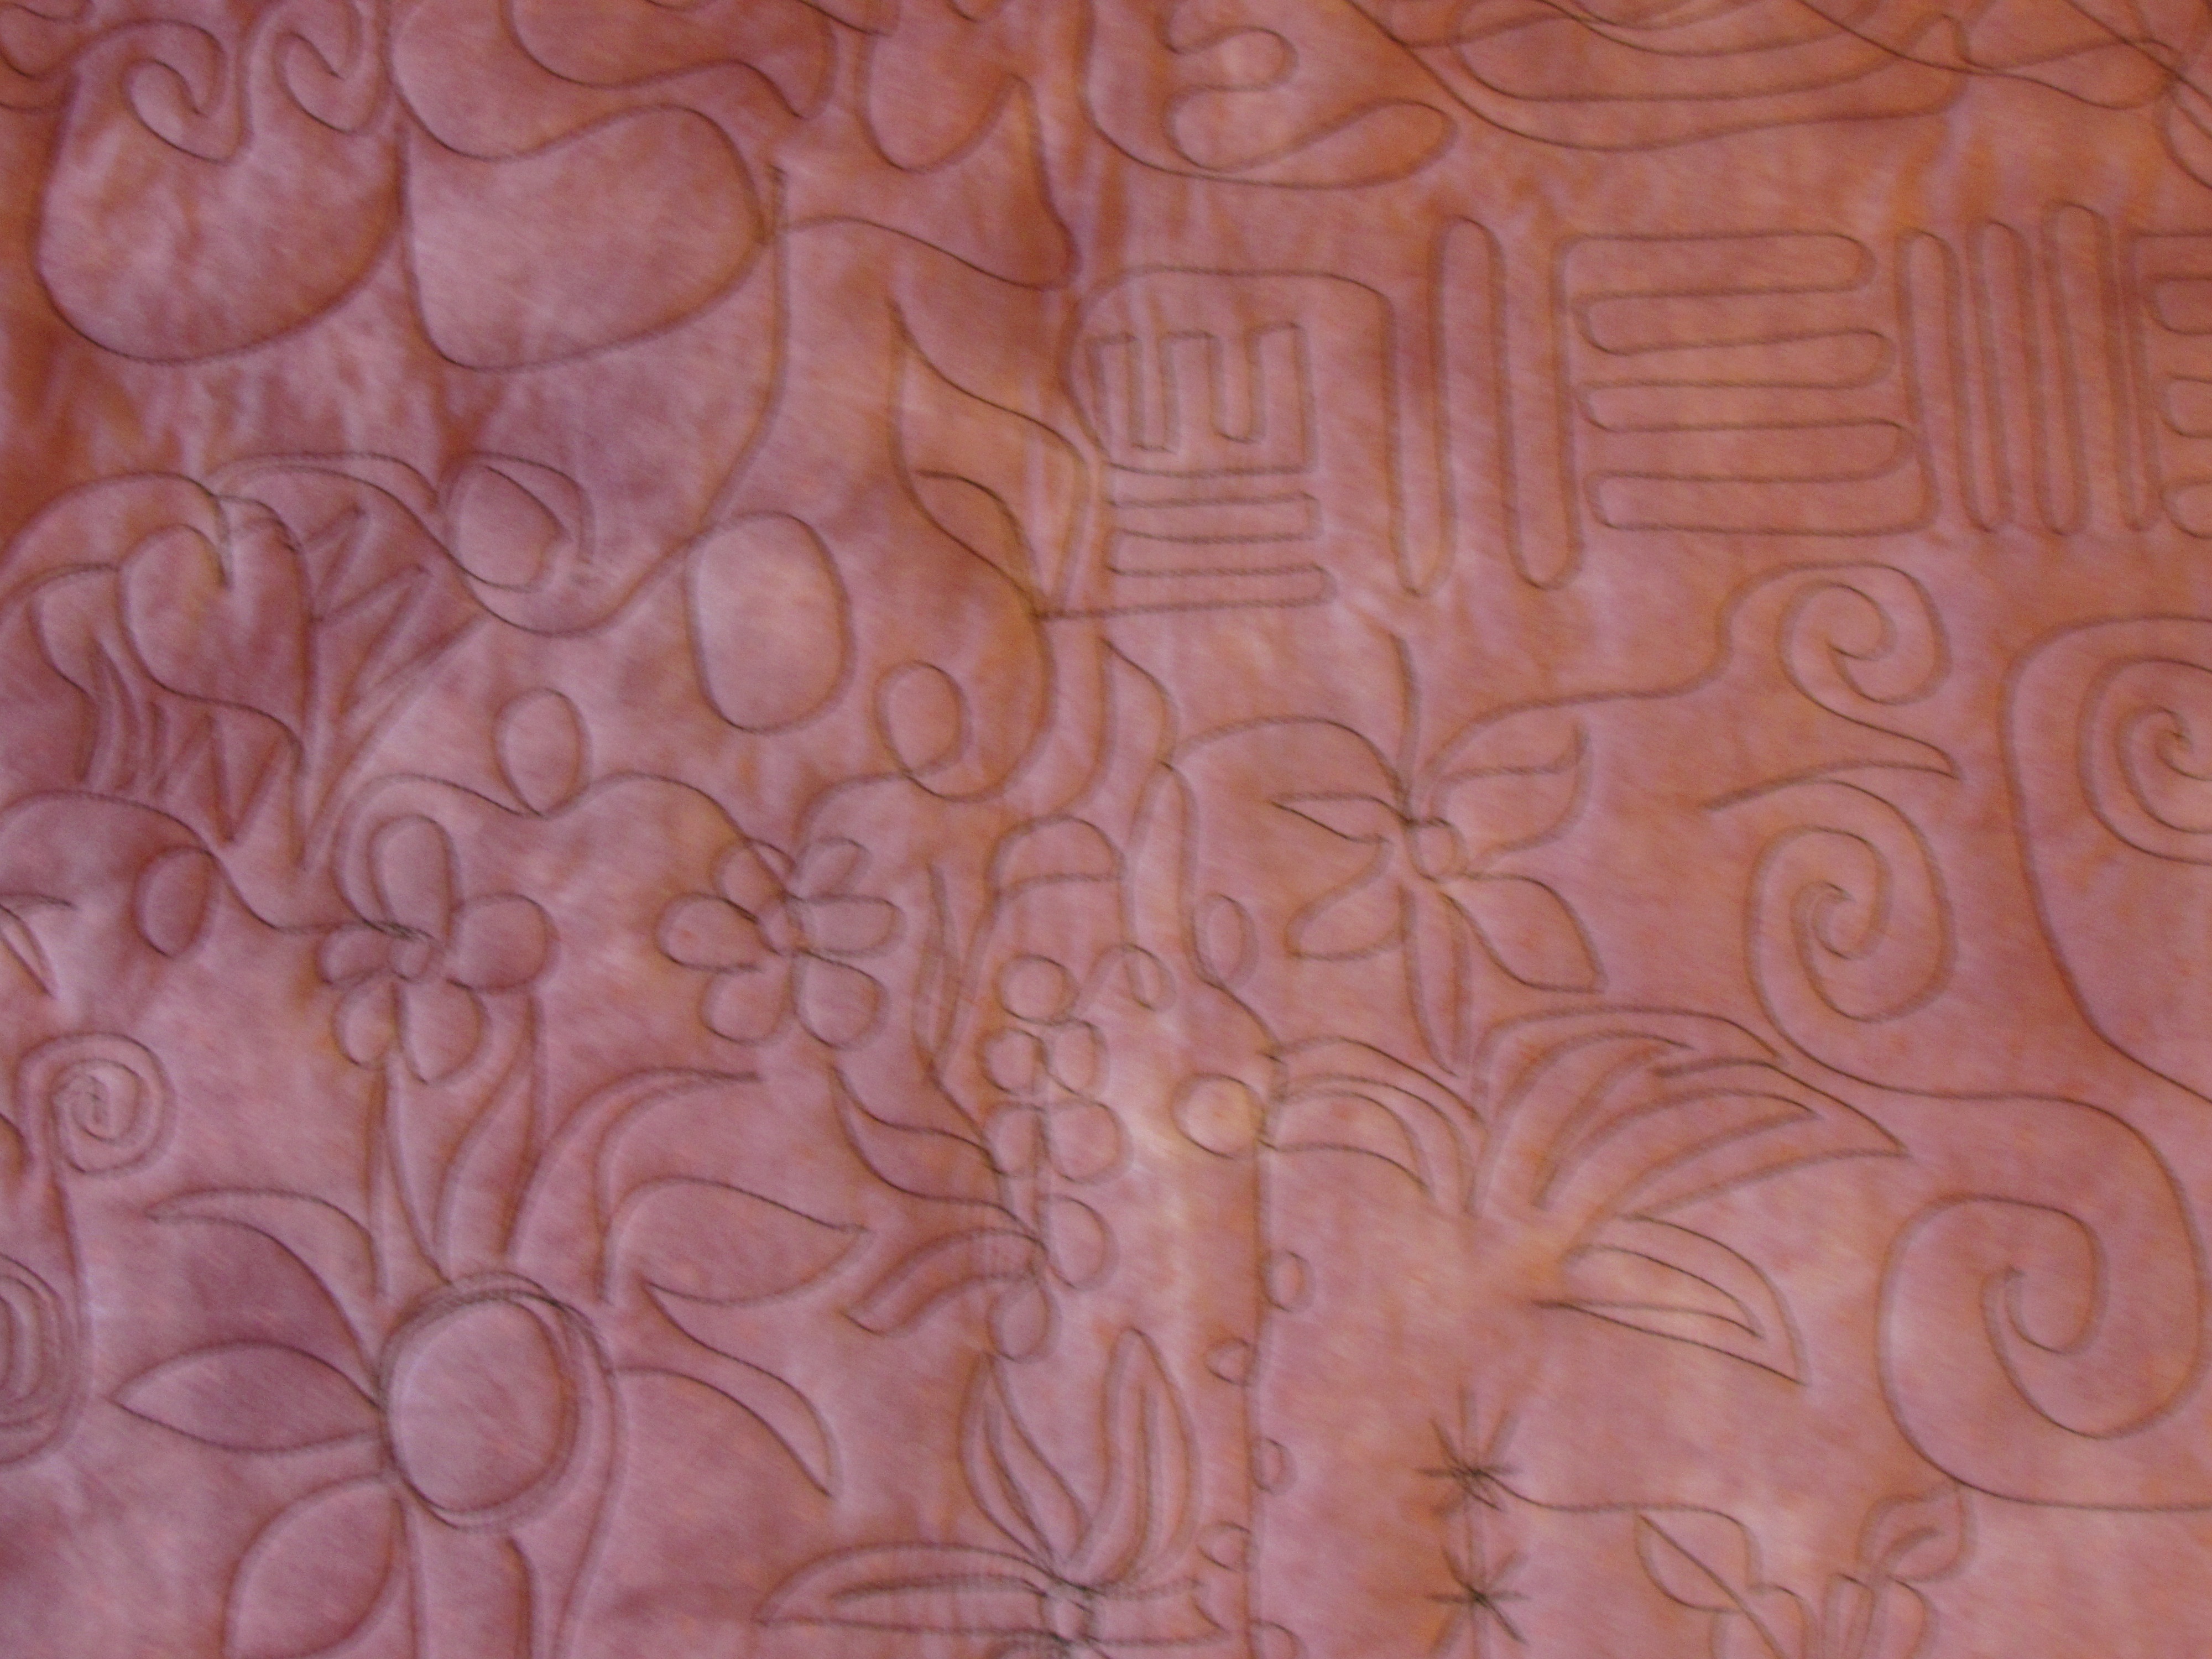
As would happen, the more I stitched, the softer the circular motion became. I tried to do a bit of pebbling and that was difficult.
But the circles got rounder as I went. To explain the mess you see above you, I first did a very large stipple or meandering stitch and I used up my practice piece of fabric too quickly. So I went back and started filling in the shapes. Messy yes, but so much fun to play with. Sort of like some very rough graffiti quilting.
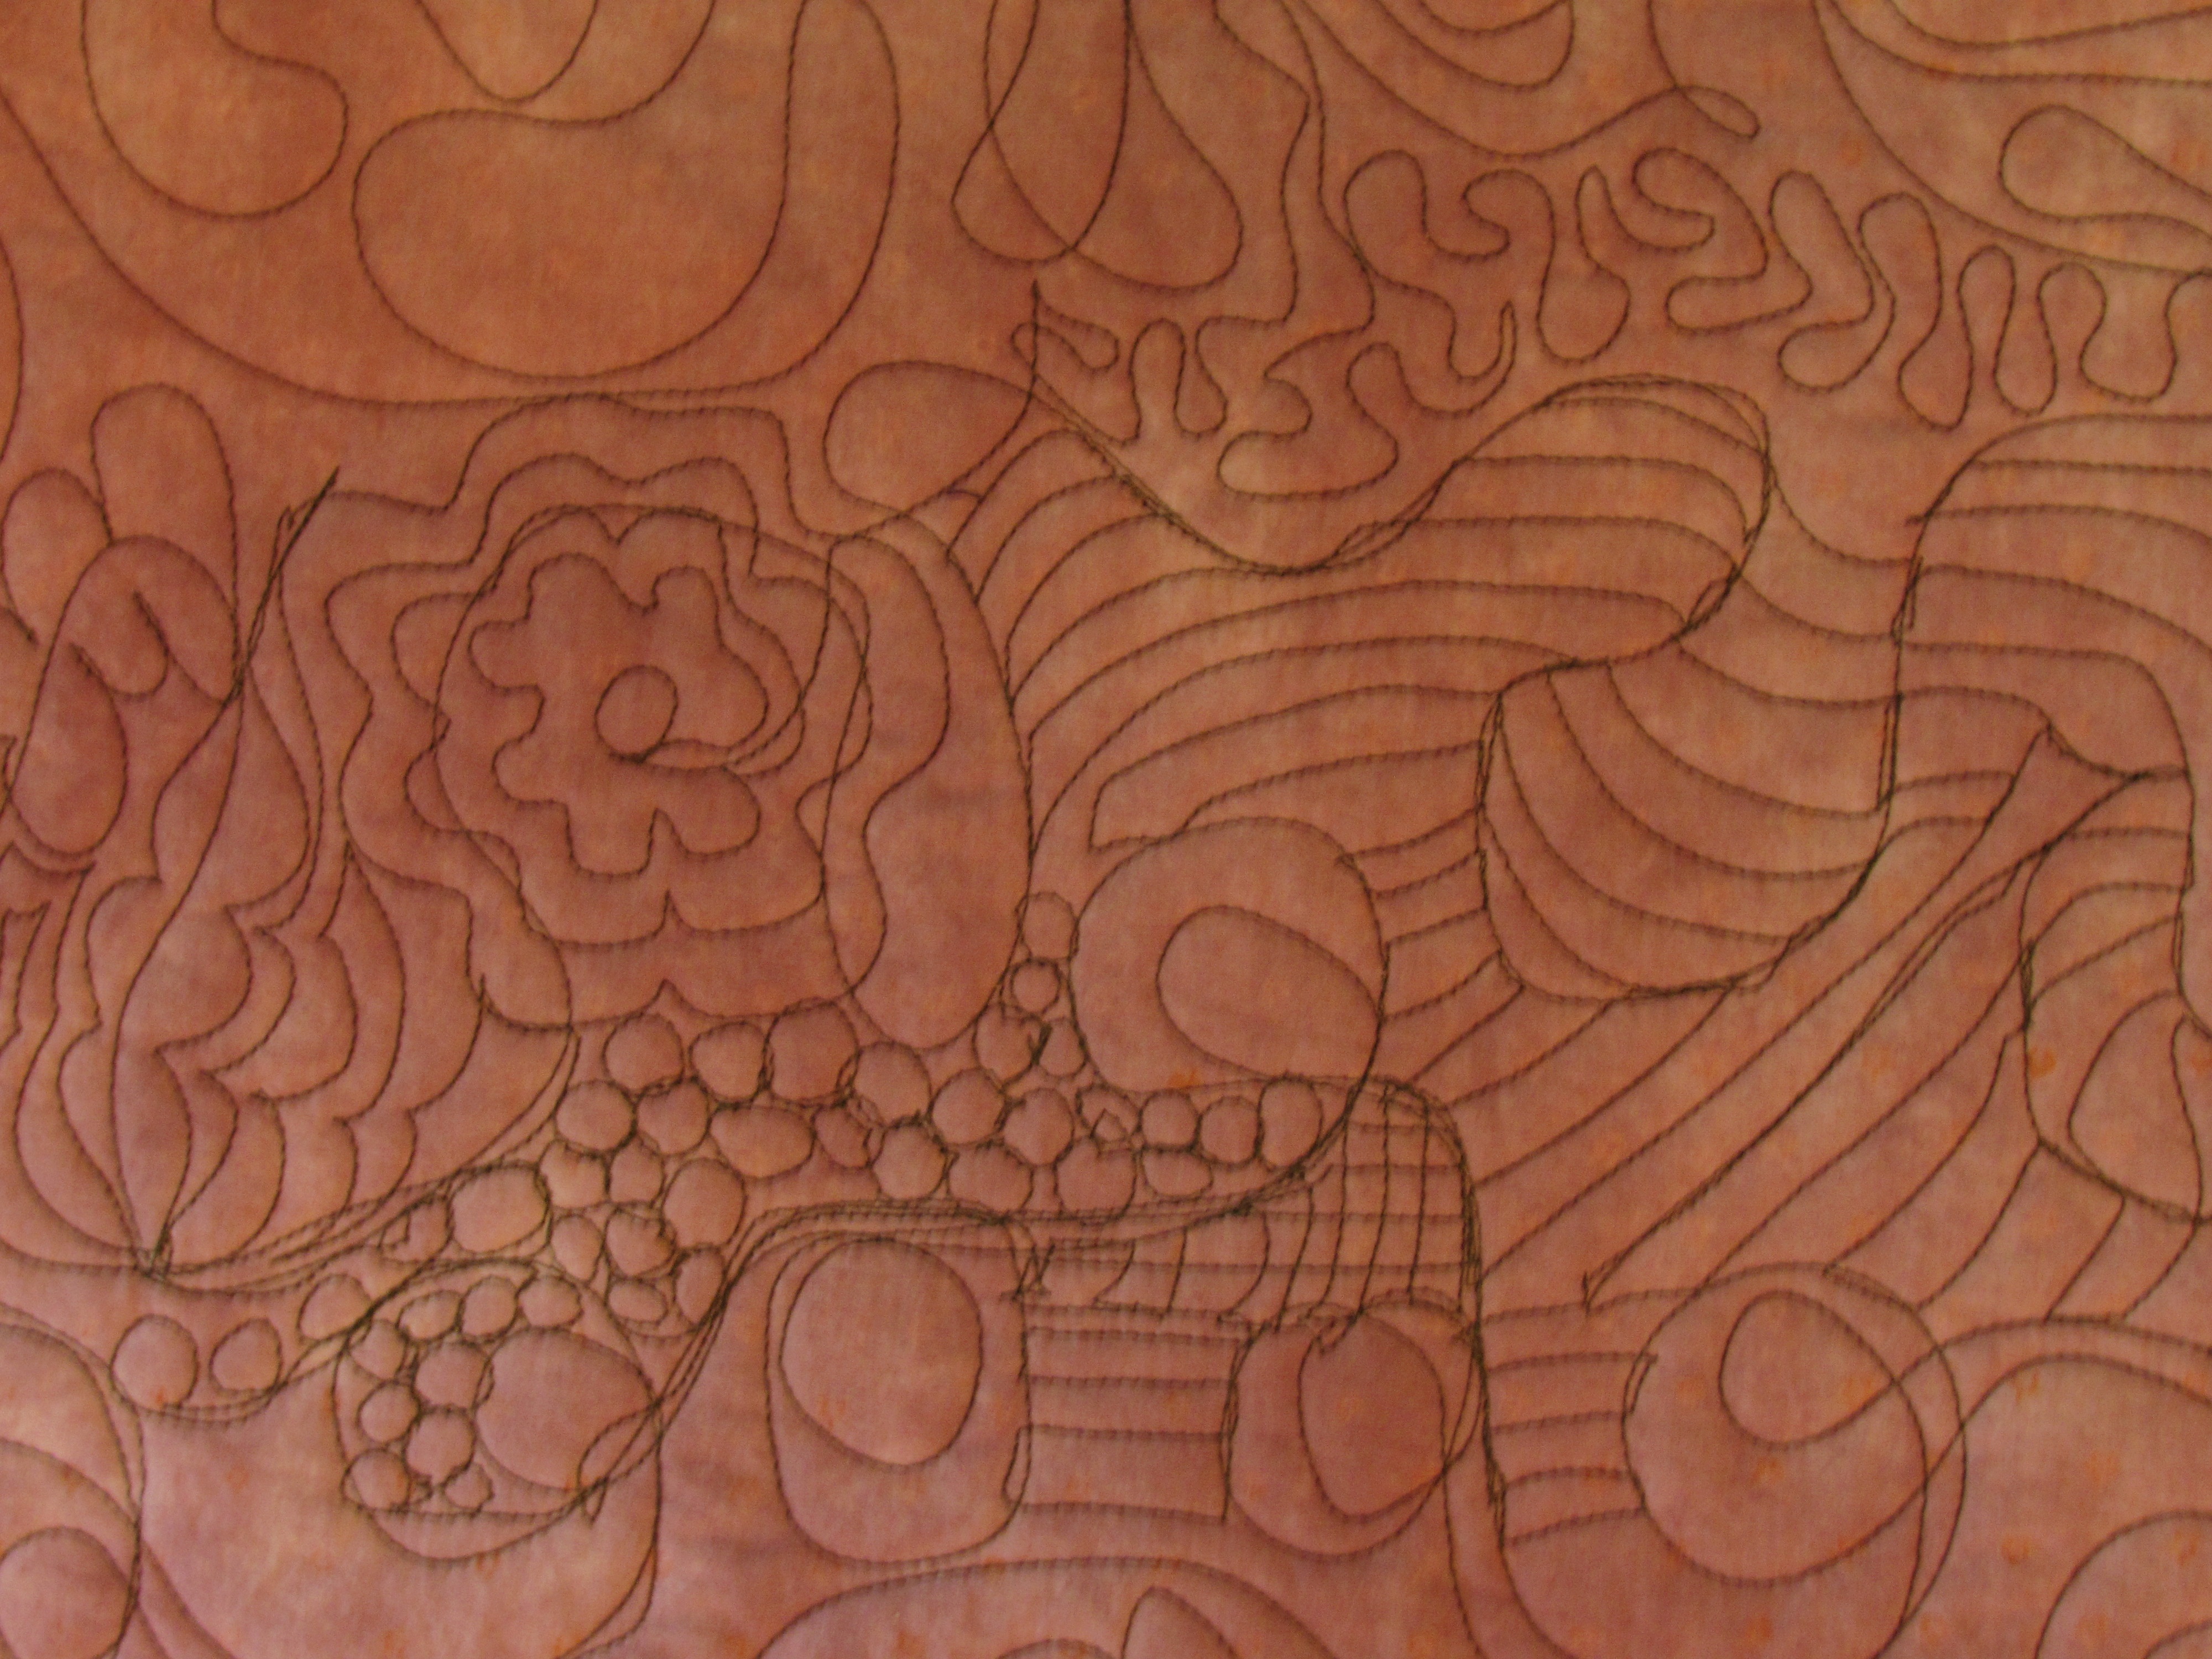
This photo shows stitching done toward the end of the afternoon. The shapes are looking better and the circles were easier. It doesn’t have the harsh flow of the quilting done earlier.
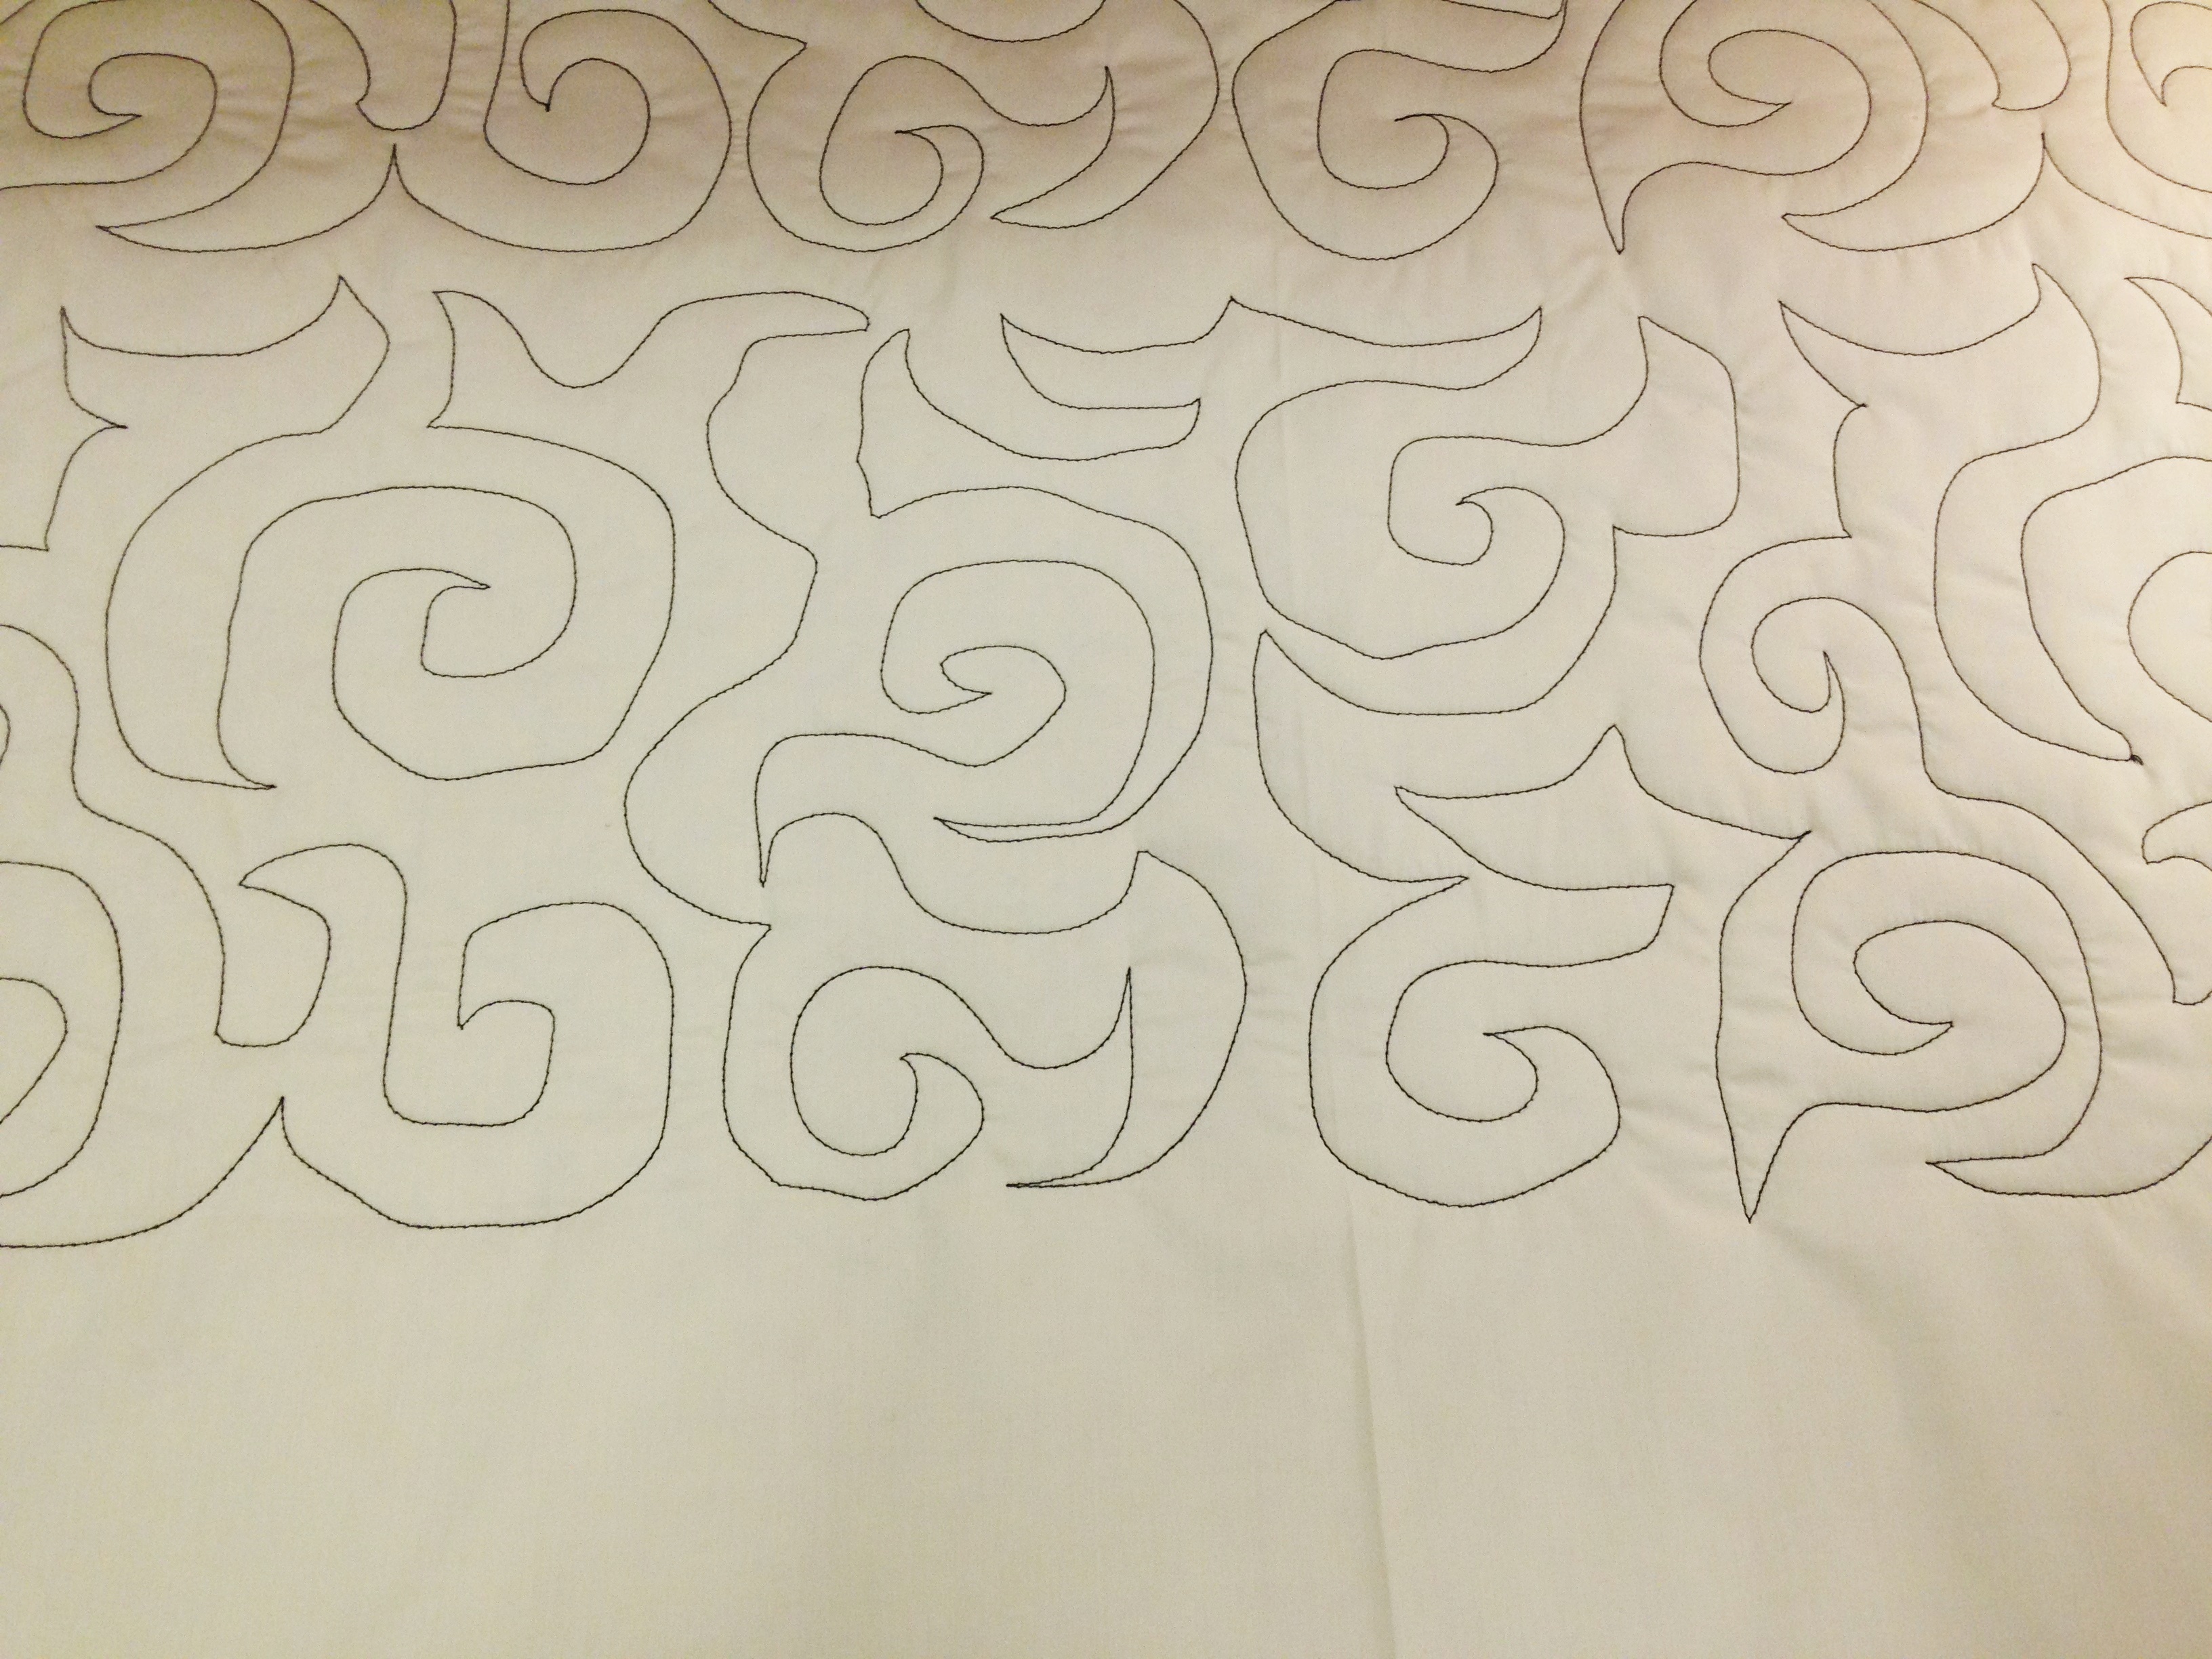
We also had a bit of time to practice using pantographs. This was far more difficult than I anticipated. Just in case you don’t know how they work, pantographs are designs that one can purchase. They are a length of design printed on a long strip of paper. Once the quilt is loaded, the long strip of paper with the design is placed on a table which is between you and the quilt. Then the design is basically traced, or followed, with a tiny laser beam that emits from the machine. As you trace the design, the machine is stitching the lines that you trace. It was very hard for me to relax and the stitching reflects that,. Also, because I was staring at the design and not looking at the quilt top, I didn’t get to plan where the design would hit the print of the fabric or shape of the block. I didn’t like this. With FMQ one looks at the quilt as it is stitched and there is the ability to plan where to go next. These all over designs done with a pantograph don’t really allow for this. I am sure I would get used to it but it wasn’t as easy as it looks!
You can see that the stitching is very awkward here. We did trace the panto without stitching a few times and that helped to get my brain to remember the flow of the movement. Practicing will certainly make this flow more easily. At this point though I think I prefer quilting without a panto so that I can look at the quilt and plan the stitching according to fabric and blocks. With simple quilt designs, a panto would certainly be fast and very attractive. Maybe the first time I actually use one, I will pick something with softer shapes? Or maybe a broader design? Mostly, it is going to require practicing which means I’ll need to make more quilt tops so I have something to practice on. A girl’s gotta do what a girl’s gotta do. 😉
I am excited to go back and practice on something real. I have two quilt tops in the WIP pile and I plan to do both of them as practice on the long arm. Overall, the biggest benefit is this type of quilting didn’t strain my neck. Using my machine to quilt anything larger than a wall quilt creates a strain on my (often cranky) neck so I have to take lots of breaks, stopping every 15 minutes or so. I quilted for a couple of hours straight while practicing and my neck didn’t fatigue. Hurray!!! It was a blast to learn something new and to see what it felt to use a machine like this. I can’t wait to go back and try again.
Linking to several sites – take a look at the list at the top of the page, under Link Ups.

 Hopefully I will be able to reserve some time at the long arm shop next week to practice. I’m very much looking forward to that. Then when I am a bit more confident, I will finish this project.